The Otero company has always stood for first-class laser technology. However, for a long time this was only used in a professional context. This changed with the release of the Aufero Laser 1, the company’s attempt to bring laser technology into the homes of ordinary consumers. Due to its uncomplicated operation, the company already succeeded with the first generation. The successor, the Aufero Laser 2, is now on the market. It is again clearly aimed at beginners and takes them even more by the hand. Extensive guides and instructions, both online and in paper form (user manual), should ensure the best possible results. We want to take a closer look at the beginner’s laser and see whether it is also suitable for professionals.

Read into the topic!
Before we get into the review, we want to send a little disclaimer up front. Even though the Aufero Laser 2 is intended for conventional use, it is a device that should be used with caution. After all, you are working with laser technology here, which can also bring corresponding dangers. On top of that, the Aufero Laser 2 does not yet comply with EU regulations when it comes to device safety.

So you take the risk of having to be liable for any damage that may occur. However, we assume that Otero will pick up an appropriate seal in due time. Despite the lack of a security certificate, it is still possible to buy the device via the Internet without any problems. We only strongly advise you to read up on the subject and consider any dangers before you blindly strike.
About Ortur
The Aufero Laser 2 is once again an example of confusing naming. That’s why we want to clear things up for you in this regard. Aufero is a subsidiary of Ortur. However, while Ortur is more known for manufacturing professional devices for diode laser engraving and cutting technology, Aufero stands for the entry-level class.
This was the case with the Laser 1 and is now continued with the Laser 2. Ortur, by the way, sees itself as a patron when it comes to making laser technology accessible. Everyone should be able to put their ideas into practice. It is not for nothing that the motto “Imagine it, Design it, Make it!” comes about.
Comprehensive user manual
Otero has succeeded in doing something with the first-generation Aufero Laser that many competitors have failed to do in the past. Due to its compact design and user-friendly handling, the laser was perfectly suitable even for absolute laymen. Otero continues this recipe for success with the Aufero Laser 2. This is already confirmed by the first look at the scope of delivery. In addition to all the necessary technology, you will also find a comprehensive user manual. This is intended to fully immerse the user in the world of CNC laser technology.

Thanks to the included brochure and lots of video guides from Ortur, you’ll find answers to the most important questions without even doing a Google search. In addition to explanations of the appropriate software solution, Ortur also points out certain rules for working with different materials. After all, every substrate has its own characteristics. For some, the simple explanations and pictures may not be enough. In this case, Aufero also has suitable explanatory videos at the ready. So even the last person understands how to handle the Laser 2.
Technical data
Although it is an entry-level device, the Laser 2 offers quite a bit of performance. The reason for this is probably not least the affiliation to the professional device manufacturer Ortur. Without further ado, this manufacturer uses technology from professional lasers in the entry-level device. This already starts with the mainboard, which comes from Ortur and offers the powerful ESP32 chip. This is supposed to make the Laser 2 work more accurately than the first generation model. Aufero is talking about an increase in accuracy of ten percent.
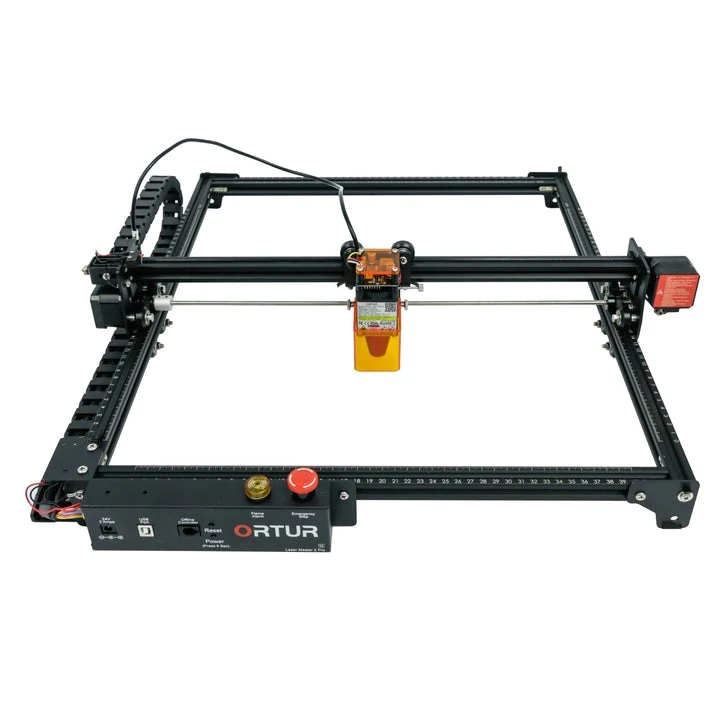
However, the working speed of the laser is particularly amazing. After all, no device in the entry-level class can keep up with the 15,000 mm/min. However, it is questionable whether this power is needed at all. After all, for the “down-to-earth” work that the Laser 2 is supposed to perform, the whole thing can have the opposite effect and damage materials. However, you can influence this by choosing the right laser module. The LU2-4-SF, the all-rounder of the three available modules, was available to us as a test object.
| Name | Aufero Laser 2 |
| Workspace | 390mm x 390mm |
| Material | Aluminum and other metals |
| Motherboard | OLM-PRO-V1.2 Motherboard,32Bits ESP32MCU |
| engraving speed | 0-10,000 mm/min |
| Dimensions | 582mm x 580mm x 140mm |
| Weight | 3.0 kg |
| Materials for engraving | Plywood, pine wood, cardboard, black acrylic, leather, felt cloth etc |
| Input Formats | JPG, JPEG, PNG, BMP, SVG, etc. |
| Price | € 269.99 * |
Quick setup
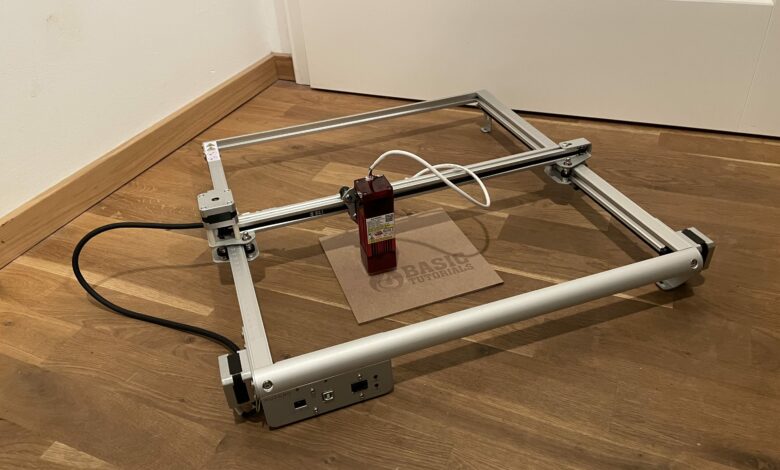
In my opinion, a high level of user comfort also includes a quick and uncomplicated set-up. On both counts, Aufero met my expectations. I had the laser set up after a good quarter of an hour. The matching guide video ensured that I didn’t encounter any problems. Since all the individual parts are of good quality, there is no fear of breaking anything.
Here, Aufero mainly relies on aluminum and other resistant metal. You won’t find any sharp edges or the like here. Those who, like me, are trying out laser machines for the first time will find the exposed cables a bit suspicious. However, a look at the immediate competition and even far more expensive laser machines, makes it clear that this is quite typical. In practice, the cables did not bother us at any point.
Once the hardware is ready for use, the appropriate software is still missing. All in all, you should allow about half an hour for the setup. Once the hardware and software are up and running, you’re ready to go. To make it as easy as possible for you to get started, Aufero has already provided some test samples ex works.
Here you can try around a bit to eventually get a feel for the laser. Conveniently, many of the 50 test images can also be used as templates for your own patterns. By the way, you can find even more inspiration on the website of Aufero or the hardworking community on Facebook.
Convenient control via software
The Aufero Laser 2 should make it easy to work on larger areas. After all, the working area of the device measures 390 mm x 390 mm. This is more than twice the size of its predecessor. Once you’ve placed the material to be processed in the area, it’s on to the computer. Depending on whether you own a Windows PC or a Mac, Aufero offers suitable software solutions. However, owners of a Windows device have a slight advantage. They can download the software “LaserGRBL” for free.
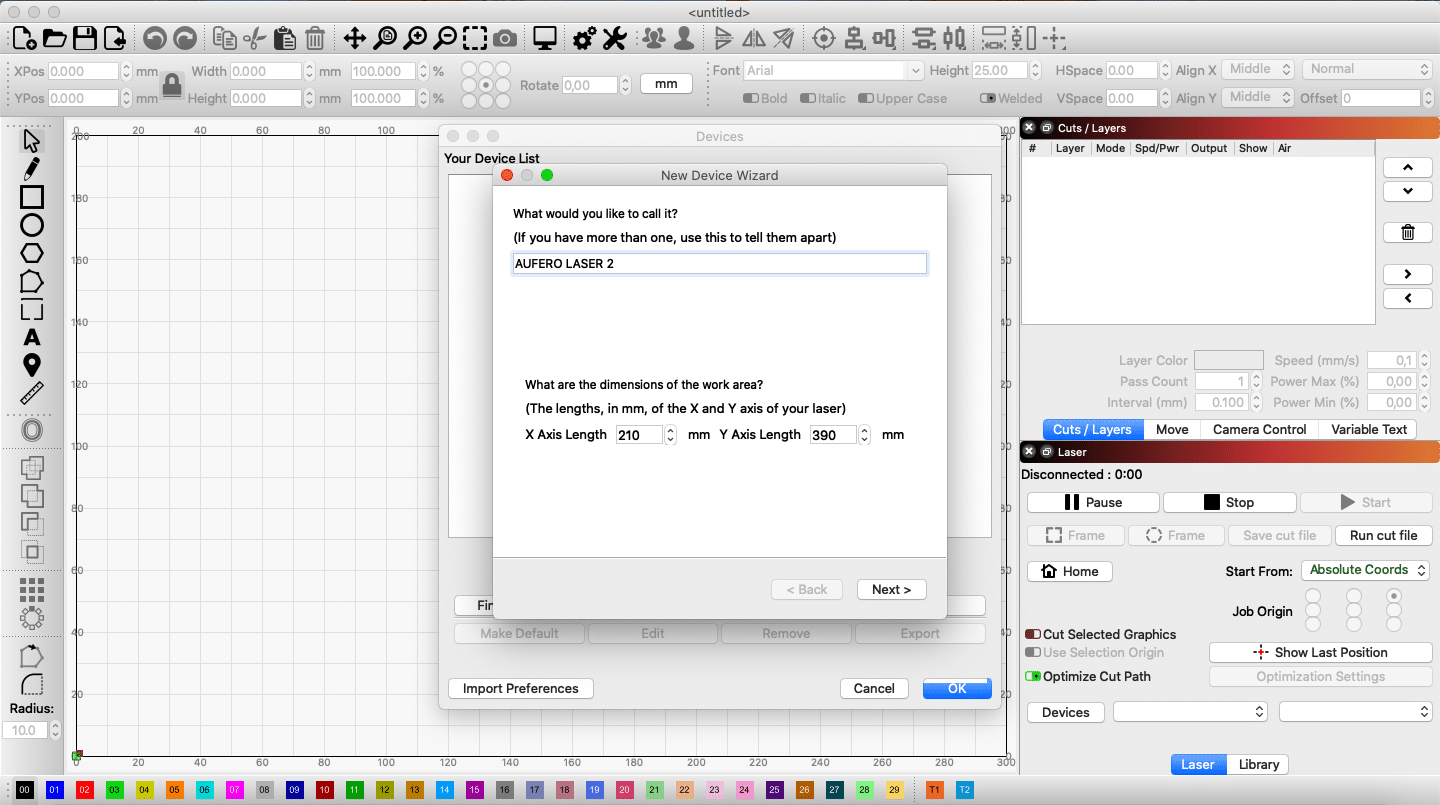
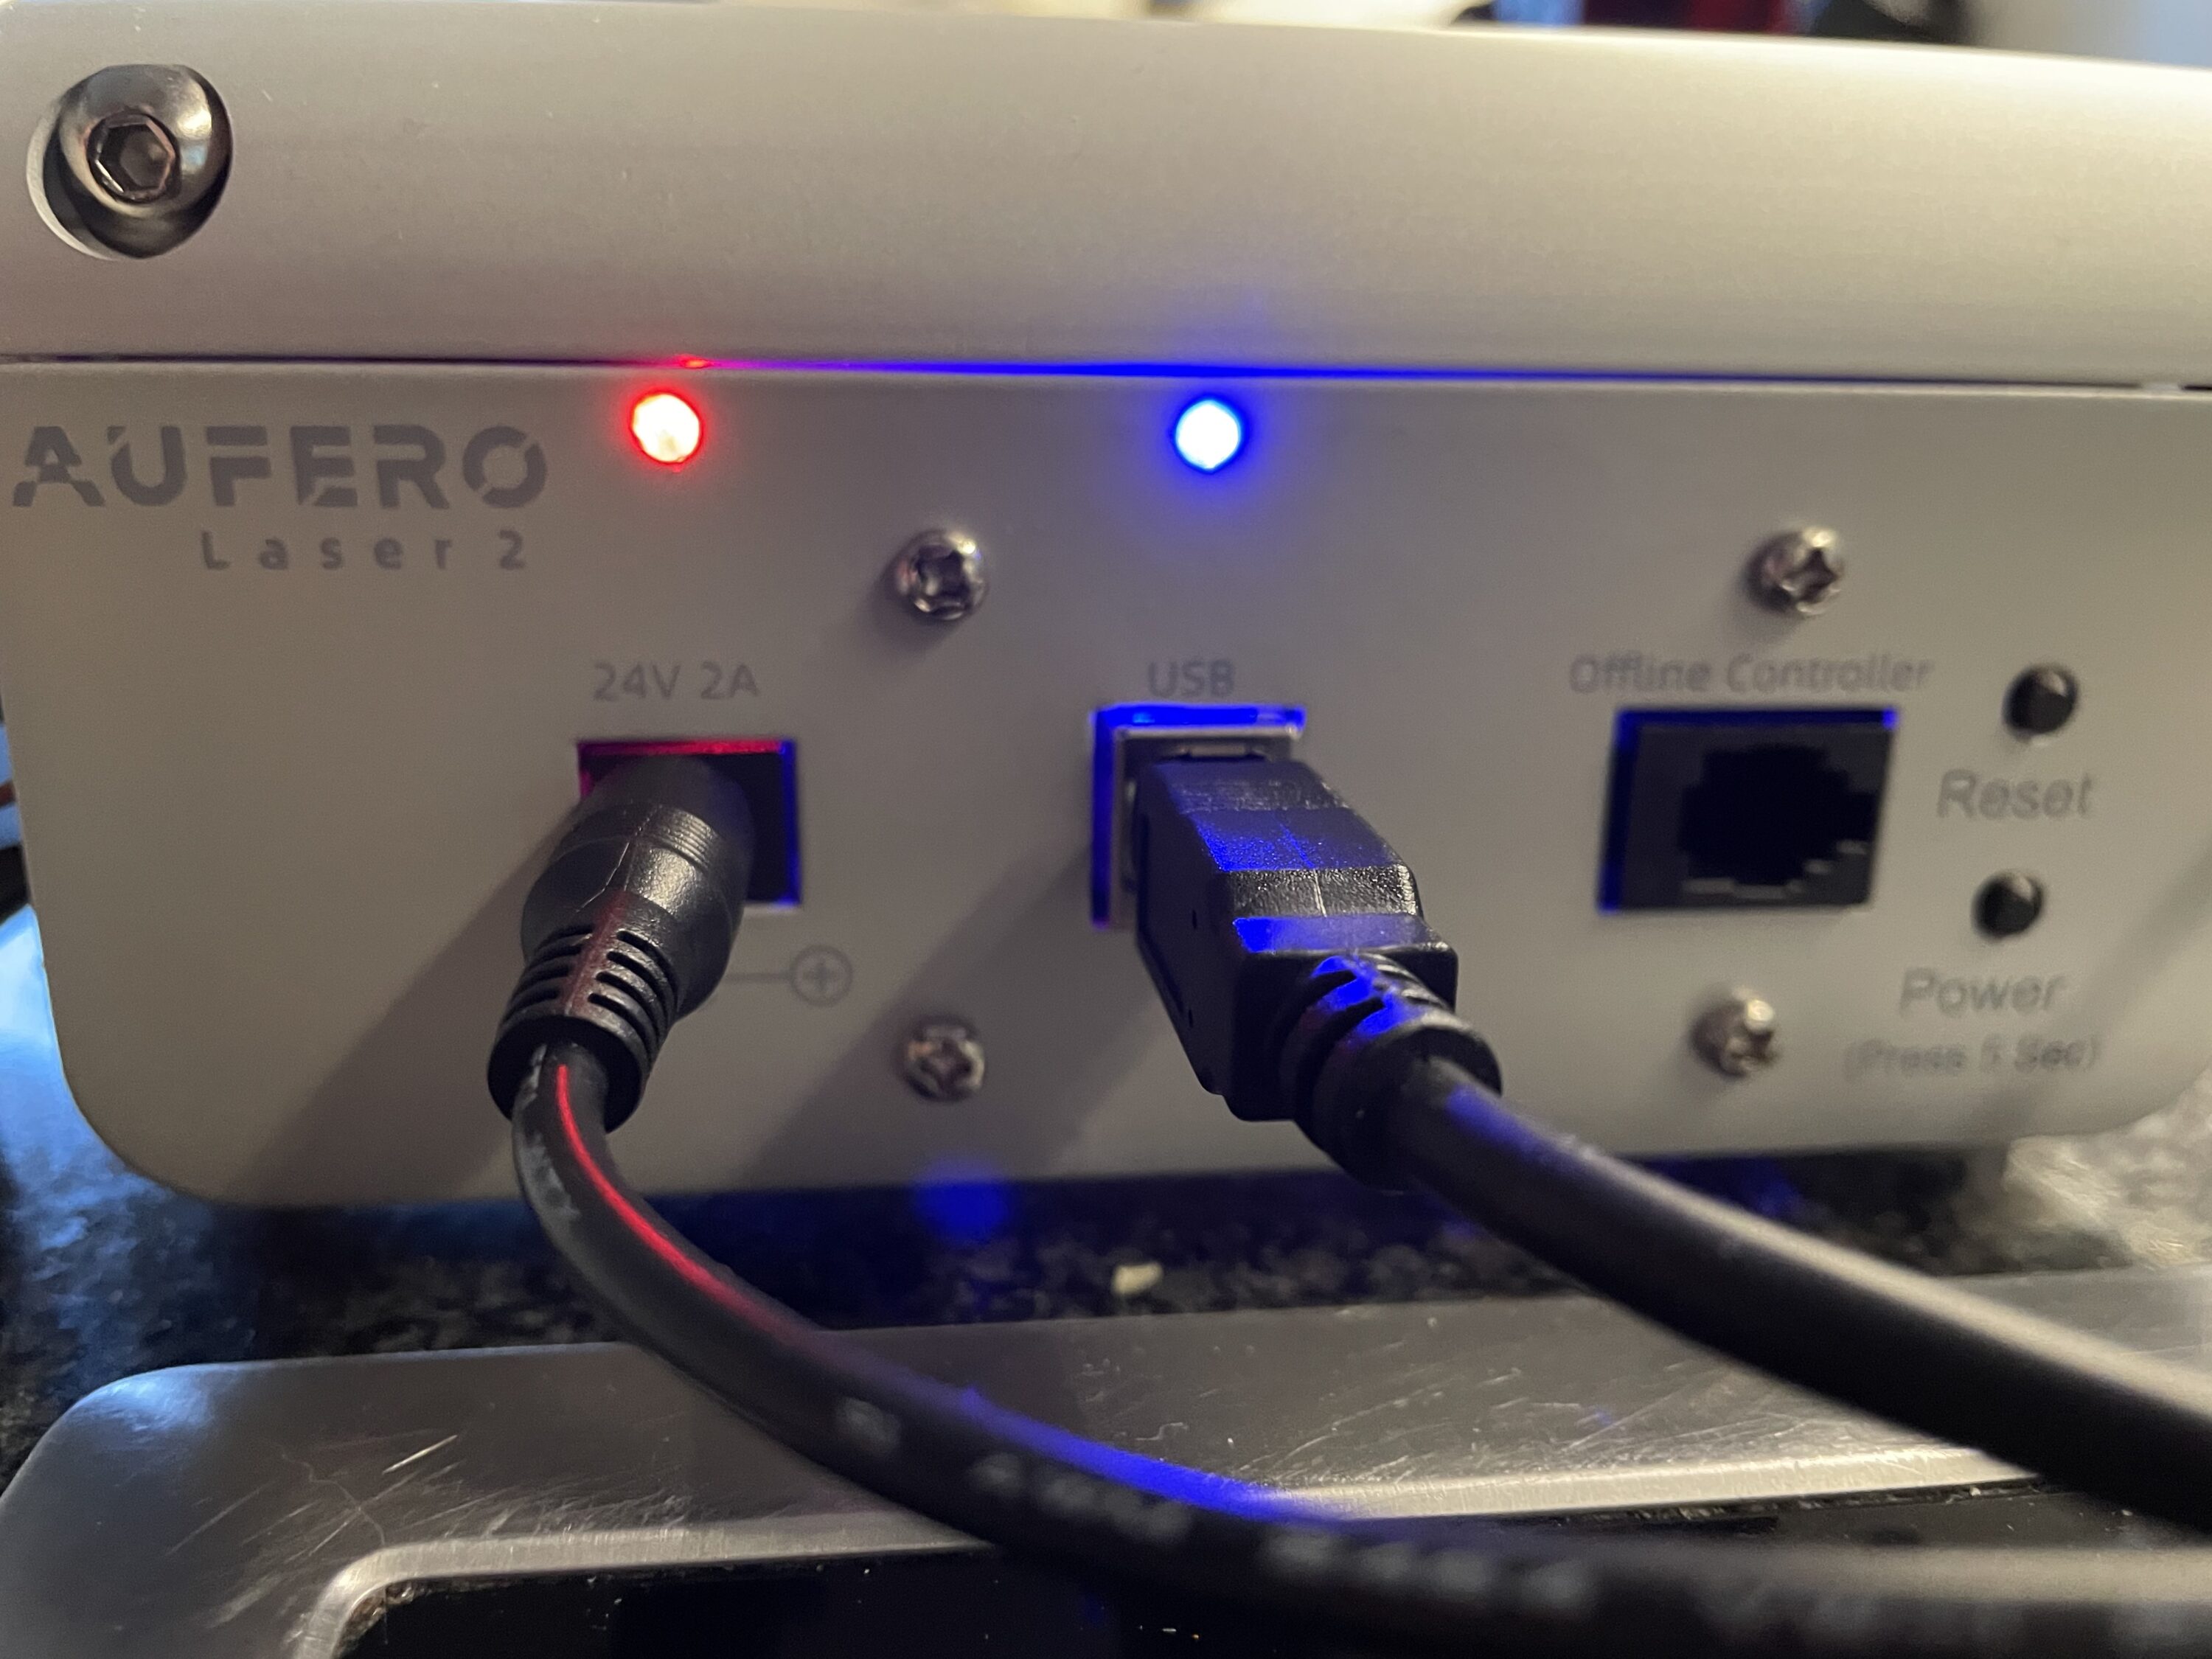
With MacOS, you will inevitably have to pay something if you want to organize a suitable software. Aufero itself advises the application “LightBURN” on its website. These applications both come from third party manufacturers. But Aufero still wants to offer an in-house control option in March with “OOC2.0 Screen”, which is supposed to allow control without software and thus without a computer. The connection takes place in the “Offline Controller”.
As the owner of a Mac, I inevitably had to resort to LightBURN. Fortunately, the software can be tried out as part of a 30-day trial. When opening the application for the first time, I was at first very overwhelmed. So you are confronted with many different setting options. What was a bit challenging for me as a beginner, should probably not be a problem for professionals in this segment. If you like it more uncomplicated and have a Windows PC, go for LaserGRBL. This is not nearly as extensive, but it is clearer and therefore easier to understand.
To use the Aufero Laser 2 with LightBURN, you simply connect the device via USB. After that you switch on the laser. After “getting acquainted” with the laser and Macbook, I took a deep breath and jumped into the practice. My first order of business was to send the laser head to its “home” position. However, this ended in a loud rumble. But I quickly found a solution to this problem. For example, upon further investigation, I discovered that the Laser 2 does not have “limit sensors” that can register when the unit reaches its home position.
Many materials are possible
Once the so-called “homing” was deactivated and a command entered in the console, everything then worked flawlessly. Here I benefited from the busy community around the Aufero Laser 2 as well as the program LightBURN. If you have any questions, it is worthwhile to use the Google search. It was even easier to look at YouTube. After all, the worldwide “laser community” is bigger and more active than you might think. If in doubt, it’s always worth taking a look at Otero’s site. There you will also find many answers.
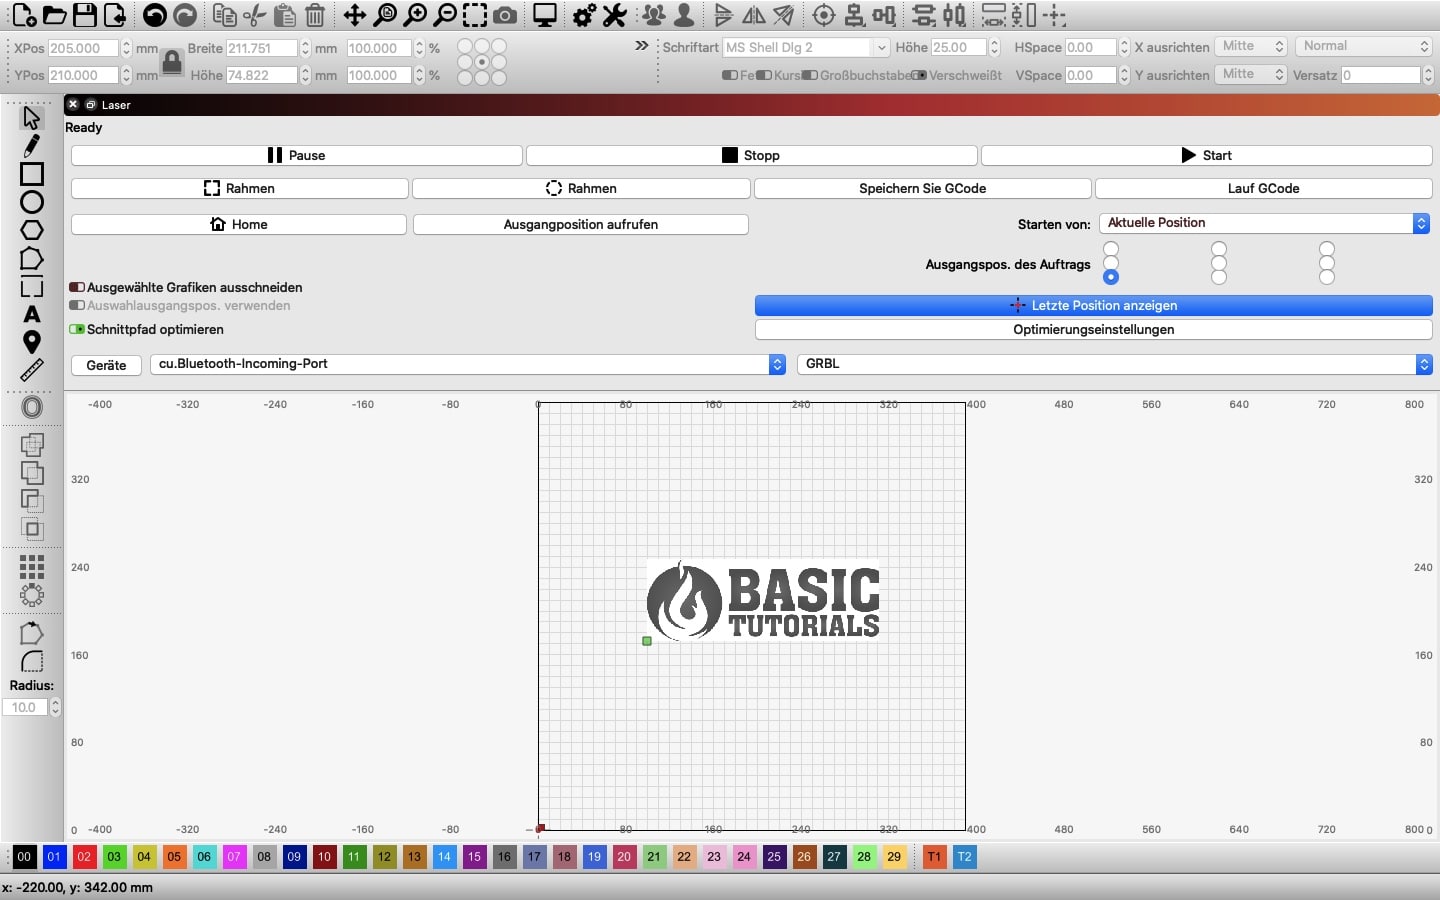
You simply place the image of your choice in the software on the workspace shown. Then you manually position the laser on the material you want to engrave. Finally, you just have to press Start and the laser will start working. Don’t forget your glasses, because the laser is potentially harmful to your eyes.
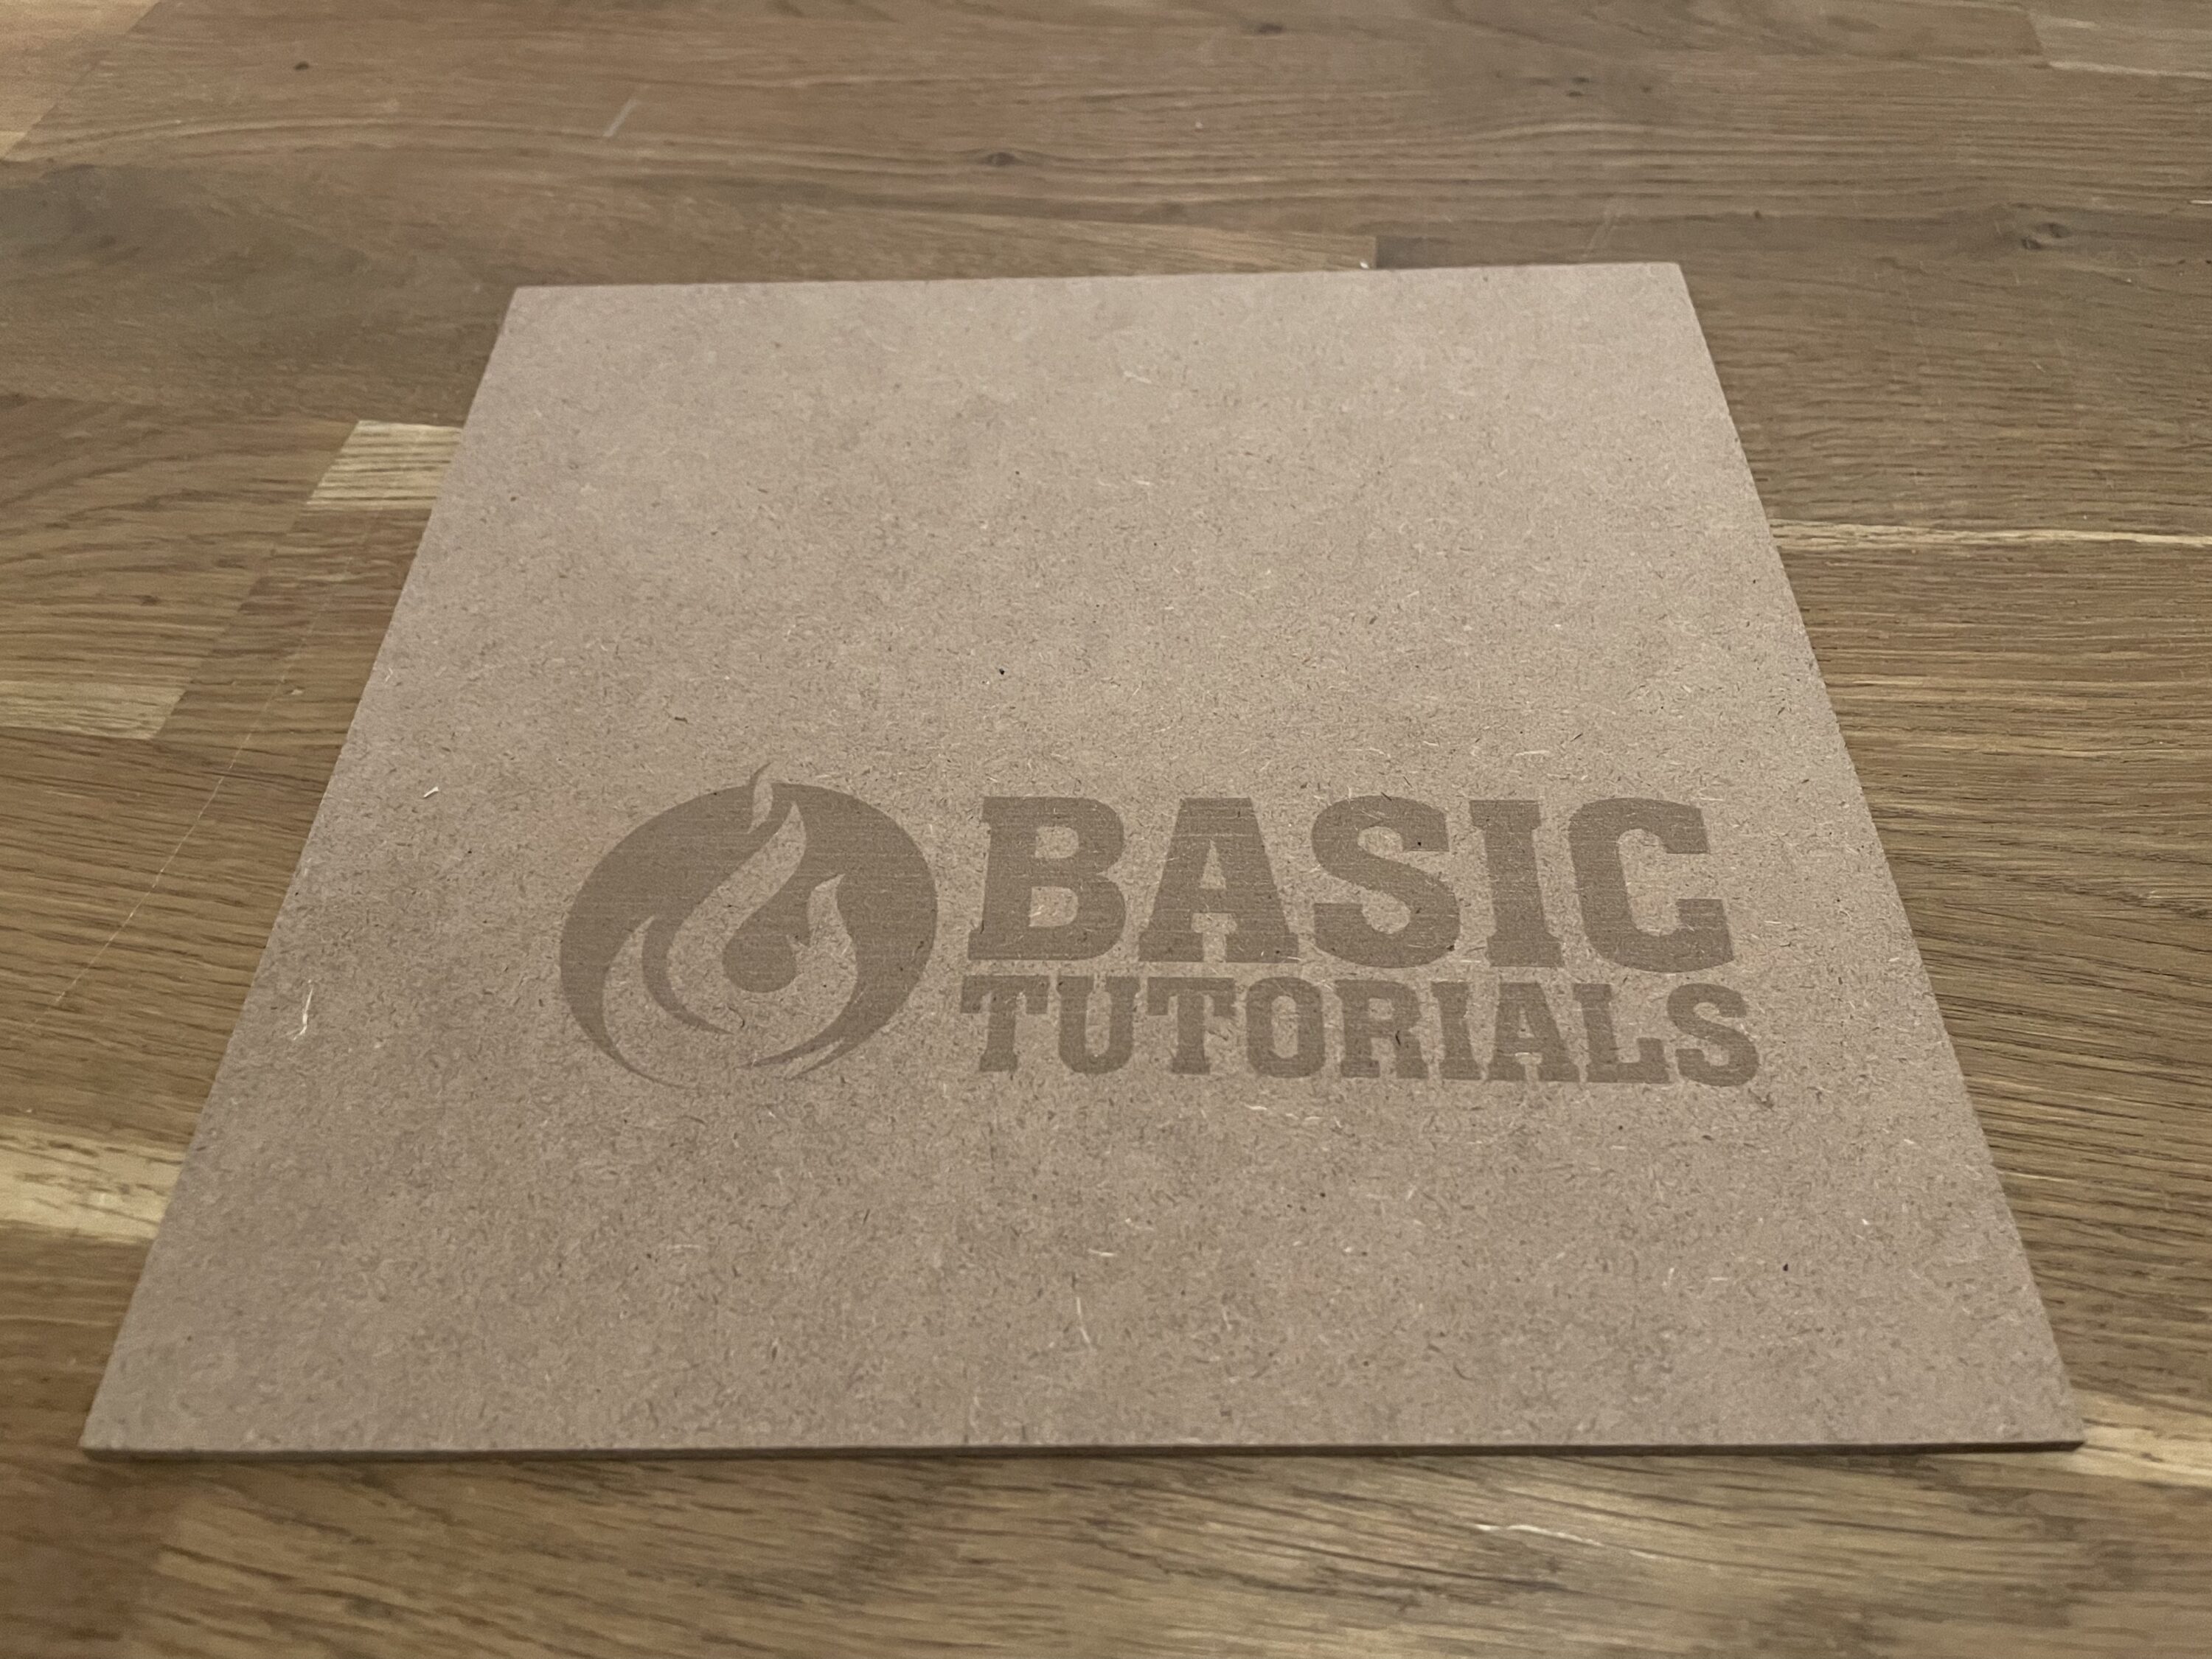
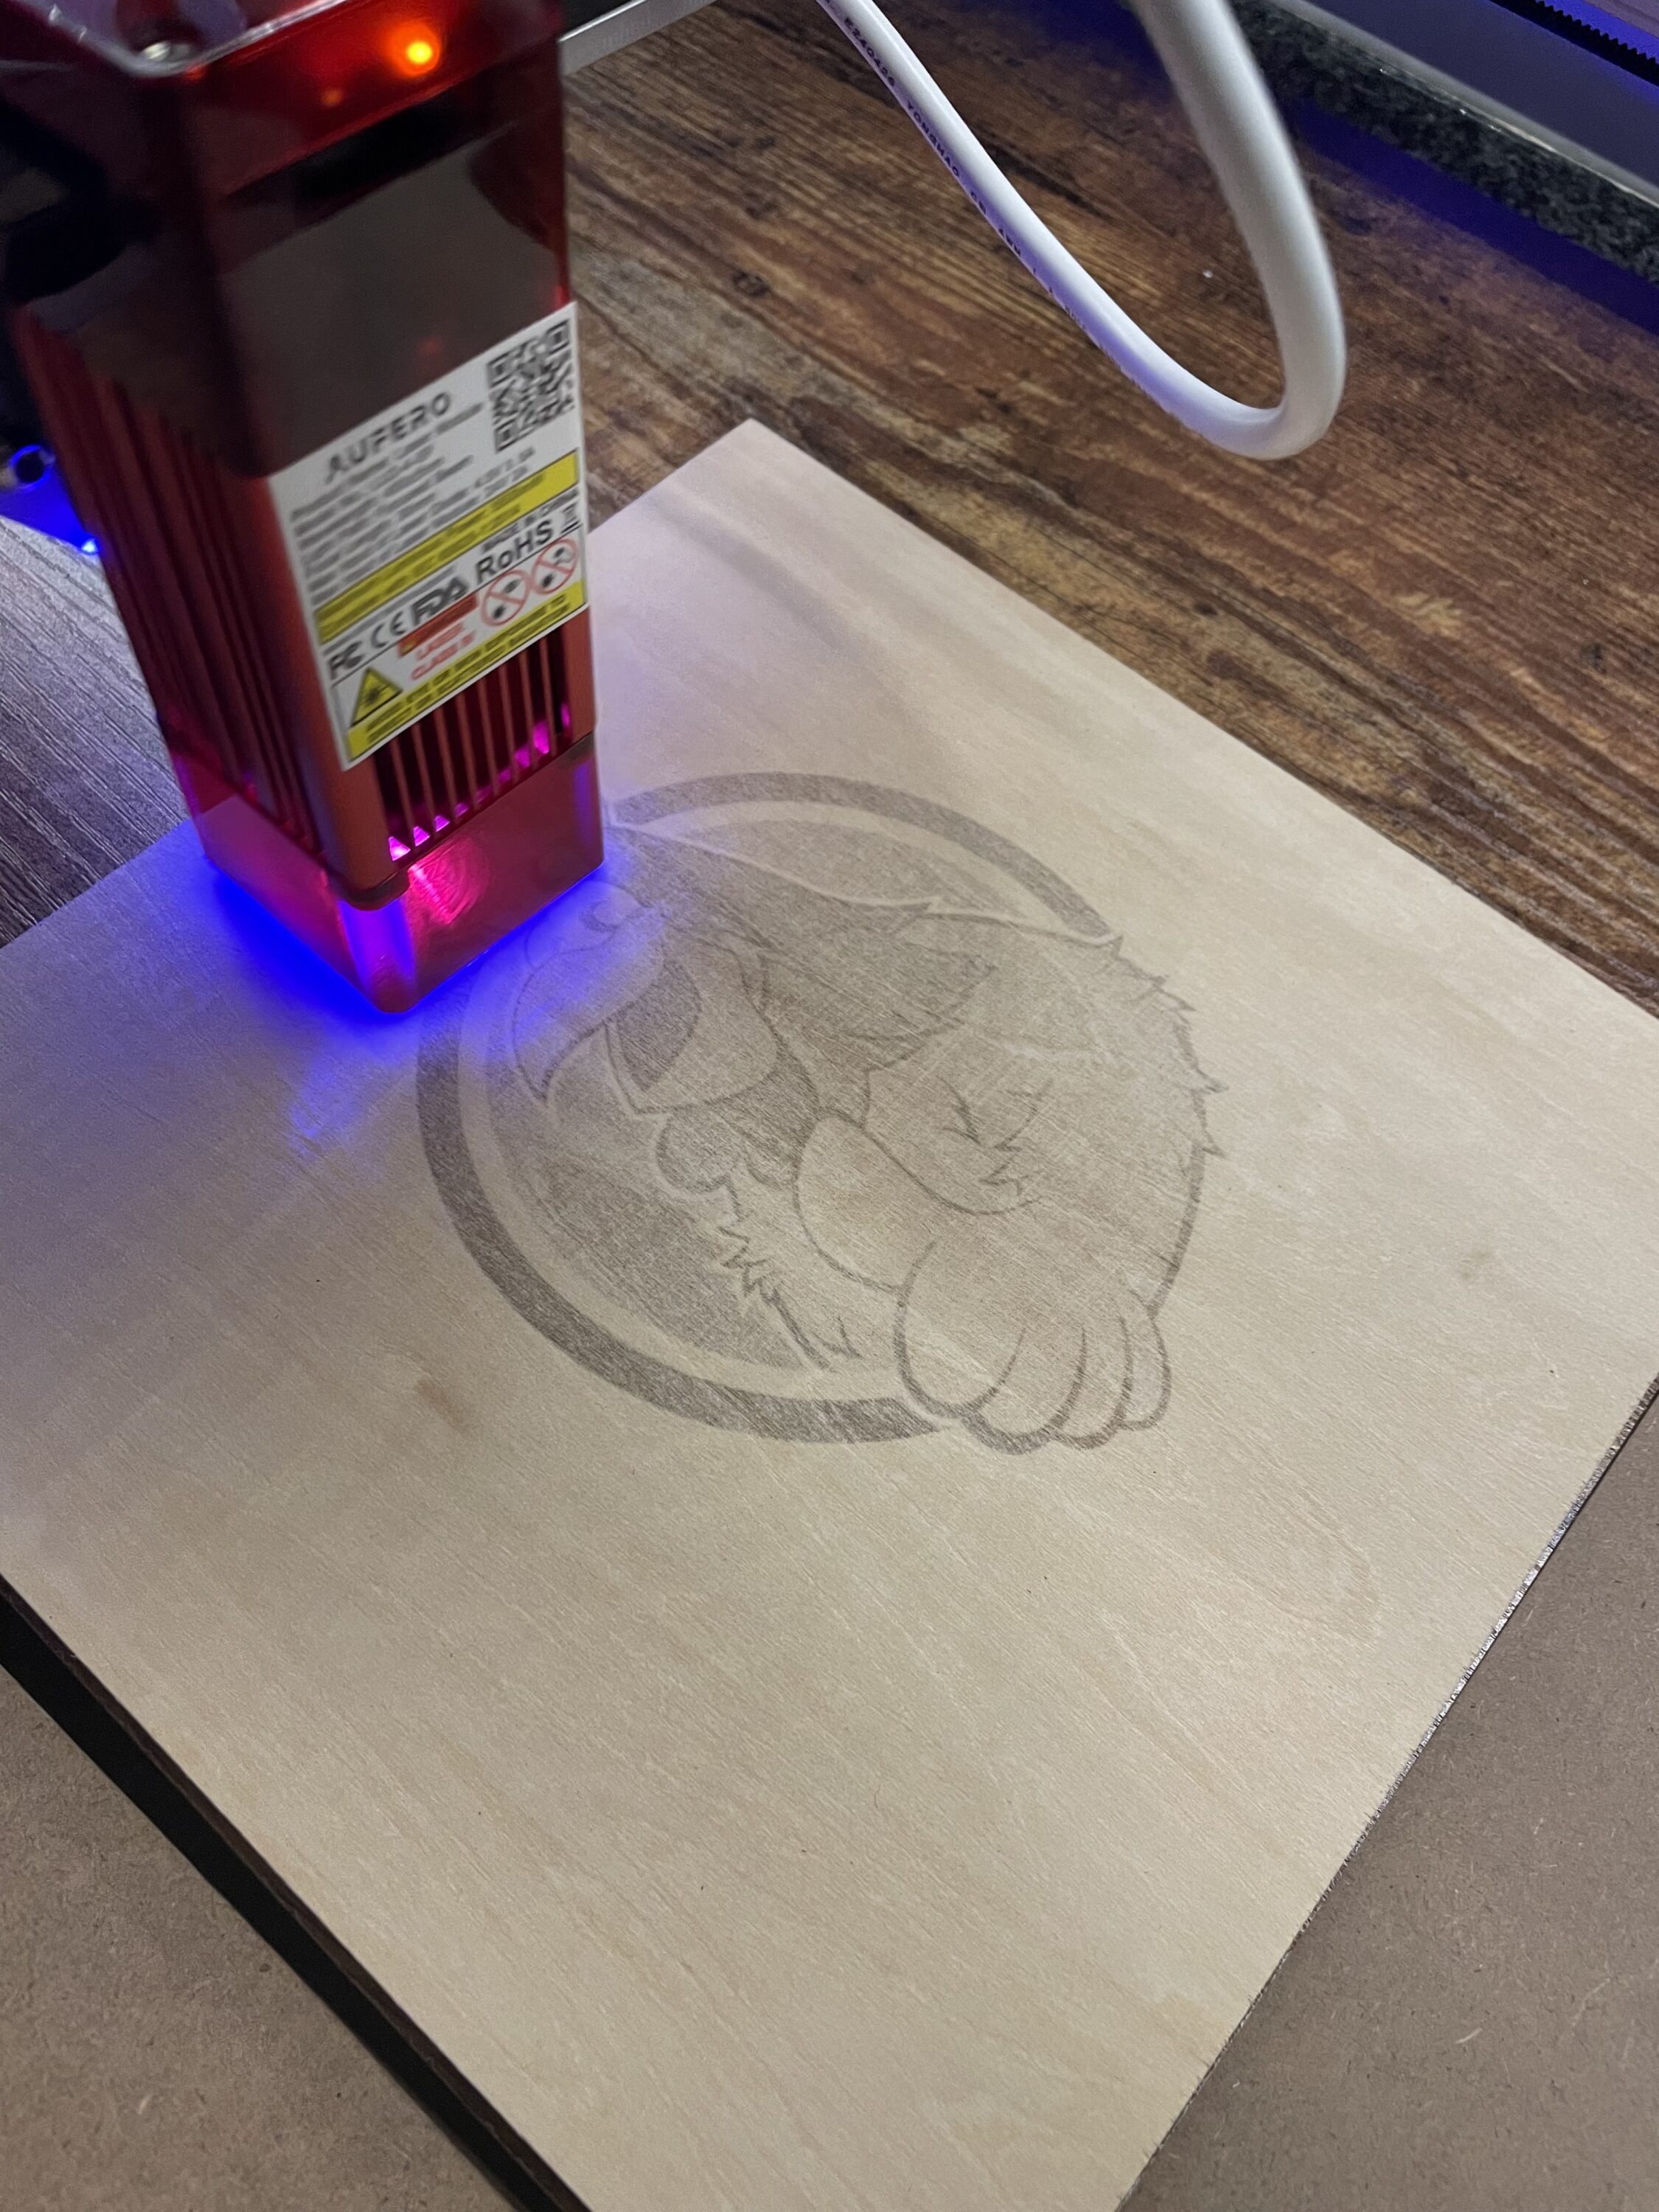
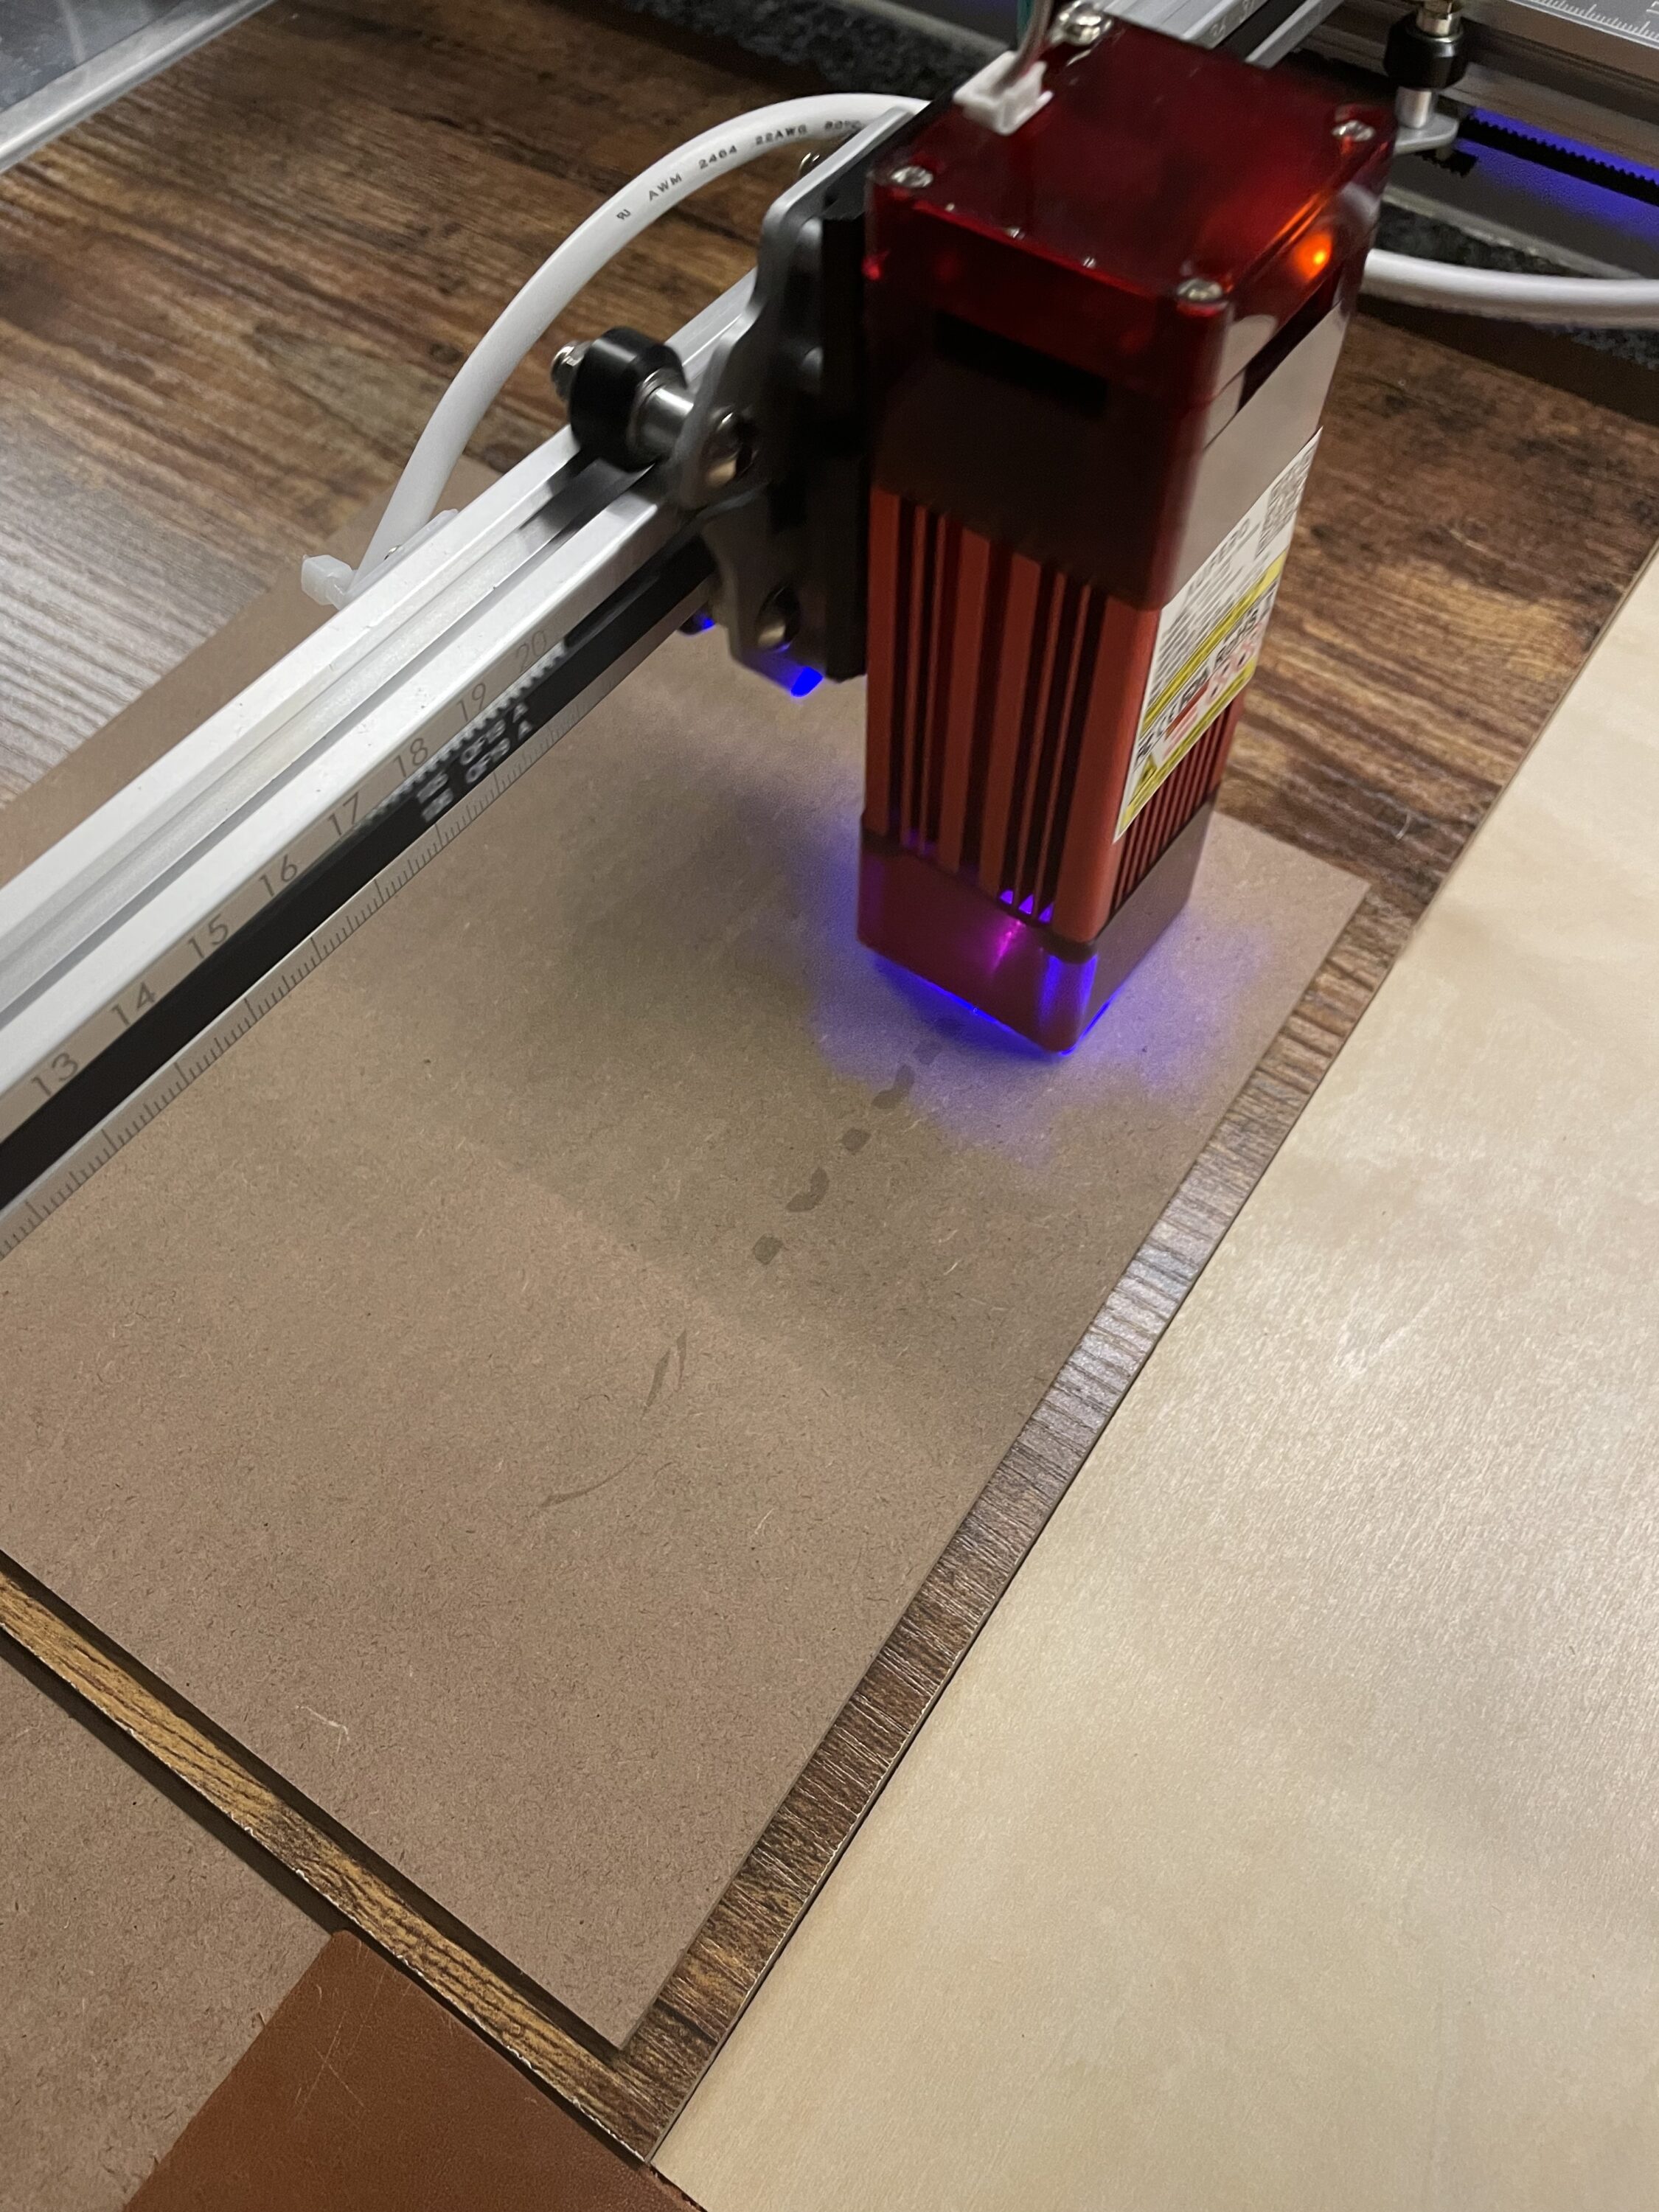
Fortunately, Aufero provided us not only with the Laser 2, but also with suitable materials for engraving. I started with engraving wooden panels. First of all, the laser head travels without the laser being activated along the path that is to be engraved afterwards. This is especially advantageous if you are not yet sure about the size and orientation of the area to be printed.
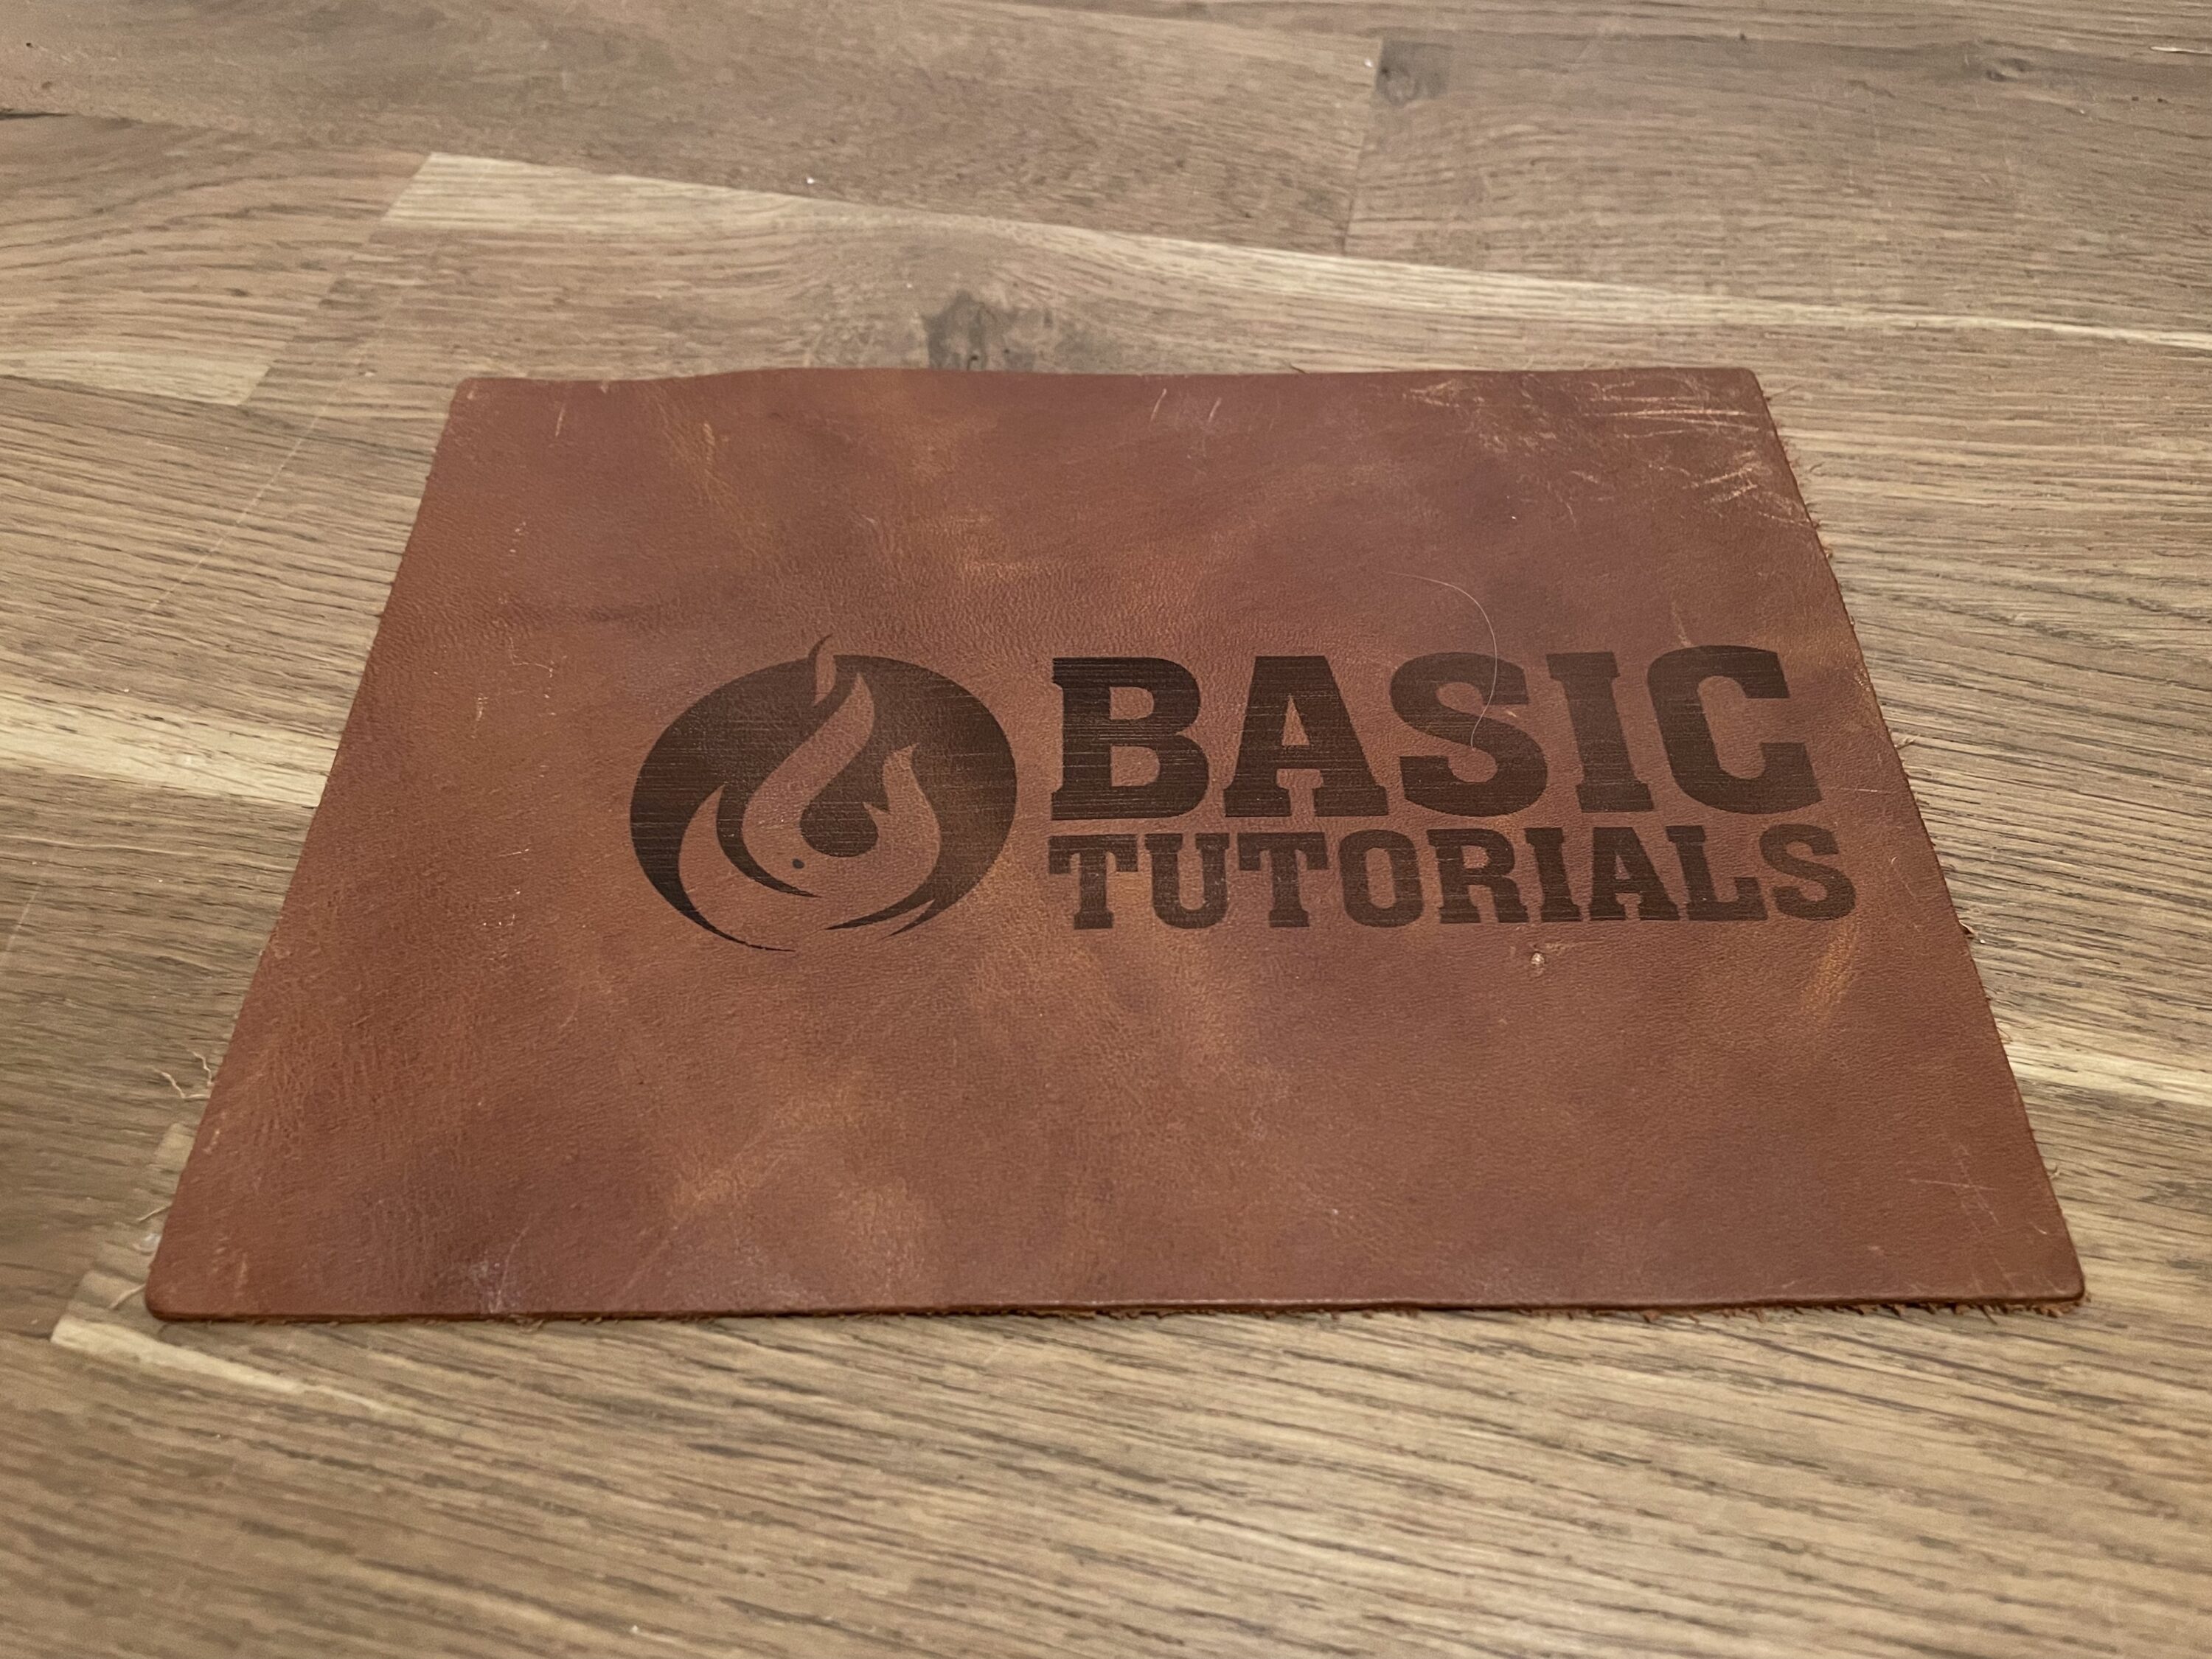
If you detect an error, you can press Pause or Stop in LightBURN. If you agree with the alignment, you just let the laser continue and do its job. After just under ten minutes, the Basic Tutorials logo was finished. When the material was changed, the processing time did not change.
Aufero looks out for your safety
As we mentioned at the beginning, the Aufero Laser 2 does not have an EU safety label. However, this in no way means that it is a dangerous piece of technology. You should just use it with caution. But Aufero has also built in a few features of its own to keep you and your loved ones safe. For one, there’s the gyroscope technology found in the laser module. This is supposed to detect when the device, and thus the laser, is tilted. If this should be the case, the laser will be switched off immediately. In addition, the laser requires a permanent connection to the PC running the appropriate software. If no signal or command is issued from this for 30 seconds, the laser switches off automatically. The safety features are rounded off by the special power control system.
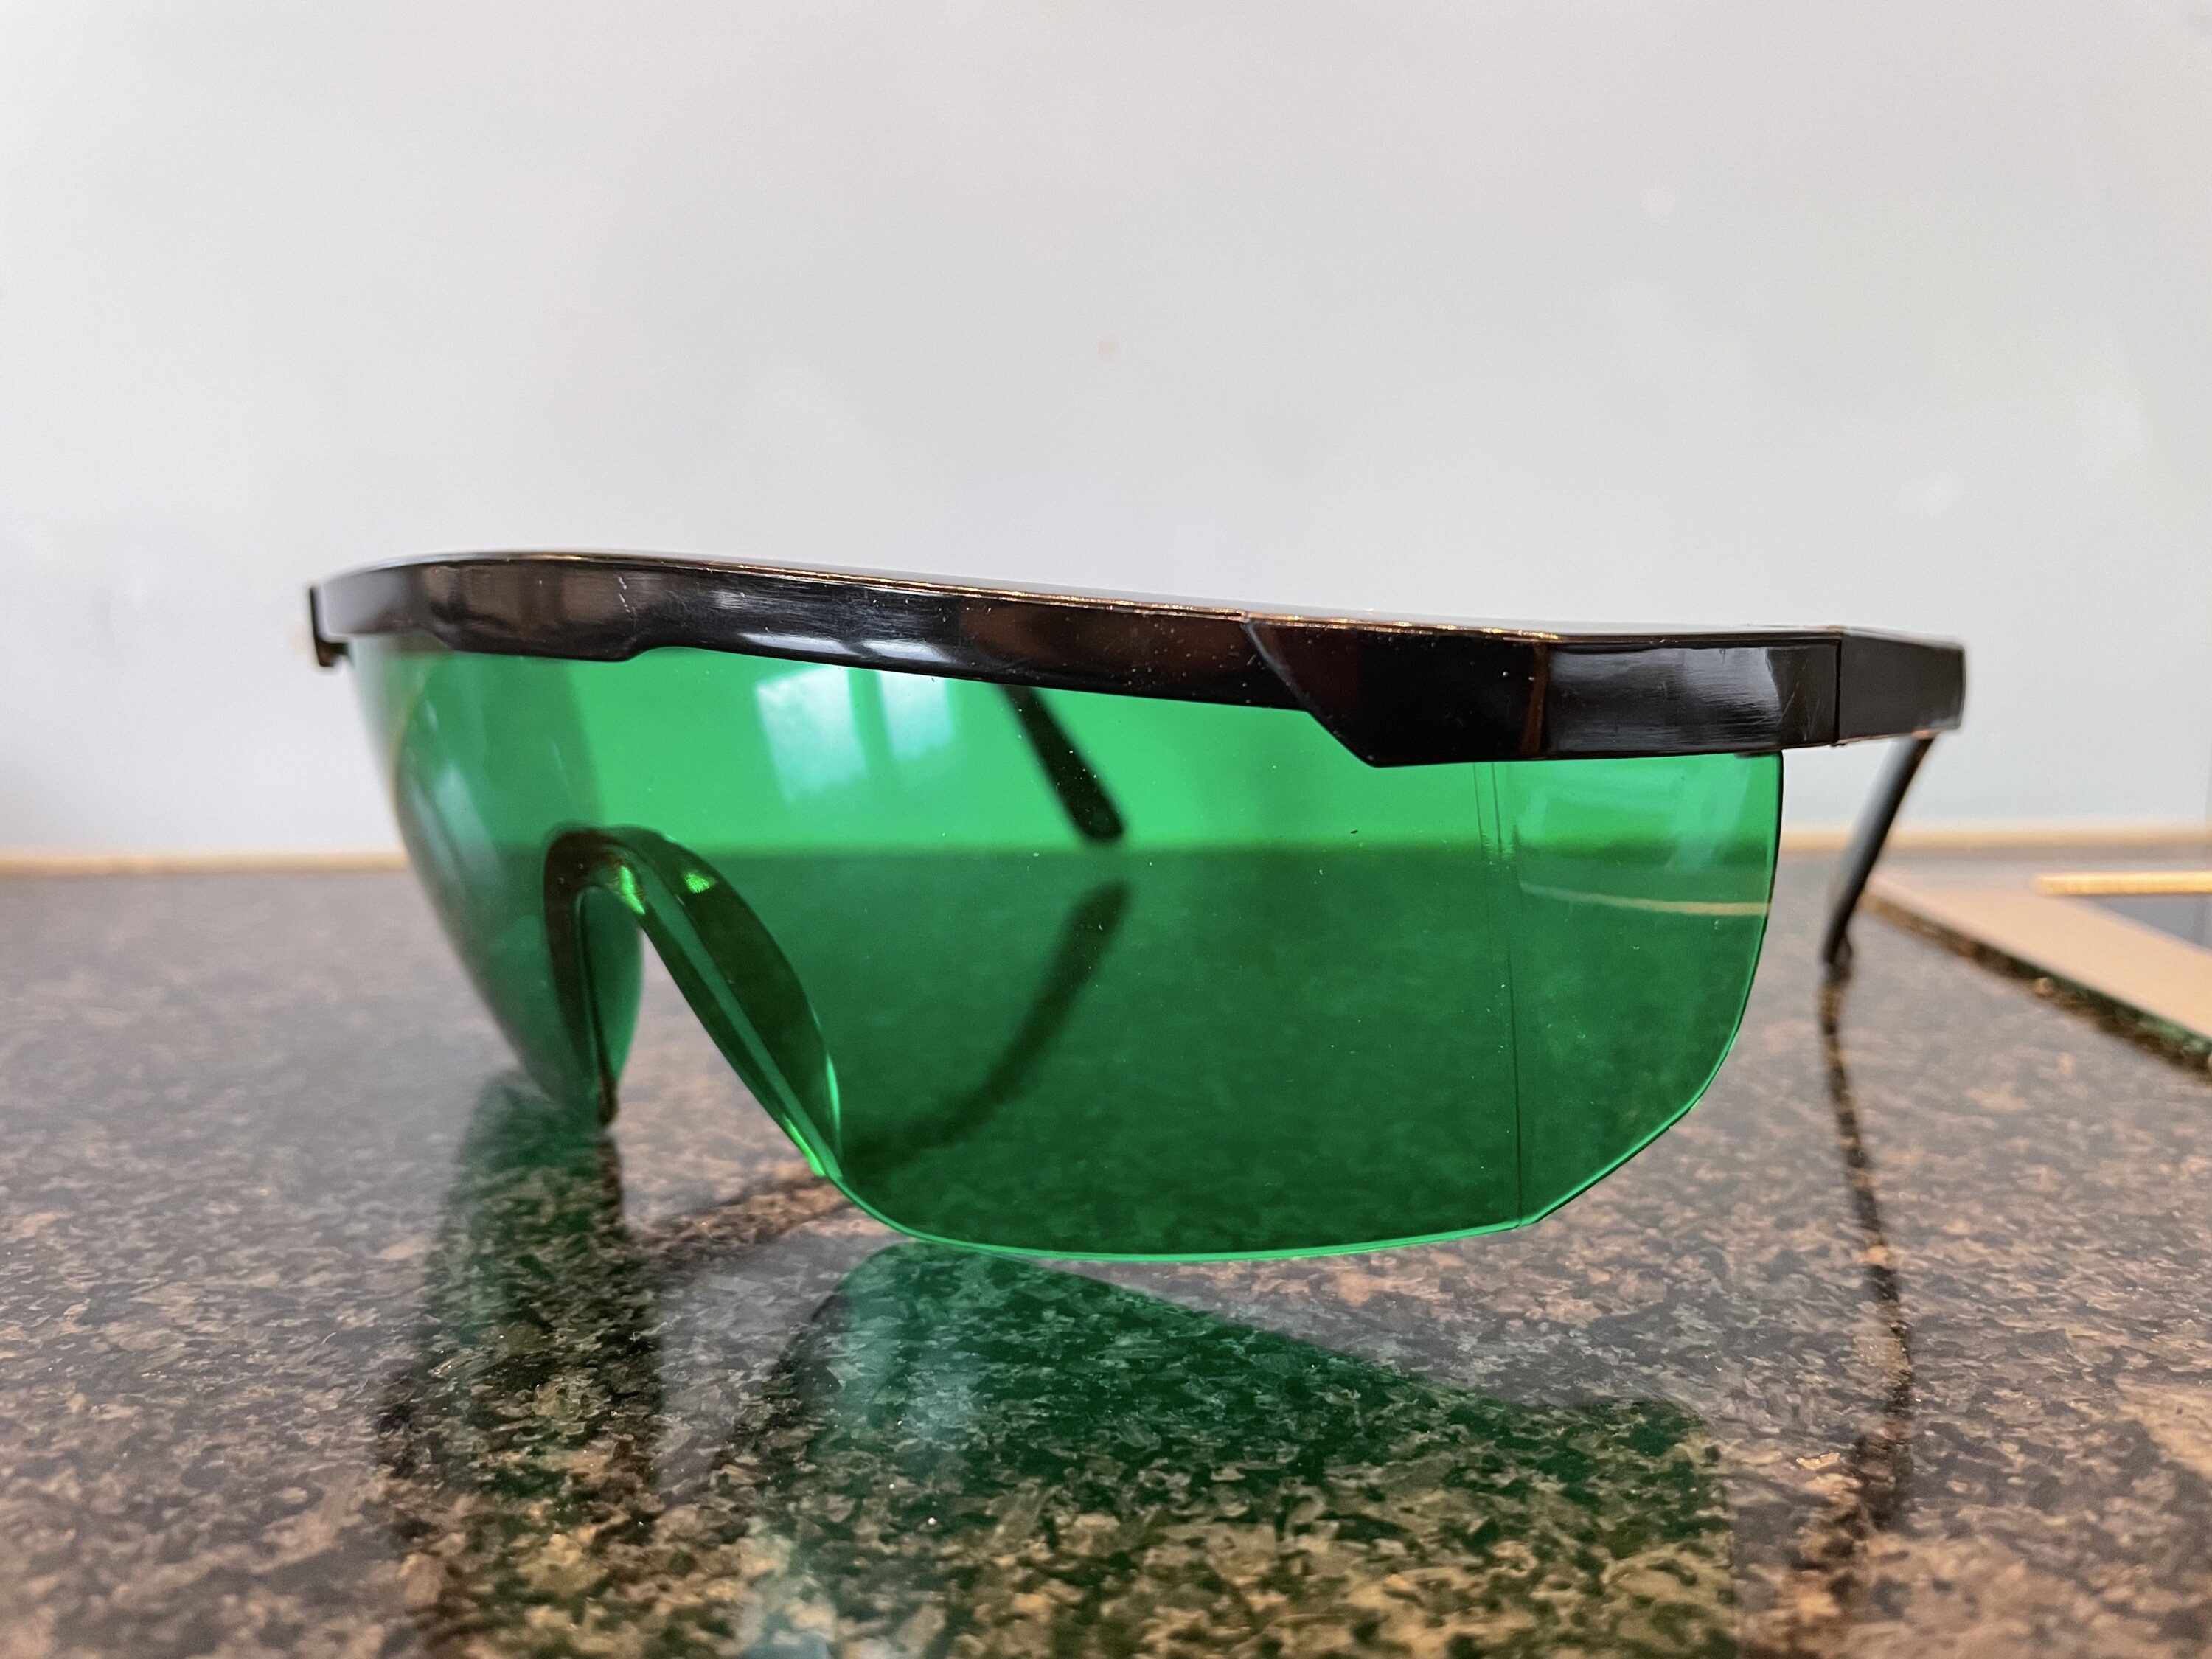
This plays it safe and completely disconnects the laser from the circuit when the Aufero is turned off. Last but not least, Aufero includes safety glasses with its Laser 2. When working with the device, be sure to put these on, otherwise you risk serious damage to your eyes. In addition, you should follow some general safety instructions. For example, it is important that you do not work in rooms with flammable materials. Furthermore, the room should be well ventilated. After all, there can sometimes be a lot of smoke, which could annoy not only your sense of smell, but also your smoke detector. I worked in the only room in my apartment that did not have a smoke detector. My kitchen.
Conclusion
During the field test, I had a ton of fun with the Aufero Laser 2. I honestly couldn’t have imagined discovering my creative streak in DIY at some point. Now I think I have found it. After all, the CNC laser ensured that at some point all I thought about was what piece of fabric, wood, metal, etc. I wanted to work on next. The results were really impressive and I also liked the way it worked. This is due not only to the high-quality hardware, but also to the practical user manual, the guide videos and the energetic community. Finally, everything from the setup to the first laser beam went smoothly and user-friendly. Only the software requires a somewhat longer training period. Those who don’t have a problem with the risk due to the lack of EU certification can definitely take a look at the Laser 2.

AUFERO LASER 2
Workmanship
Hardware
Performance
Value for money
92/100
You think you don't need a laser? Then you might change your mind with the AUFERO LASER 2. After all, the device scores with enough power for professionals, but is simple enough to be of great service to amateurs as well. A lot of laser for little money!