Regardless of the purchase price of an inkjet printer, sooner or later the print results are only satisfactory. But it doesn’t have to stay that way at all. If the printout does not look good, you must first check whether there is still enough ink in the printer’s cartridges. Many manufacturers include a self-cleaning function in their printer software. This can sometimes help. But what if nothing else helps? In this case, the only thing that will help is a thorough cleaning of the printer. After all, only a clean printer can deliver brilliant printouts. The cause of inferior print quality is usually clogged nozzles. Over time, these suffer from dried ink, paper fibers and dust deposits. Especially printers that are not used regularly, but only from time to time, suffer from this problem. The reason for this is that ink dries quickly when it is not in motion. To keep your print results looking great, you need to keep your printer clean. We’ll show you how best to do this below.
Cleaning is cheaper than buying new
The cause of poor printing results is usually the print head. If this is not defective, but only very dirty, the purchase of a new print head is an expensive affair. After all, these sometimes cost almost as much as a new printer. An inexpensive alternative to buying a new one is to have it cleaned. However, you should take into account that cleaning a printer takes a lot of time. If you don’t have that time, buying a new print head is definitely an option you should consider. If you want to save time in the long run, let me say this. If you clean your printer on a regular basis, you will also reduce the duration of the entire procedure.
What you should look for when cleaning
There are different designs of inkjet printers. For example, the models differ from each other in the position of the print head. However, even if there are differences, you can perform cleaning in any device. However, it is important that you do not act hastily. Before cleaning, take a look at the manual of your printer. Here you can find details about the structure and certainly also instructions for cleaning.
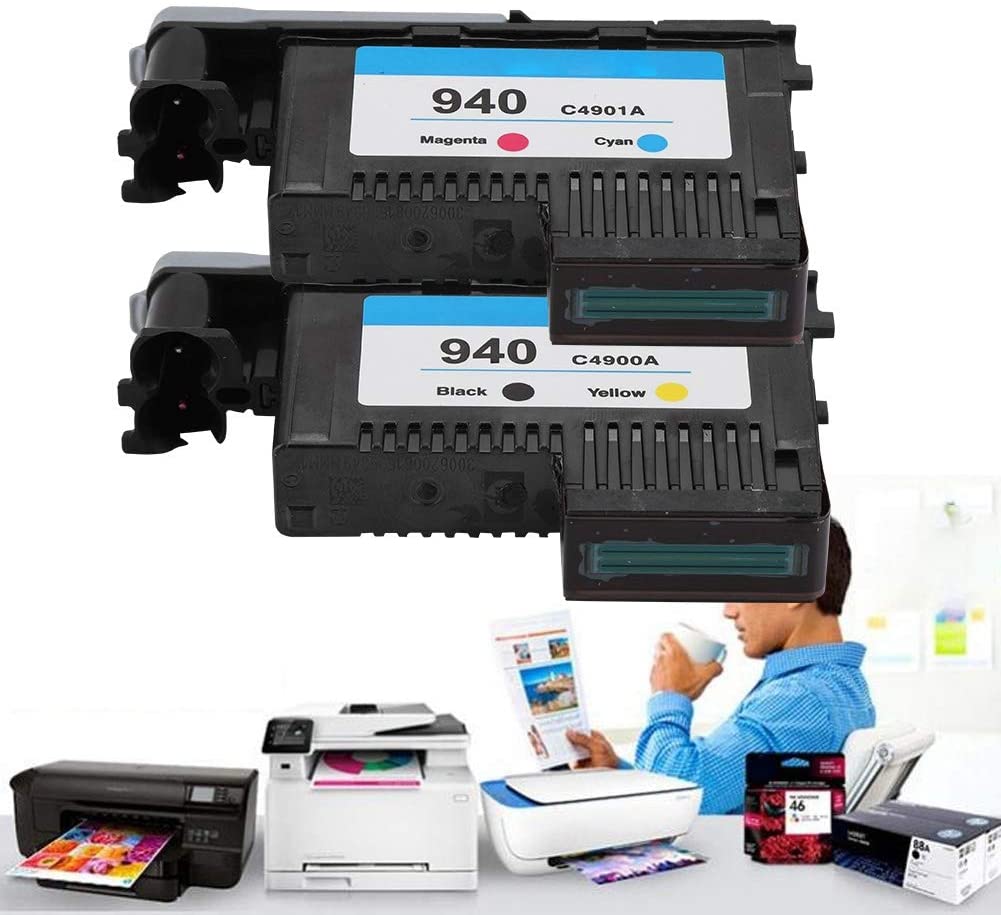
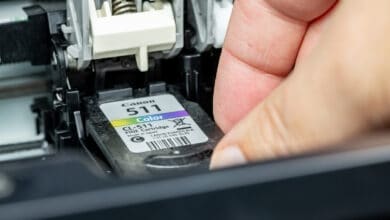
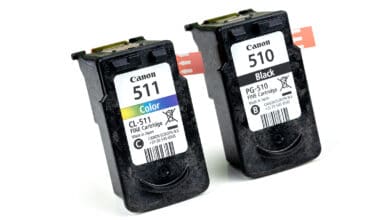
Printer with disposable print head
Inexpensive models often rely on a combination of print head and ink cartridge. Accordingly, one also speaks of a printhead cartridge. As soon as the ink in the cartridge is empty, you can dispose of not only the cartridge itself, but also the integrated print head at the same time.
Printer with permanent print head
In higher-quality printers, on the other hand, we find so-called permanent printheads. As the name suggests, if everything goes well, these remain in the printer for its entire life. If you take a look inside the printer, you can find the permanent printhead in the cartridge carriage. Unlike the disposable printheads, the printhead remains in the device. When the ink is empty, you just replace the cartridge or ink tank.
Cleaning checklist
Before you even get started, you should clarify what type of print head your printer has. This determines how you clean the printer in the first place. Once this is clarified, there are some important points that you should consider before you start cleaning:
-
- Work carefully with the cleaning fluids. Remember that you’re working with an electrical device!
- Do not use harsh chemicals. They can cause damage to the printer.
- Keep your fingers away from the electronic contacts!
- Use only distilled water. Cleaning water harms the printer due to lime and other suspended particles.
- Use best microfiber cloths
The self-cleaning of the printer
Before you get started, a nozzle test of the printer can be advisable. Here, it is often worth taking a look at the printer’s own software. This often offers special maintenance programs, which offer specific tests. Many printers rely on printing out a test page. Here you can see how the printer prints the individual colors. If the image is streaked, you can assume that the corresponding nozzle has dried up. If this is the case, only cleaning will help. If you don’t have time for extensive manual cleaning, the printer software can help.
Here, inkjet printers offer a cleaning program for the nozzles. Depending on the printer, cleaning is also available in different intensities. The printer blows a lot of ink through the nozzles. The aim is to remove the dried ink using the solvent contained in the ink. Since this process requires a lot of ink, it is also correspondingly expensive. However, this cleaning method is not only expensive, but also not always promising. For example, stubborn stains can by no means be cleaned. For these, manual cleaning is without alternative.
The manual cleaning
For manual cleaning you need the following tools:
- Distilled water (preferably heated)
- small spoon
- plastic box
- Microfiber cloth
First, make sure that the carriage, including the print head, moves to the position for changing the cartridges. Then disconnect the printer from the power. Now remove the print head from the carriage. Place the print head in the plastic box. The nozzles should be at the bottom. Spoon the hot water over the print head nozzles, swaying the box back and forth a little. If everything goes smoothly, the ink in the nozzles should come off and run into the box. It is best to pour the ink water out of the plastic box regularly. Repeat this cleaning until the ink water is as clear as possible. This may take a while for stubborn dirt.
Once the surface dirt is removed, you should soak the printhead. To do this, it must stand in water for a few hours. Make sure that the water is at most high enough to cover the openings of the nozzles. When the print head has soaked, pour off the water again. If there is still a lot of ink in the plastic box, repeat the process. Finally, dab the nozzles with the microfiber cloth and let the printhead dry thoroughly. Cleaning a print head cartridge is easier. If it has dried, place it in a shallow container of distilled water with the nozzles facing down. If the water turns color, you have most likely been successful. Now you can dab the damp spots with a cloth and then reinsert the print head cartridge.
Be sure to pay attention to the contacts
Once the printhead is dry, you can put it back into the printer. This is very important because a liquid printhead can cause serious damage throughout the printer. Once the print head is back in the printer, you can then insert the printer cartridges. Now, the first thing you should do is check if the cleaning has done any good. To do this, print a test page. If this is still unsatisfactory, you should run another intensive cleaning program using the printer software. If there are still problems after this, the print head may be defective.
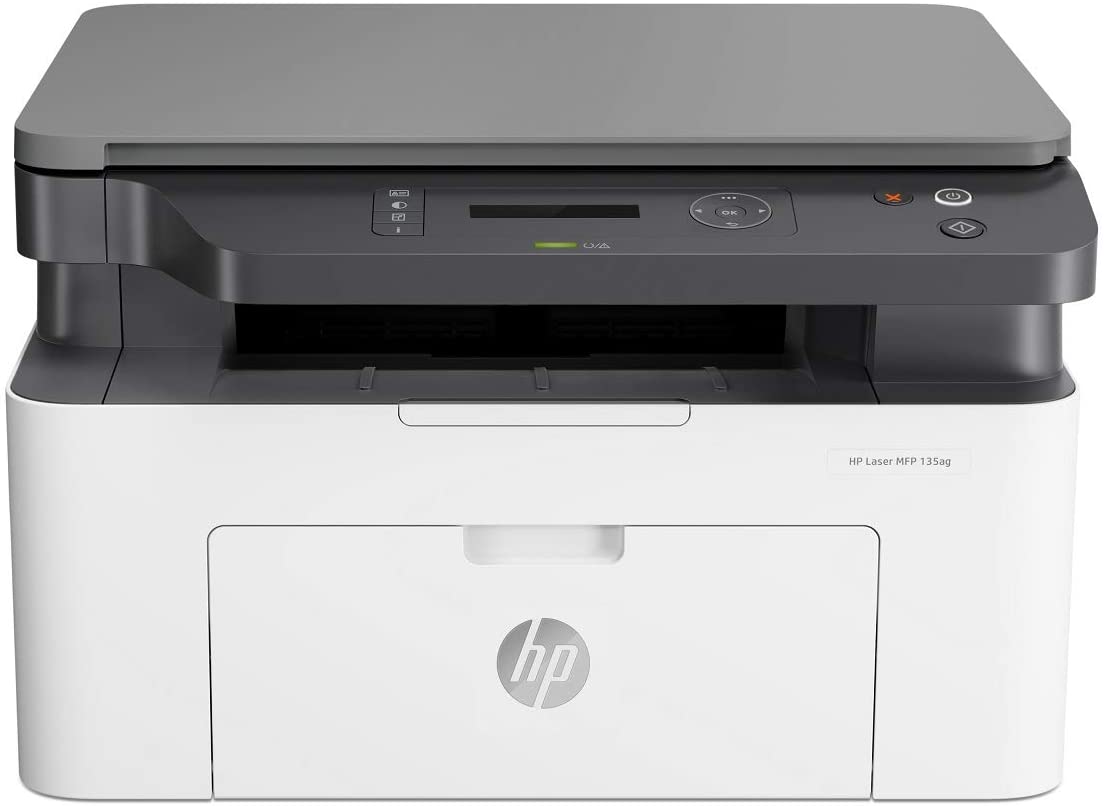
Cleaning a laser printer
Laser printers do not rely on ink. Accordingly, they offer the distinct advantage that you don’t have to fear dried up nozzles here. Quite the contrary. A laser printer can remain unused for months and still print afterwards as on the first day. But even toner-based devices are not immune to streaks on the printed image. In this case, it is soiling from paper residue, house dust and other airborne particles that can damage the device. But a laser printer can also be cleaned.
Before you get started with cleaning, you should also make sure that careful work is the key to success here. In addition to careless work, simple household cleaners as well as sharp-edged tools are also poison for the laser printer. Here you can refer to the comments on the inkjet printer (see above). Otherwise, there is a risk of damaging important components of the printer. Since laser printers are not cheap, such damage would be more than annoying. So let’s be direct: for stubborn dirt, you should have an expert come if you don’t trust yourself to clean it.
-
- Start with the external cleaning. A dusting cloth frees the case from appropriate debris
- Now remove the paper and toner cartridges (how this works, you can read in the manual)
- Then you can reach the inside of the case
- Now is a cleaning of the two cartridges (use a dry microfiber cloth here)
- With the help of a dusting cloth you can clean inside the case
- For particularly coarse dirt, you can also use a small vacuum cleaner on the lowest setting
- You can reach small corners with a cotton swab or brush
- If you find paper scraps inside, they can be delicately removed with tweezers
- Let everything dry before you put it back
No replies yet
Neue Antworten laden...
Administrator
Beteilige dich an der Diskussion in der Basic Tutorials Community →