The Achilles’ heel of any inkjet printer is its namesake ink cartridge. Unlike laser printers, ink-based devices tend to dry out. This can happen even with devices that are just a few weeks old. How this happens and what you can do about it, we show you in the following tutorial.
Too long standstill leads to drying
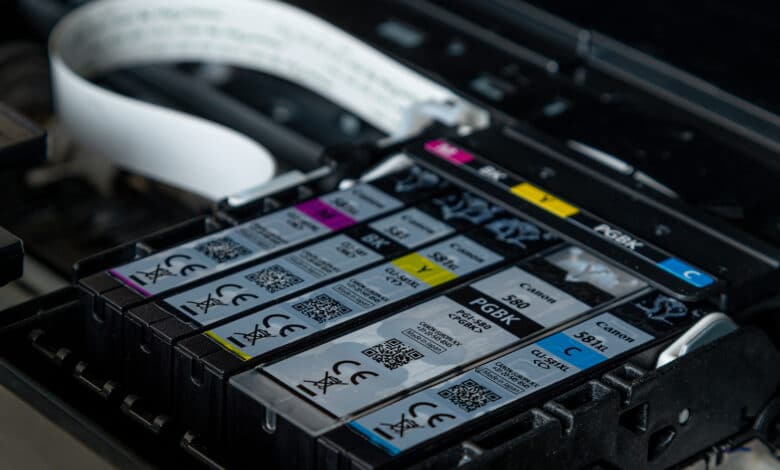
As we have already clarified in the introduction, poor printing results do not necessarily have to be the fault of the age of the device. Your printer’s ink cartridge can dry up quickly even on a brand new device. In fact, by far the most common trigger is long periods of time when the printer has been idle. Imagine you were on vacation for a few weeks, or had to go without printing anything for school, college, or your job for an extended period of time due to illness. If the printer has not printed anything for a long time, this often results in dried up print heads. This becomes visible in ugly print results with patchy or even completely white residues. You don’t have to ask yourself if the print head dries up. The only question is when. The timing can differ from printer to printer. But the results of dried up printers are always one thing: very annoying.
The problem can be fixed
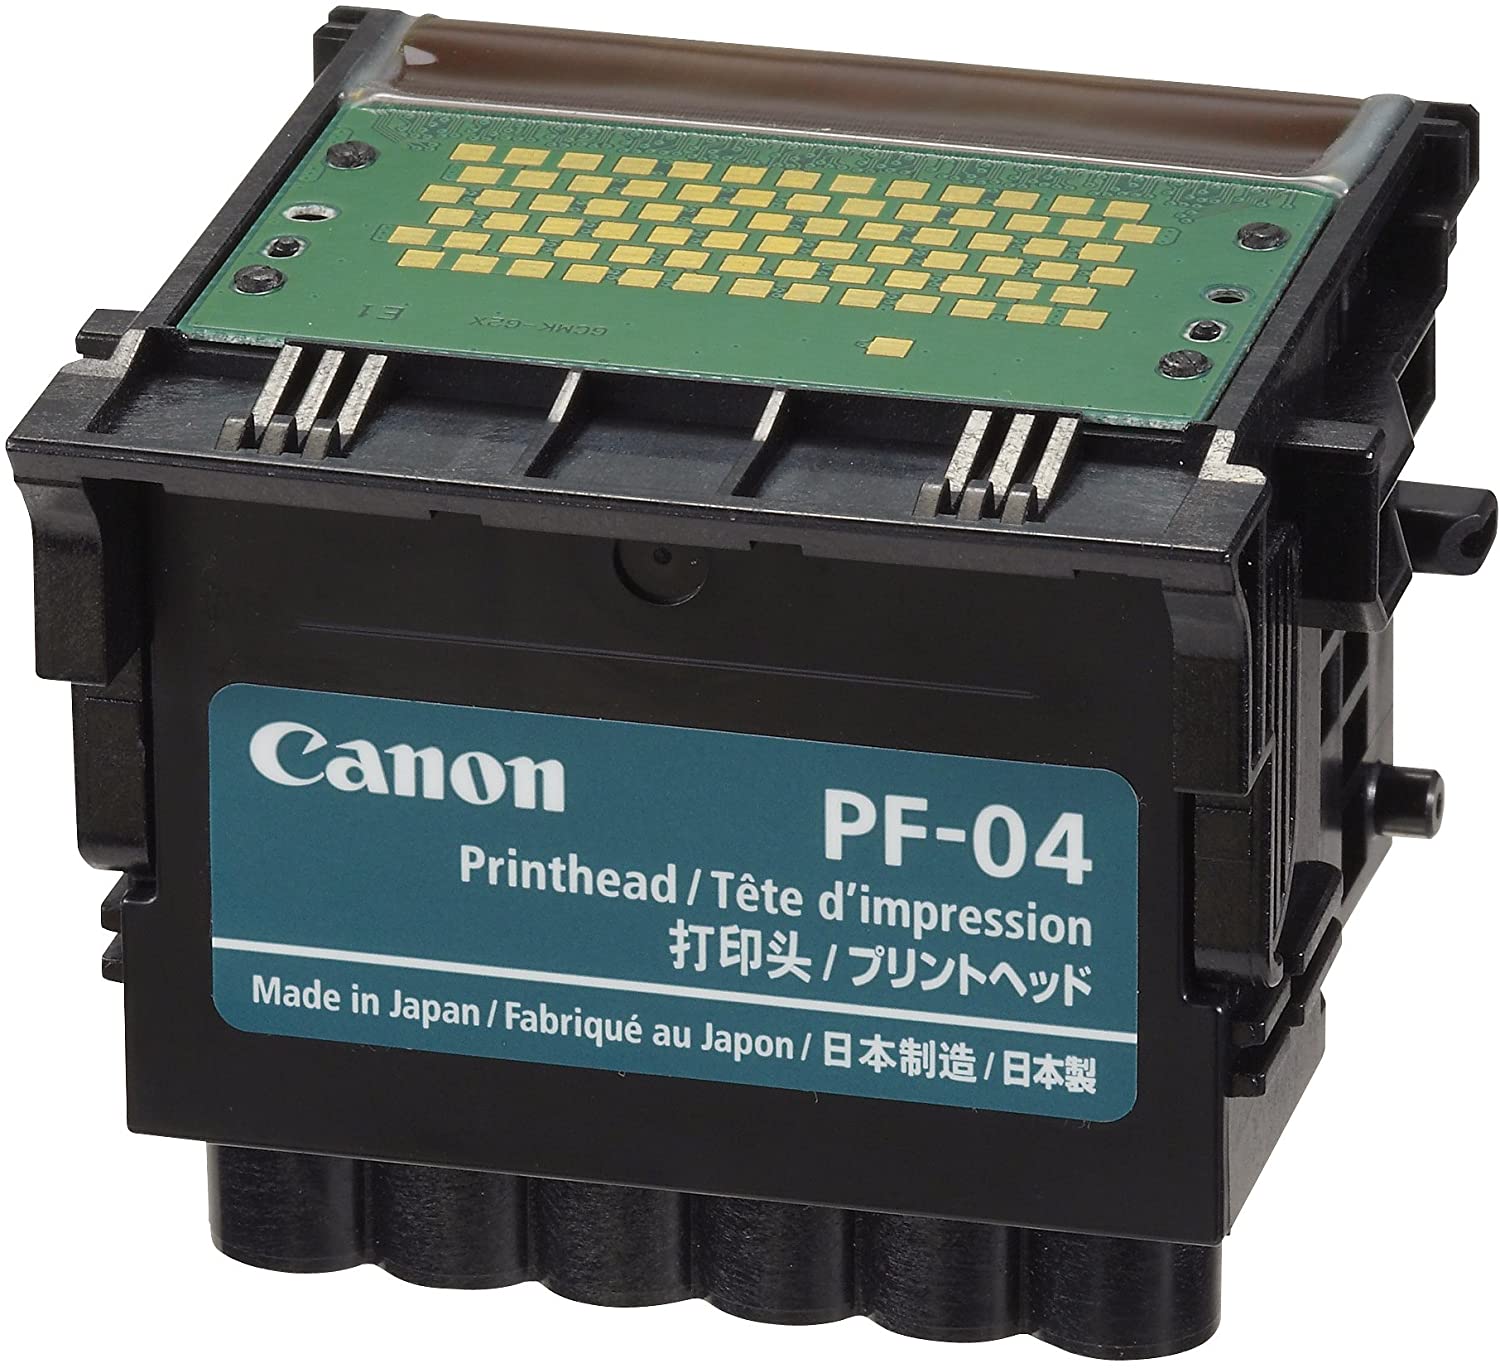
Anyone who owns an ink-based printer will sooner or later be confronted with the problem that the printer delivers only unsatisfactory printing results. This almost always happens when you have not used the printer for weeks. If your inkjet printer has dried up, this doesn’t mean you have to throw it in the trash. Quite the opposite. As a rule, only the print head is to blame here. So if you solve the problem of the print head, you also get the whole printer back in shape. But even here, a new purchase can be very expensive. Ink cartridges with integrated printheads cost a lot of money. Not to mention individual printheads that are designed to remain in the printer for its entire service life. It’s not uncommon for a new purchase of these printheads to equal the cost of an entirely new printer. Better leave your money where it is. We’ll show you how to get even dried-up printheads printing cleanly again.
Tip 1: Perform an automatic cleaning
Of course, the manufacturers of ink-based printers also know about the problem of drying up. Accordingly, they have also taken certain precautions. Meanwhile, pretty much every inkjet printer has the ability to perform automatic cleaning. For this purpose, a suitable software is always included or you have to download it from the manufacturer’s service page. If you want to clean the print head, it’s best to take a look at the software first. Here you can search for “nozzle cleaning” or “print head cleaning”. If you have a printer that does not have its own software with a corresponding maintenance option, there is also a solution. You can use the control panel of your PC to order a cleaning. To do this, simply search for your printer in the list of installed devices. Here you can select the item “Maintenance”. Now you can choose between a normal cleaning or an intensive cleaning of the device.
Automatic cleaning is controversial among many users. The reason for this is that you waste a lot of ink with this cleaning option. After all, cleaning does nothing more than force a large amount of ink through the print head’s nozzles. This is supposed to loosen the dried residue. However, this cleaning is only partially effective. It is possible to remove light ink residues, but this cleaning option is usually not sufficient for stubborn contamination. If you want to investigate the cause of a poor print result, you should first start with automatic print head cleaning. If the print image improves afterwards, it may be worthwhile to perform another automatic cleaning. If the results convince you again, the cleaning was successful. If a subsequent test page does not show any improvement, you can assume that the ink residues have already dried up too much. You will then have to clean the print head manually or buy a new one.
Tip 2: Manual cleaning with a cloth
First of all, you should use a damp cloth to clean the print head manually. Please do not moisten the cloth with tap water, but use distilled water or special nozzle cleaner if possible. You should specifically work on the underside of the printhead. Carefully stroke the cloth over the area where the print head nozzles are located. Once you have cleaned the printhead, you can reinstall it. This is the easiest way of manual cleaning. Once you have done this, you should print a test page. If there are still errors on the printout, you need to do a more intensive cleaning. Special cleaning alcohol can help here. Take a kitchen towel and soak it in the liquid. Now place the damp cloth on a plate or a pot lid. Place the print head on the towel so that the nozzles are in direct contact with the liquid. Leave the print head to stand overnight. The next morning, remove it from the towel and let it dry thoroughly. Now put it back into the printer. If the test page is still faulty, there are other options.
Tip 3: A warm water bath
If even the special cleaning alcohol has not helped, a warm water bath can be worthwhile. There are two different options here. With the somewhat gentler method, the print head or print head cartridge does not come into direct contact with the water. In this case, you first pack the print head or print head cartridge in a special zipper bag. Alternatively, a plastic bag can suffice. It is important that no liquid comes into contact with the sensitive part. Once the printhead is packed, run water into your sink. This should be about 60 degrees warm. Now place the sealed bag in the water bath. Leave it there for about five minutes. The condensed water inside the bag should moisten the nozzles. Once the time has passed, you can remove the bag from the water. Let the print head dry and then reinsert it into the printer. Now print a test page again.
If this was not successful, you can use another option of the water bath. Here you fill the 60 degree warm water into a shallow bowl or a pot lid. Place the cartridge in the bowl so that the nozzles are directly in the water bath. If everything goes according to plan, the water should color after a few seconds. After about a minute, you can remove the print head from the water. Dry it with a microfiber cloth and put it back into the printer. Again, print a test page. If cleaning again did not help, you will have to bring out the heavy artillery.
Cleaning tips for professionals
If you haven’t had any success with the previous cleaning tips, it seems that your printer’s ink has really dried up badly. However, you have still not exhausted your cleaning options. However, the following tips are only suitable for professionals. If you are not technically savvy, you should look for alternatives. It’s best to ask your manufacturer’s service department or decide to buy a new print head. One option relies on the use of a special UItrasound bath. This device is so effective that even very dried up printheads and printhead cartridges can be freed from ink residues. A corresponding device can already buy for under 50 euros in specialized trade.

Anyone who owns an expensive inkjet printer, in which the print head is attached separately from the ink cartridges, may well consider making the appropriate investment. After all, this makes it quite convenient to perform regular cleaning. For the absolute professionals who do not want to spend so much money, a so-called tin suction pump is suitable. This can be used to free the clogged nozzles from the dryness again. If even these professional tips do not help, then you will have to dispose of the print head or print head cartridge willy-nilly.
Next time you should take precautions
But you don’t have to let it get that far. After all, there are ways to prevent the print head from drying out. Here, you should follow some tips in dealing with your printer.
Print head in rest position
To avoid drying, it may be worthwhile to keep the printer in its idle position at all times. Therefore, if possible, you should turn off the device by pressing a button. Simply disconnecting it from the power supply, on the other hand, is not advisable. In this case, the print head remains in a random position. The idle position is so important because it aligns the print head or print head cartridges so that they cannot dry out so easily.
Print test pages regularly
A printer is now part of almost every household. But many of the devices are rarely used. As a result, they also dry out quickly. To prevent this, you should simply print a test page every three weeks. Since the nozzles of the print head are flushed with ink, drying is prevented.
Removing the print head
If you are away from home for a long time, you will of course not have the opportunity to regularly print a test page. Then you should remove the print head or print head cartridge from the printer. Then simply place the print head in a plastic bag or wrap it in plastic wrap. You can store it in a cool place. Alternatively, you can carefully mask the nozzles with a strip of tape. When you are back home, you can reinstall the printhead.


No replies yet
Neue Antworten laden...
Administrator
Beteilige dich an der Diskussion in der Basic Tutorials Community →