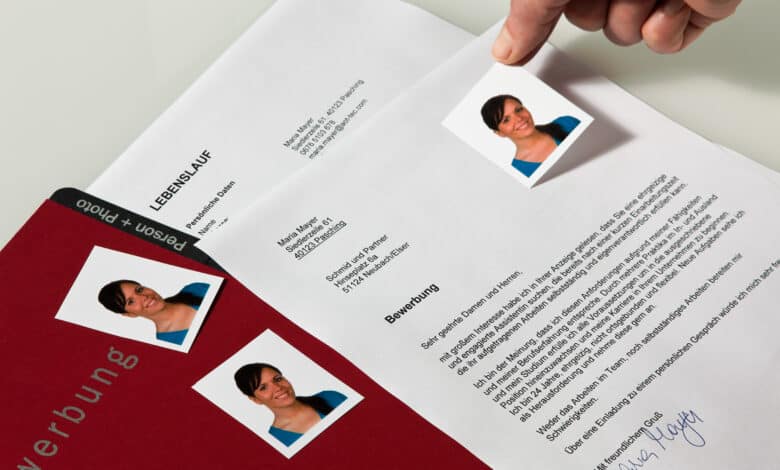
Job application photos are required less and less in today’s world. To prevent applicants from being discriminated against on the basis of their appearance, many companies are now happy to do without them. Some even stipulate that applications must be sent without a photo. However, the application photo is not completely obsolete. Small and medium-sized companies in particular sometimes still insist on seeing a photo of the applicant. If you want to save time and money, you can take your application photo yourself. What you have to pay attention to, we tell you in this article!
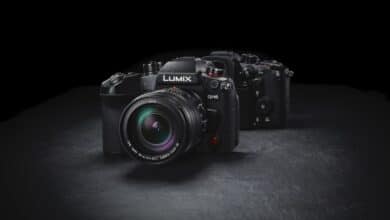
The choice of camera
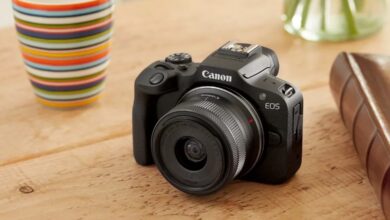
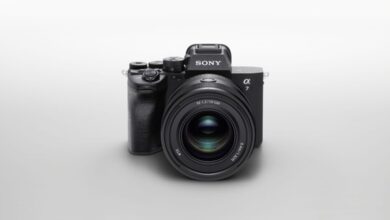
The choice of camera is crucial if you want to take your application photo yourself. A job application photo should look professional – and that means it should be high-resolution, clearly visible, and not pixelated or blurry. The photo must have a pixel density of 300 dpi. You can achieve this with any standard camera that has more than 2 megapixels.
If you take your application photo with a smartphone: Many current smartphones offer a portrait mode. This highlights a so-called bokeh effect, which focuses on the person in the picture and blurs the background. This is precisely the effect that is desirable for job application photos.
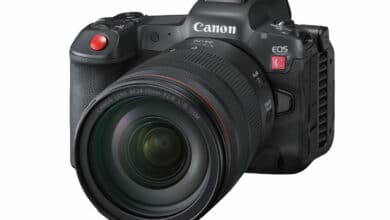
You can also display a bokeh effect naturally with a real camera – and even better than a smartphone can calculate. Both the focal length of the lens and the aperture value are important here. The ideal focal length is as high as possible, i.e. between 85 and 135 mm. However, the higher the value, the further away the photographer has to be from the object to be photographed so that it fits in the shot. The second dial for the bokeh effect is the aperture value. The lower this is, the more the bokeh effect comes out. Furthermore, the ISO value should be as low as possible when taking the picture so that the image does not become noisy.
The background should be as quiet and unobtrusive as possible. Ideally, you photograph yourself with about a meter distance in front of a monochrome wall.
The other equipment
In addition to a camera, you should use a tripod. Selfies are always recognizable as such – and are considered highly unprofessional. Therefore, you should not use them in an application; after all, you want to give the impression that you are not only professionally qualified, but also serious. With a tripod and the use of a self-timer or remote shutter release, this is no problem. Keep in mind, however, that job application photos are taken in portrait format. So clamp your phone or camera into the tripod in this format and make sure the lens is at the level of your eyes.

The illumination
Professionals use the so-called three-point illumination. One light source is located diagonally in front of the person, one illuminates him from below (so-called beautylight) and one light comes from the side. If you want to take your application photo yourself, you should imitate this setup as well as possible. It is especially important that you are not illuminated from the front. A frontal light will bring all unflattering aspects of your face to the foreground. You should also never use a flash directly – this way you provoke the visibility of even the smallest skin redness as well as the well-known red-eye effect.

Much more suitable is indirect lighting from several sides. Ideal is the light of daylight lamps, because this does not disturb the photo. If you do not have such equipment, you should try to use other light sources to imitate the effects described.
The illumination is crucial for the final effect of your picture. With three-point illumination, you can create a maximum three-dimensional impression and make your face look harmonious. It is highly recommended to try out different lighting options. You will quickly notice how they affect the result.
The post-processing
Once you’ve taken an acceptable photo, the job is not done yet. The post-processing of your application photo is just as relevant. Here you can get a lot more out of the picture. For example, it is possible to retouch skin blemishes or redness, to give the skin more shine or to smooth it out. Even minor exposure errors can be compensated for in post-processing. It is possible in many free programs such as Gimp, Picasa or Photoscape. There are now also numerous good applications for smartphones.
Summary: Take your own application photo
To make your application photo yourself is quite possible. However, you should consider some important points, which we have listed again in conclusion:
- At least 300 dpi or 2 megapixels
- Low aperture value and high focal length or portrait mode for smartphones
- Neutral background, about 1 m distance
- Camera at eye level
- Use tripod
- Upright format
- Lighting not frontal, but from several sides
- Post-processing
No replies yet
Neue Antworten laden...
Gehört zum Inventar
Beteilige dich an der Diskussion in der Basic Tutorials Community →