Govee is already very well known in the RGB scene for several years. Especially the addressable RGB IC strips or the Hexaglide panels attracted a lot of attention. Now they also already have one or the other Envisual product on the market, such as the Govee AI Gaming Sync Box. Recently, Govee has launched a wide range of new Envisual products that are supposed to have, among other things, up to 50% improved color matching and even less delay in color matching. The existing Envisual products were already characterized by minimal latency, so we are approaching the test here with great expectations and are eager to see what awaits us here. This review will deal with the TV variant T2 and the gaming variant G1. But now to the test!
Technical data
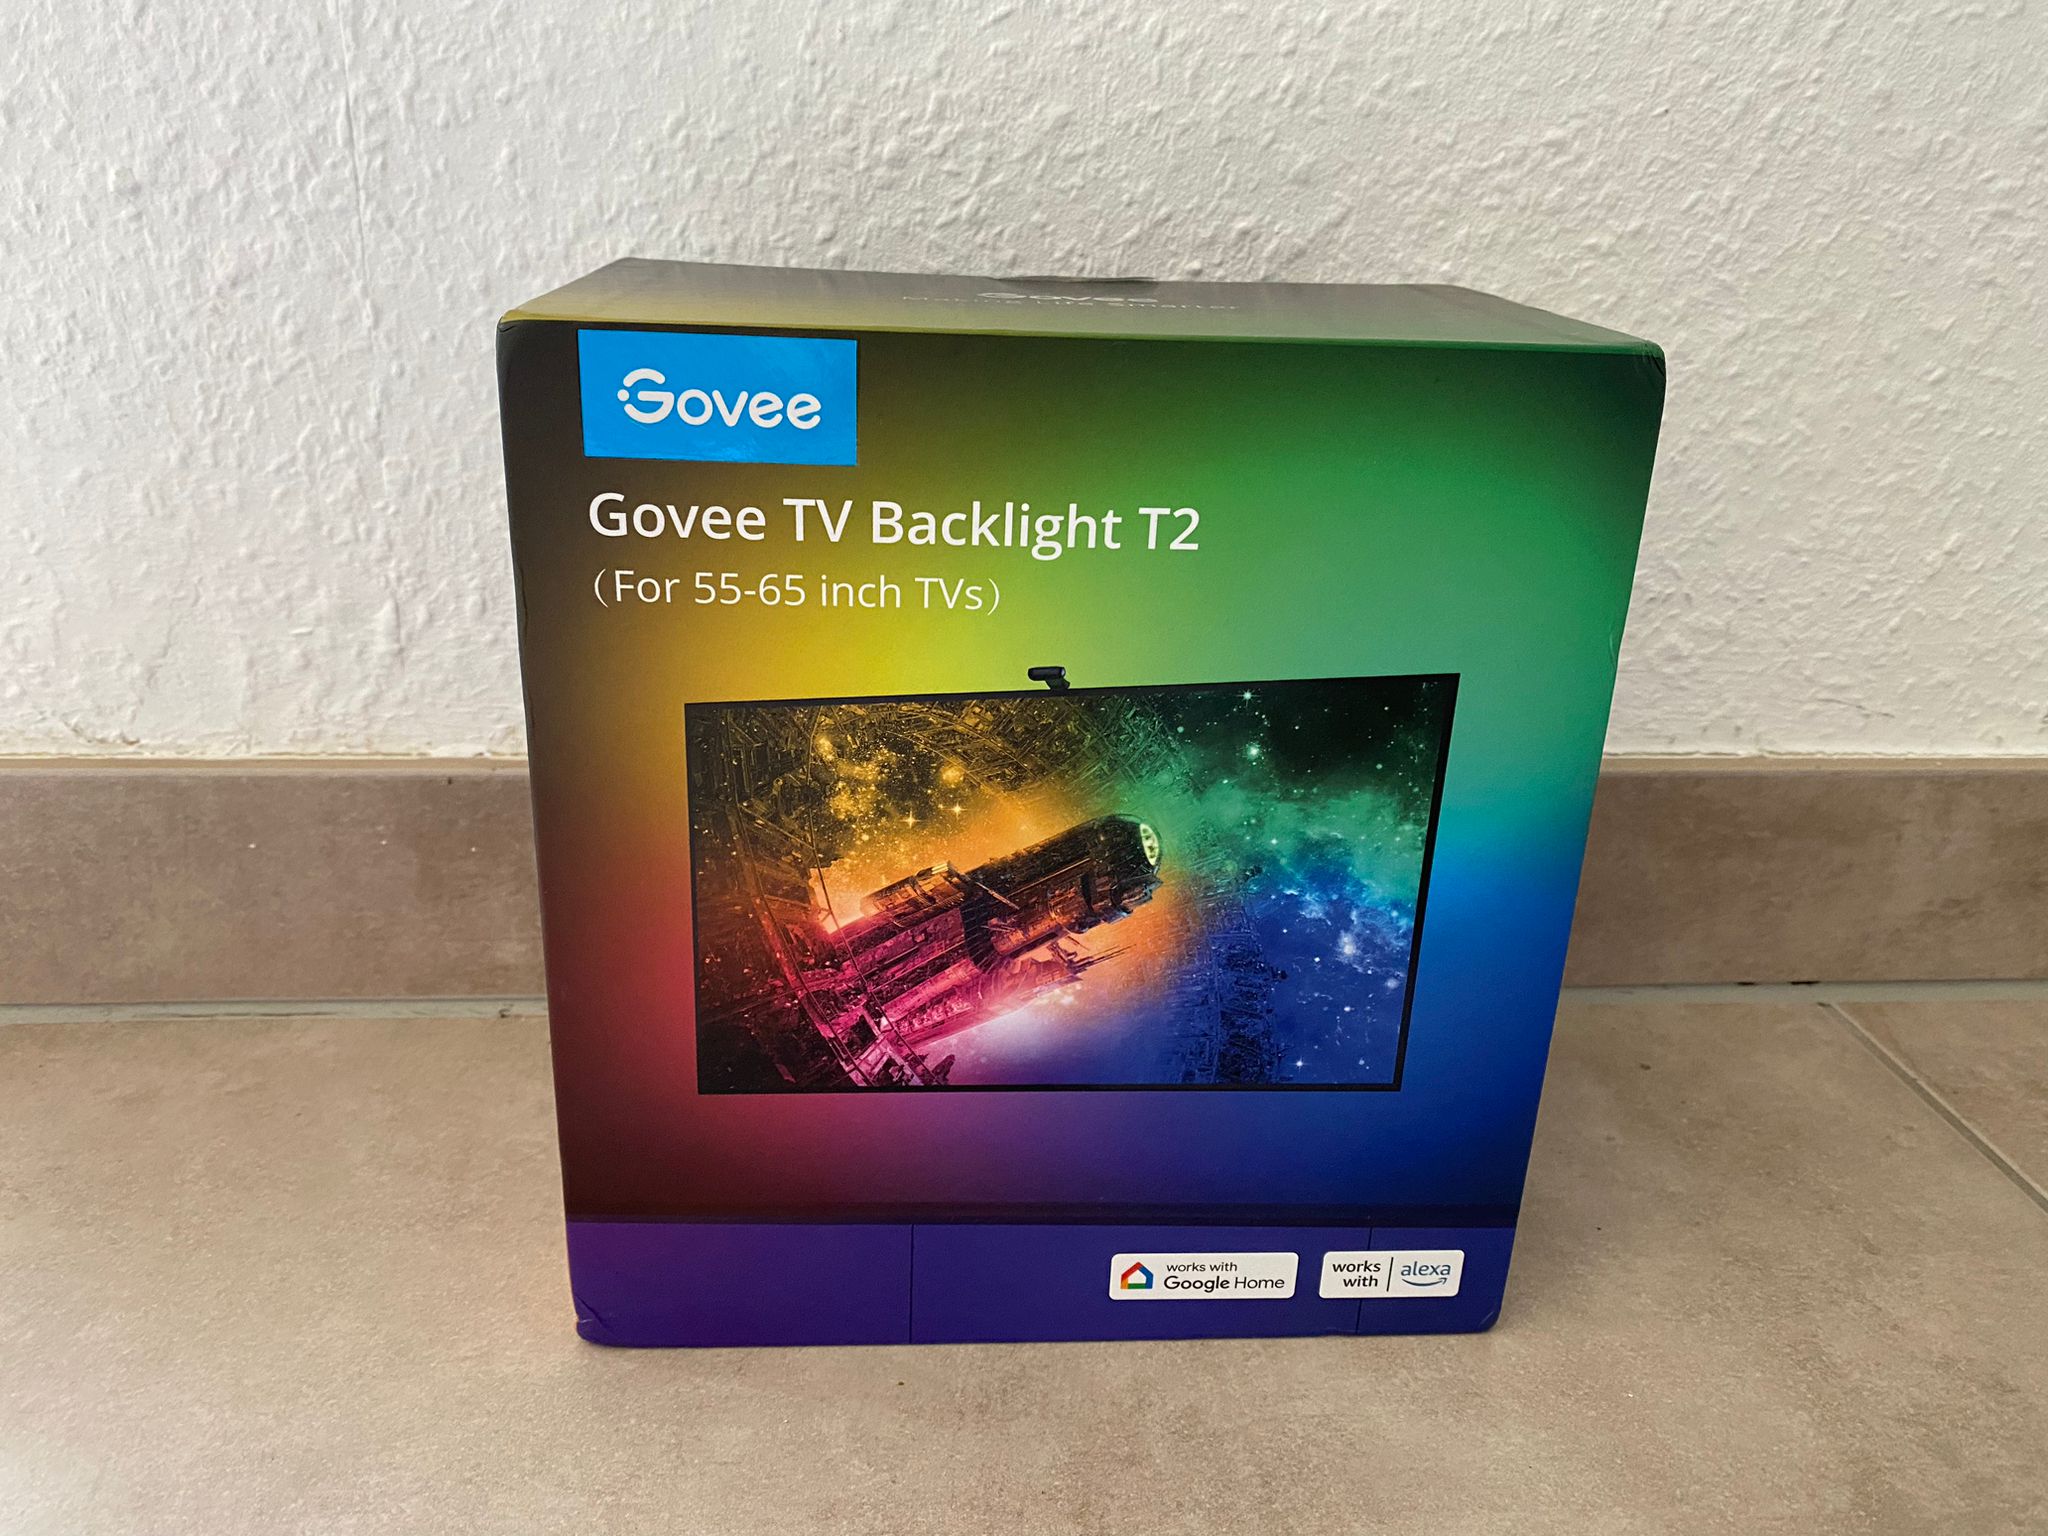
| Model | Govee TV Backlight T2 |
| TV sizes | 55″-65″ and 75″-85″ |
| Length | 3.8 M and 5 M |
| Power | 38 watts and 48 watts |
| Colors | RGBIC |
| Control | App, Control Box, Voice Control |
| App Connectivity | 2.4GHz Wi-Fi + Bluetooth |
| Voltage | 12 volts |
| Special Feautures | 60 LEDS/M, Innovative Dual Camera |
| Price | € 149.99 * |
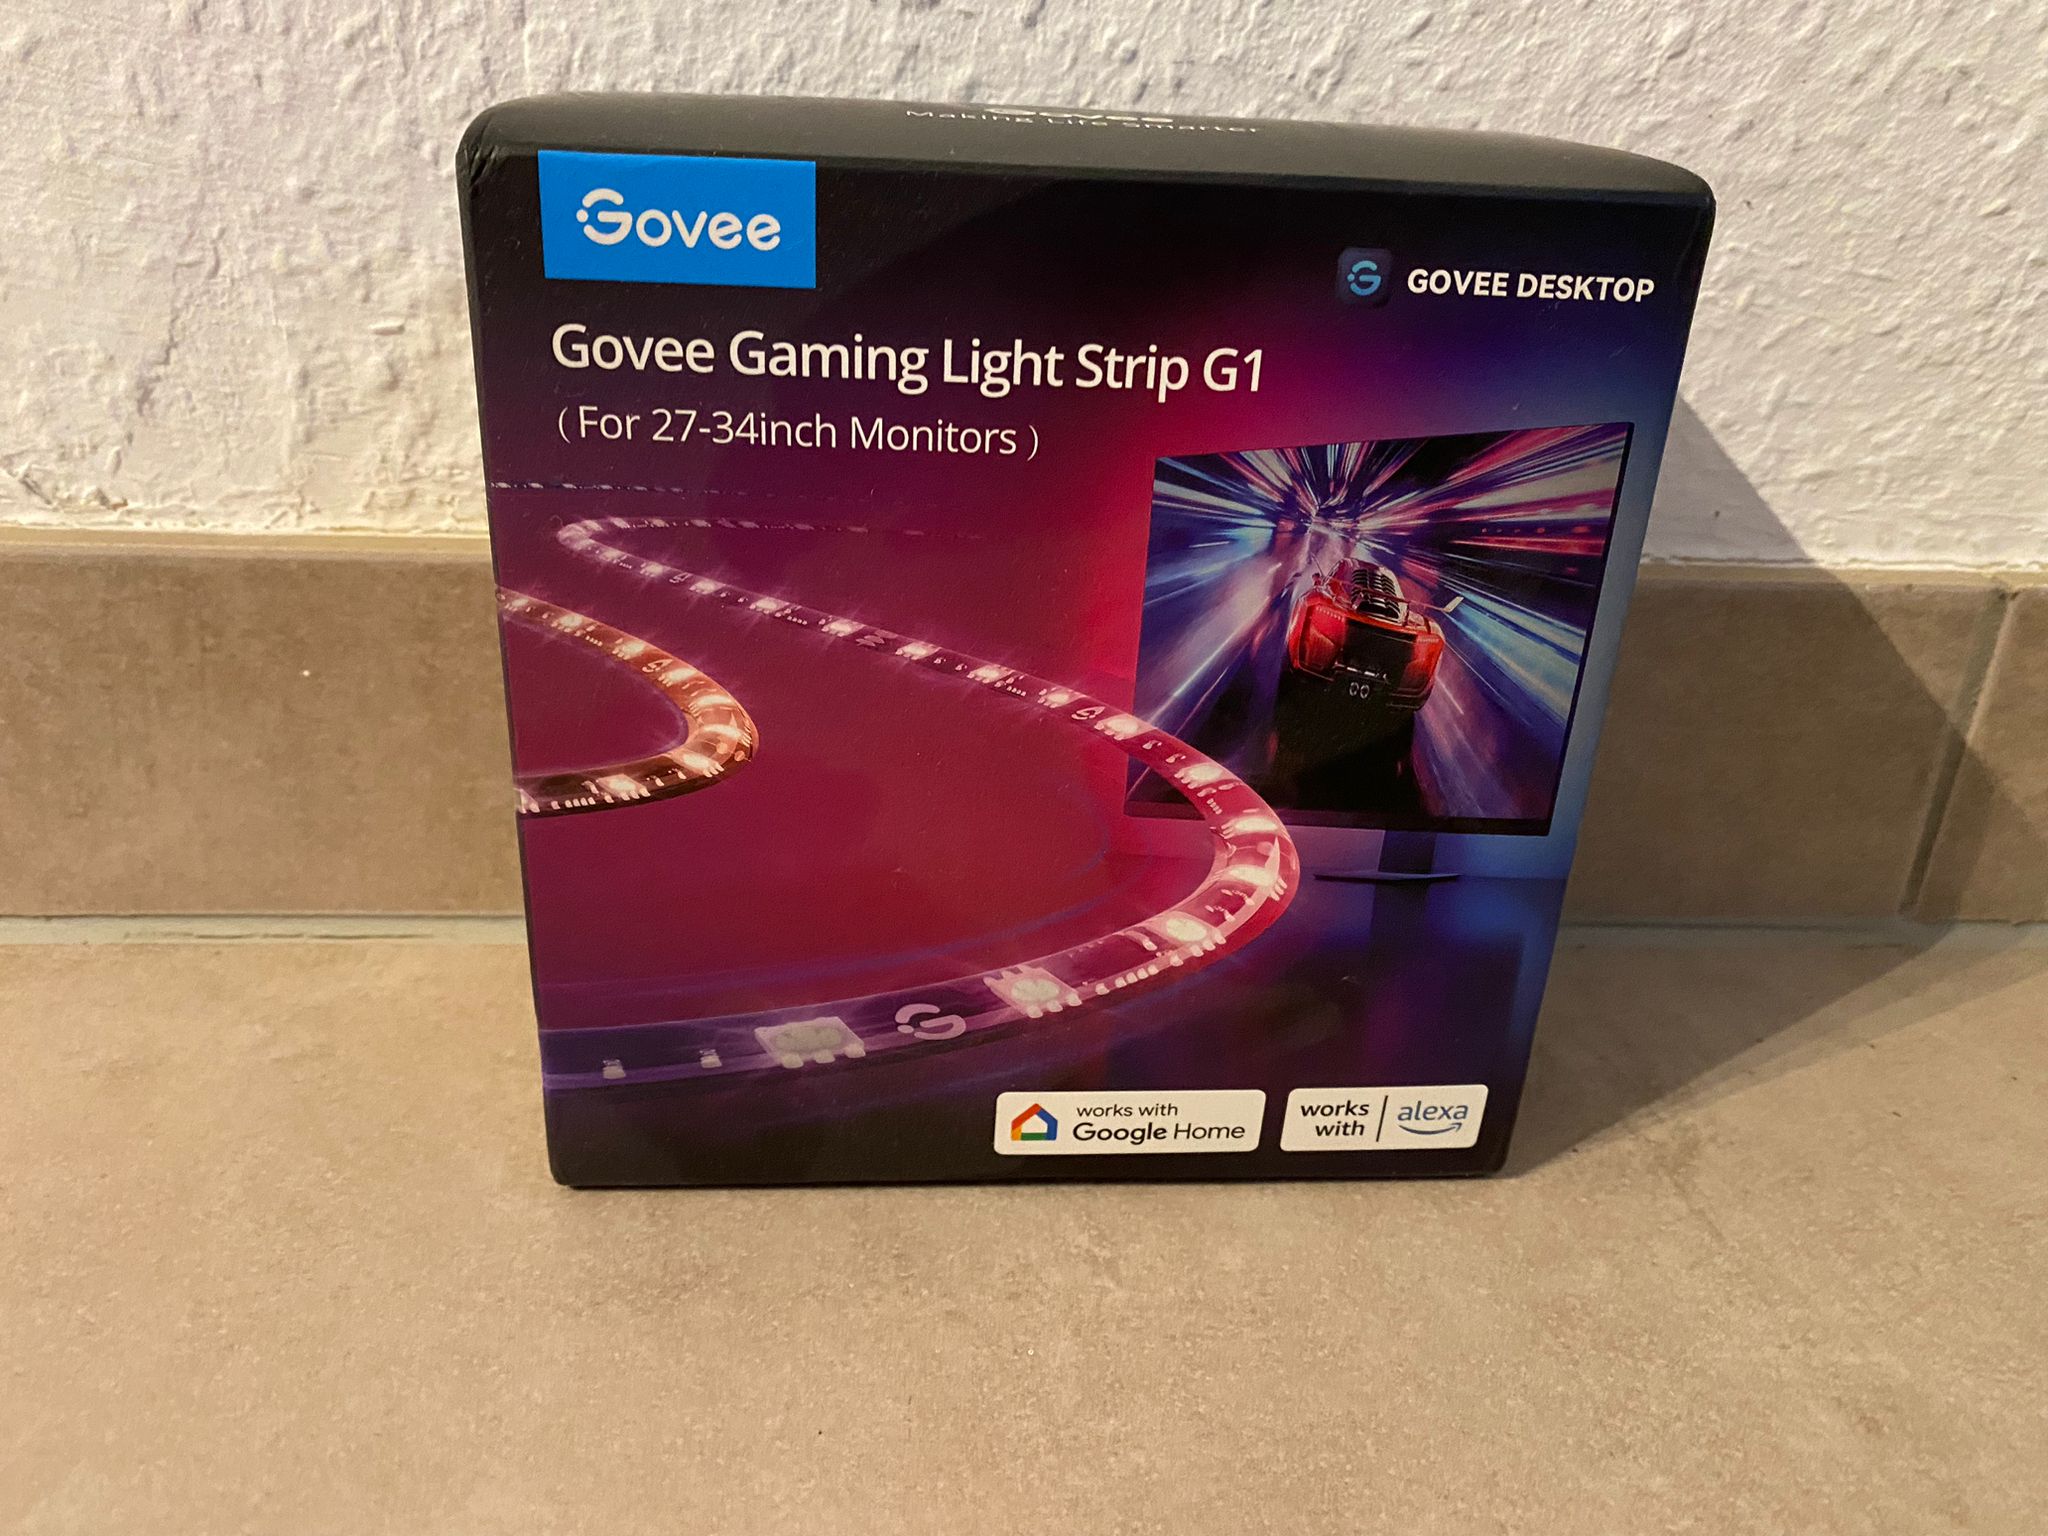
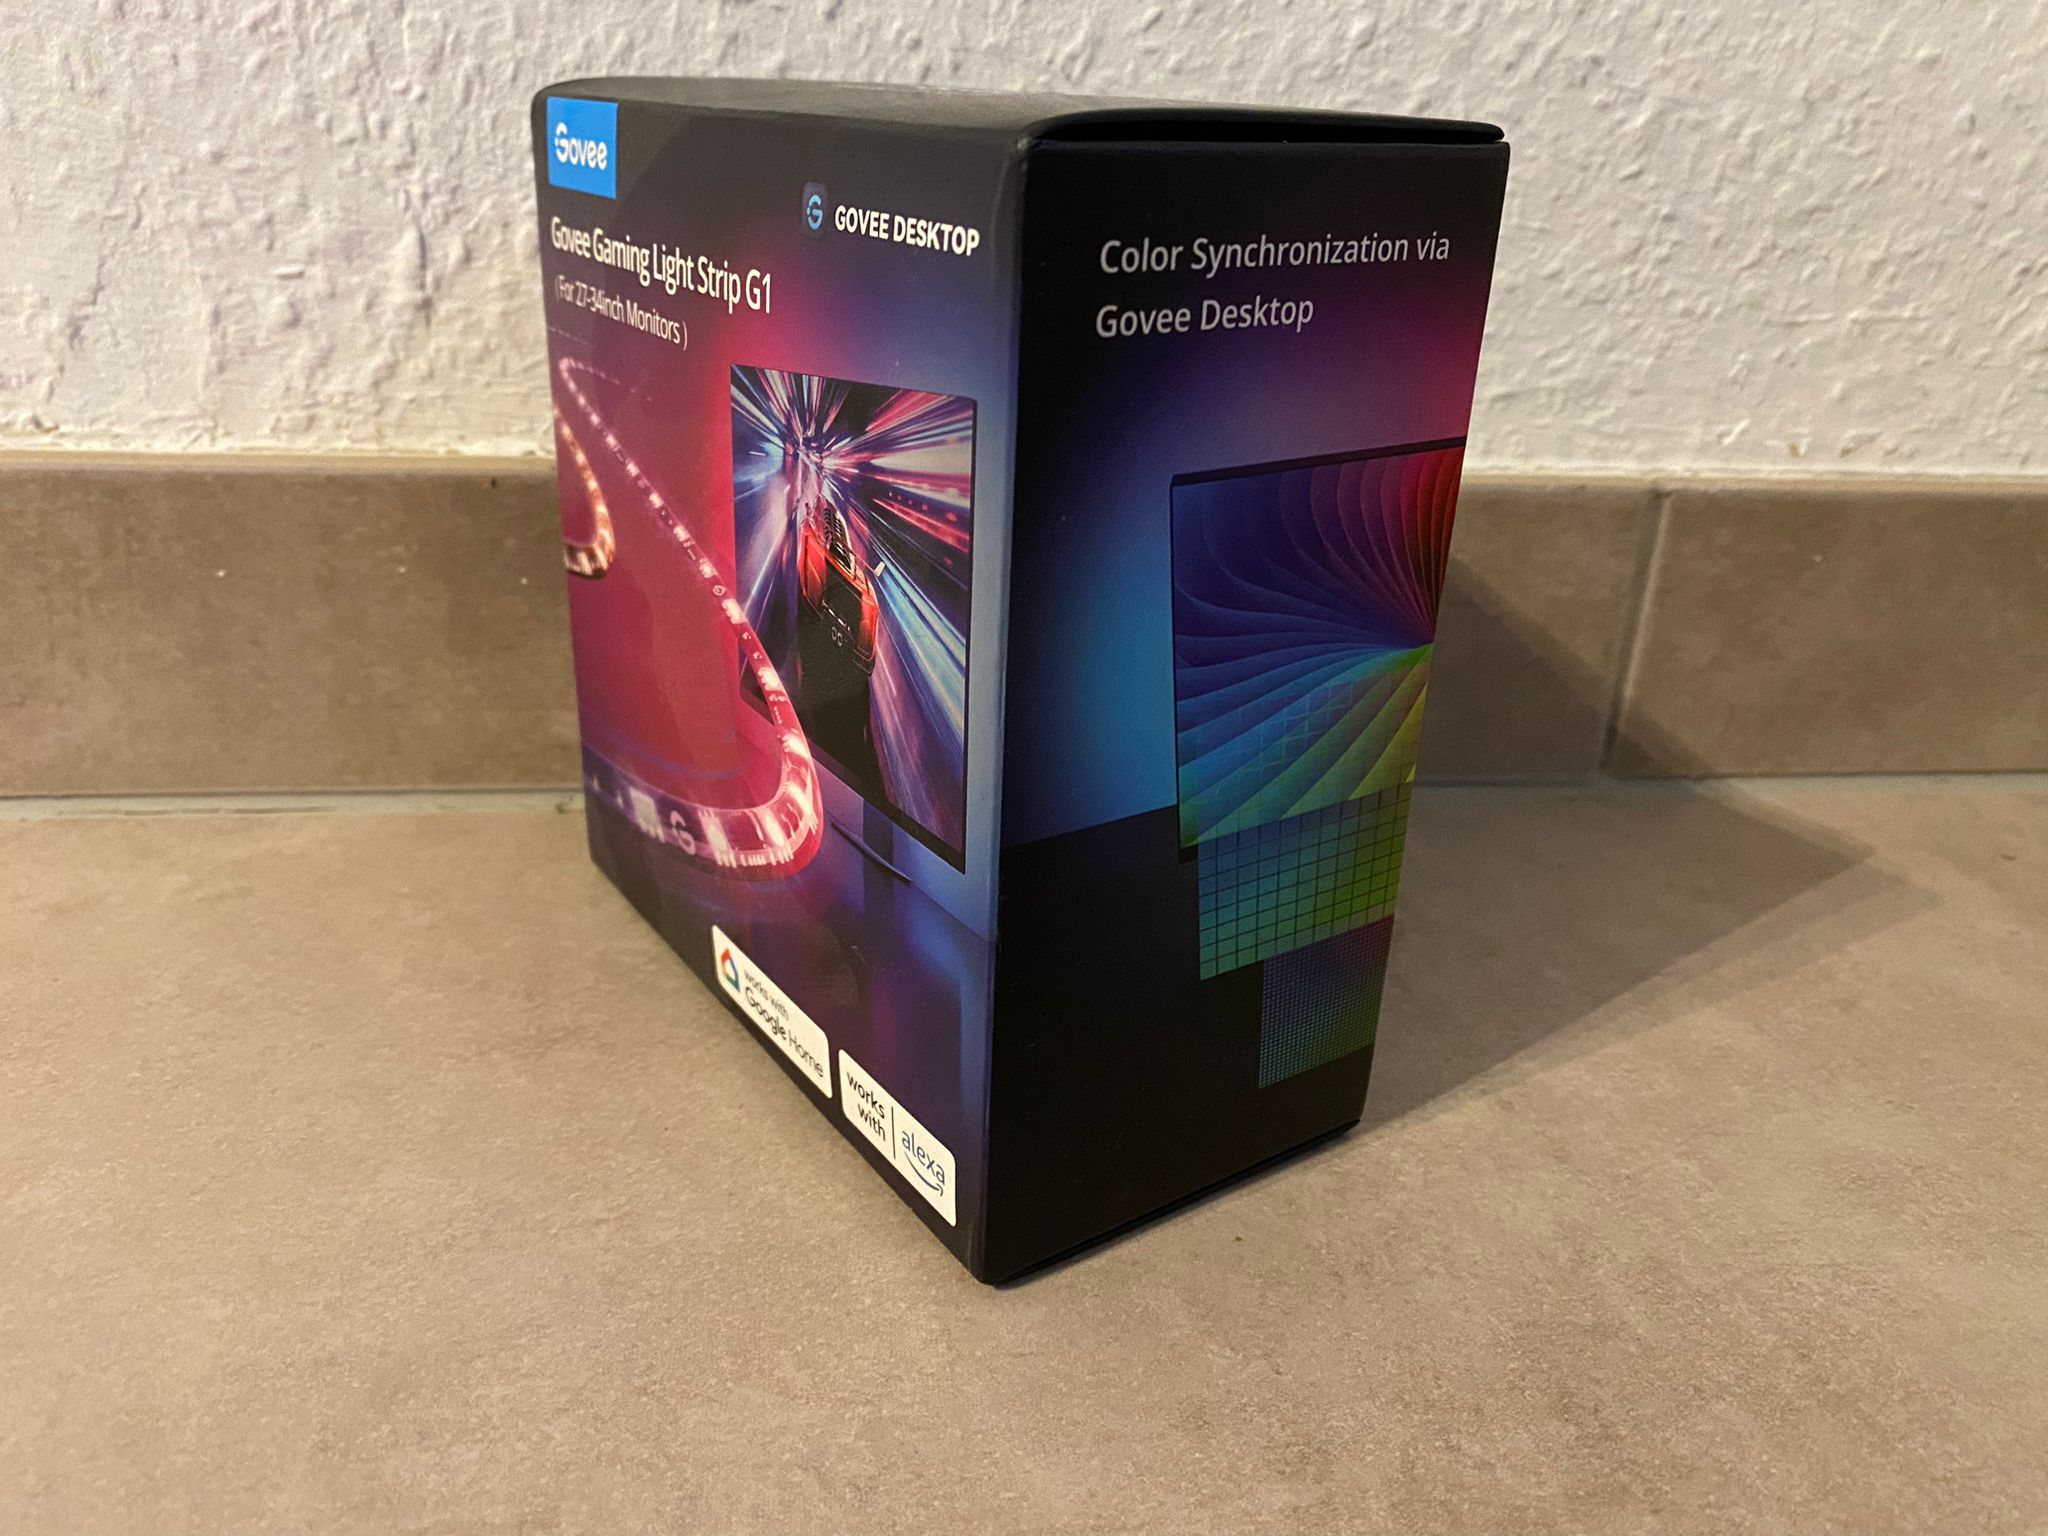
| Model | Govee Gaming Light Strip G1 |
| Screen sizes | 27″-34″ |
| Colors | RGBIC |
| Control | App, Control Box, Voice Control |
| App Connectivity | 2.4GHz Wi-Fi + Bluetooth |
| Voltage | 12 volts |
| Power | 18 watts |
| Special Features | Govee VibraMatch™ Technology, 123 Scene Modes |
| Price | € 69.99 * |
Packaging and contents of the Govee T2 and G1
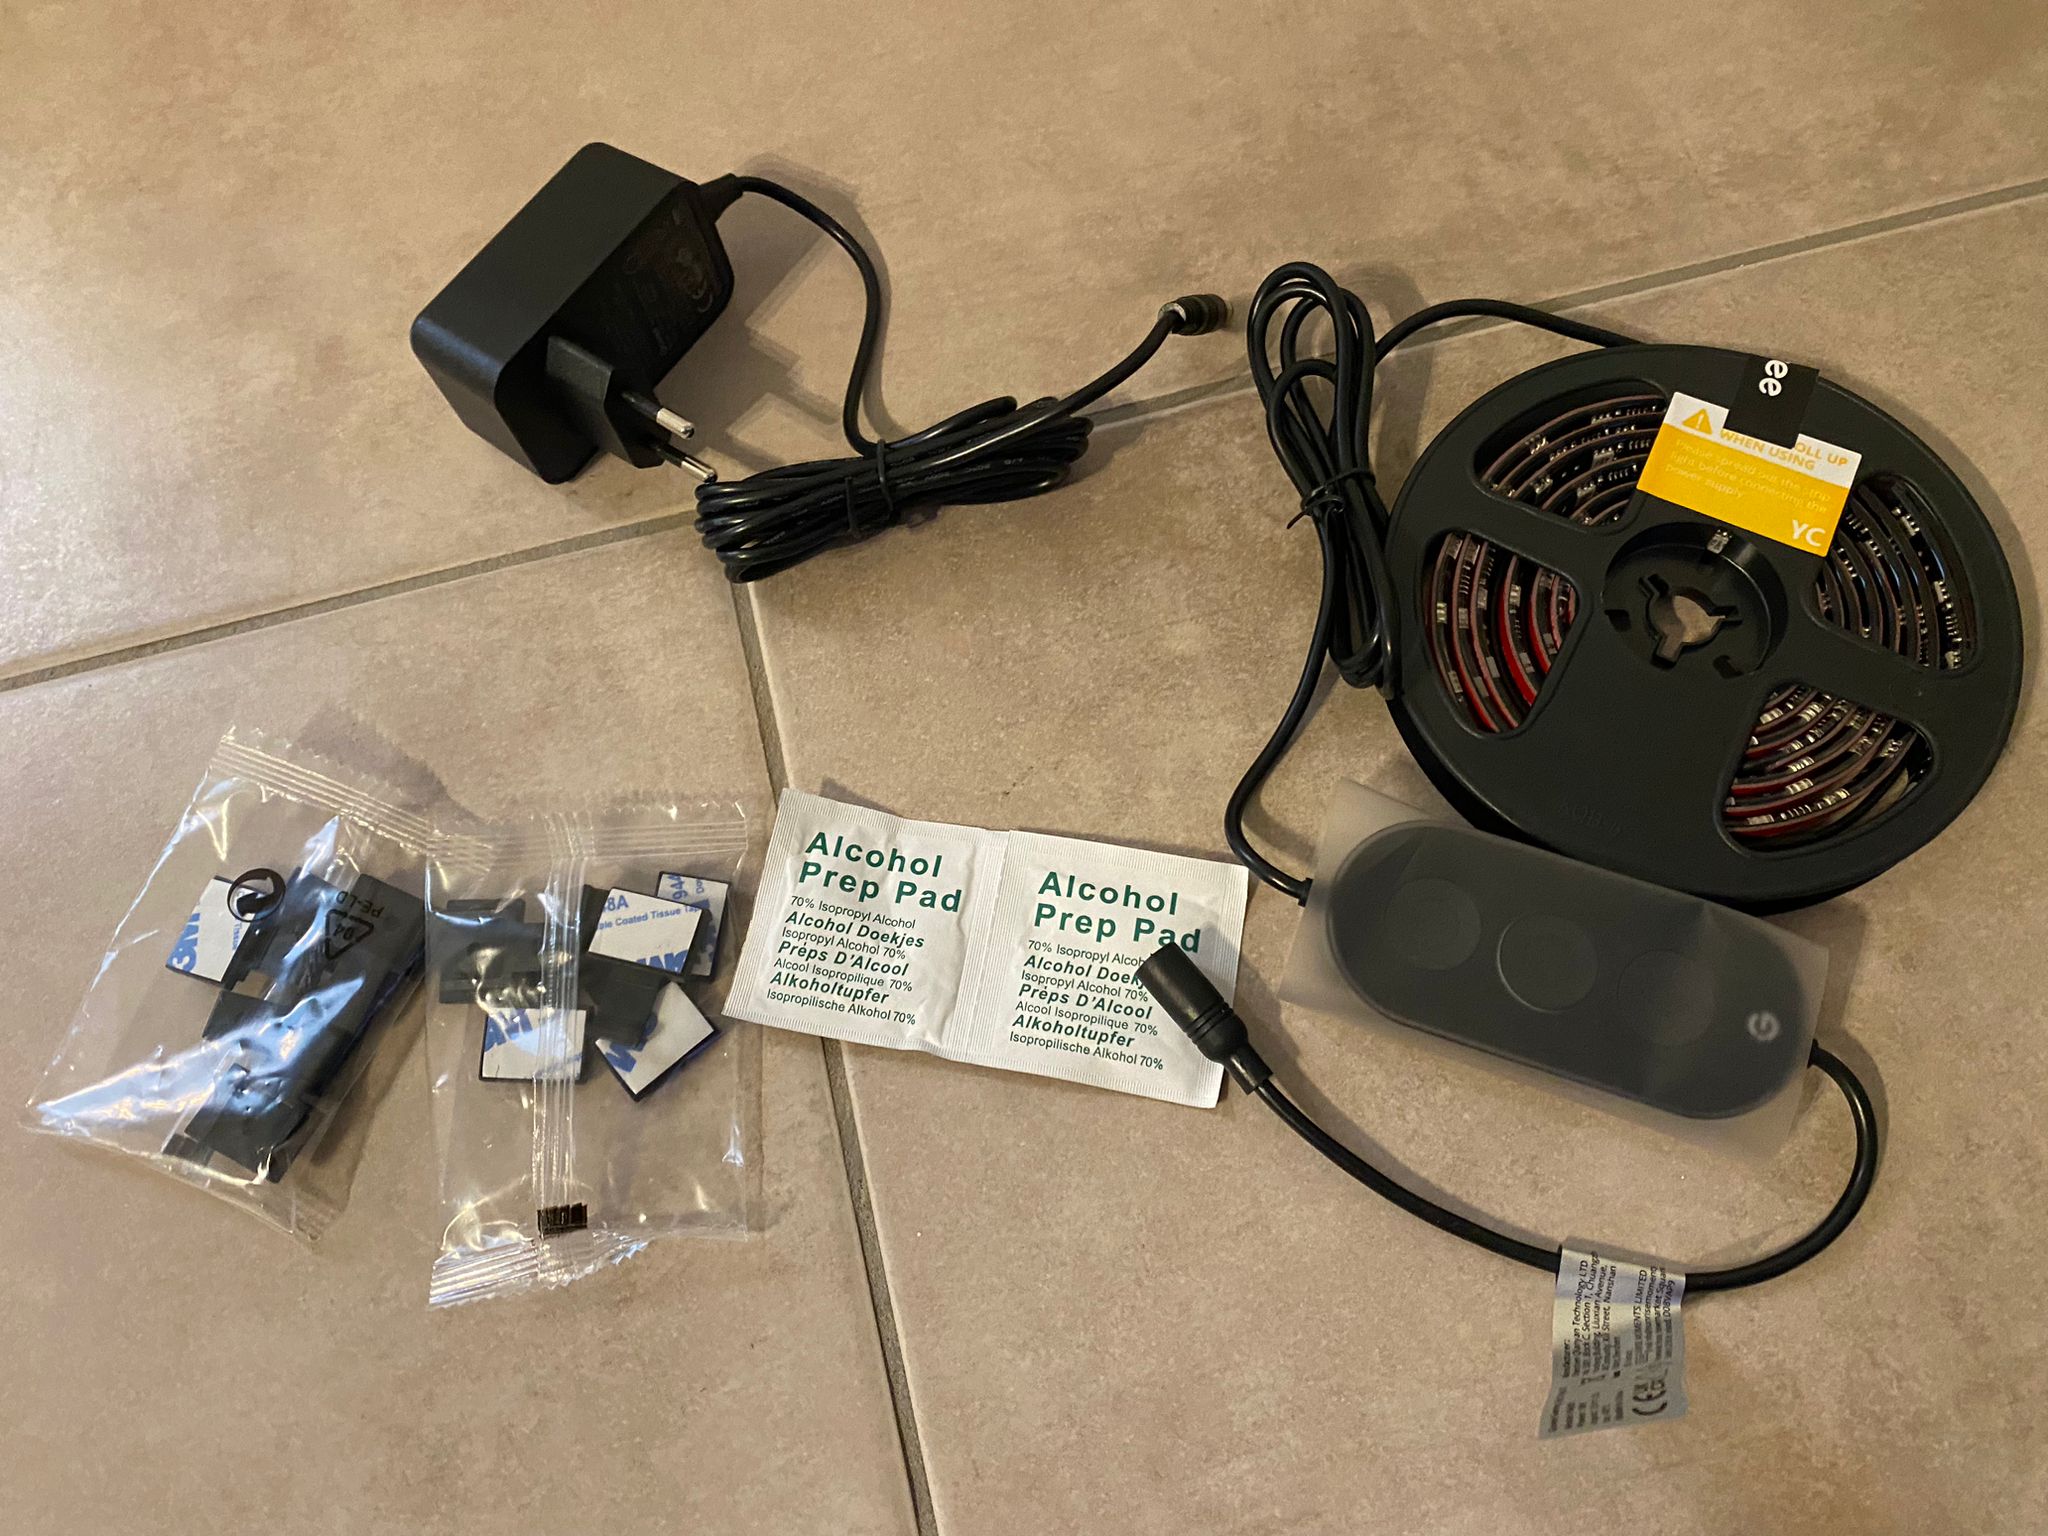
The two Envisual kits come in strikingly accentuating packaging. It’s already made sure on the outside that you’re immersed in the RGB world at first glance and get a precise impression of what’s waiting inside. The following scope of delivery is waiting in the packaging:
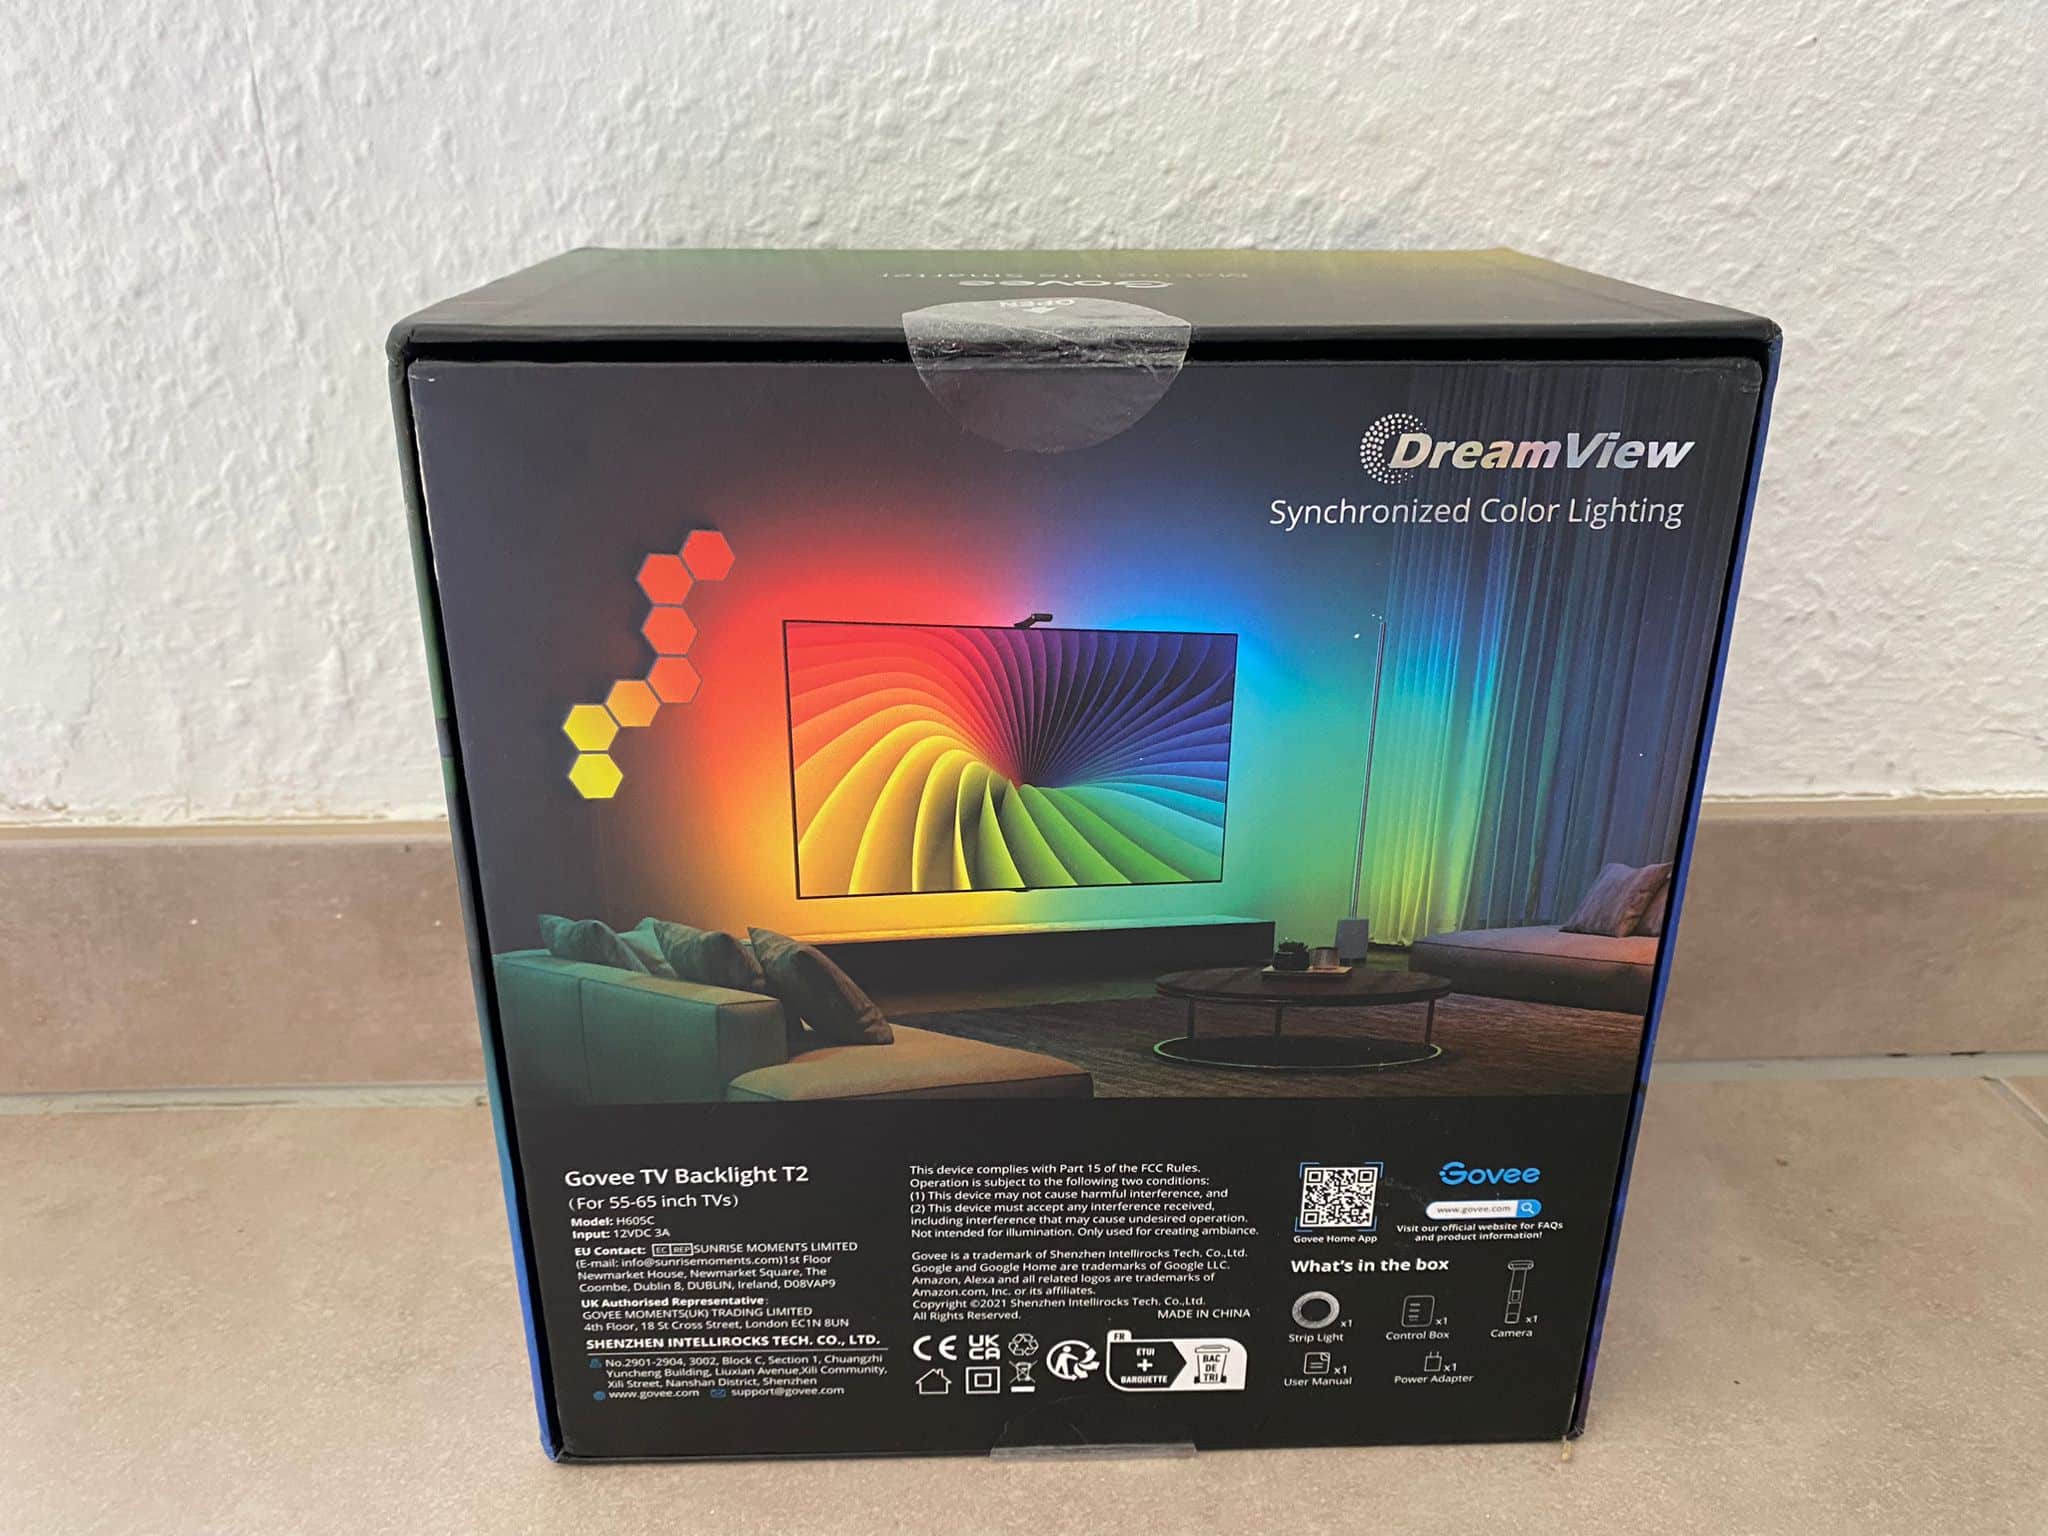
Govee TV Backlight T2:
- LED strip
- Controller
- Camera
- Manual
- Adhesive mounts
- Tools for calibrating the camera
- Cleaning cloth
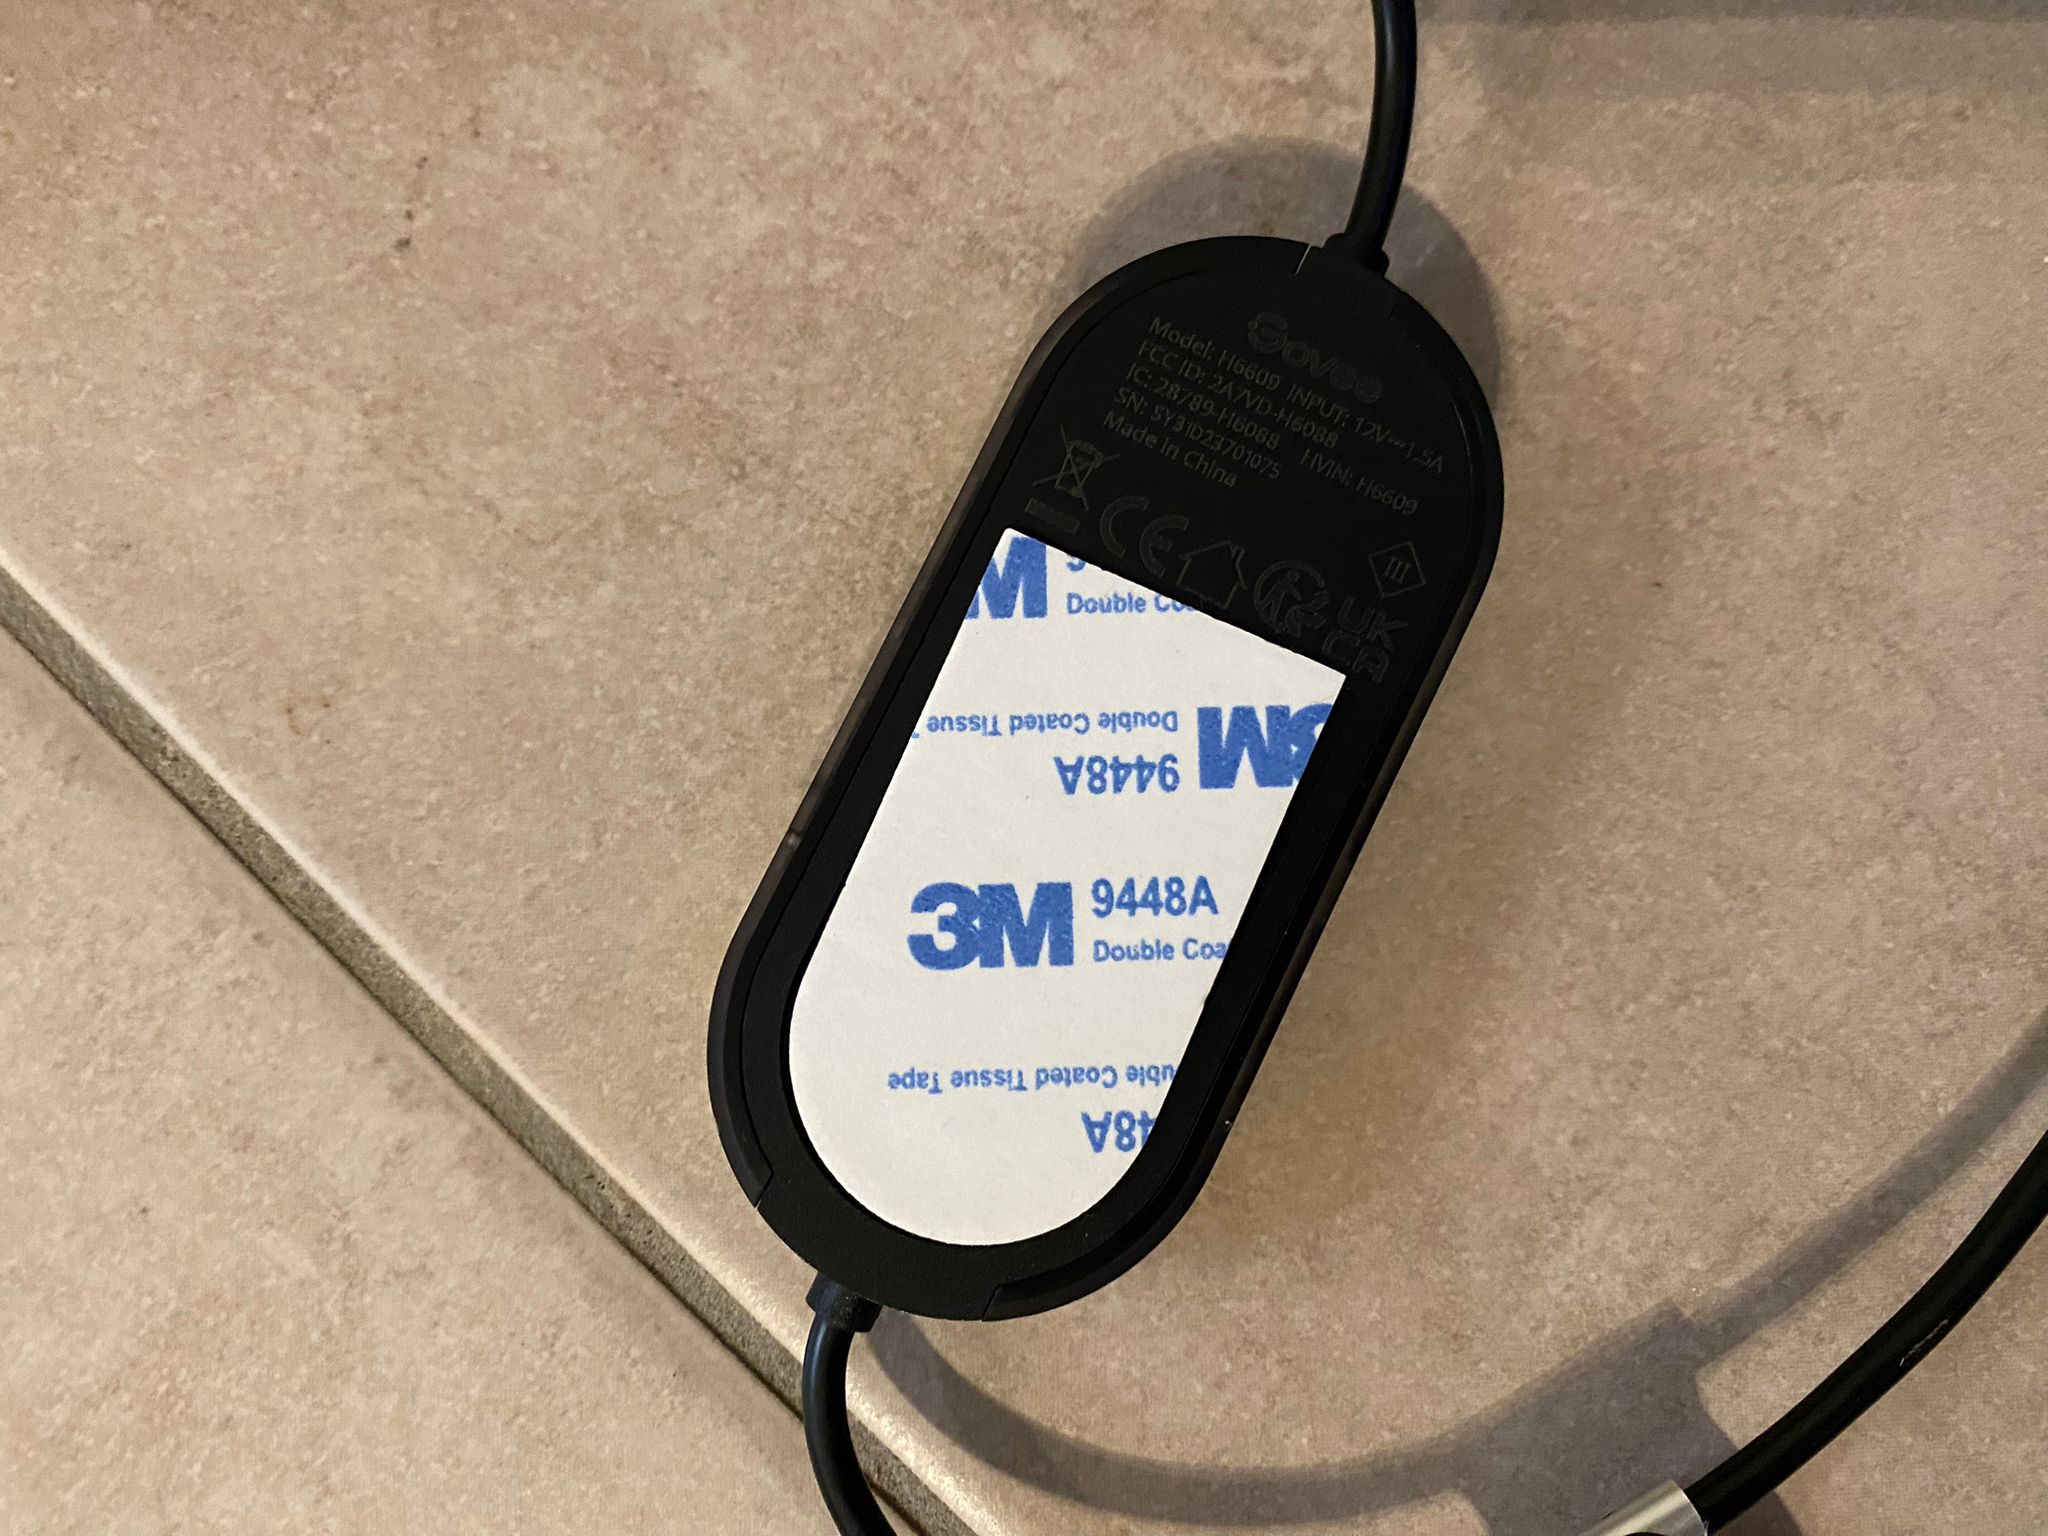
- Power adapter
Govee Gaming G1:
- LED strip
- Controller
- Manual
- Adhesive mounts
- Cleaning cloth
- Power supply
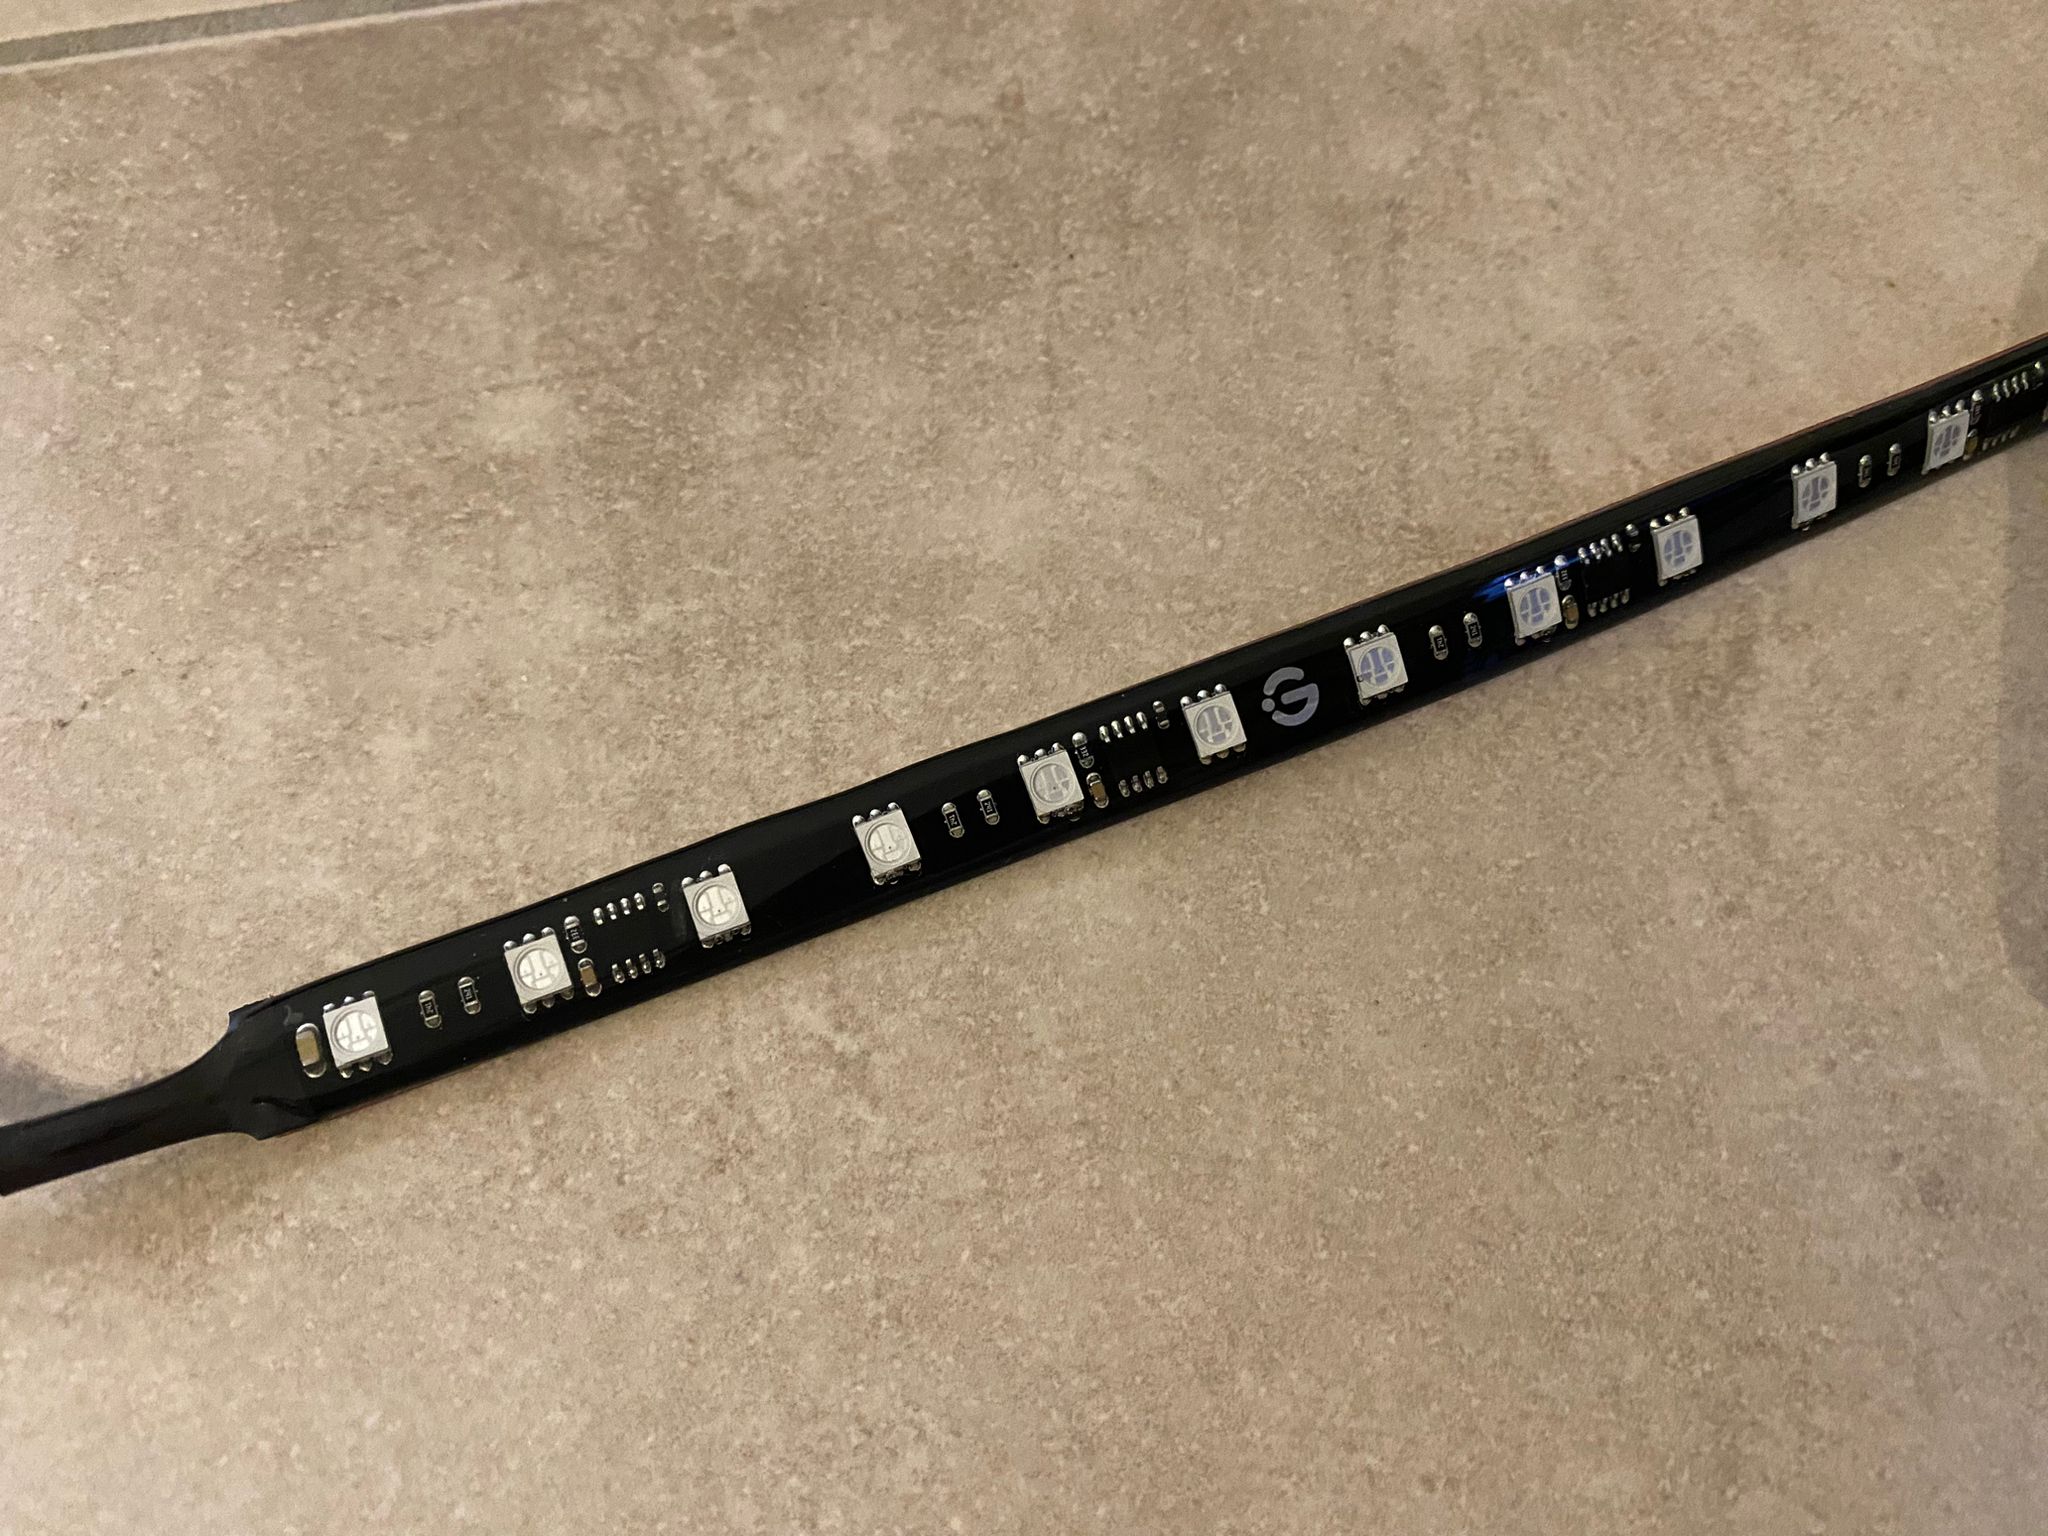
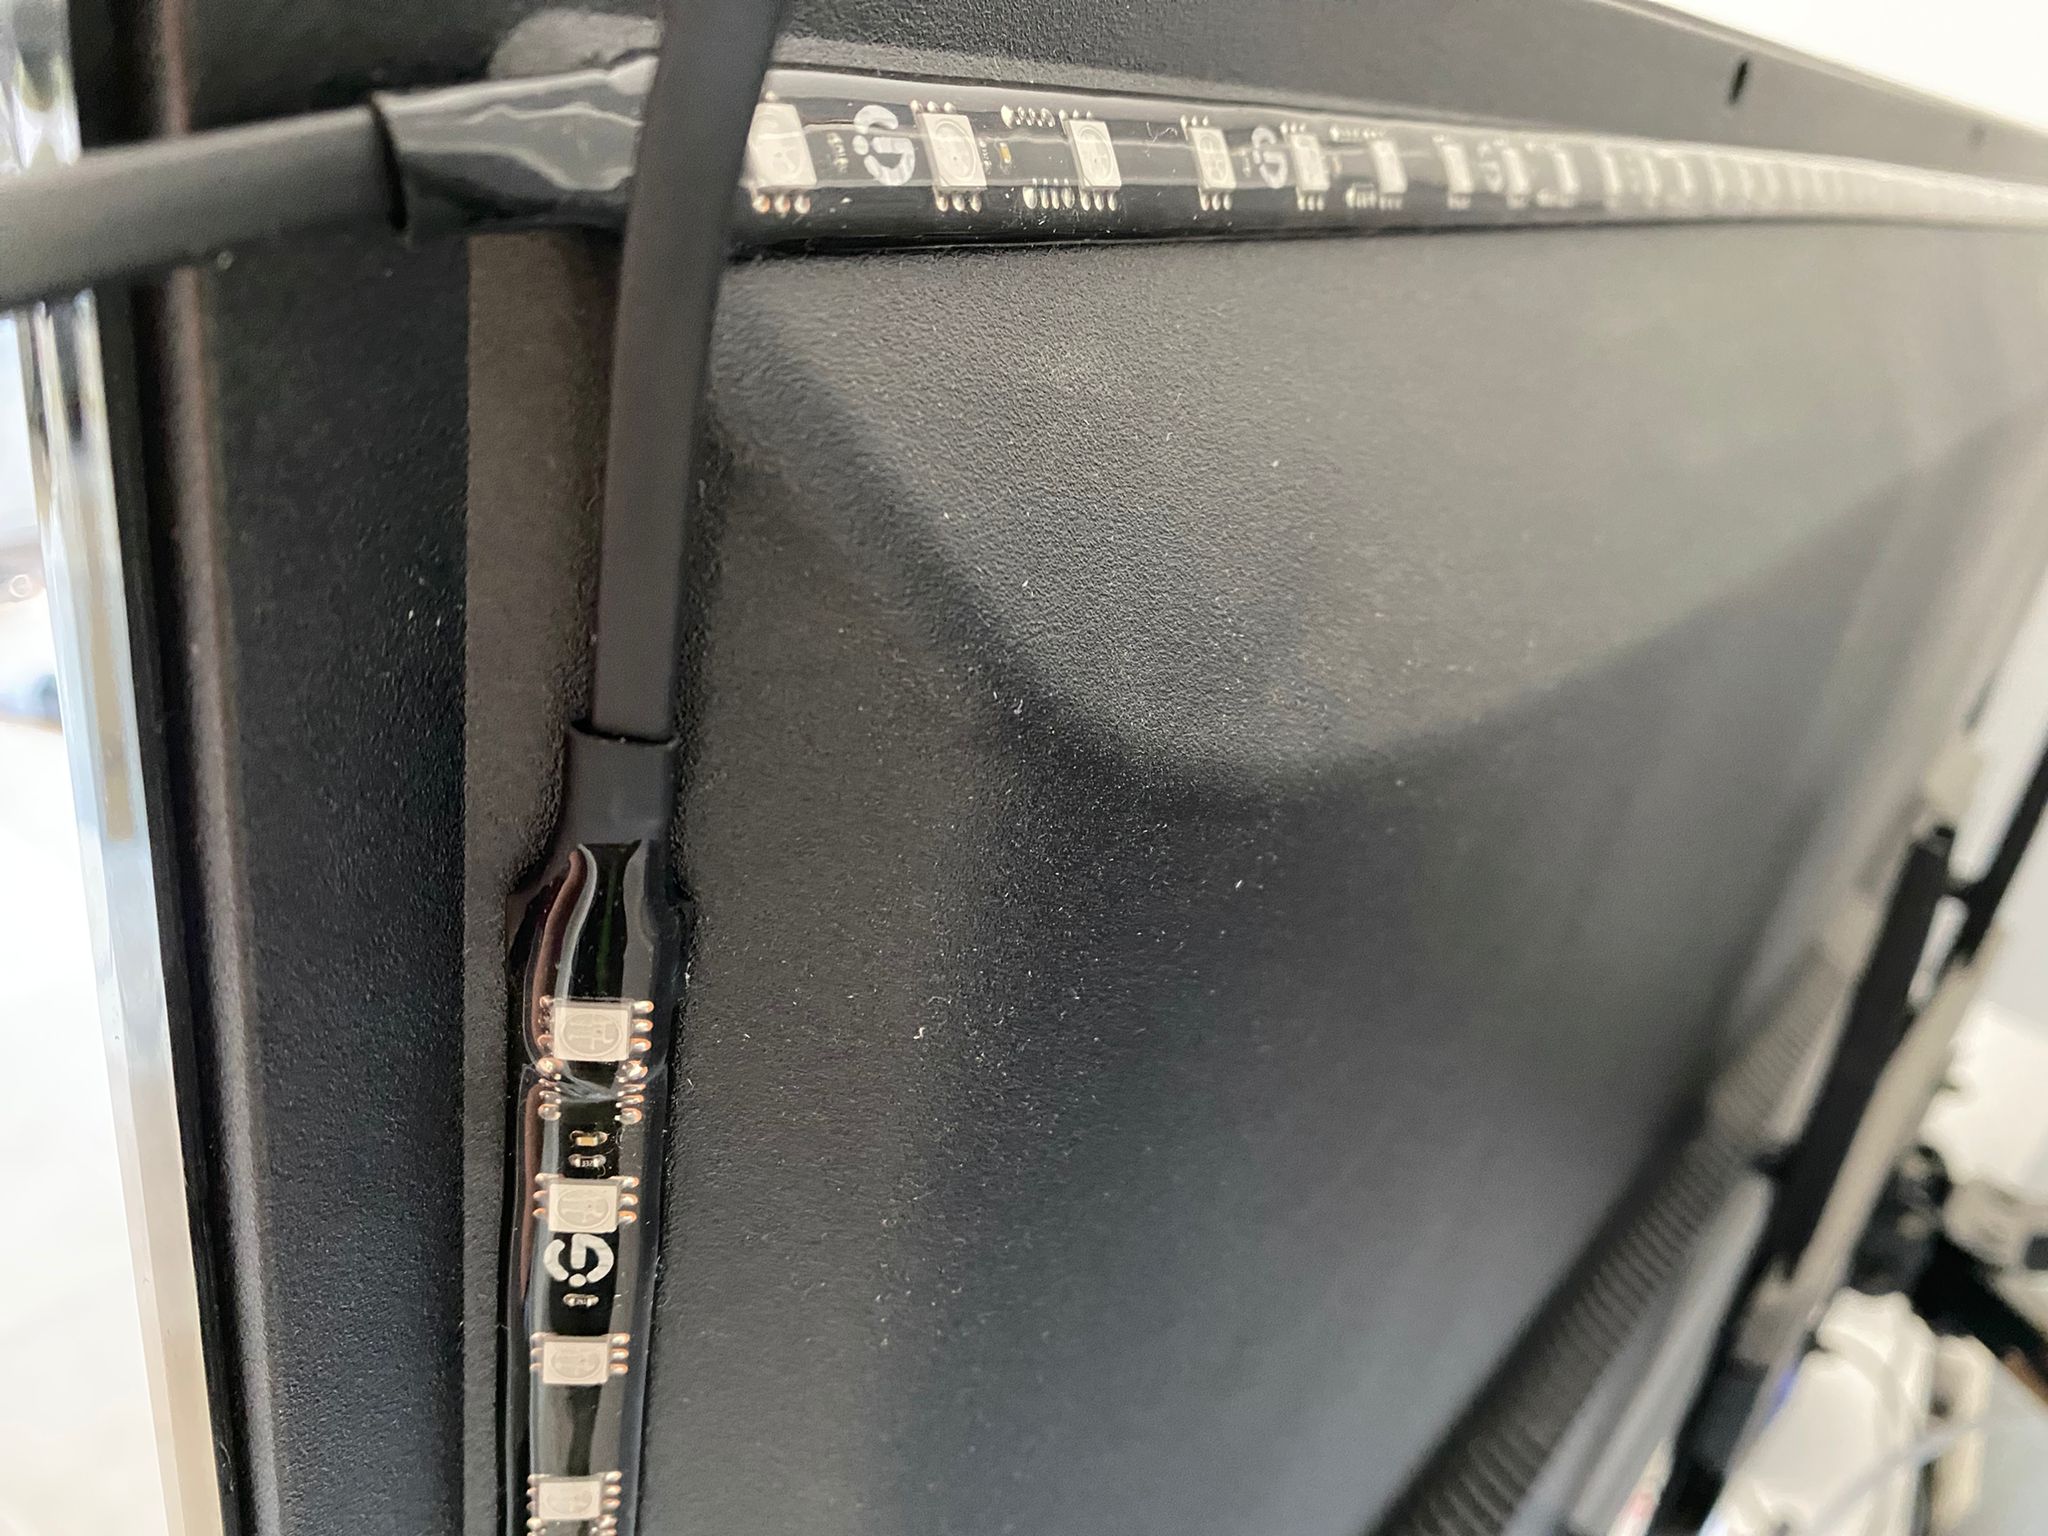
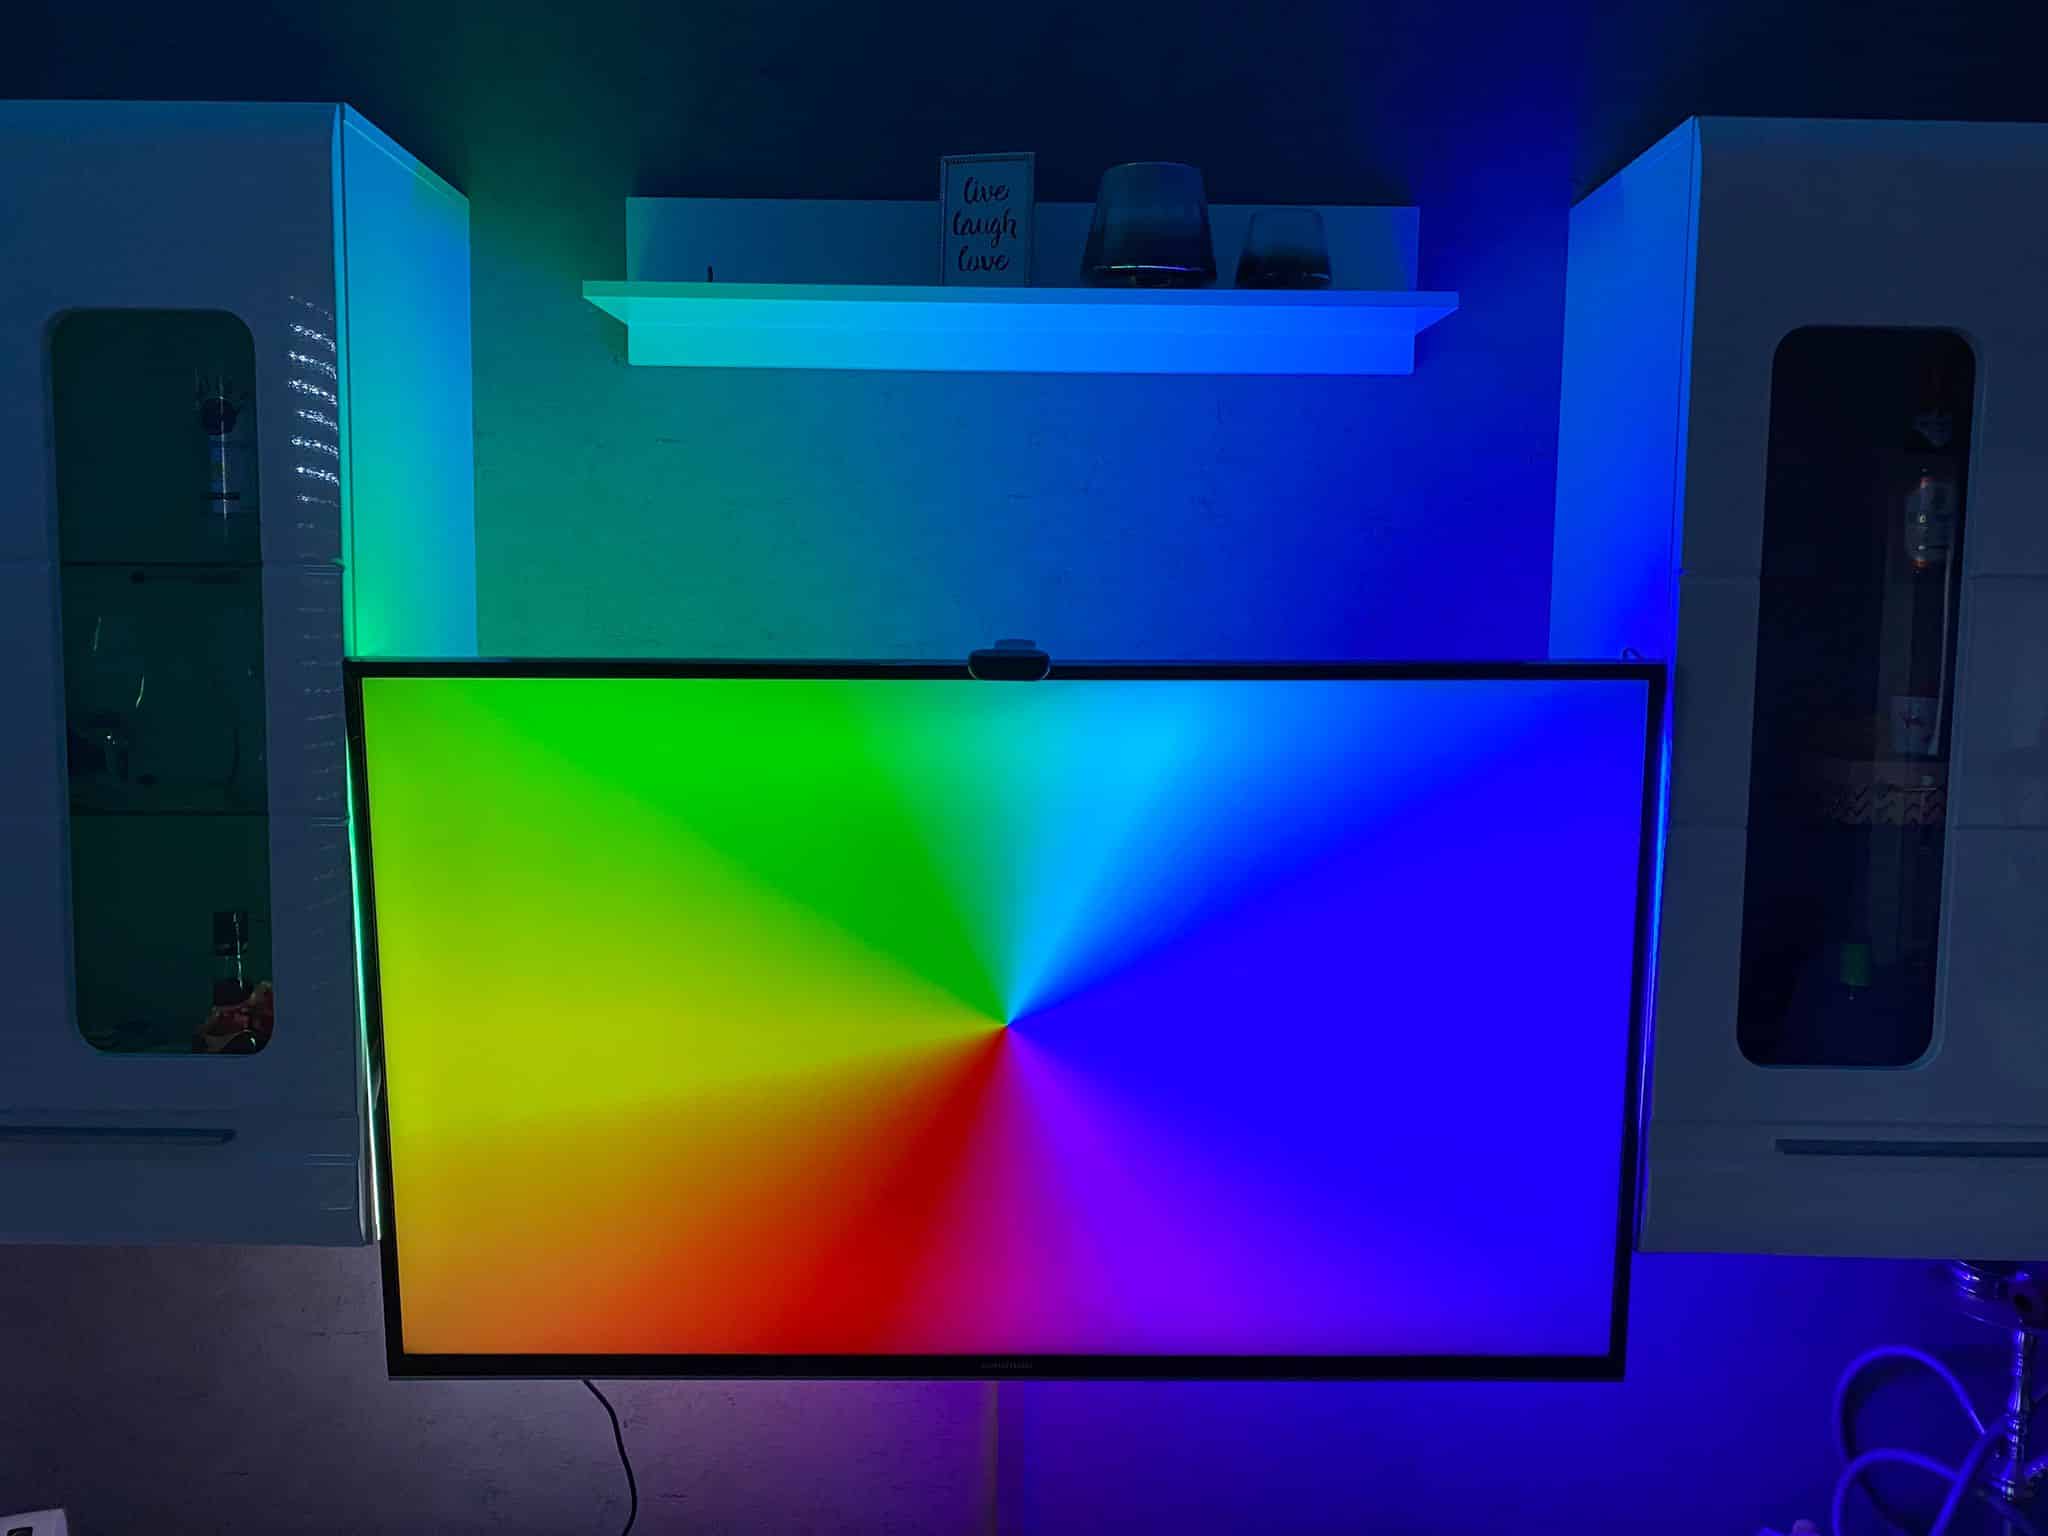
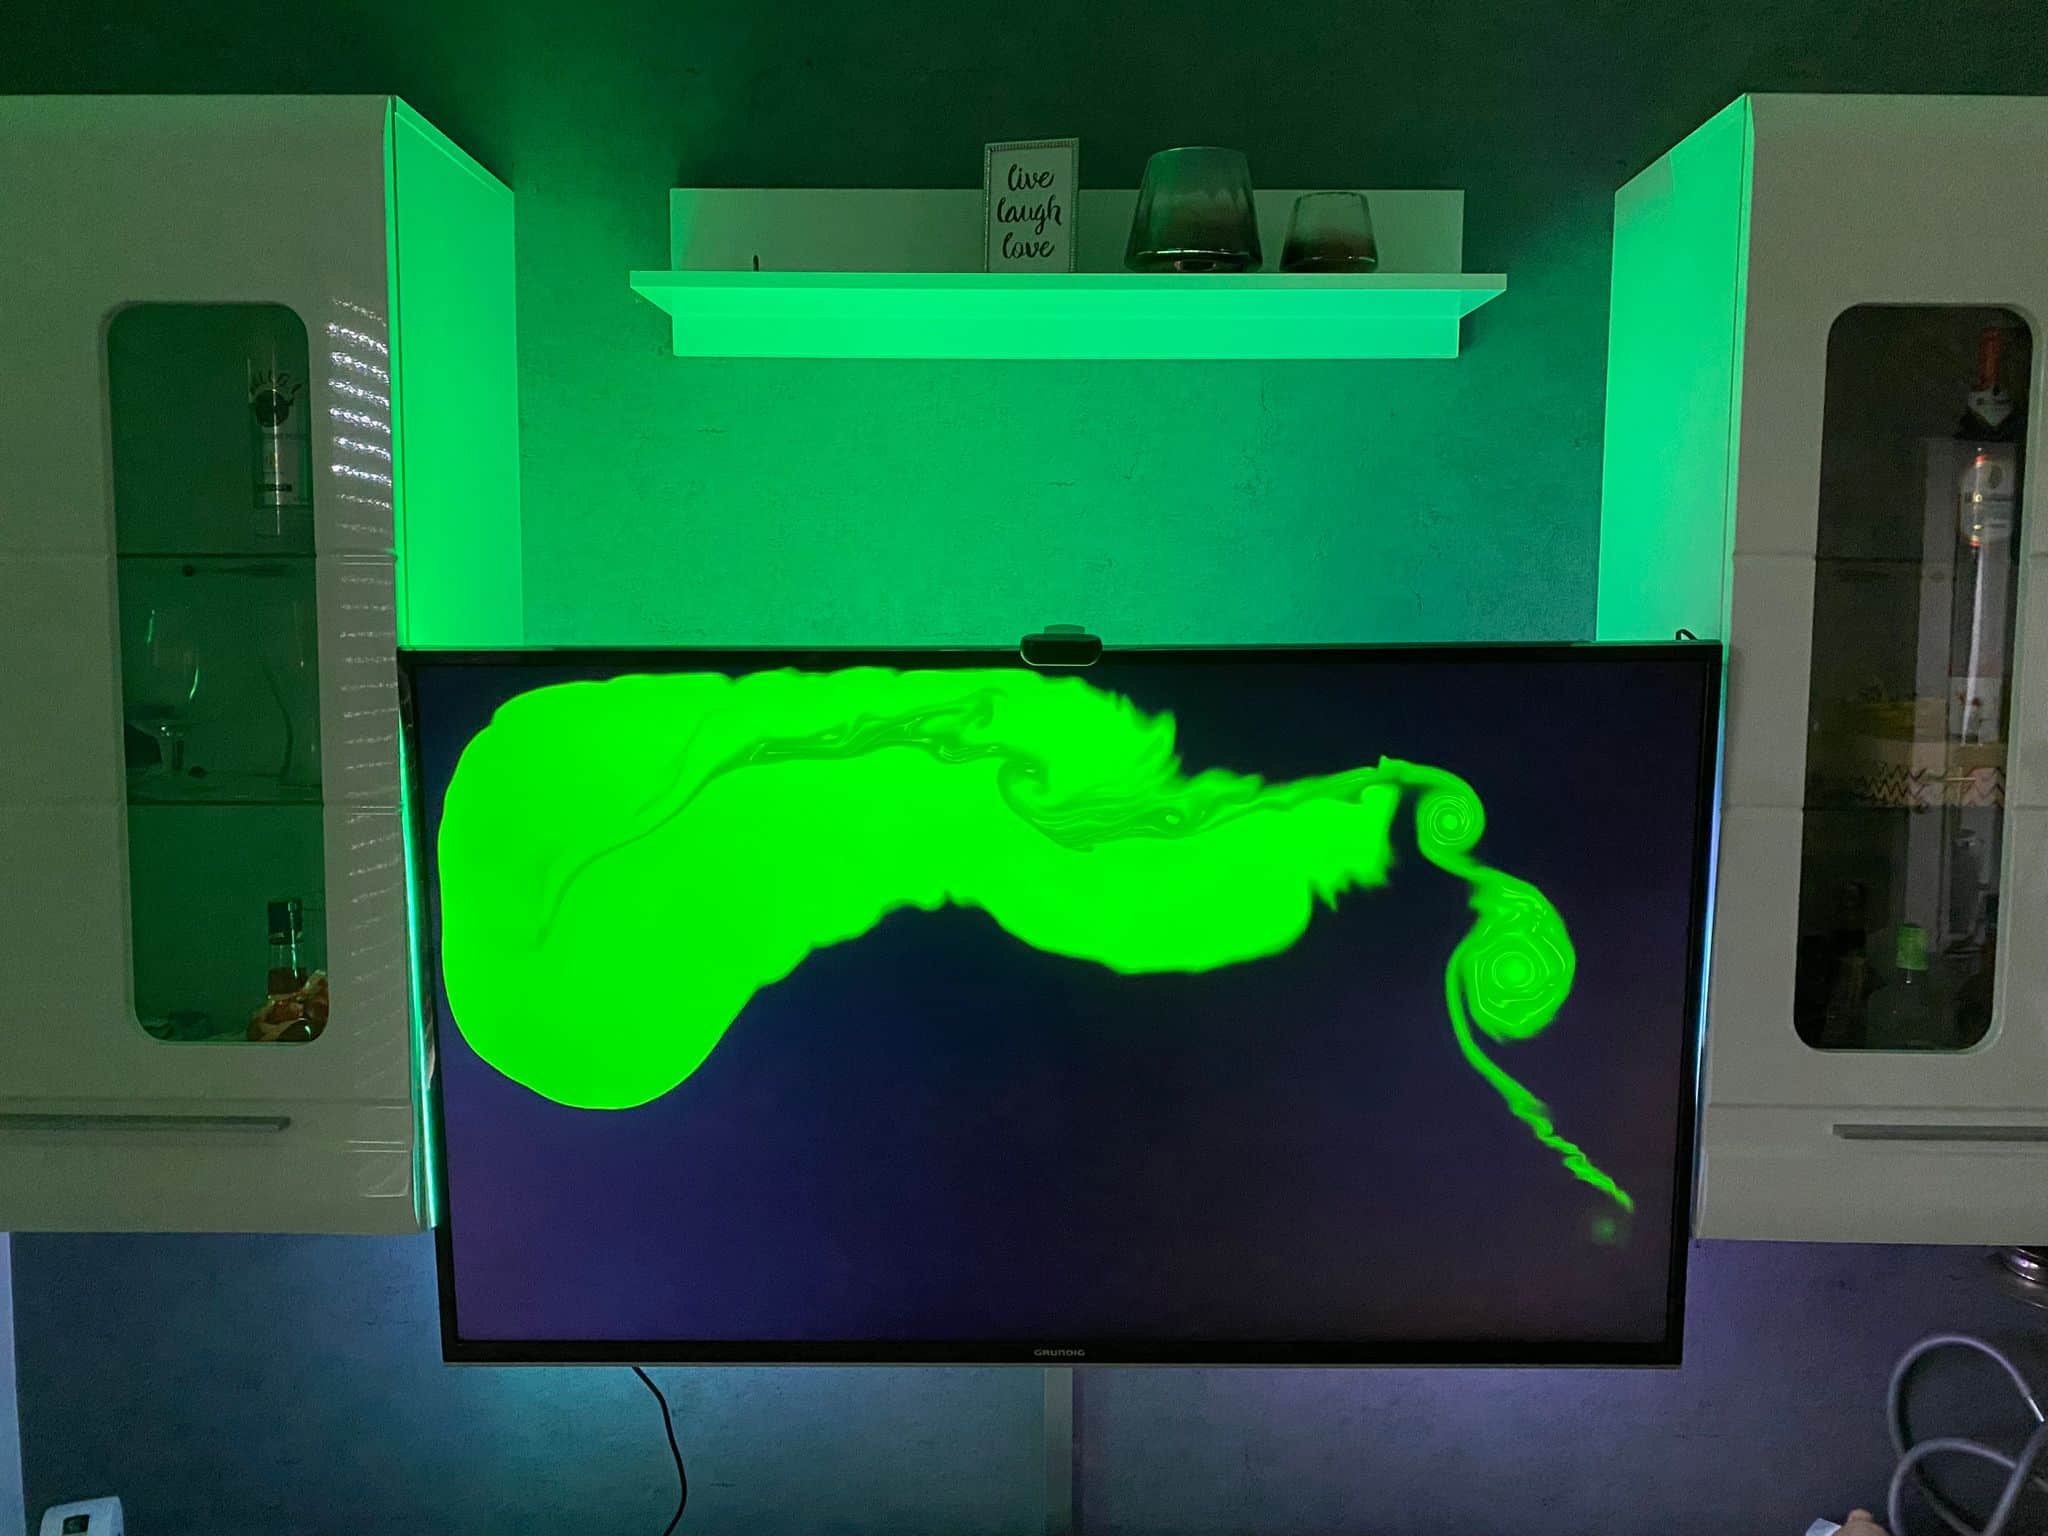
We have everything we need to install the respective kits. The LED strips are waterproof to IP67 and are 60 LEDs per running meter installed. So the color transitions should come across smoothly and no “edgy” color changes.
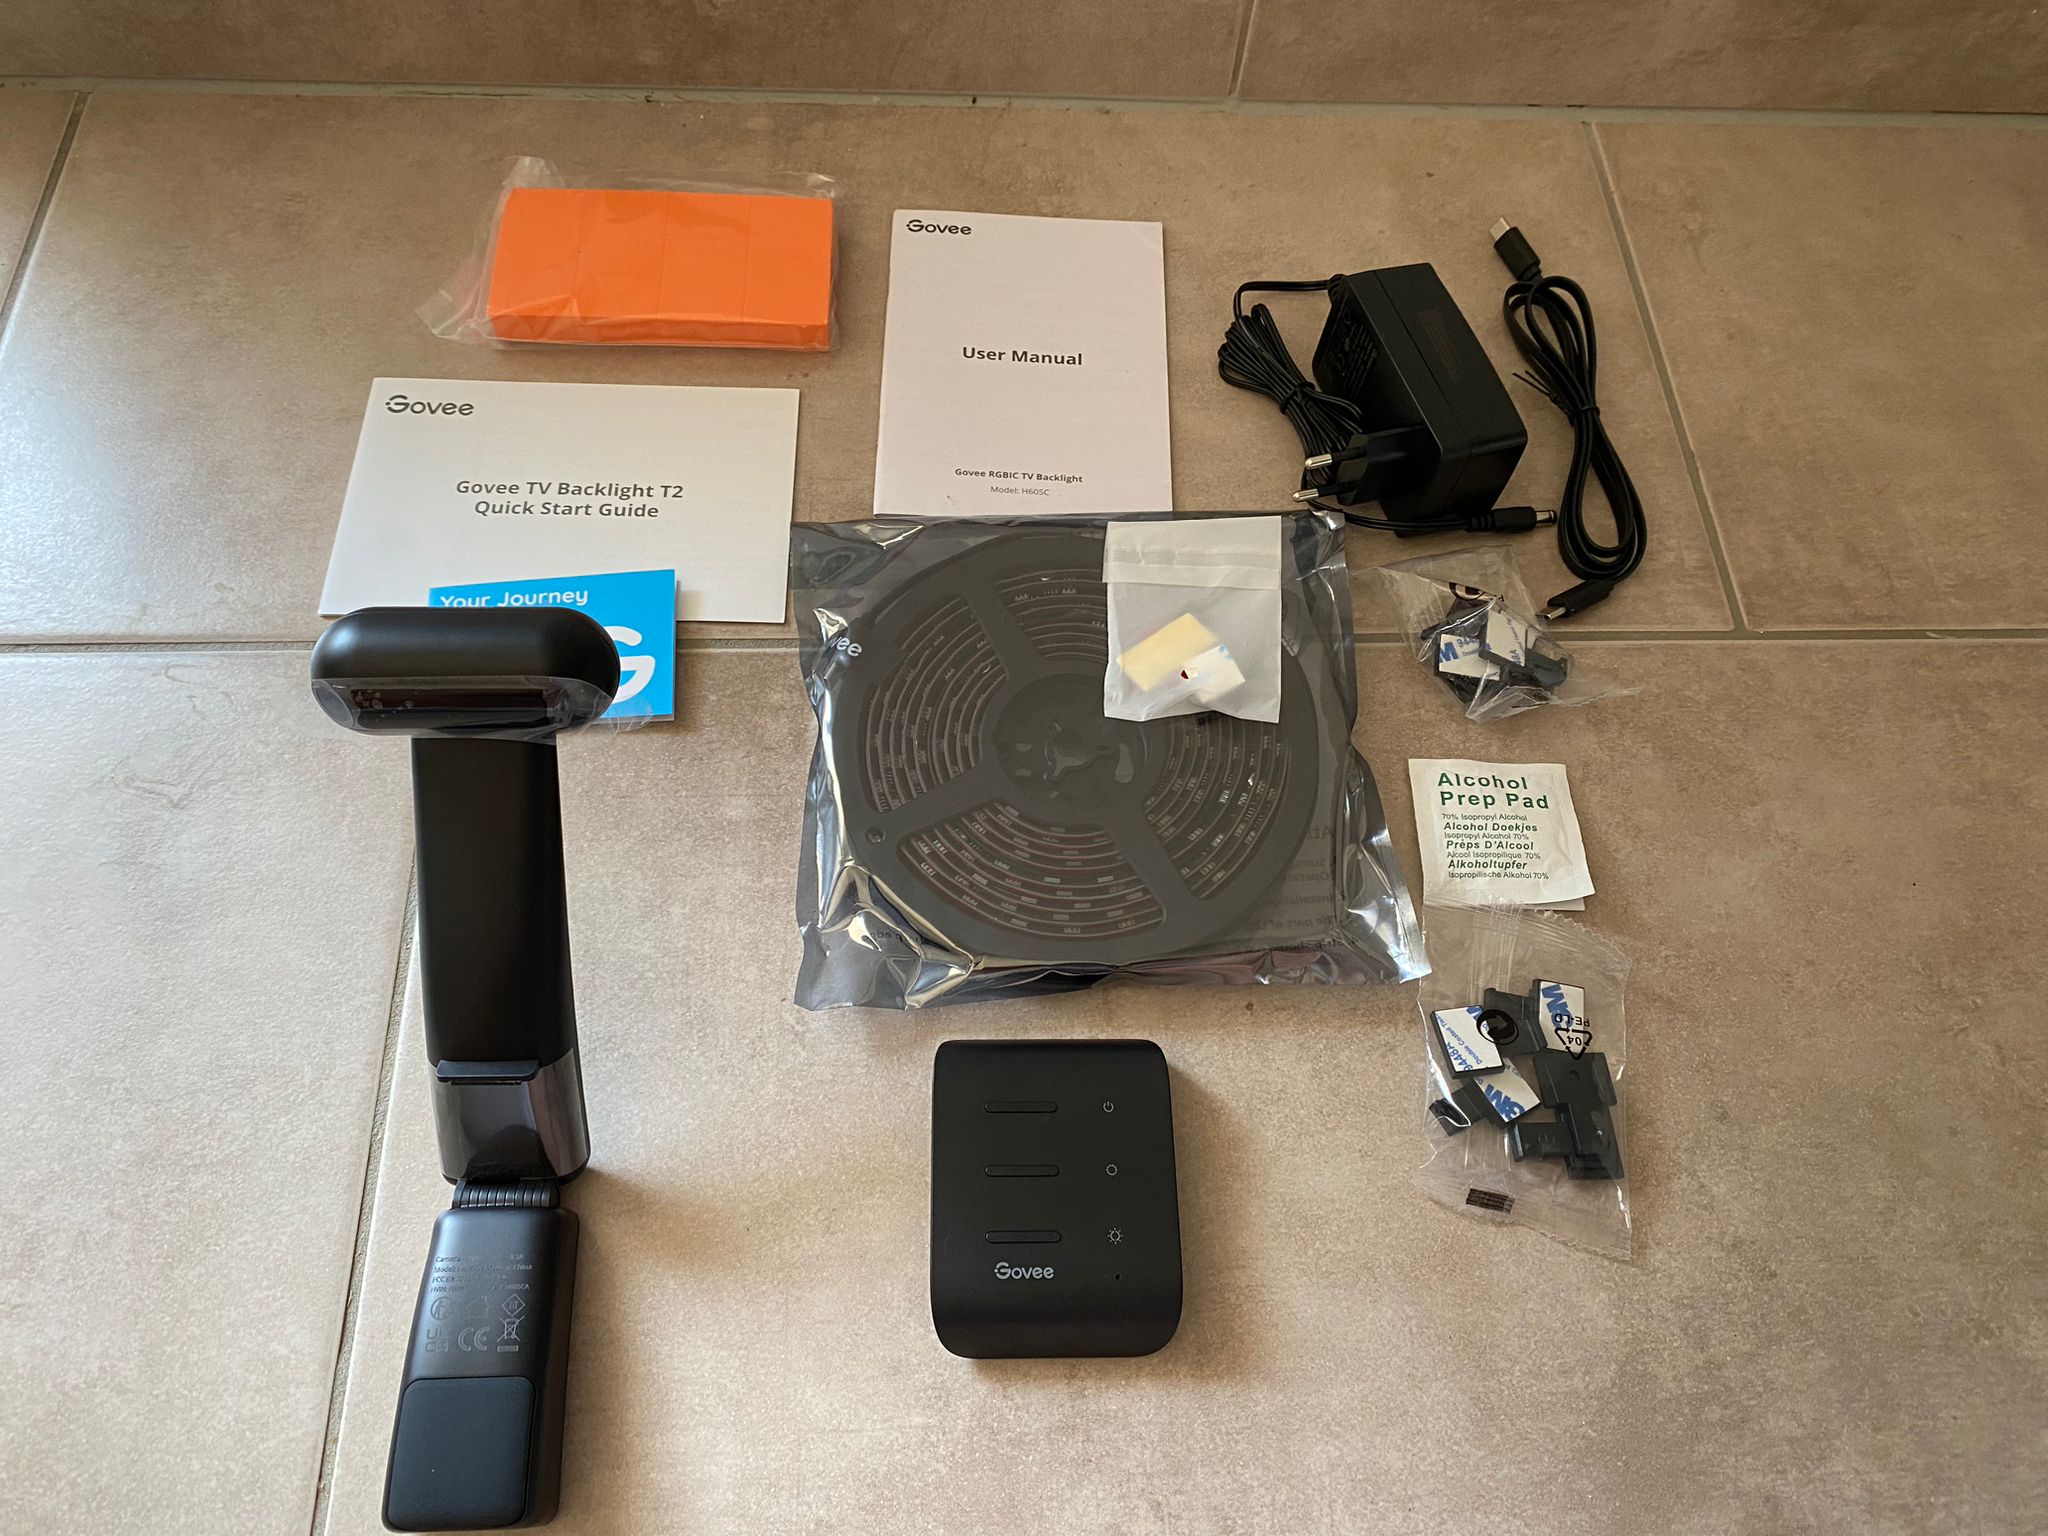
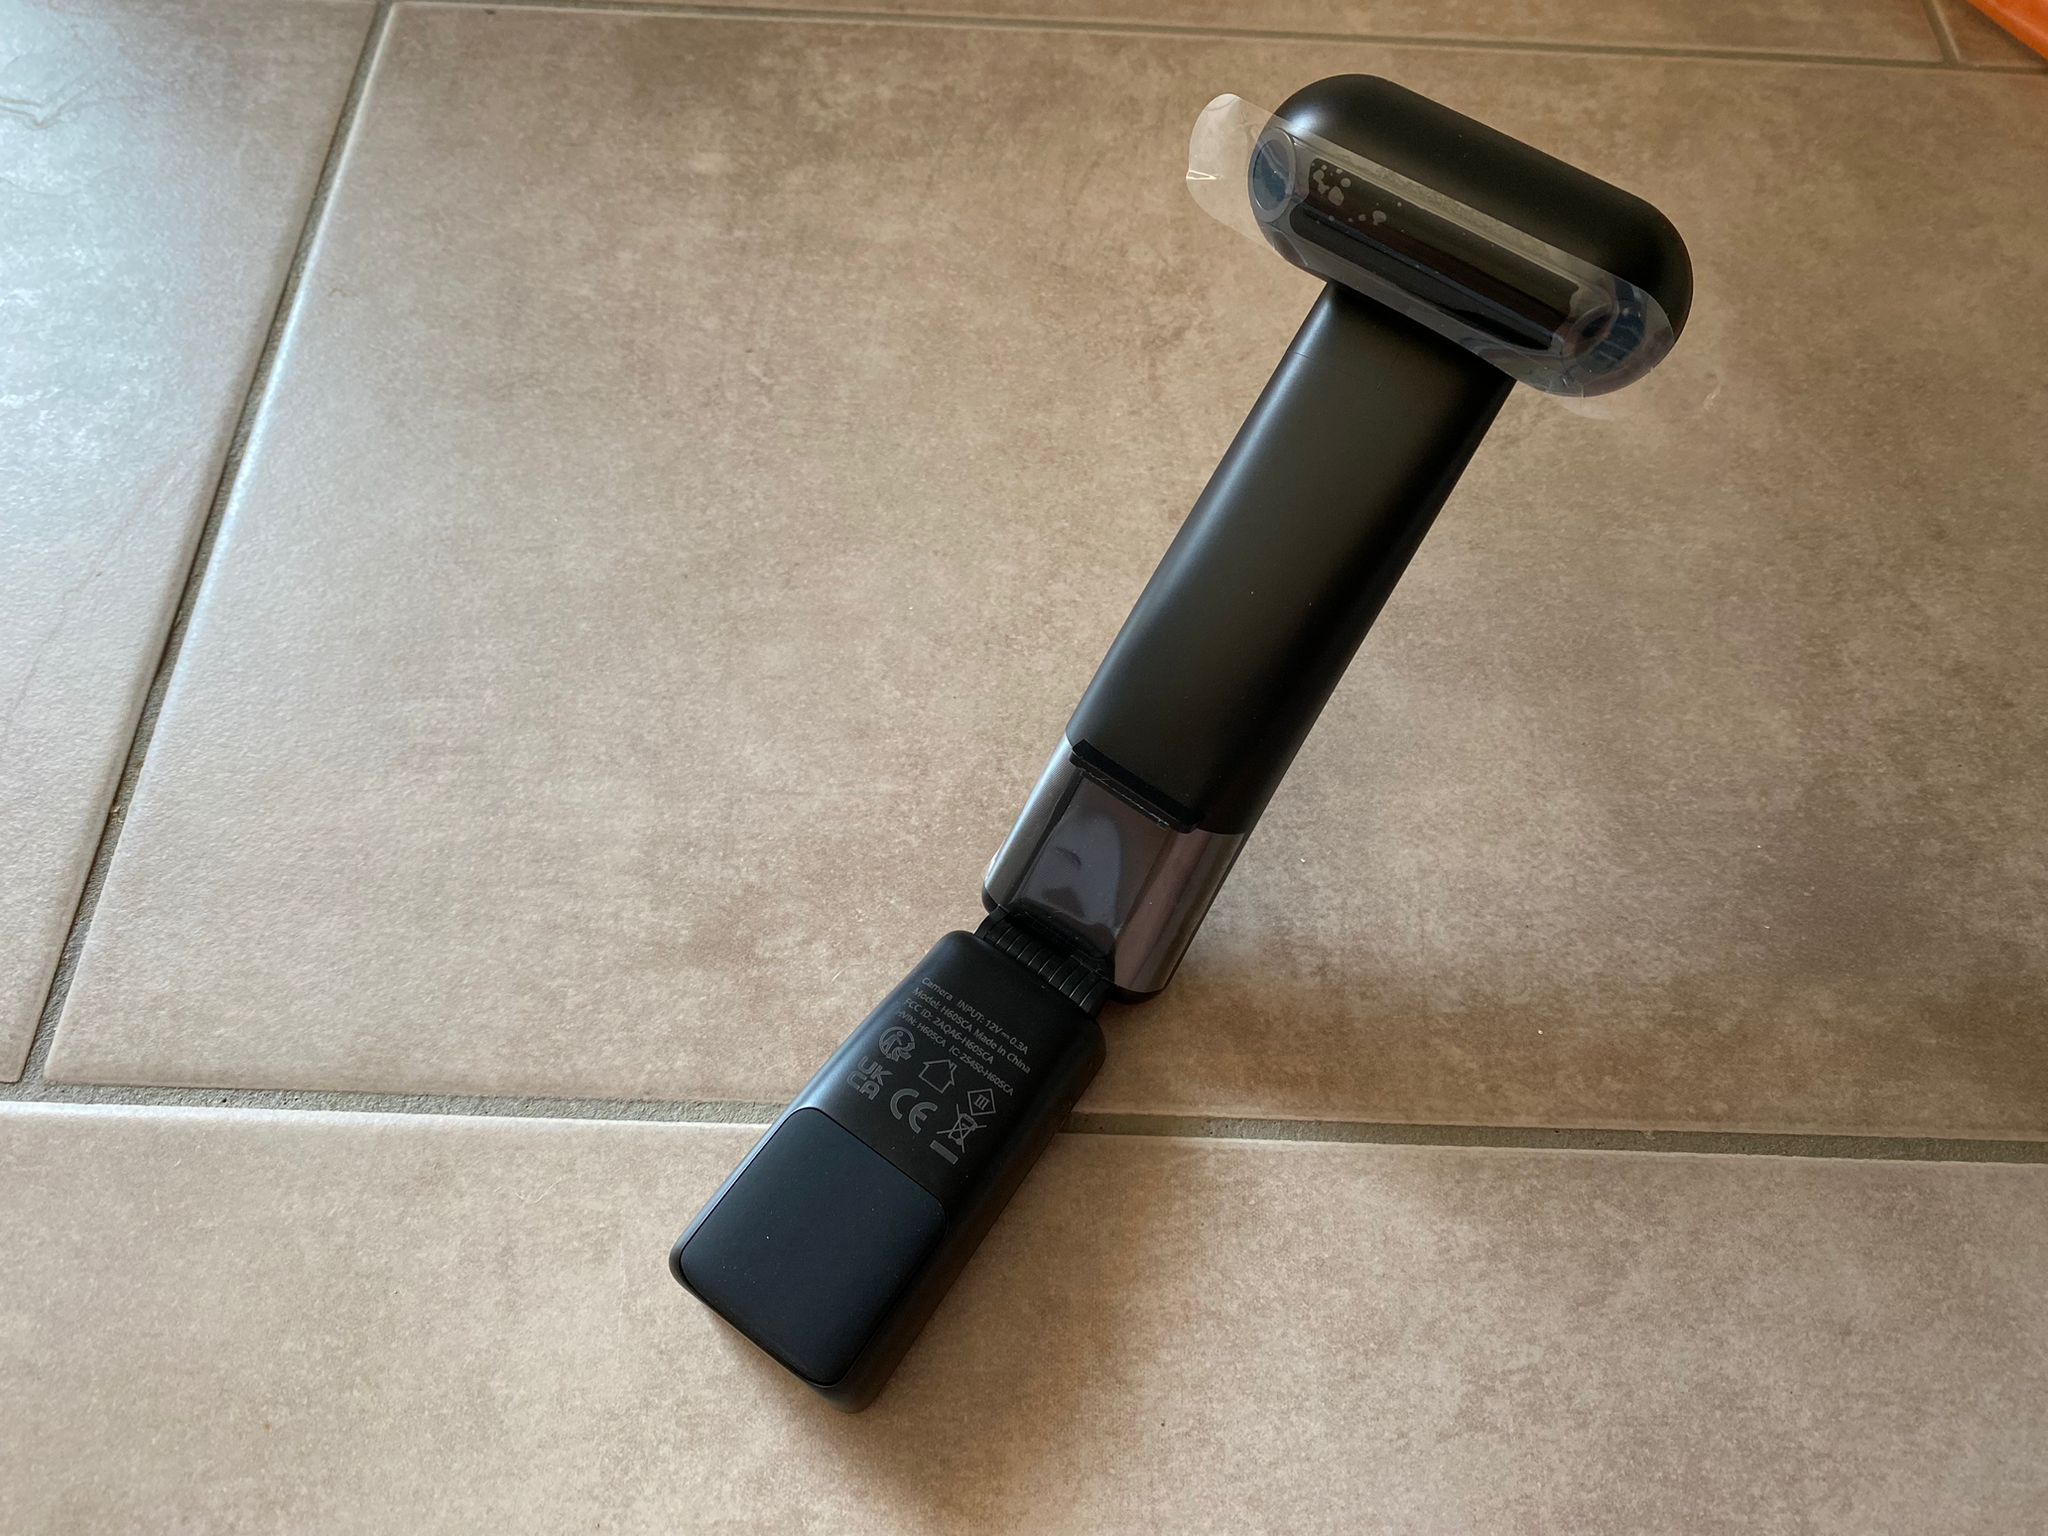
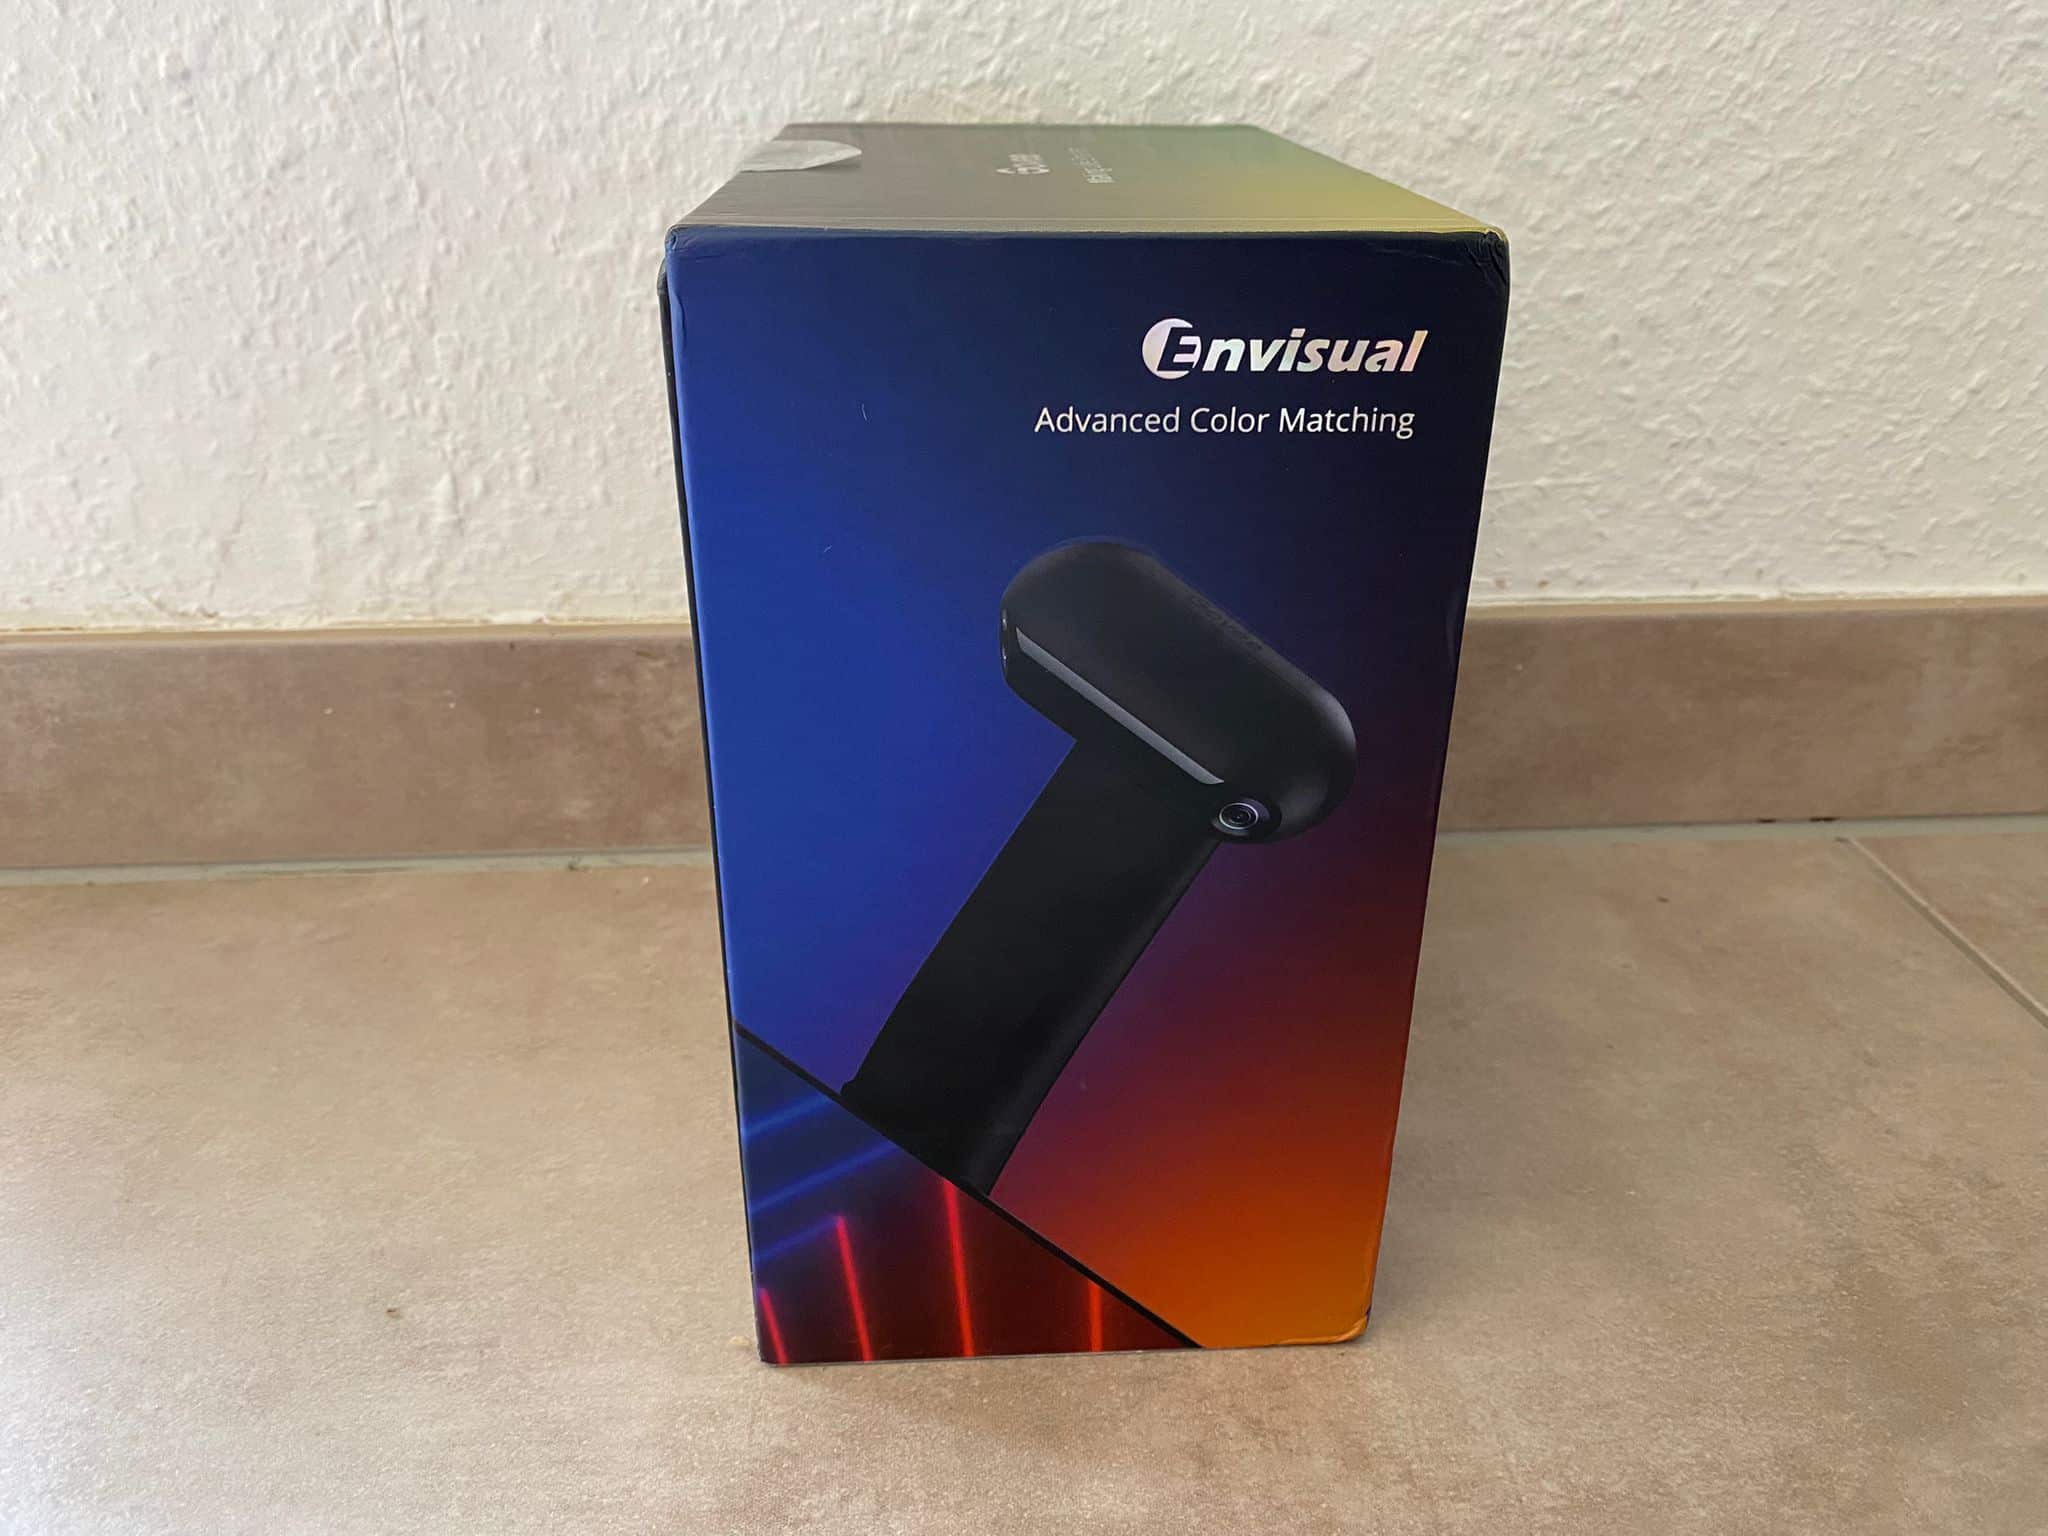
The Govee TV Backlight T2 also includes a camera in the kit, as the color changes are performed via the screen itself. This camera is equipped with two lenses, so that one lens can see one half of the screen and send the data to the control unit. It can be said that the camera is of good quality. Compared to the previous model, it is considerably larger, which is not necessarily a bad thing.
Installation of the Govee T2 and G1
The installation process is very identical for both models. We first start by using the supplied cleaning wipes to thoroughly clean the areas where the strips will be applied afterwards. This must not be forgotten in any case, otherwise dust or other things will accumulate in the adhesive and cause the strip to come off earlier. Once this is done, it is best to take one end of the LED strip and choose a point to start. Then tape the strip to the edge of the back of the screen and secure it with the clips provided. With this the first part is done.
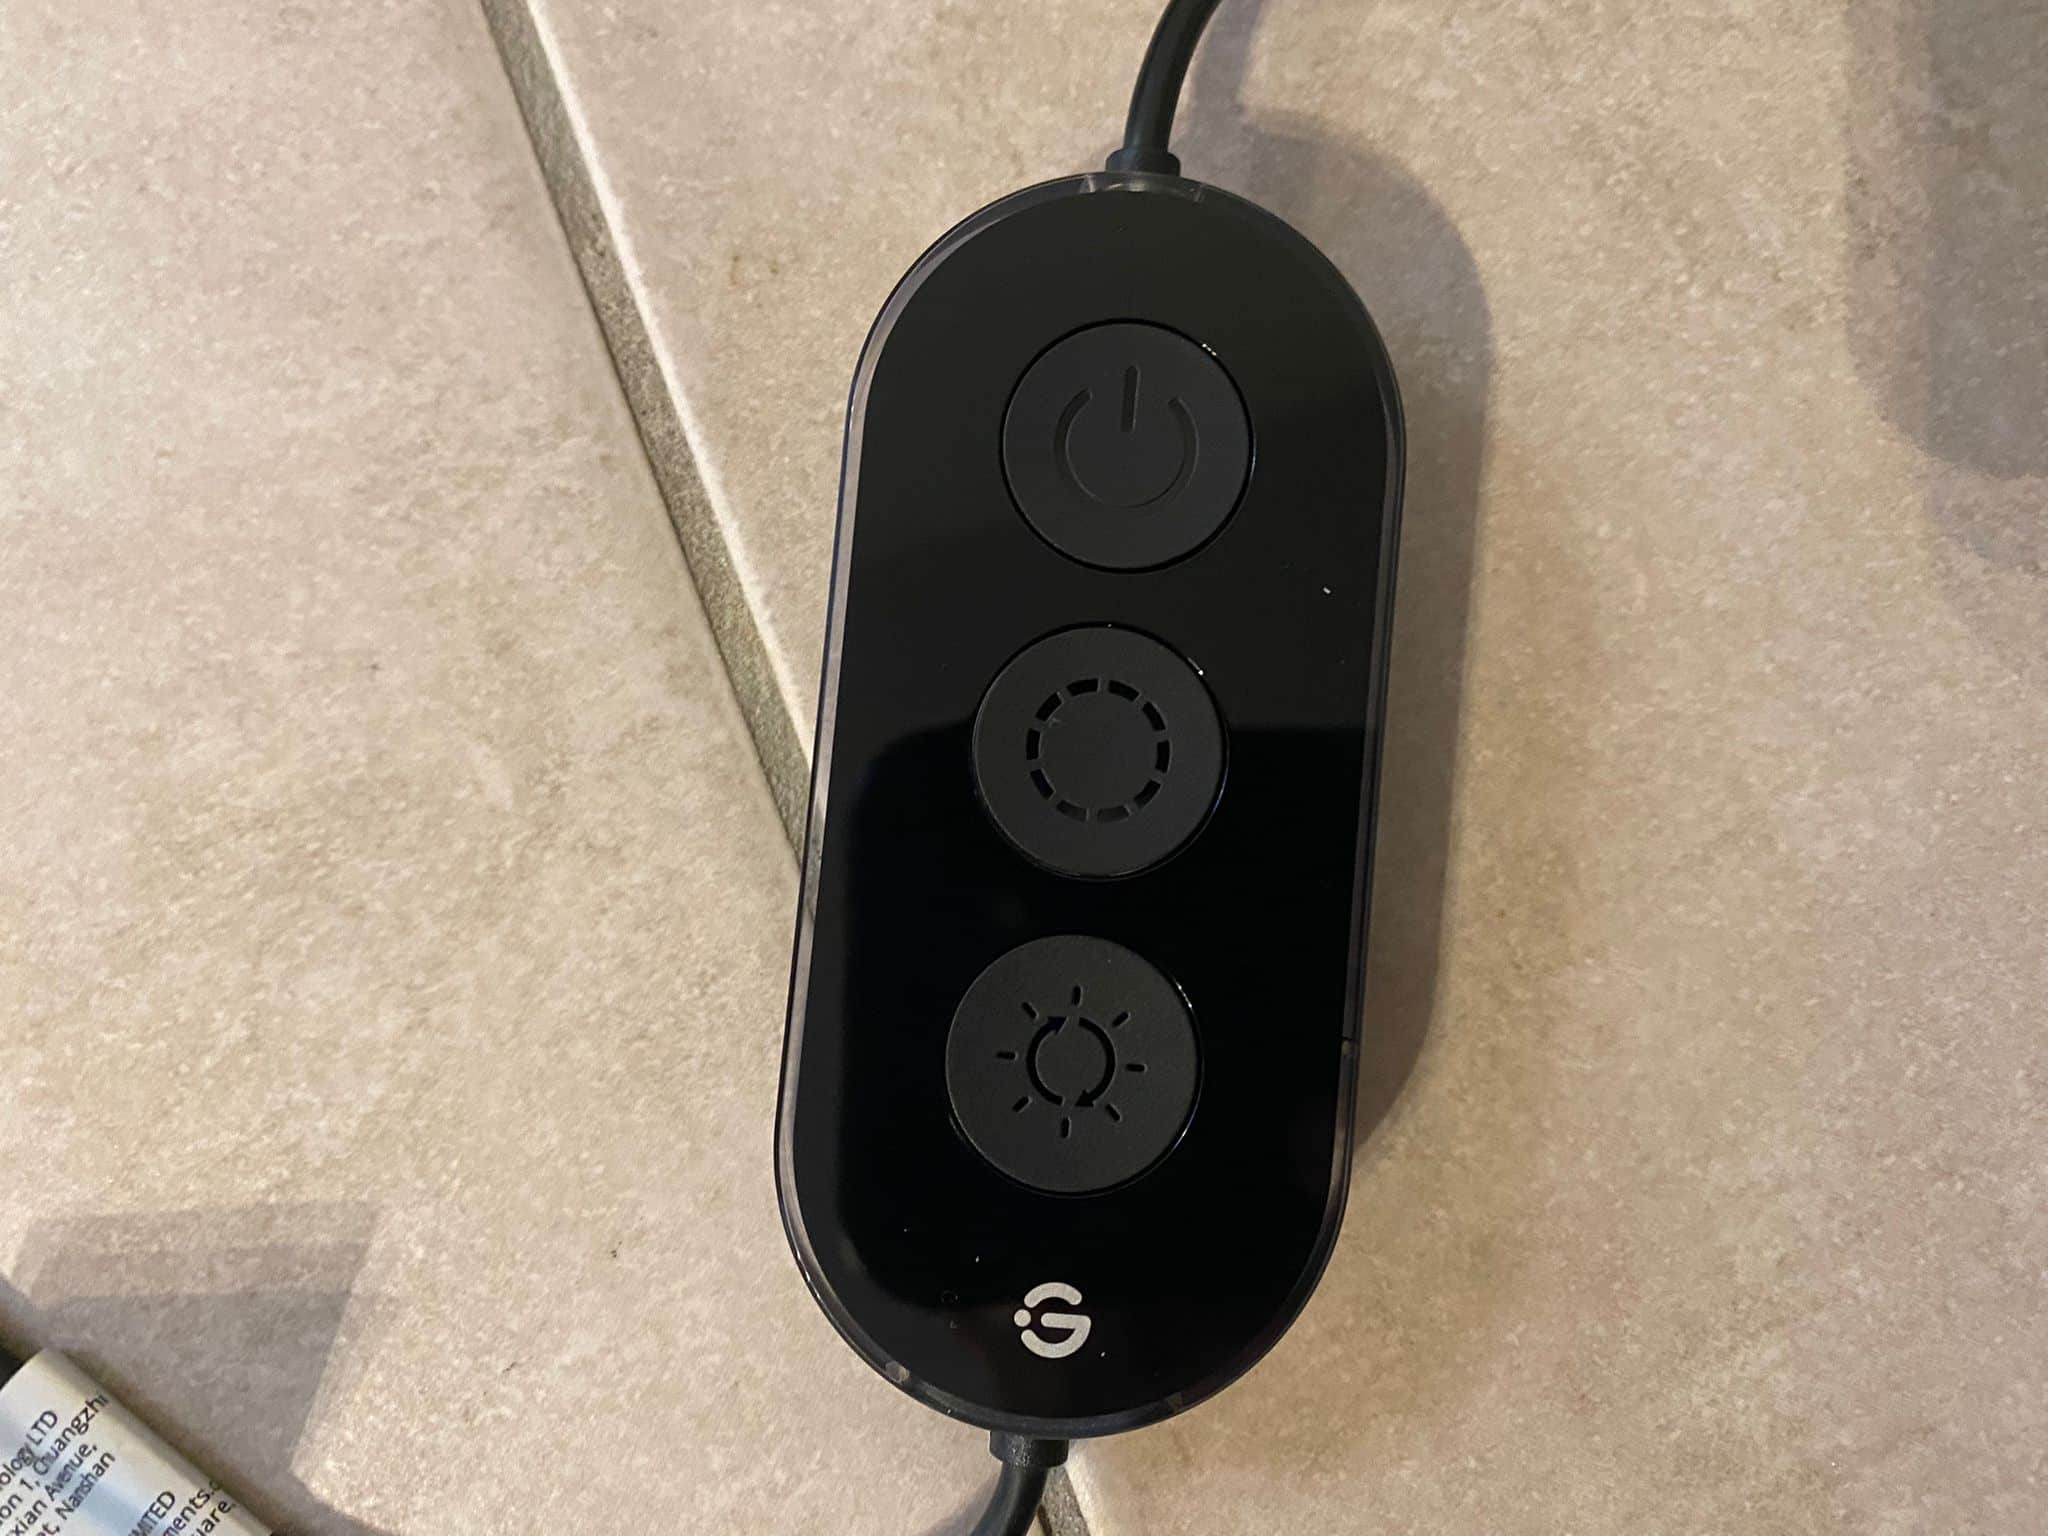
Then it’s time for the control unit. This must also be glued to the back of the screen. Where exactly is relatively unimportant, as long as the cables are still within reach. Important here as well: Clean the affected area thoroughly with the cleaning cloths beforehand. Afterwards or before, connect all cables and you’re ready to go.

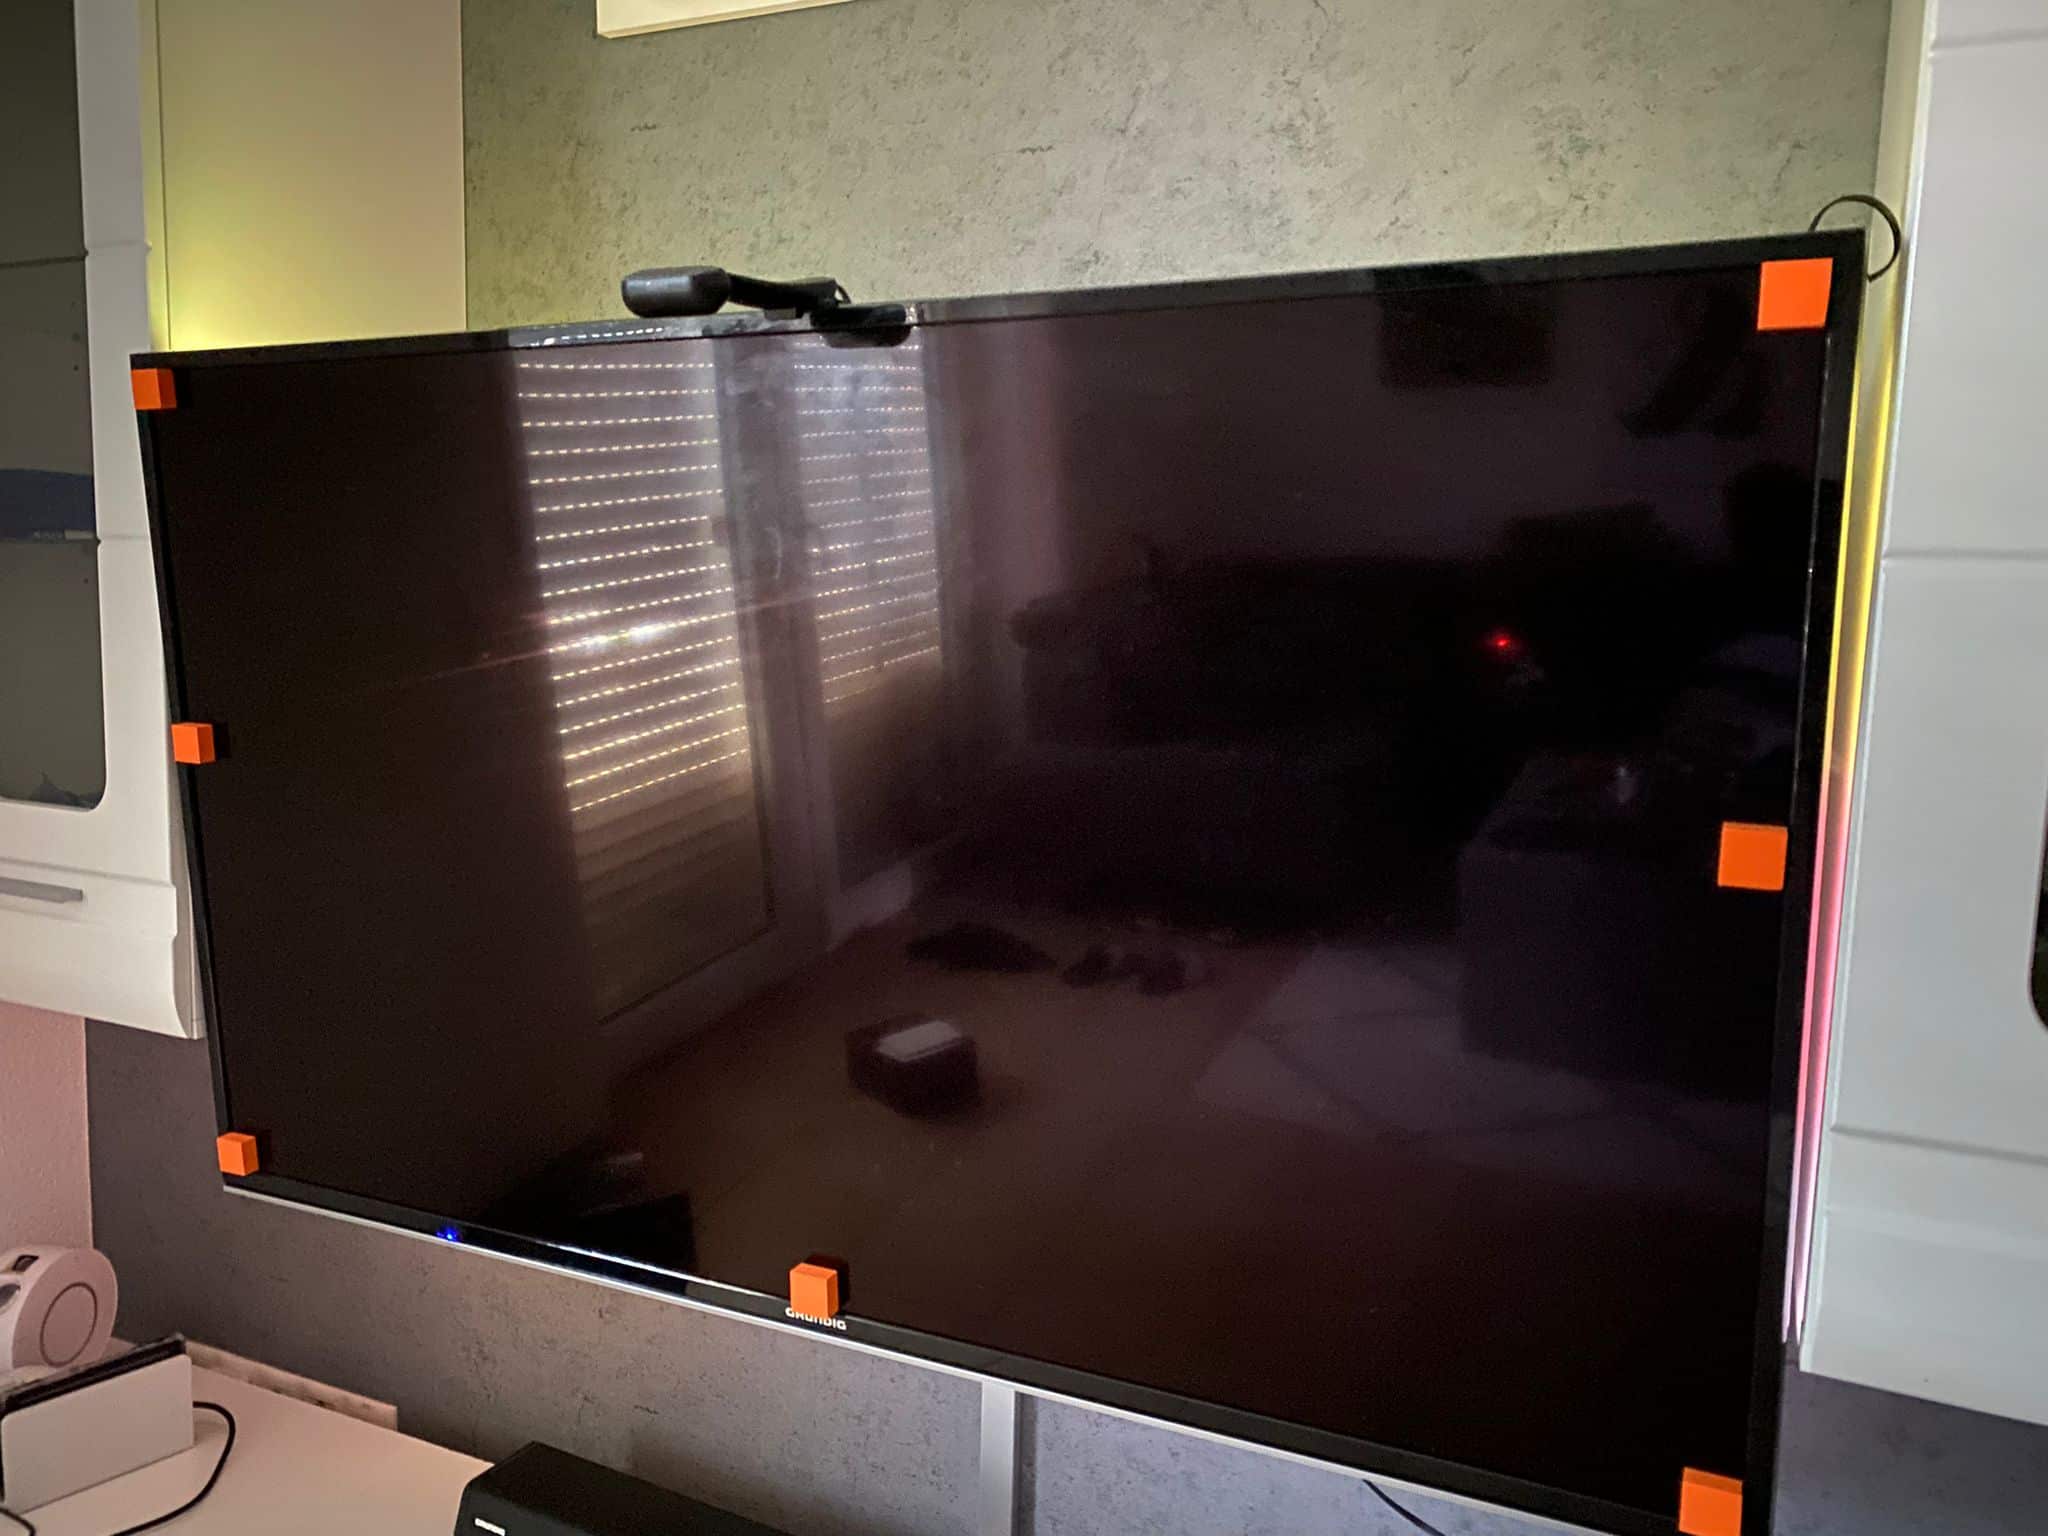
With the Govee TV Backlight T2, there is also the installation of the camera. This should be placed as centrally as possible on top of the TV. In the previous model, it was still attached with glue, whereas here the good part is only placed on top and should be placed mechanically optimal, so that it stays where it should be. We find that it is a bit too easy to accidentally move the camera, e.g. when dusting or adjusting the TV. The problem with this is that the camera has to be calibrated, and the slightest movement will cause the image ratio to be out of sync and have to be reconfigured.
In summary, the installation is easily doable even for a layman. No additional tools are needed and it is done within a very short time. However, if you want detailed step-by-step instructions, you can find them in Govee’s packaging.
Setting up the Govee T2 and G1
Now we move on to the settings. To do this, we need to download the Govee app, which is available for both Android and iOS. Once this is installed, we go to Devices and then Add. Now we can either search for the specific model or simply use Bluetooth to detect Govee devices in the vicinity. Let’s start by setting up the TV Backlight T2. Here we first need to add the orange pads to the edge of the screen. In each corner and right, left and bottom center. Once these are placed we go into calibration. You are guided through step by step, so you can’t really do anything wrong. During calibration, the points on which the camera should focus must now be dragged to the respective pads. Once this is done, we can turn on the TV and already enjoy the Envisual. Now, however, there is still the white adjustment. For this, you can comfortably bend the color that white is supposed to represent via app the way you like it best. A very good feature!

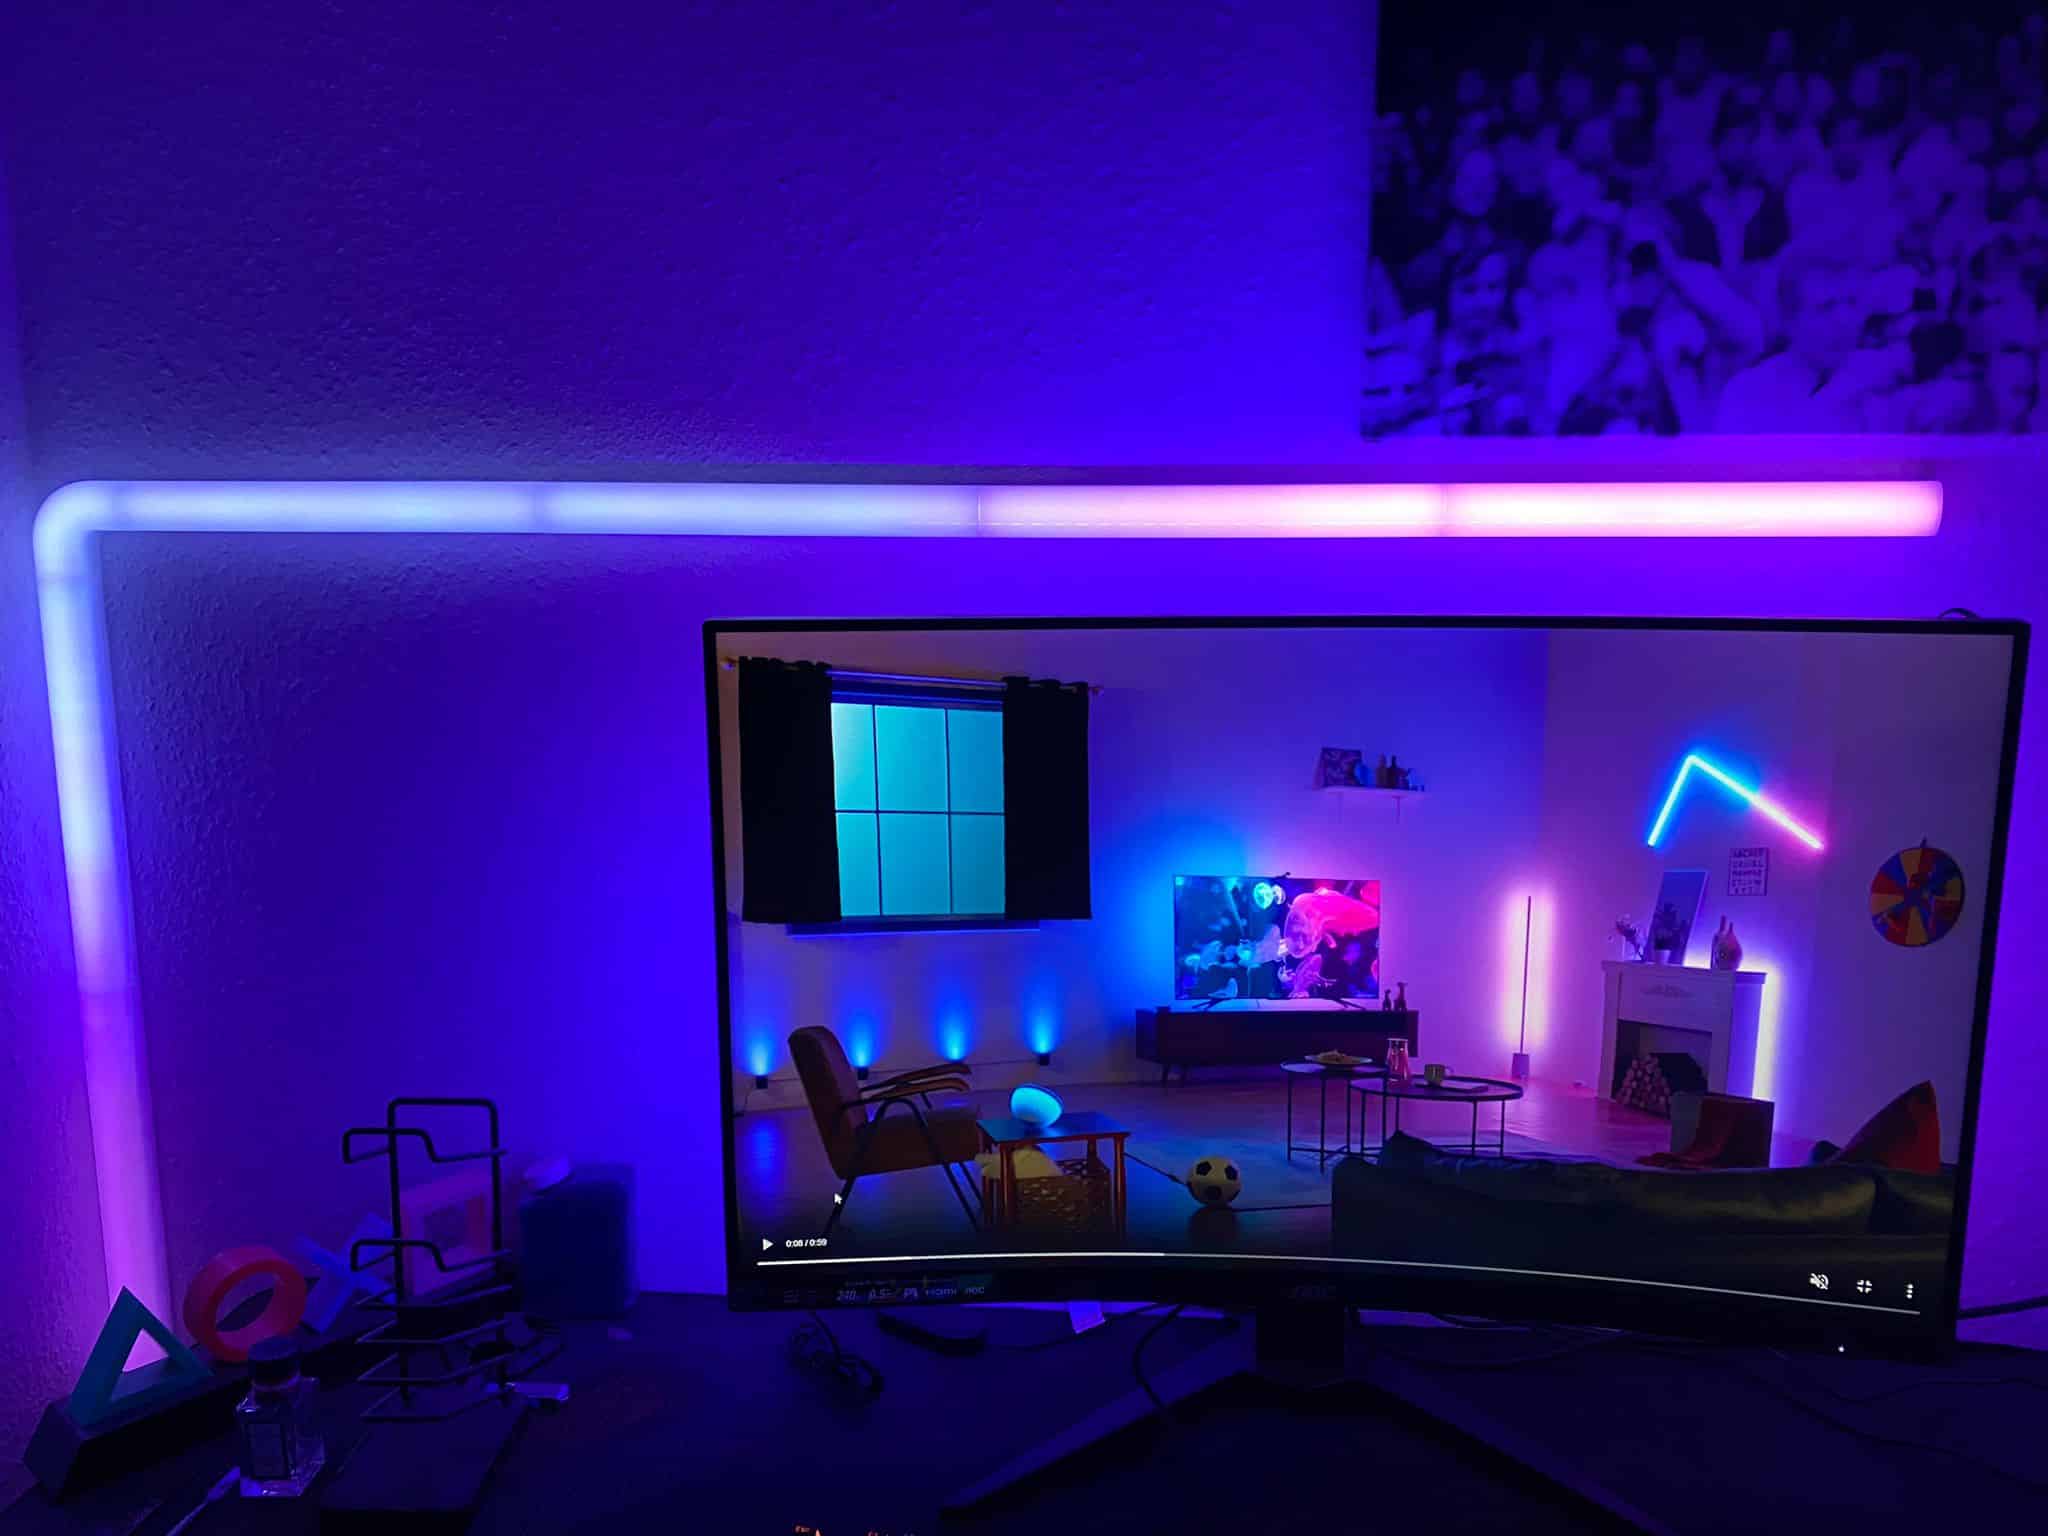
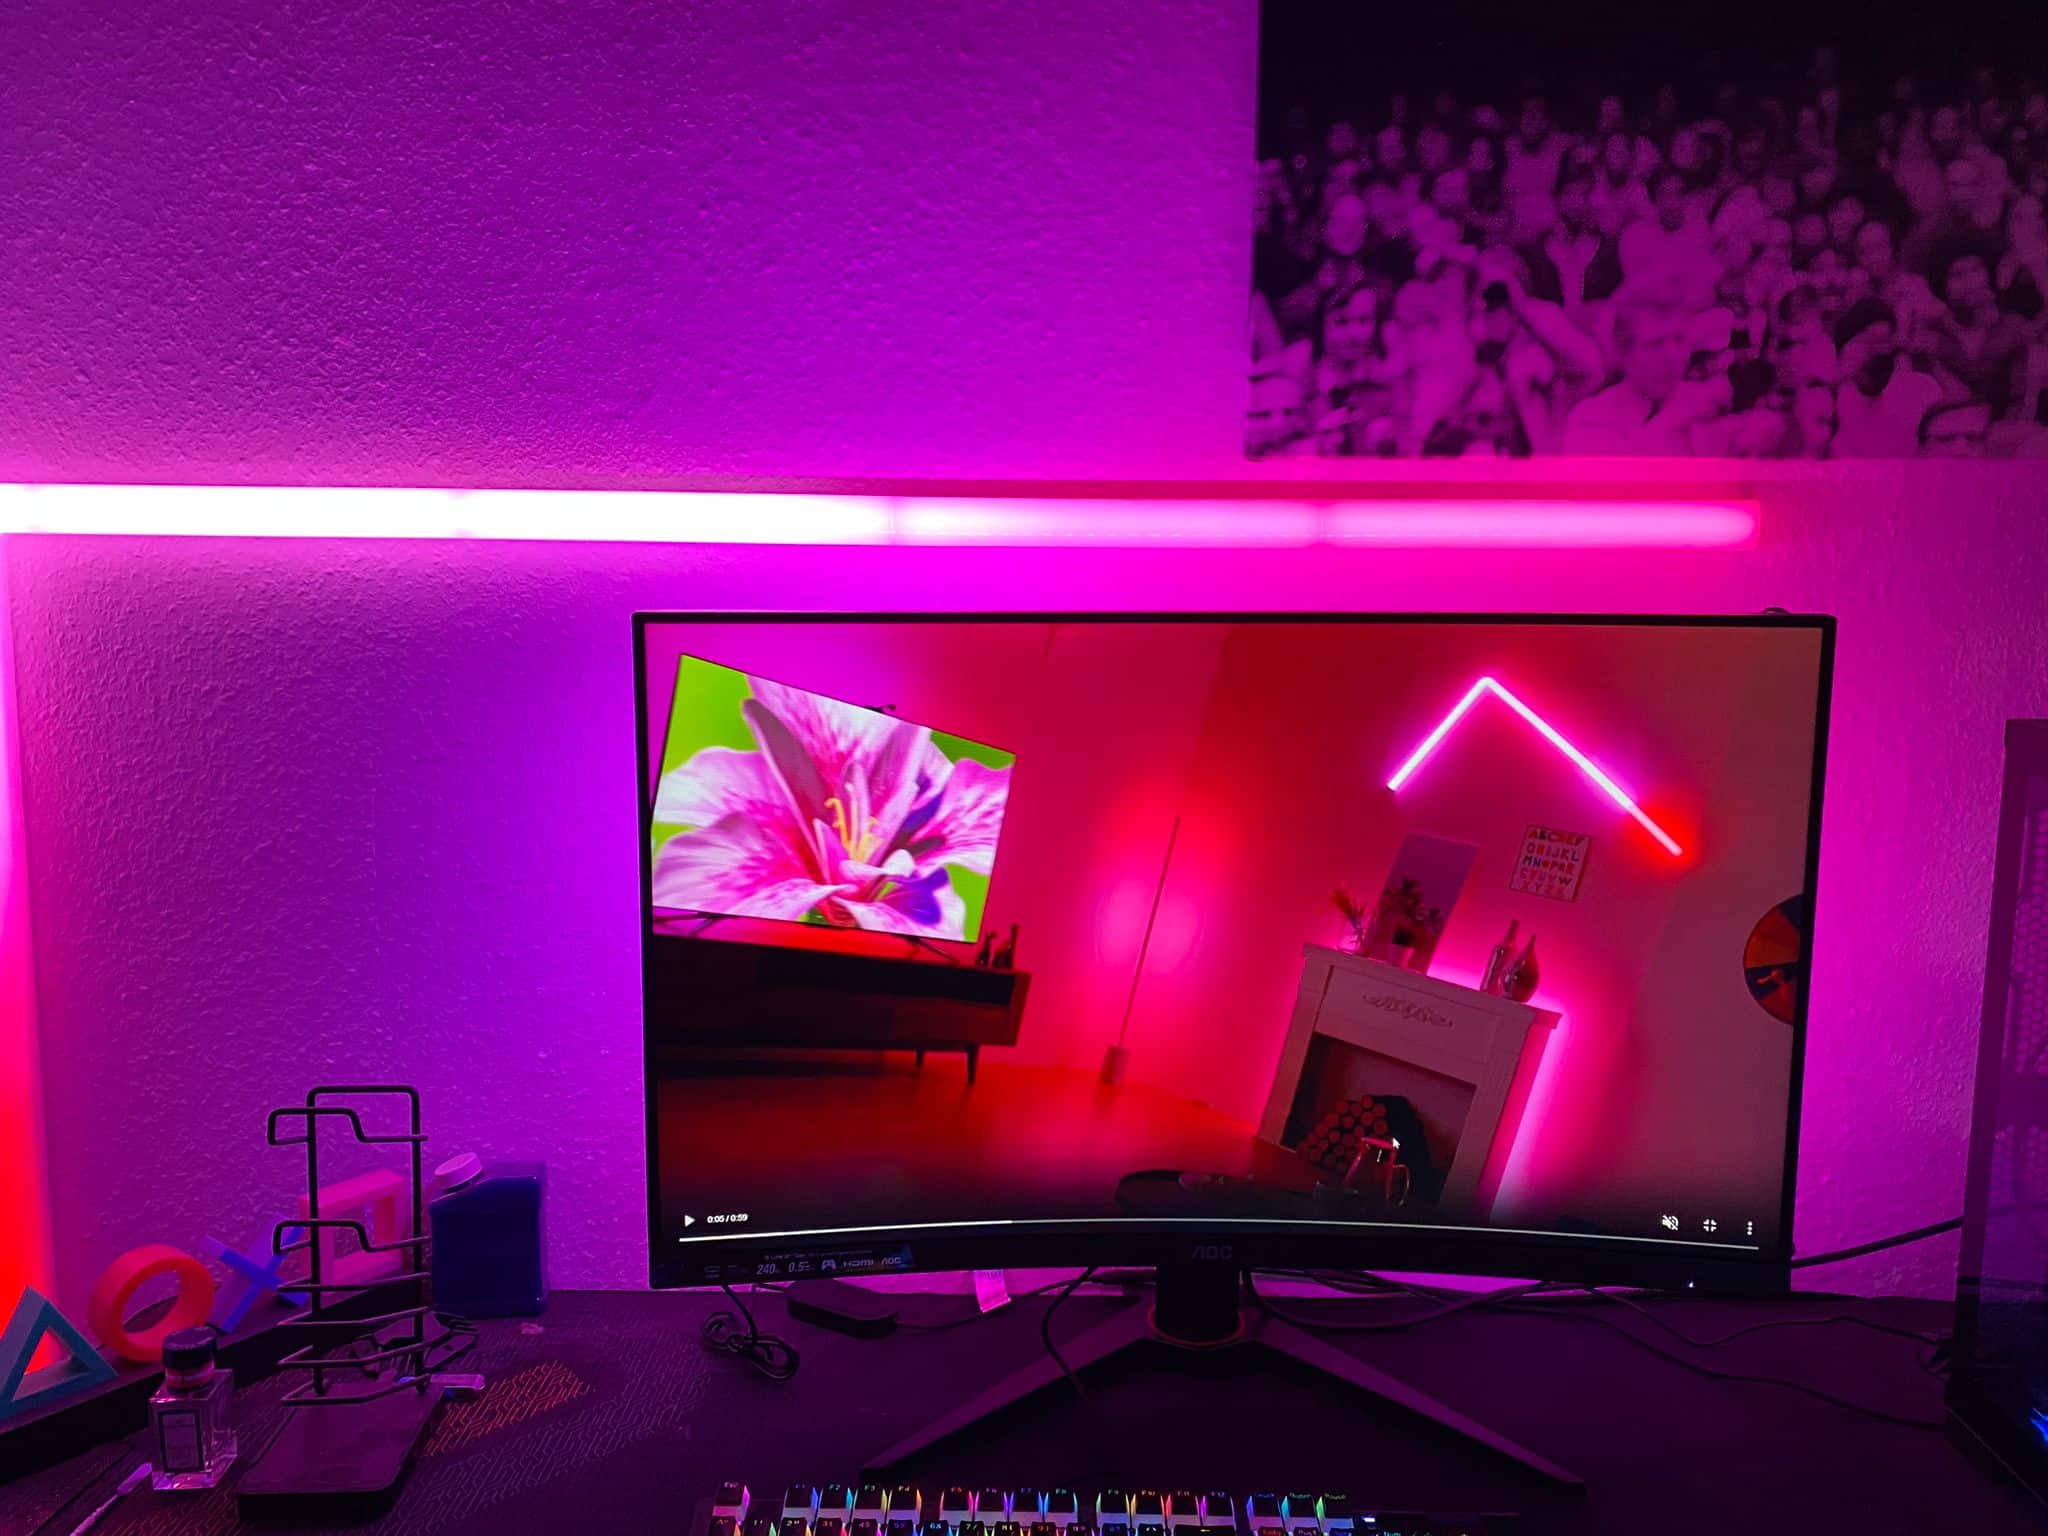
On the Gaming G1 Envisual, we don’t need to attach a camera, as the lighting here is controlled via WLAN. Again, this is done via the Govee app. Just add it with the (+) and then go to settings and enable LAN control. Done, the G1 Envisual is also set up.
Functional test of the Govee T2 and G1
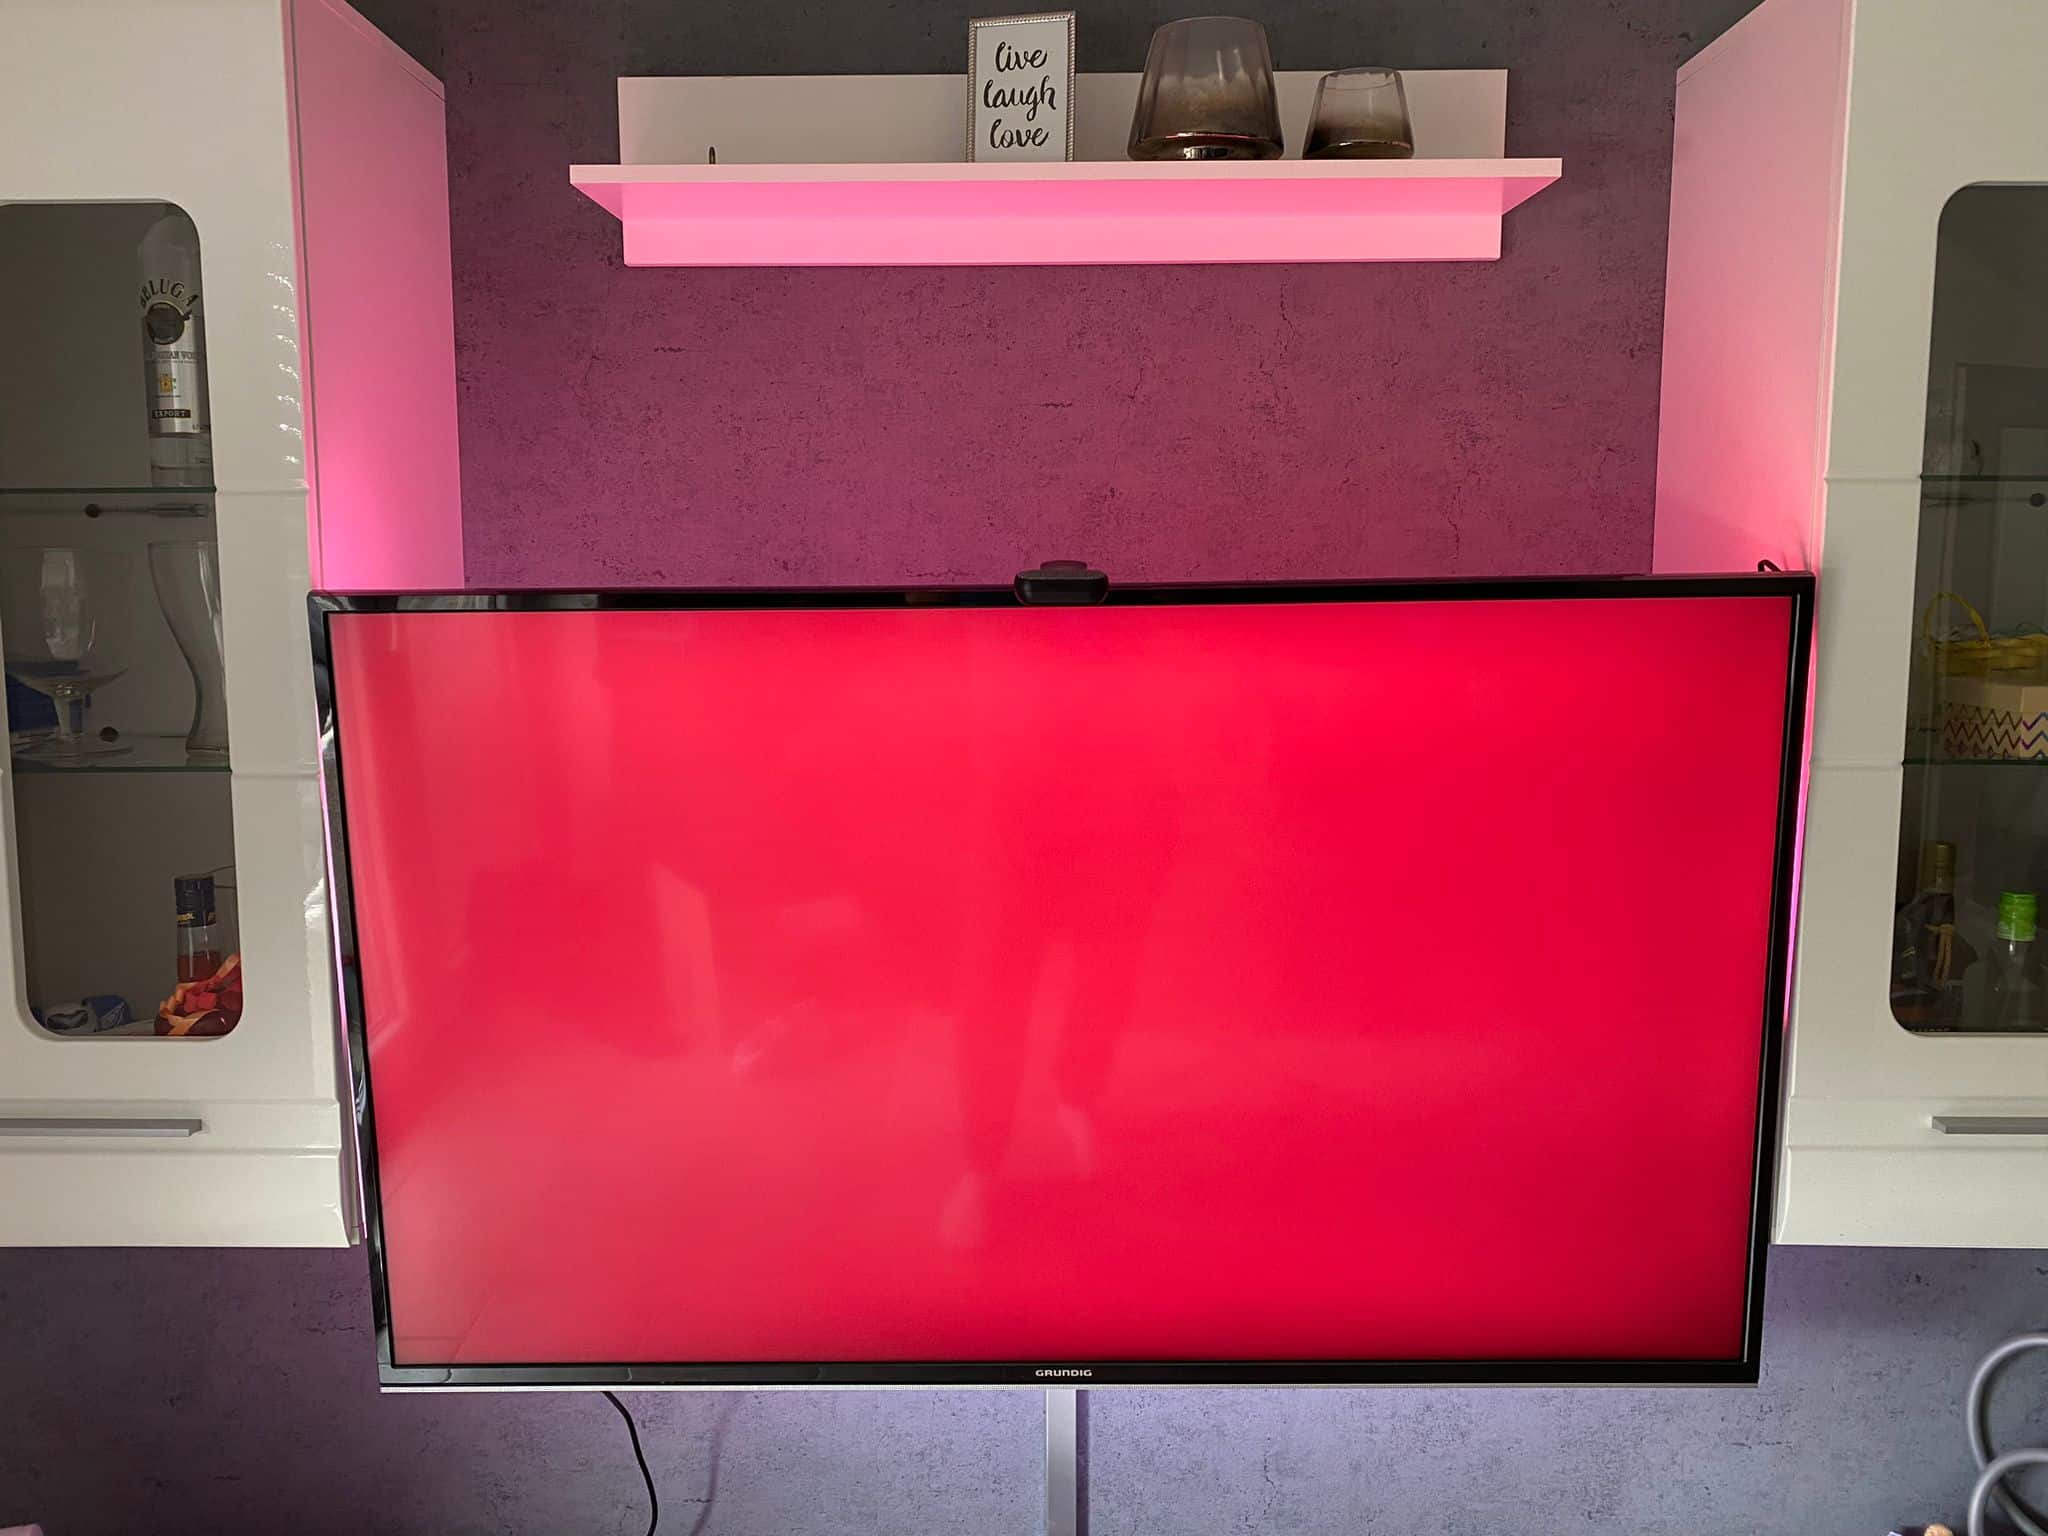
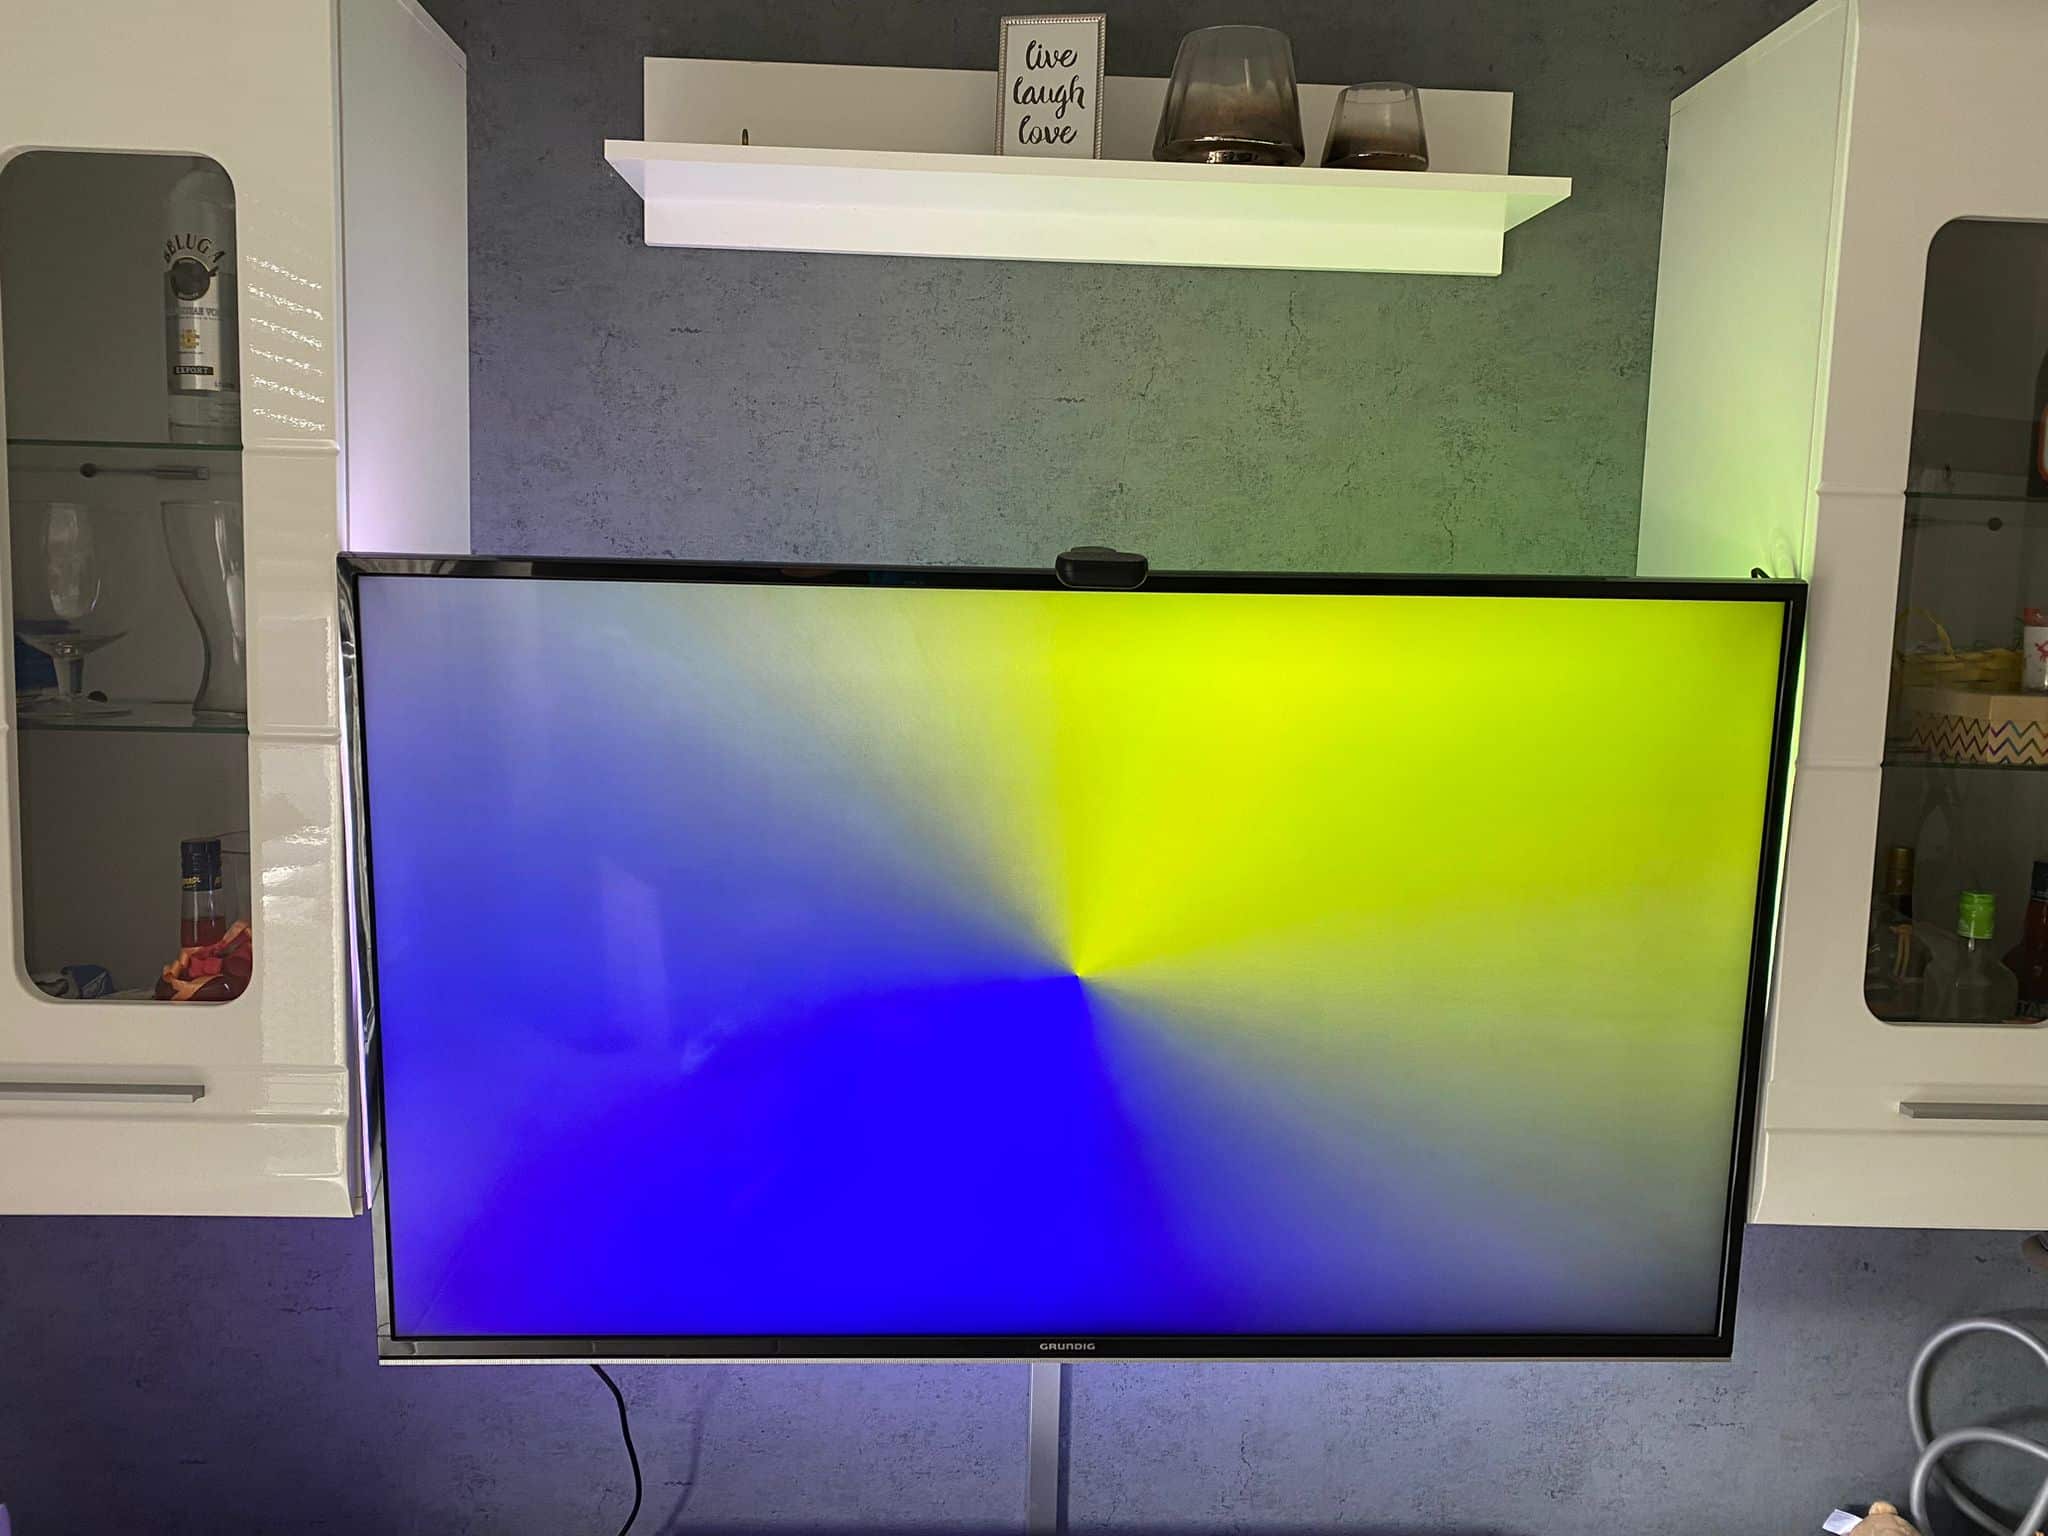
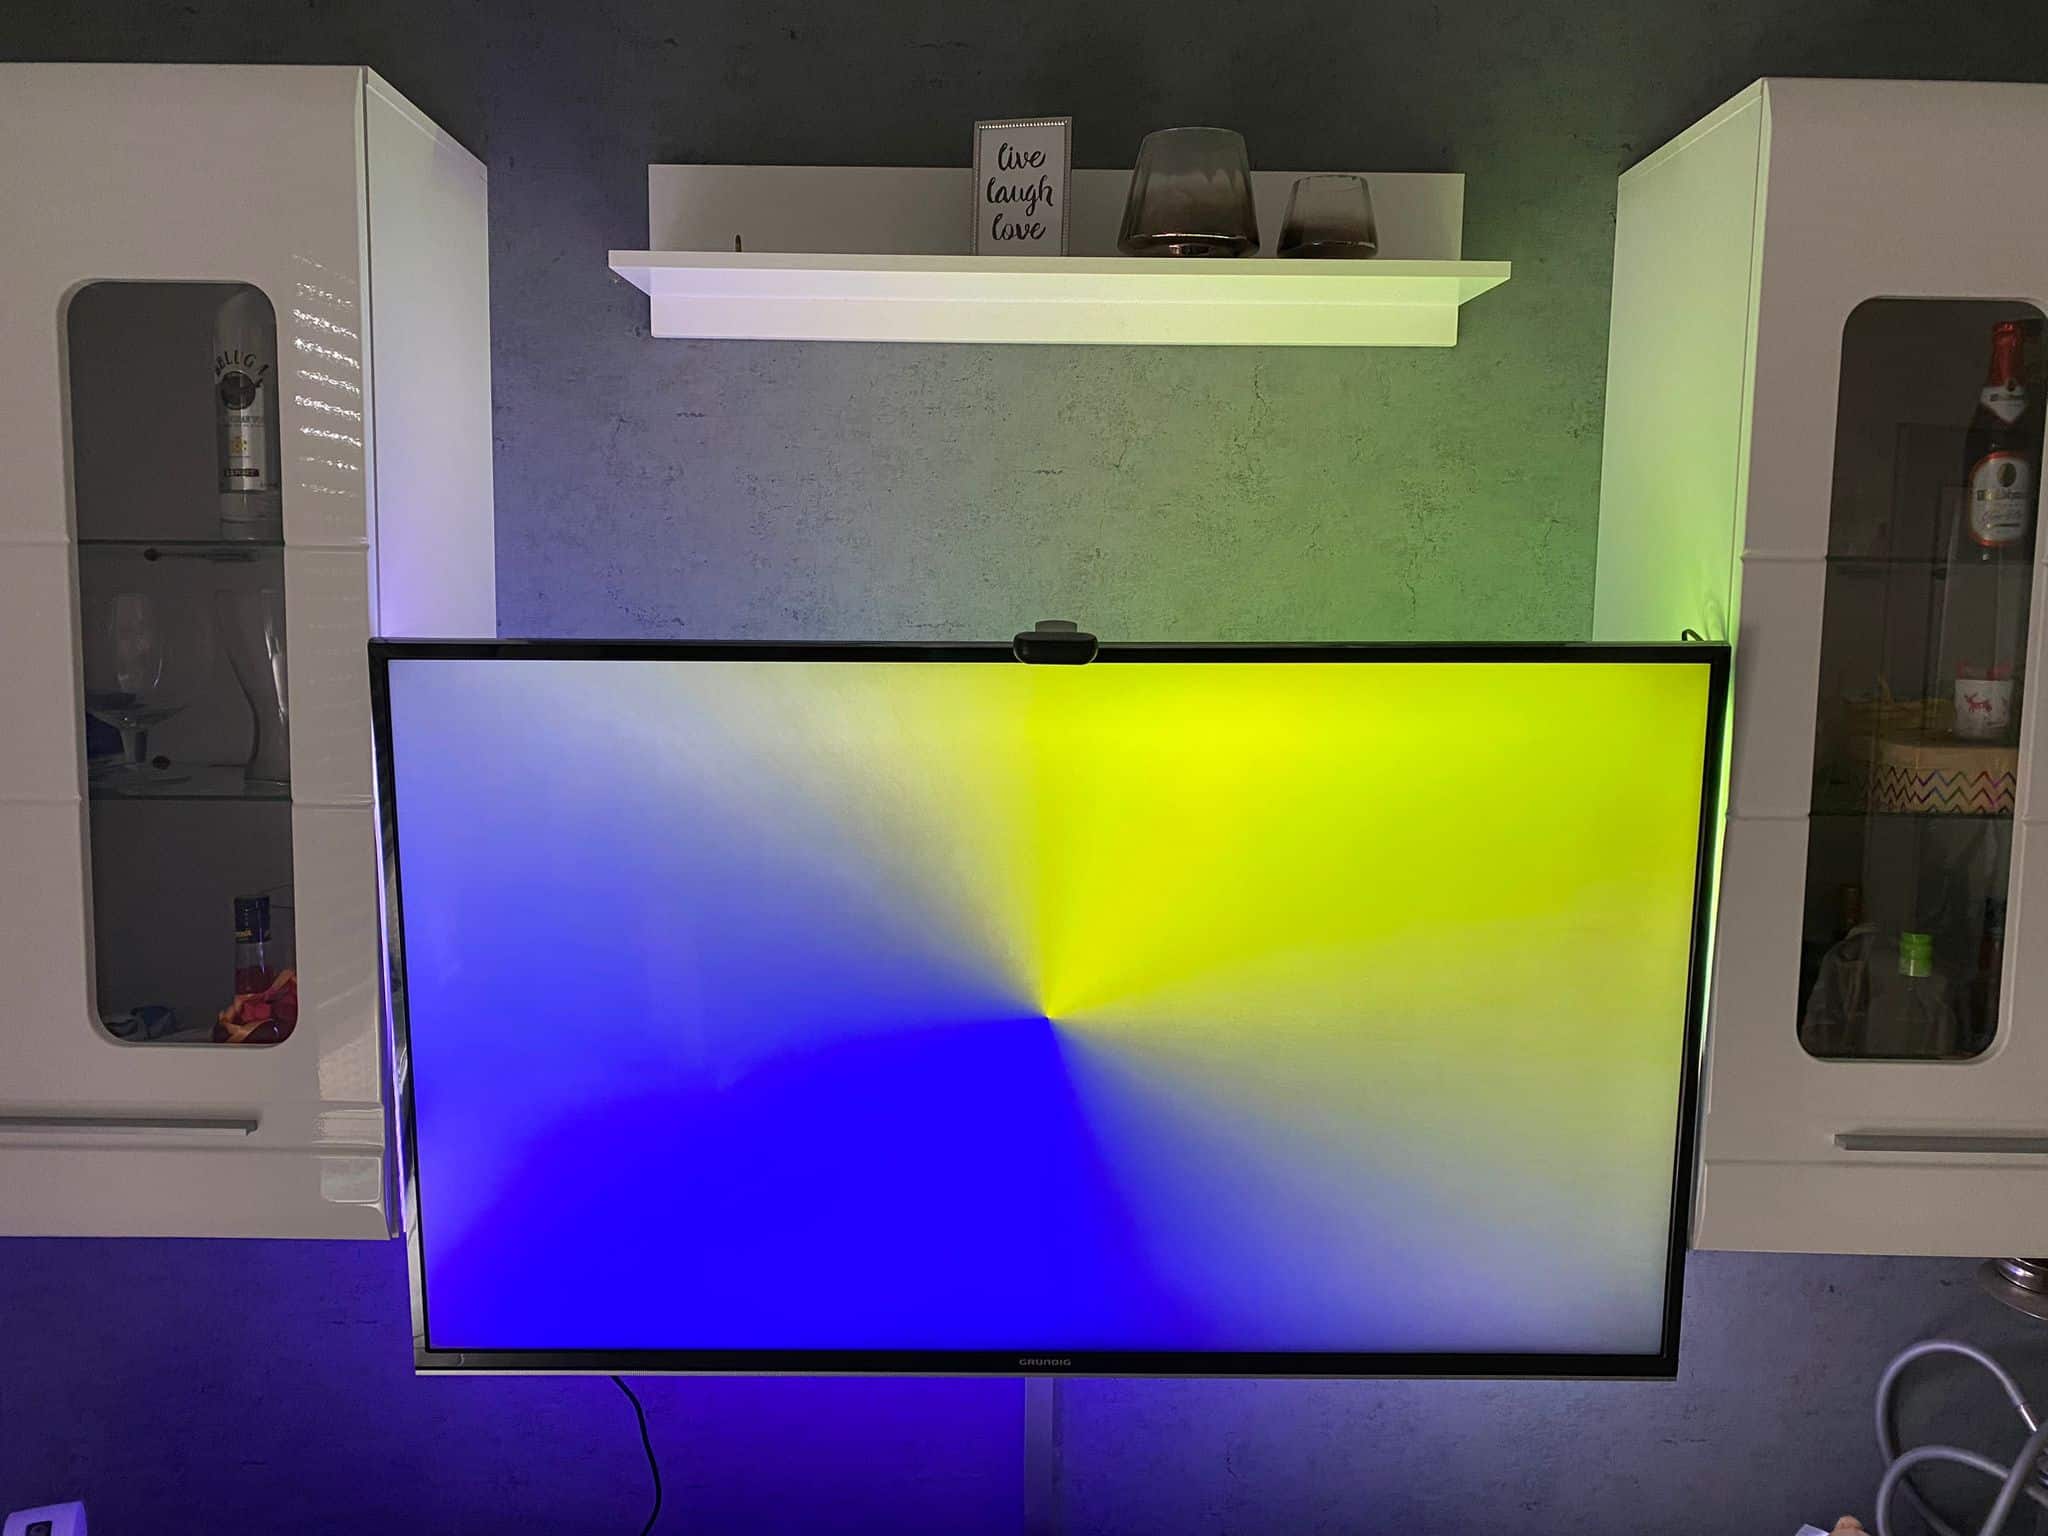
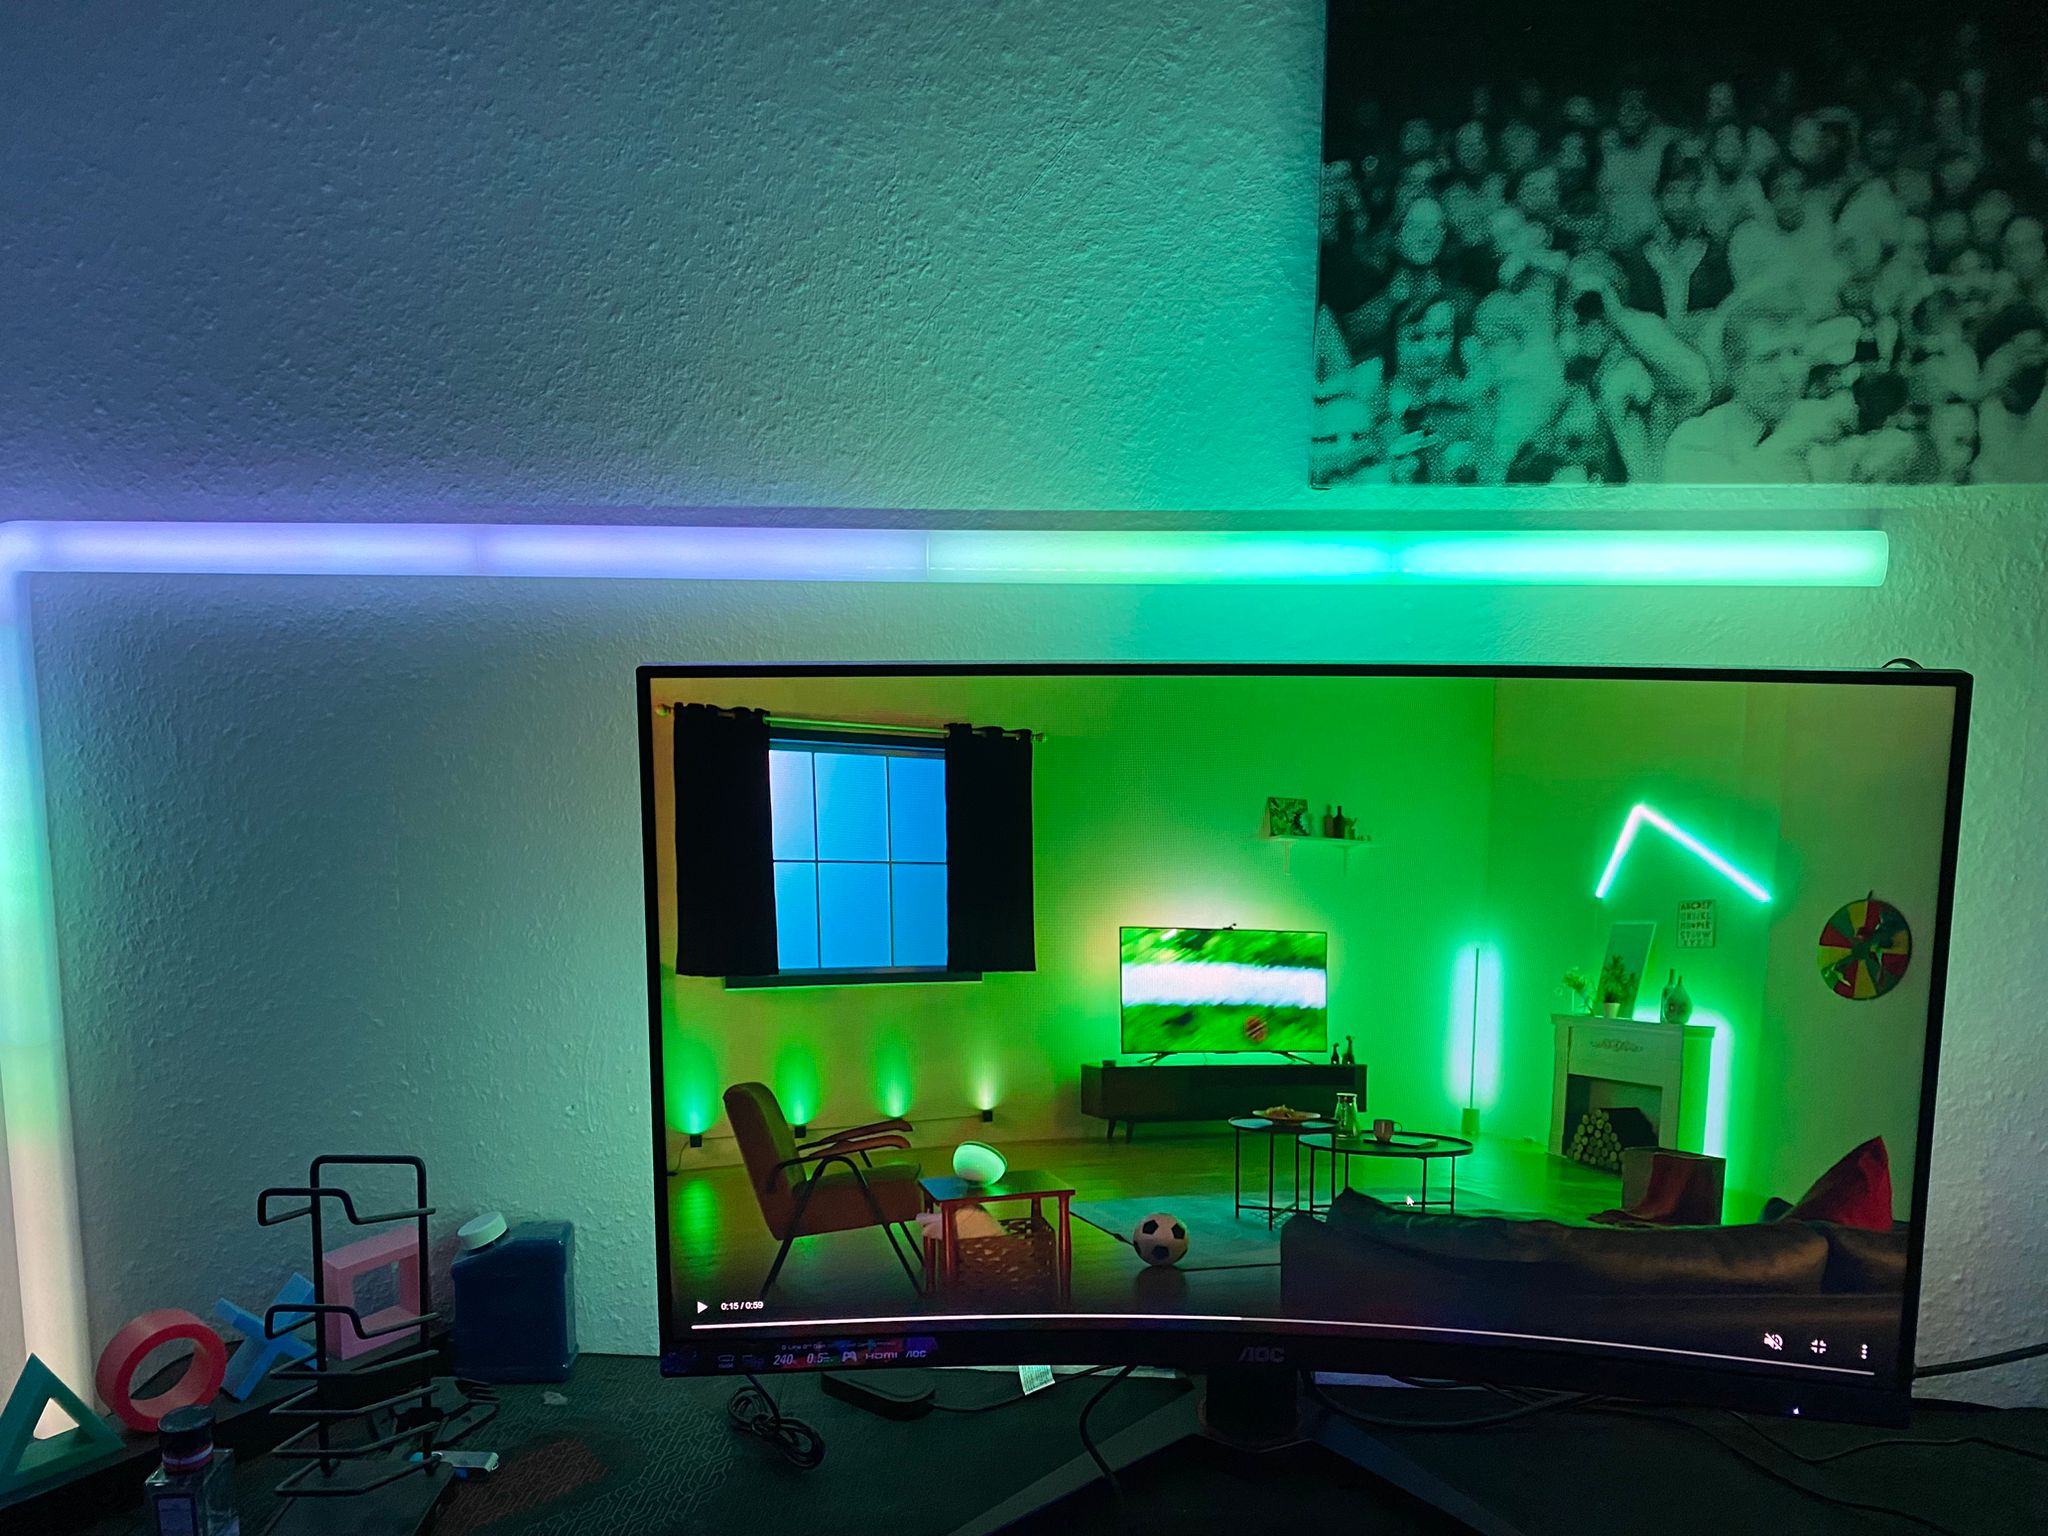
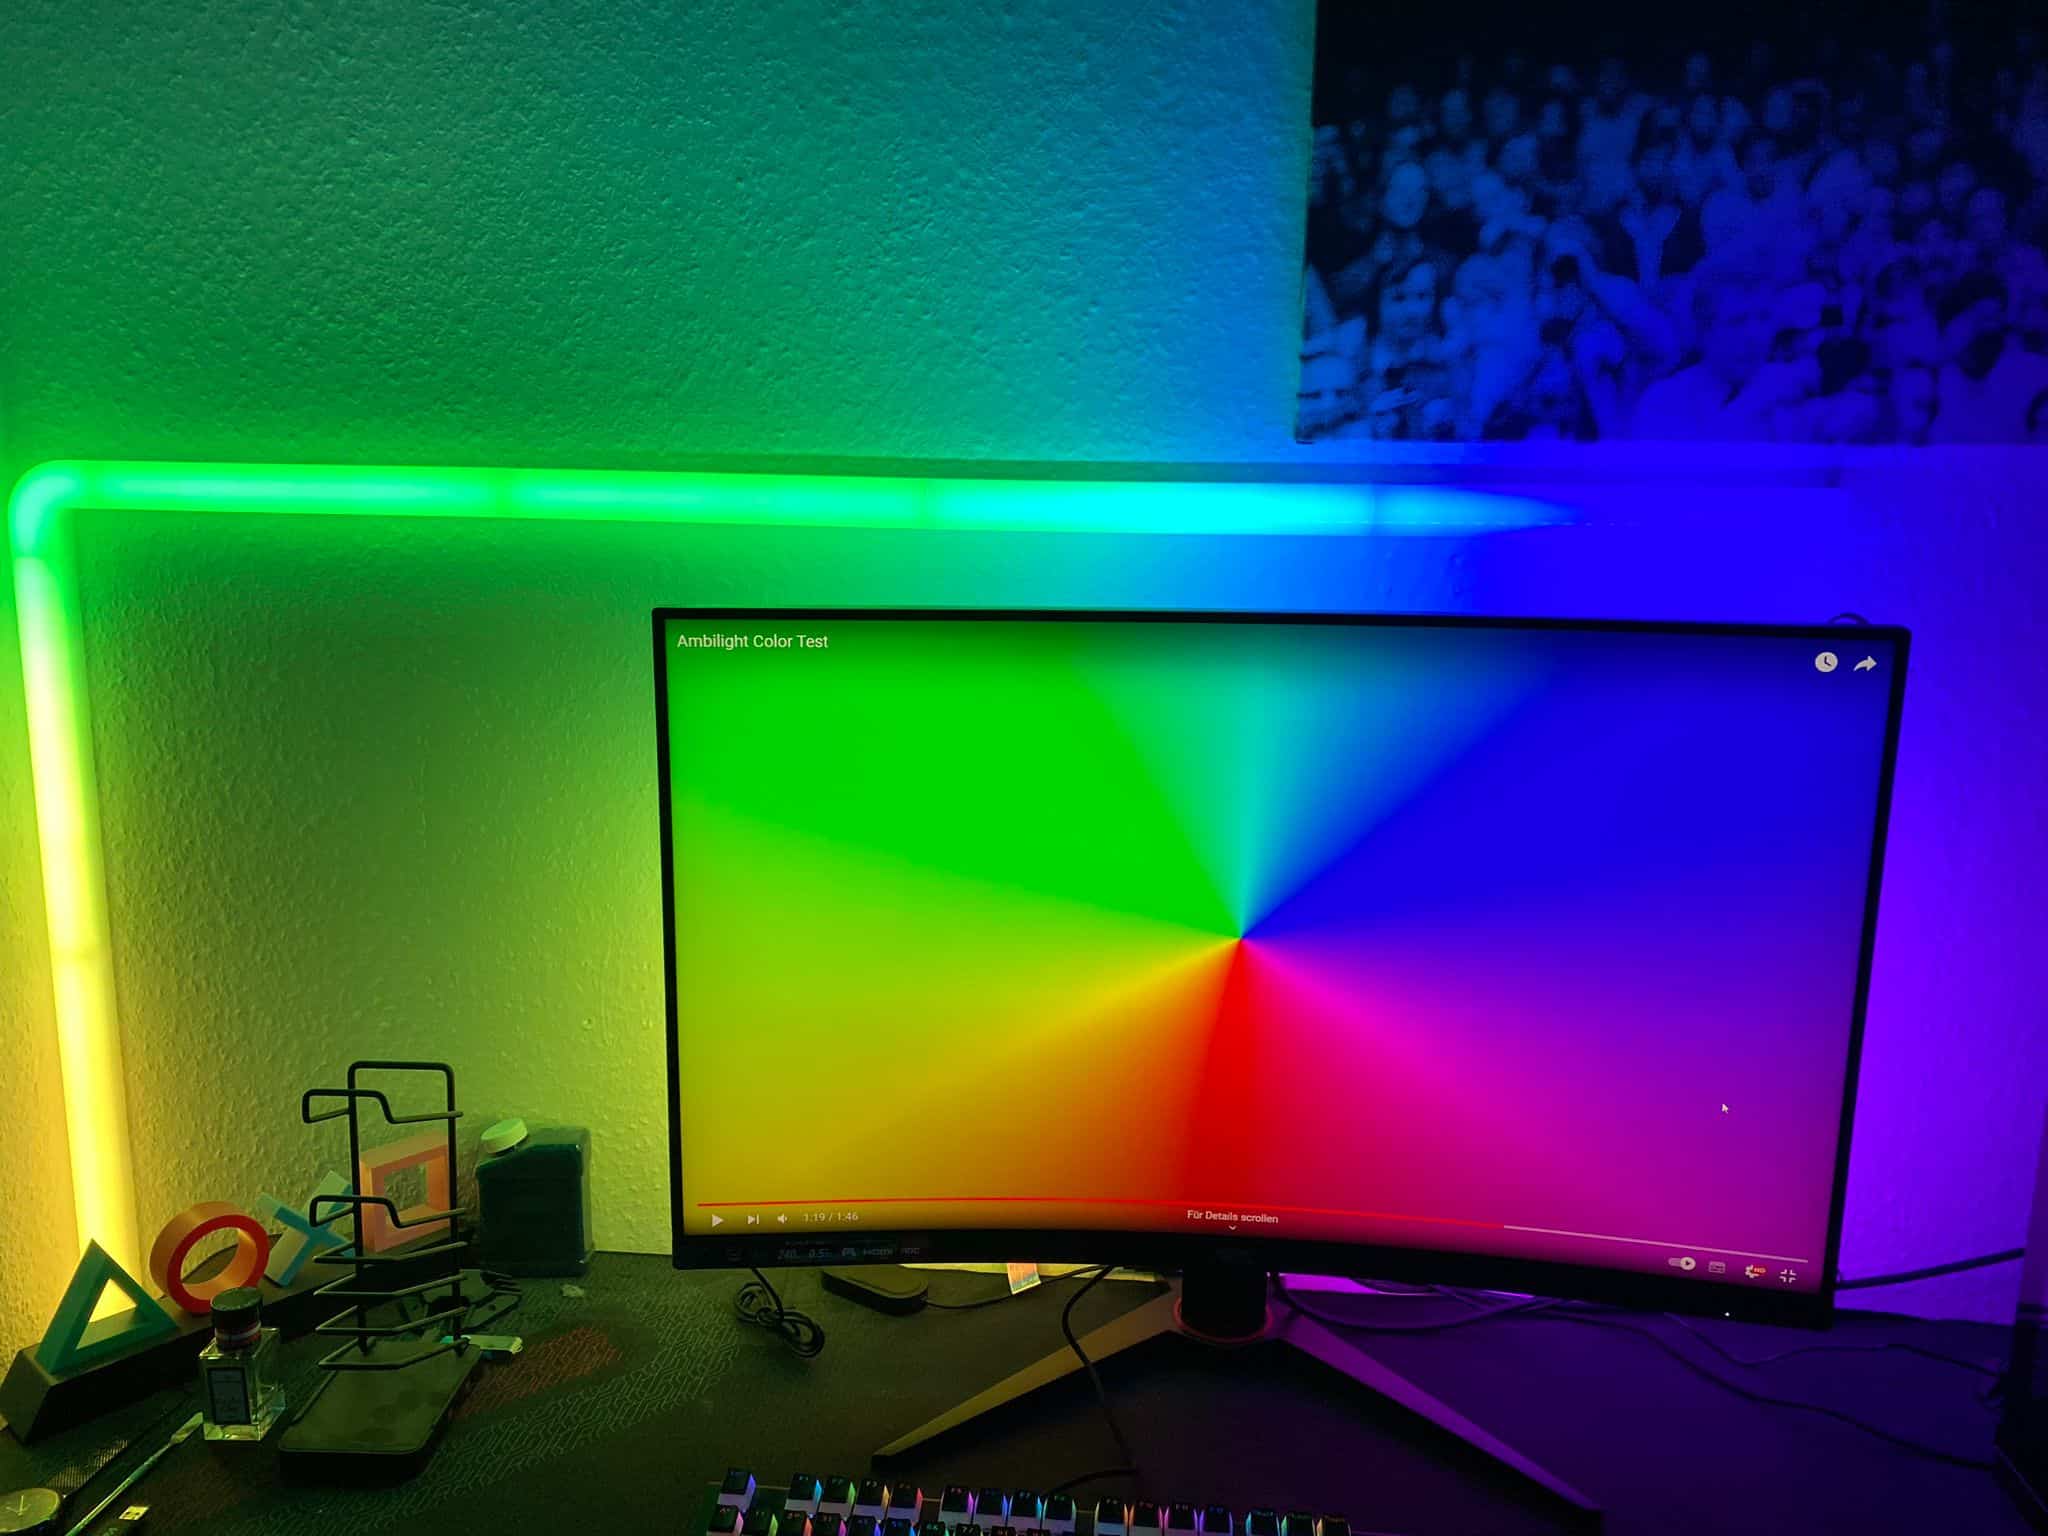
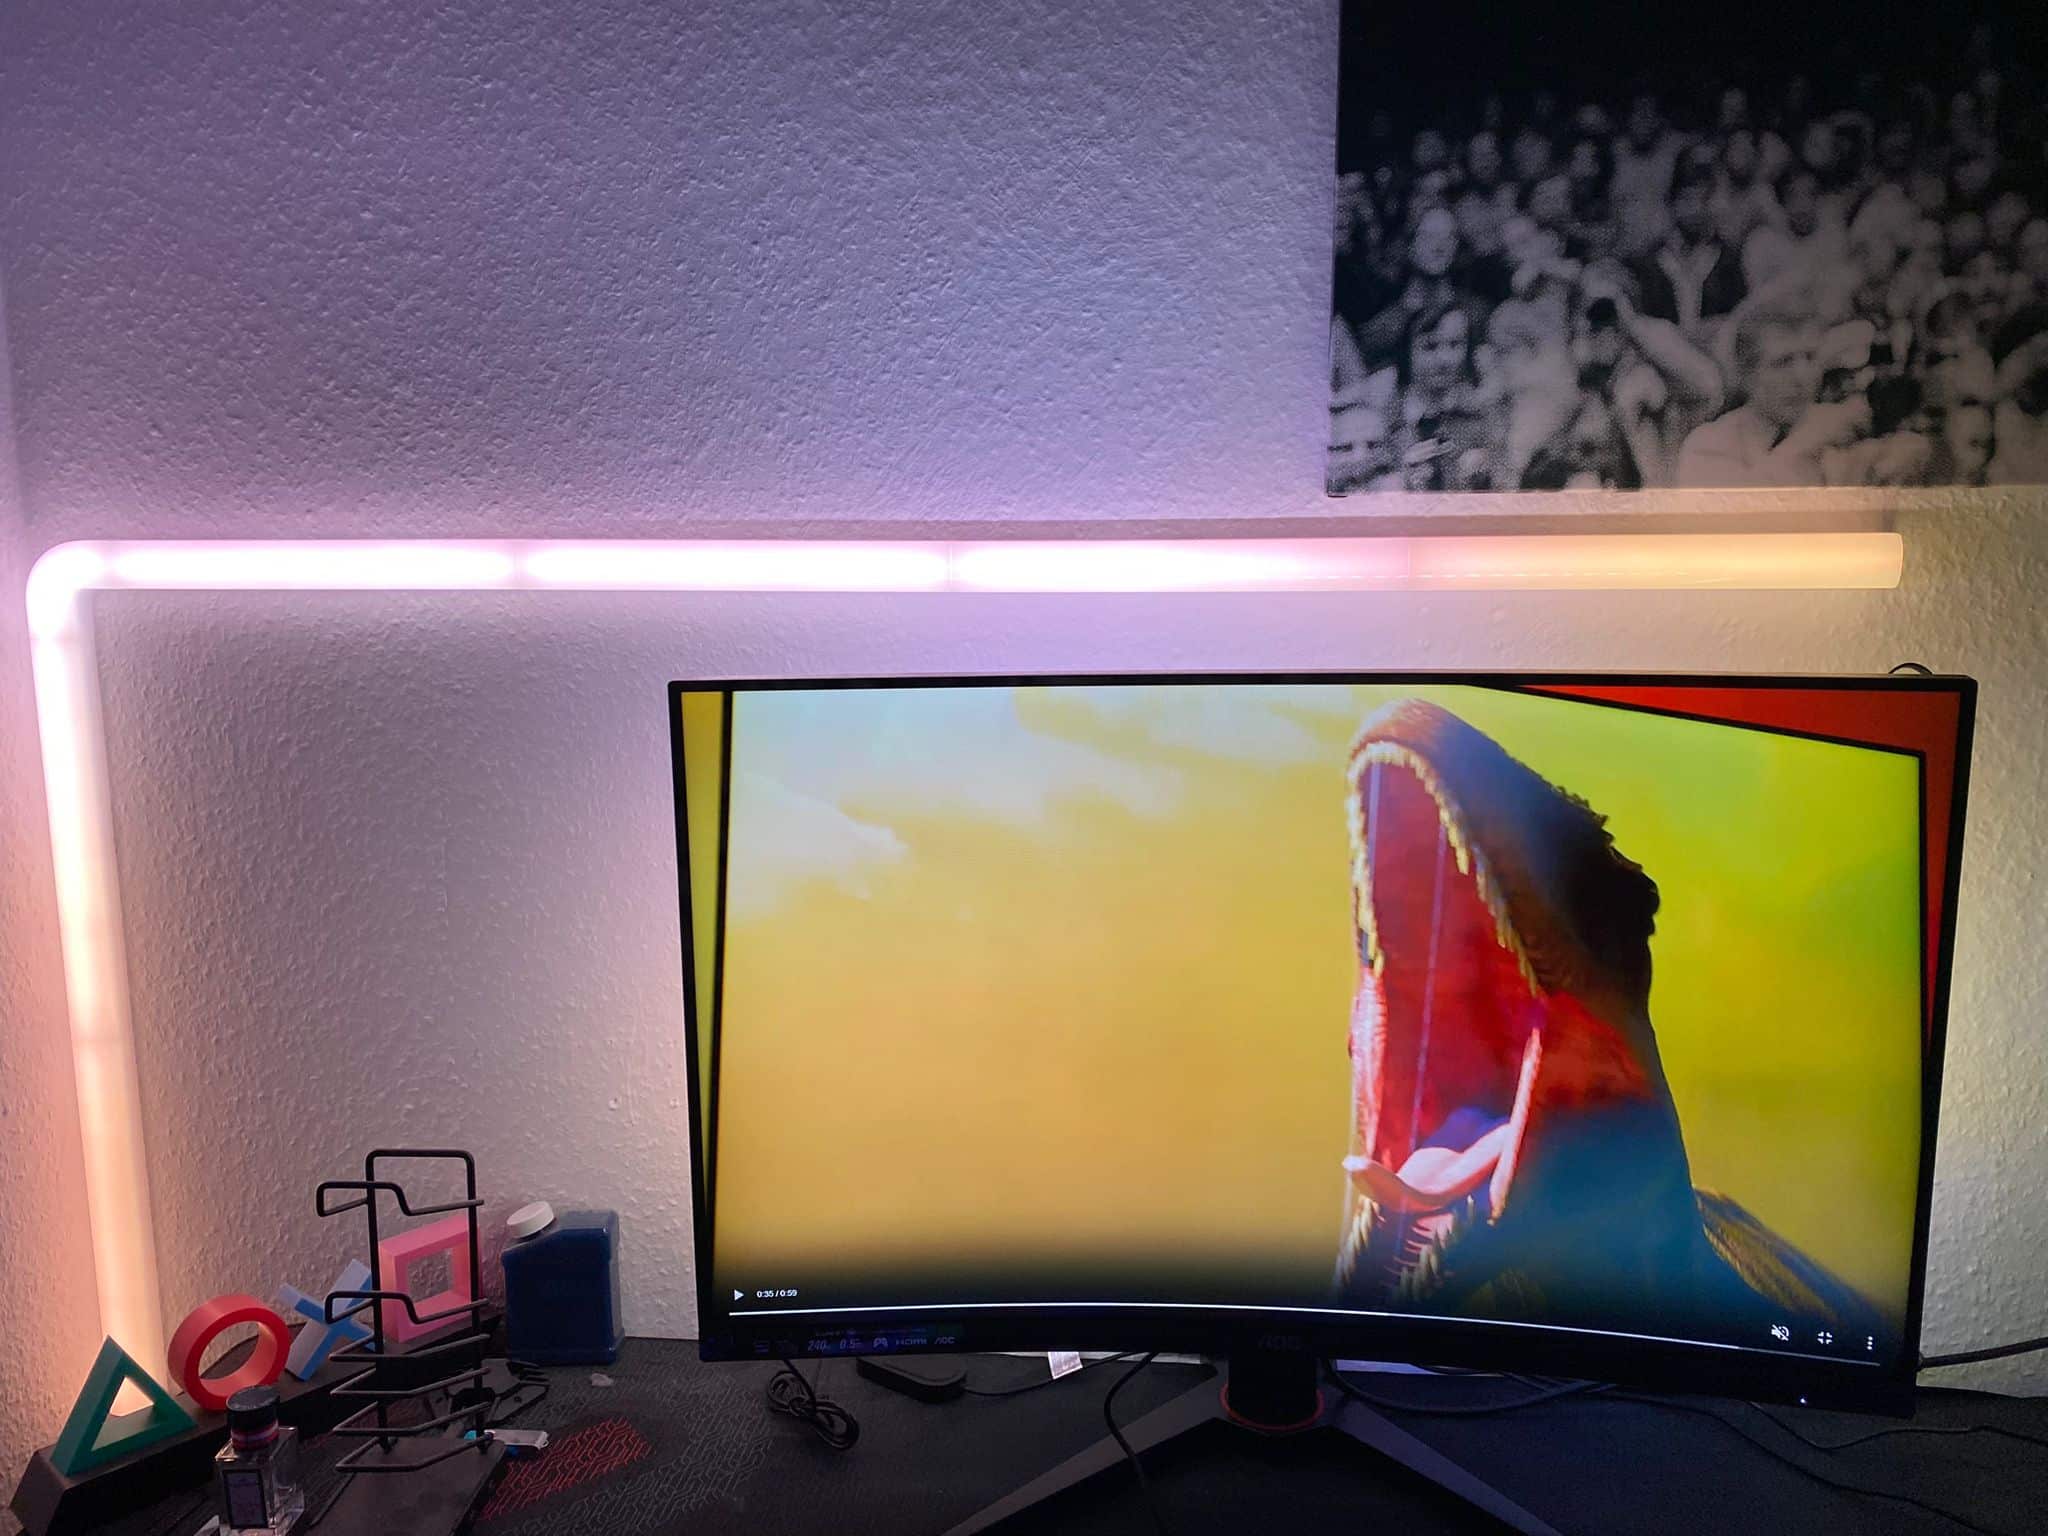
First of all, let’s take a look at the result of the T2 TV backlight. Here we must say that the room atmosphere plays a big role, as the camera can also be strongly influenced by brightness or reflection of the environment. The best result is achieved by completely darkening the room, since here we have no reflections or other disturbing factors for the camera. In a completely darkened state, we are very satisfied with the result. Colors are very good for a retrofit kit and the latency is even lower than in the predecessor. Thanks to the white adjustment, it is also possible to adjust more precisely what one likes best for white. The music mode also runs better than the predecessor, this records sounds efficiently and also hardly allows any delay for the creation of the effects here. In normal use, for example in the living room with windows in broad daylight, the result drops a bit. However, not as much as one would initially expect. Even so, most colors are hit well and we get a good result.

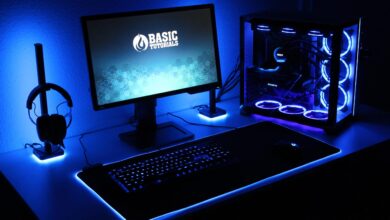
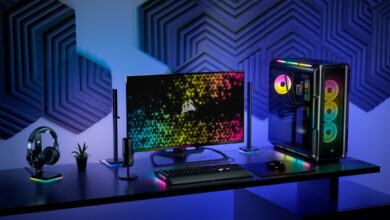
With the Gaming G1 Envisual, things look a bit different. We don’t need a camera, only WLAN. The controller uses this to pull the screen colors from the output source and thus passes the colors on to the LED strip. The result is also very impressive! Here, however, we don’t have the problem of light or reflection on the monitor causing interference, so we always have a super solid reproduction of our colors on the LED strip. Latency here is similar to that to the T2 backlight, extremely low.
Dreamview can be used to control other Govee components in conjunction with the Envisual. These can be configured via the Govee desktop app and you are guided through step by step, so this is not a challenge either. Again, the function is very well given, the signals are passed on one-to-one and illuminate the gaming setup even more tuned. Govee T2 and G1 could both convince in their own way here.
Conclusion
We took a look at two Envisual variants from Govee. The model for the TV offers a very good Envisual retrofit kit for conventional TVs that didn’t come with factory-installed Ambilight. The relatively large camera is annoying here, which is not very noticeable in itself, but always gets attention in between. In addition, the camera can be distorted quite easily by external influences, which can occasionally lead to color inconsistencies. However, these shortcomings are not too serious, as they only occur minimally and a very good result is usually achieved.
There is hardly anything to criticize with the G1. The signal is passed through the network to the strips, so the colors are always hit. Color detection and latency are big plus points. So if you’re looking for Ambilight alternatives, you’re in very good hands with these two solutions!
Govee TV Ambilight T2 & Gaming G1
Workmanship
Hardware
Performance
Value for money
88/100
Both products are a good Ambilight alternative. However, the prices are a bit high, which is also the reason why they narrowly miss the Gold Award. In terms of function, however, we came to an extremely good result.