
If you often want to test different PC components, regularly replace PC components or need quick access to the expansion slots on the mainboard, then a classic PC case can quickly become very impractical. Benchtables are supposed to provide a remedy here and although there is not much to a benchtable, they are often comparatively expensive. The solution: DIY! Today we are testing one such kit for a DIY open air benchtable.
While browsing on a Chinese shopping platform, we came across a kit that only costs around a third of a Streacom BC1 V2, for example. However, you have to do without a brand name and assemble the benchtable completely yourself. You can find out what other advantages and disadvantages there are in this review.
Technical details
| Model: | DIY Open Air Benchtable µATX (No-Name) |
| Case type: | µATX Benchtable |
| Dimensions: | 170 mm (W) x 380 mm (H) x 280 mm (D) |
| Weight: | 1.42 kg |
| Material: | Aluminum, steel, plastic |
| Color: | Black |
| Front connections: | 1x power button |
| Drive bays: | 4x 3.5″ or 4x 2.5″ |
| Expansion slots: | 2x horizontal |
| Form factors: | µATX |
| Ventilation: | 3x 120 / 2x 140 mm |
| Radiators: | 1x 240/ 280 mm |
| Max. CPU cooler height: | unlimited |
| Max. Graphics card length: | unlimited |
| Max. Net part length: | unlimited |
| Space for cable management: | unlimited |
| Price: | between €35 and €45 |
| Special features: | Open Air Benchtable, aluminum profiles with rail system, invertible |
DIY Open Air Benchtable Test: The scope of delivery
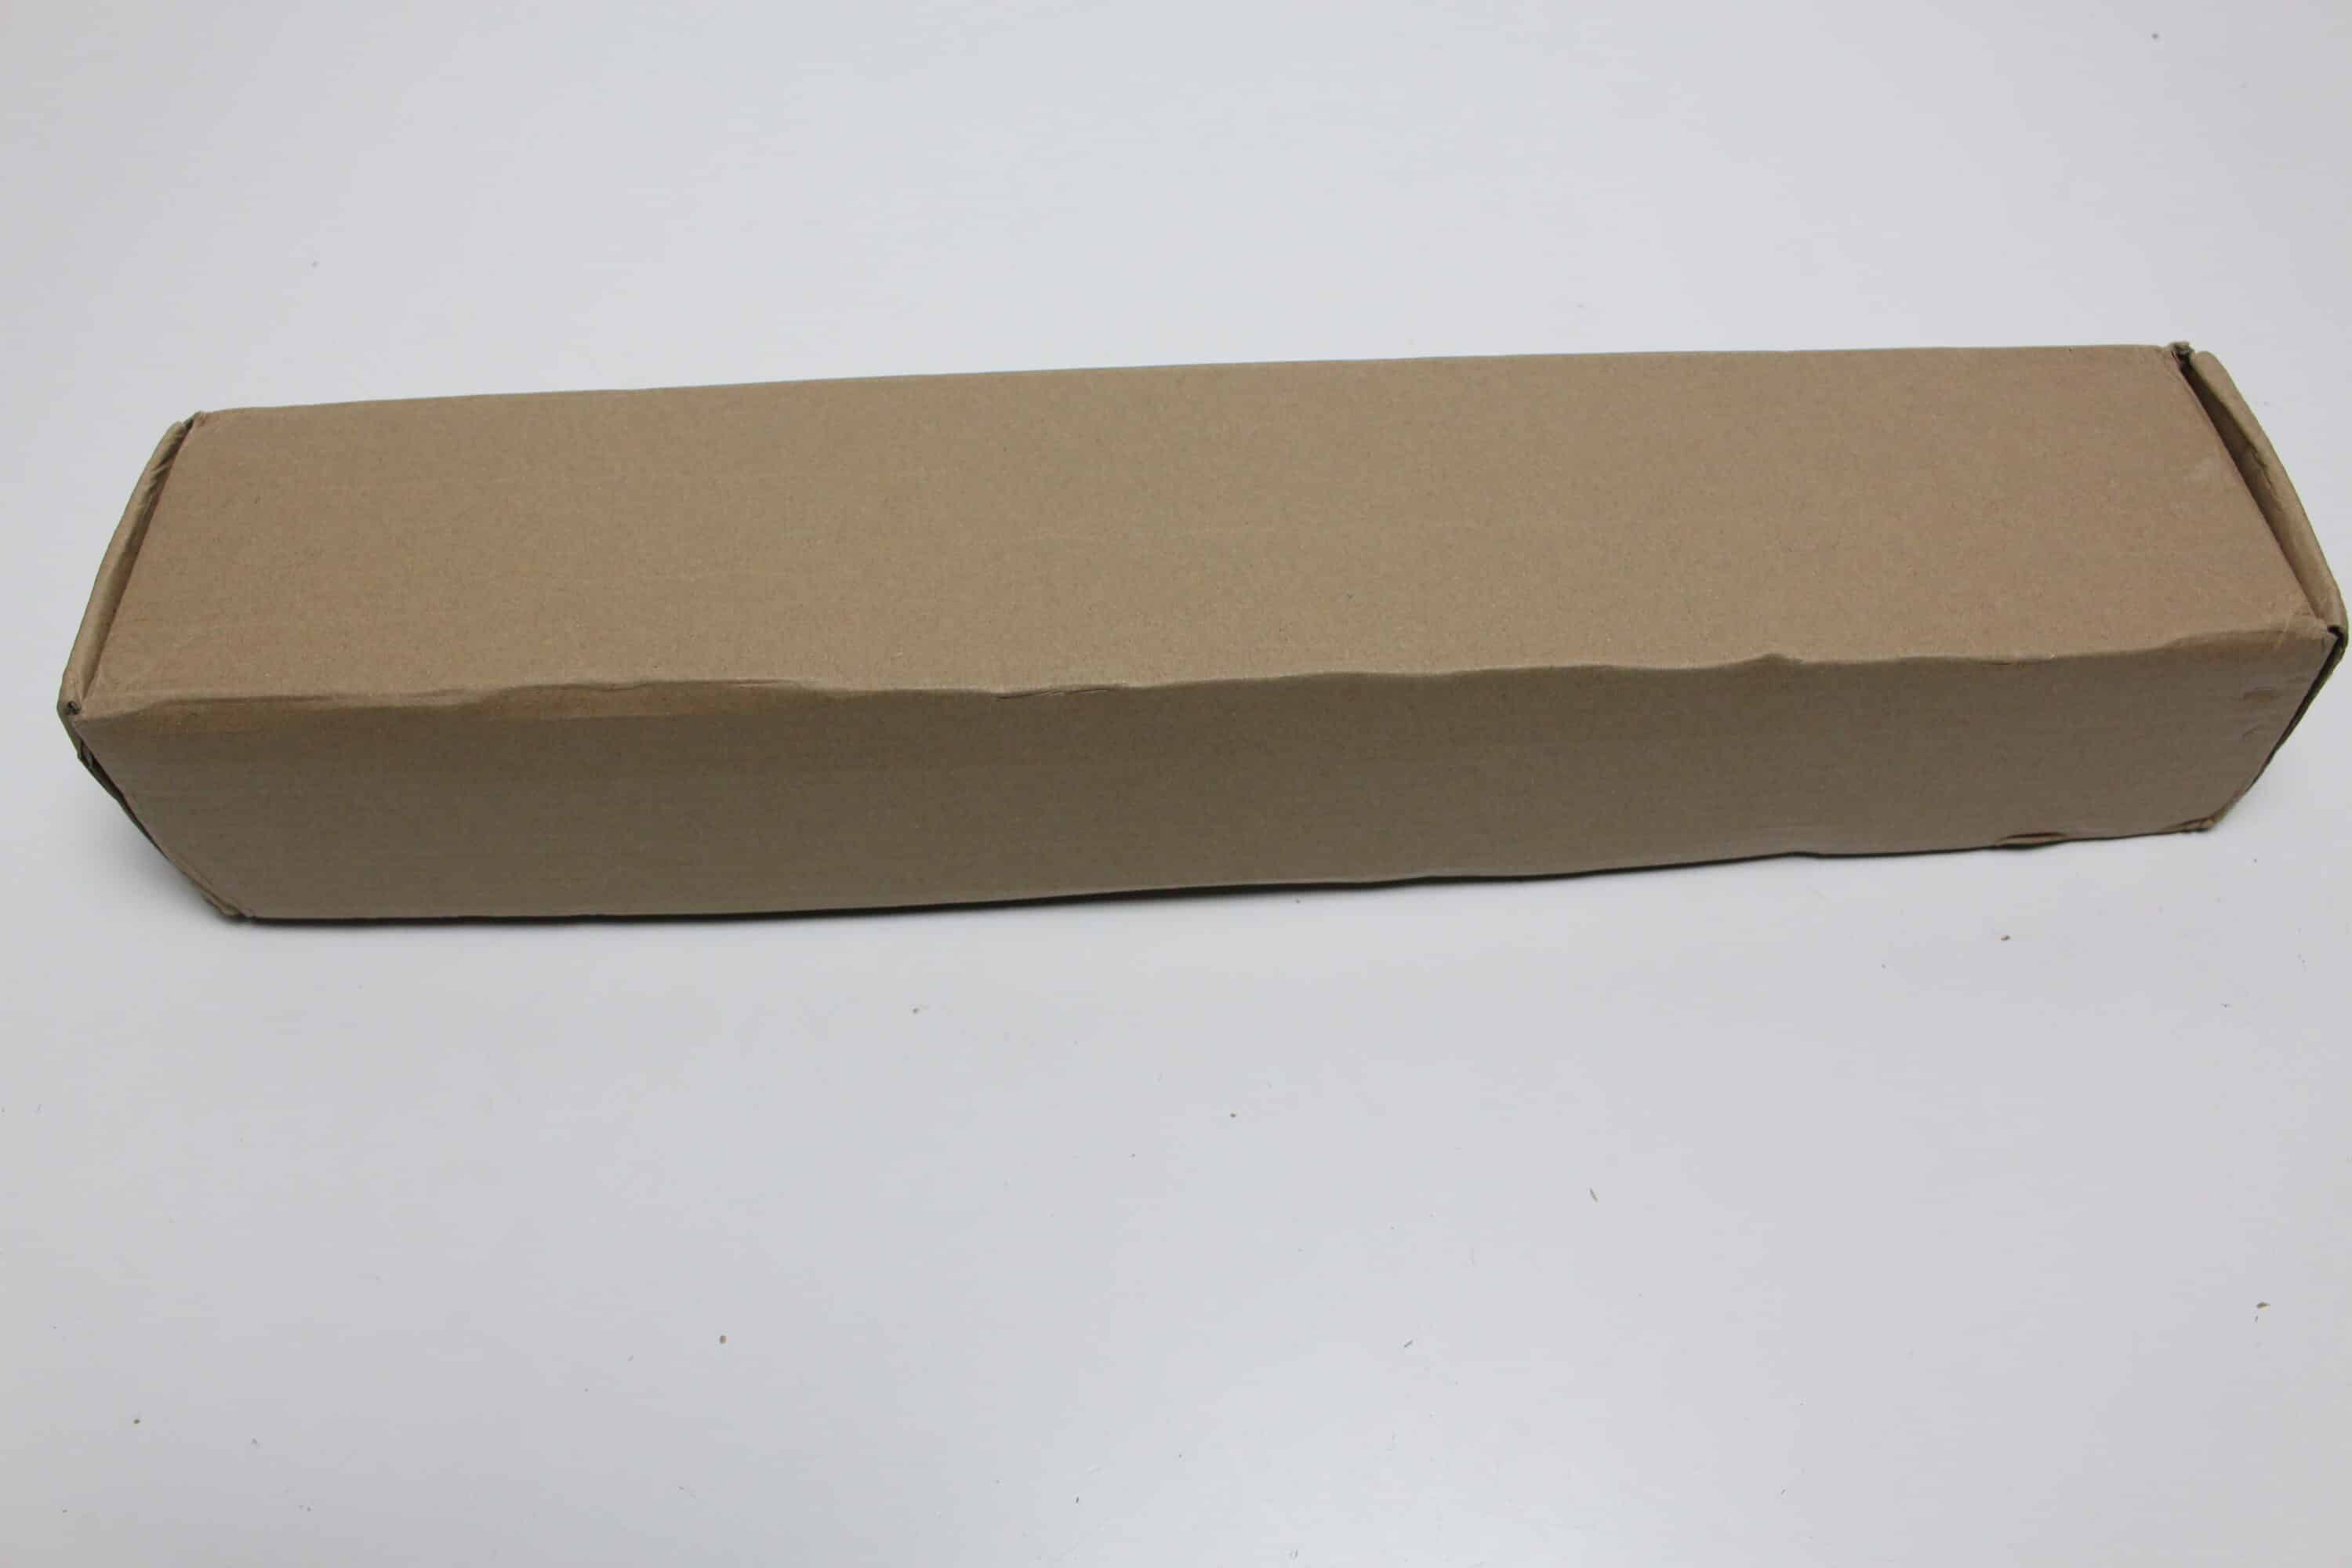
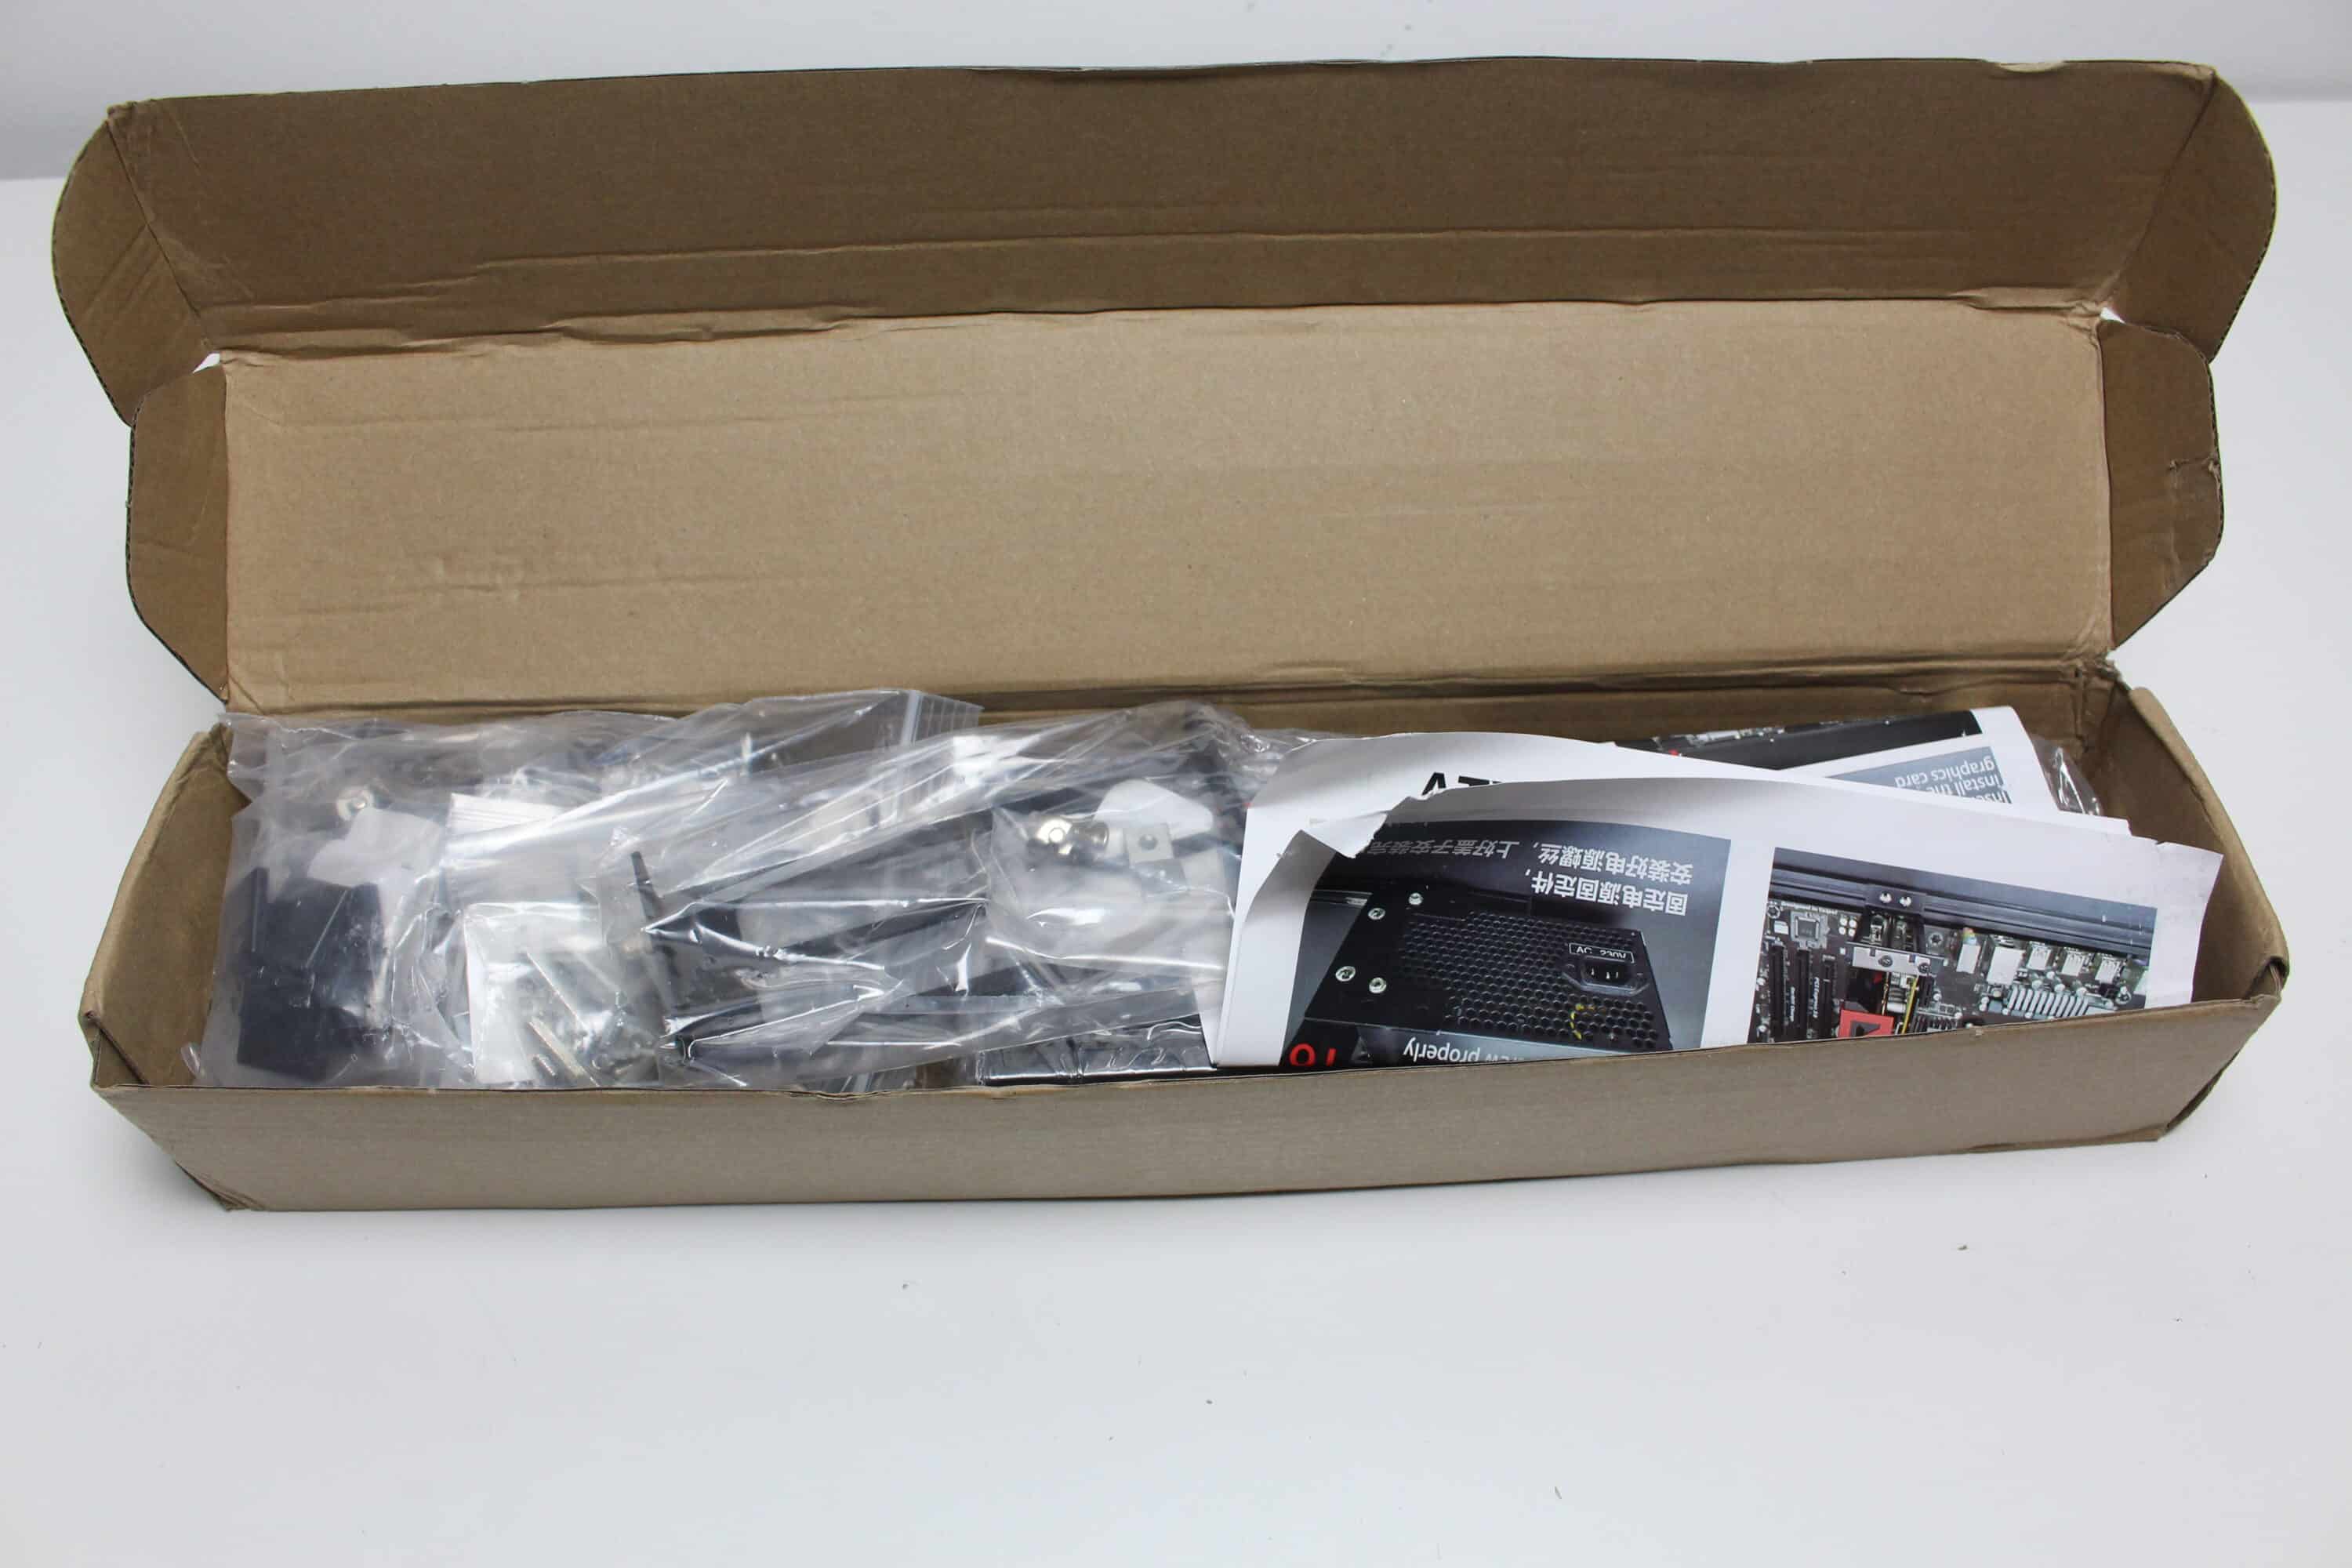
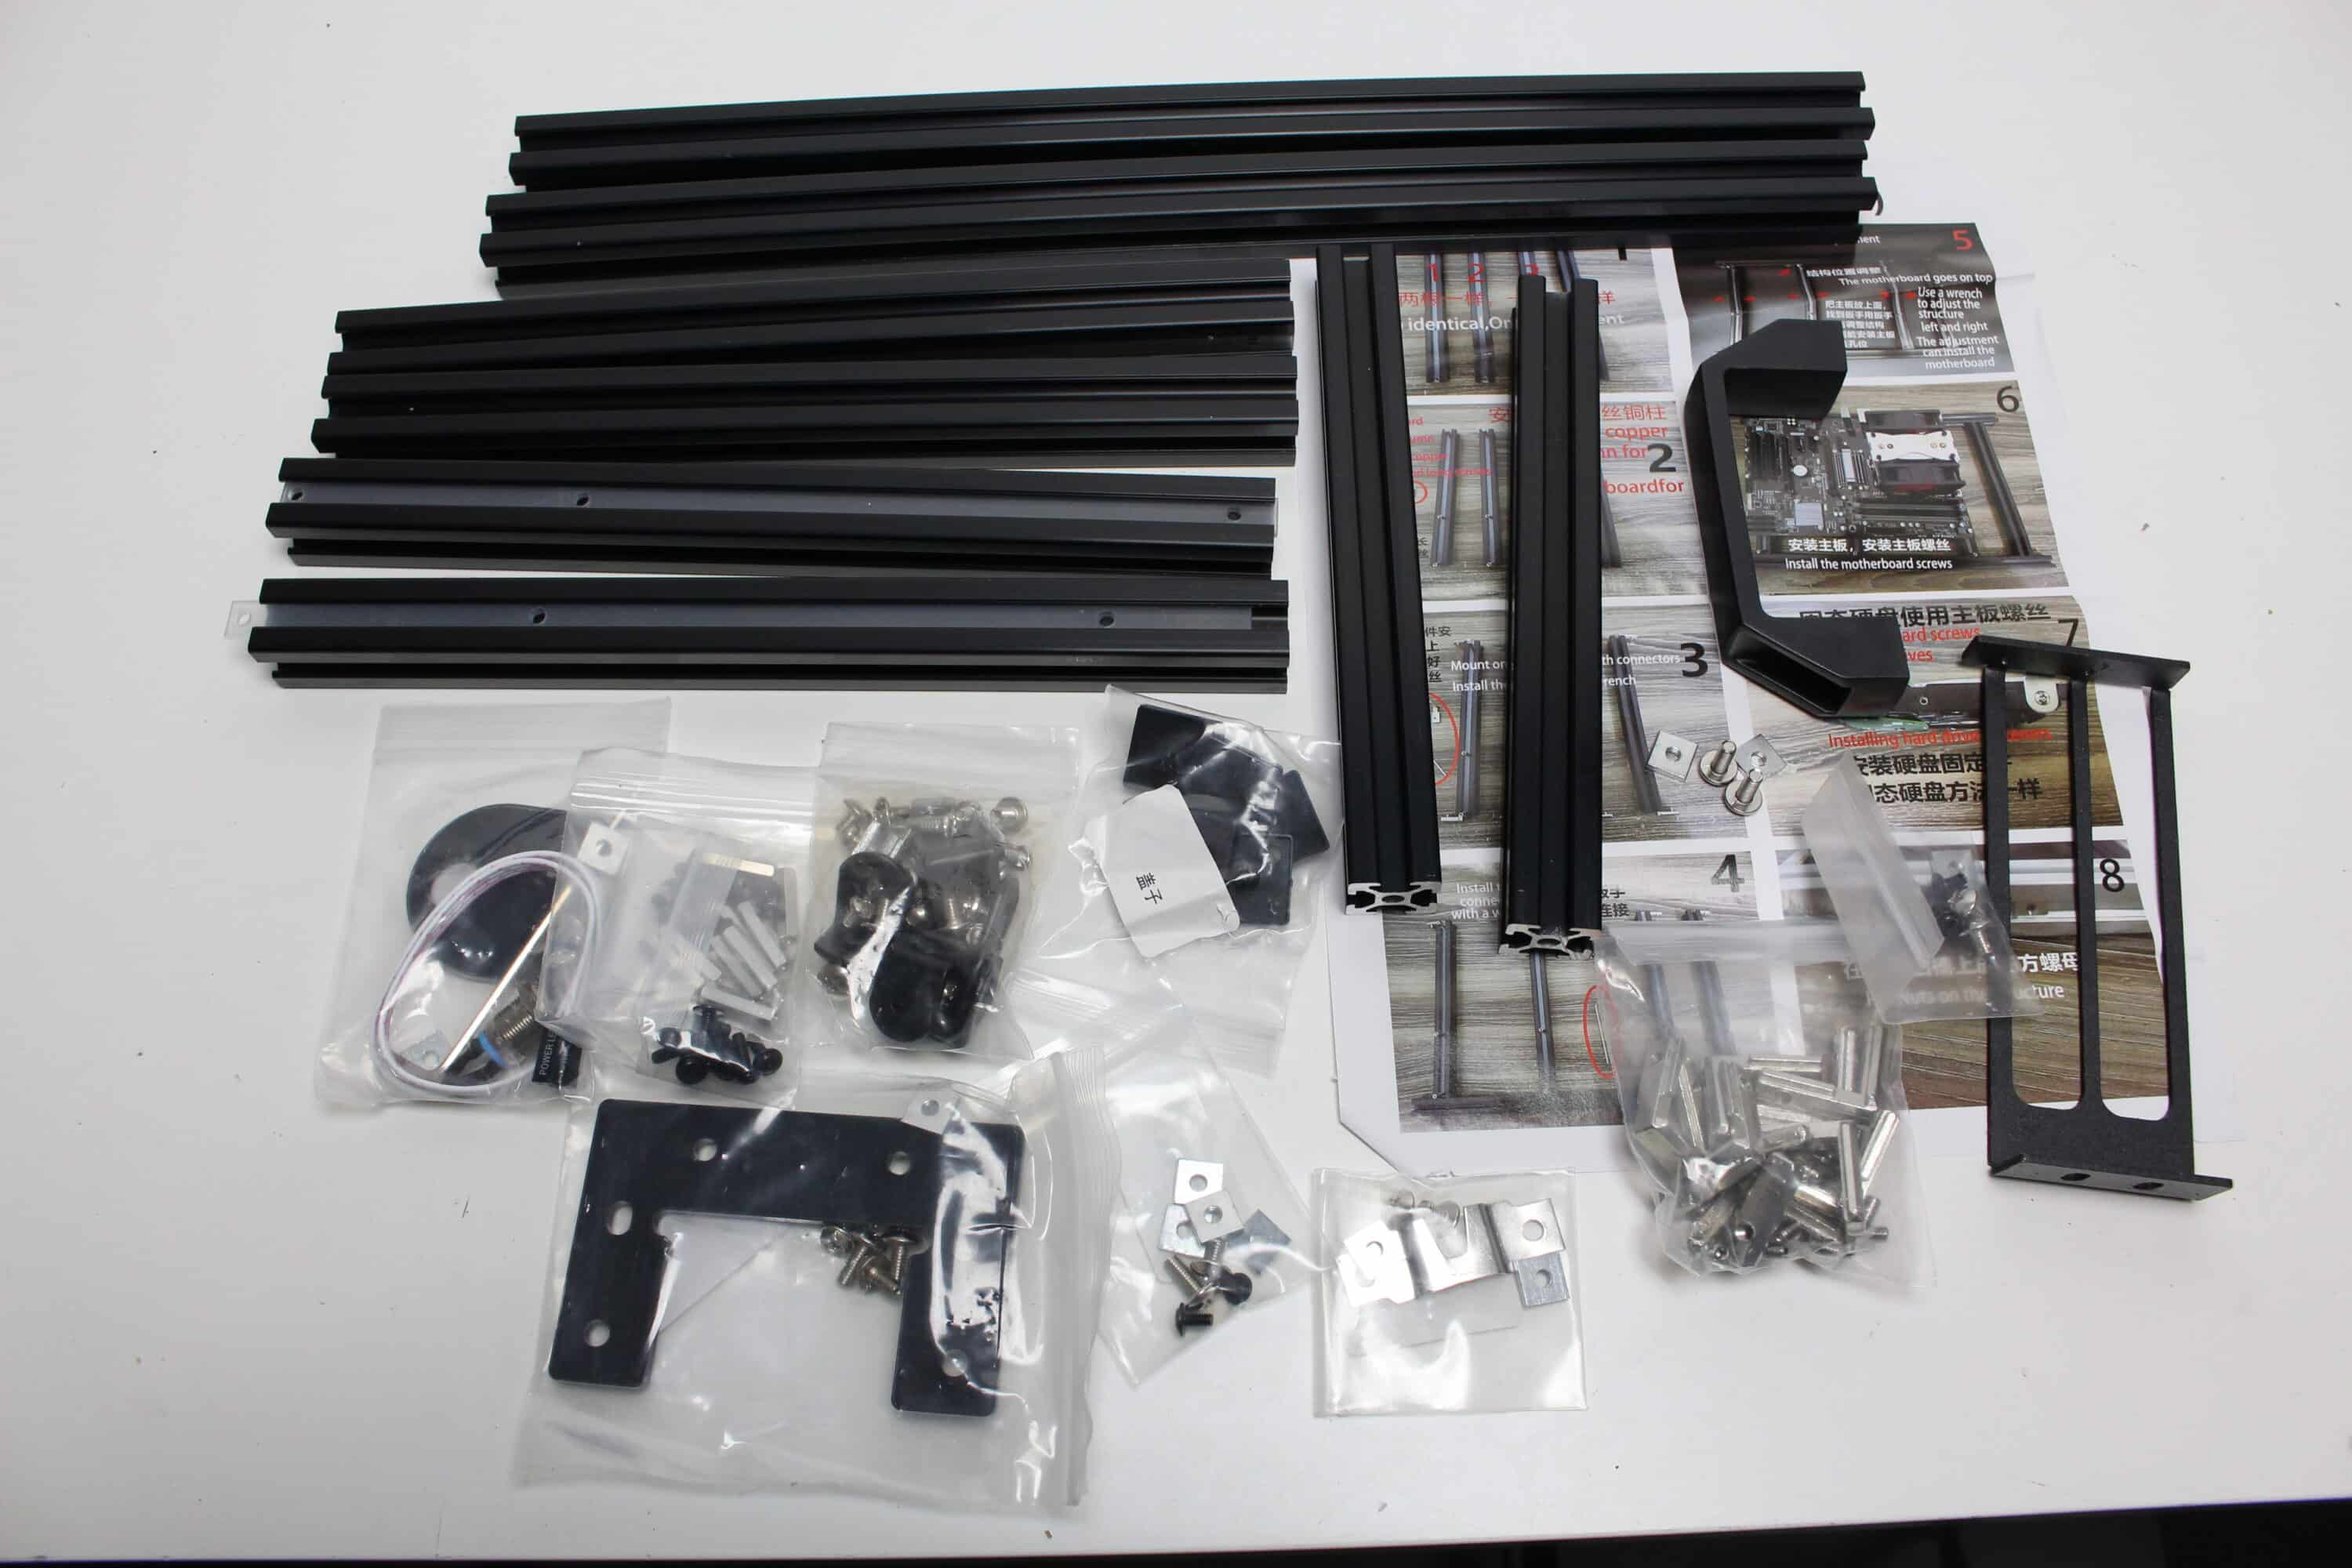
The Benchtable does not come pre-assembled in a compact, elongated cardboard box, which is taped on both sides with additional adhesive tape. Inside the packaging we find all the components of the Benchtable. These are each individually packed in reusable bags printed with Chinese characters. The aluminum profiles are also wrapped in additional foil in places. Included are:
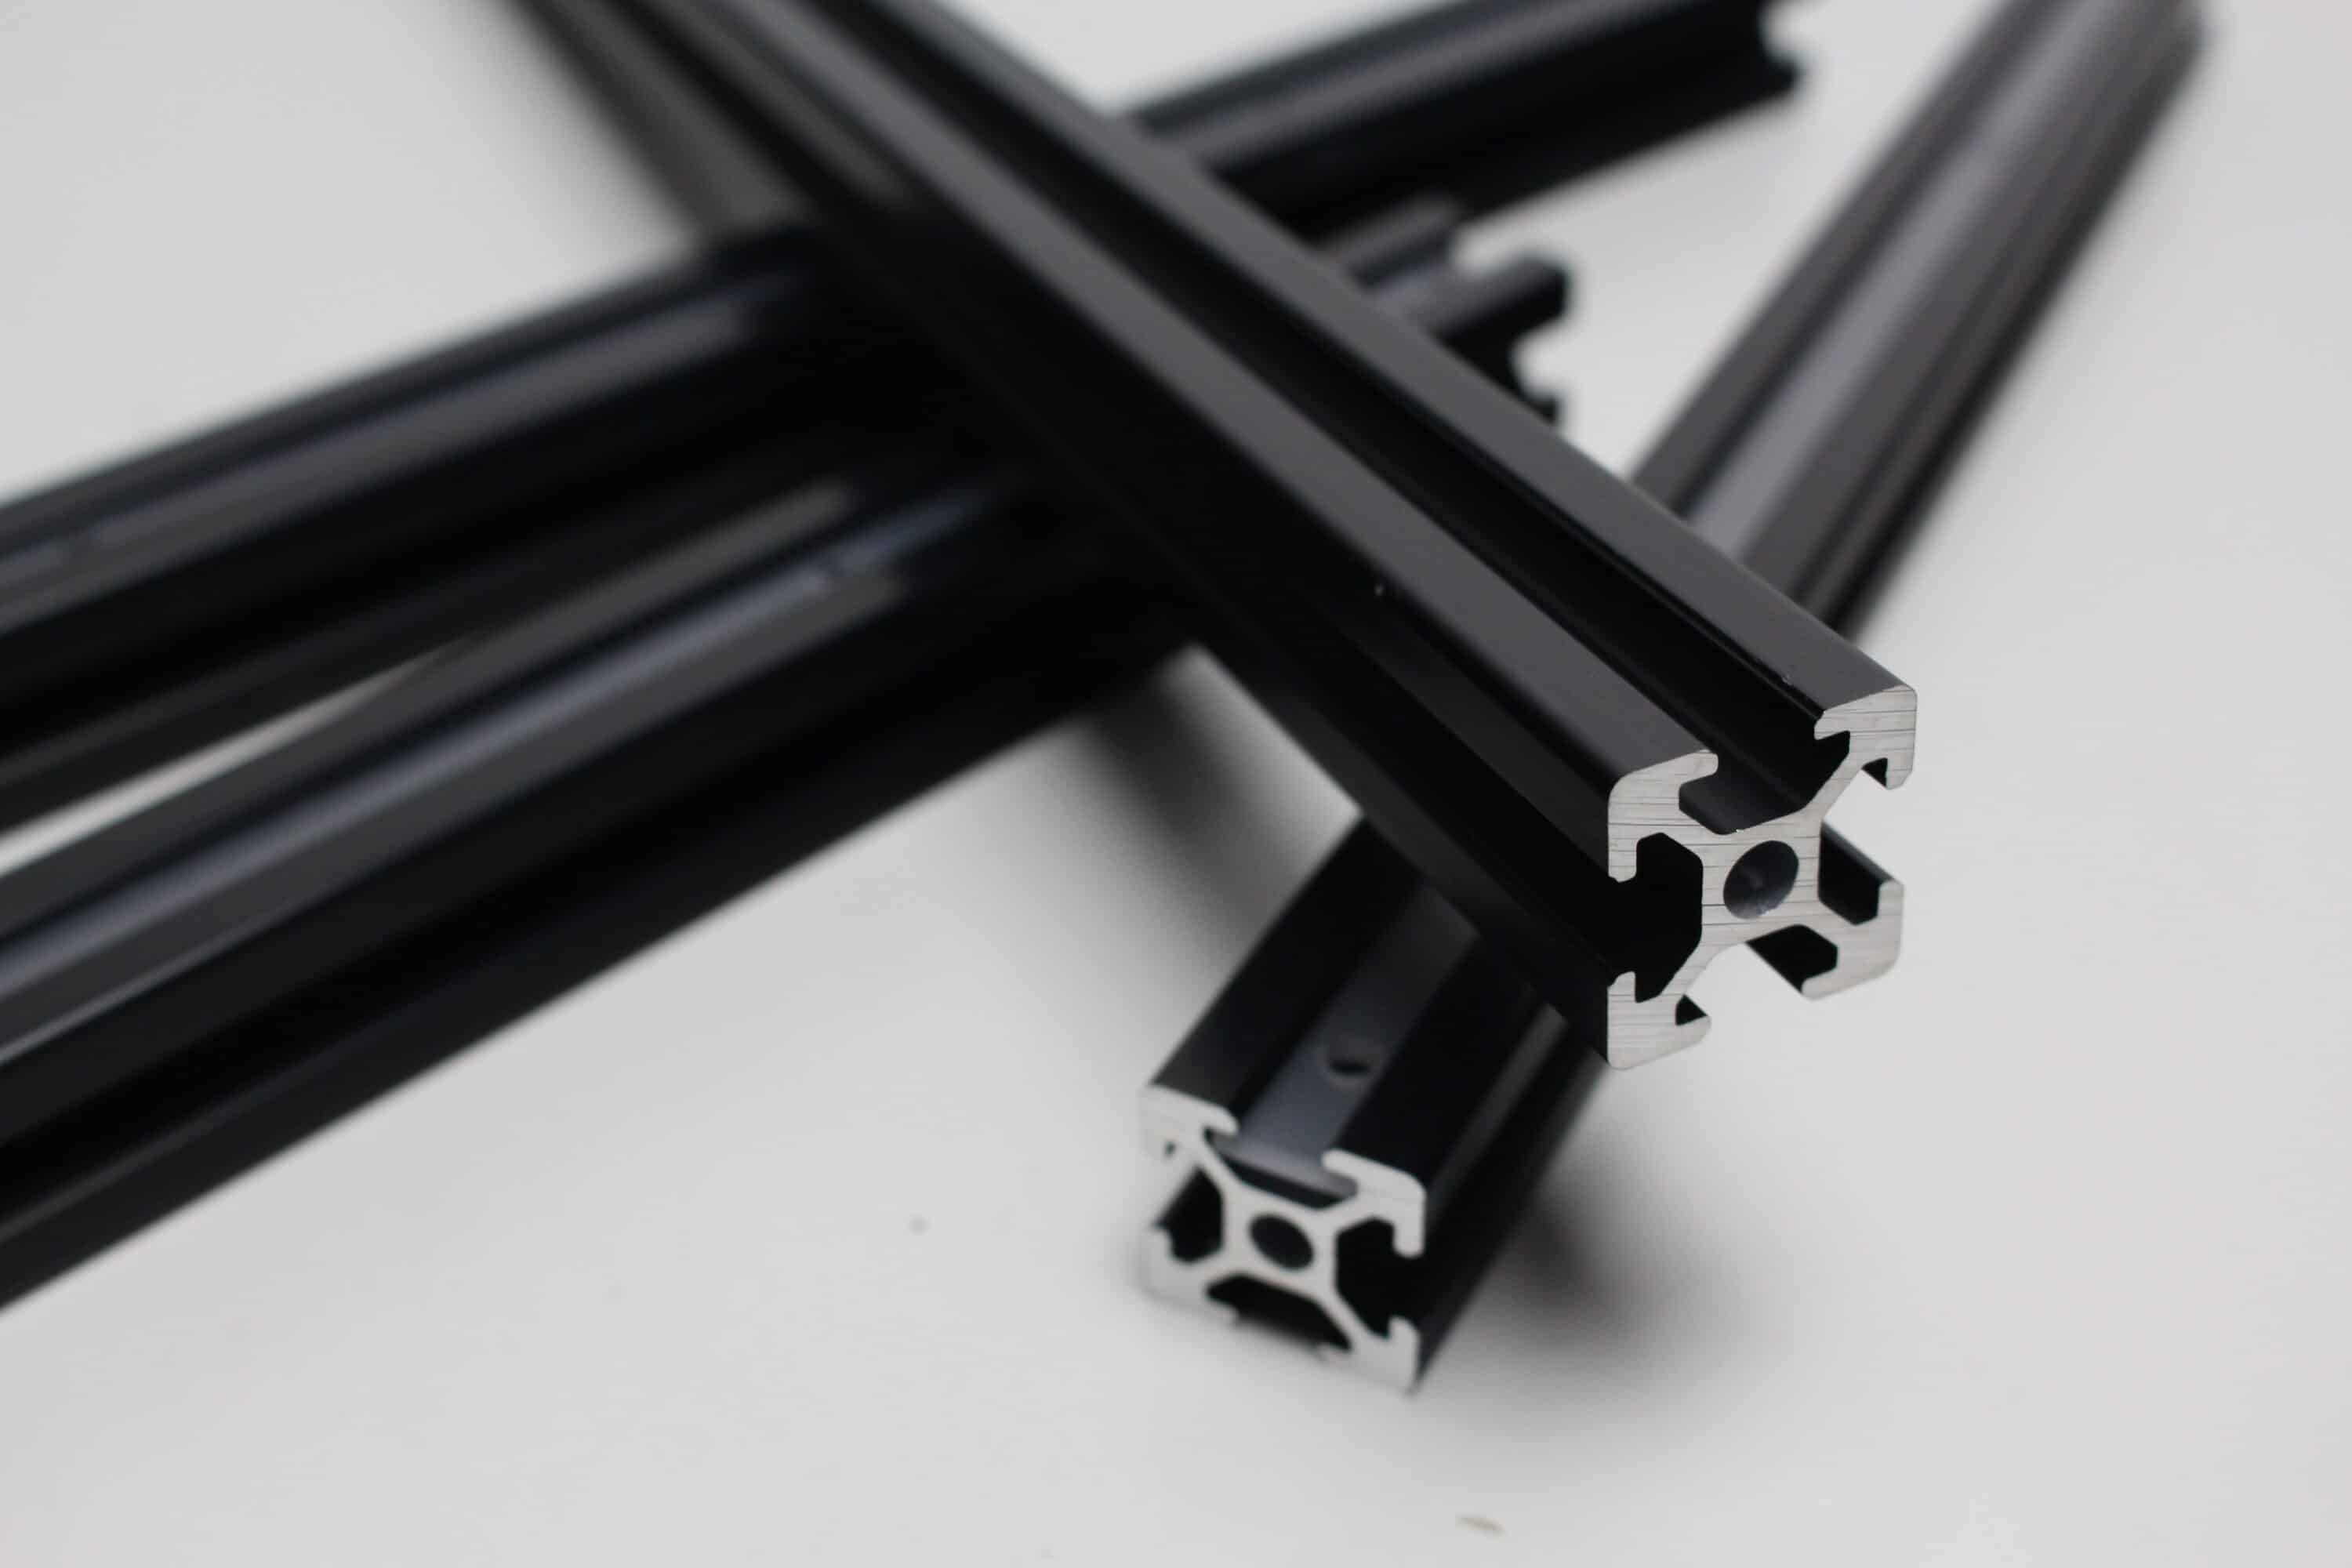
- 2x long aluminum profiles
- 4x medium-length aluminum profiles
- 2x short aluminum profiles
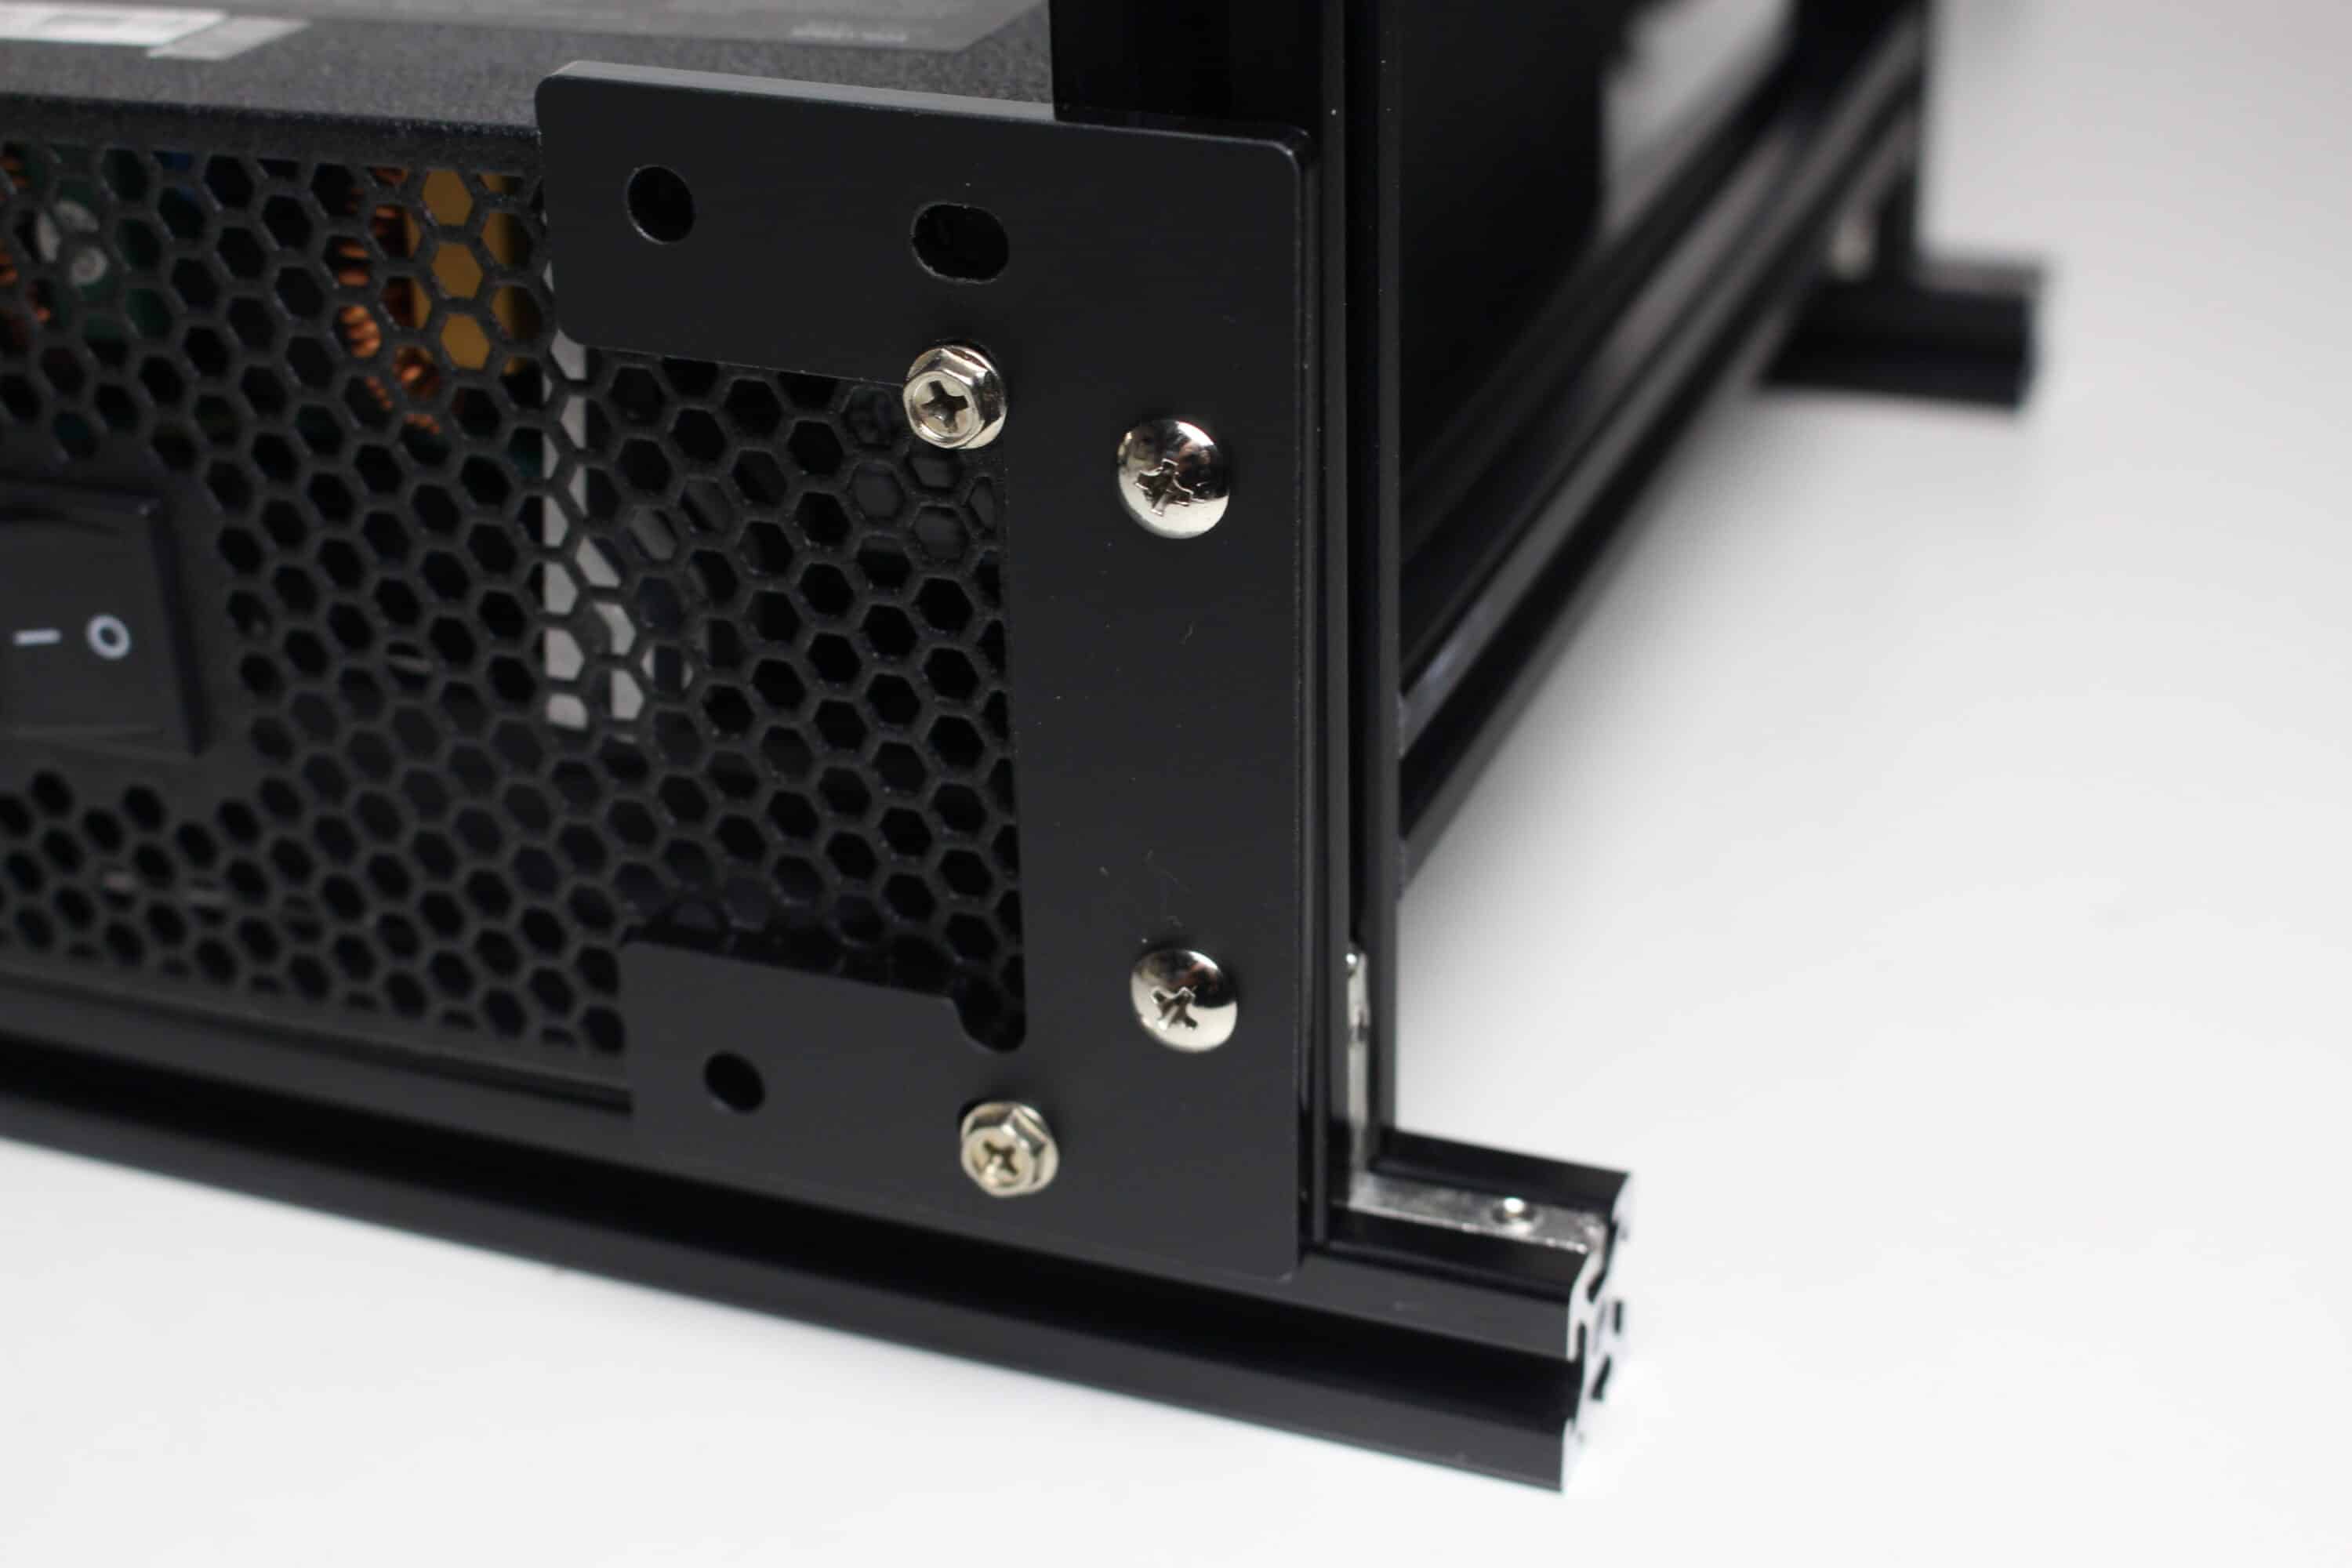
- 1x PSU mounting frame
- 1x GPU mounting frame
- 6x cover caps
- 8x angle pieces
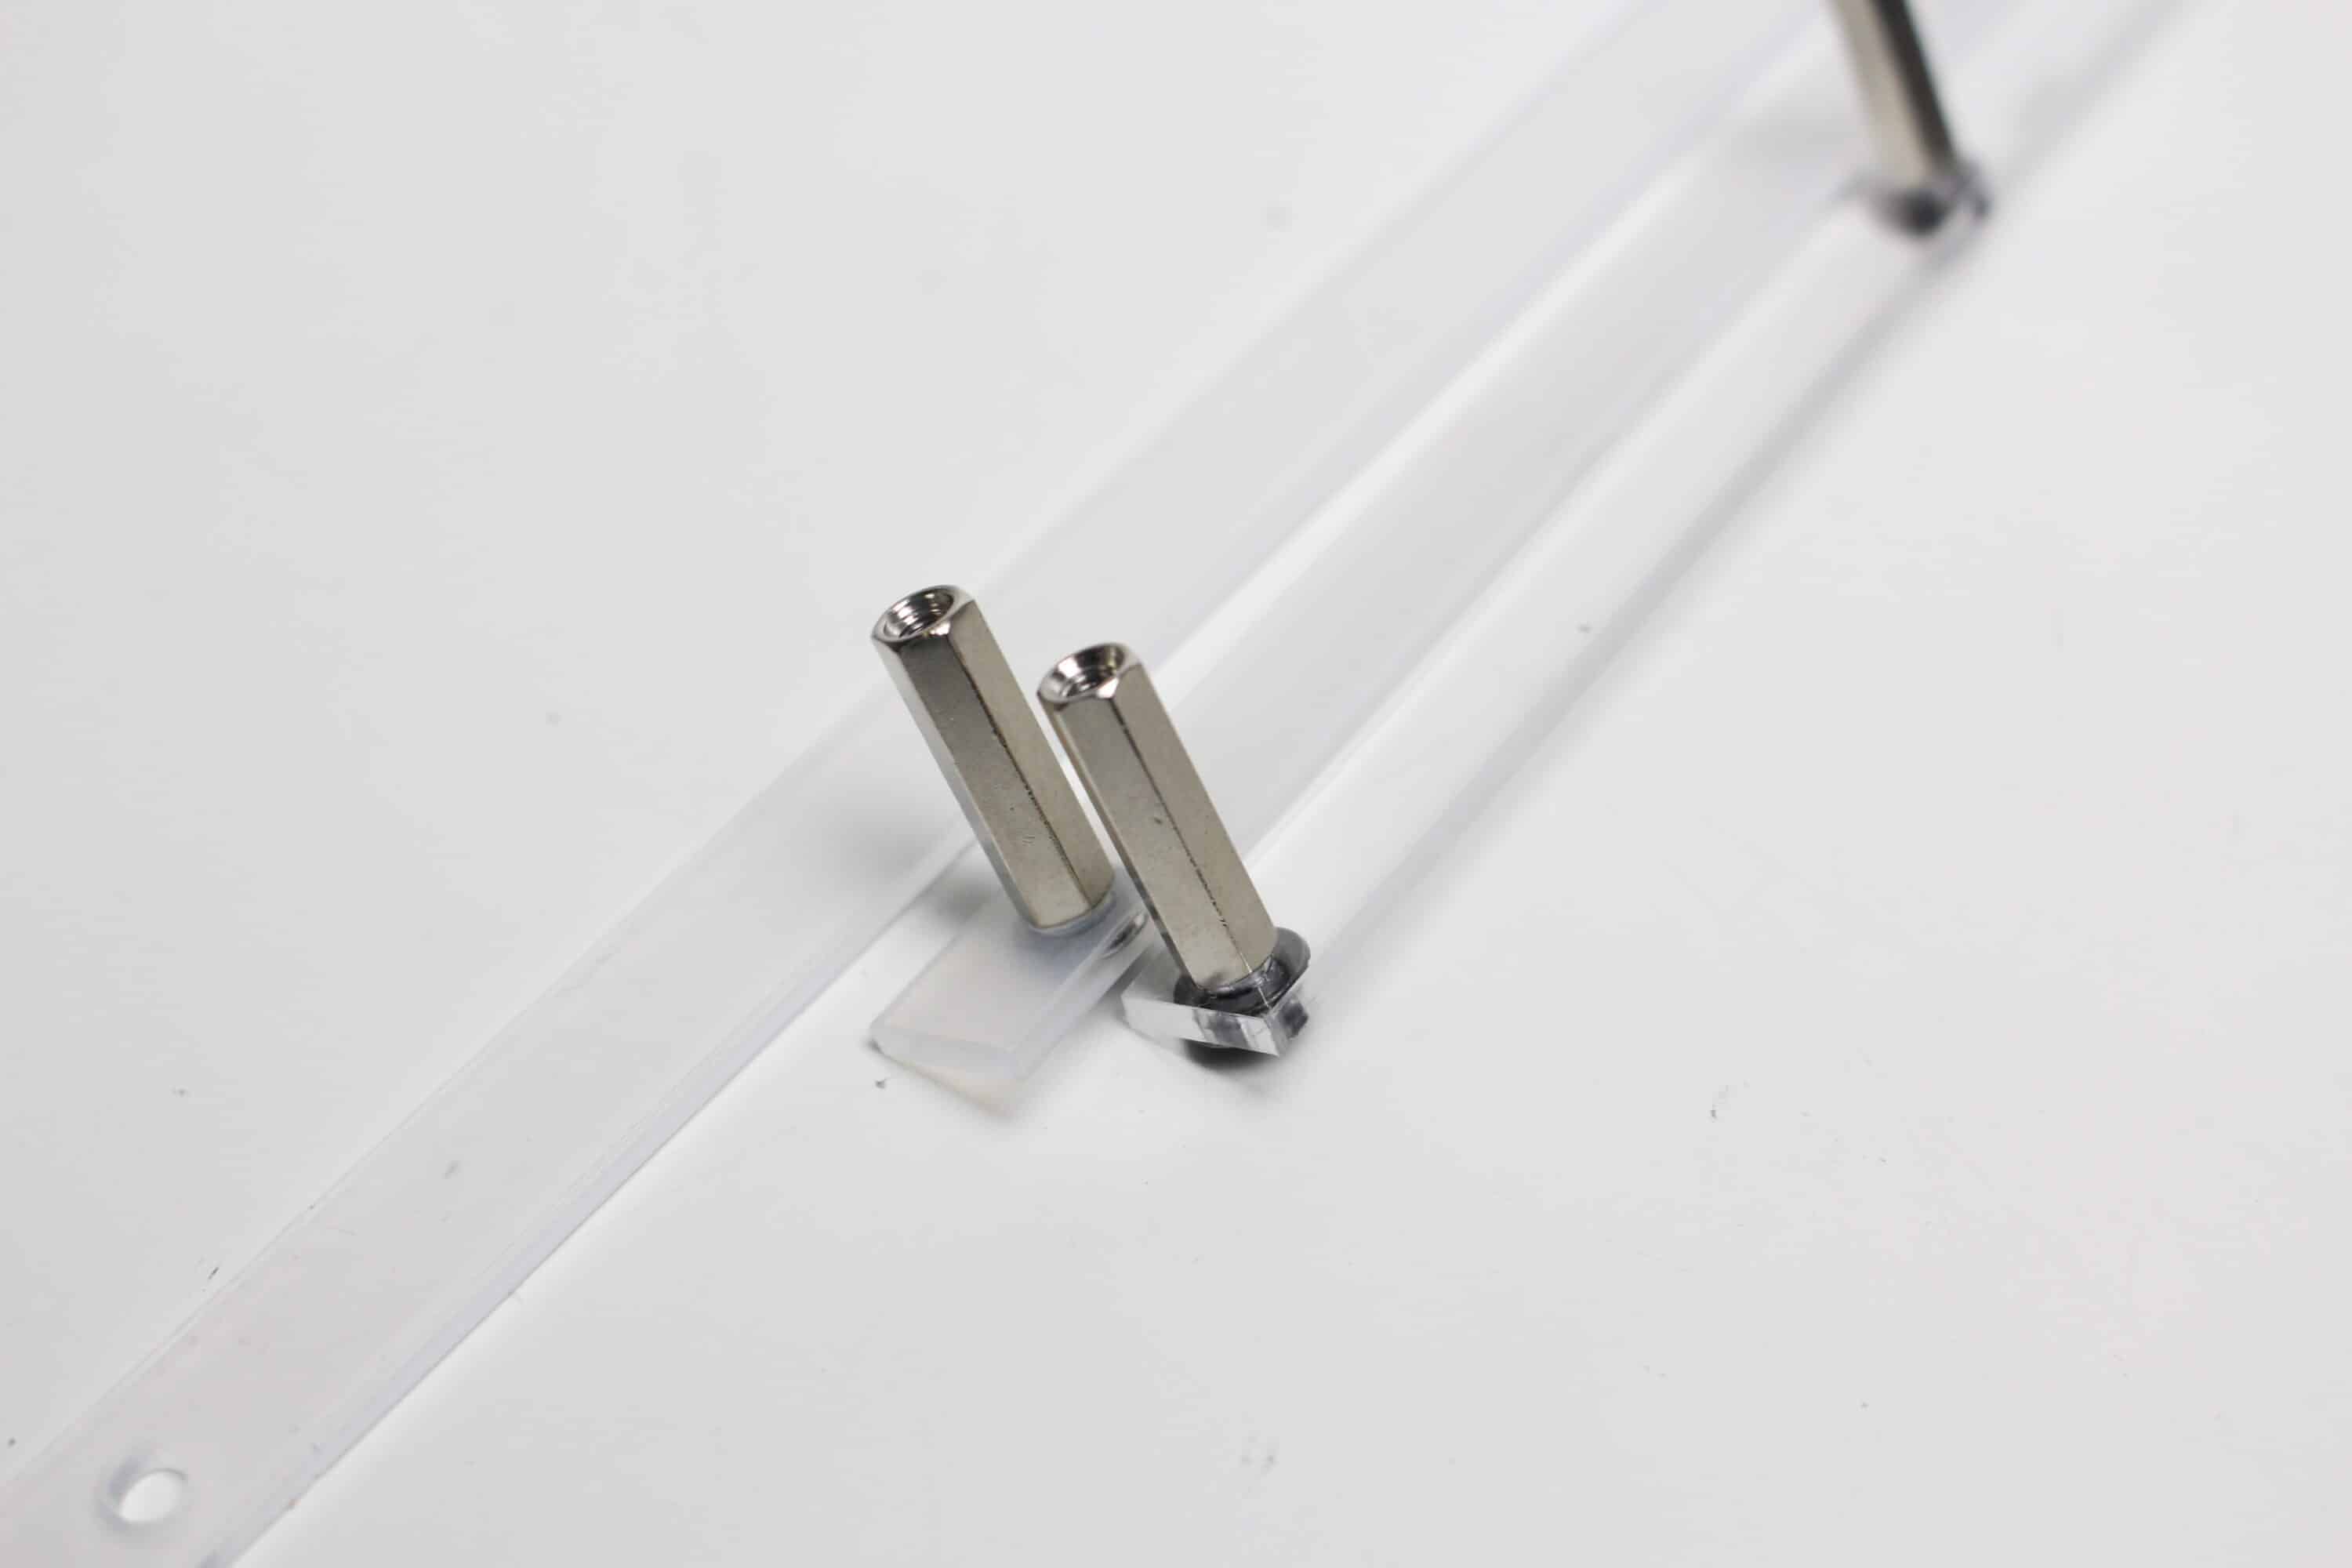
- 9x spacers
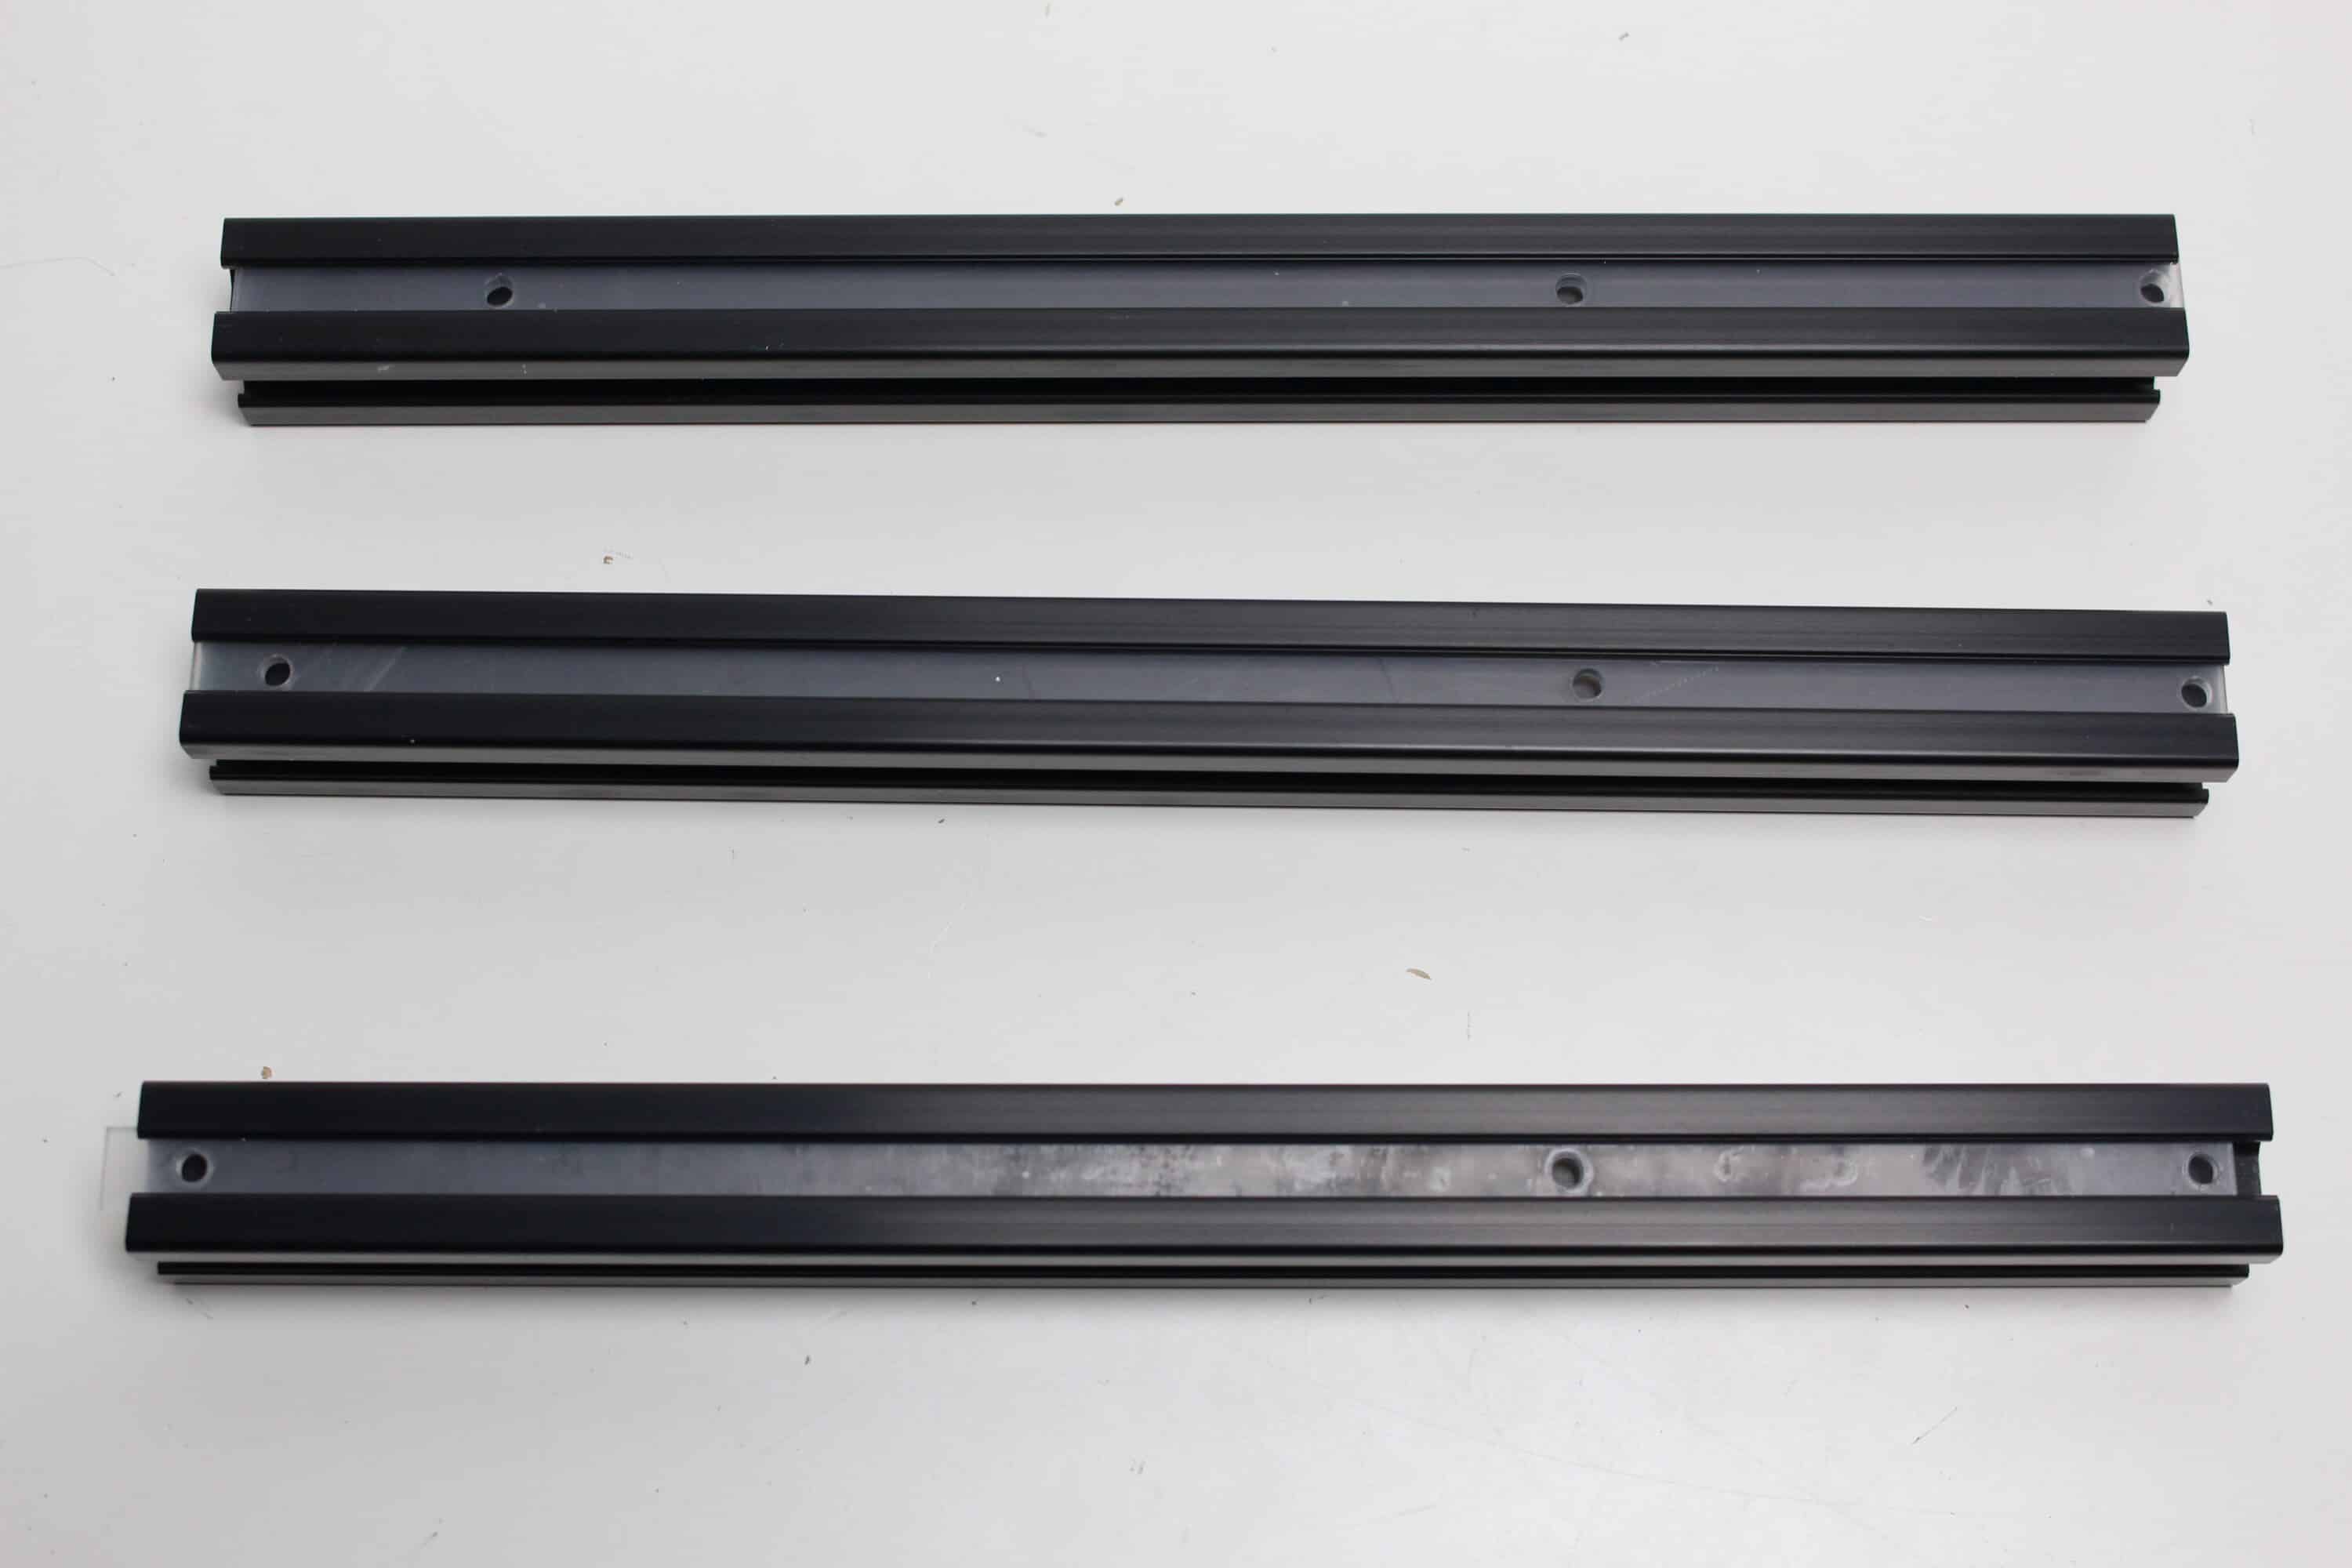
- 3x plastic rail
- 1x power button
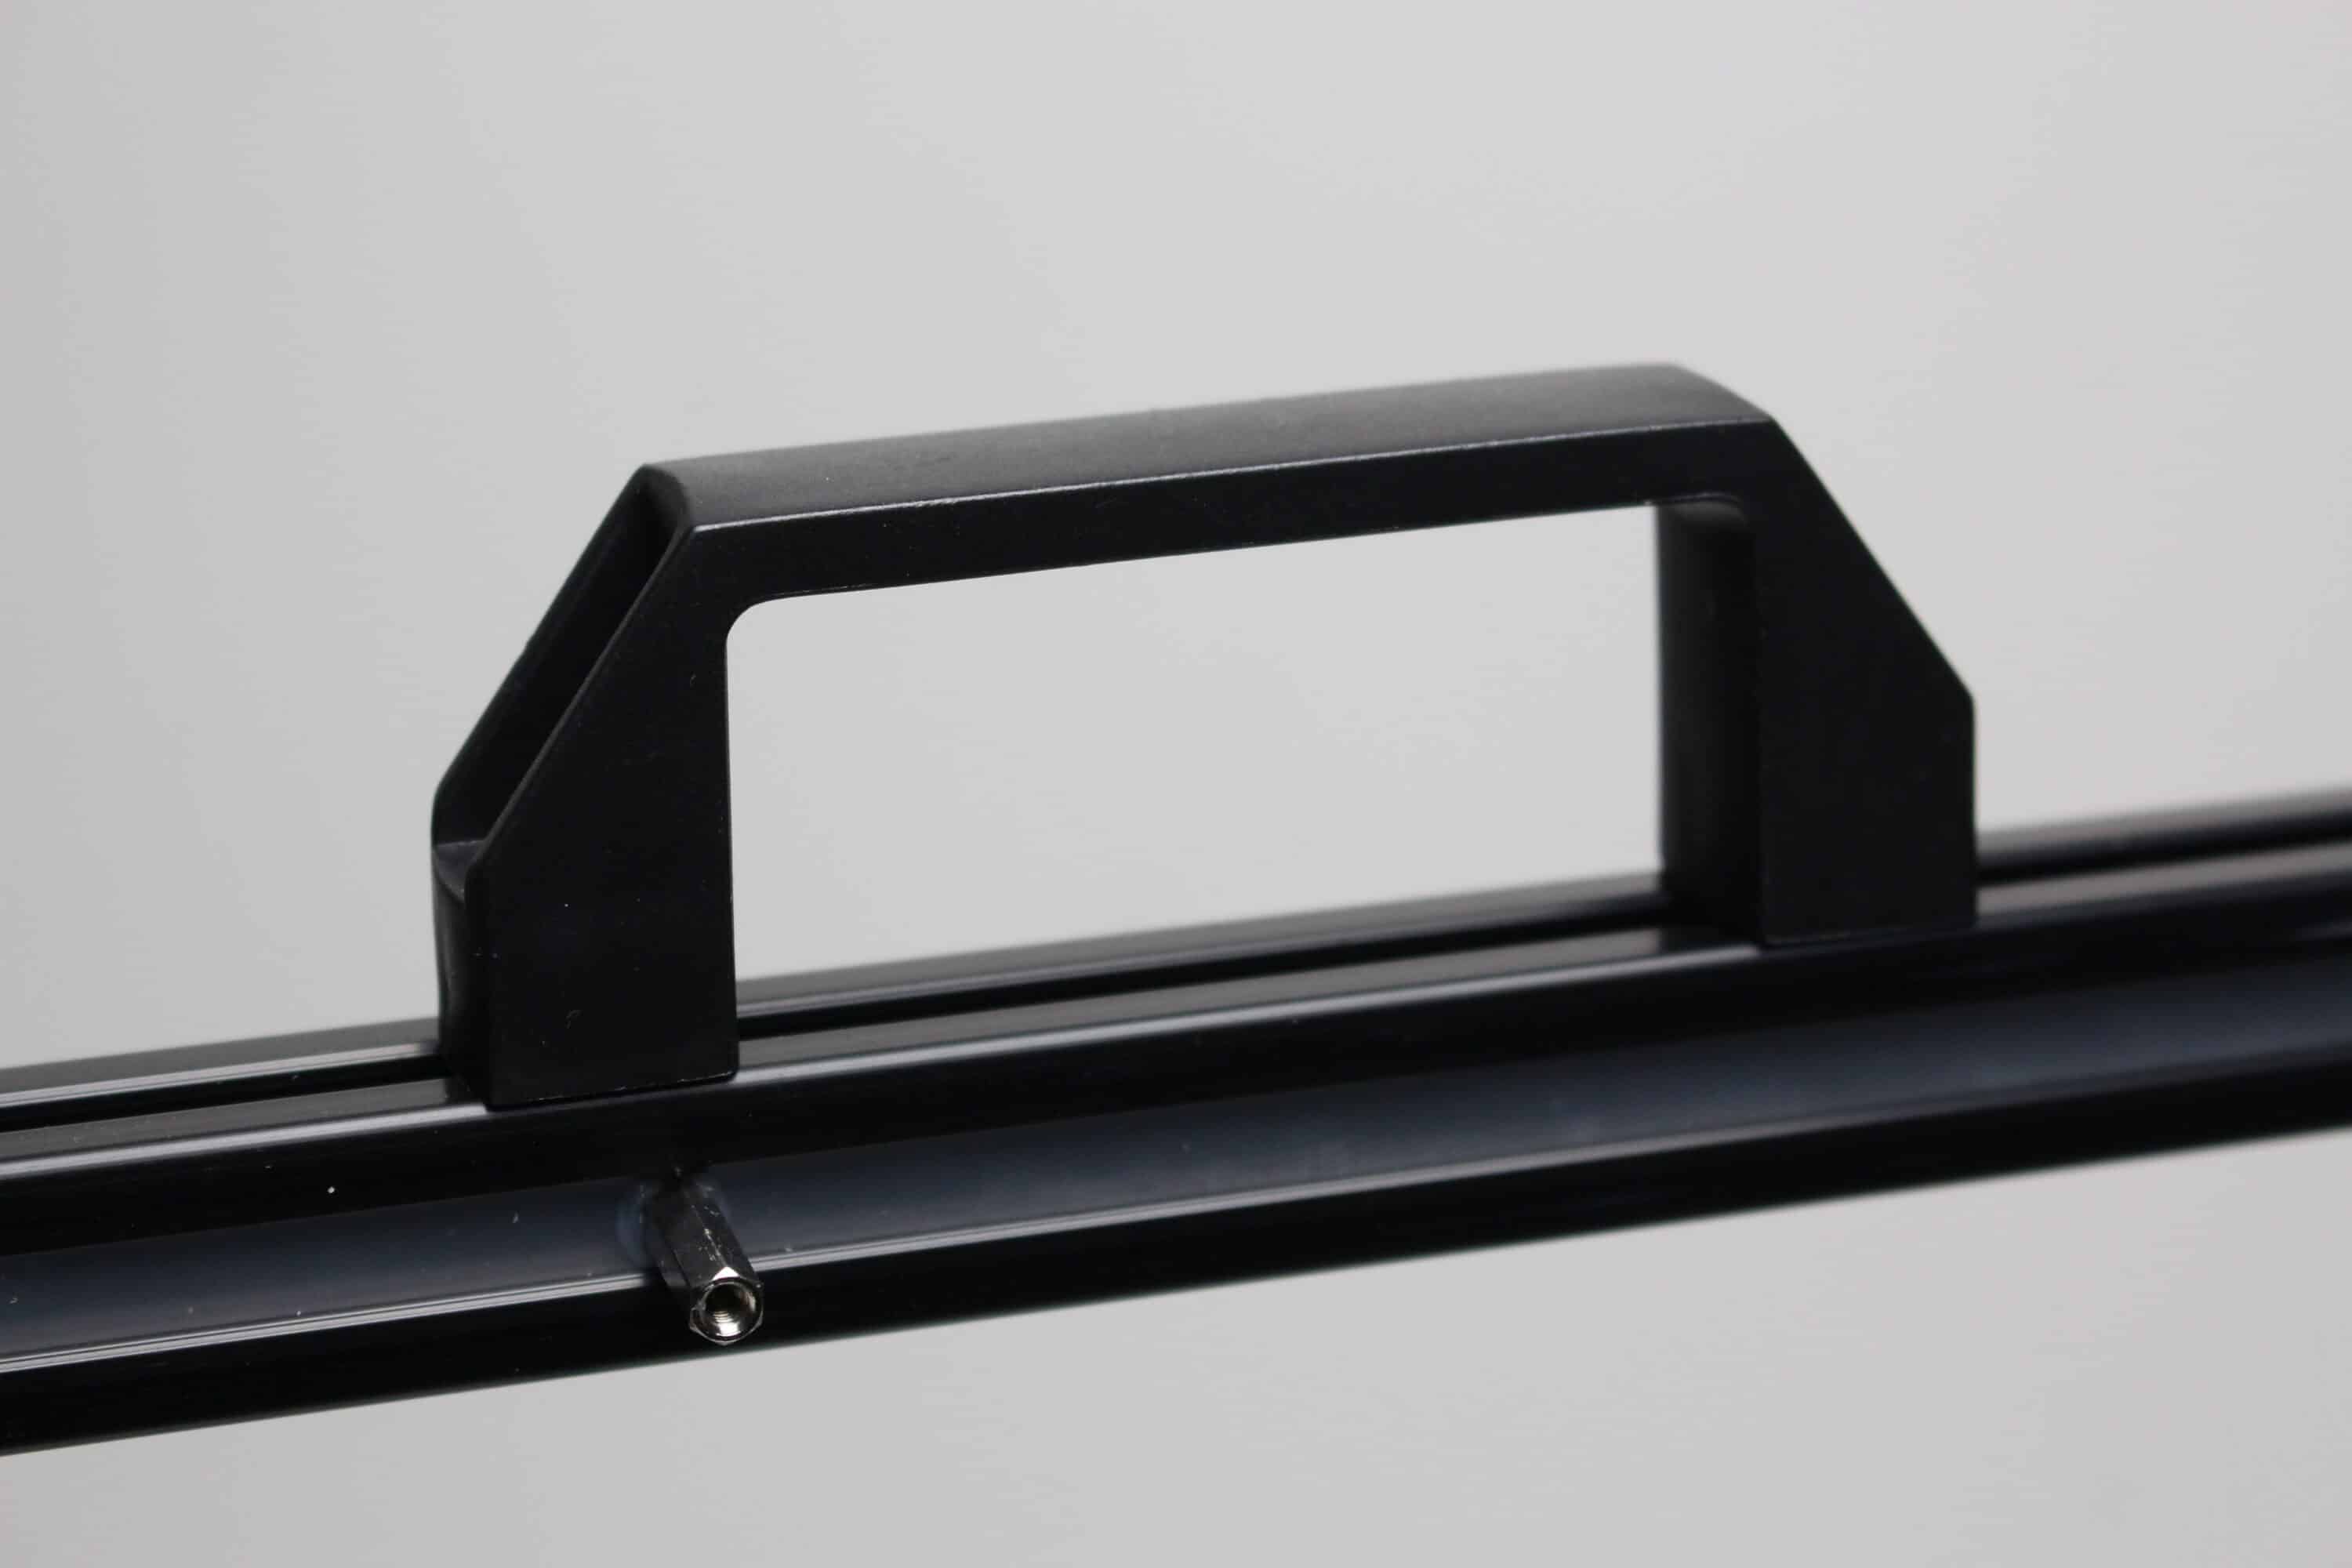
- 1x handle
- 1x assembly instructions
DIY Open Air Benchtable Test: The assembly
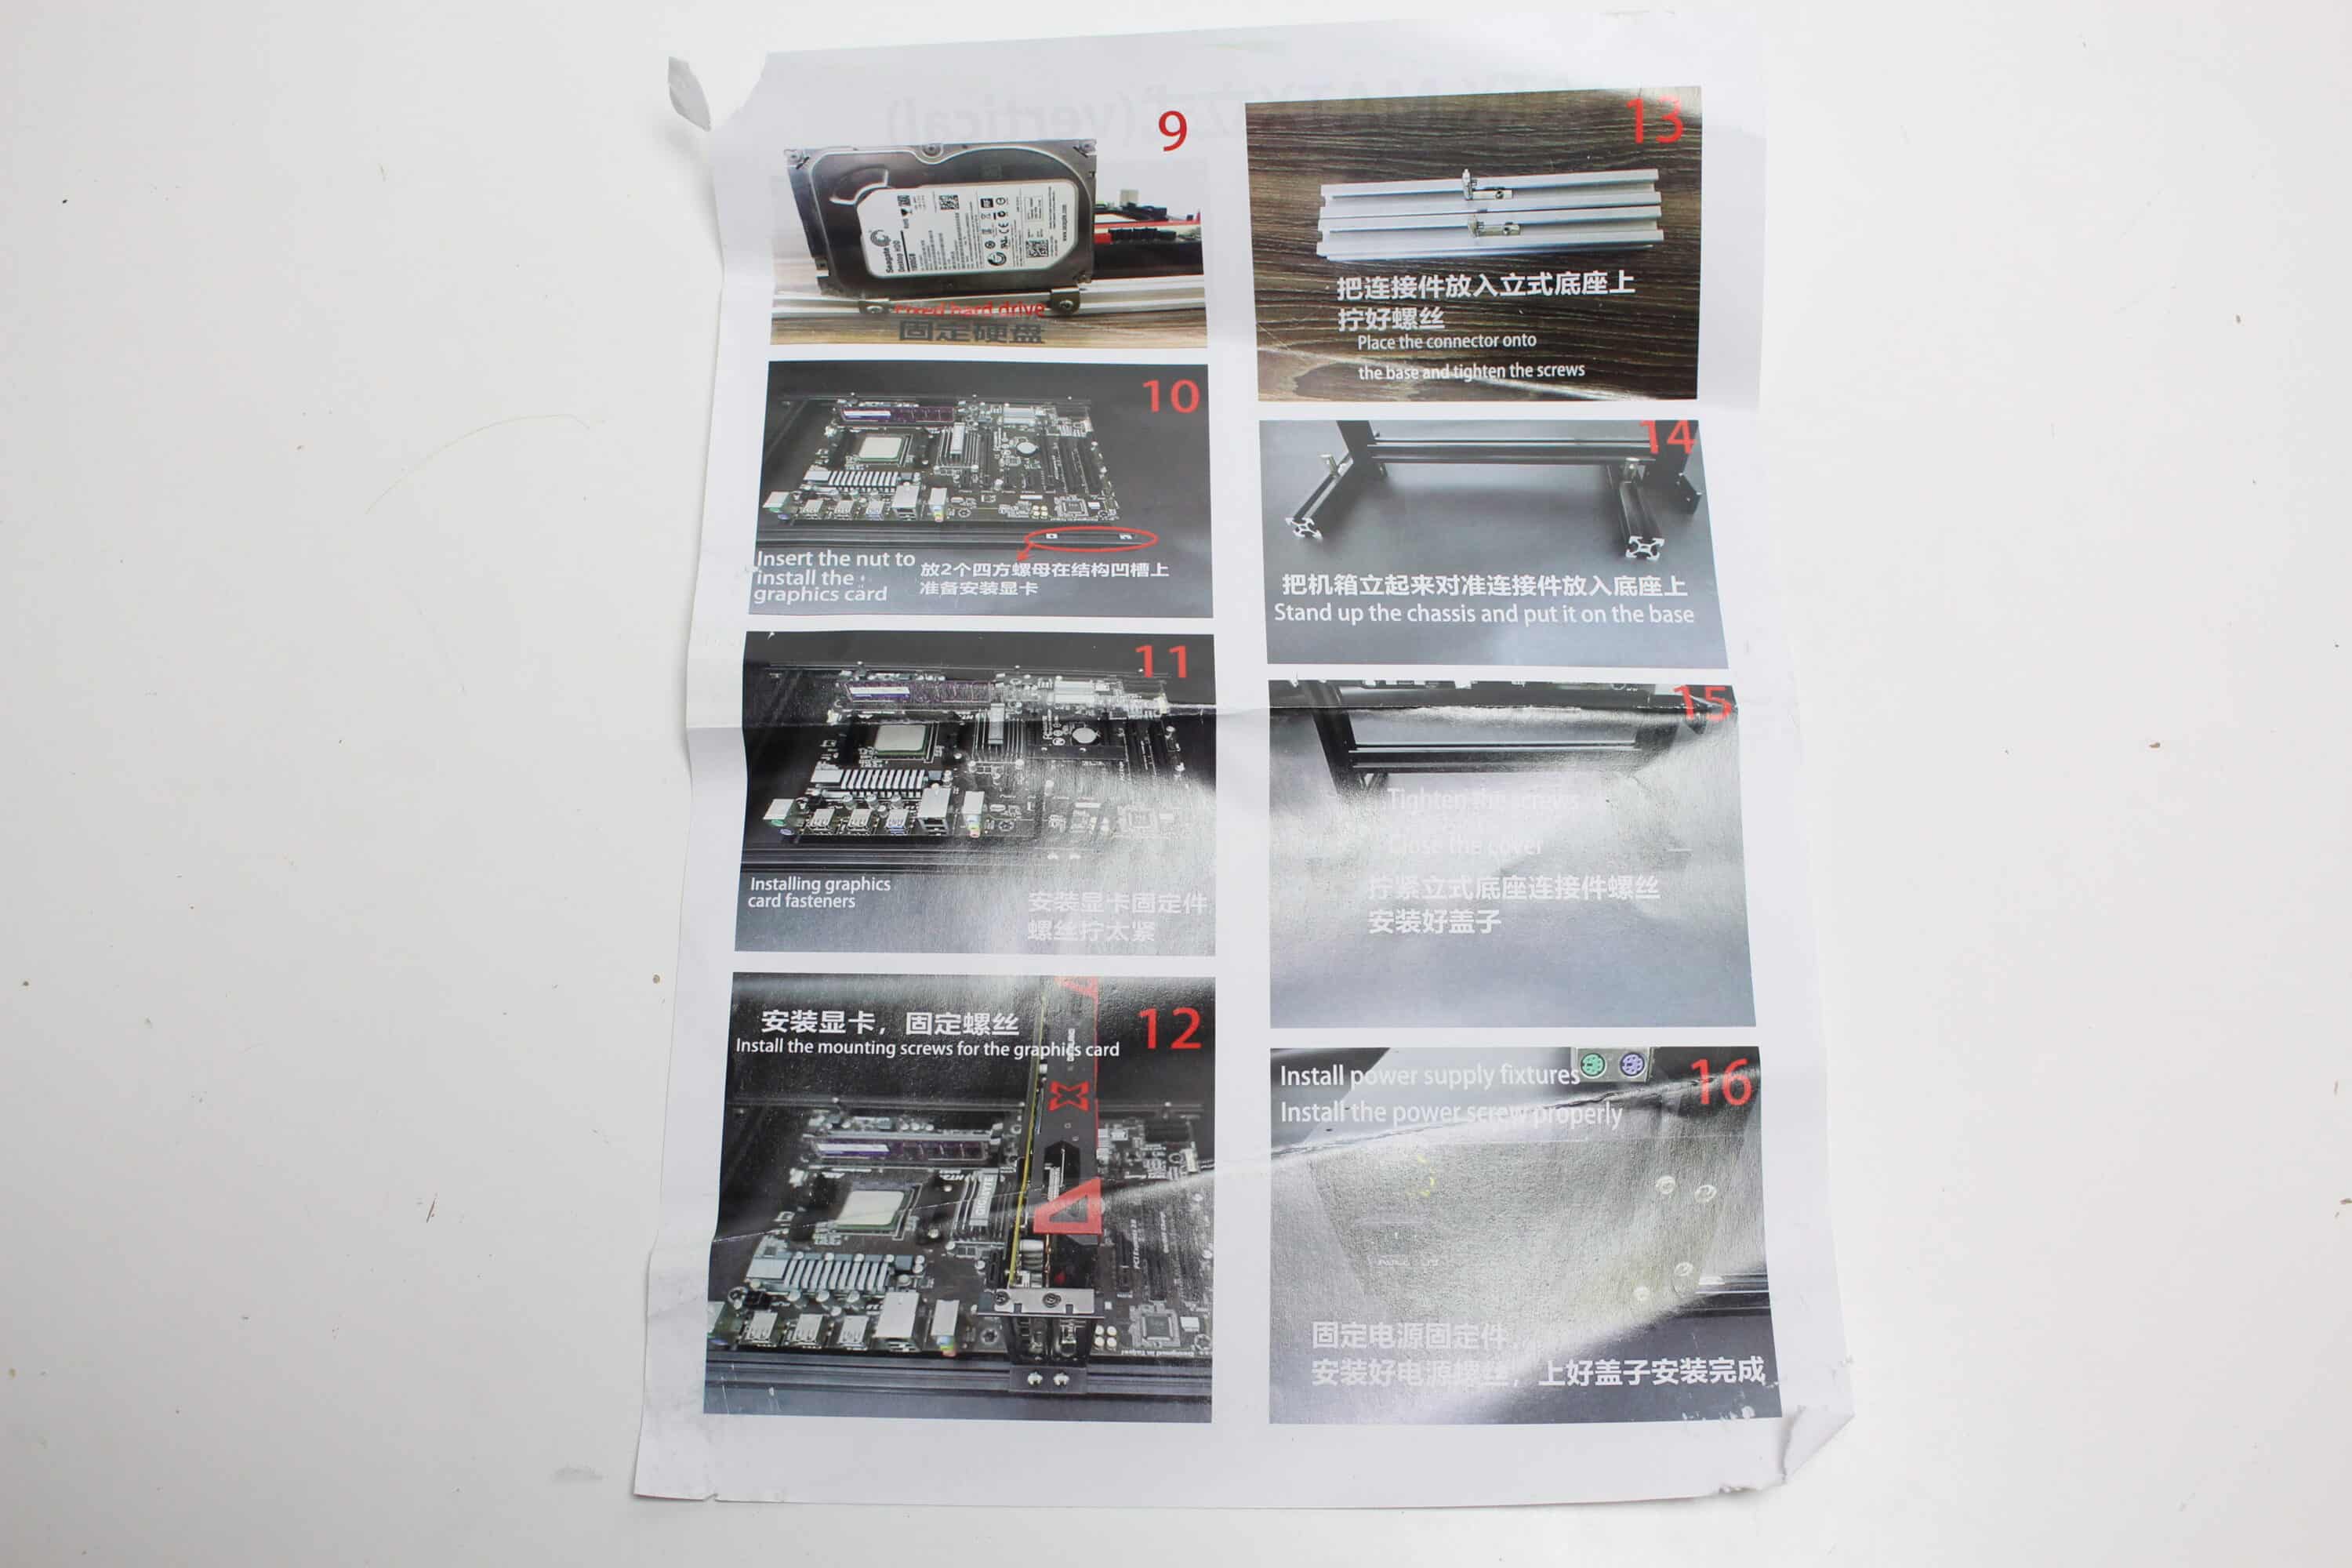
You should definitely take some time to set up the non-pre-assembled benchtable. After unpacking the components and taking a closer look at the assembly instructions, the first disillusionment came immediately. All the necessary assembly steps were recorded in just 16 photographed images, in which only the most essential assembly steps were explained in red lettering.

One positive aspect of this kit, however, is that the structure can be designed flexibly. The only constant should be the power supply unit in the lower area, which can be placed on the left, right, vertically, horizontally or with the fan facing up or down. The same applies to the mainboard, which can be installed normally or inverted. This flexibility is achieved by the eight aluminum profiles of different lengths, which have elongated mounting rails on all four sides.
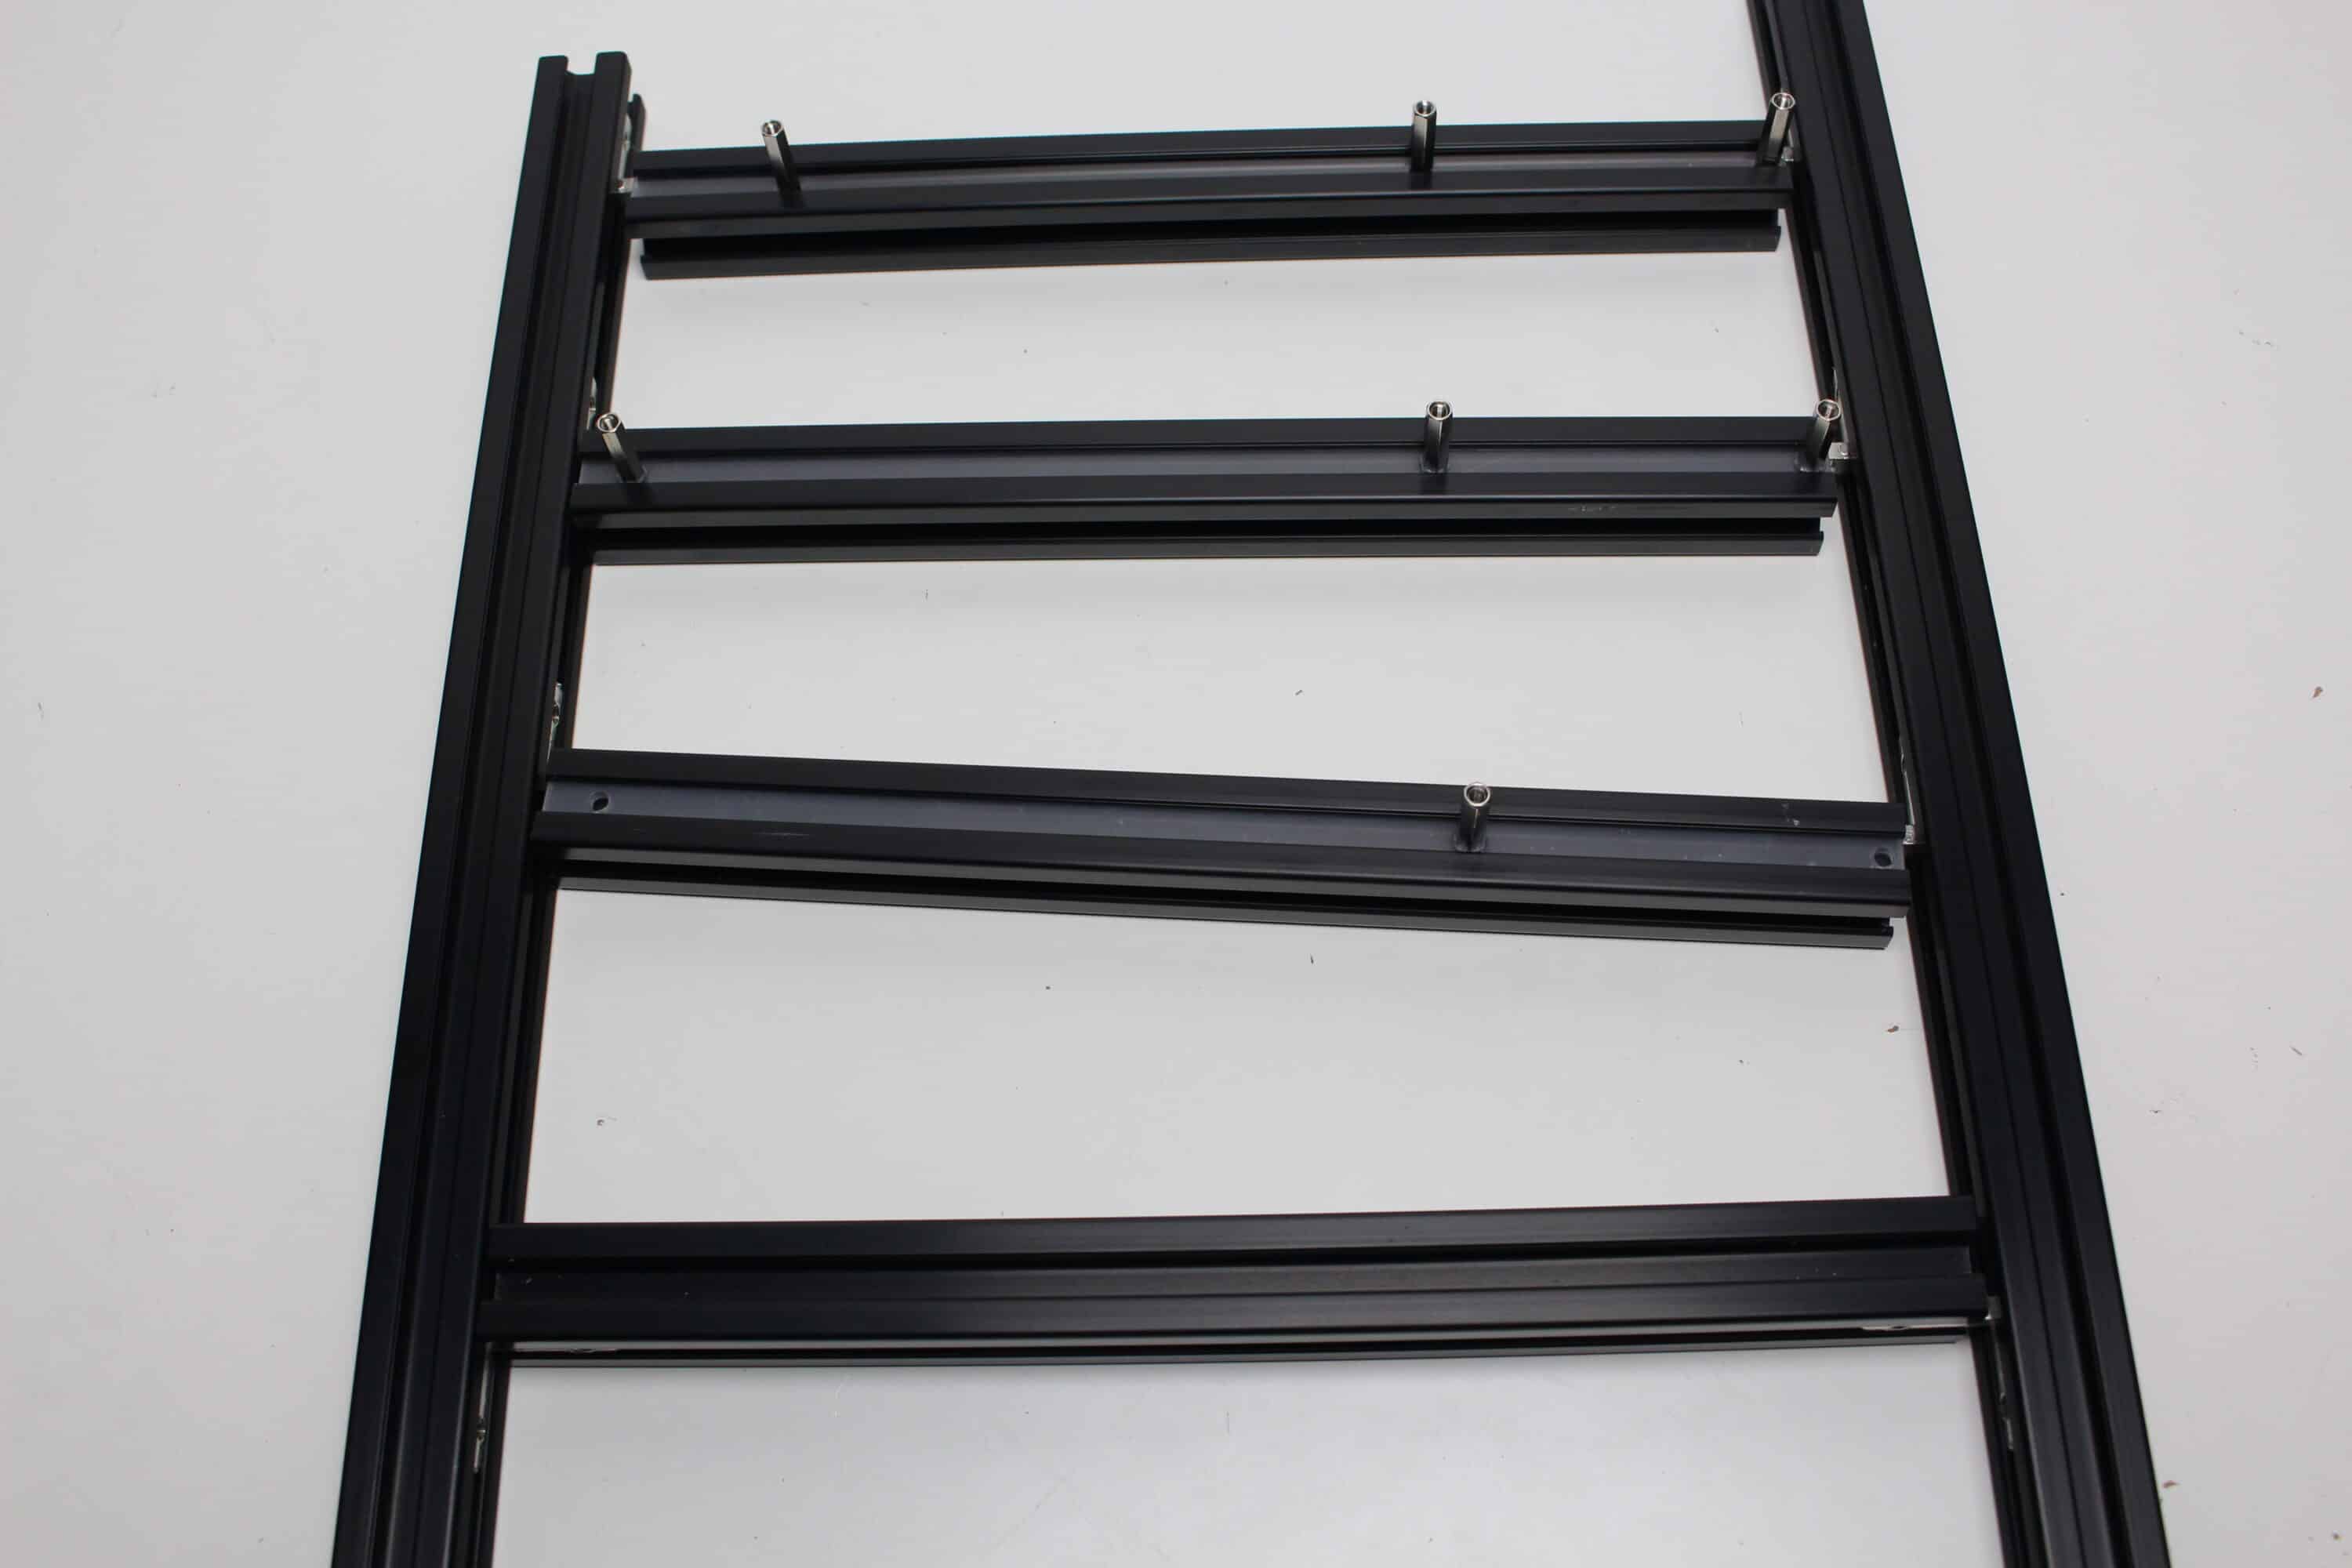
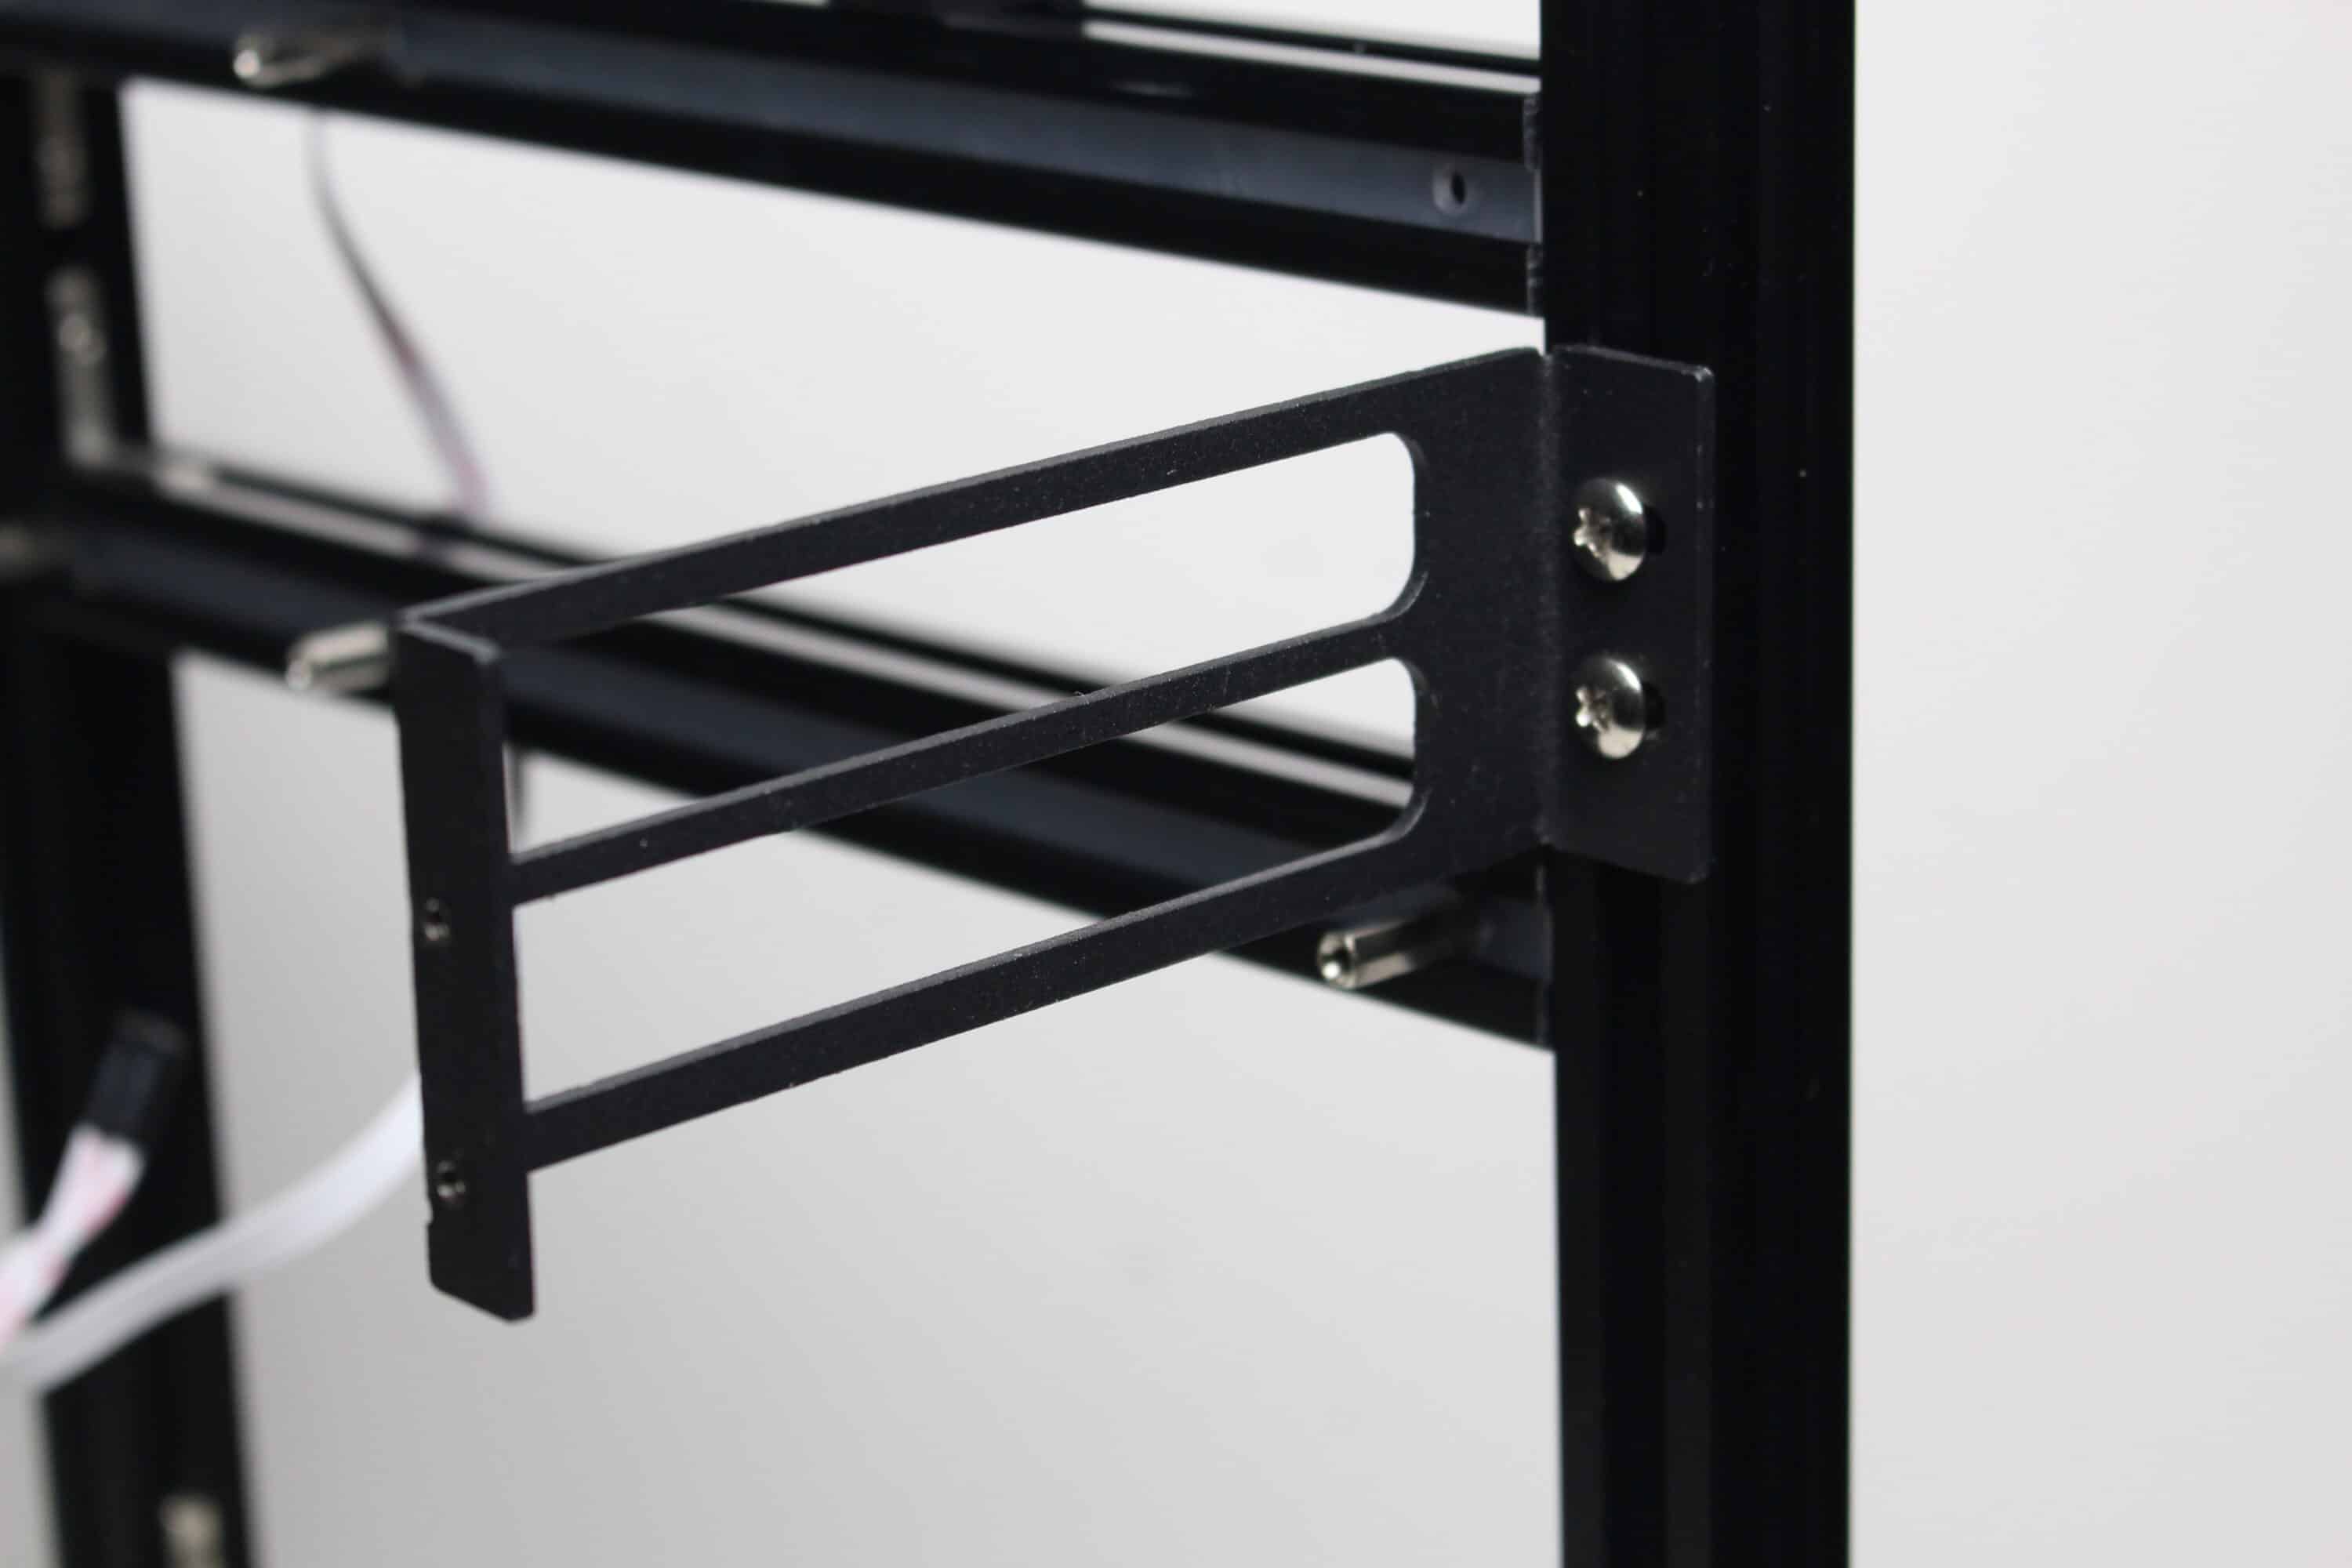
To mount the mainboard, three of the four elongated profiles have plastic rails with corresponding holes in the appropriate places. The supplied spacers must be fastened from behind with a screw and the rail then pushed back into the aluminum profile. However, due to the differently positioned mounting points of µATX mainboards, the bottom rail could only be fitted with one spacer.
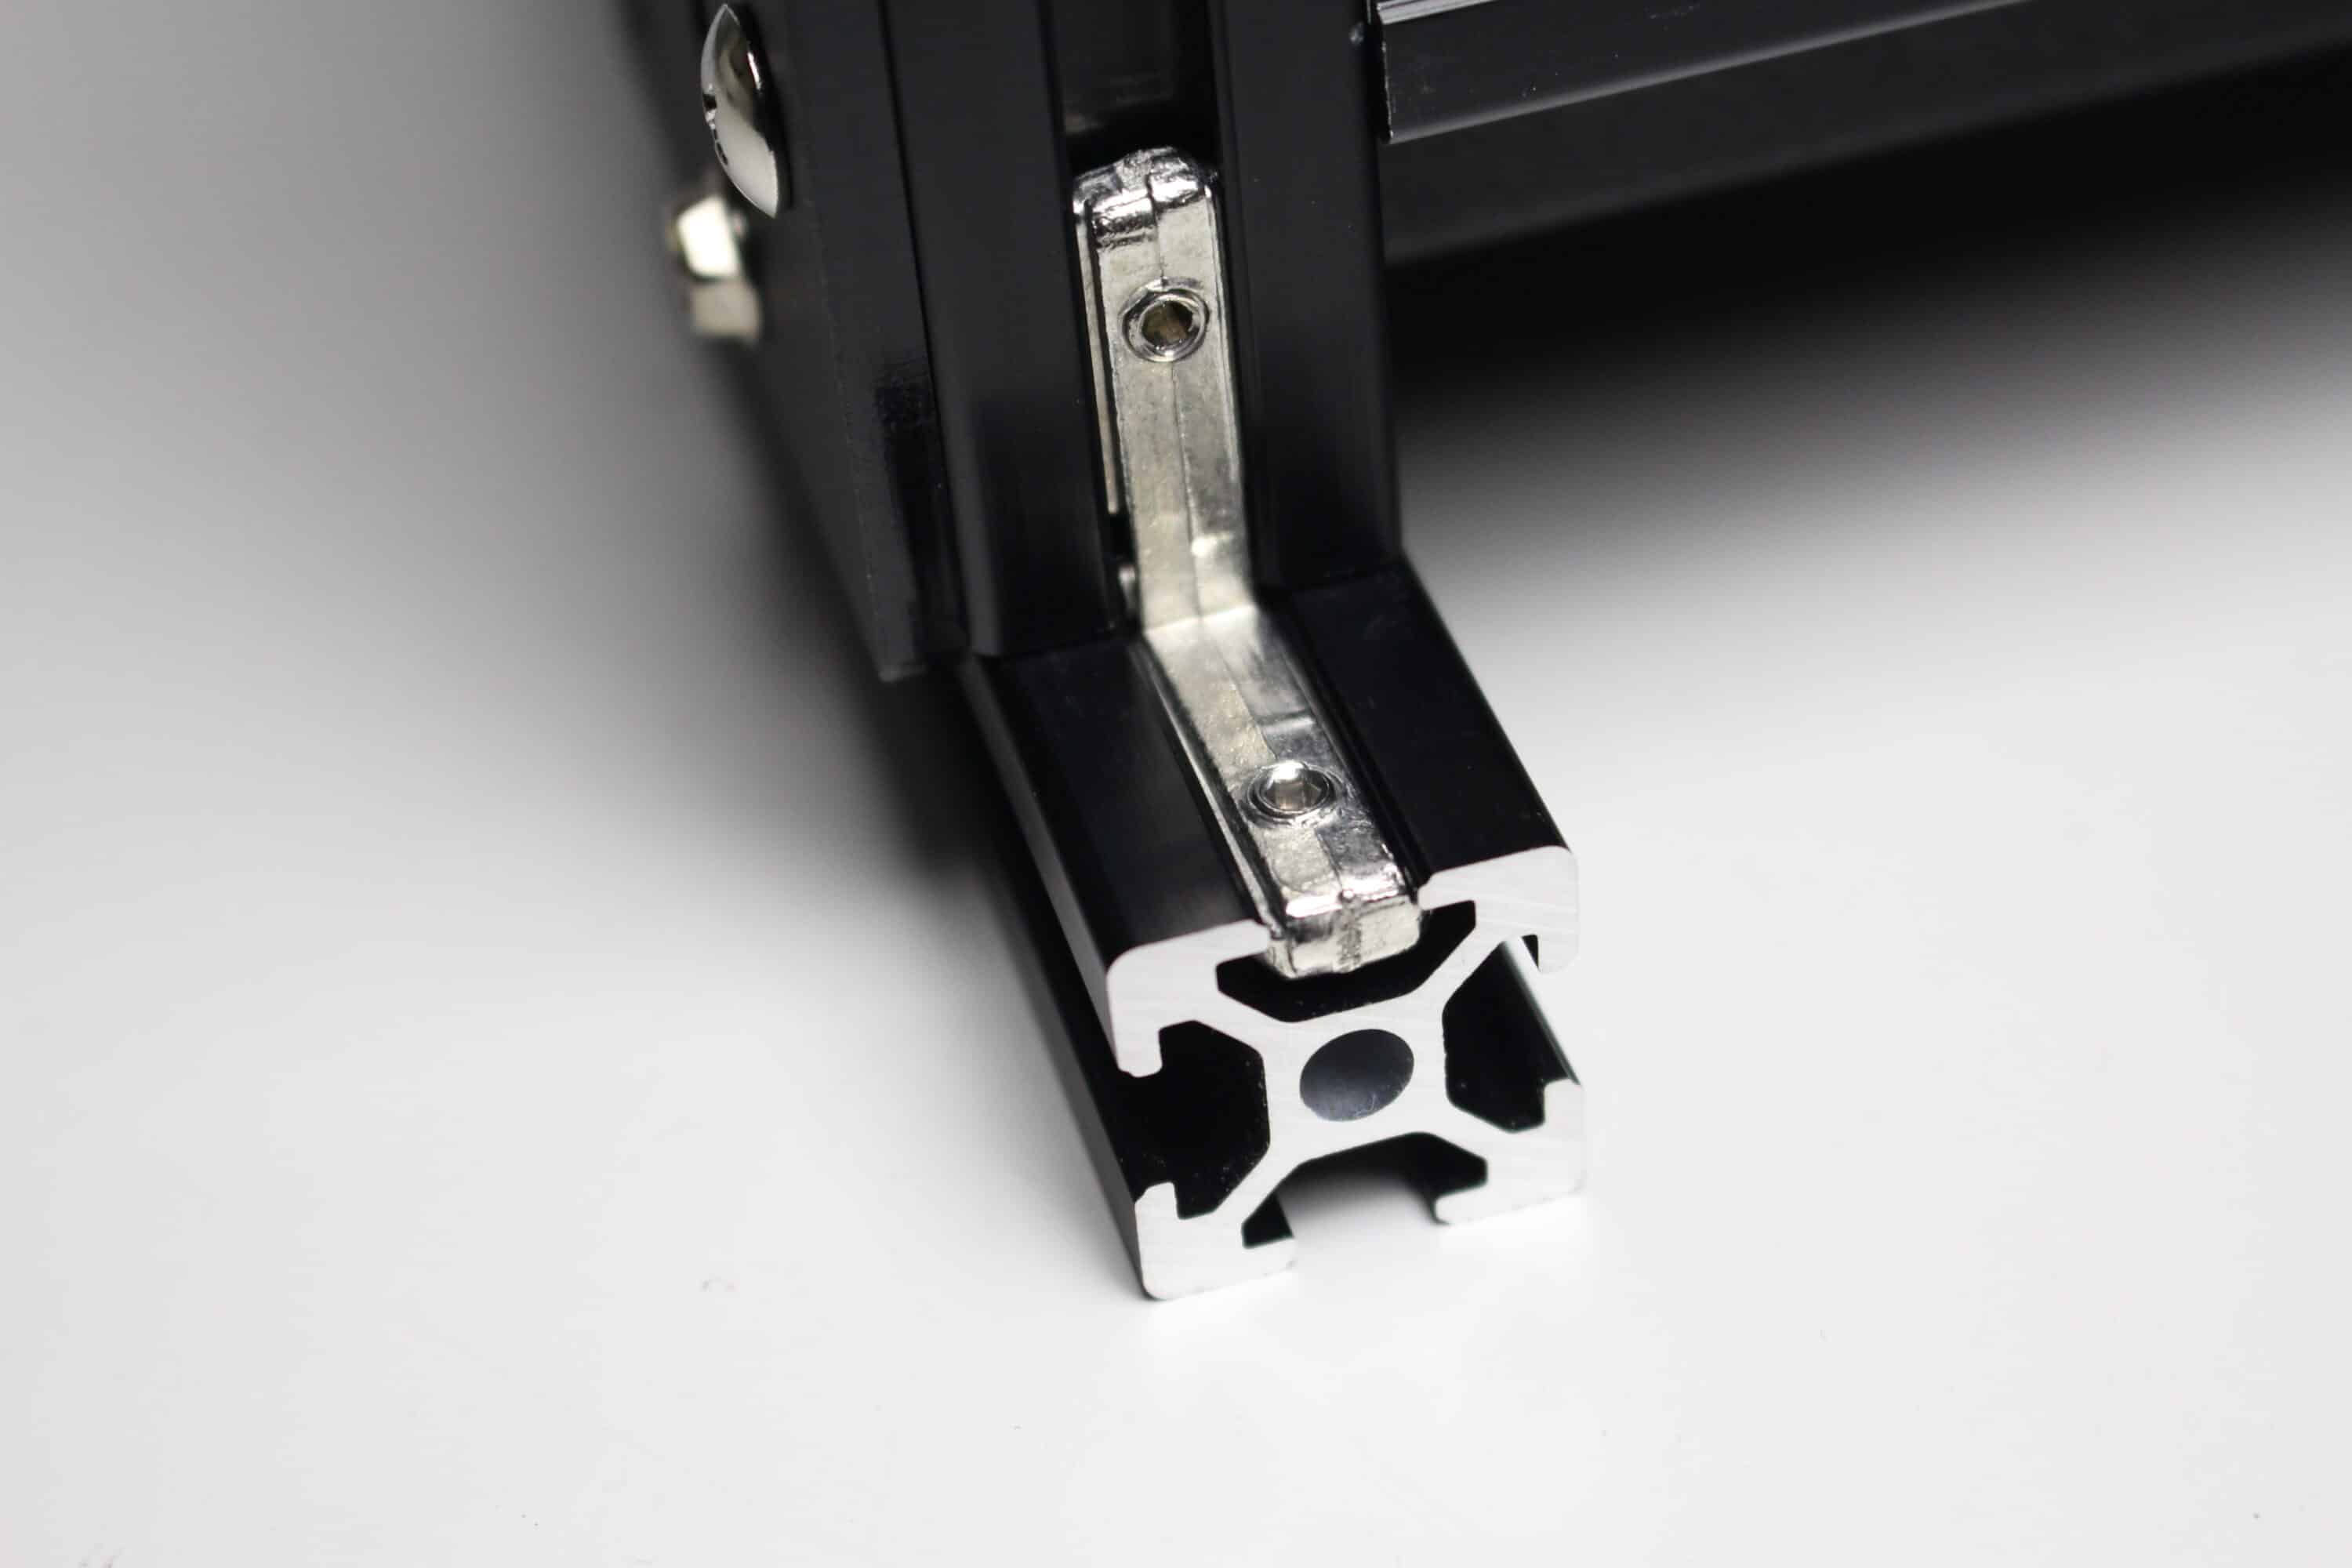
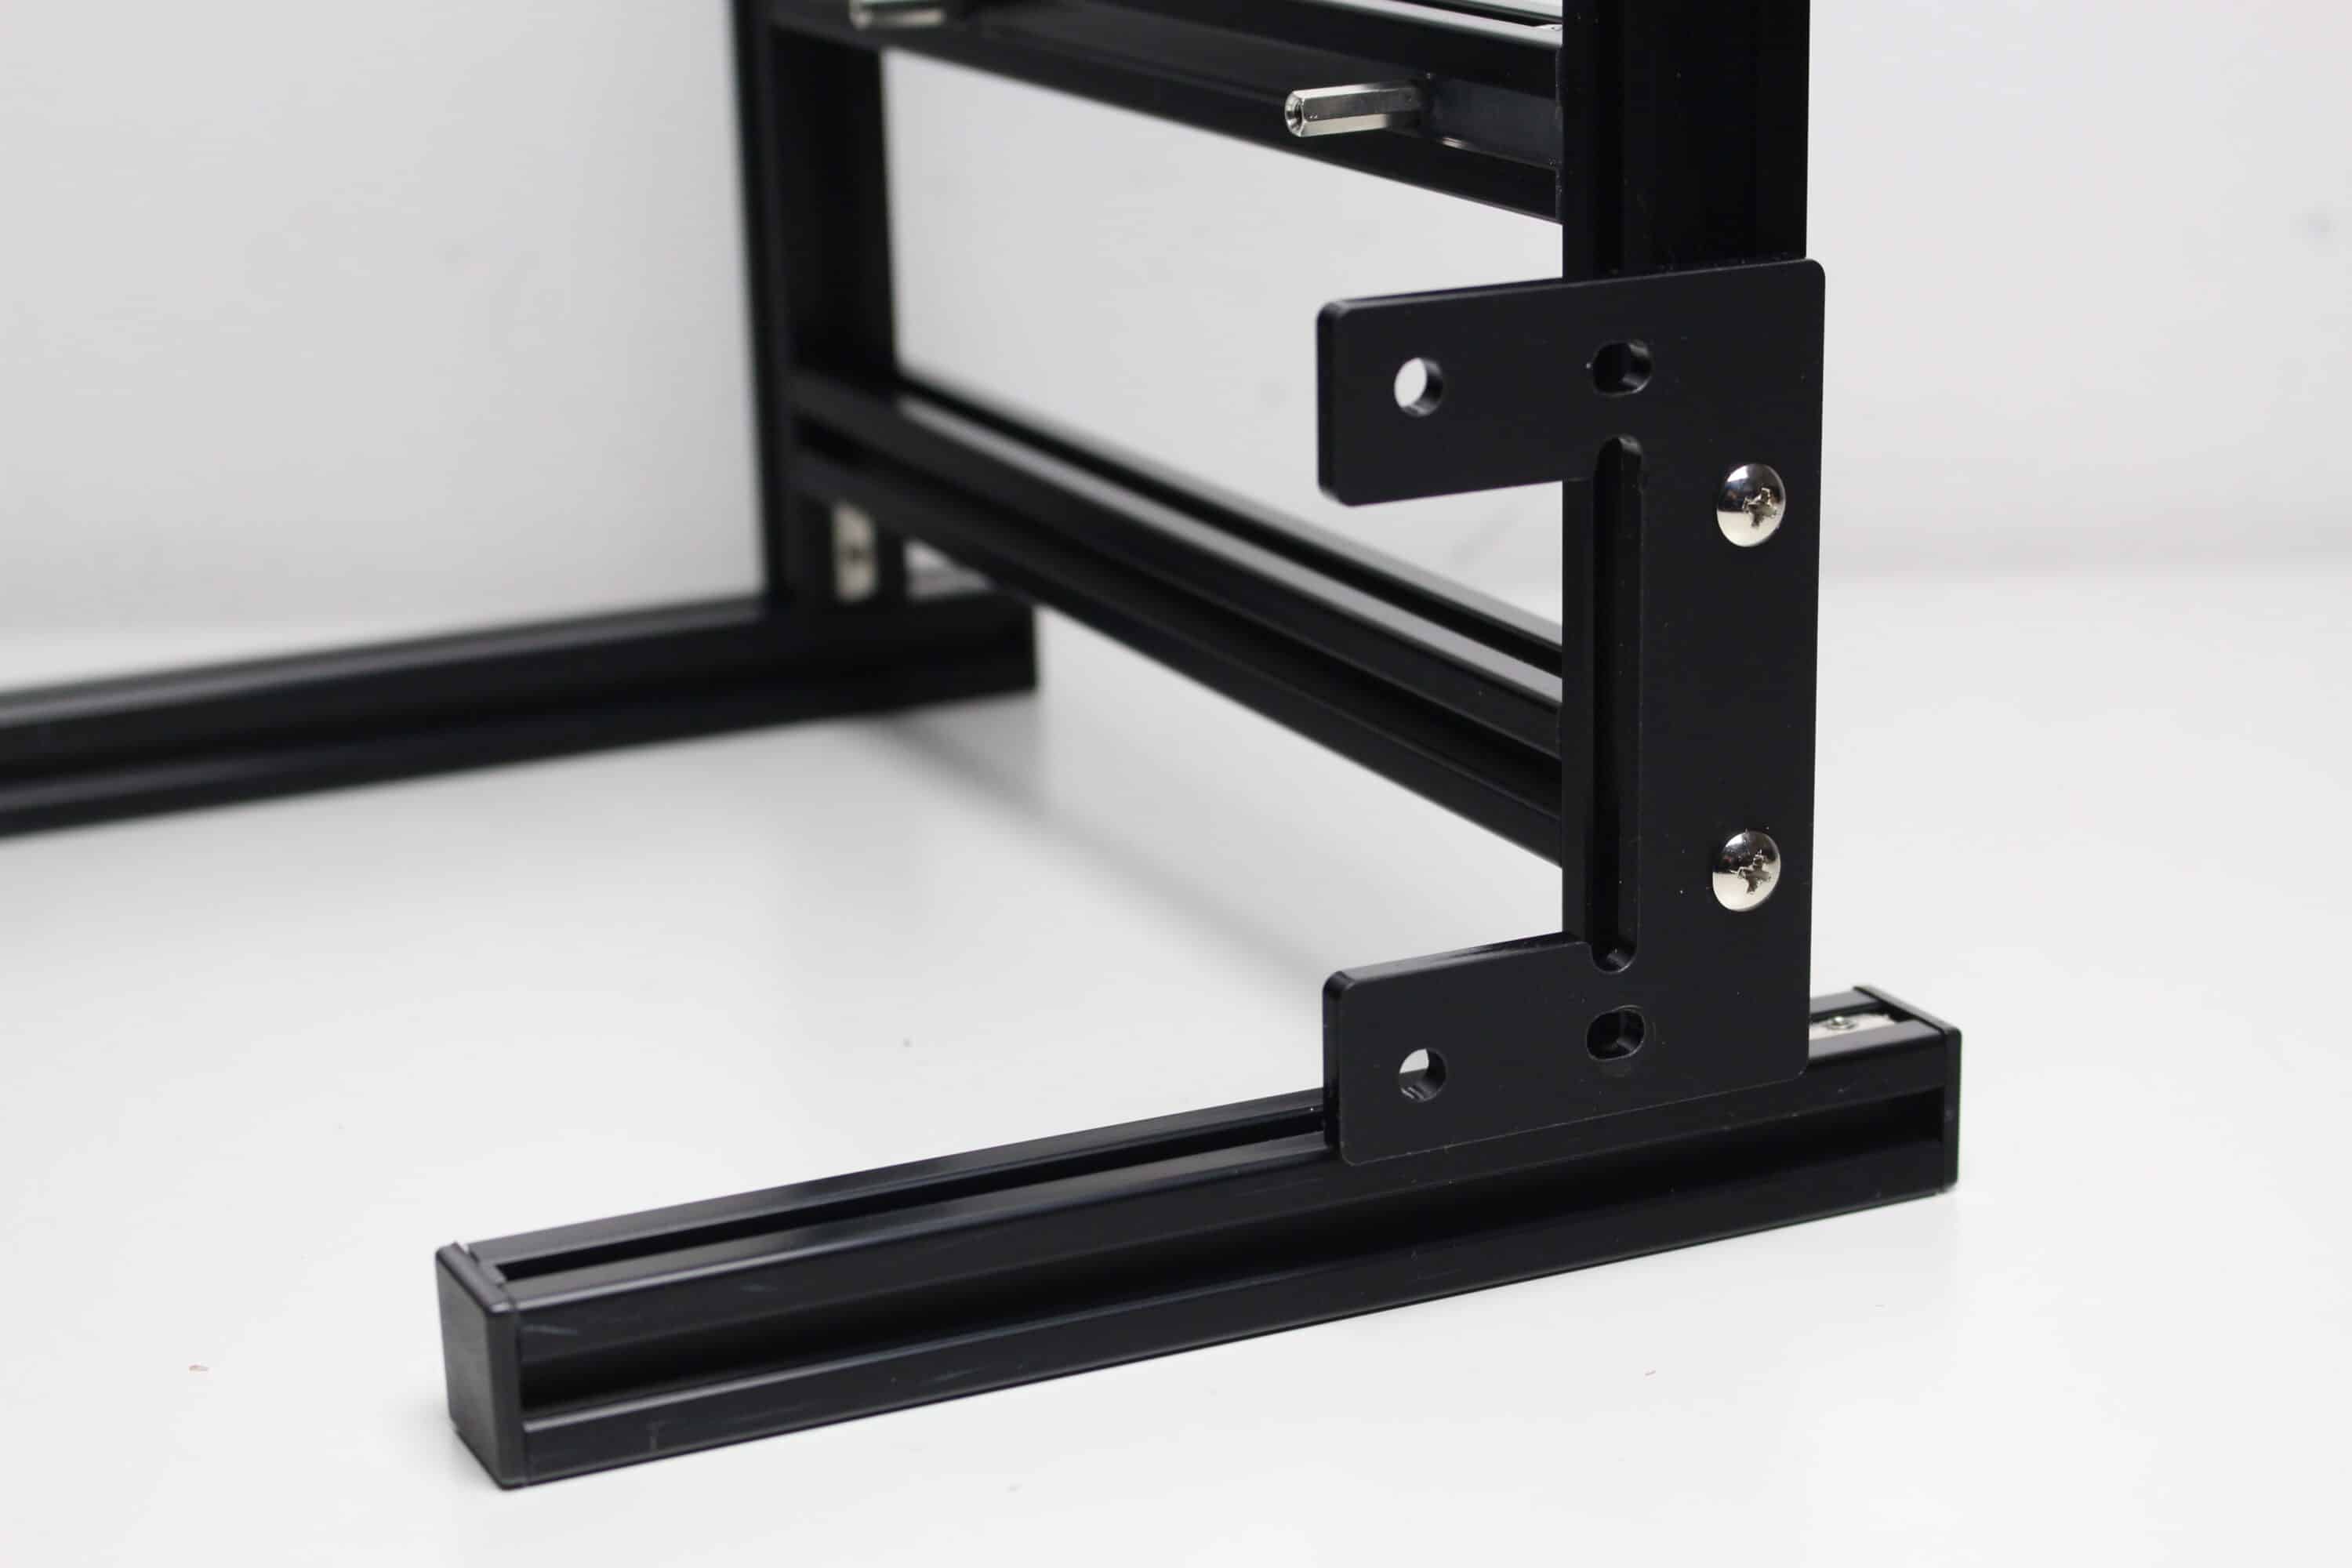
The connection between the aluminum profiles is made with 90-degree bent angle pieces, which can simply be pushed into the rails of the aluminum profile and fastened there with small screws. A small Allen key is also included in the scope of delivery. Due to the small, non-pre-assembled screws, installation is somewhat more complicated here.
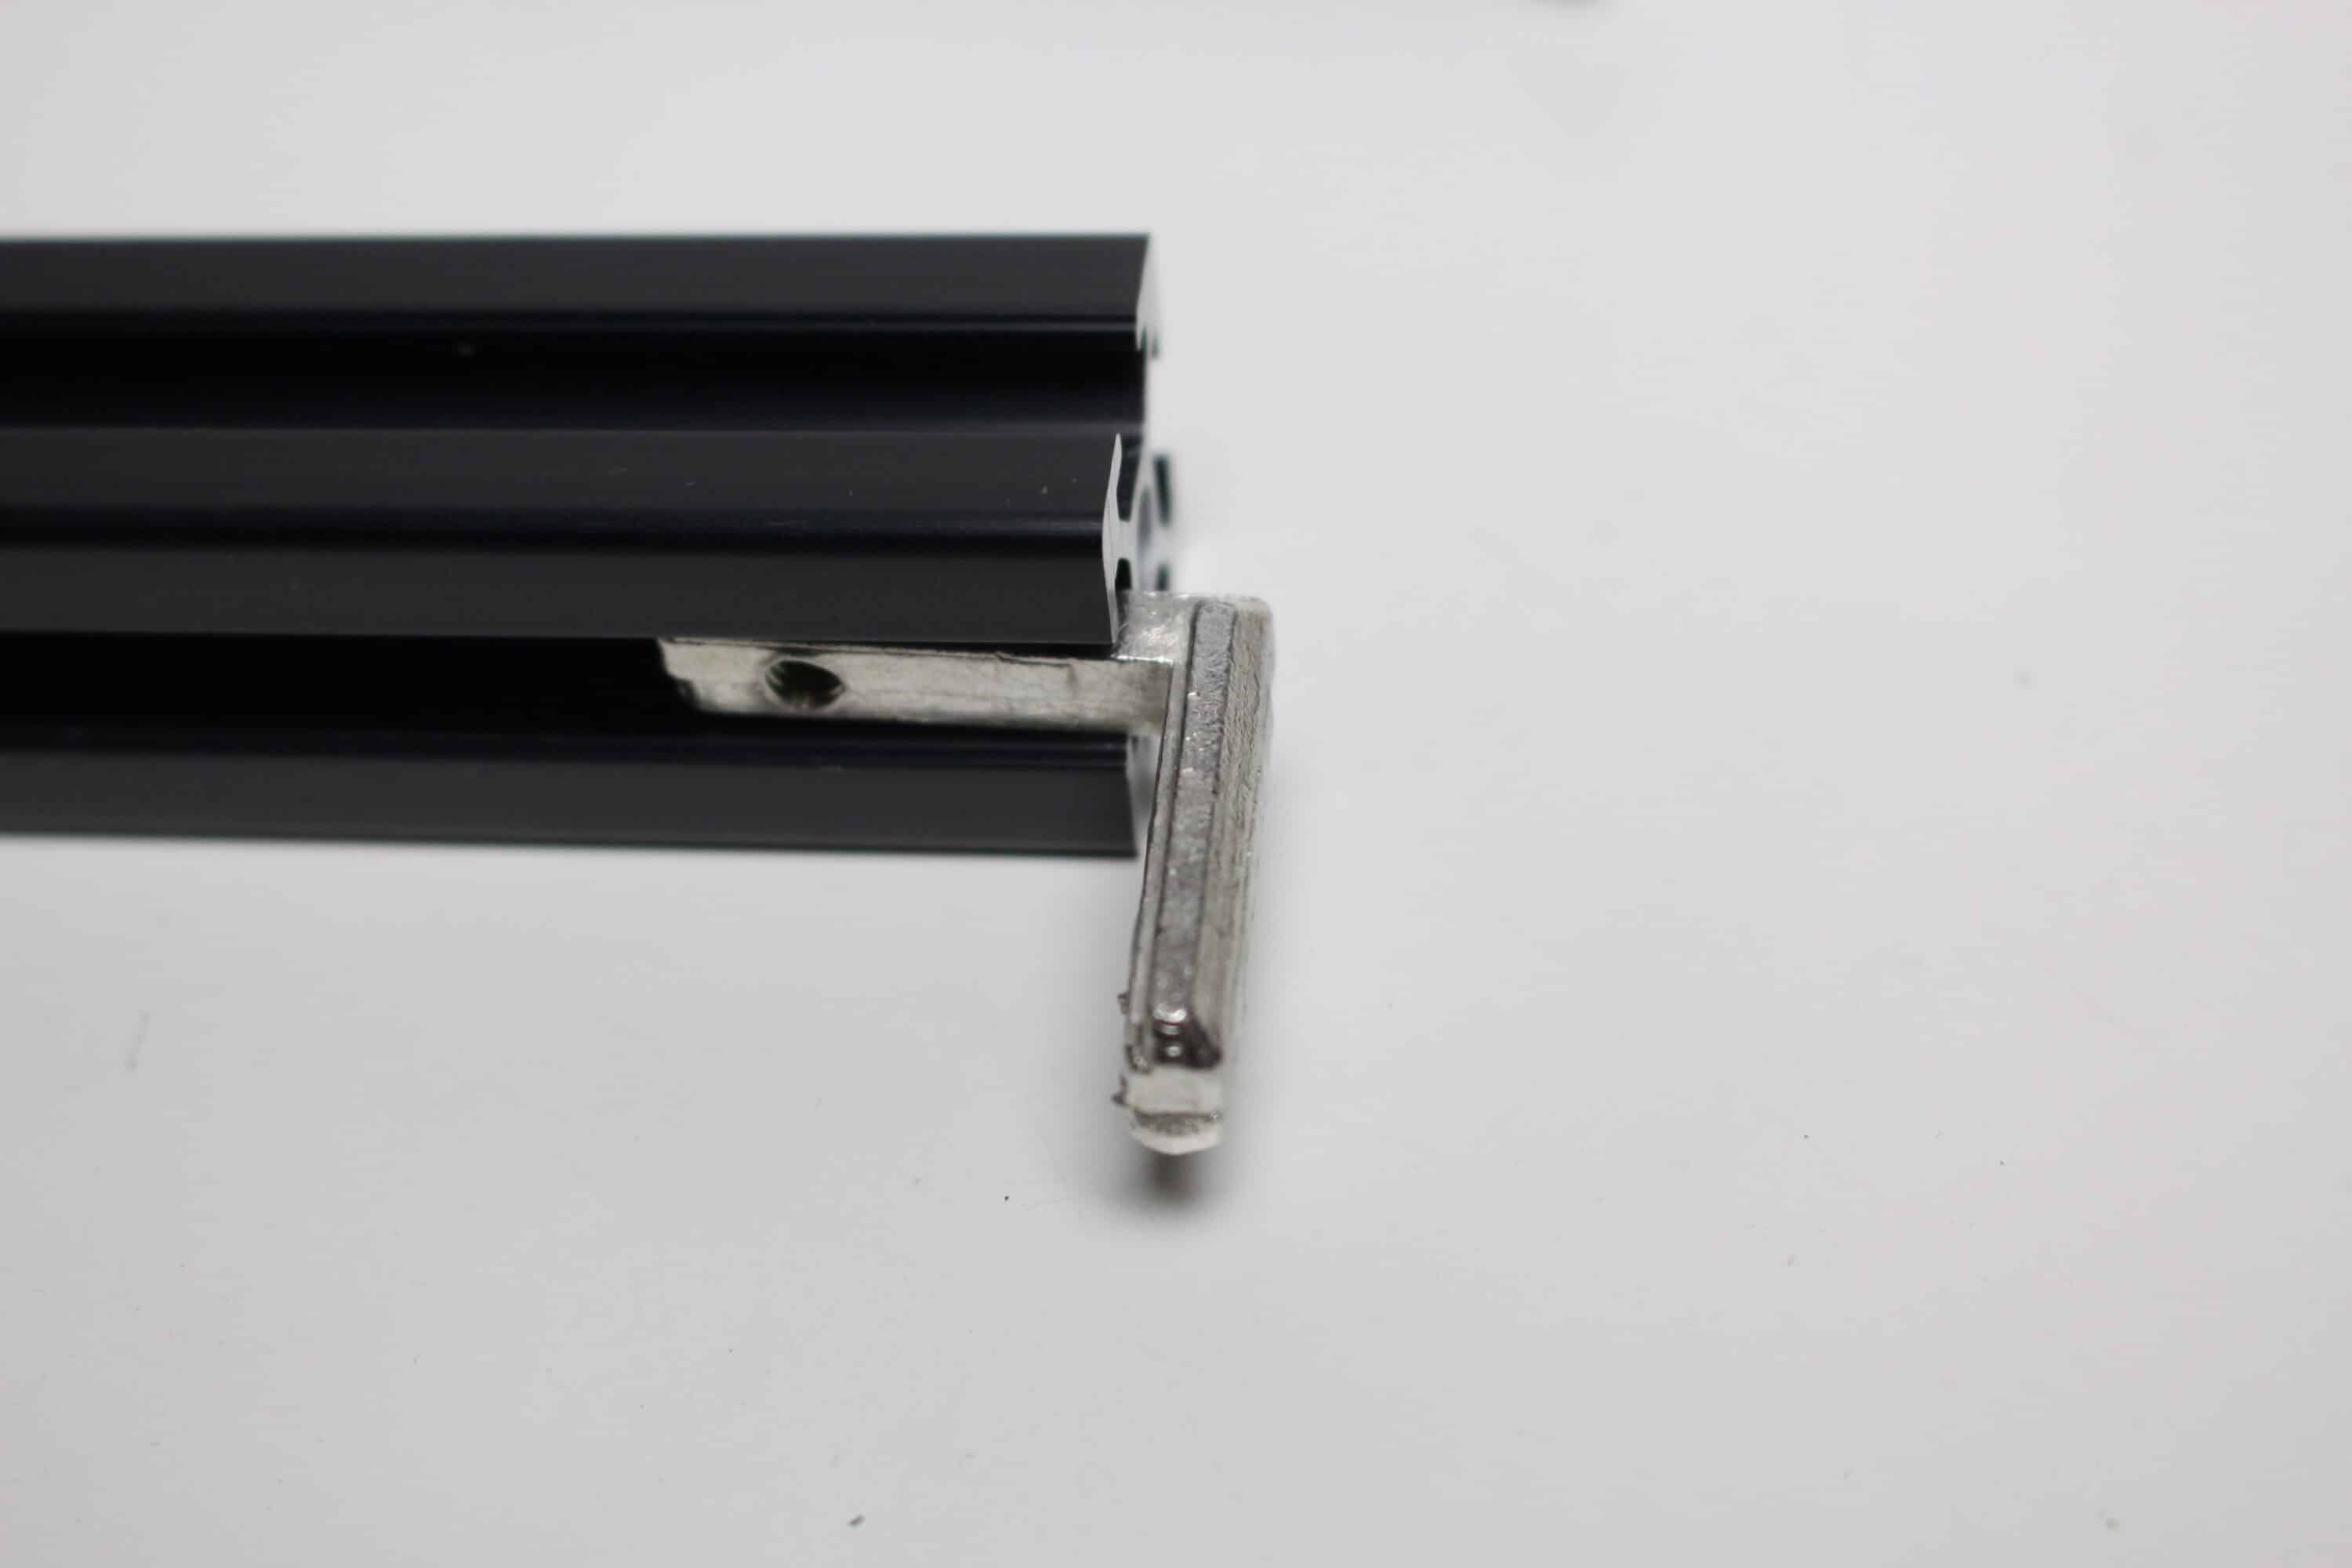
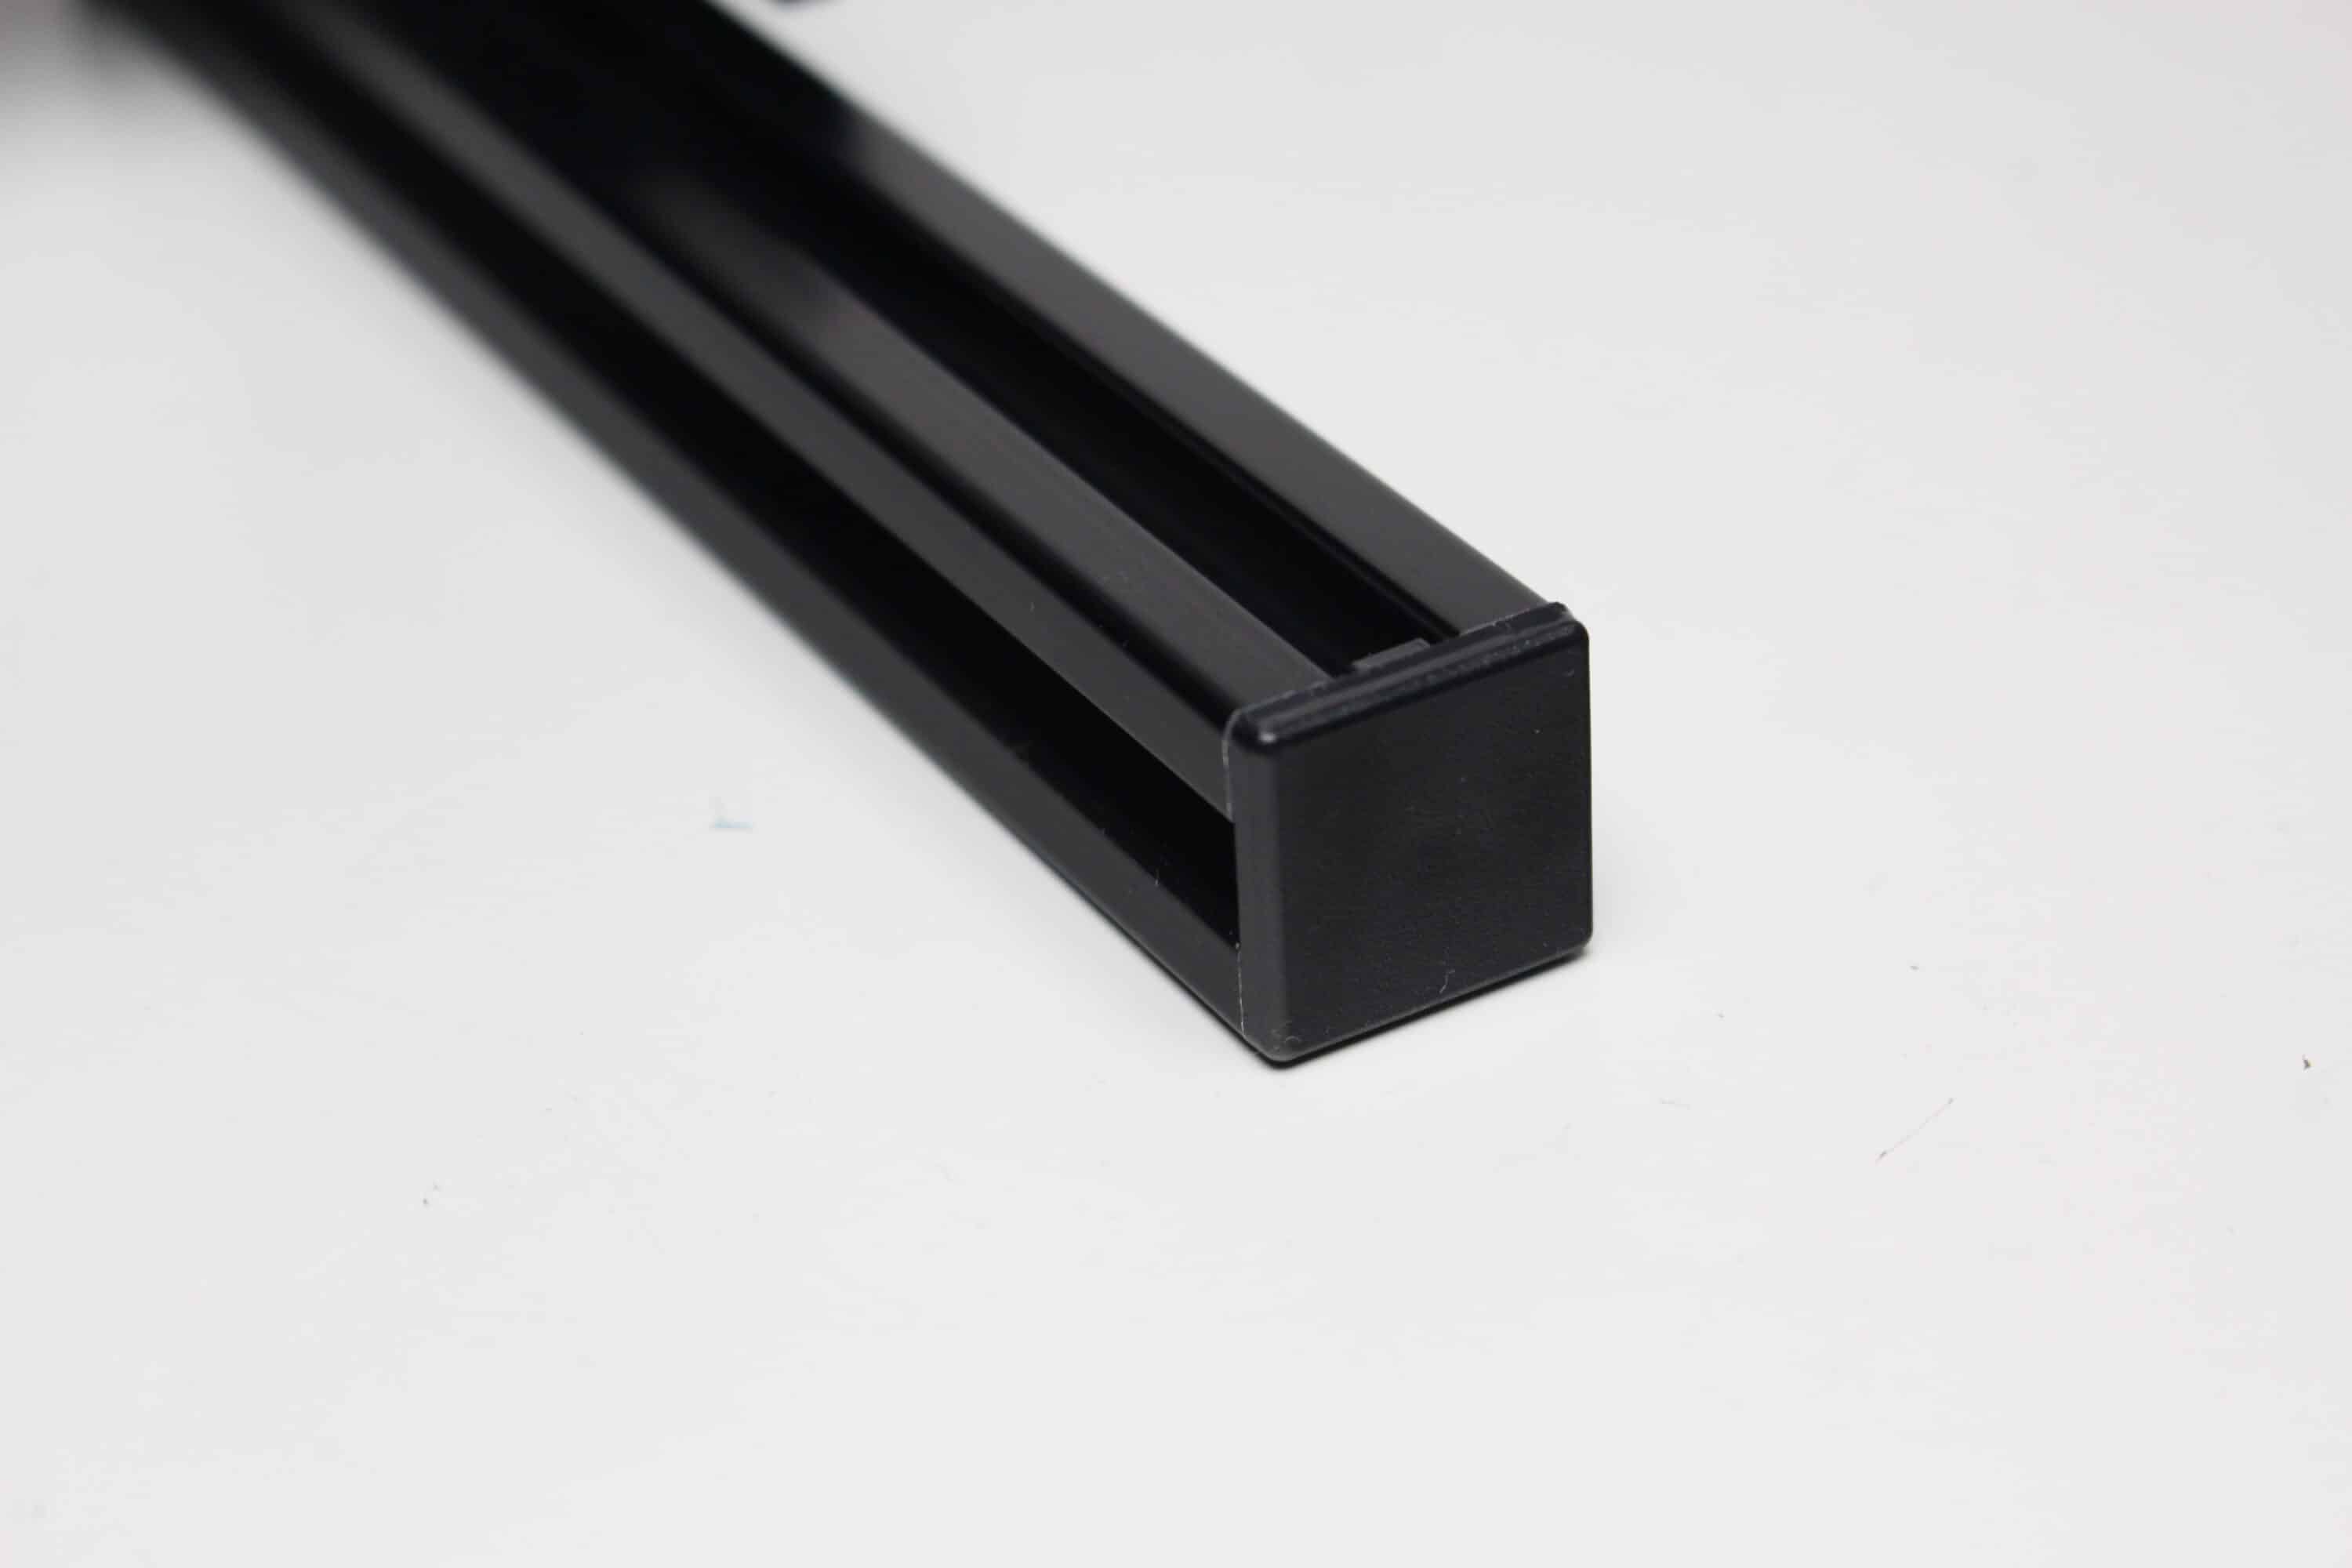
To ensure that all elements can be installed as parallel as possible, we recommend mounting the mainboard on the medium-length aluminum profiles first. Then place the mainboard upside down and attach the long profiles to the sides and screw all the brackets tightly. Finally, mount the short elements, which serve as feet and power supply unit holders. The unpainted end pieces can be covered with plastic caps once assembly is complete.
Overall, the assembly of the individual parts is somewhat more complex, depending on the layout. If you have not thought about the final layout before the first assembly step, there is a very high probability that you will forget something halfway through or have to dismantle half the assembly again. Although the instructions explain the most important assembly steps, they could be much more precise.
Design and workmanship
The individual components are mostly neatly finished and painted. Unfortunately, we could see slight to visible scratches on one or two of the profiles. However, all elements are well deburred and no sharp edges were visible. The plastic components appear to be fundamentally stable and were covered with a protective film at the factory. However, the mounting frame for the power supply unit could have been a little more stable overall.
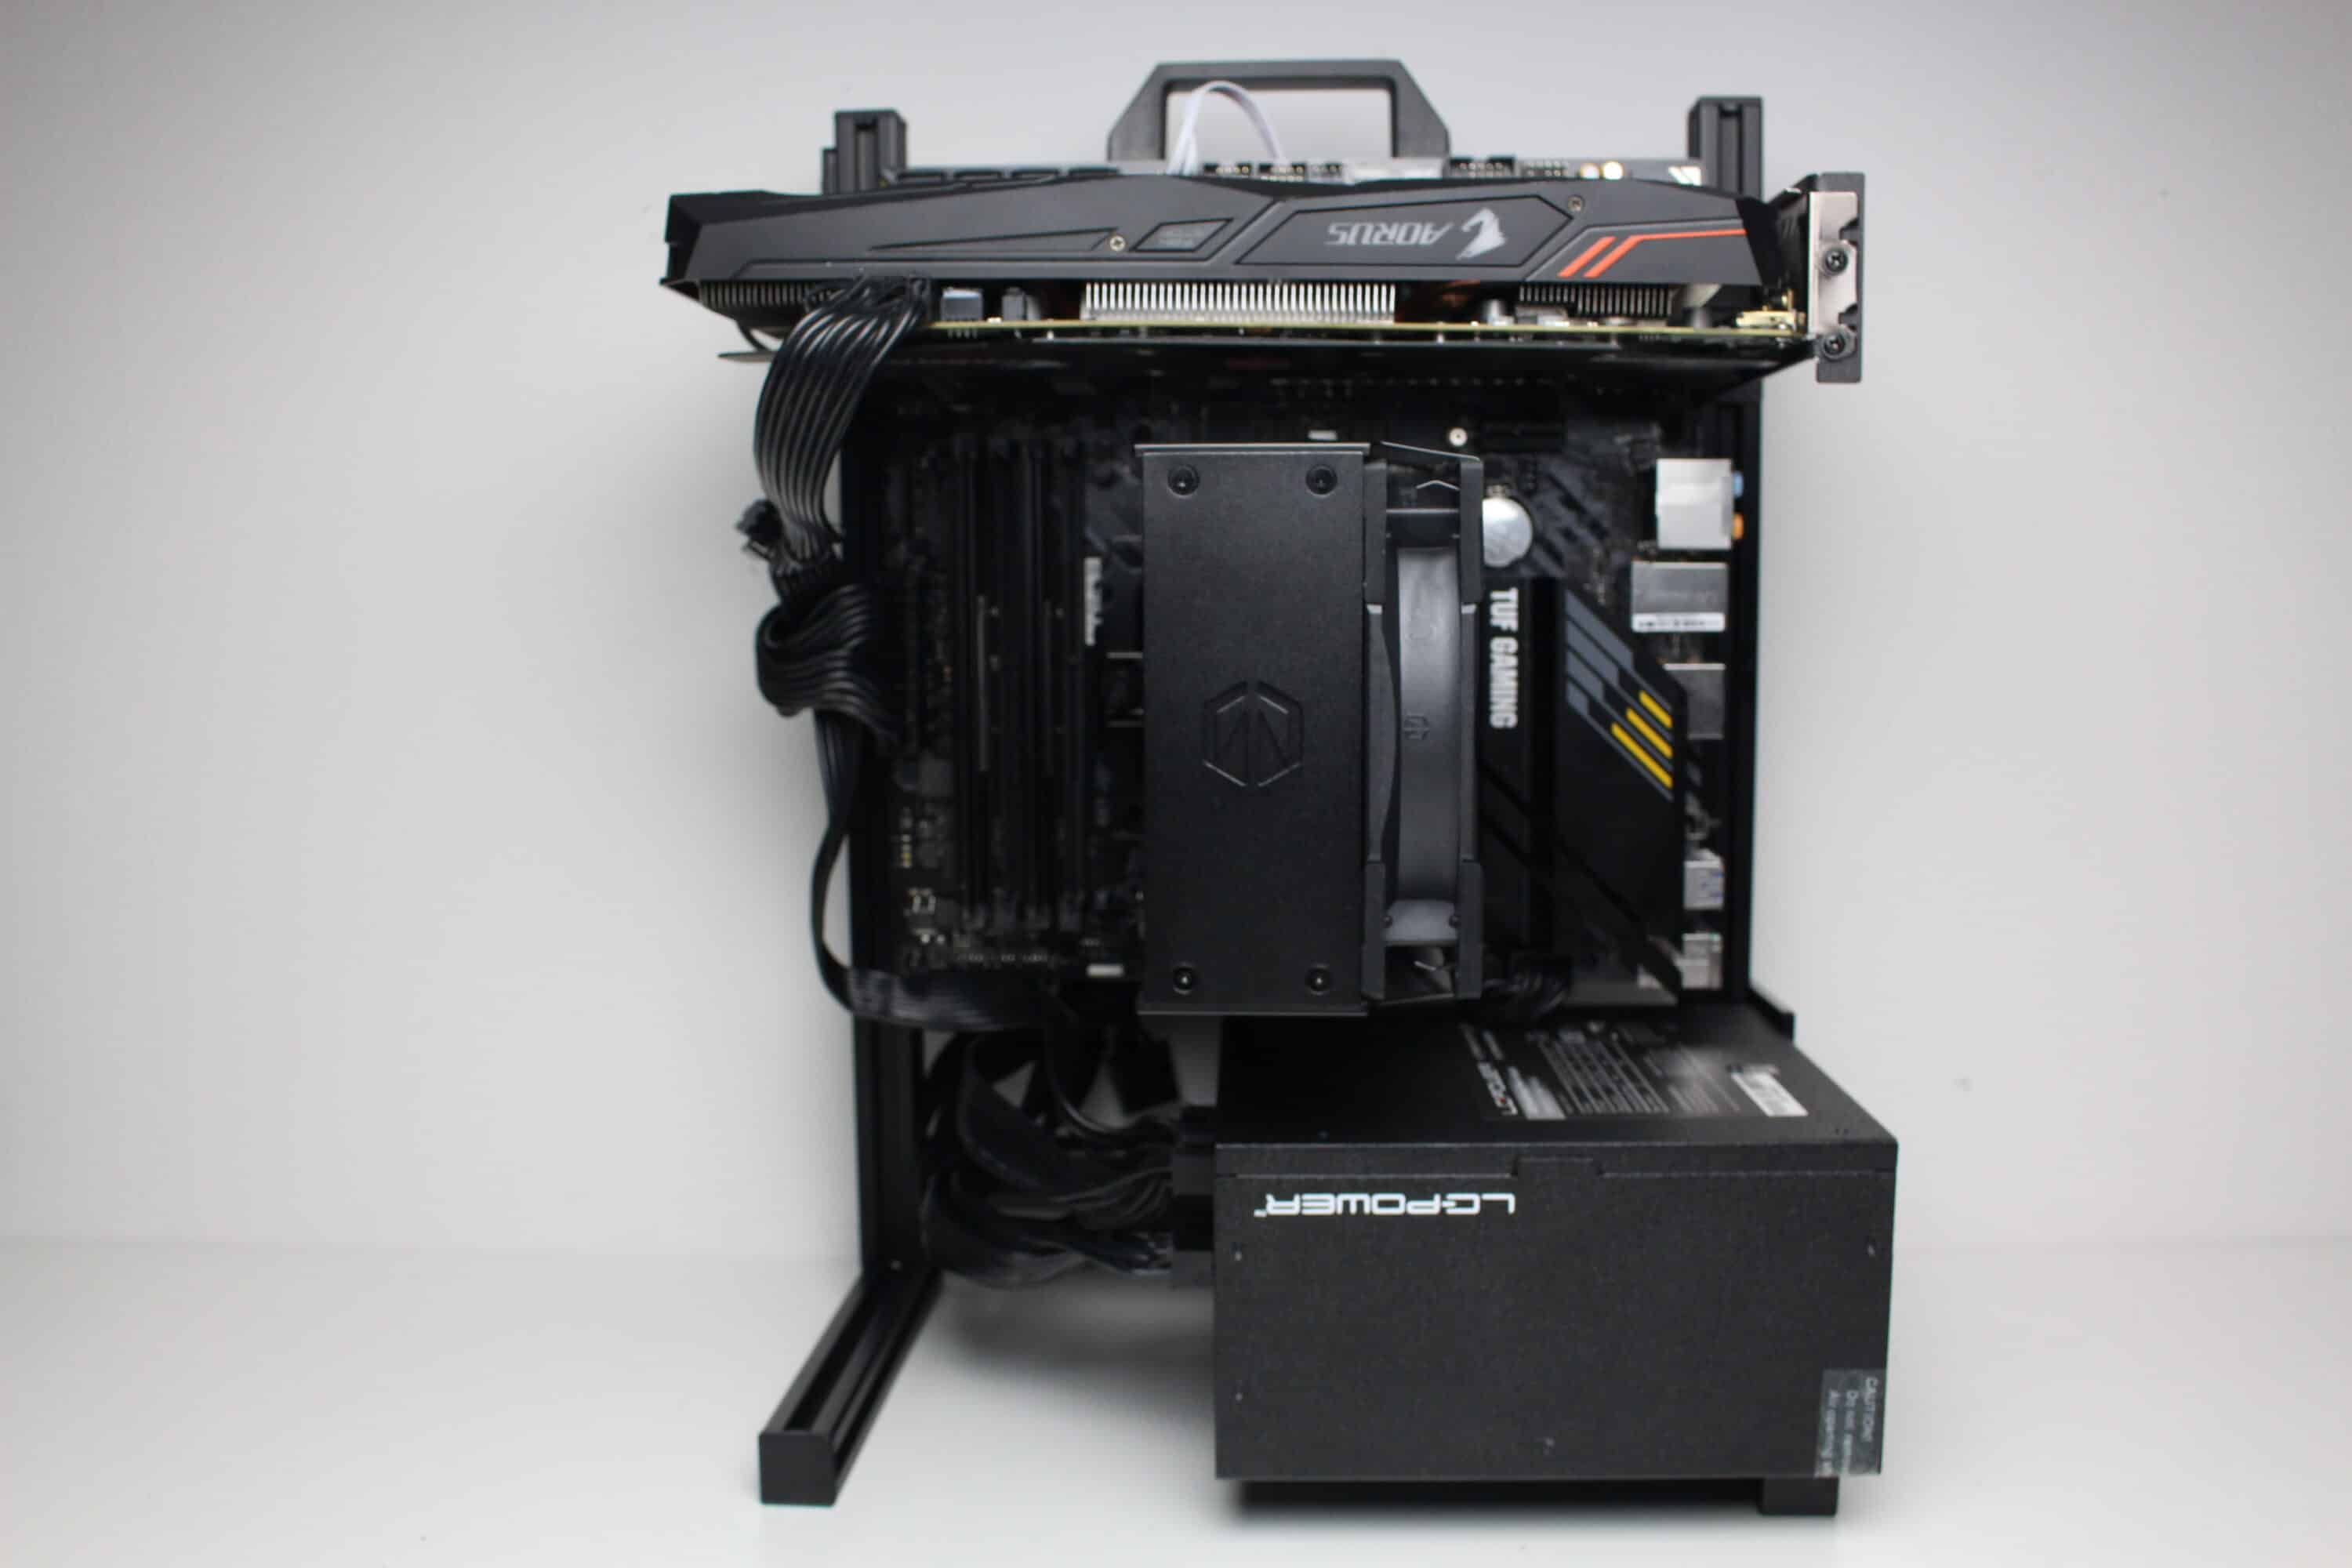
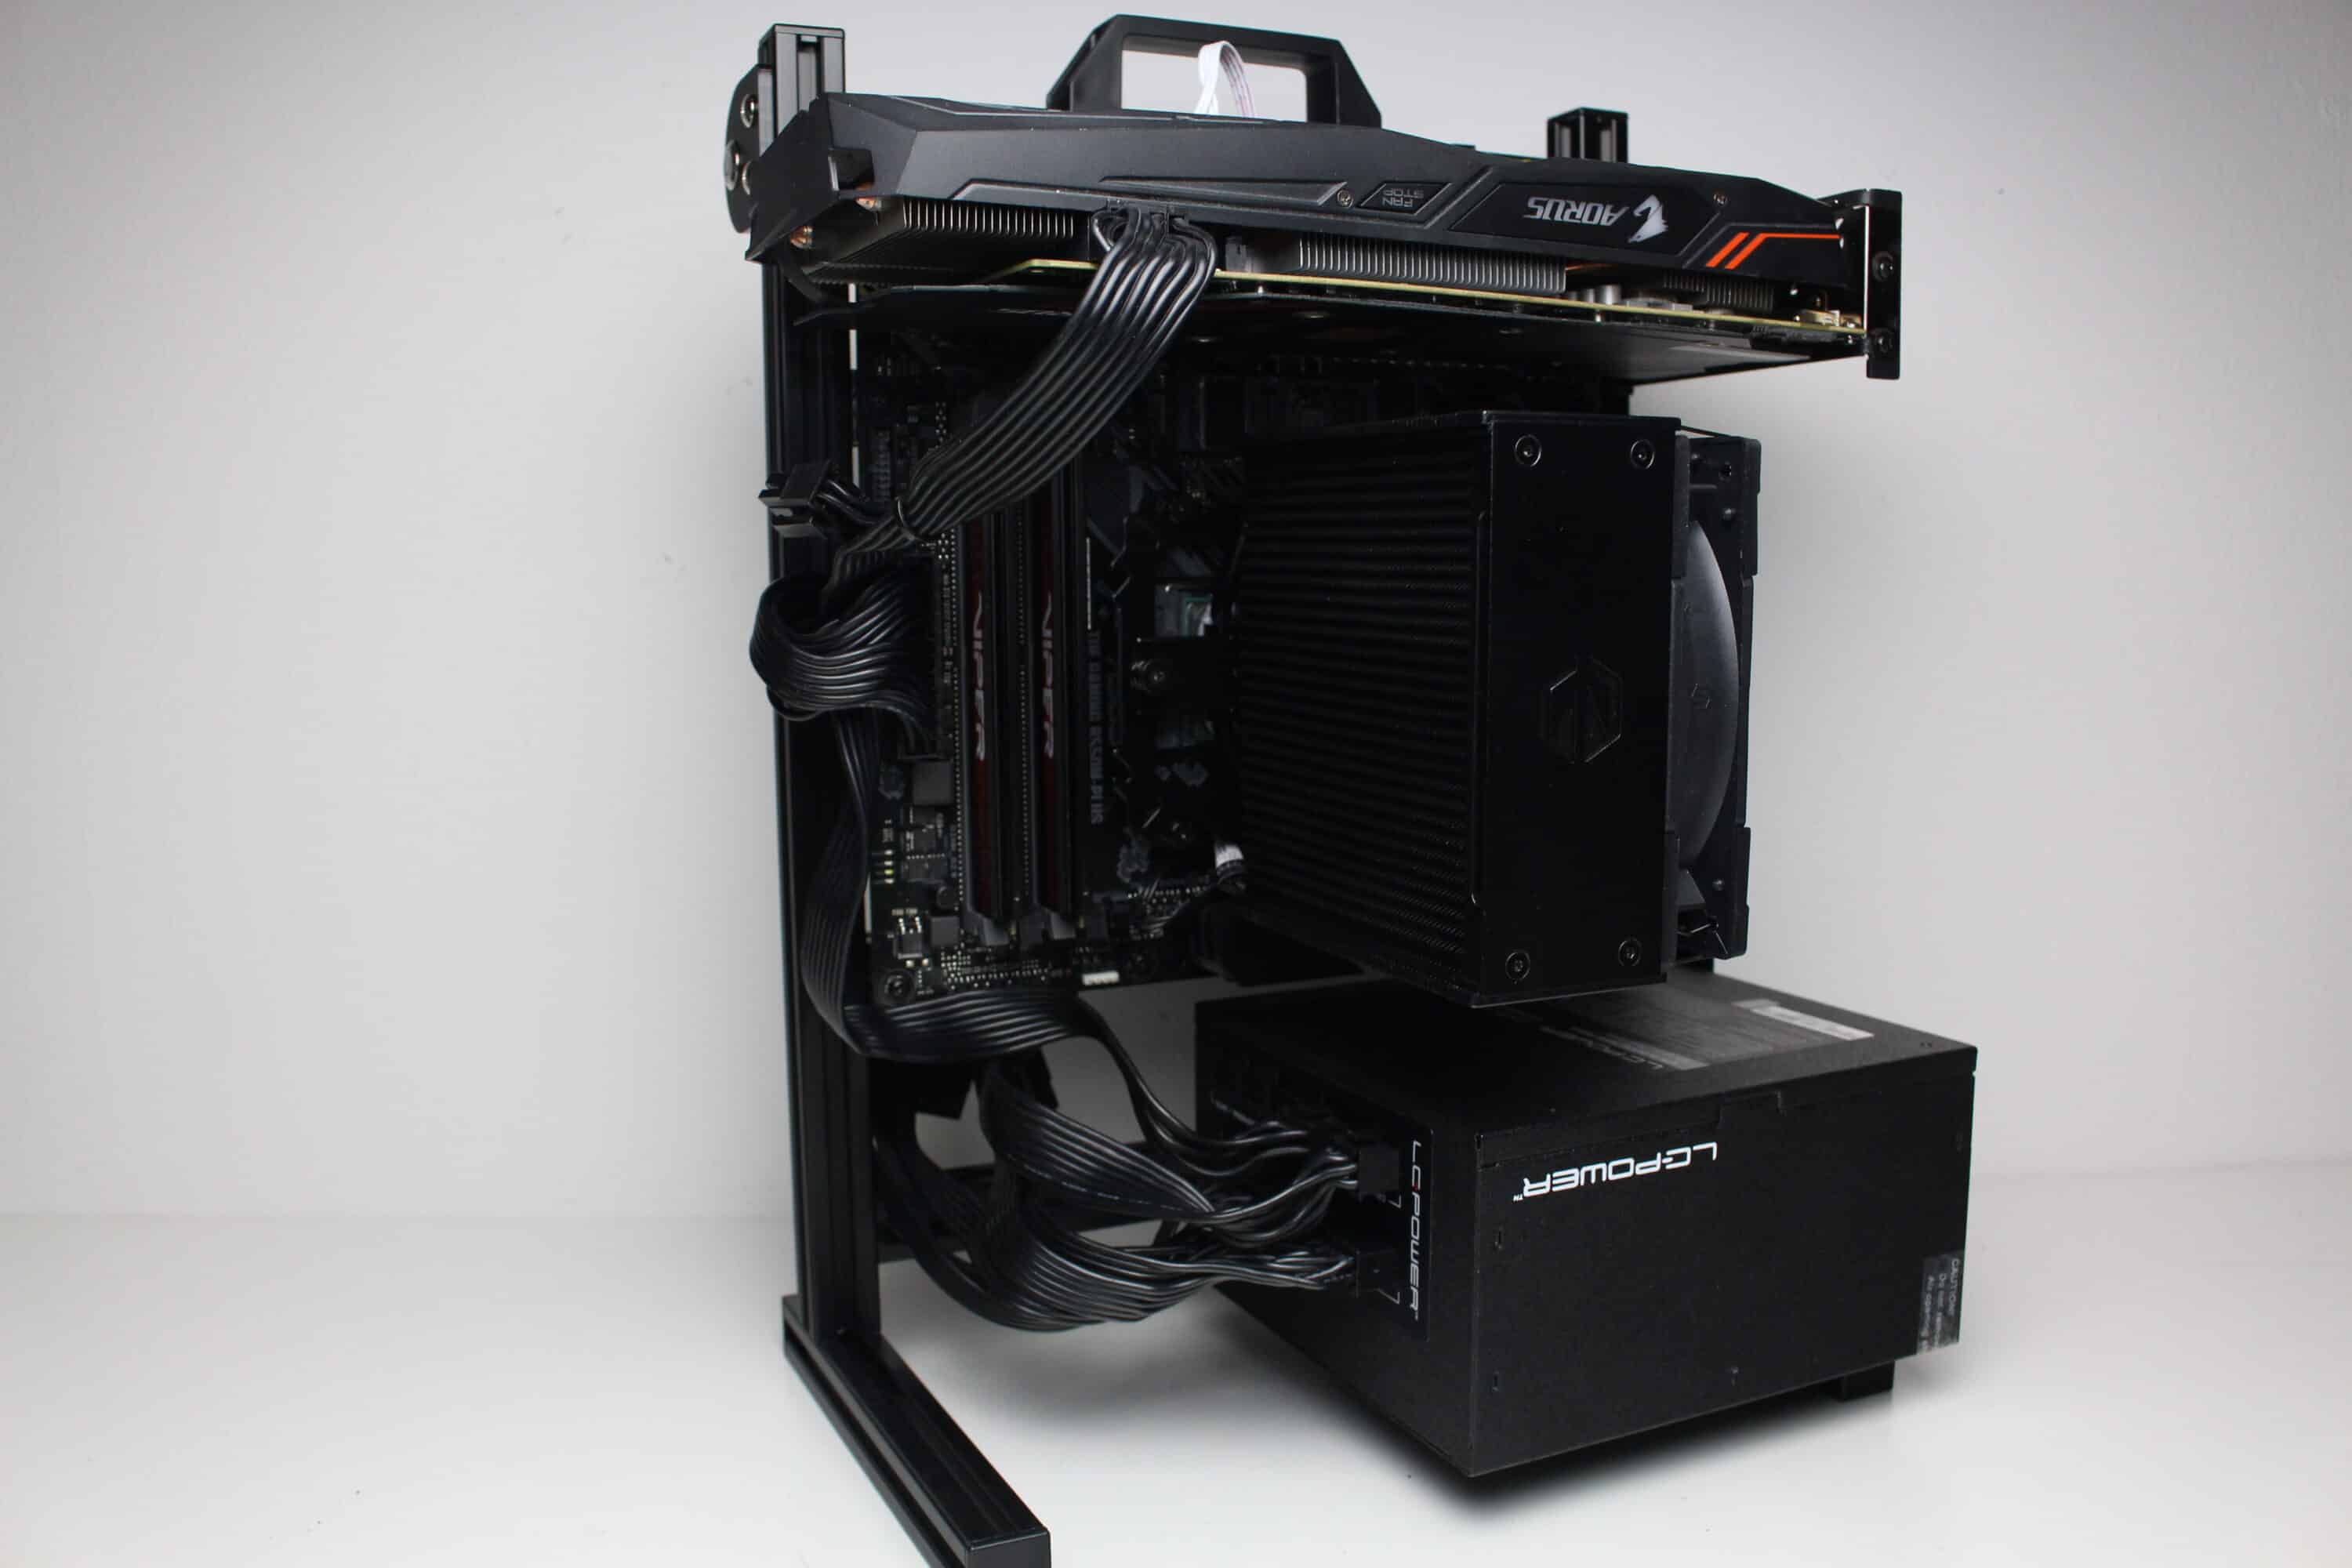
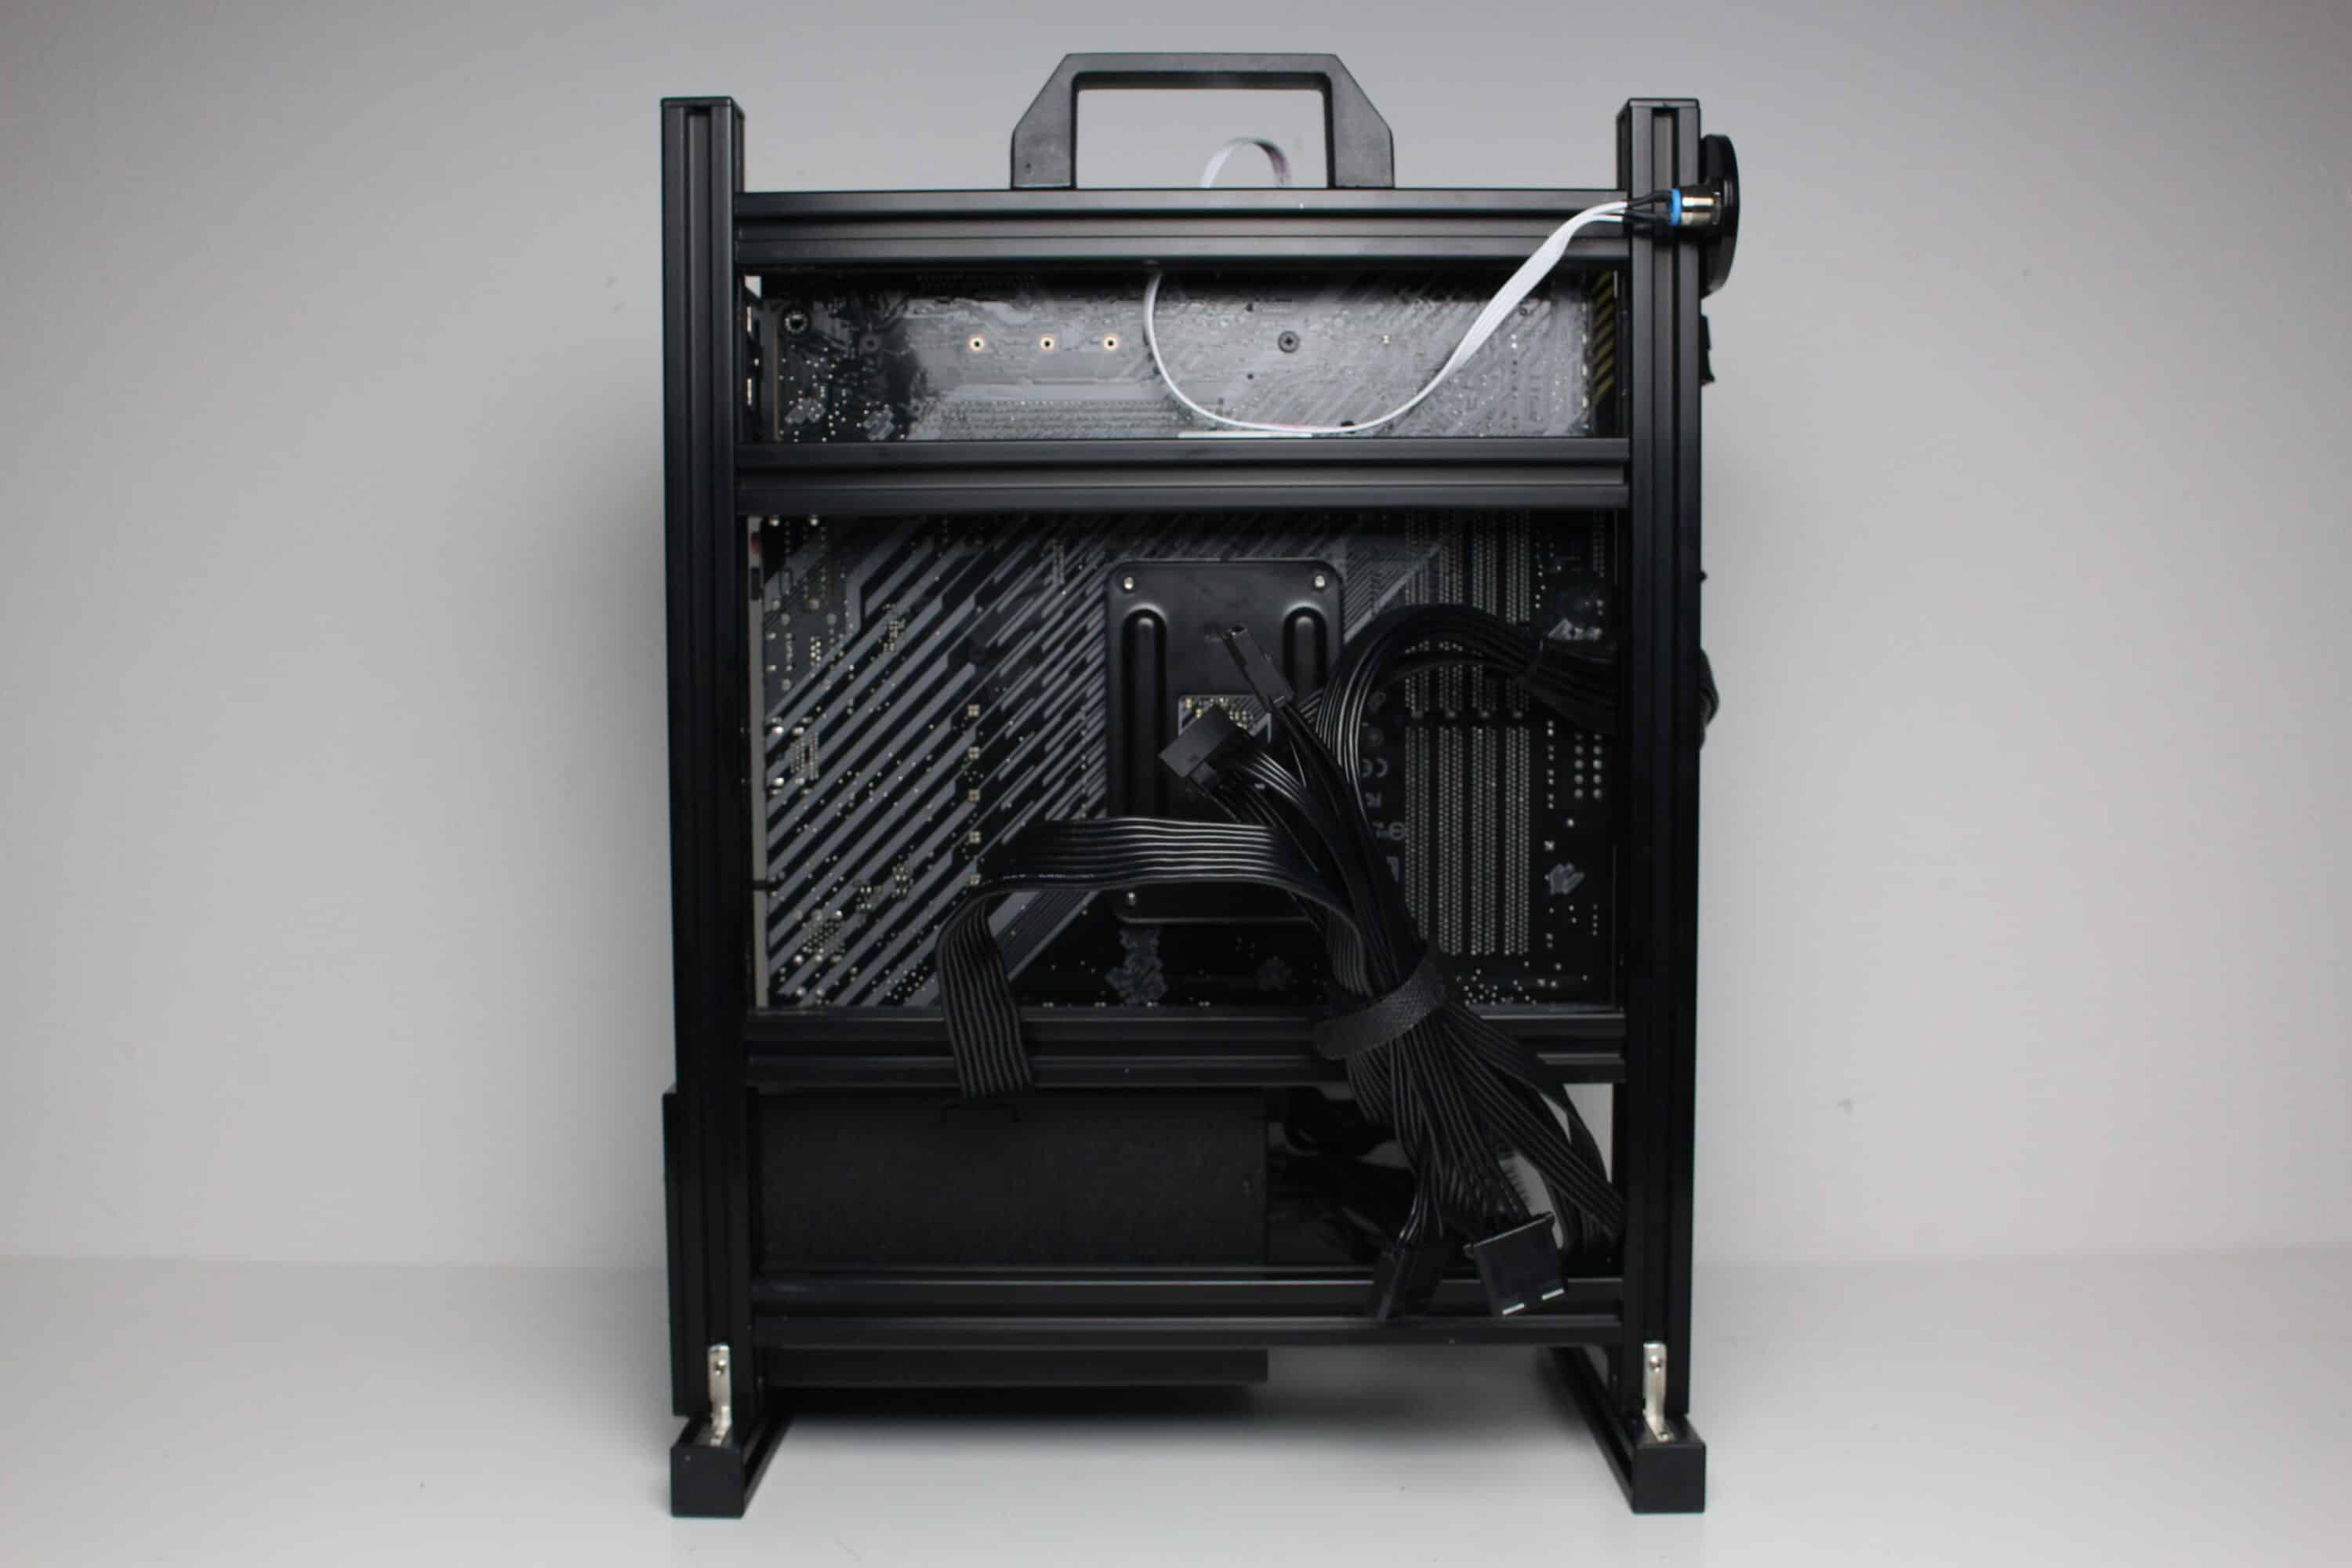
Once the system was fully assembled, we removed the components again so that we had an unobstructed view of the benchtable. In our chosen orientation, the power supply unit was placed at the bottom and the mainboard vertically above it. In order to have unobstructed access to the lower PCIe slot and the other connections, the mainboard was installed inverted so that the graphics card fans are facing upwards.
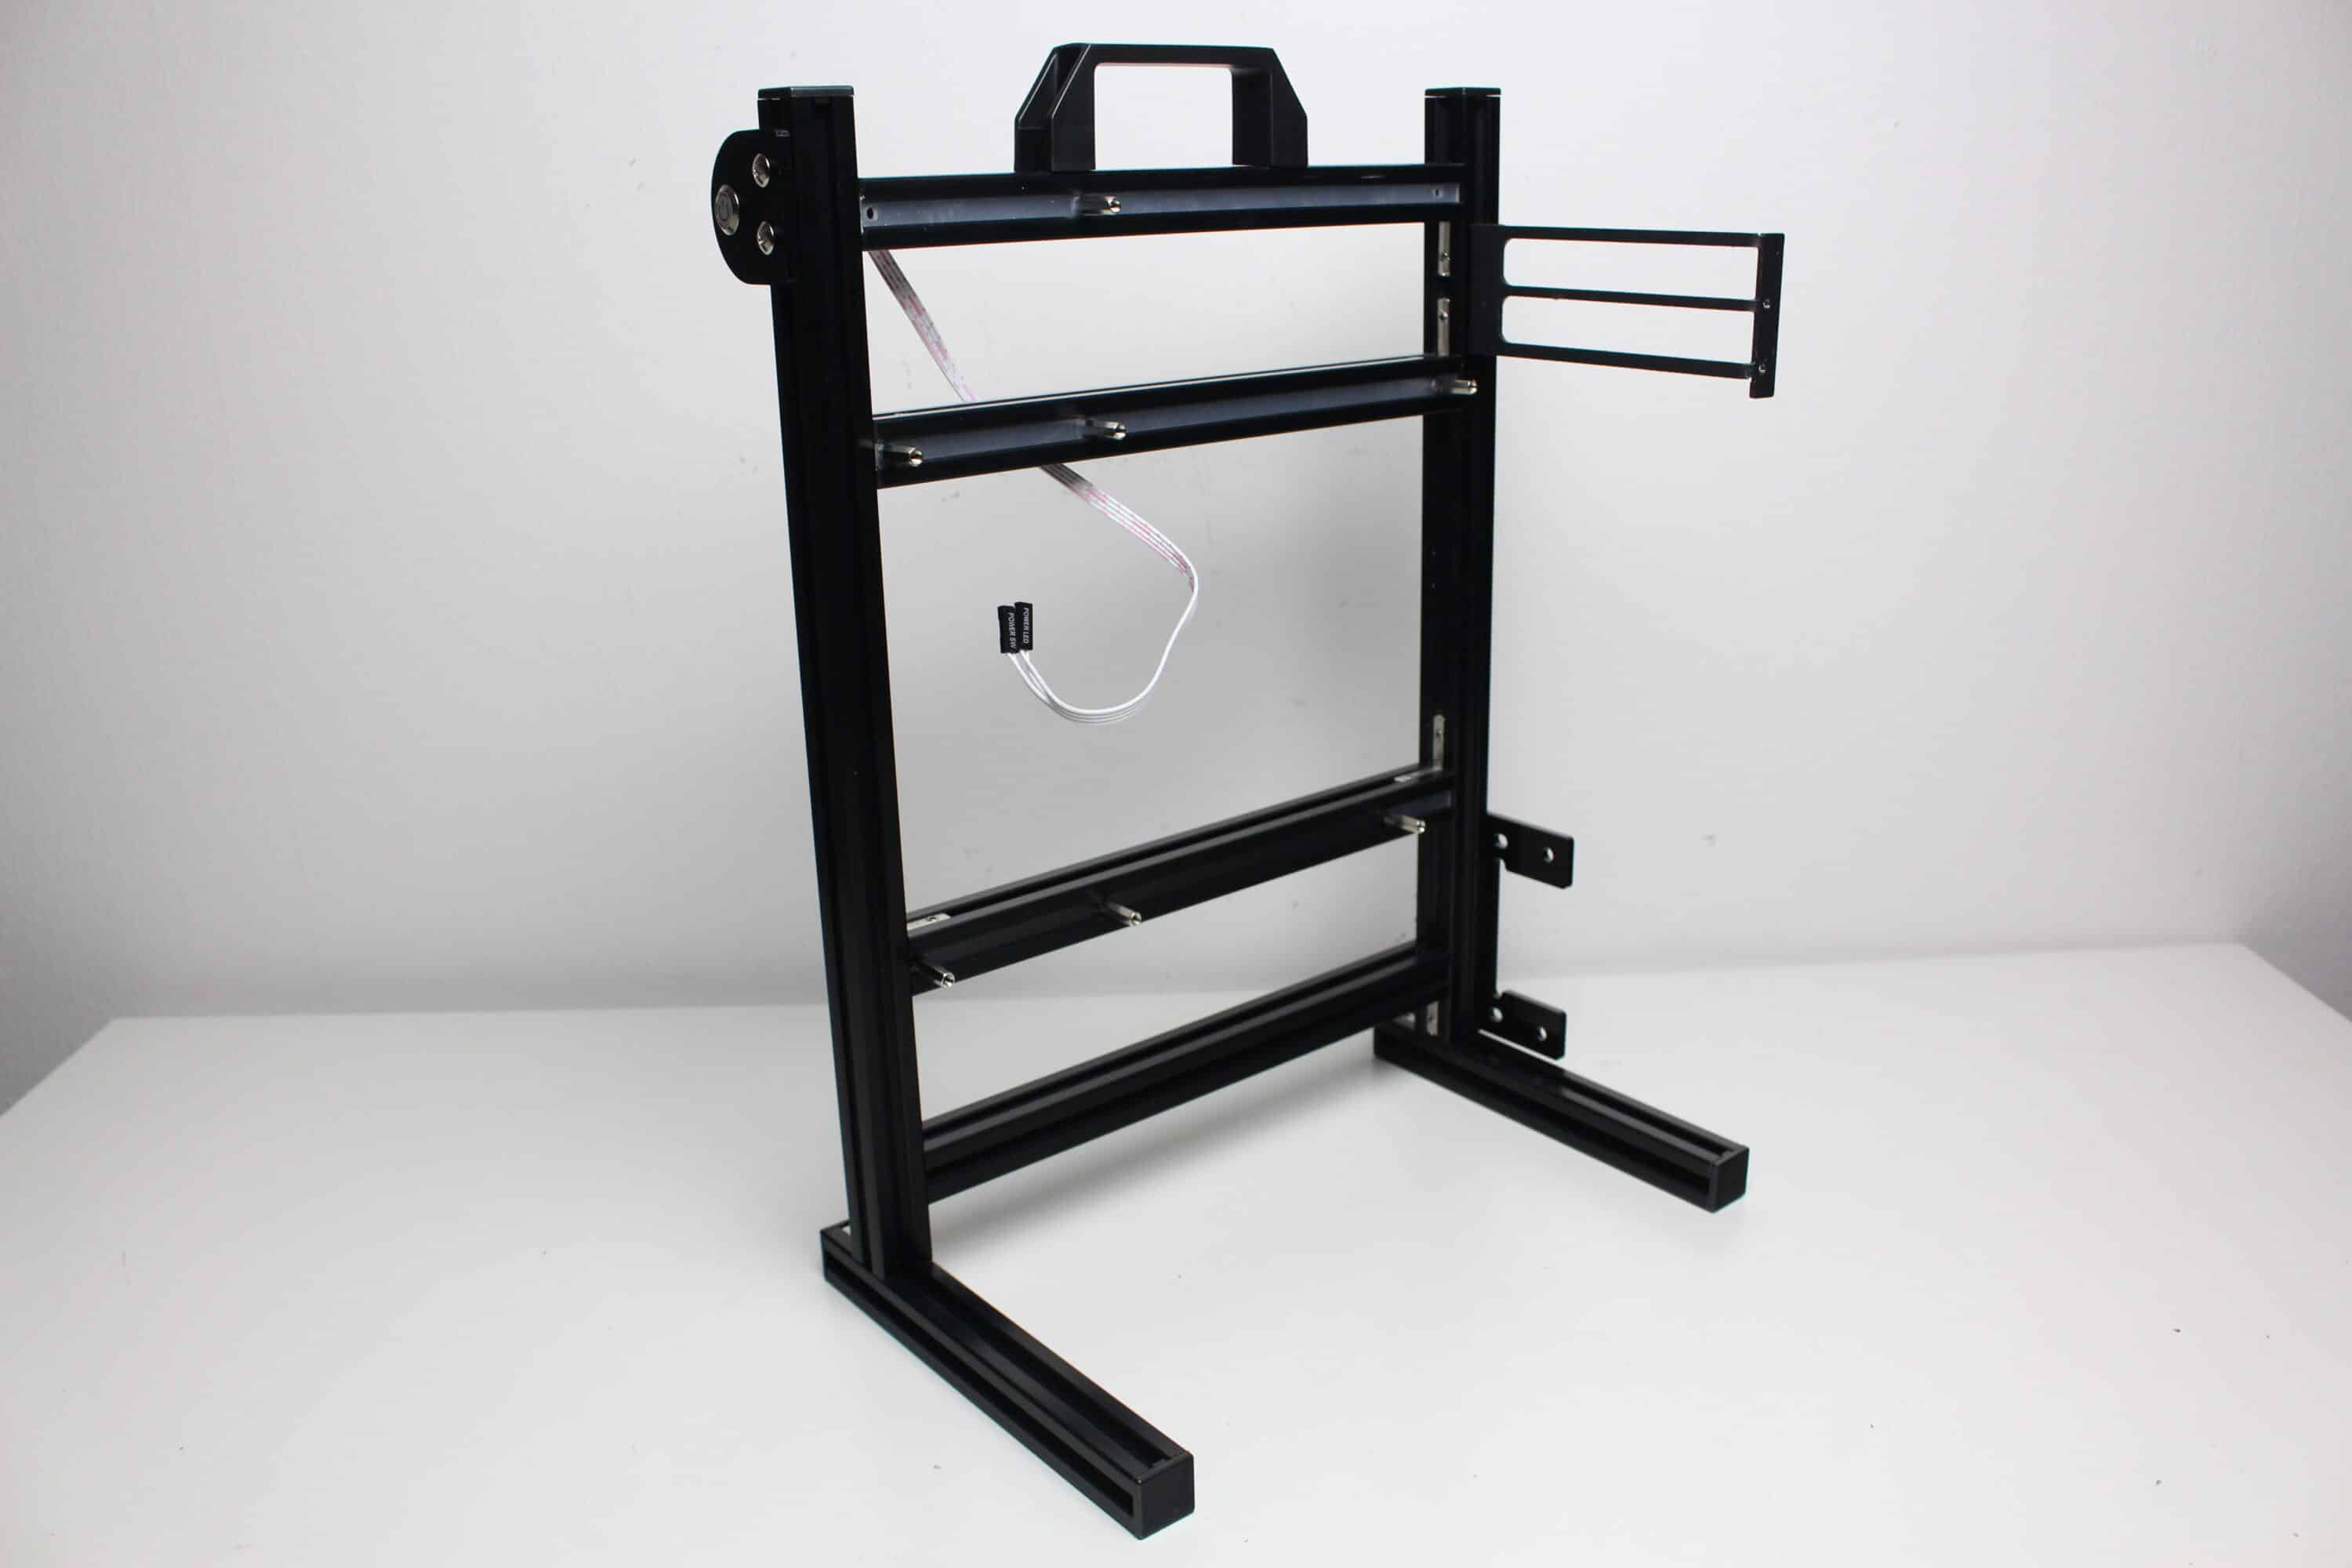
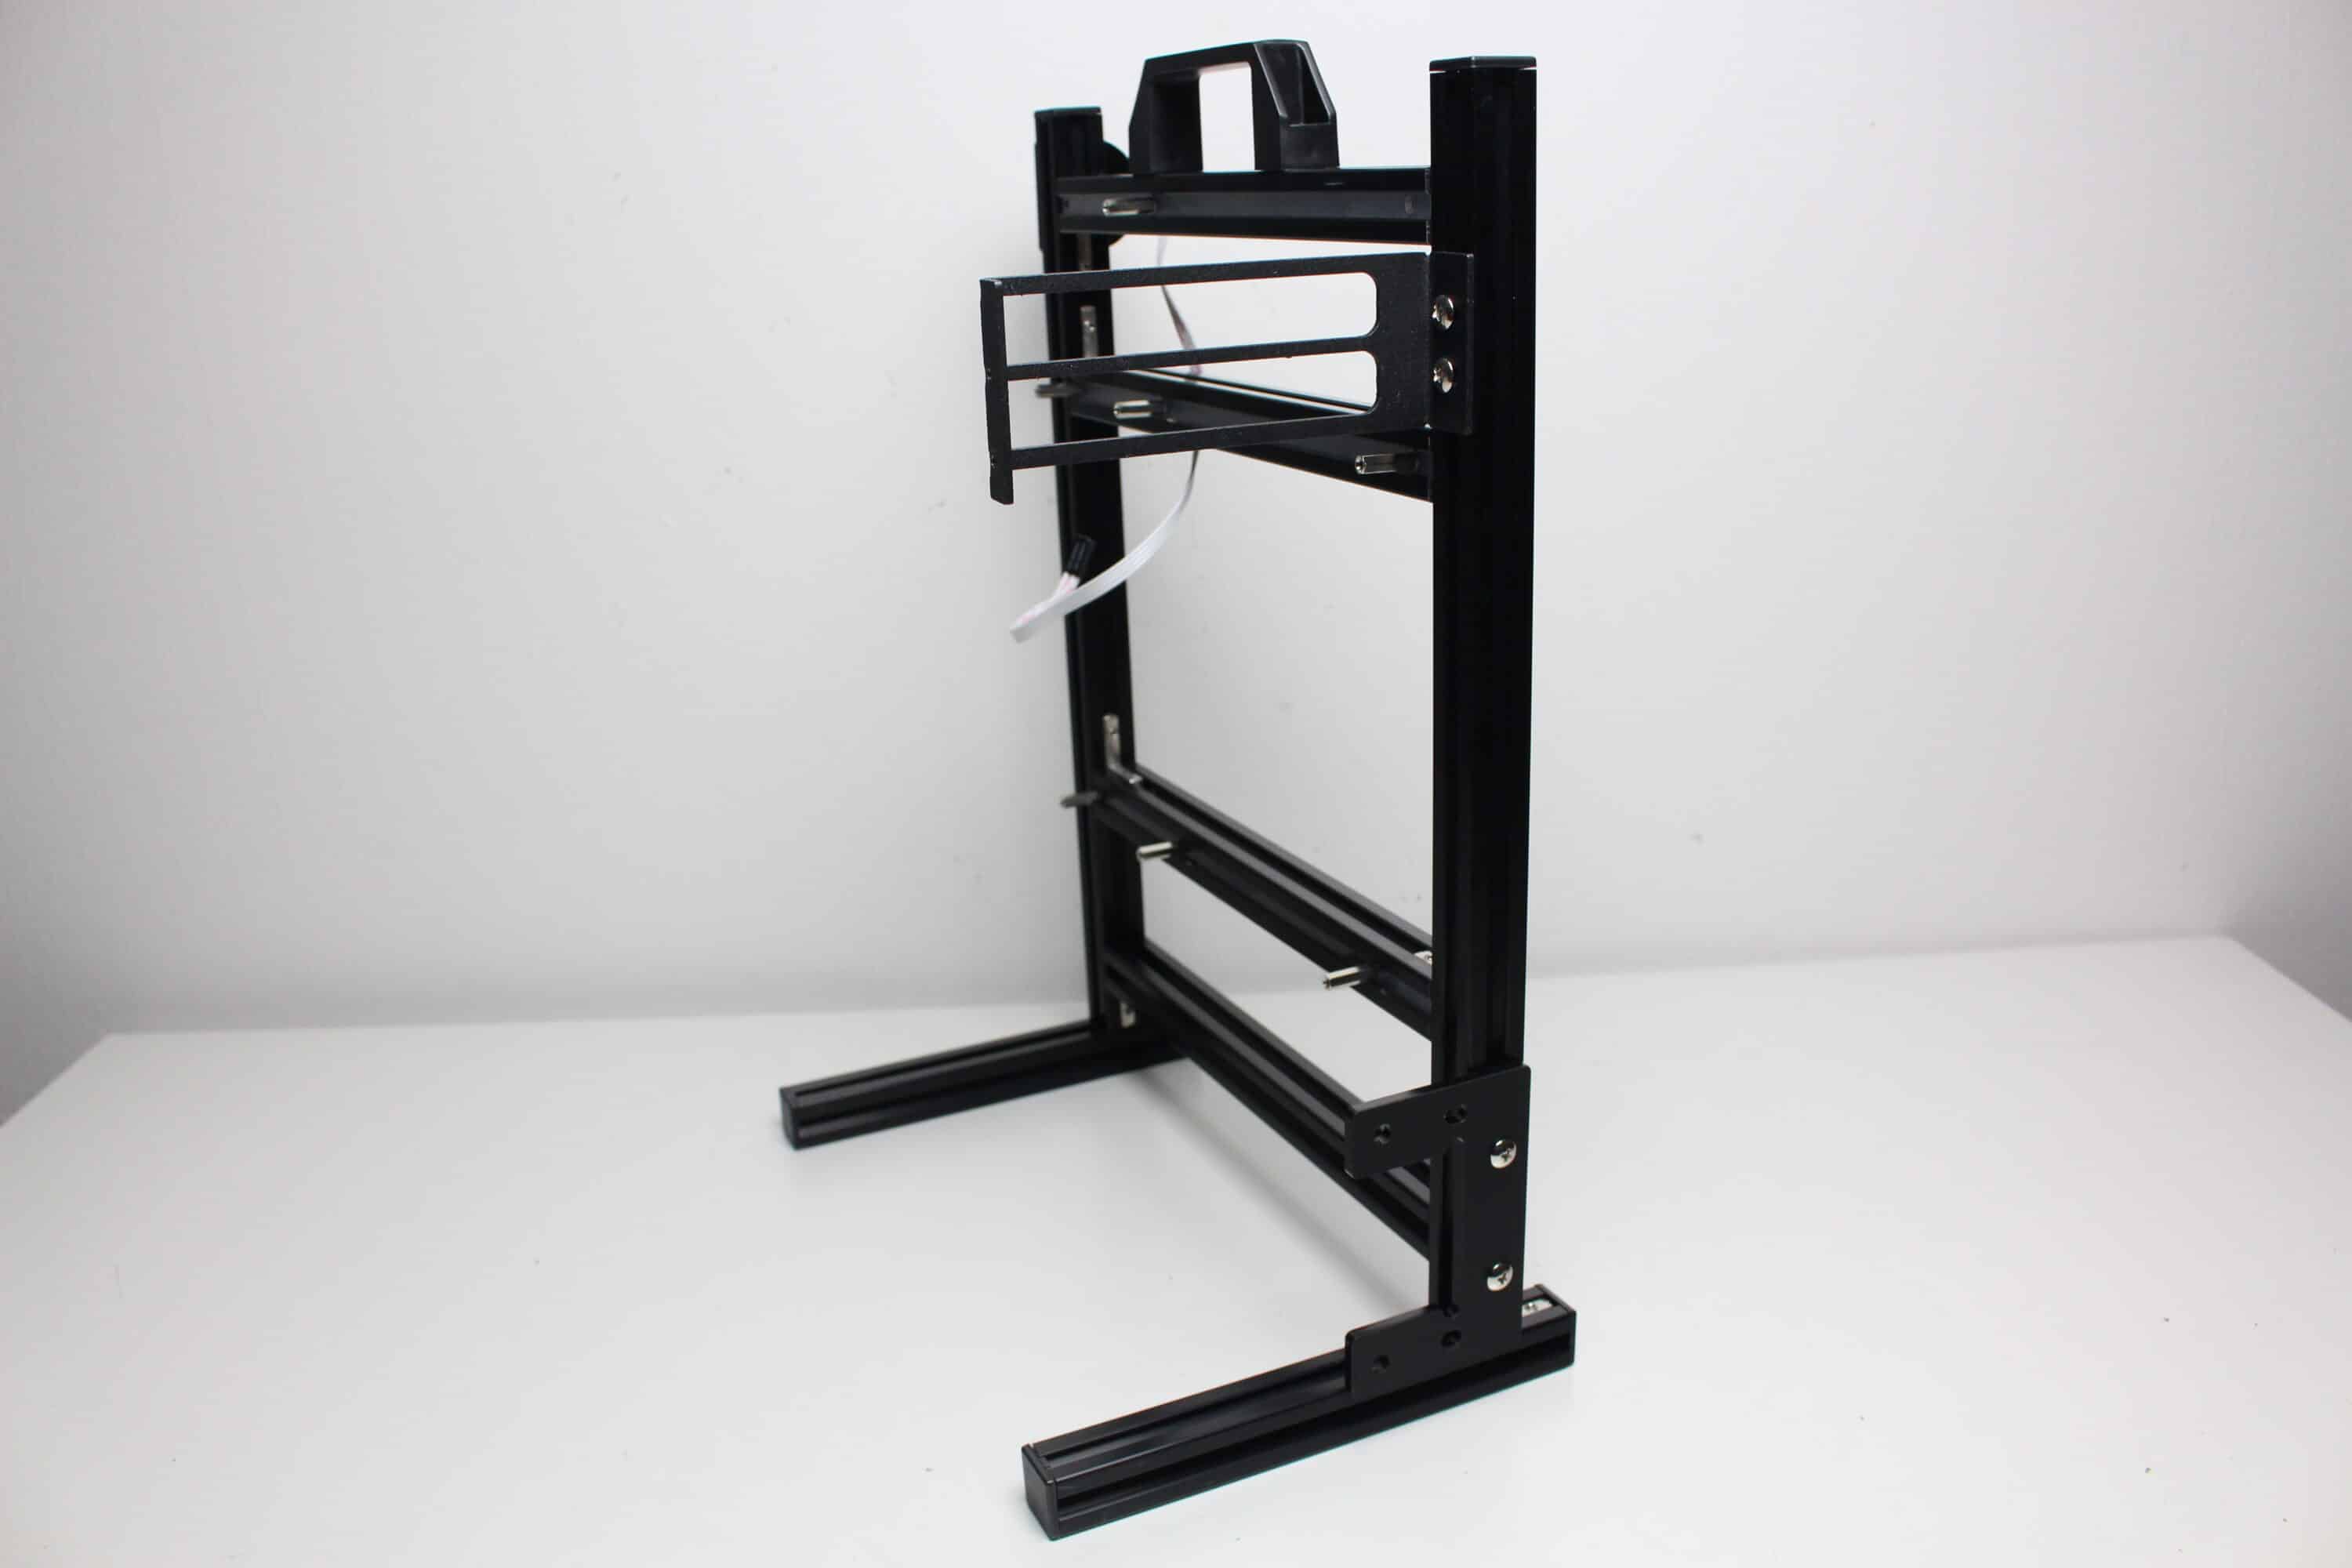
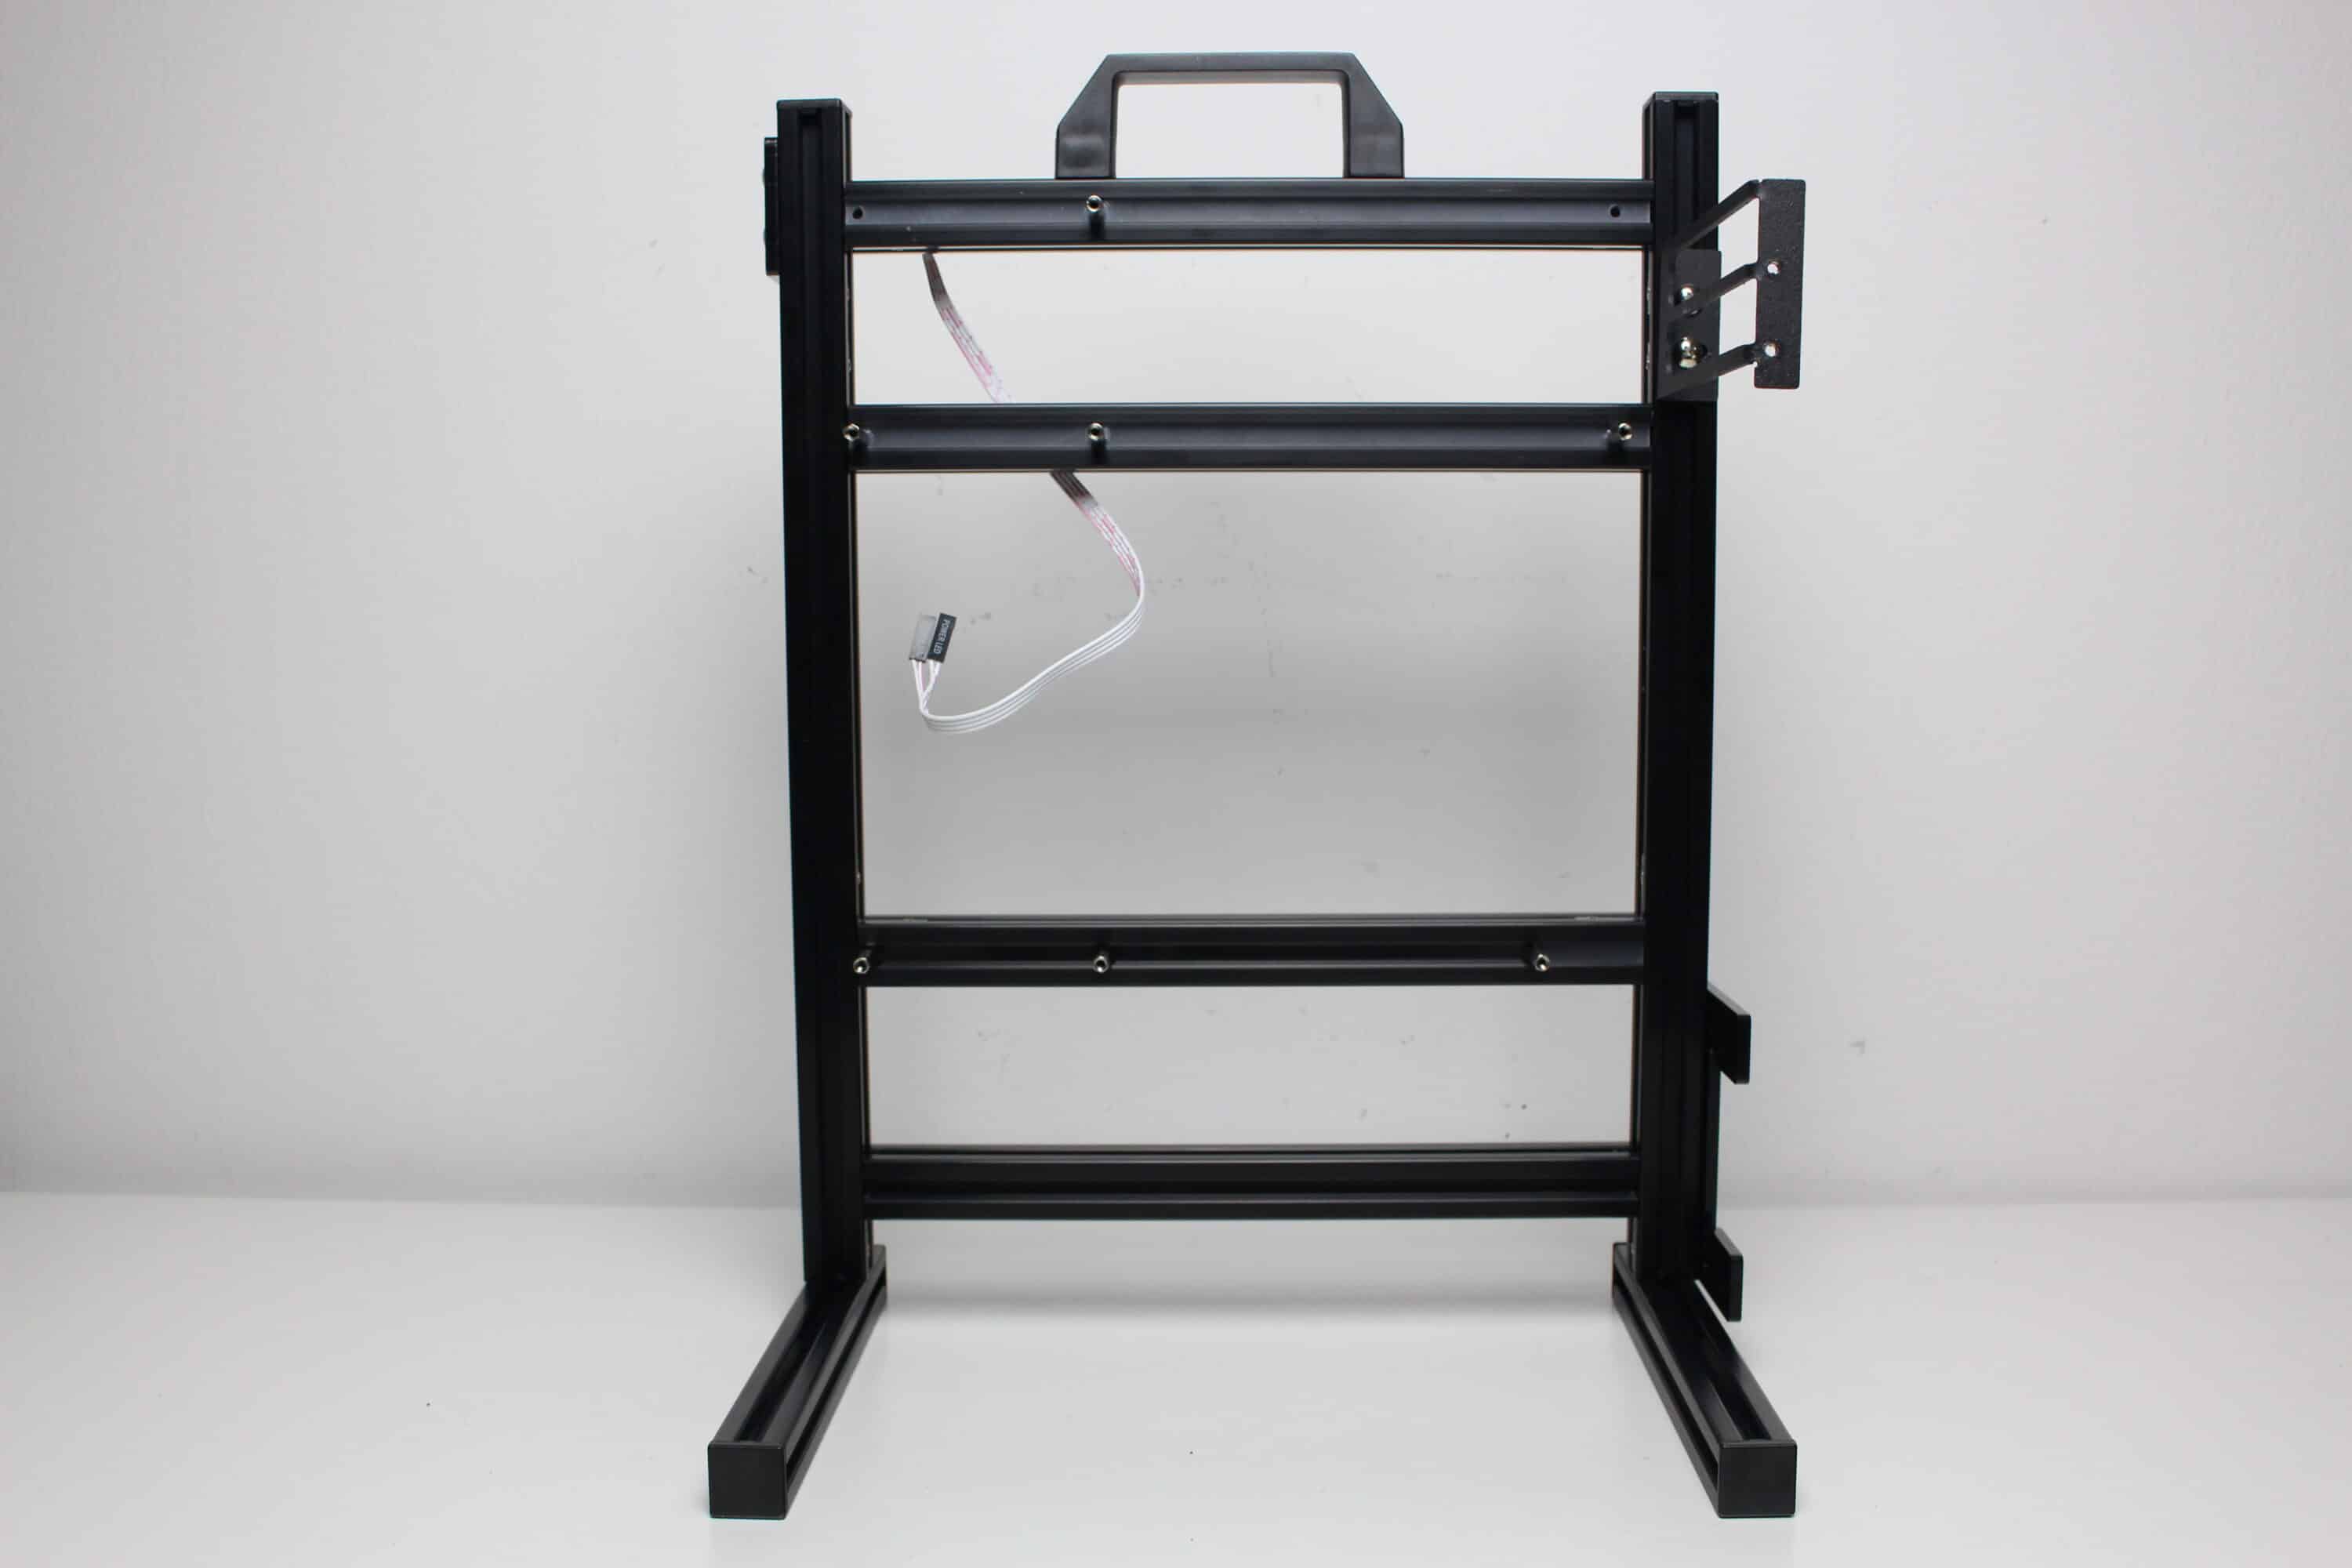
In our case, the two short aluminum profiles serve as feet. We attached the two long profiles orthogonally to them. Due to the stepless rails, these can be screwed to the side at the edge or in the middle of the feet.
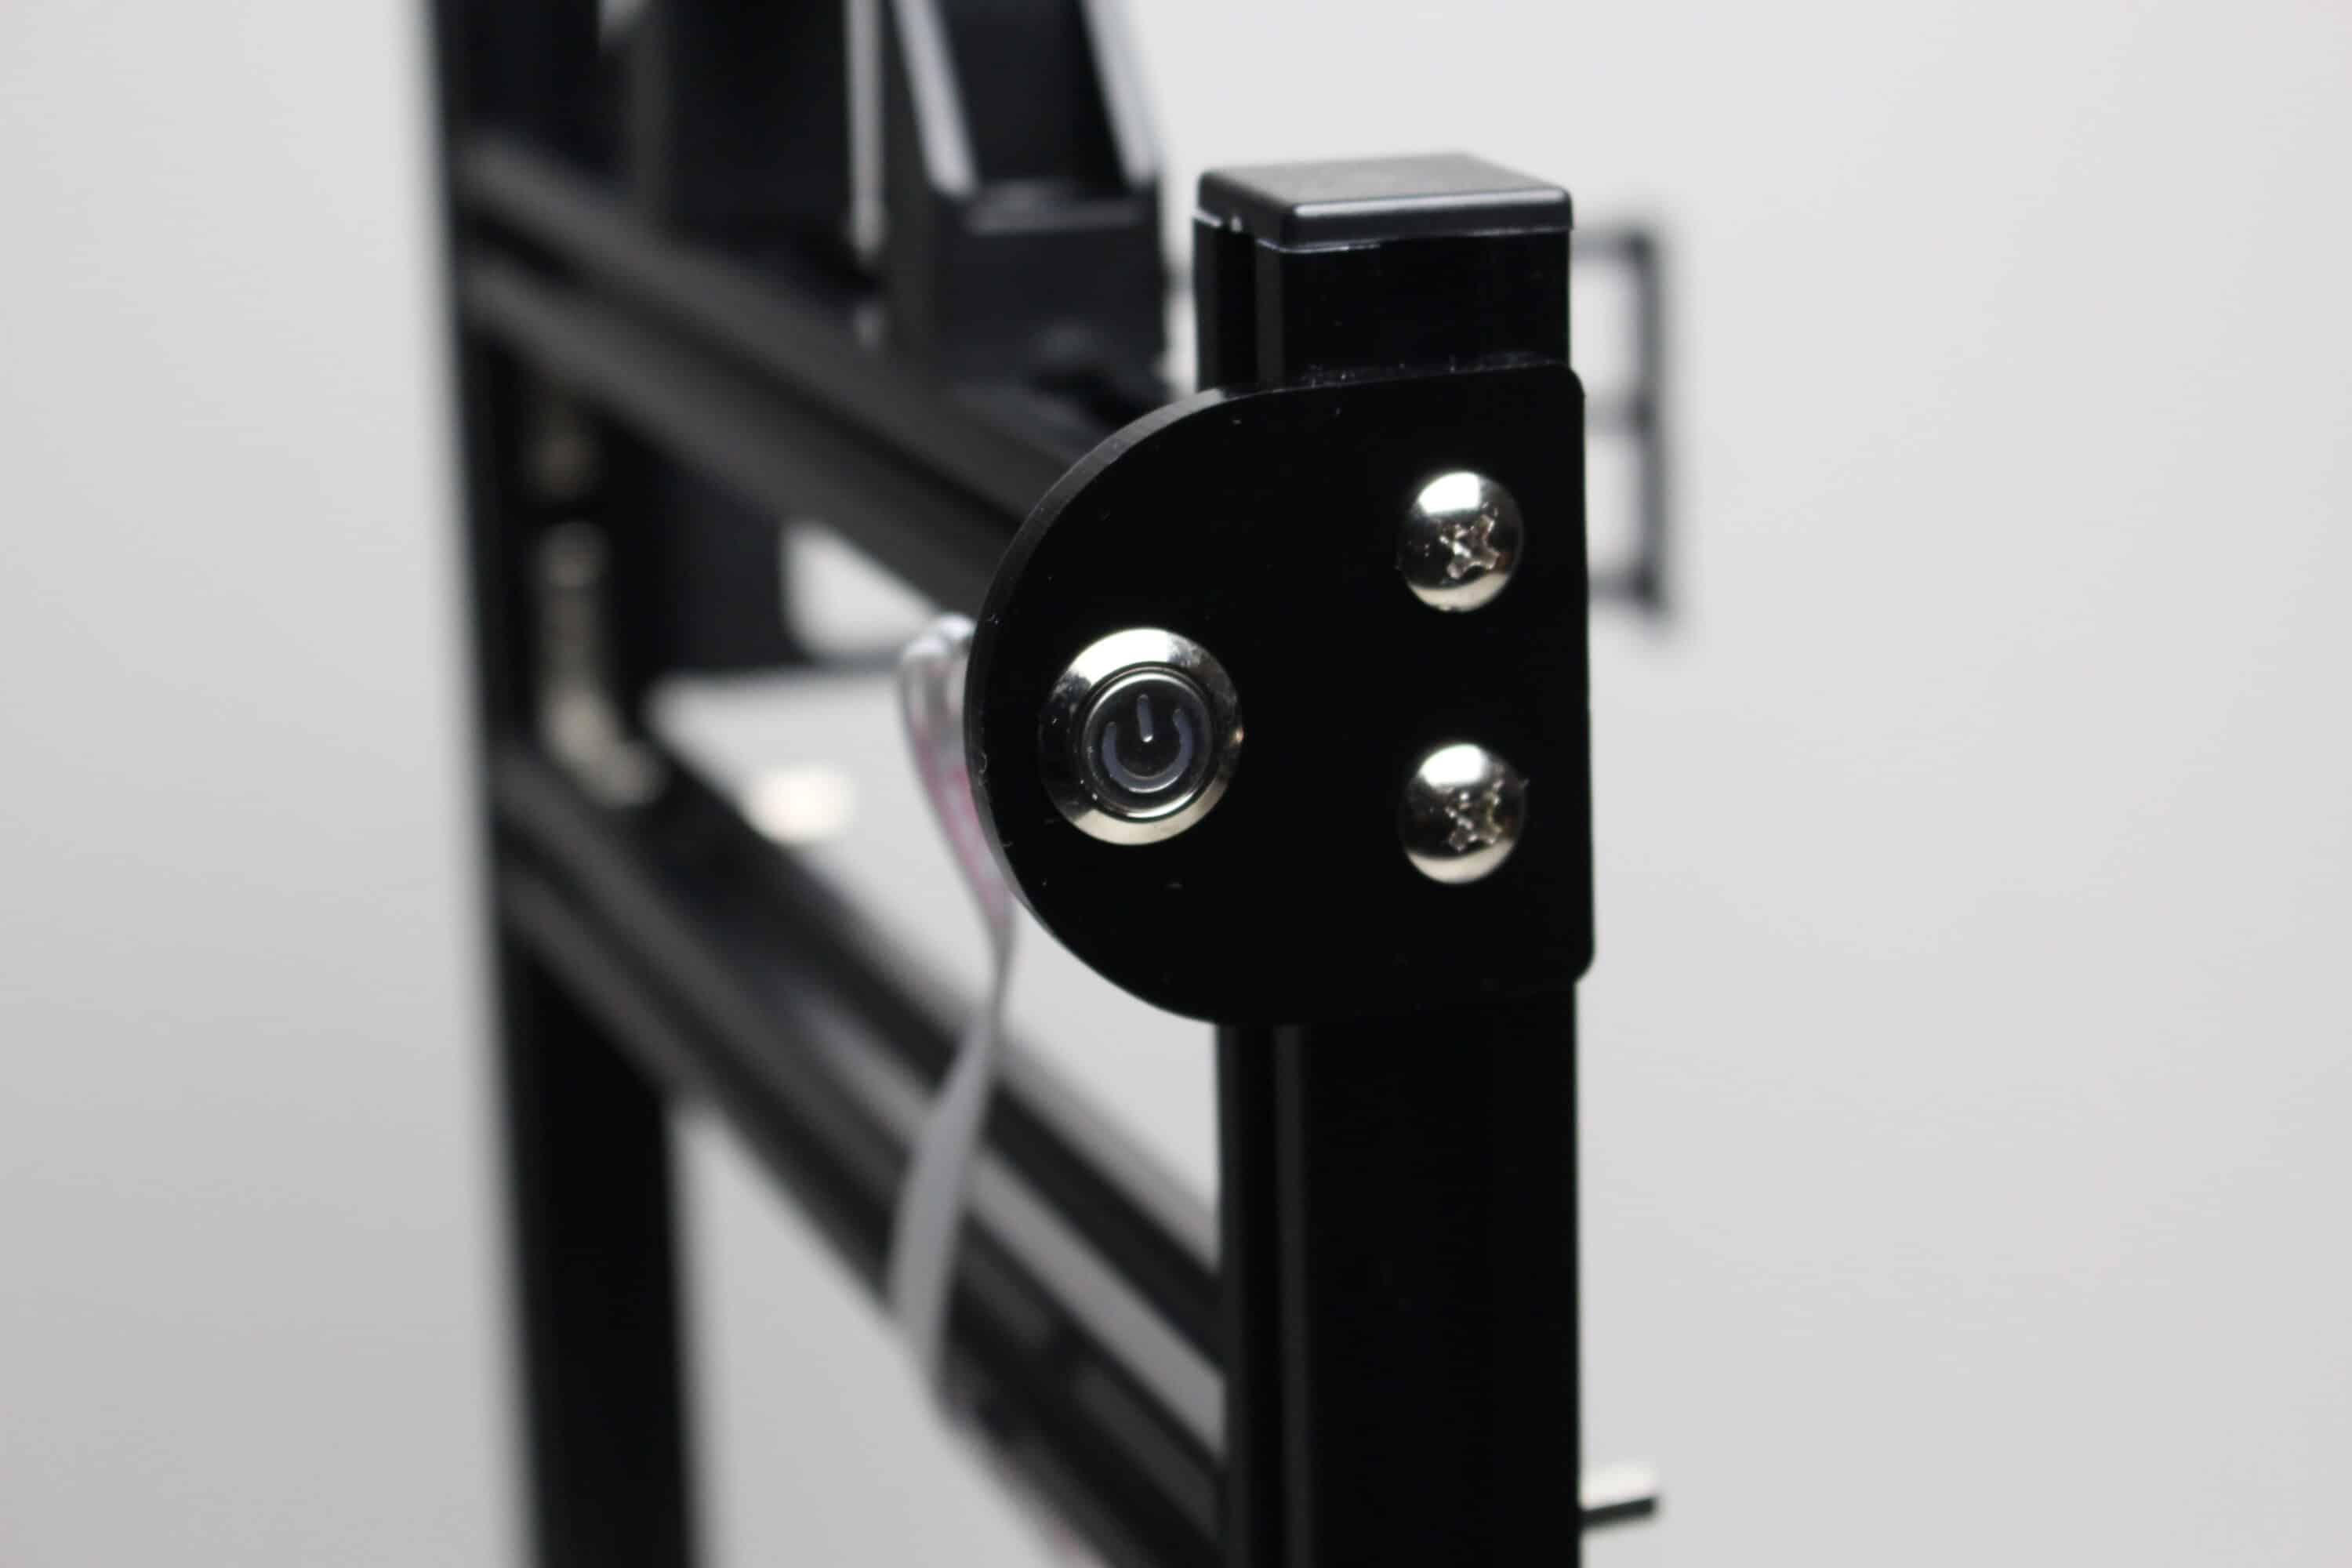
The retailer also includes a plastic PSU holder, a holder for PCIe expansion cards, a carrying handle and a power button with holder in the kit as additional add-on parts. These are also simply screwed to the rails with corresponding counterparts.
As all components and the caps are black, the benchtable looks relatively chic and inconspicuous.
DIY Open Air Benchtable Test: Installation of the components
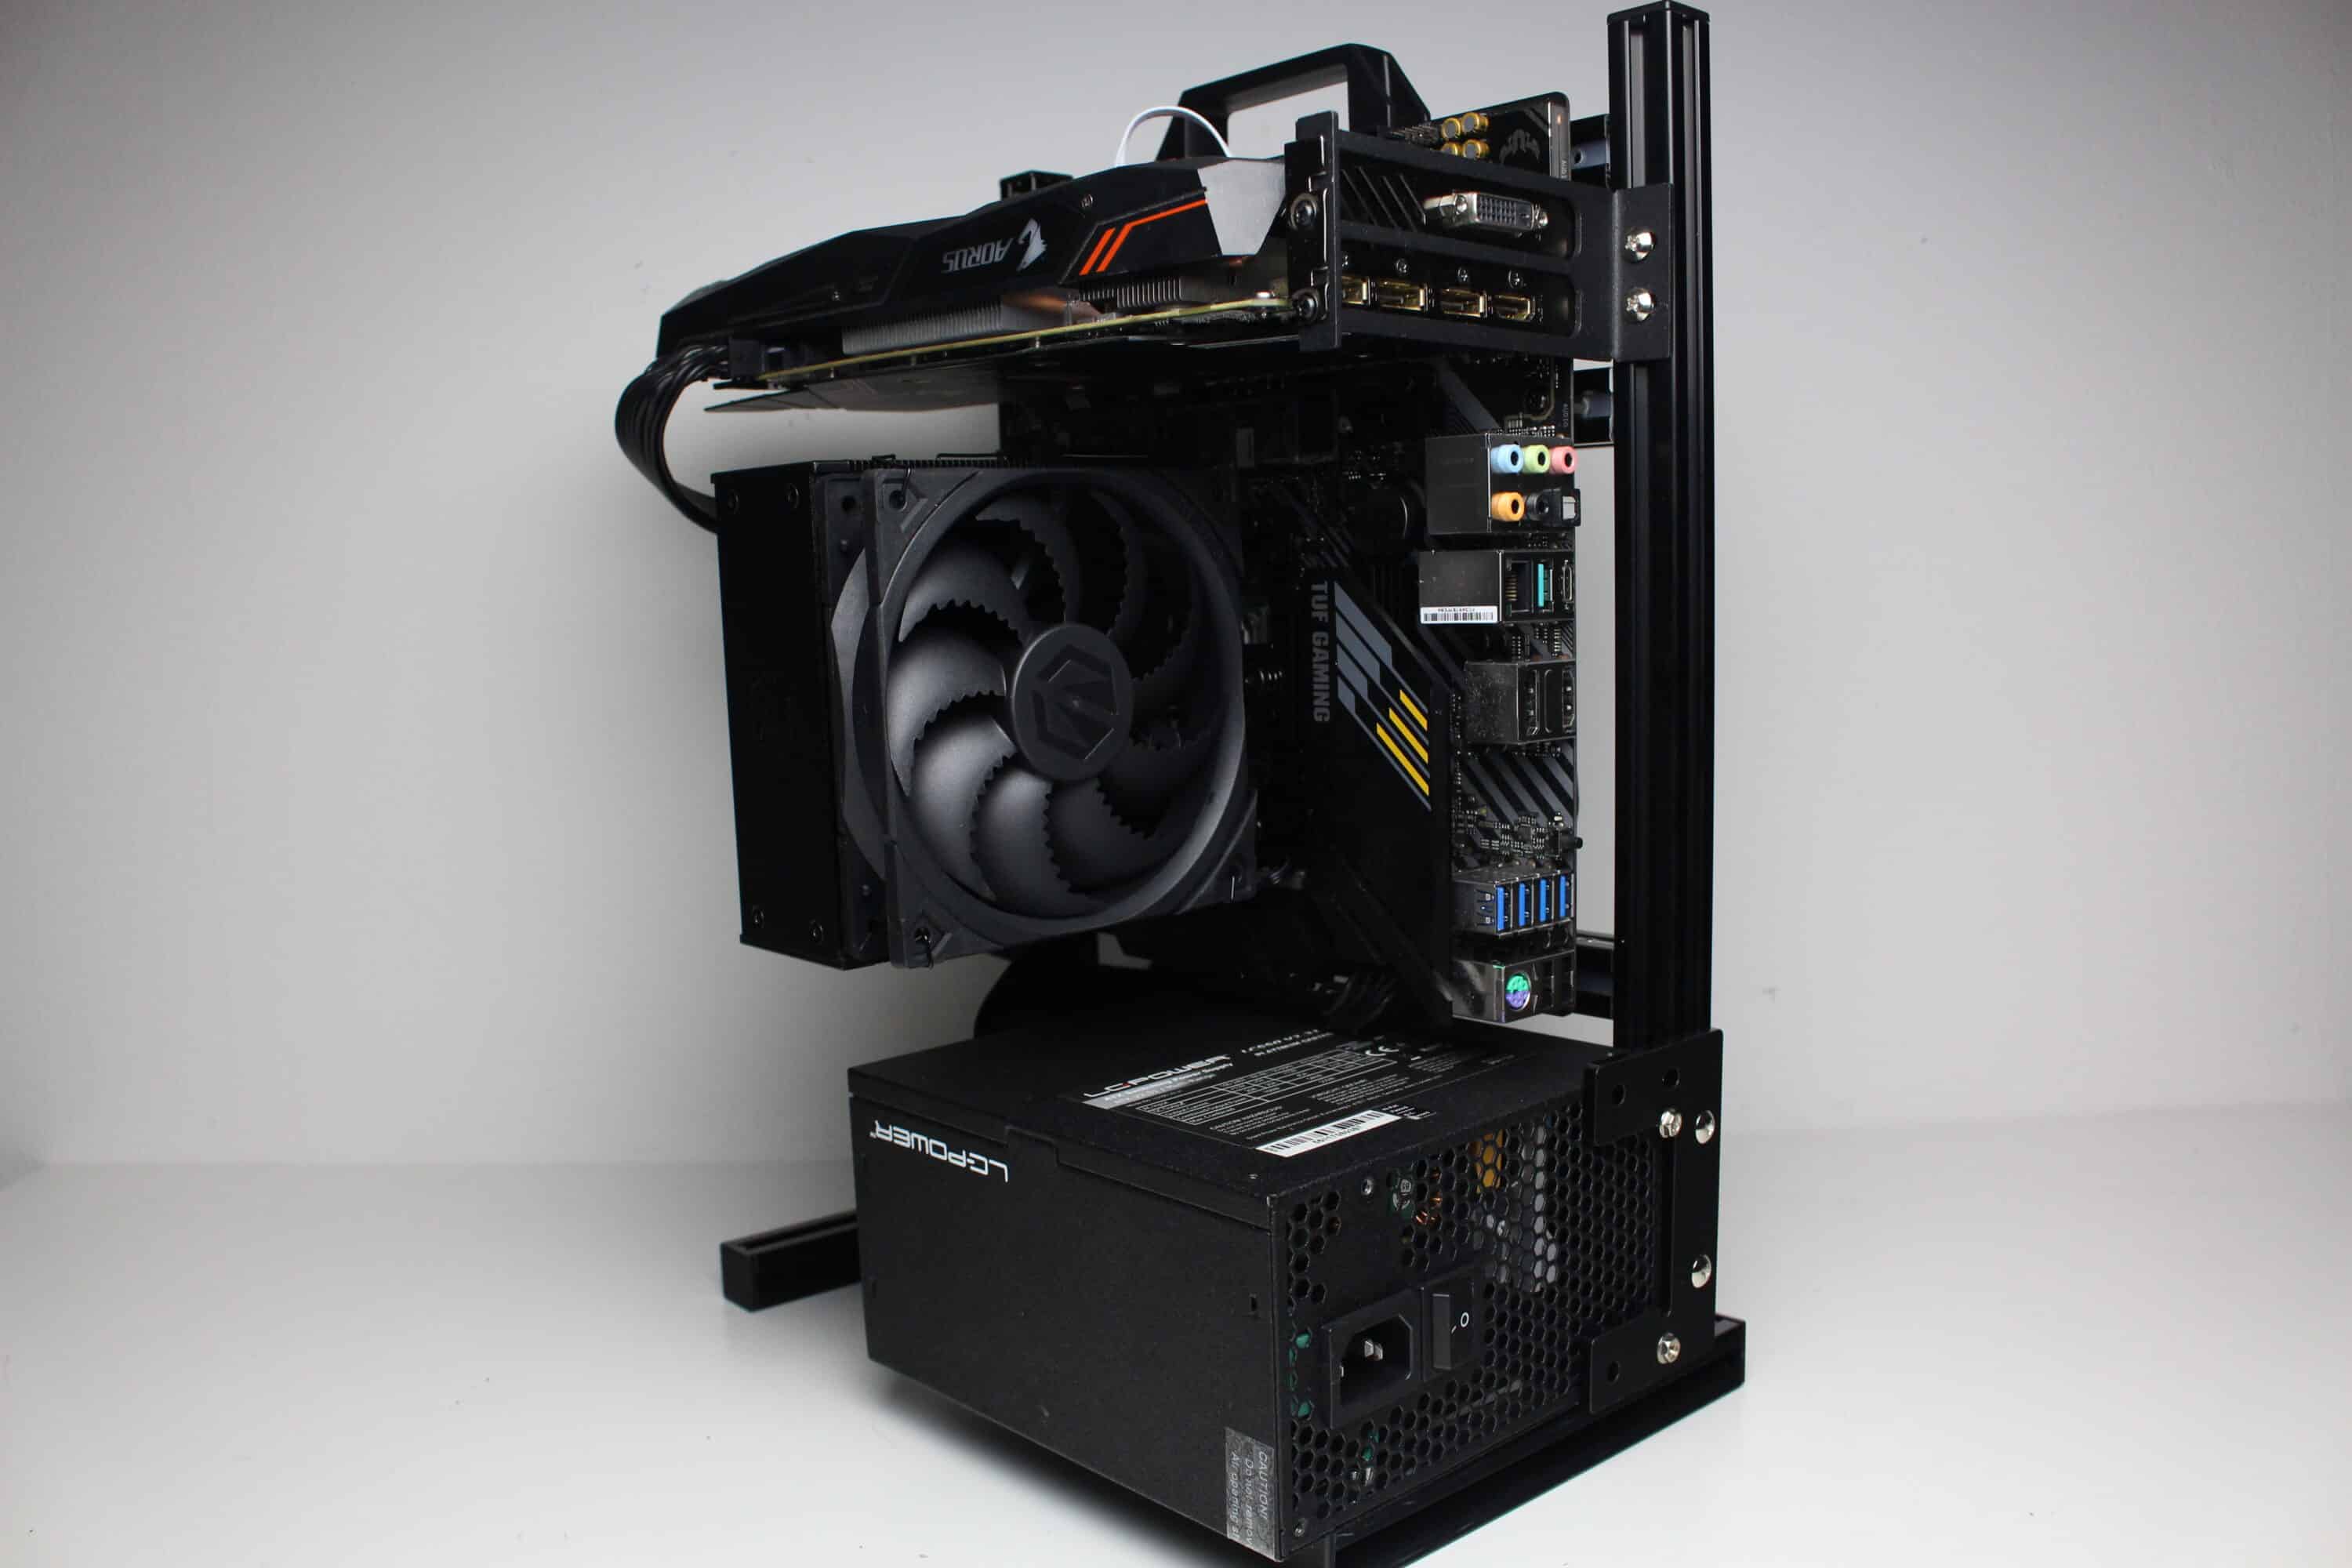
Now we come to the system installation for the DIY Open Air Benchtable test. As hardware, we use an AMD Ryzen 5 1400* on an ASUS TUF Gaming B550M-Plus* with 16GB Crucial Ballistix Sport LT gray DDR4-2666*. The Ryzen is cooled by an Alpenföhn Brocken 4* and is overclocked to 3.8 GHz (1.175 V). A Gigabyte AORUS GTX 1060 6GB is responsible for the image output. The power supply is provided by the fully modular LC-Power LC550 V2.31 Platinum*.
There are basically no restrictions on the components that can be mounted on this benchtable. Only the form factor of the mainboard depends on the selected variant. Otherwise, CPU coolers can be of unlimited height and graphics cards or power supply units of unlimited length. Above a certain size, it just becomes a little more unwieldy. Despite the lack of cable management options, the overall result doesn’t look too bad.

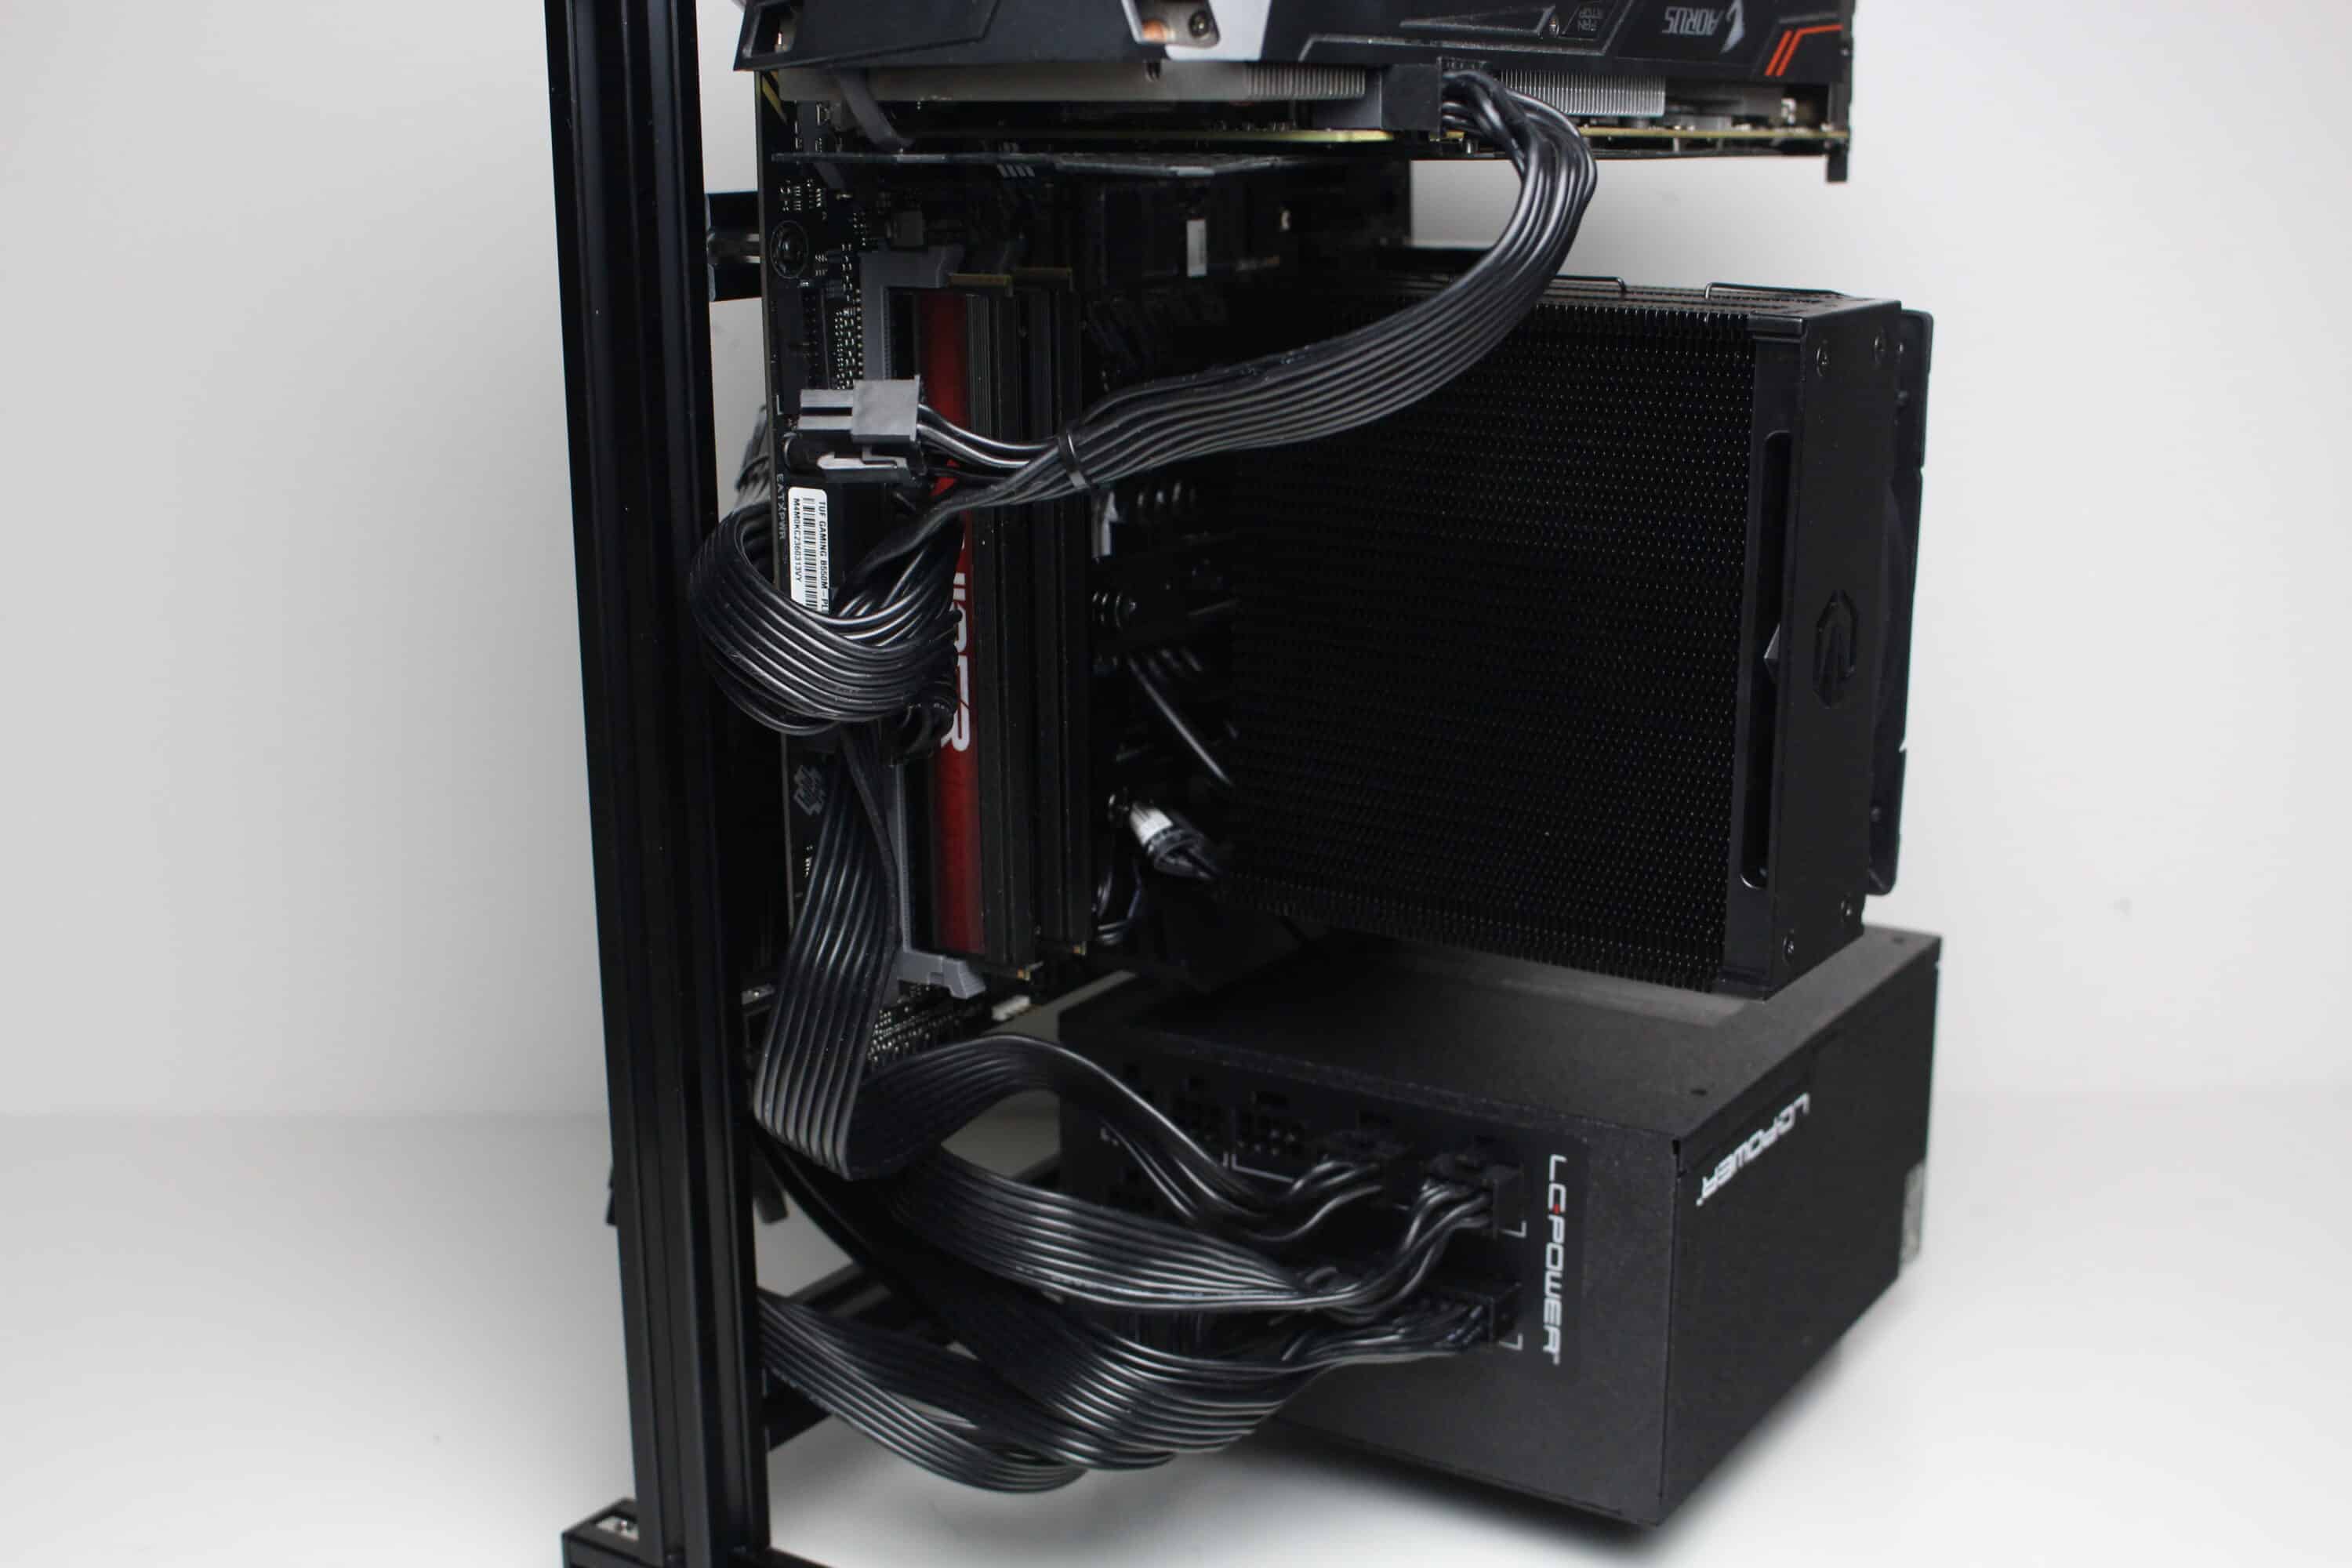
Radiators, fans and data carriers can be mounted flexibly using small angle pieces. The only problem here is that you have to be sure of where to place them before the overall assembly, as they require corresponding metal plates that have to be pushed into the aluminum profile beforehand. Otherwise you will have to dismantle the entire frame again. The scope of delivery includes a total of eight of these angle pieces, two of which should be used for a fan or data carrier and four for a radiator.
Load test
Finally, we come to the temperatures that were achieved with the DIY Open Air Benchtable. During the stress test, Prime95 and FurMark were run at a room temperature of 20 °C for 30 minutes. In addition, the stress test was carried out in the standard fan configuration (50% PWM and 100% PWM). The results are listed in the table below.
Scenario |
Temperature |
| CPU: 50% PWM (1050 rpm) GPU: 50% PWM (1650 rpm) without fan (factory setting) |
CPU: 57.4 °C GPU: 64.5 °C |
We were not surprised by the temperatures reached in the stress test. Despite the lack of a “case fan”, the maximum values are very good and far from the critical range. Thanks to the open design, the warm air can rise unhindered and all coolers get fresh air at all times. However, it should also be said that the use of a benchtable should not be a solution for permanent operation.
DIY Open Air Benchtable Test: Conclusion
We have now reached the conclusion. The kit used here shows that you don’t necessarily have to spend a lot of money on a benchtable. All in all, you get a complete and basically neat set for self-assembly that can be flexibly oriented and adapted. In addition, there are virtually no restrictions on the components and the cooling is very good thanks to the open structure.
However, due to the high level of flexibility and lower shipping costs, the kit does not come pre-assembled and assembly or conversion requires preliminary planning and, above all, time. In addition, buyers should be able to overlook minor scratches in the paintwork.
If you are looking for an inexpensive benchtable and want to try your hand at building it yourself, the kit tested here could be just the thing. However, you will have to make concessions in terms of simplicity in terms of assembly, disassembly and conversion as well as workmanship. It is also worth comparing prices, as the kit used on the Chinese shopping platform varies greatly in price. In our opinion, you should pay a maximum of €45 for this kit including shipping (we paid €31.97).

DIY Open Air Benchtable
Workmanship
Structure
Features
Cooling
Value for money
80/100
The kit for the DIY Open Air Benchtable allows a flexible layout design and costs significantly less than well-known products. On the other hand, assembly and conversion is considerably more complex and slight compromises in terms of workmanship must be accepted.

No replies yet
Neue Antworten laden...
Gehört zum Inventar
Beteilige dich an der Diskussion in der Basic Tutorials Community →