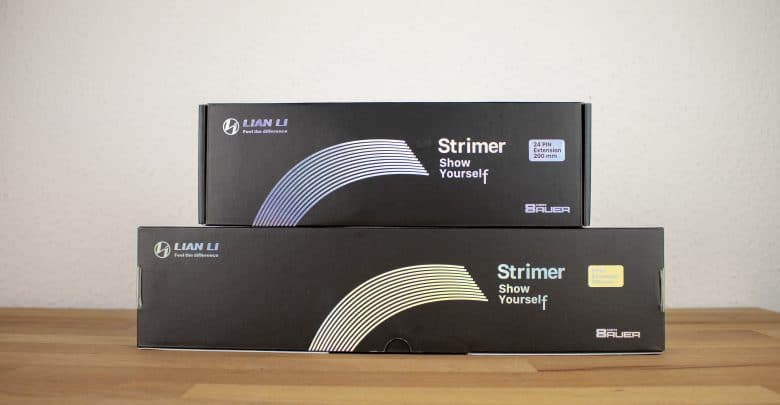
The “Strimer”, which was developed by Lian Li in cooperation with Roman Hartung, better known as “der8auer”, today represents a peculiarity on the broad market of PC gadgets. The illuminated cable is first of all unique – no other manufacturer currently sells a similar product. However, it is available in two different versions – as 24-pin ATX cable and as 8-pin cable.
However, the uniqueness of the gadget does not necessarily indicate an innovation. Negatively interpreted, it could also be attested that the lack of imitation so far indicates that the illuminated cable is simply unnecessary. Of course, we don’t want to spend much time speculating, but rather find out in practice what the special cable actually has to offer.
For this purpose we have subjected the RGB cable in both versions to an extensive test. The results and observations can be found below.

Superstructure, Installation and workmanship
As a rule, the design is described and evaluated at the beginning of the detailed examination. Since this is usually not very exciting with a cable, this familiar entrance is omitted in this case.
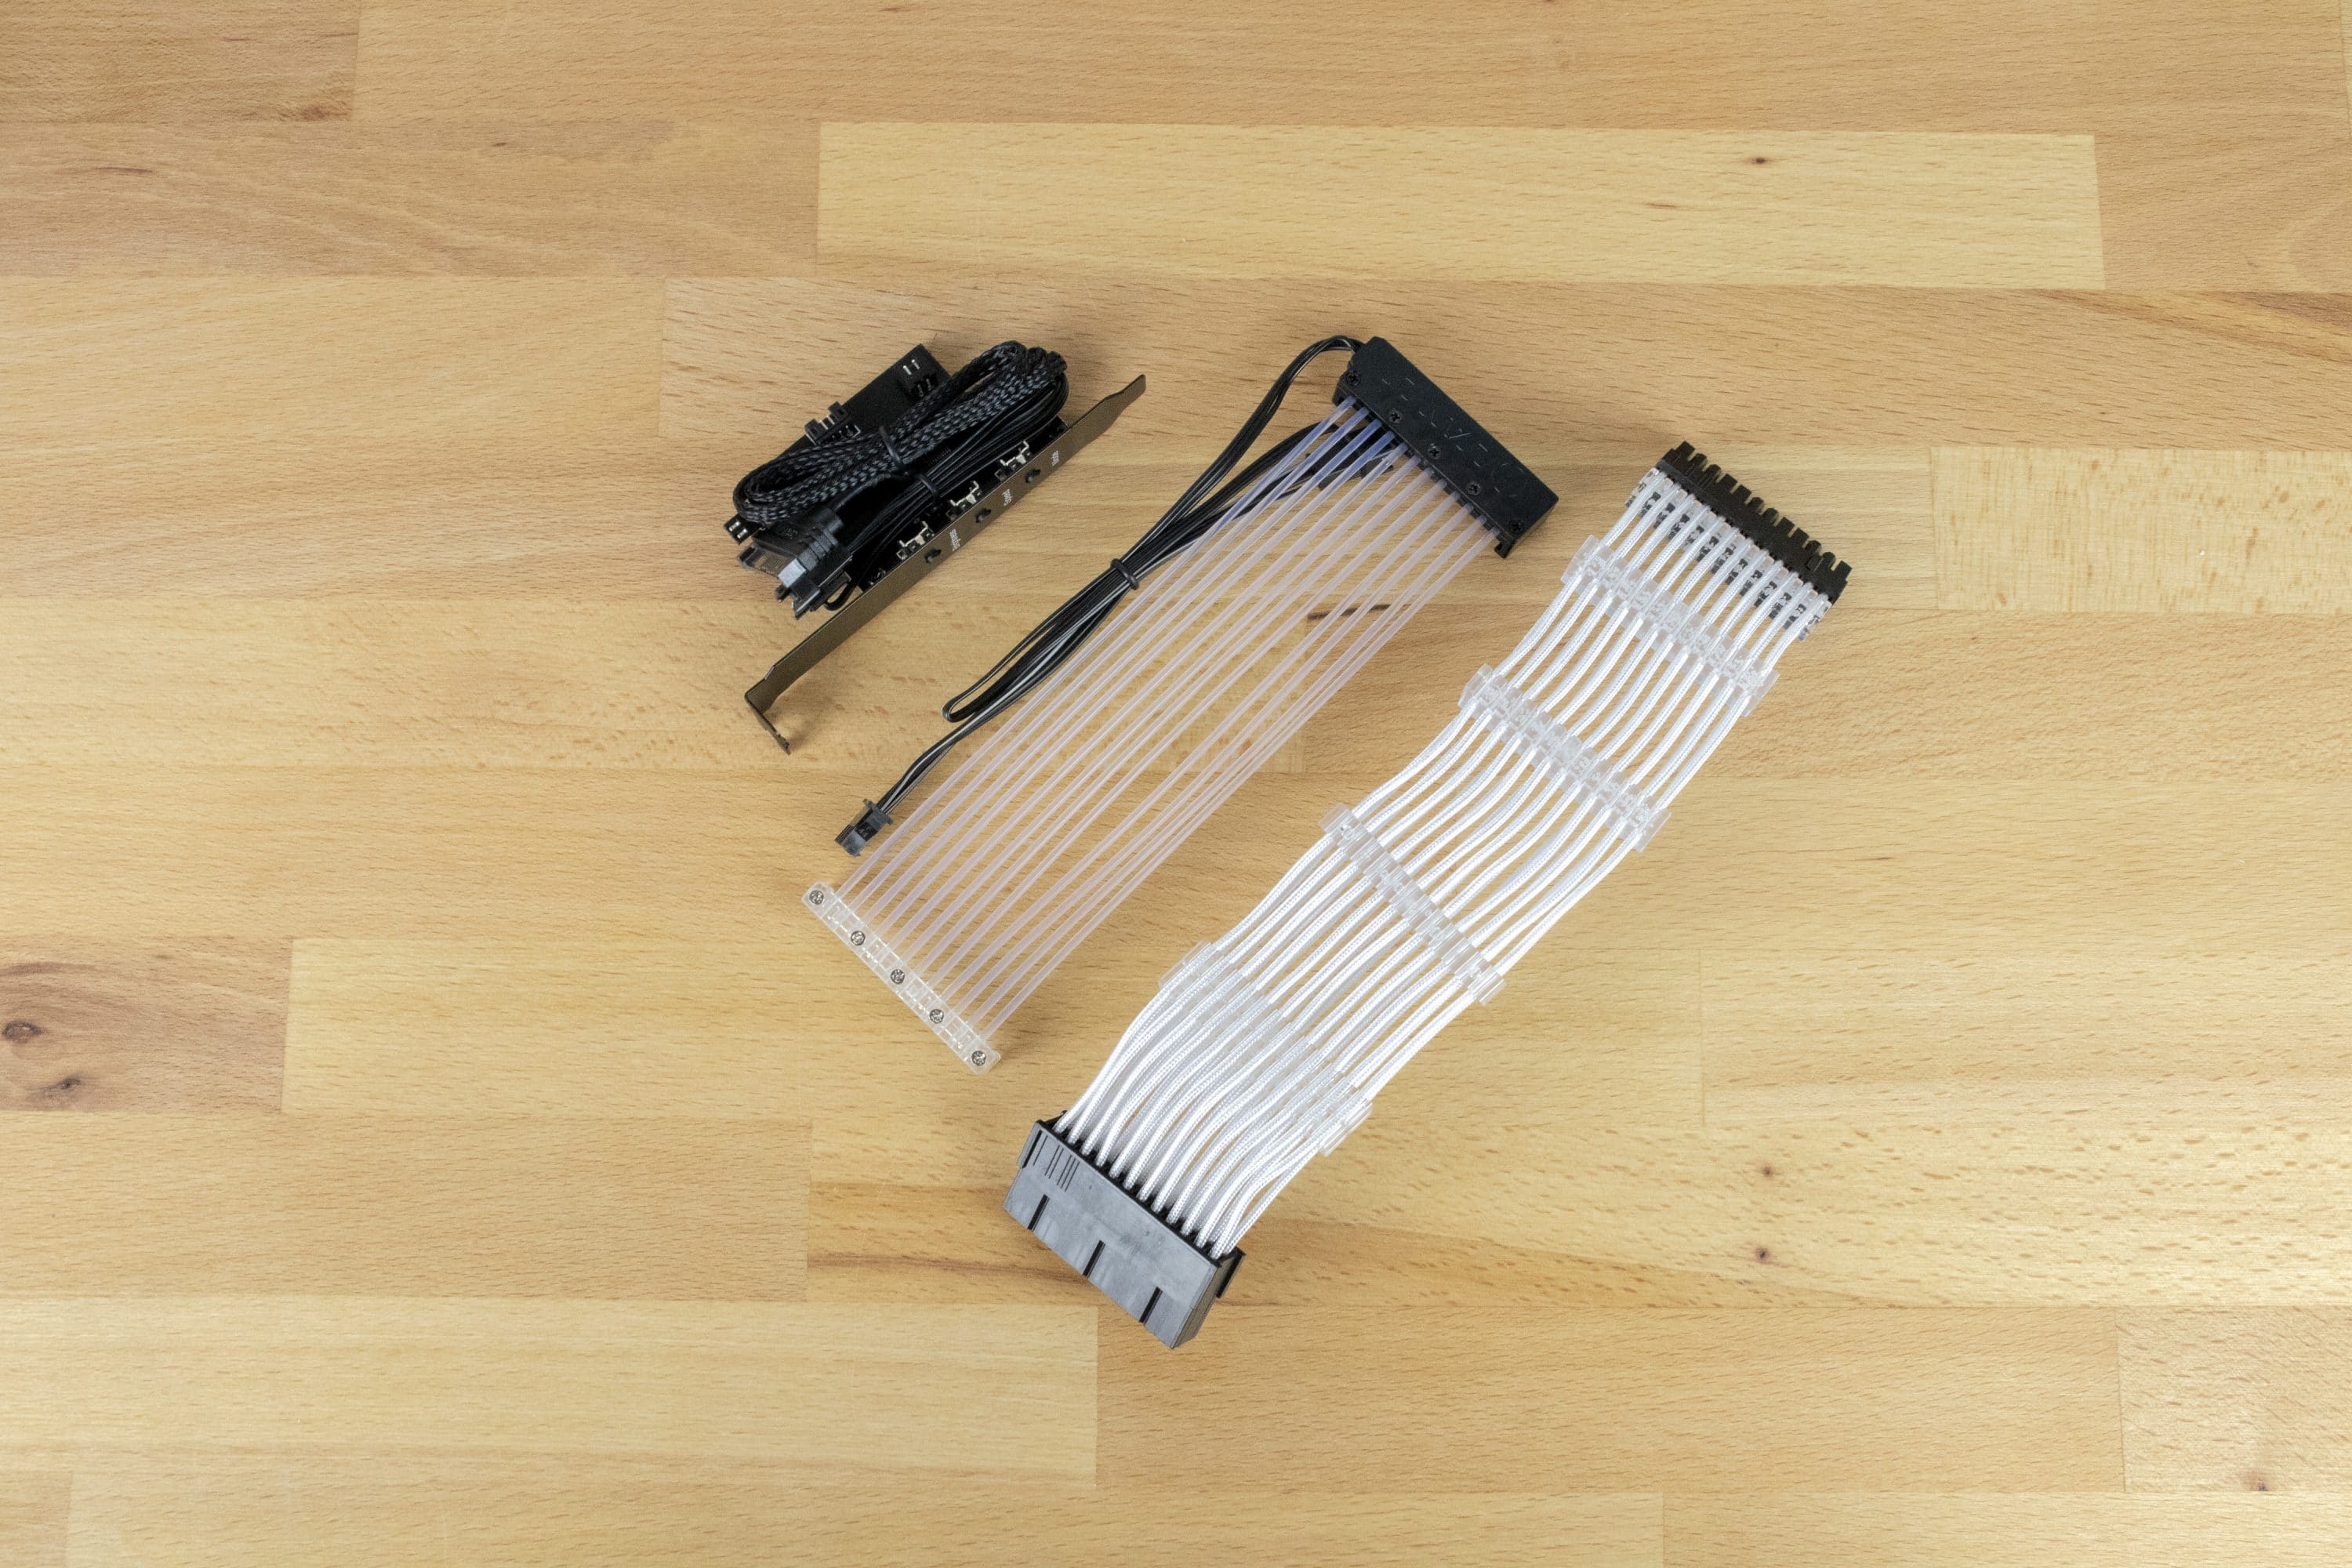
The structure – in this sense also the design – of the cable, on the other hand, is of central importance. After unpacking, we notice that the strimer is basically divided into two parts.
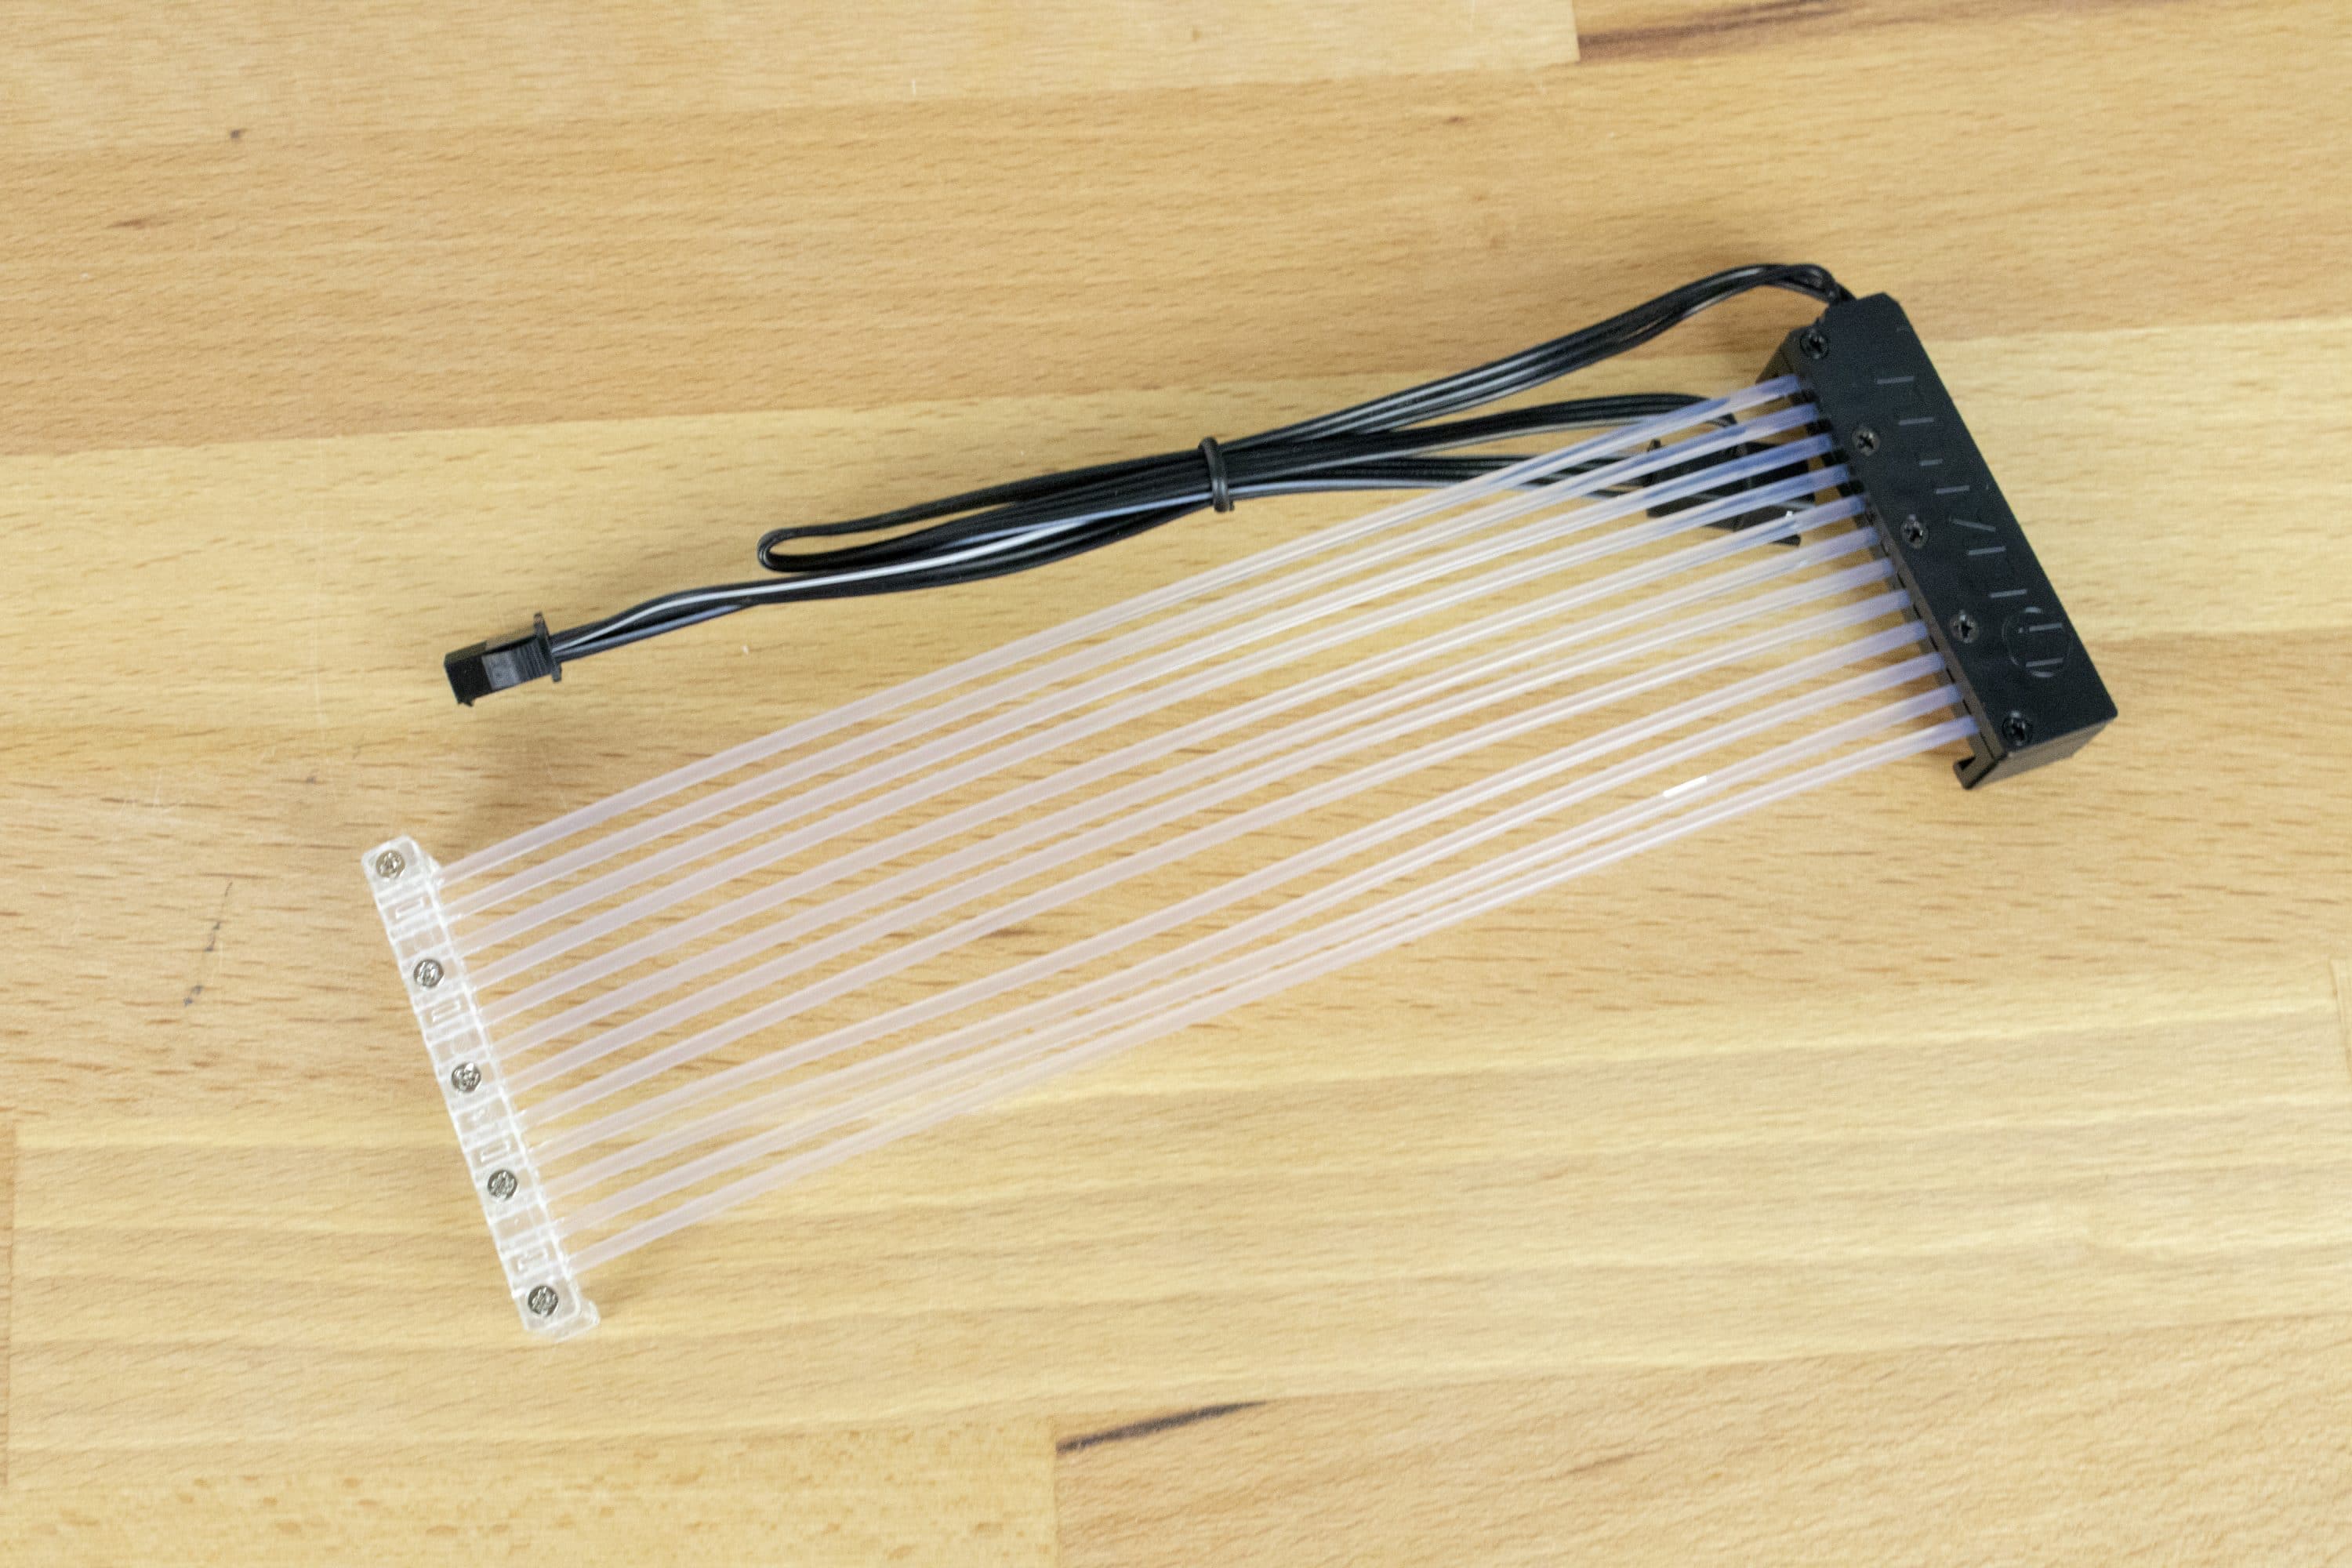
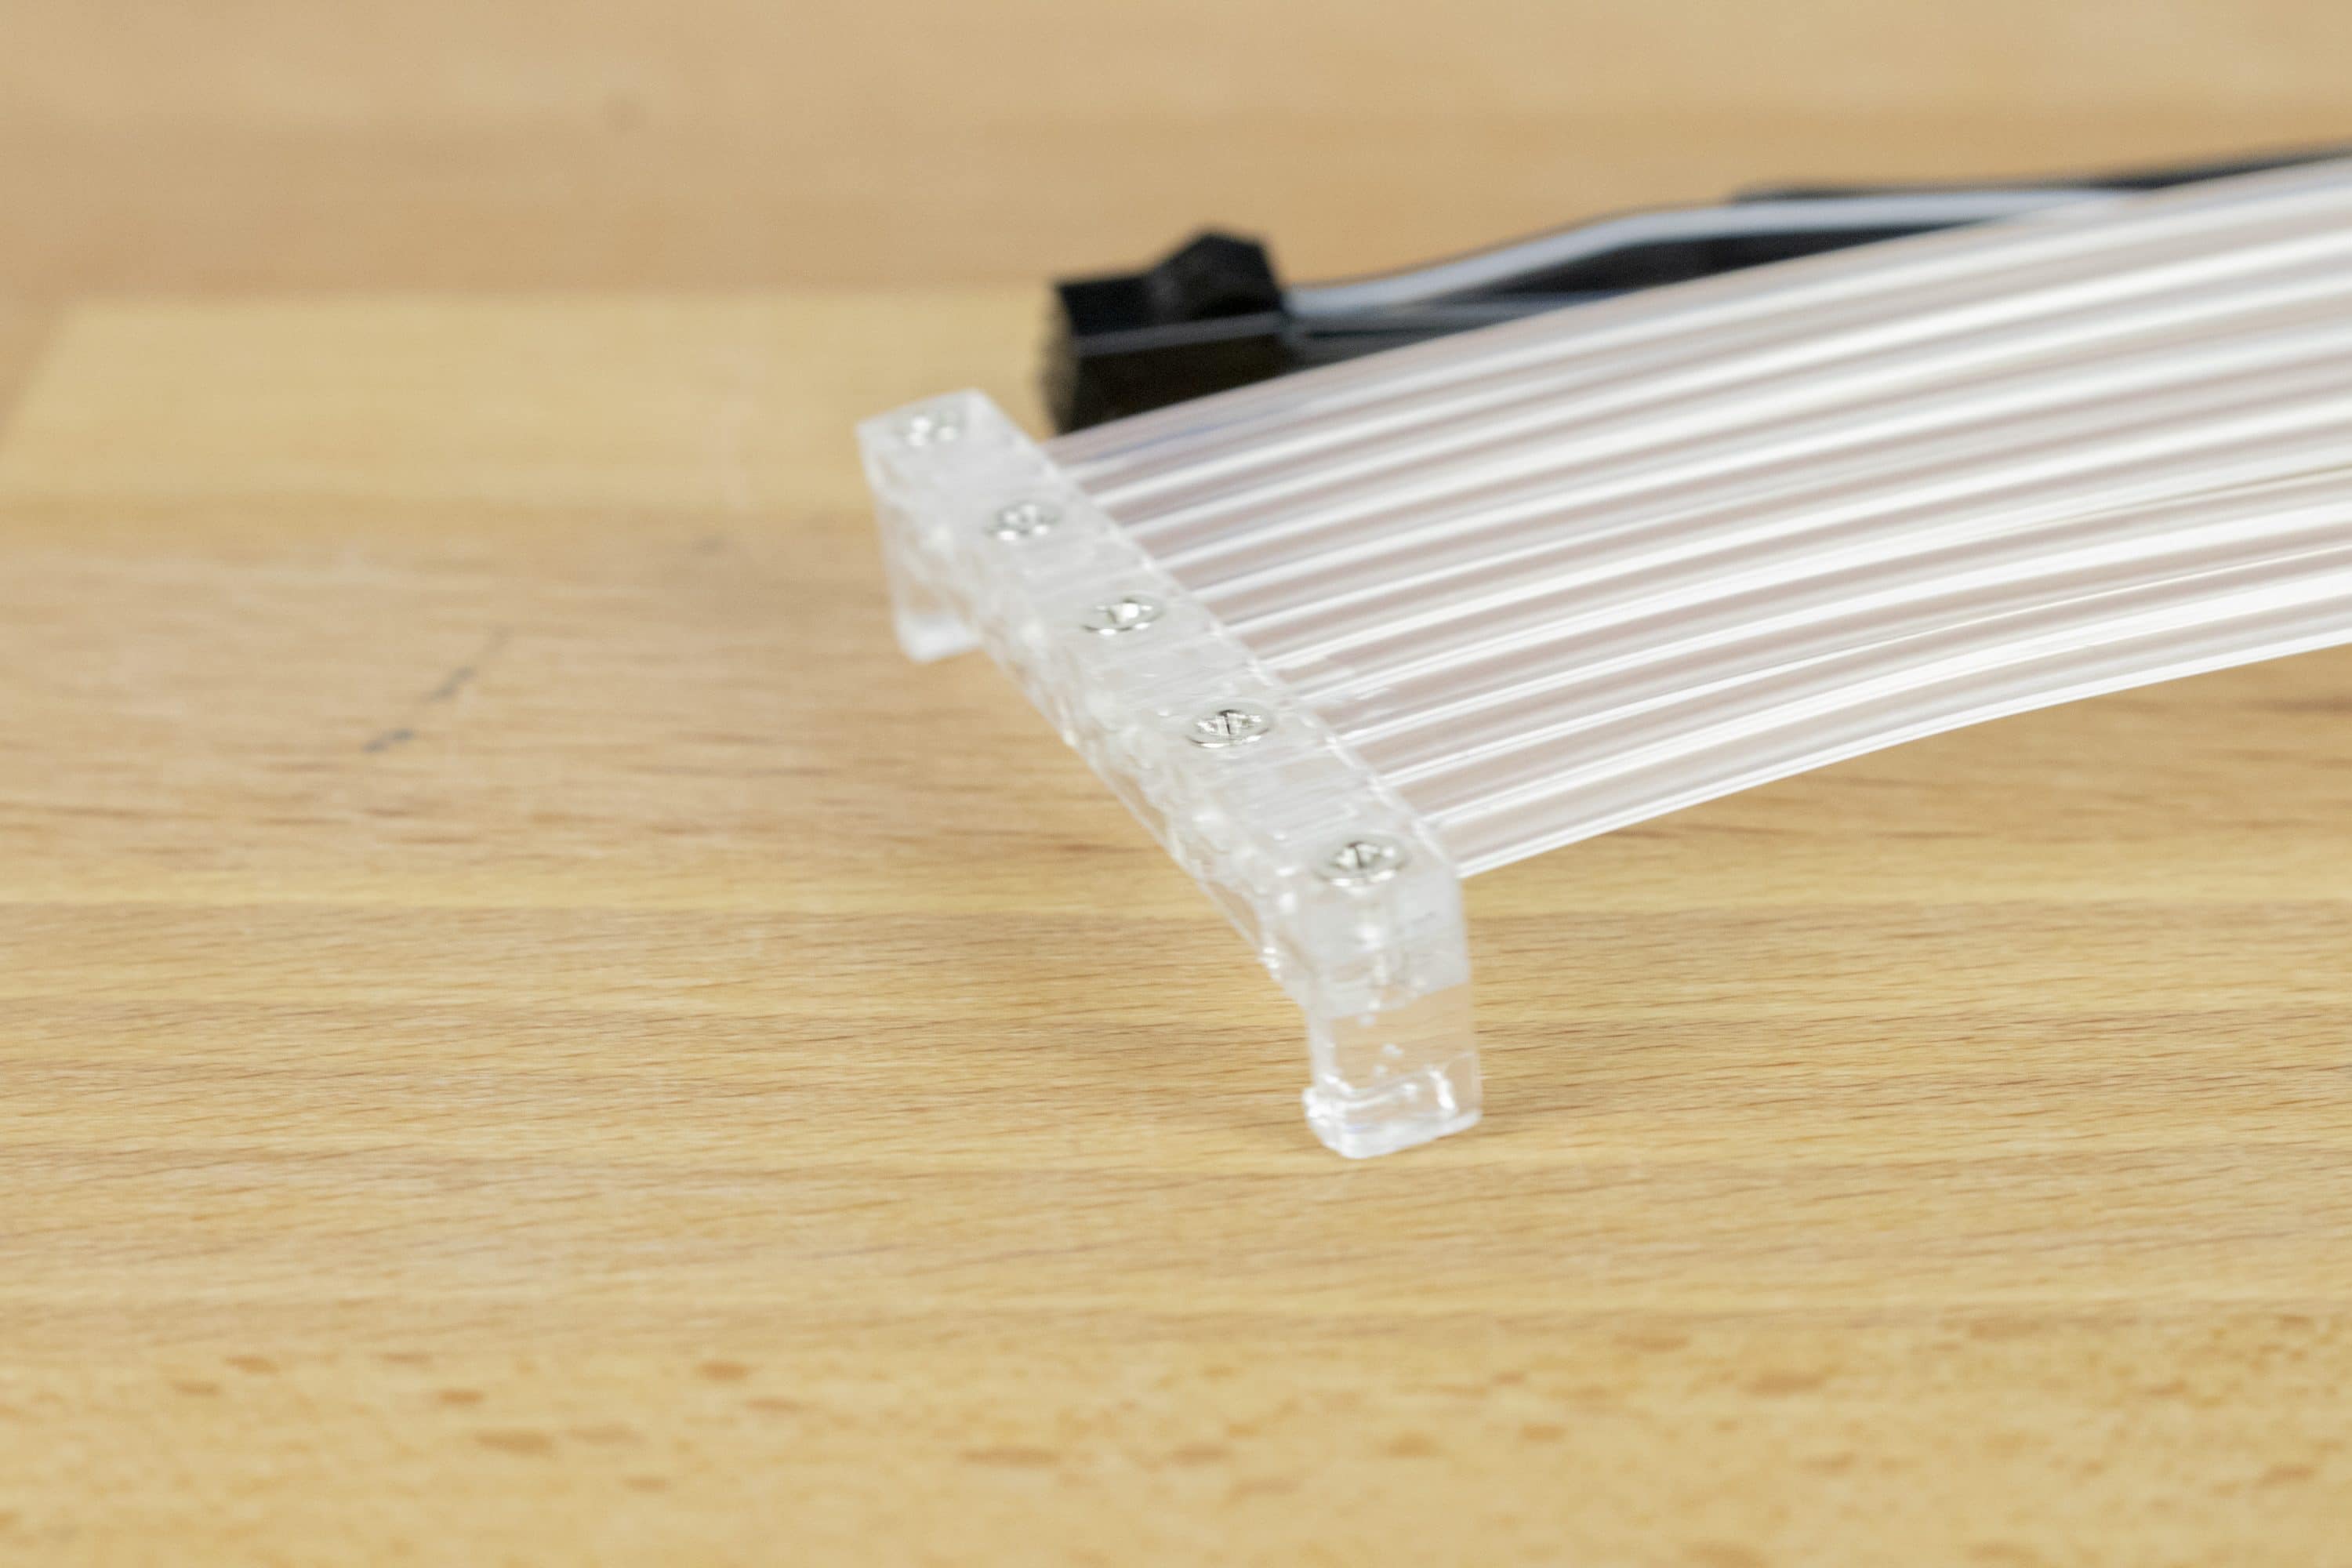
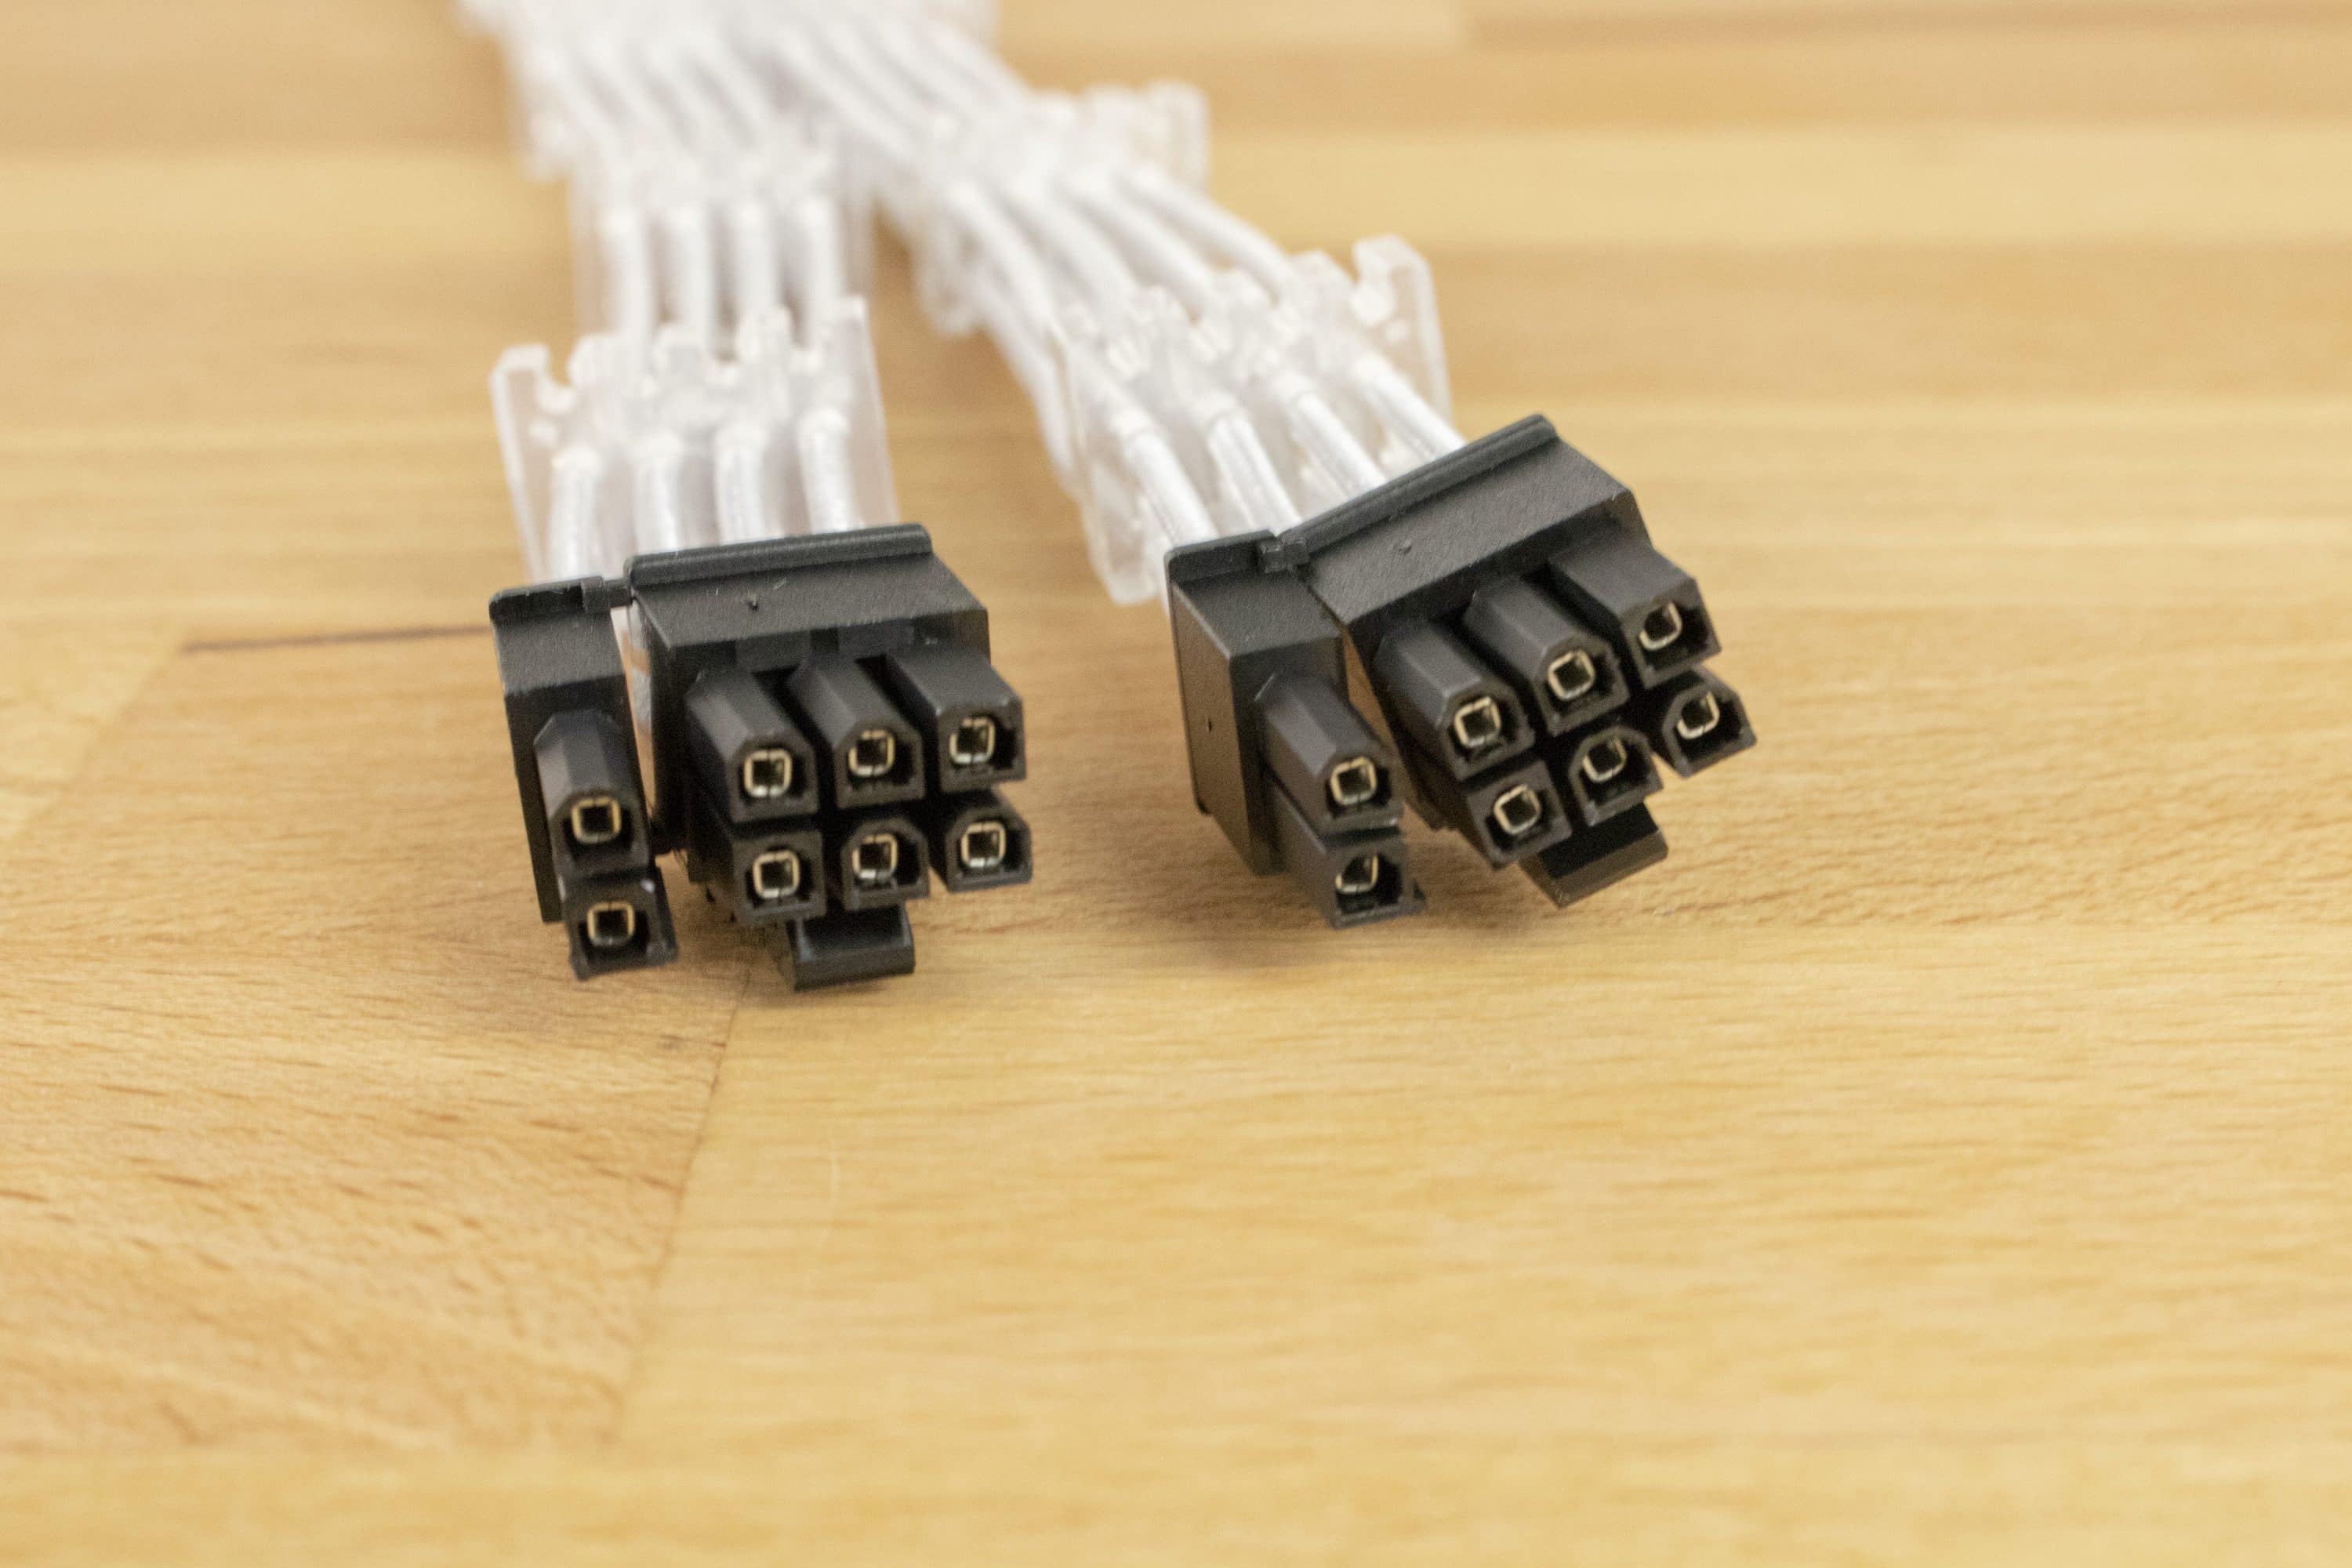
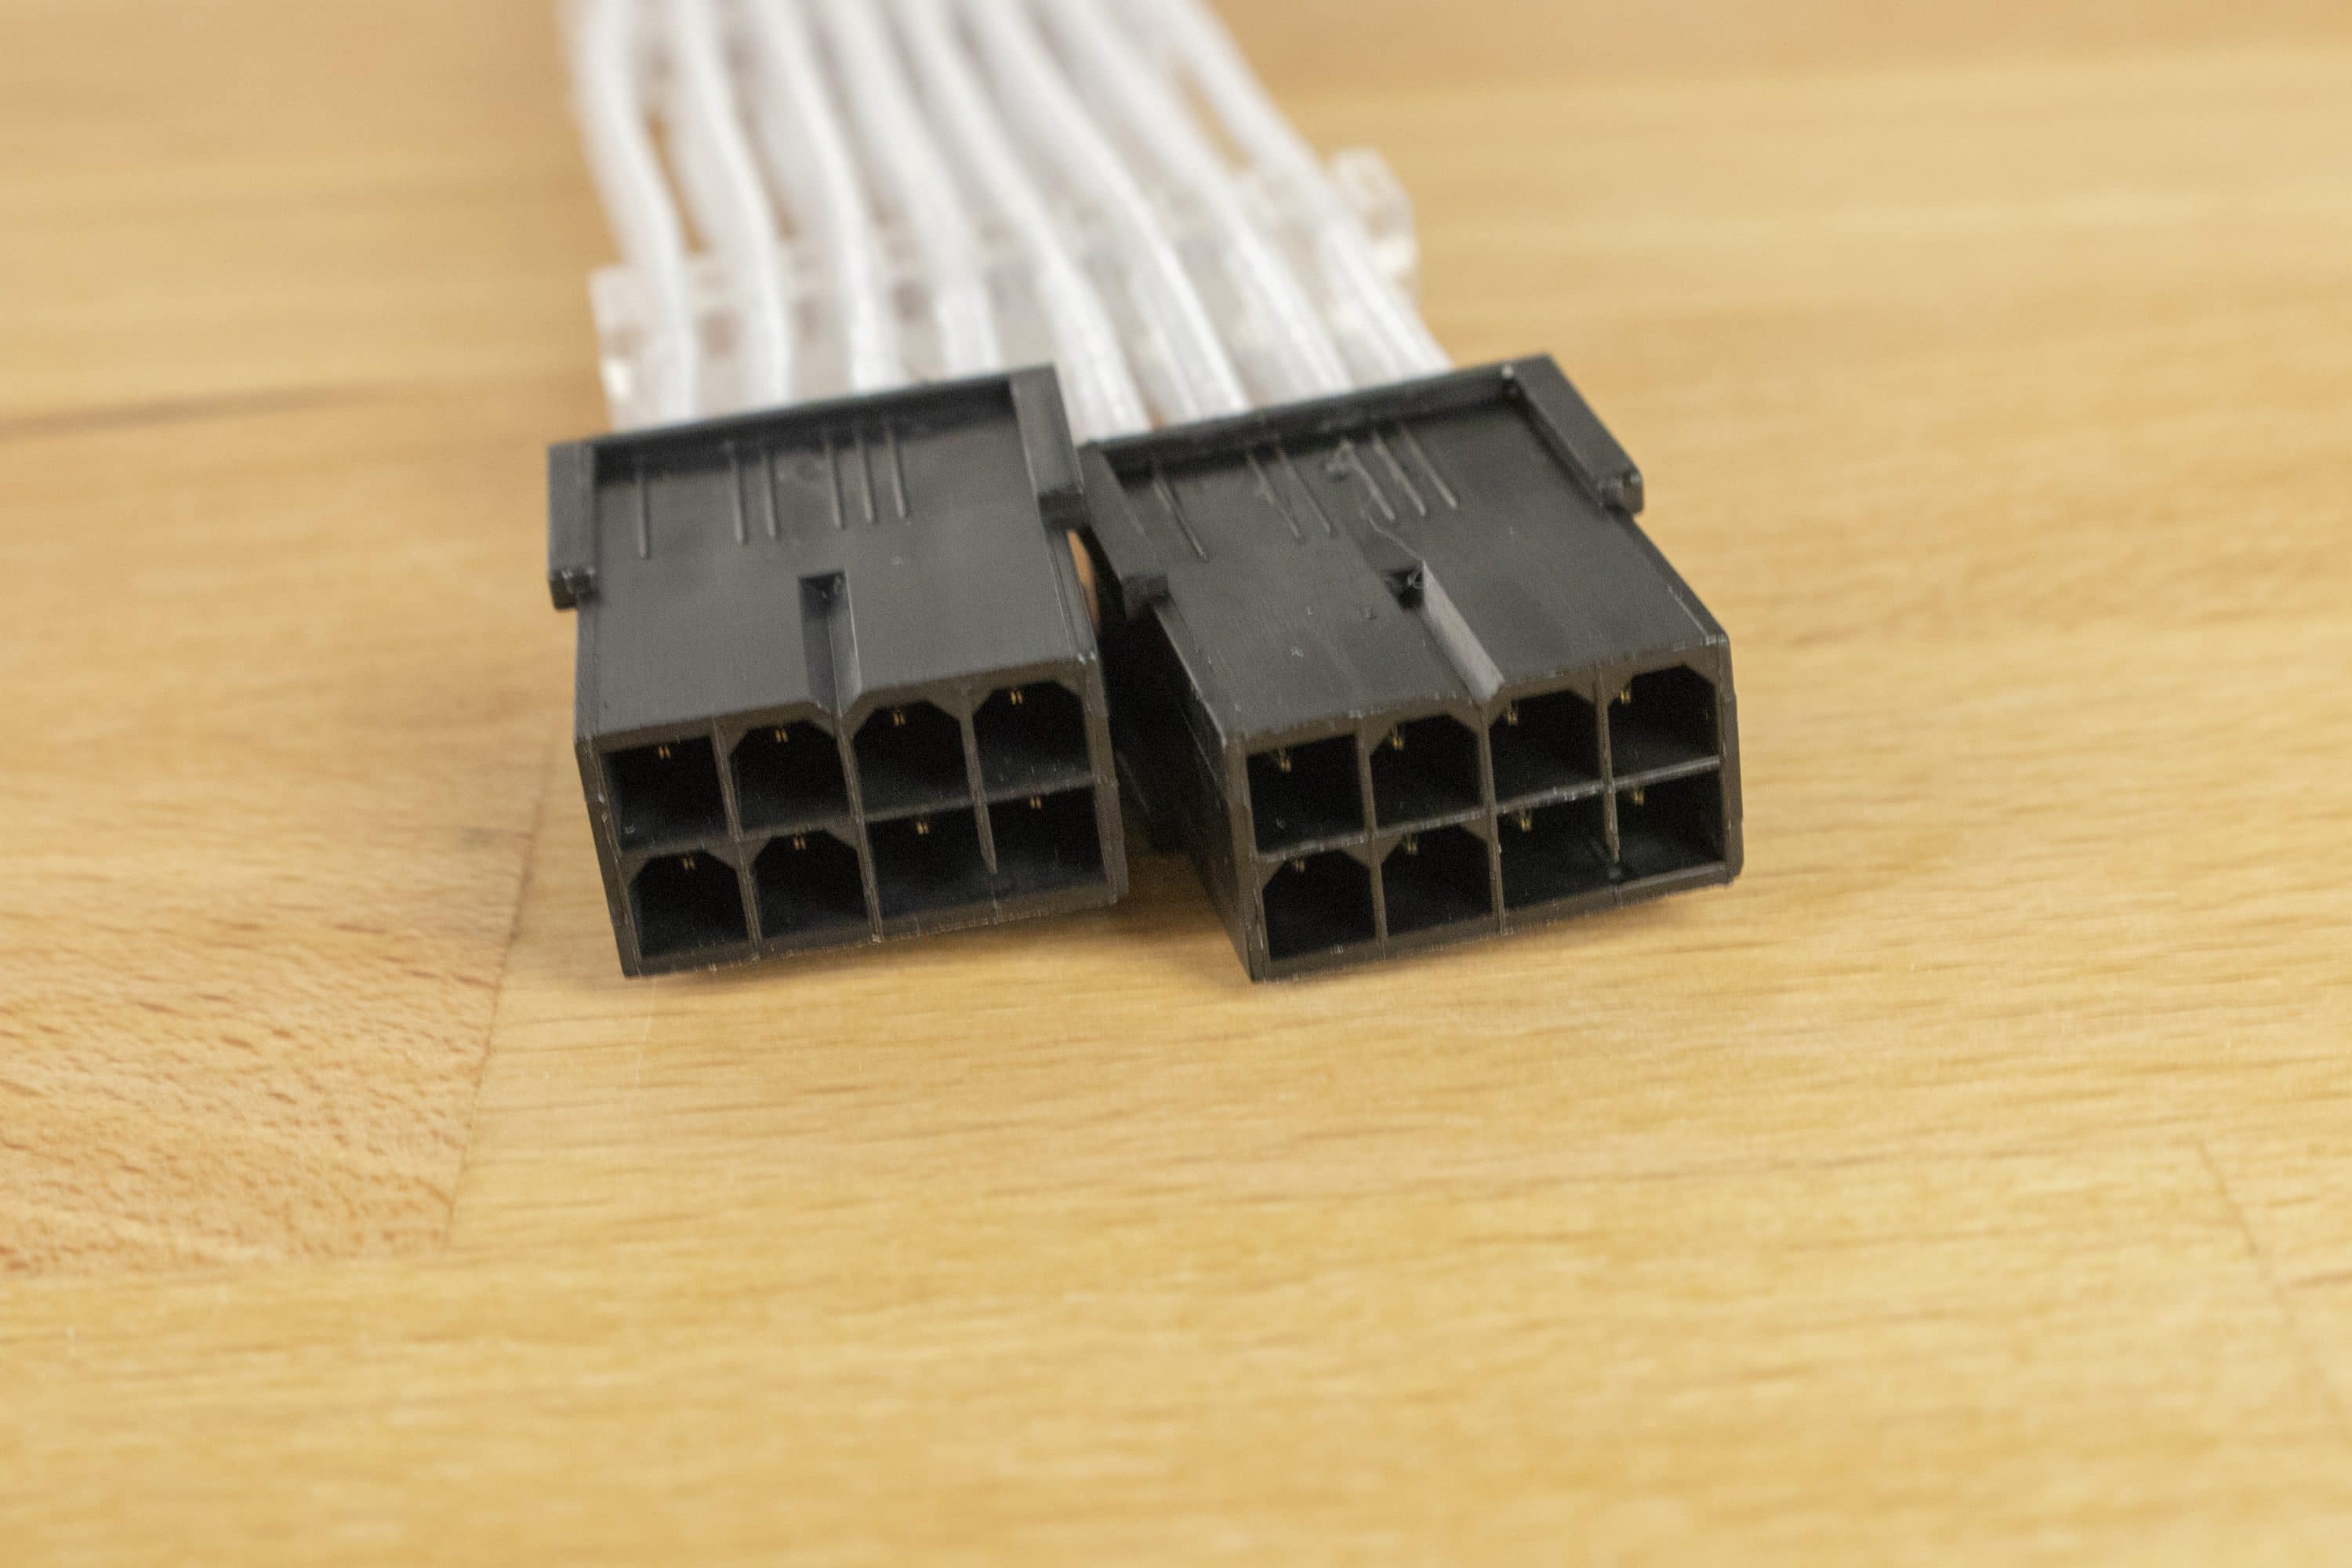
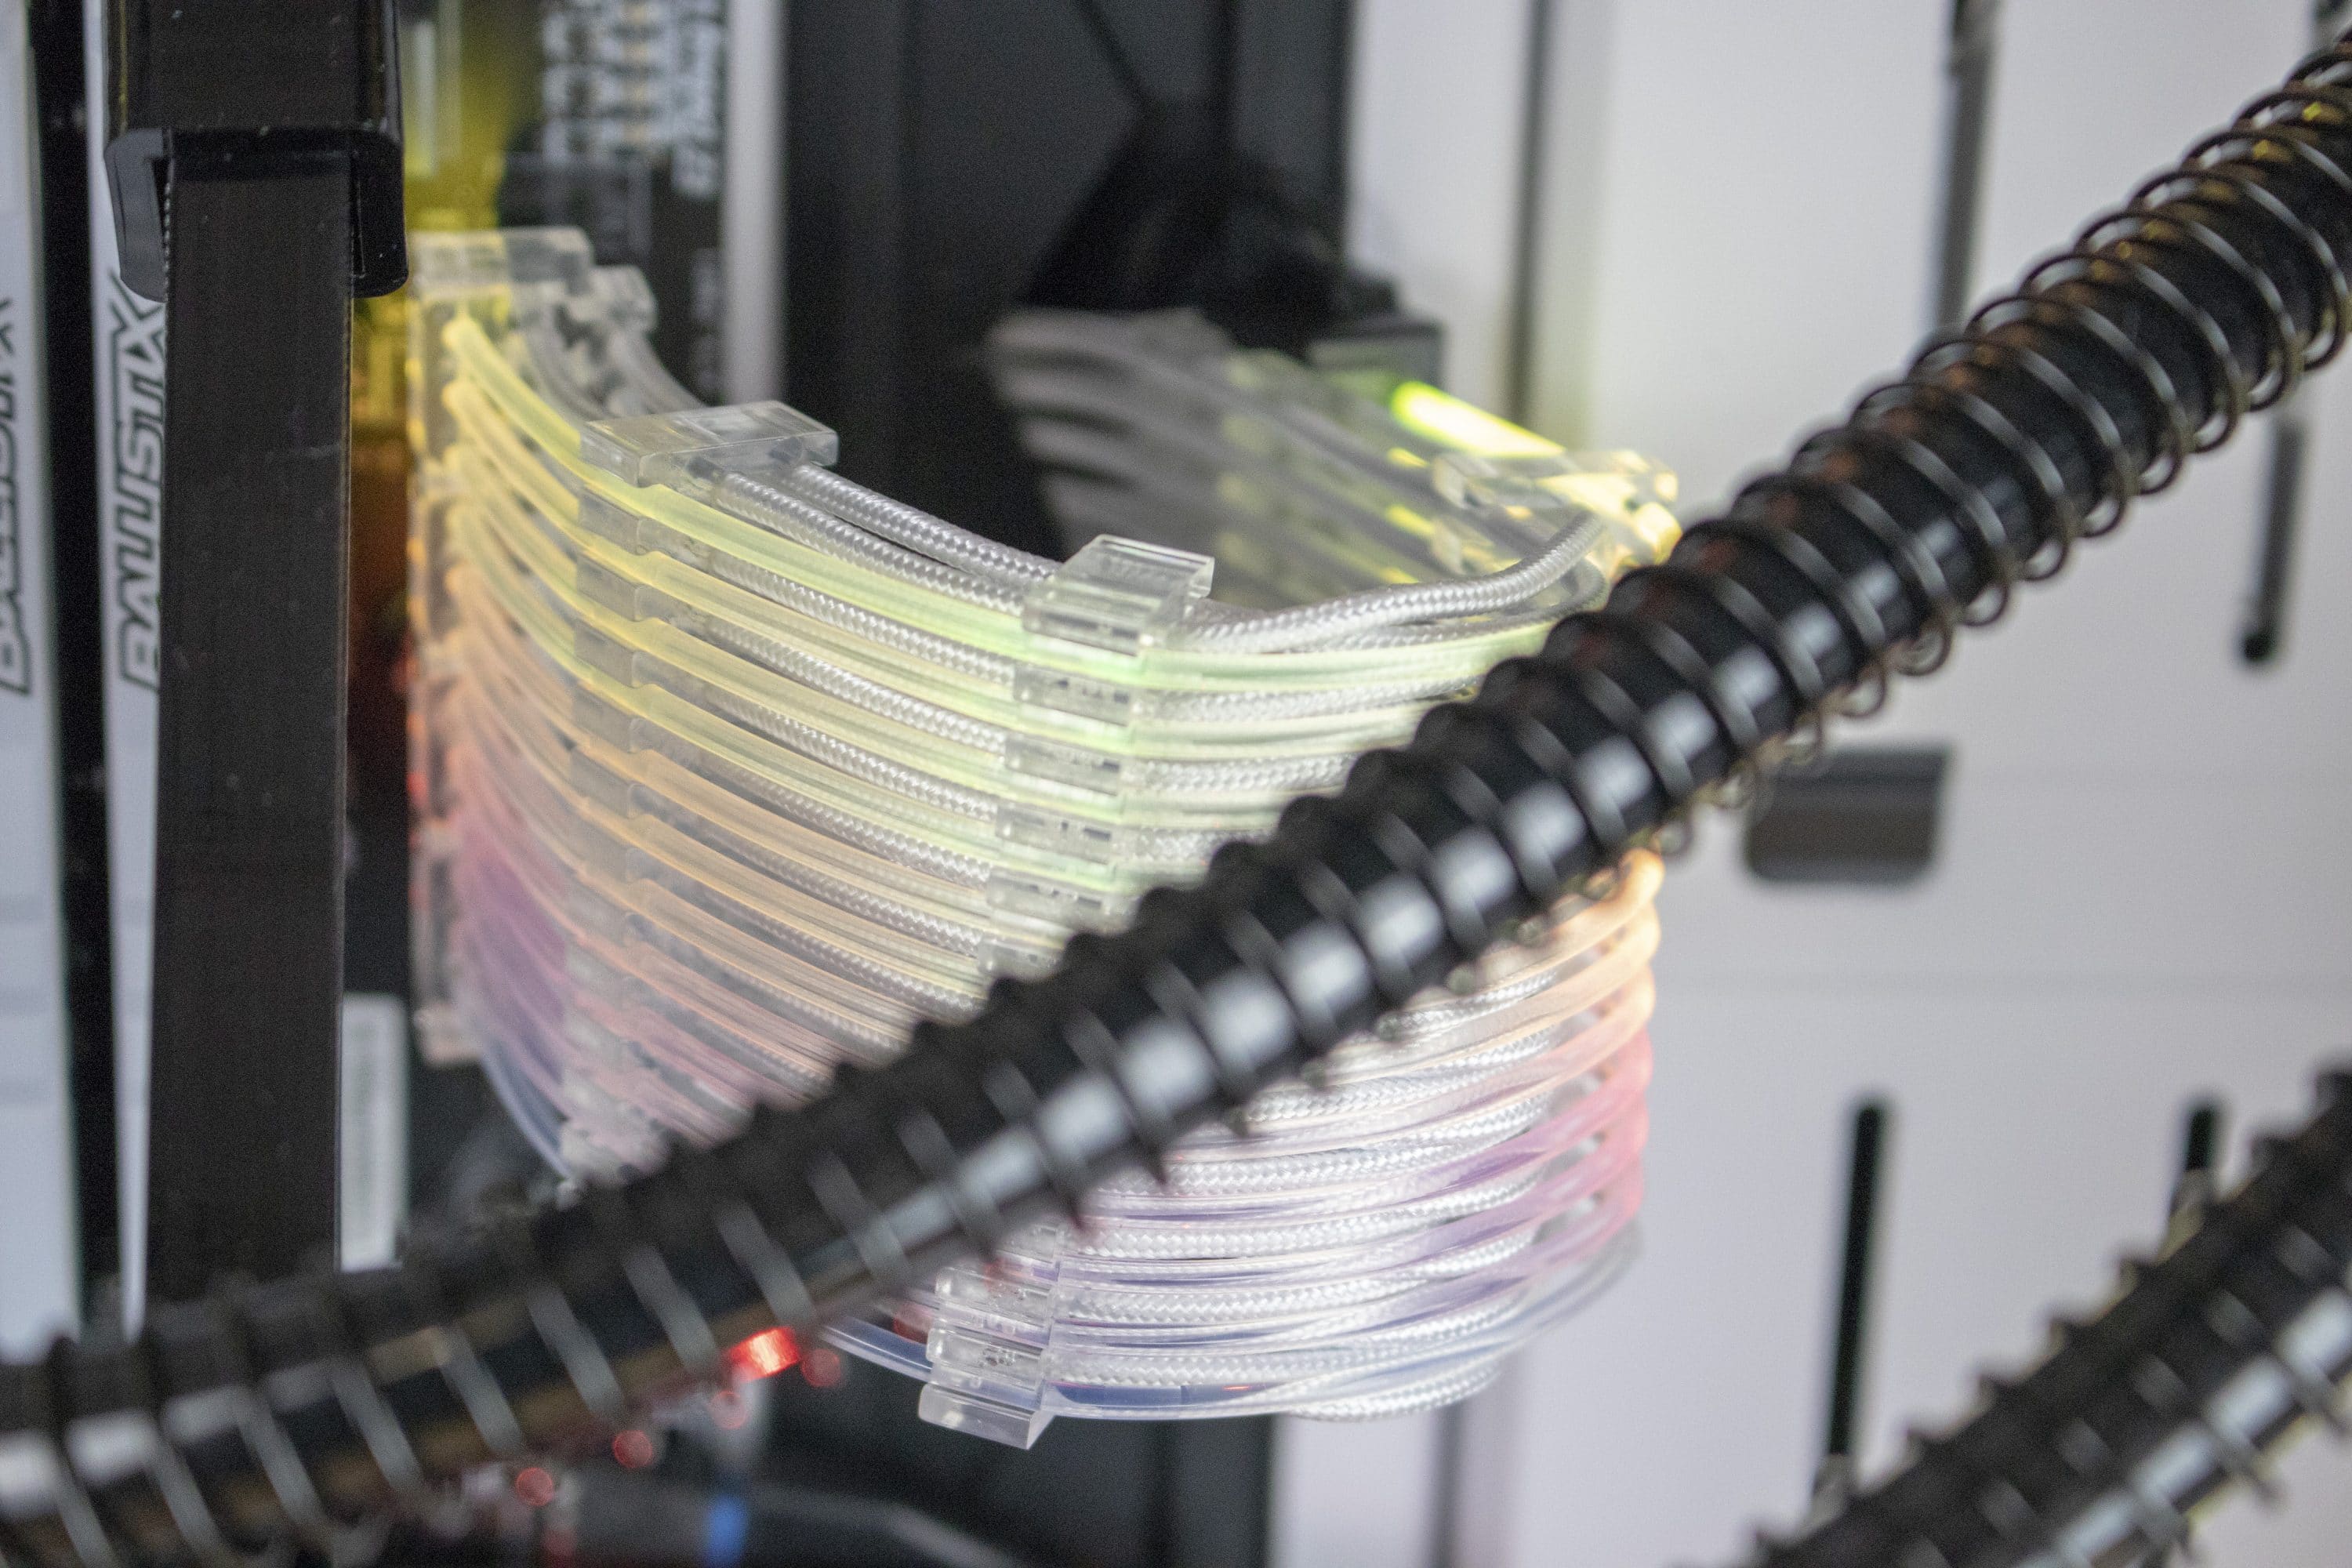
In the 24-pin version it presents itself as follows: It is divided into a twenty-centimetre extension cable for the ATX strand, which is not illuminated. It has a white coating and is inconspicuous in the best sense of the word. RGB lighting is the second component of the strimer. It is attached directly to the extension cable, which means that when you look at photos, the division into two is usually only noticed at second or third glance. Due to the two-part structure, i.e. the RGB lighting, the strimer is slightly thicker than an ordinary ATX cable.


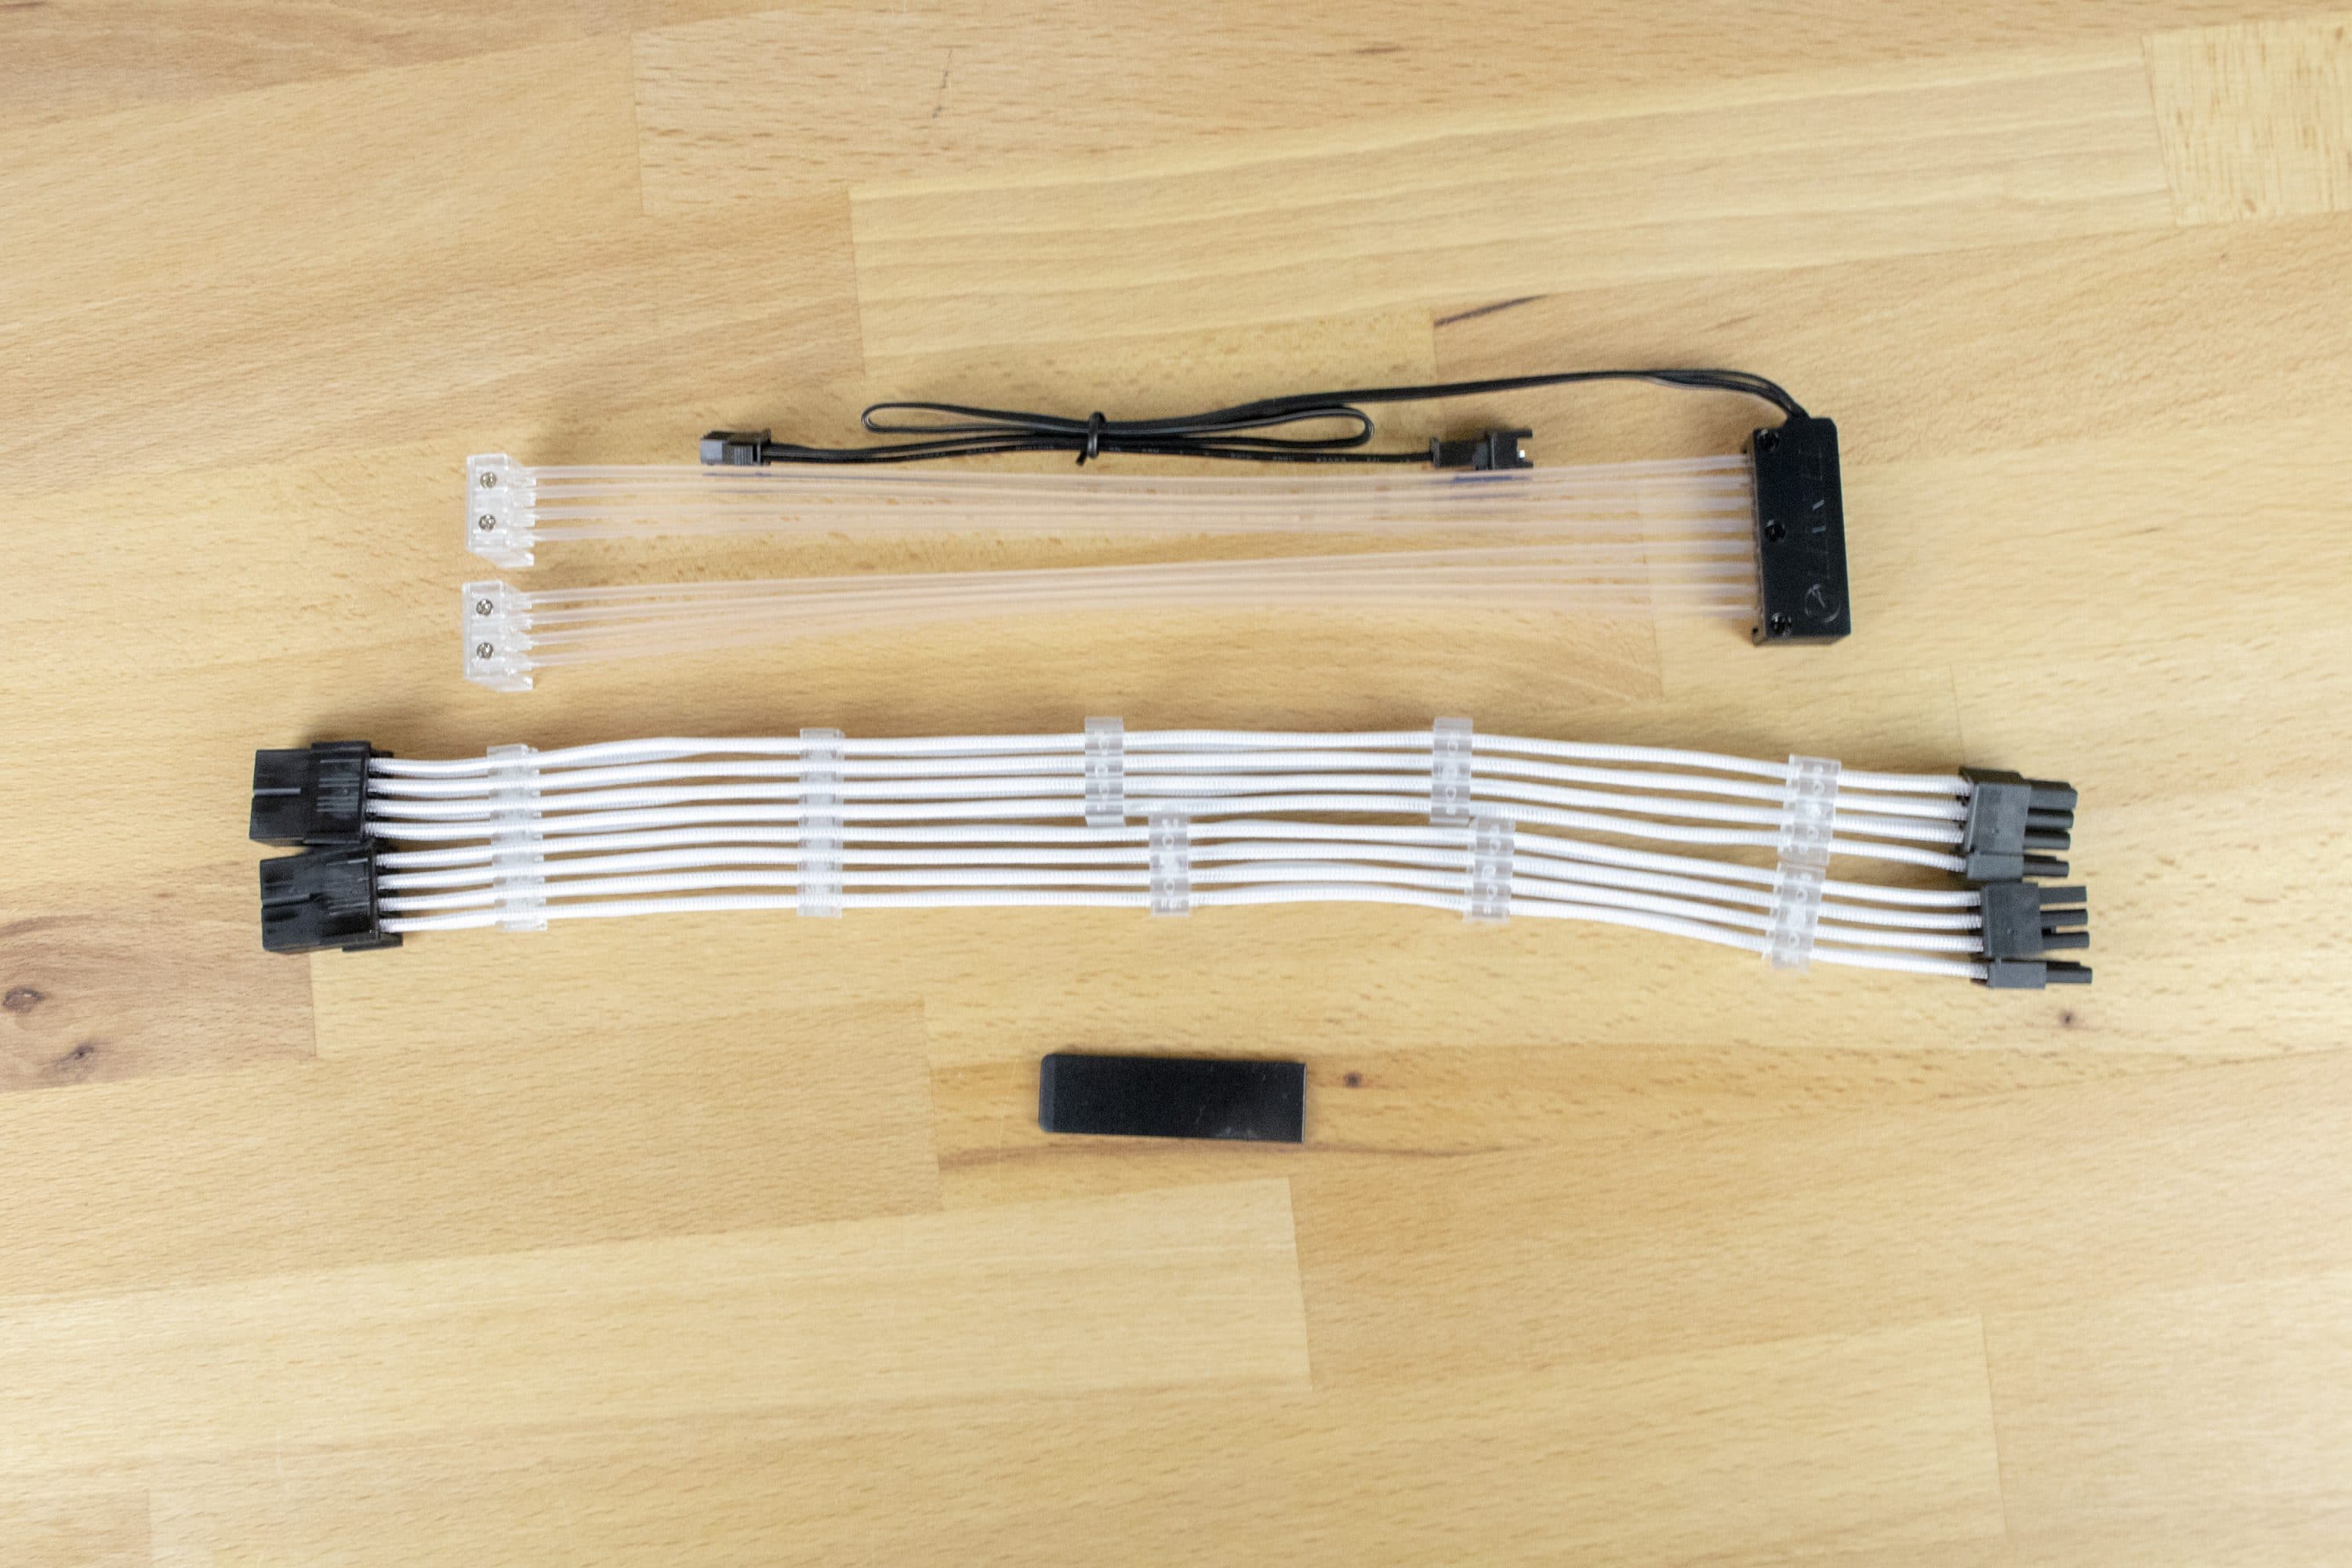
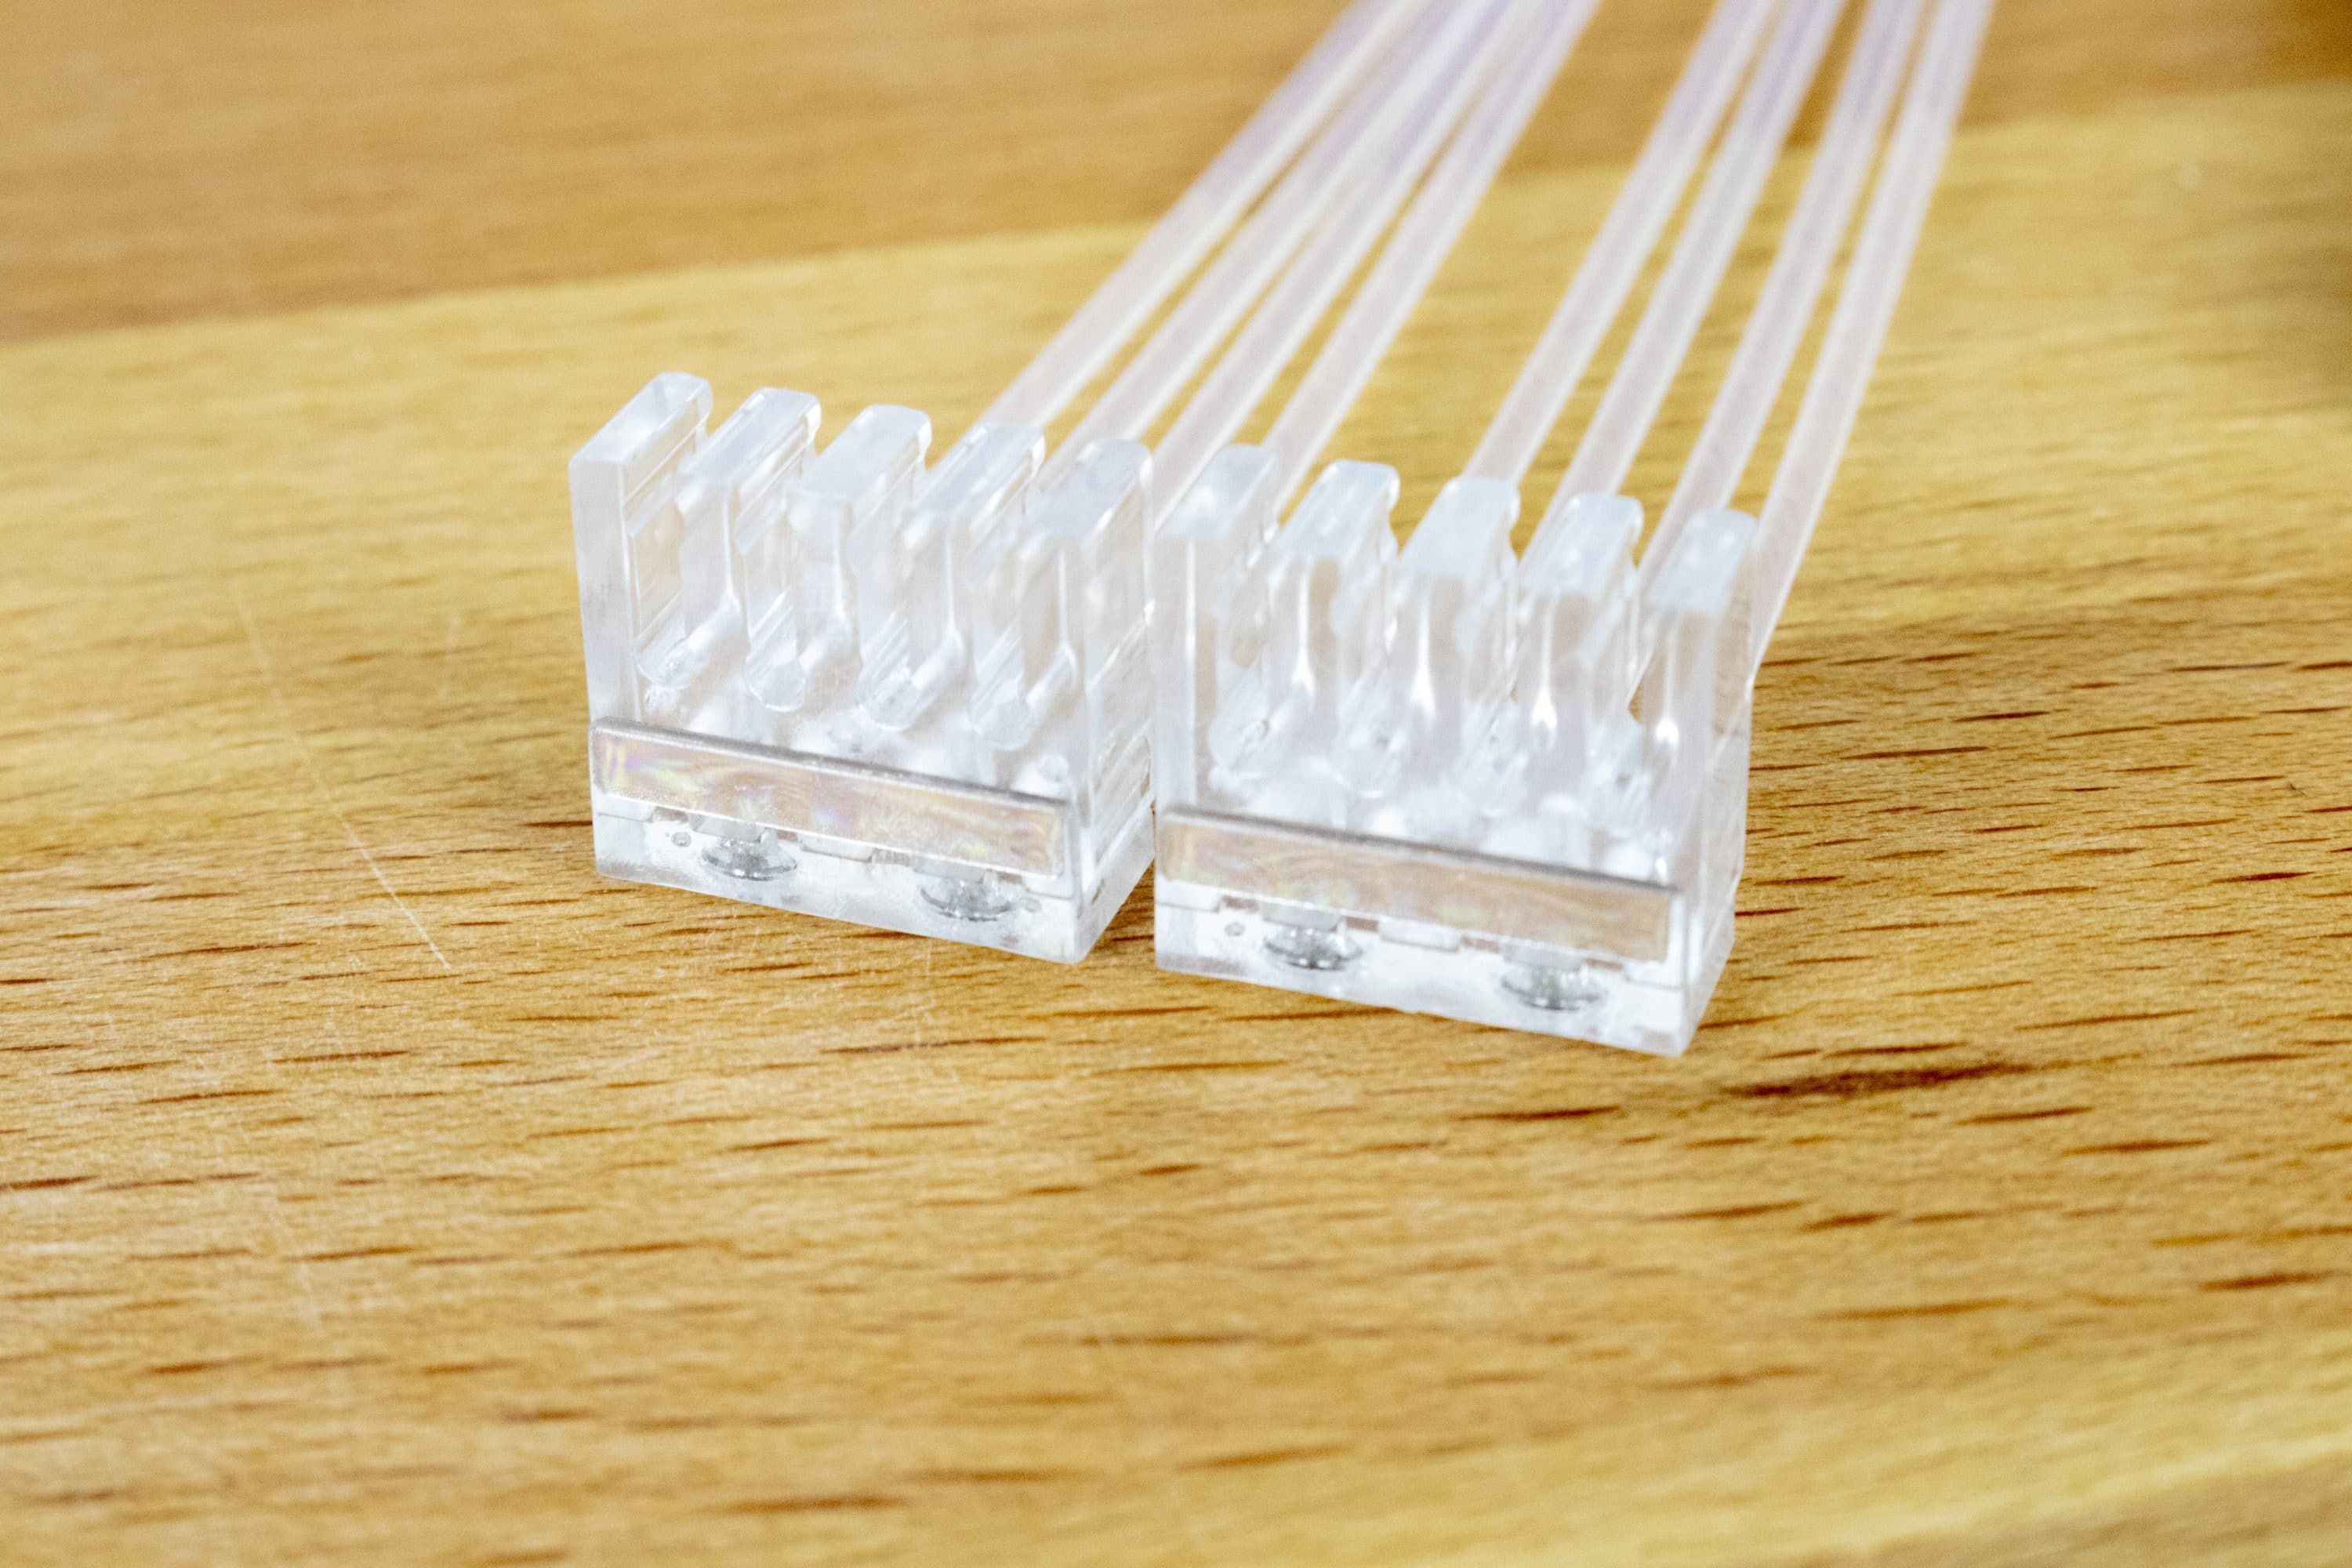
In the 8-pin version, the strimer is not built differently, but it is designed differently. As in the ATX version, it is divided into the actual cable and the LED elements. The cable in this version is much longer – it measures 30 centimeters. It is also divisible, which should be an advantage in practice. There are two 8-pin cables that can be used individually. In addition, only 6 pins can be connected if the graphics card is no longer needed.

The installation of the strimer is a little more difficult in our test than originally thought. Due to the immobility of the cable, which can hardly be bent, it is difficult to transport the strimer into the housing. If too much voltage is built up, the LED strips slip out of their holder, which means that the entire installation has to be restarted. So, at first some patience is required for the installation. With the Fractal Design Define S2 we had no problems to sink the strimer in the opening of the mainboard tray. At this point, however, it should be pointed out that depending on the housing, problems may occur. With some housings the countersinking will work in the first attempt without any problem, with other housings several starts are necessary and with other housings the countersinking at this place is not possible at all.
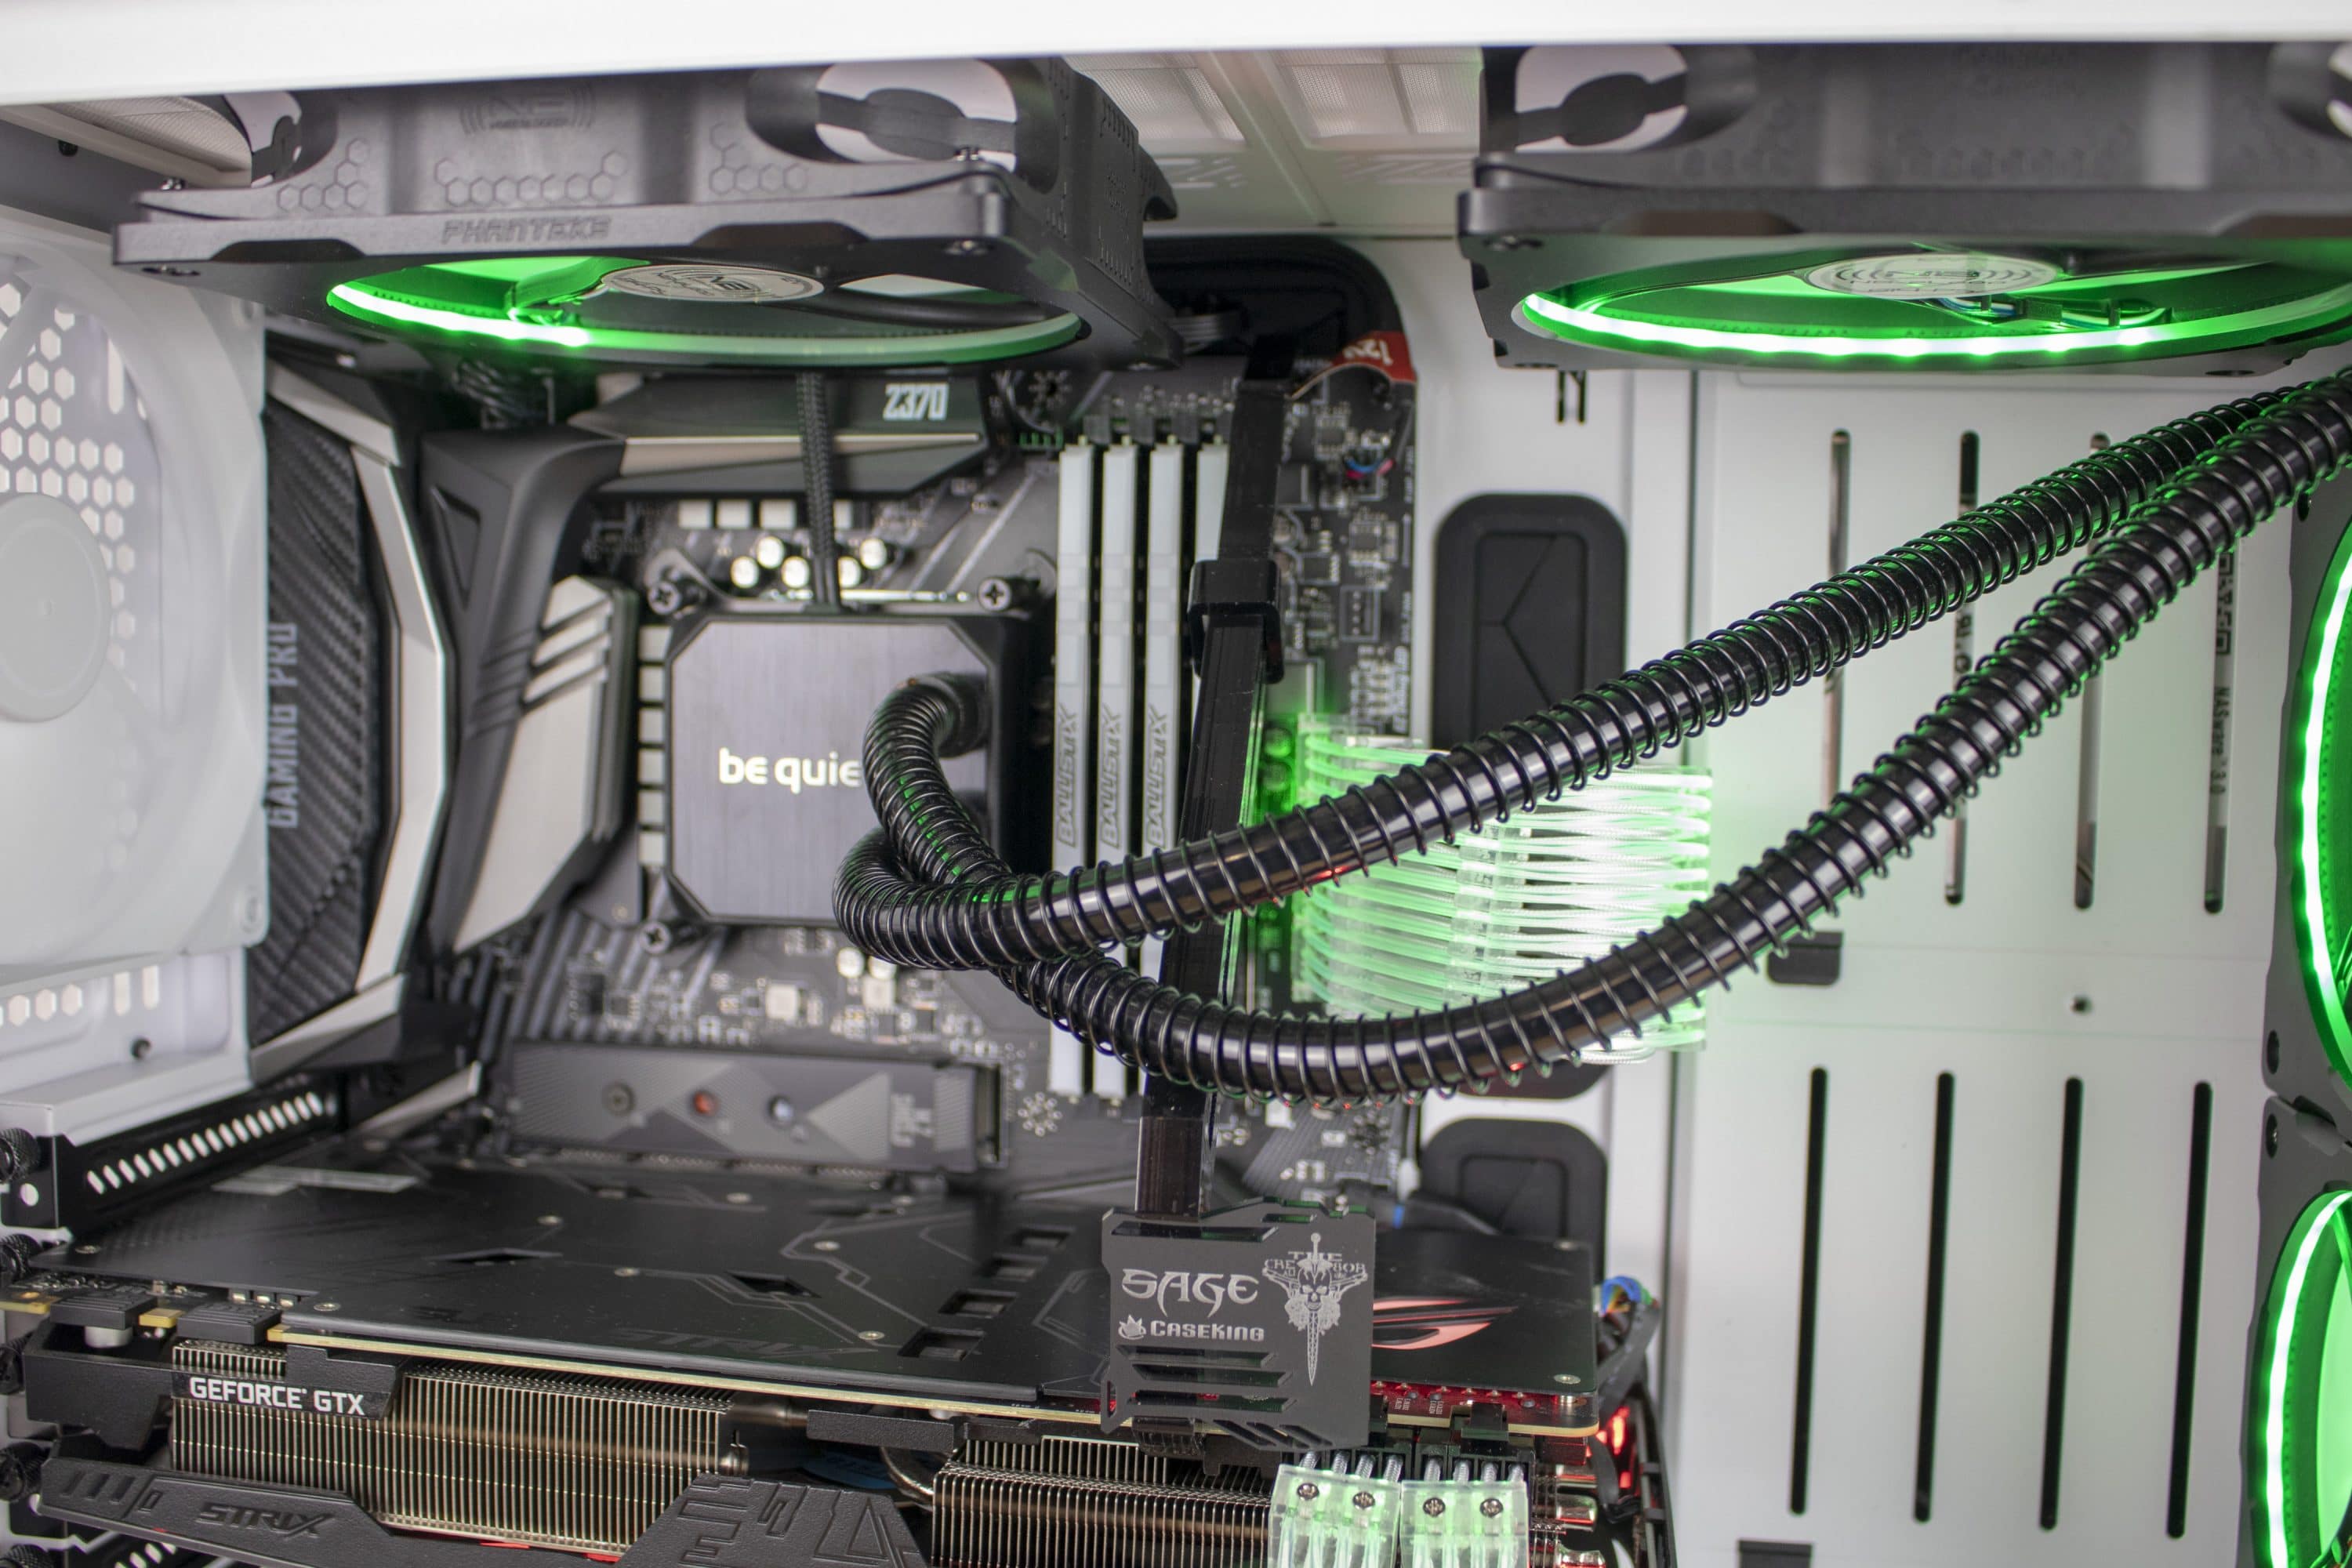

Before buying, you should think about the location of the illuminated cable. Our test showed us that it can be difficult to find a suitable place for the strimer. It will therefore not necessarily be possible to accommodate it in narrow enclosures that offer little room for manoeuvre. If more space is available, accommodation should be easier. In any case, it is recommended not to buy the strimer in your own case without first considering the space available. Otherwise a great disappointment could follow. Again, it must be pointed out that this is only partly due to the strimer itself. Also other cables could not be accommodated with small space offer problem-free. Only the relative immobility of the cable can be seen as the reason for installation difficulties in the strimer.
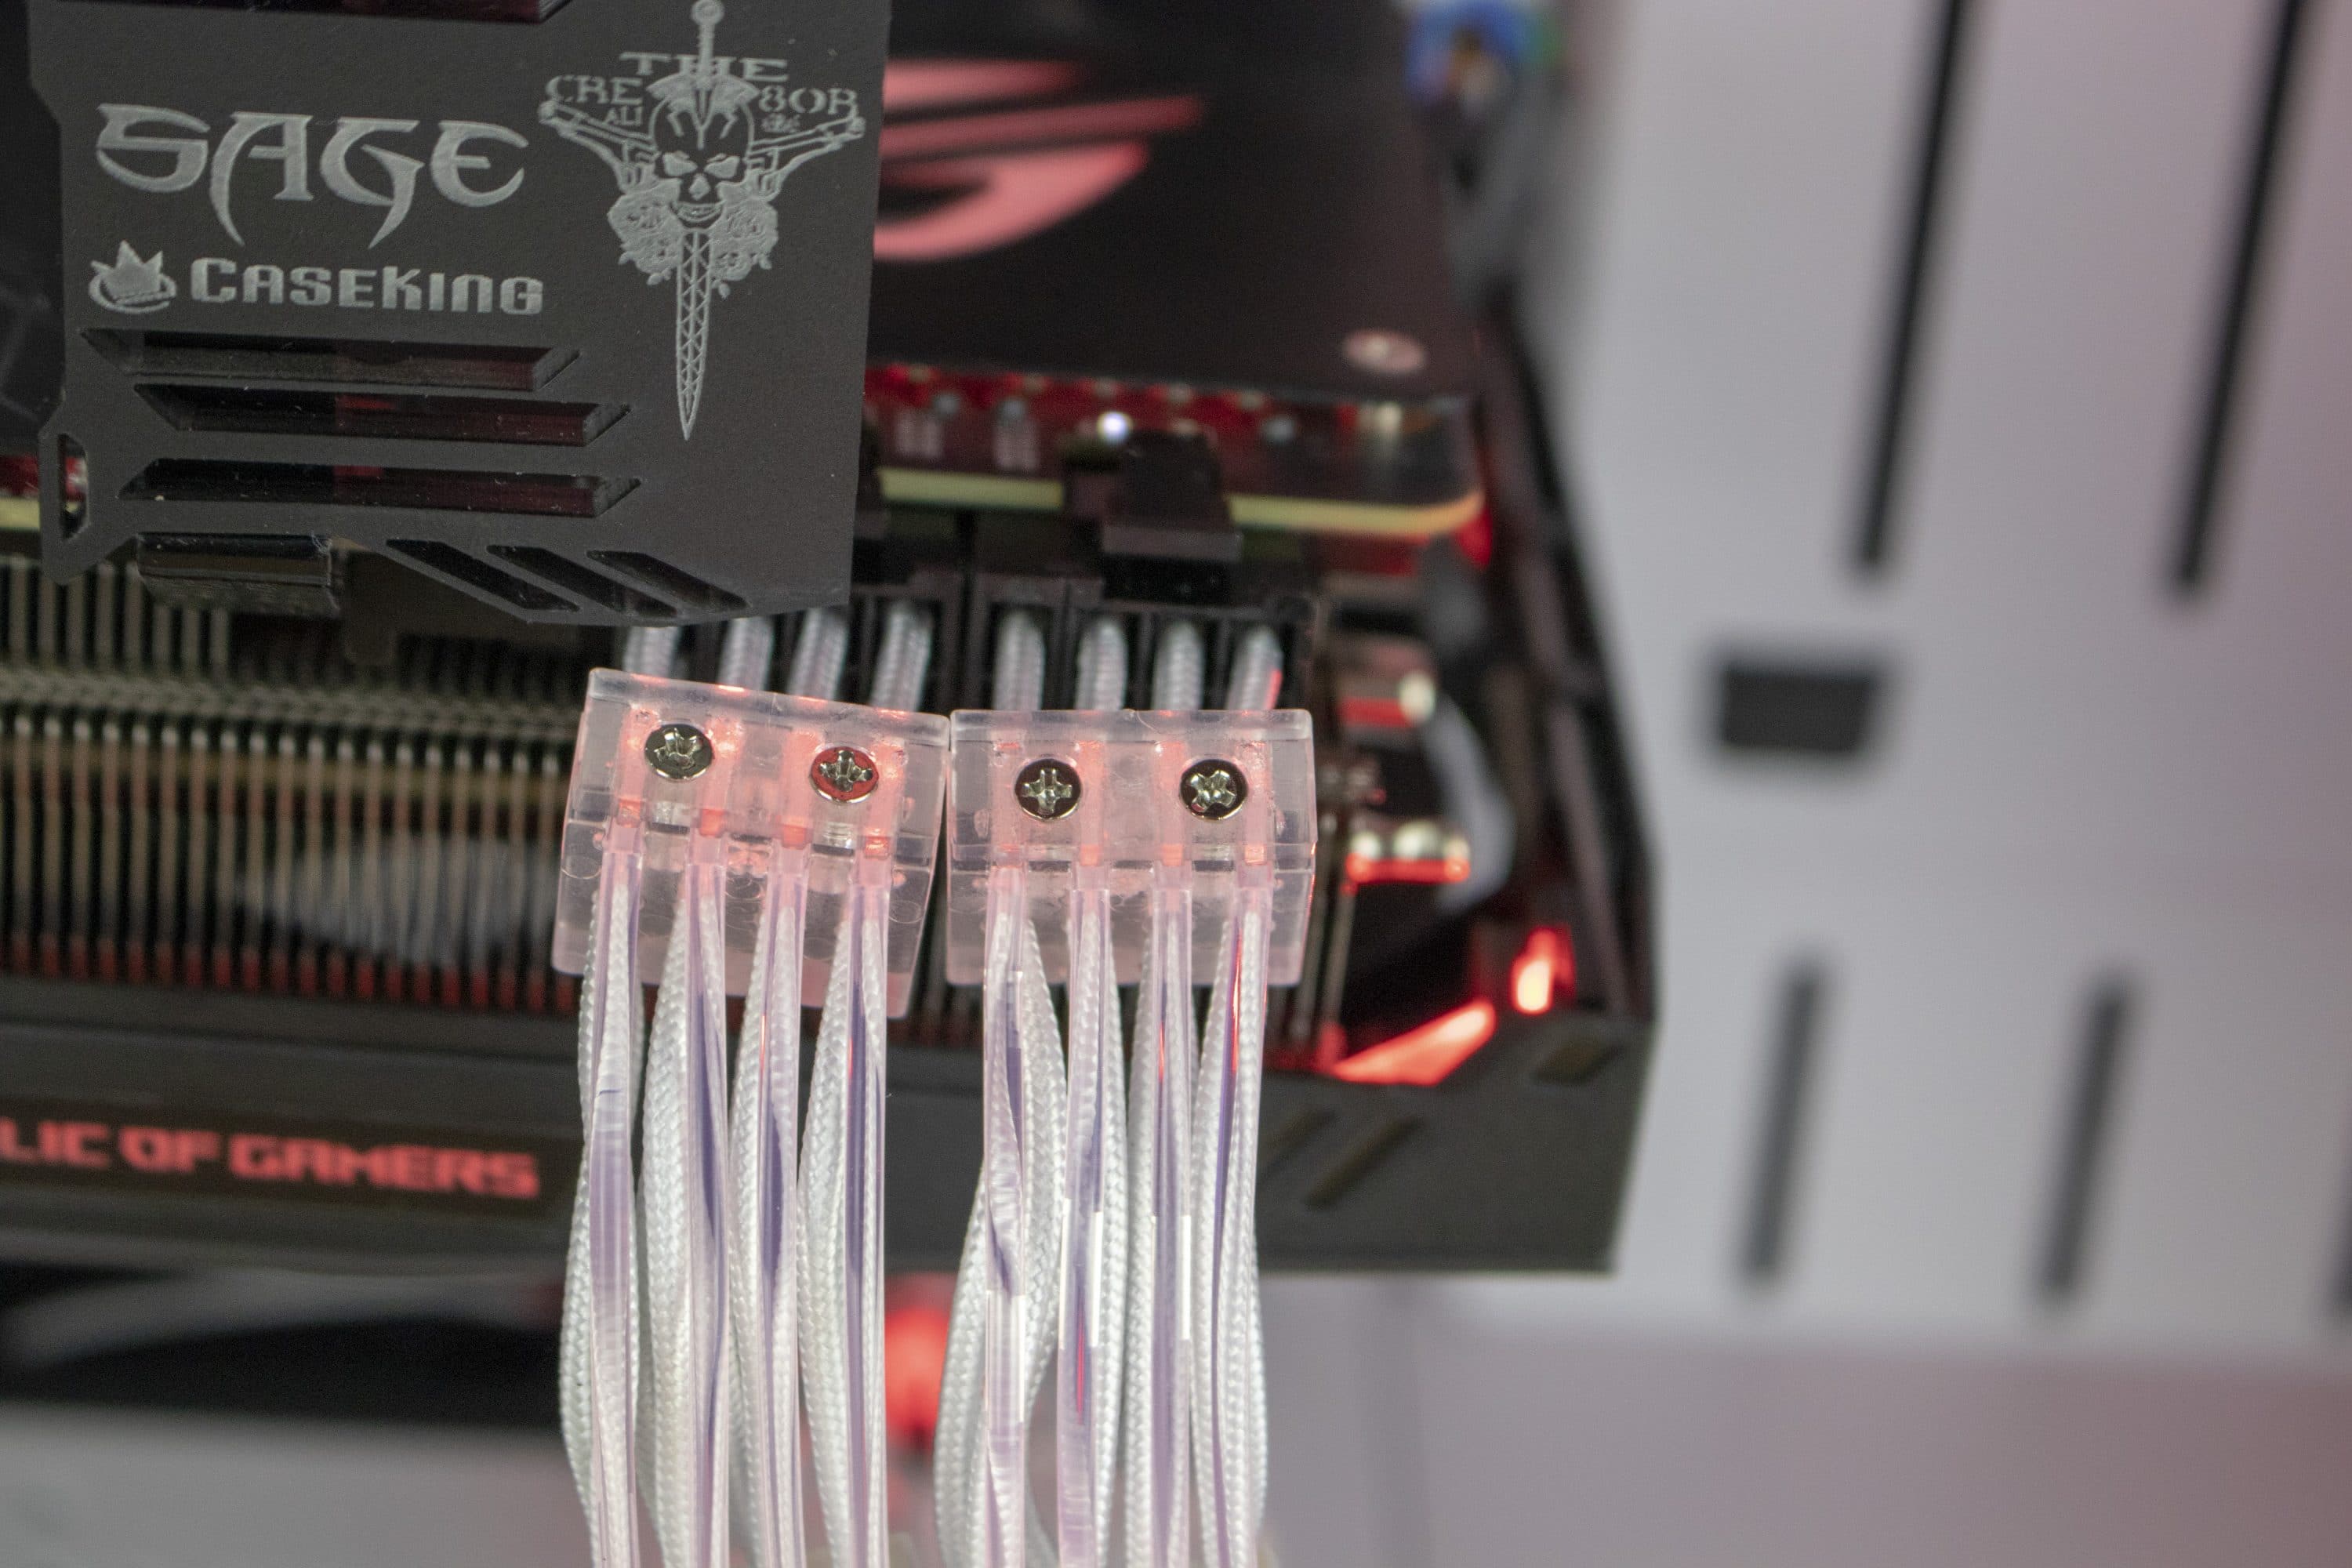
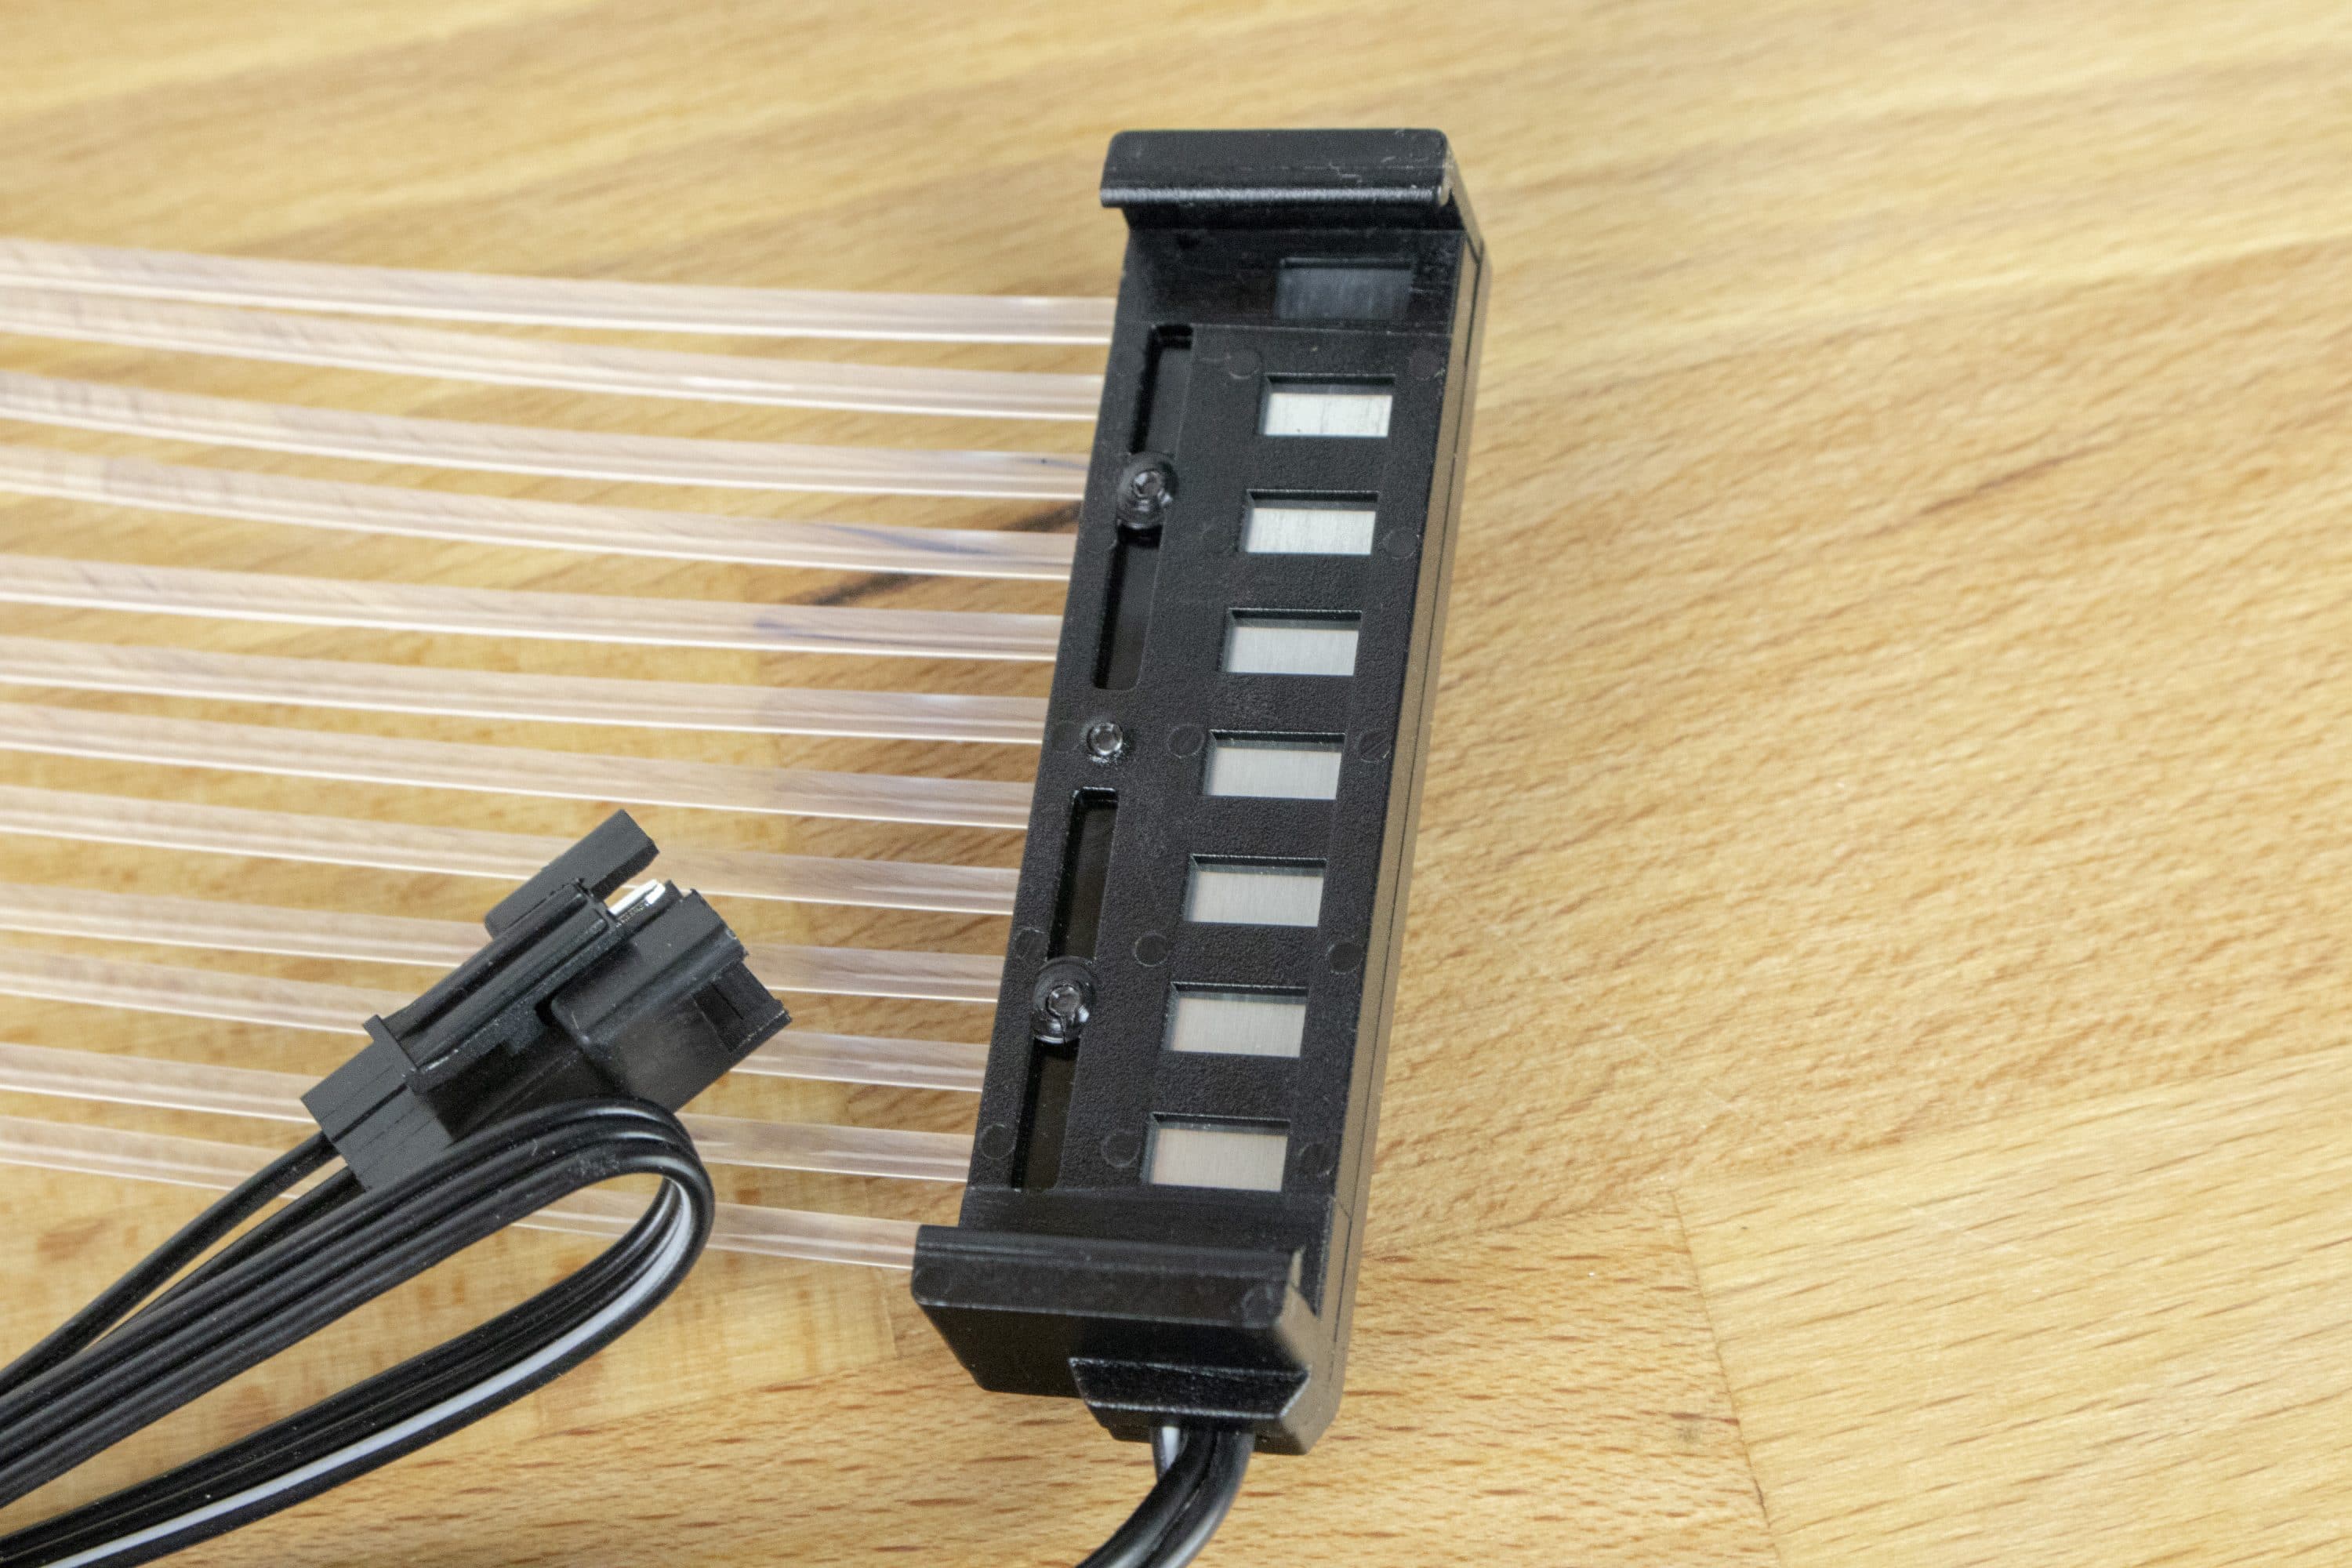
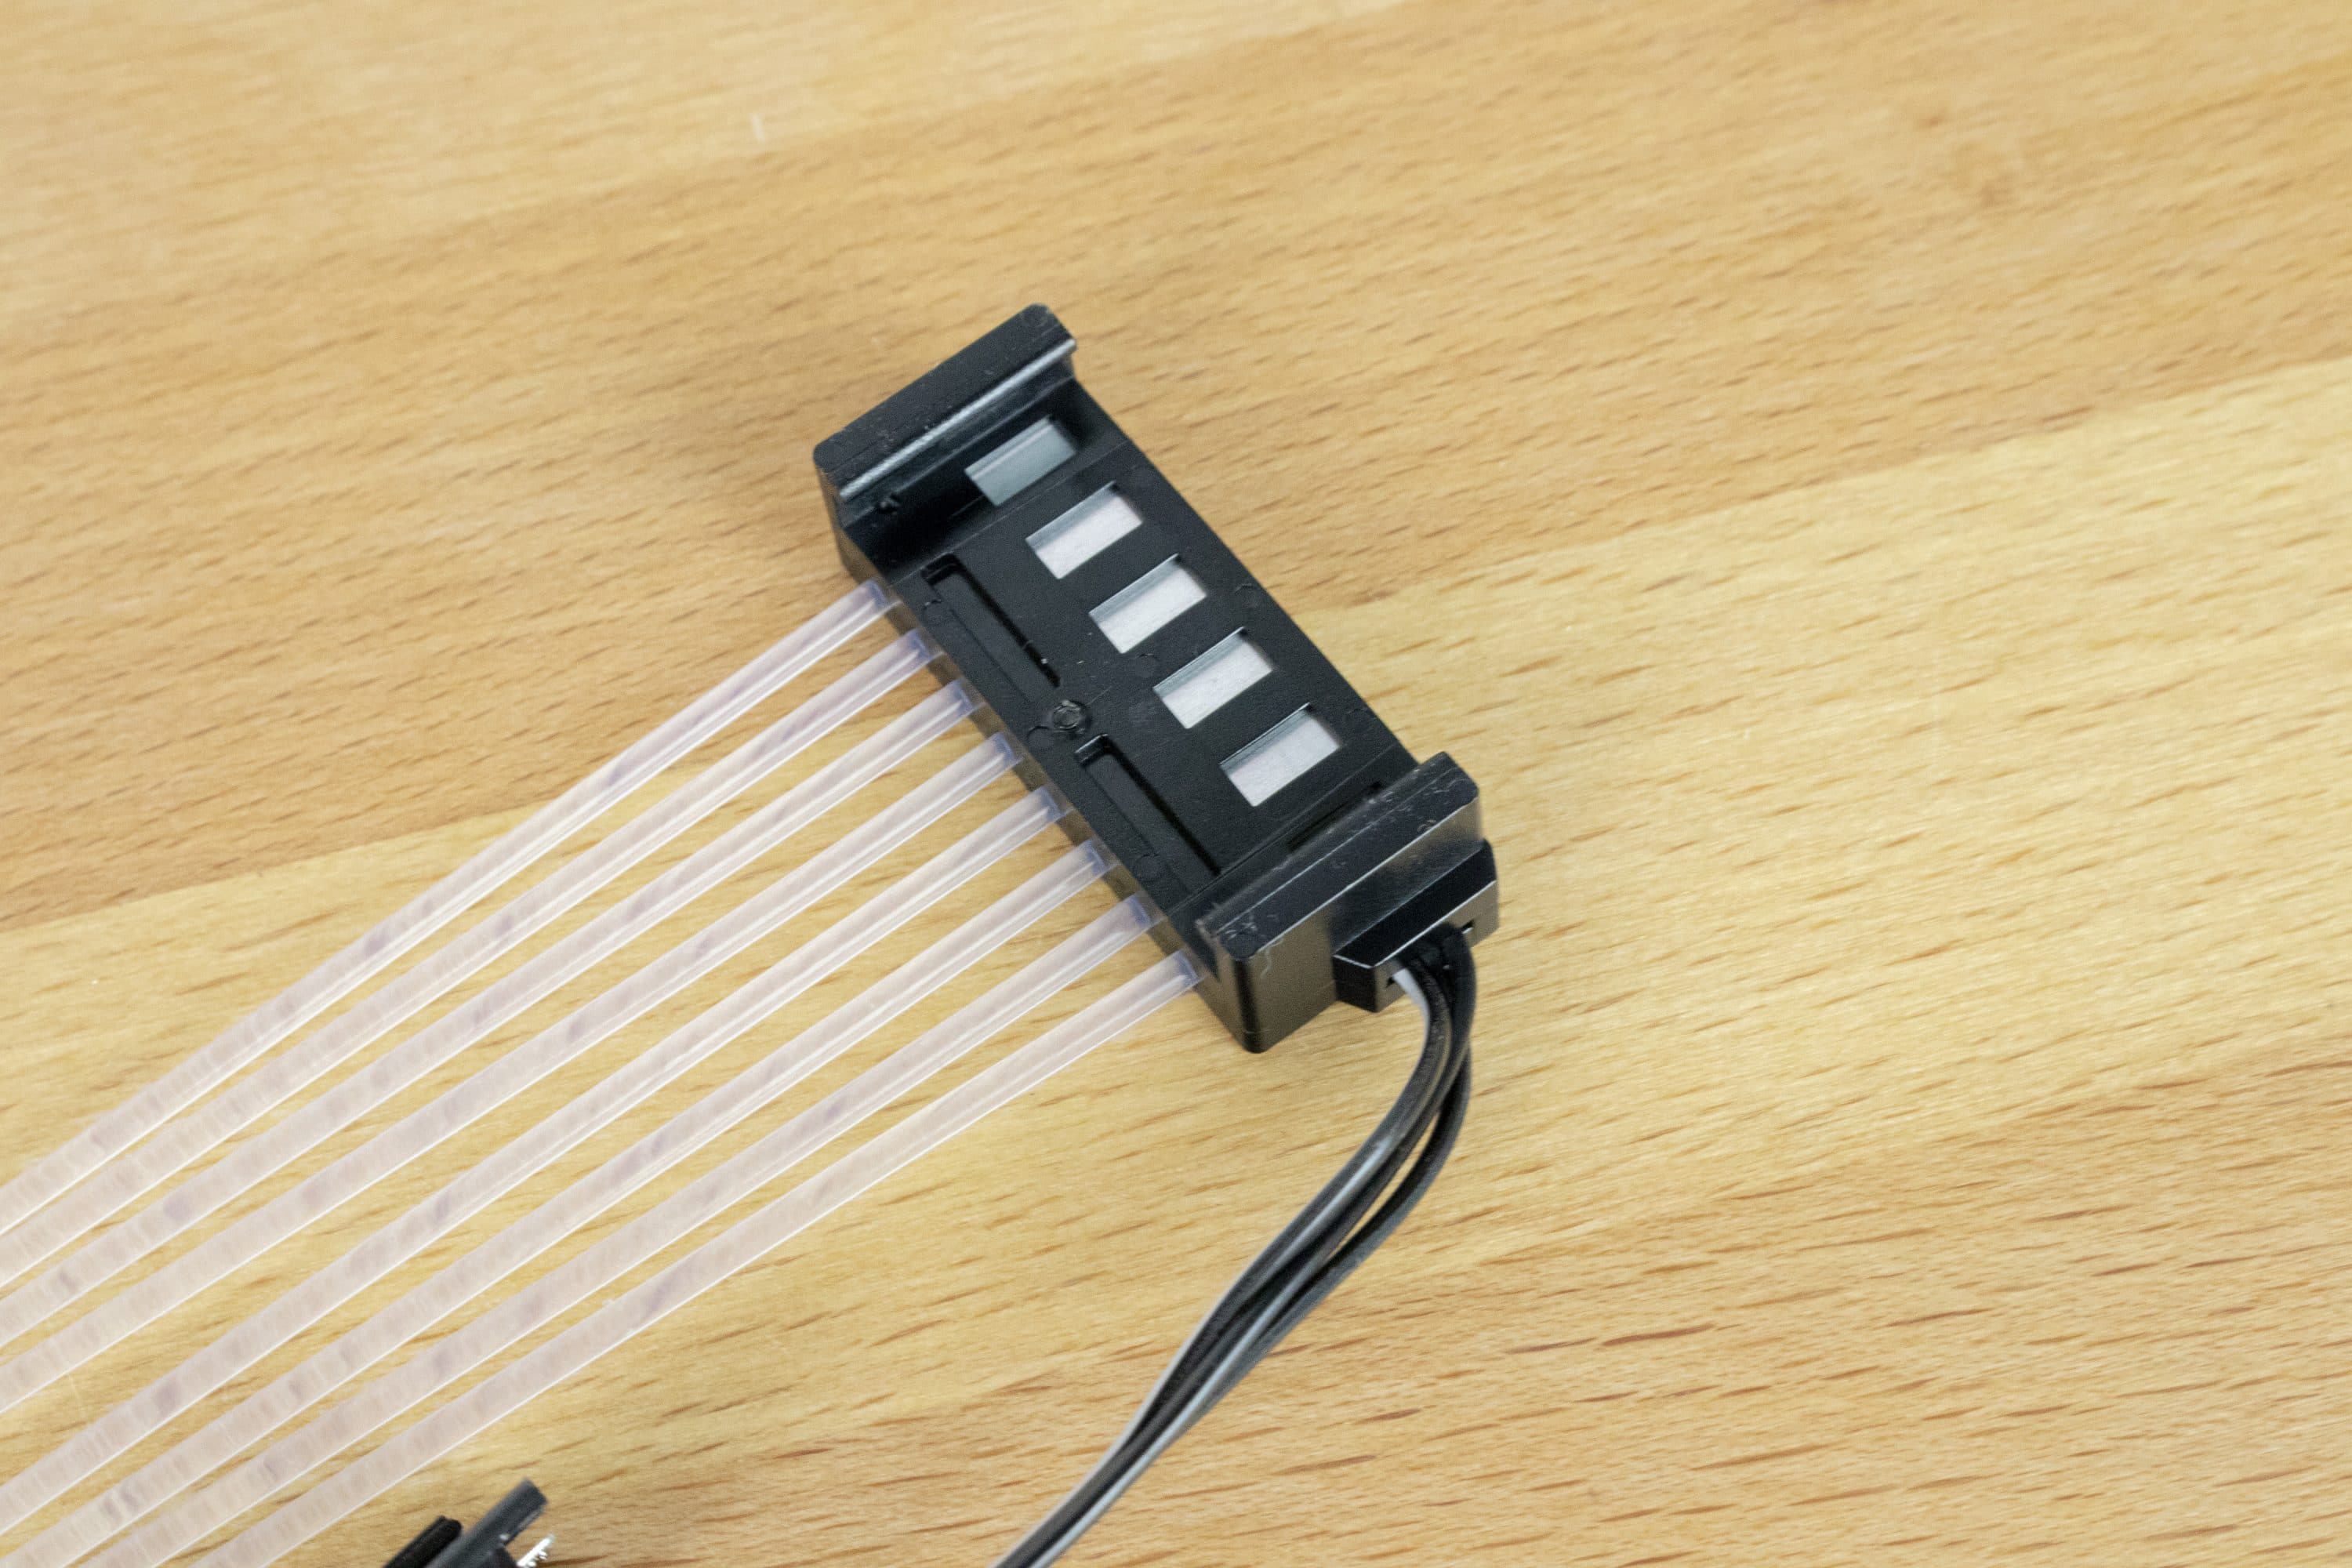
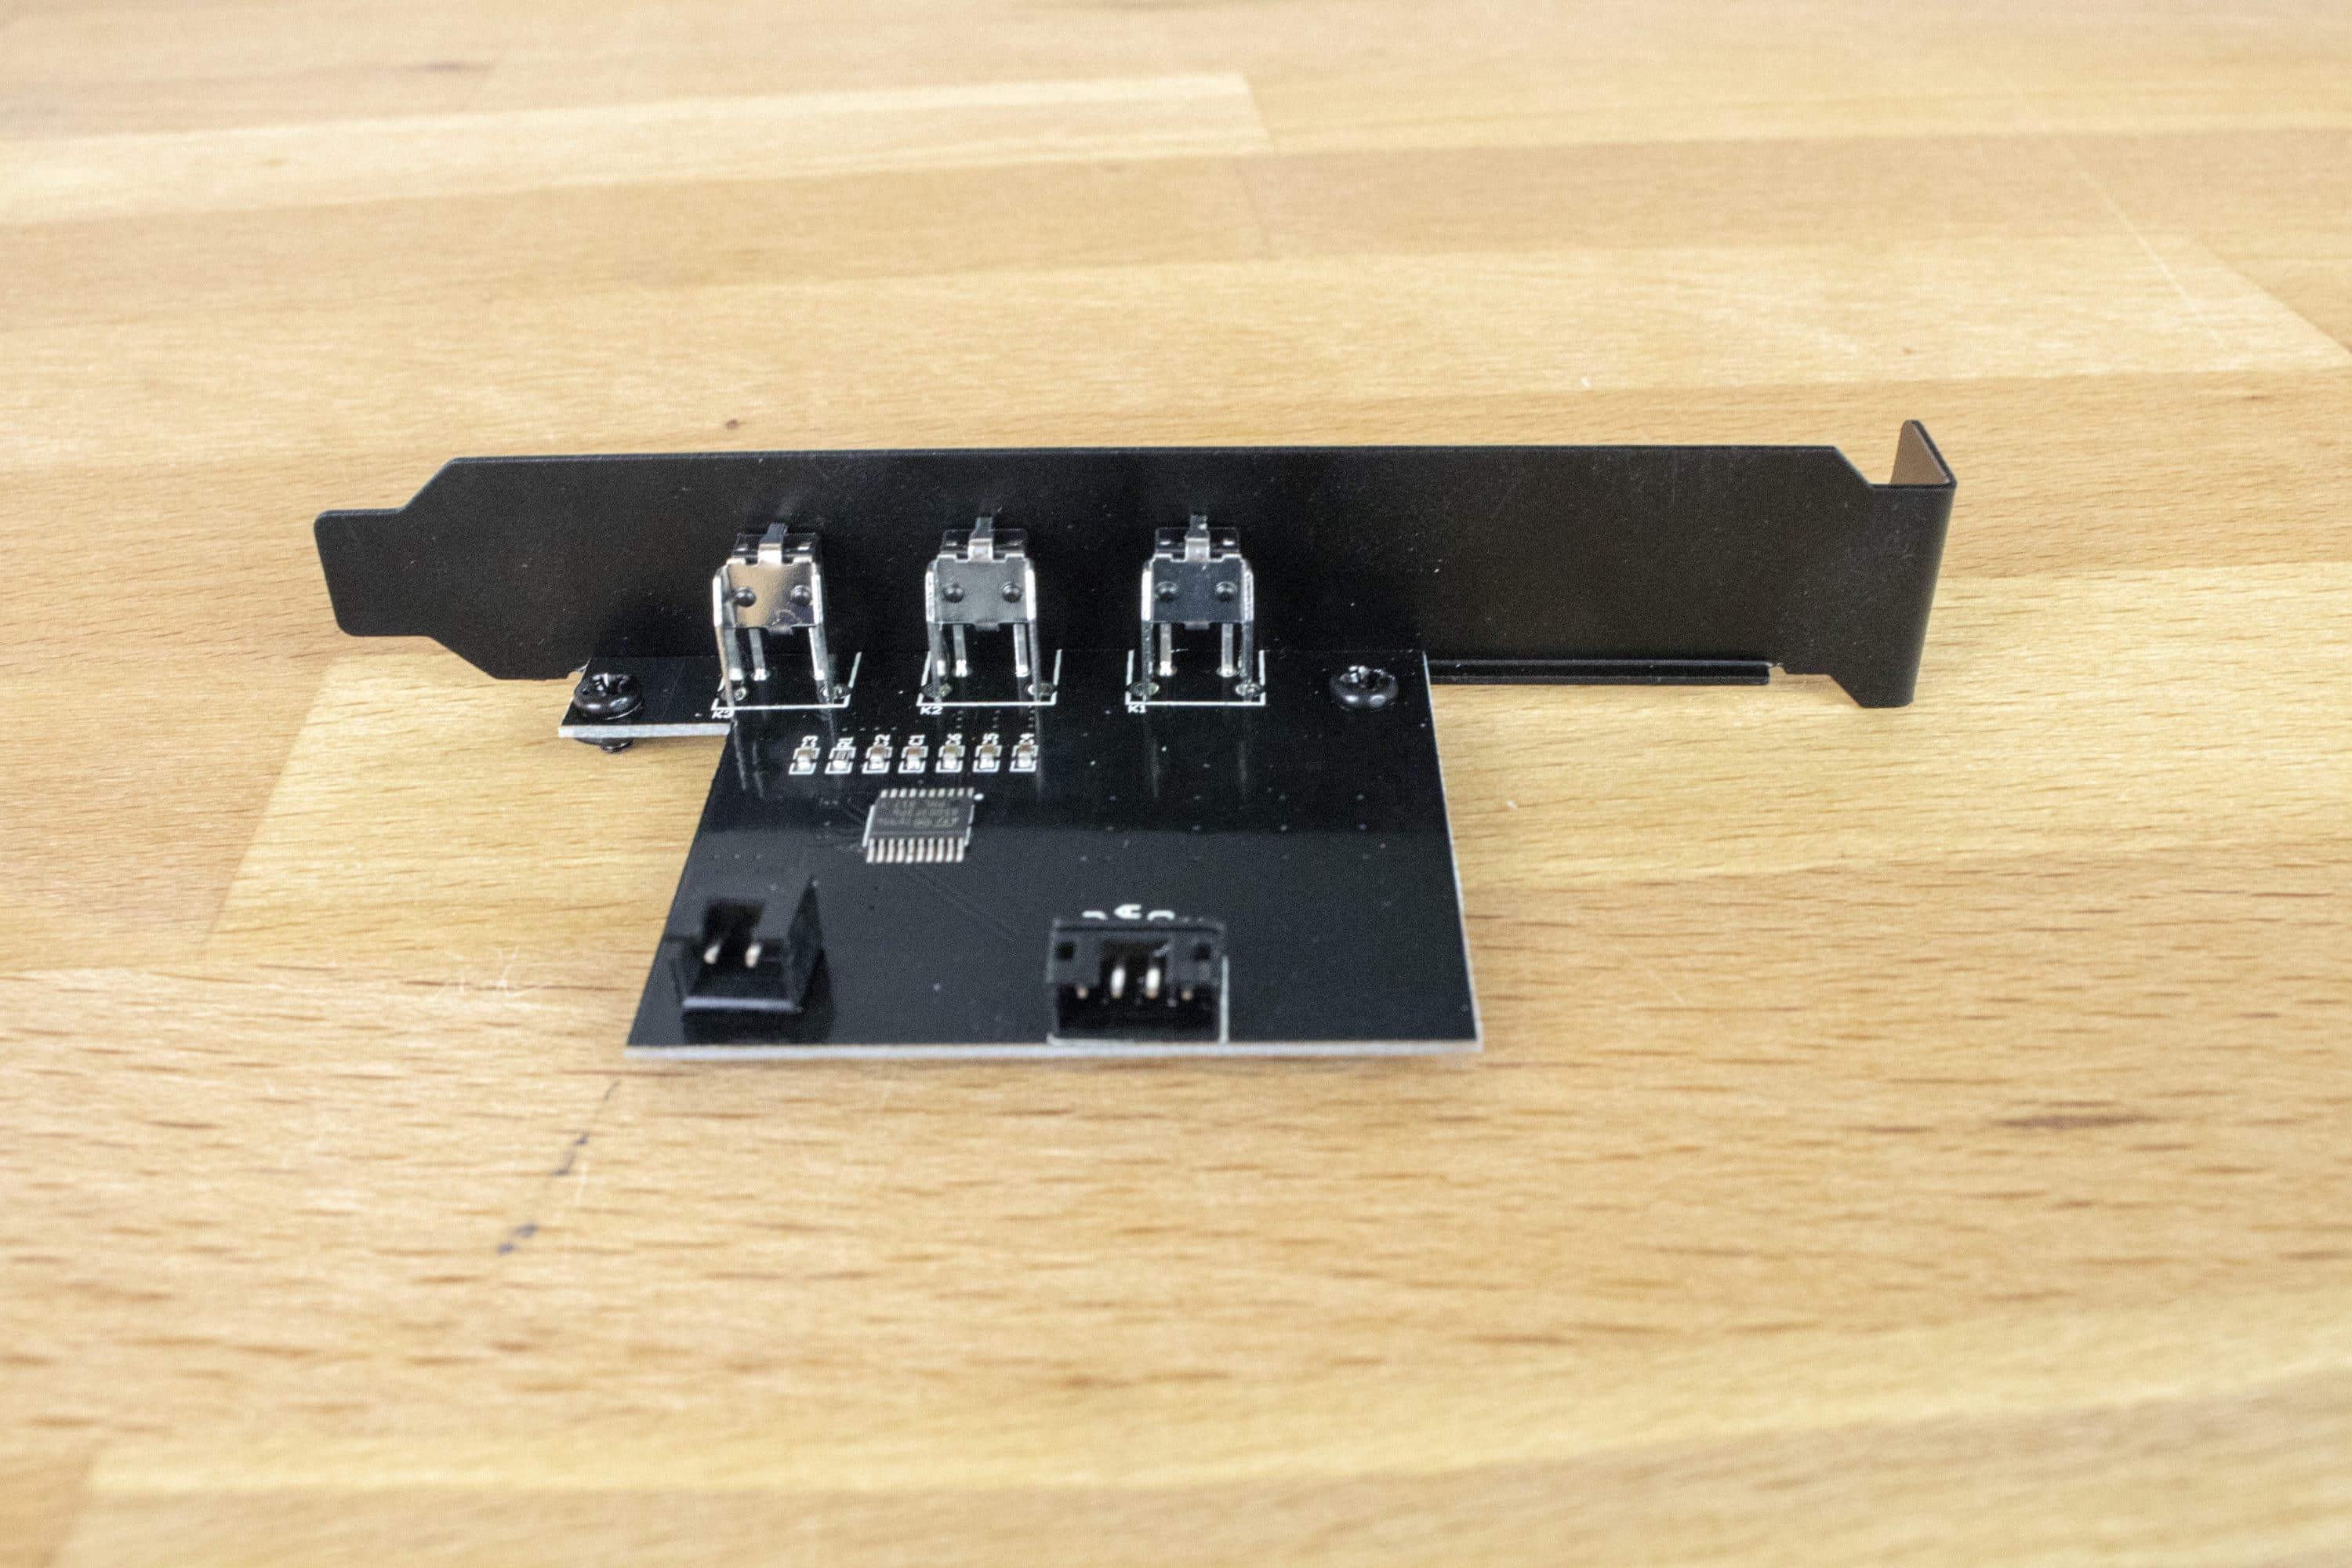
The cable can also be connected in two different ways. Besides the possibility to connect it directly to the mainboard and to control it via the software of the board, there is the option to control it via the board included in the scope of delivery, which is supplied with power via SATA plug and attached to the I/O panel intended for PCIe cards. Attention: No controller is included in the scope of delivery of the 8-pin cable. Here the possibilities are not given to decide freely about the control, thus differently than with the 24-pin cable.

No matter which option is selected: The described difficulties resulting from the low flexibility of the cable cannot be avoided. Once the cable is in the desired position, it should not be touched or moved if possible. In the worst case, the brackets move, causing the LED strips to come loose and have to be reattached.
However, with a lot of patience and some sure instinct, the assembly can be successful with sufficient space.
Function
As already mentioned, the strimer consists of two components. The cable itself does not glow – the colour comes from the LED strips mounted on the cable. The illusion of the glowing cable cannot be created in every case in the test. Depending on the installation and viewing angle, the white cable is clearly noticeable and reveals that it is not capable of lighting itself, but the lighting effects are still convincing. The LEDs radiate and fulfil their purpose. As already mentioned, the 24-pin version is controlled either via the software of the main board or via the enclosed board. In the latter case, it should be borne in mind that the board is attached to the back of the PC system, which makes the operation somewhat unpleasant. As already mentioned, the 8-pin version does not include a controller.

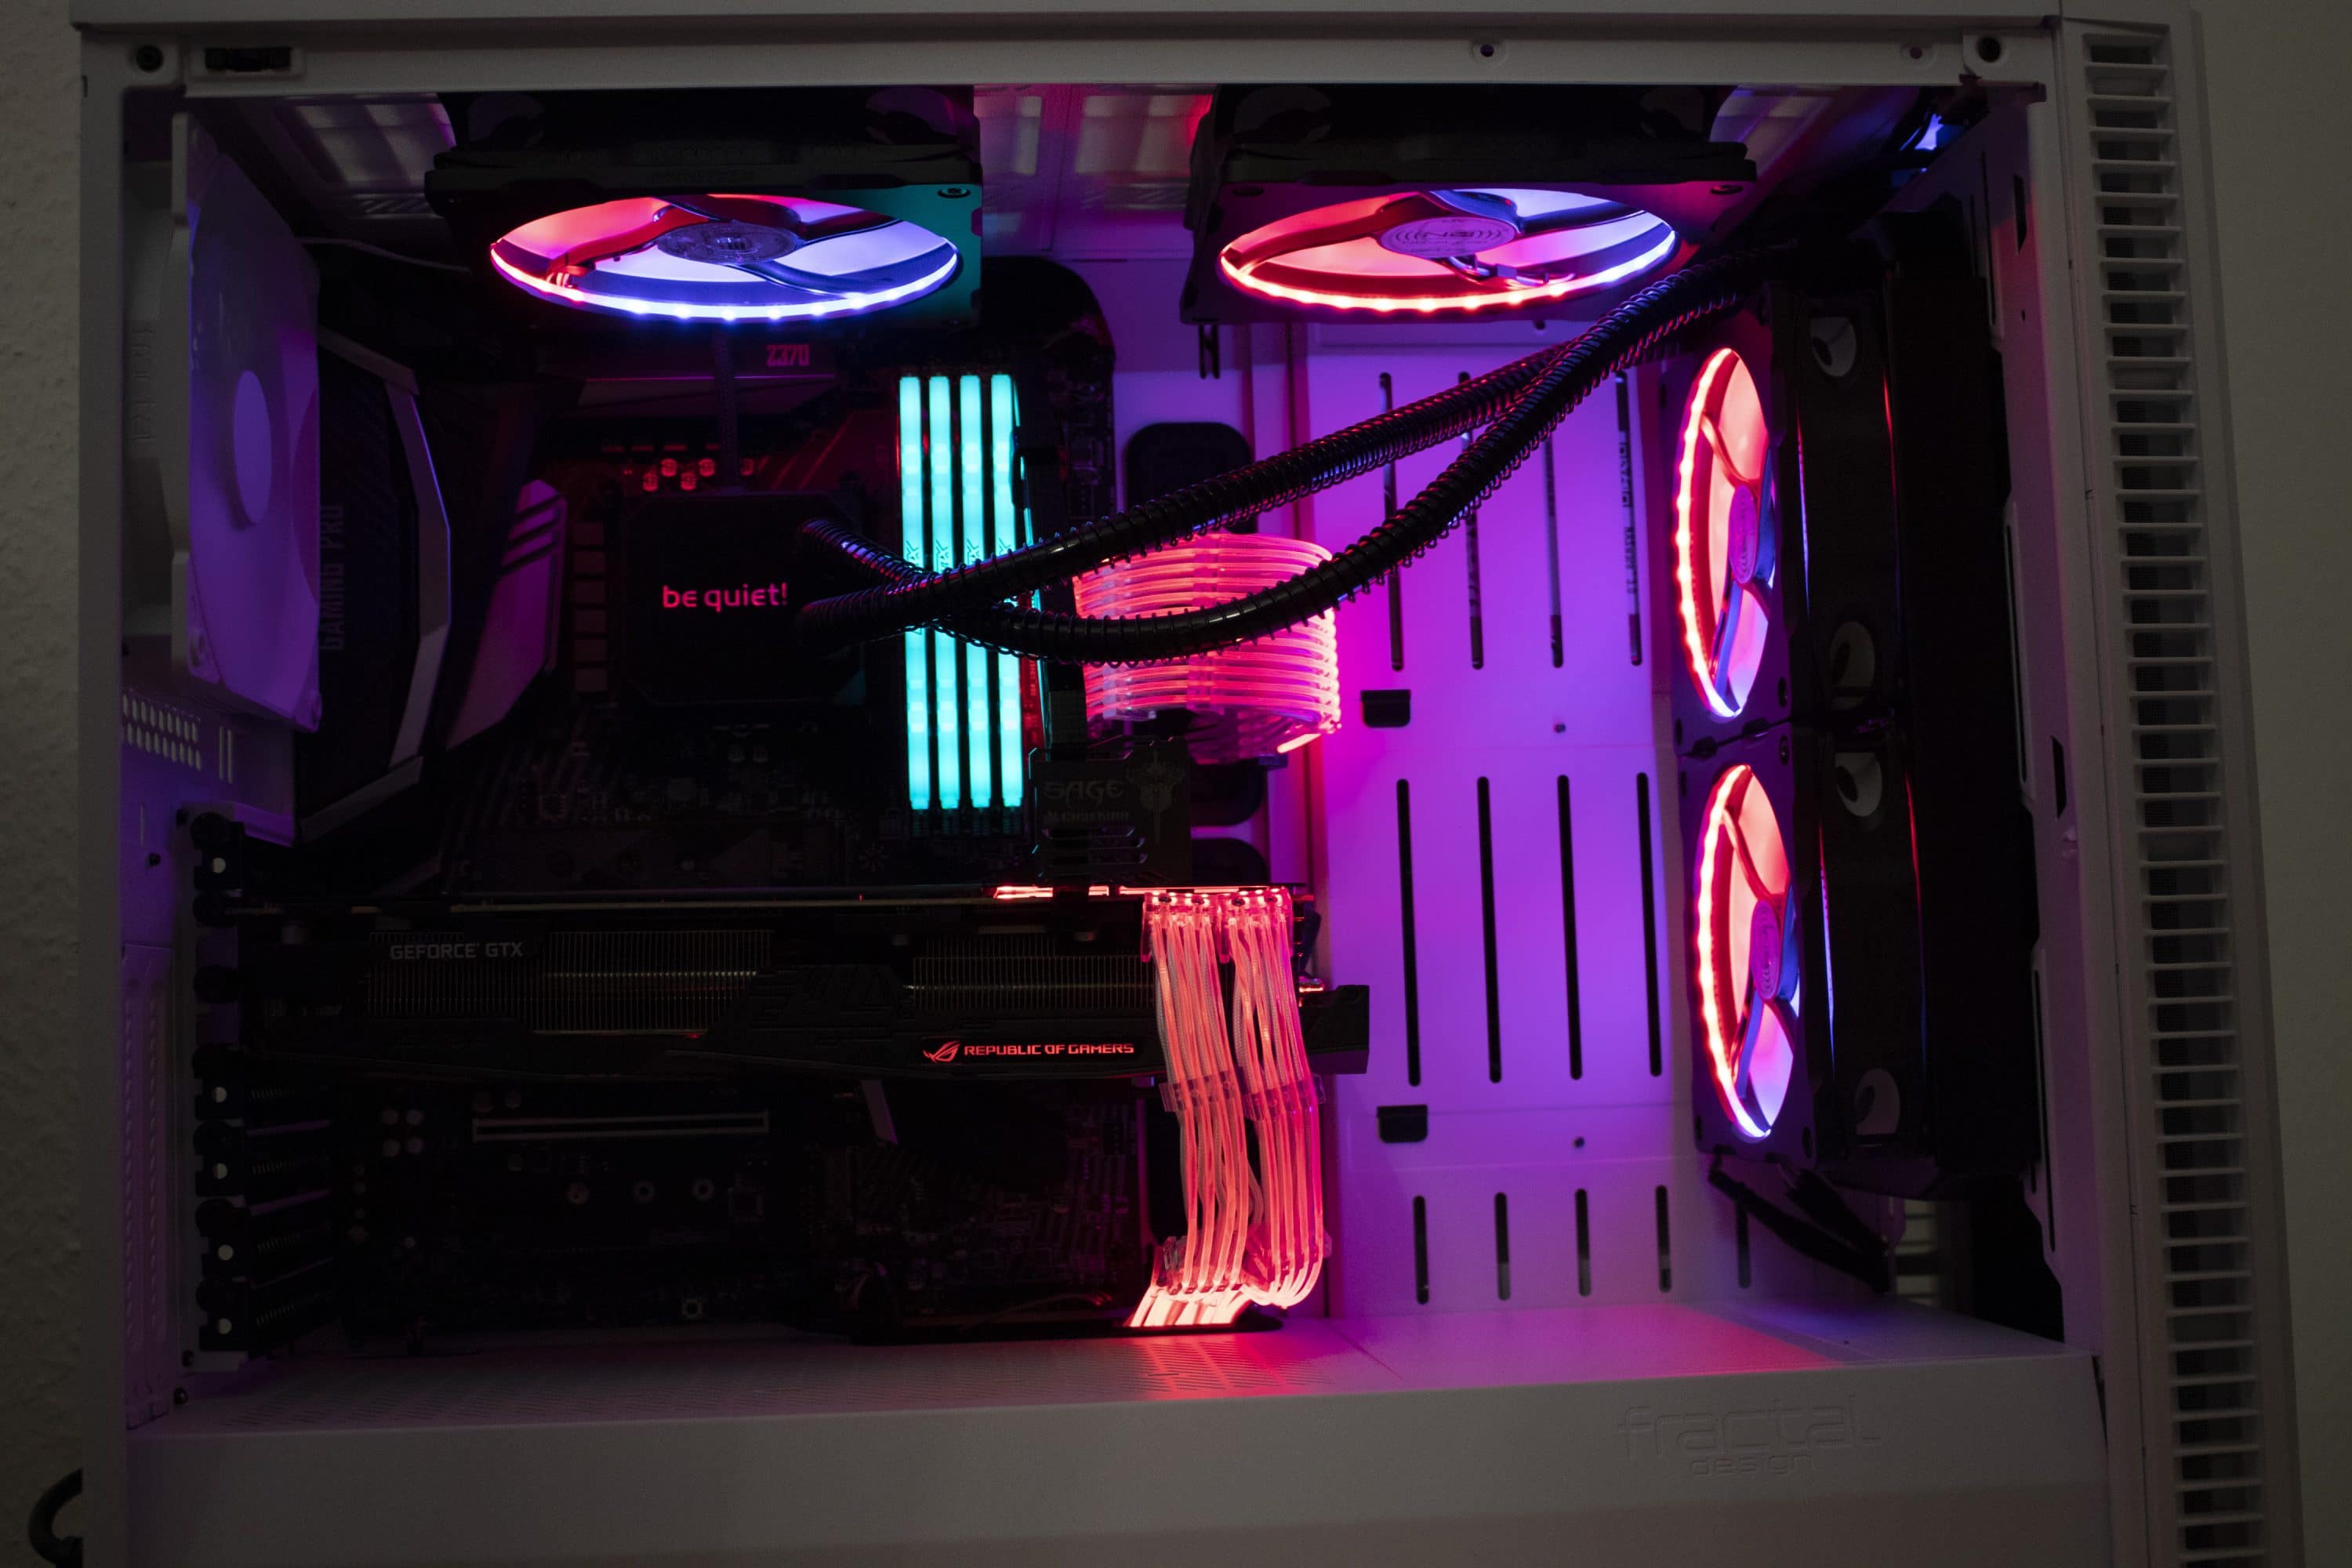
The lighting effects are manifold and convince us. In addition to rainbow colours, numerous other effects are available – from single fixed to alternating to individually defined colours – everything is possible.
In addition, many users are certainly interested in the possibility of combining several RGB components in a so-called daisy chain. This is not only possible with the two strimer cables – the 8-pin and the 24-pin version – but also with products from other manufacturers. For example, Phanteks products with digital RGB lighting are compatible with the two strimer cables. In addition to individual components such as the Halos Digital – or products from other manufacturers – housings equipped with RGB lighting can also be integrated into the daisy chain.


However, there is one important limitation to living with here: If the control is selected via the enclosed circuit board, only ten modes are available, which can be selected via three buttons. The entire range of possibilities is only available when the control is carried out with the software of the motherboard. The digitally addressable LEDs can be addressed individually via the 3-pin connector, which means that each cable harness can light up in a different colour.
Fulness
Ultimately, the strimer performs its task to full satisfaction in both the 24-pin and 8-pin versions. However, the installation is unexpectedly difficult and has some stumbling blocks. Before buying the cable, it is important to check whether there is enough space available. The strimer itself is not very flexible and therefore requires a generous amount of space. Also the operation is rather difficult and limited, if the enclosed control is used.
Overall, our assessment is positive with some limitations due to the overall impression.

Lian Li Strimer RGB connection cable
Workmanship
Installation
Lighting
Controlling
Value for Money
Recommended with restrictions.