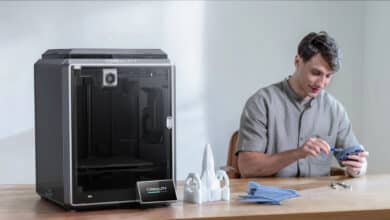
Anycubic – a brand that has become an integral part of the 3D printer and DIY market. Anycubic has been offering the Anycubic Kobra Neo for a fair price and easy handling for some time now. If the print quality is also right, this is a very good entry-level model for the scene. Find out how well the Anycubic Kobra Neo performs and what makes it special in the following test report.
Specifications
| Anycubic Kobra Neo | |
| Printer technology: | FDM |
| Dimensions installation space (L x W x H): | 220 x 220 x 250 mm |
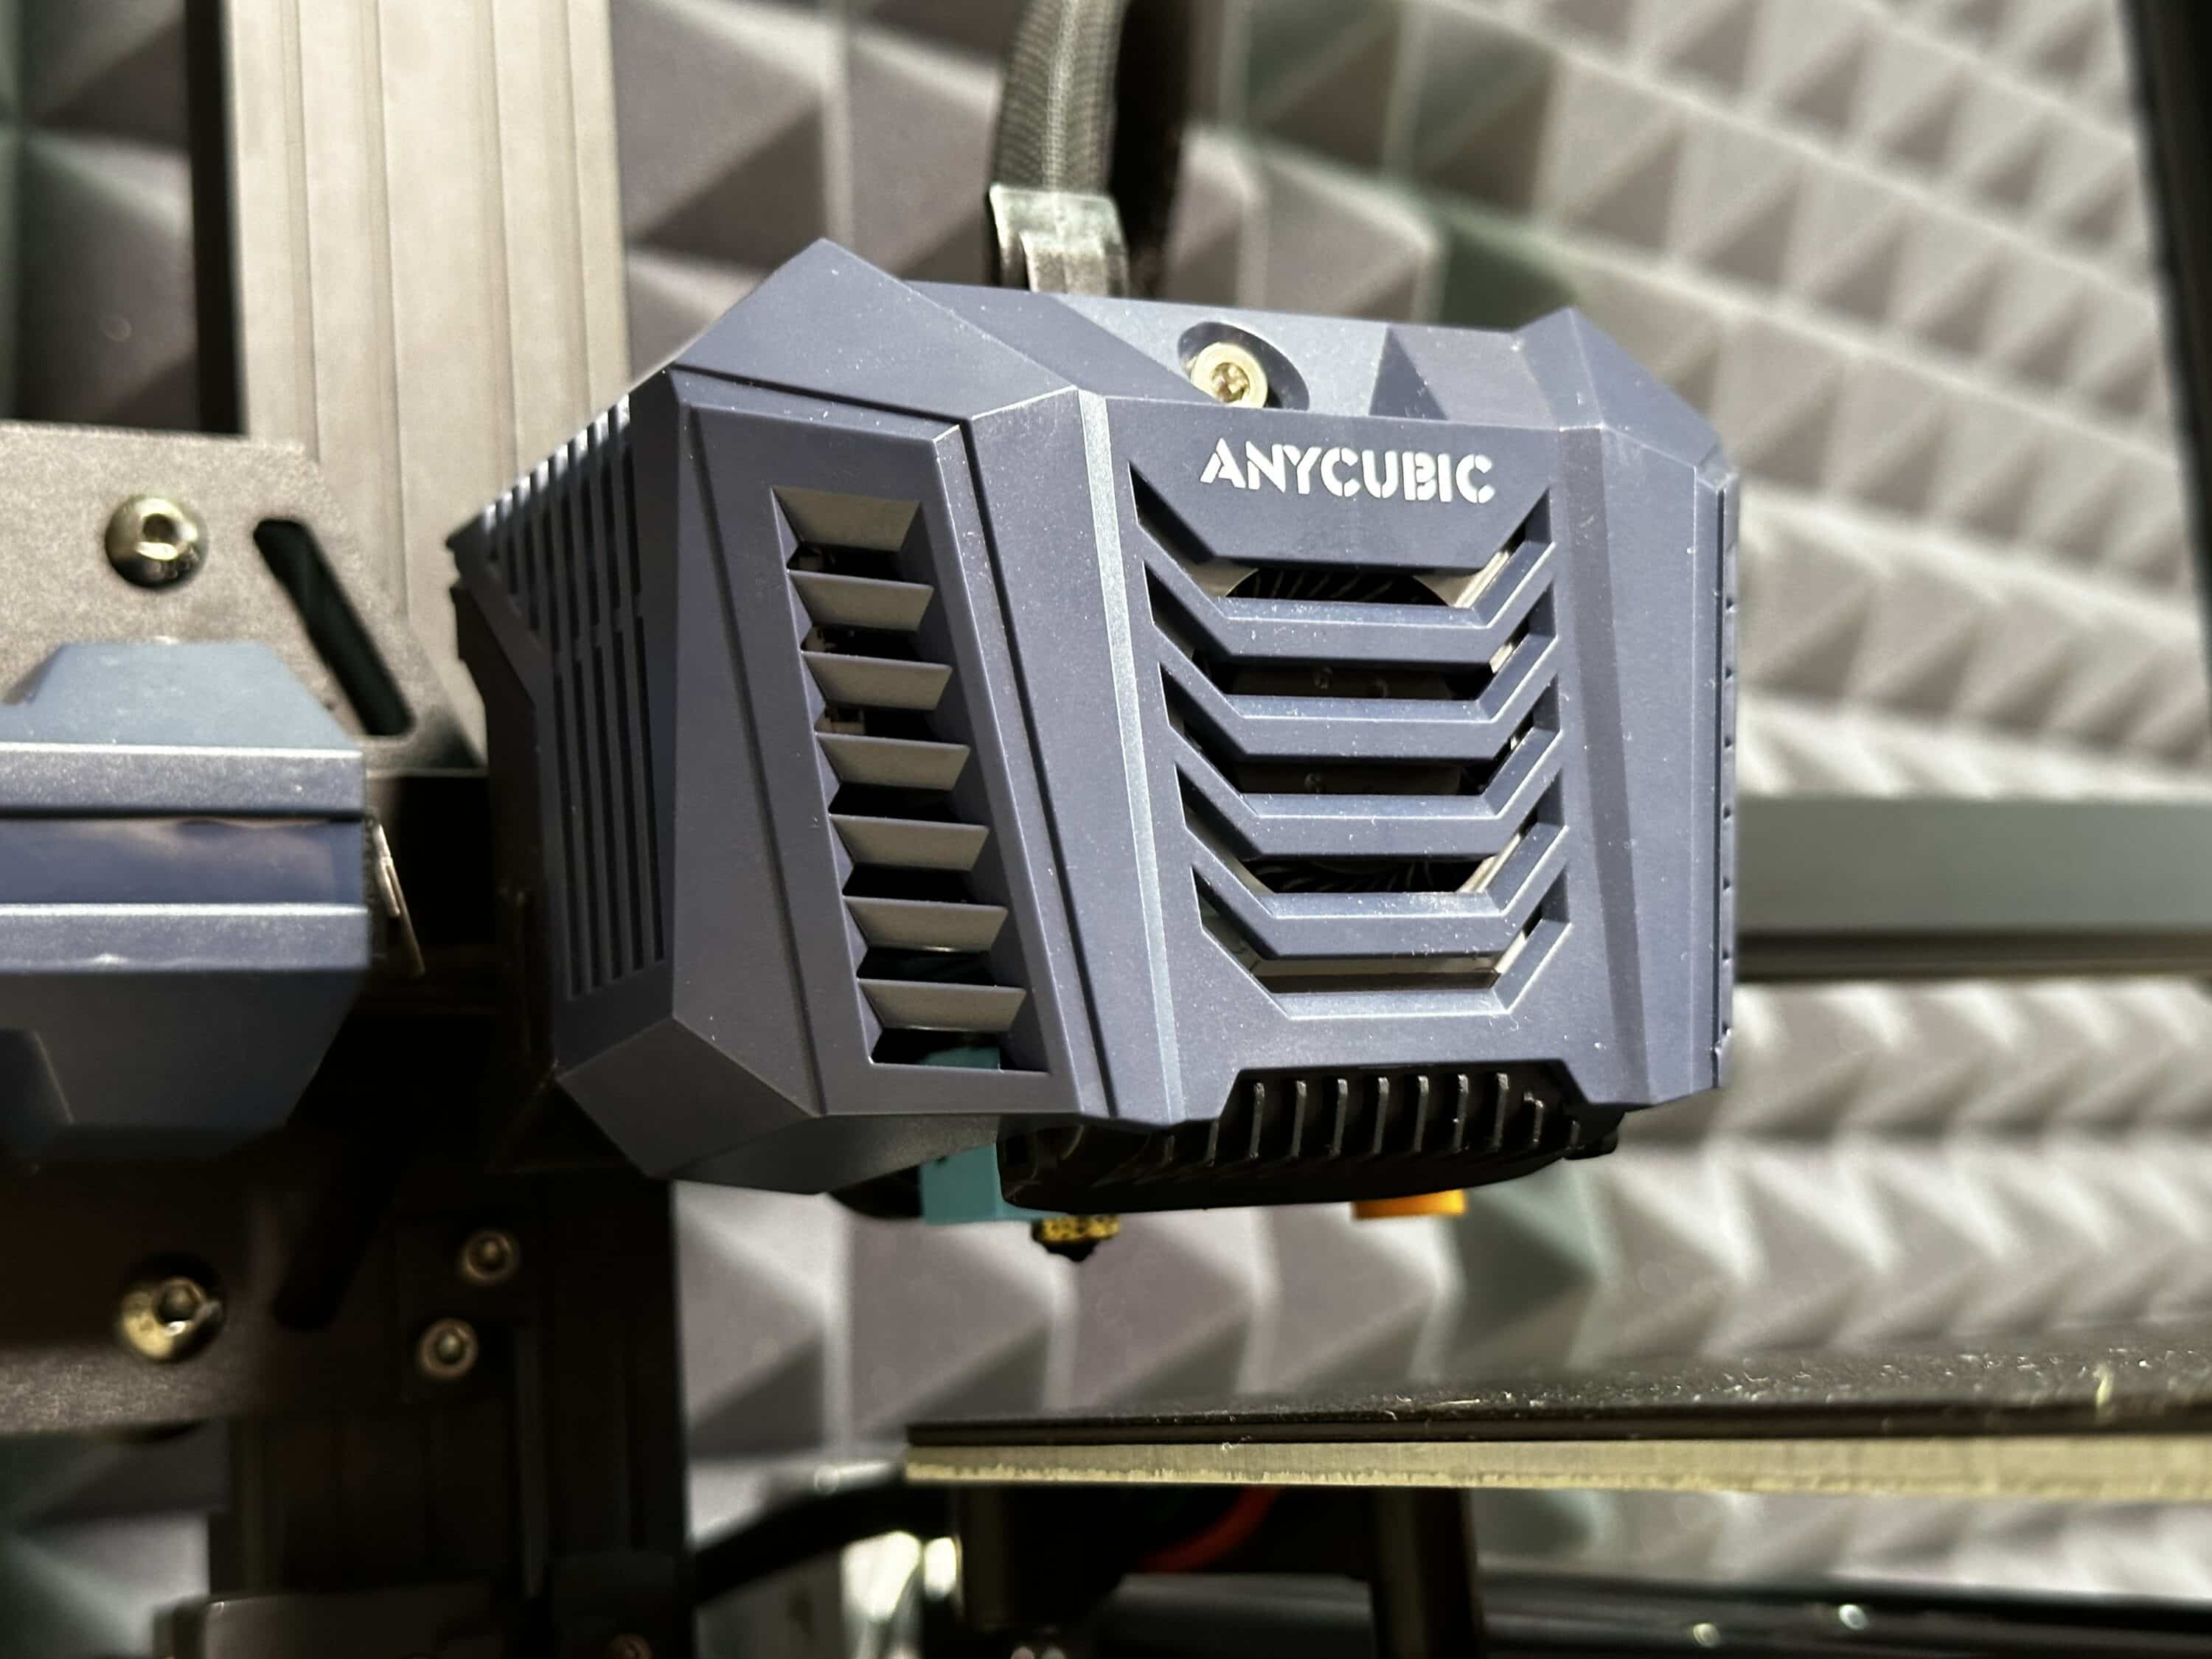
| Extruder: | Single, 0.4 mm |
| Maximum printing speed: | <100 mm/s |
| Supported filaments: | PLA/PETG/TPU/ABS |
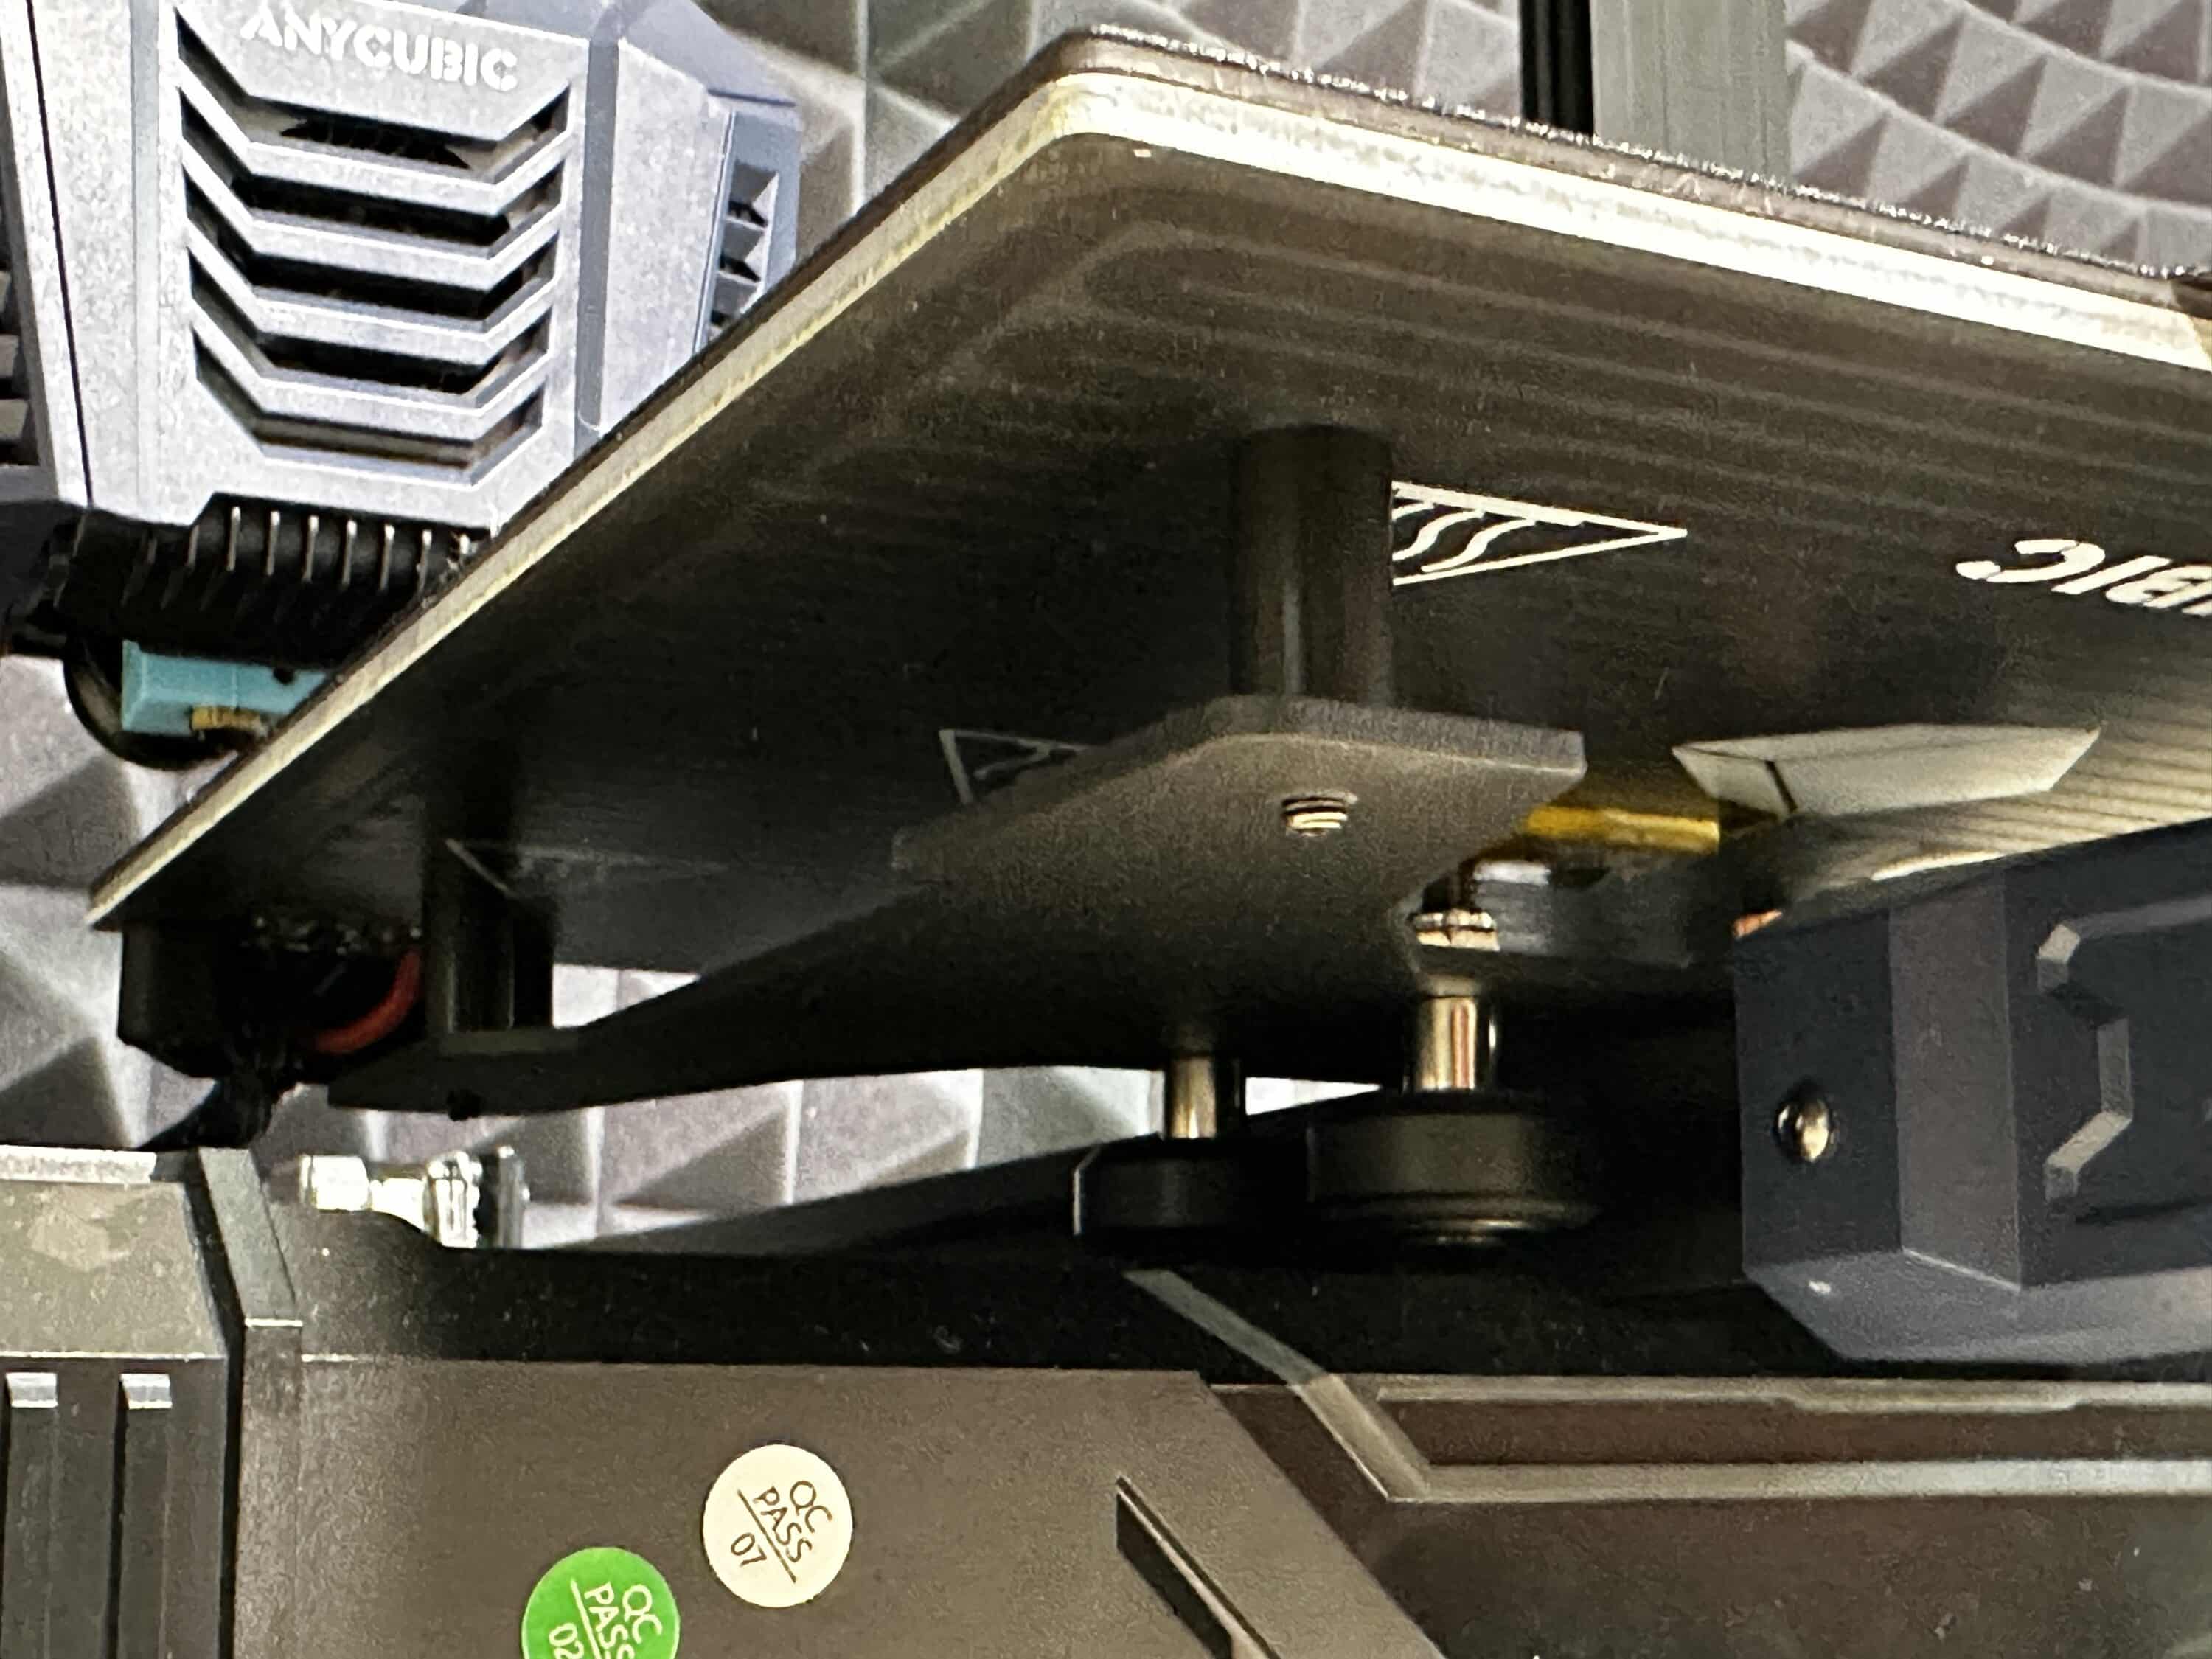
| Leveling: | Automatic (LeviQ 25 point process) |
| Nozzle material: | Brass |
| max. temperature Nozzle: | 260 °C |
| max. temperature heating bed: | 110 °C |
| Slicing software: | Cura ; Output format: GCode |
| Compatible input formats: | STL, OBJ, AMF |
| Connections: | SD card, USB-B cable |
| Dimensions – Total (H x W x L): | 445 x 443 x 490 mm |
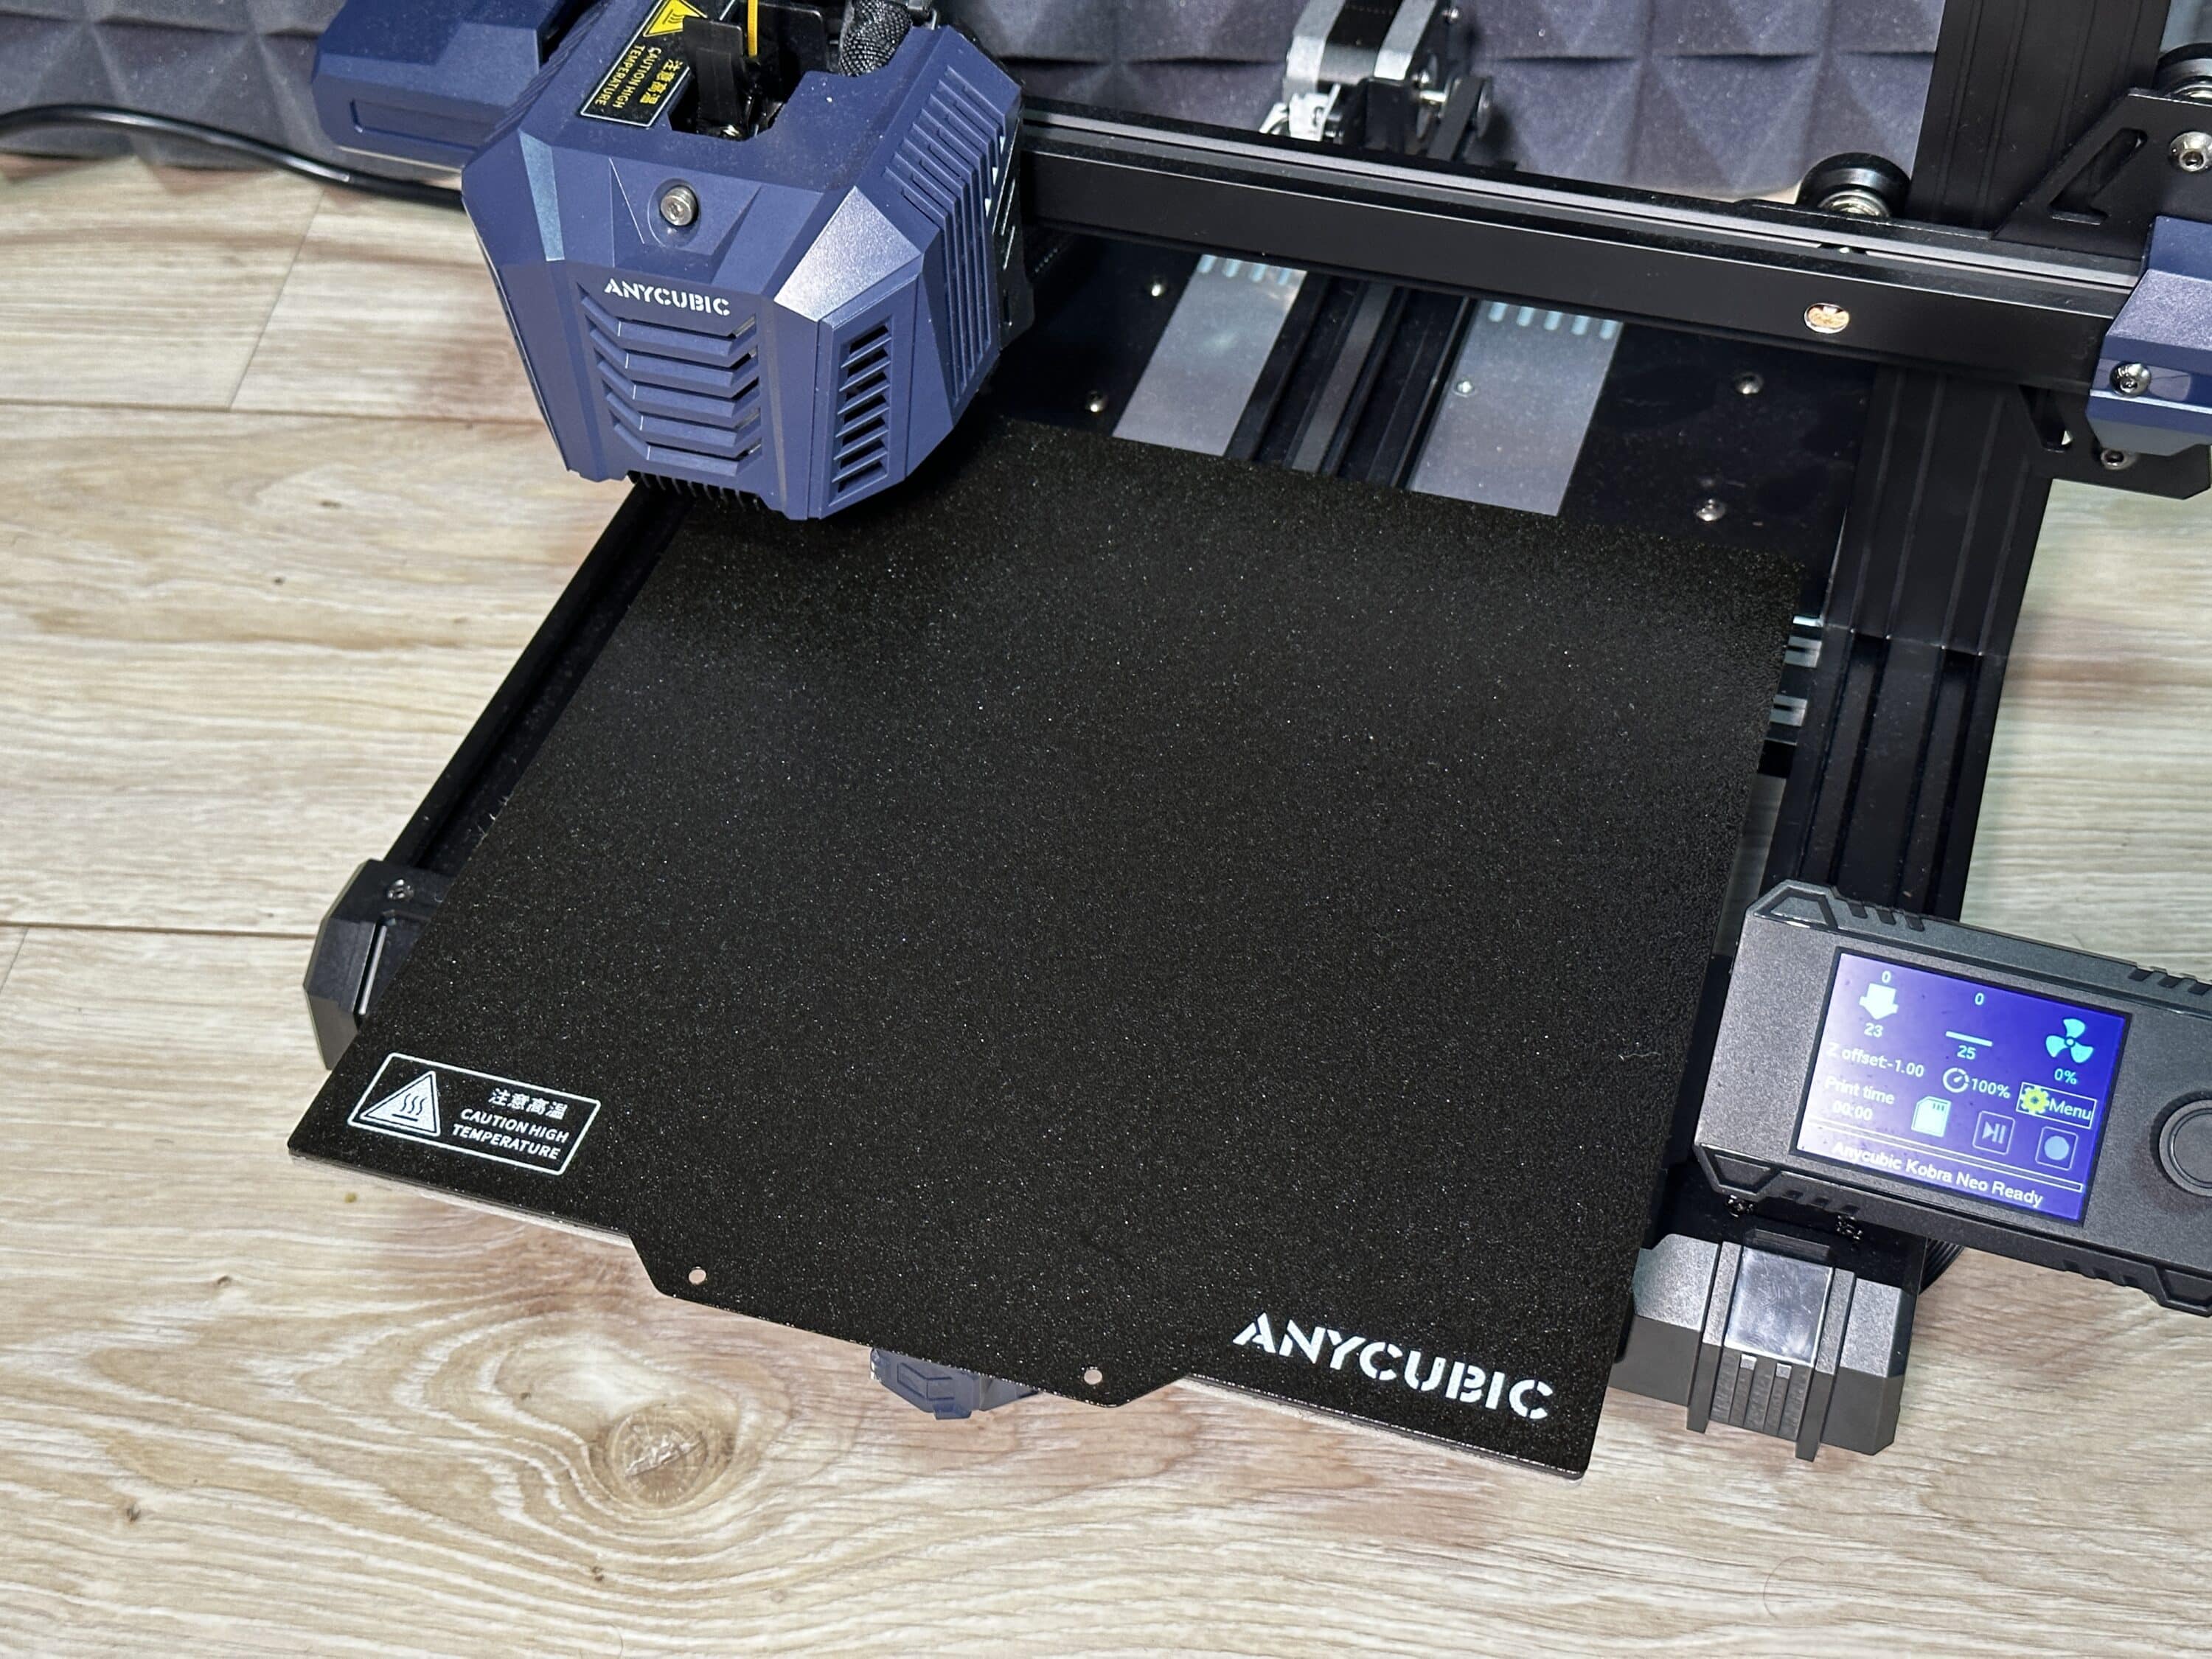
| Special features: | Auto-Leveling LeviQ (25 points), 2.4″ LCD Screen & Control Knob, Filament holder, Double-sided PEI-coated spring steel platform |
| Price: | € 197.02* |


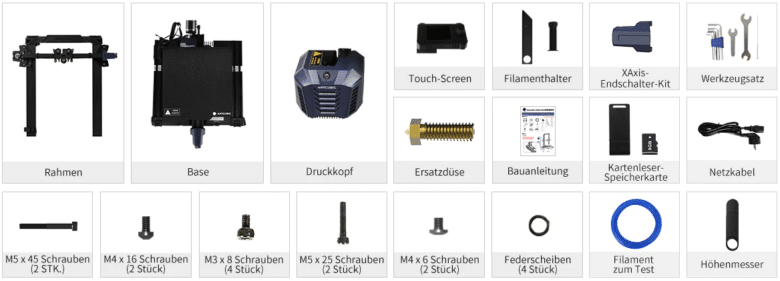
Scope of delivery
The Anycubic Kobra Neo is delivered carefully packaged and contains everything you need to get started. This includes the 3D printer itself, an illustrated instruction manual, a power supply unit, a USB adapter with an 8 GB mSD card, a filament roll with holder, a USB-A cable and a small selection of maintenance and adjustment tools.
Assembly
Assembling the Anycubic Kobra Neo is easy thanks to the well-structured instructions. Most parts are pre-assembled, which makes assembly easier and significantly faster. The upper frame is screwed to the lower frame, the LCD display is clamped in at the side and finally only the plugs of the individual axis cables need to be connected. In less than half an hour, the printer is assembled and ready for the first printouts. The tools supplied are sufficient to make all the necessary settings.
First impression
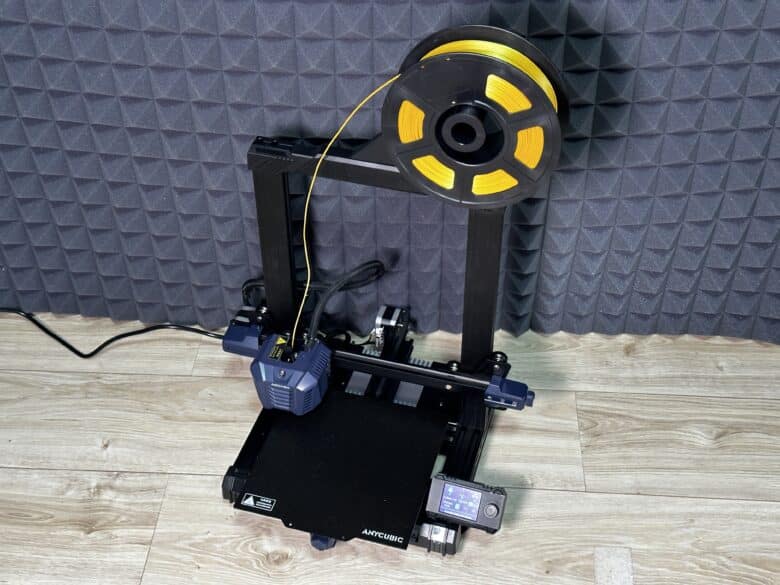
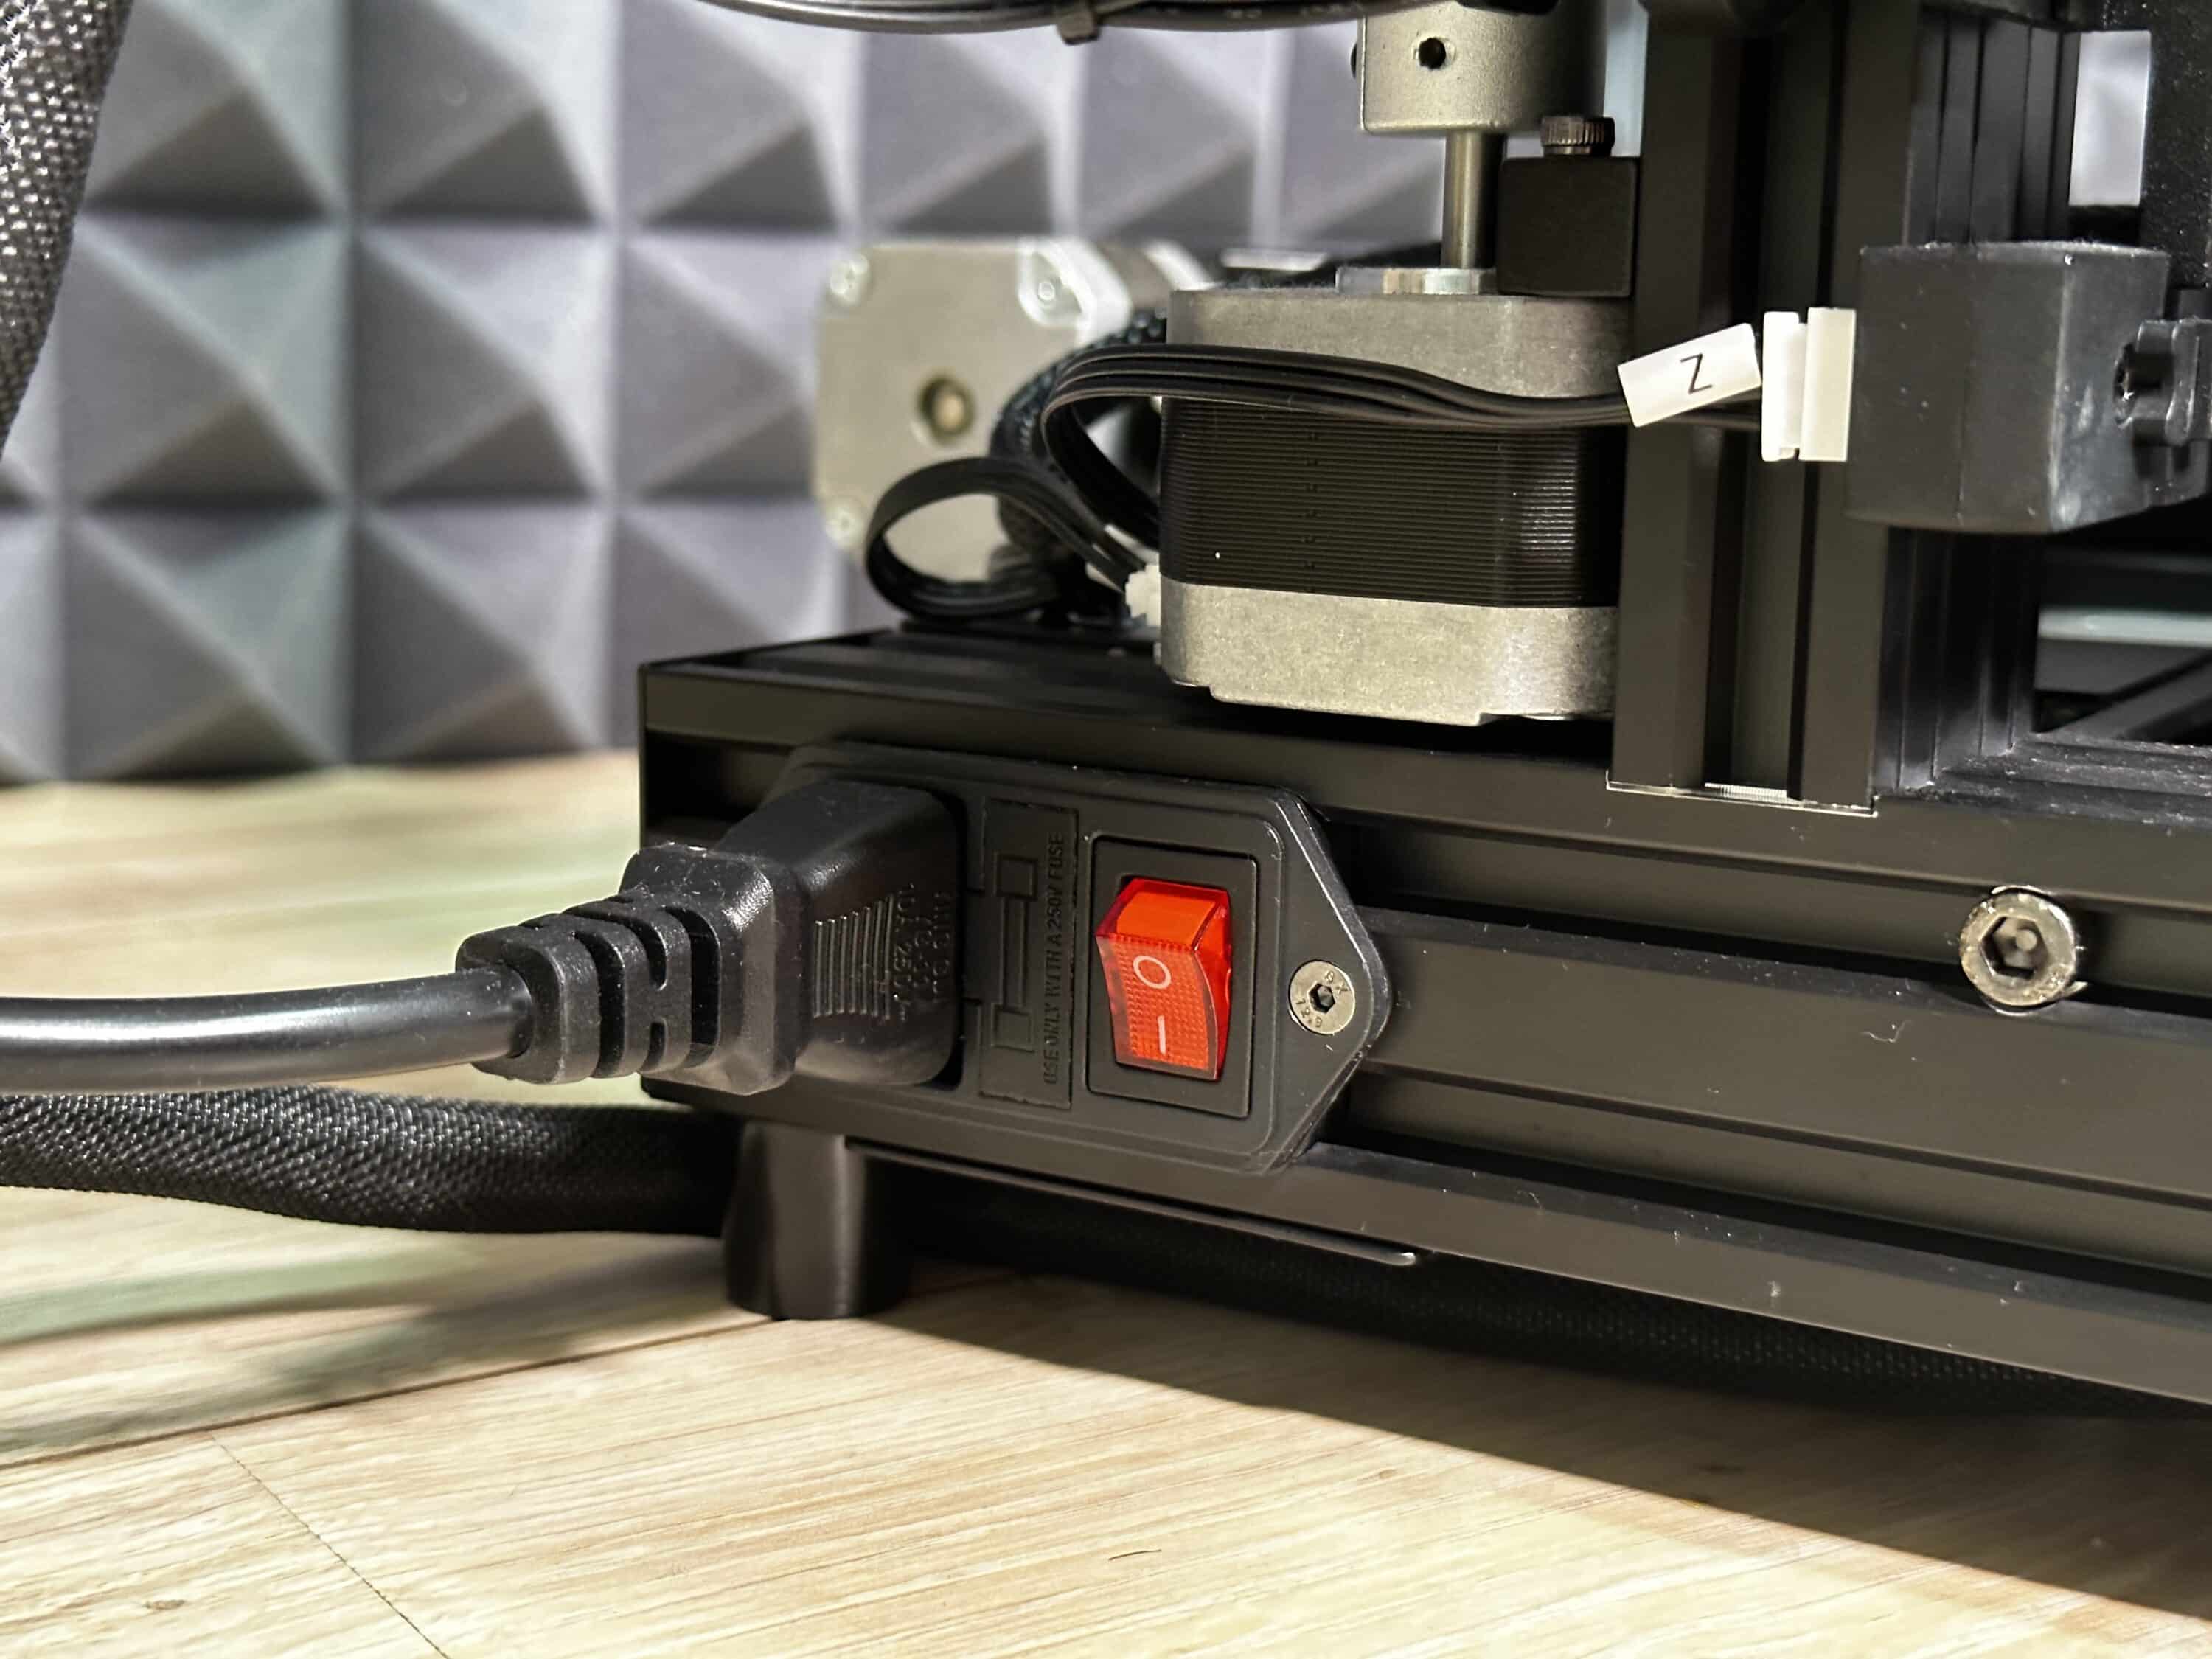
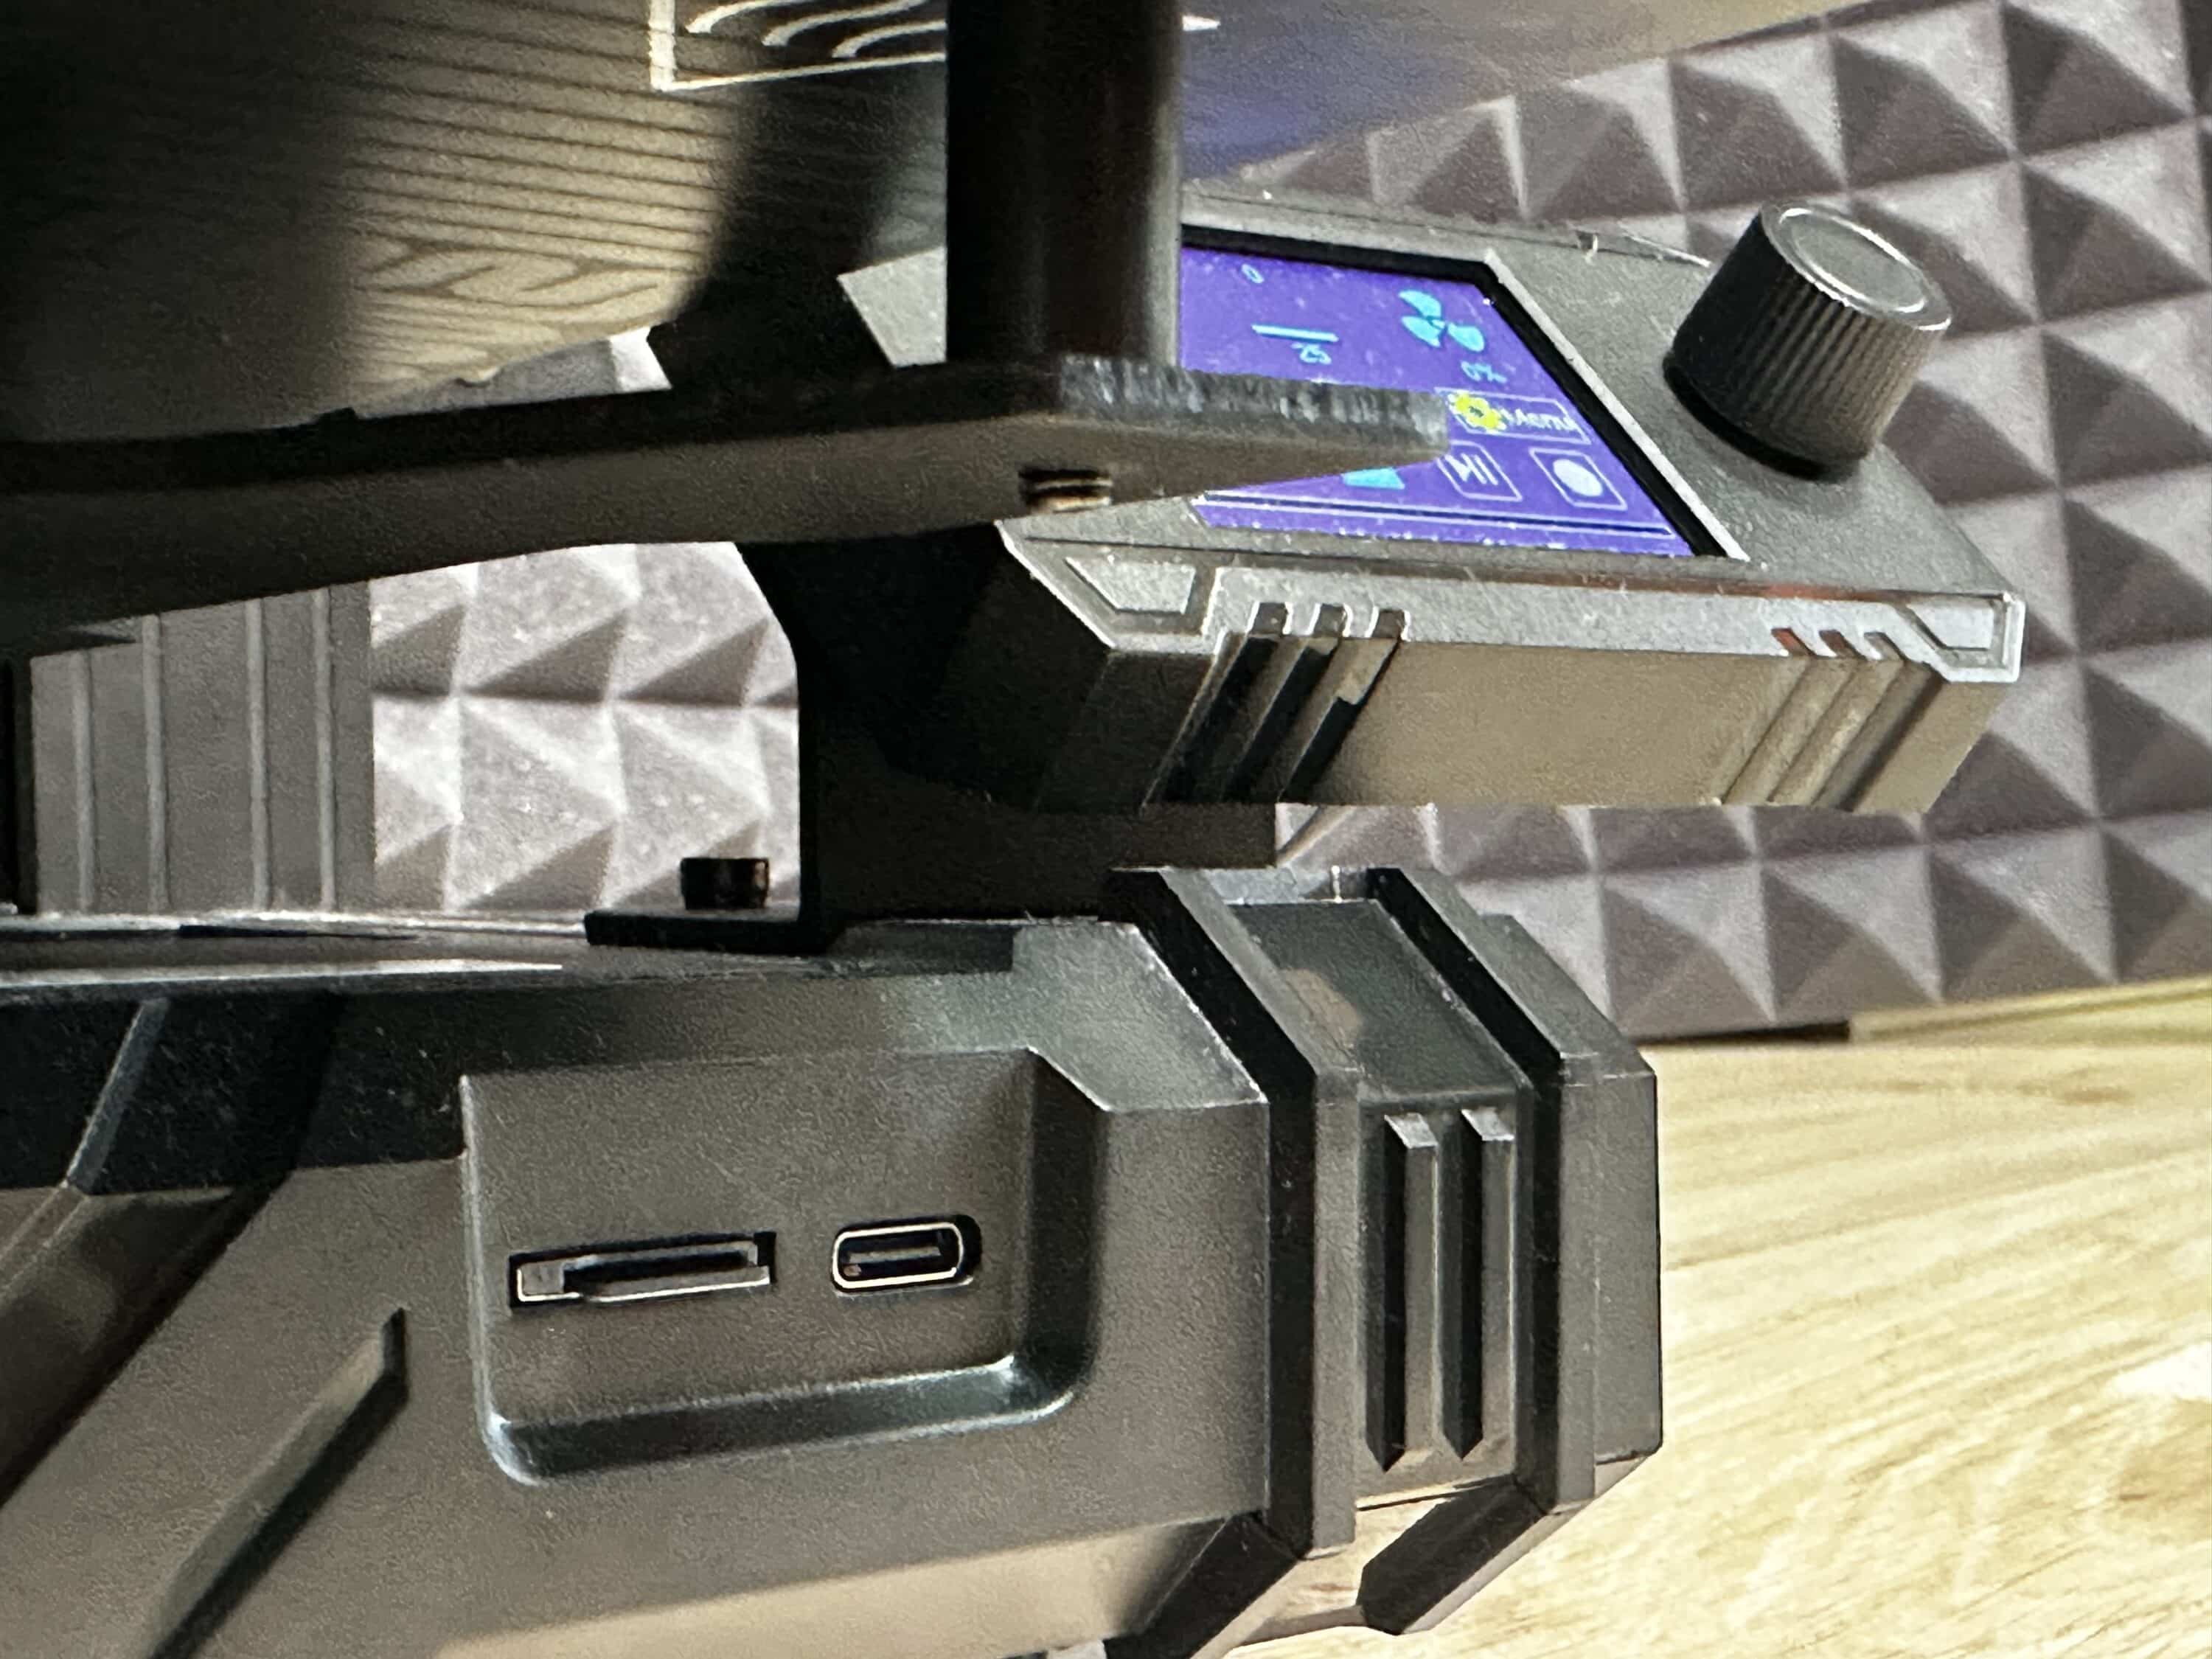
After successful assembly, the Anycubic Kobra Neo makes a robust and high-quality impression. The sturdy metal frame gives the printer a solid base, while the modern design and well-placed touchscreen round off the overall picture. The printer fits seamlessly into any working environment and looks similar to its predecessor models from Anycubic. Another striking feature is the PIE coating on the printing plate, which has a very high-quality finish.

The filament holder is also well thought out. It sits firmly and without play on the frame, ensuring a smooth material feed during the entire printing process. The filament is fed vertically into the extruder. I find the retaining clip a little awkward to open here.
Print profile
Anycubic delivers the Kobra Neo with a USB adapter and an 8 GB mSD card. On this card there is a manual, which is available in English and Chinese. Here you will find the necessary information to configure the printer as a slicer. The mSD card also contains a test file for the first printout, which we will print out in the next chapter. But first something about the printer profile:
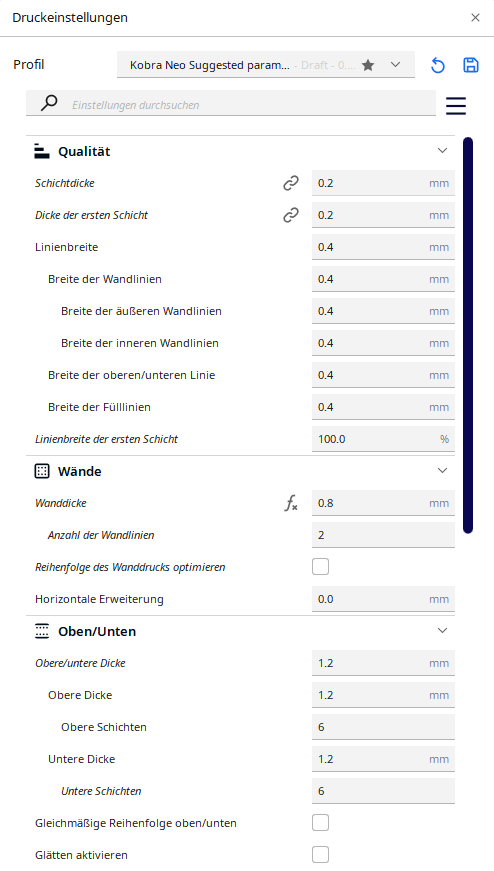
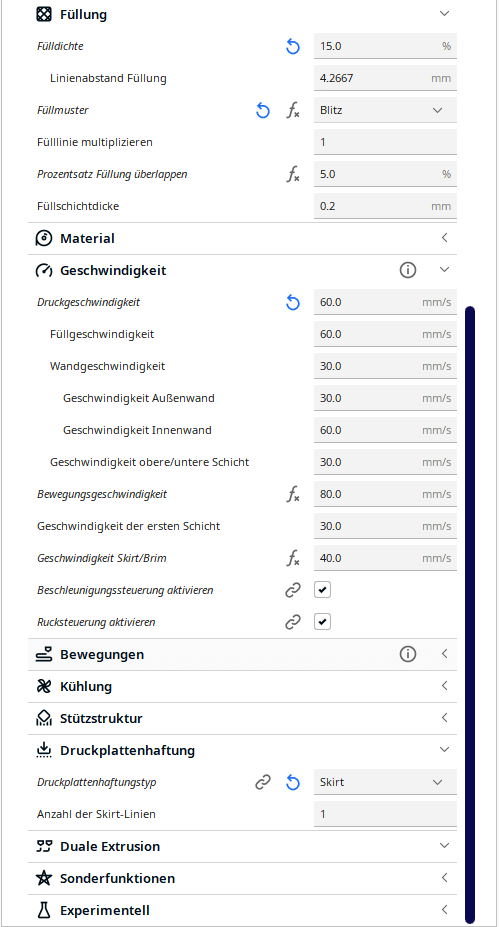
Kobra Neomit is supplied with a standard nozzle of 0.4 mm. Anycubic therefore recommends a layer thickness of 0.2 mm for PLA and a thickness of 0.3 mm for the first layer. Three wall lines with a thickness of 1.2 mm are used for the first print of the test file.
Practical experience
The printer must be calibrated before the first print. There is an automatic calibration option called “LeviQ” in the Prepare menu. The process begins with heating up the nozzle and the print bed, followed by moving the print head to a total of 25 points on the printing plate. At each point, the printing plate is automatically adjusted. This process takes about 5 minutes and saves the user time-consuming manual calibrations. During this step, the remarkably low noise level of the 3D printer is noticeable, as the fans work quietly and the movements are barely audible, if at all. Once calibration is complete, the first print can be started immediately.
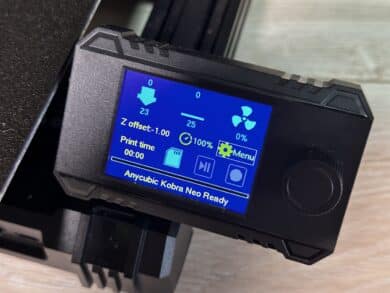
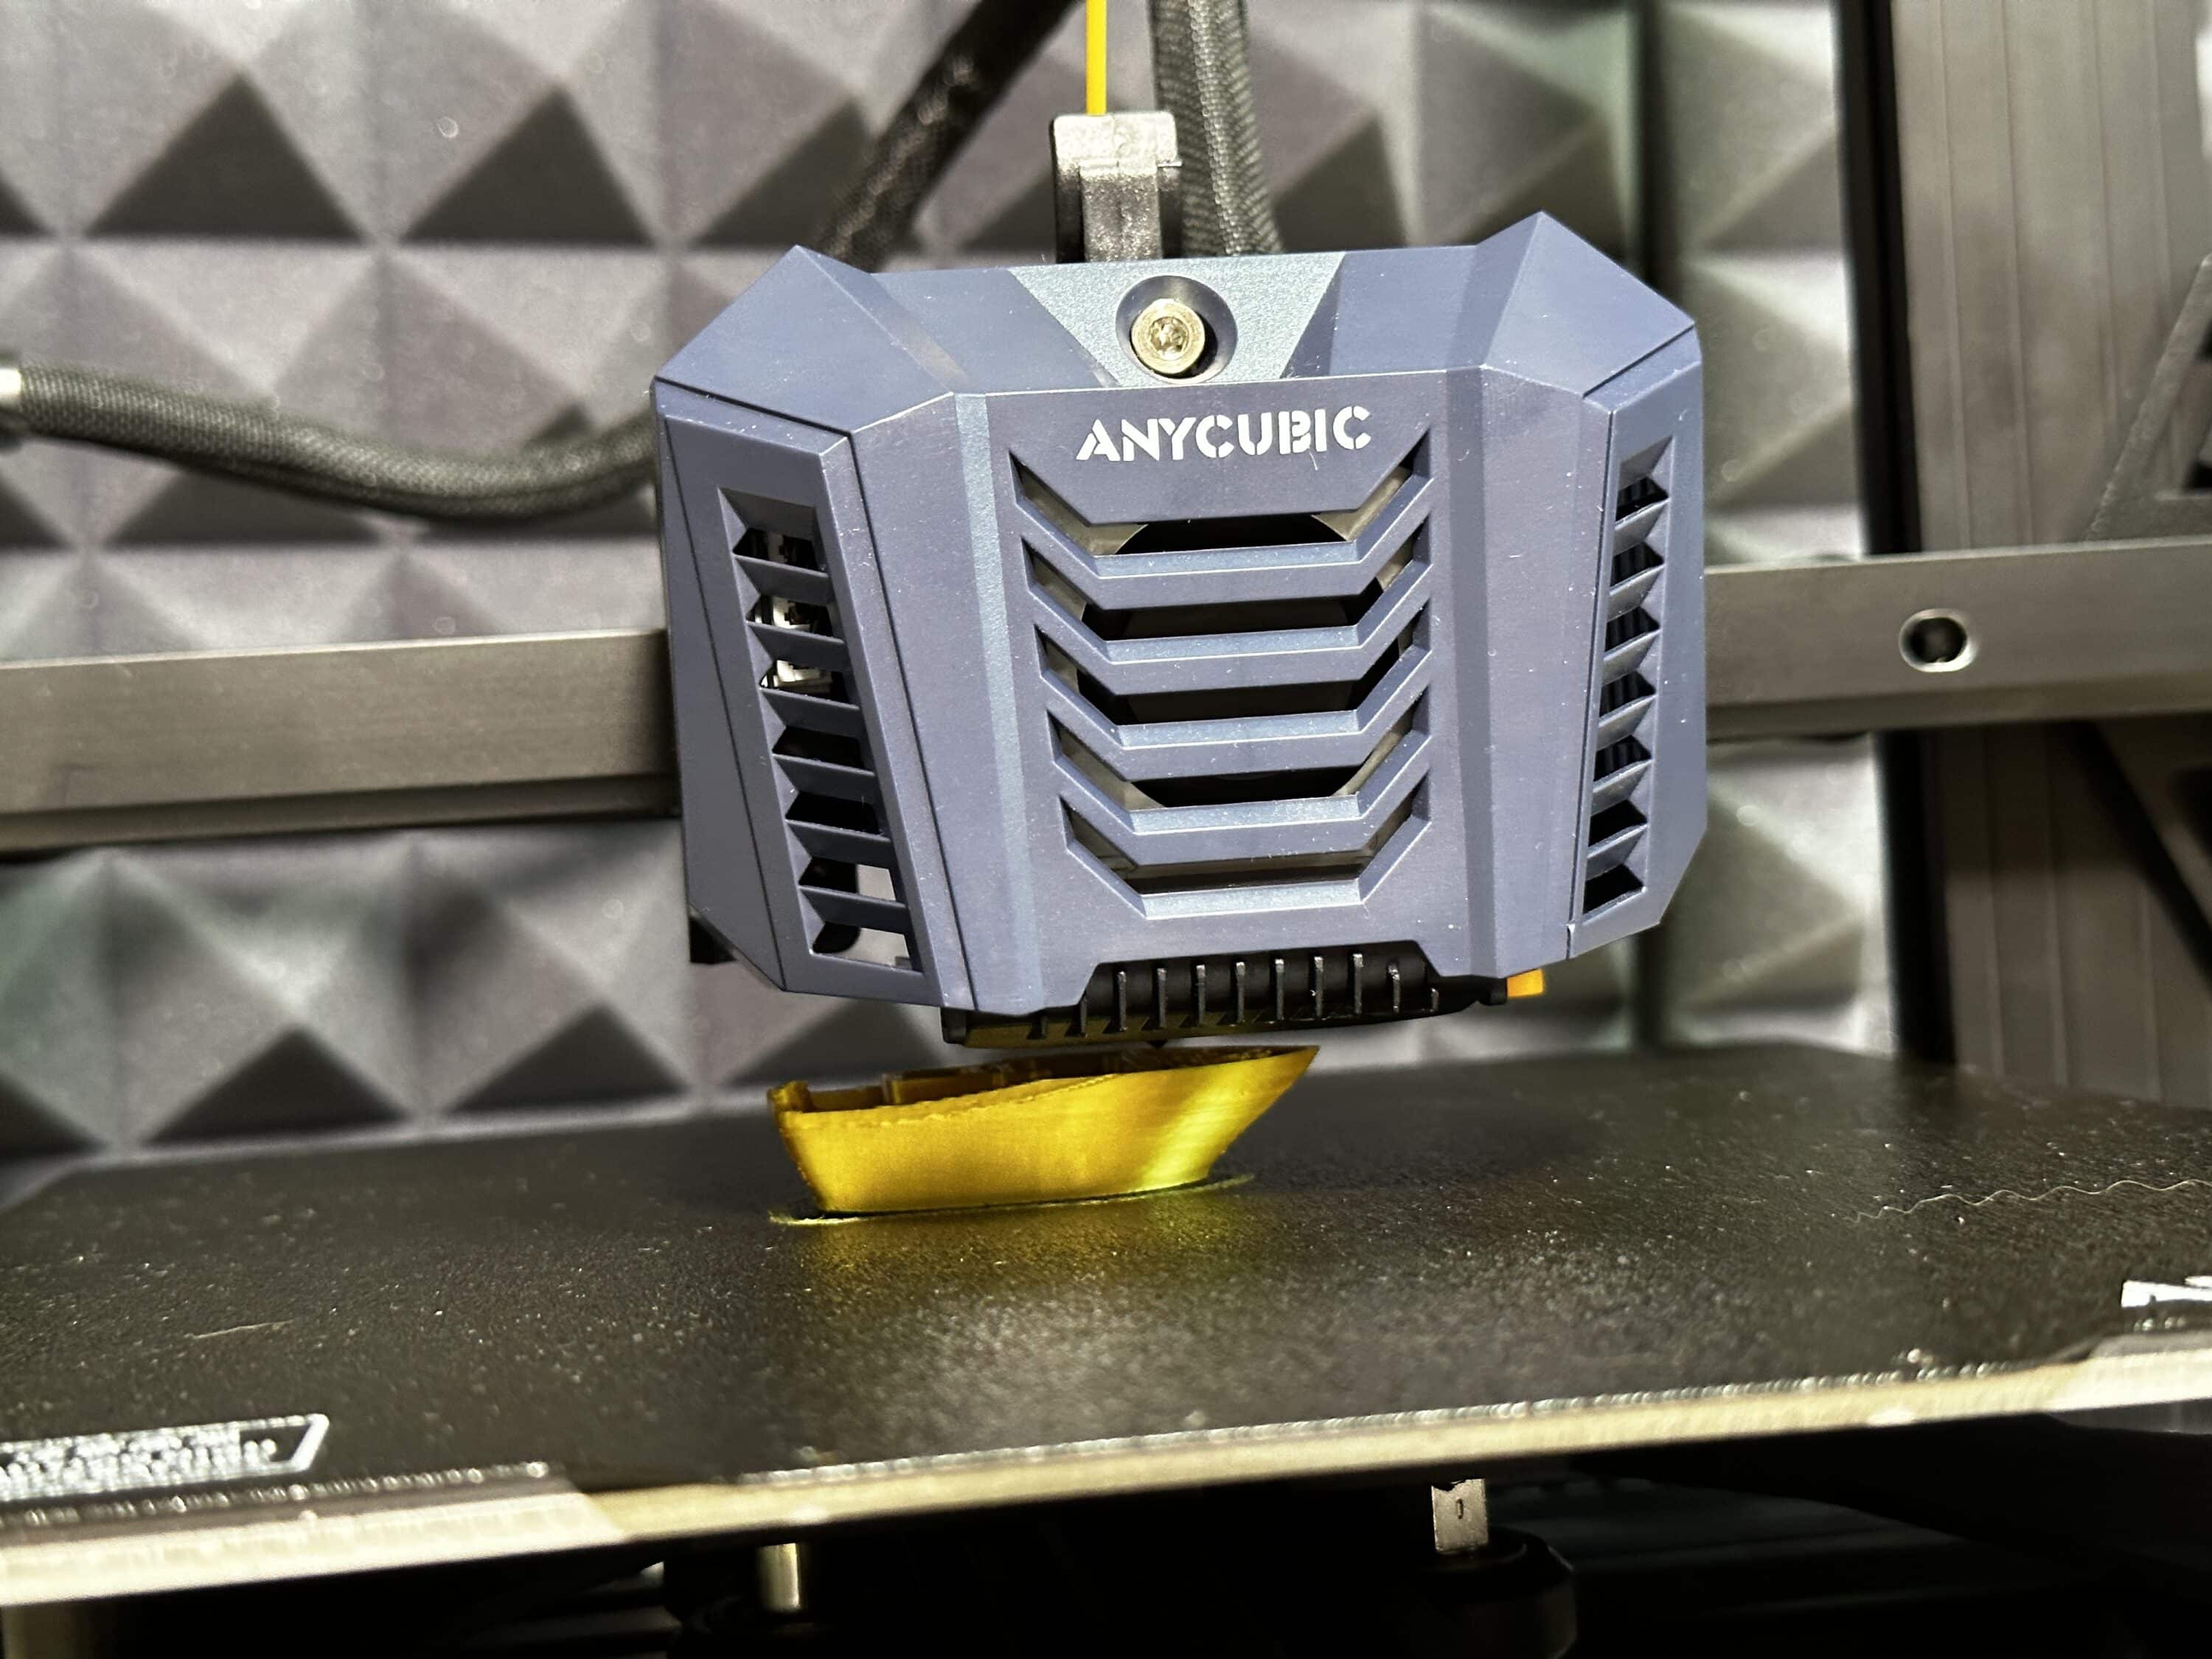
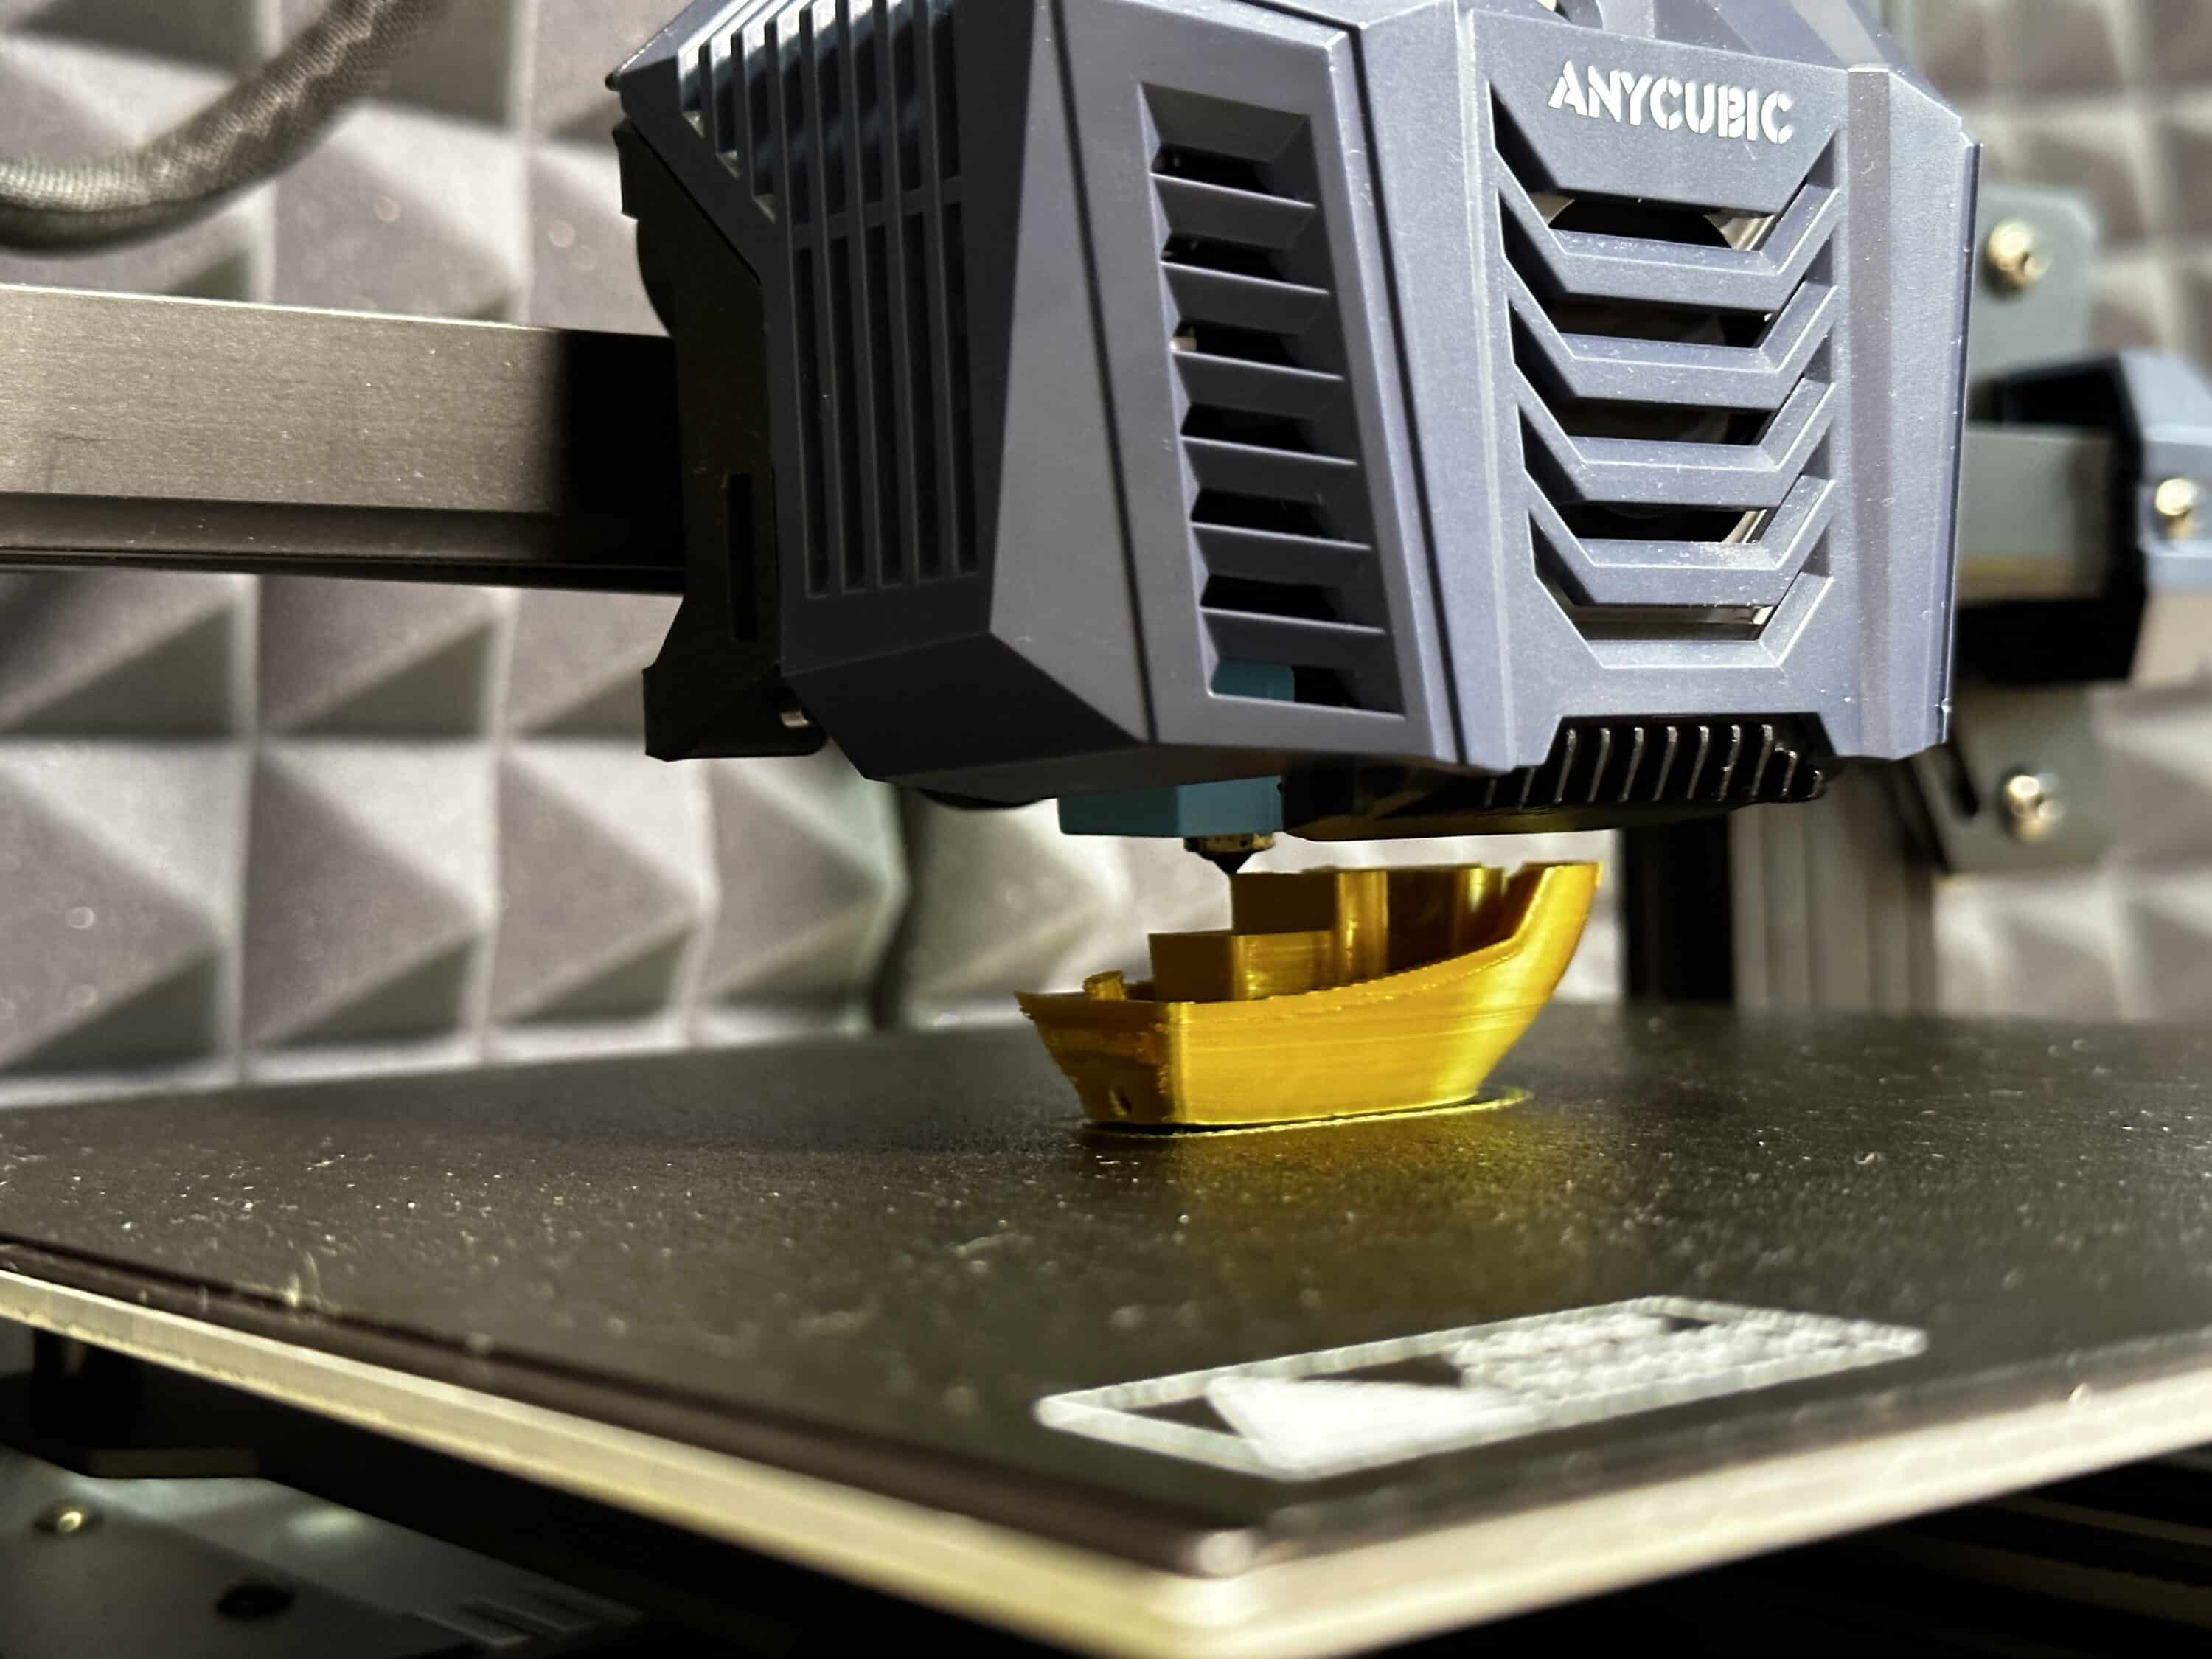
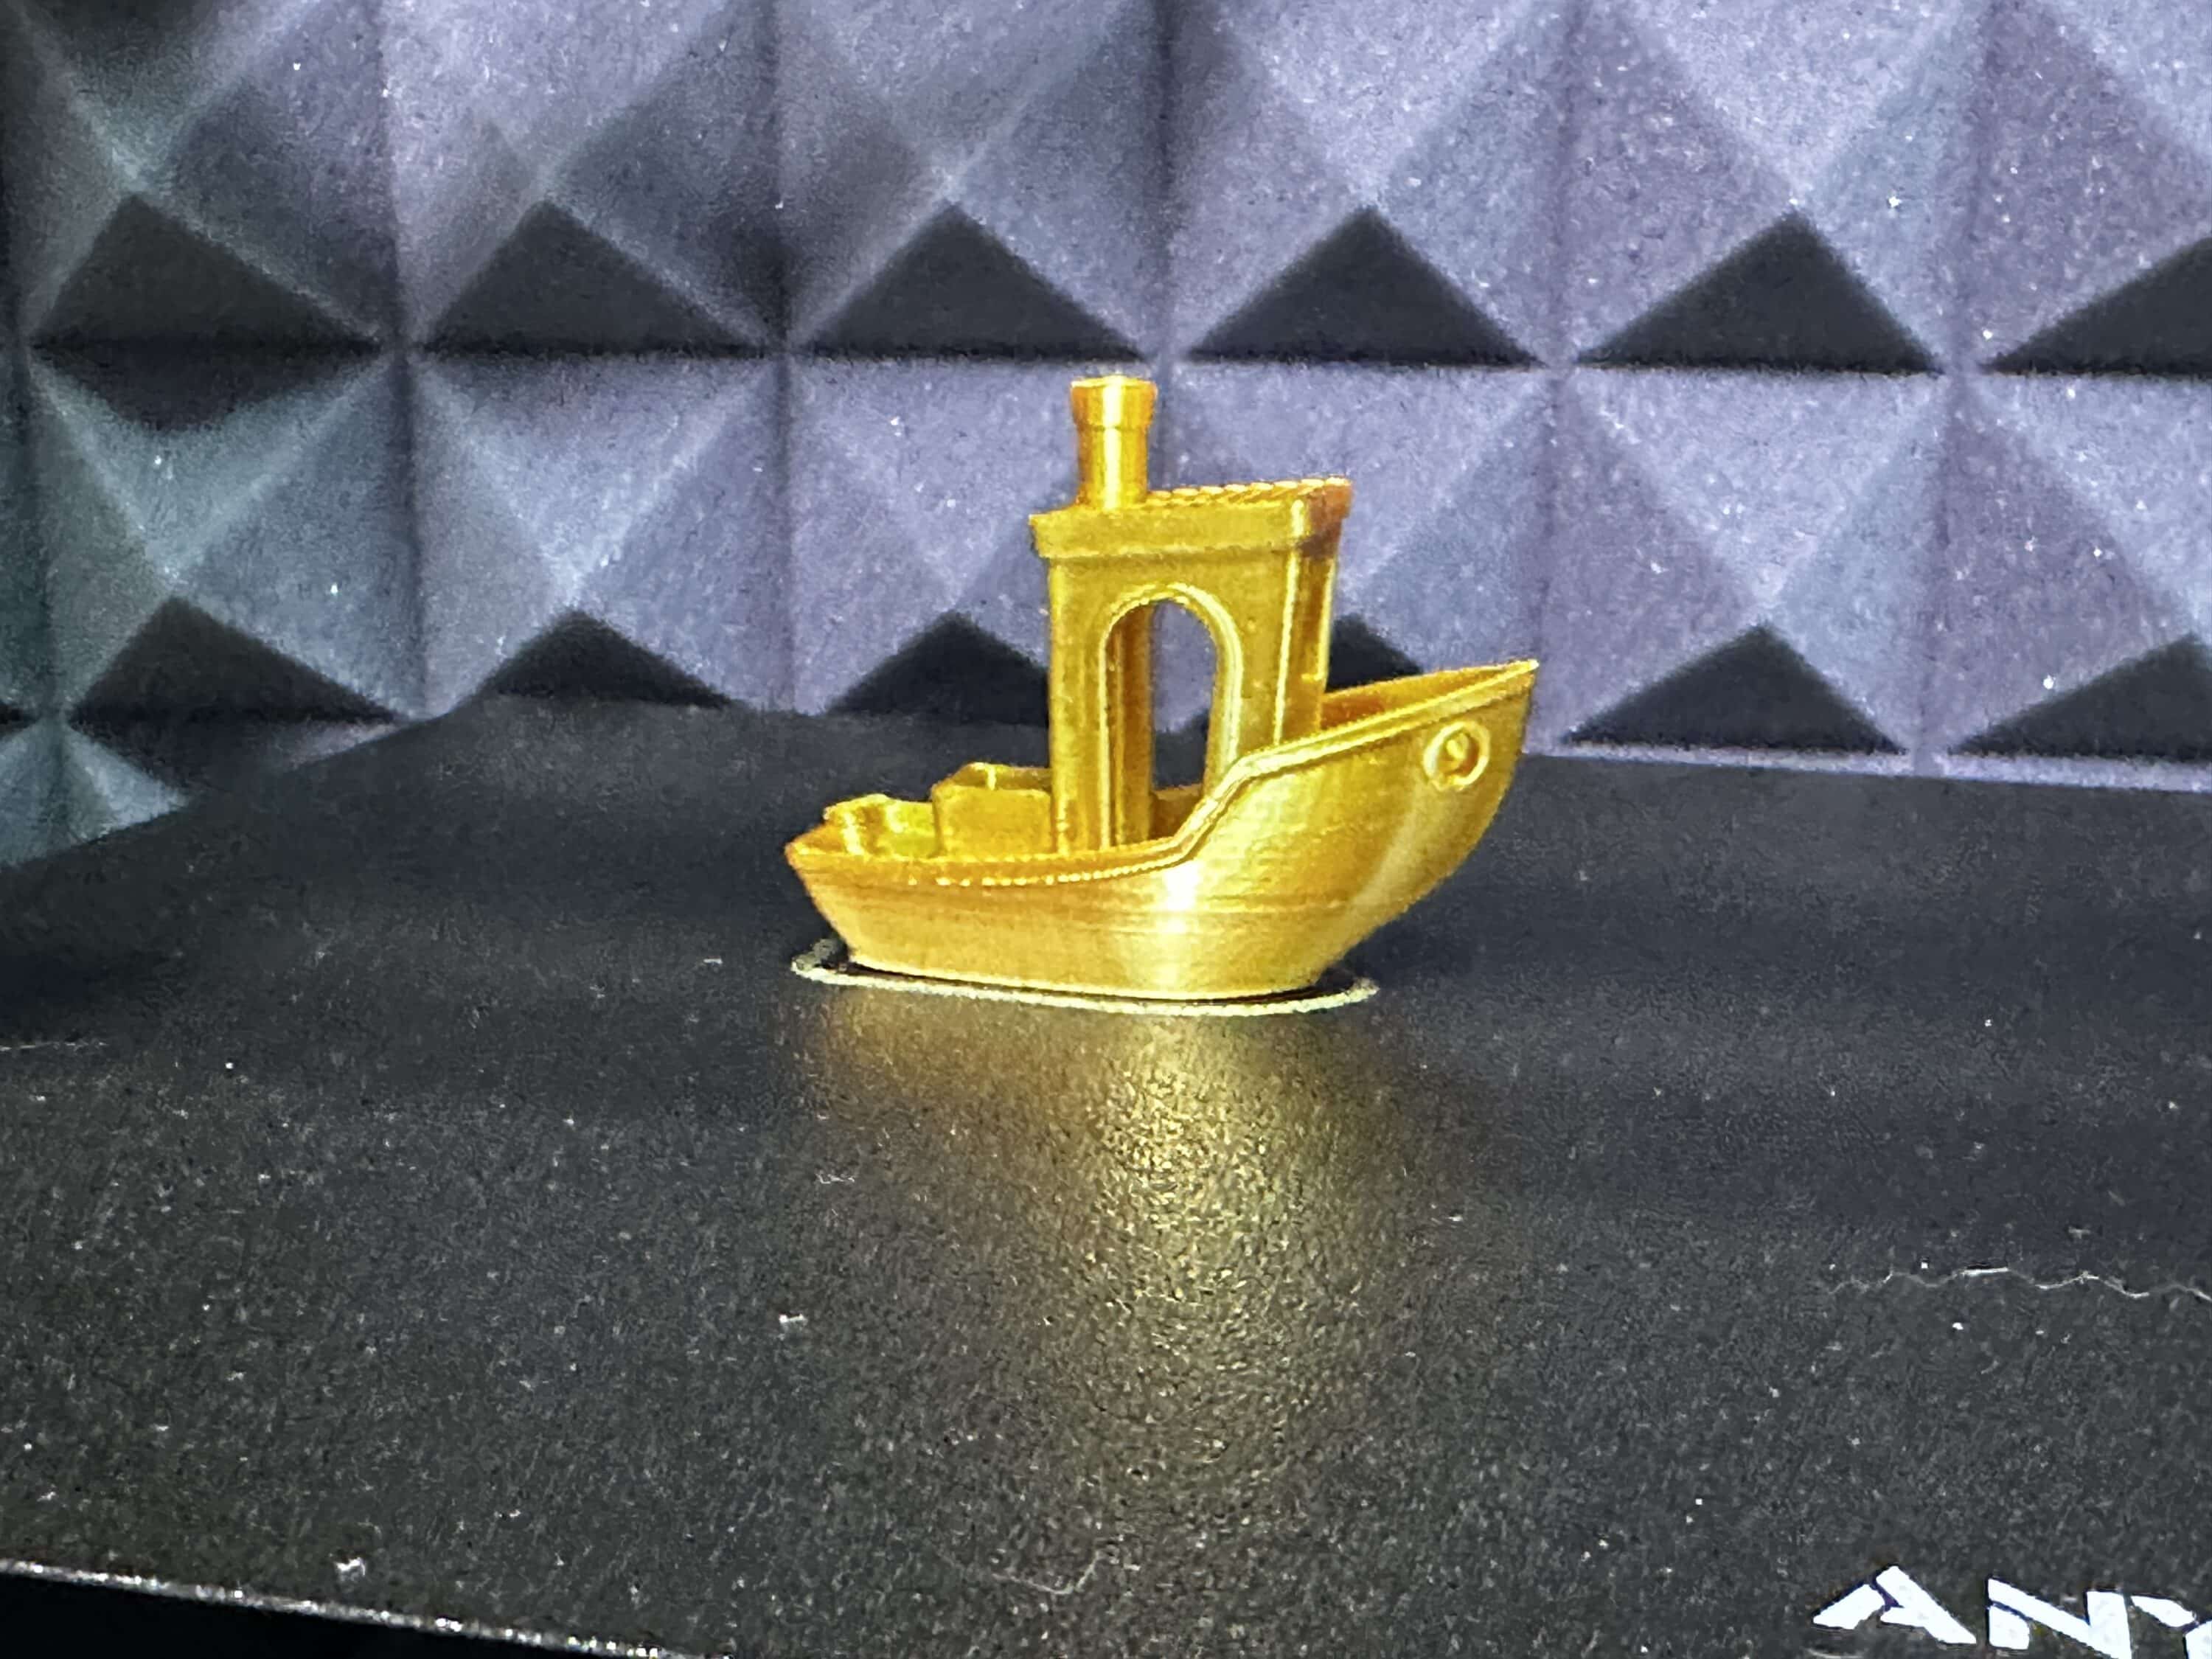
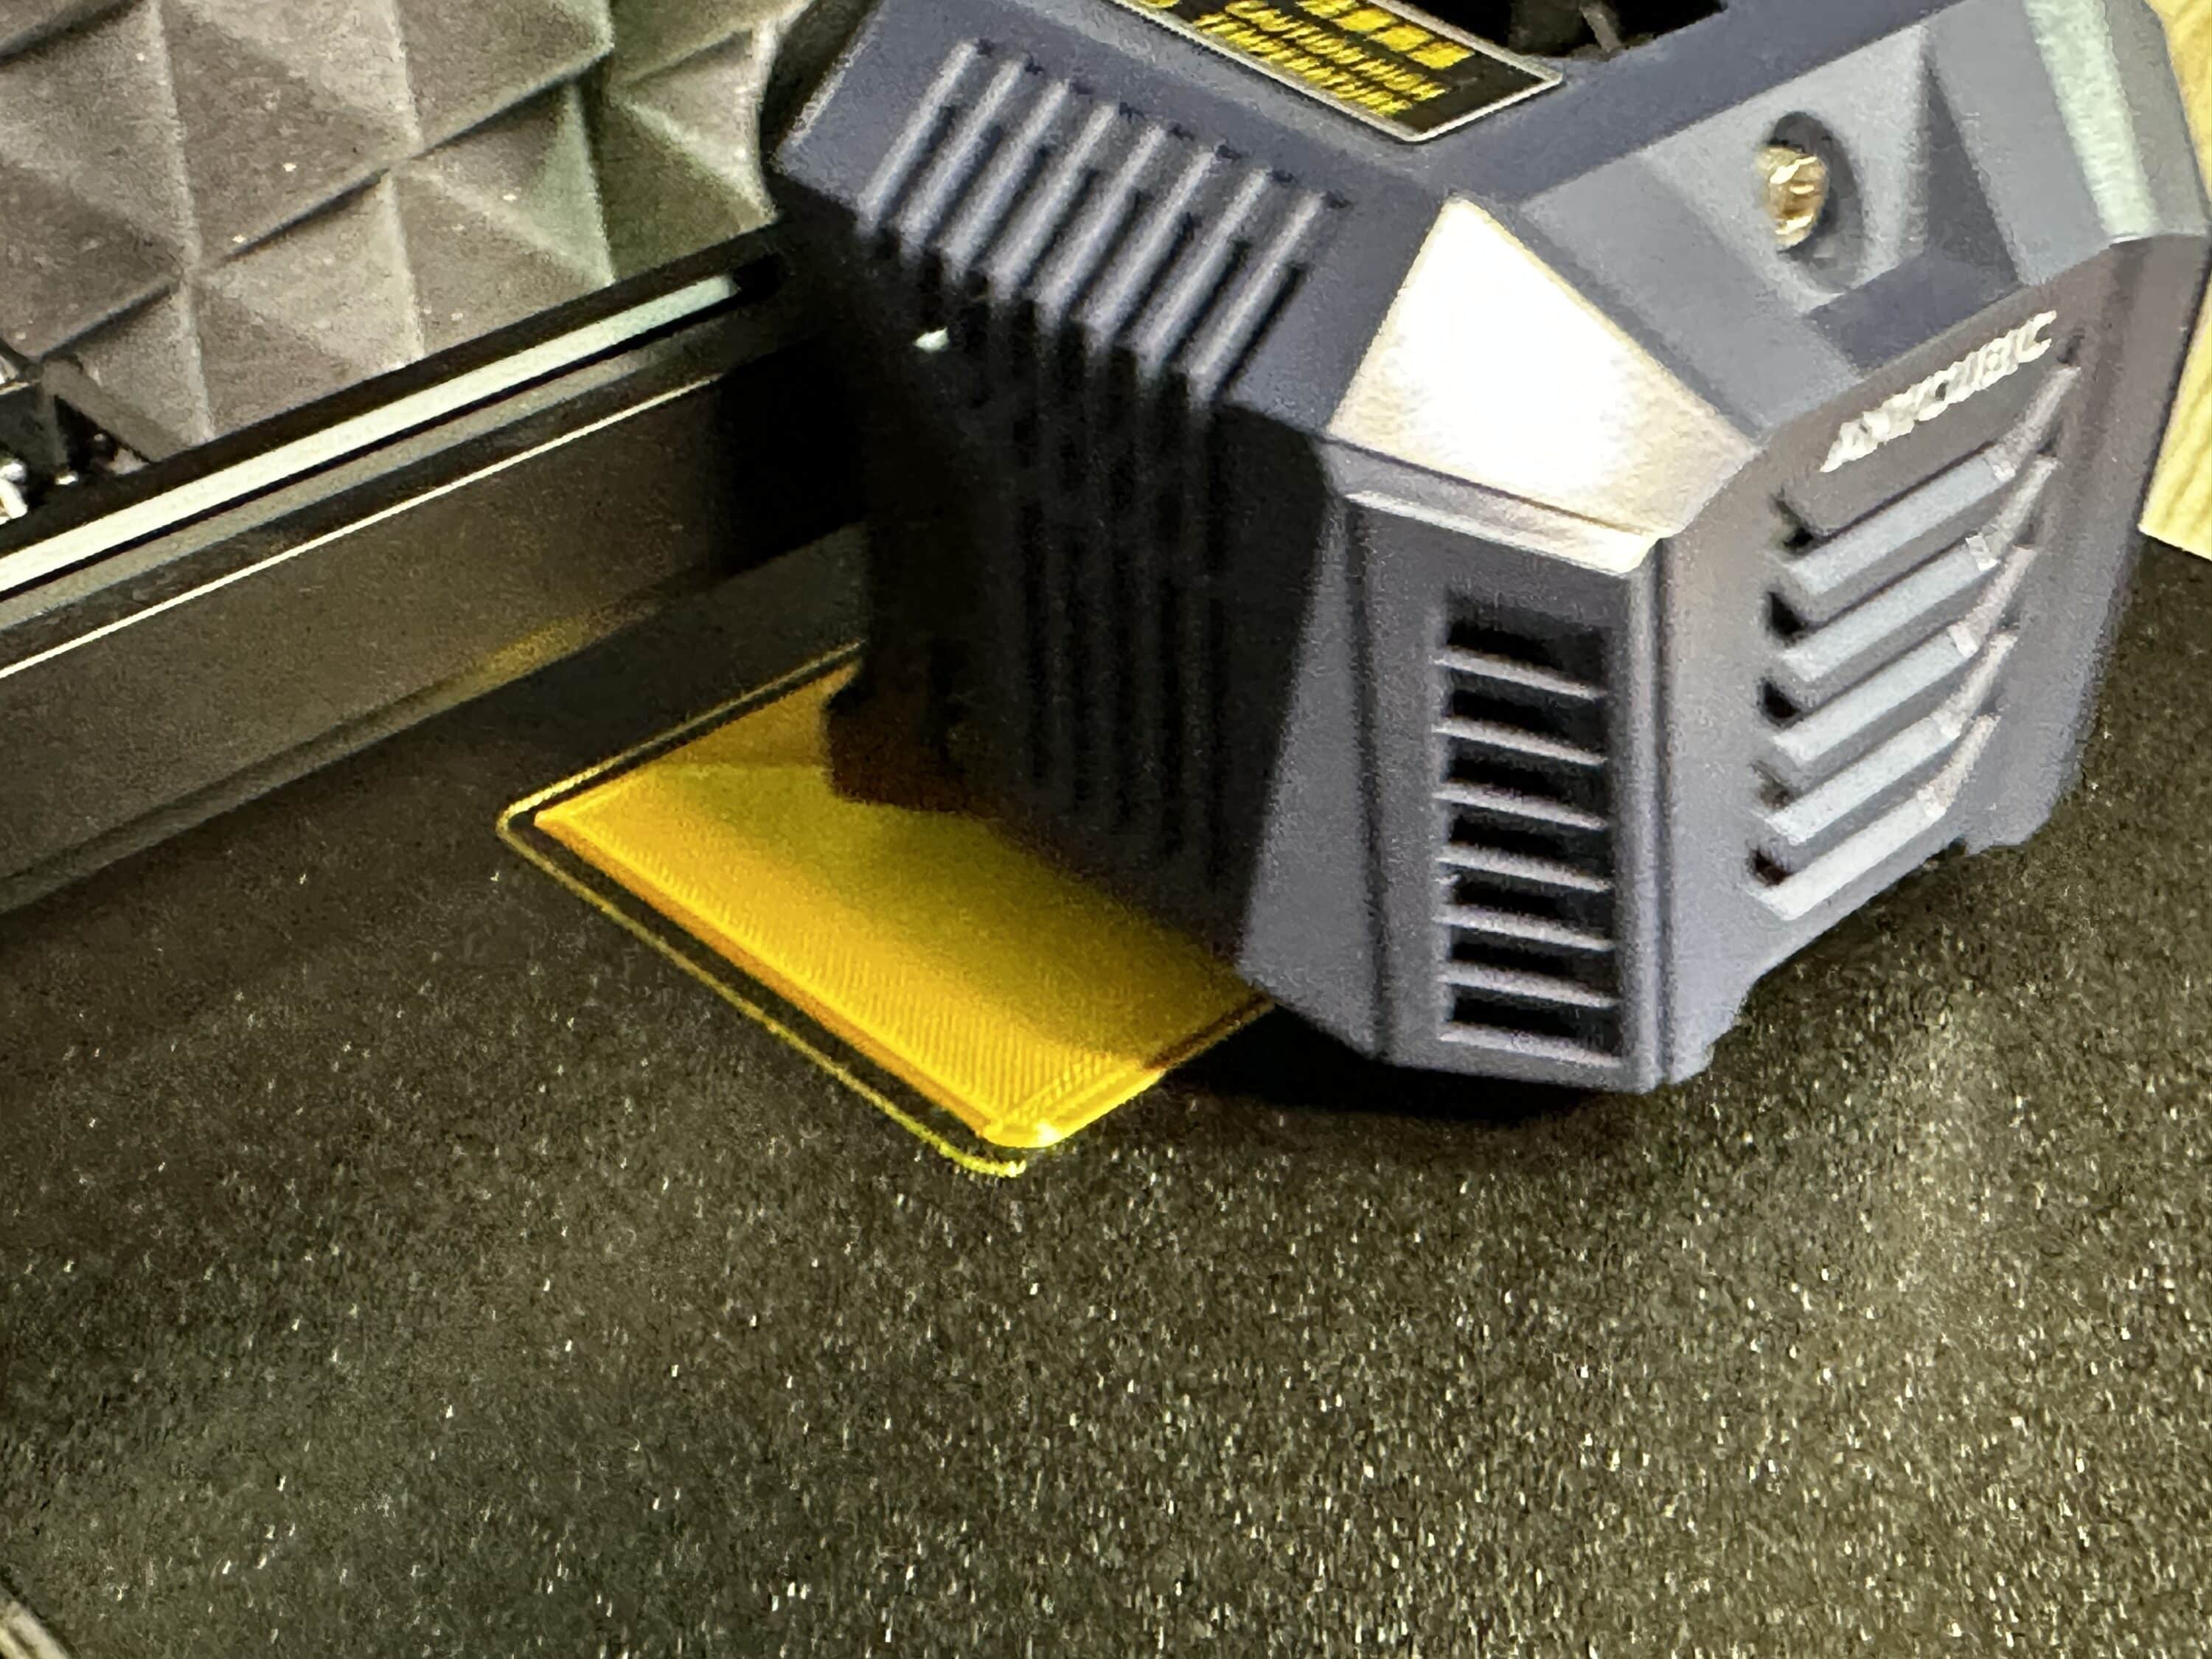
Of course, the first thing I did was print the boat again – however, I initially had some difficulties with the first layer and the adhesion of the Neo. The filament simply wouldn’t stick to the base plate. After recalibrating, I then realized that the nozzle was simply too high above the base plate. After setting a Z-offset of -1.25, the Neo was able to print without any problems. After about an hour of printing, the boat was completely printed. The result shows a remarkably good print quality, with the individual layers lying evenly on top of each other.
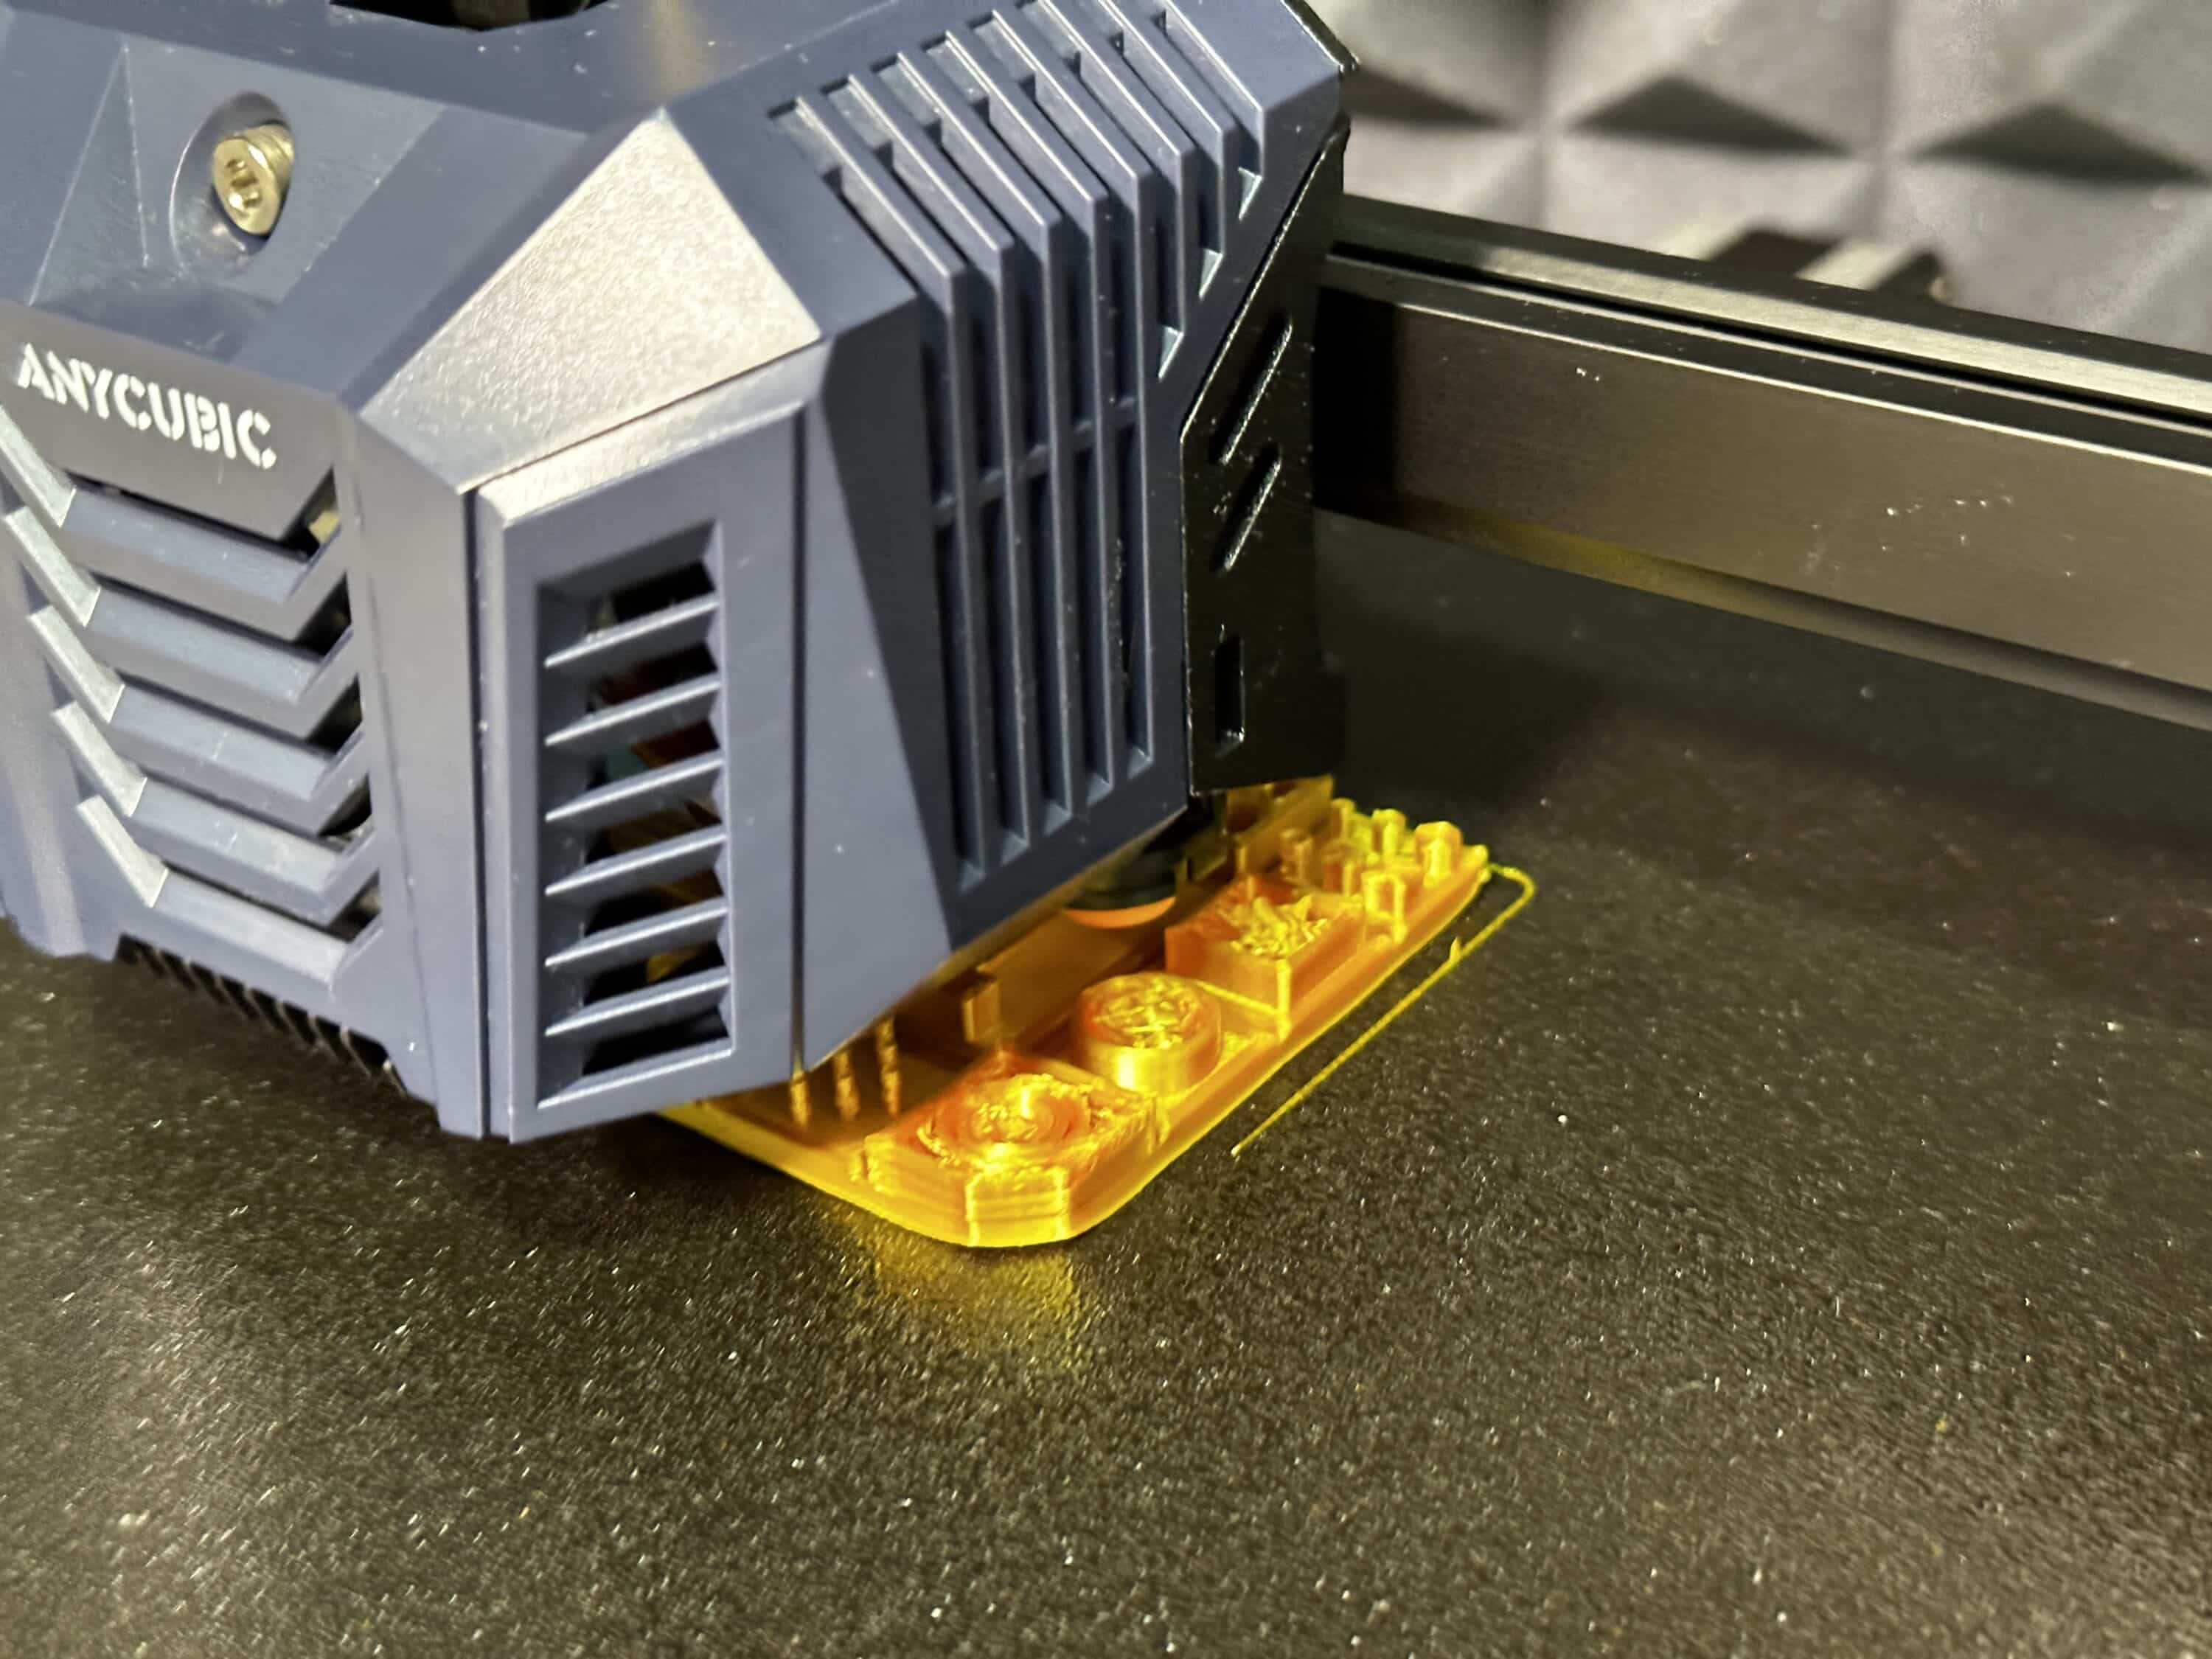
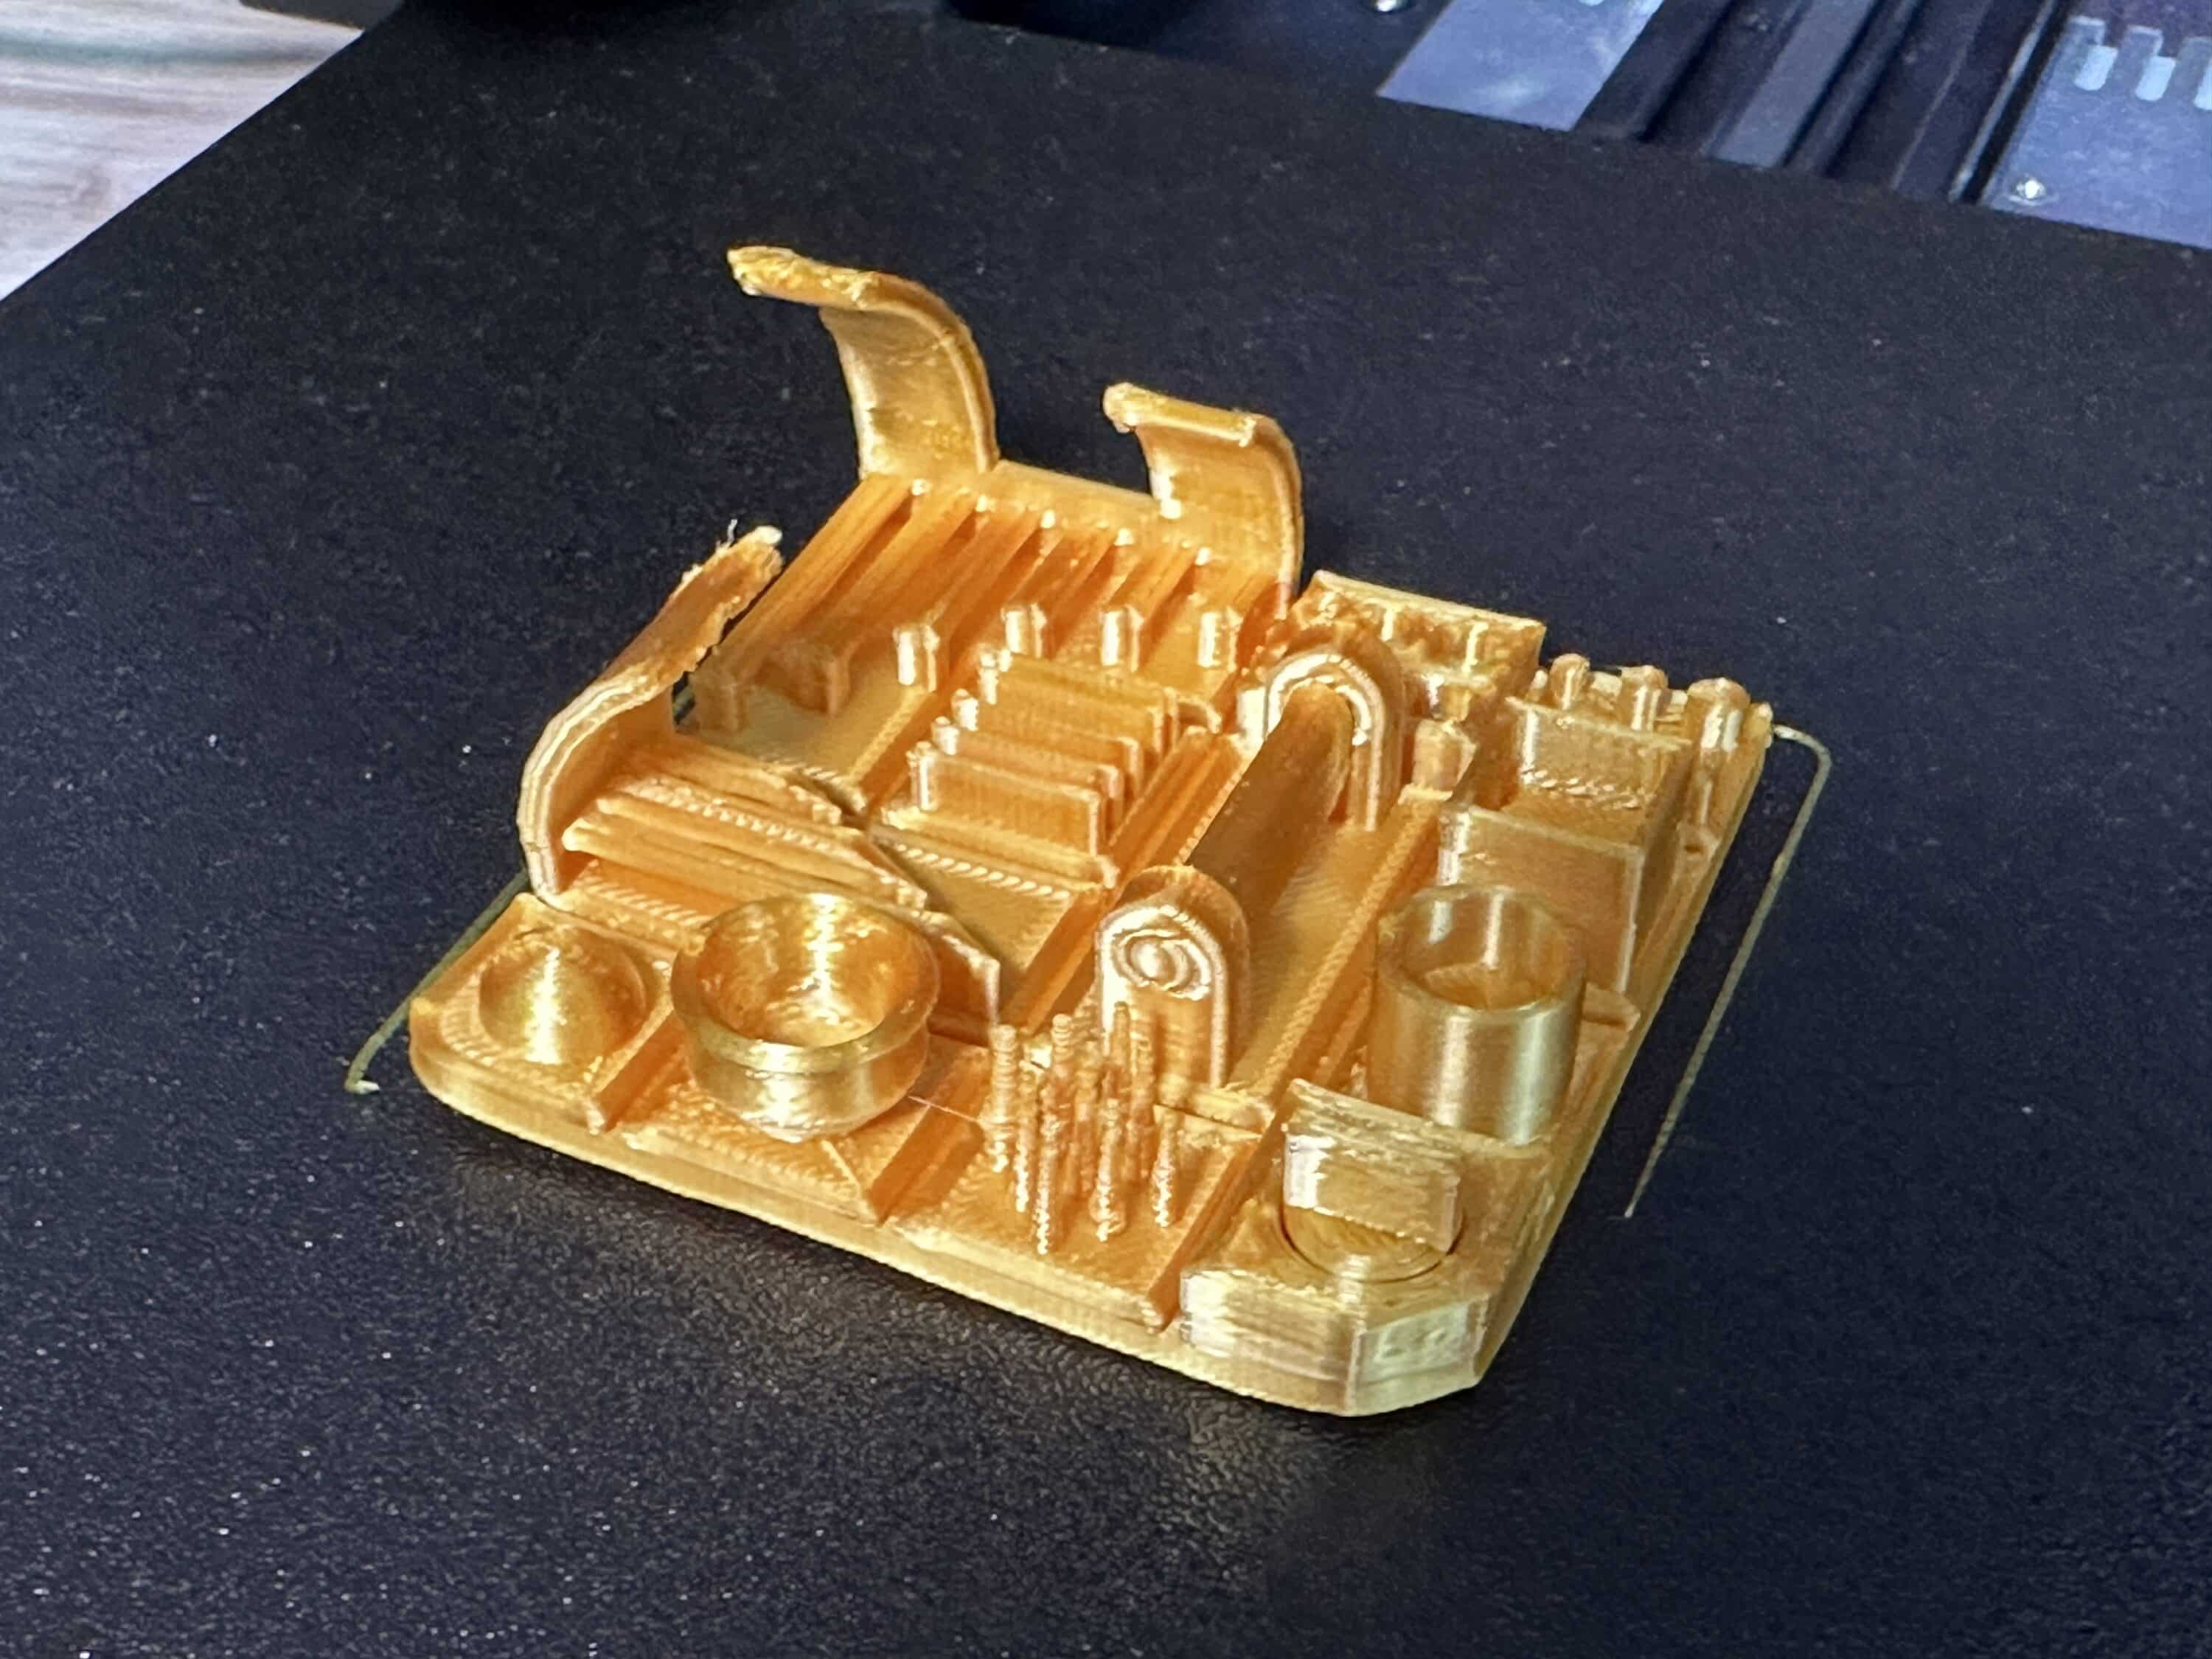
For the second test print, I chose a 3D model that is particularly well suited to testing the limits of the Kobra Neo. It was an “All In One” model consisting of overhangs, small tips, small beams, etc. Apart from some lack of print bed adhesion on one side, which can be solved with a little more fine-tuning on the Z-offset, the quality result of the 3D print is also excellent here. All tips, functions and, above all, the overhangs were printed successfully and flawlessly. Even the small angle numbers on the side of the angles are visible and legible. The second test print was therefore also a complete success and you can expect excellent printing results with these 3D printers out of the box.
Conclusion
The Anycubic Kobra Neo is an excellent 3D printer that is ideal for beginners and enthusiasts. With a fair price and ease of use, this printer is an excellent choice for those looking to enter the world of 3D printing. Setting up the printer is simple and straightforward thanks to the well-structured instructions. The pre-assembled frame and well-placed touchscreen display allow for quick setup and intuitive operation. The PIE coating of the printing plate has a high-quality finish and ensures excellent adhesion of the filament during the printing process.
In practice, the Kobra Neo has proven that it delivers reliable and consistent print quality. The LeviQ auto-leveling function optimizes the alignment of the printing plate, eliminating the need for manual calibration and allowing the user to concentrate on printing. The print speed is under 100 mm/s, which leads to high quality results, and the printer is surprisingly quiet. The first print showed that the Kobra Neo initially struggled with slight adhesion problems with the filament. However, by simply adjusting the Z-offset, this problem was easily resolved. The overall print quality is impressive, with evenly applied layers and detailed results.
Overall, the Anycubic Kobra Neo is a 3D printer worth recommending for its specifications, ease of use and impressive print quality. It provides a solid foundation for those looking to enter the fascinating world of 3D printing and is also suitable for experienced users looking to create versatile and high-quality prints.
Anycubic Kobra Neo
Workmanship
Assembly
Usability
Noise level
Print quality
Value for money
92/100
Overall, the Anycubic Kobra Neo is a highly recommended 3D printer that scores points for its ease of use and impressive print quality.