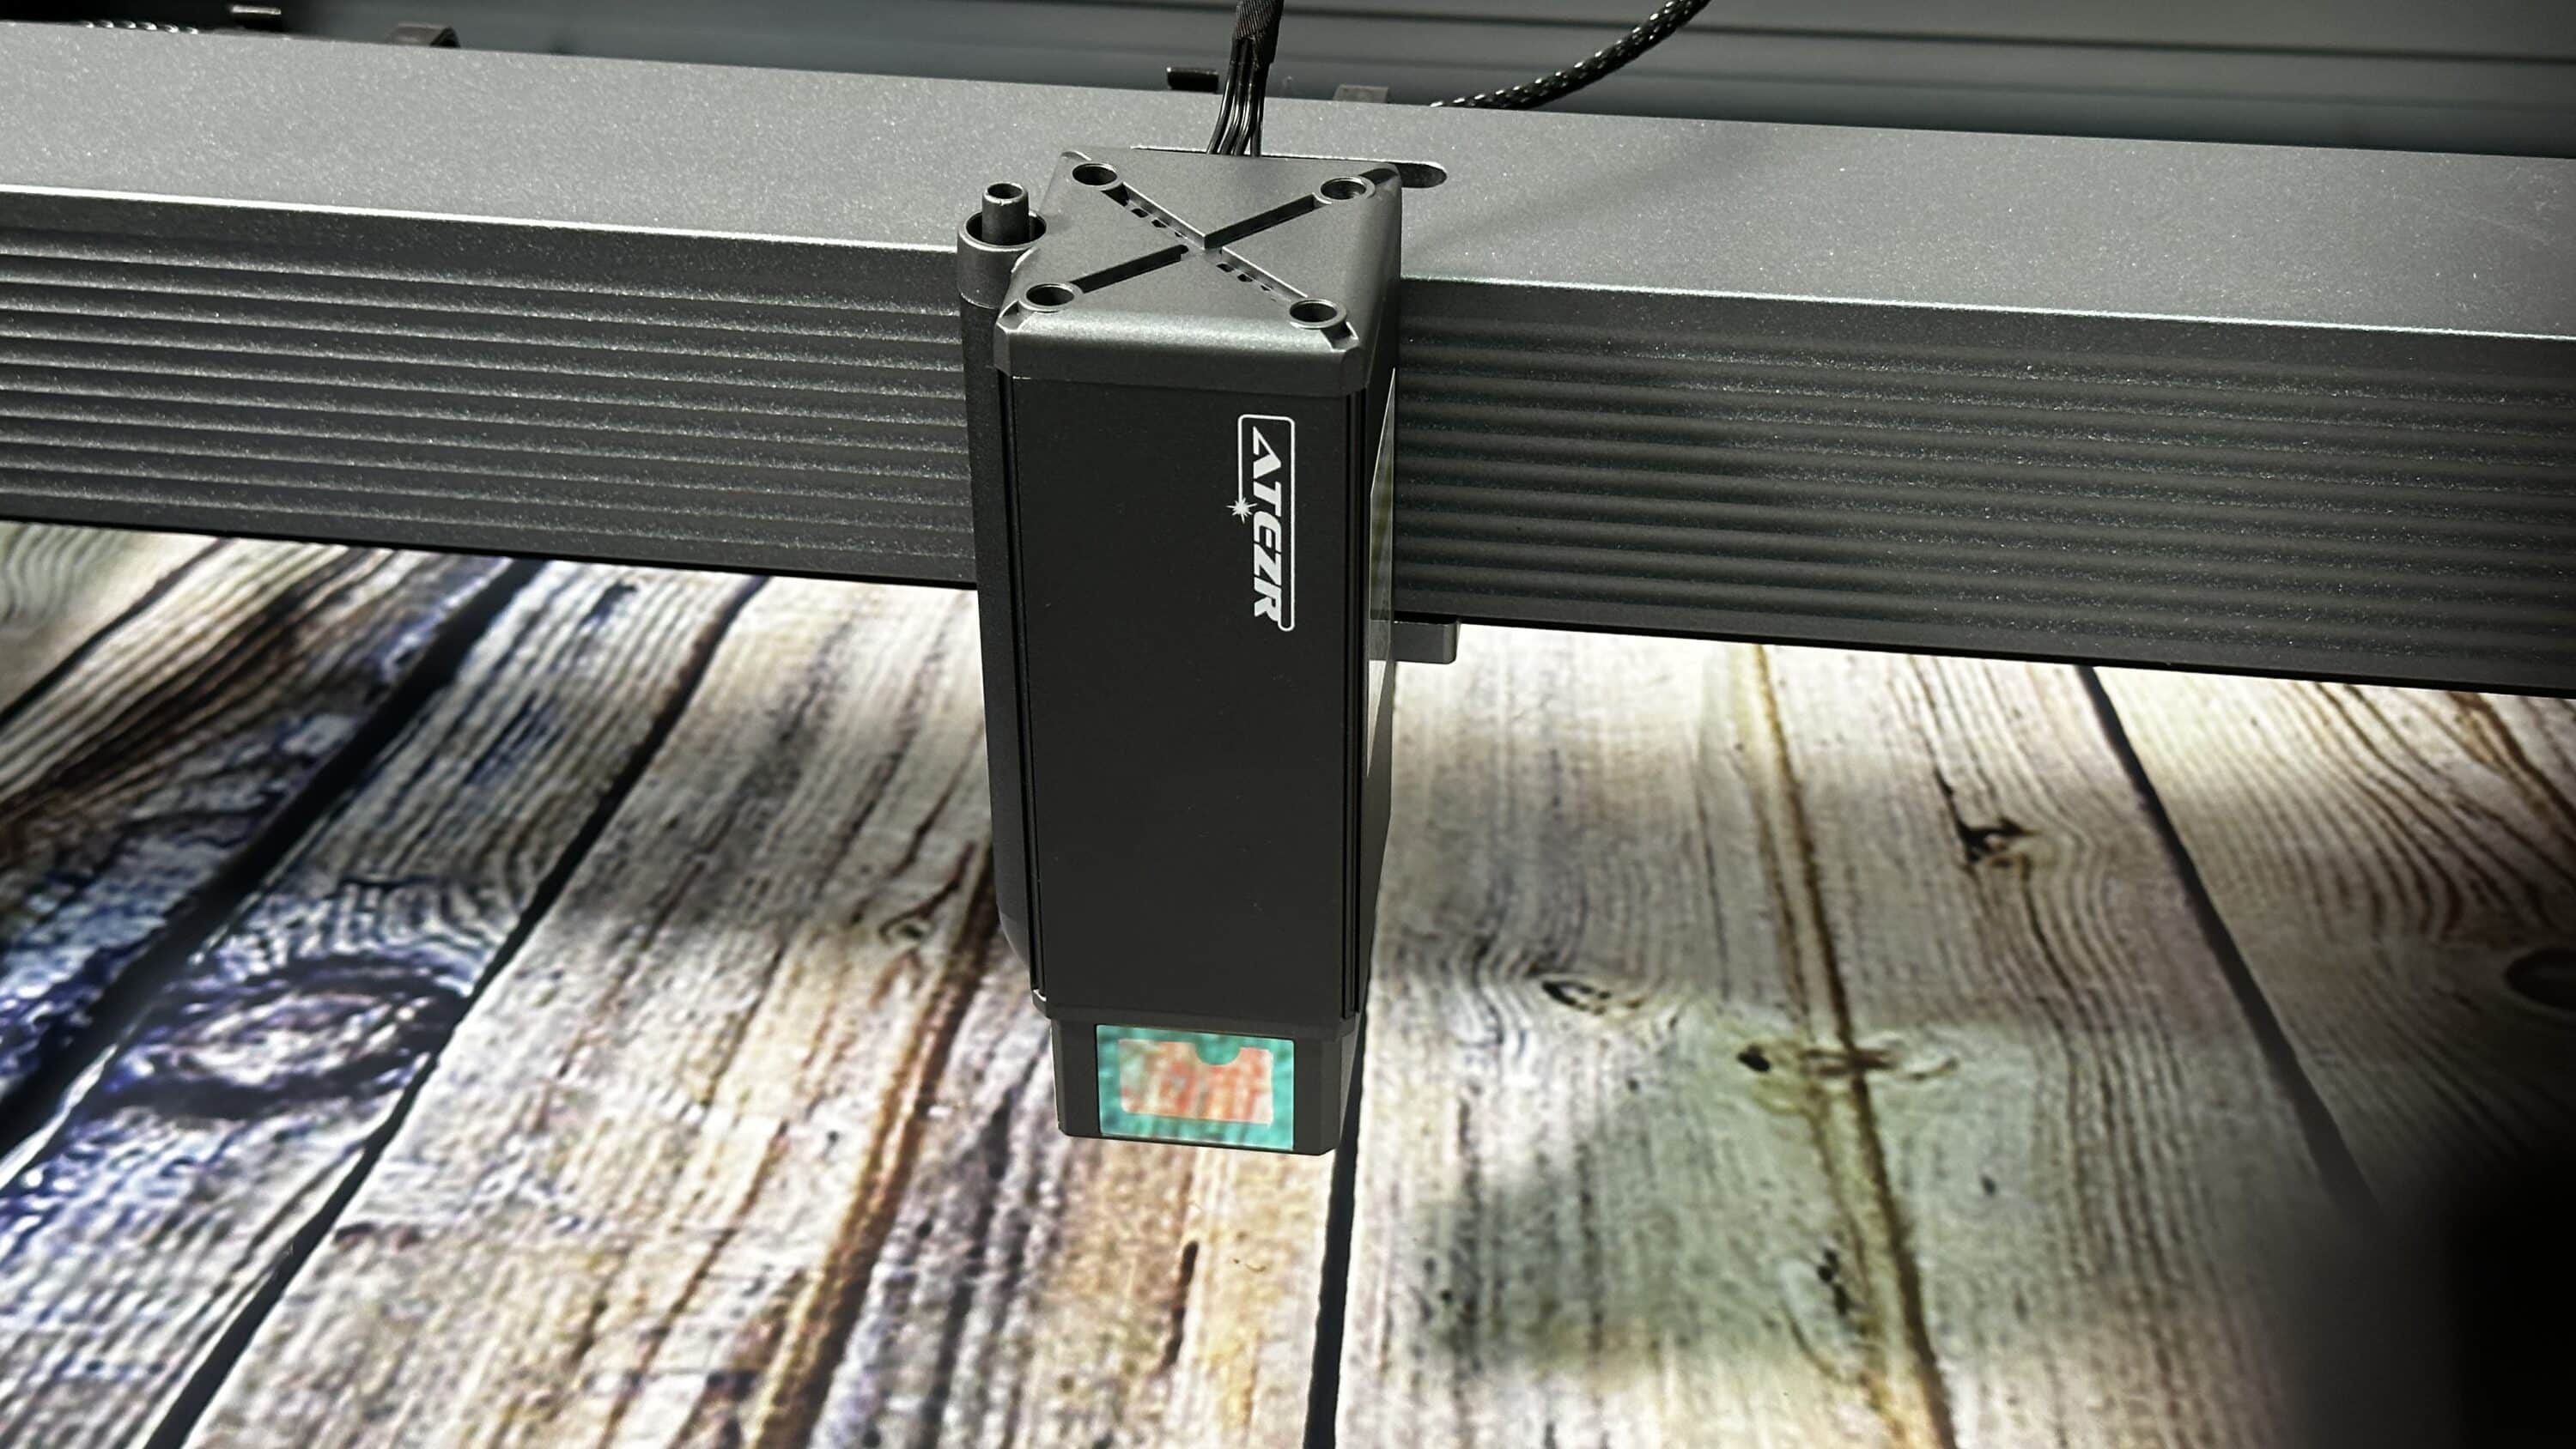
Not long ago, I introduced the Atezr P5, a laser engraving machine for beginners that convinced me in the test. Now it’s time to take it a step further and face new challenges. That’s why I now have news to report about the Atezr P10 Combo – more power, same design, but more possibilities? Is it worth switching from the entry-level P5 to the more powerful P10? I will now present this and much more to you!
Technical details of the Atezr P10 Combo
| Device size |
644mm*680mm*168mm |
| Net weight | 7.83kg |
| Engraving size | 430mm*430mm |
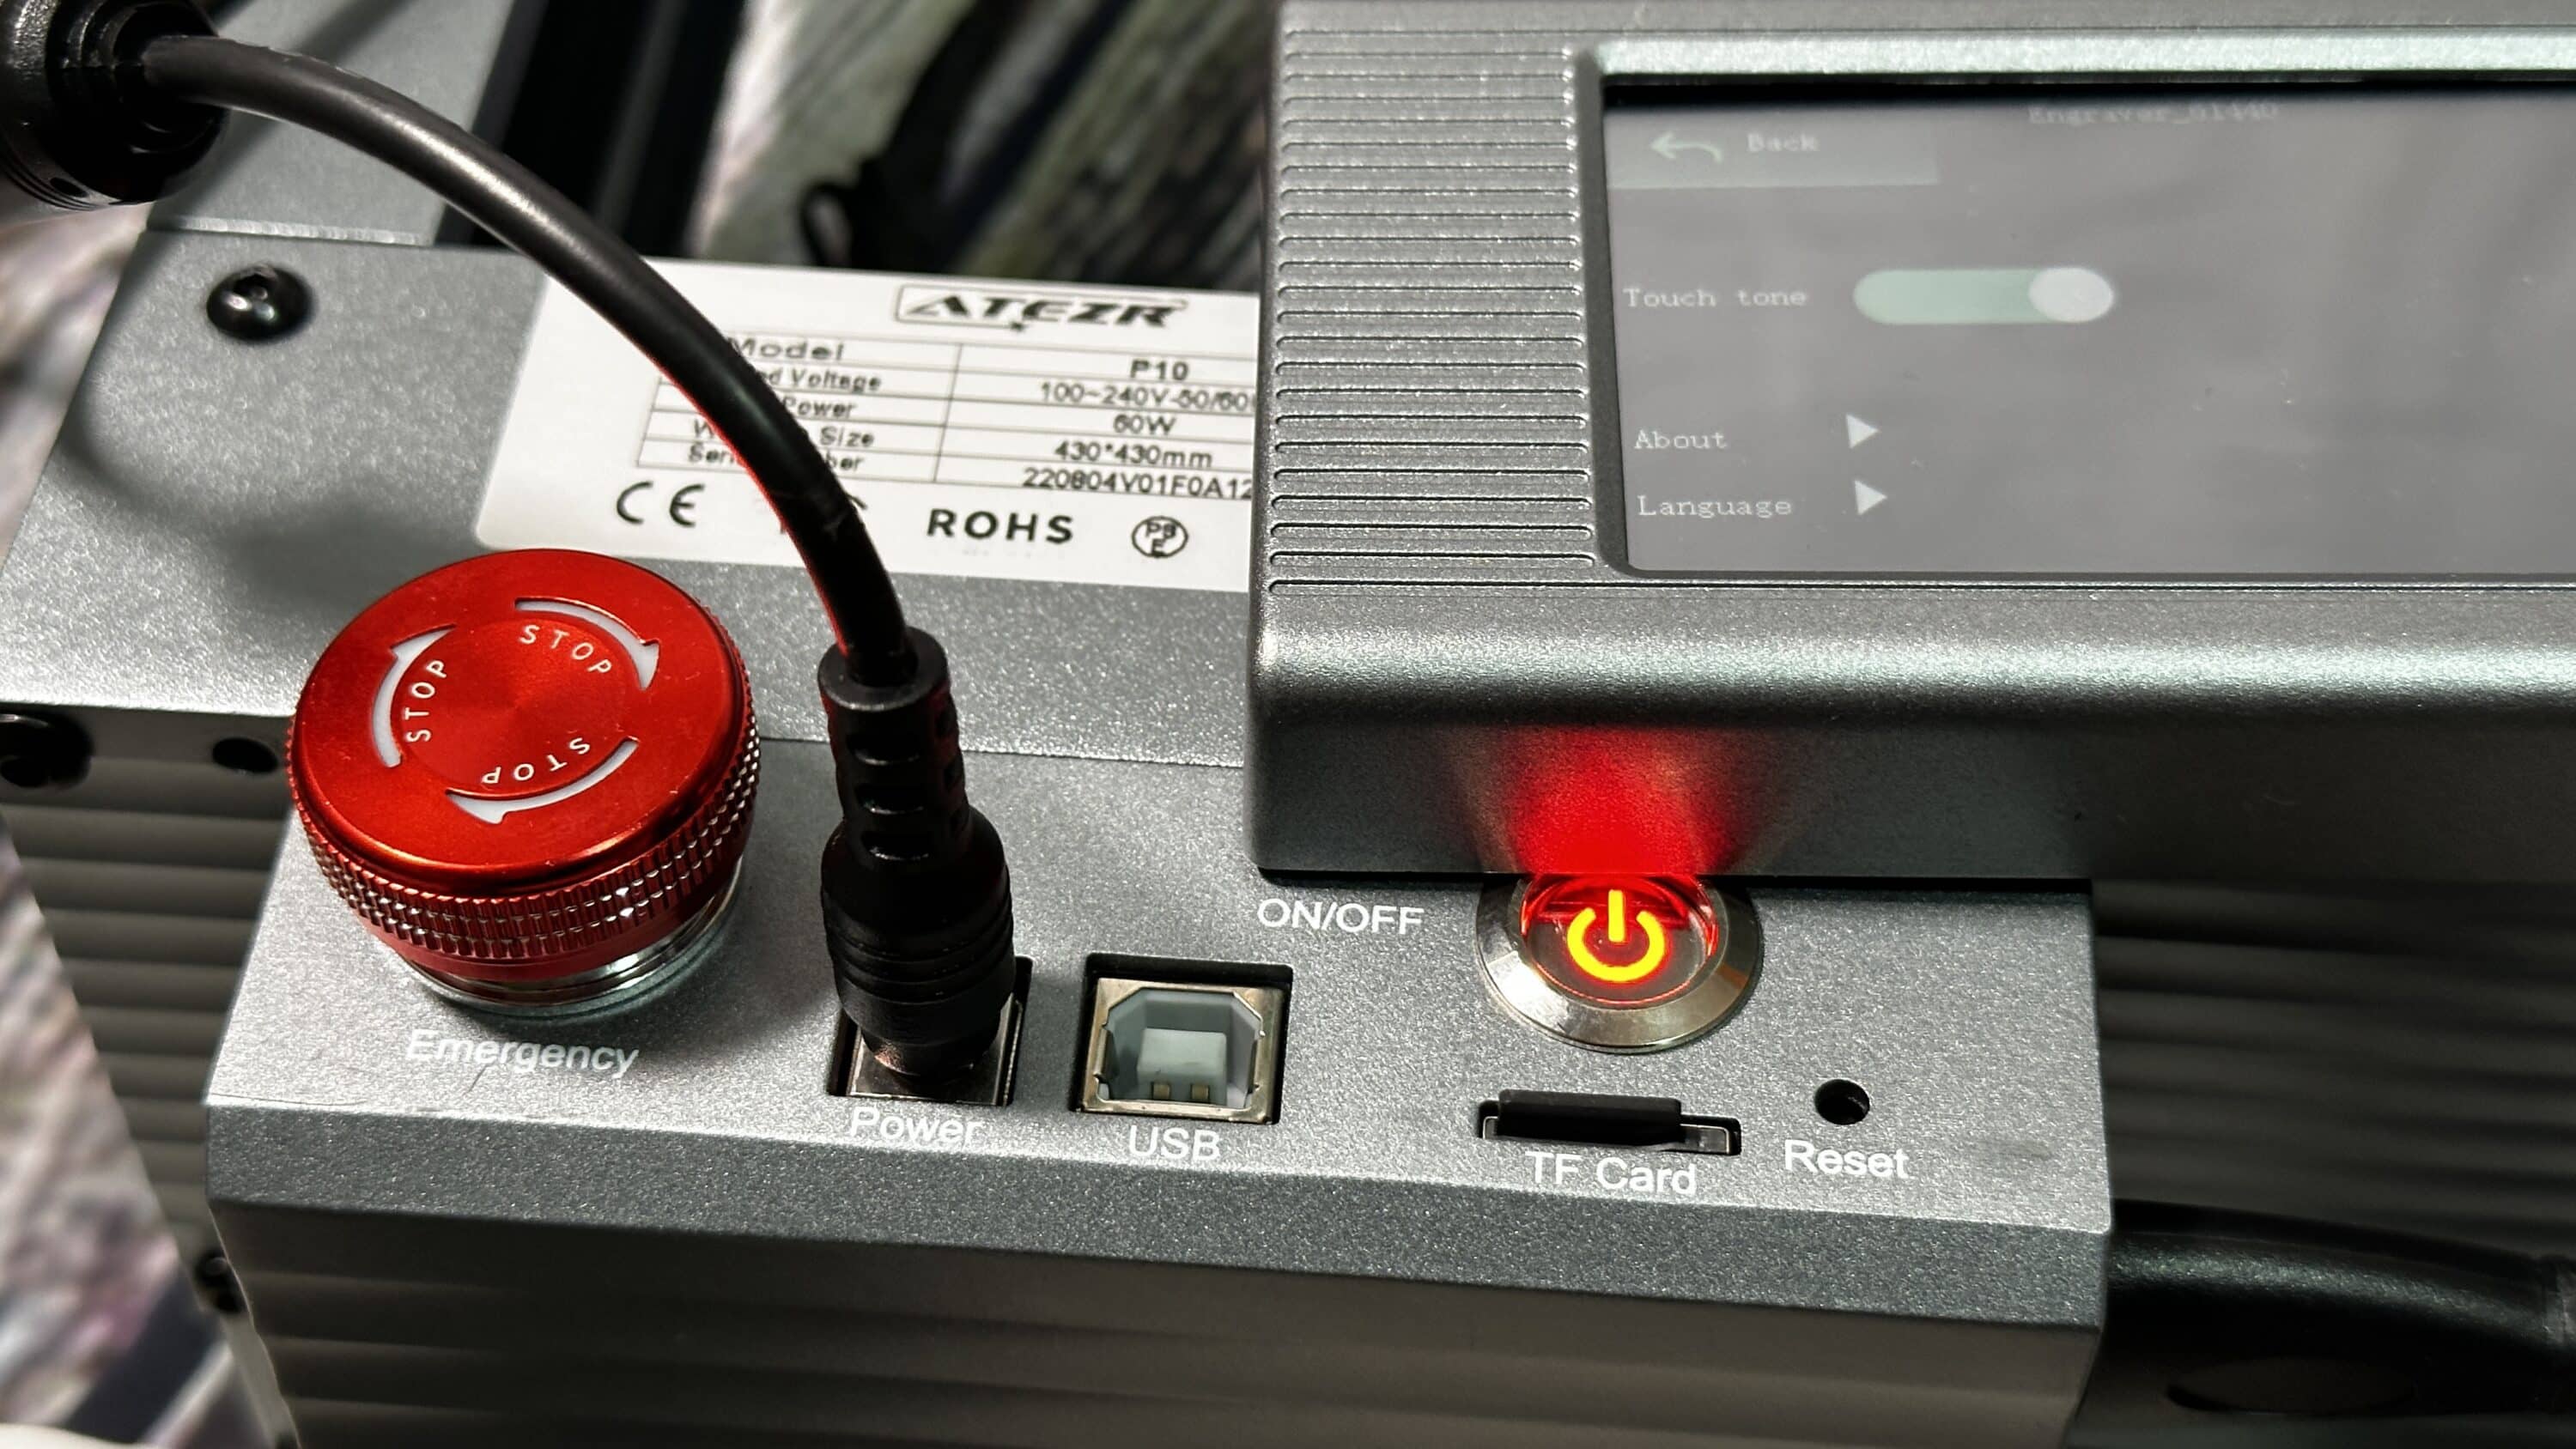
| Machine power | 60 W |
| Power supply | International standard power consumption: 100-240 V AC, 50/60 Hz Output: 12 V * 5 A |
| Electric laser power | 40 W |
| Laser module output power | 10-12 W |
| Dot size | 0.08 mm * 0.06 mm |
| Egraving accuracy | 0.01mm |
|
Focal length of the laser
|
40mm |
| Laser wave | 455 ± 5 nm |
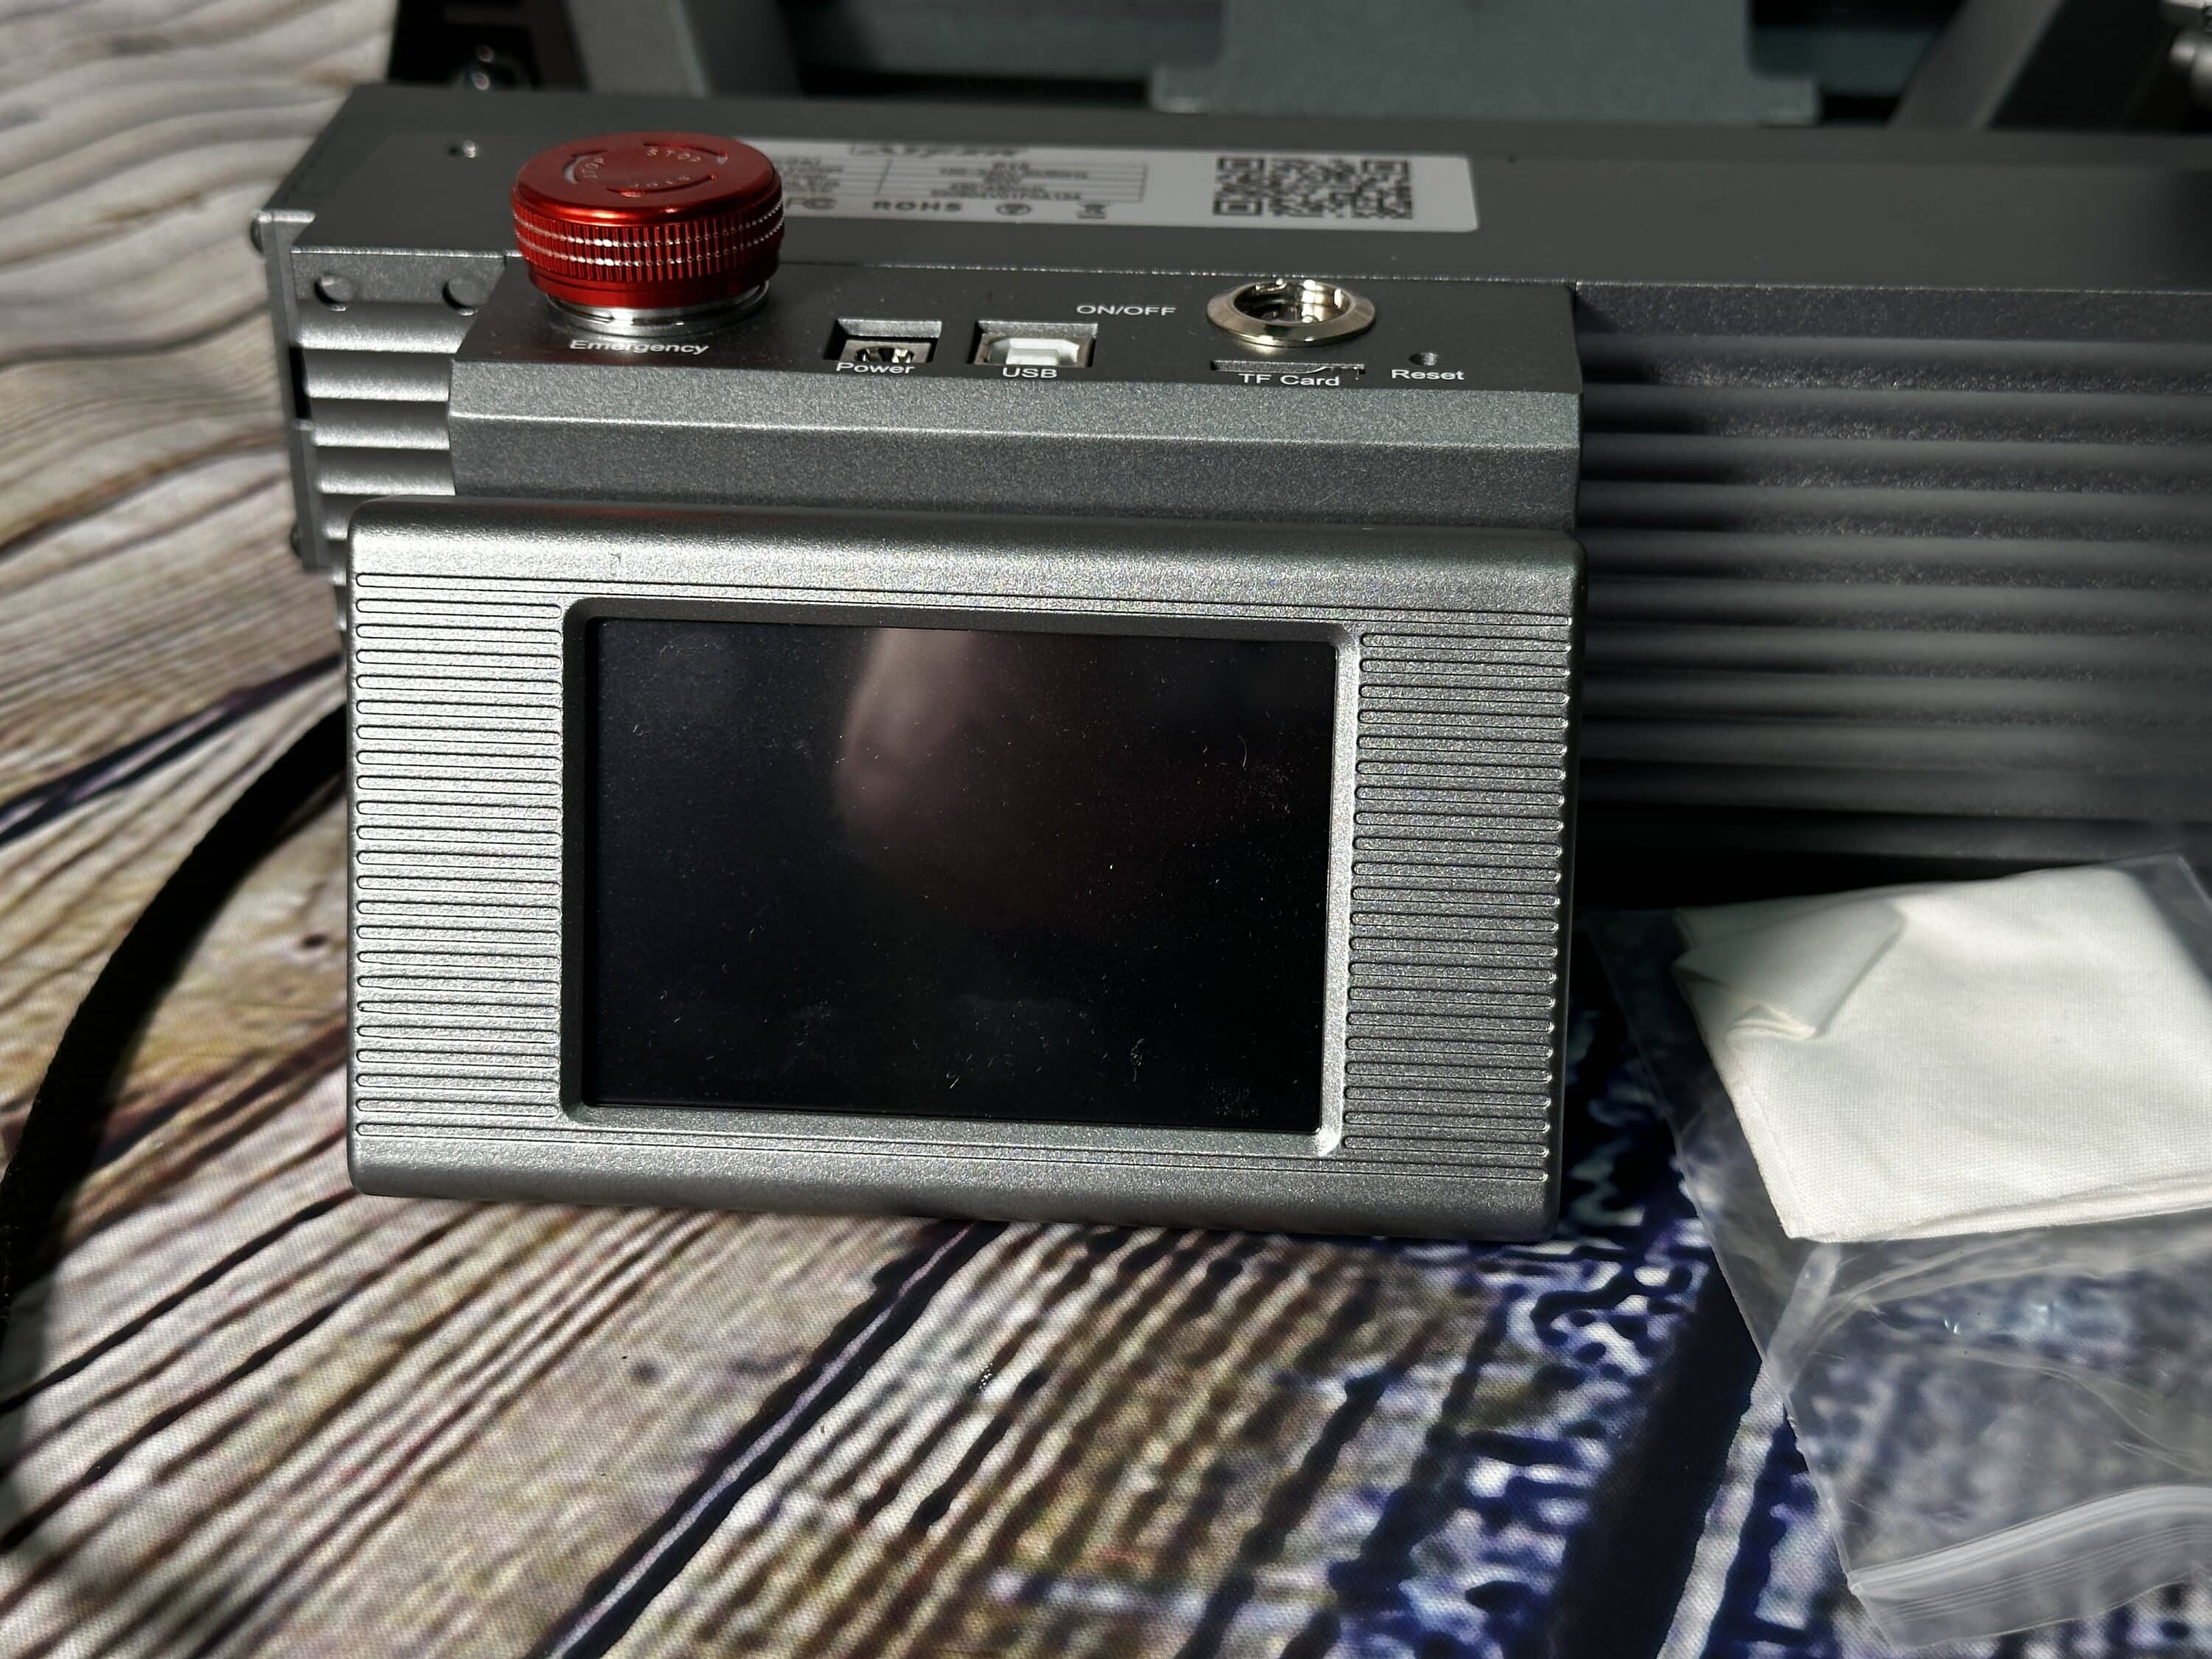
| Display | 3.5-inch touch display with color |
| Focusing method | Fixed focus lever without focusing |
| Operating systems | Windows/macOS/Android/iOS |
| Control software | LaserGRBL/LightBurn |
| Data types | SVG/DXF/JPG/JPEG/PNG/BMP/TIF/CR2 |
| Interfaces | USB/WLAN/TF card |
| Price | € 649.99* |
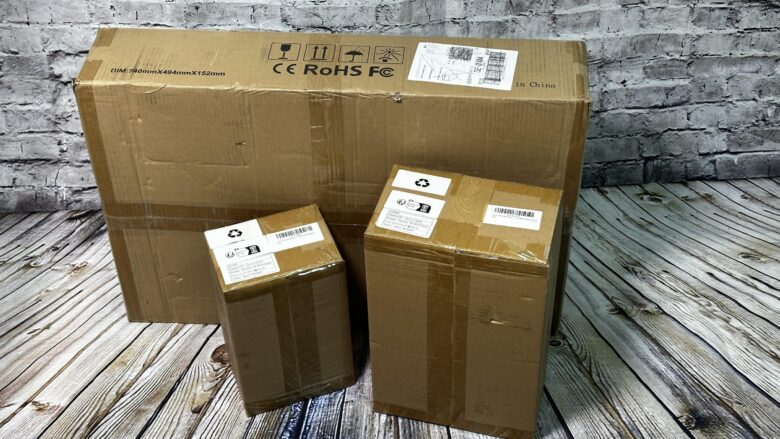
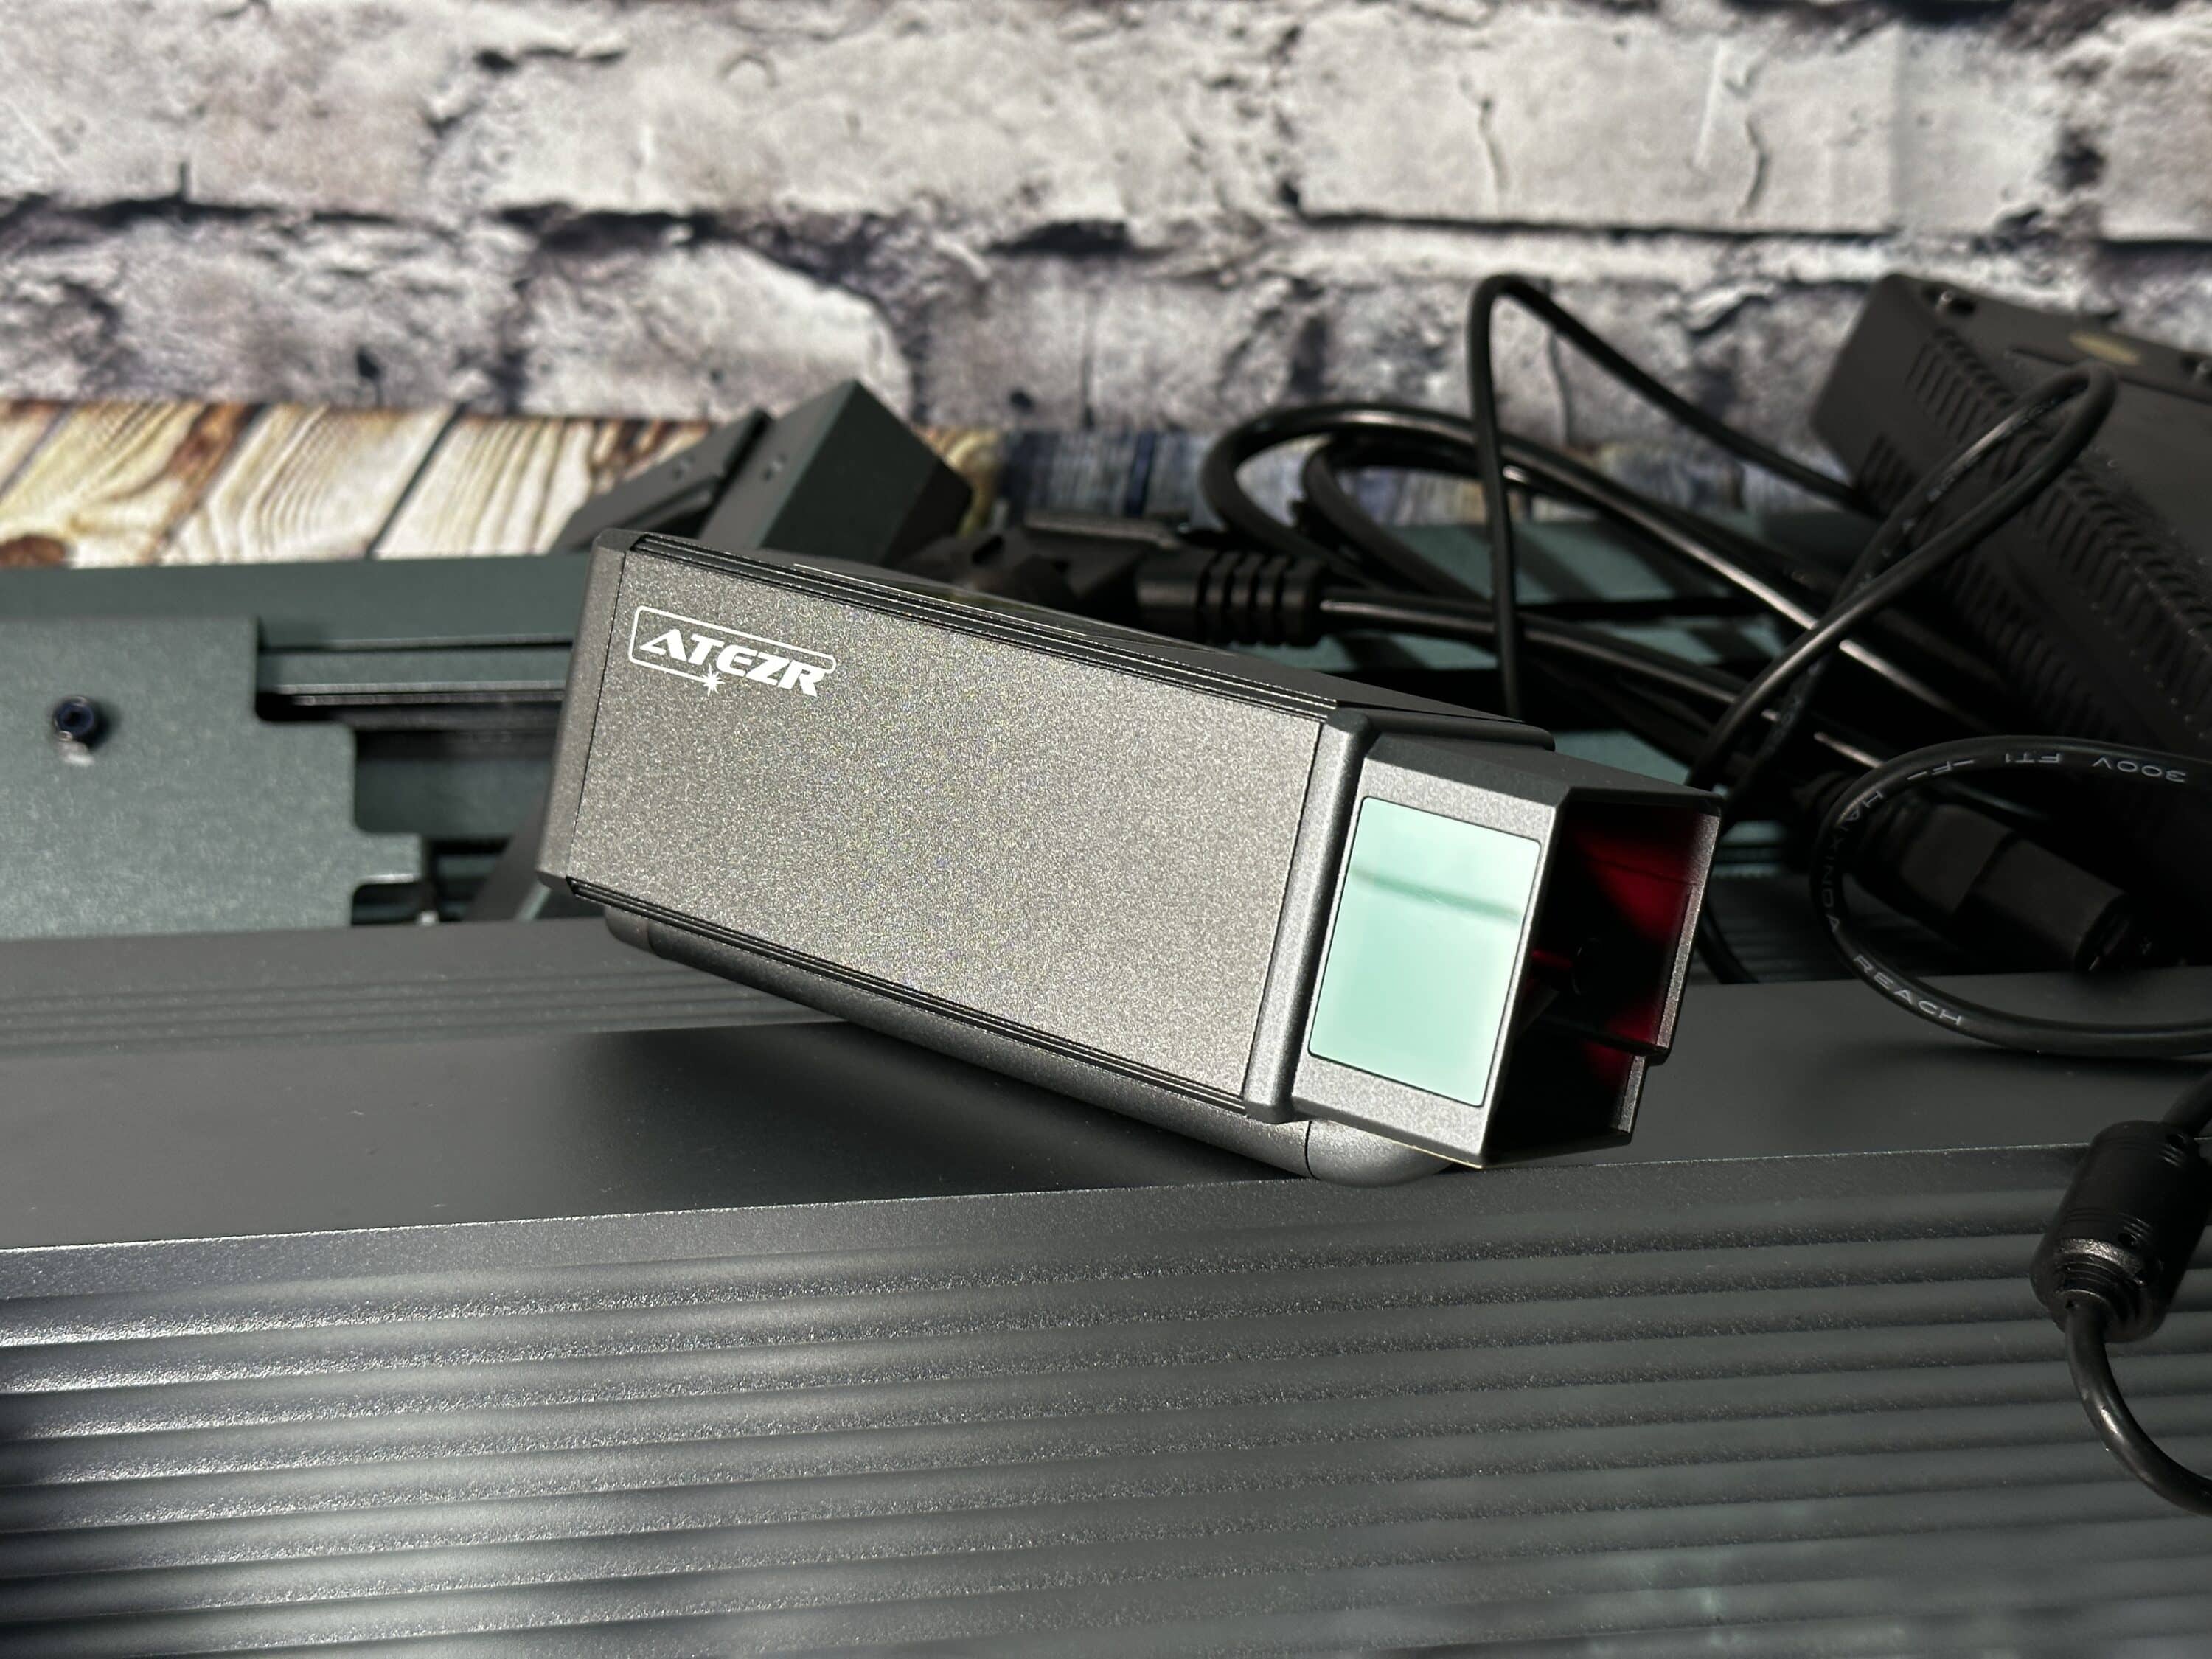
Scope of delivery
- Simple packaging
- Firmly secured
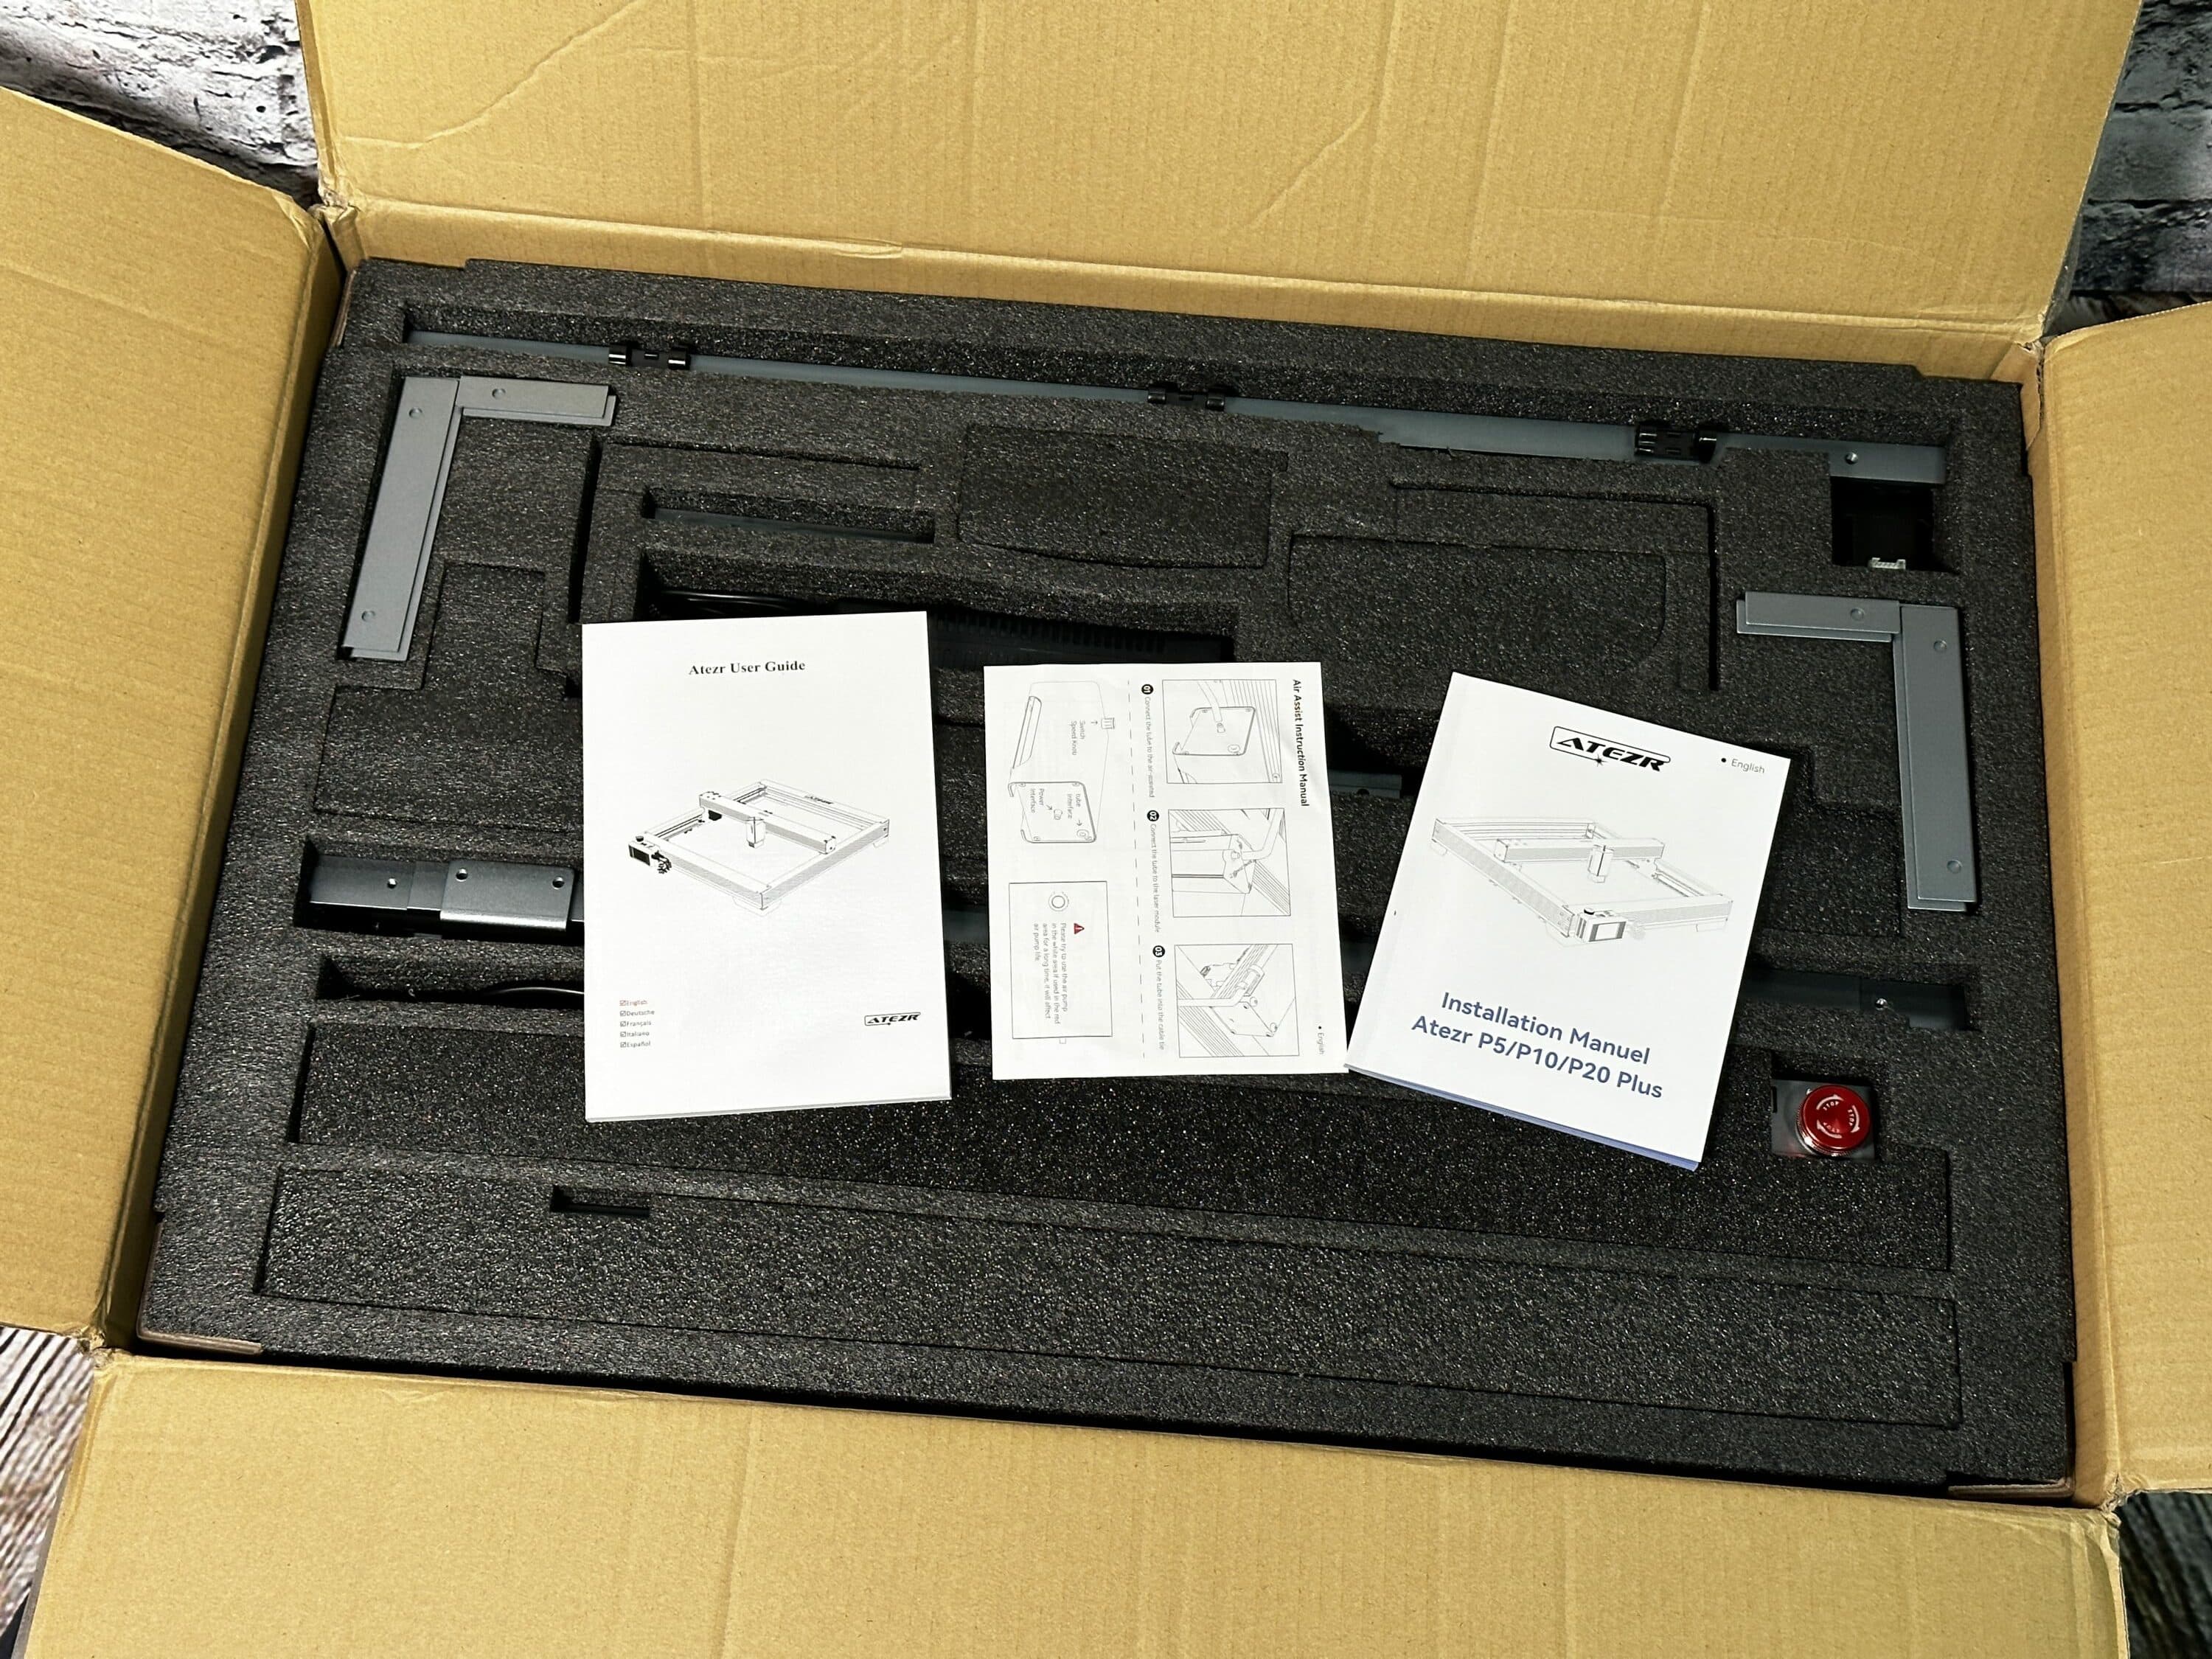
The scope of delivery of the P10 is essentially identical to that of the P5. Everything is included again, from tools and the rack itself to test material – more on that in the graphic. The only difference this time is an included HDMI display, which is a useful addition and could make it easier to use later.
Optionally, you can still buy two add-ons for the P10 in a combo set, which were also provided to us for this review. These are an Air Assist, a pump for cleaning the engraving area, and a rotary roller on which objects can be rotated to make it easier to engrave glasses, for example.
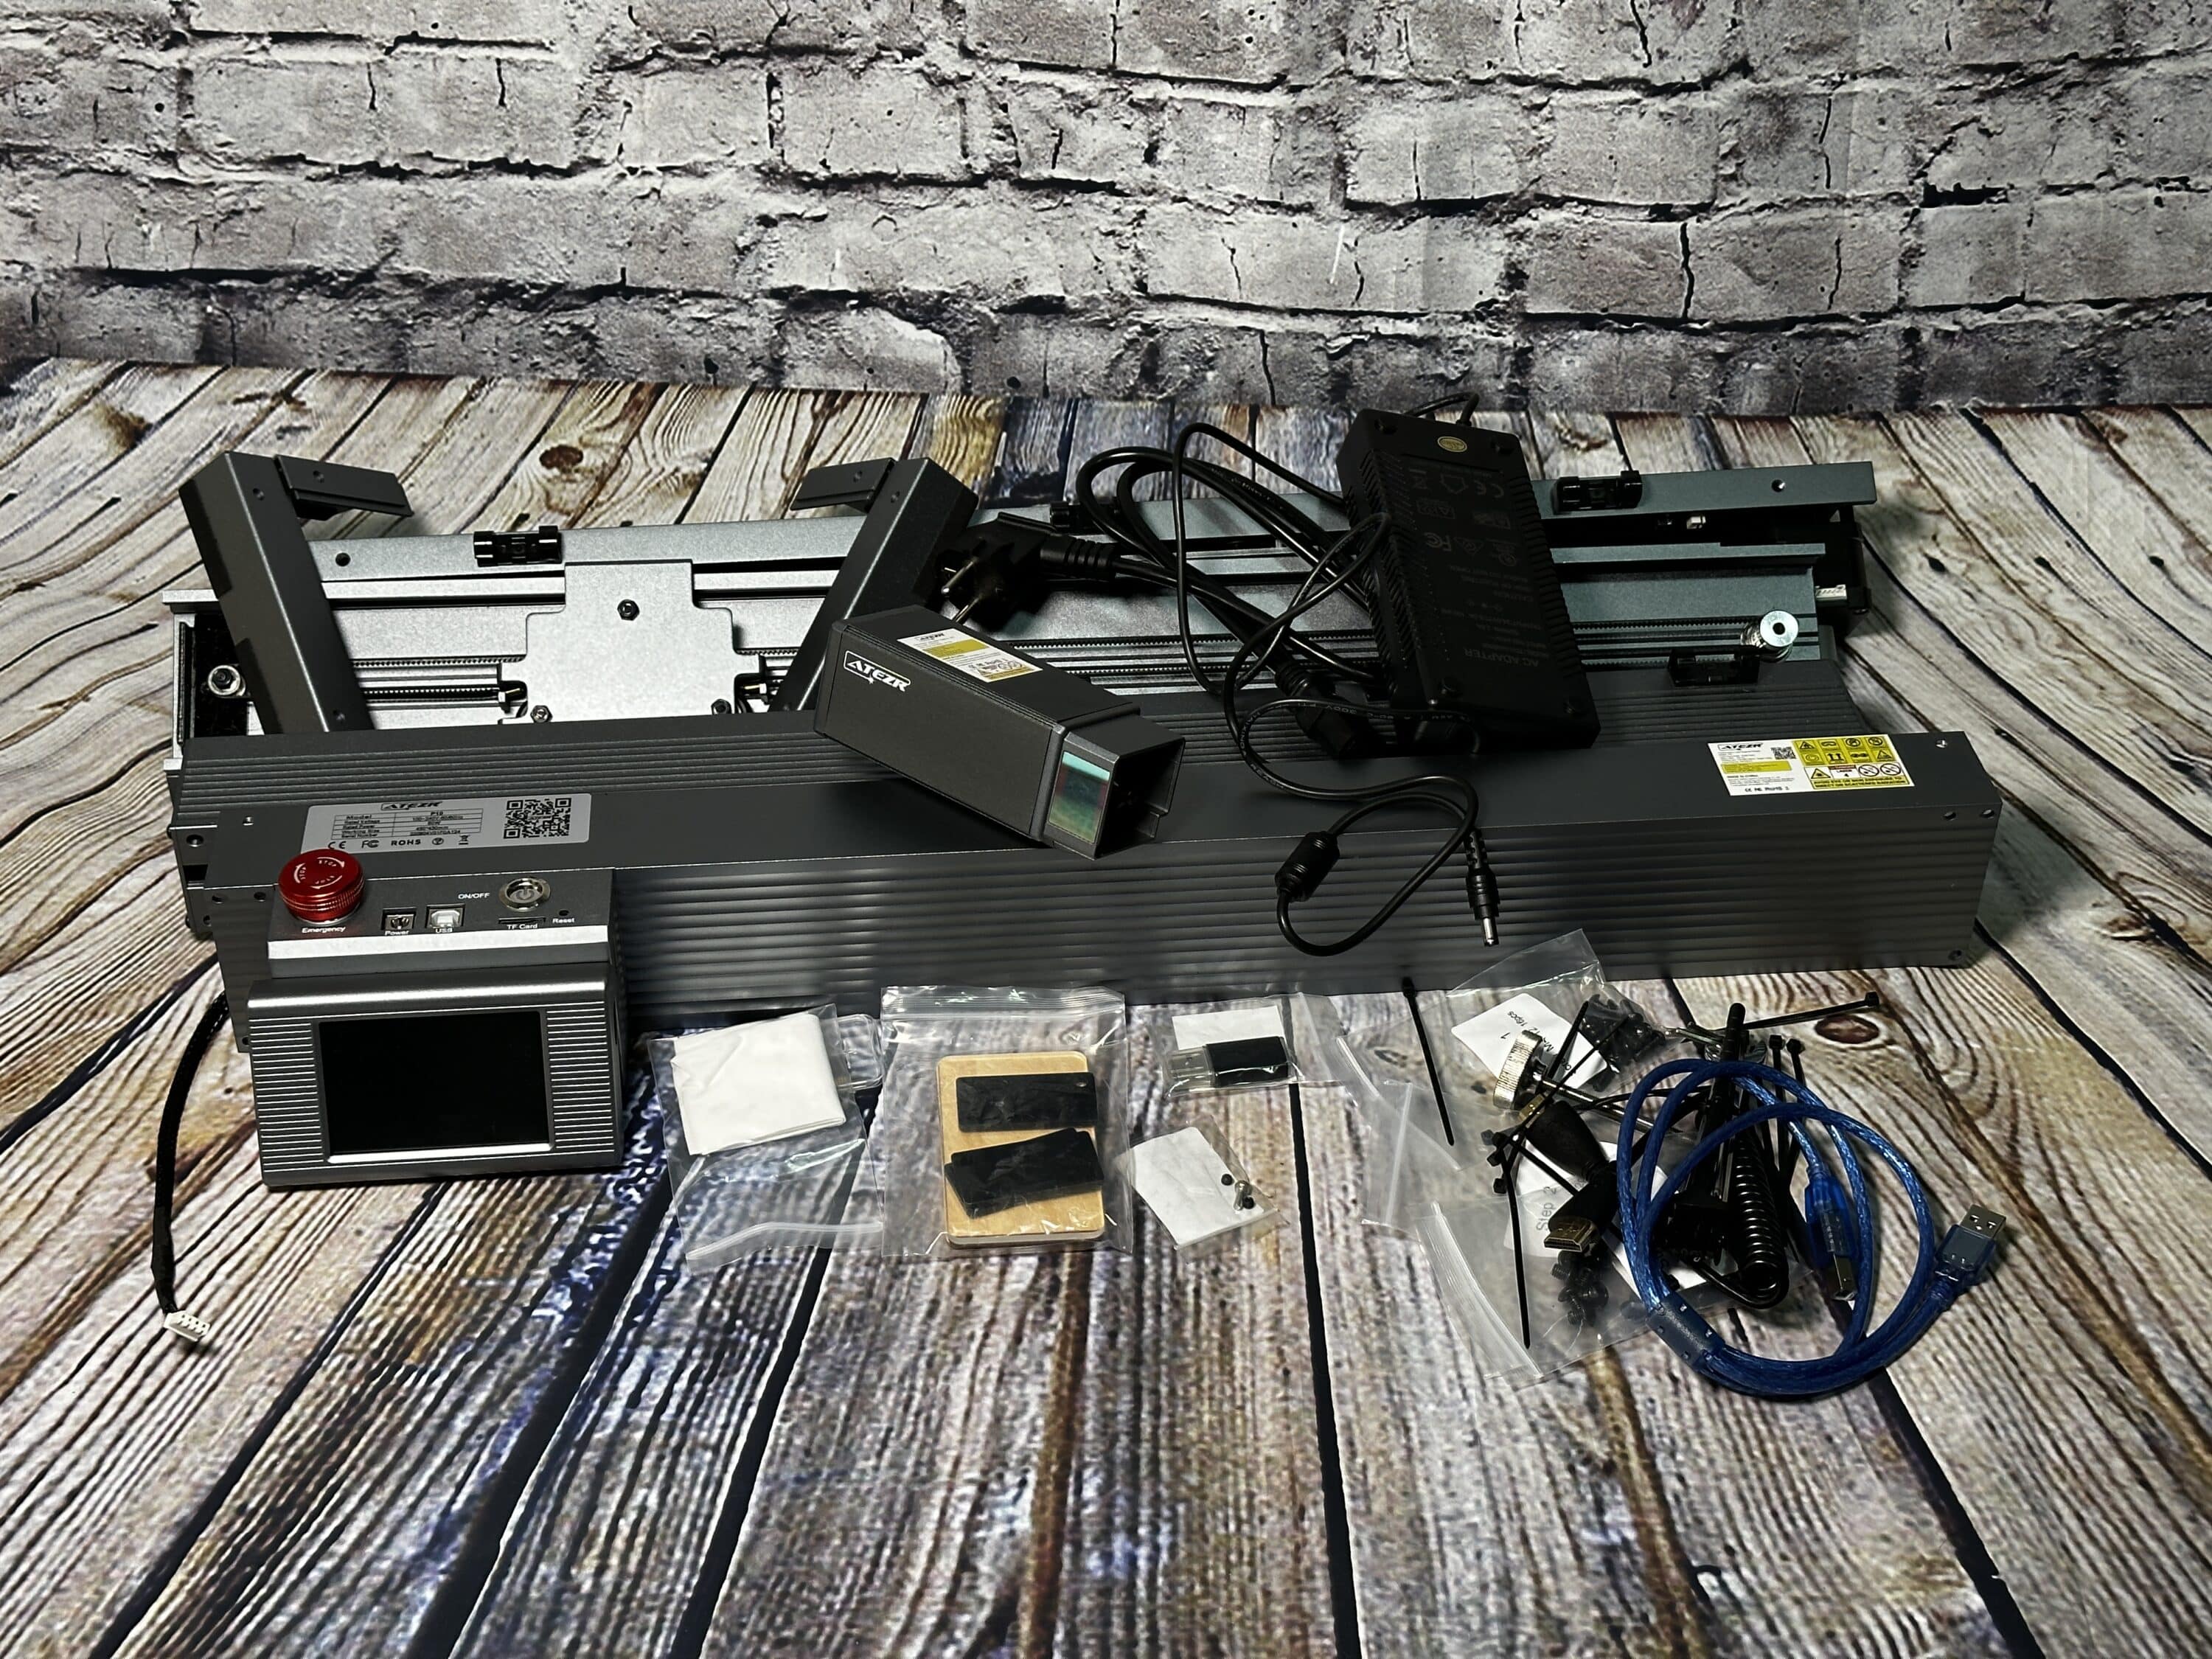
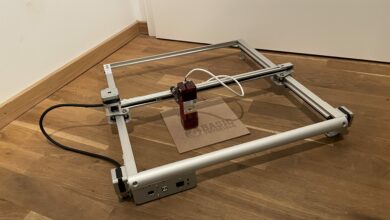
Assembly
- Assembly possible within 30 minutes
- Extensions come “out of the box”
- Well-illustrated instructions in multiple languages
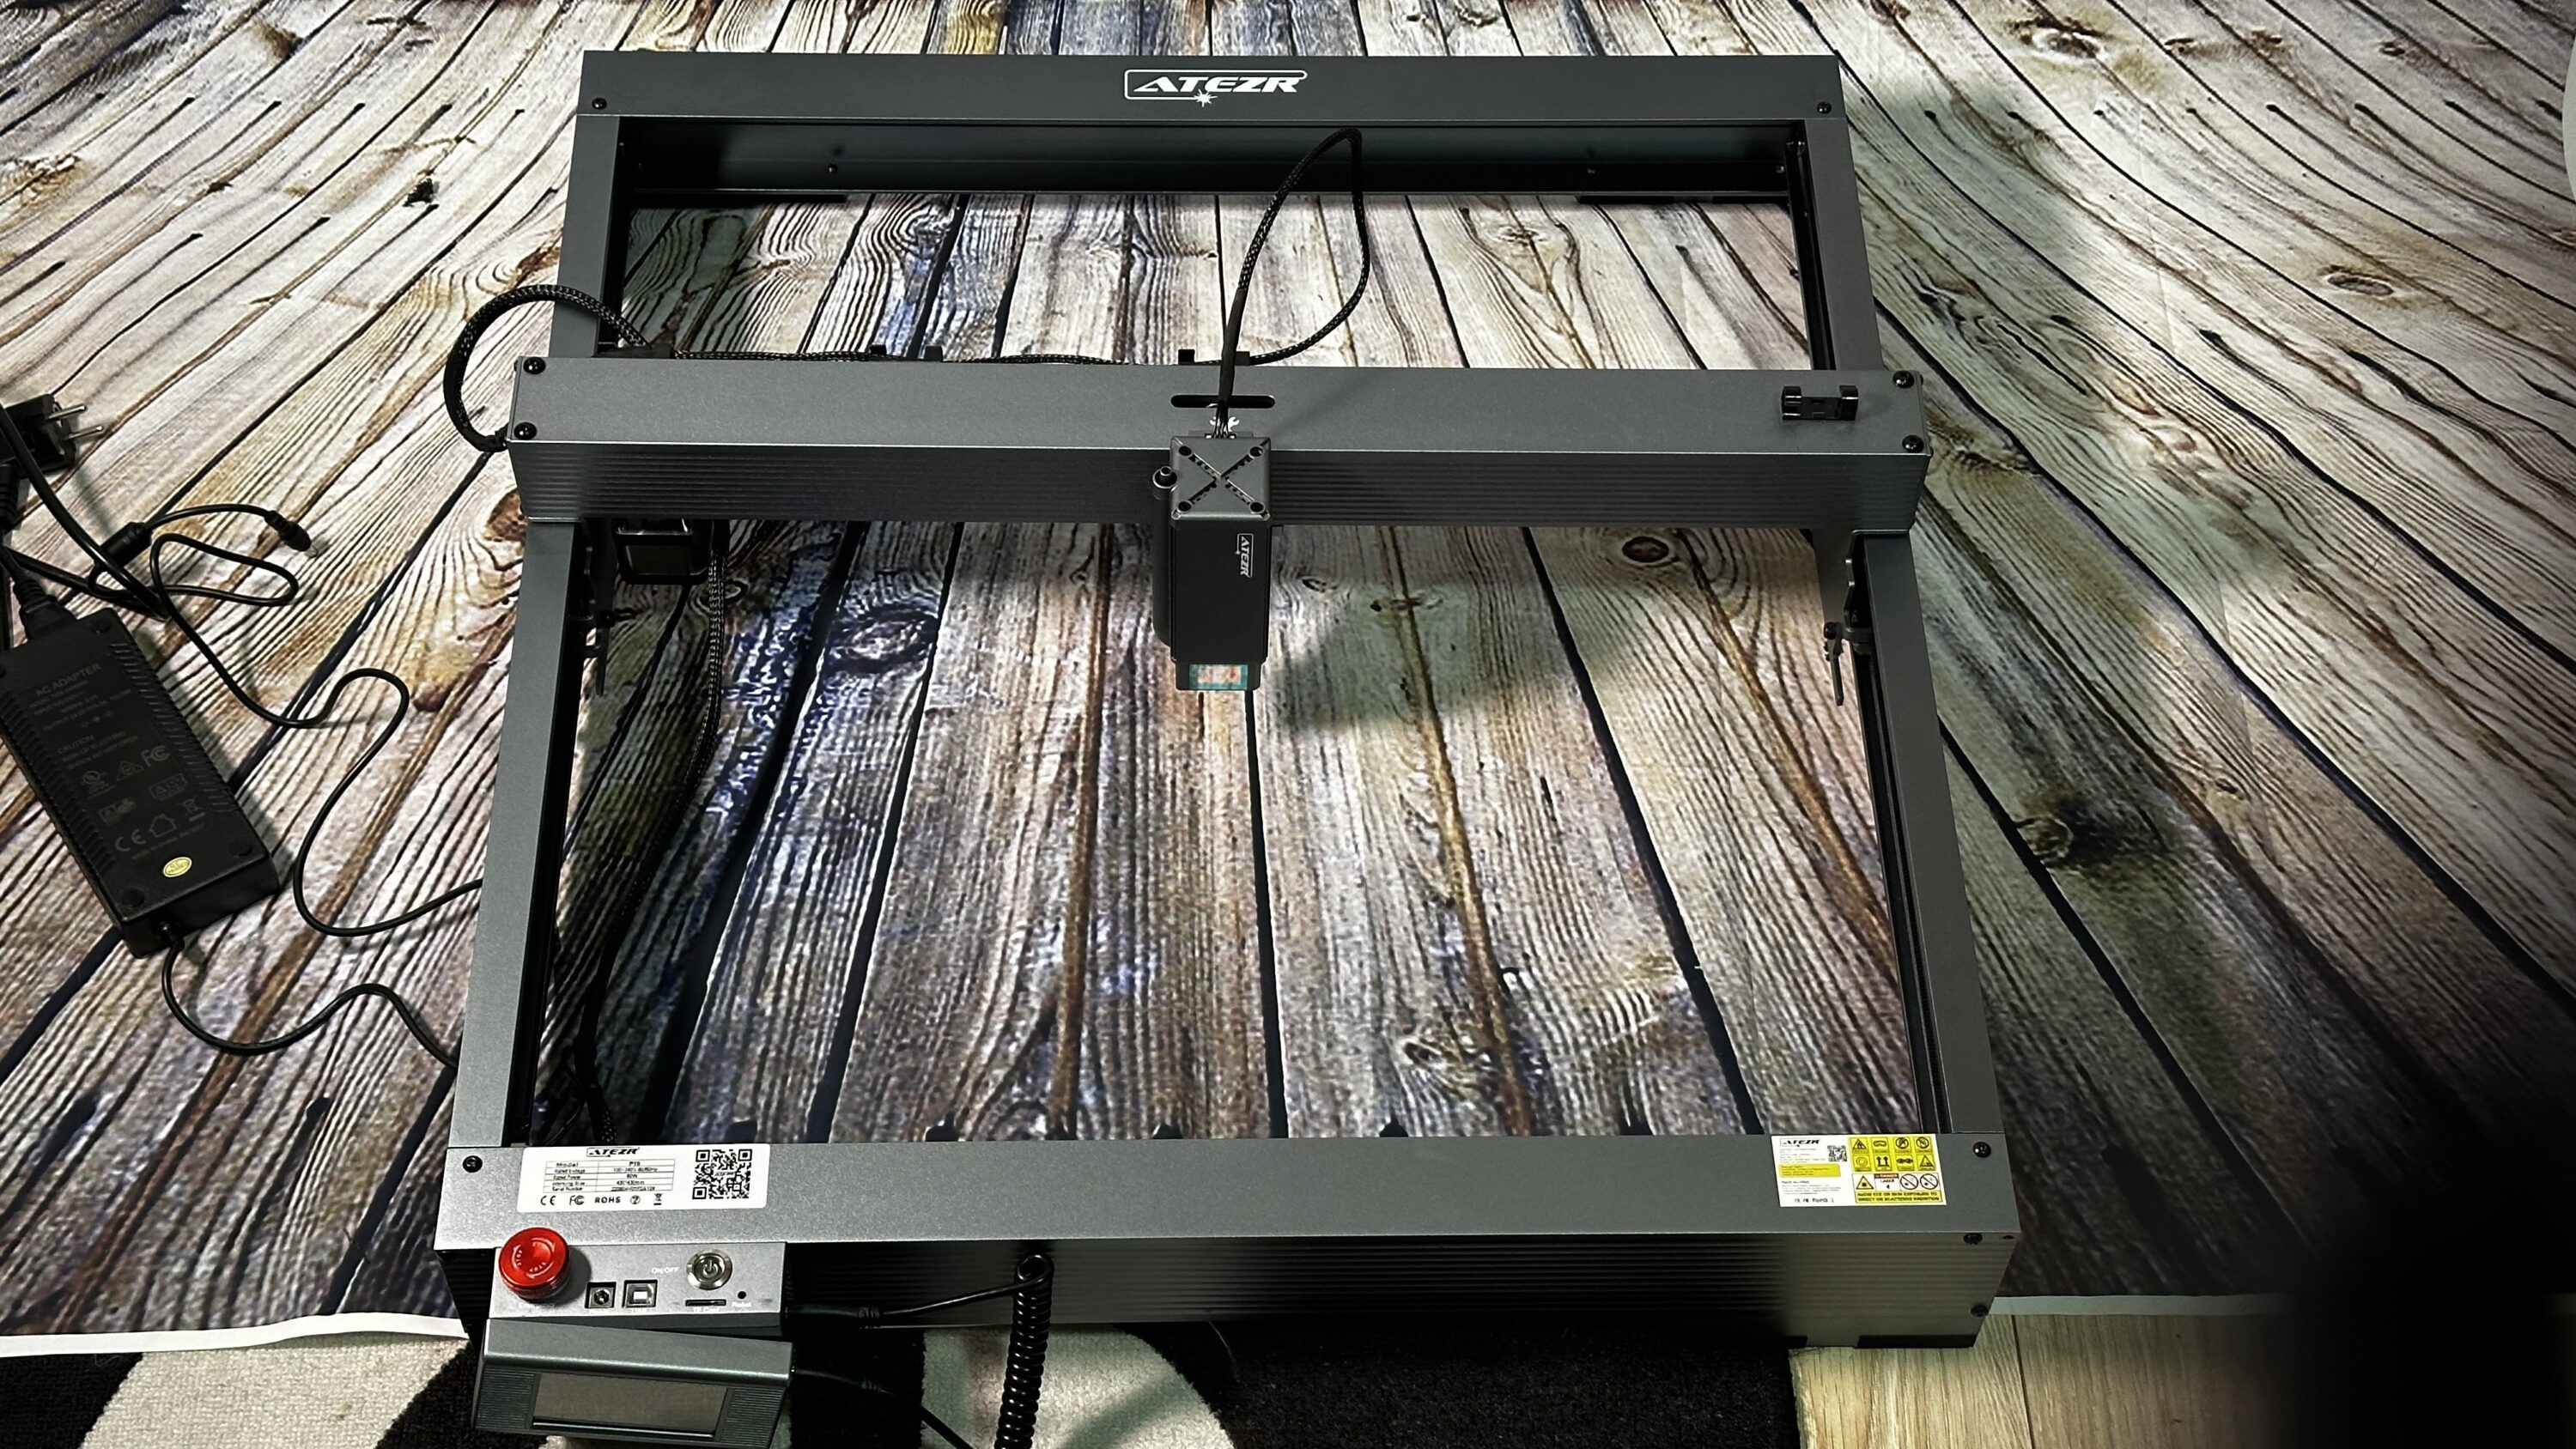
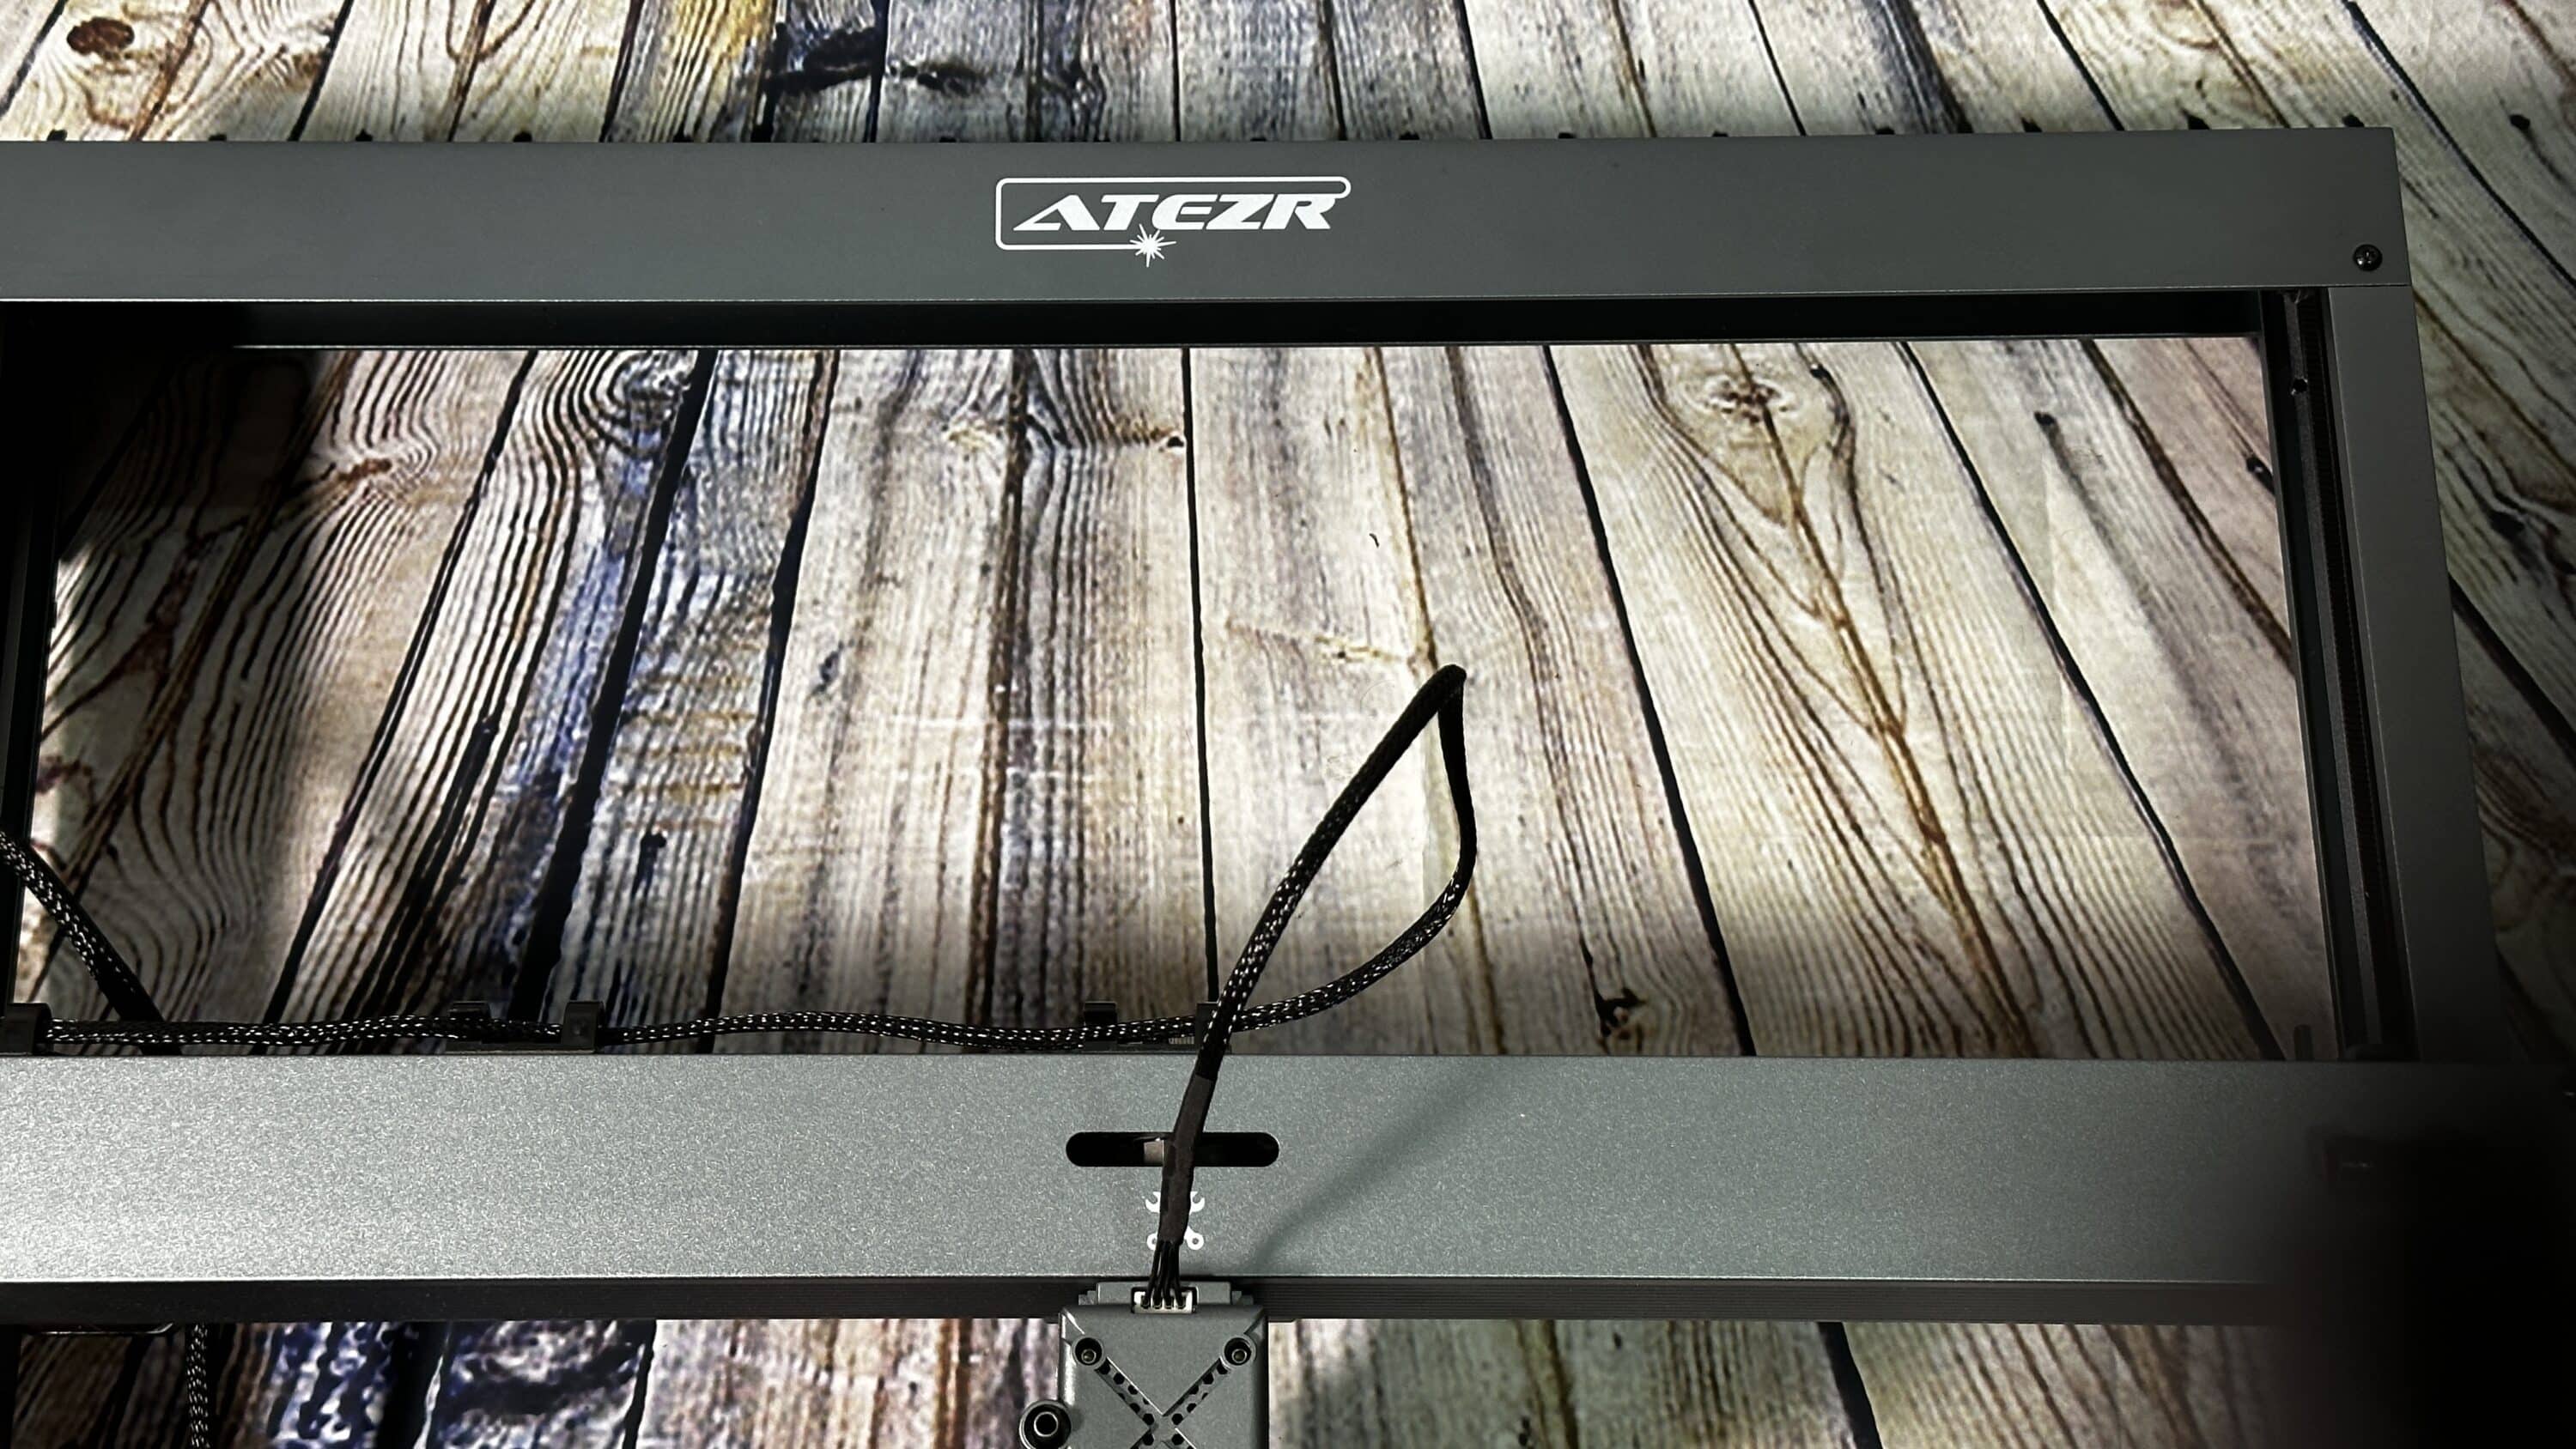
According to Atezr, the P10 takes about 20 minutes to assemble – in this case, with the experience I already had, I was able to complete the assembly a bit faster. The entire frame is identical to that of the P5, so you already knew where which part went. To the individual parts themselves can again only praise. All parts were again easy to put together and screwed together without much effort. I was already convinced by the simplicity of the P5, so that even any beginner in the field of laser engraving can assemble the frame in no time. If you want to know more about the assembly, feel free to read my review of the P5.
The situation is similar with the rotation roller and the Air Assist. Both add-ons are ready to use virtually “out of the box”. With the pump, all you have to do is connect the hose from the pump to the laser head and you’re ready to go. The situation is similar with the rotation roller, although you can initially mount higher feet here, but you don’t have to if you have the option of setting the frame higher. The time required is a maximum of 10 minutes in total, 5 minutes per extension.
Software
- Clearly designed and user-friendly app with new features
- Little selectable content
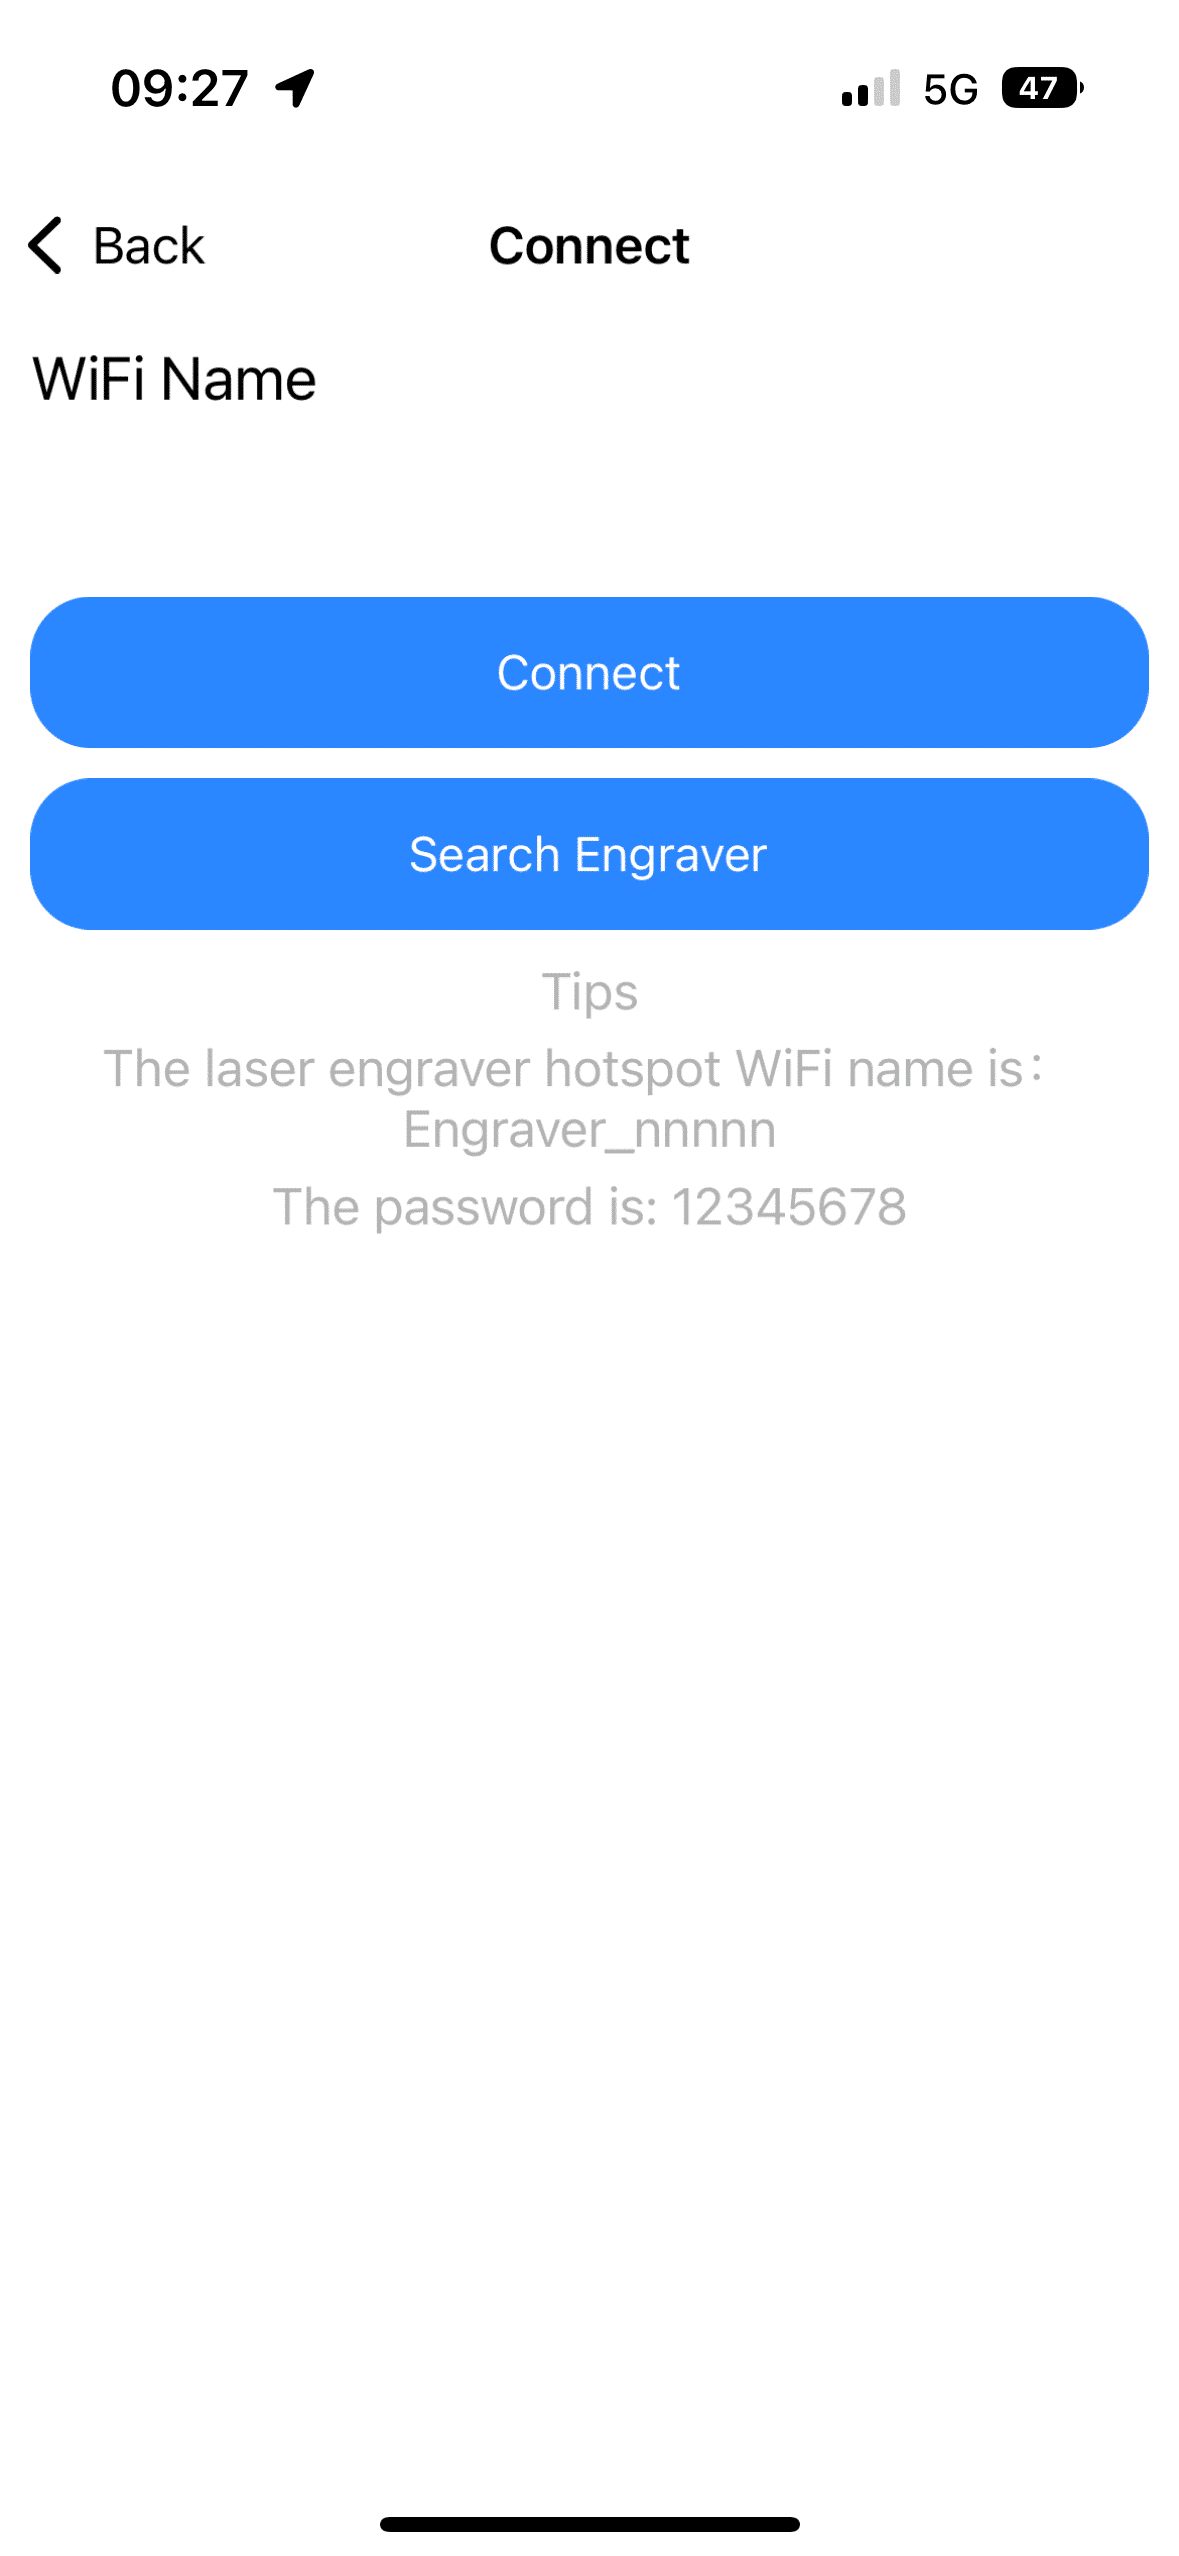
For controlling the P10, Atezr offers two options – Control via the “Atezr Laser” app and the much more involved process of creating a G-code file via e.g. LaserGRBL or LightBurn, but which offers much more customization options in return. As in the previous test, I opted for the simple variant via the app for the first steps. The app can be easily downloaded for free from the Apple App Store as well as the Google Play Store and setup is done within 5 minutes. Download, connect the engraver via a WiFi hotspot, and you’re ready to start your first engraving. As with the P5, there is nothing to complain about here and I am impressed with the simplicity.
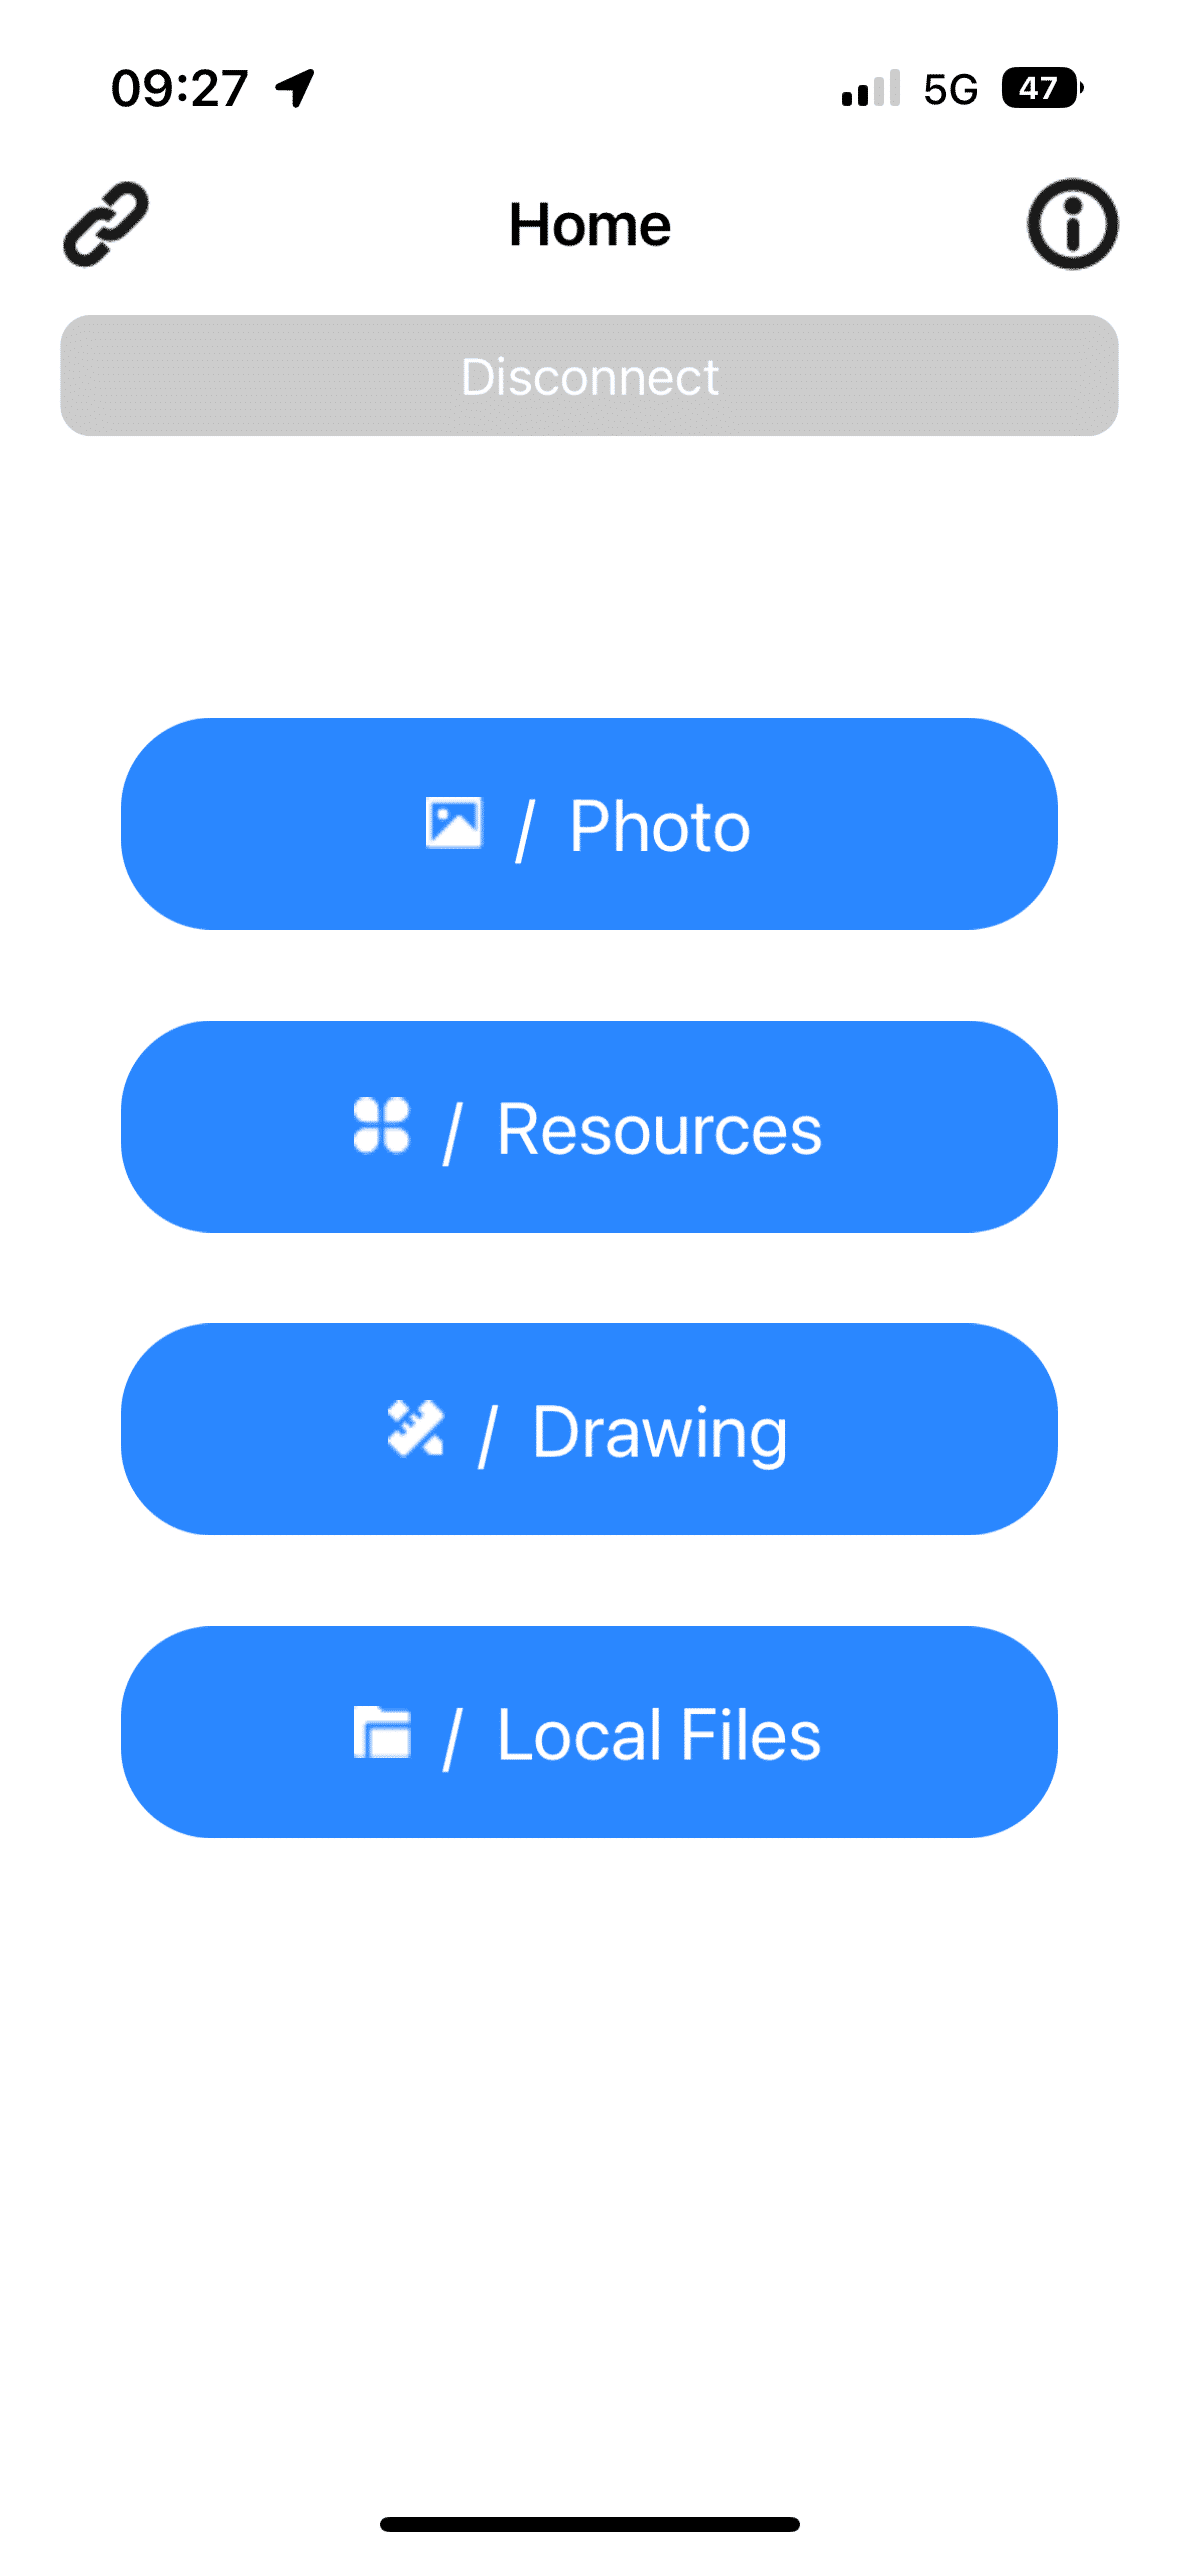
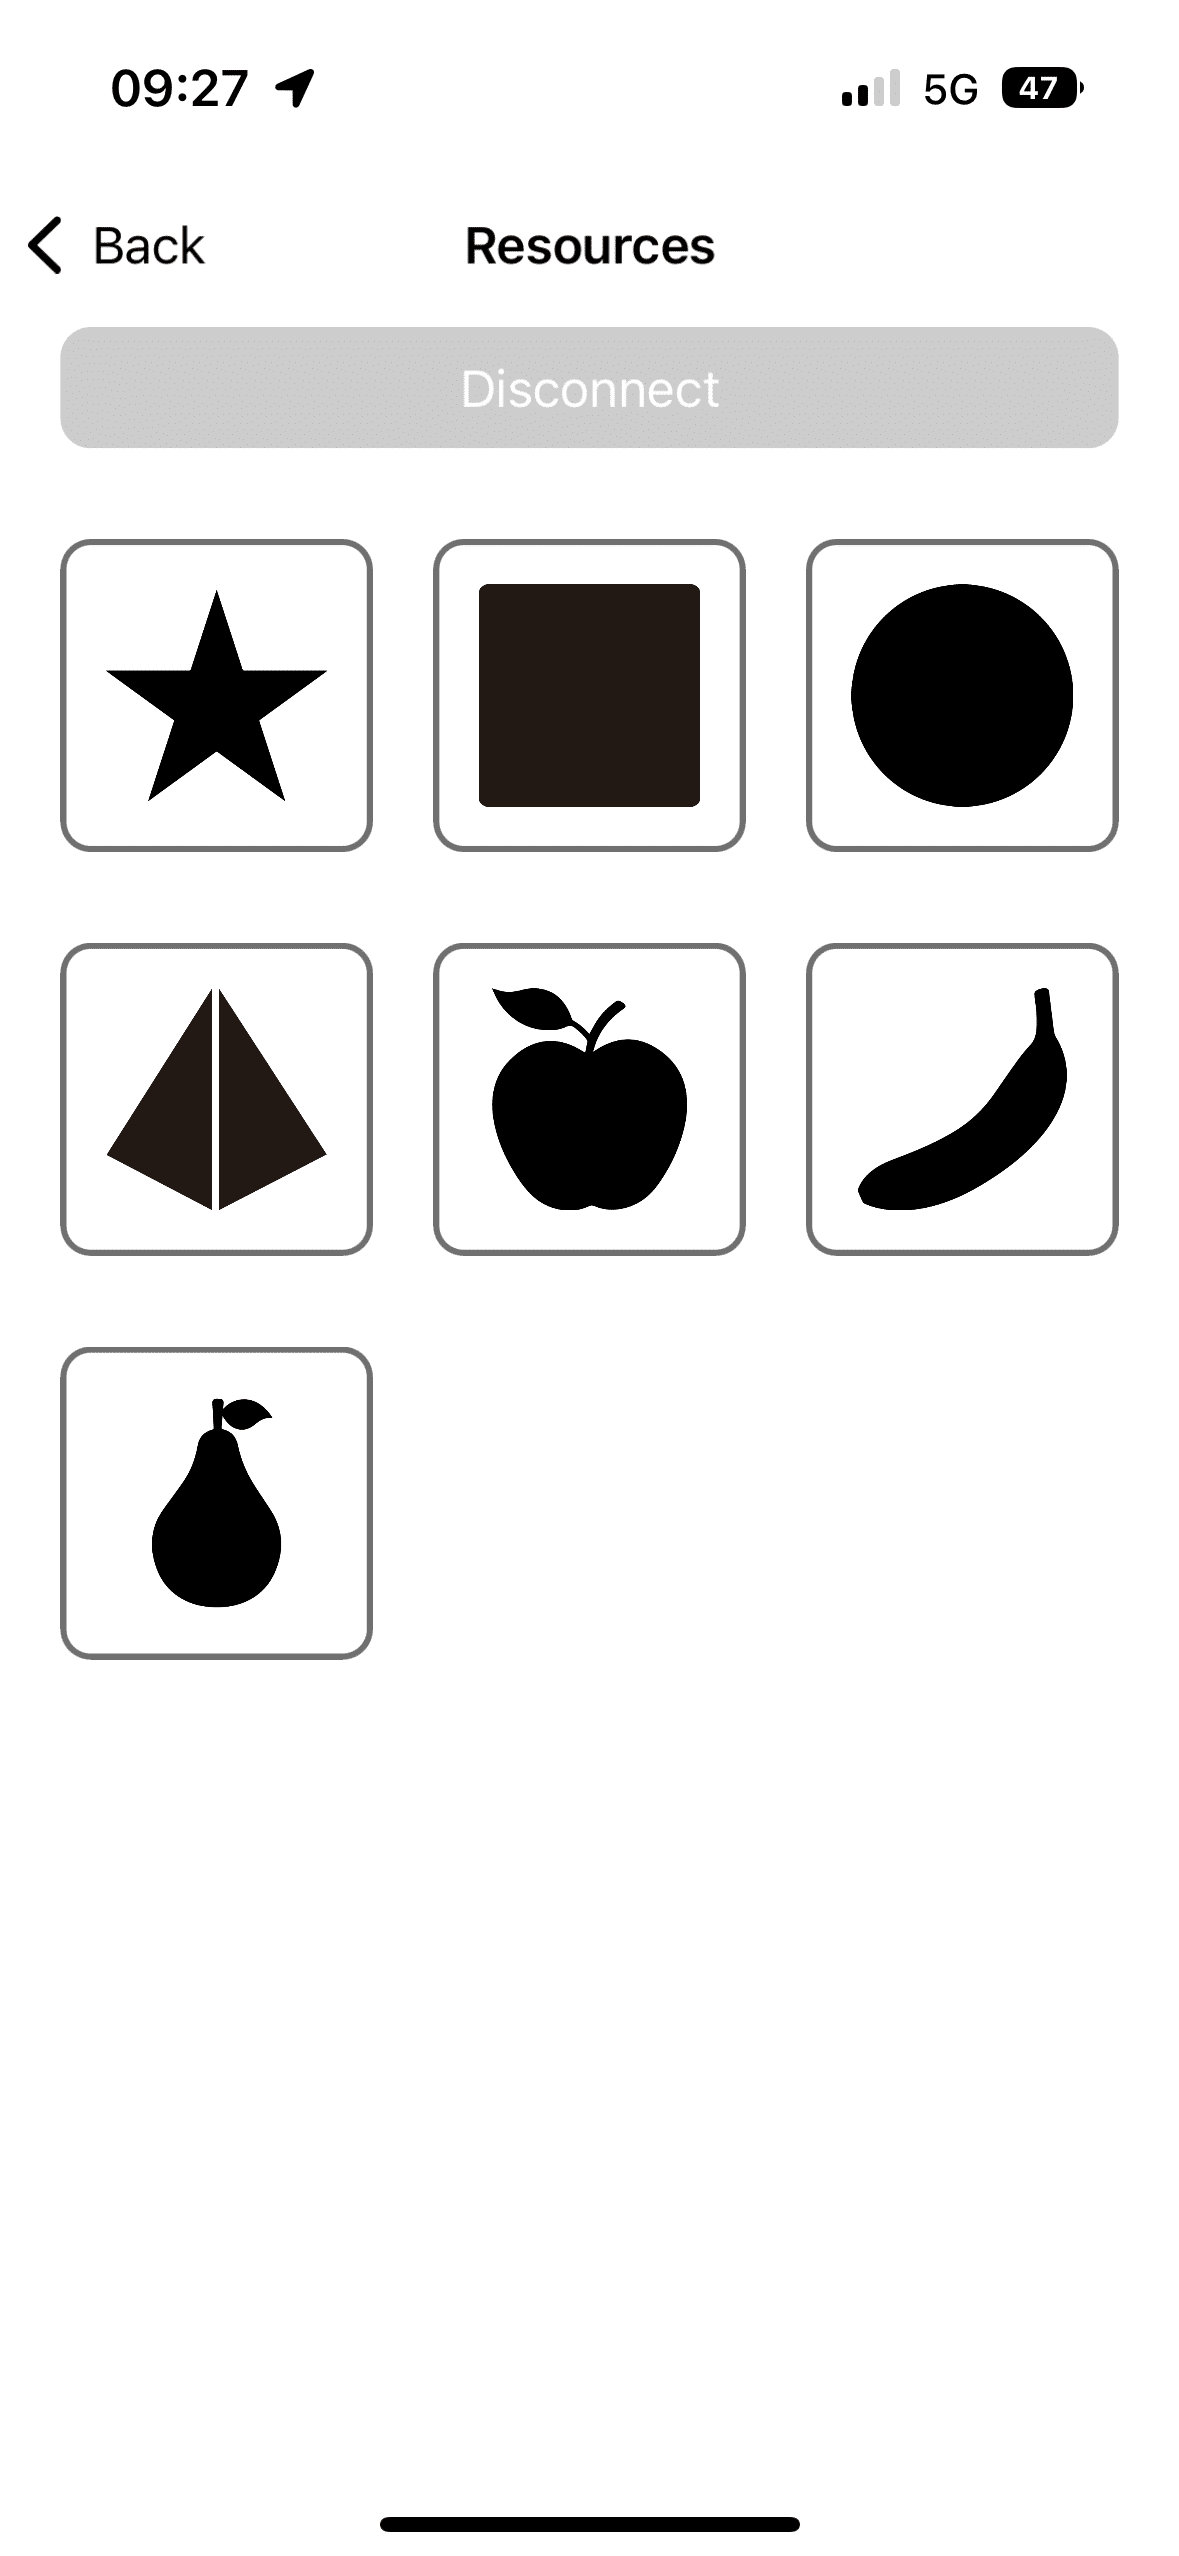
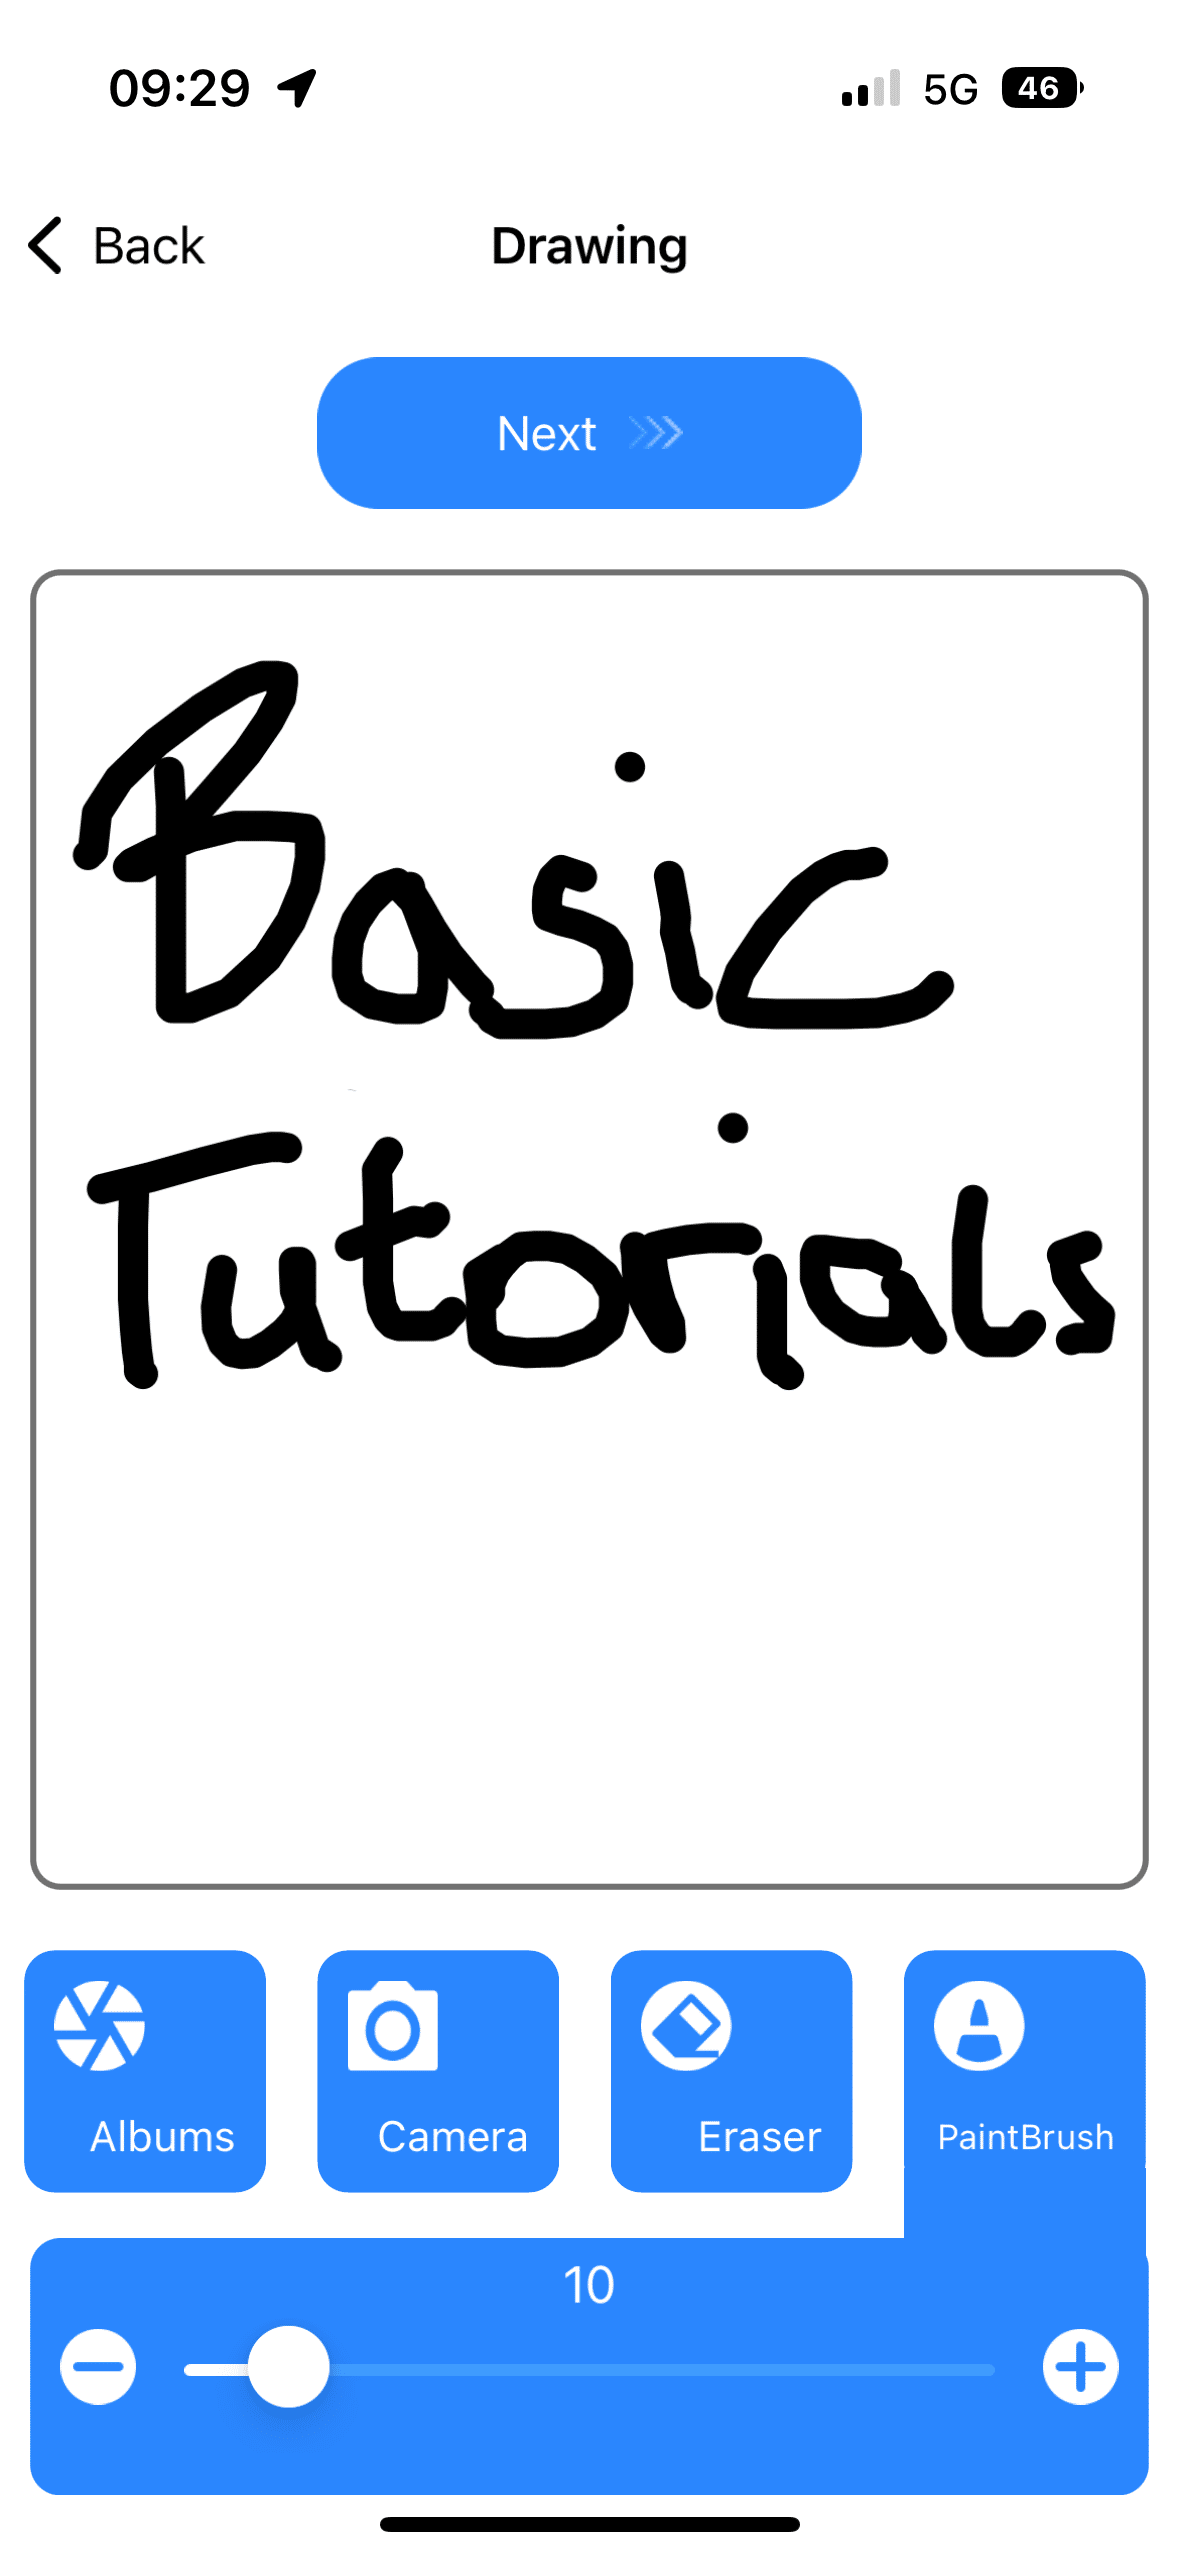
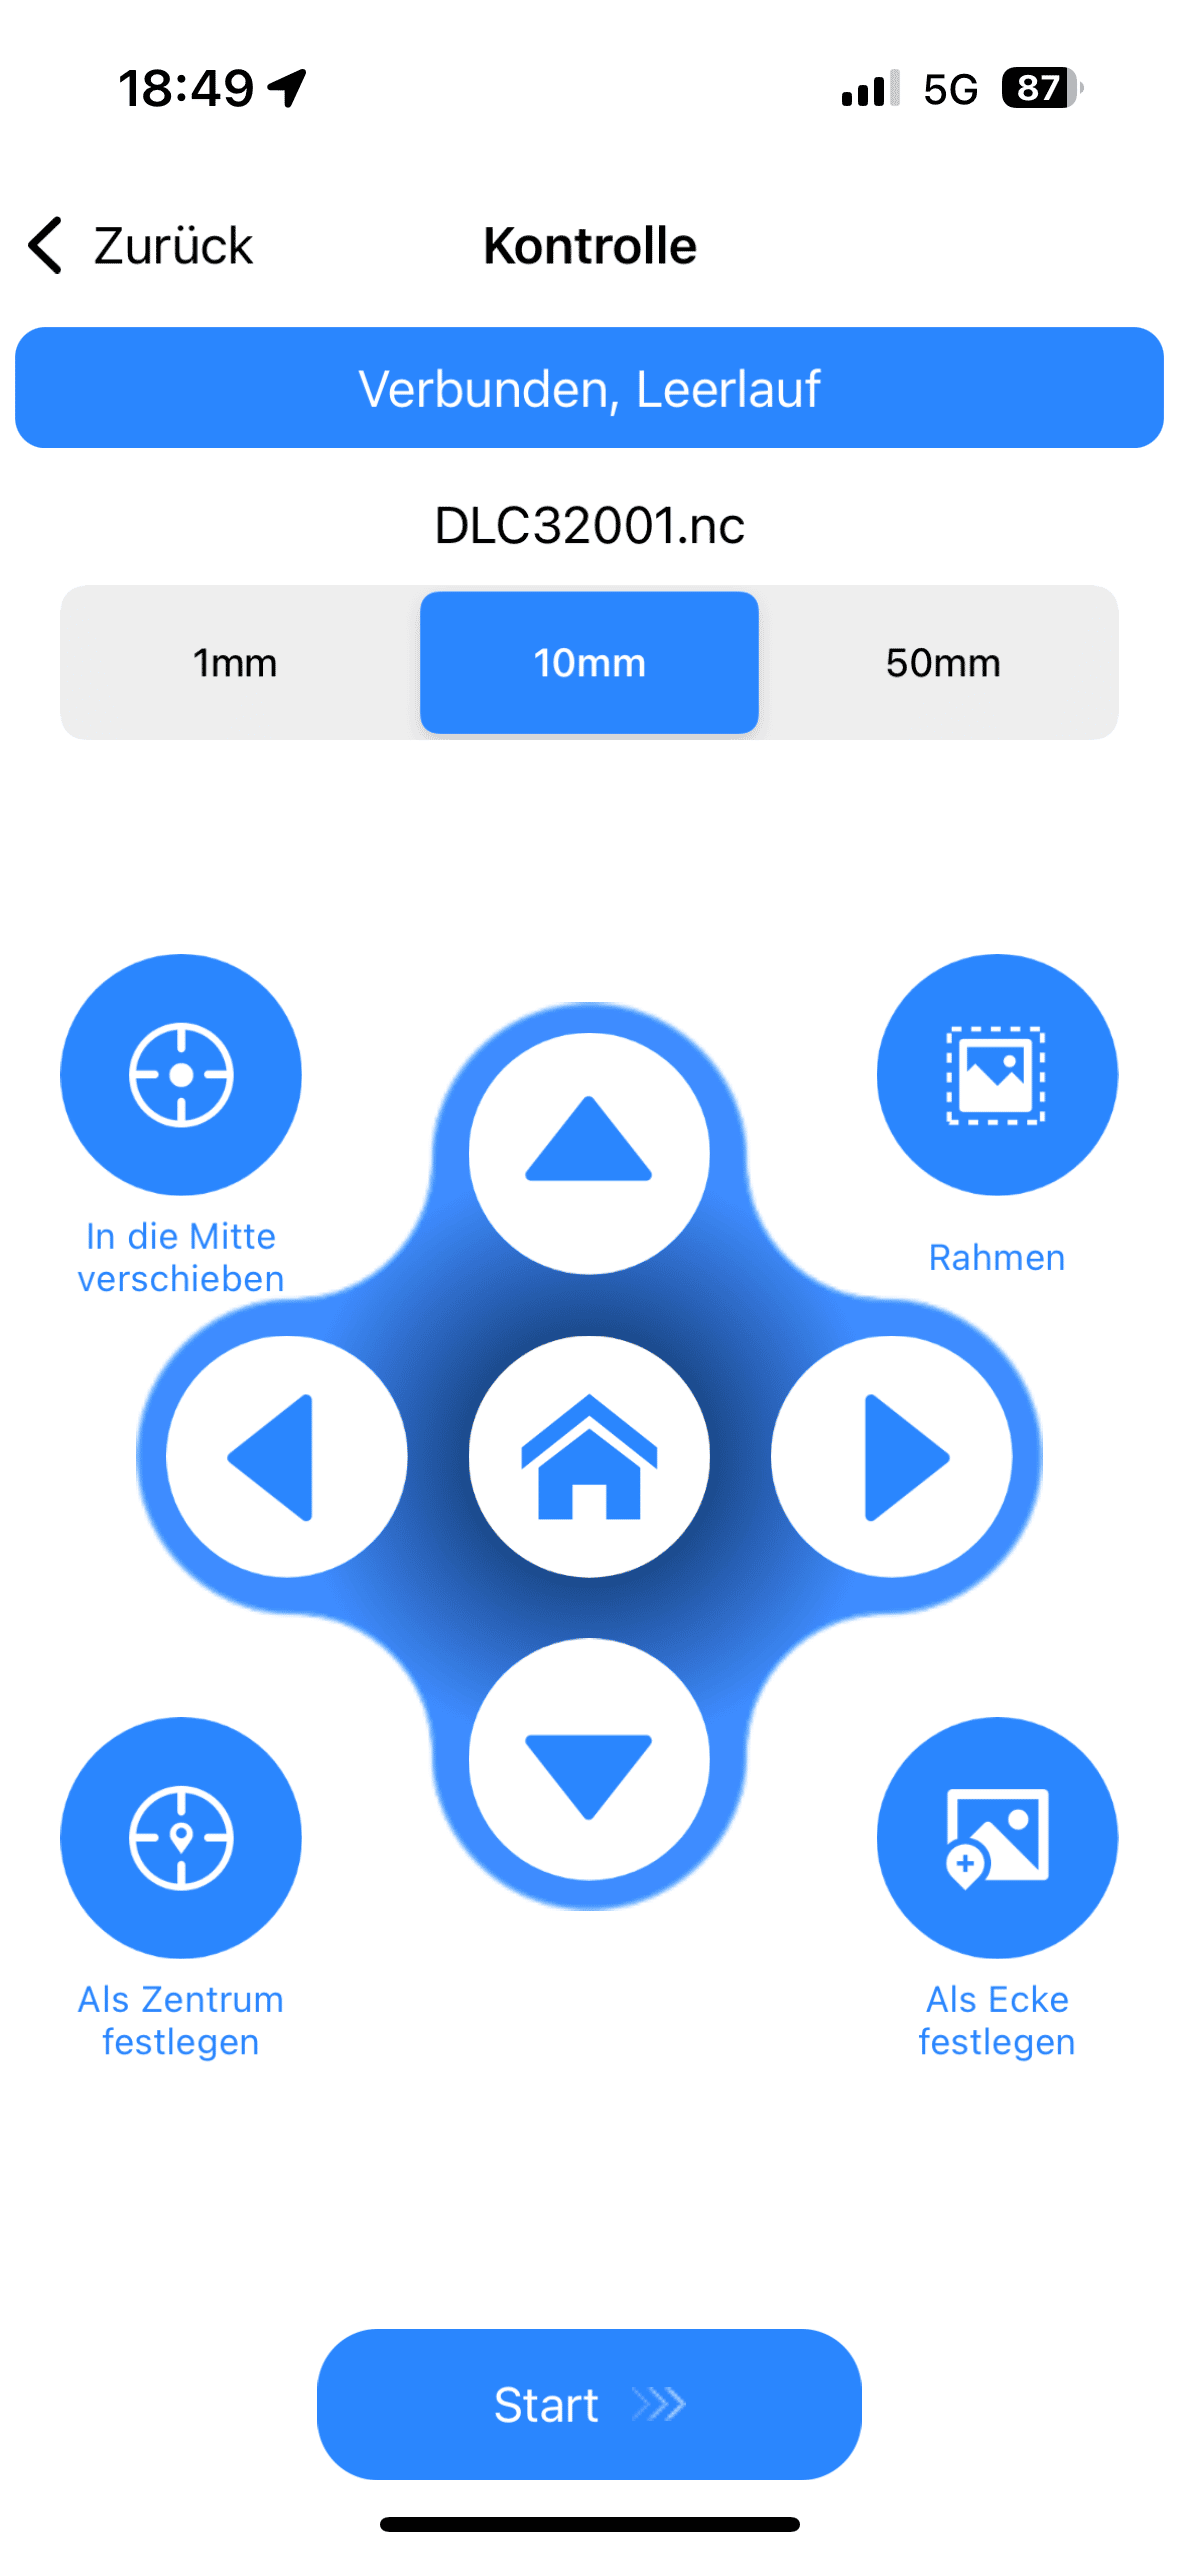
Let’s briefly return to the app’s content. There are a total of four functions available in the app itself – photo, resources, characters, and local files. One selects the desired function, chooses a subject and sets the right parameters for the material. In the next step, the app already sends a generated G-code file to the engraver and you can start. If you now have a G-code file on the microSD card, you can also start the engraving via the touch screen. Thus, you are no longer bound to an app on the smartphone, which can make working with the P10 easier in some cases.
Practical experience
- Easy to use via app, display somewhat redundant
- Good final quality
- Continued issues with clear acrylic
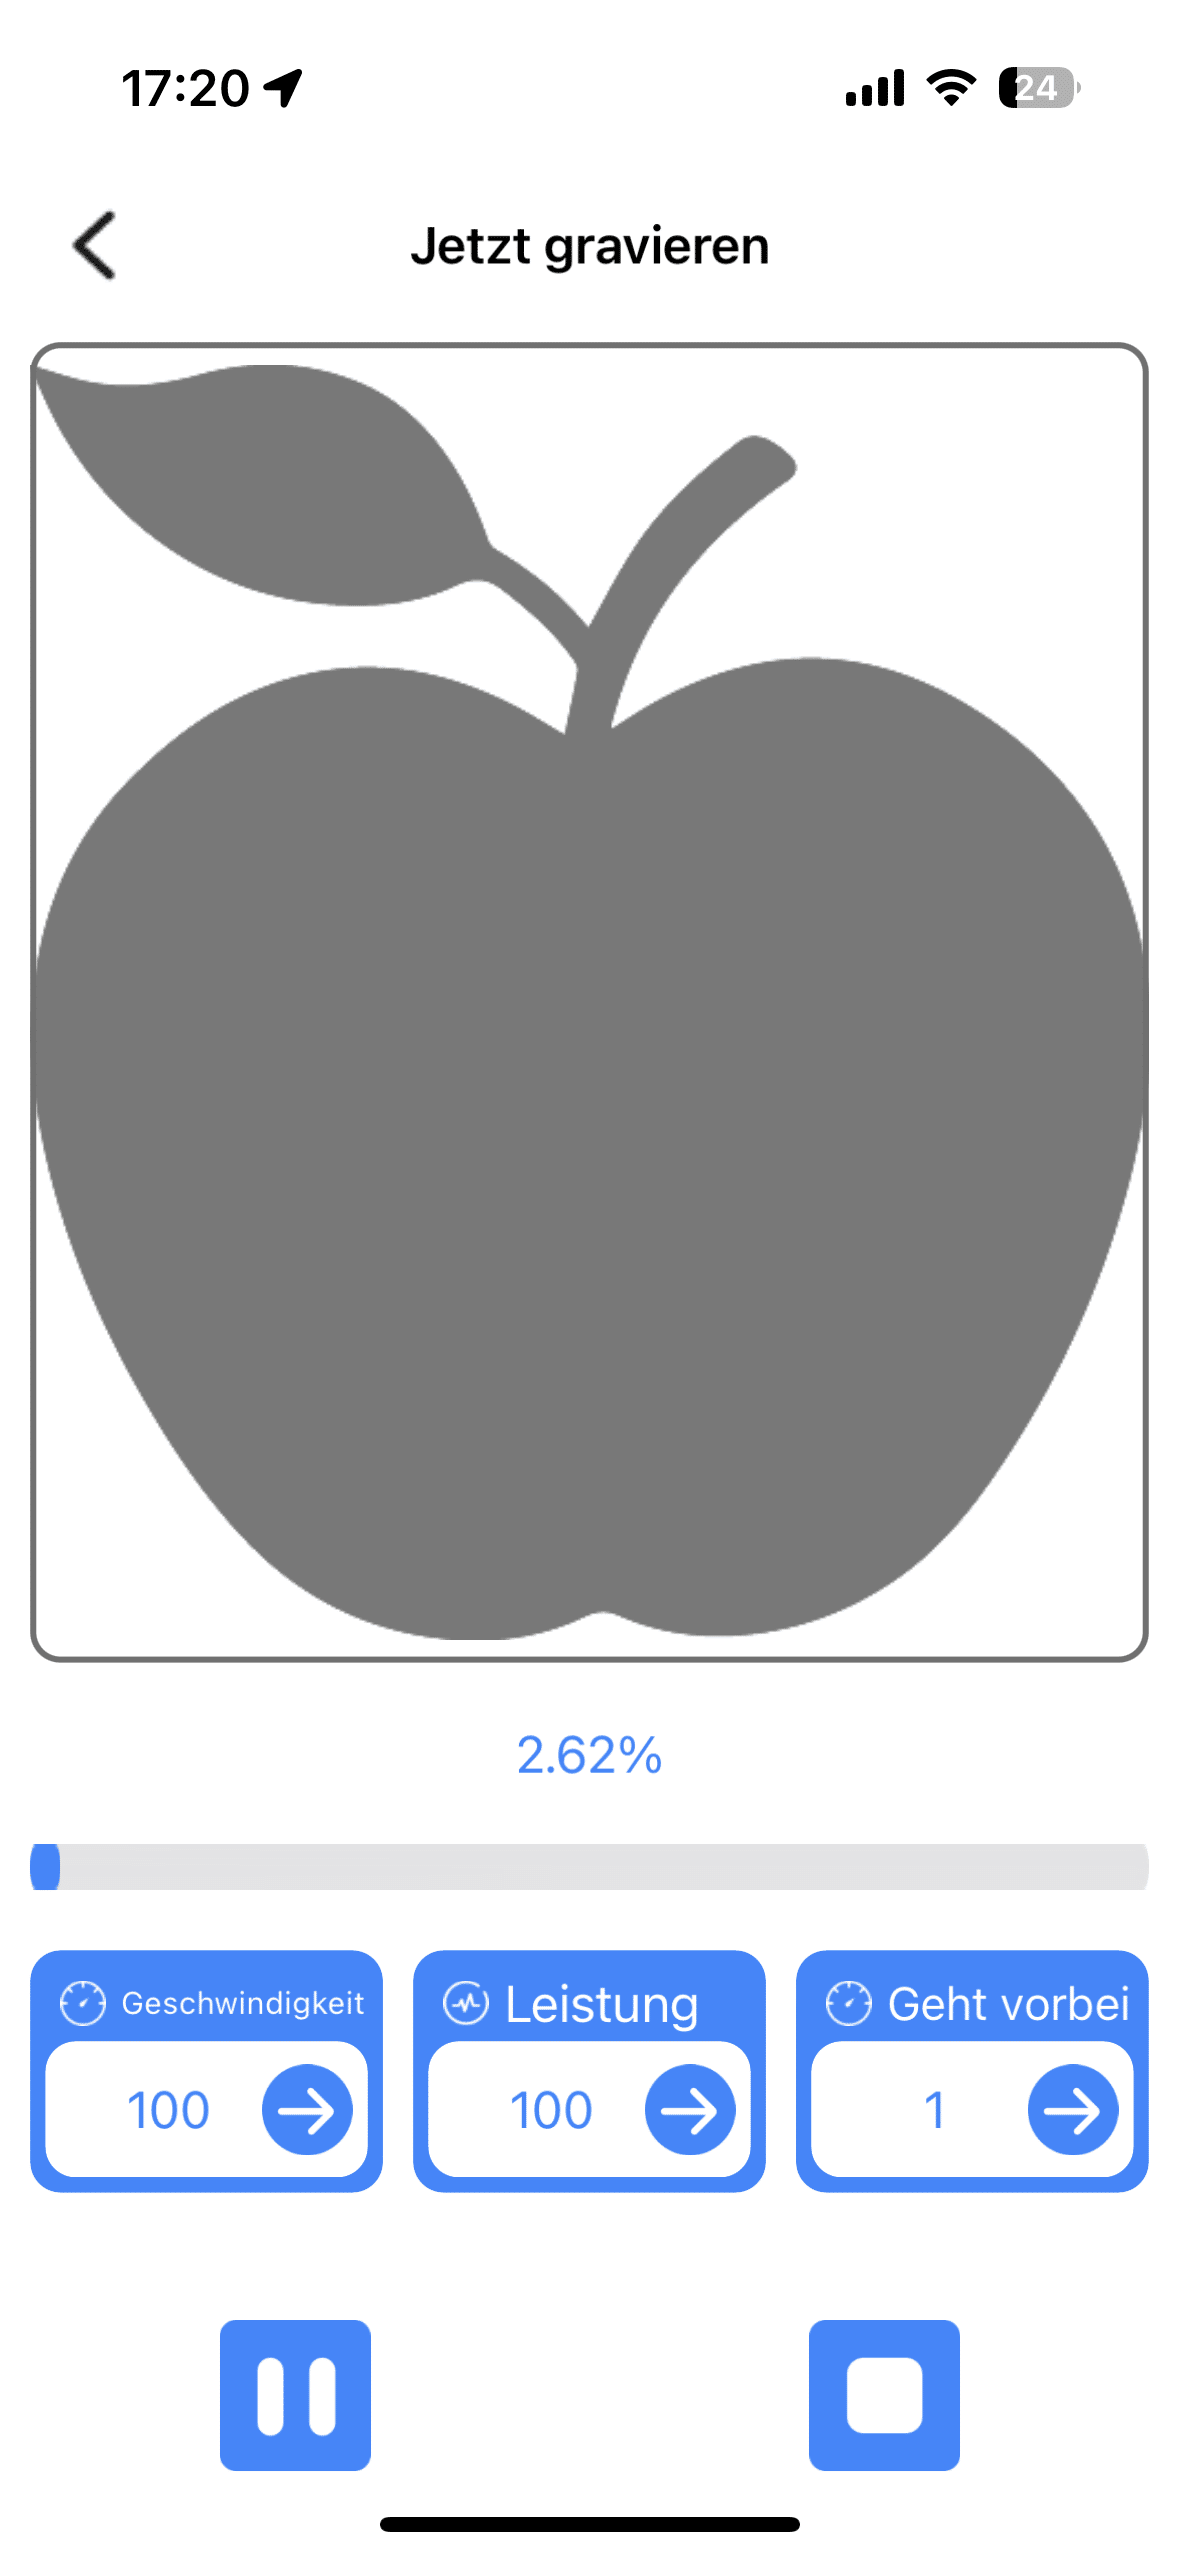
As with the review of the P5, I opted for an apple for the first engraving. This was again engraved on a small piece of wood using the default settings that the app chooses after selecting the motif. After successfully transferring the G-code file from the app to the microSD card inserted in the P10, the first engraving already starts – and here I was positively surprised for the first time. In the last test, the app only displayed a preliminary engraving step where you could pause or stop the engraving. Now there are significantly more functions, which are very helpful if you want to change something spontaneously. Specifically, three functions have been added: Once the laser power, the engraving speed and the repetitions of the entire engraving. All new functions serve their purpose and are by far the best innovation that has been added.

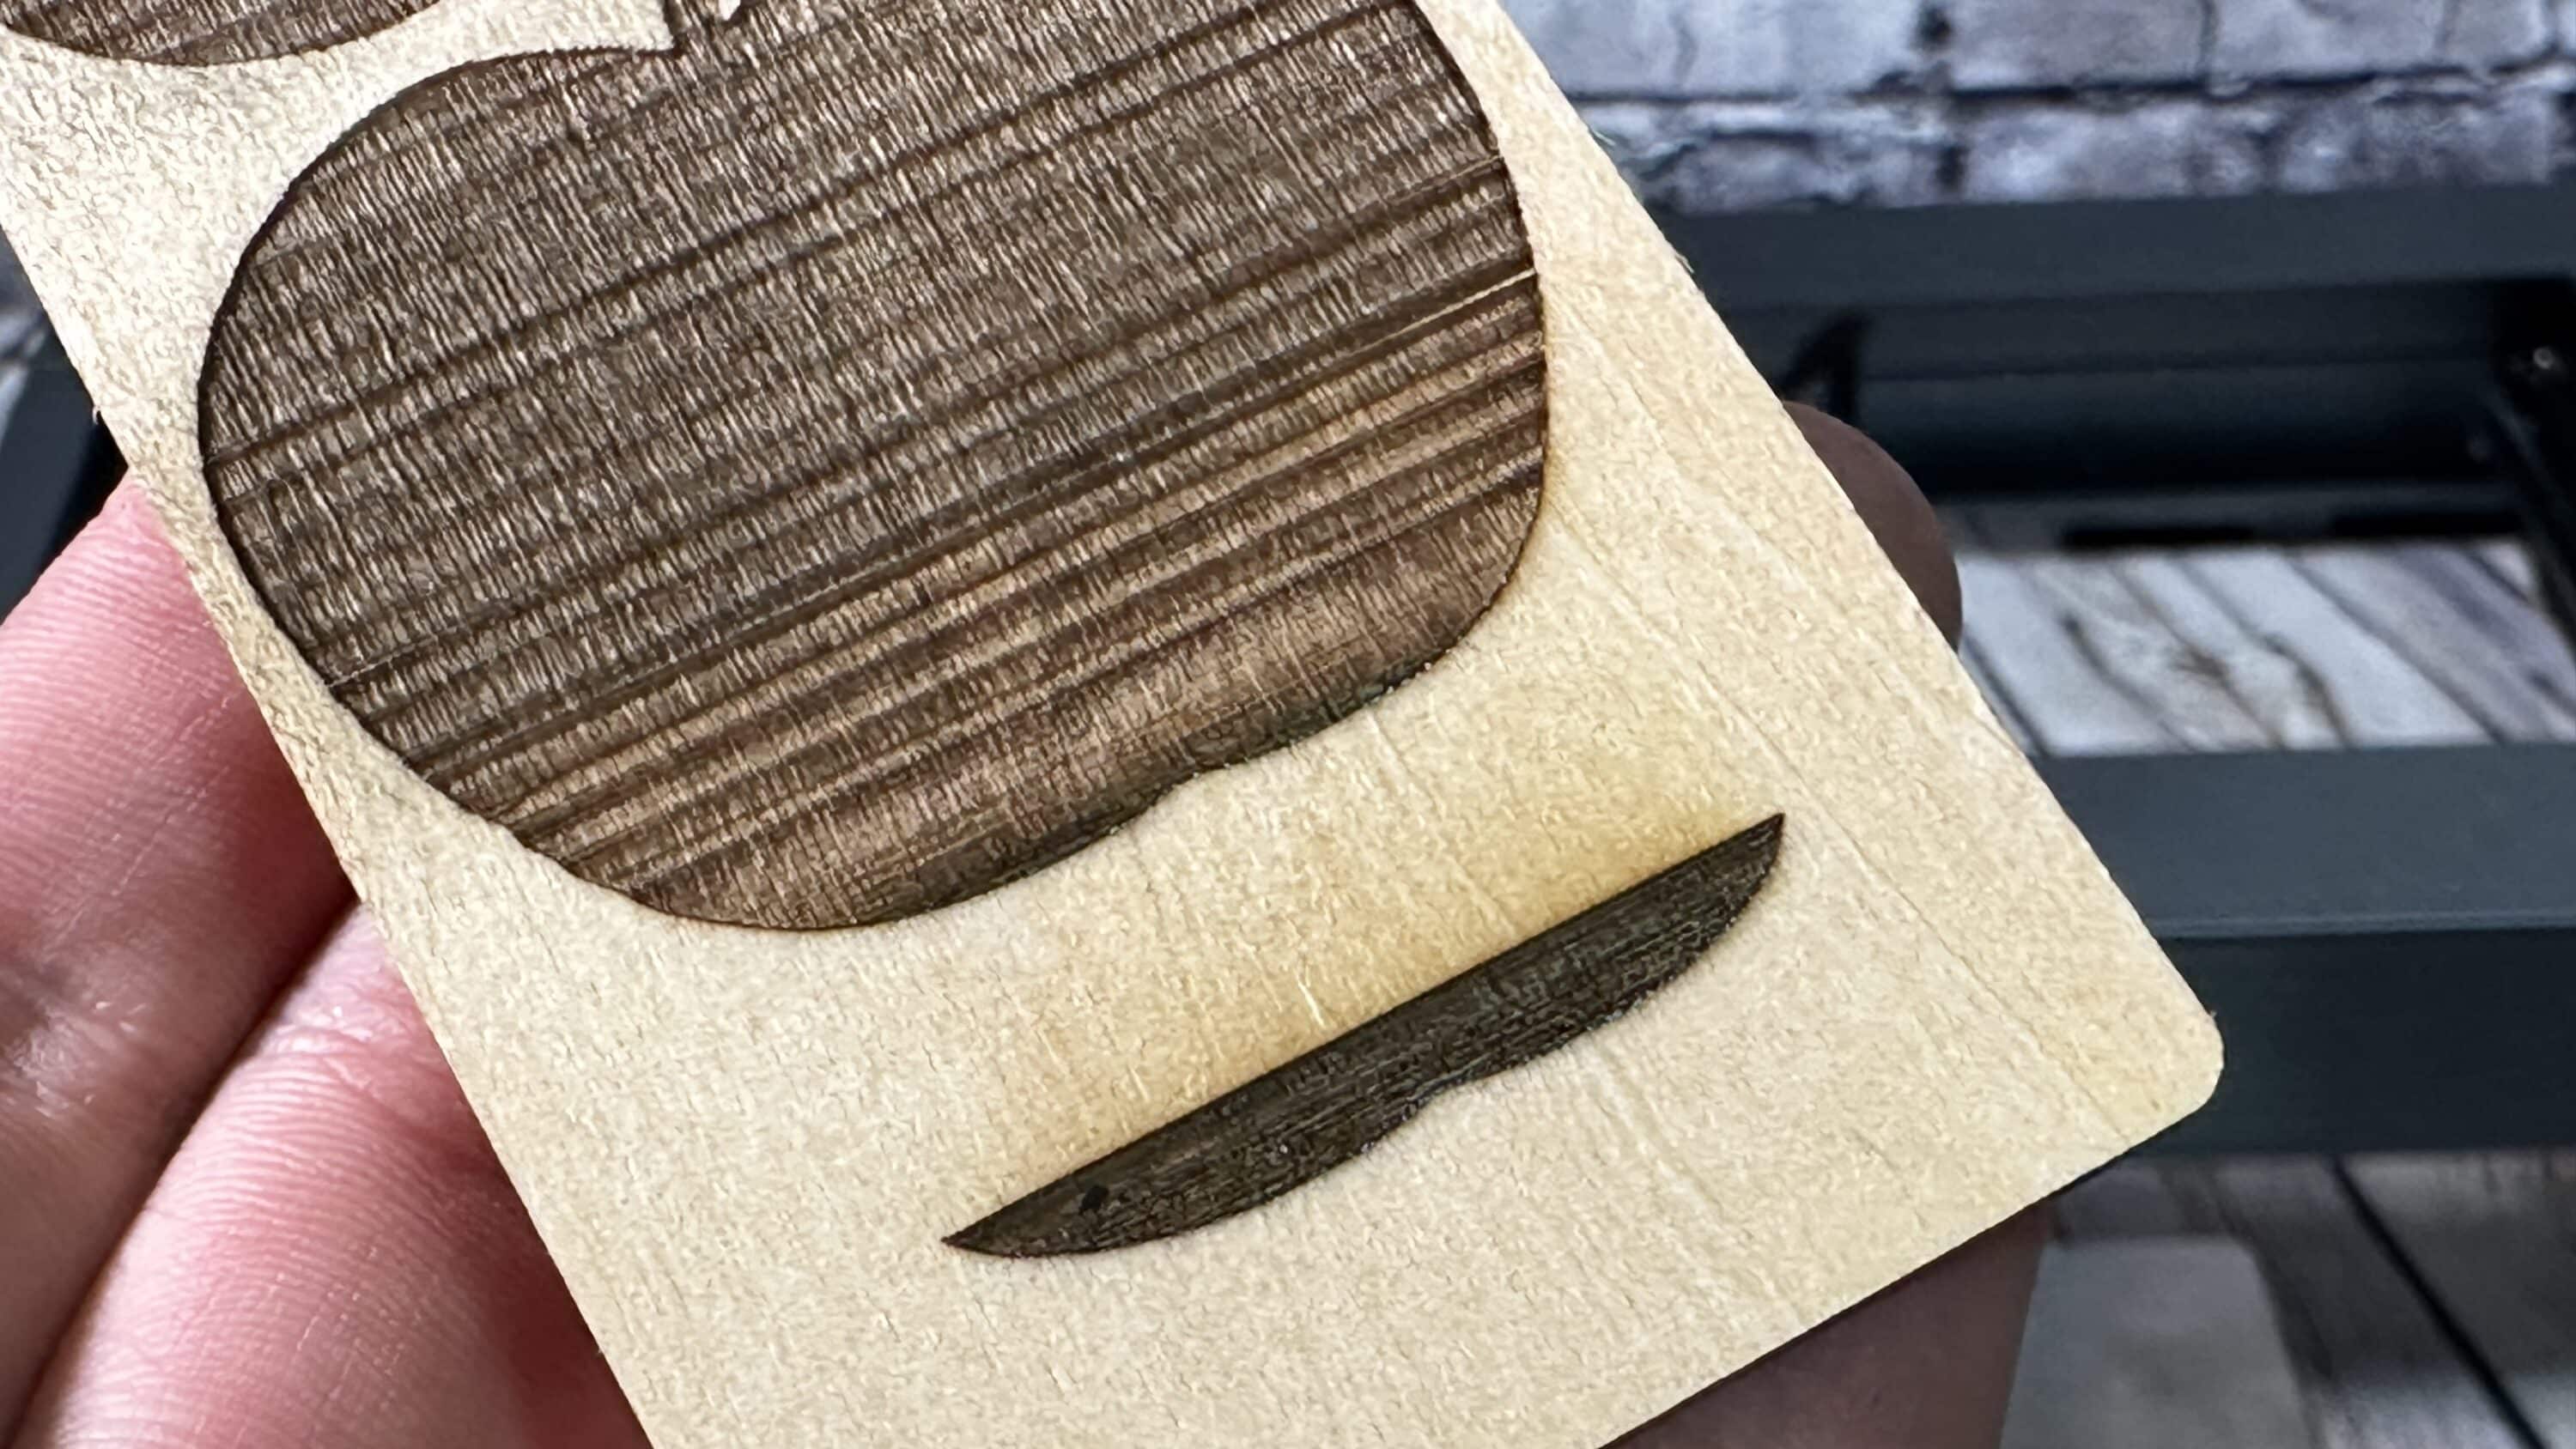
After a total of 10 minutes, the first test was finished. The result took two tries, because on the first try I wanted to find out what happens when you set the repetitions to 0. For all who want to guess now – Correct, the P10 stops then of course with the engraving. The question remains, what was I thinking? But I also asked myself this question during engraving with the included touch display. With active engraving started via the app, the display has no function and doesn’t even show the progress of the engraving, which is a bit of wasted potential at this point. Nevertheless, the second run went smoothly and the result is again impressive. Particularly noticeable now are the lines that were created after the speed adjustments. These are also visually very appealing and allow for even more creative work.
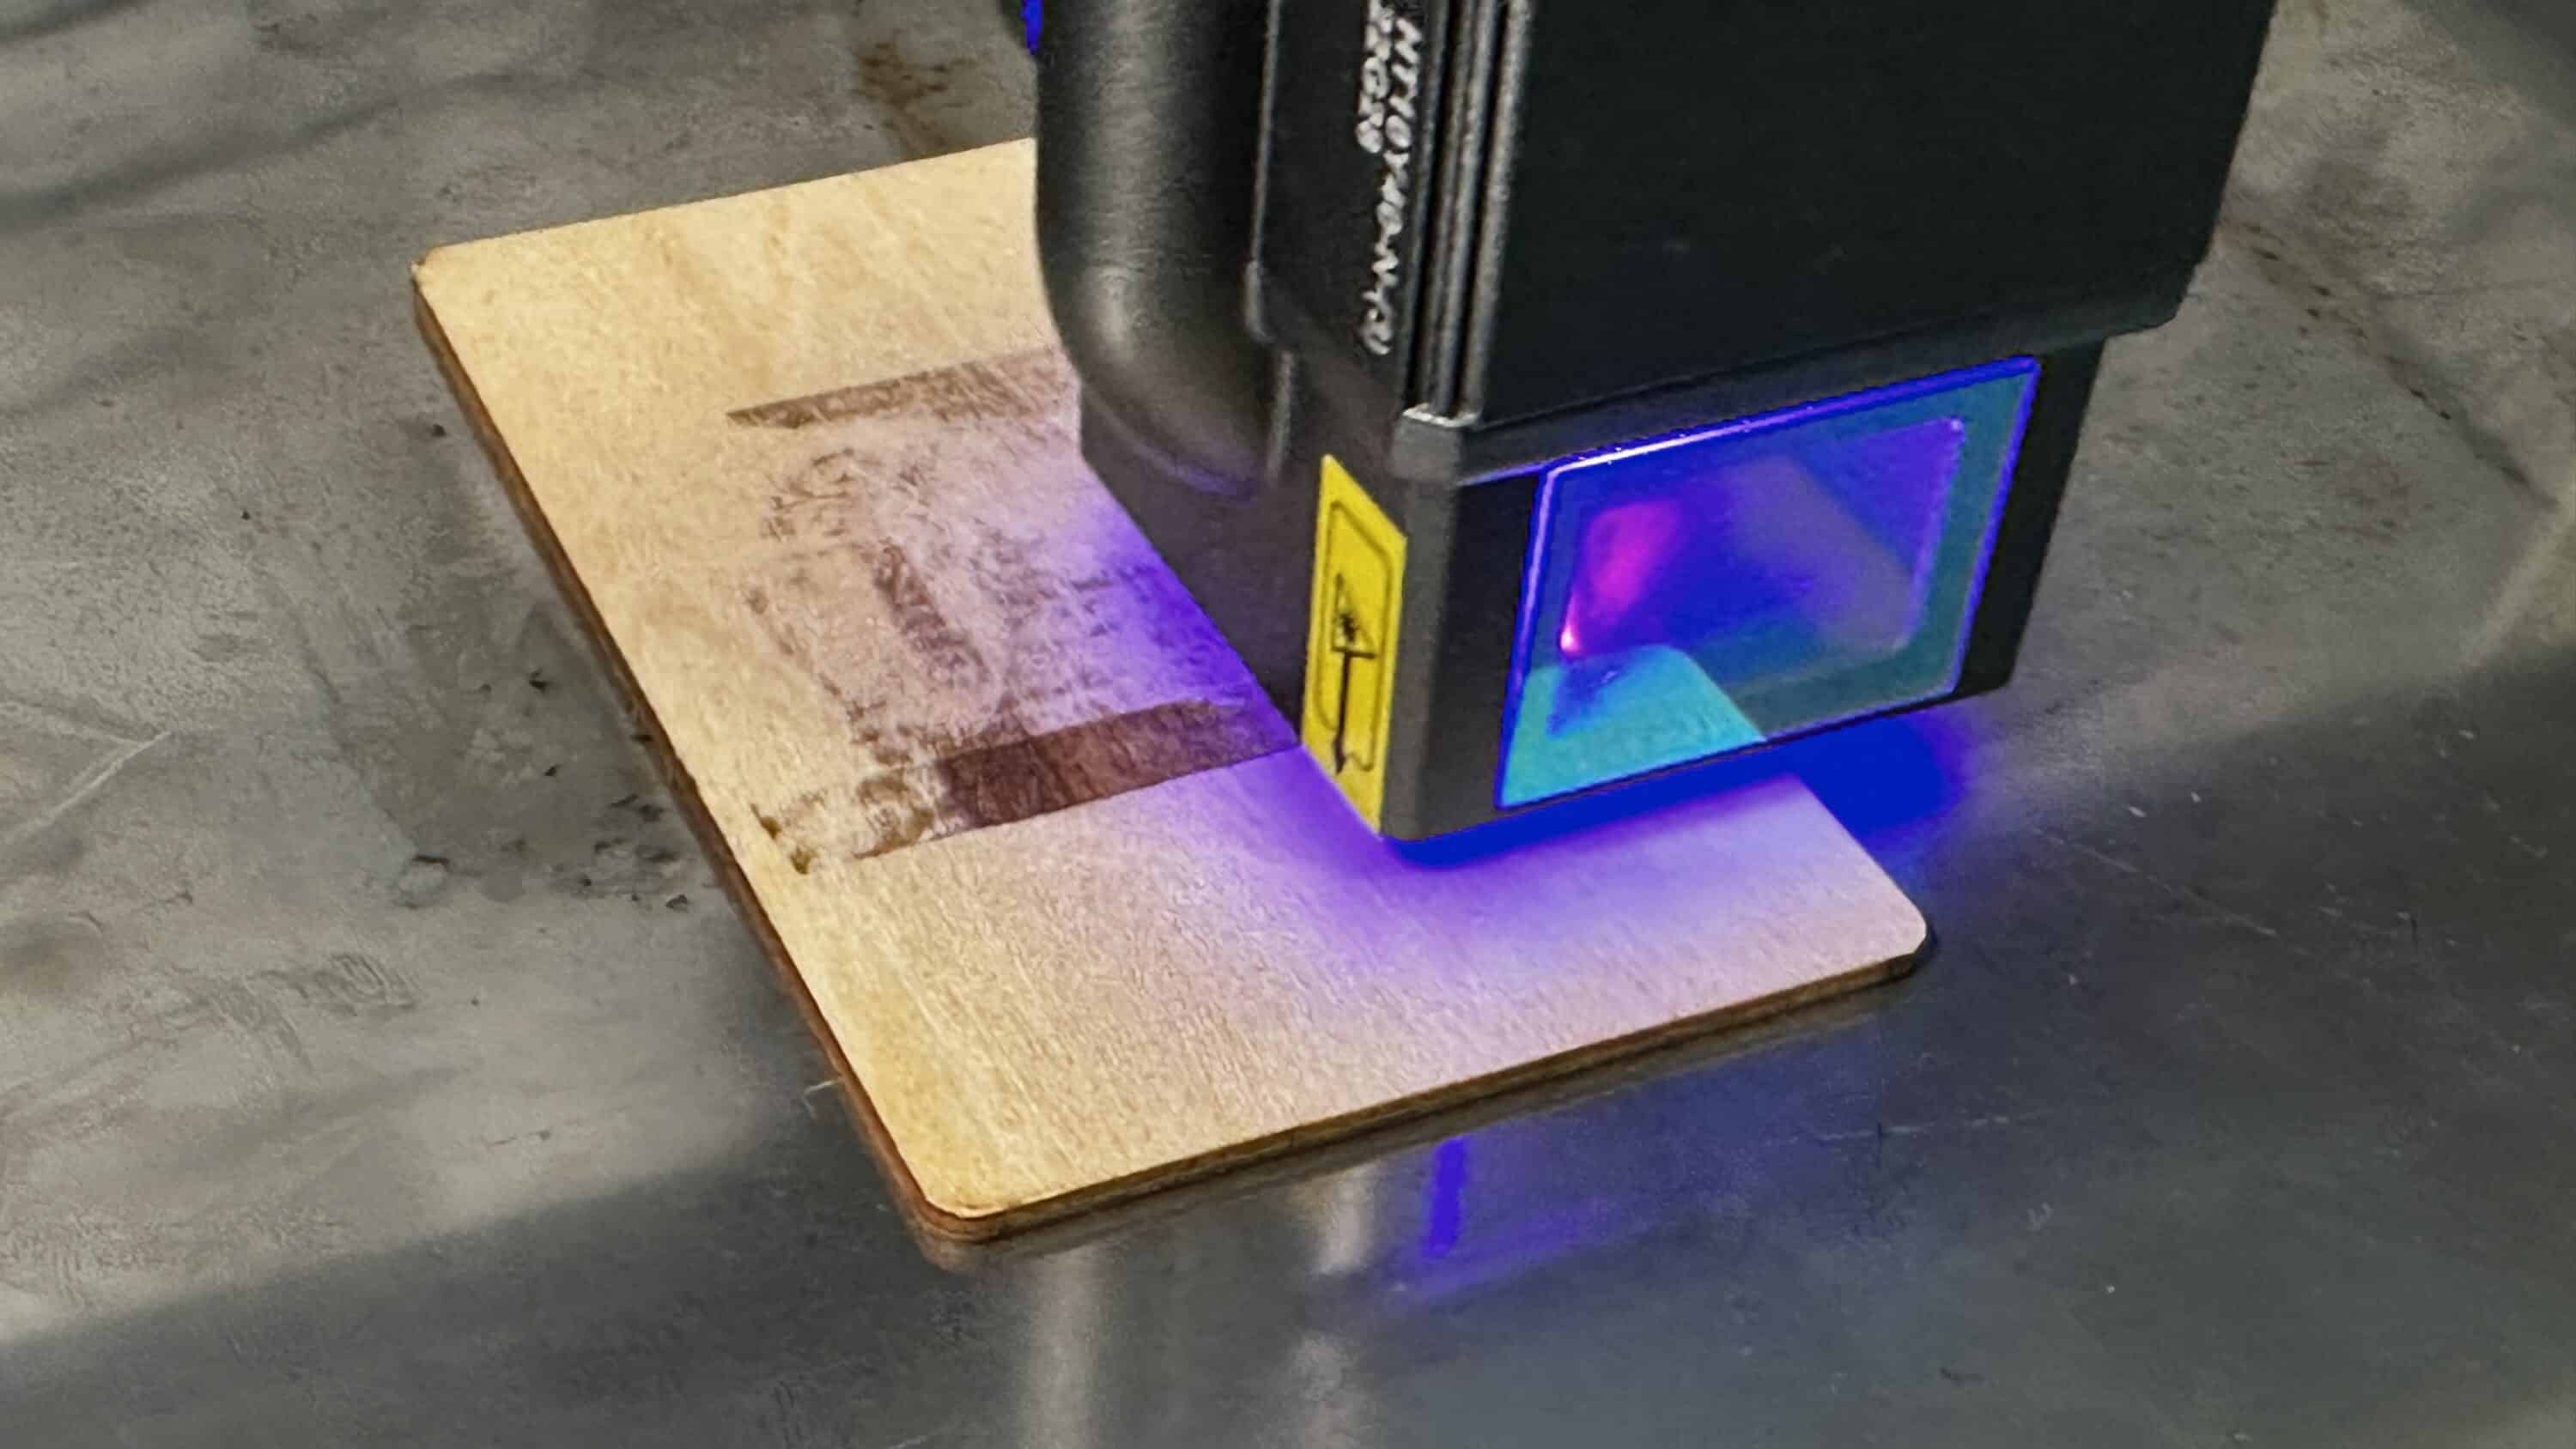
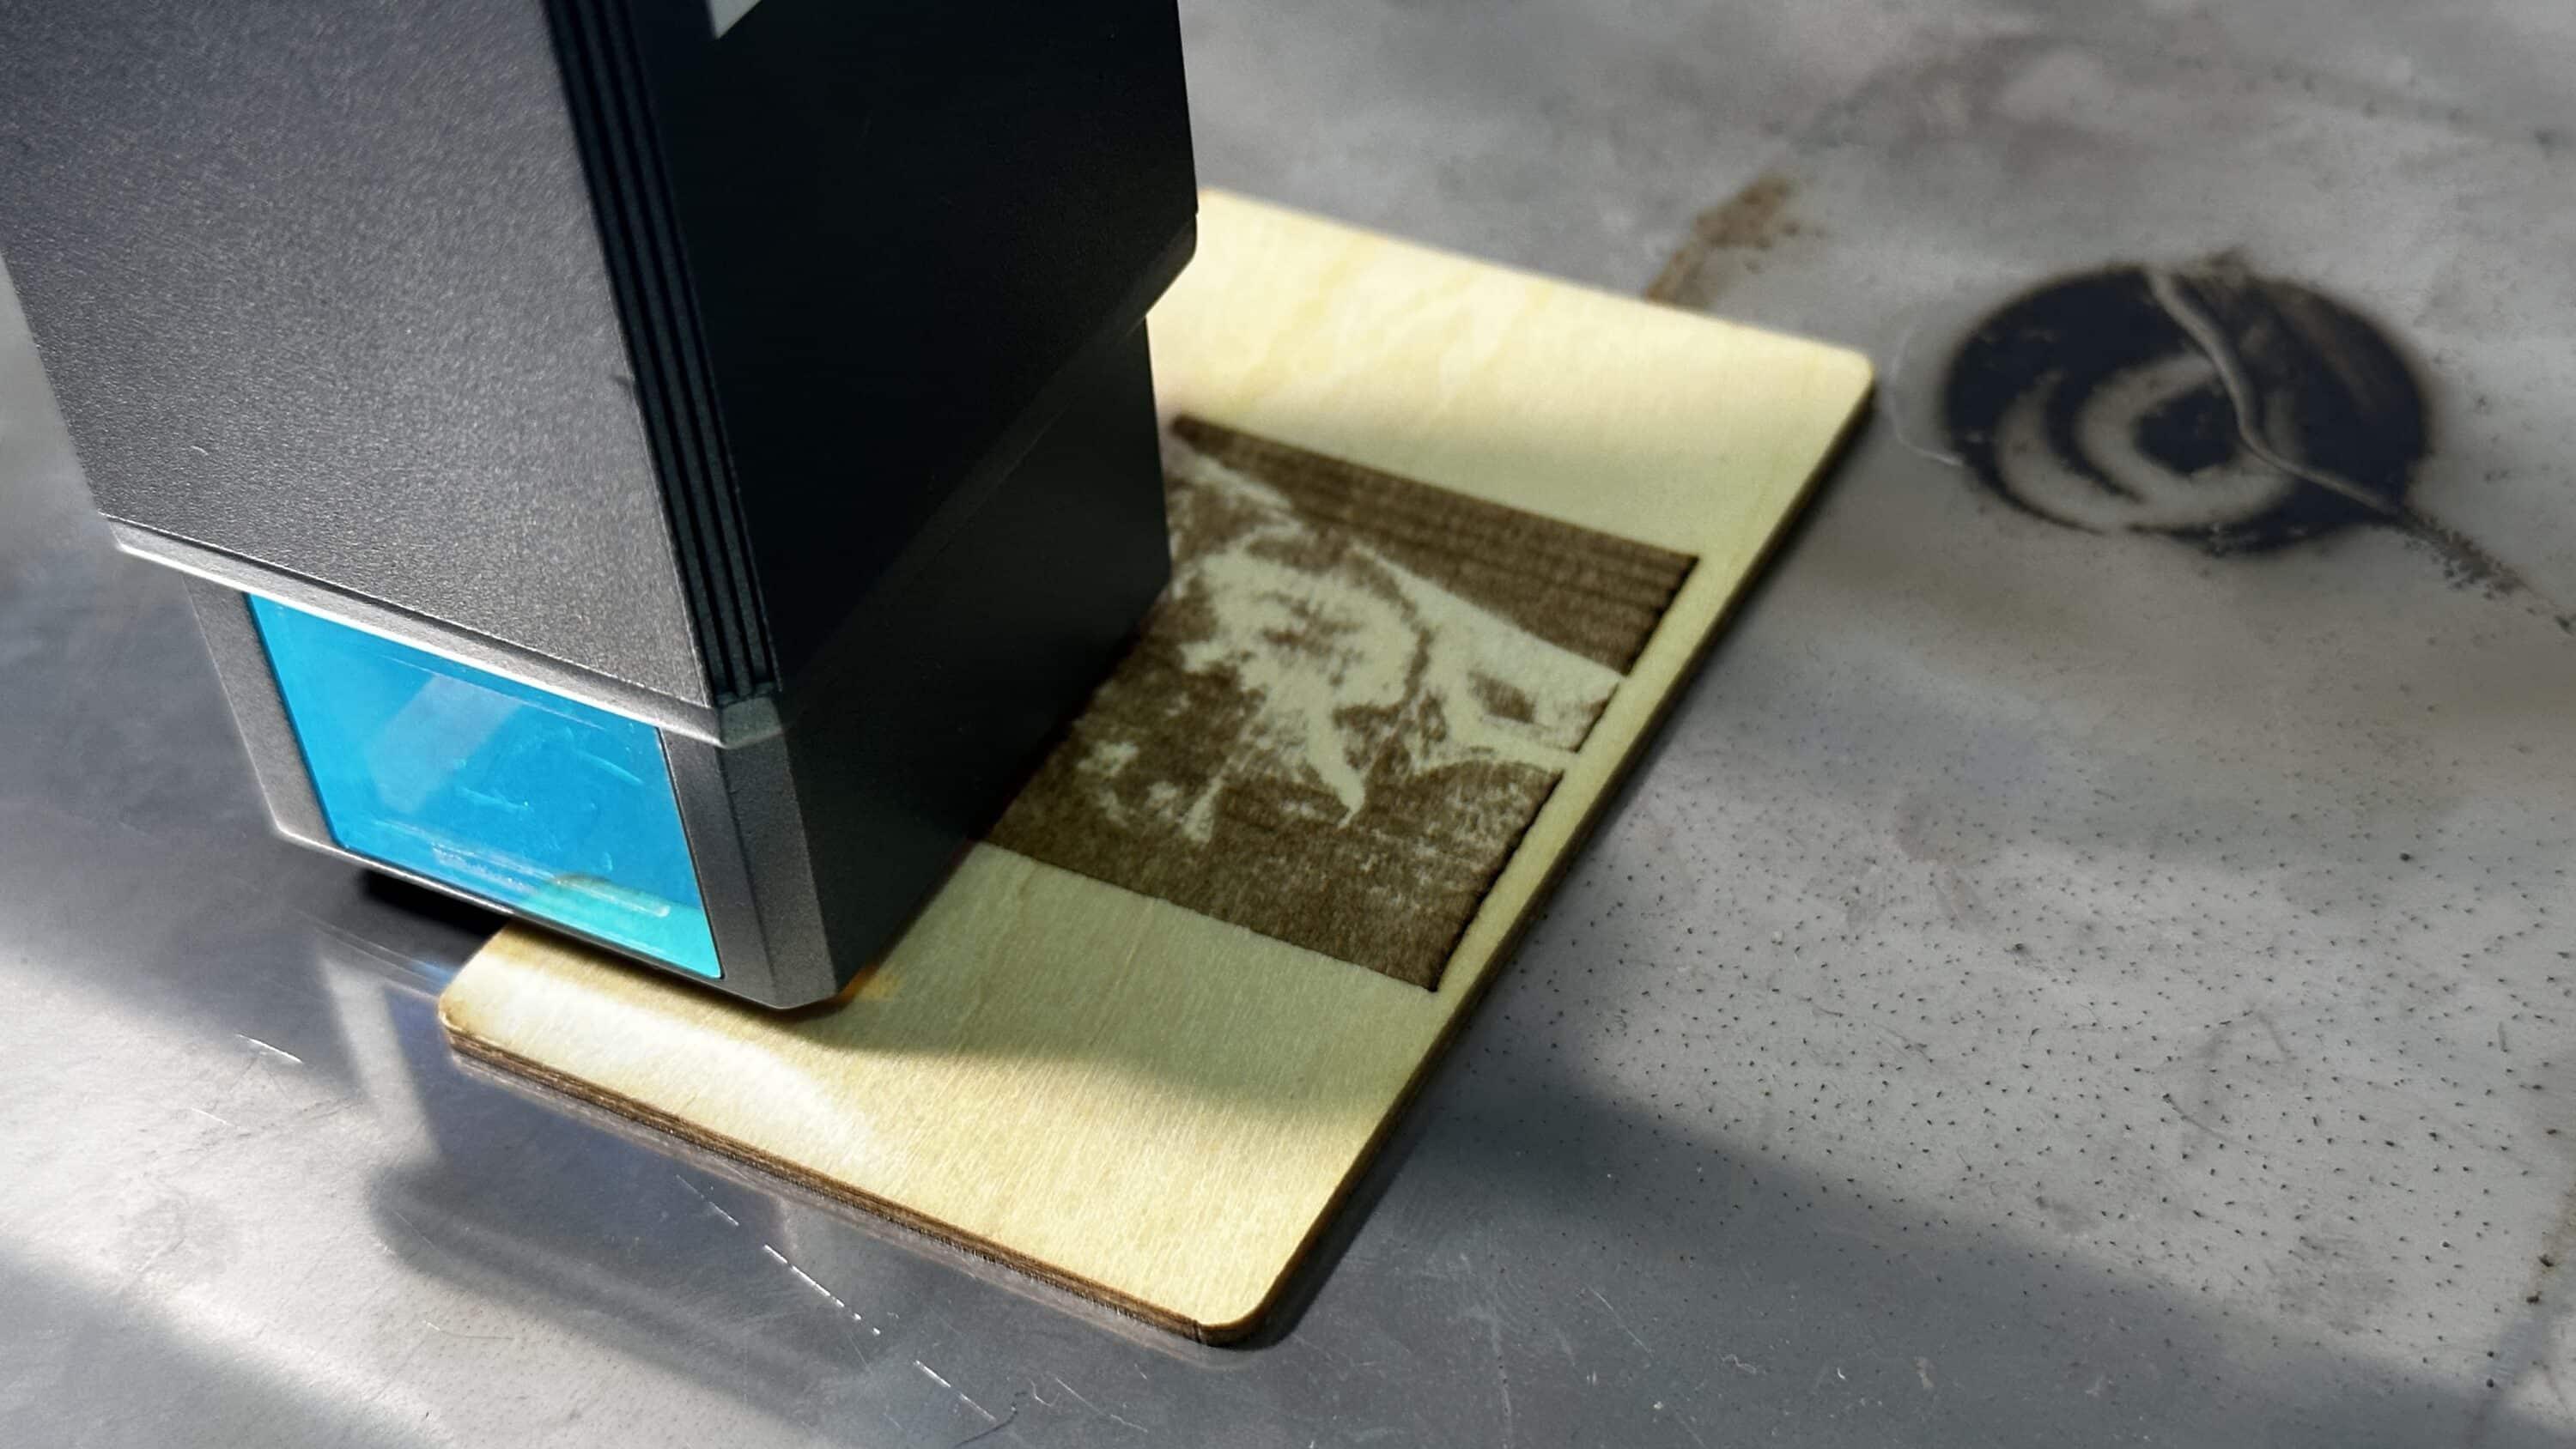
For the second attempt, it was again my turn to use a motif of my dog. As with the apple, I wanted to put the P10 to the test a bit. After a first very weak pass, where I followed the parameters in the manual, I wanted to improve the final product a bit. So left material clamped and just started the same engraving again until it got darker and darker step by step. The implementation for this also worked without any problems. Motif selected, thickness adjusted, starting point set again without having to change anything and we could continue.
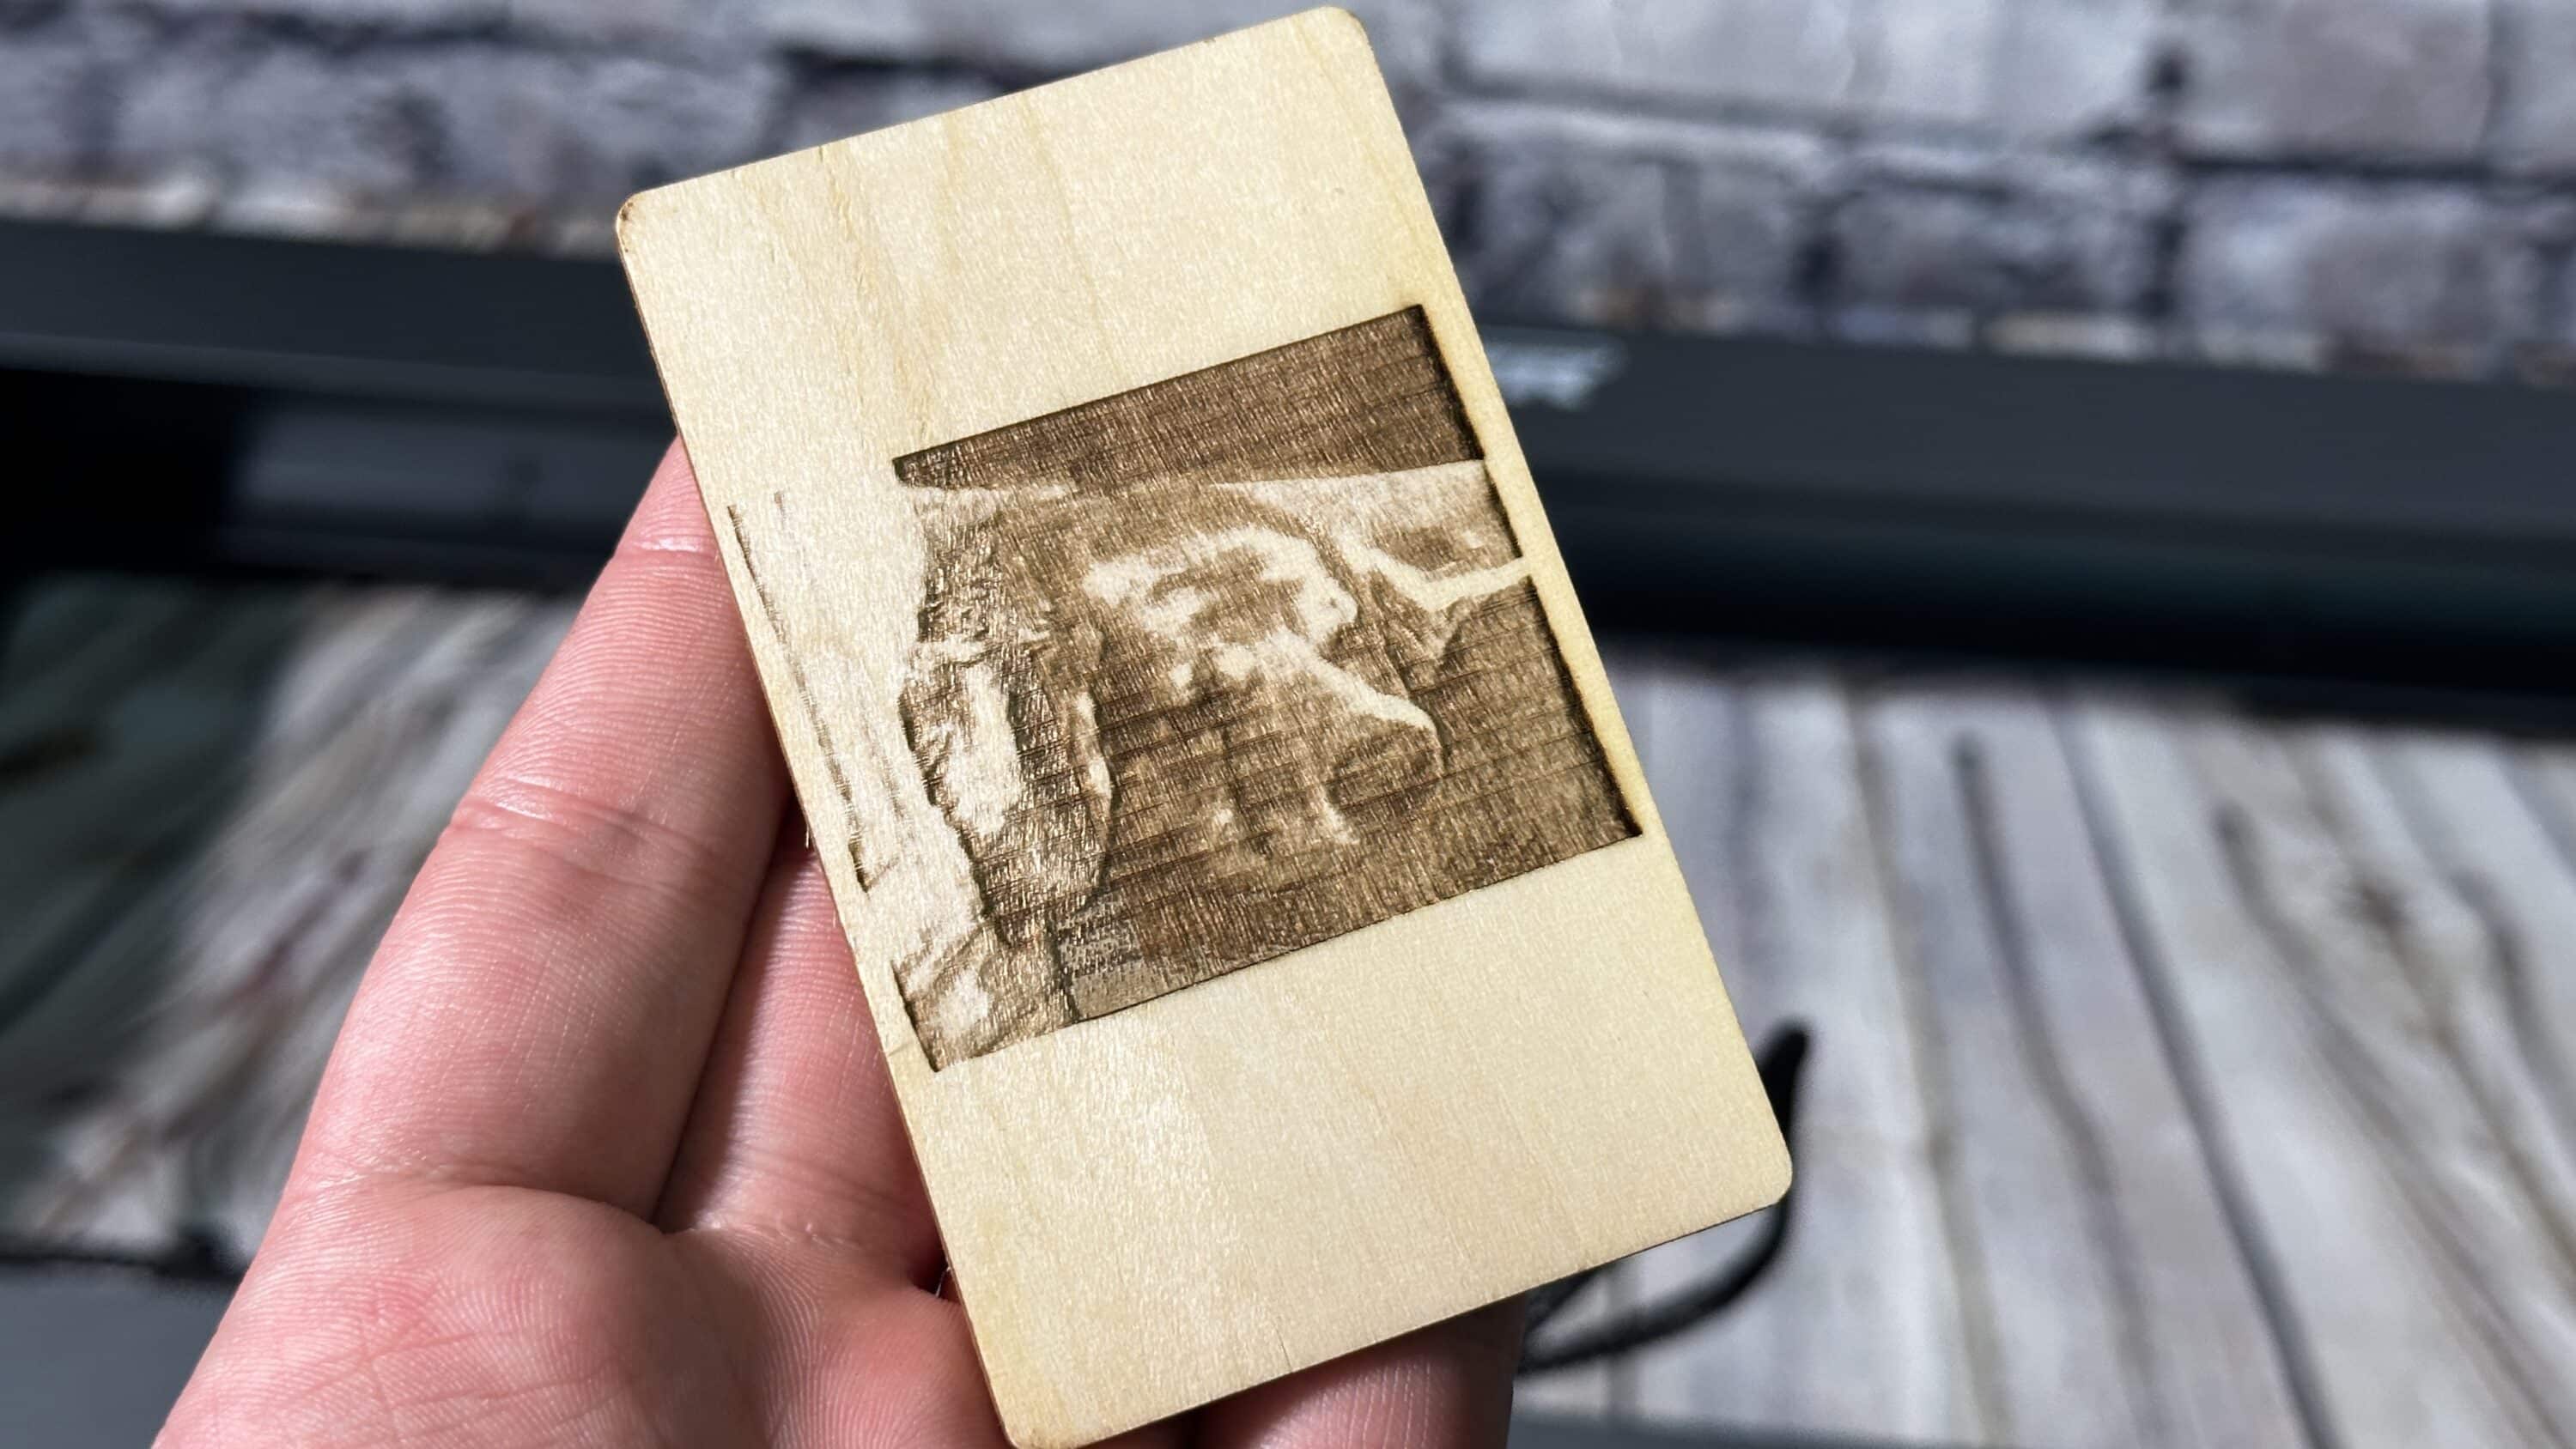
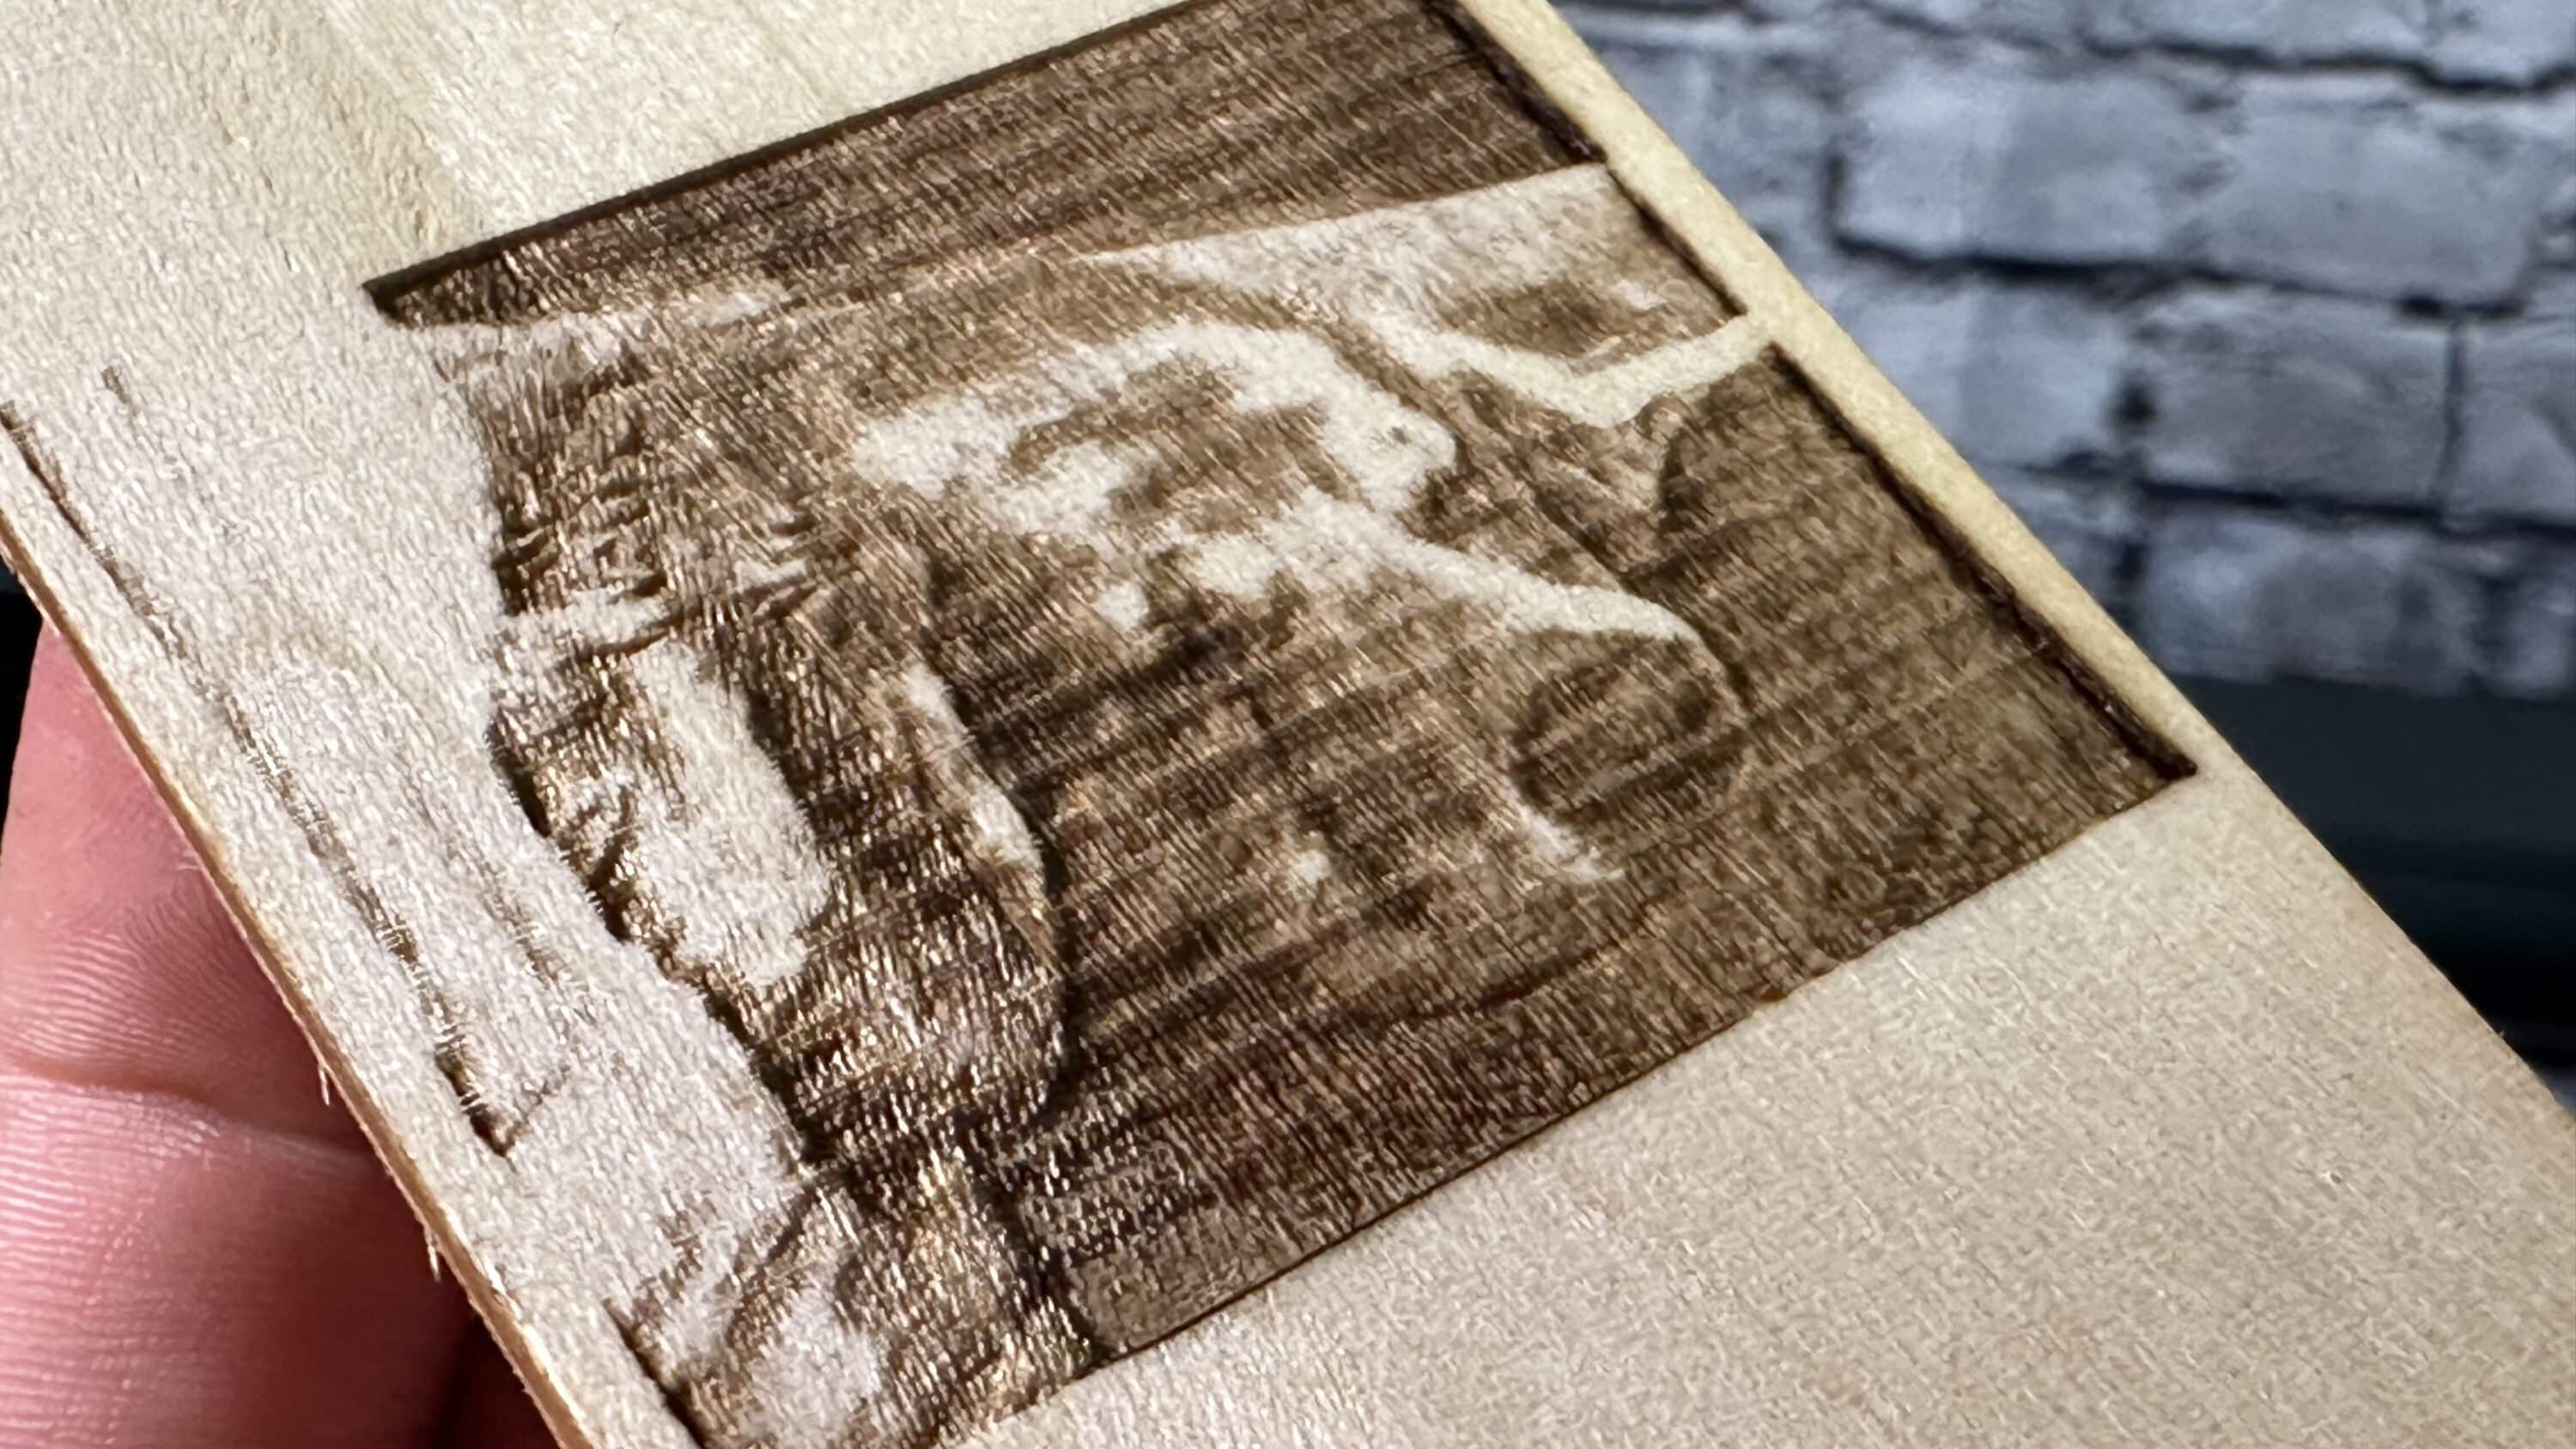
In the end, the subject became even clearer in the result, although some lines were a bit too obvious here as well. My suspicion lay with the speed of the engraving and I was right. As is the way with new equipment and also with craft projects, you always have to approach your own perfect result step by step. Apart from that, my dog was more than easy to recognize on the rather small piece of wood and the depths, i.e. the lighter and darker areas of the image, could be divided without any problems. As with the P5, the P10 was able to convince me with its performance.
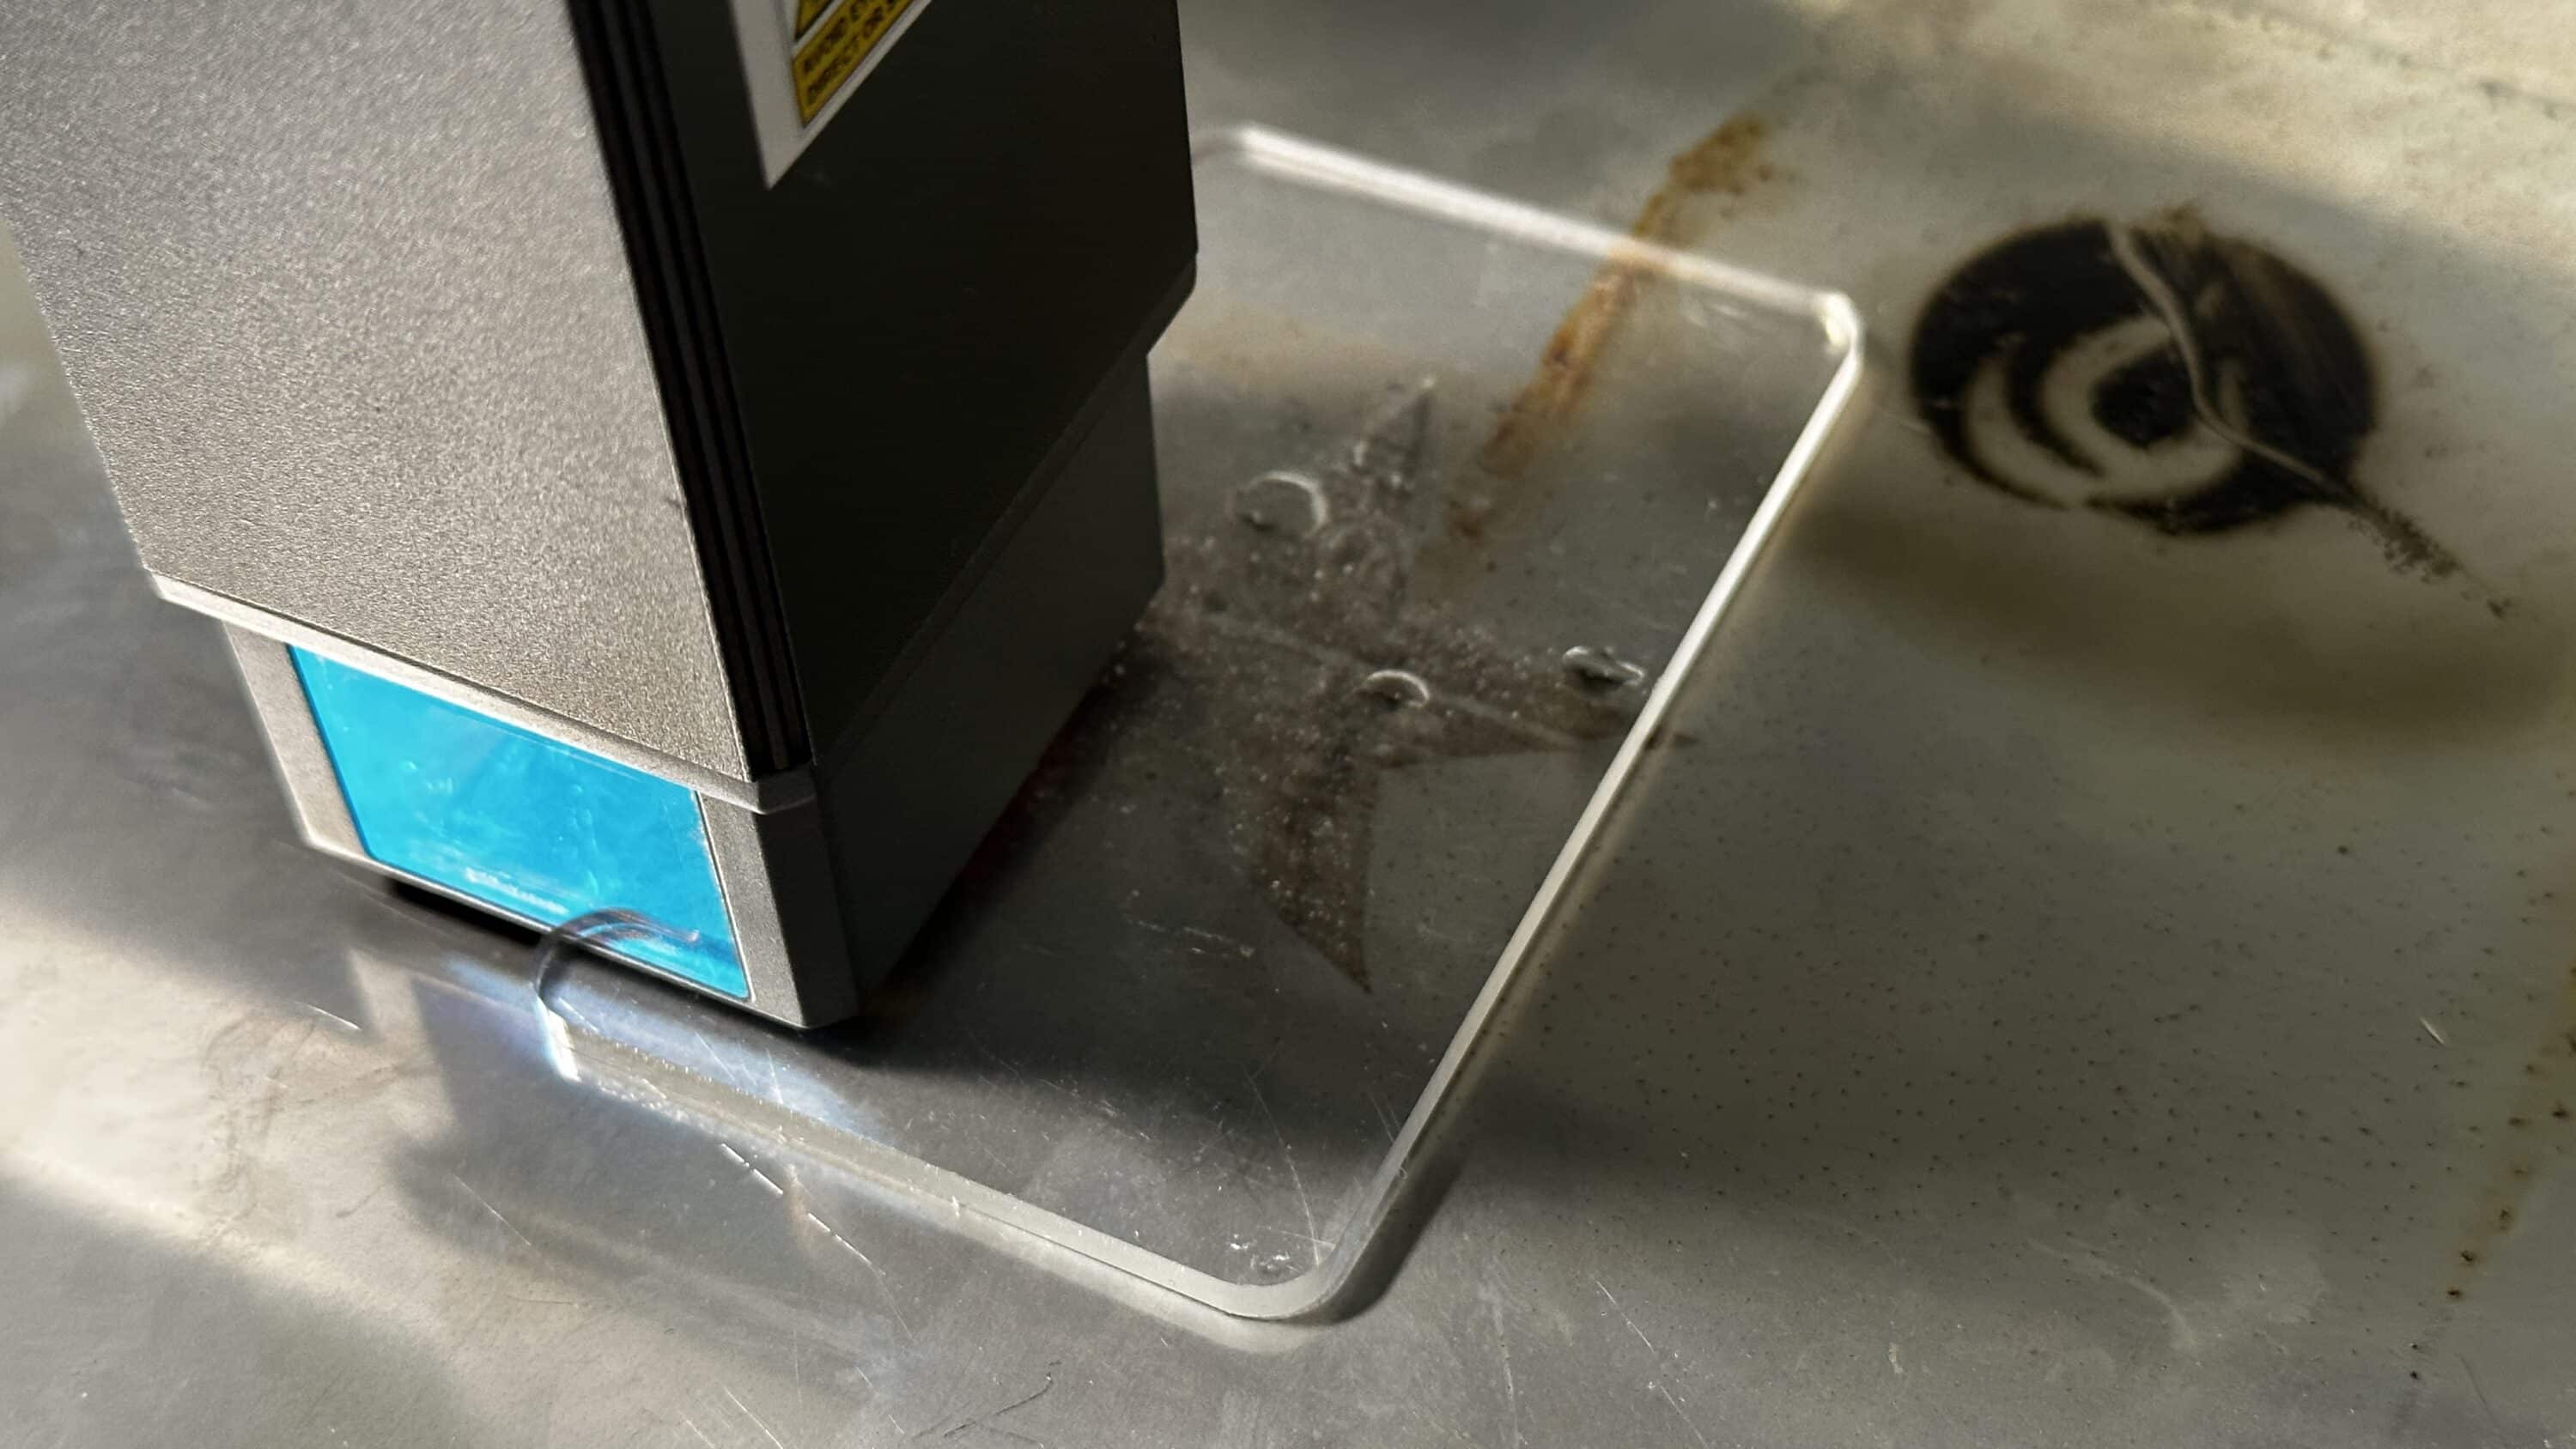
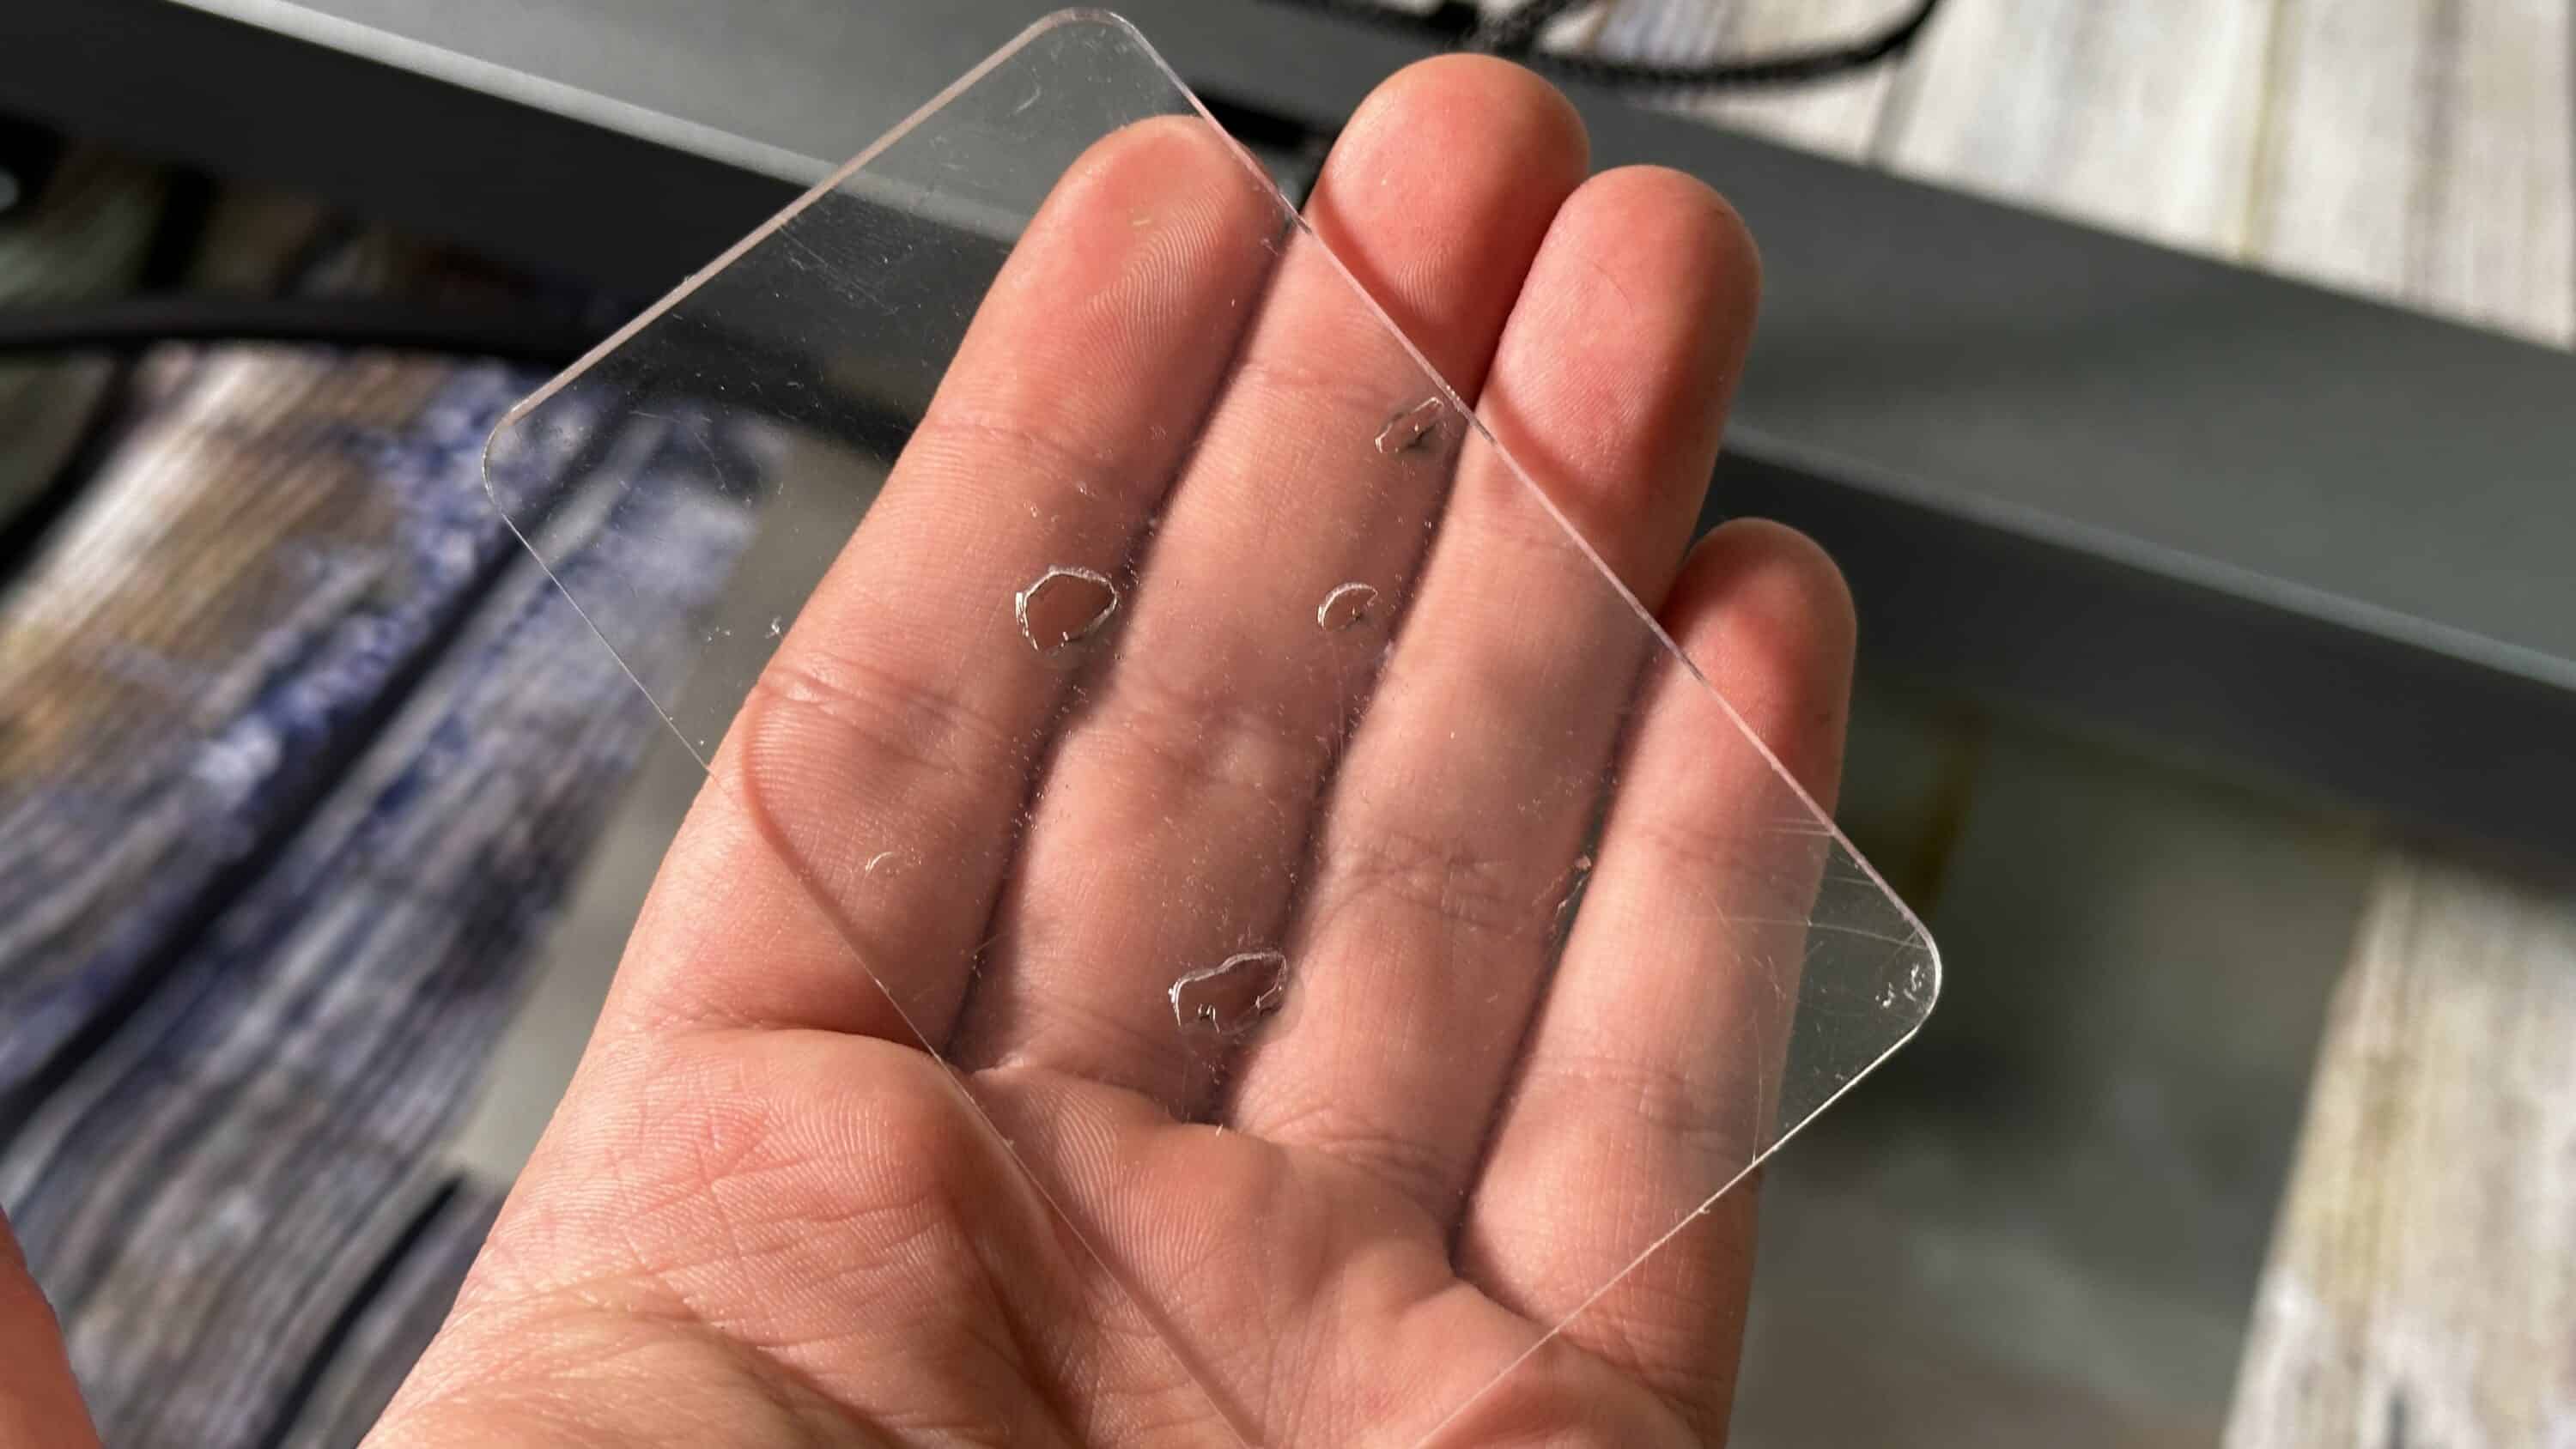
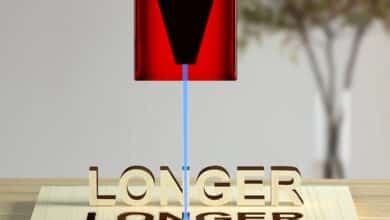
The biggest problem for me in the last test and again in this one was engraving a transparent acrylic plate. Unfortunately, the laser didn’t want to do it the way it was supposed to, either. The star motif I tried to engrave was slightly burned on the back, but not engraved flat. If you looked closely, you could see spots forming in some places, in this case because the laser was in one spot too long and the acrylic melted there, but not like something was being removed. We also couldn’t get better results with a black background or a black painted back, which unfortunately disappointed me again.
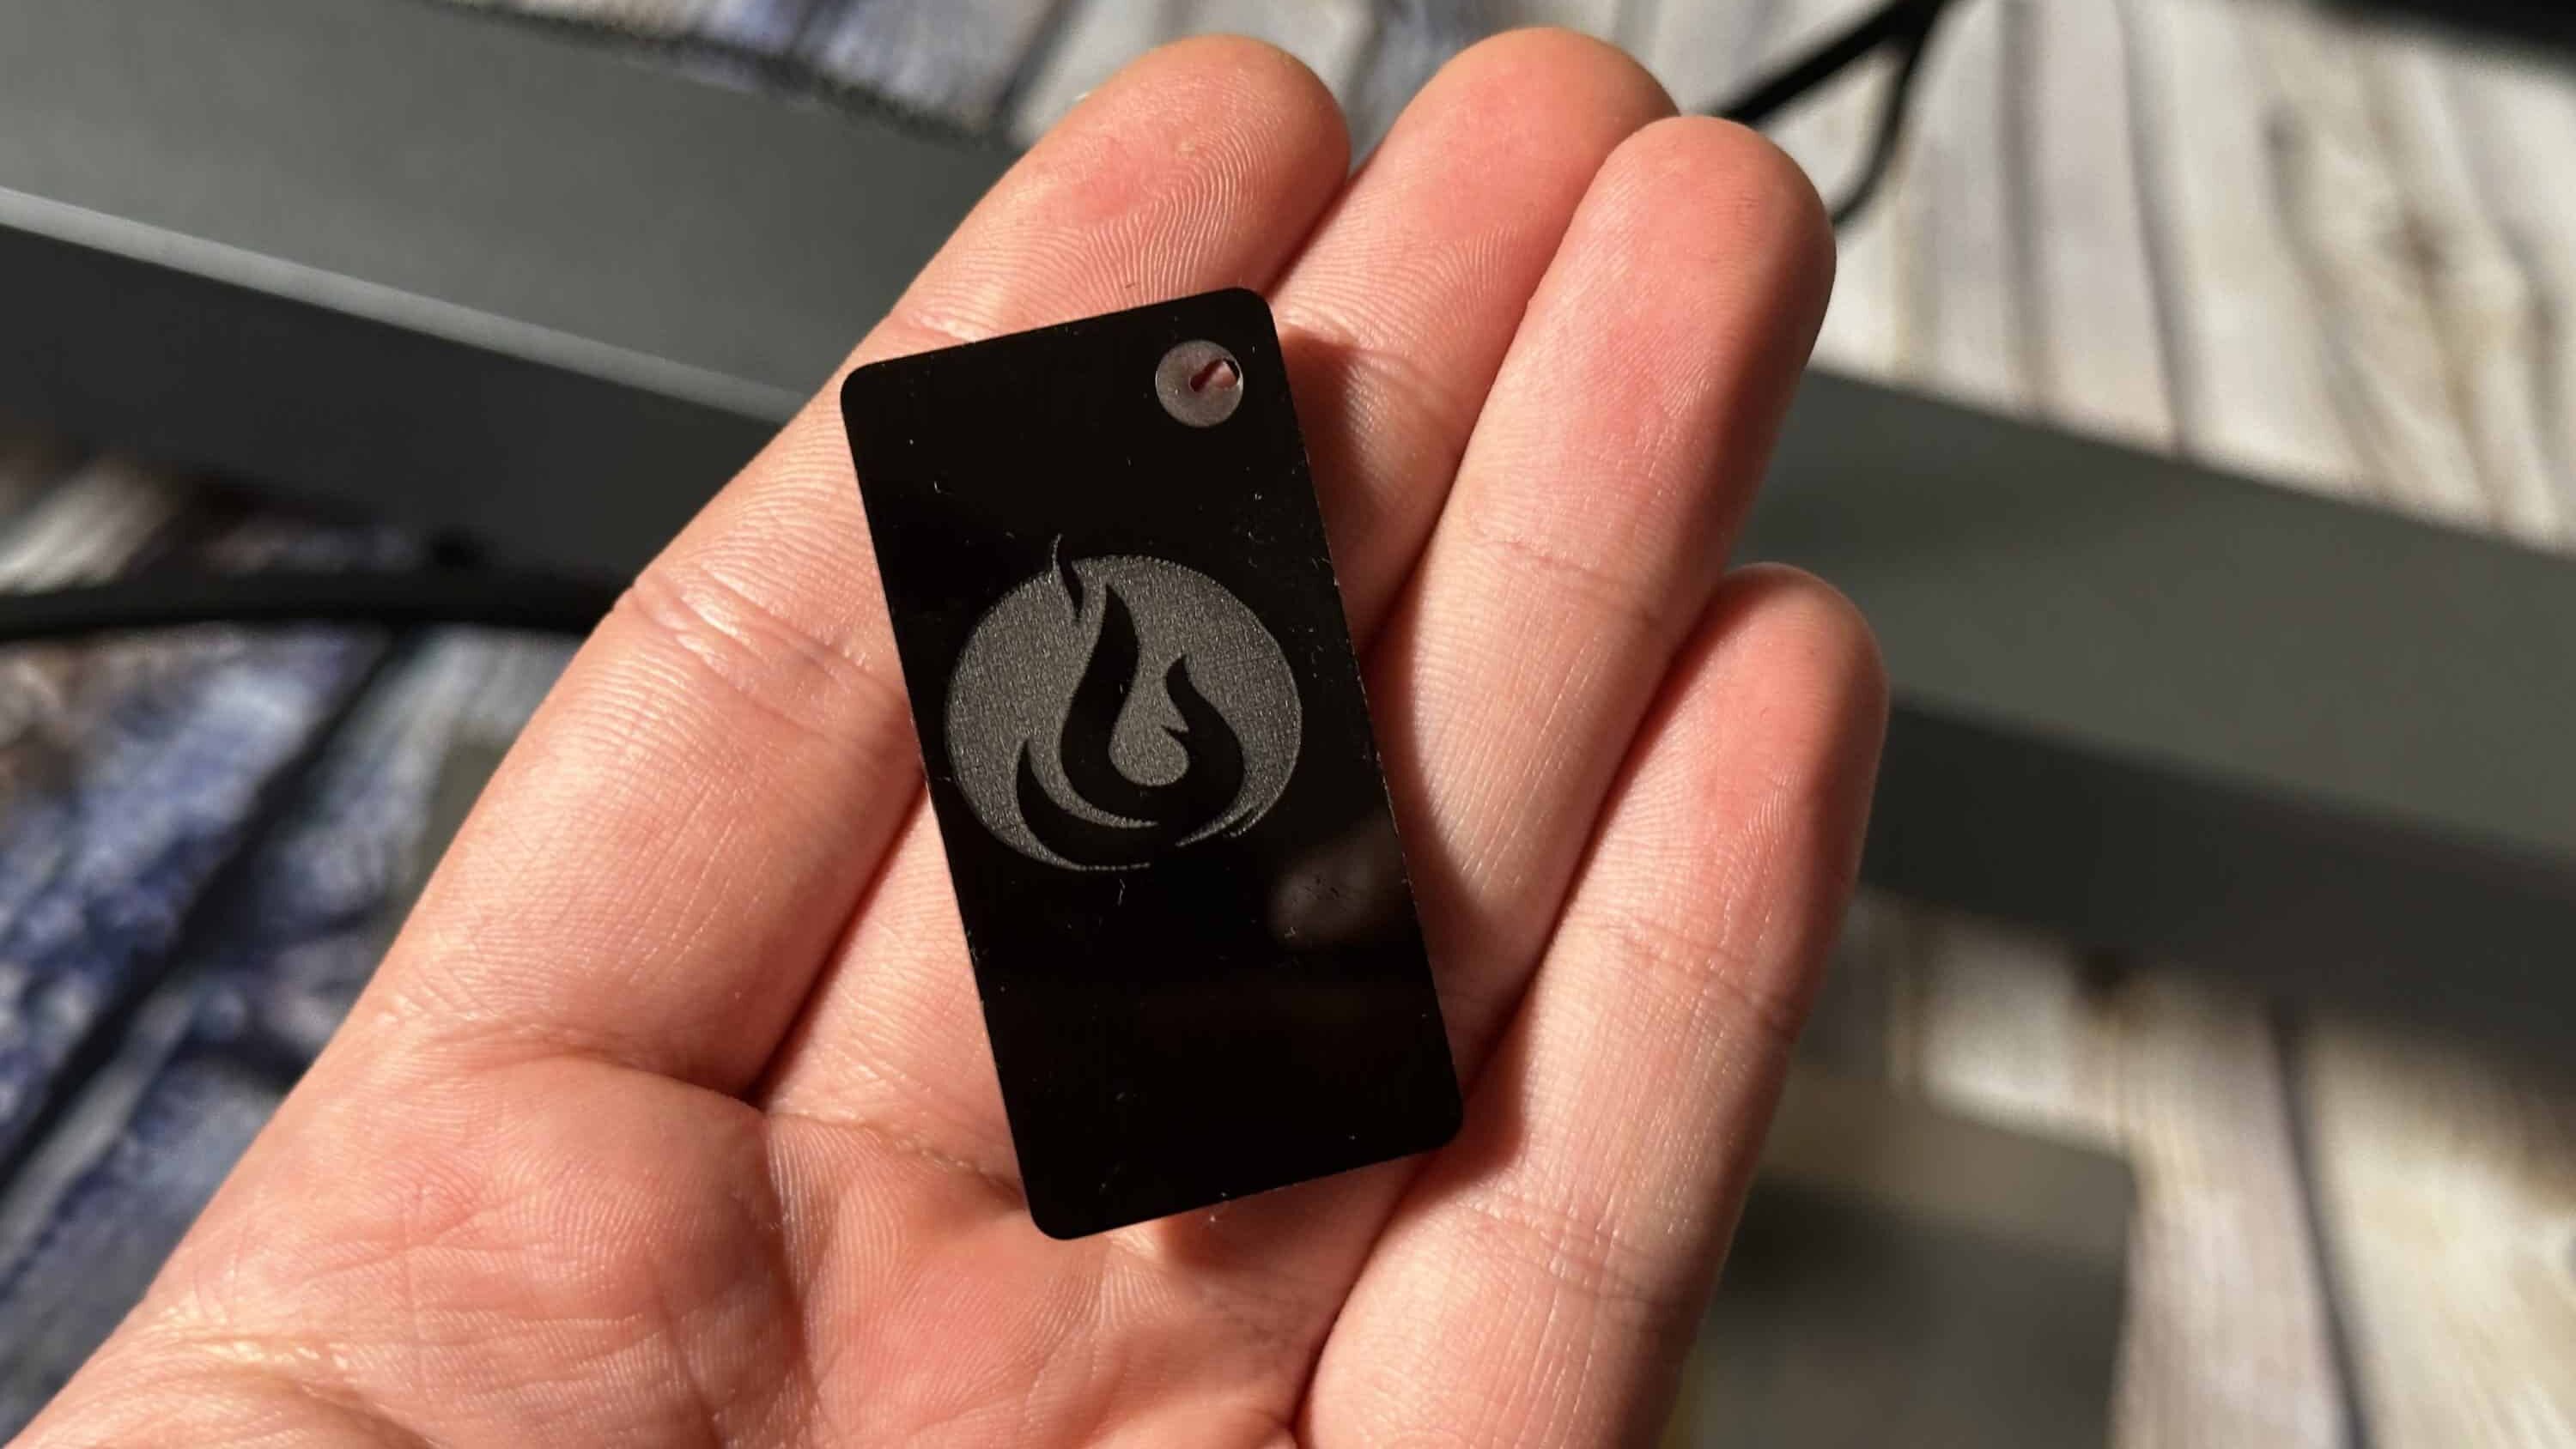
The situation was different with a piece of black acrylic – here our logo was applied on a test basis and the result speaks for itself in the pictures. The edges are razor sharp and the logo literally shines. The surface is slightly grayish due to the engraving and feels slightly rough. Like sanding something with sandpaper.
To achieve better results when engraving, Atezr also offers two additional products. The Air Assist is a small pump that attaches directly to the laser head with a small black hose. Once turned on, it blows the resulting particles away from the engraved surface. In testing, this resulted in a more even surface, which positively impressed me. In addition, the pump can be adjusted to different thicknesses, which is especially advantageous for smaller materials, as they can otherwise slip due to the wind.

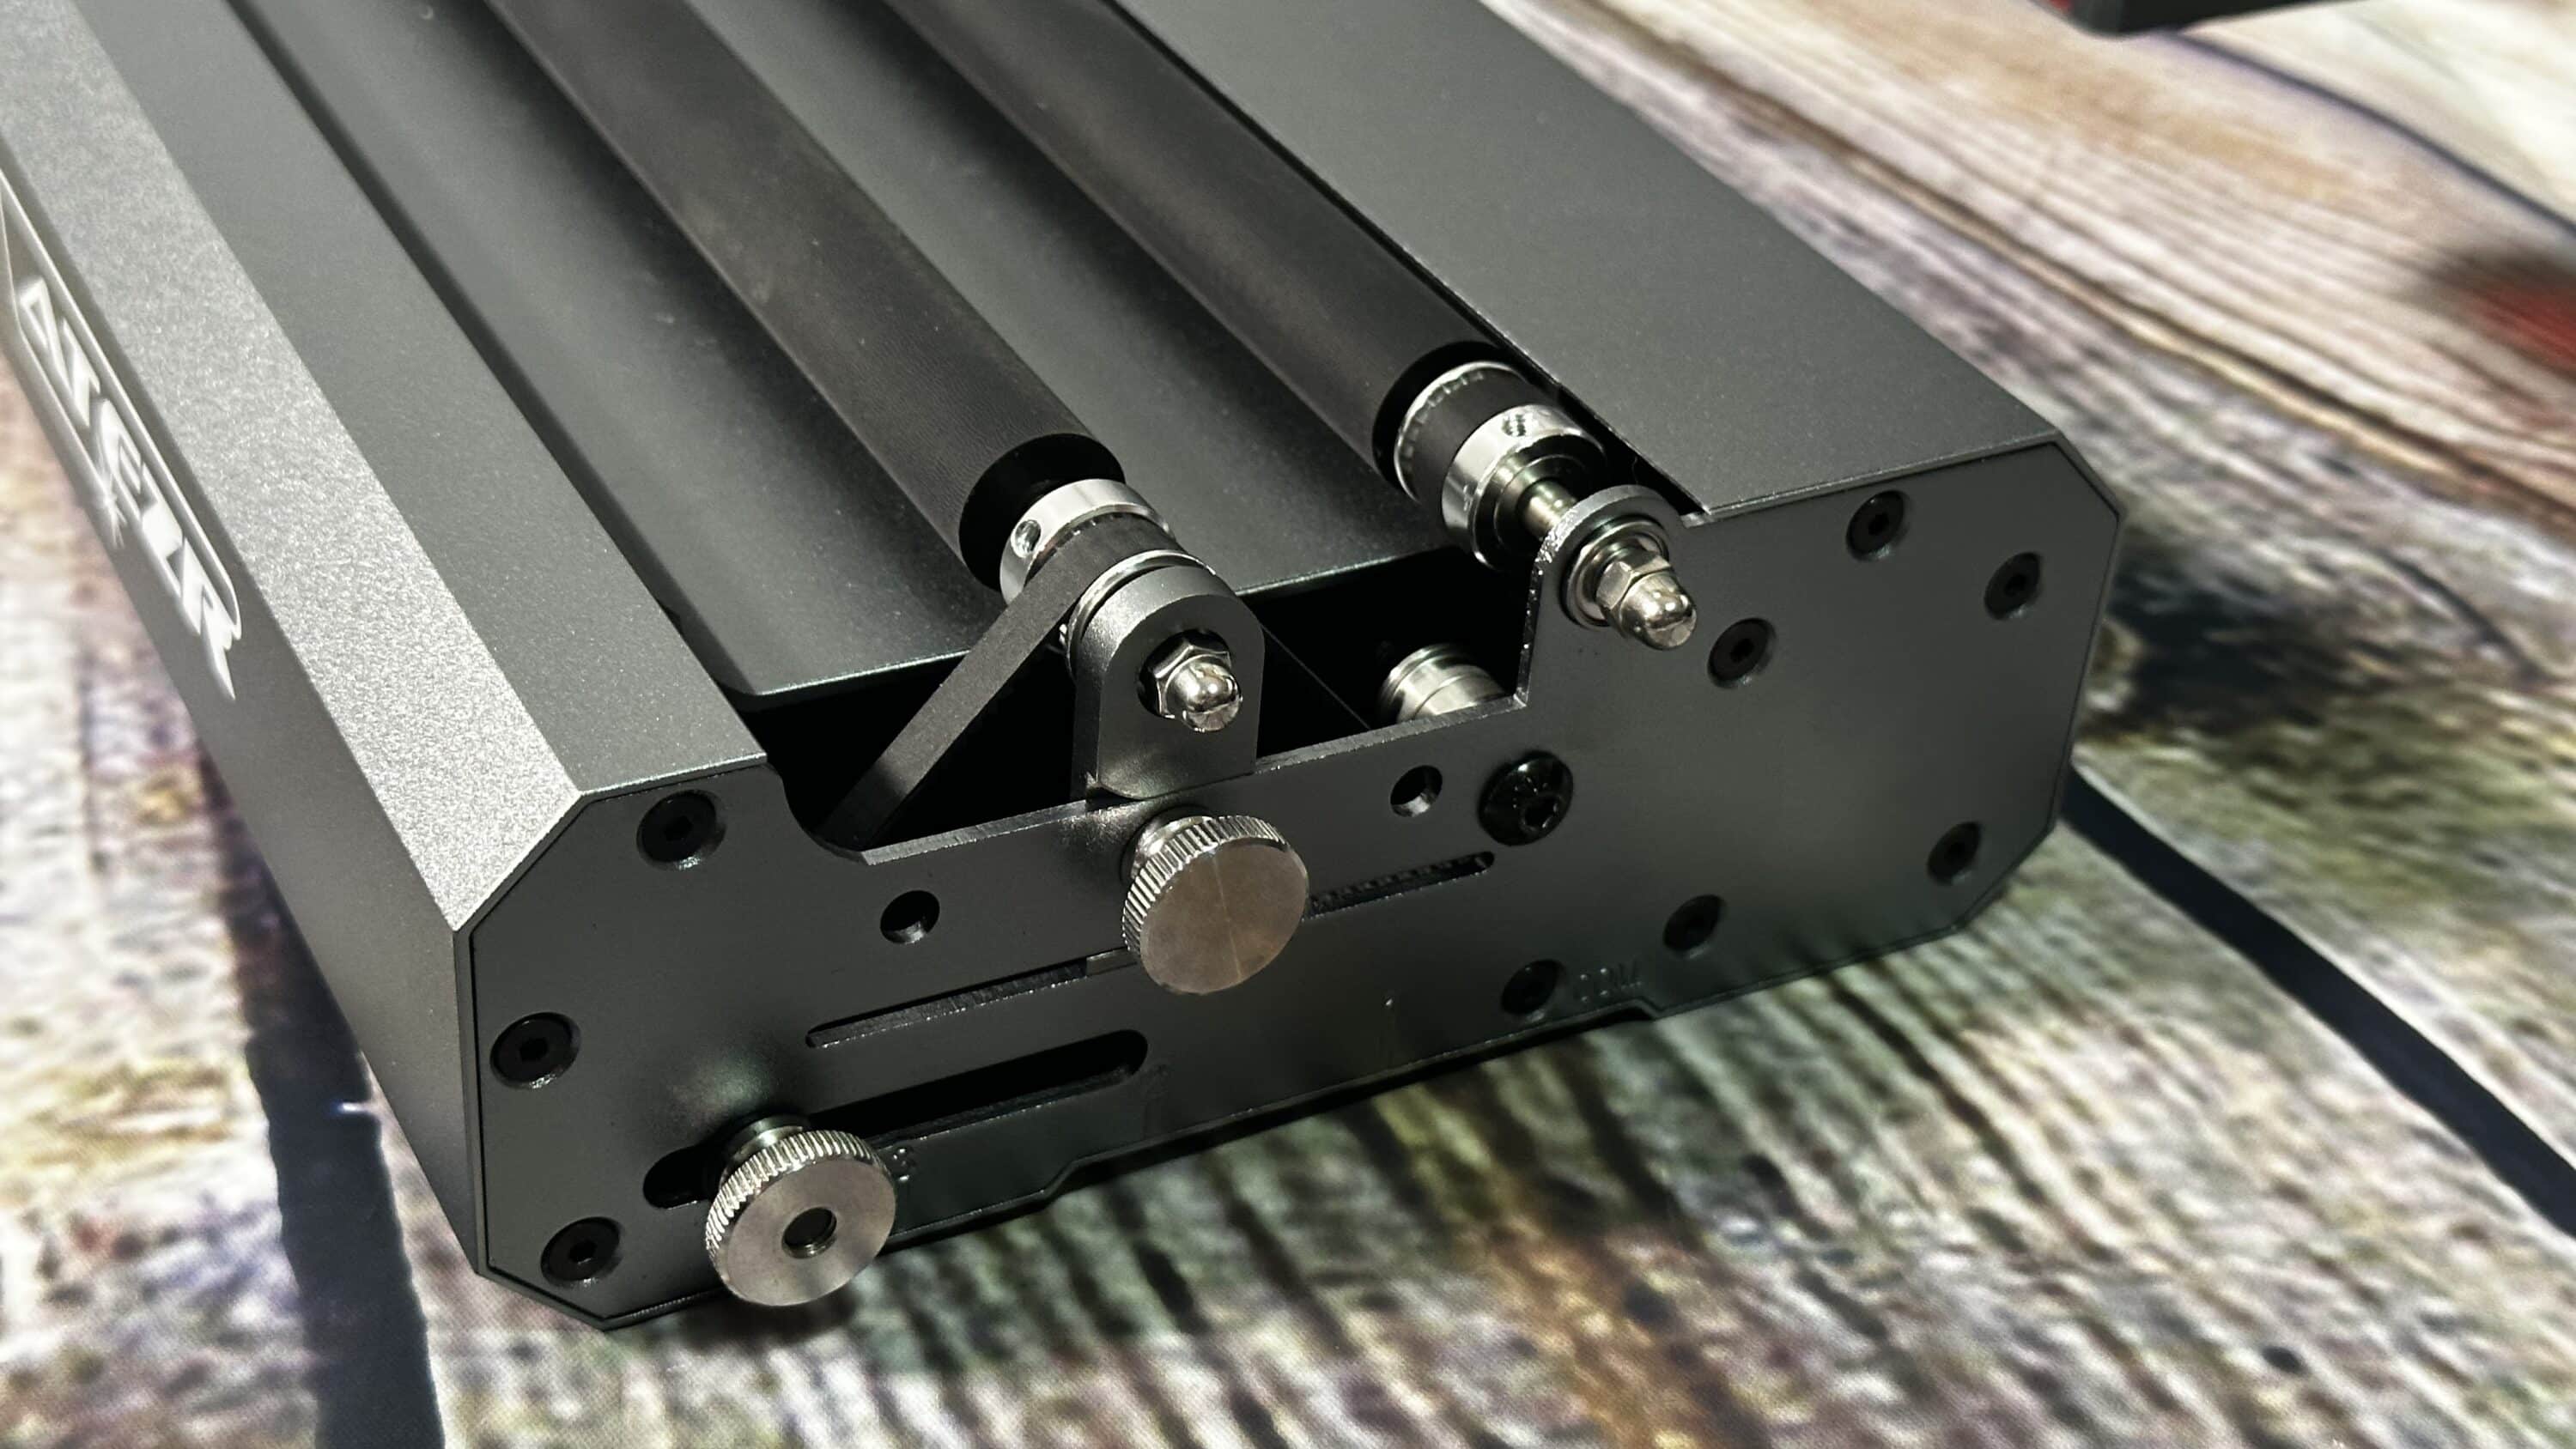
The rotary roller comes with raised feet that can be optionally attached under the laser engraver. However, these are not essential if you have the option of placing the P10 on a raised surface. Round objects can be engraved particularly well with the rotary cylinder. For this purpose, a cup, for example, is placed on the two rollers and rotated as needed. However, you have to work manually to get a clean engraving, since the rotary roller has no contact with the laser engraver. So in my case, it was only a conditionally useful tool, but one that gives you other options for engraving especially round objects or materials.
Conclusion
This brings us to the end of my review of the Atezier P10 Combo. To get back to the initial question – Is it worth the extra cost and the switch from the P5 to a P10 from the series? I can only answer this question with a “yes”. Basically, you get exactly the same professional and particularly high quality of installed materials and fitting accuracy in the P10 Combo as in the P5 itself. Every single delivered part fulfills its purpose, looks good and is also solidly built. All the functions in the application are satisfactory and they are still being actively worked on, as there are more options available during engraving compared to last time, which I particularly liked and remembered.
Probably the most crucial thing, namely the quality of the engravings, convinced me again this time with the P10 Combo. The engravings are sharp, exact and have a nicer surface than on the P5. This is due to the included Air Assist, which blows smaller particles away from the engraving surface. Basically, all materials can again be engraved without problems, with a small exception for transparent acrylic. As with the P5, I was unable to create a clean engraving area on the acrylic.
To close the circle – Yes, the P10 Combo is a laser engraver that is worth looking at and has a lot of power even when cutting, but at the same time it is about half the price of the P5. However, if you want to rely on a reliable laser engraver, you are at the right address at Atezer.

Atezr P10
Assembly
Workmanship
Usability
Quality
Value for money
87/100
The P10 from Atezr is a good alternative for any engraving fan. The simple construction, the good quality and the easy handling have convinced me.