Cooler Master, known for a long time for the production of fans, CPU coolers (including the AMD factory coolers) and cases, has been active since the early 90s and is one of the very big brands in the world of PCs.
Generally speaking, there are different concepts to approach the creation of a PC case. One way is to make cases in a very typical, familiar way. This is cheaper to develop and you know it will work. Or you can look for standout features. The Cooler Master MasterBox 500, for example, offers the ability to completely remove the top of the case for more freedom in installation. In order to test this feature for practicality and also assess the other case quality and best application options, we take a closer look at this case – let’s get started with our Cooler Master MasterBox 500 review.
Specifications of the Cooler Master MasterBox 500
| Material | Steel, plastic, mesh filter |
| Side panel | Tempered Glass |
| Dimensions | Midi-Tower, 505 x 209 x 499 mm |
| Volume | 51 L |
| Mainboard Compatibility | Mini ITX, Micro ATX, ATX, E-ATX |
| Expansion card slots | 7 |
| 3.5″ drive slots | 2 |
| 2.5″ drive slots | 4 |
| Front Panel | 2x USB 3.2 Gen1 Type A, 1x combined audio jack |
| Pre-installed fans | 1x ARGB front, 1x black rear |
| Radiator support (both front and top) | 120 / 140 / 240 / 280 / 360 mm |
| Maximum air cooler height | 165 mm |
| Maximum graphics card length | 410 mm |
| Power Supply Support | ATX (180 mm with HDD cage, 295 mm without HDD cage) |
| Price | € 80.91 * |


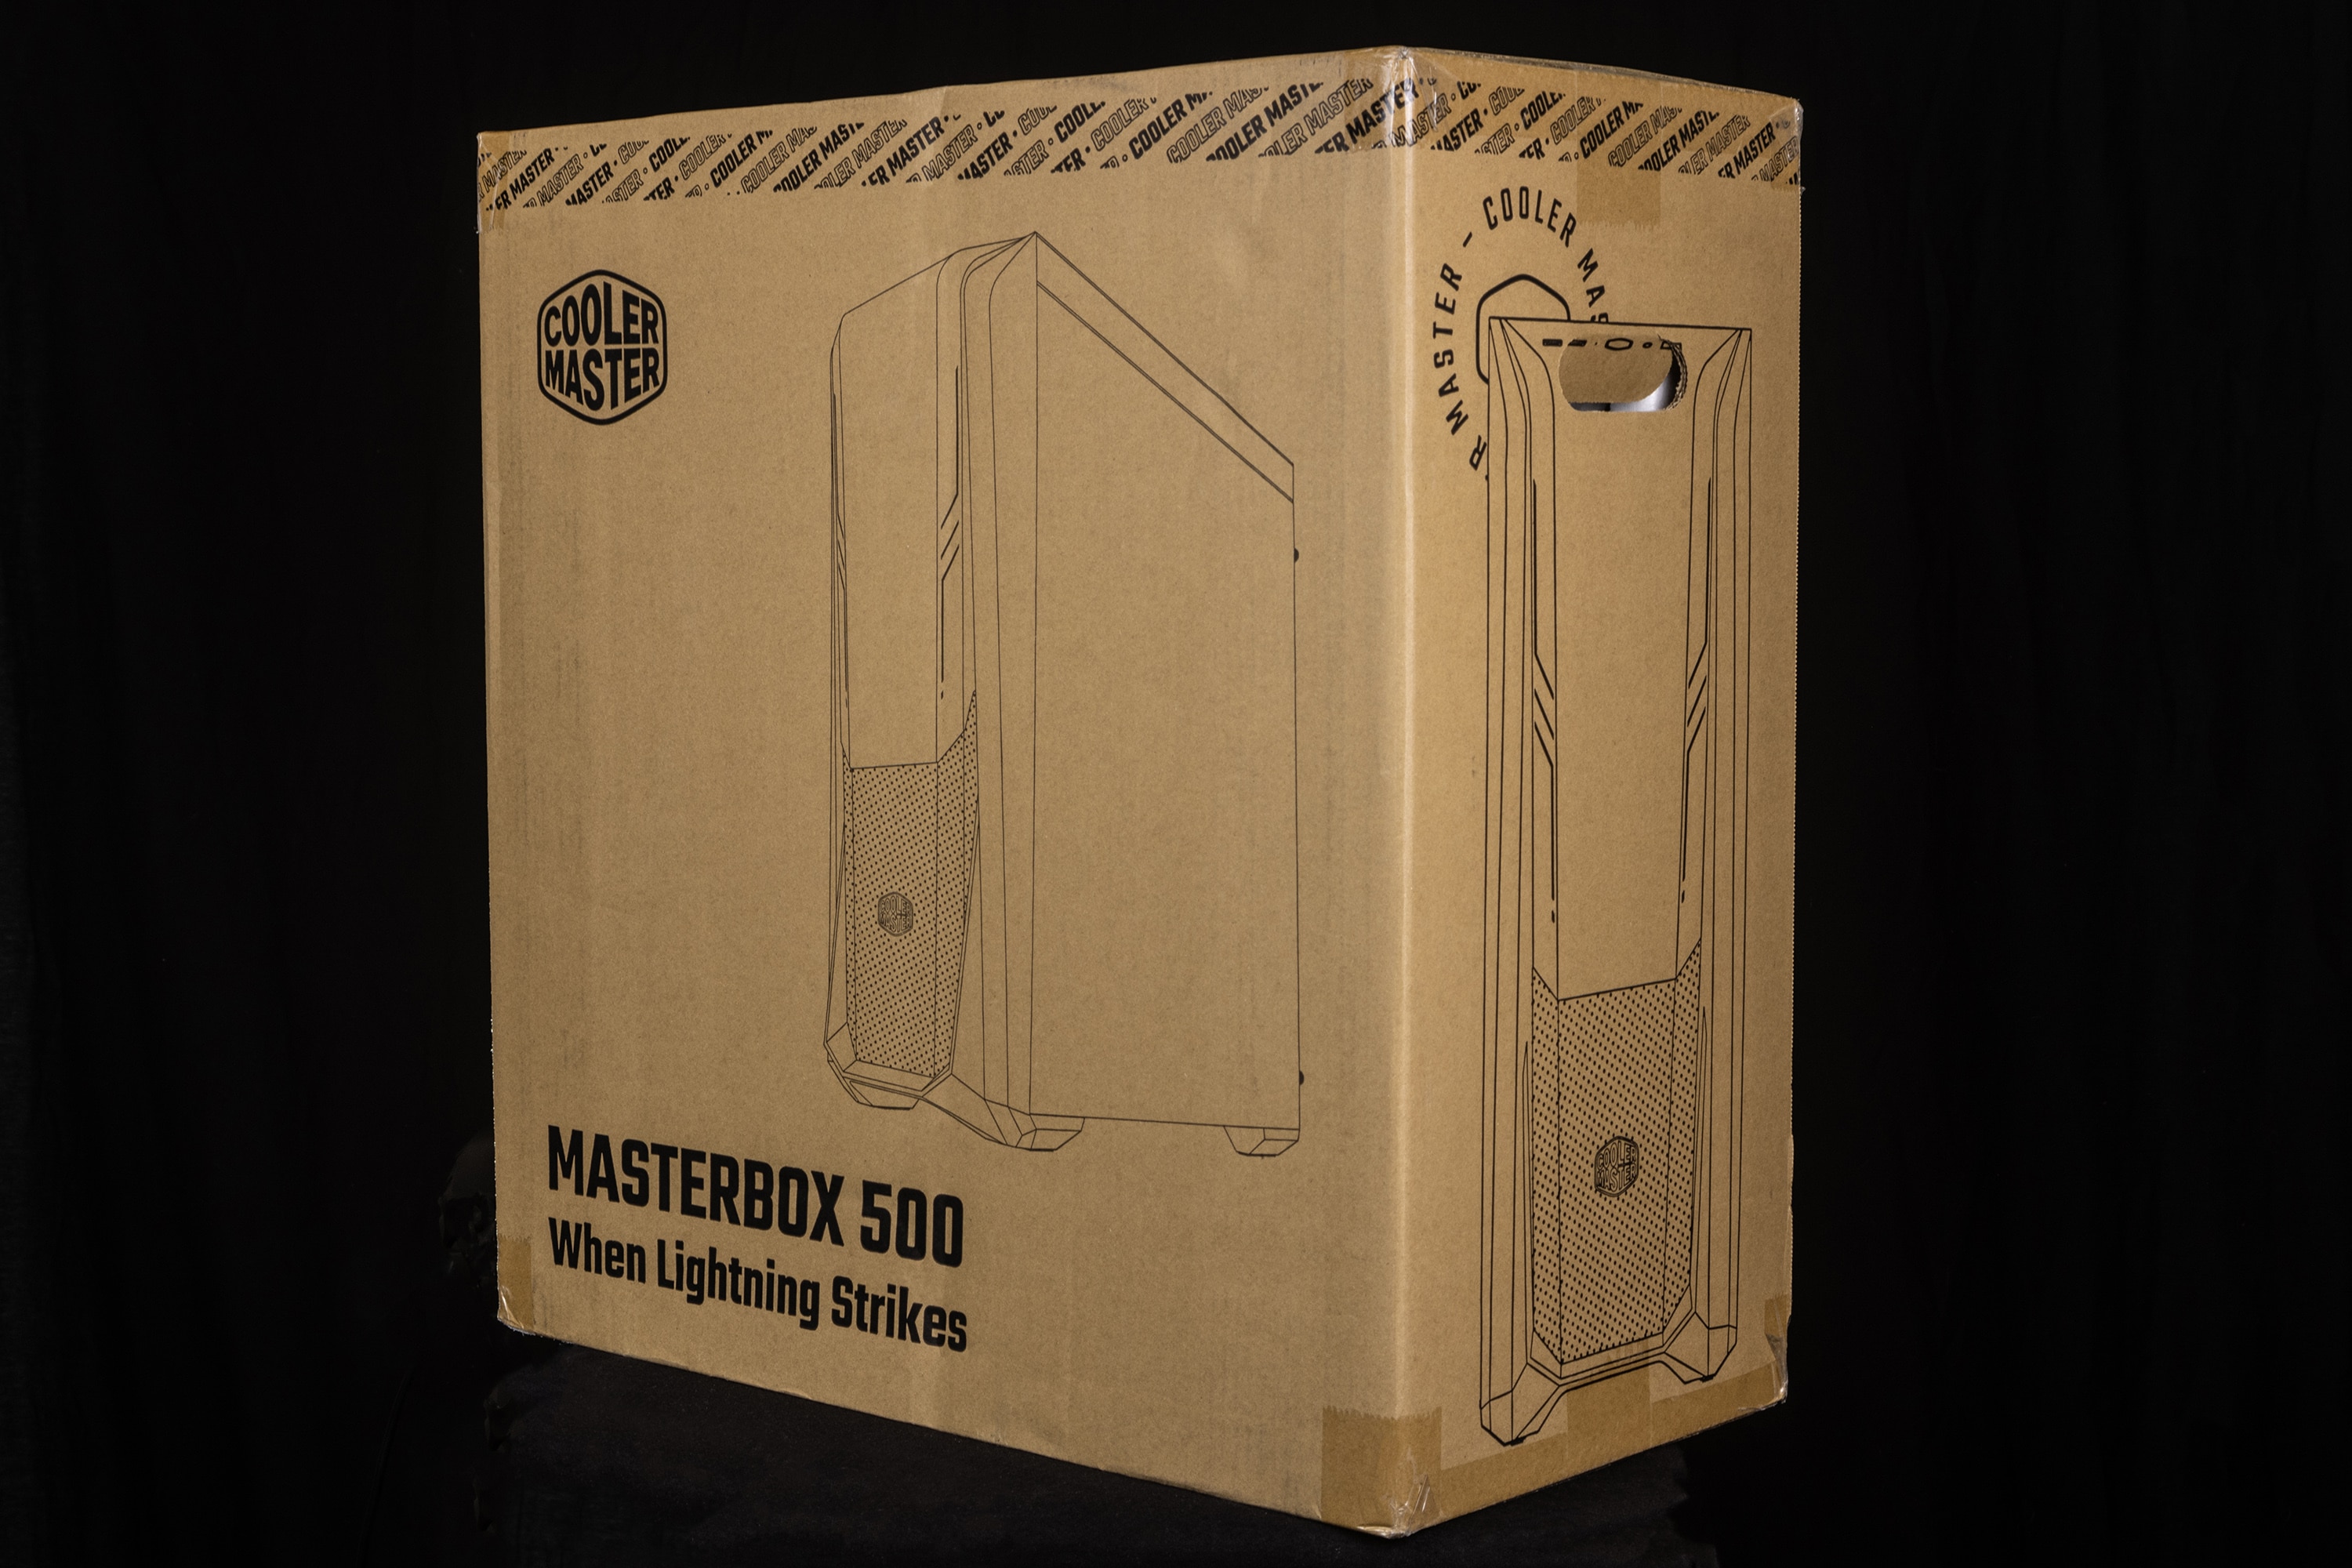
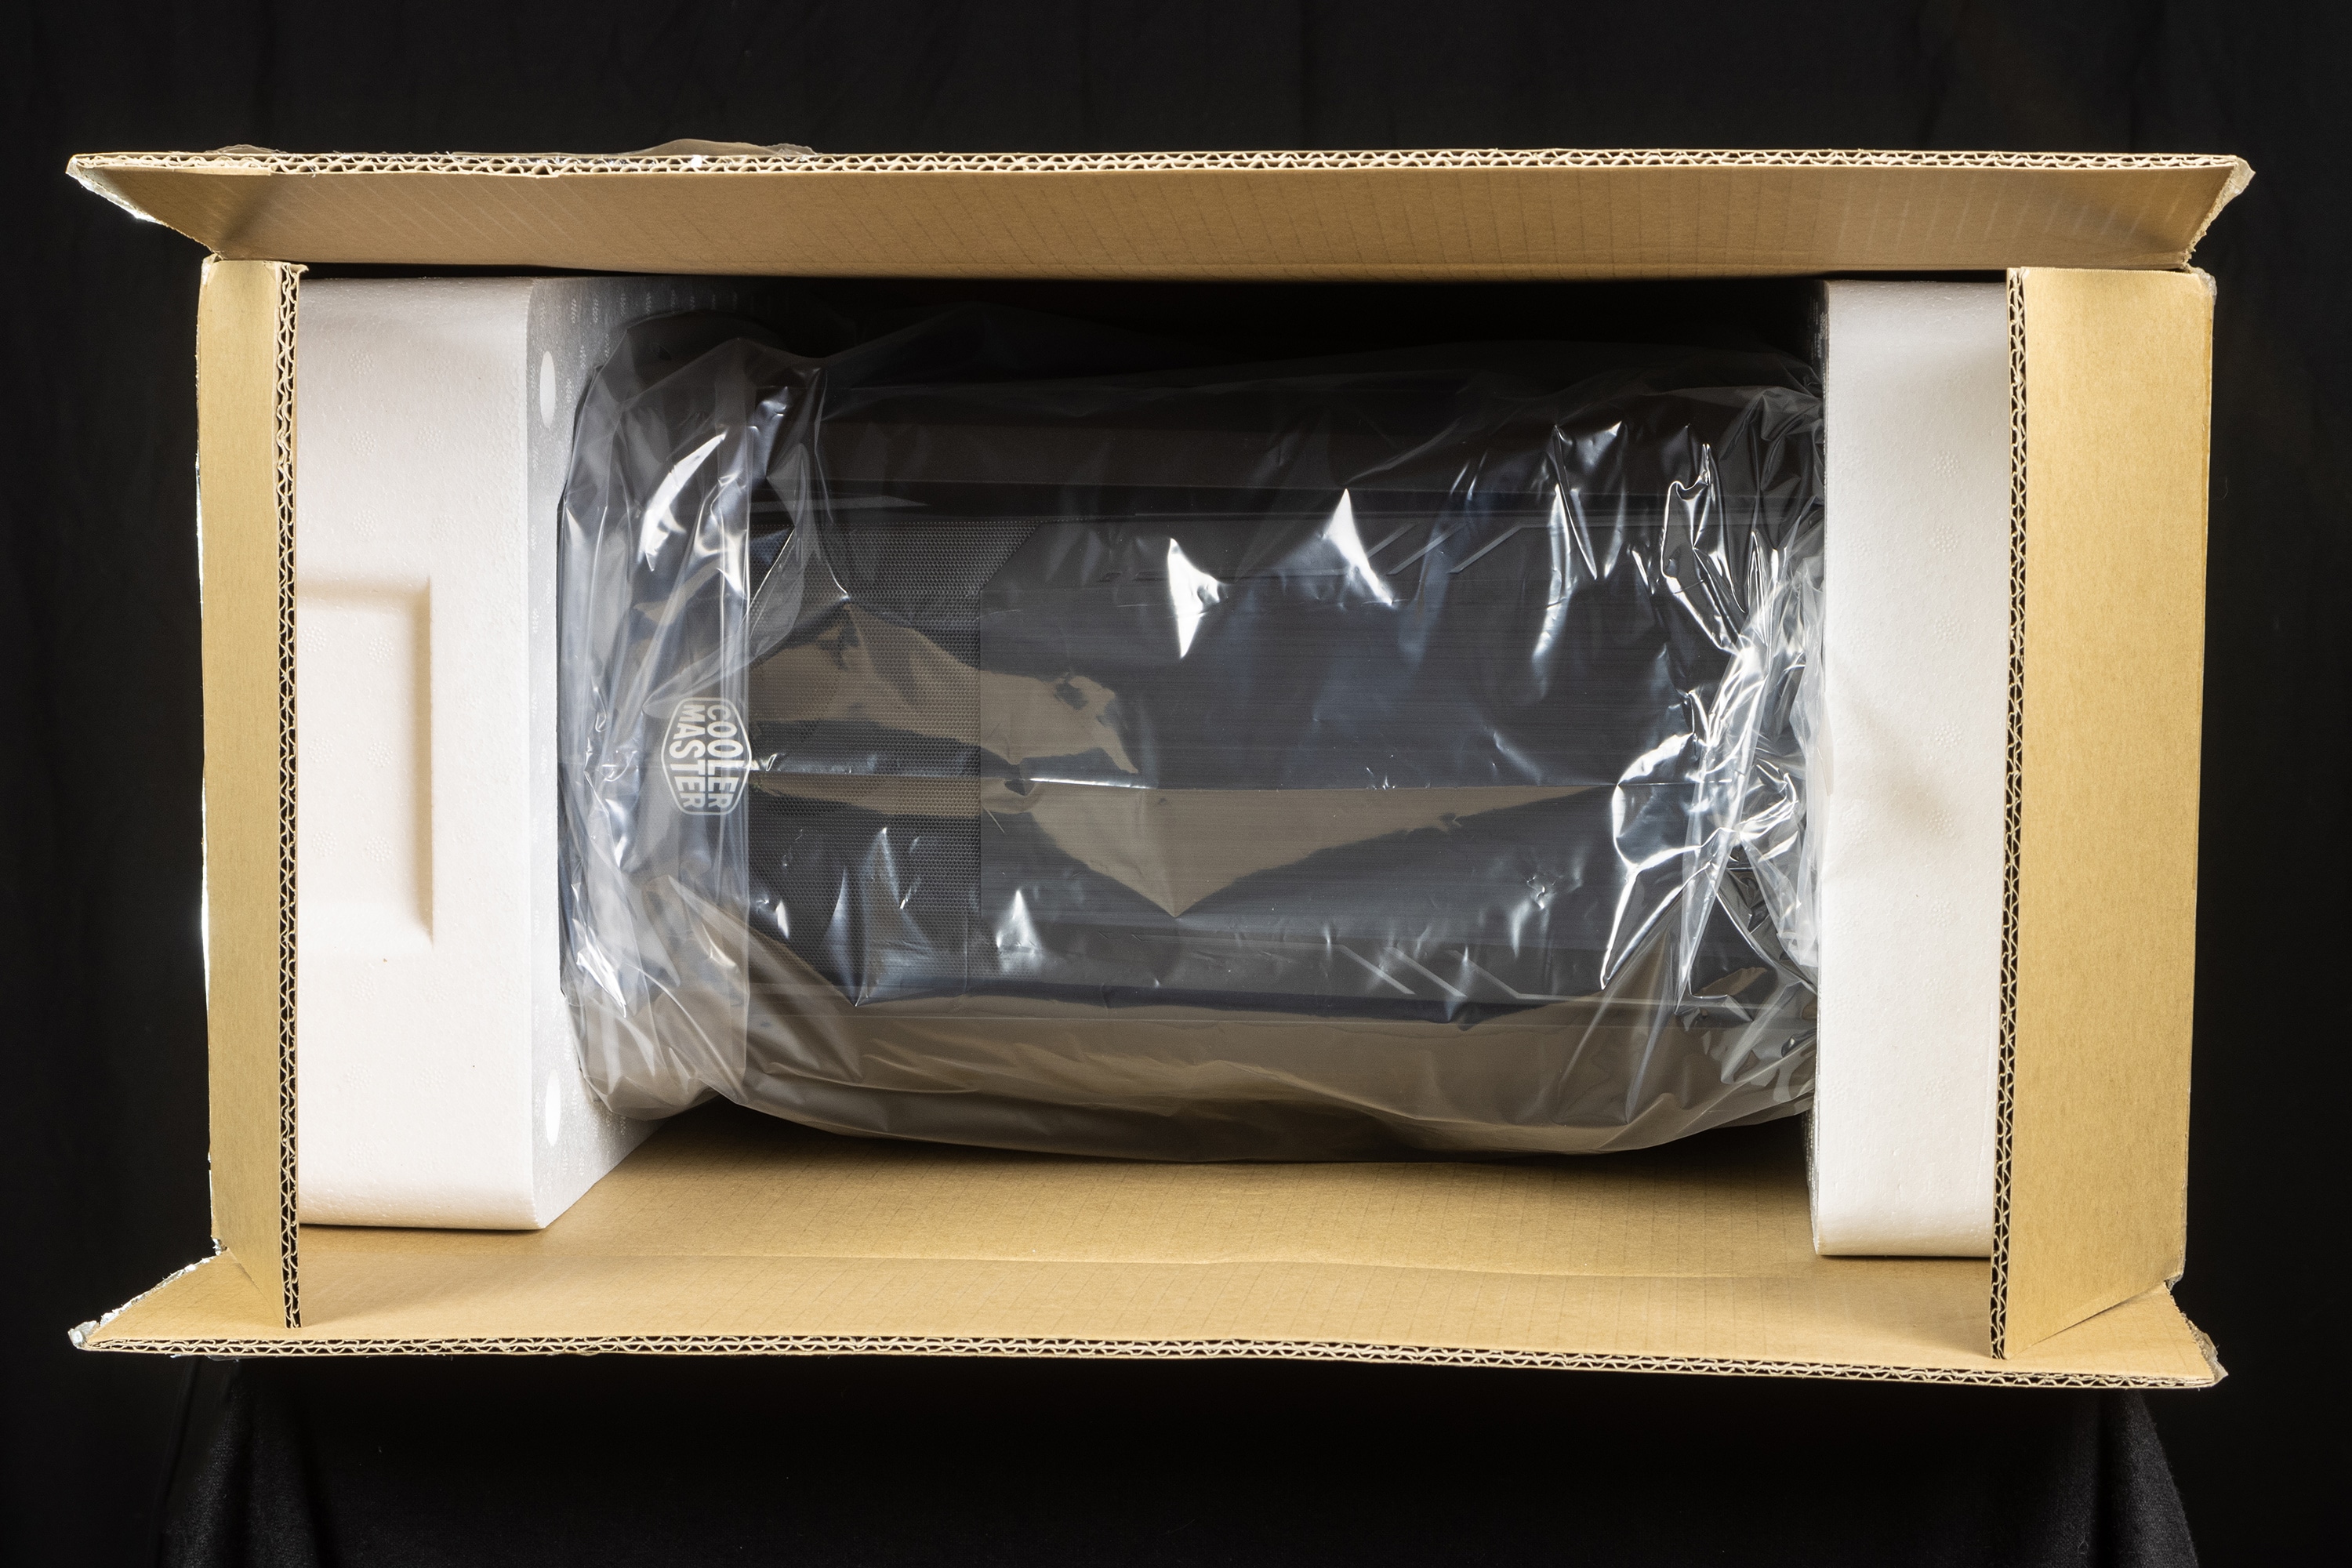
Packaging and scope of delivery
The packaging of the Cooler Master MasterBox 500 is kept very simple: In a brown box the case is delivered, which is held in the box by two styrofoam parts. Only a small bag of screws and a few easy-to-use cable ties are delivered as accessories, tied together with the front panel cables in the case. Along with the screws, there is also a tool to unscrew the motherboard standoffs using a screwdriver. These are already screwed into the case at the factory in an ATX arrangement and can be repositioned or removed with the tool if needed. A paper manual is not included – a QR code on the outside of the box redirects to the Cooler Master website with the manual.


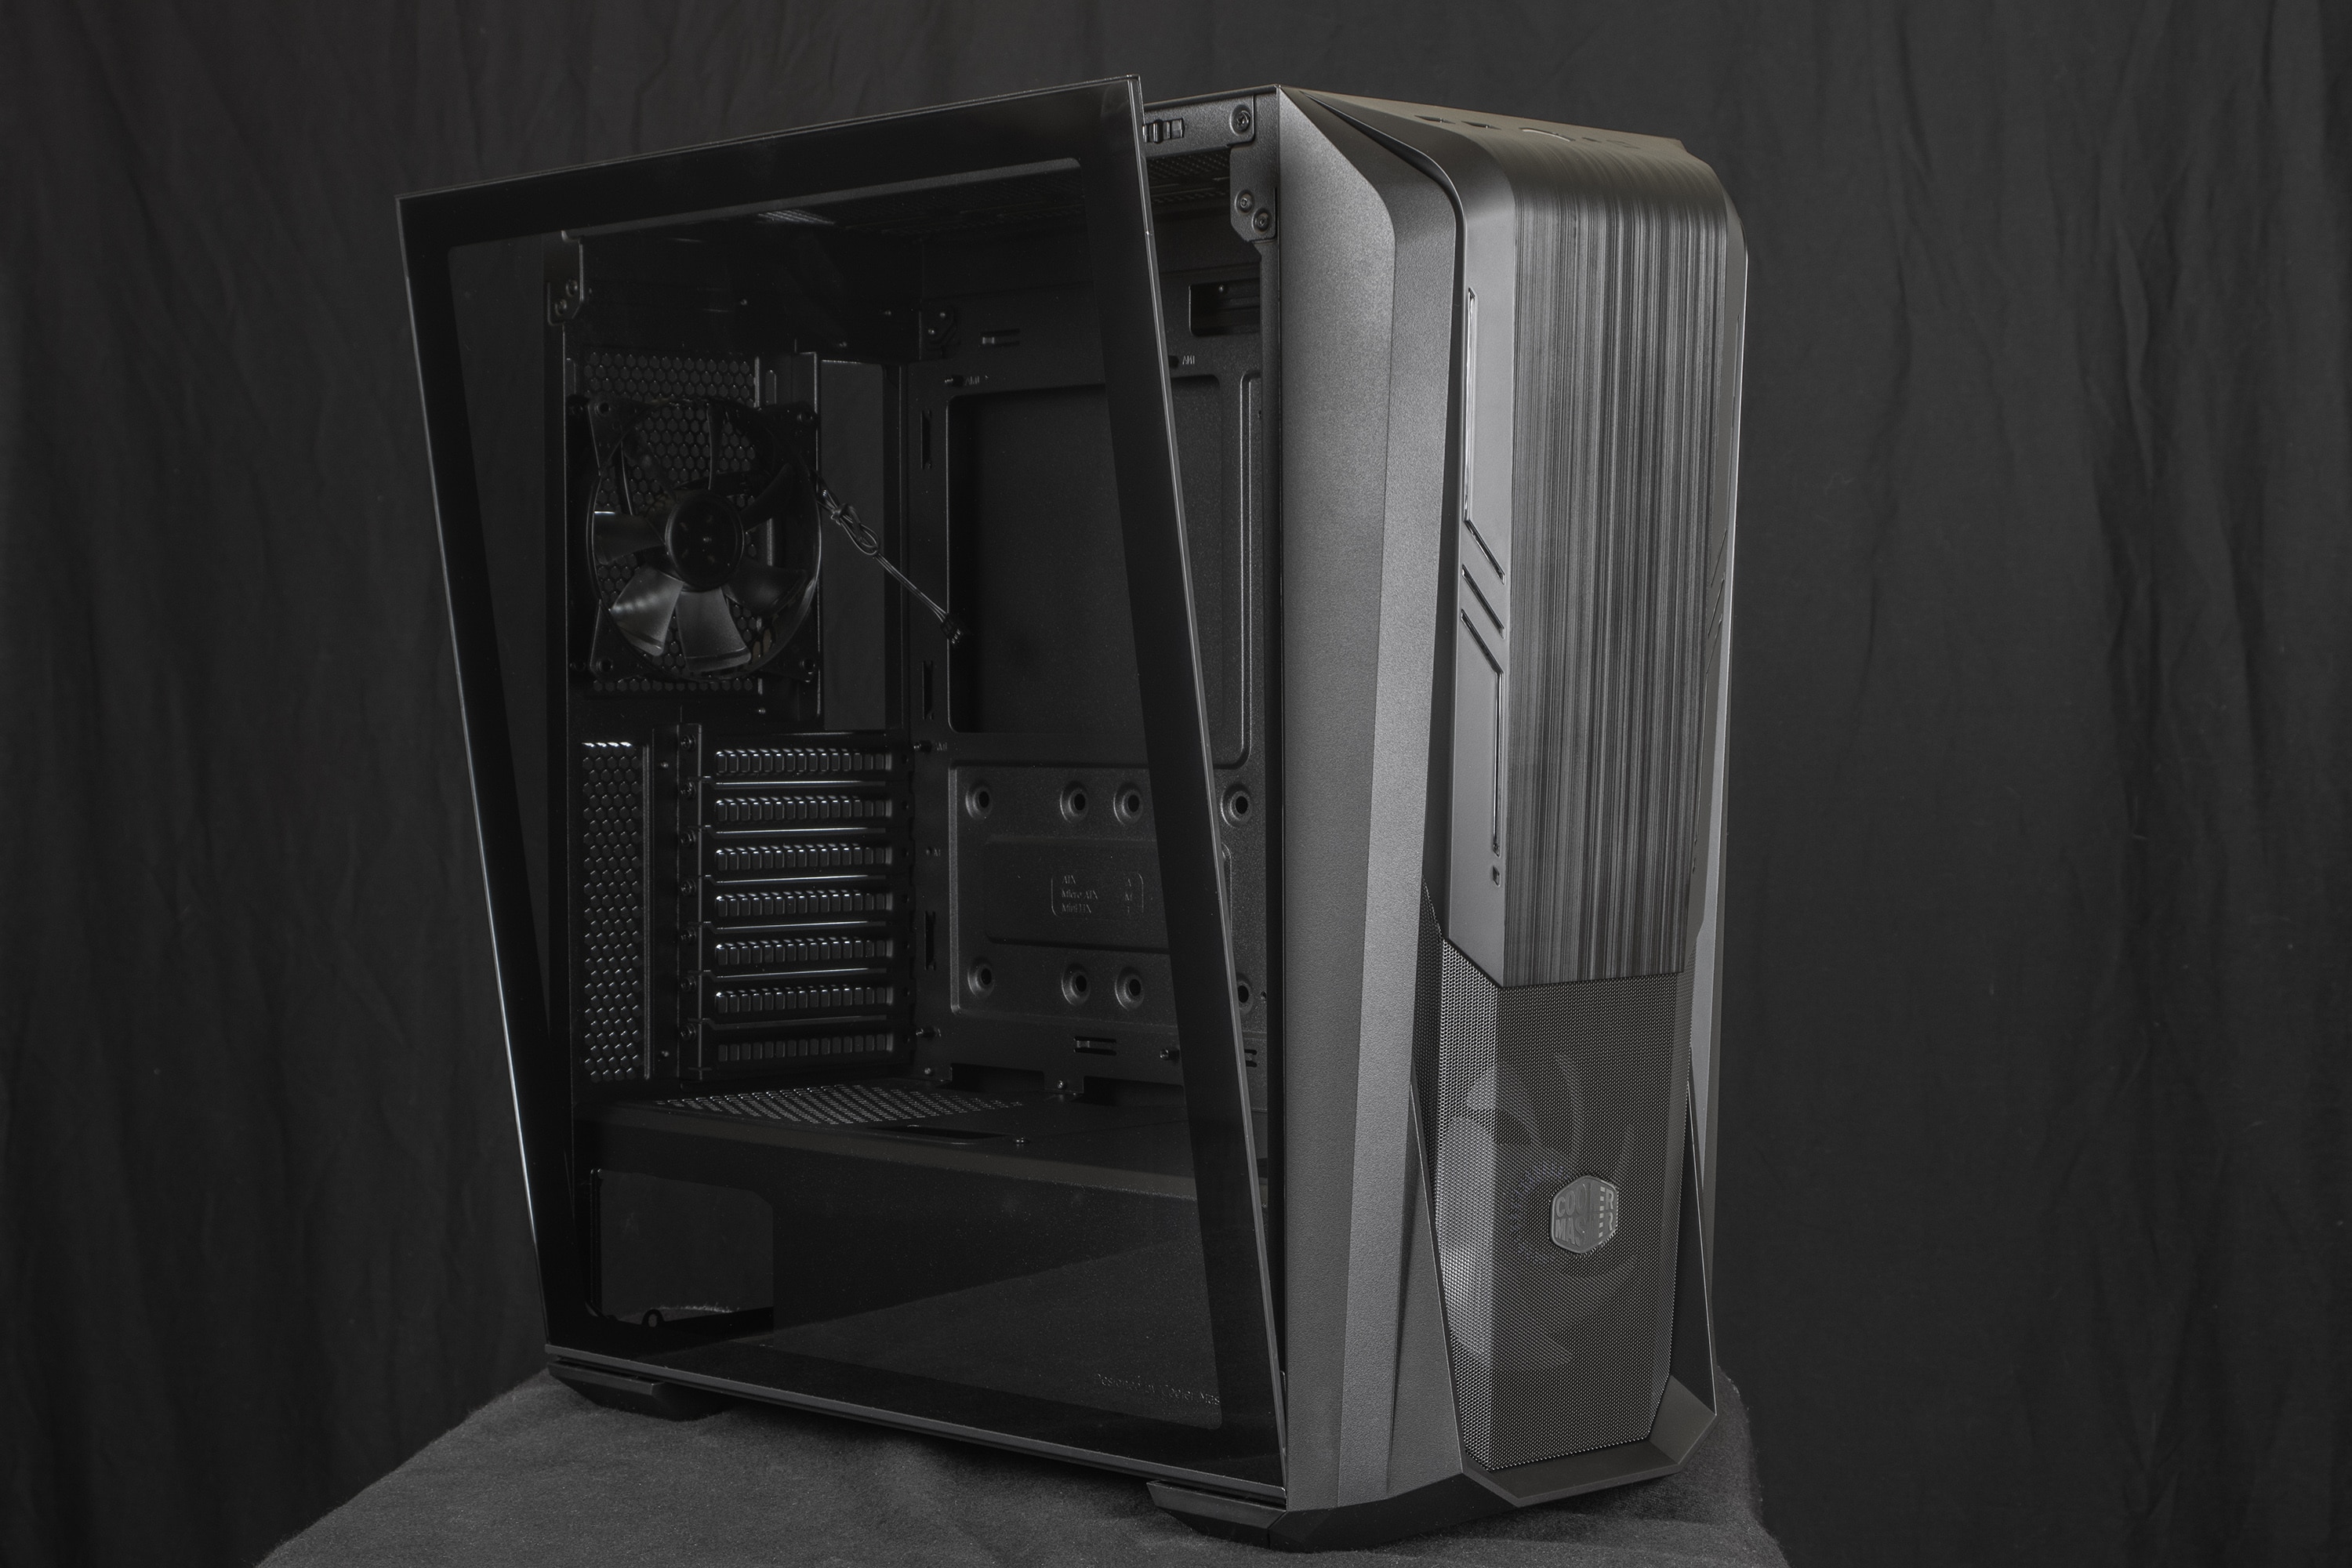
Design, build and finish
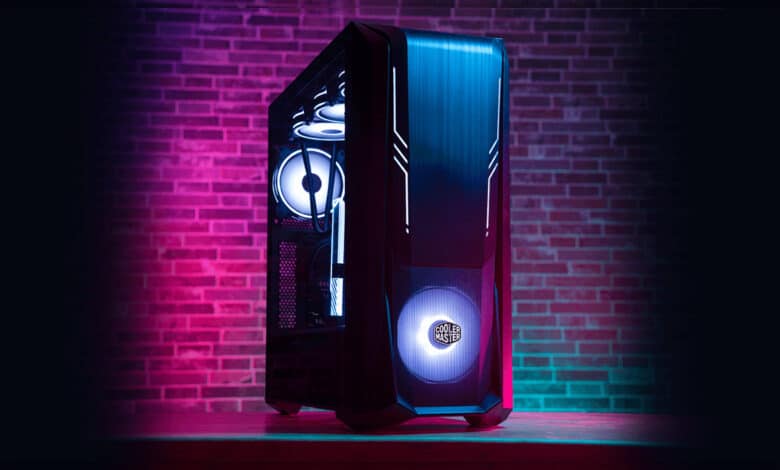
At first glance, the case with the large area at the front looks a bit like cases of earlier days, which had the 5.25″ drives hidden behind a fancy front. However, drive slots like these are looked for in vain on the MasterBox 500, and so the question of what Cooler Master is aiming for with this design arises once at the beginning. Spoiler: Not a practical use, but an individual design.
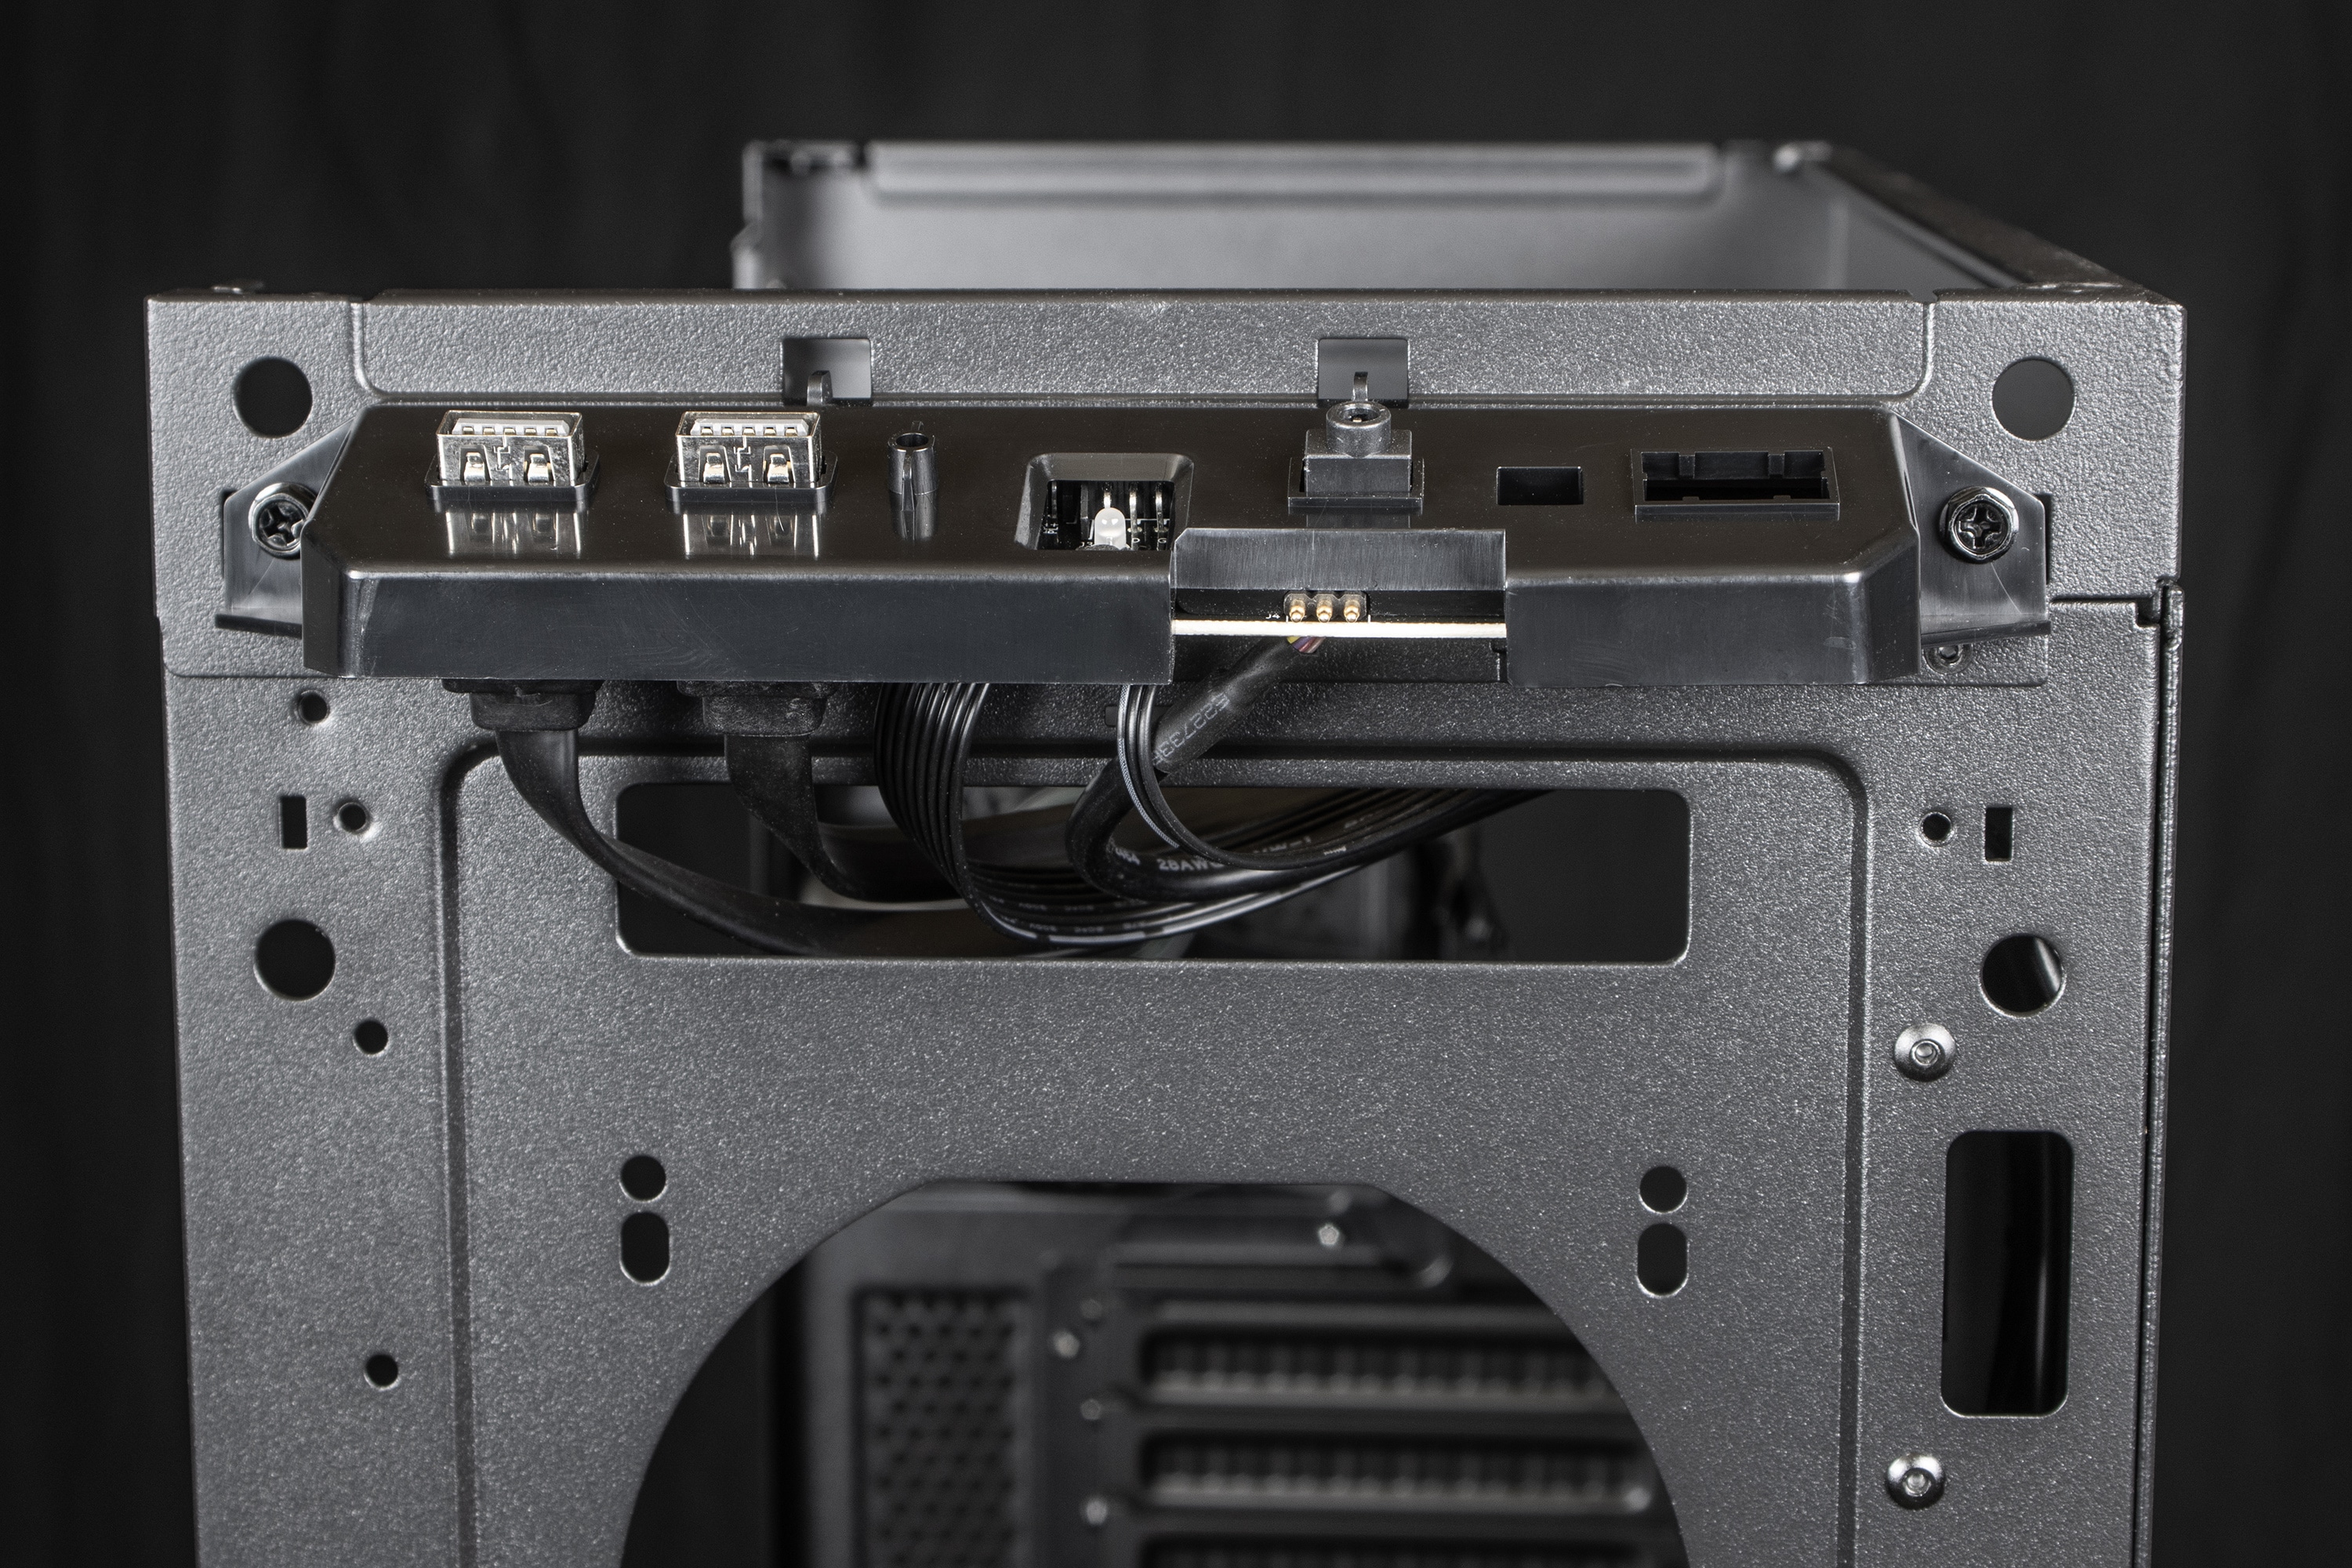
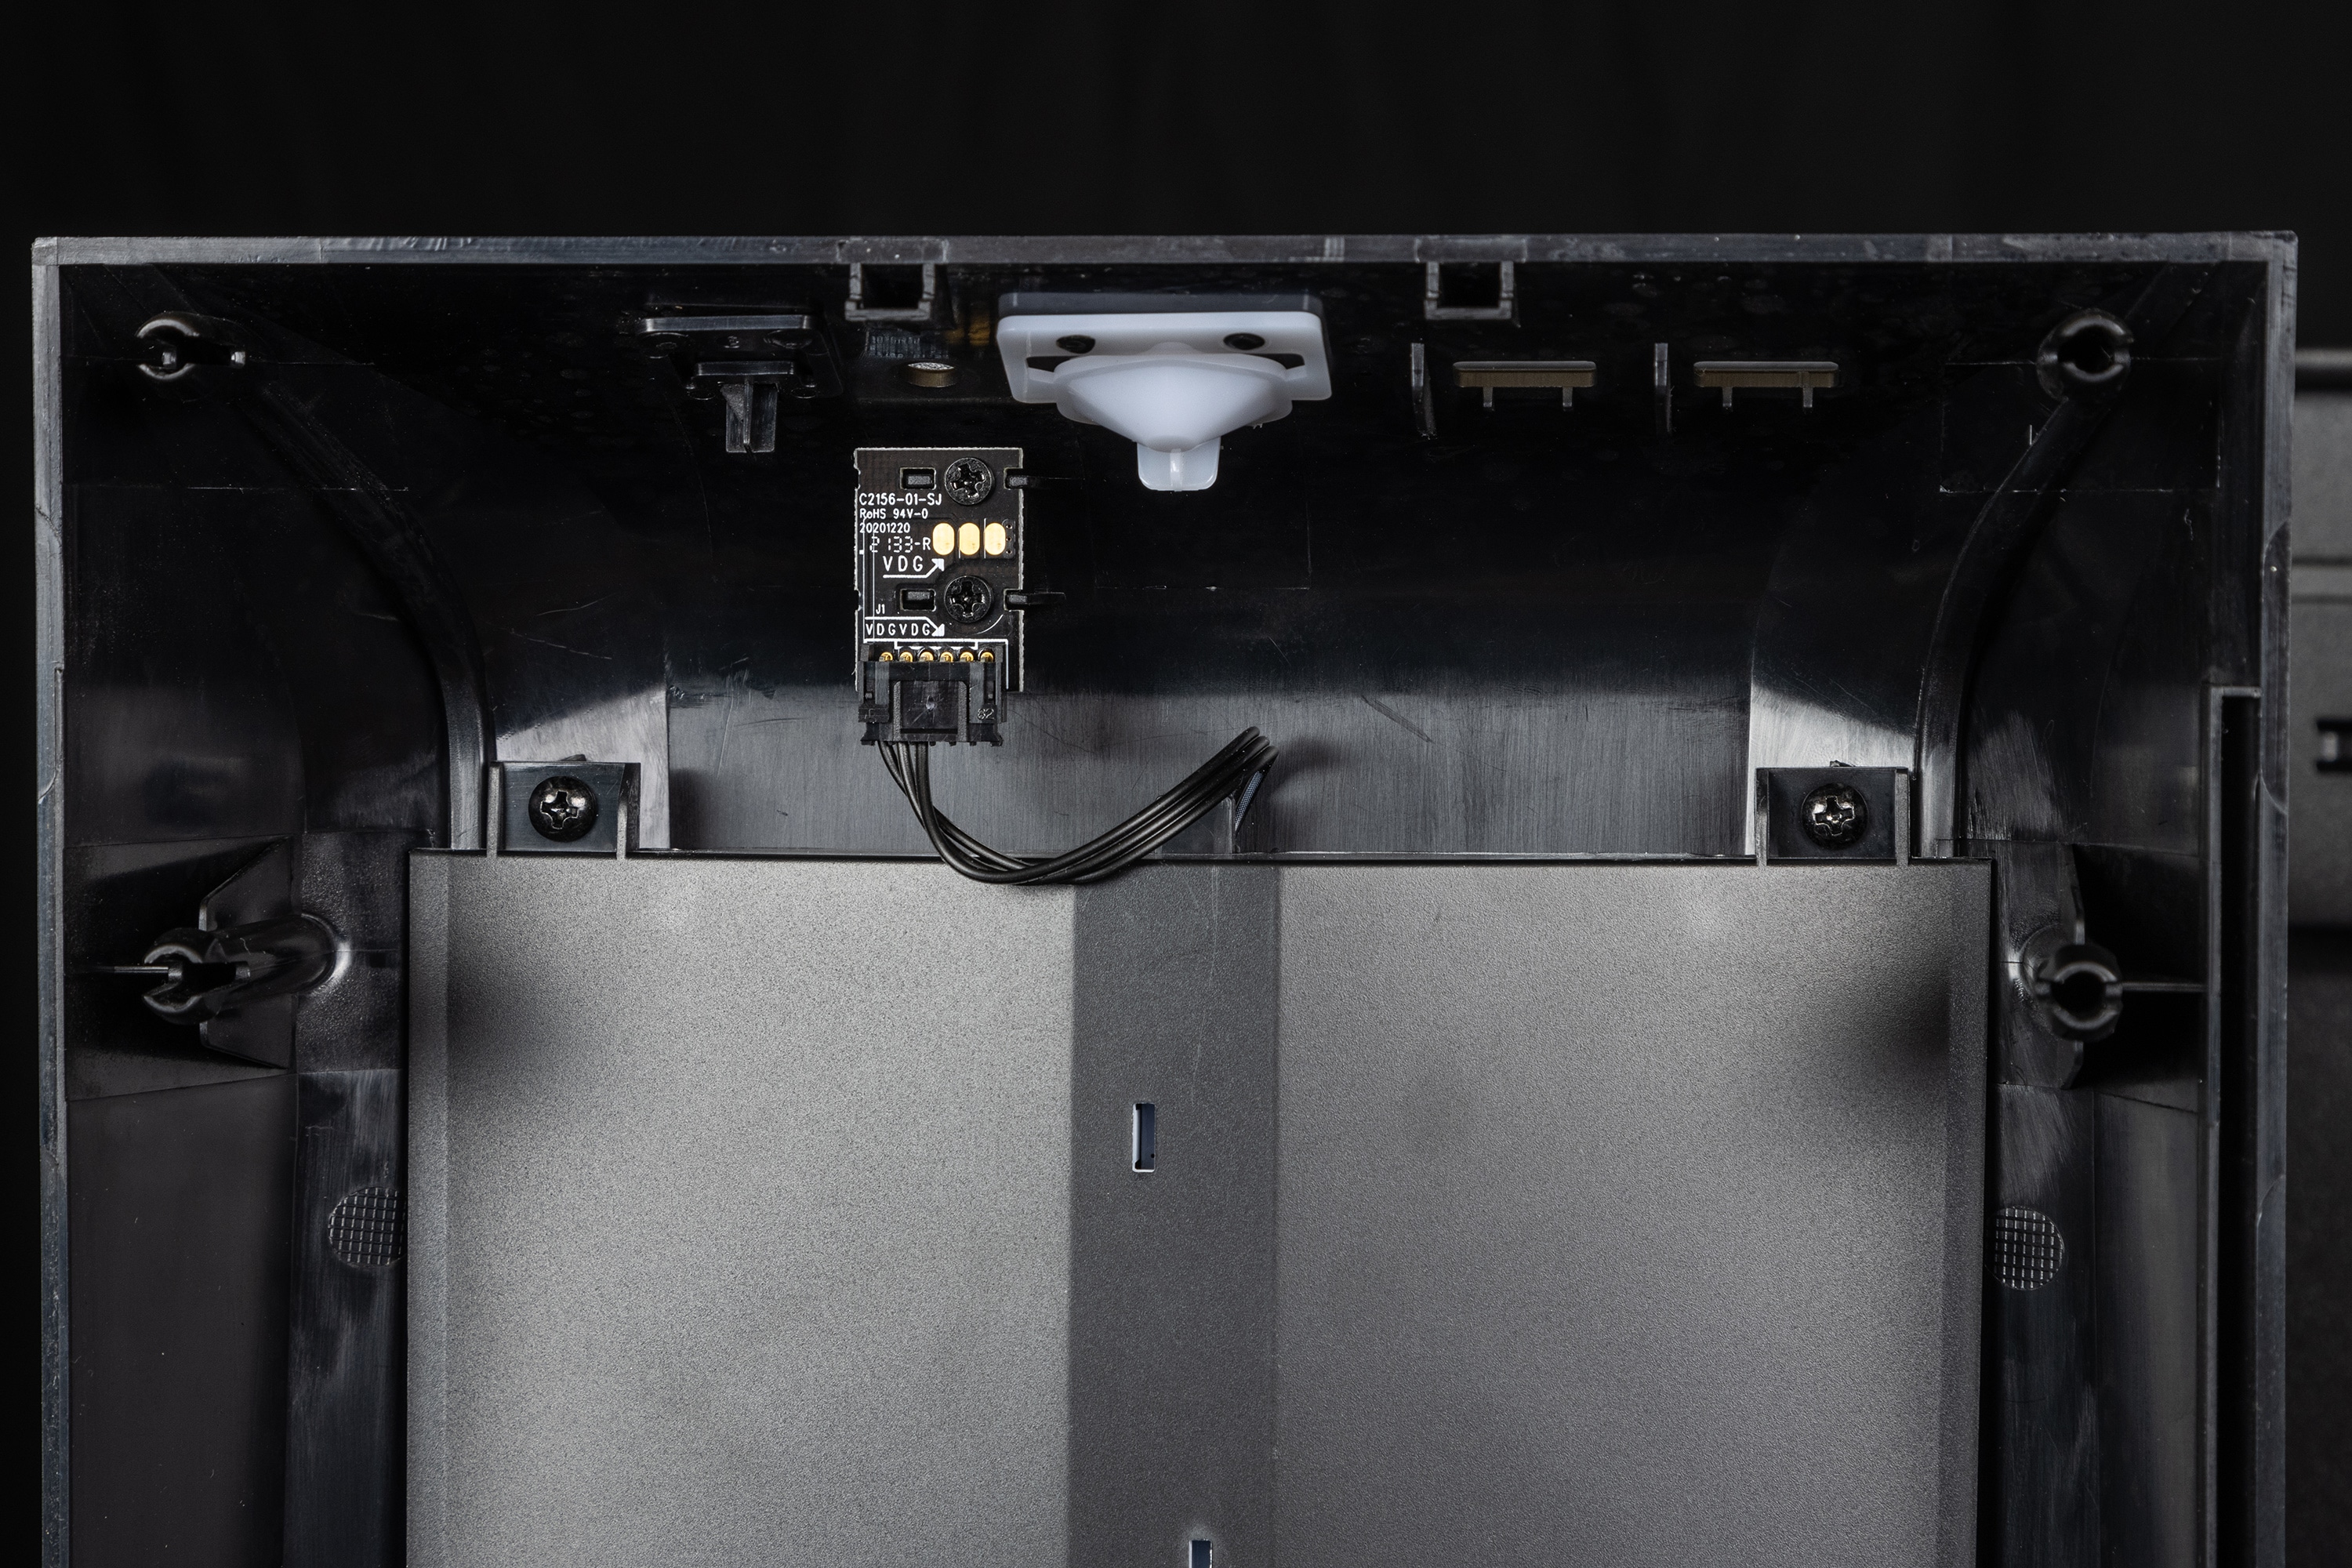
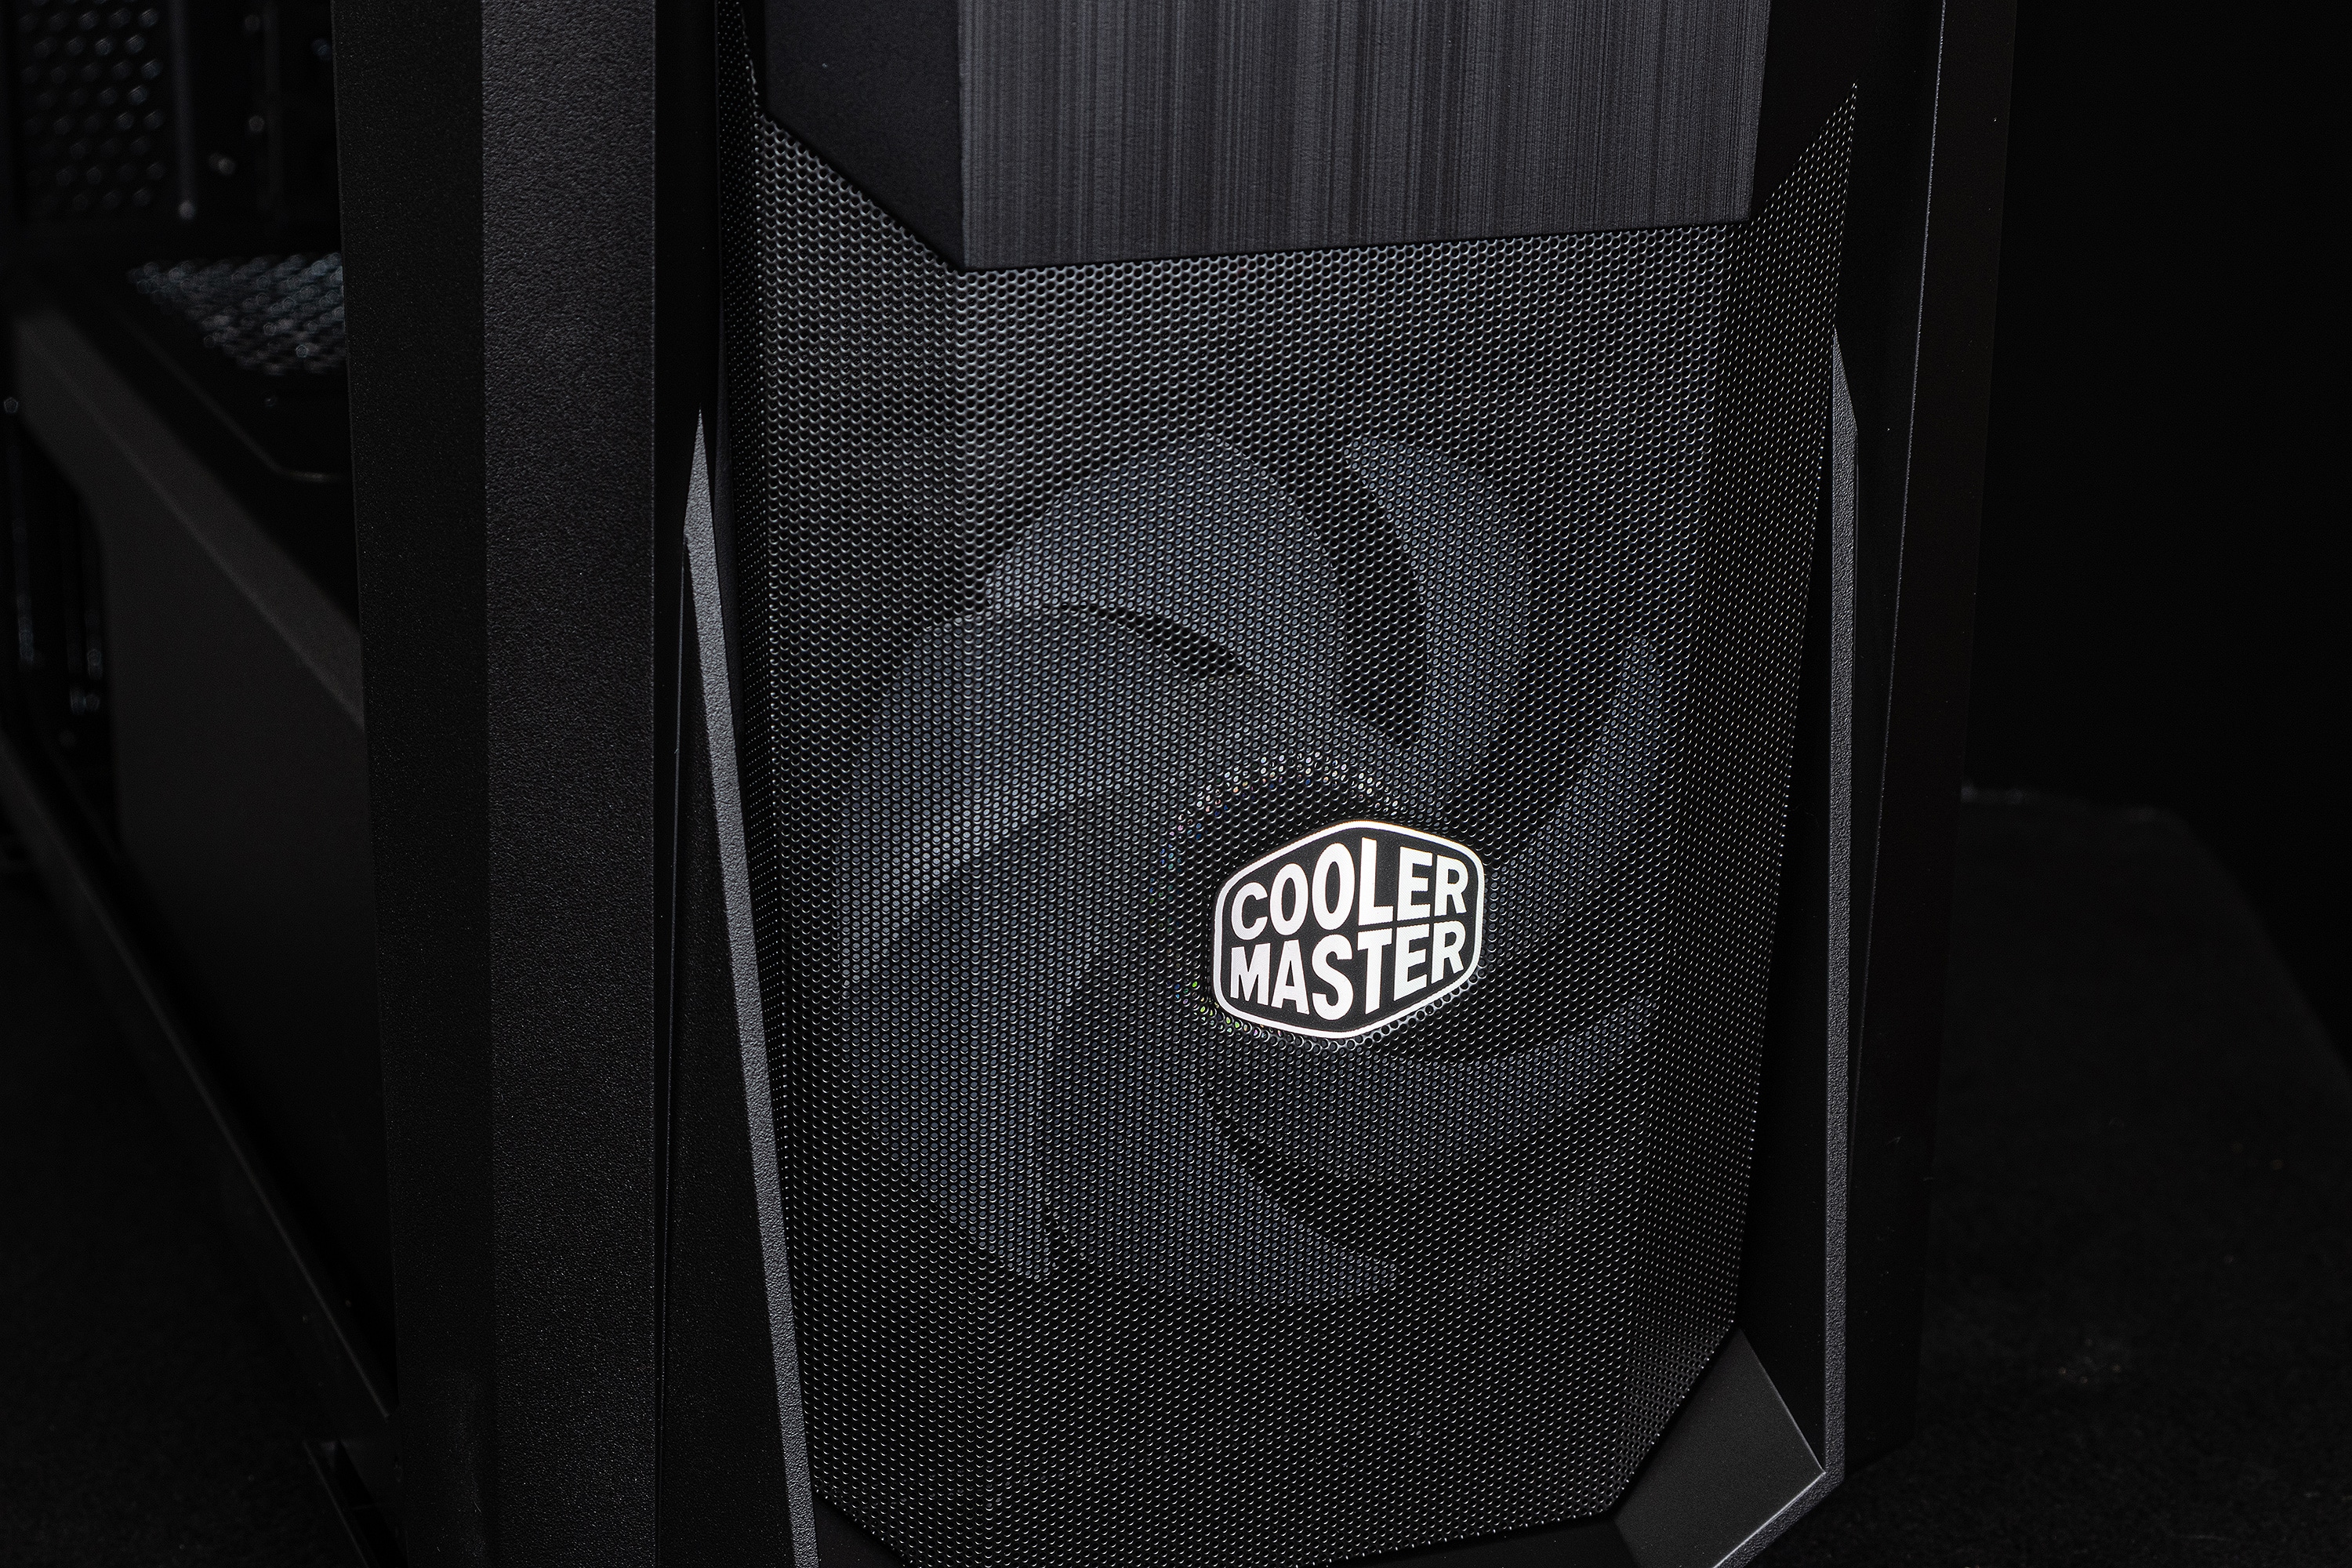
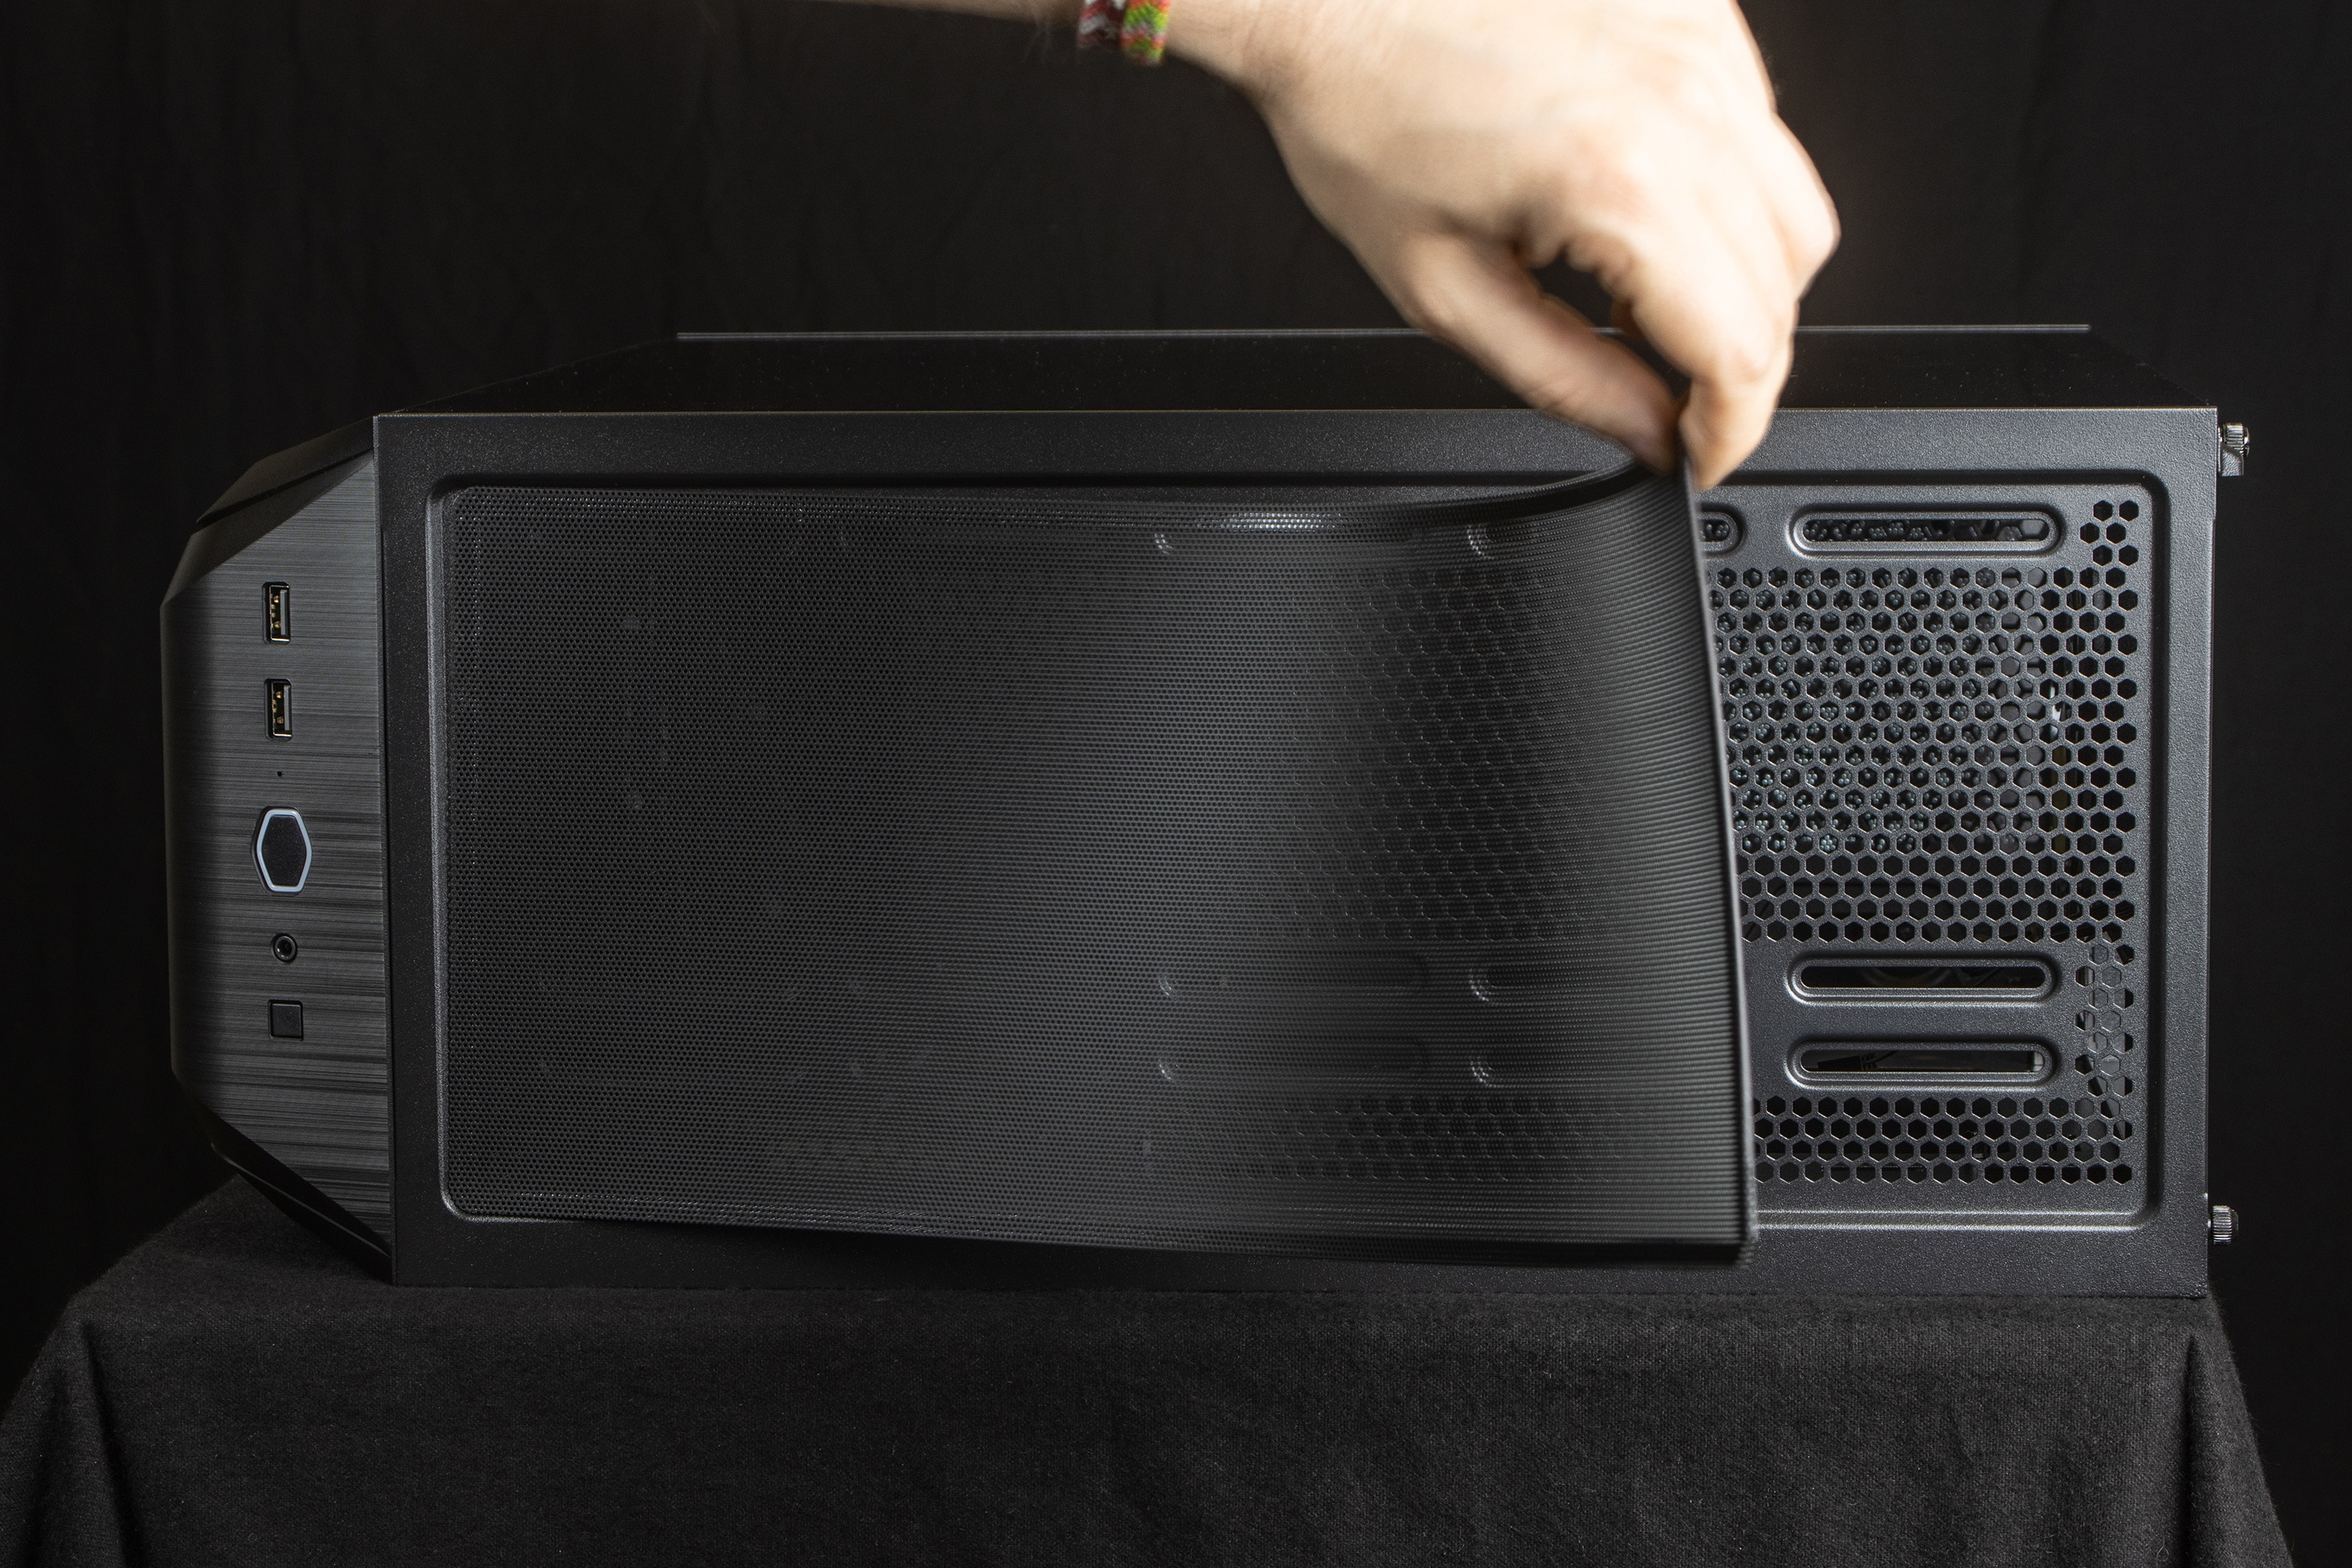
The workmanship of the front itself looks good, though. It is made of plastic, but the brushed aluminum look makes it look very high-quality. It is also resistant to fingerprints. The front can be completely removed to access the fans, and it is noticeable that there are no cables to complicate the removal – the RGB components on the front panel are controlled by a 3-pin contact and the connections are located directly on the case behind the front panel. The power and reset buttons are also on the case and the front panel relays the pressure of the buttons installed there. A nice touch of decoupling.

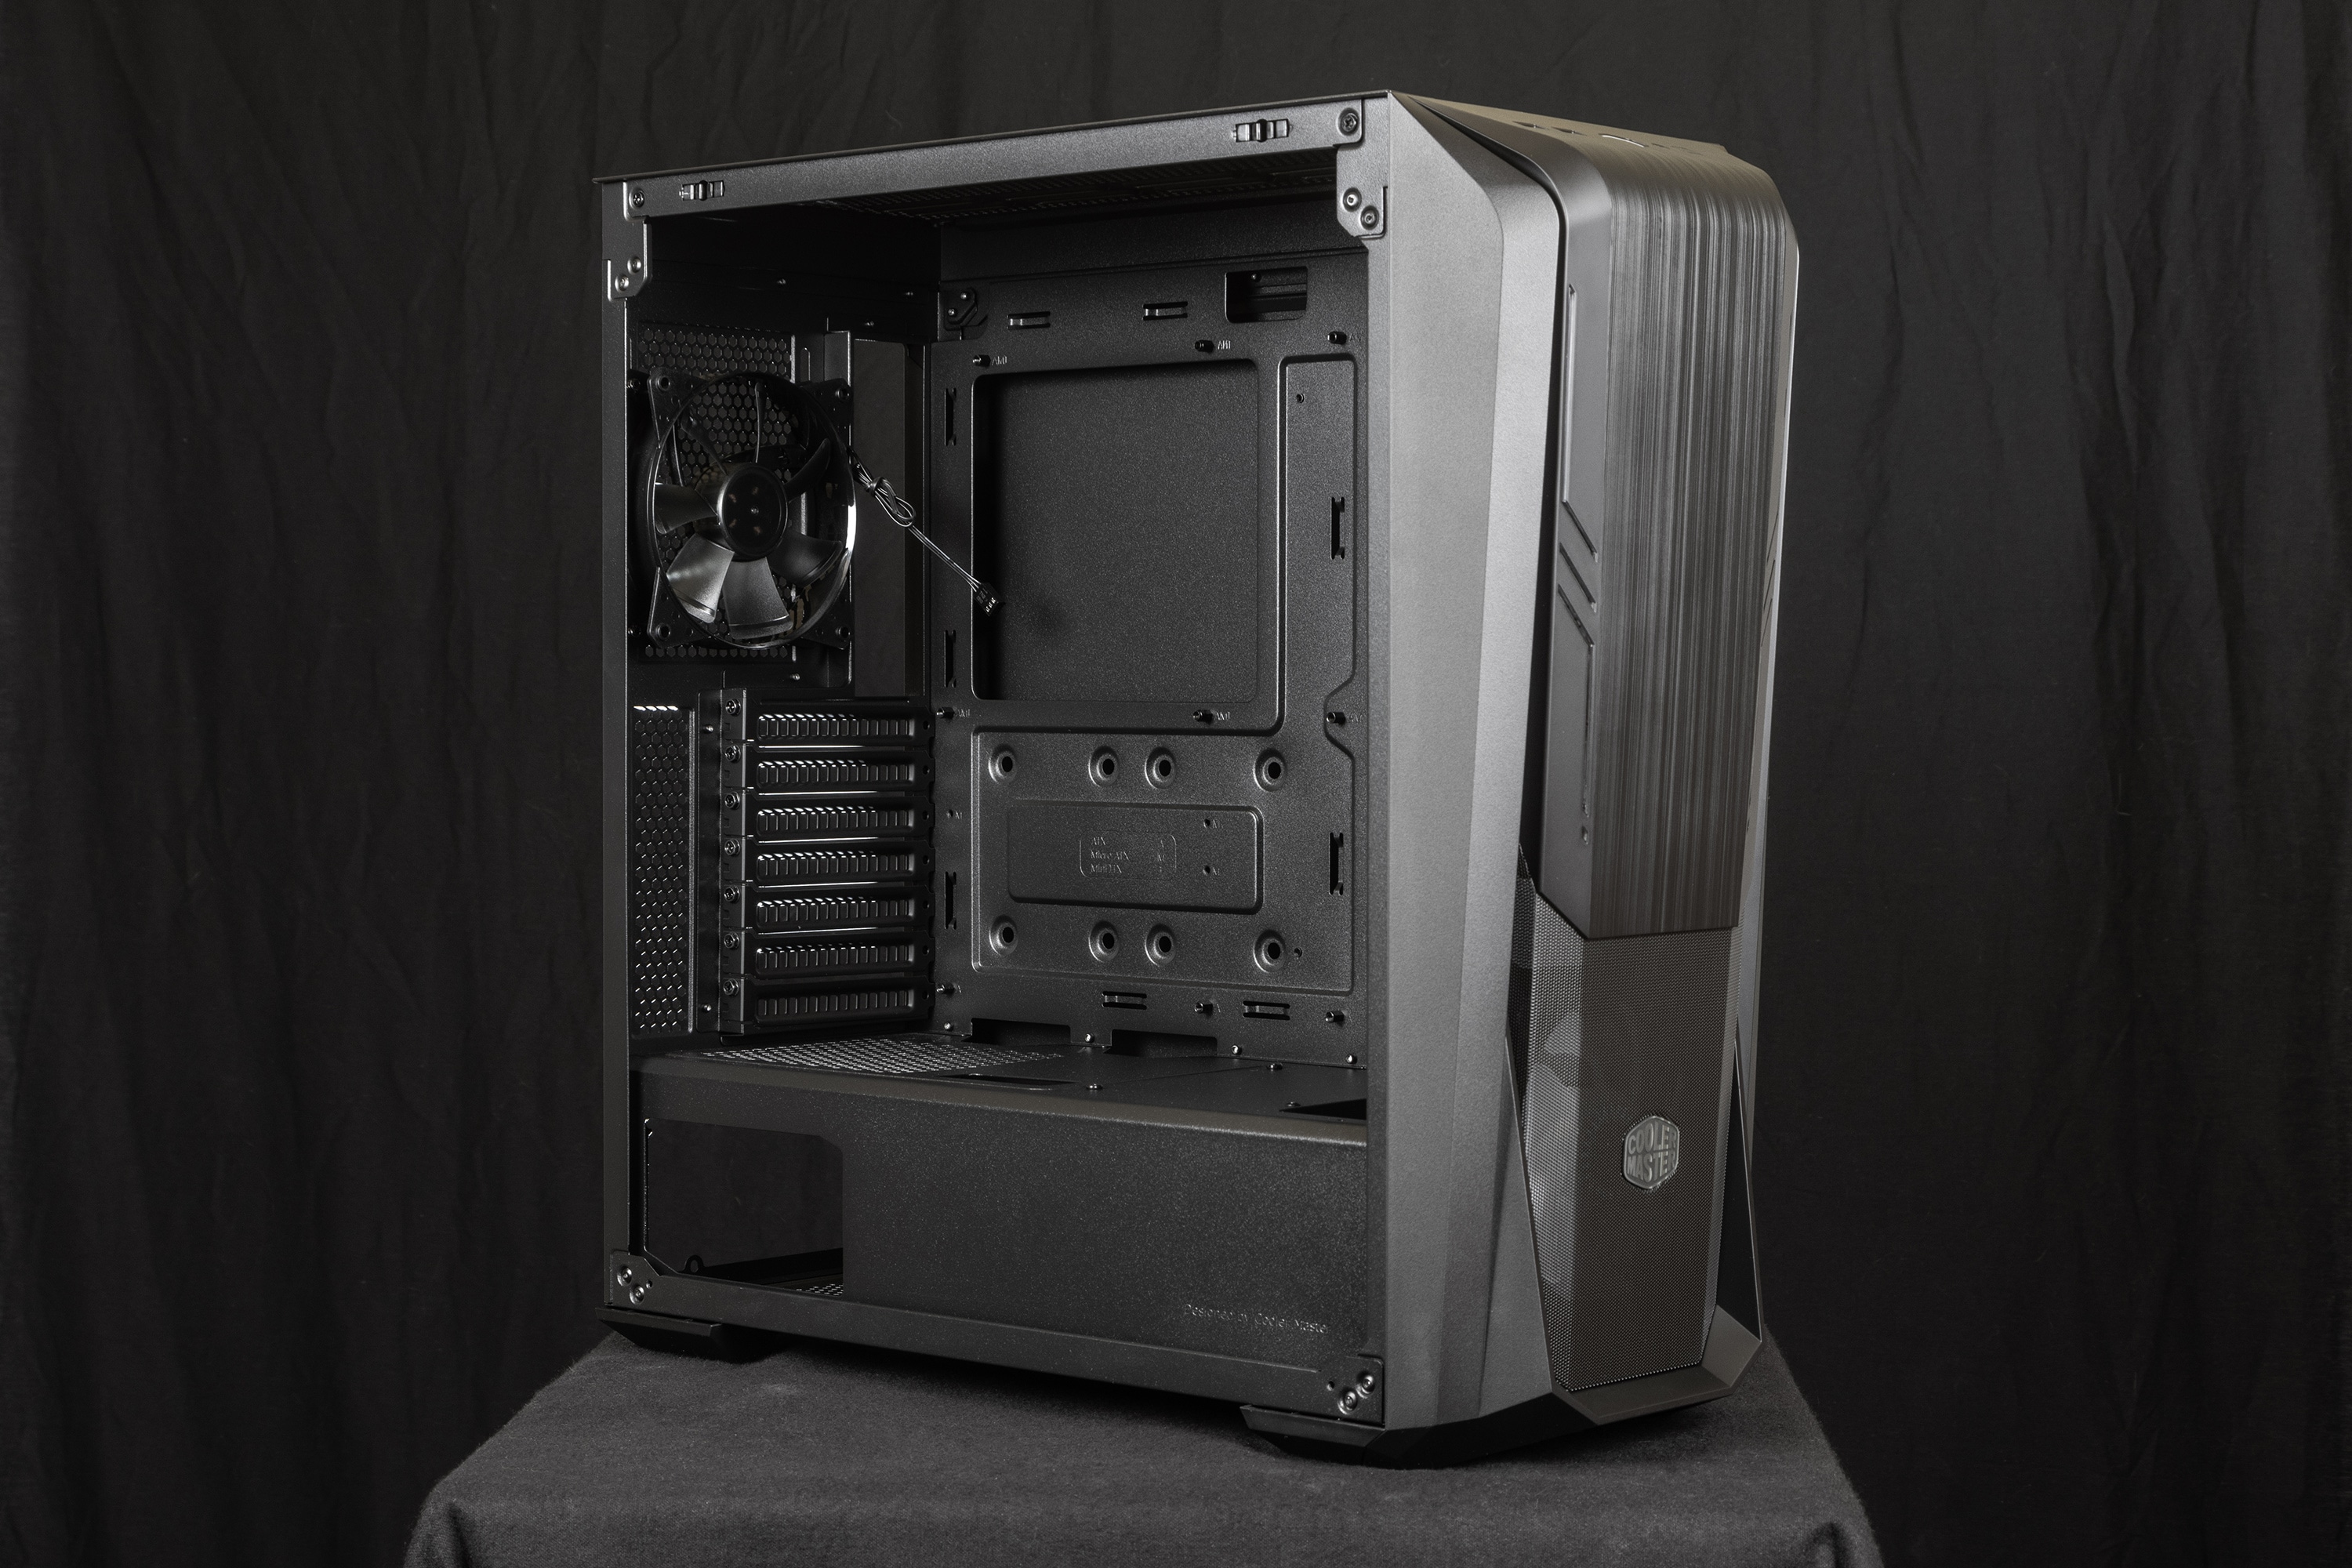
The view from the inside does show three spots for fans, but where the bottom spot, where the one factory fan sits, still has good access to the front mesh grille (which directly serves as a dust filter with its small holes), the second fan already only offers a little extra utility. The top fan spot doesn’t look like it could bring any significant additional air into the case – this fan opening sits completely hidden and could only move air that the bottom fans could already take care of. Some cases have already proven that two fans – one in the front and one in the back – can work quite effectively, so the shape of the Cooler Master MasterBox 500 isn’t entirely pointless, but the higher you place fans, the more their practical utility decreases.
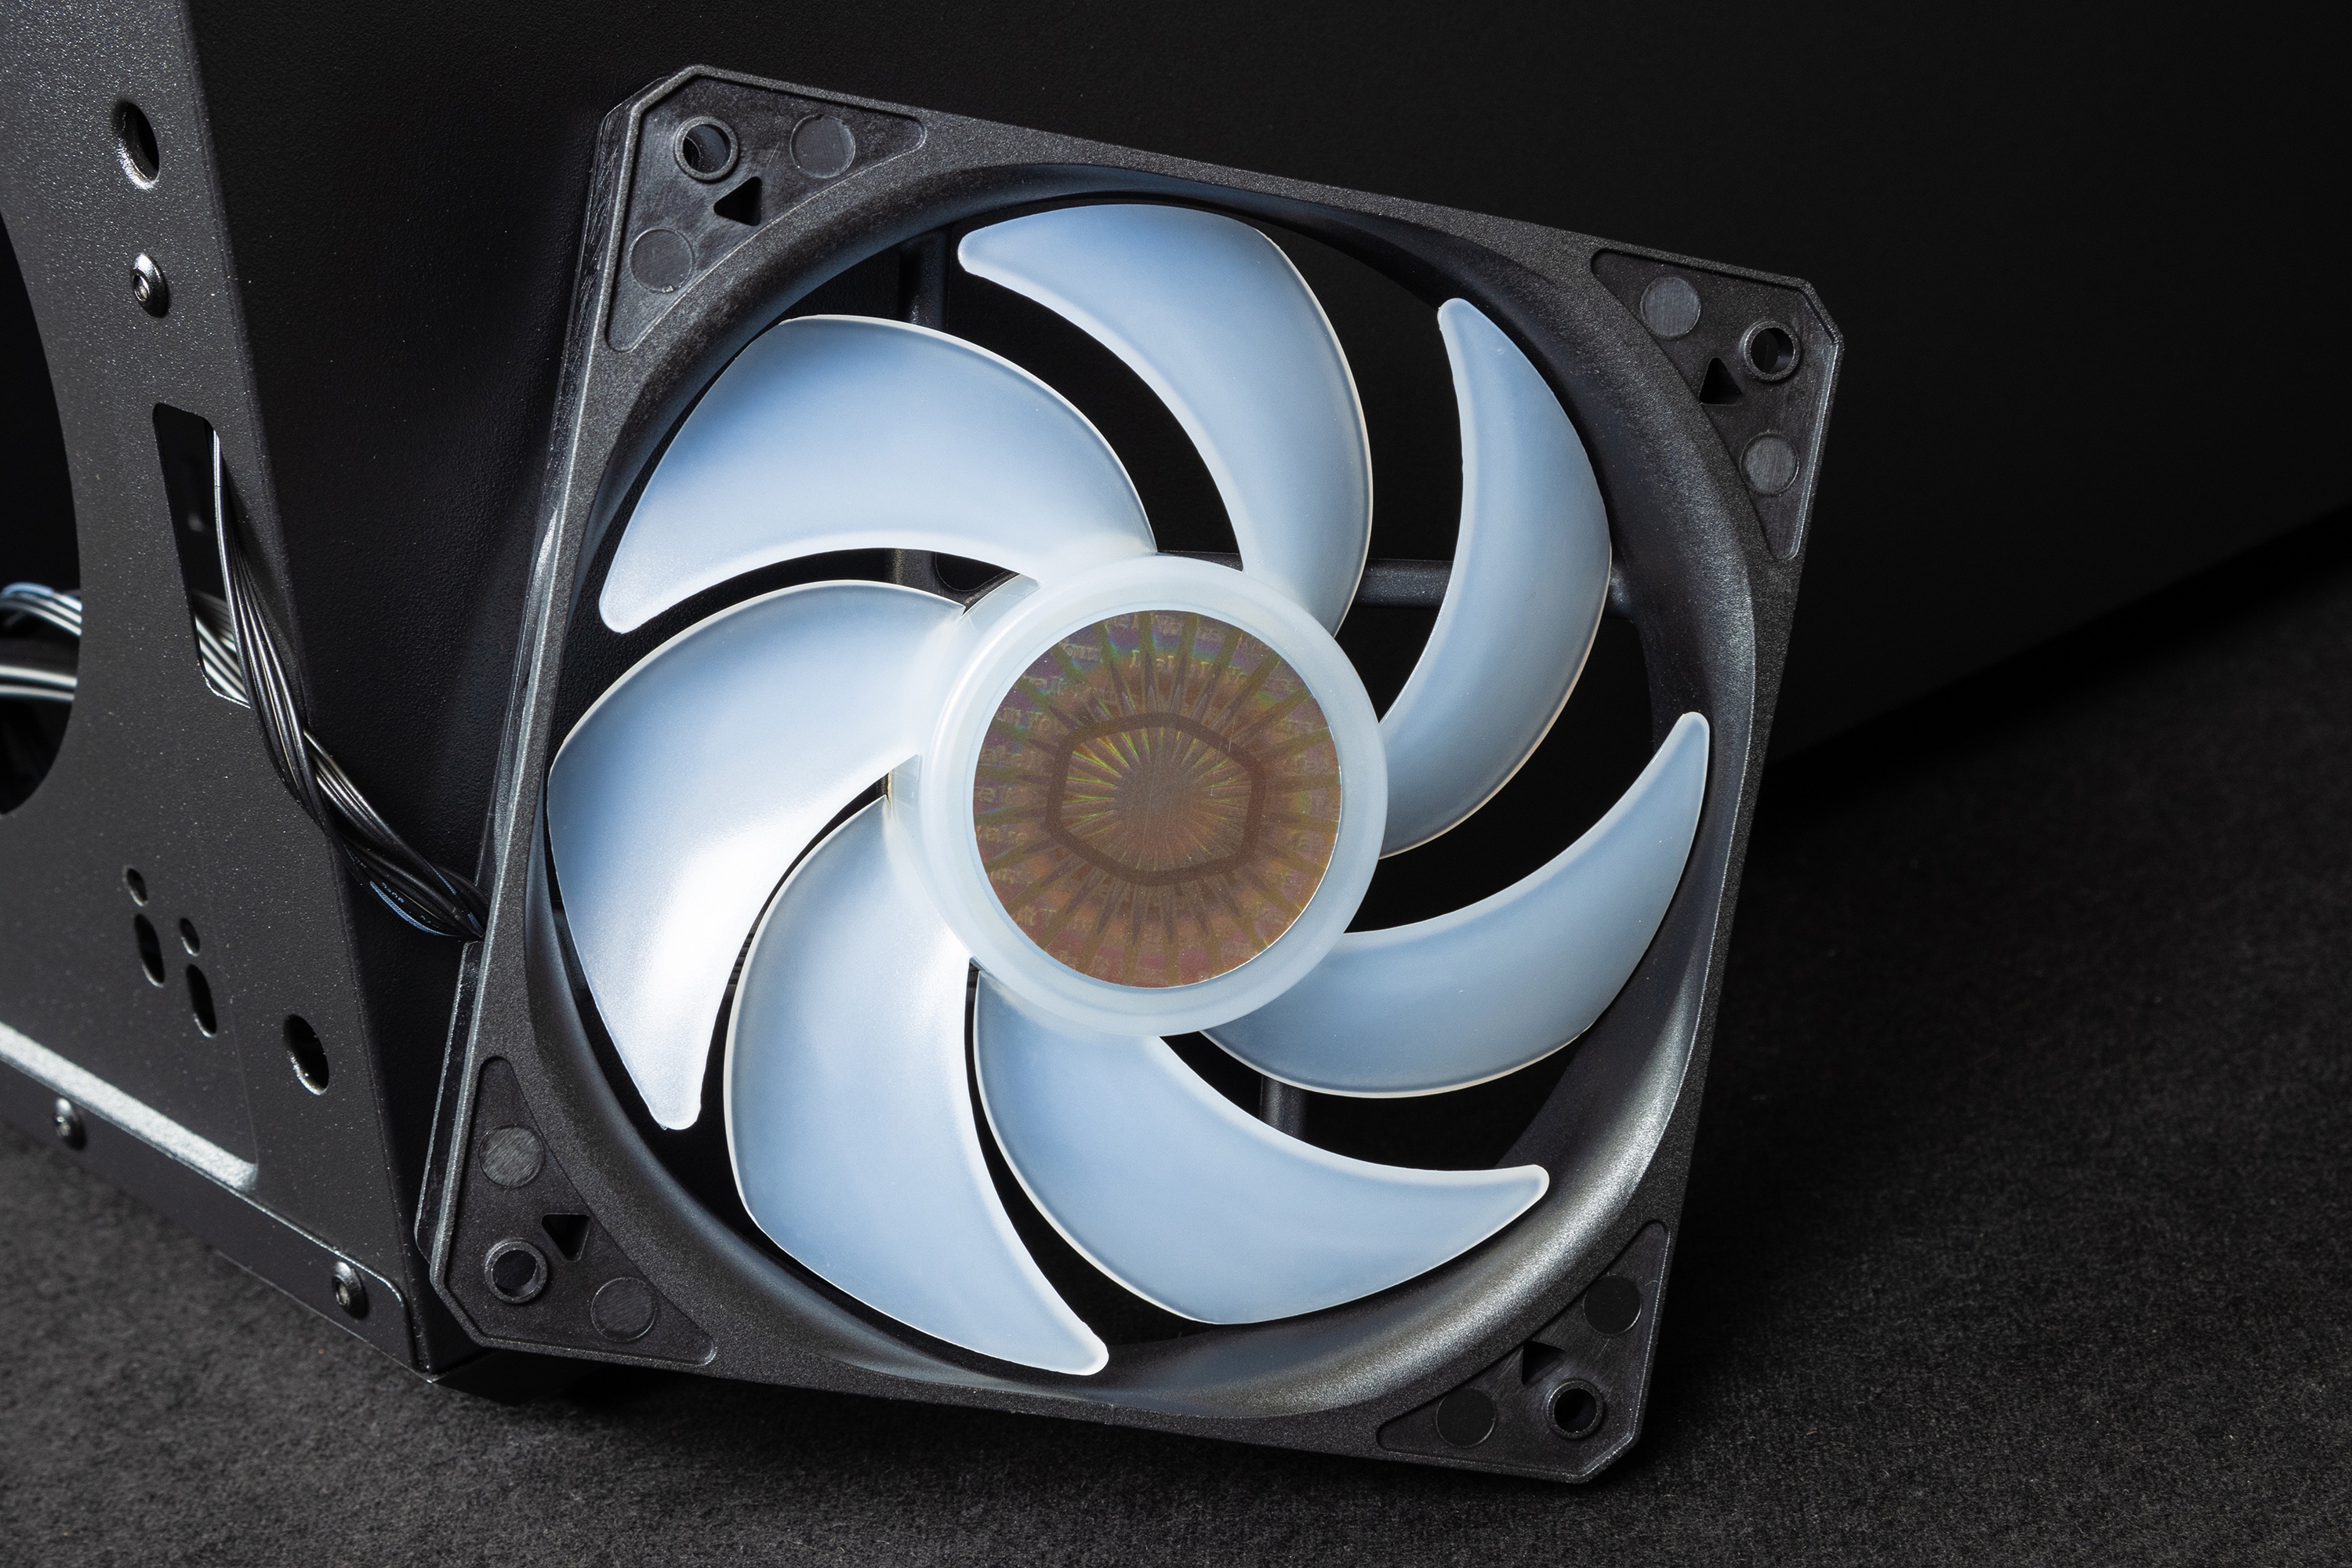
In terms of build quality, the fans don’t look outstanding, but okay. The frame of both the front and rear fans is made of ordinary plastic and is not exactly torsionally stiff, but the fan blades are quite okay. The front fan is generally higher quality and has a PWM fan connector in addition to the ARGB function with a regular connector. The rear fan is pure black and comes with a 3-pin connector, so must be voltage regulated if you keep it.
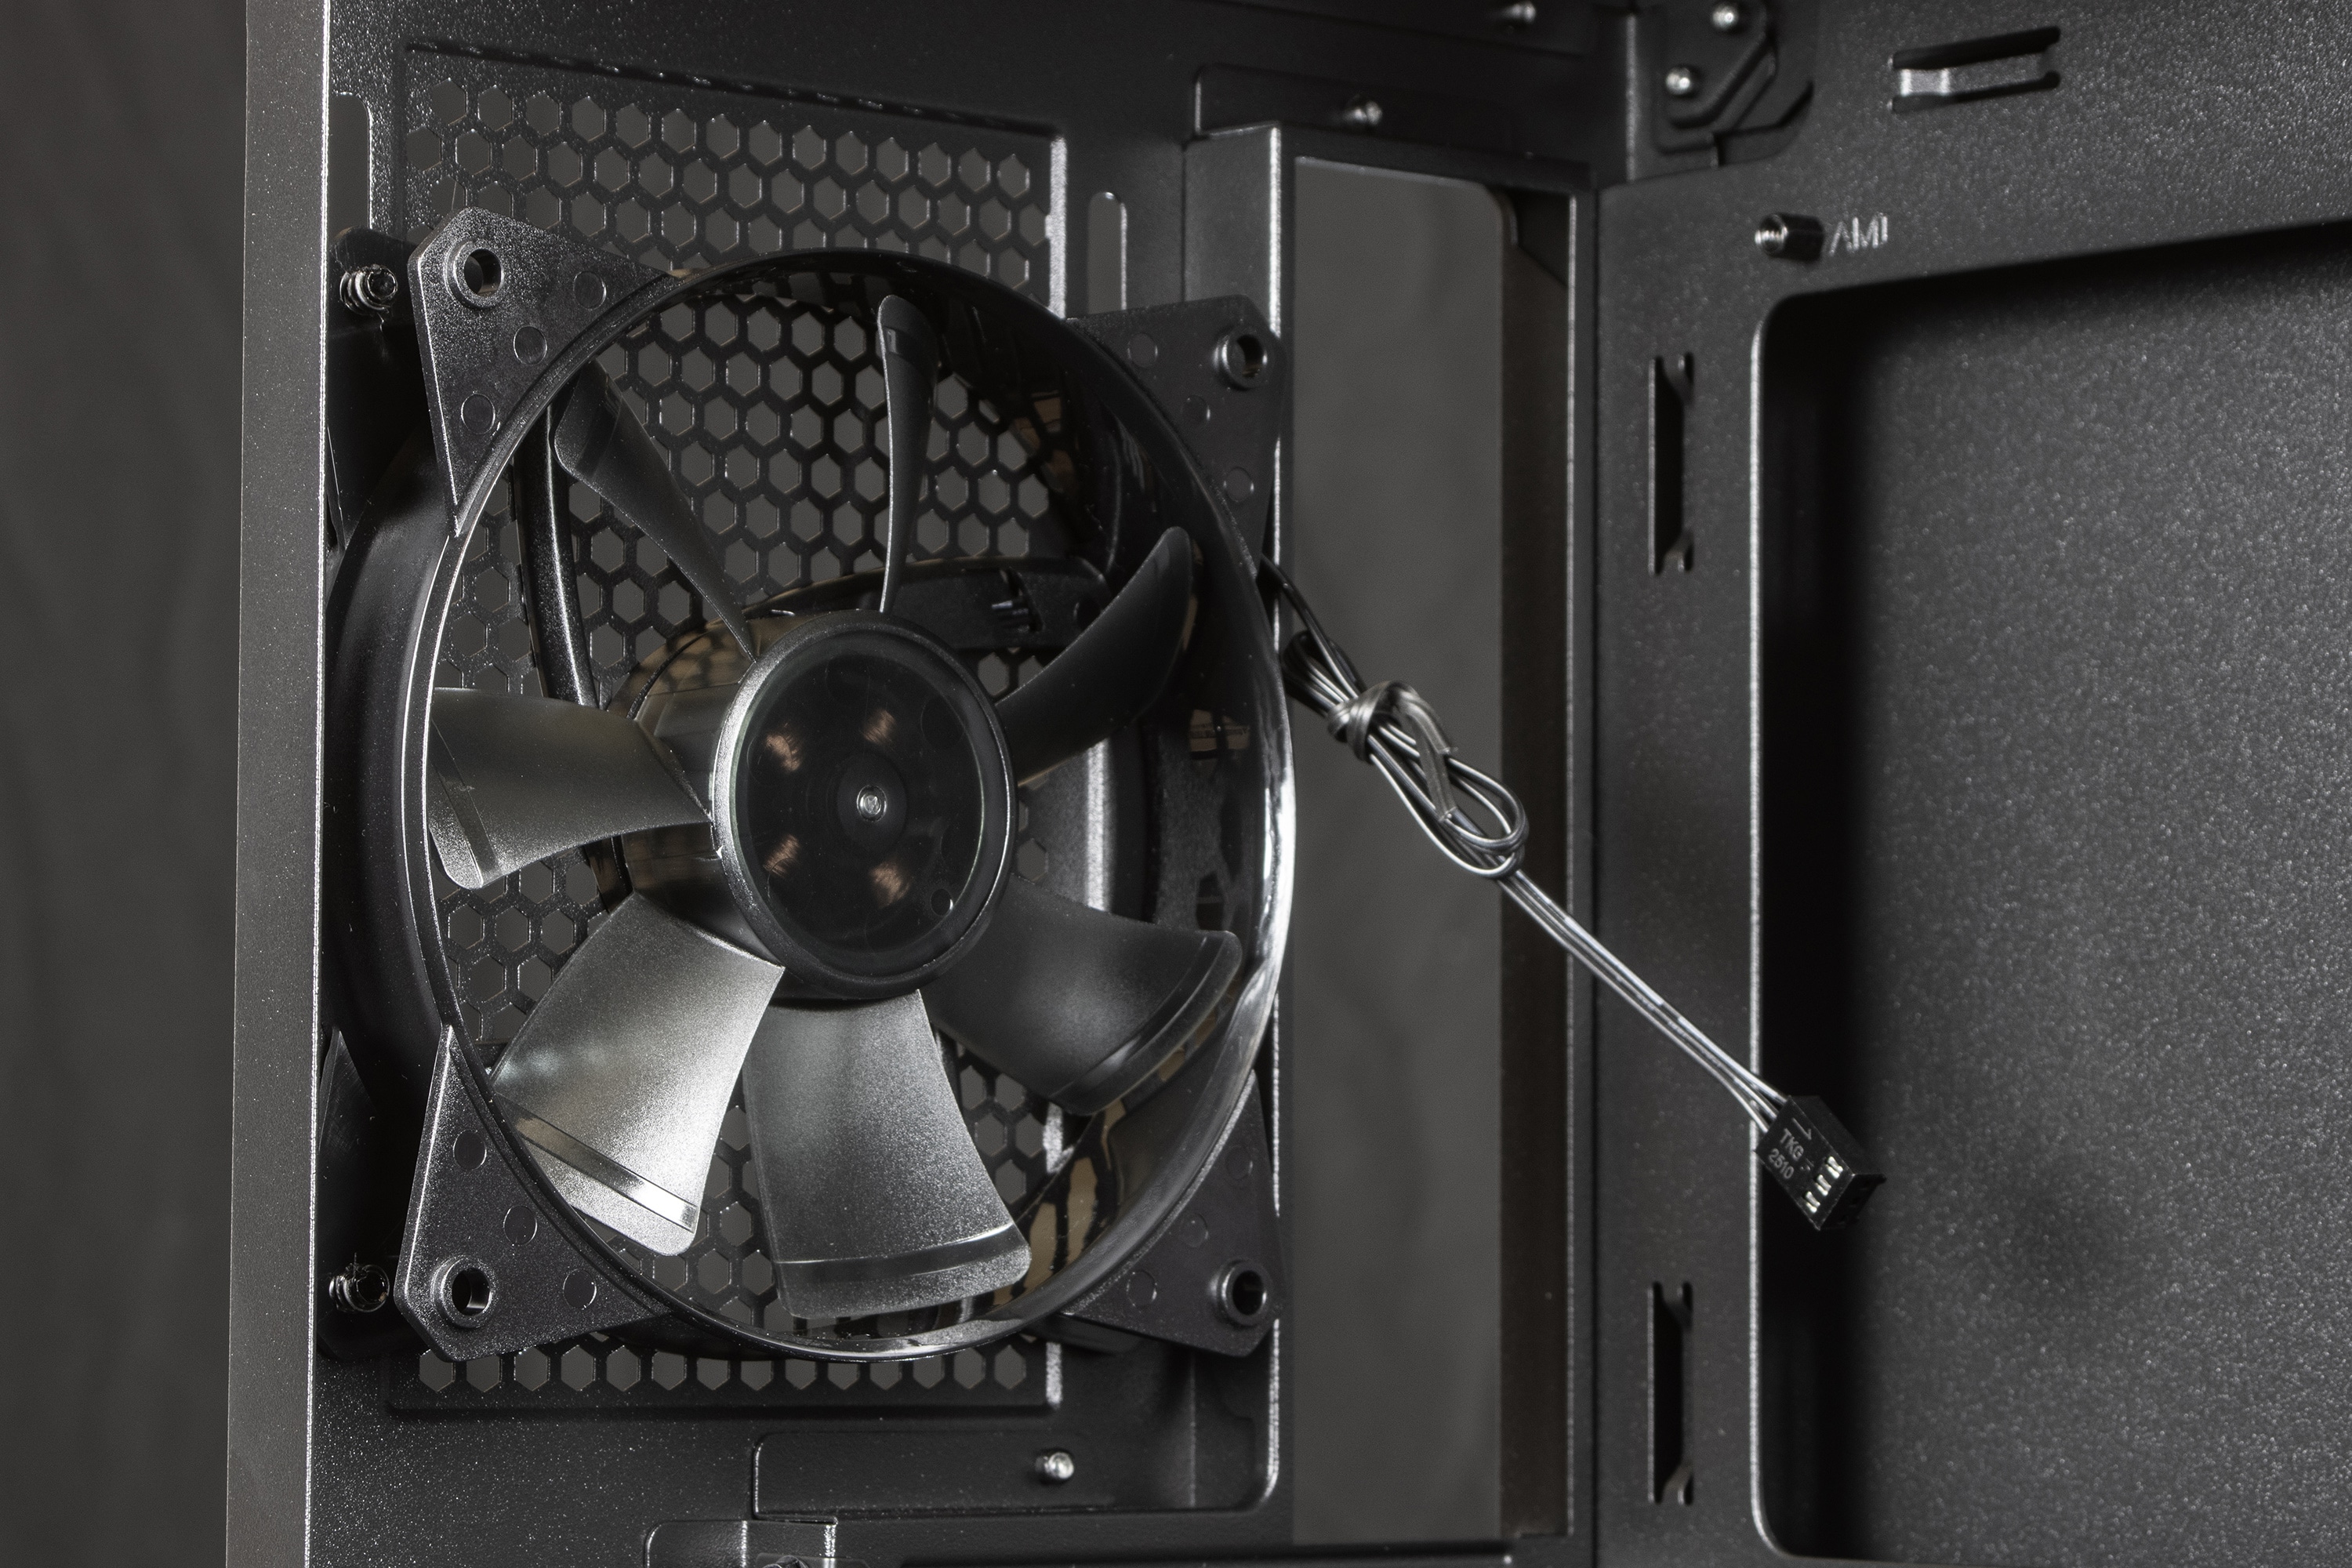
It’s interesting that Cooler Master shows a different fan with RGB function on promotional images of the MasterBox 500 at the position of the rear fan. Since the actually installed fan has more of an alibi function.
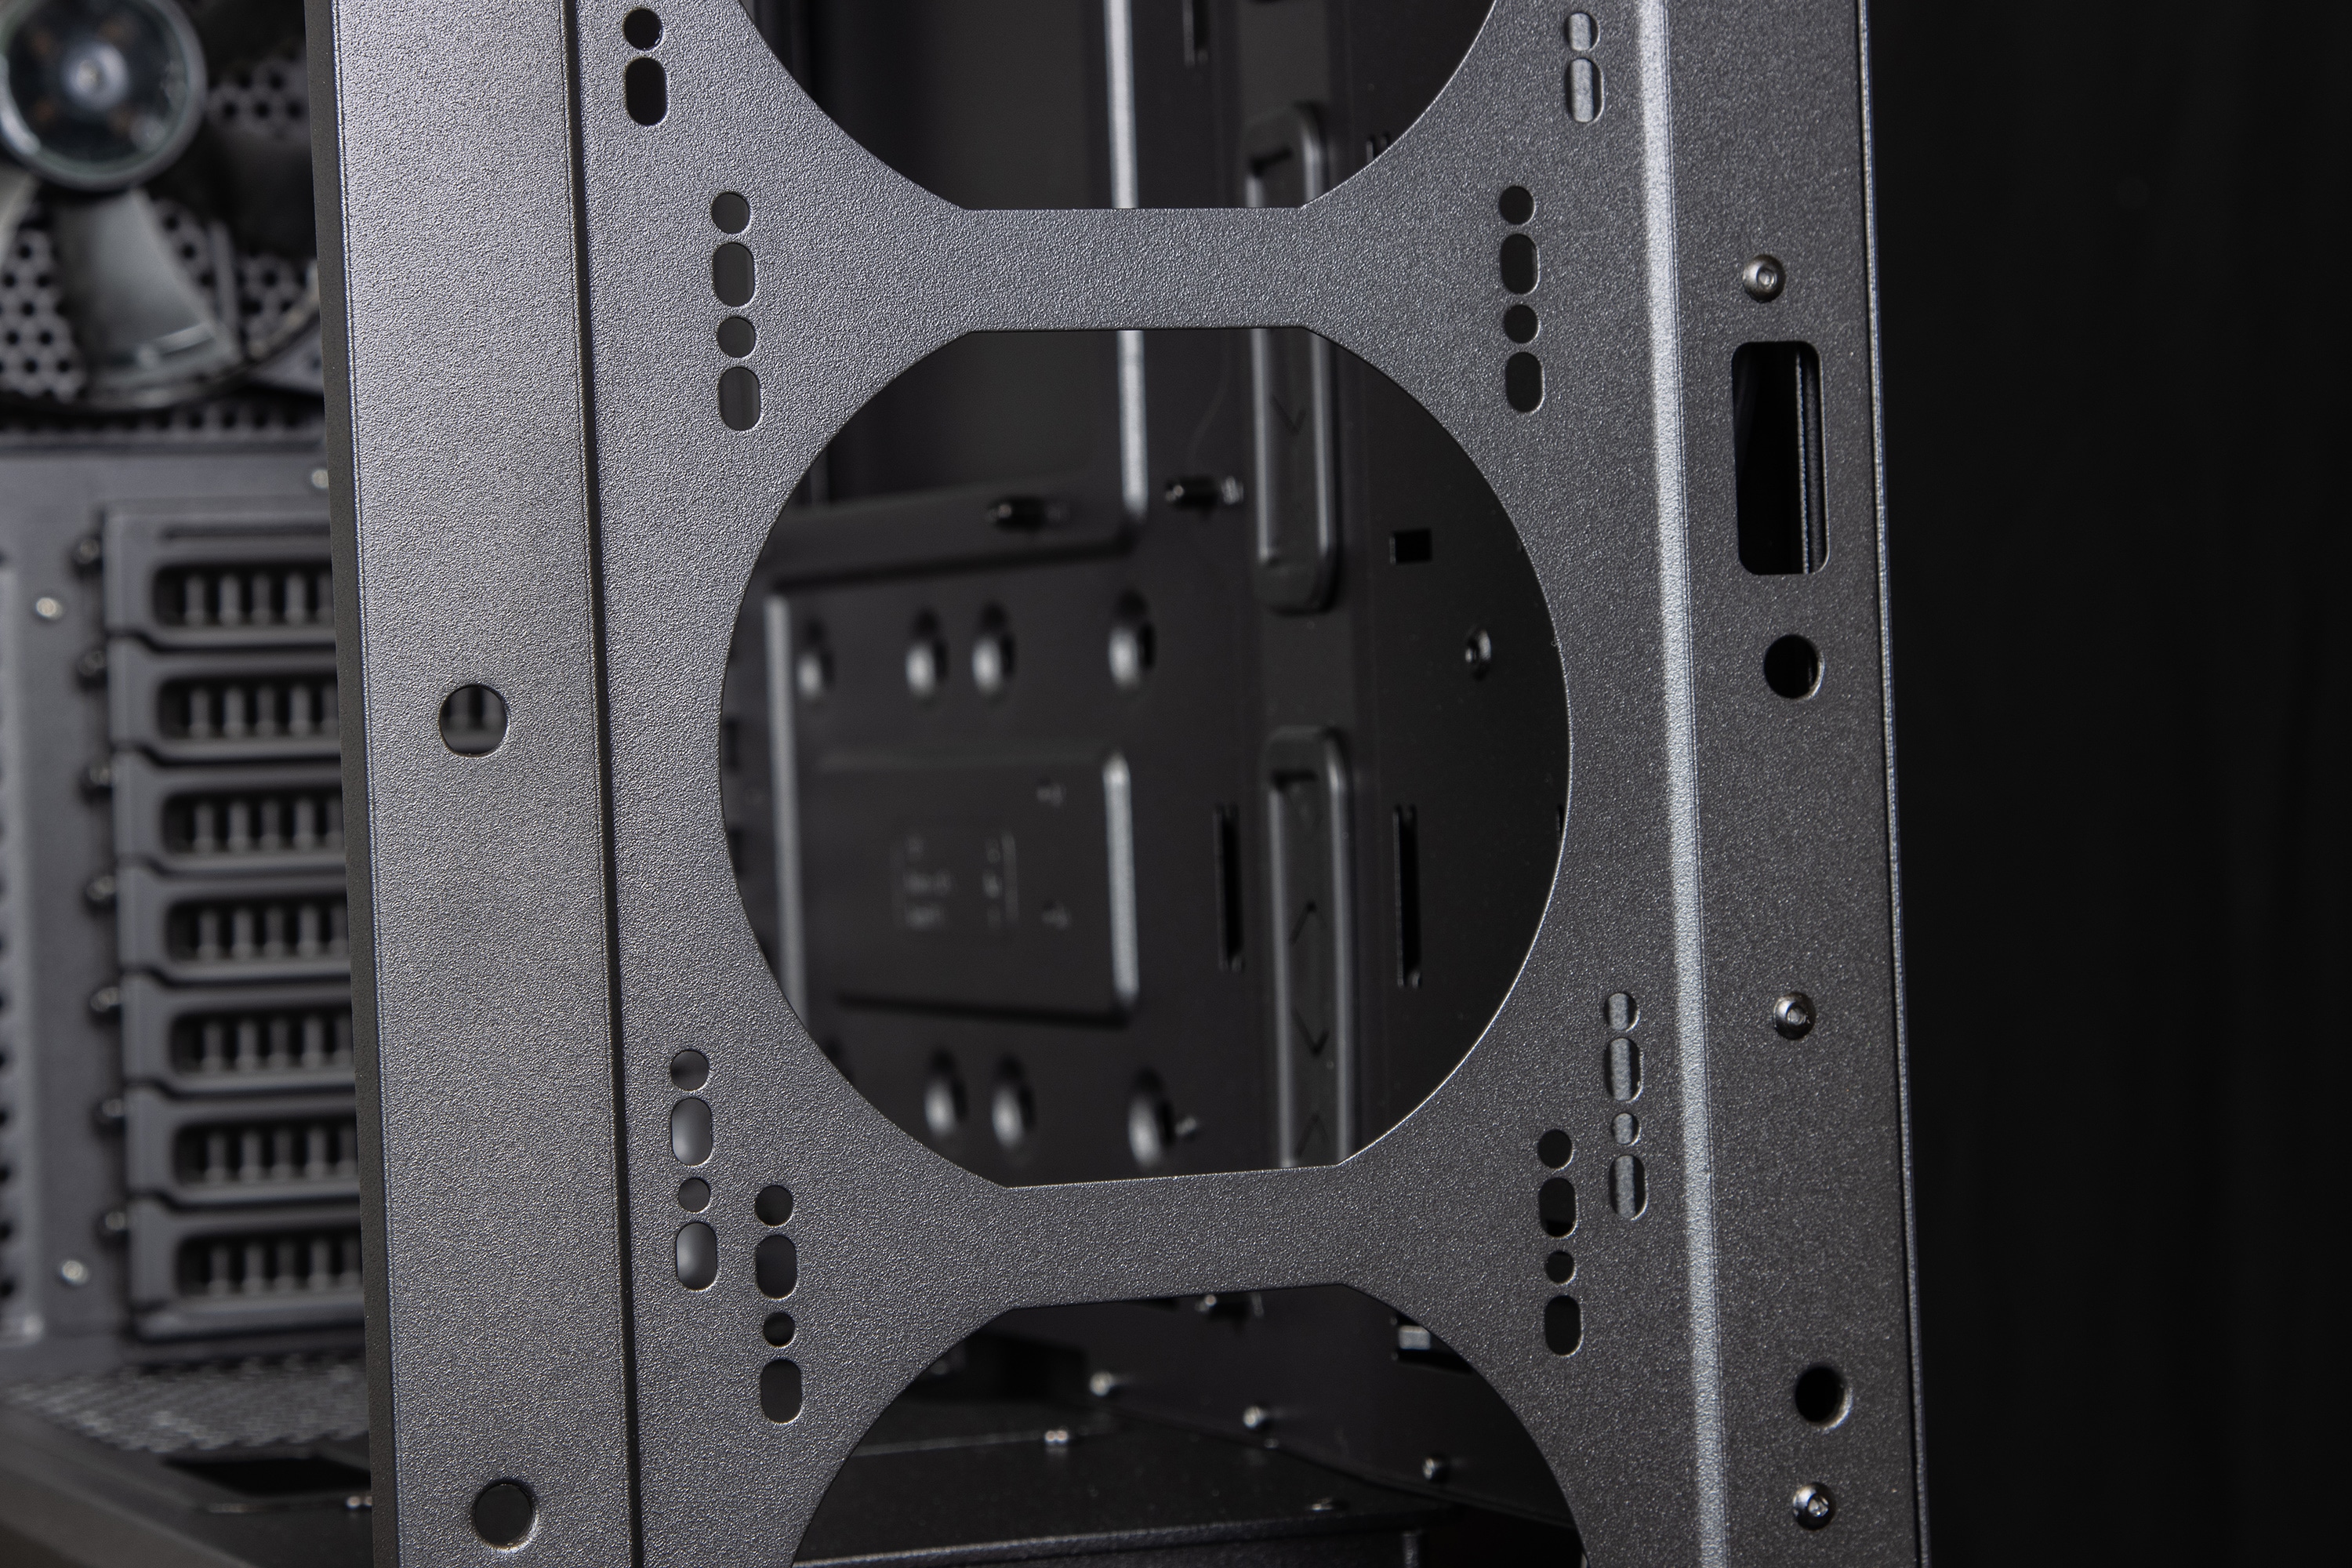
There are many holes on the front for mounting fans and different radiator sizes, but there are no threads for mounting the fans via long fan screws; instead, you either have to use regular fan screws (the short, wide ones) or go through the fans and case with long radiator screws and screw on the radiator on the other side. In principle, you can also install 140mm fans instead of the 120mm ones, but this would be a waste, because the openings are precisely adapted to 120mm fans and larger fans would blow directly onto solid metal at the edges.

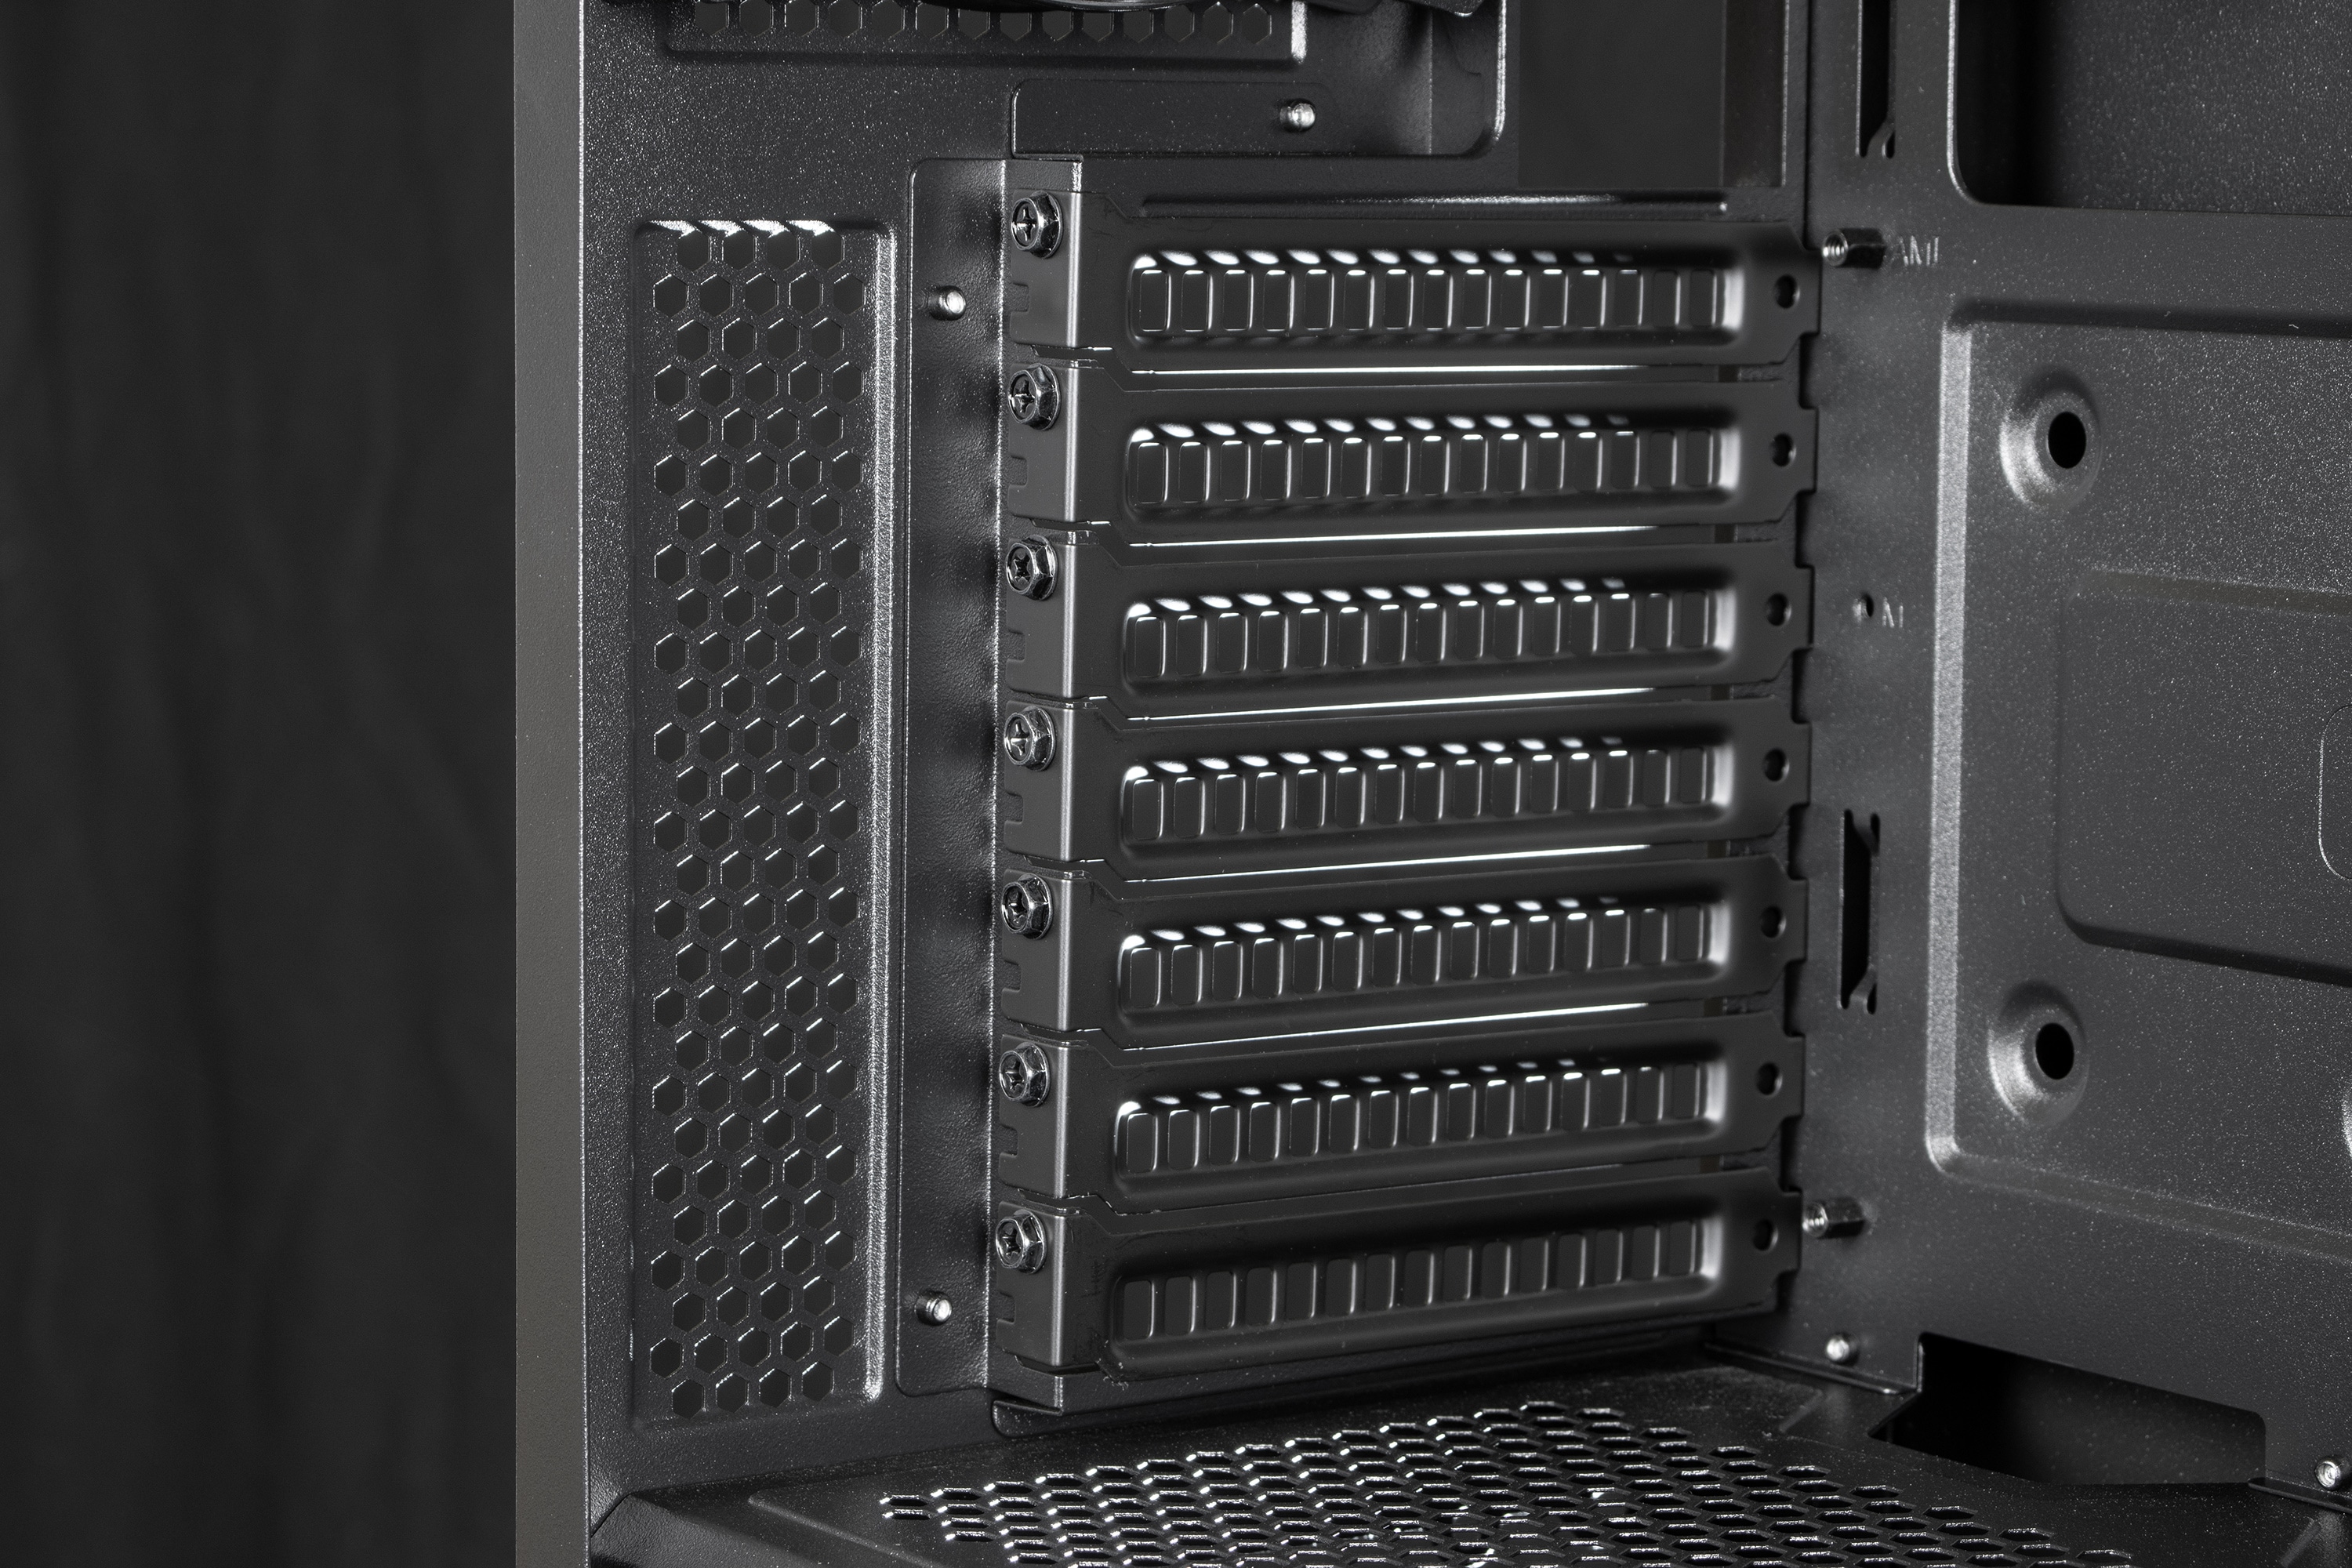
What is positively noticeable inside the Cooler Master MasterBox 500 is that the expansion card covers are all screwed in place – with no struts between them, allowing for the installation of a vertical mounting kit far away from the front panel, i.e. without suffocating the graphics card. Such a kit is of course not included, but Cooler Master also offers a suitable model with the “Universal Vertical Graphics Card Holder Kit V2“.
The side panels of the case are attached differently. One side panel is made of real Tempered Glass, so it is susceptible to fingerprints but resistant to scratches. This is secured by a thumbscrew at the top back. The security is useful for transport, but not absolutely necessary at home, where the window is held securely clicked in place. To remove, the window is pushed forward until it releases and stands tilted forward a bit; then it is removed upward. The rear side panel is held in place by two thumbscrews that get caught in the side panel when unscrewed, so they can’t get lost. Then the side part is pulled off to the back, as known from classic cases.
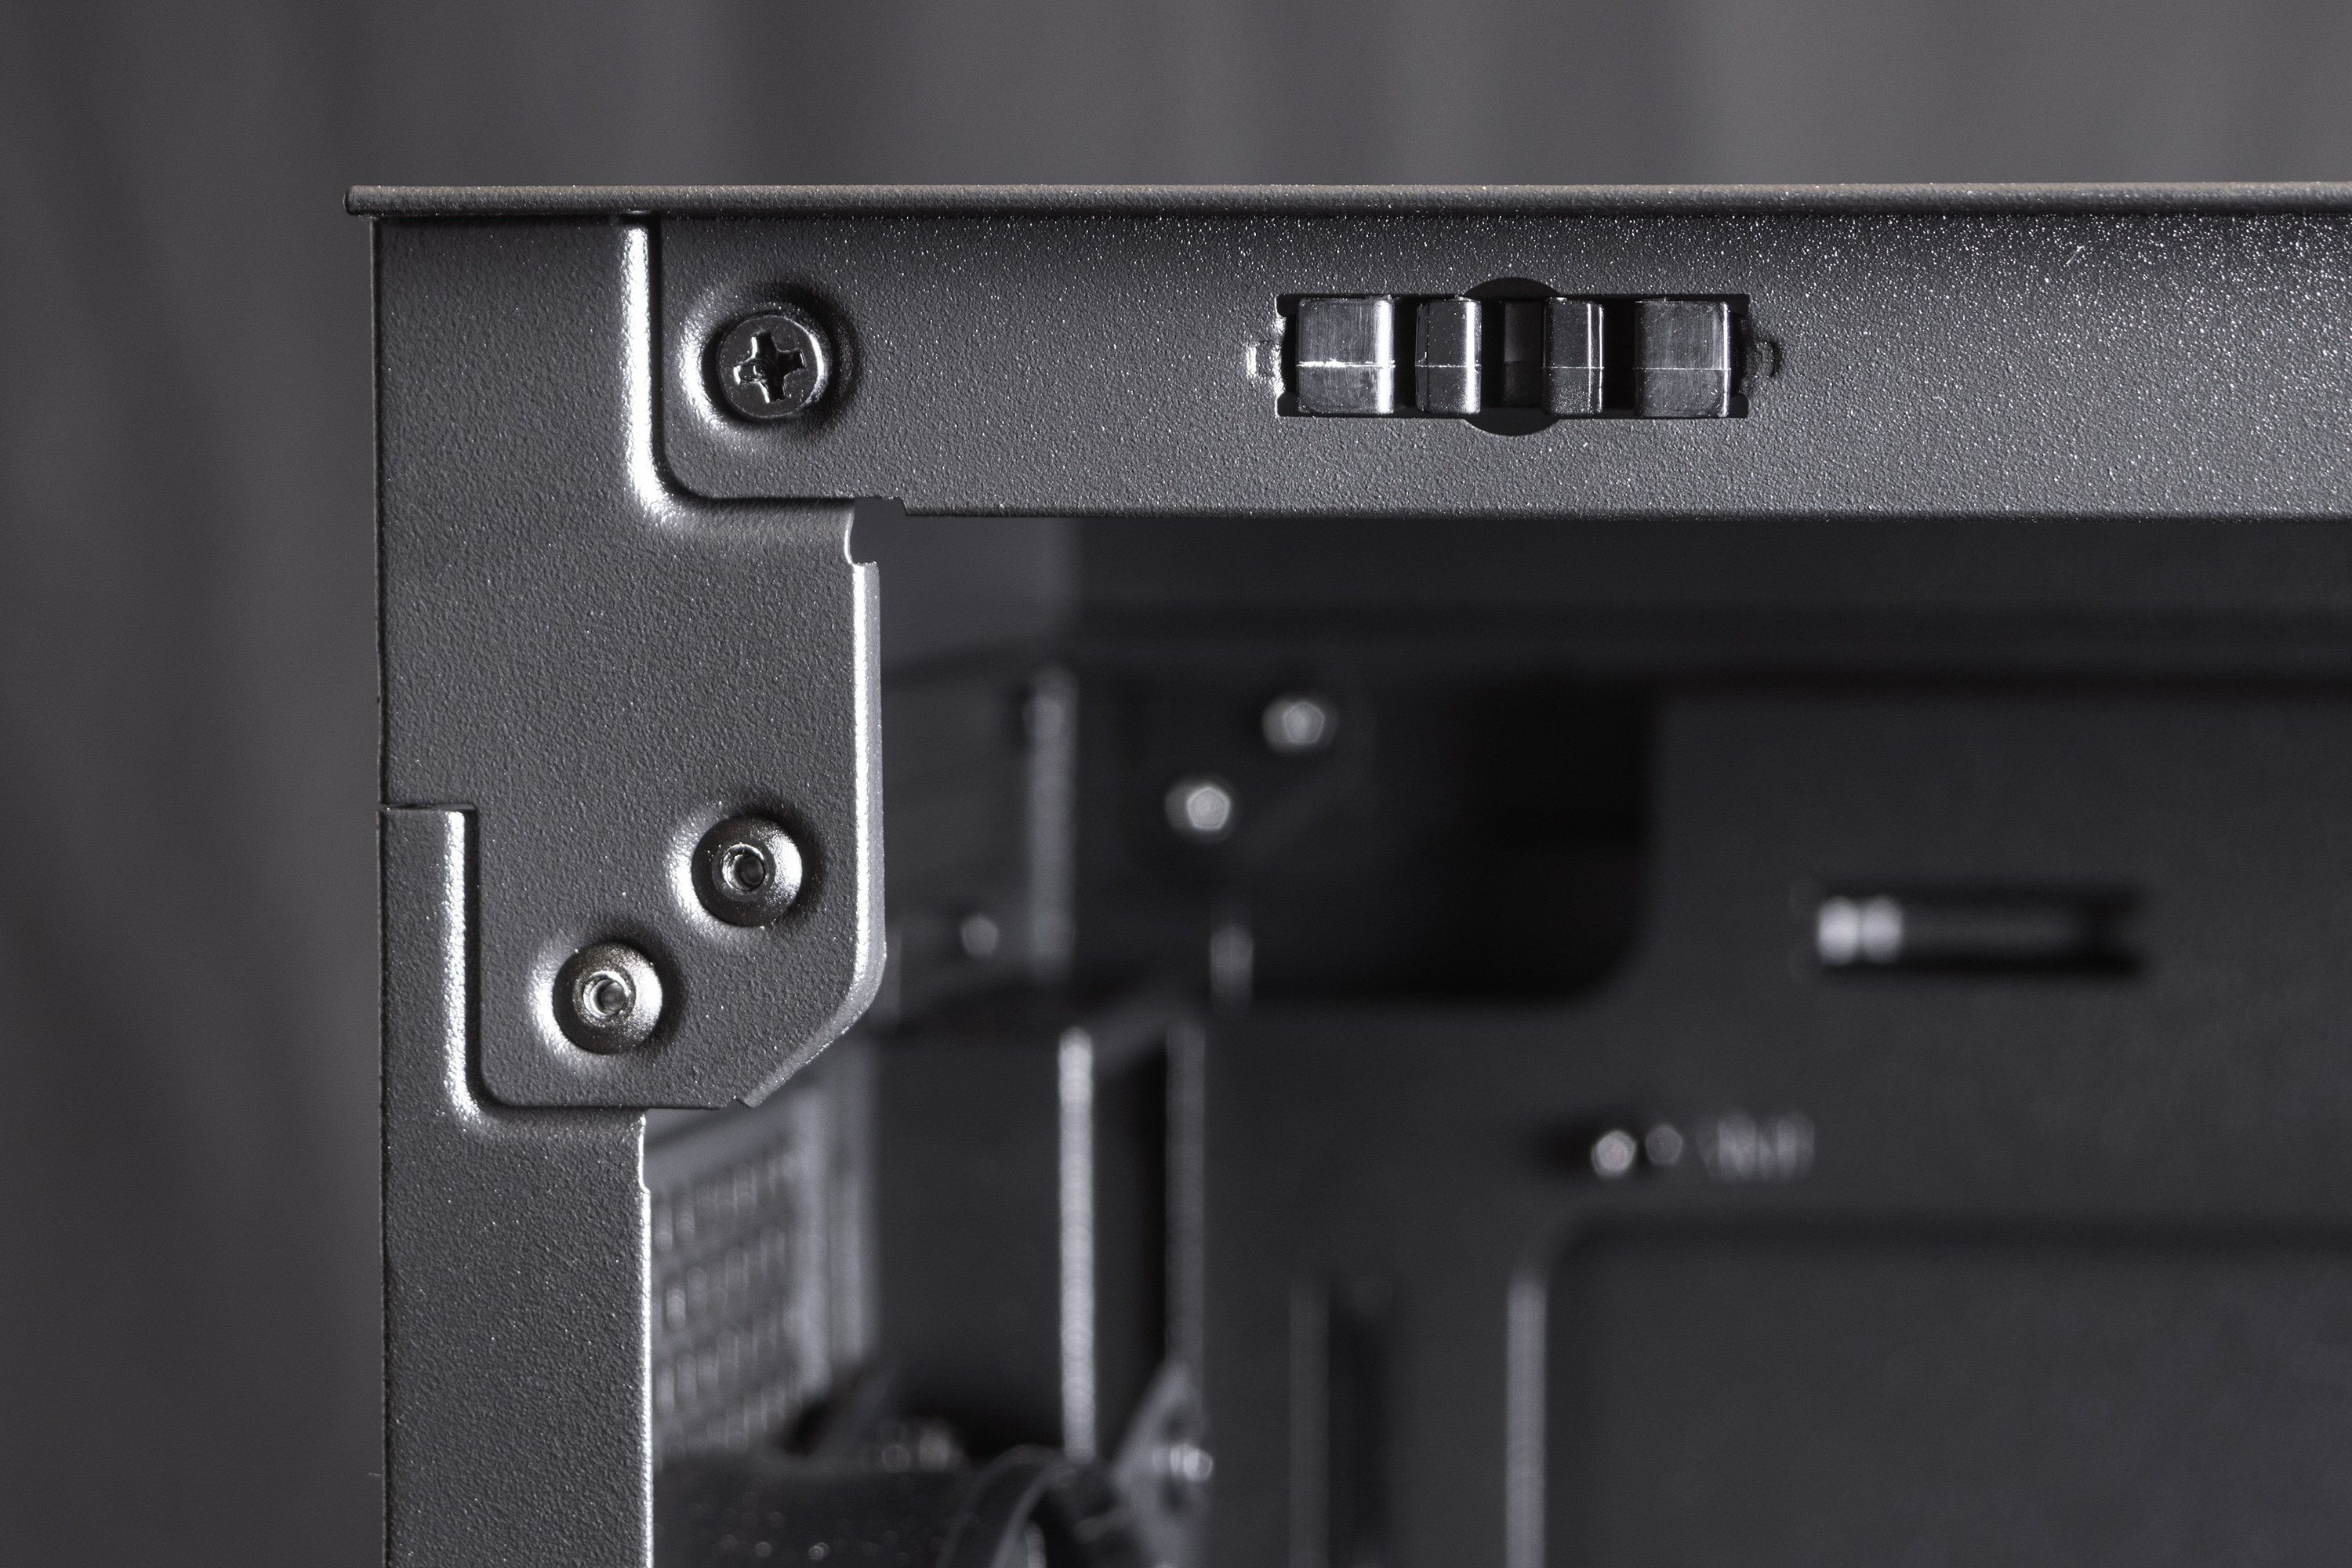
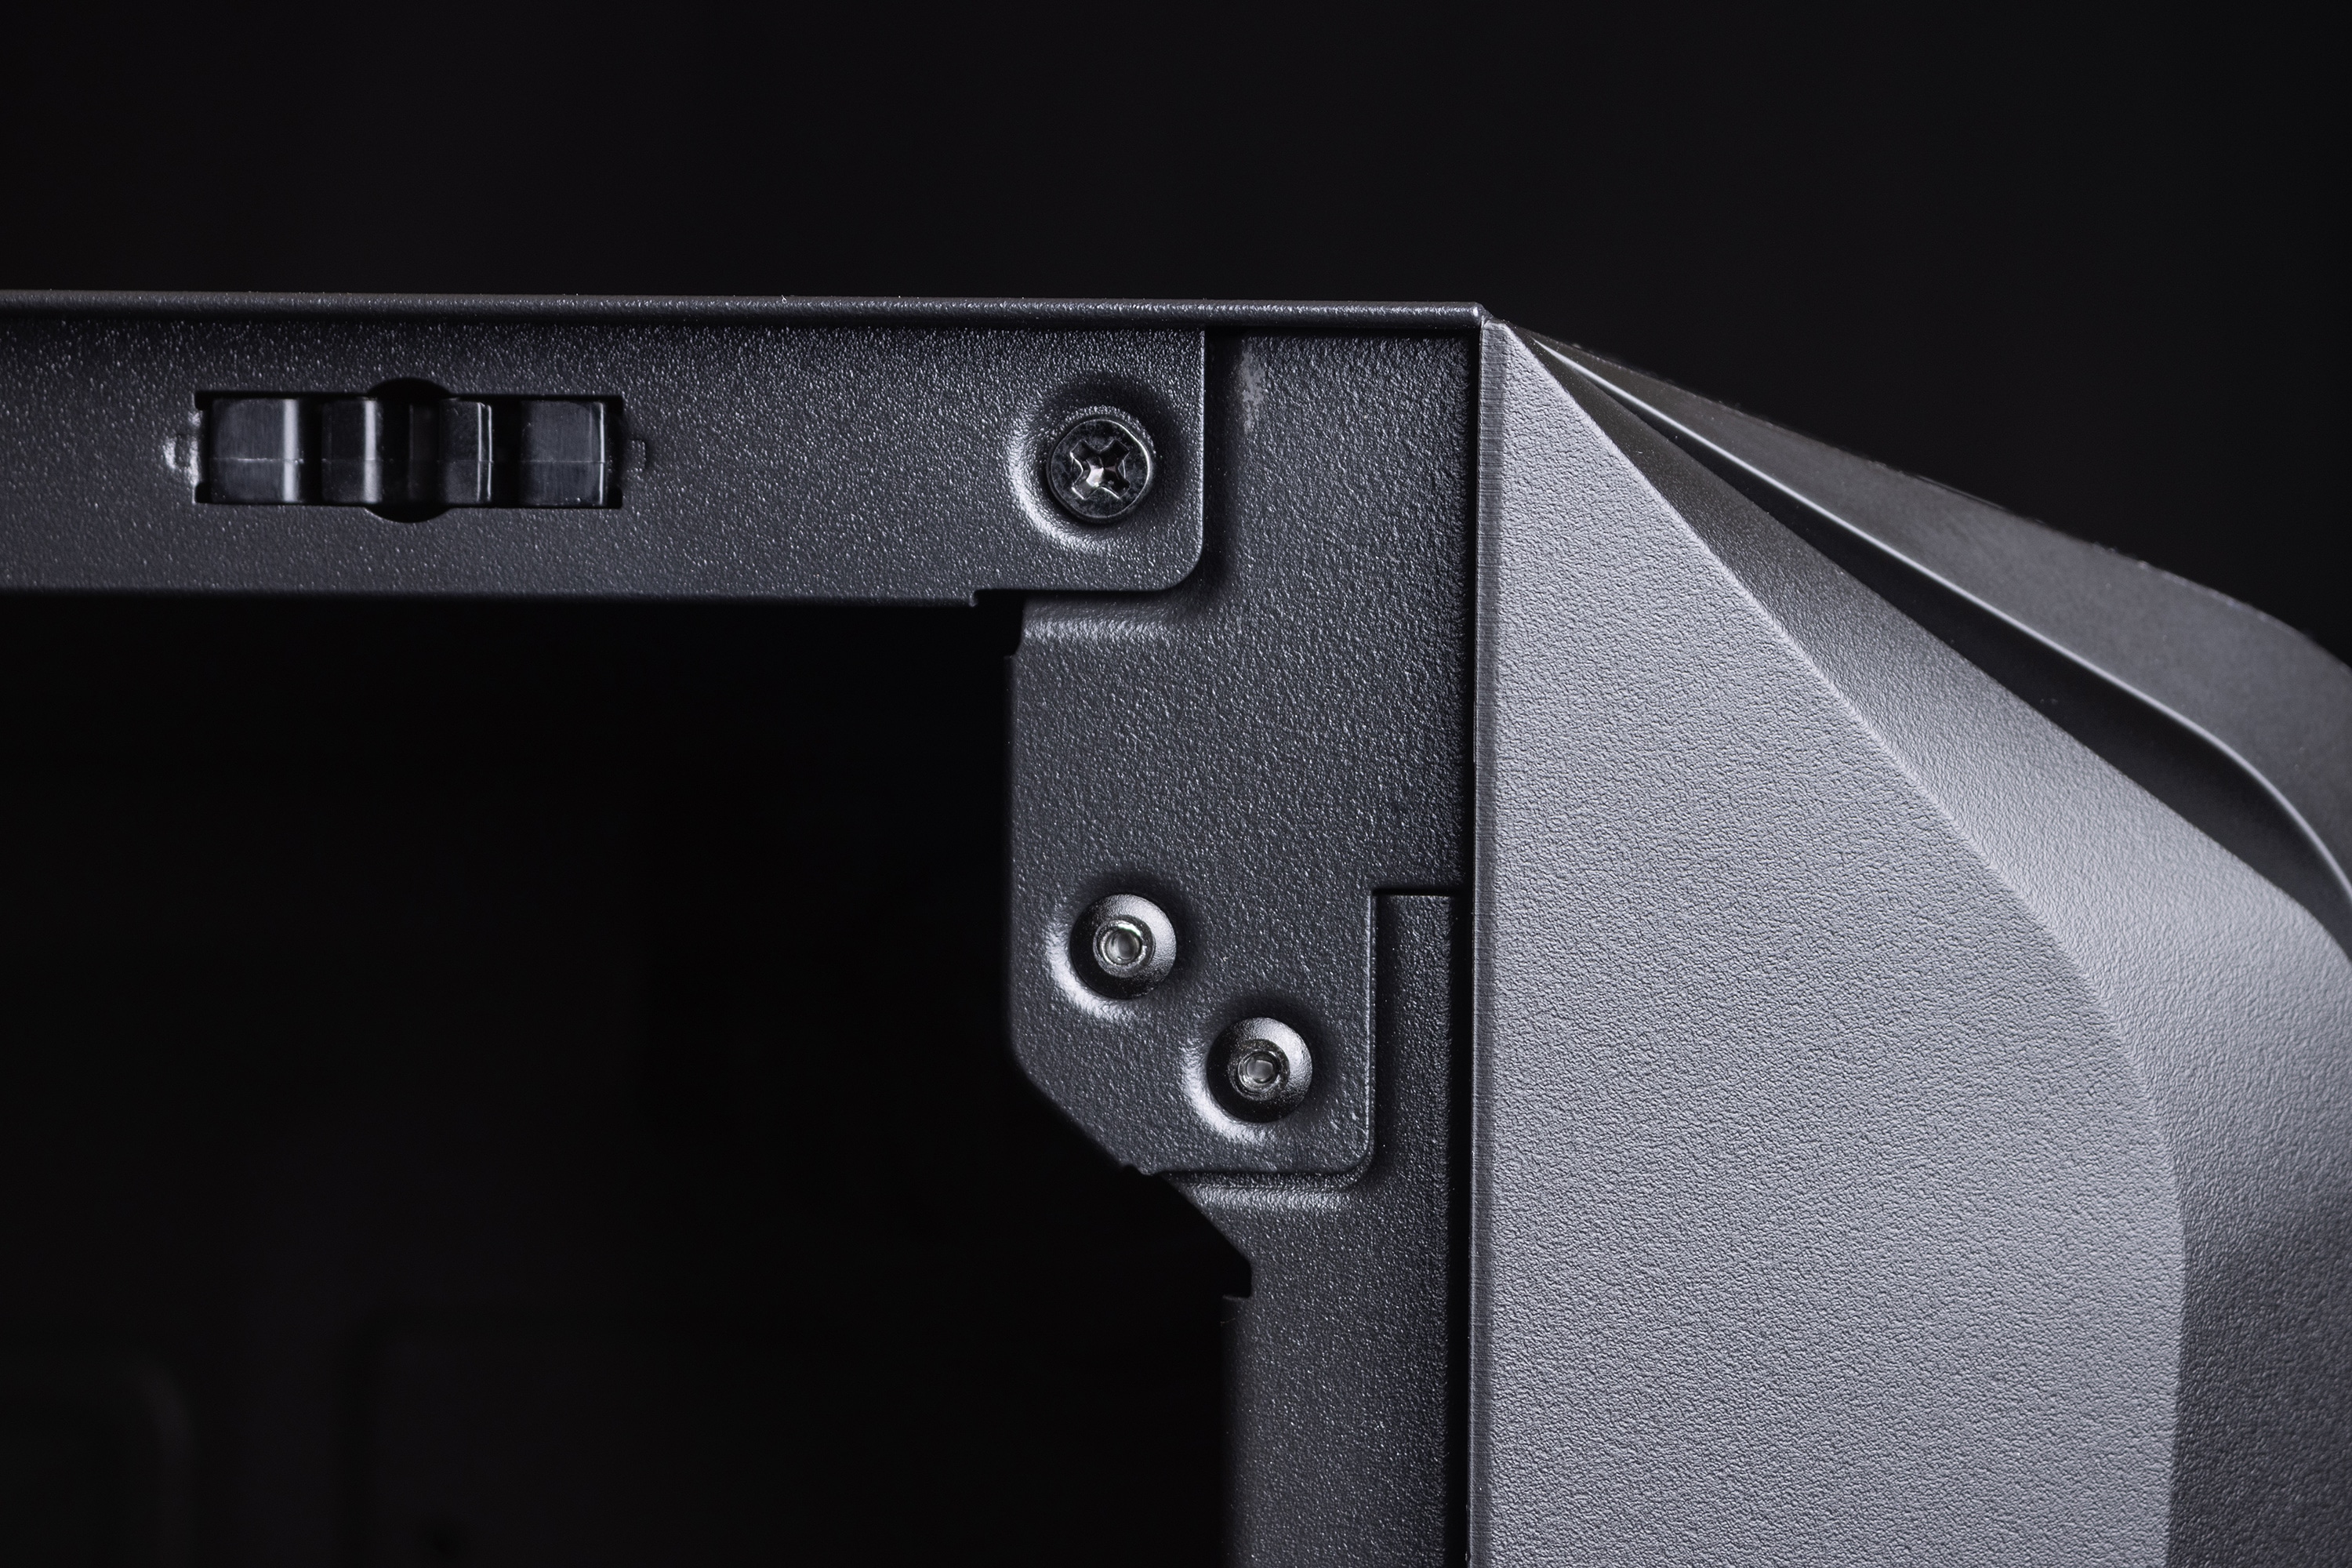
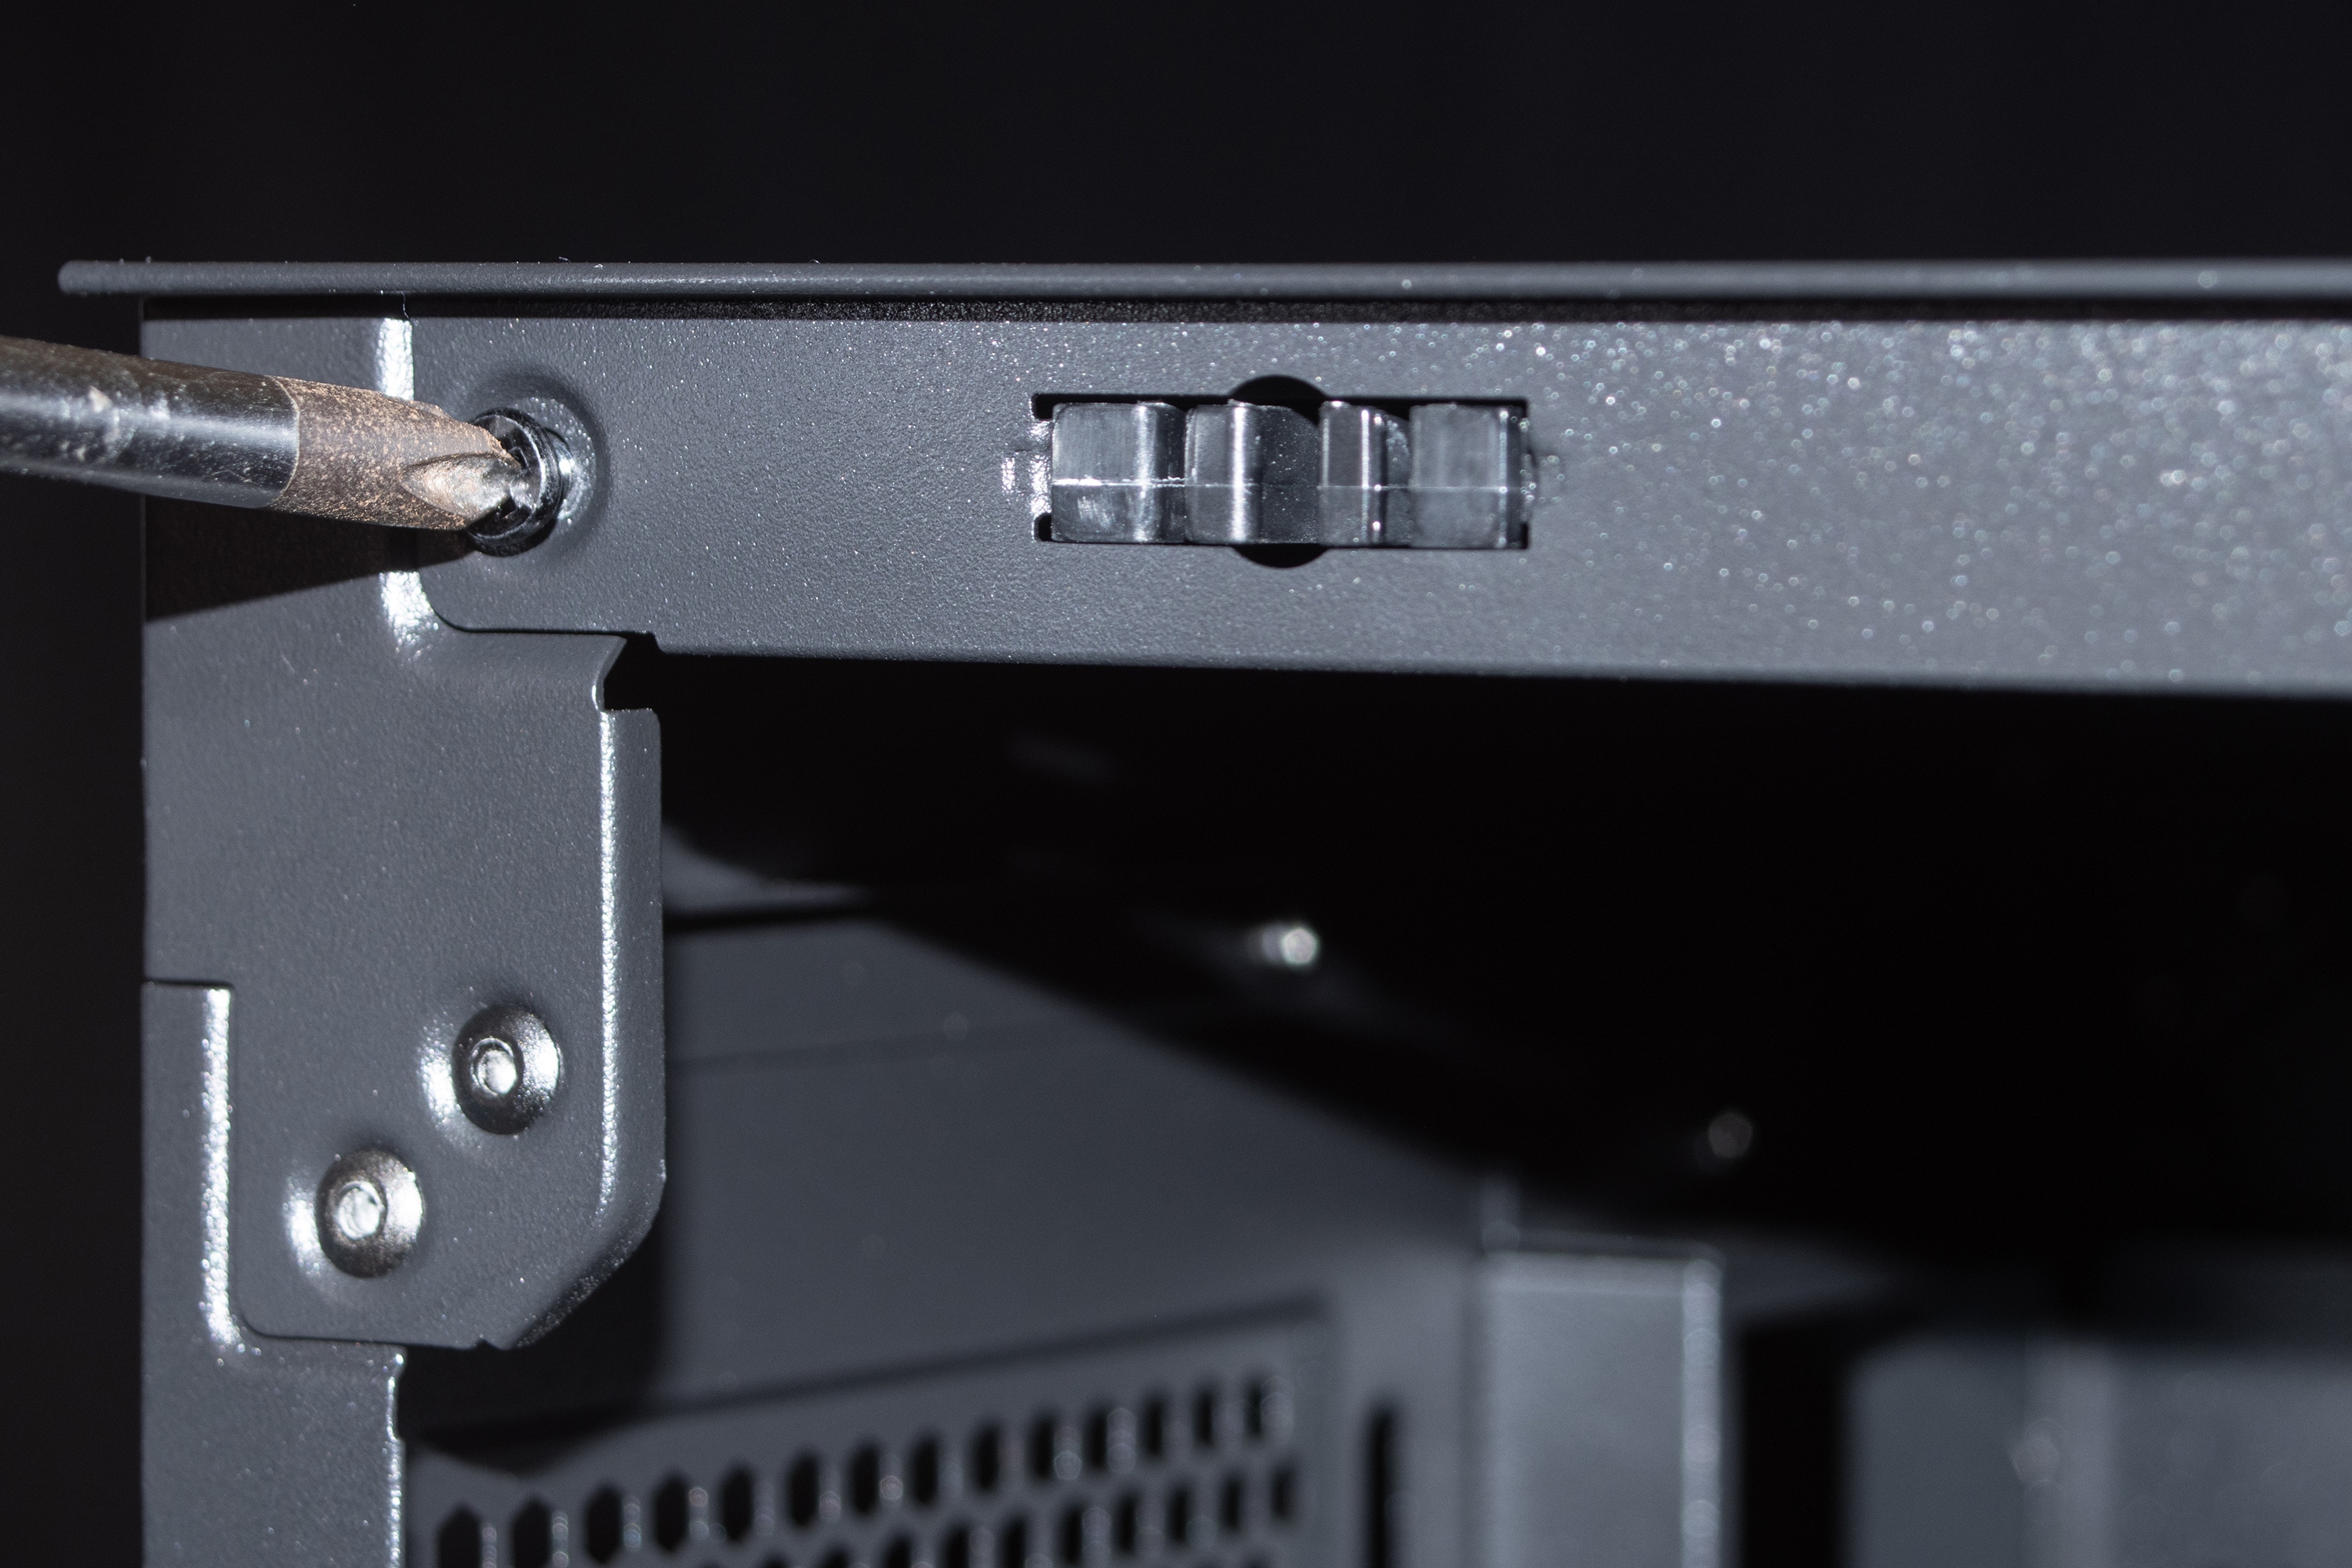

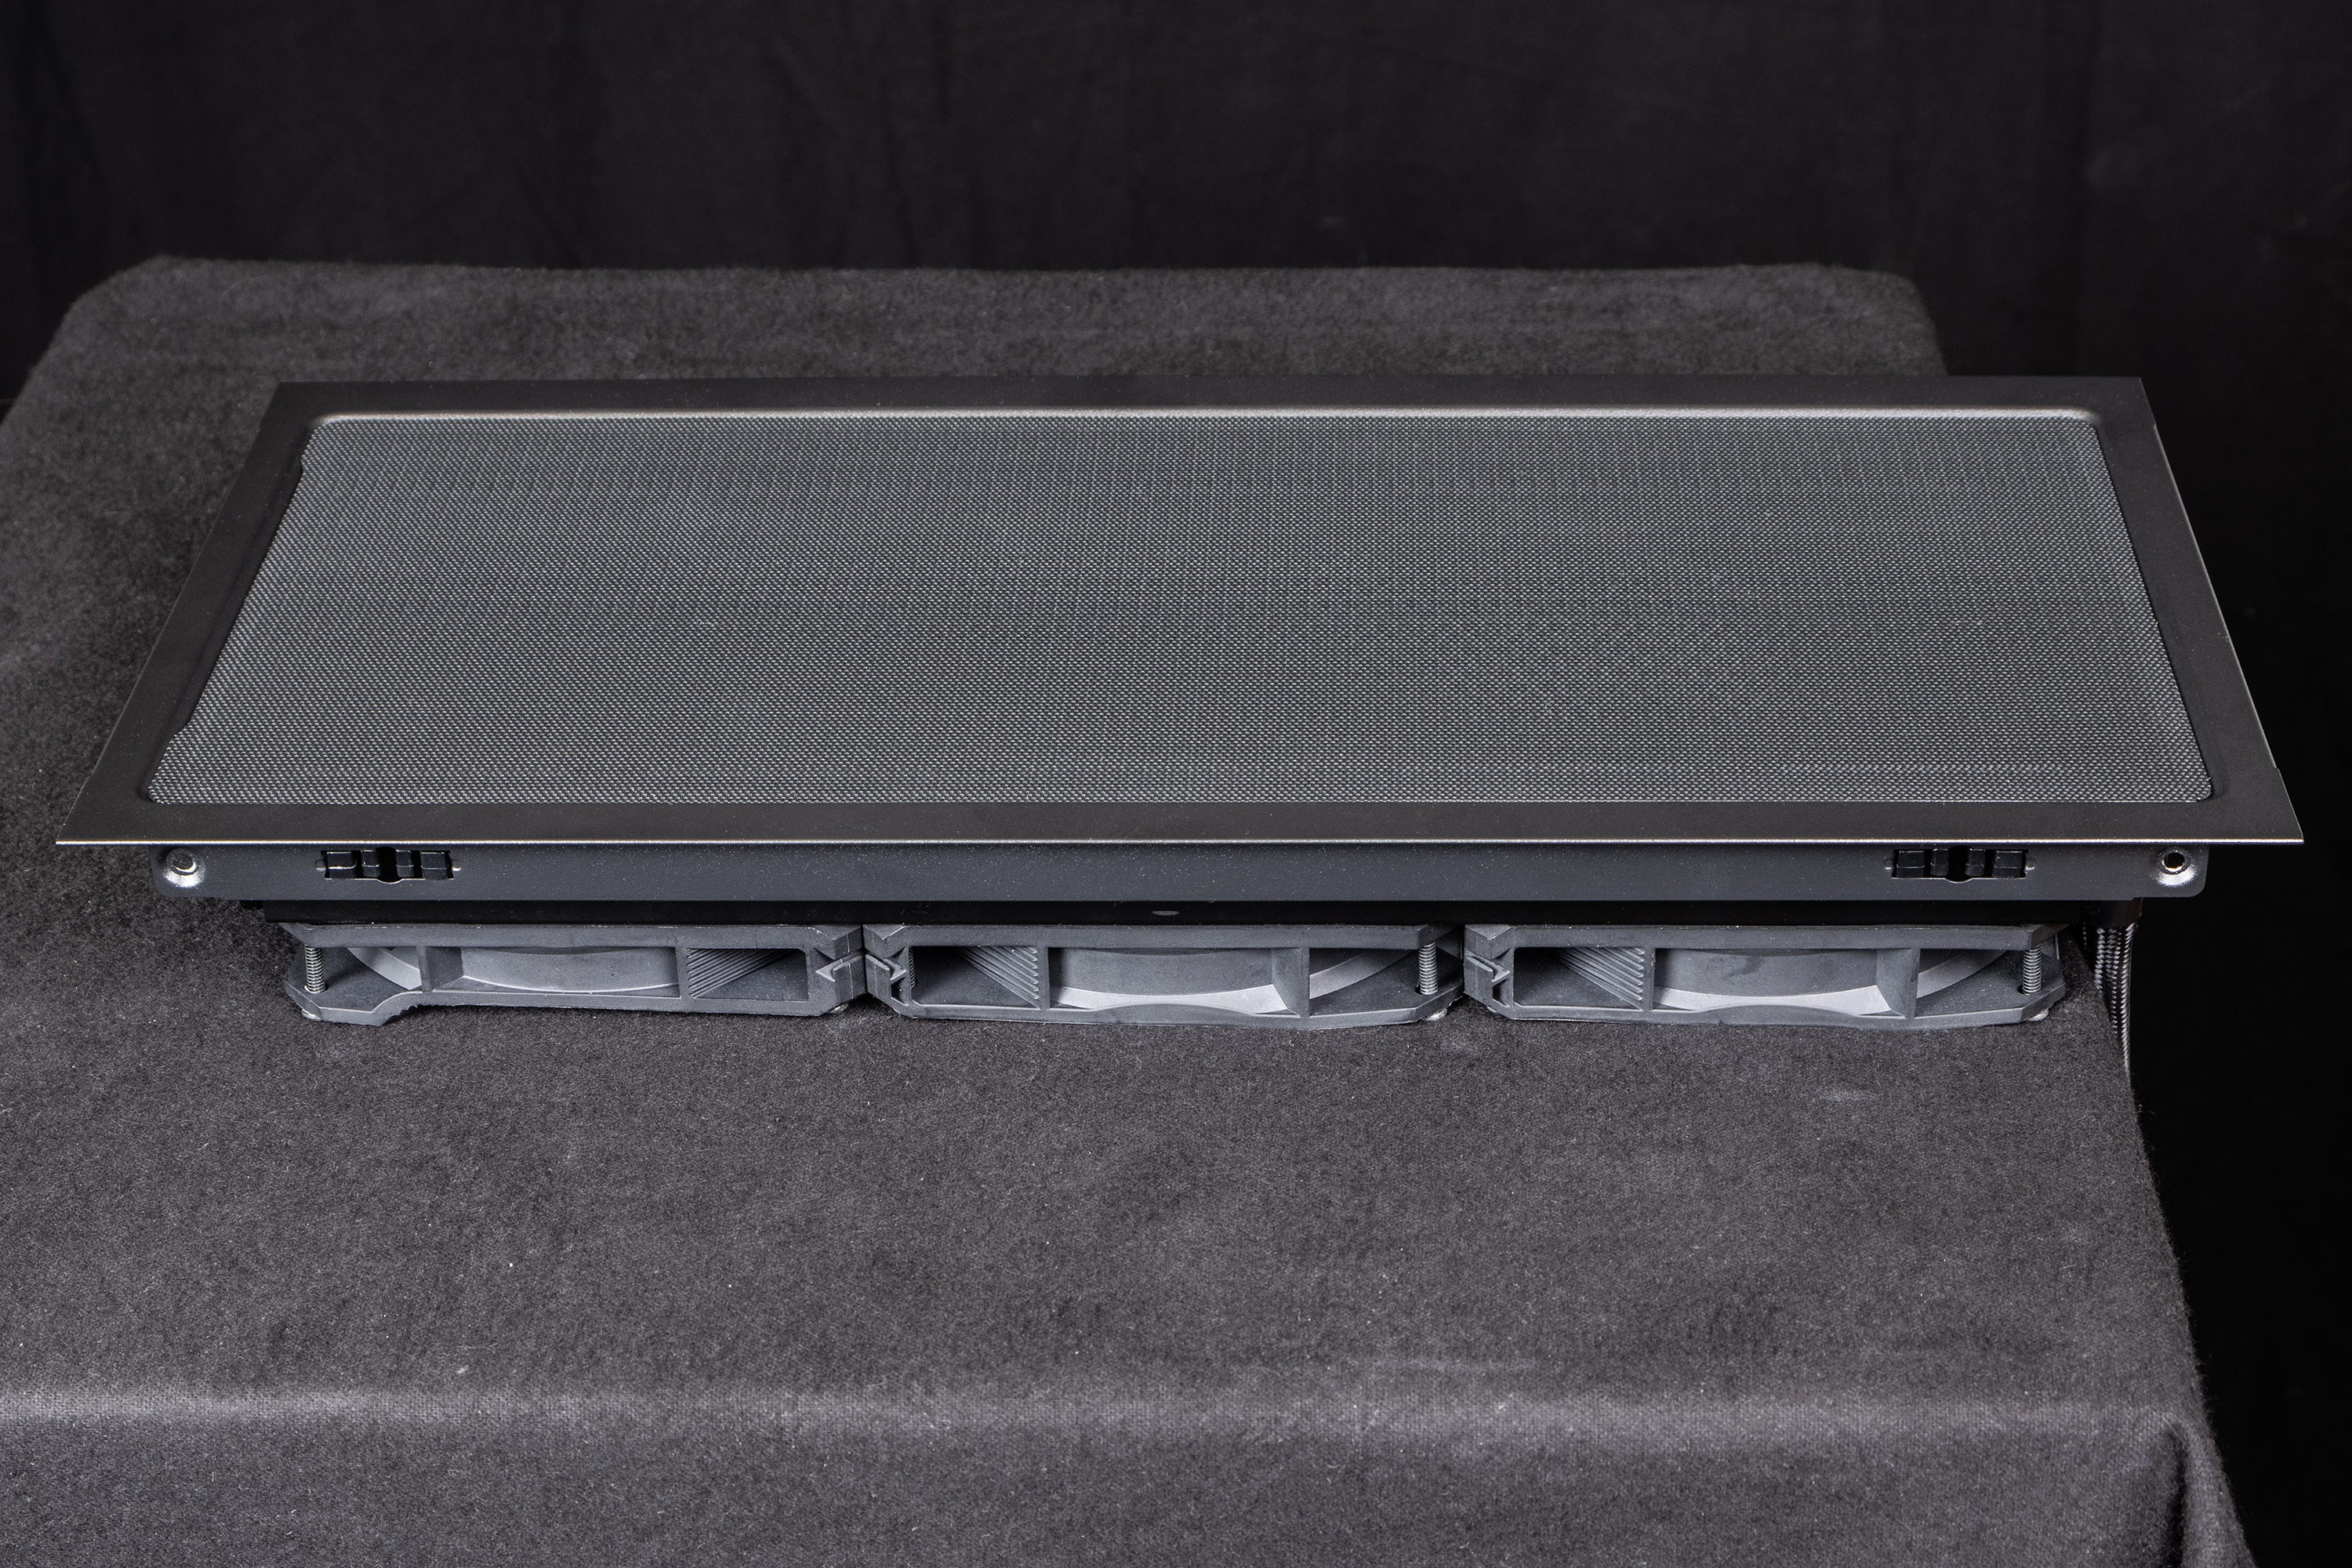
The top of the case can be removed for easier access to the interior. To do this, first remove the side panel with the glass pane, then unscrew two Phillips screws. Now the top part can be folded upwards. The dust filter on the top is simply held magnetically and is easy to remove.


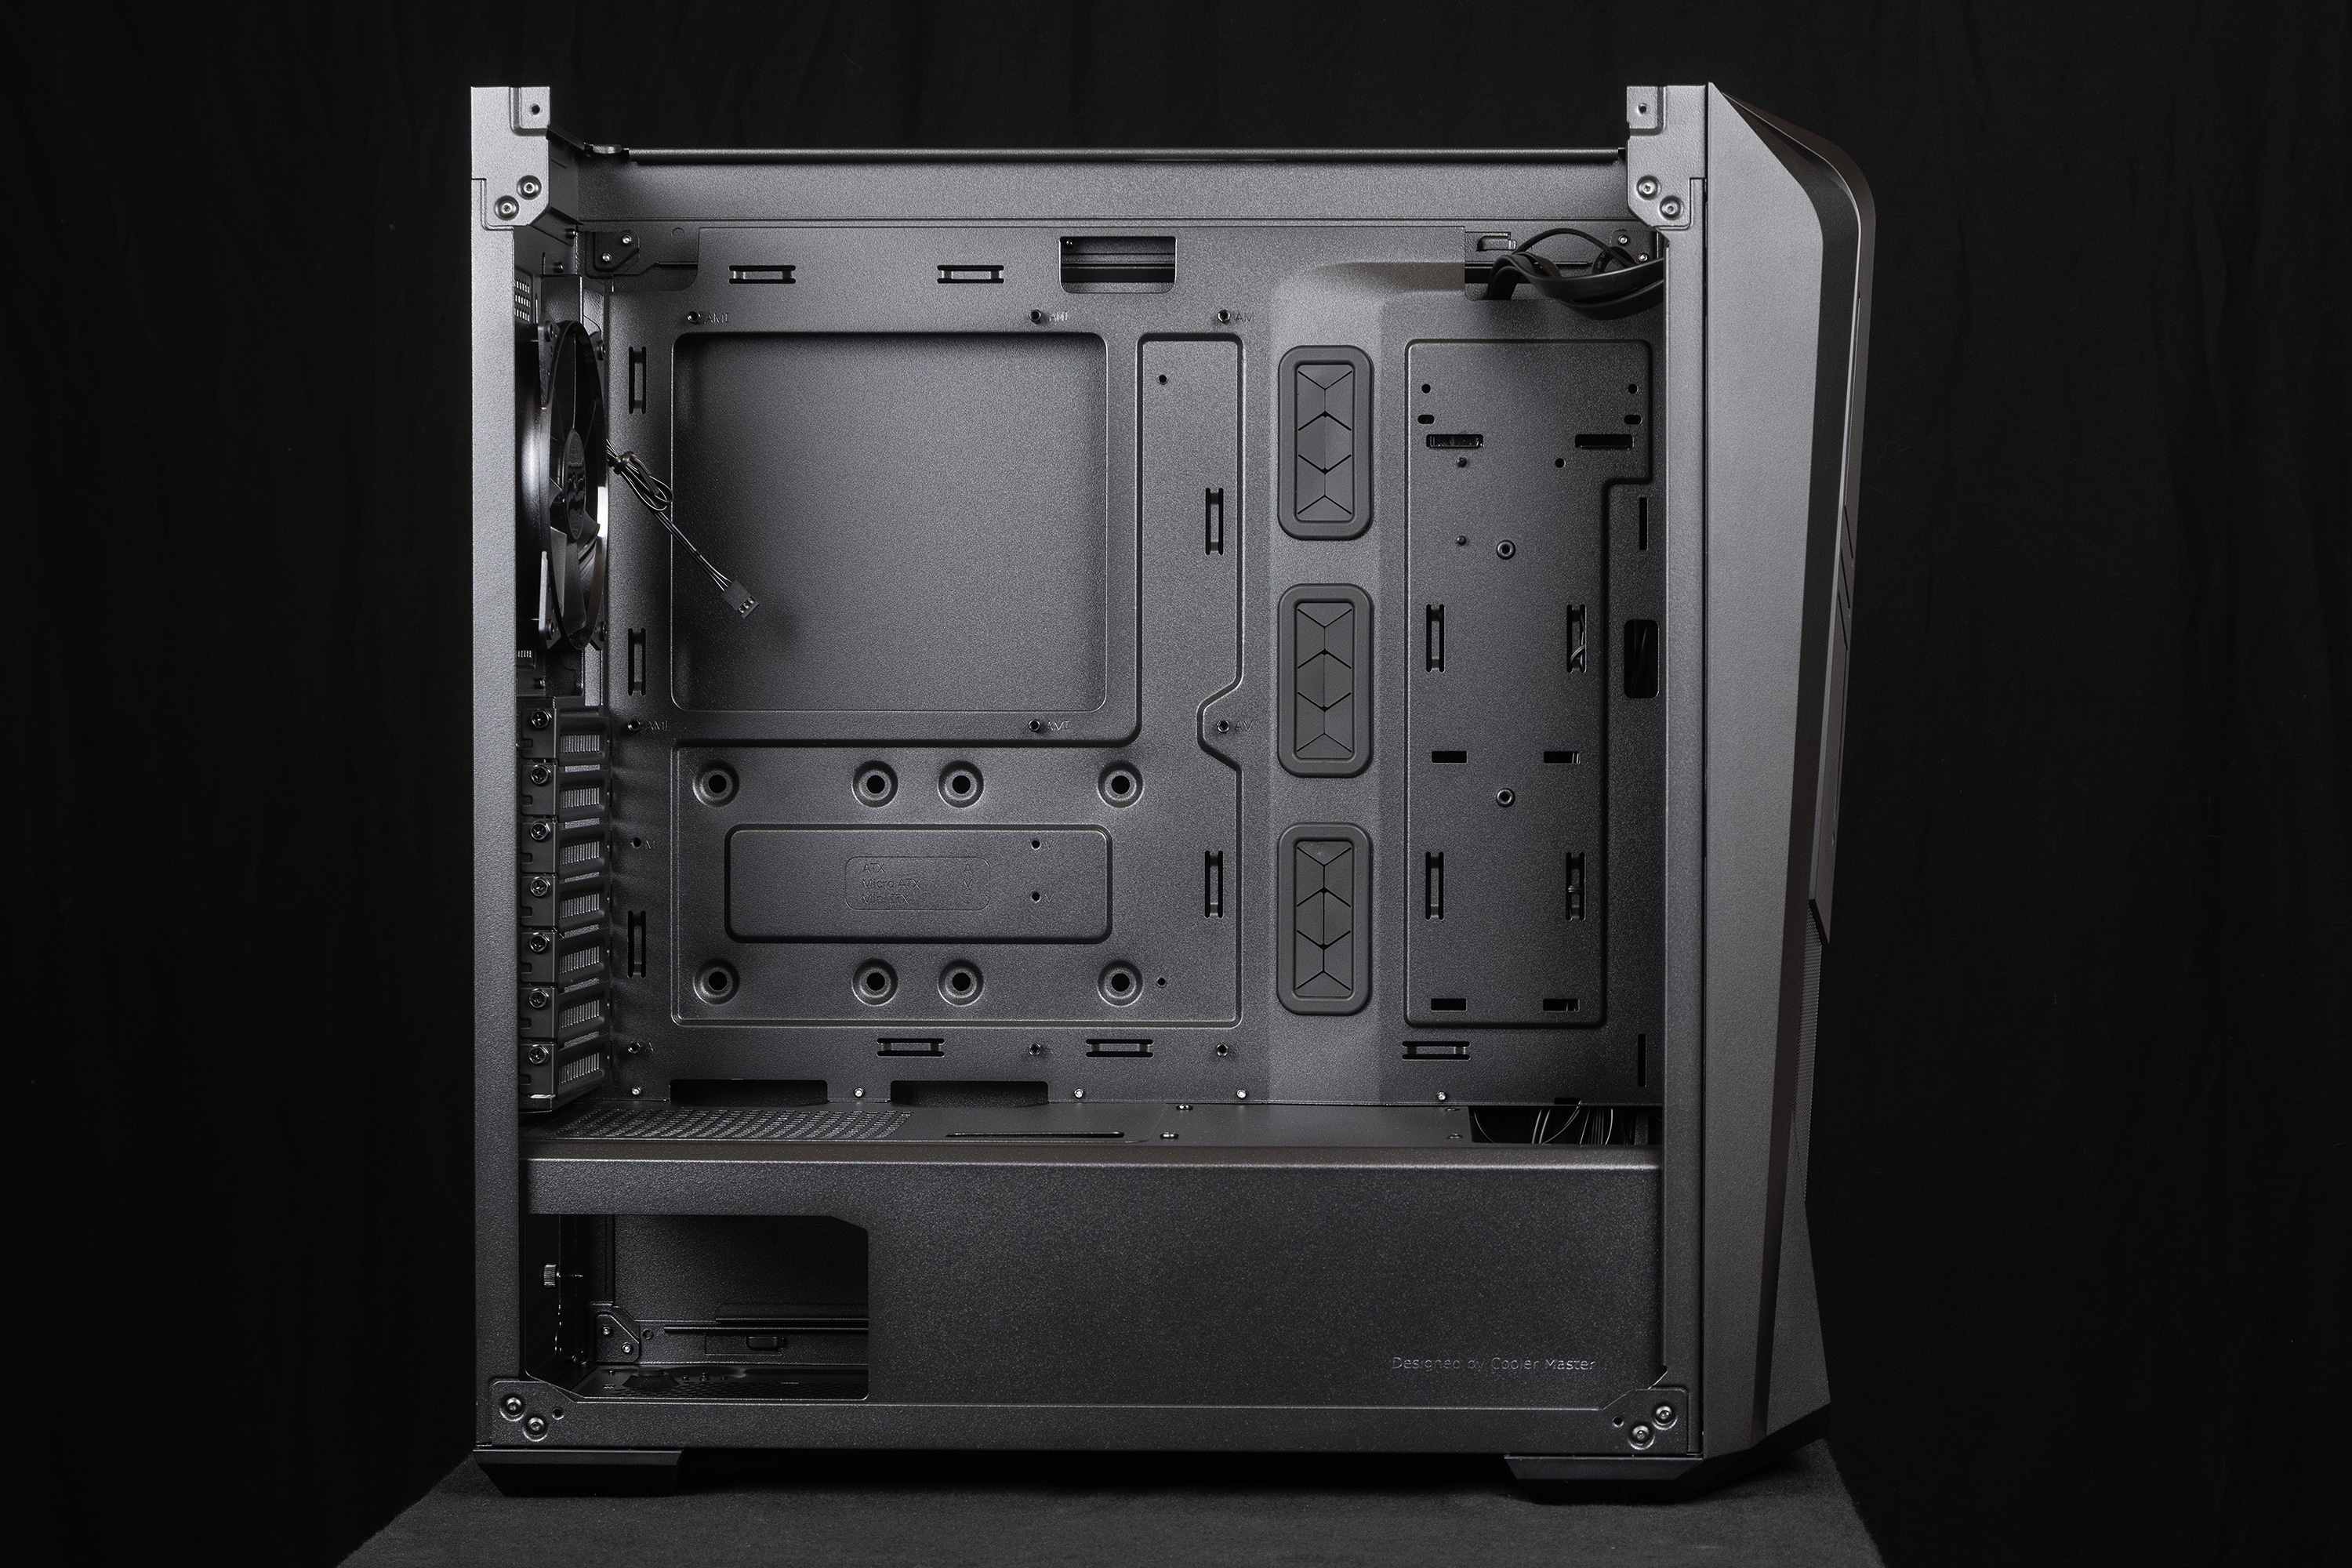
All metal parts are neatly finished and there are no sharp edges. Overall, the interior of the Cooler Master MasterBox 500 thus definitely stands out positively.
Installation and component flexibility
At first, the removability of the top part of the Cooler Master MasterBox 500 is not entirely obvious and if you don’t know about this feature, you will be able to overlook the two screws quite quickly. However, once you have removed the part, you will quickly like the open access. You can easily wire the motherboard without having to bend your fingers on the CPU power connector, and you can also easily attach a radiator or fans to the top by simply laying everything on the table and having both hands to screw instead of having to hold the parts in place and screw them on from the other side at the same time. This really makes working in the case exceptionally comfortable.
You are also very flexible when it comes to possible components. Air coolers are possible up to a height of 165 mm, which means that even the largest air coolers can be installed without any problems. Otherwise, you have room for radiators of all common sizes up to 360 mm in the front and on the top – and thus also for custom water cooling systems with multiple radiators. The rear fan can be adjusted in height to stay out of the way of top-mounted radiators, and when used with air coolers, it can also be perfectly aligned with the position of the heatsink. Of course, you could place a 120mm radiator in this position as well.
The factory fan in the front is held in place with a plug-in mechanism that, once removed, is very difficult to replace. Ergo, the plan should be to keep the factory fan in the front or mount other fans with regular fan screws.
There is plenty of room in the front of the case for water cooling components should custom water cooling be desired.


To the actual installation: First of all, it is pleasant to notice that the middle spacer for the mainboard fastening has an elevation, so you can let the mainboard snap into place before screwing it in, without having to worry about it slipping. This way all spacers are directly at the right position to the mounting holes of an ATX mainboard – again a feature that makes working with the case very comfortable.

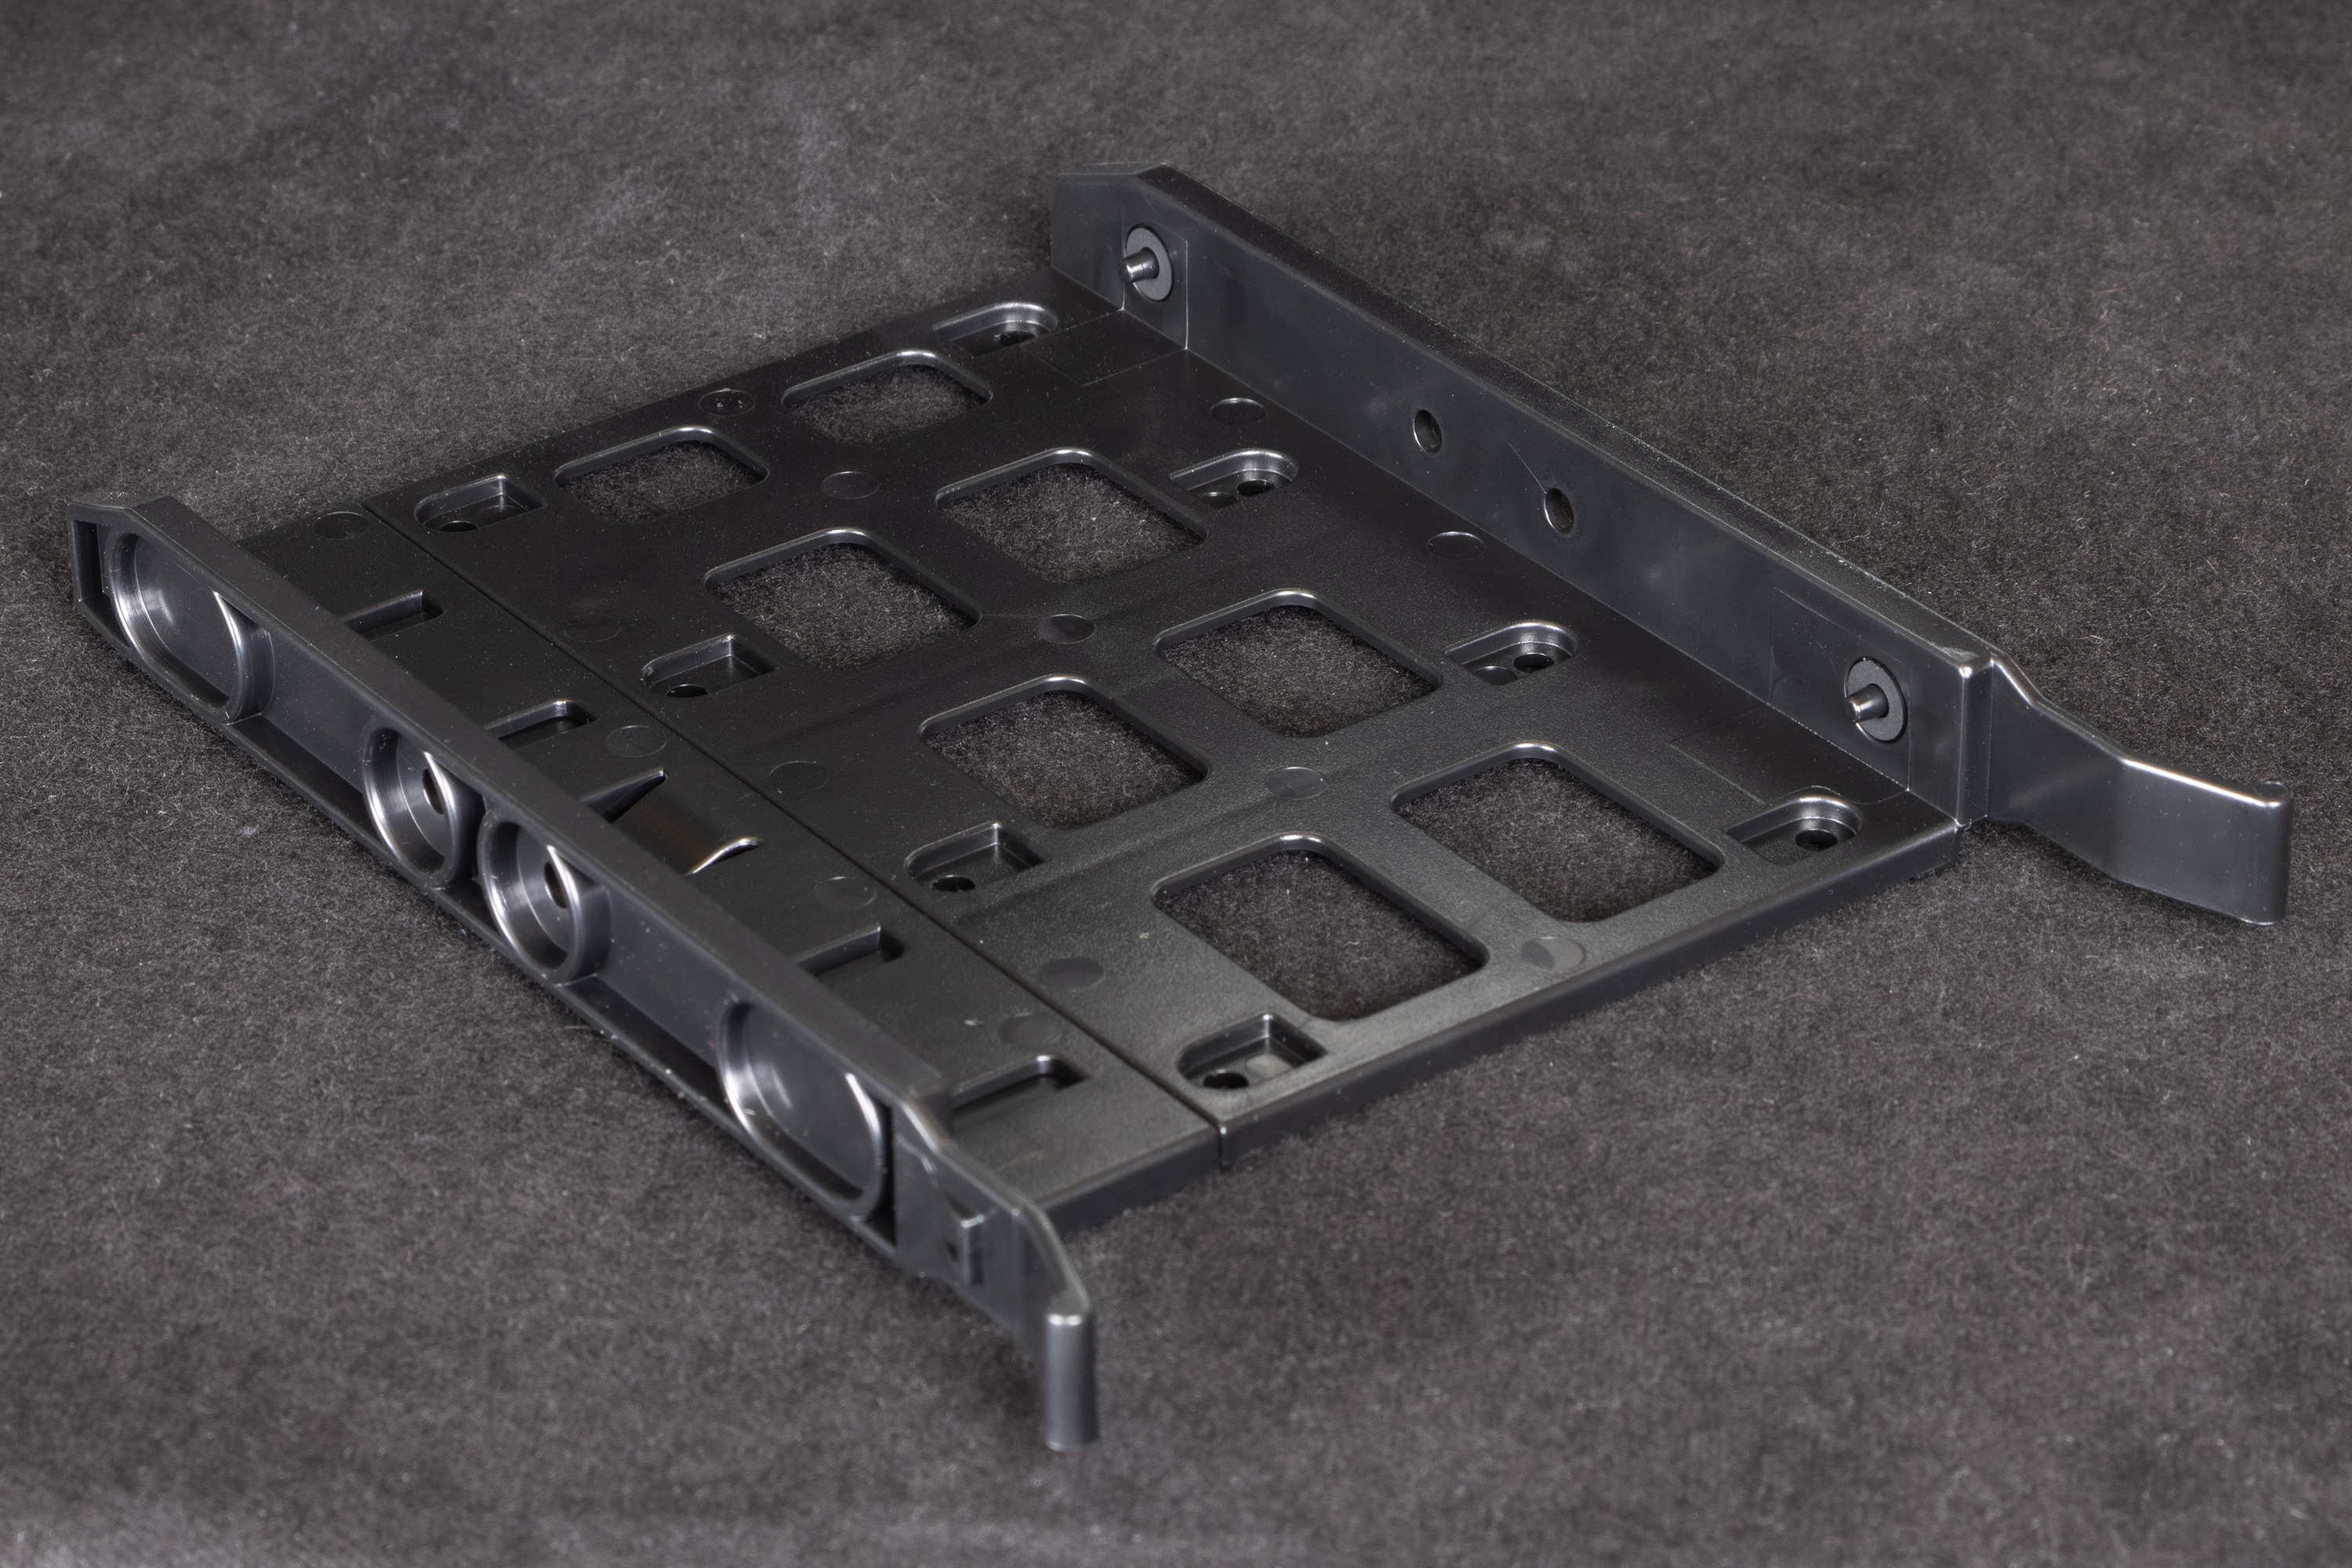


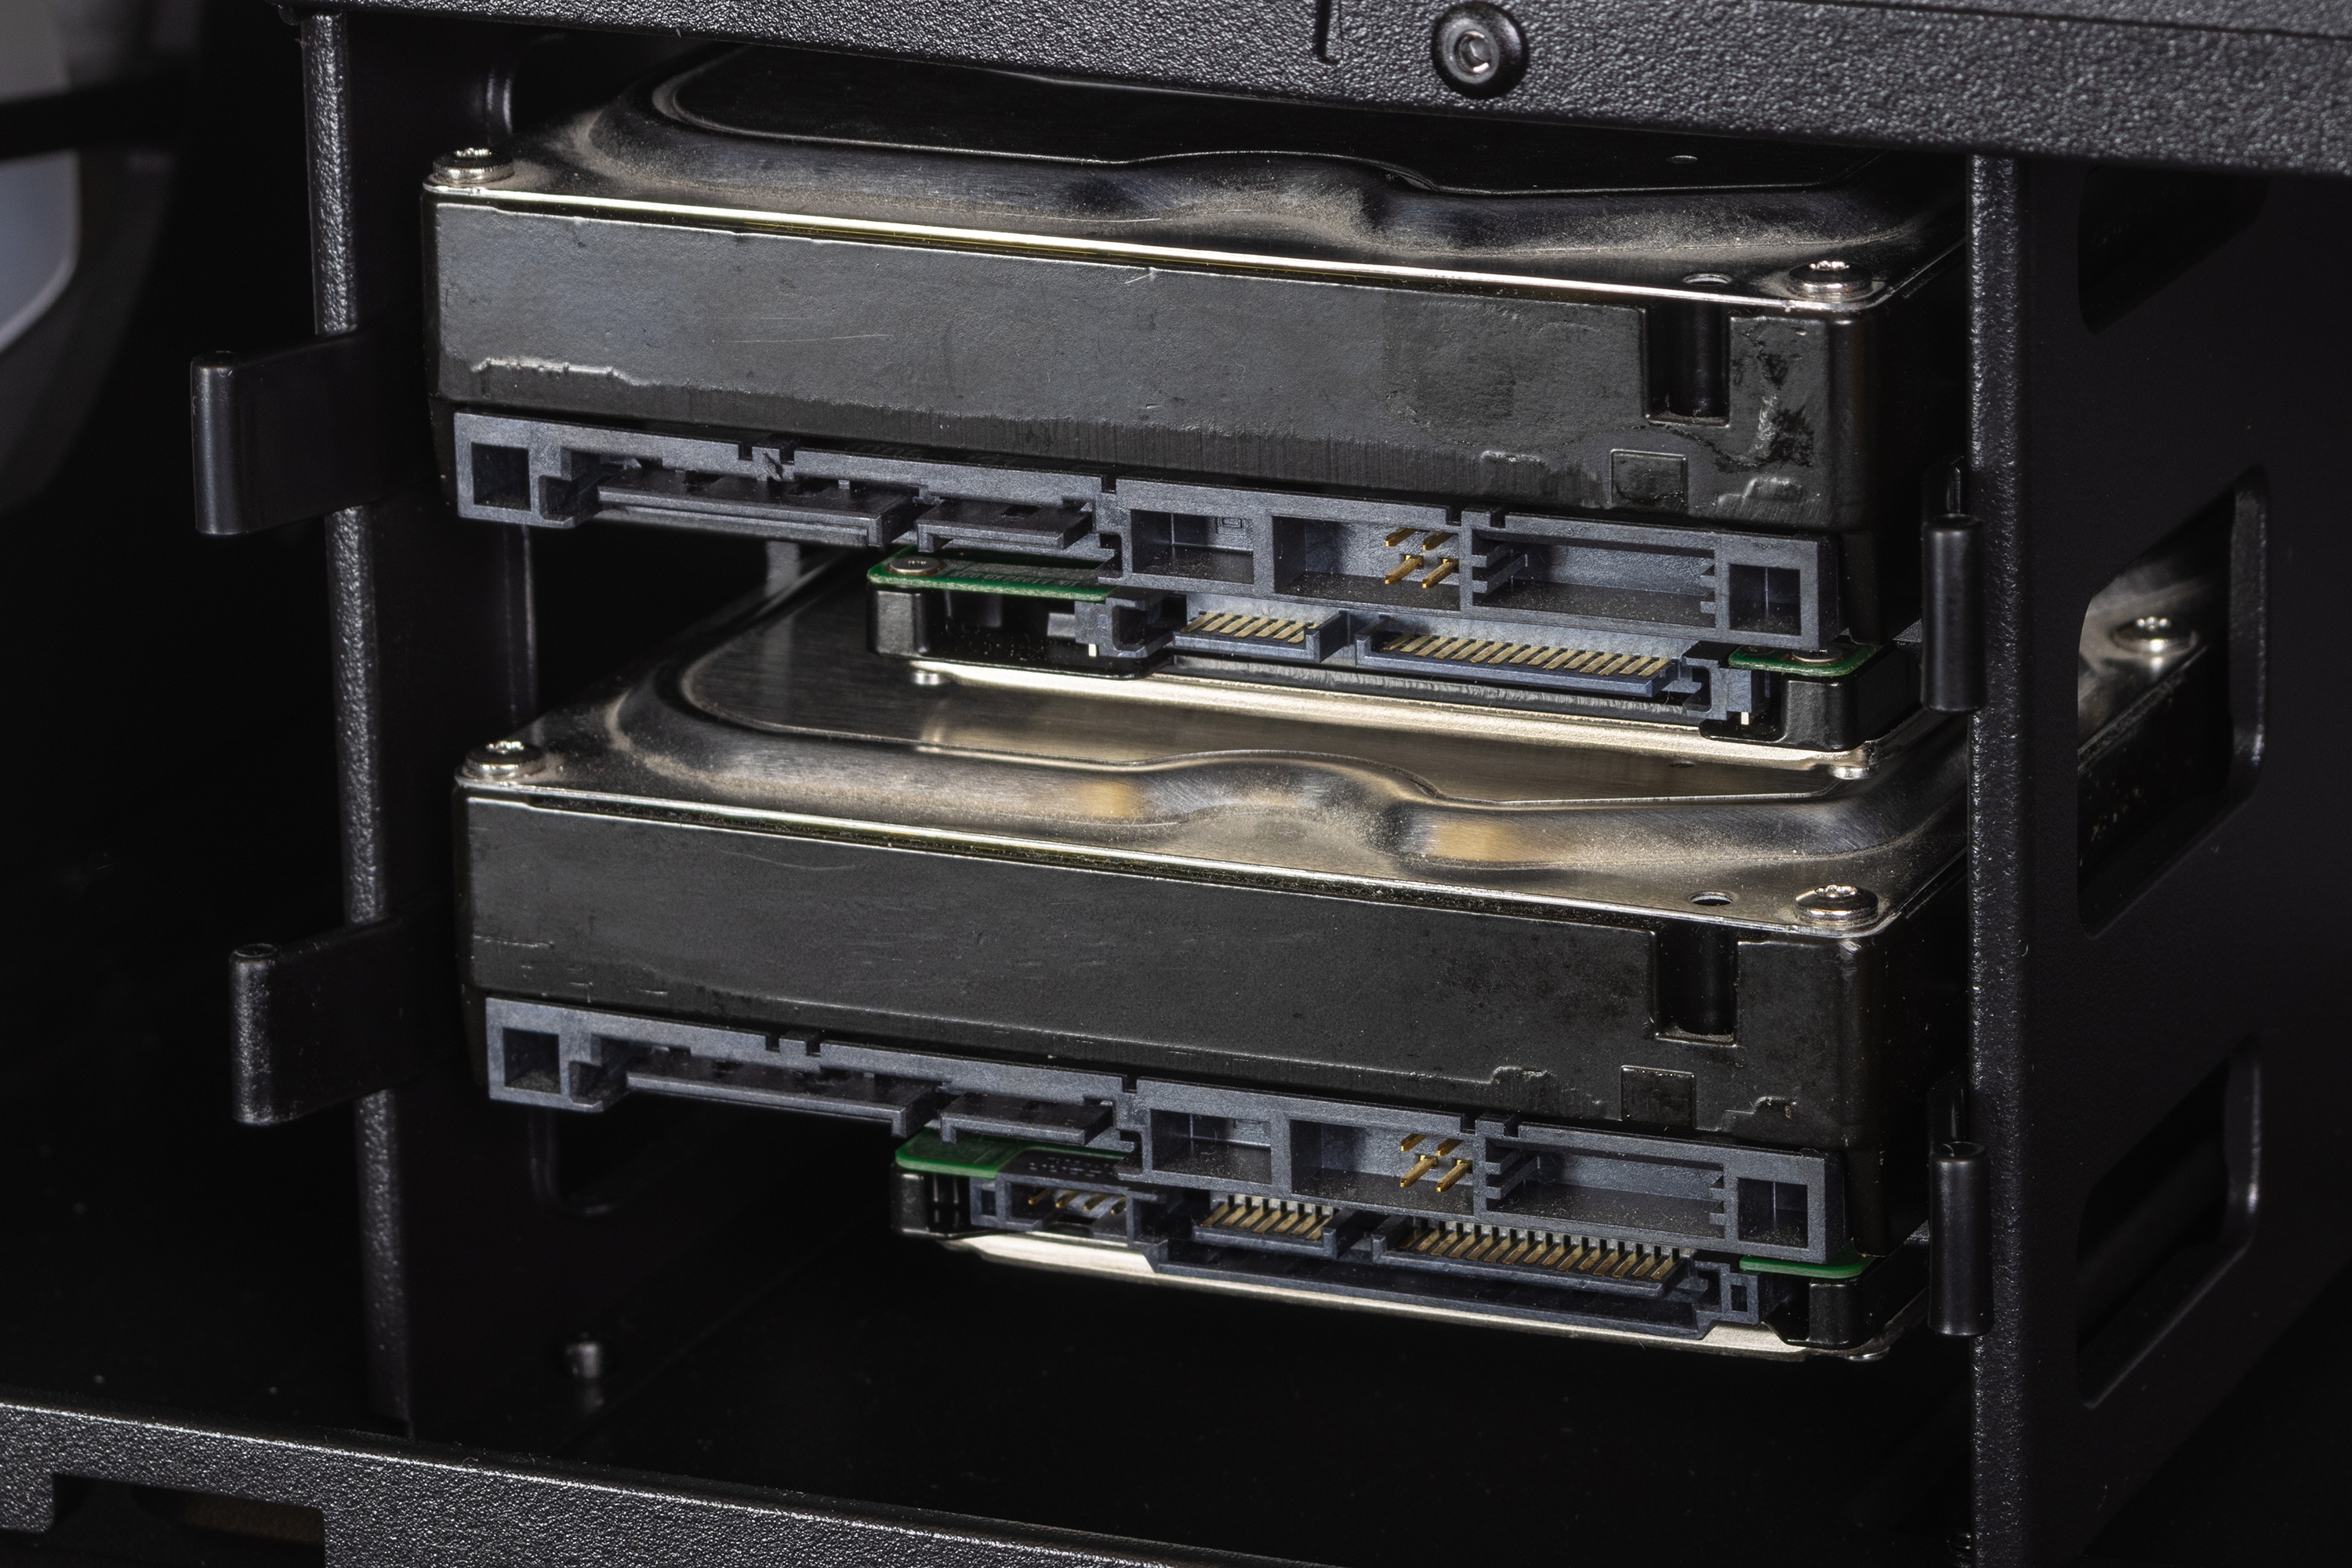
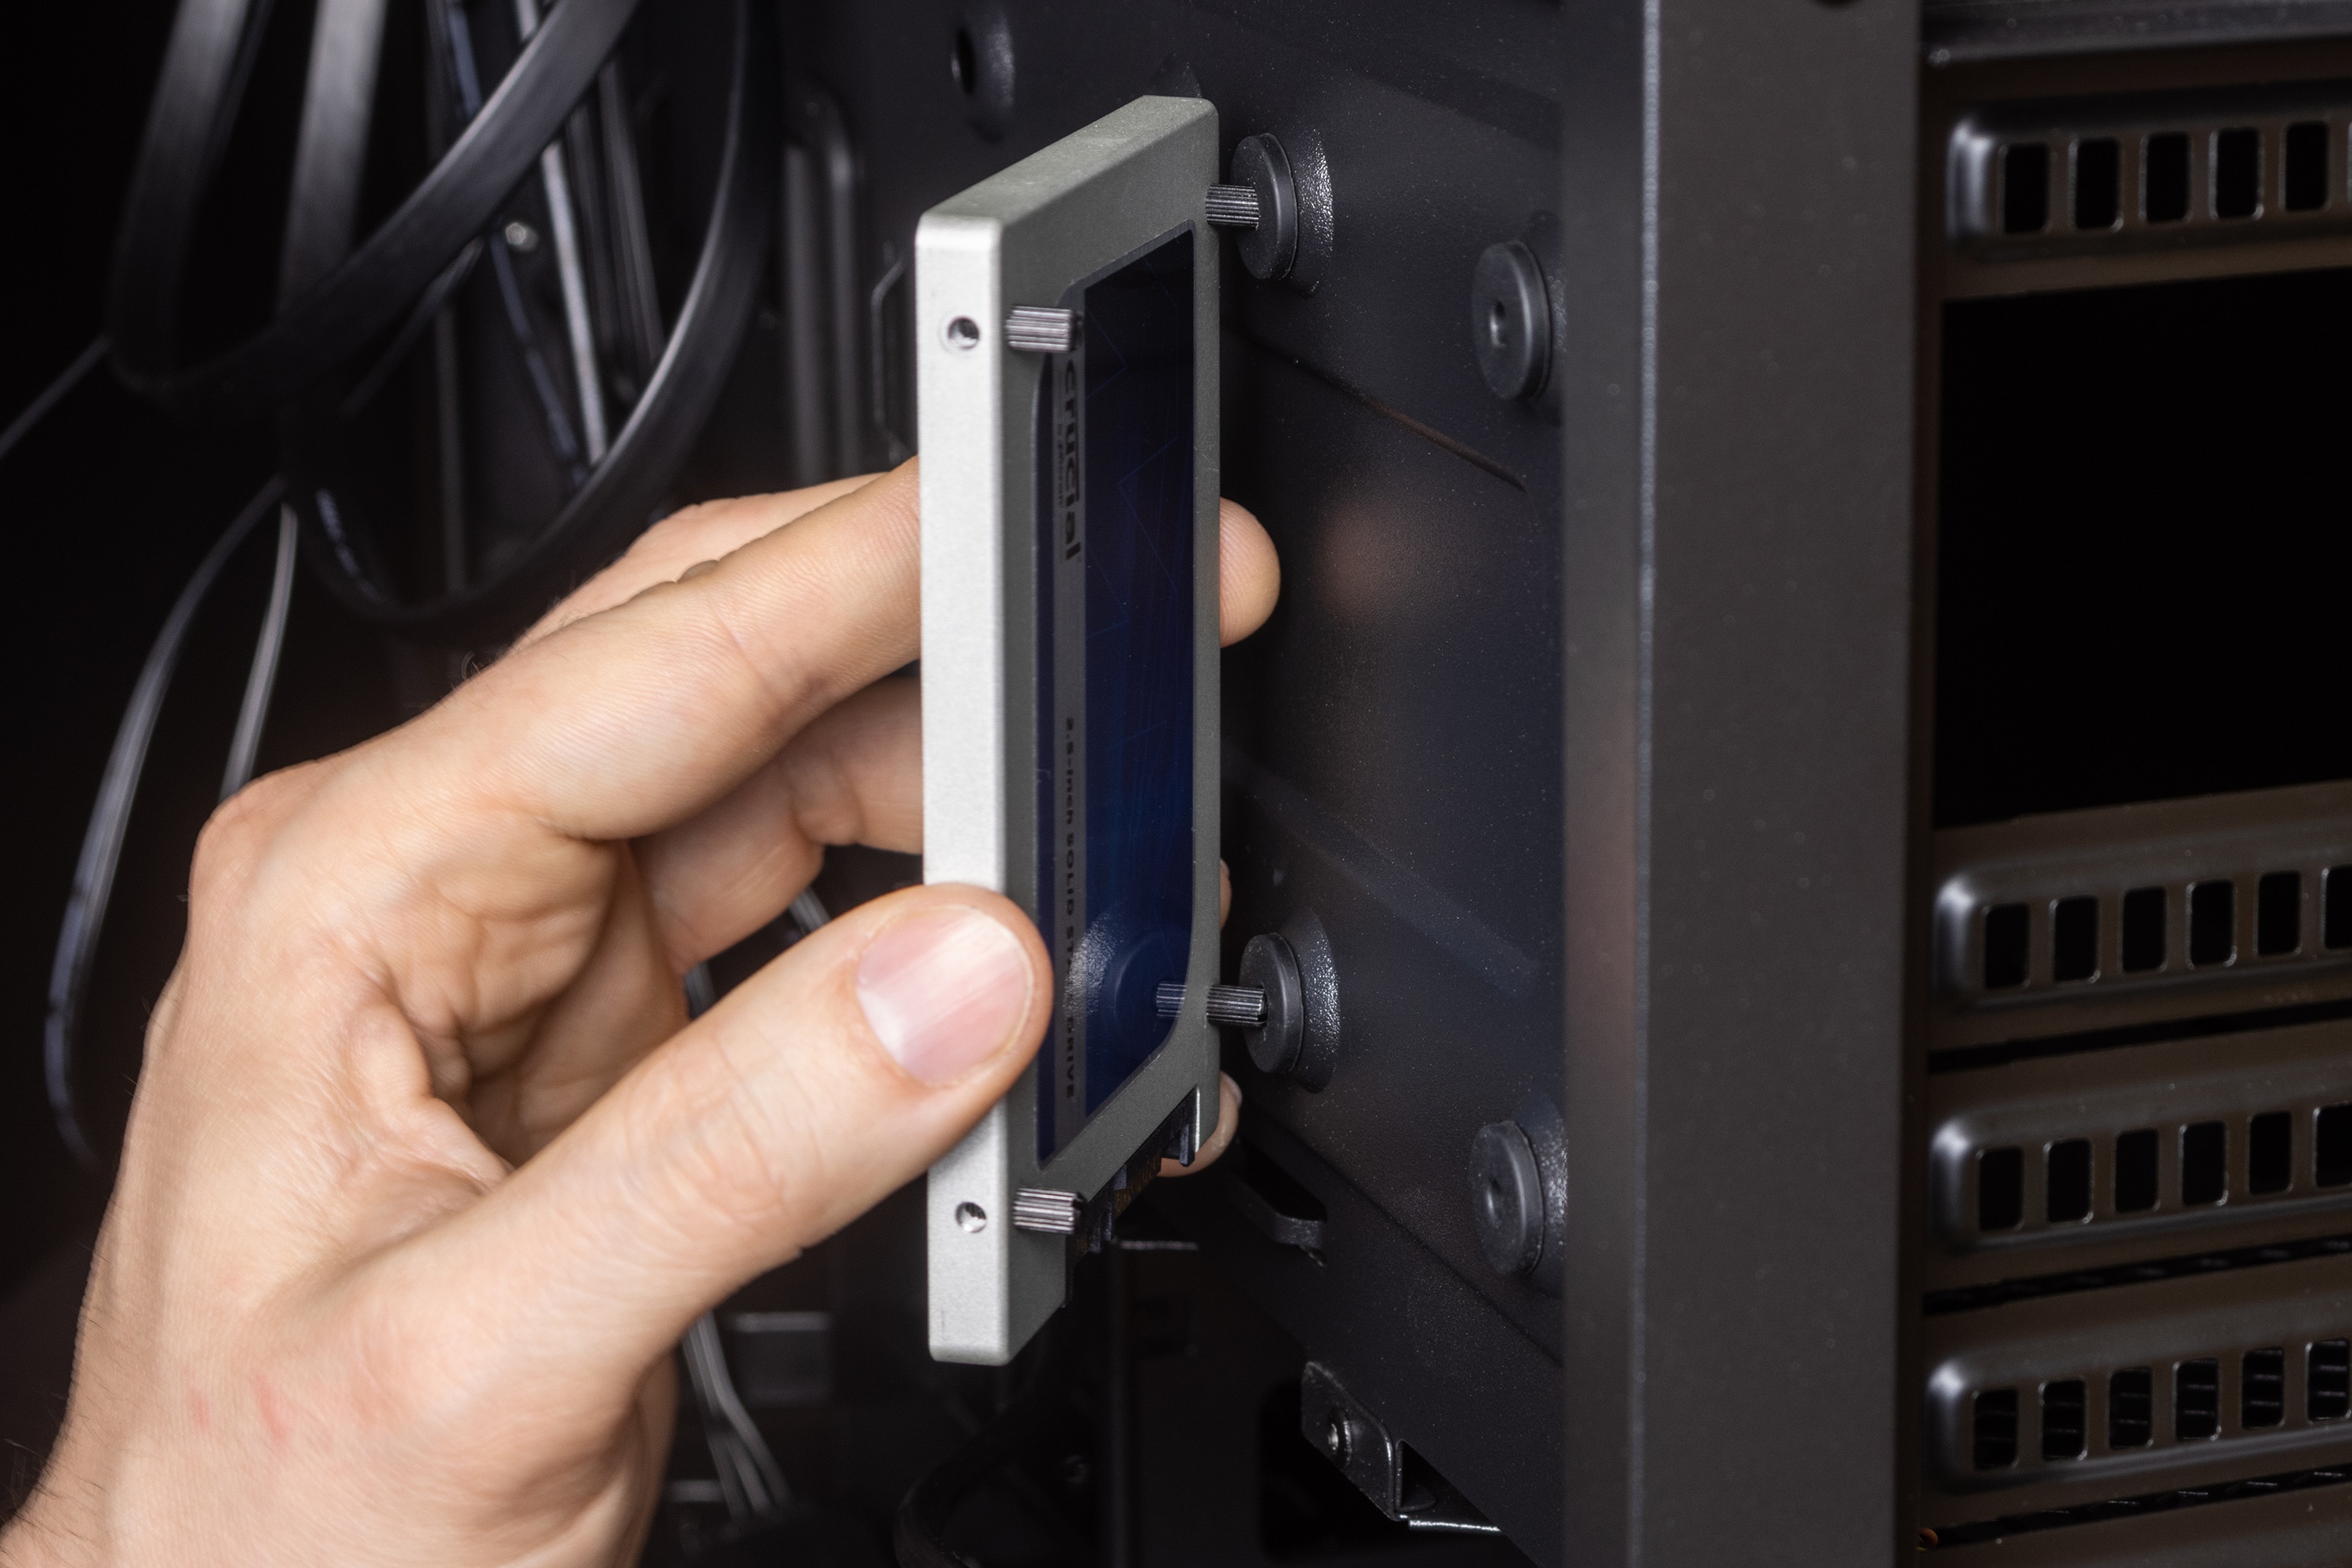
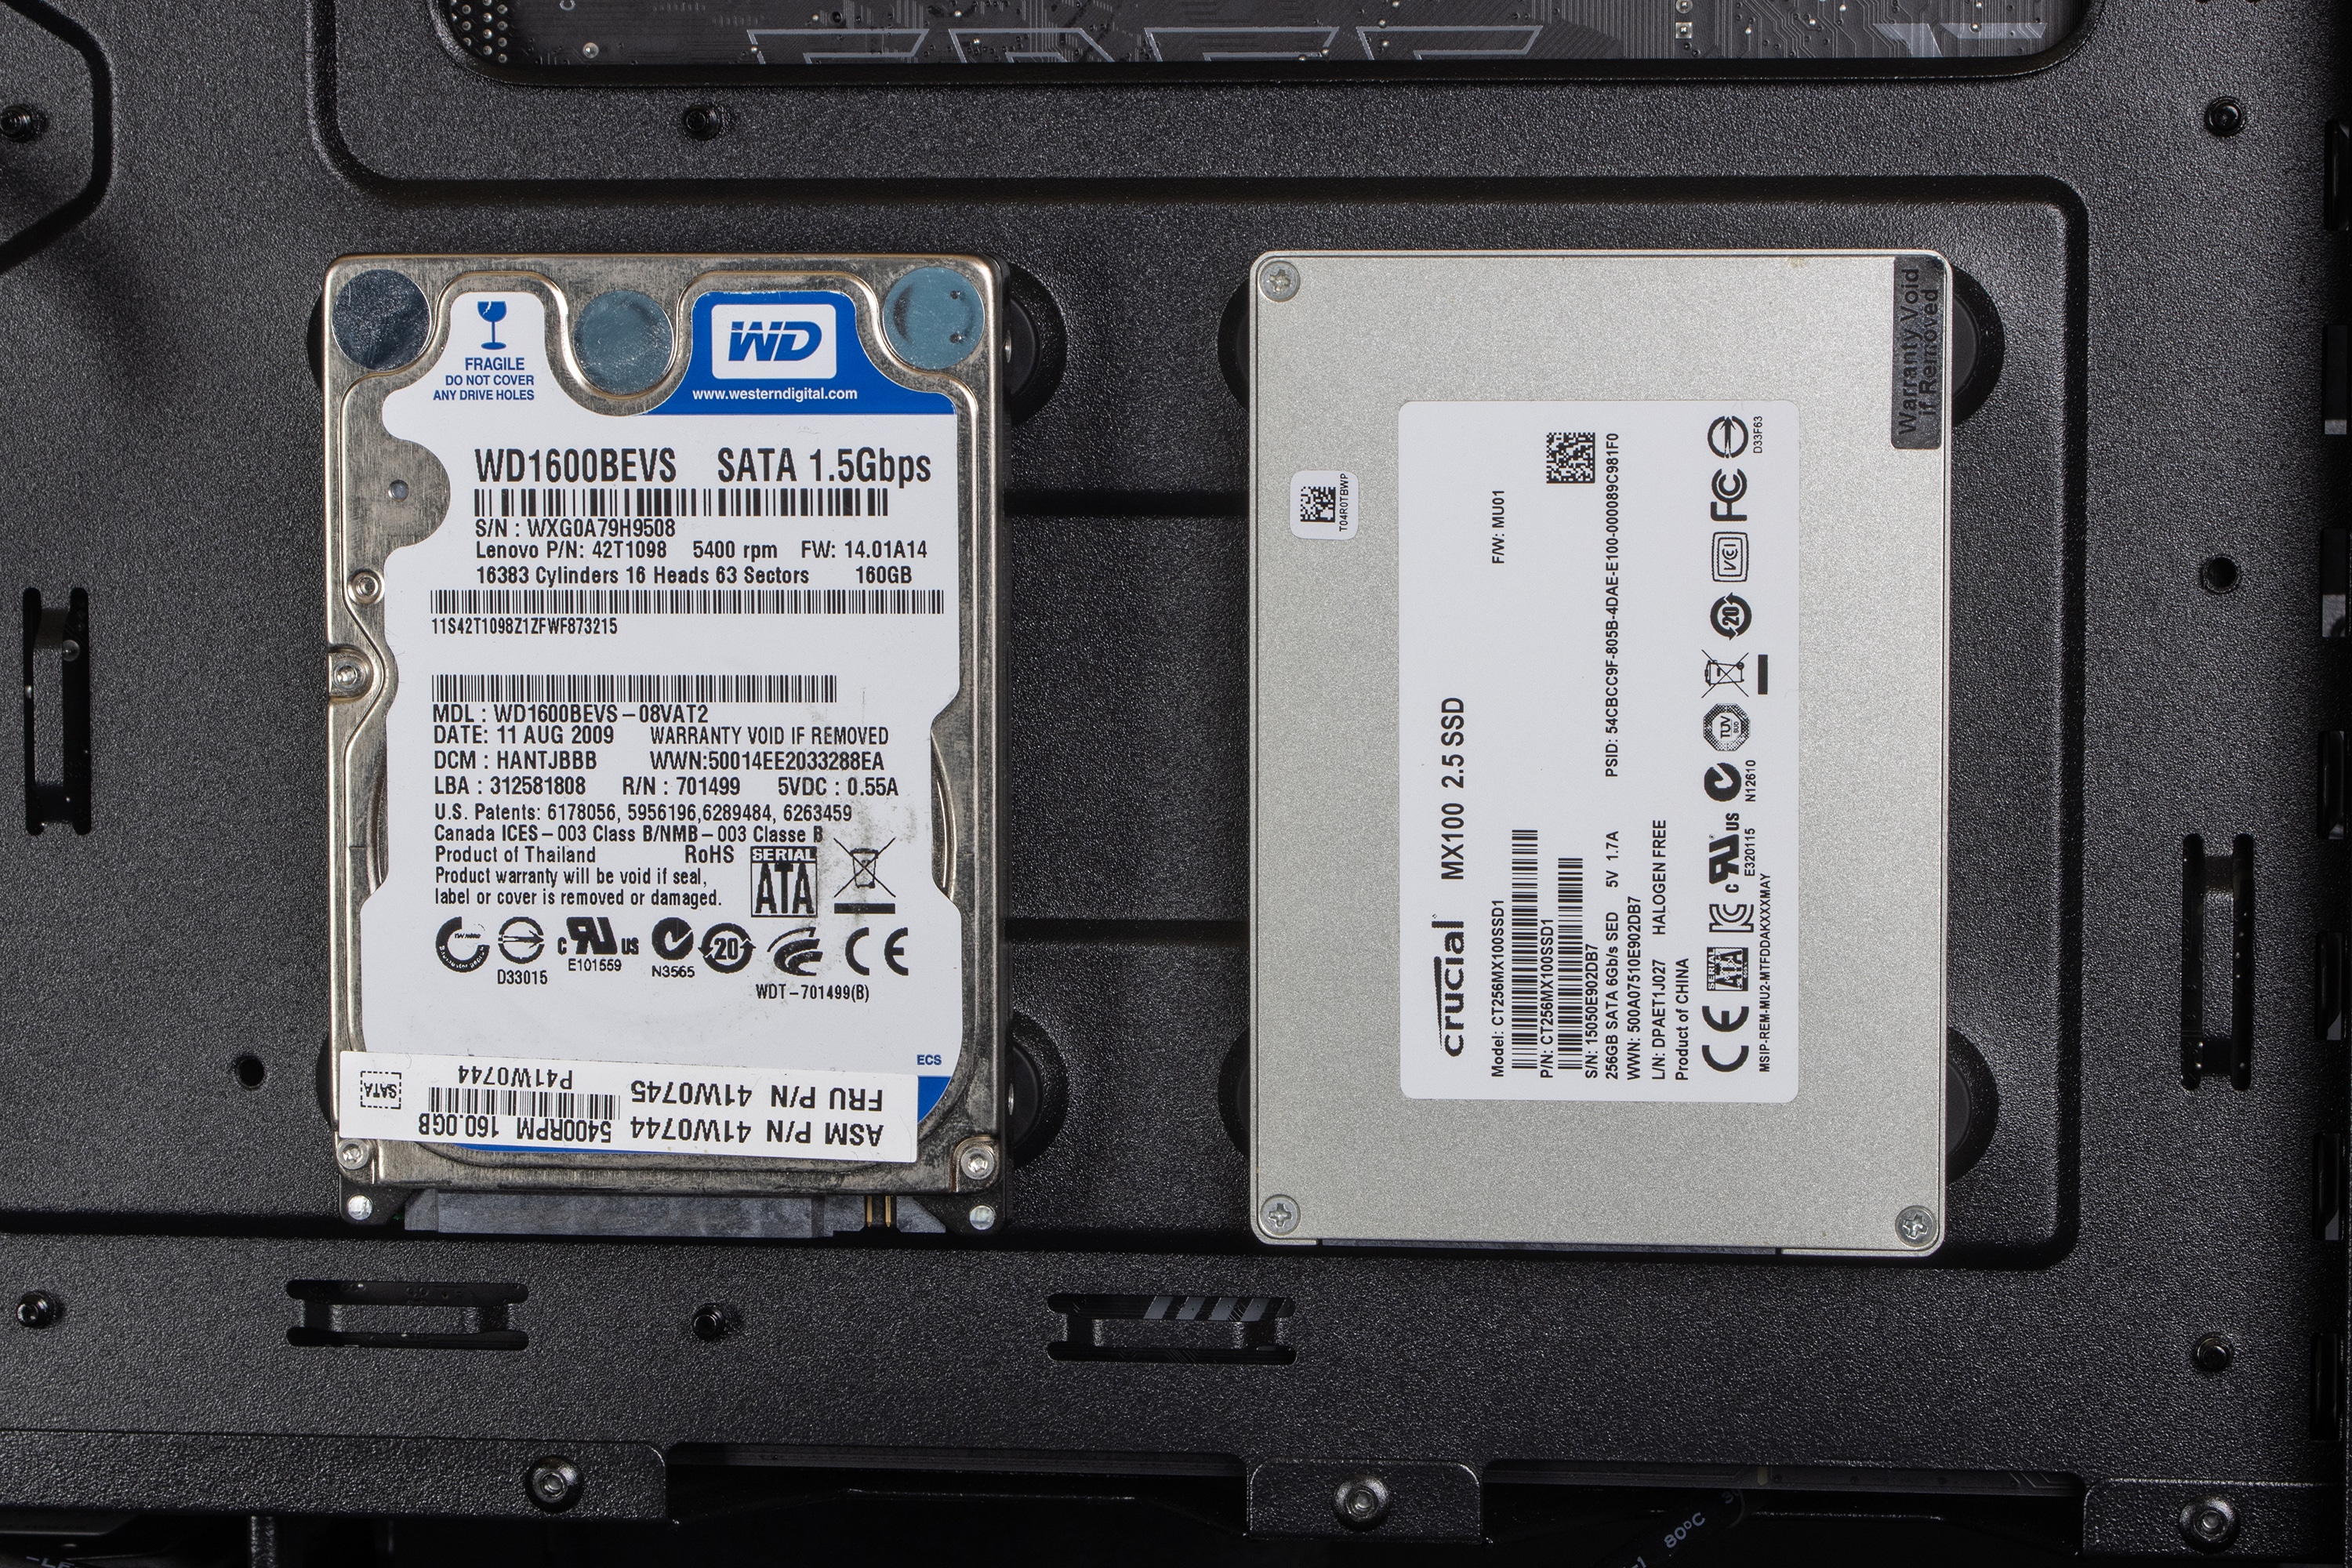
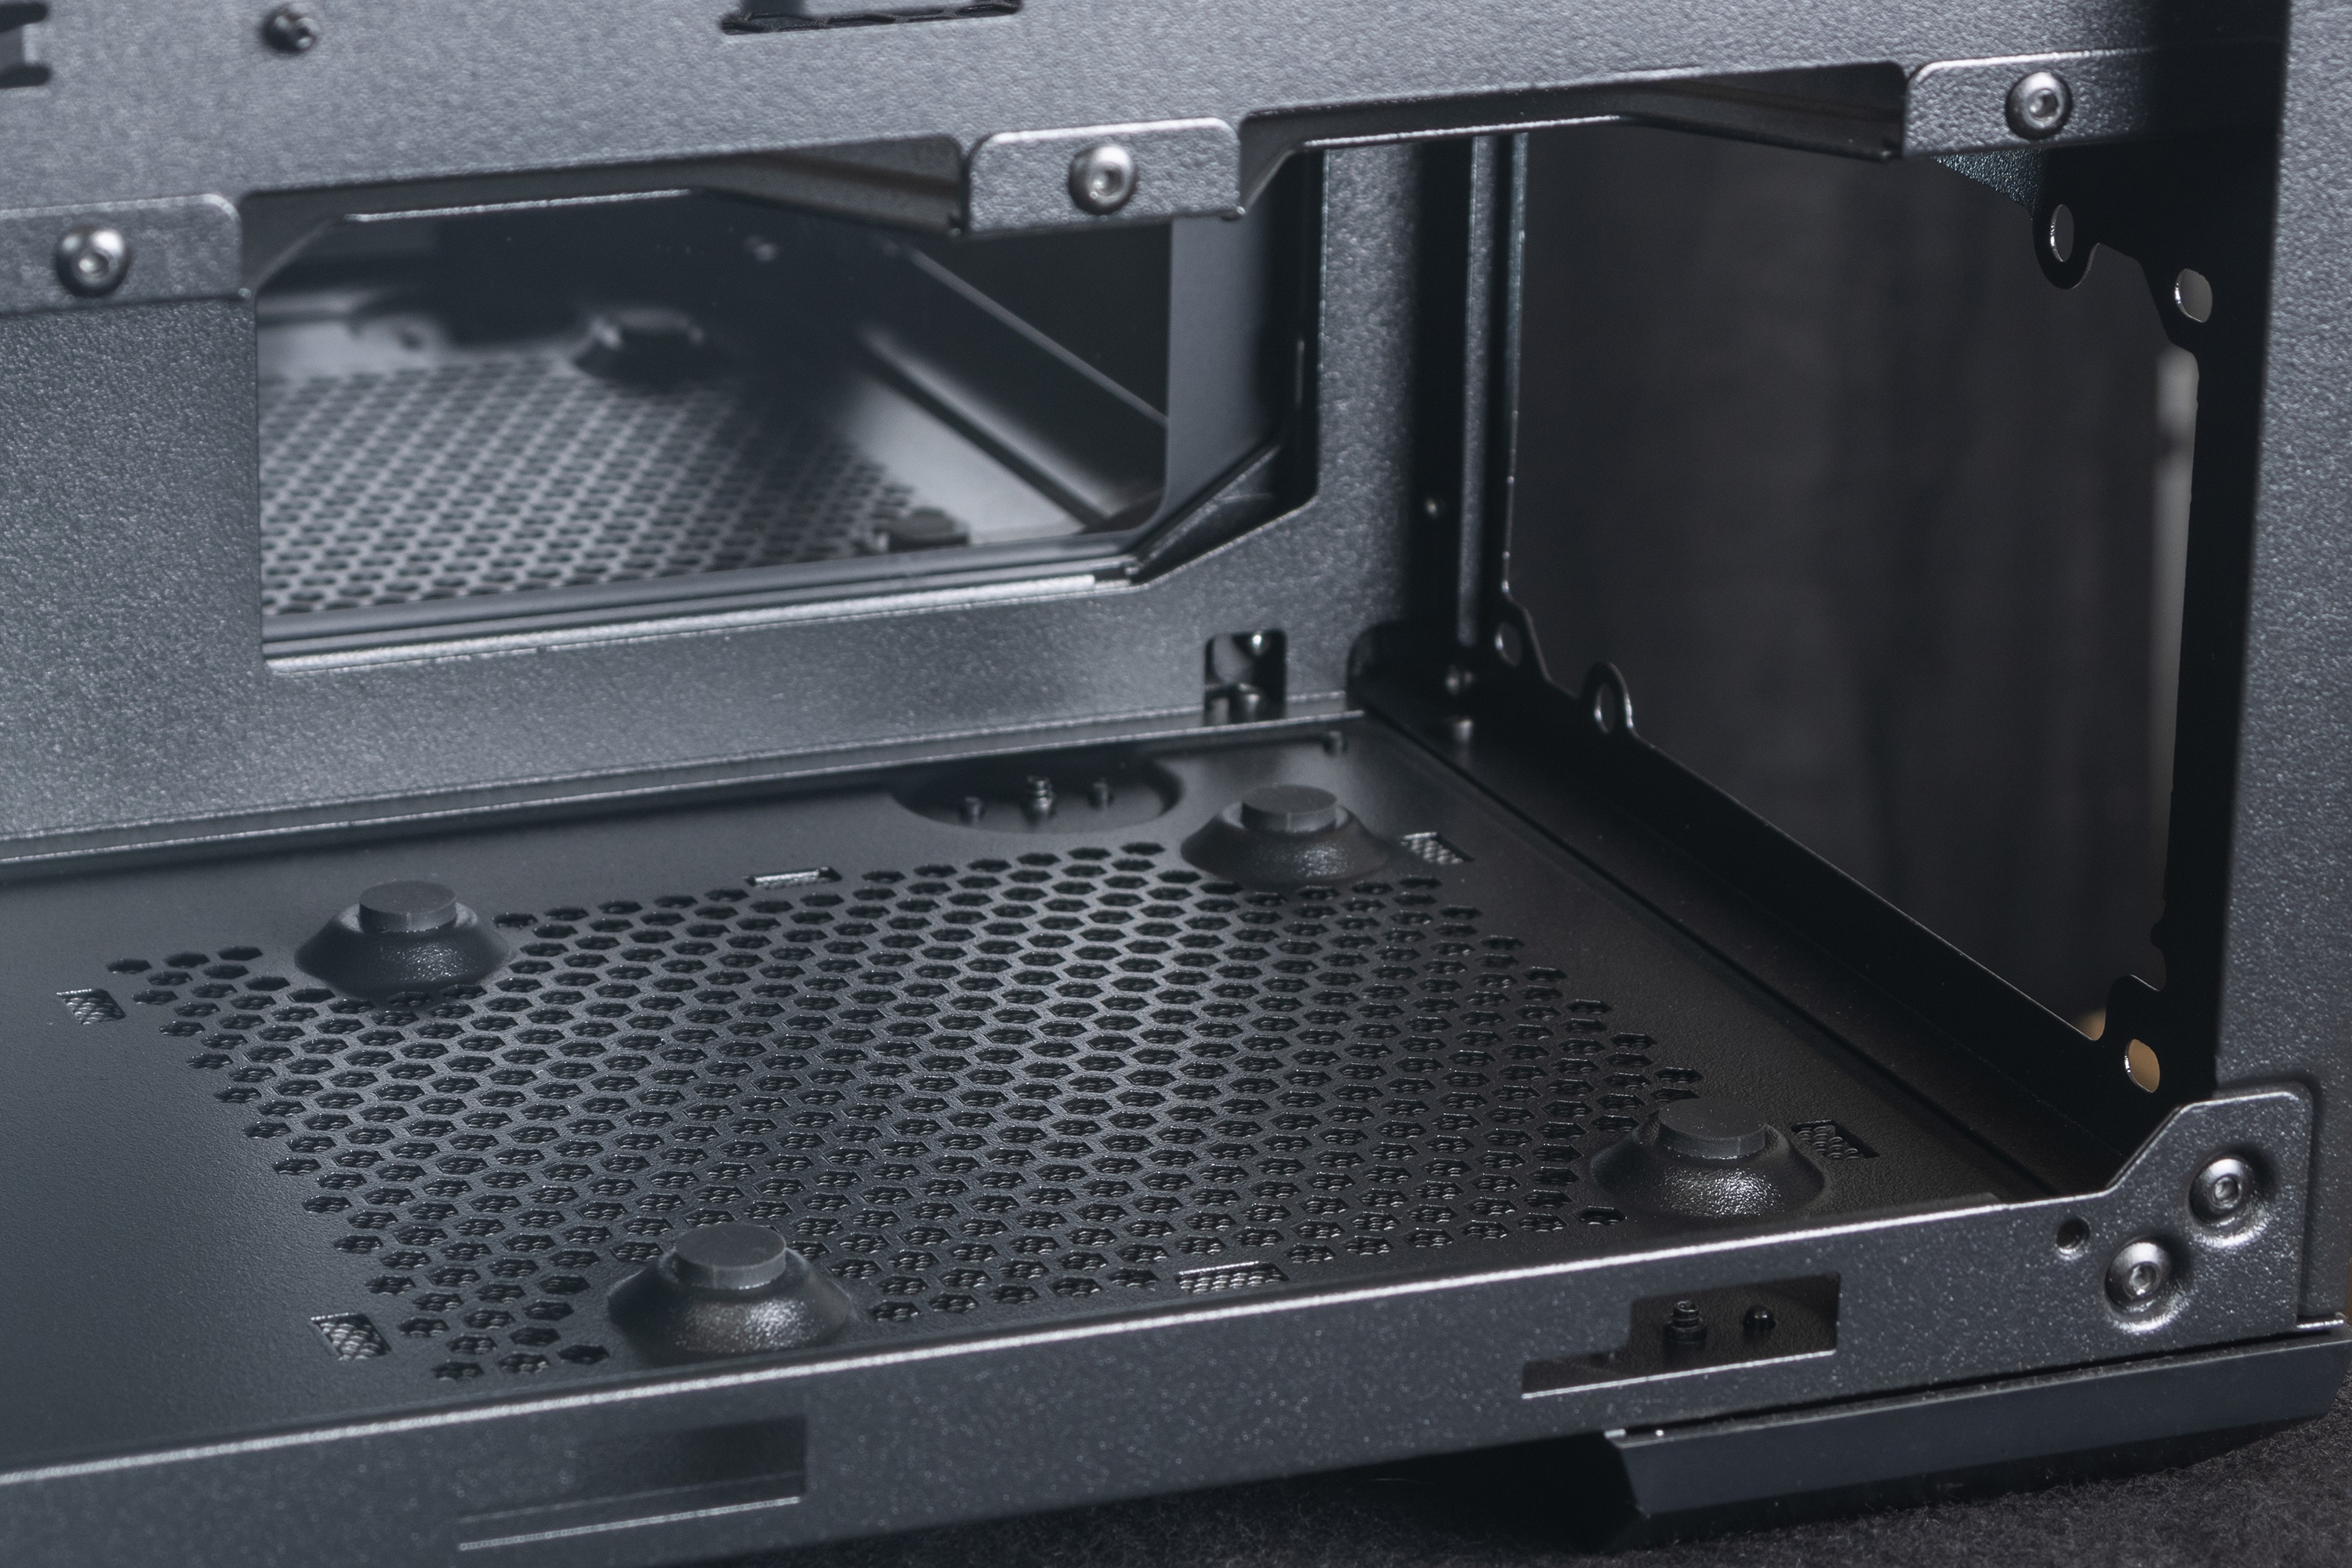
Graphics cards of all sizes are not a problem because the hard drive cage is not on a collision course, but at the bottom of the PSU cover. The factory-installed front fan is also at a height that it cools installed hard drives effectively and doesn’t subject them to a slow heat death. The 3.5″ hard drives are placed in the two caddies without tools, which is easy because these tool-free hard drive caddies are really good: there is a button on the bottom and through it, this holder opens so that you can easily get the hard drive in and out again. This saves the sometimes very stiff bending of other brands’ mounts. 2.5″ drives can also be screwed into these caddies. Screws and the appropriate screwdriver are needed for this, but you can mount them in addition to the 3.5″ drives on the bottom of the caddies. So you get up to four drives in the hard drive cage!
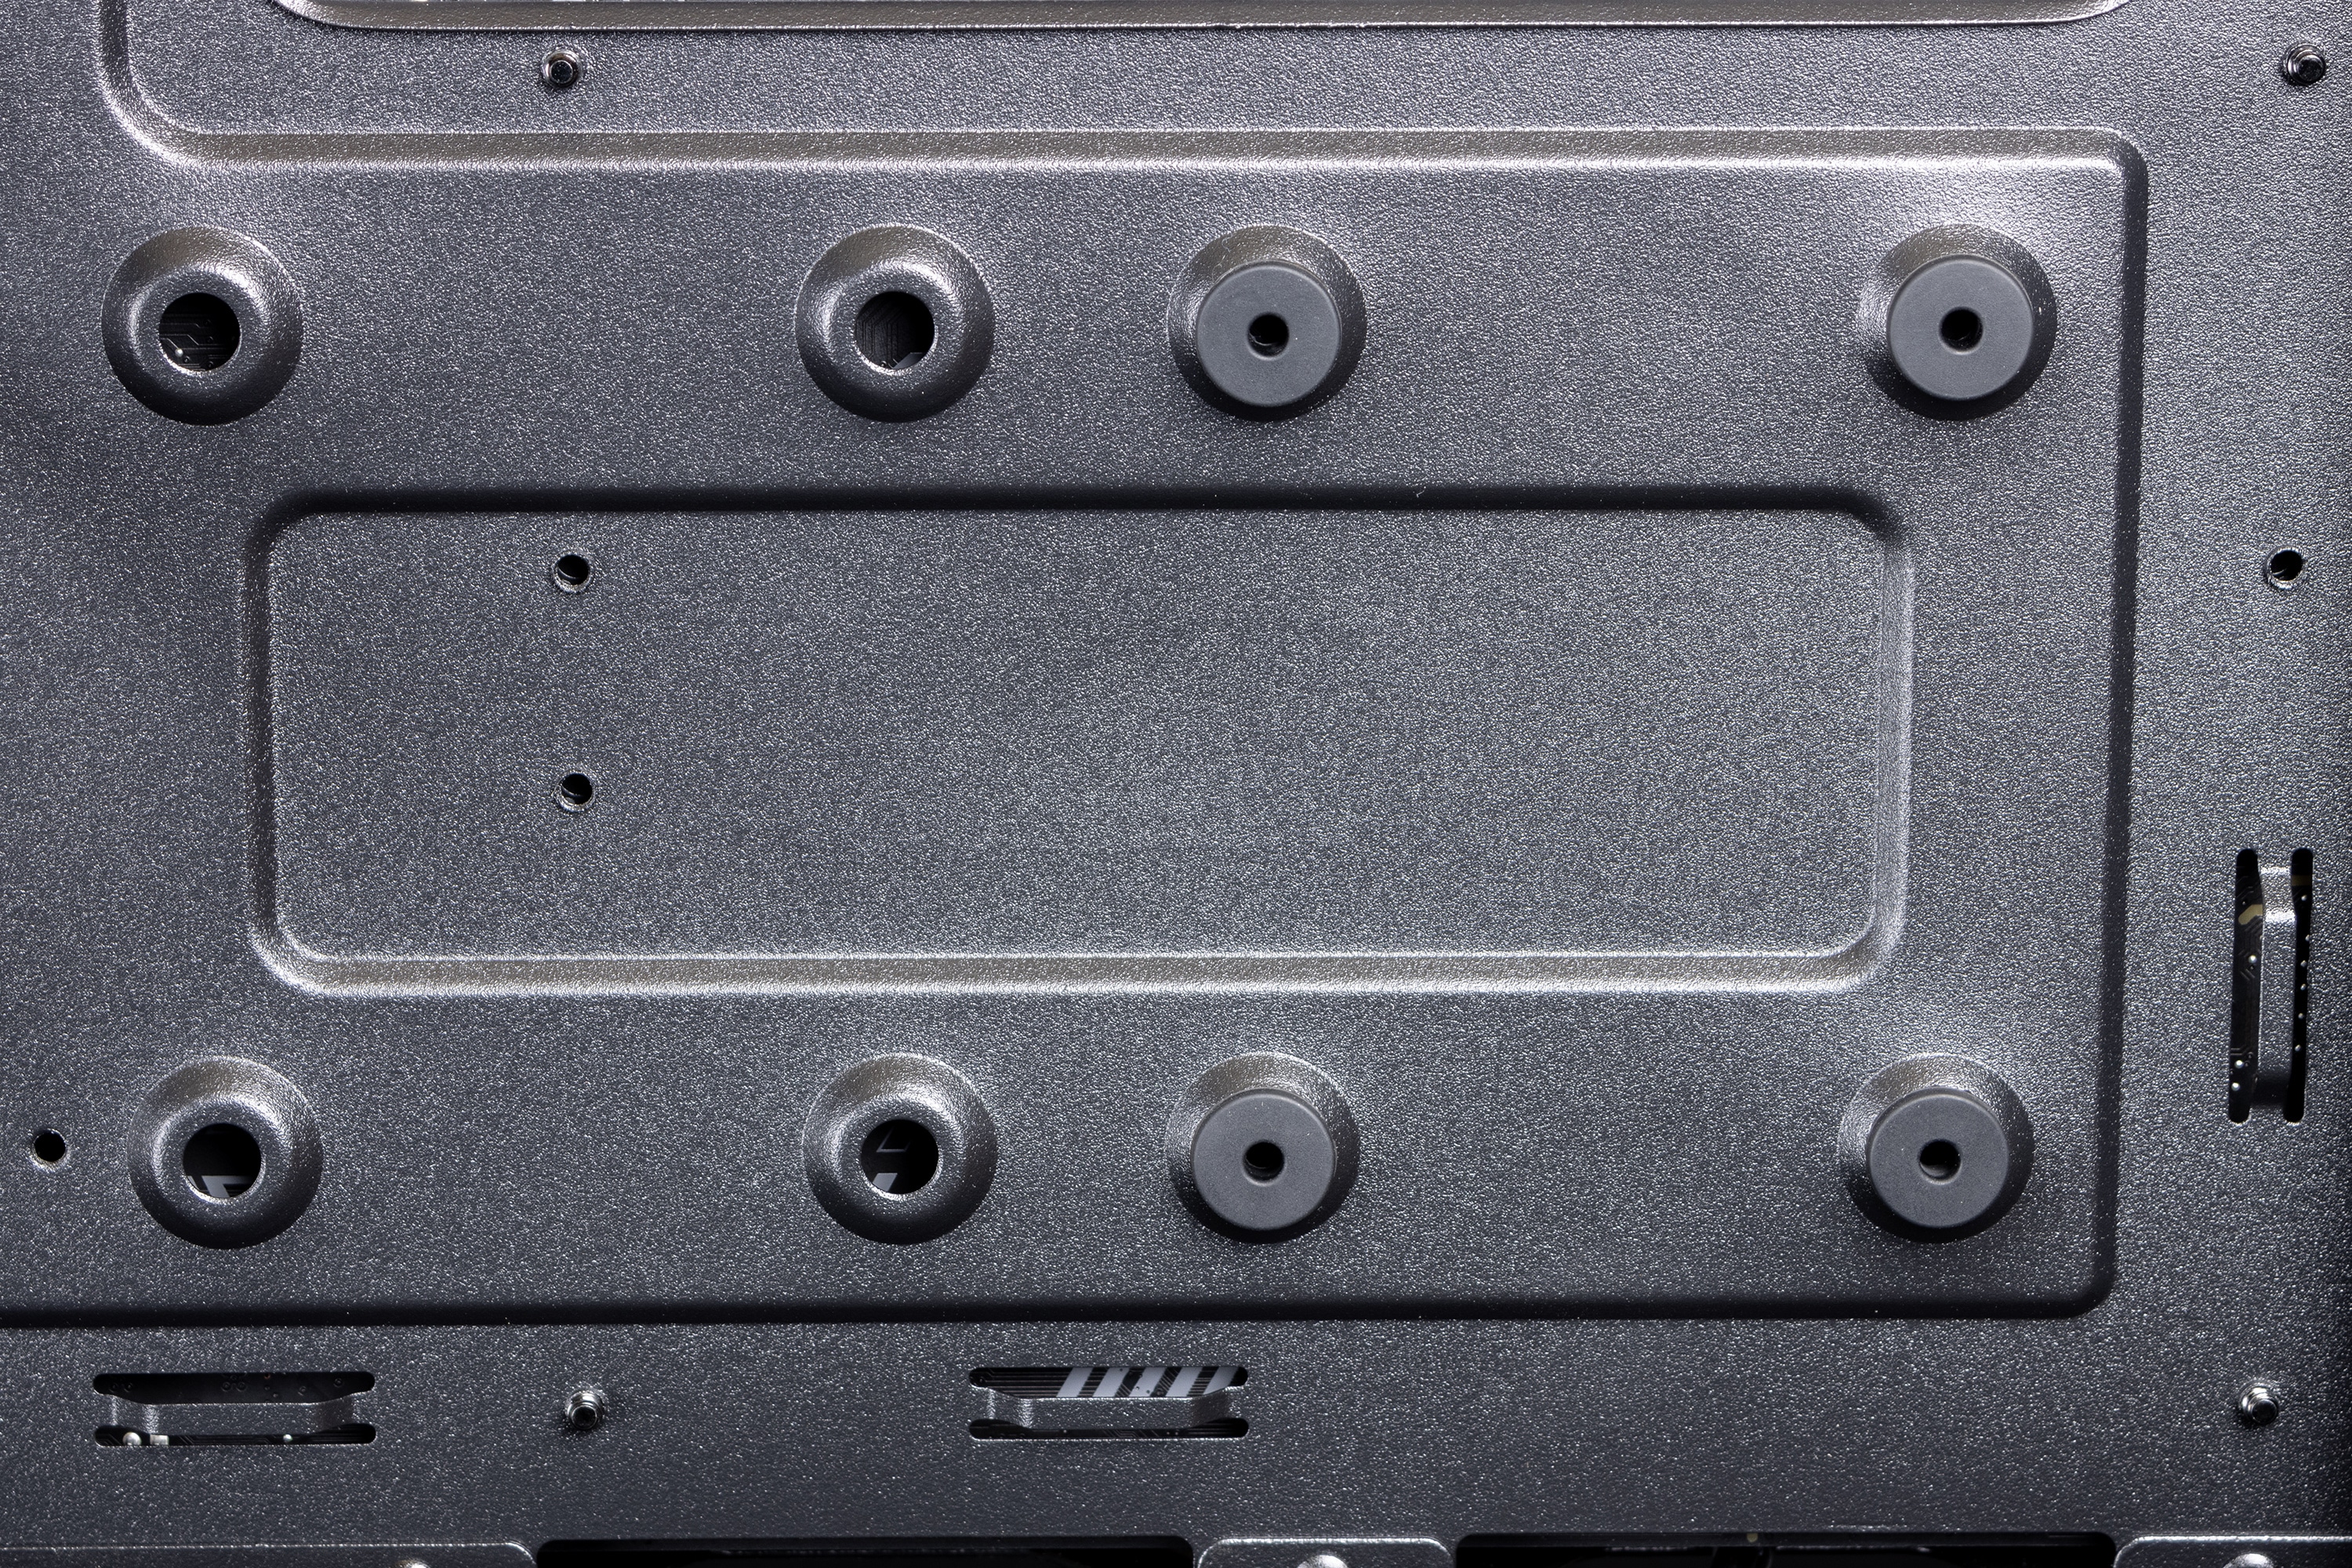
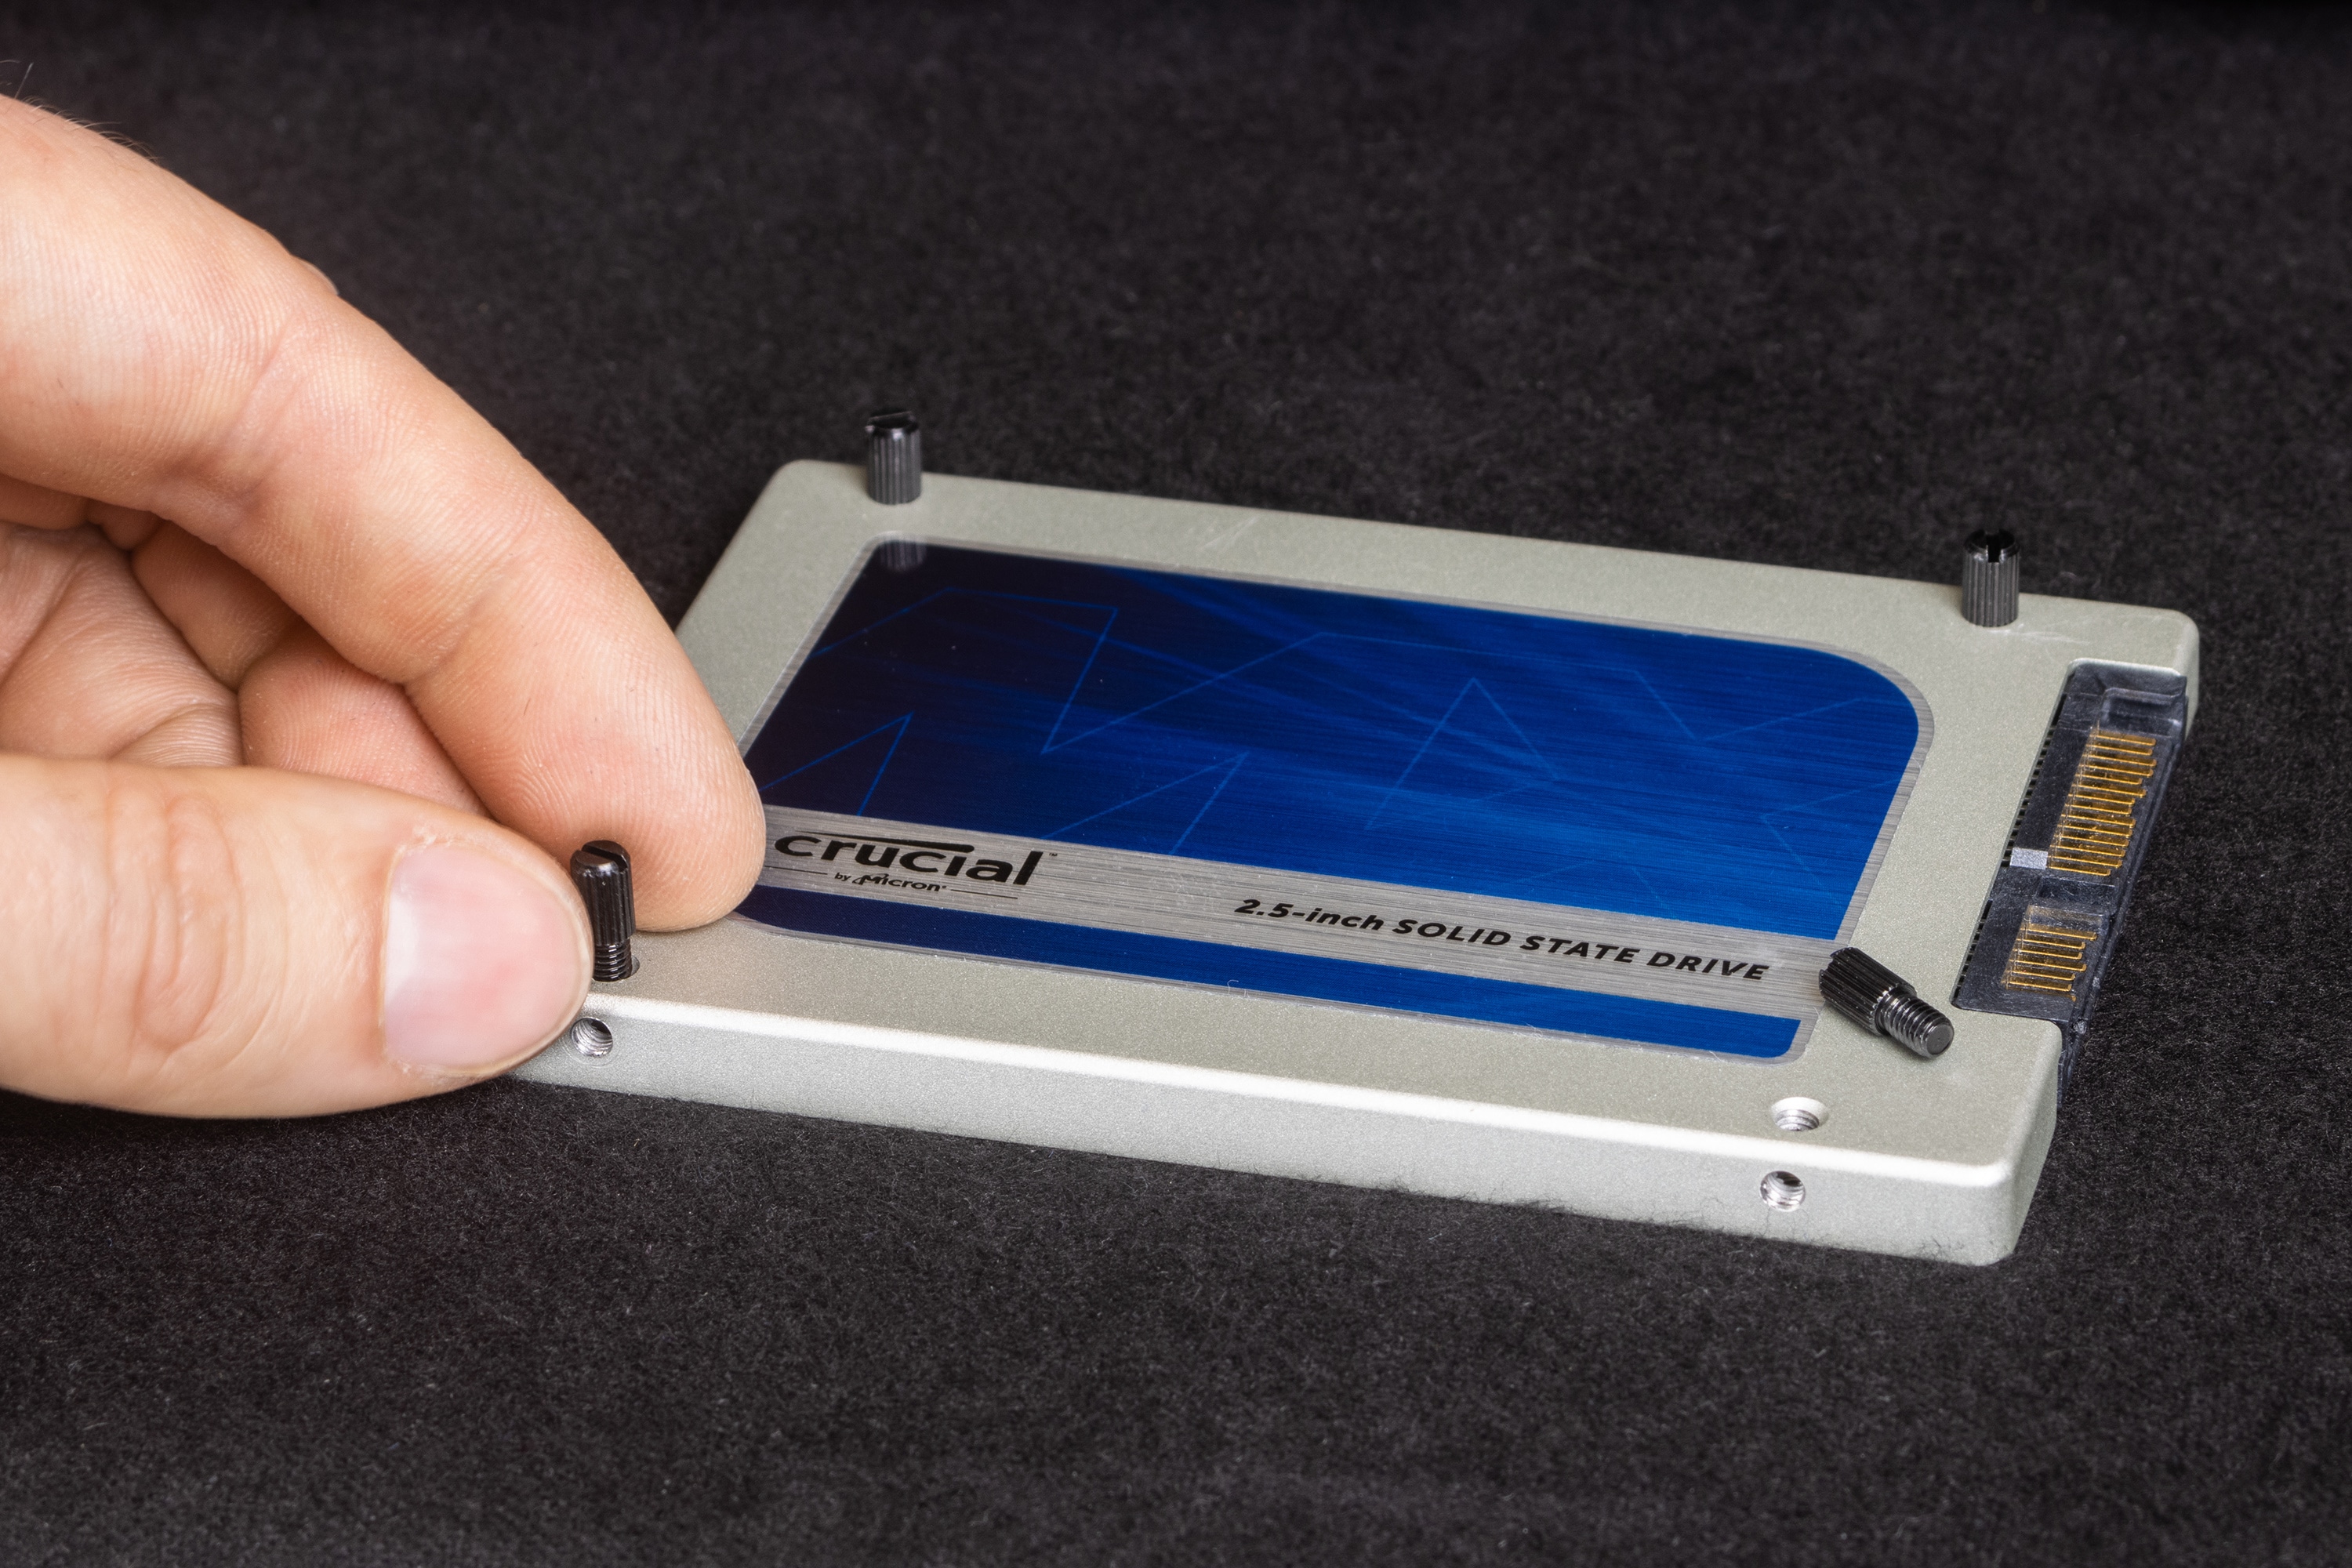
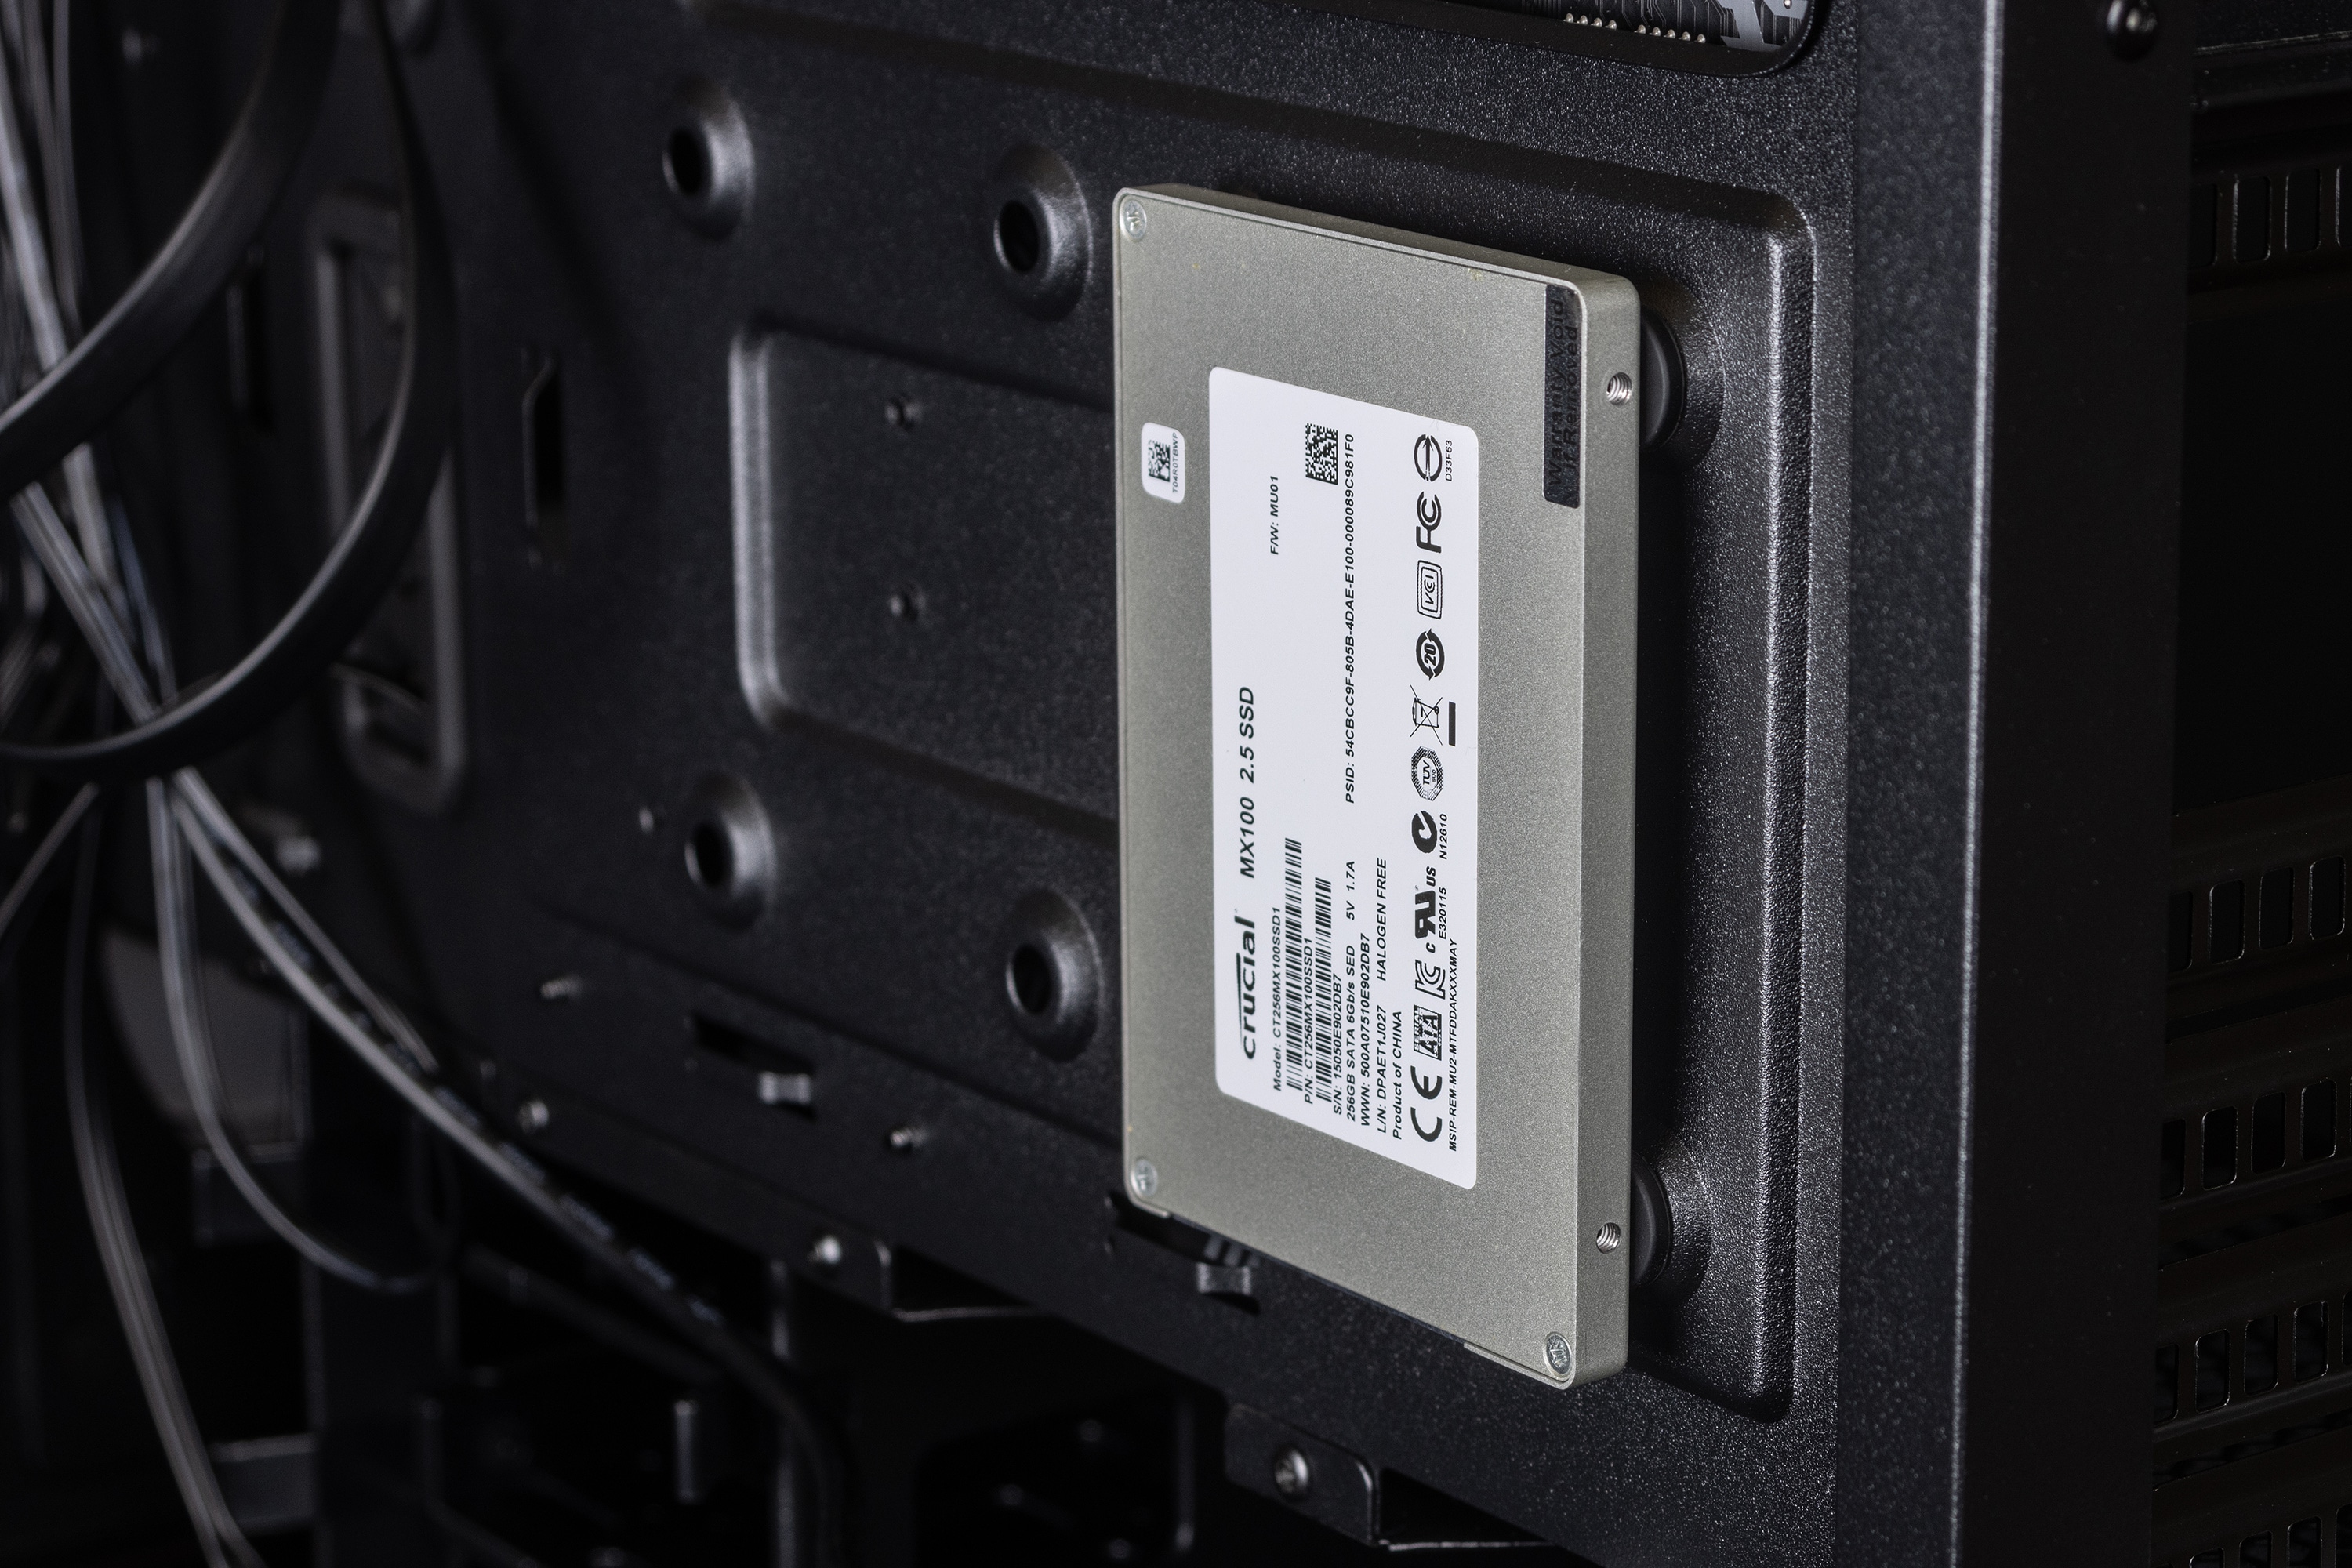
Furthermore, eight rubber covers are included, which you can use on the motherboard tray. With a few unusual screwable connectors, you can easily attach two more 2.5″ drives here. Thus, the case offers space for six SATA drives to fully utilize the usual number of headers on a motherboard.
If you want to use SSDs completely, you can unscrew the hard drive cage completely by two screws on the bottom of the case and two screws inside on the PSU cover and use the gained space for hiding remaining cables, for example.
Cable Management in the Cooler Master MasterBox 500
Cable management is nothing special in this case, but it is quite neatly solved.
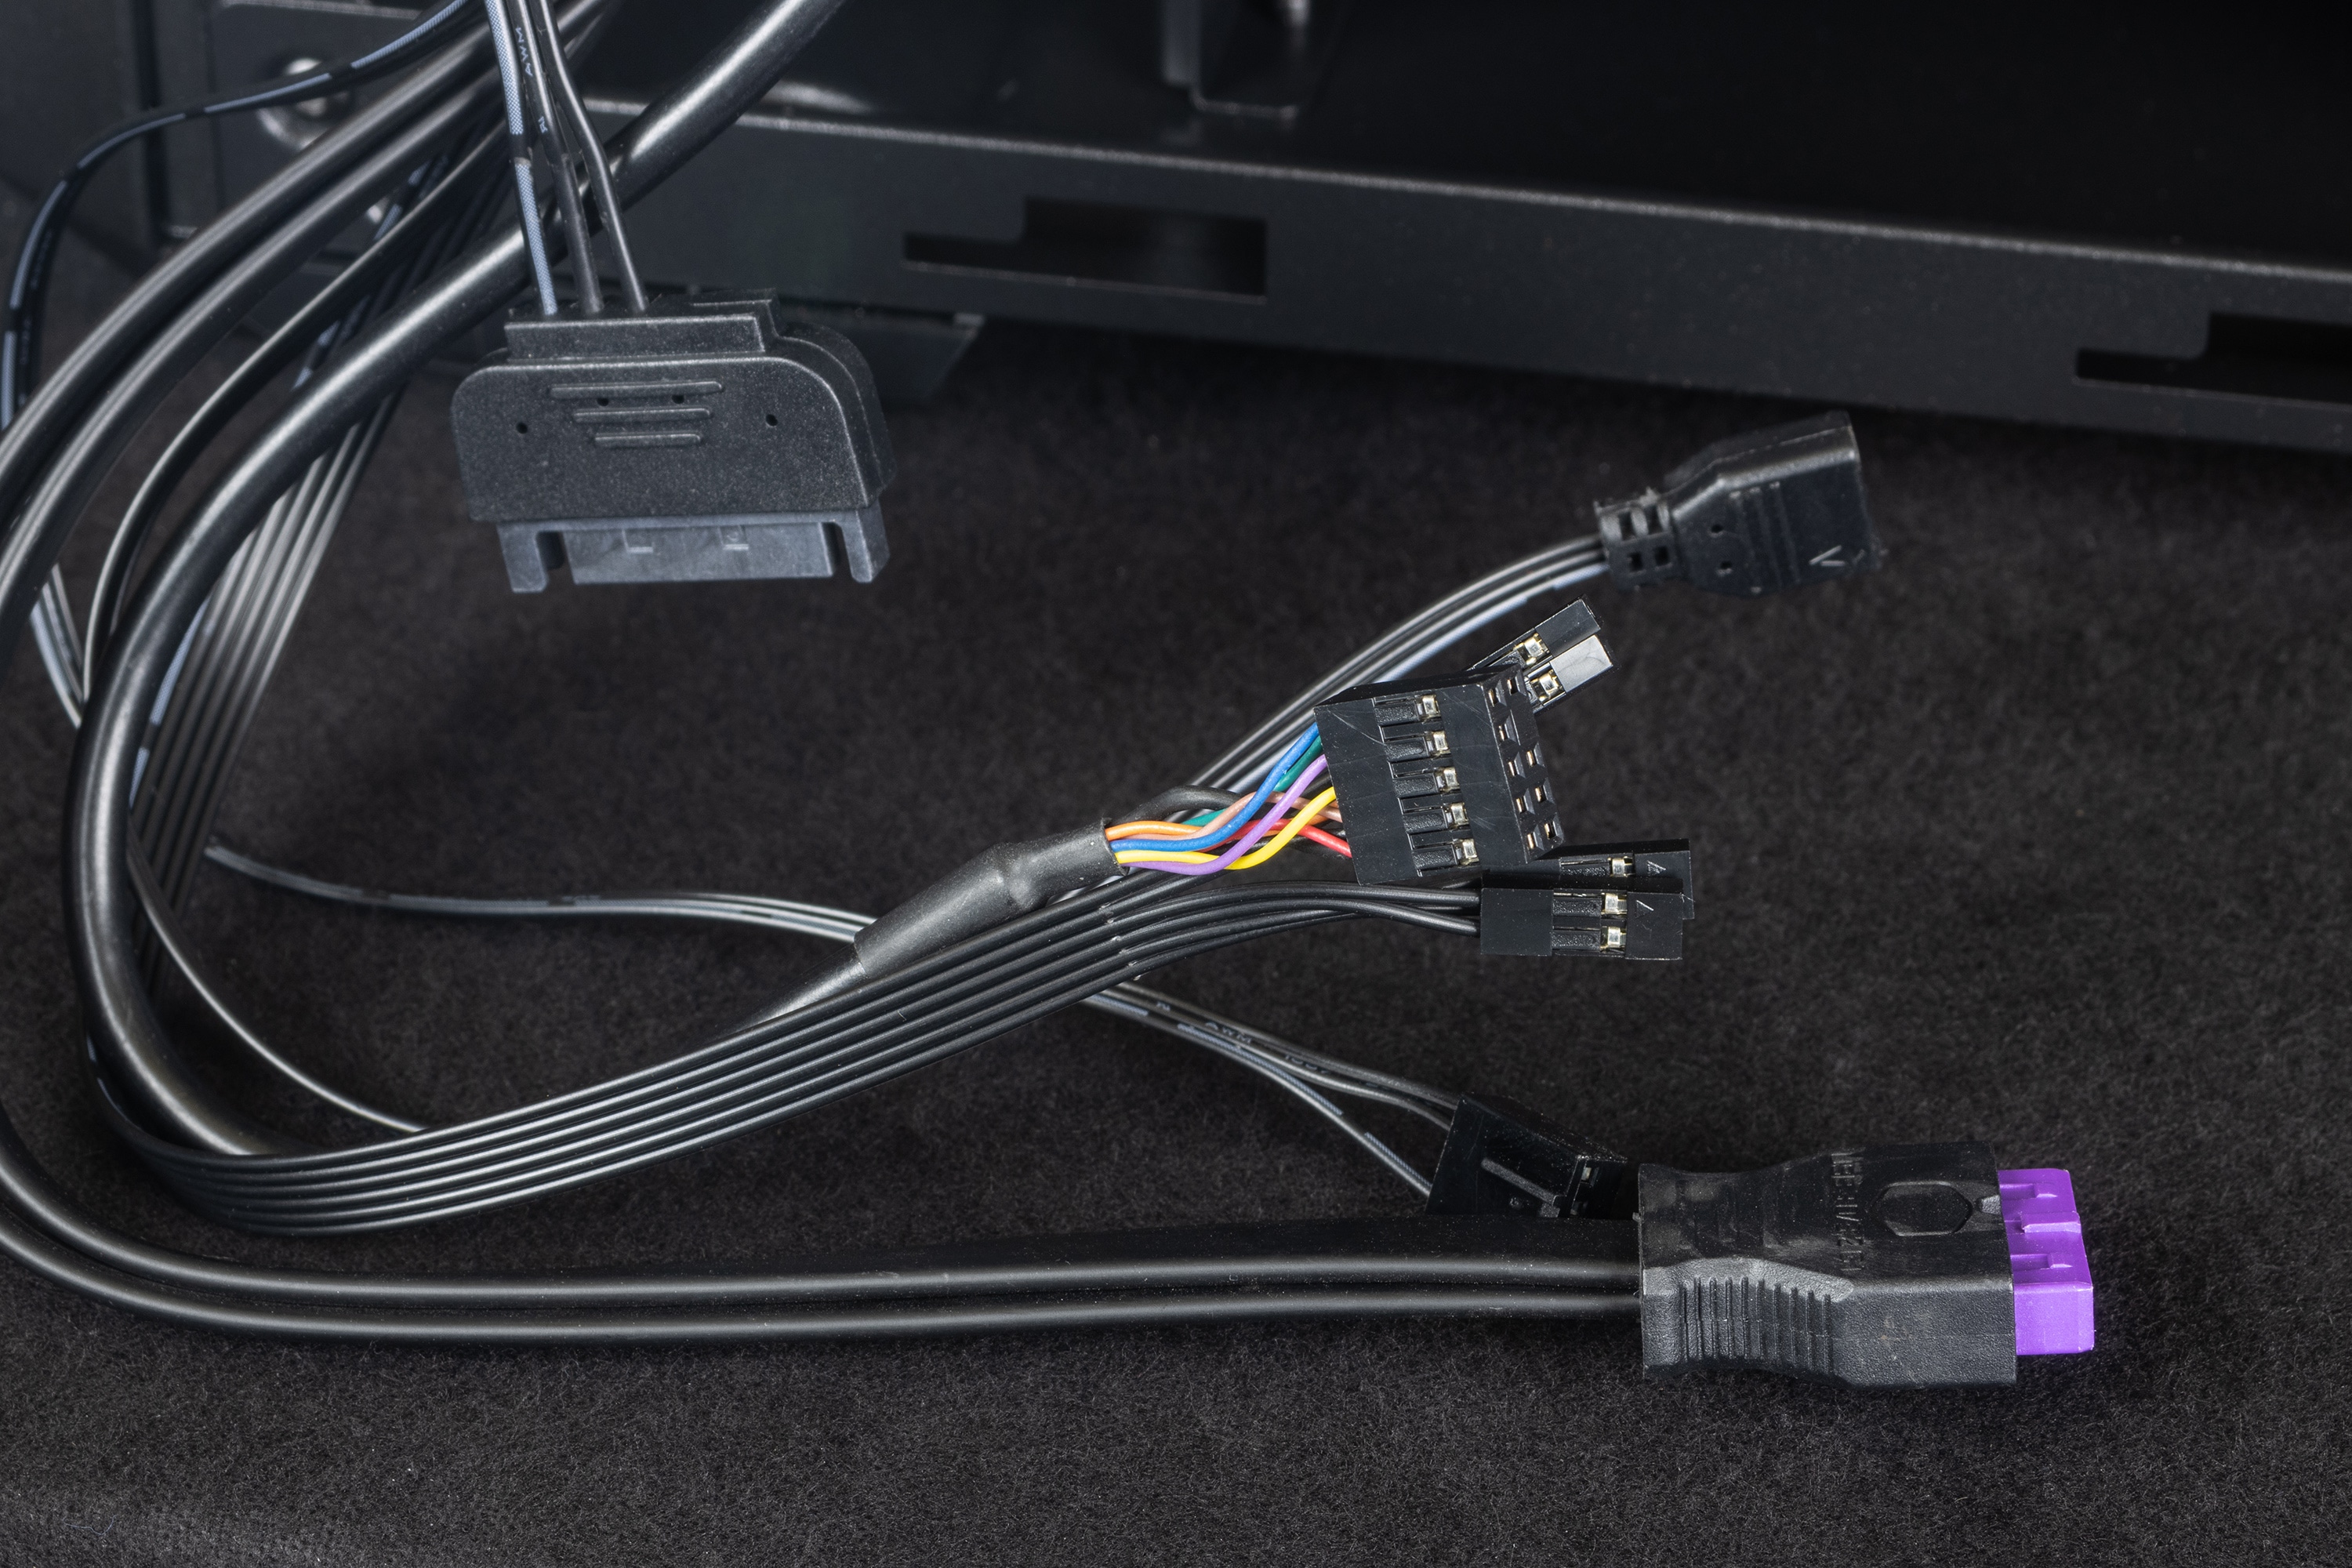
Plugs for the front panel can be inserted through the openings even when the power supply is installed, there are holes for plugs in almost all necessary places. Only the front panel LEDs and the power switch, which are located at the bottom right of most motherboards, are not optimally accessible through the openings.
What was really not so simple and convenient with any other case was the routing of the CPU power cable after opening the top. Otherwise, there are ways to attach cable ties to the motherboard tray at the back in key places to keep cables under control. In the front area, it is pleasant that the space widens a bit.
Excess cables can be placed between the PSU and hard drive cage, although with a hard drive cage installed, it’s better to go with a modular PSU to avoid hiding too many excess cables.
The cable trays of the Cooler Master MasterBox 500 are visually protected with typical rubber covers, unlike the similarly priced competitor from Enermax, the StarryKnight SK30.

Control, performance and volume
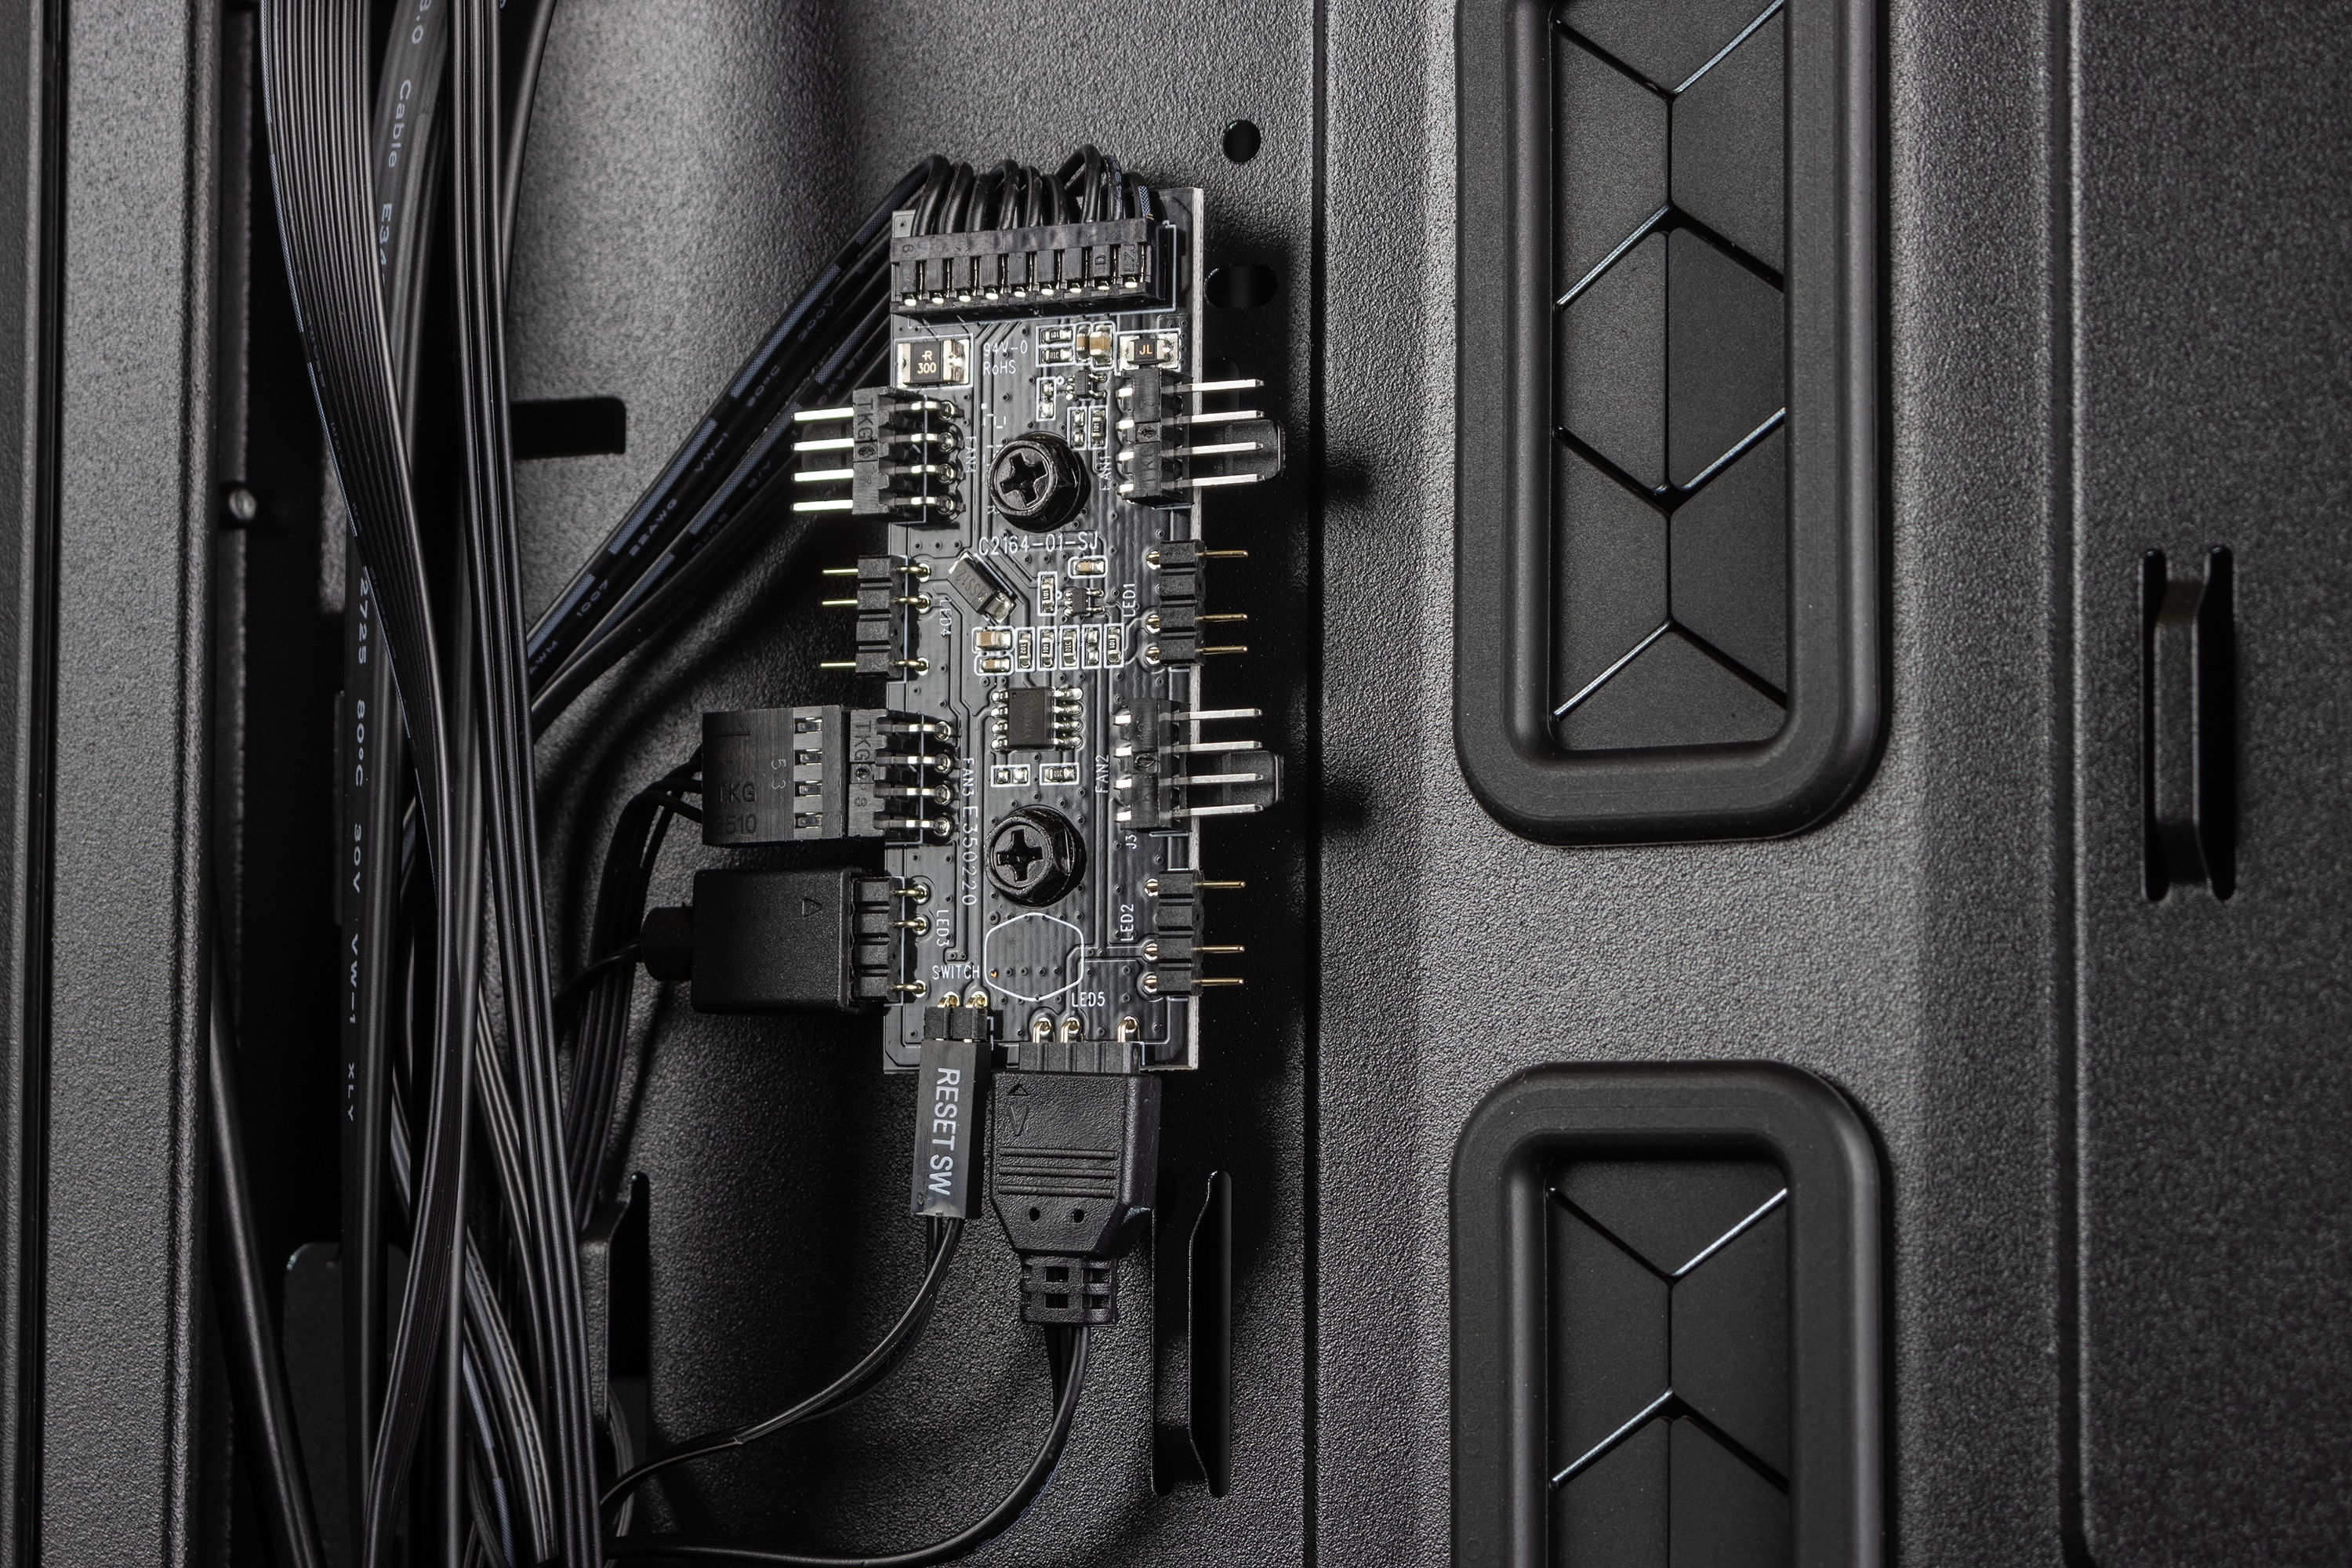
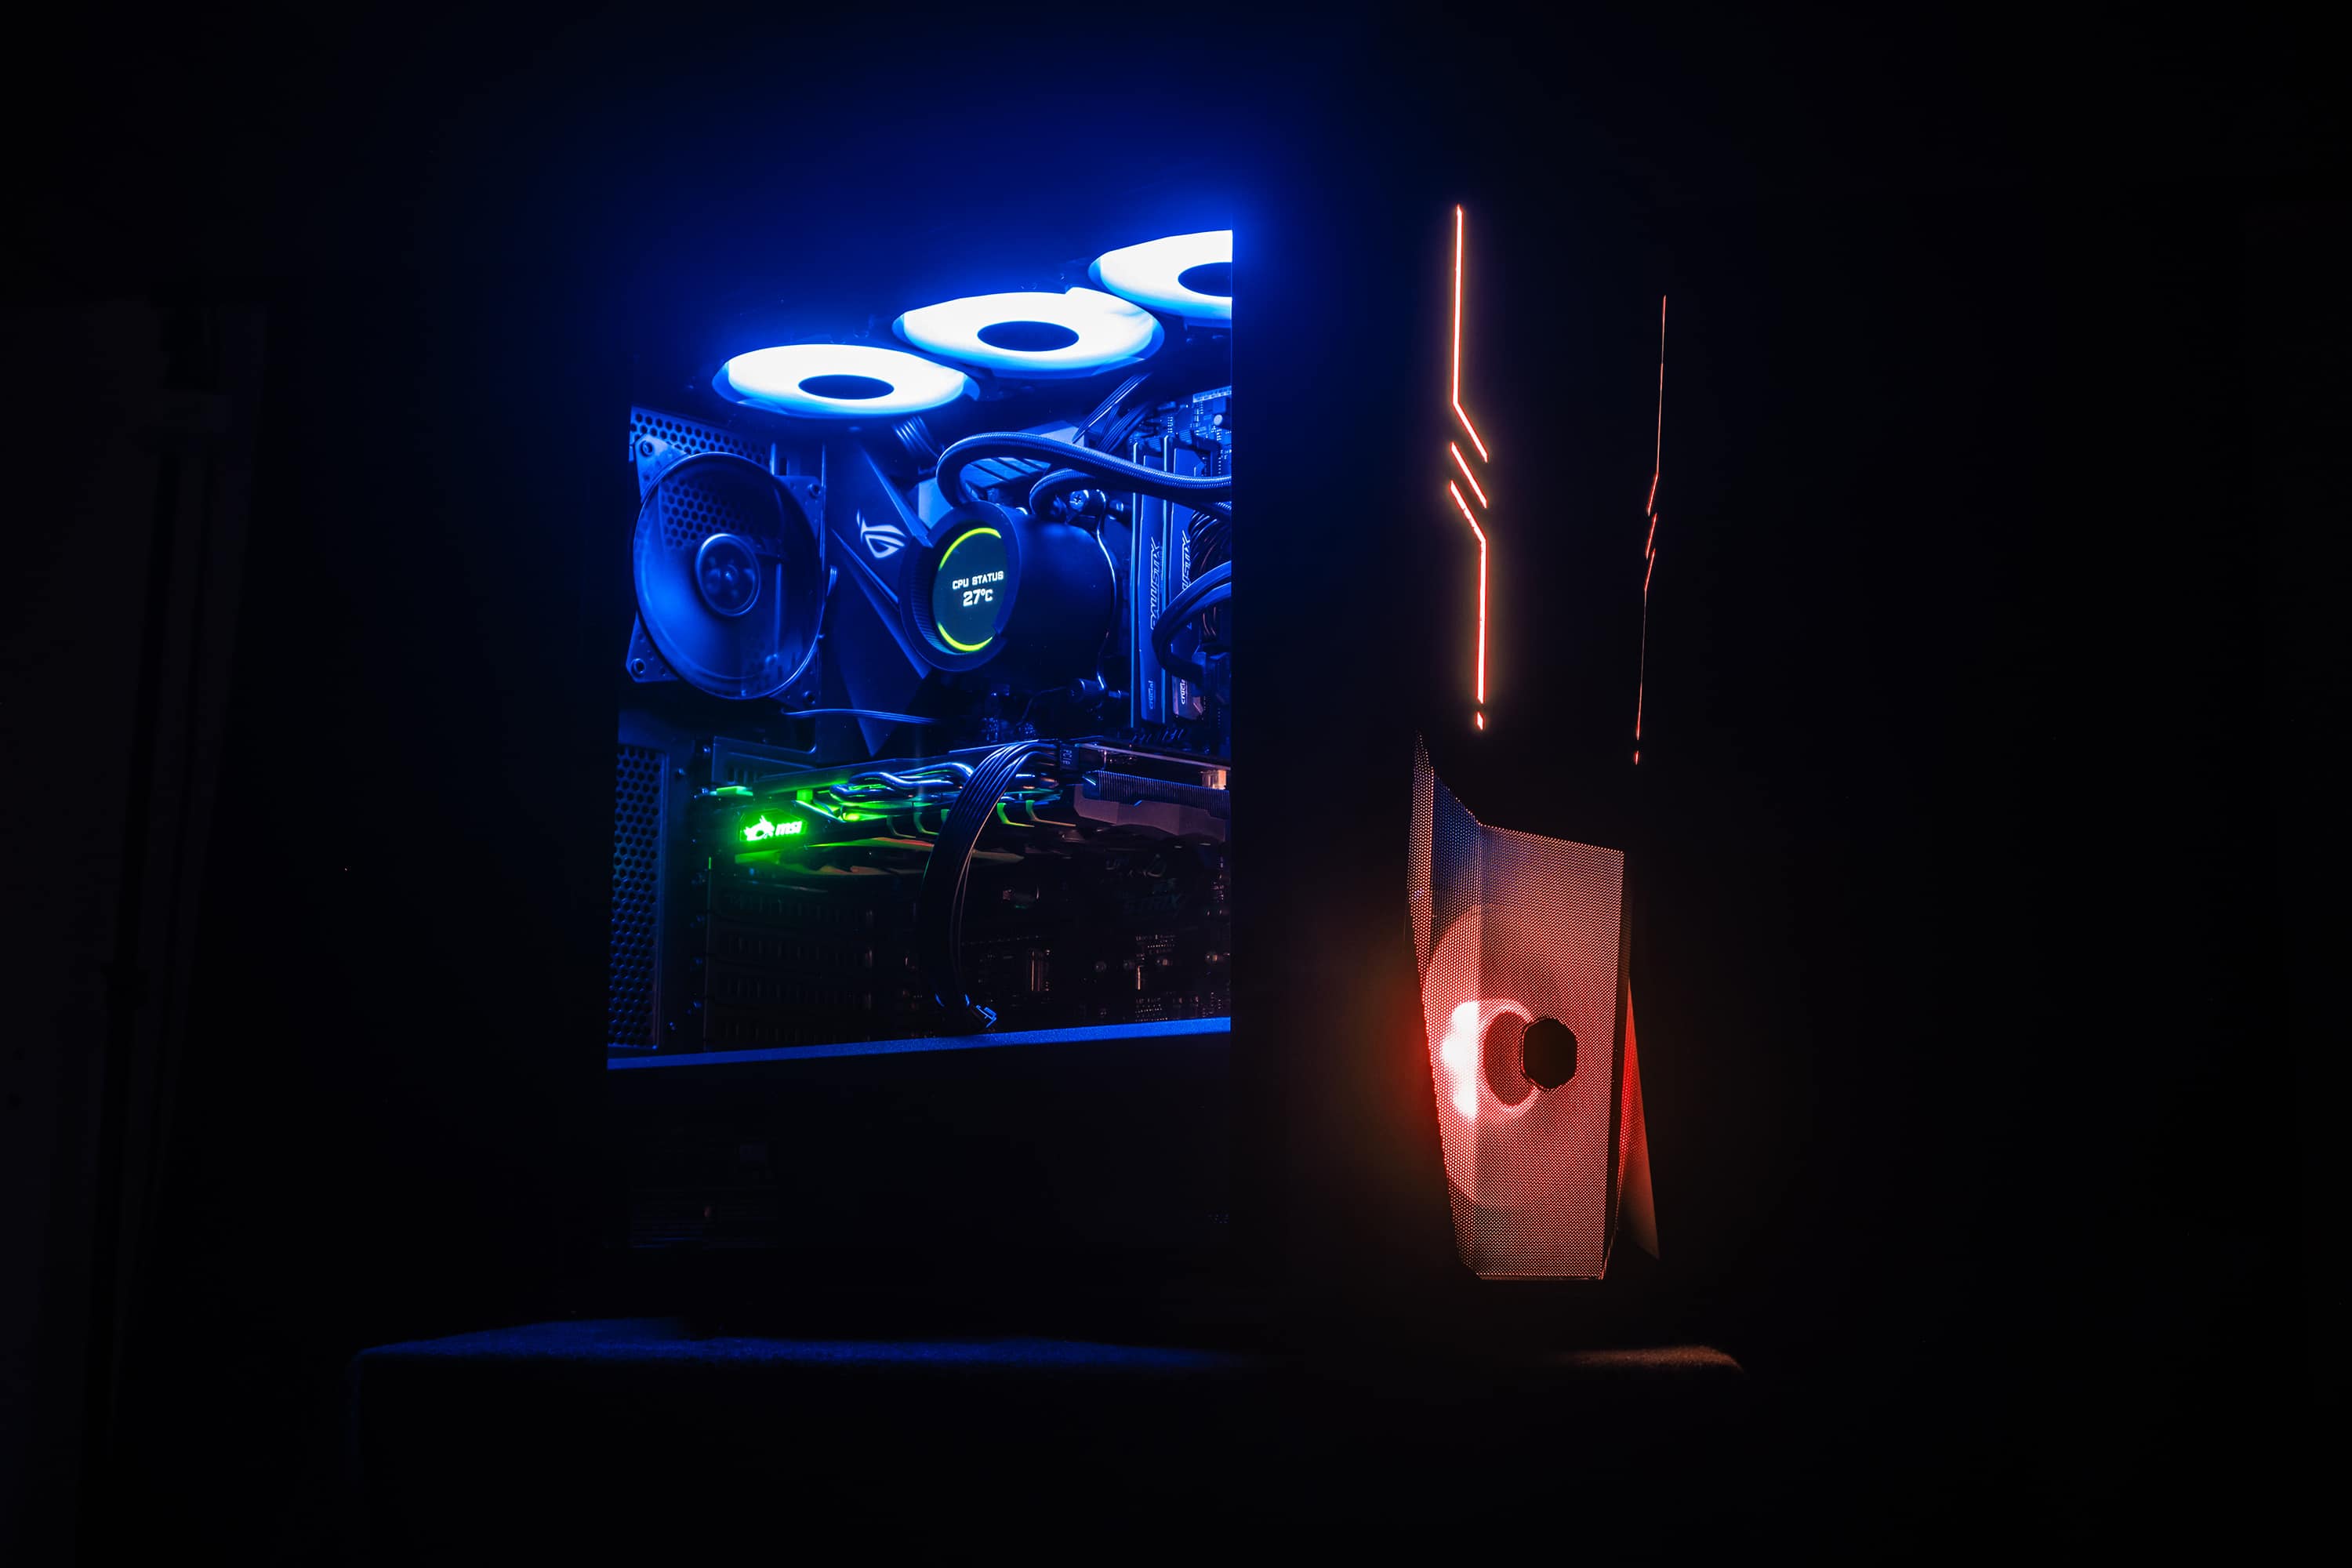
Very handy is the integrated hub for ARGB and PWM fan control. Up to four fans and five ARGB components can be connected – you have to distribute all others via additional splitters. The hub is powered via a SATA power cable and the RGB control is done via the reset button on the front panel, if you use it wired from the factory. This way you can also use motherboards without integrated RGB control. A short press of the reset button toggles through various modes, and a long press deactivates the lighting. It’s a bit of a shame that you can’t choose constant single-color lighting here – besides the typical rainbow effects, you’ll also find single-color ones, but they’re always in motion somehow. Alternatively, you can connect the hub to the motherboard with a regular ARGB connector if one is available. Then you can adjust everything depending on the software you are using and adapt it to your own taste.

Due to the small number of fans, the volume is kept within limits – at an everyday 40% fan power, the volume in the room was 38 dB (with a basic room volume of 36 dB) – at full power, a clearly audible 44 dB is reached. Due to the mesh front, the airflow is nevertheless satisfactory to easily keep mid-range components under control.
In a comparison with the Enermax StarryKnight SK30, which comes with a total of four fans, three of which are 140 mm, the idle temperature in the Cooler Master MasterBox 500 is around 2° C warmer; in Cinebench R23, the difference in the test system (Ryzen 5 3600X, cooled by a Noctua NH-D12L with dual-fan features) is around 3° C warmer for the processor in the MasterBox 500. The difference is measurable, but far less dramatic than one might expect from the difference in fan area. In addition, the Enermax case is also a bit louder (39 dB at 40% and 45 dB at 100% fan power) and noticeably less pleasant to handle.
Upper-class components are thus also usable in the Cooler Master MasterBox 500, but a few additional fans would definitely make sense here. The top performance class could be kept under control with custom water cooling, but it is a shame here that the upper part of the case front is so cut off from the surrounding air. It would be nice here to at least have vents around the side so that a fan in the top position could still have access to at least some fresh air.
With a 360mm AIO water cooler mounted on top, a negative air pressure was clearly noticeable in the case; so air was being sucked into the Cooler Master MasterBox 500 through all openings, such as the expansion slots. This is not necessarily a bad thing, as it also draws fresh air towards the graphics card through the expansion slots, for example, but it could accelerate dust buildup in the case. The pressure ratio was more balanced with the AIO in the front – the freed up ARGB fan that is used in the front at the factory could now be used in the rear to replace the black fan.
Cooler Master MasterBox 500 review conclusion
The Cooler Master MasterBox 500 is a very decent case that manages to convince with a good build quality, an individual look and a reasonably good airflow. The simplicity of the installation is outstandingly good – here you are supported by many pleasant details and never did you start sweating because something wouldn’t have worked out once again. Exemplary! The factory fans, especially the rear one, have more of an alibi function and the case really comes alive visually with the features of additionally installed RGB fans in the interior.

Cooler Master MasterBox 500
Workmanship
Structure
Features
Dampening
Cooling
Value for money
88/100
The Cooler Master MasterBox 500 is a good case with acceptable airflow for mid- to upper-range components. What stands out is the easy installation.