Corsair is bringing a new batch of cases to the PC market. More specifically, the 5000 series launches and has a case in three different versions – This means the 5000D, 5000D Airflow and iCUE 5000X RGB Tower. These new cases are the big brothers of the 4000 series from Corsair. The familiar design idea of the predecessors is continued in the new cases and features some innovations on top of that. Thus, the new 5000 series now not only has an increased internal volume, but also an improved airflow.
For our test, Corsair provided us with the iCUE 5000X RGB in the black version. Small addition: All three cases are also available in a white version. How well does the iCUE 5000X RGB do in our practical test? Can the little brothers of the 4000 series be proud of the big brothers of the 5000 series? After all, they have some genes and ideas from them. This and much more you will find out now in our test!
Technical data
| Model | CORSAIR iCUE 5000X RGB |
| Dimensions (L x W x H) | 520 mm x 245 mm x 520 mm / 20.47in x 9.65in x 20.47in |
| Material | Steel, Plastic & Tempered Glass |
| Color | Black (additionally available in white) |
| Mainboard | ITX, Micro-ATX, ATX & E-ATX |
| Slots | 7 + 2 vertical |
| HDD/SSD Support | 2 x 3.5″ HDDs or 4 x 2.5″ SSDs |
| Front I/O ports | 1 x USB 3.1 Type-C port, 2x USB 3.0 port, 1 x HD Audio |
| Lighting | RGB, iCUE Lighting Node CORE |
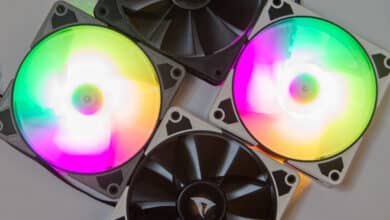
| Fan | CORSAIR SP RGB ELITE 120mm |
| Fan Support | Front: 3x 120 mm, 2x 140 mm, Top: 3x 120 mm, 2x 140 mm, Rear: 1x 120 mm, Motherboard tray fans: 3x 120 mm |
| Radiator Support | 360 mm /280 mm front and 360 mm / 280 mm top |
| Warranty | 2 years |
| Price | €189.90 |
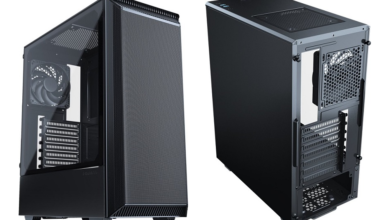
Exterior impression
In a secure and well-packaged box, the iCUE 5000X RGB arrived at our doorstep intact. From the outside, the back immediately catches your eye. We can see there for the first time, with how many individual parts the case is composed and inwardly look forward to the assembly.


Opened and looking inside, we can take a look at the case for the first time. The case was packed in the usual way in the cardboard box and secured from damage. After the packaging material has been moved aside, the case almost looks like a giant in the first few seconds. Everything is very large and covered with a lot of glass, which makes it look even more elegant. Every single pane was covered with a foil from the inside as well as from the outside.

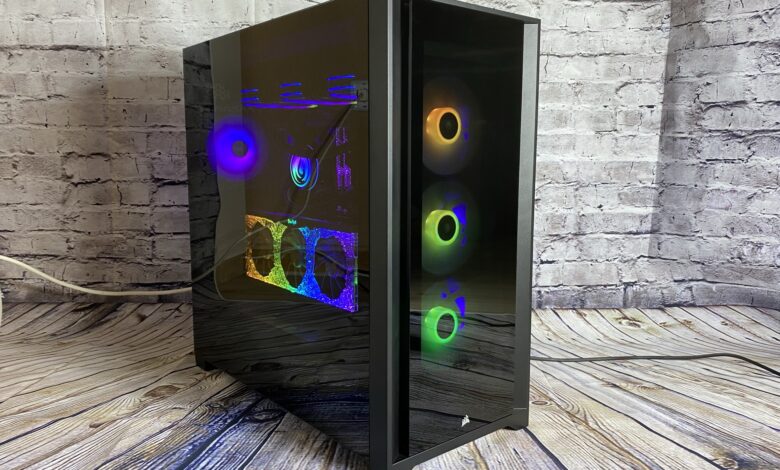
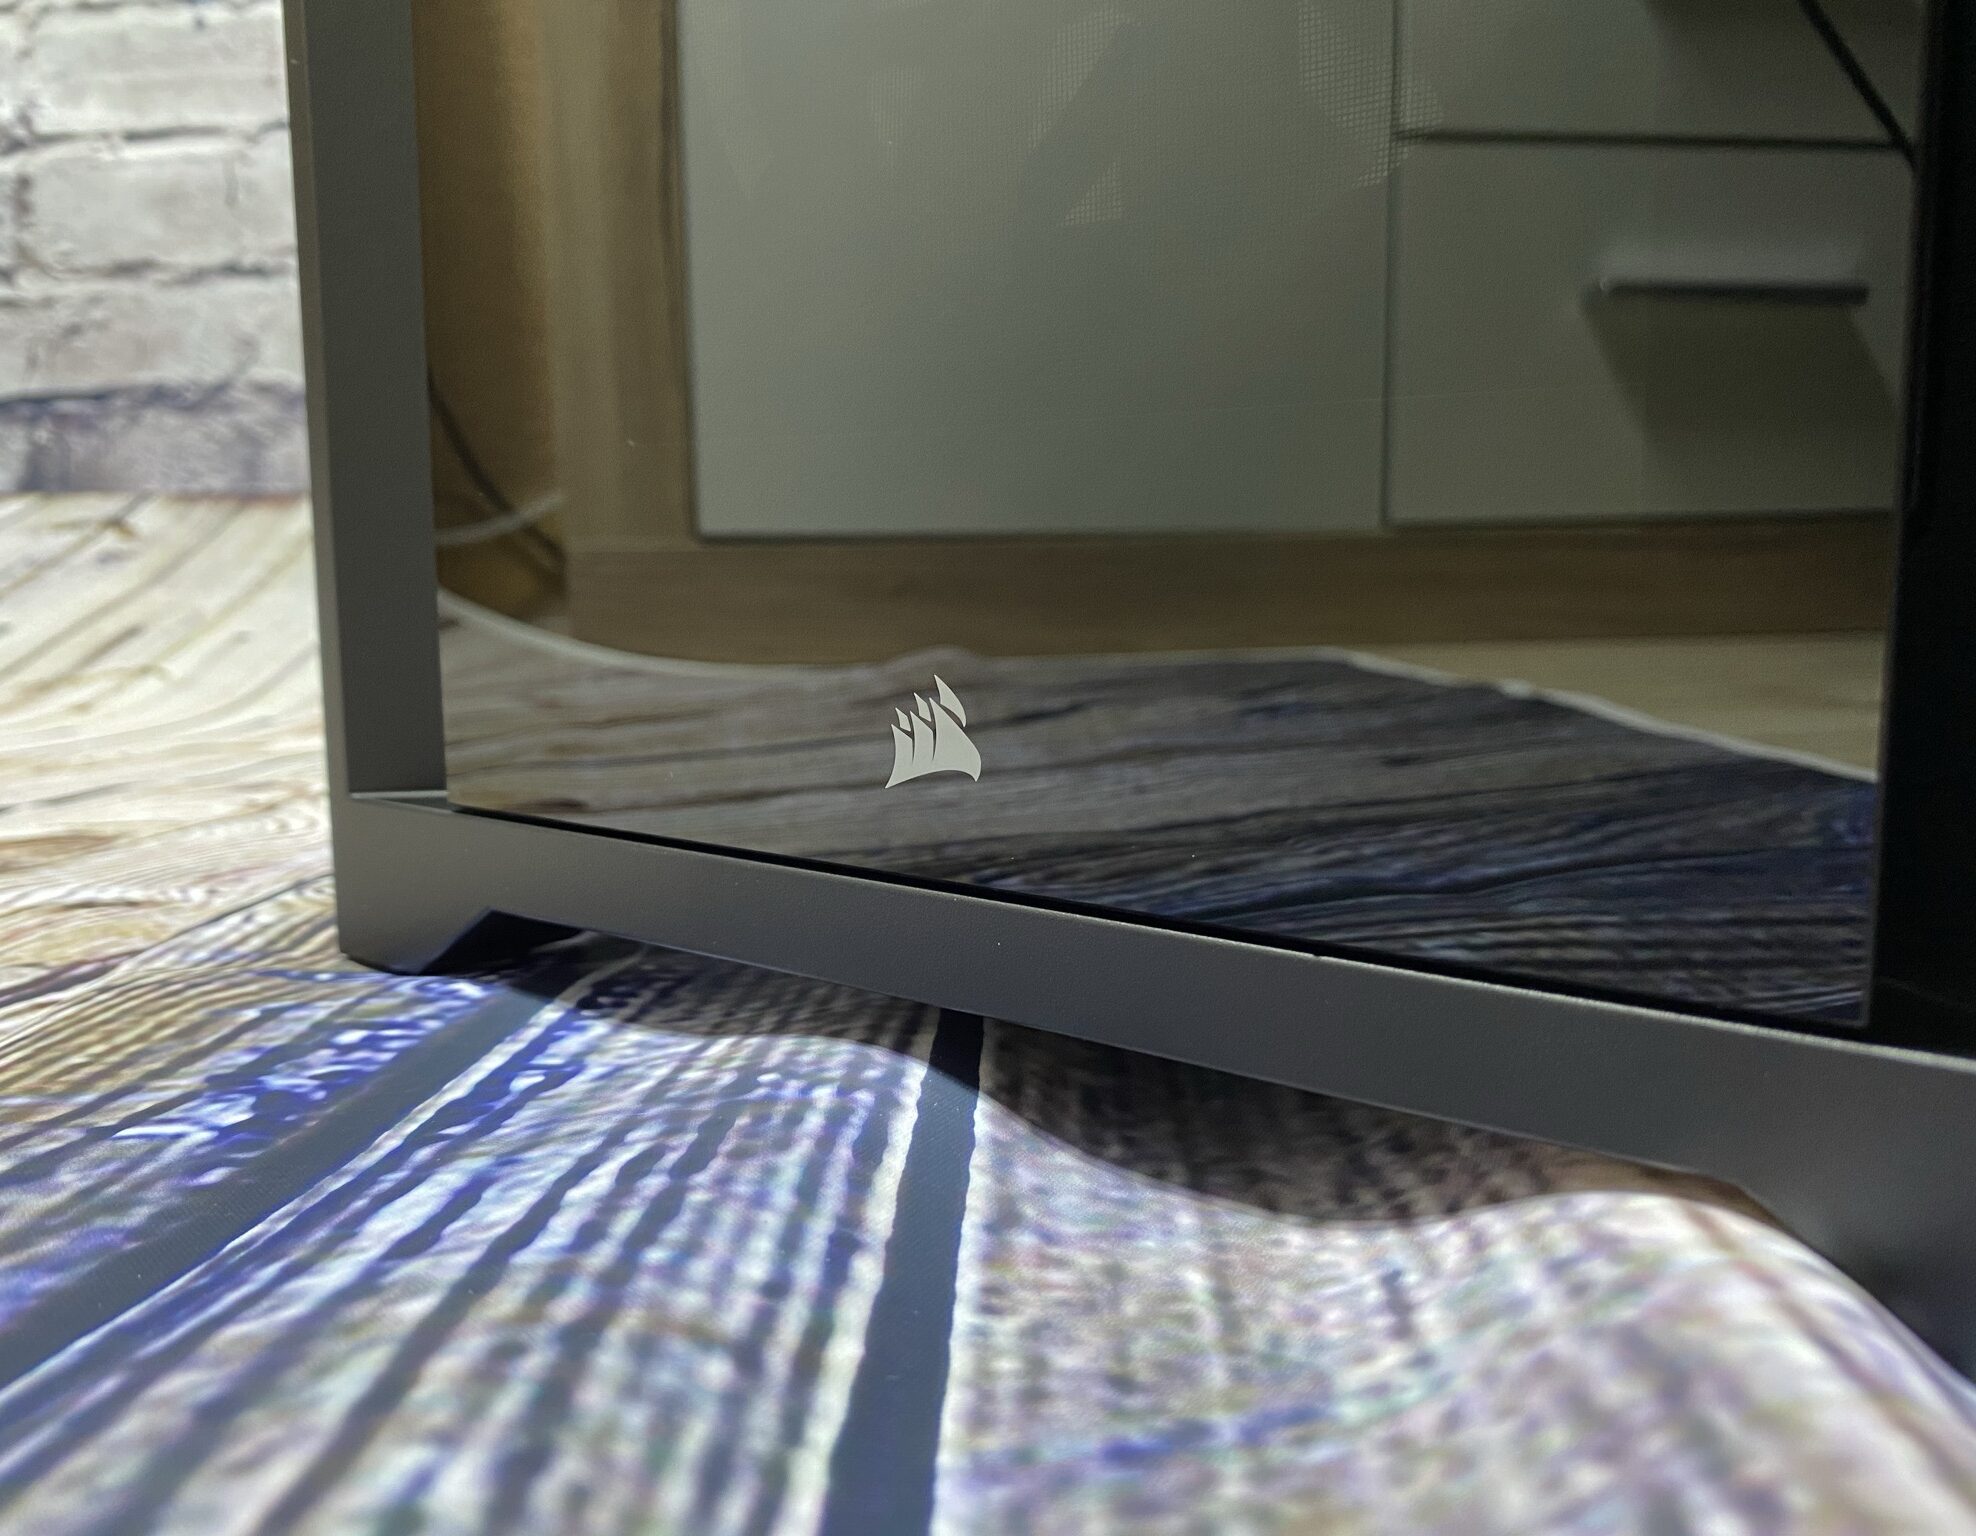
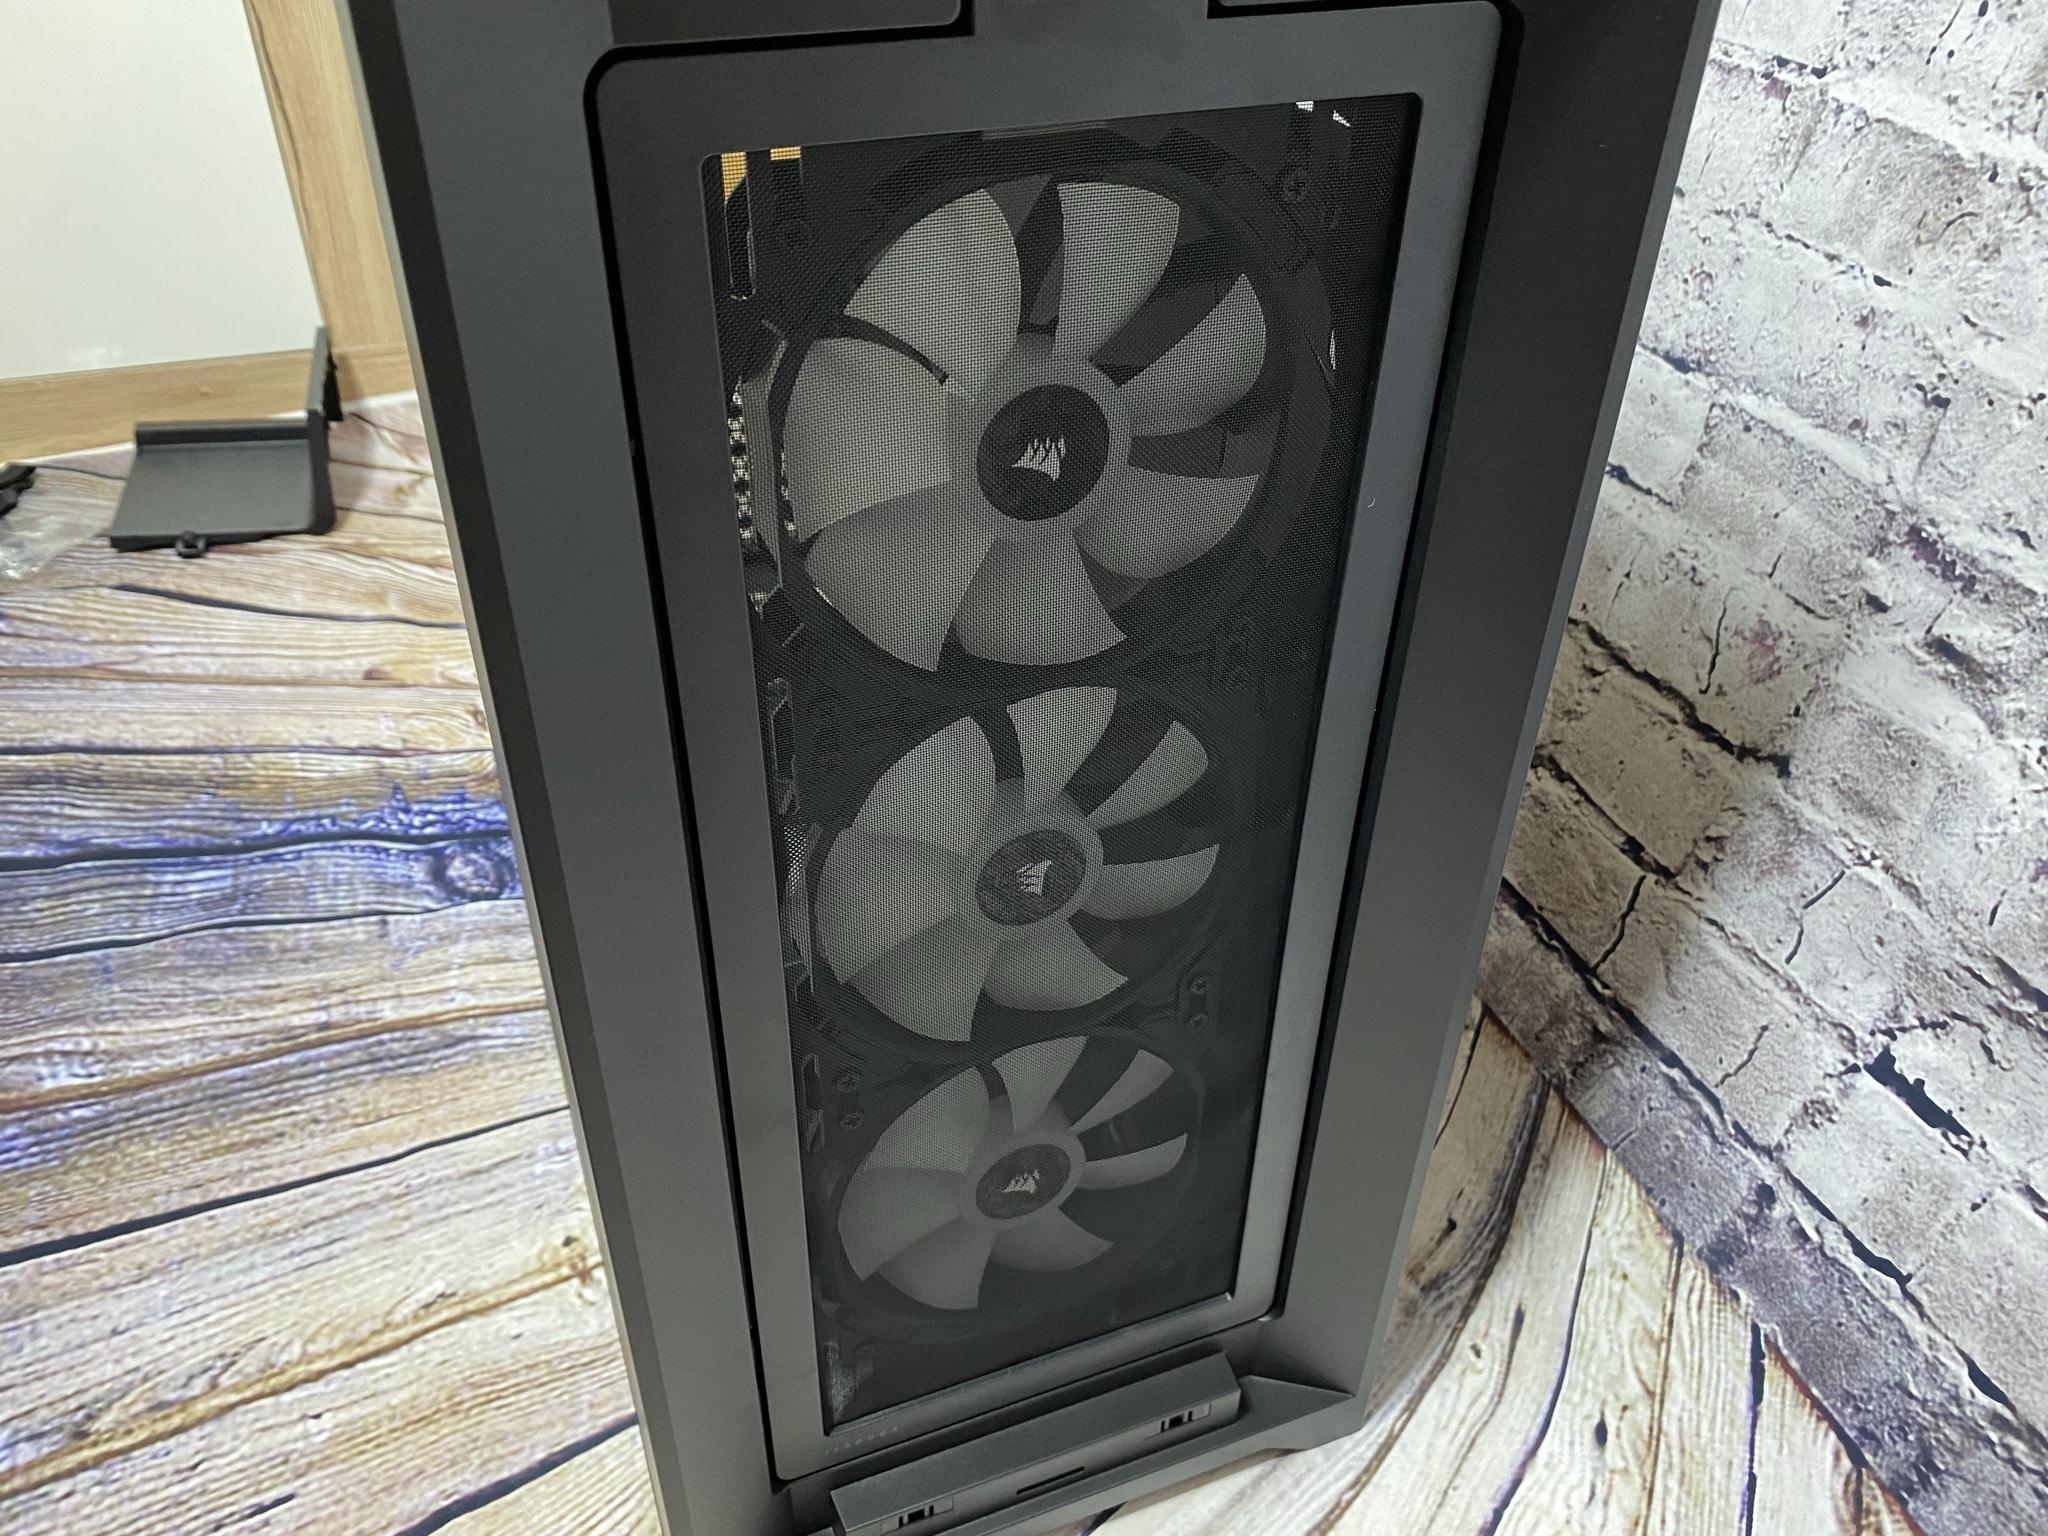
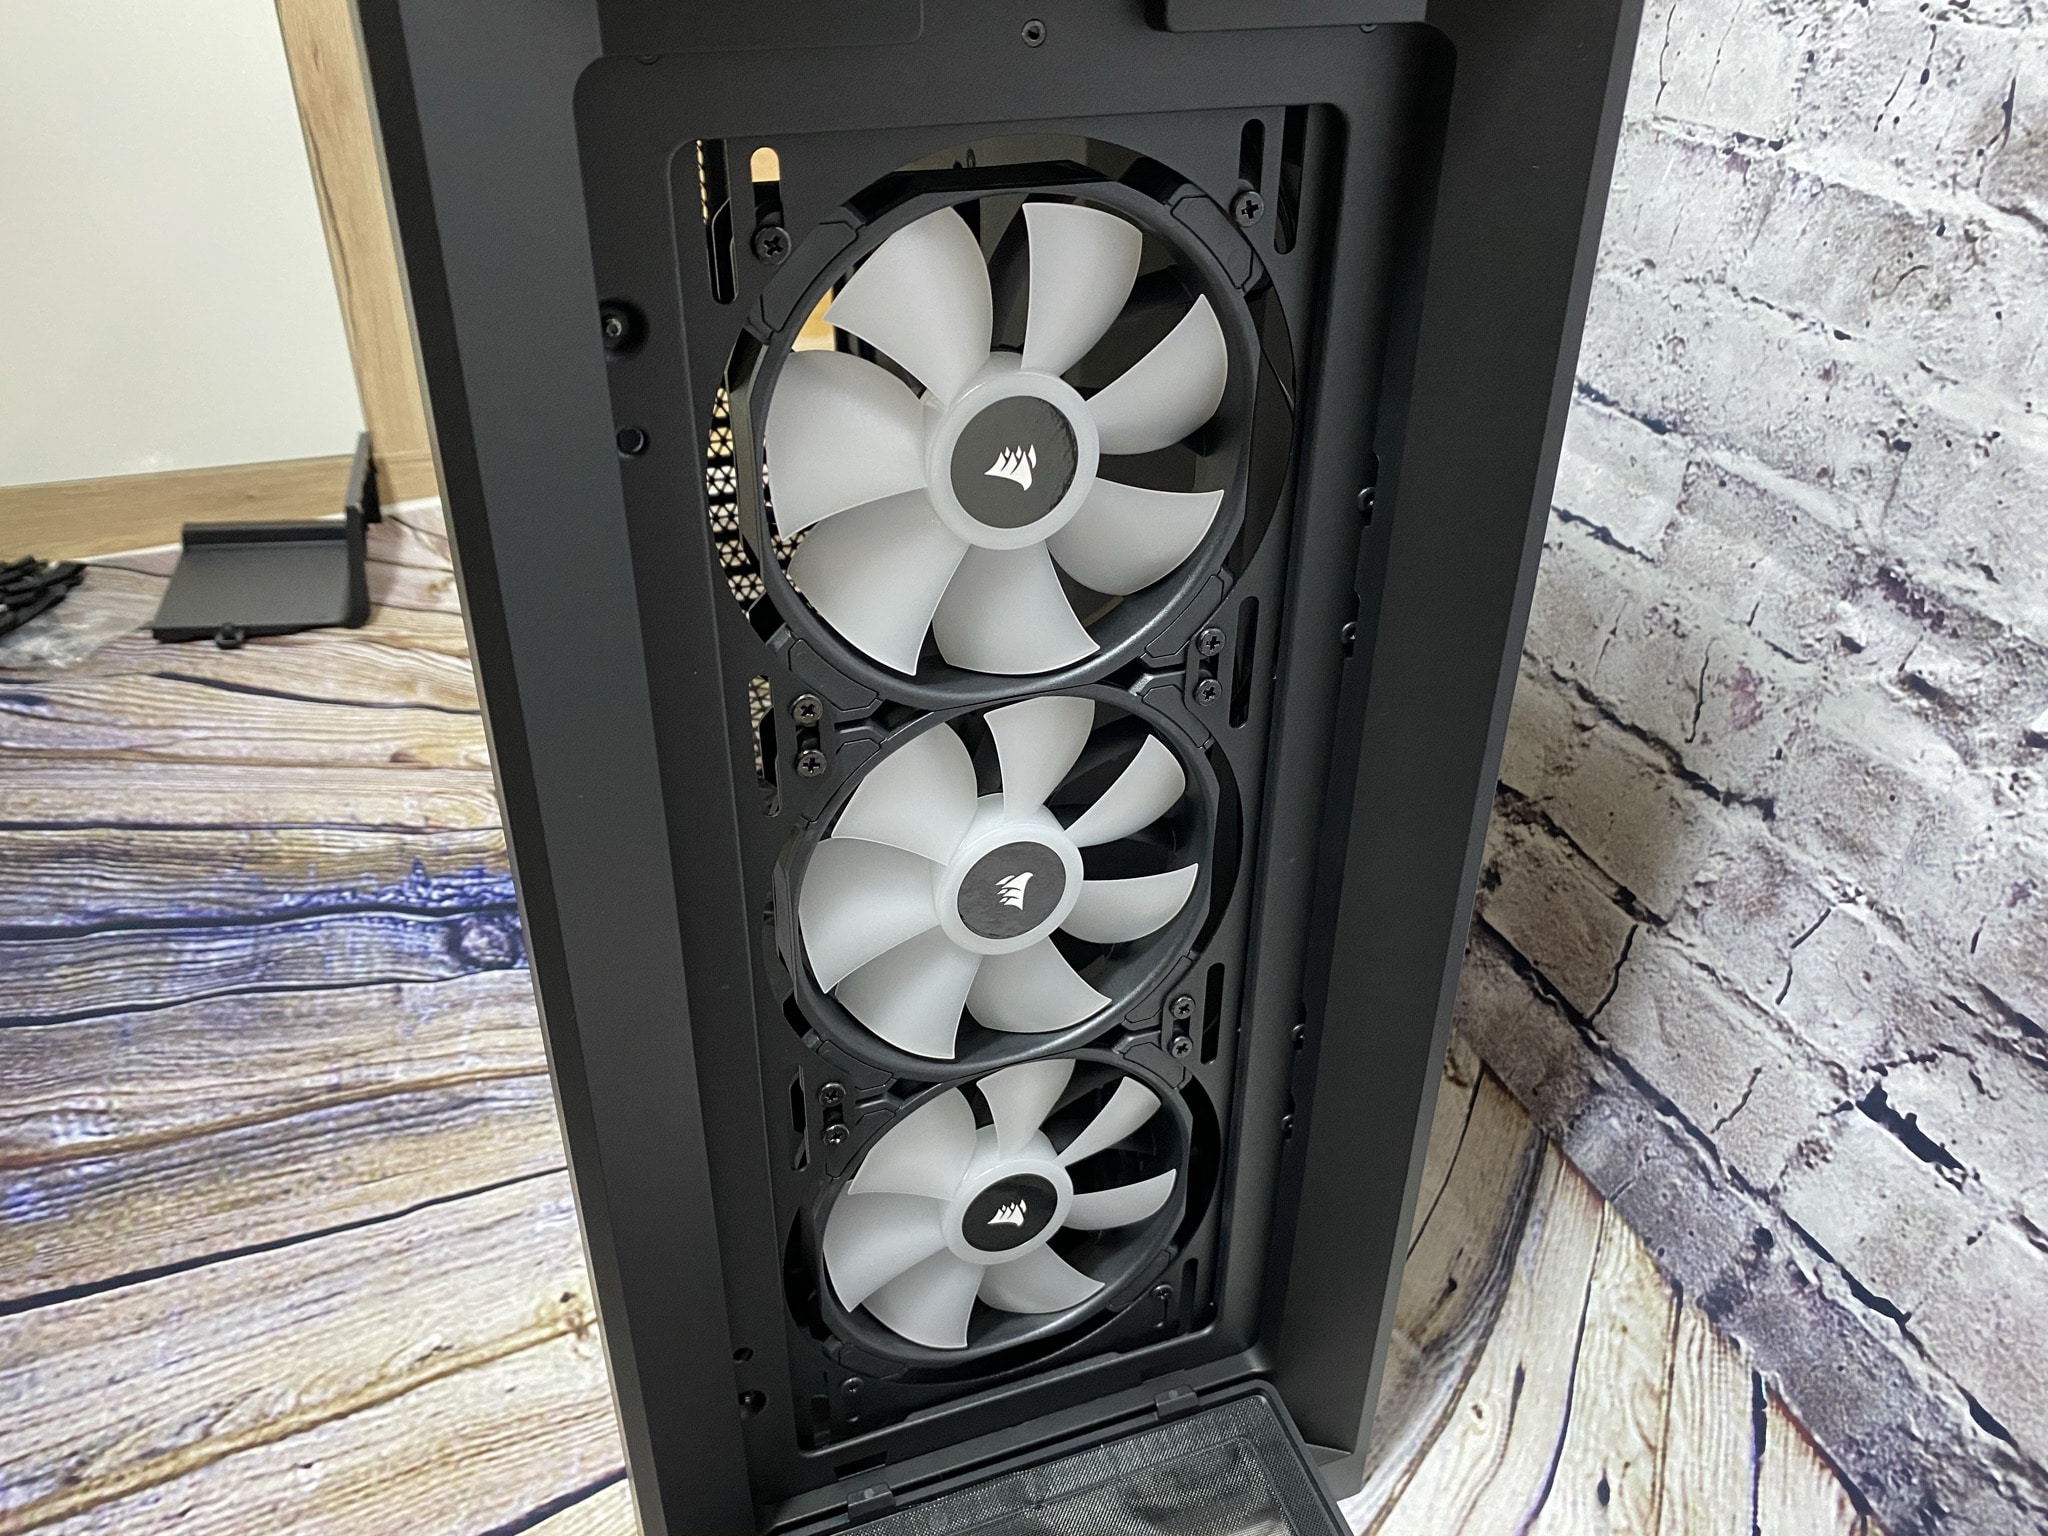
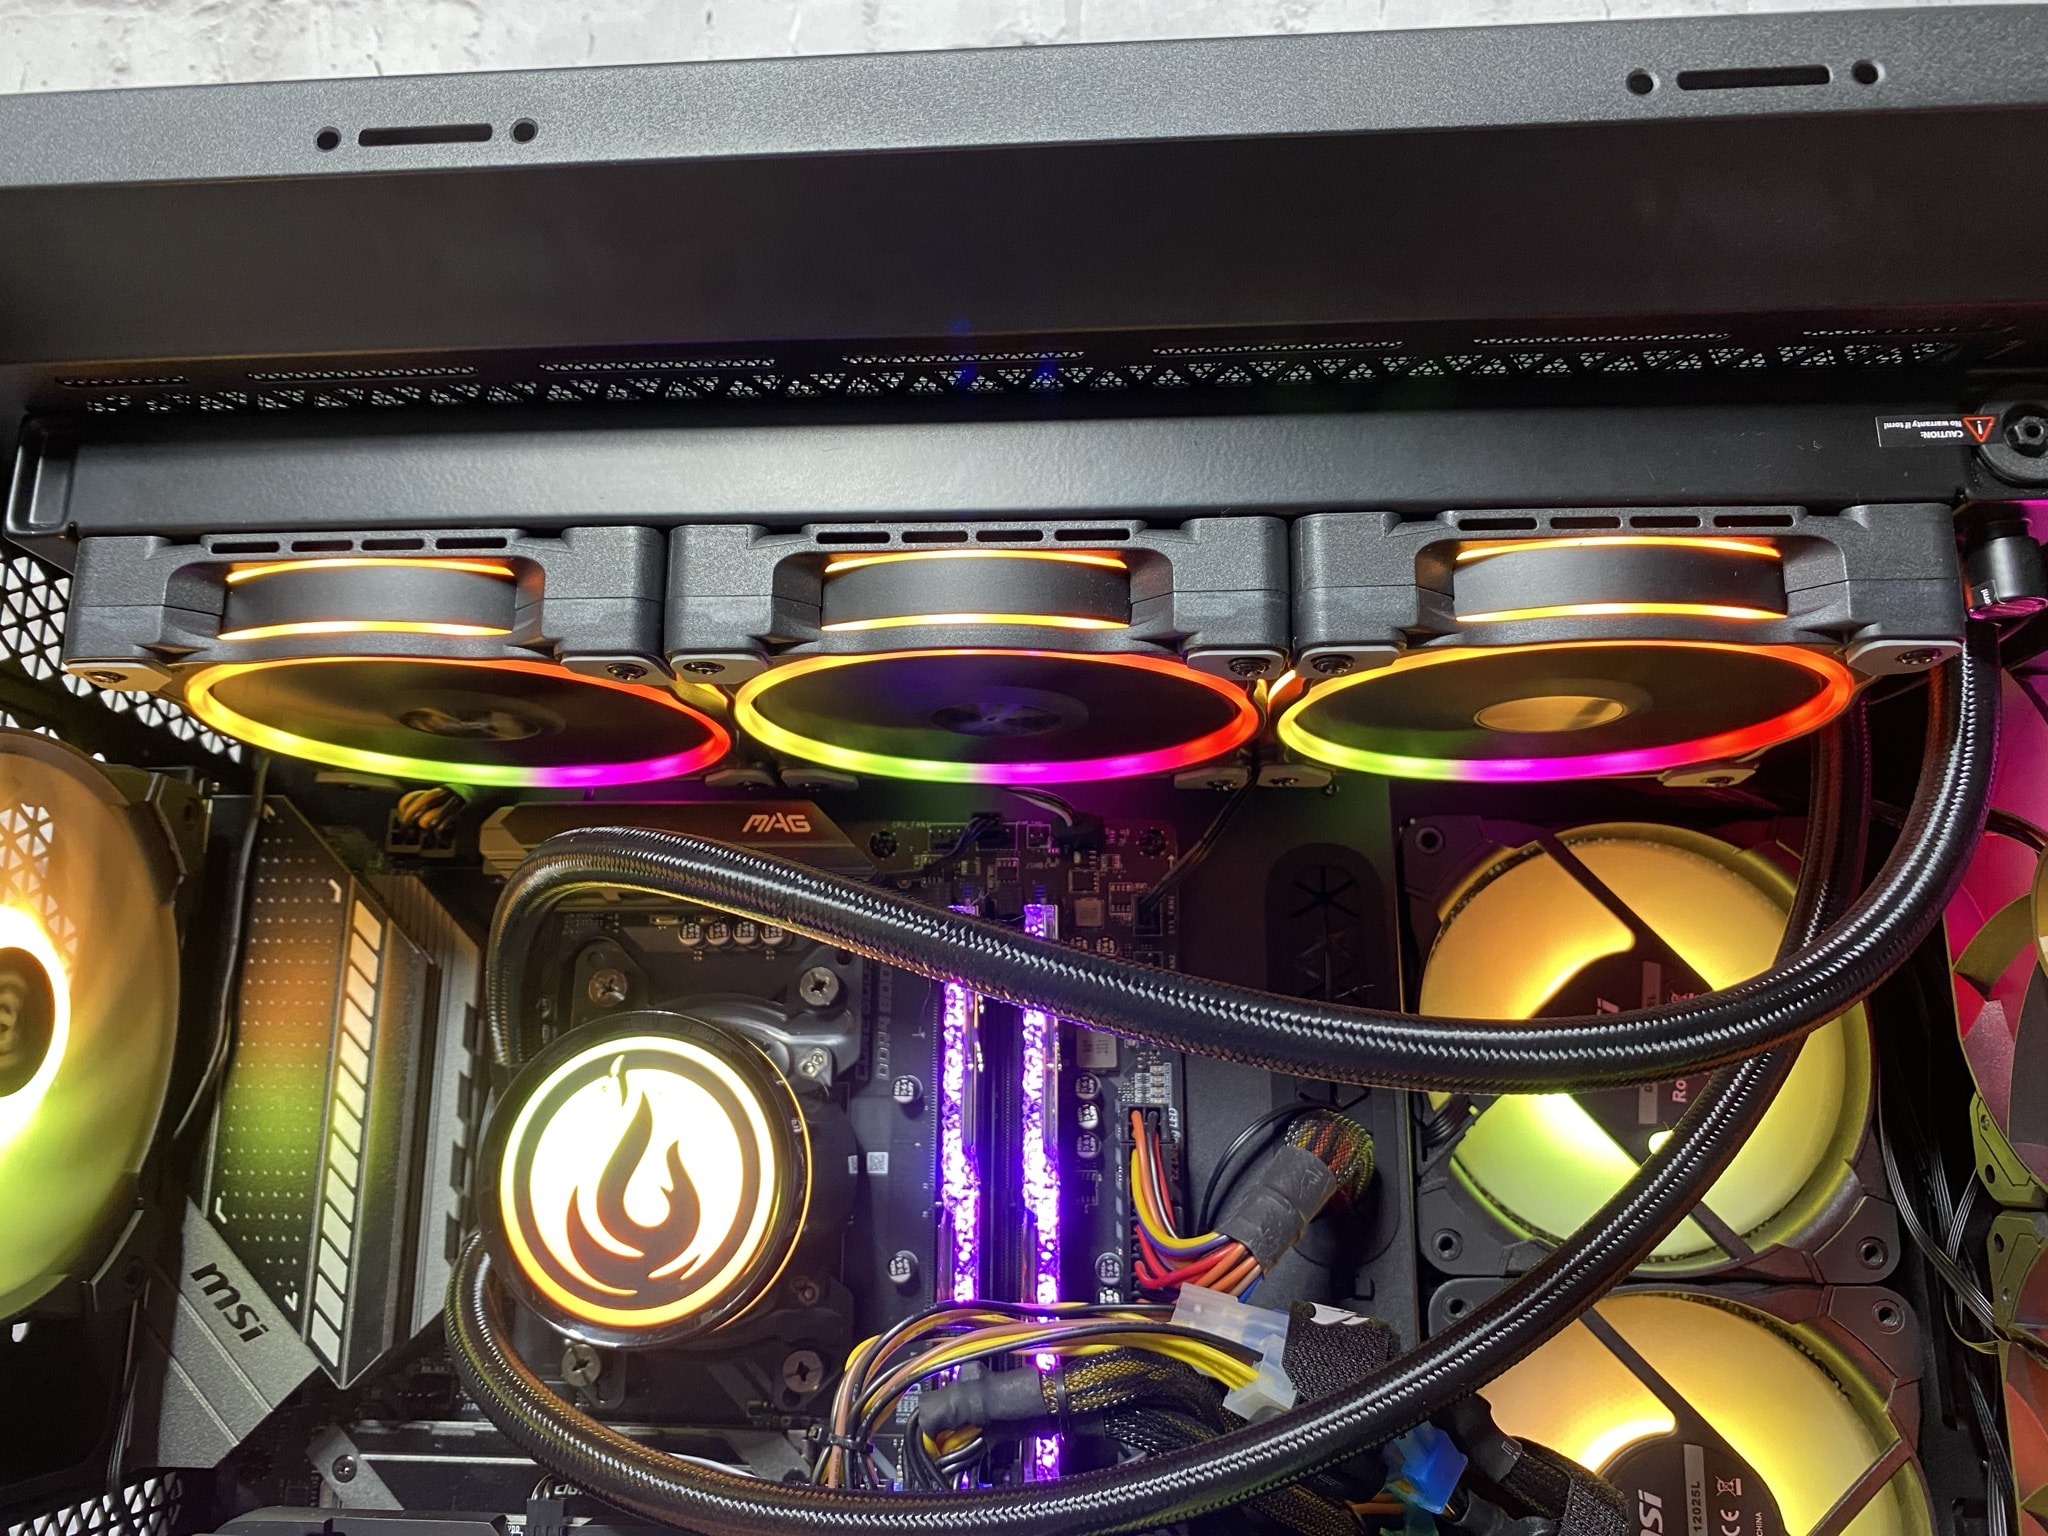
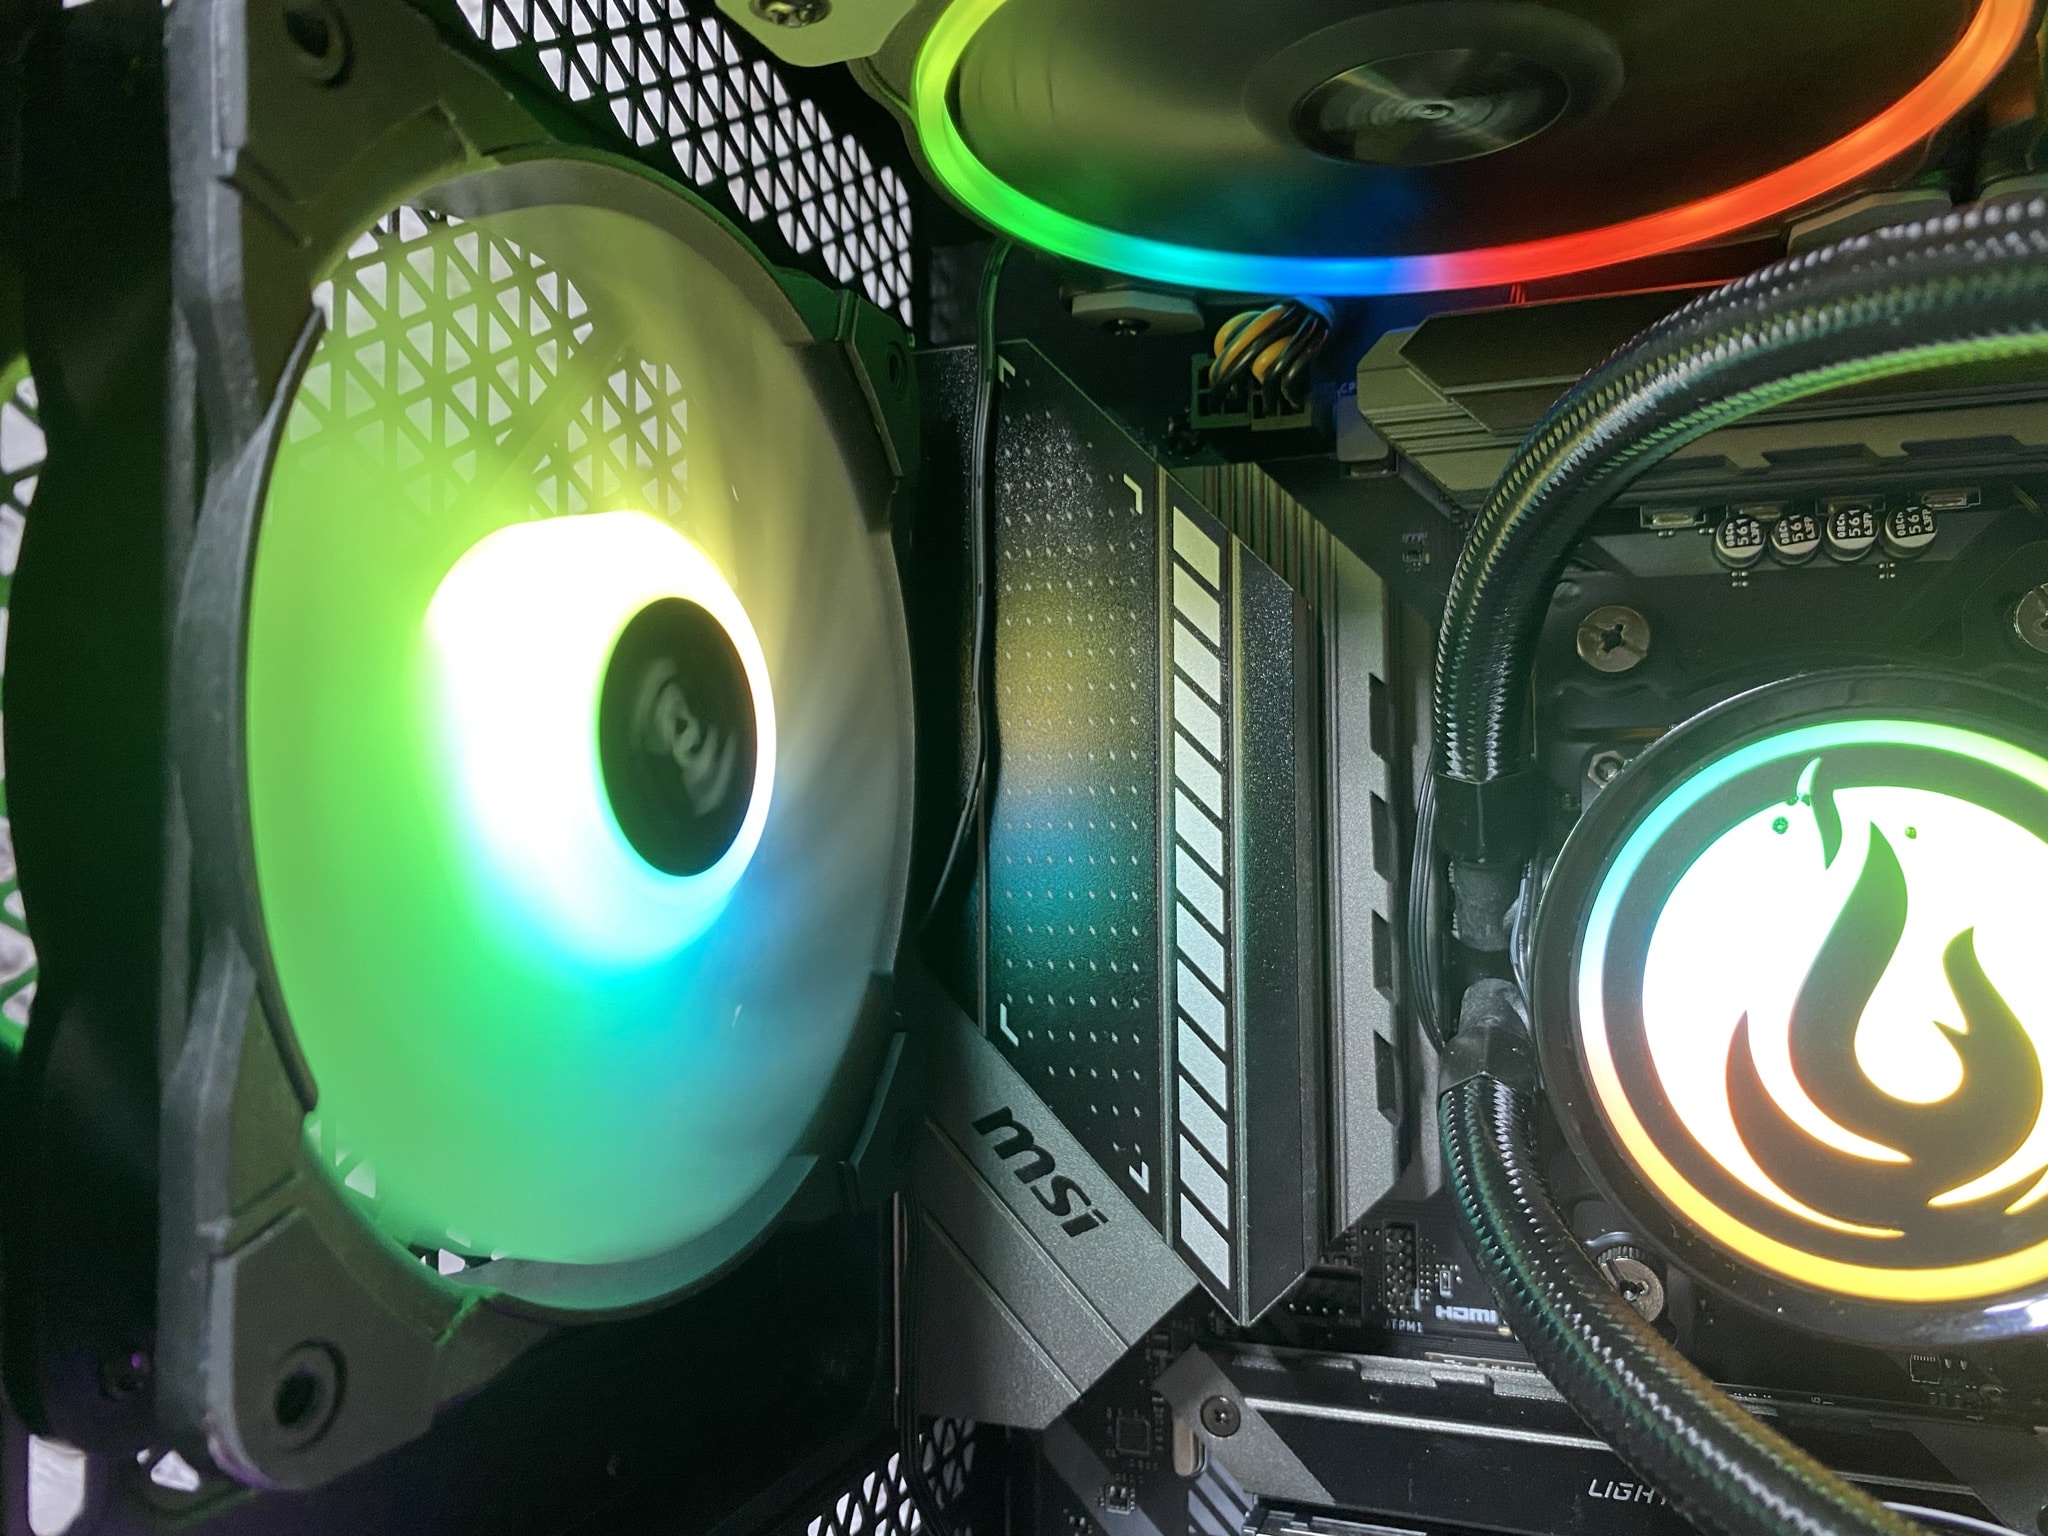
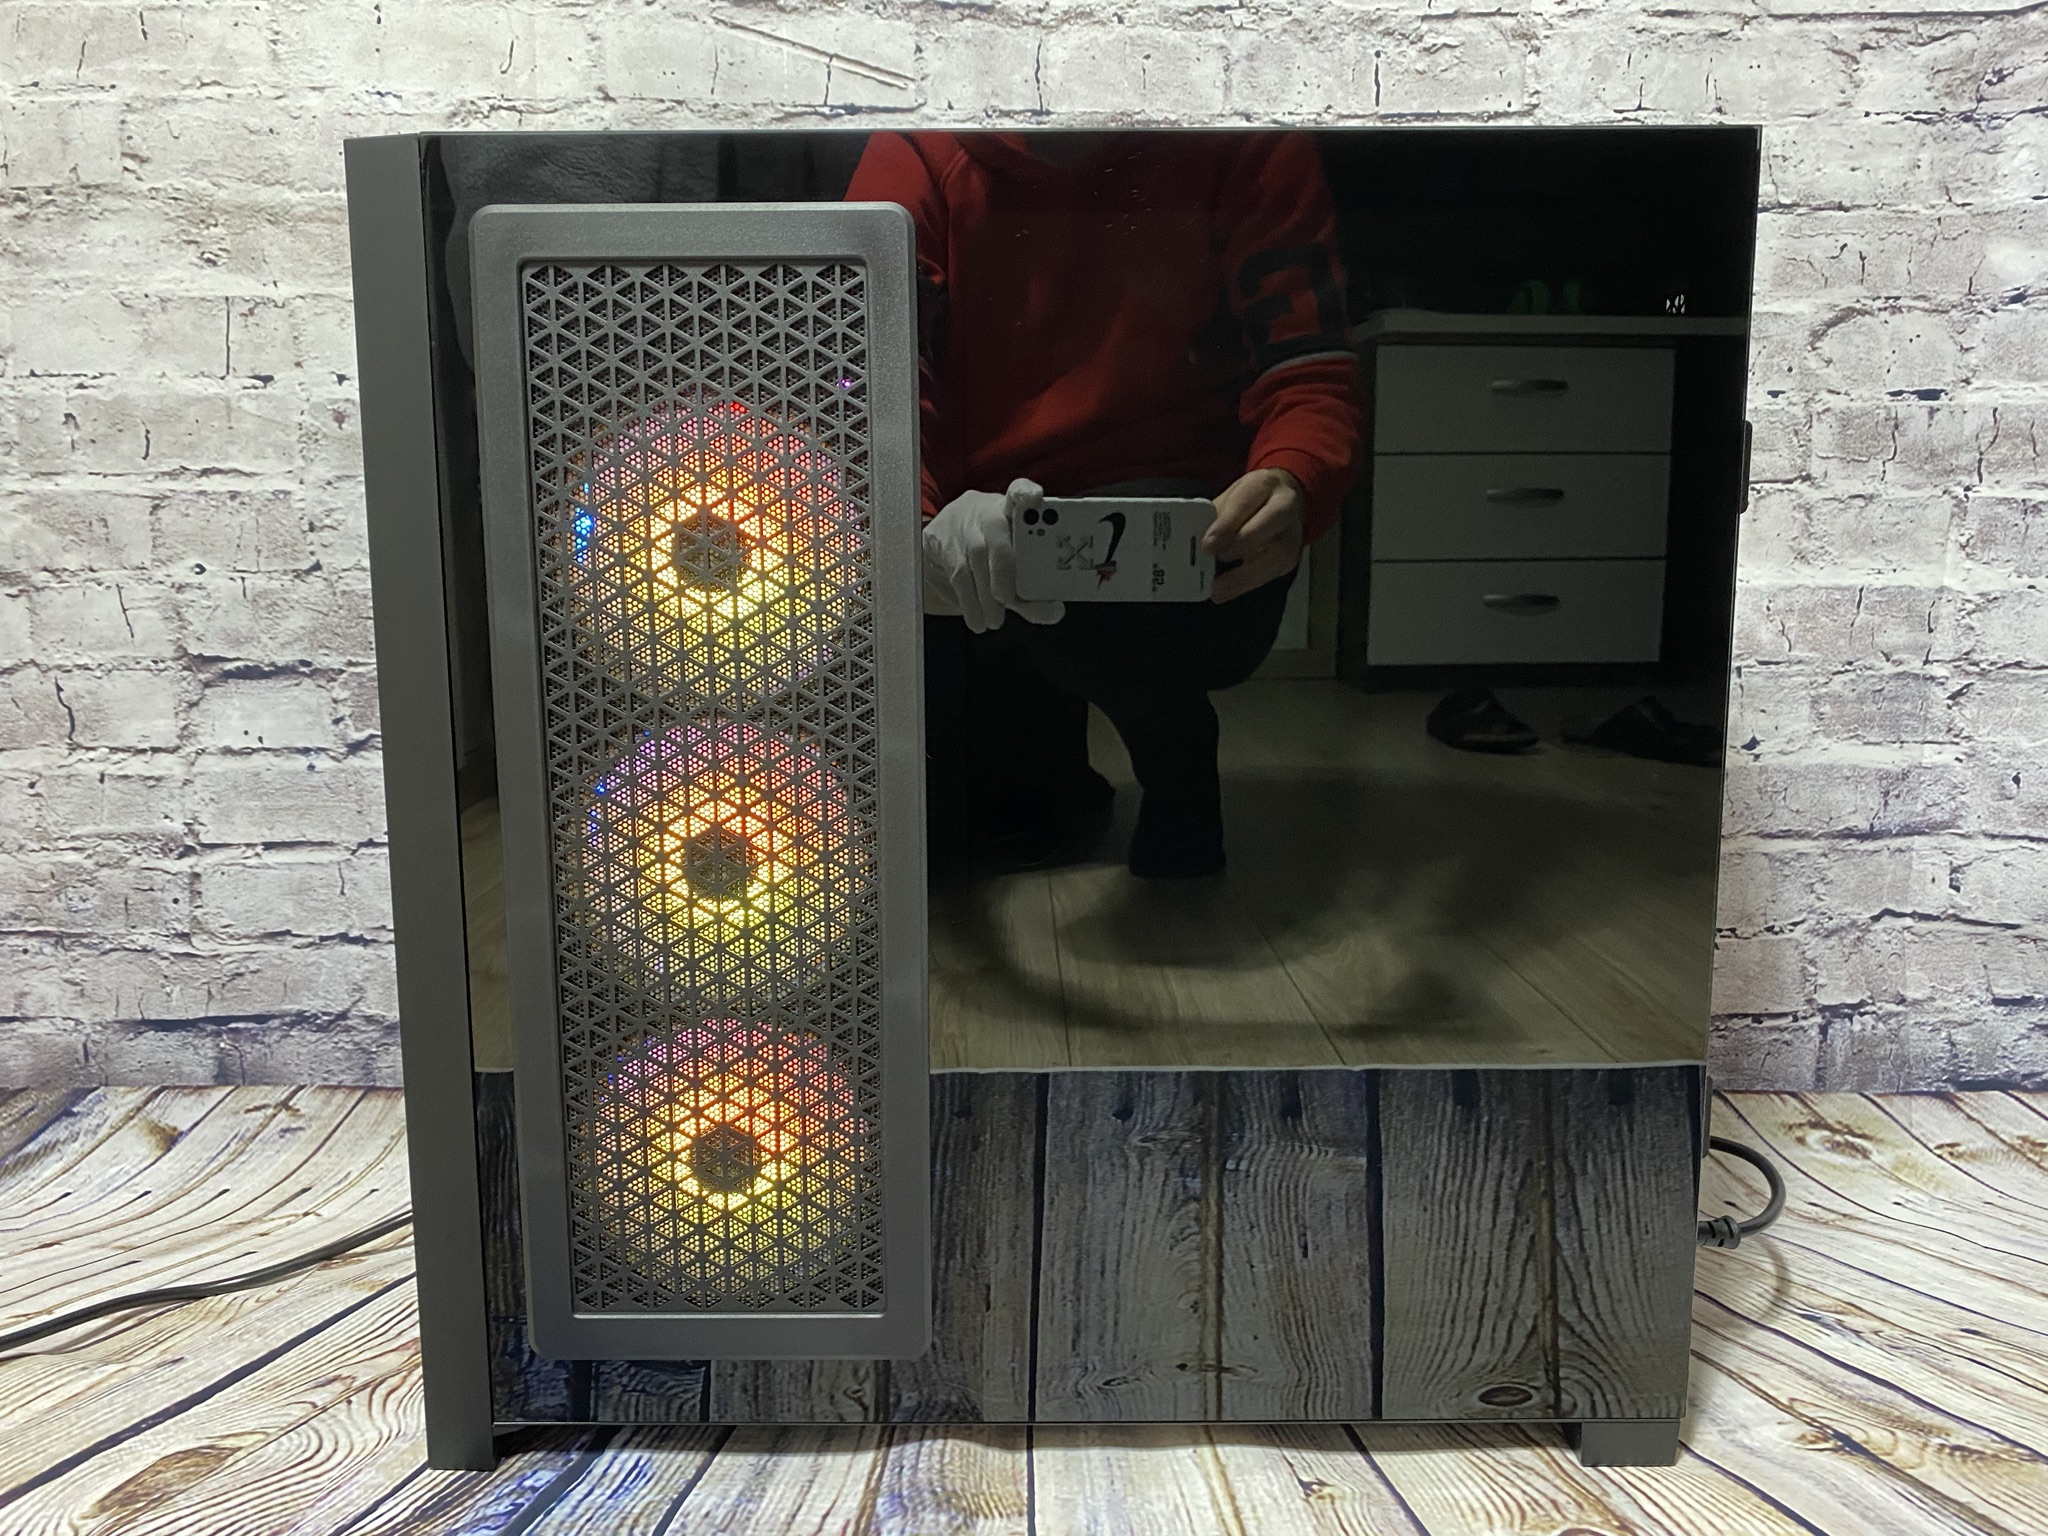
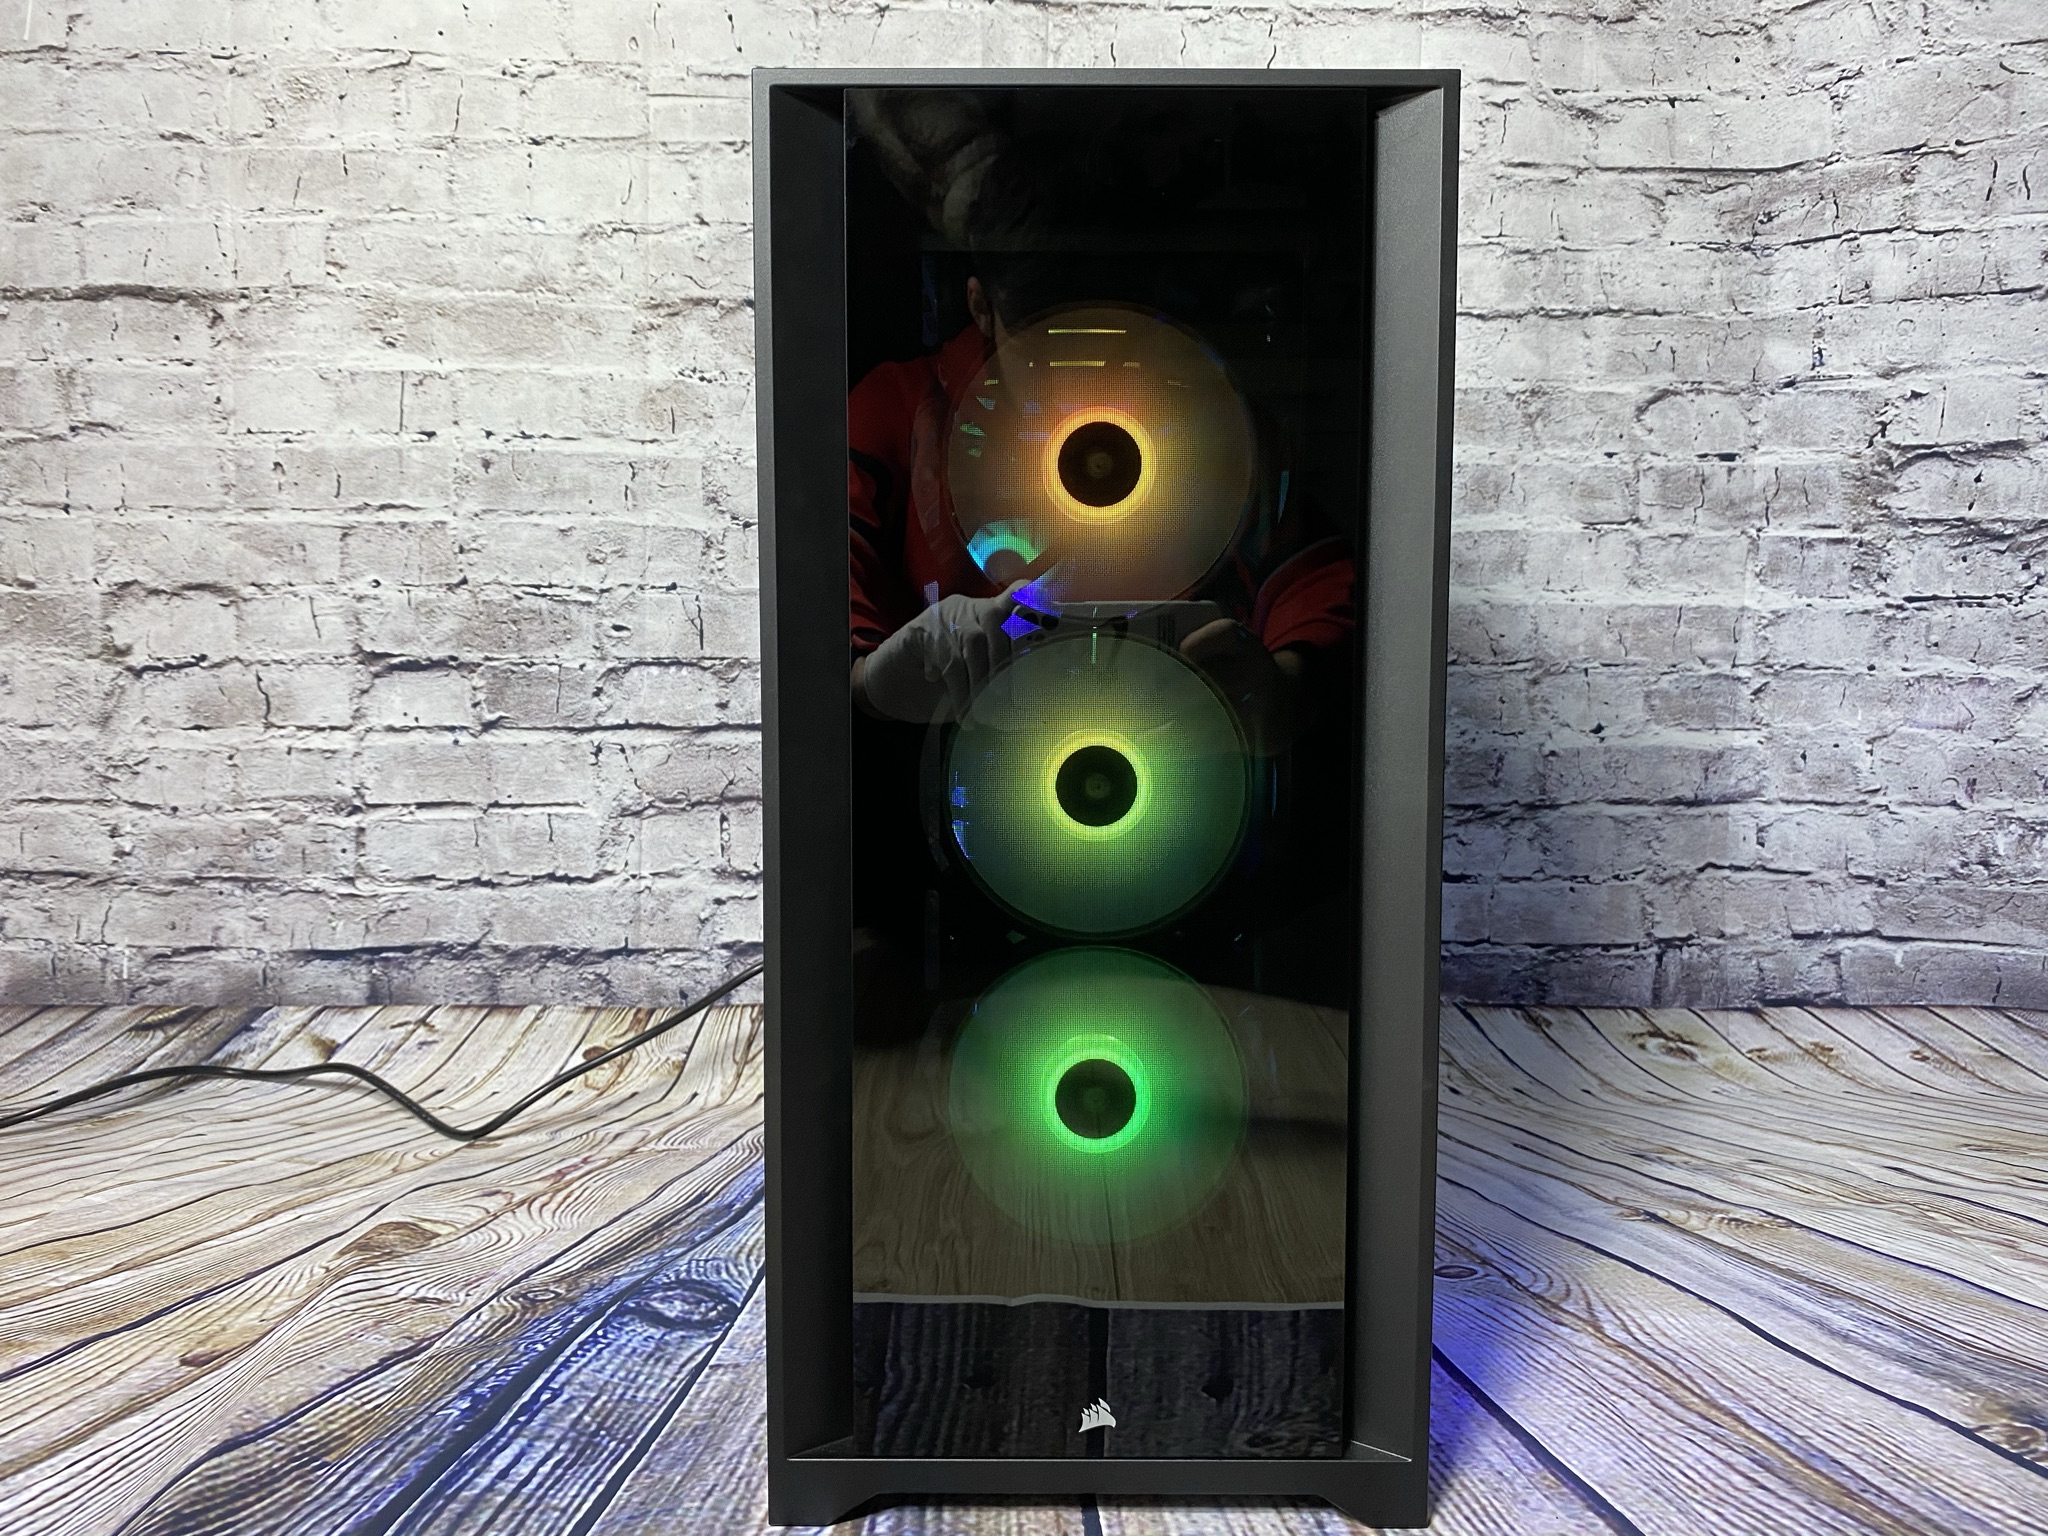
First, let’s take a closer look at the front of the iCUE 5000X RGB. This consists of a glass pane that is mounted a bit to the front. This pane can be easily removed from its mount by pulling a bit. At this point, the case has been designed in such a way that there is a decent amount of space on the sides of the pane to be able to draw in enough air. Behind that we see the three pre-mounted SP120 RGB ELITE fans, which are still behind a removable dust filter. The dust filter seems a bit slack and was not tightened properly. The disk gets its hold at the top and bottom of the case. In addition, the glass is decorated with a small white Corsair logo at the bottom. The glass pane is surrounded by a plastic frame.
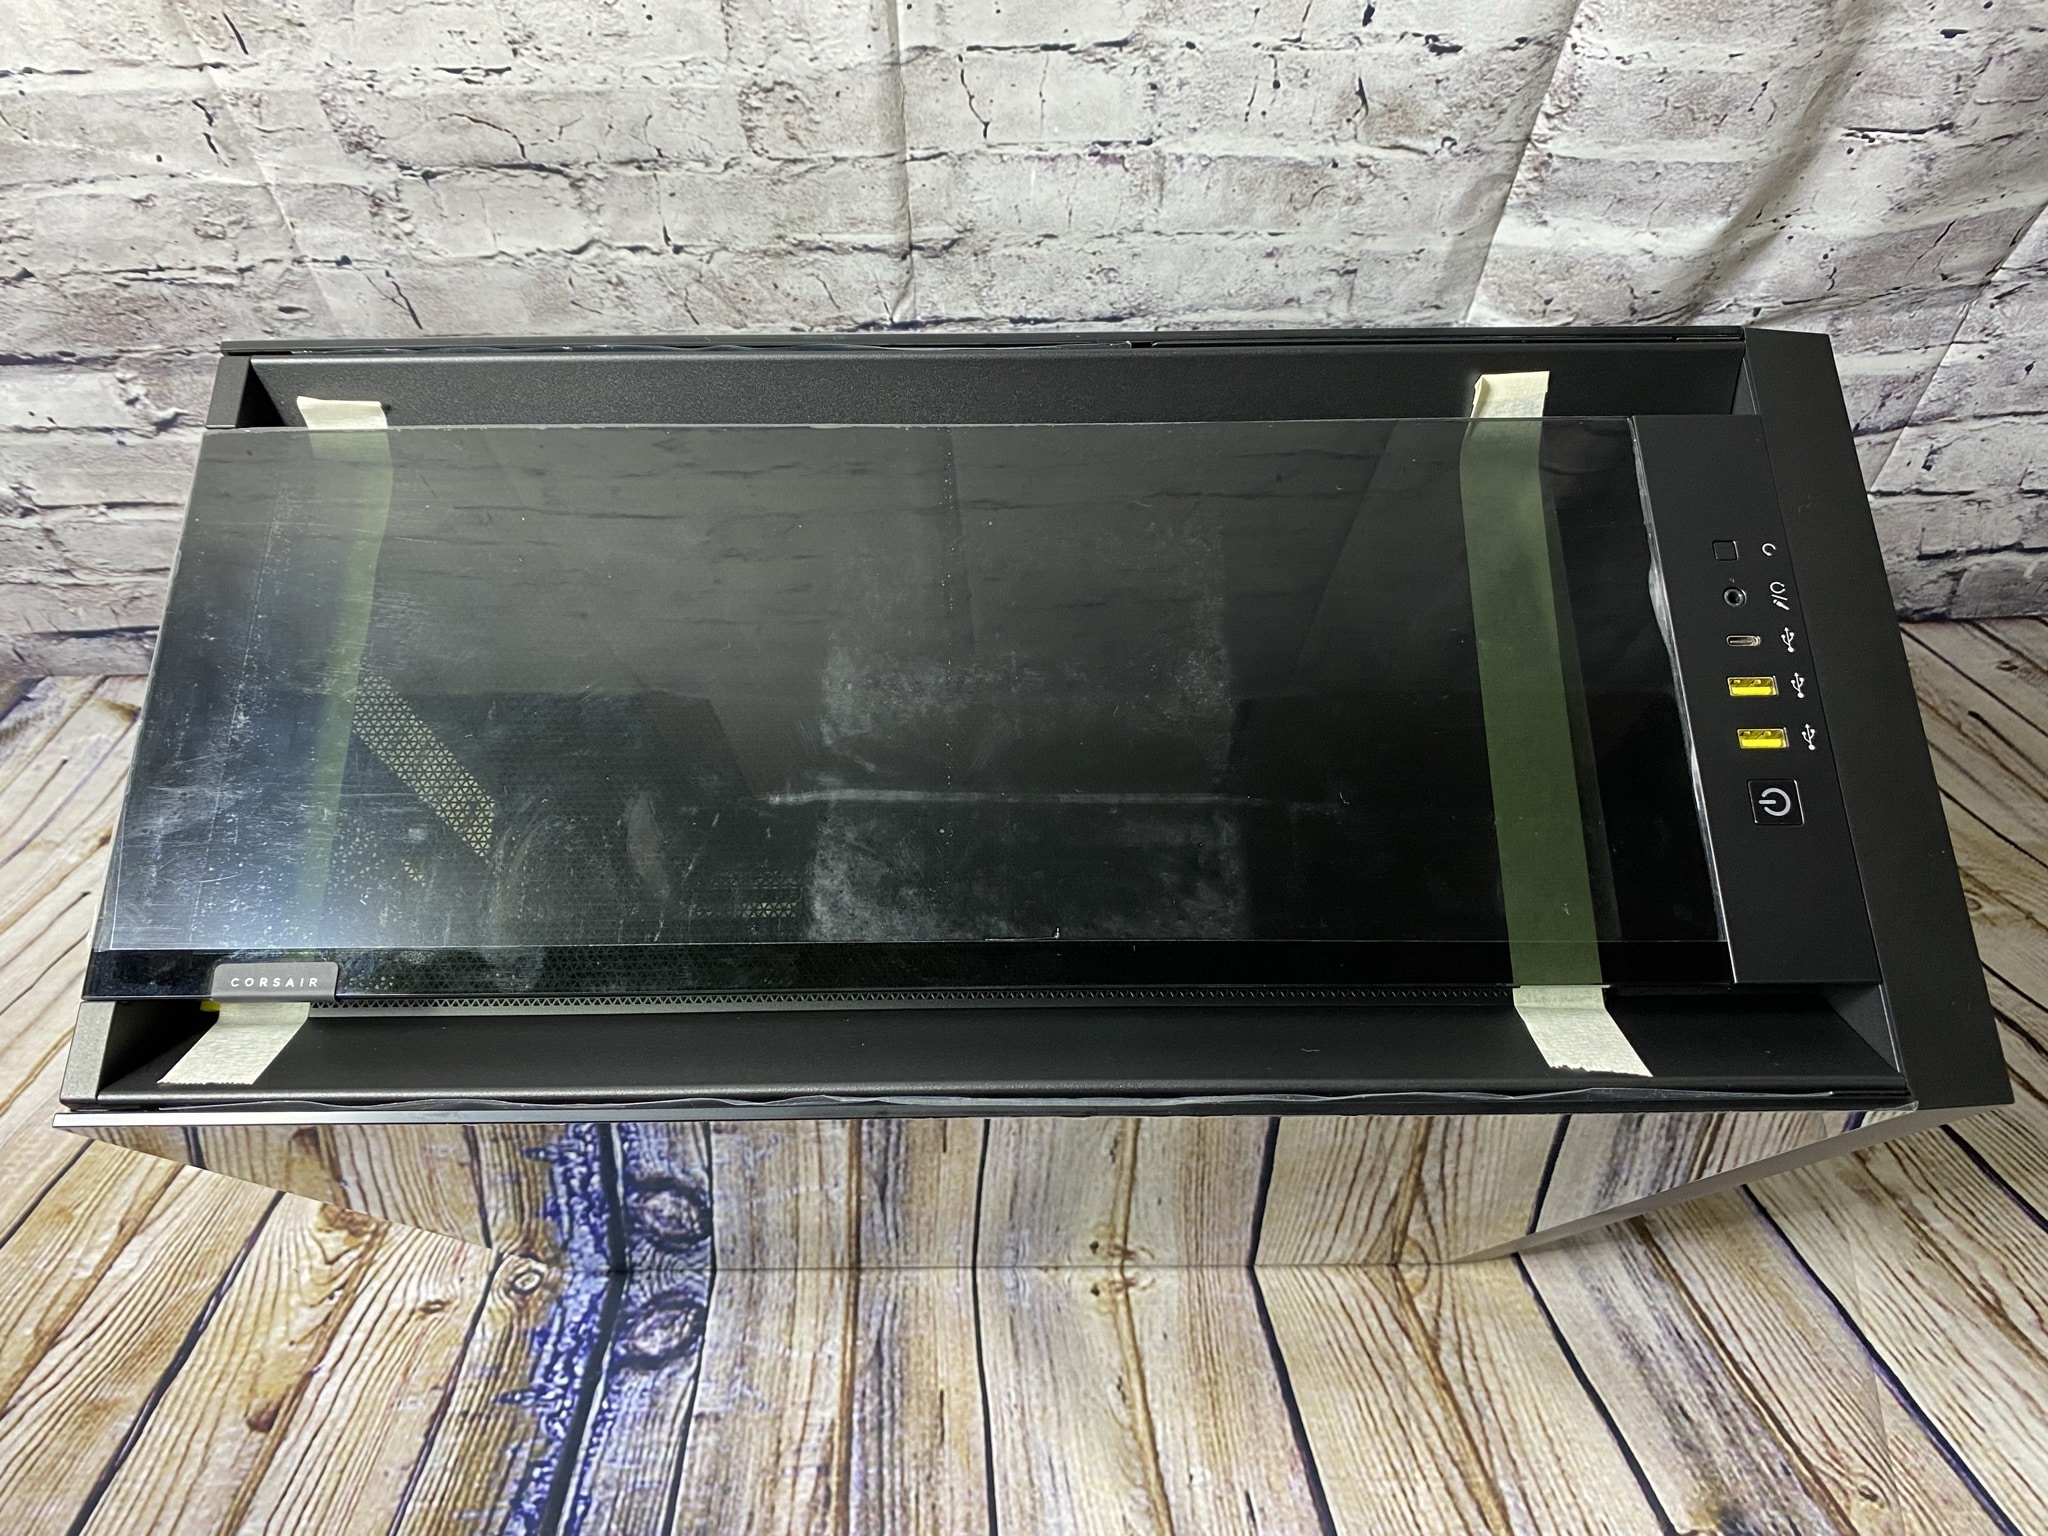
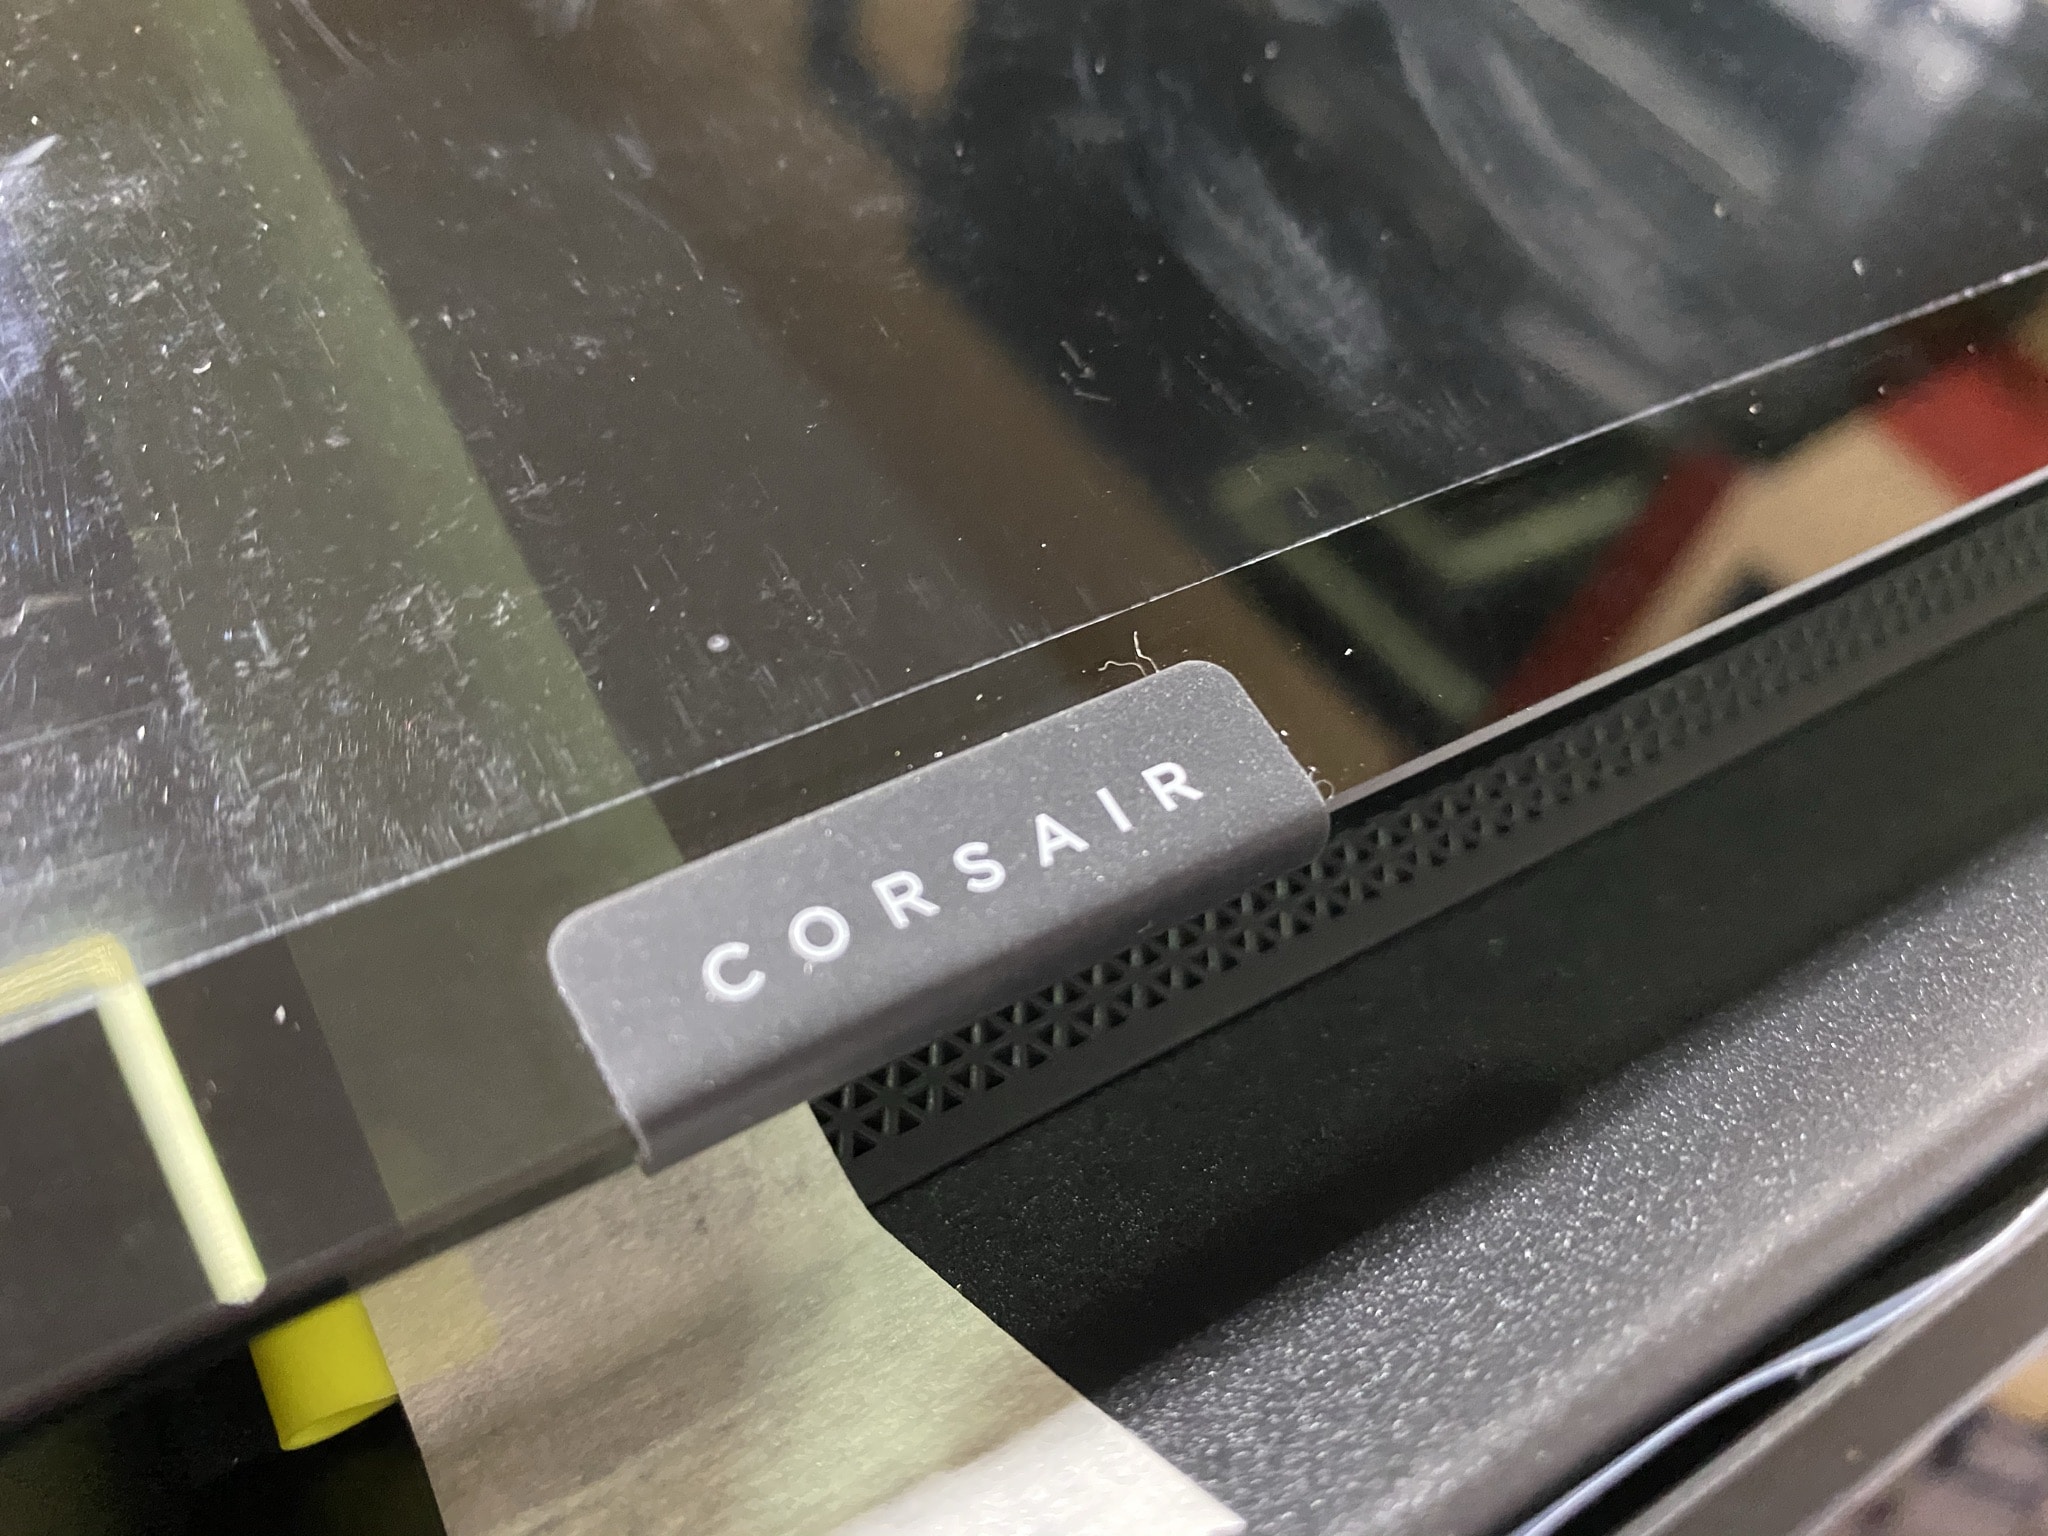
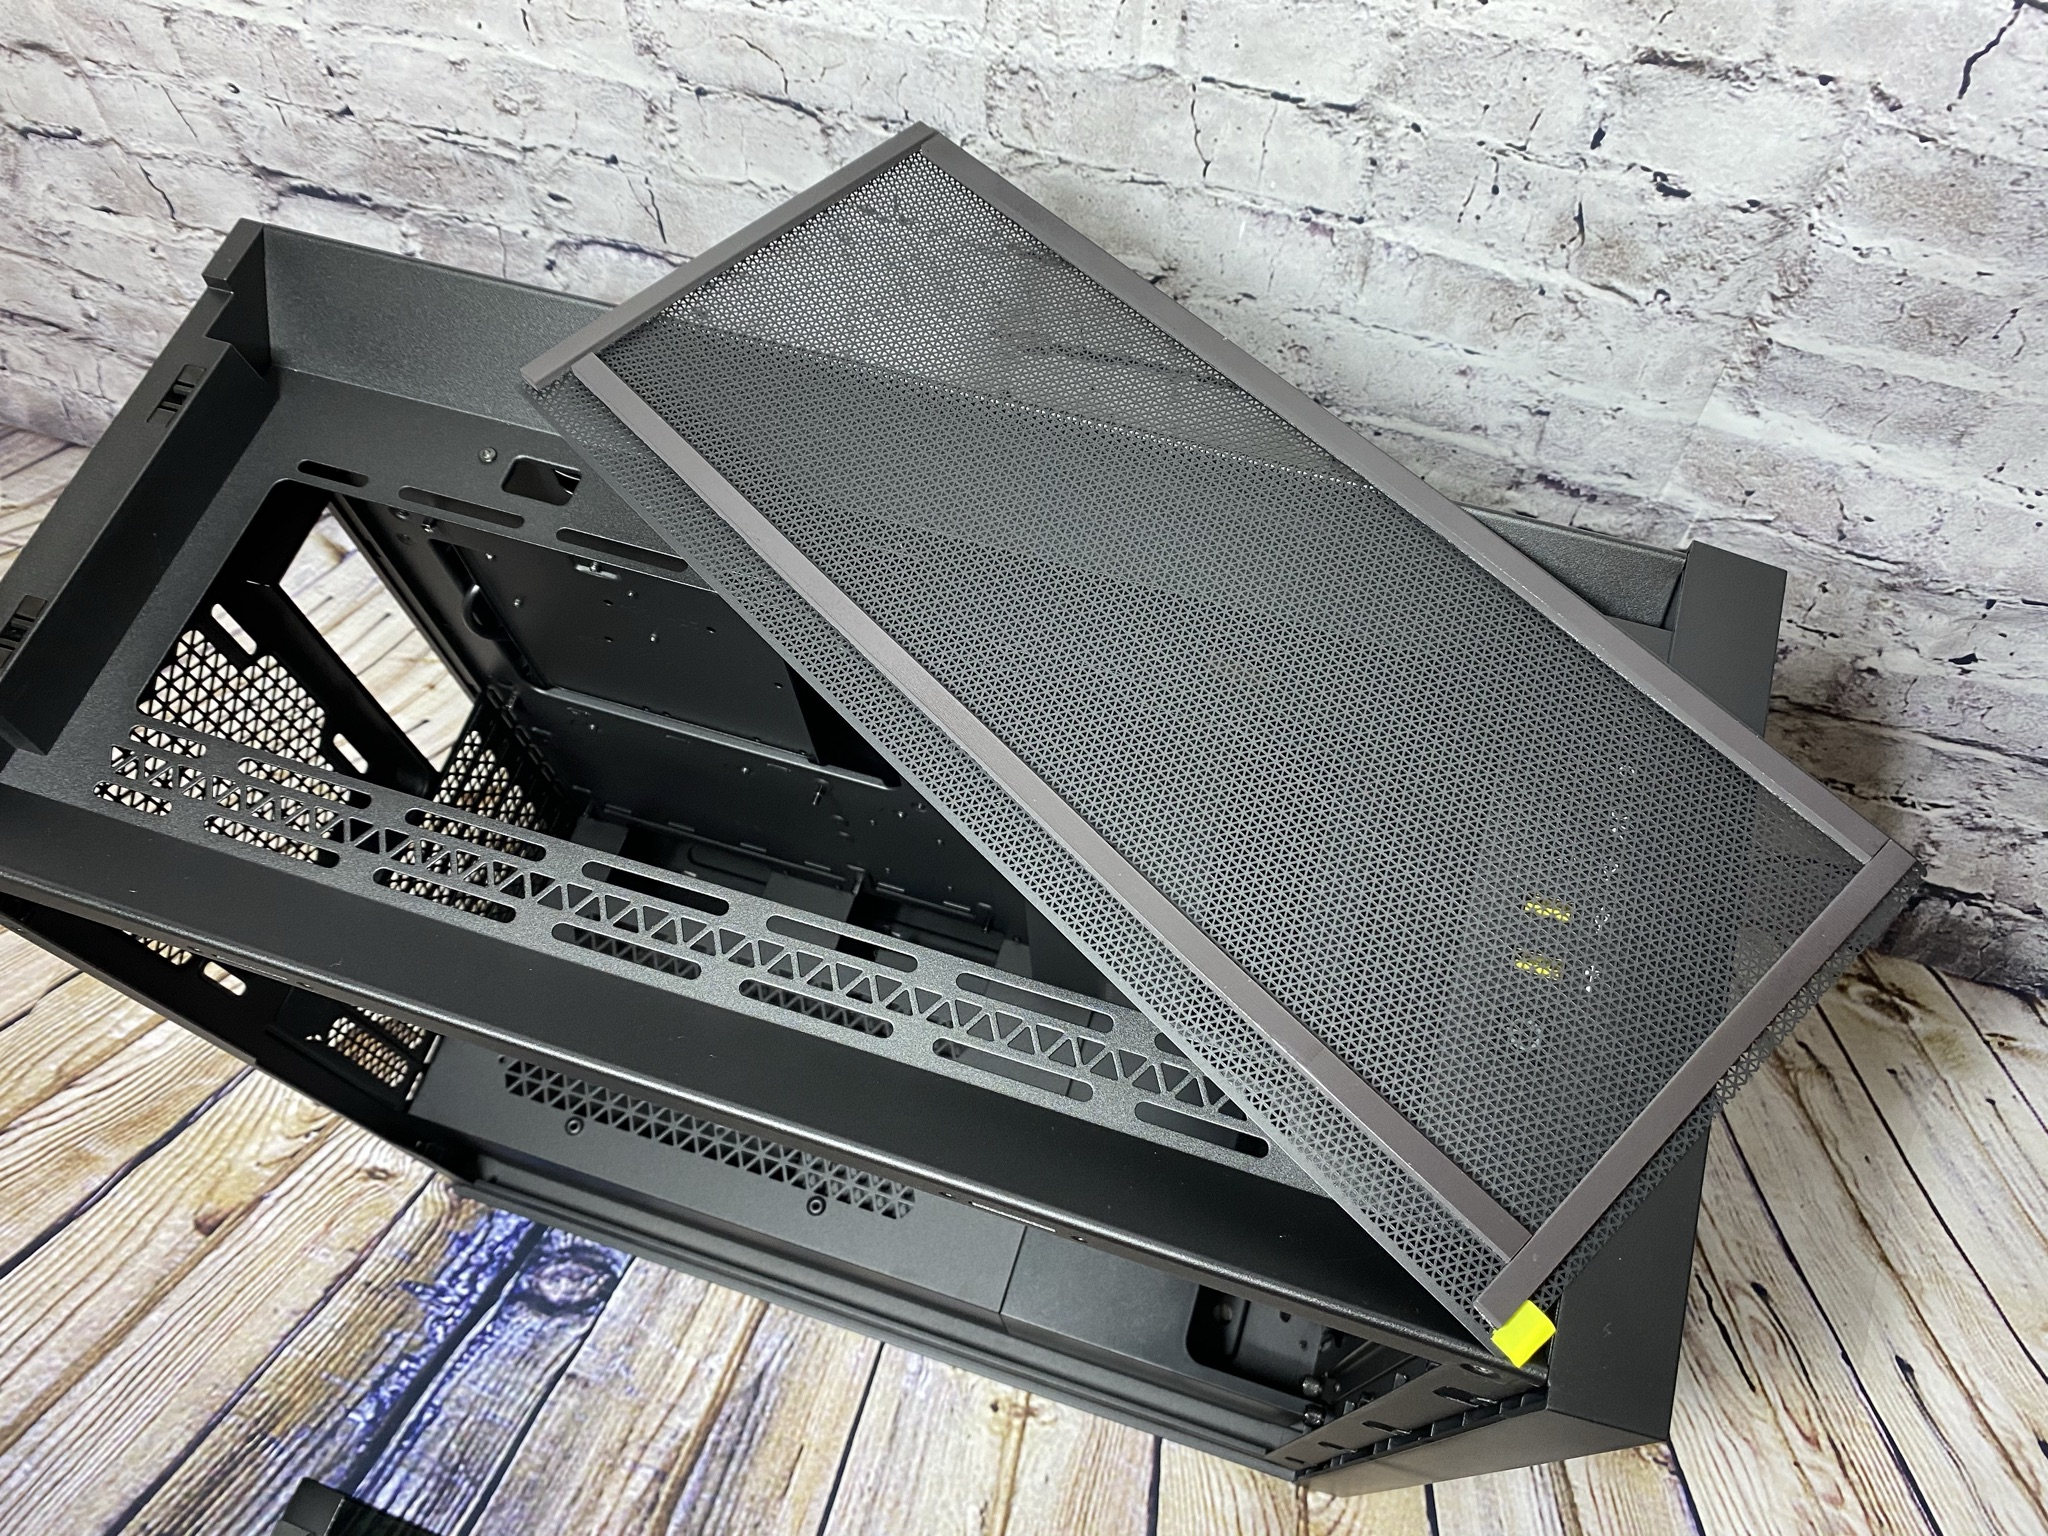
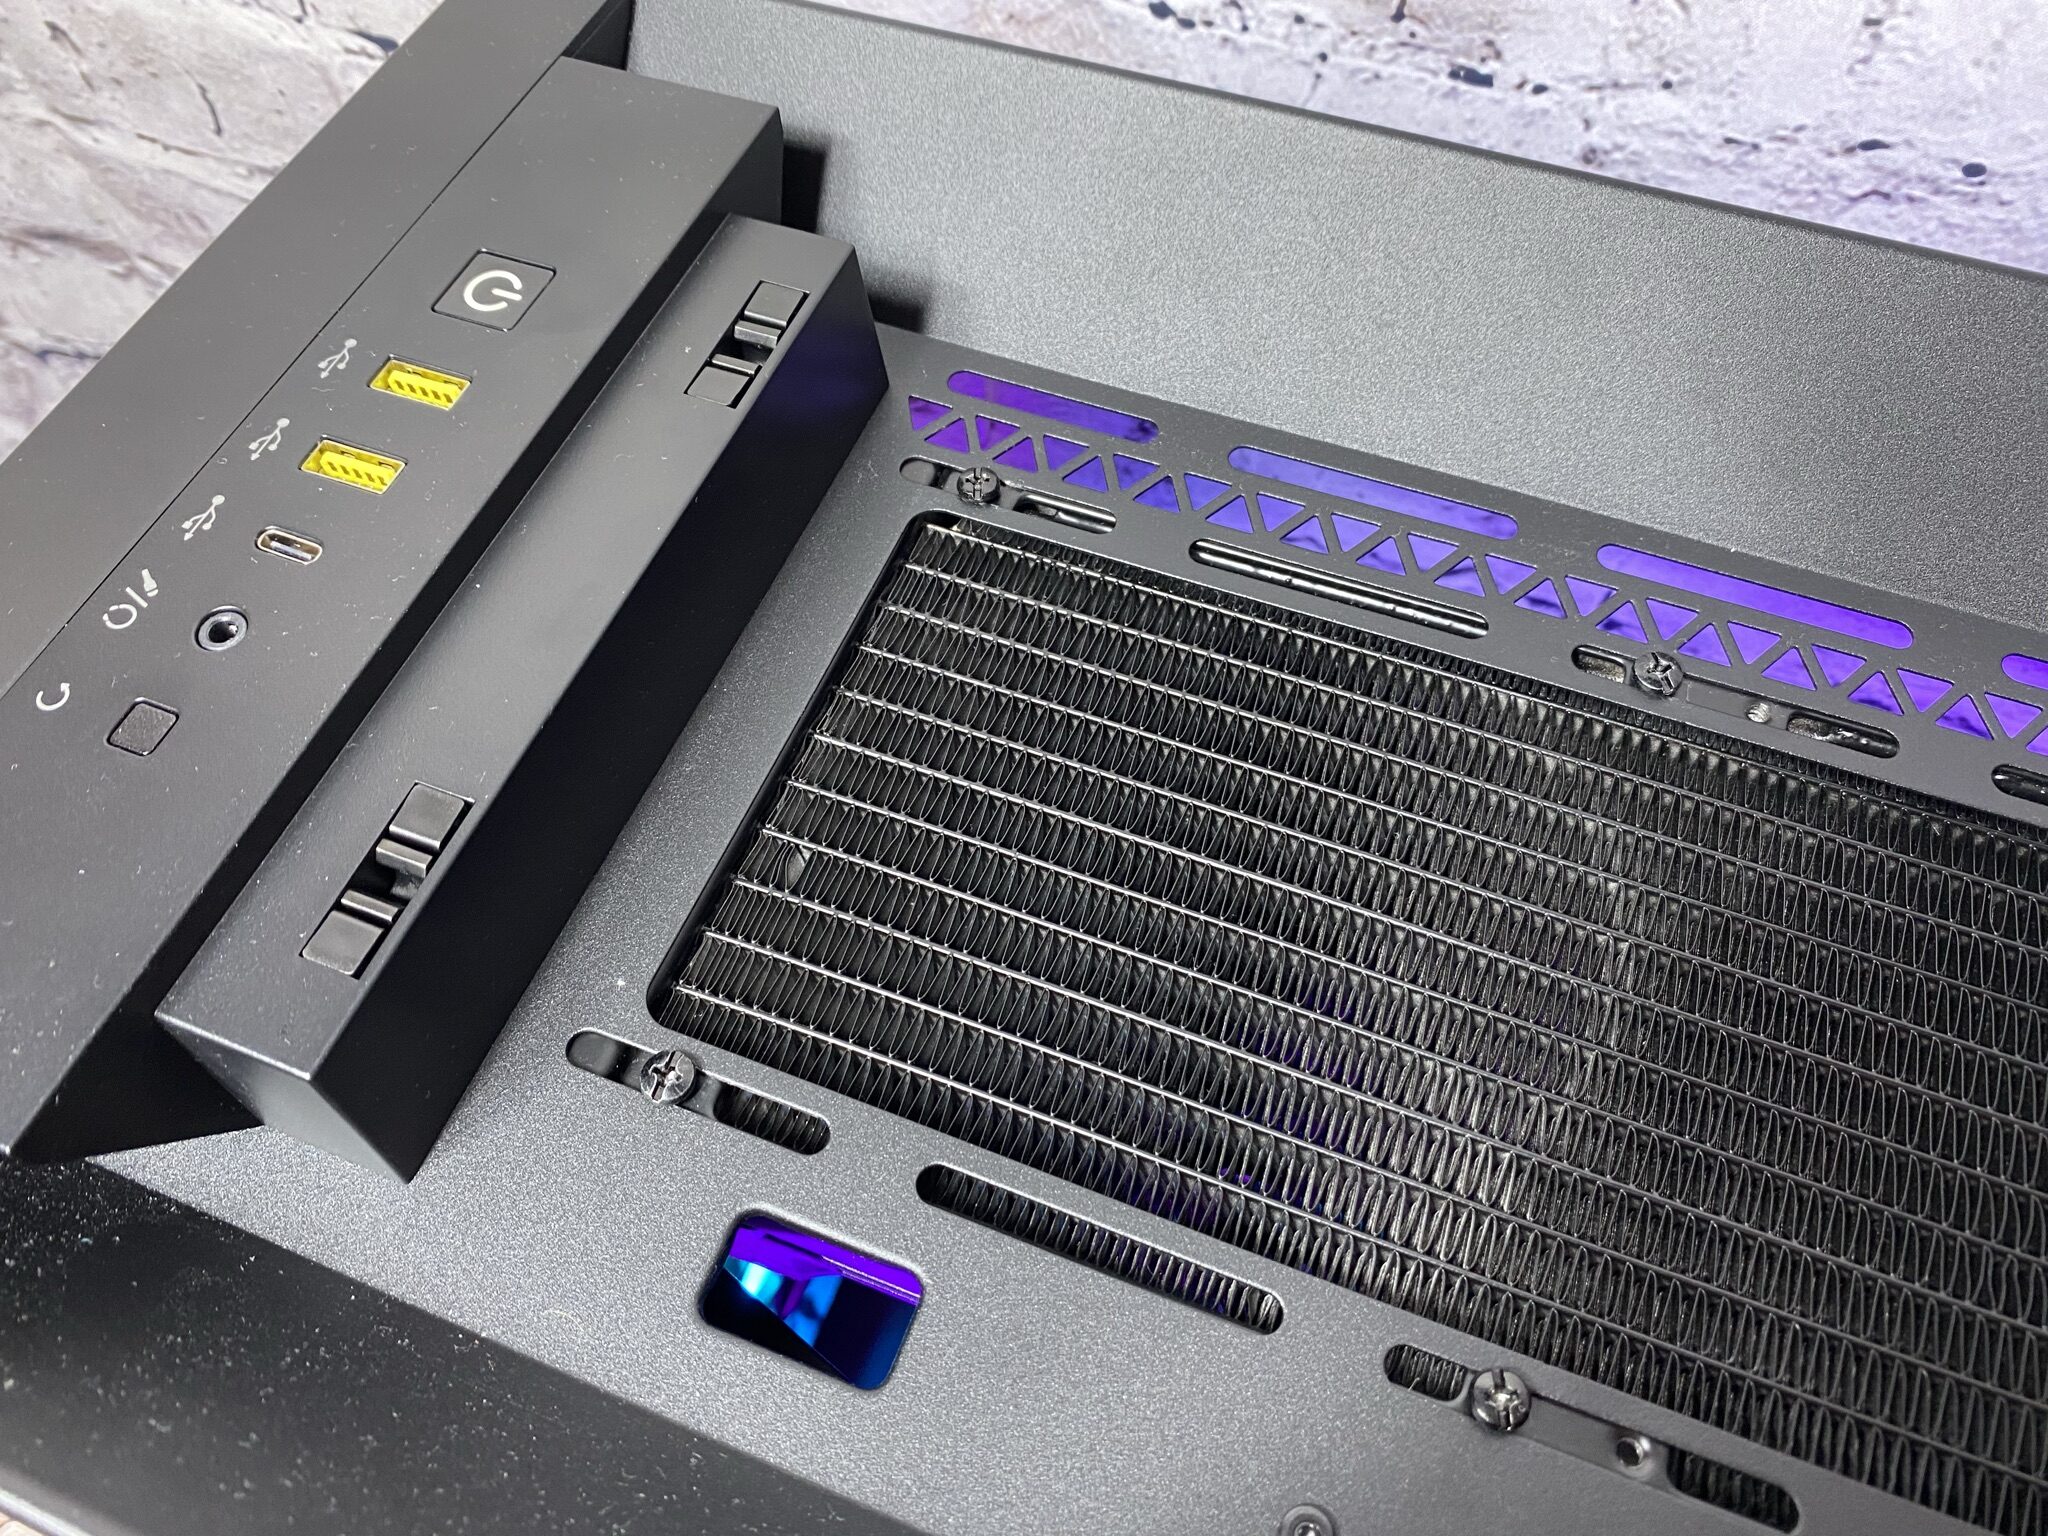
On top of the case, the whole thing looks similar. Here we find the same connector system as on the front. Underneath, there is of course a dust filter here as well, which is removable. There is a difference in the length of the screen. This is now shorter here, since we have the I/O panel on the front side. This is equipped with 1x USB 3.1 Type-C, 2x USB 3.0 and 1x HD audio. The USB ports are yellow, which makes them stand out. In addition, the panel has a small gray indentation on one side, which once again says “Corsair”.

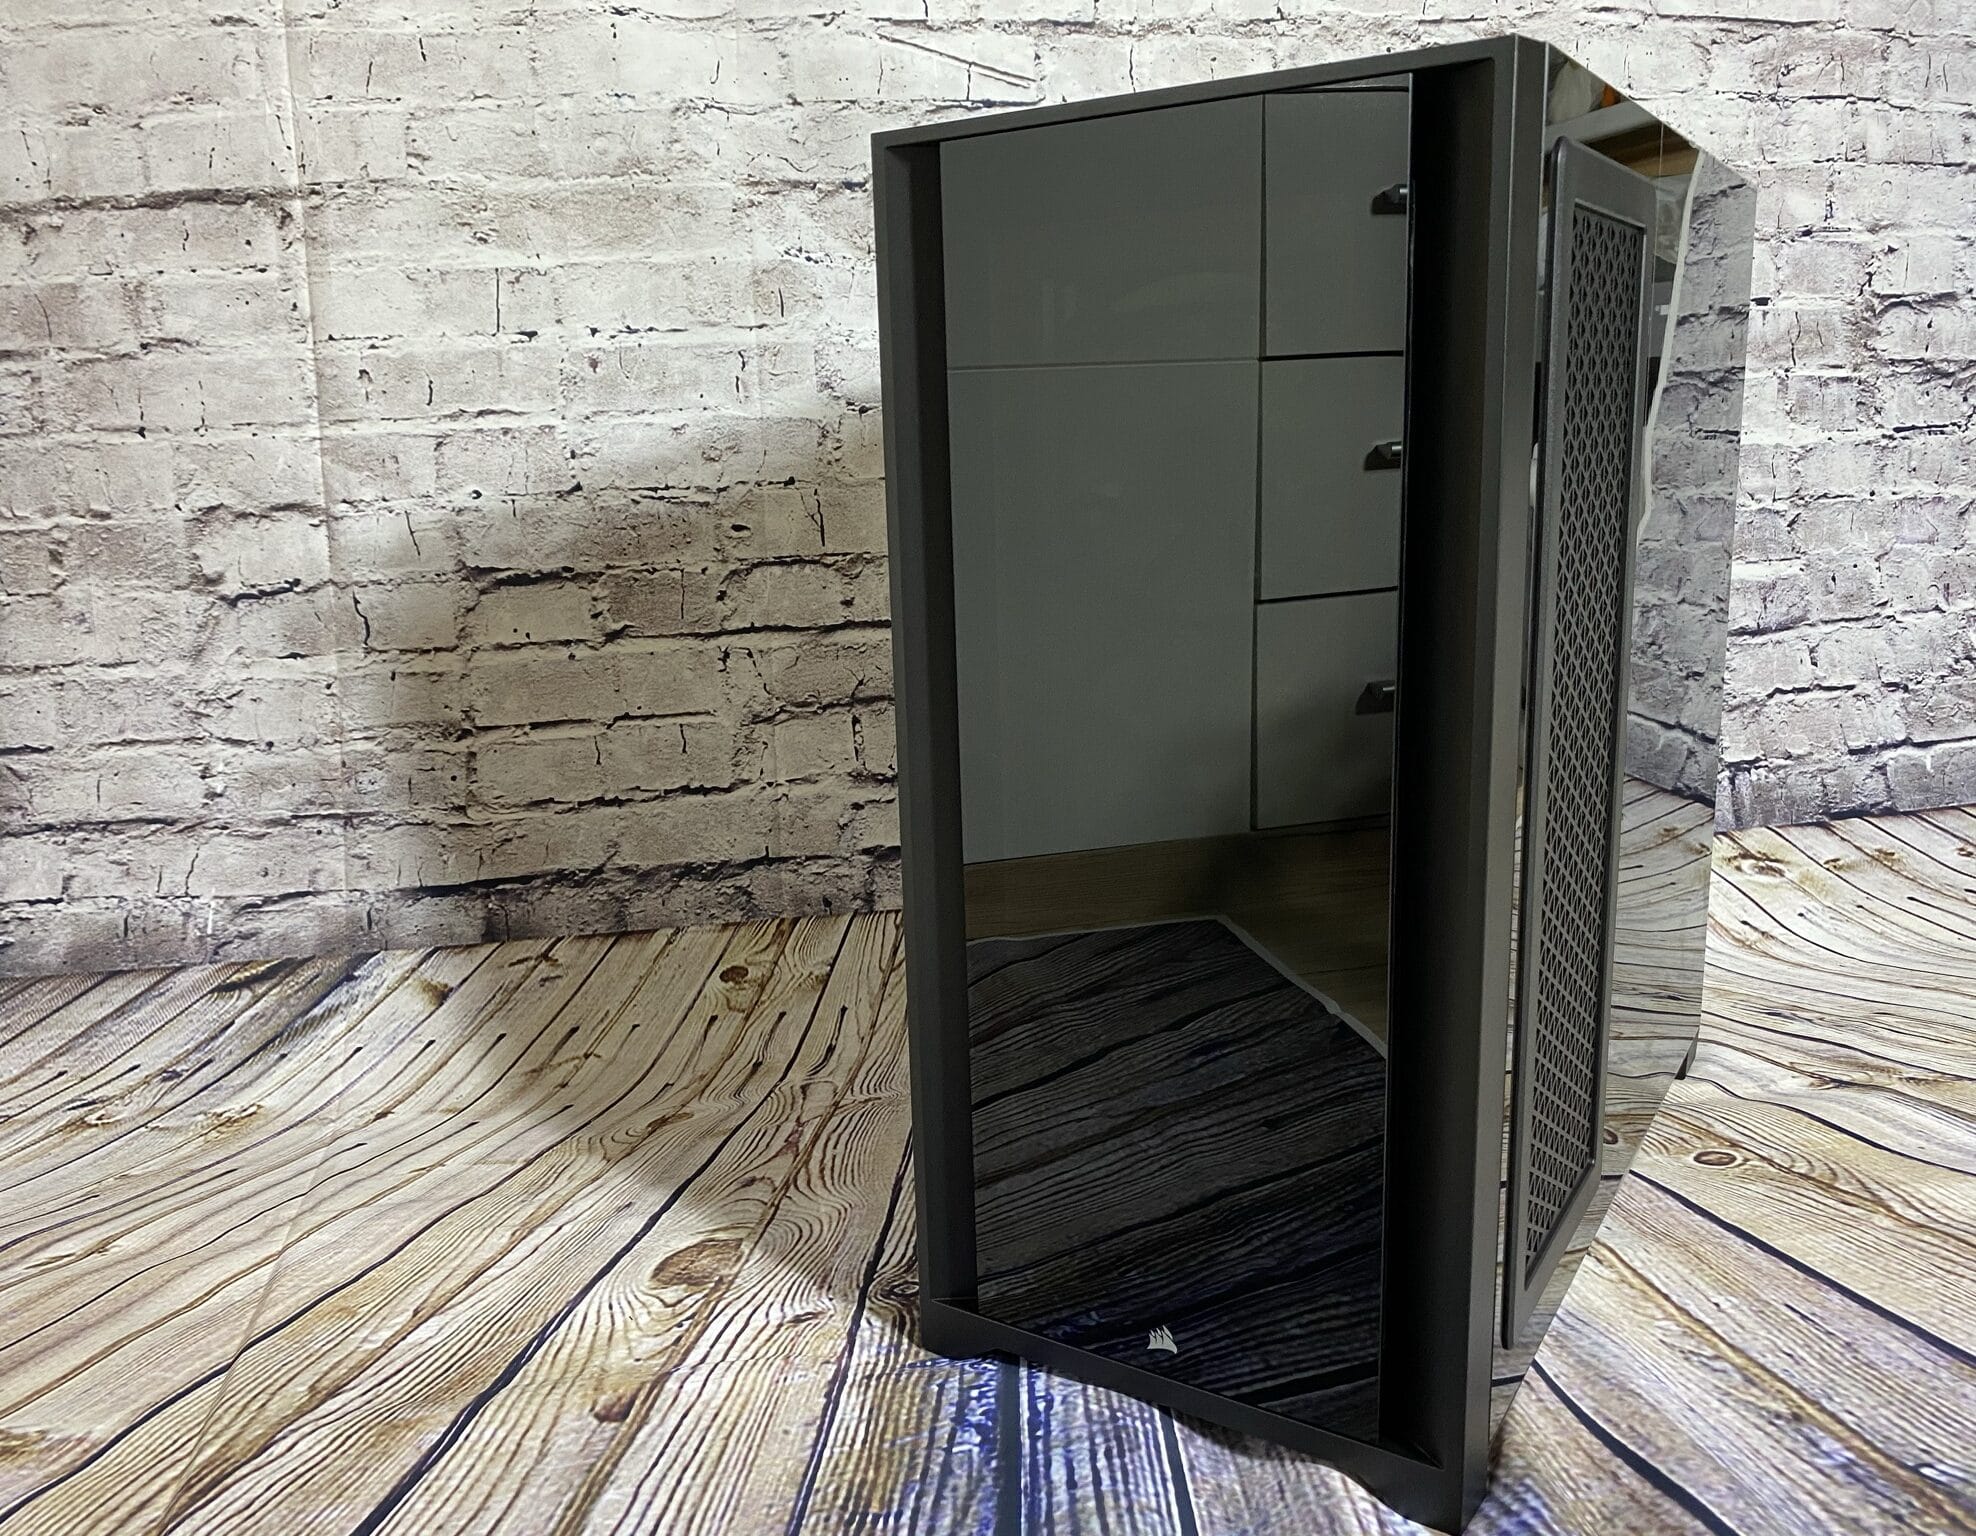
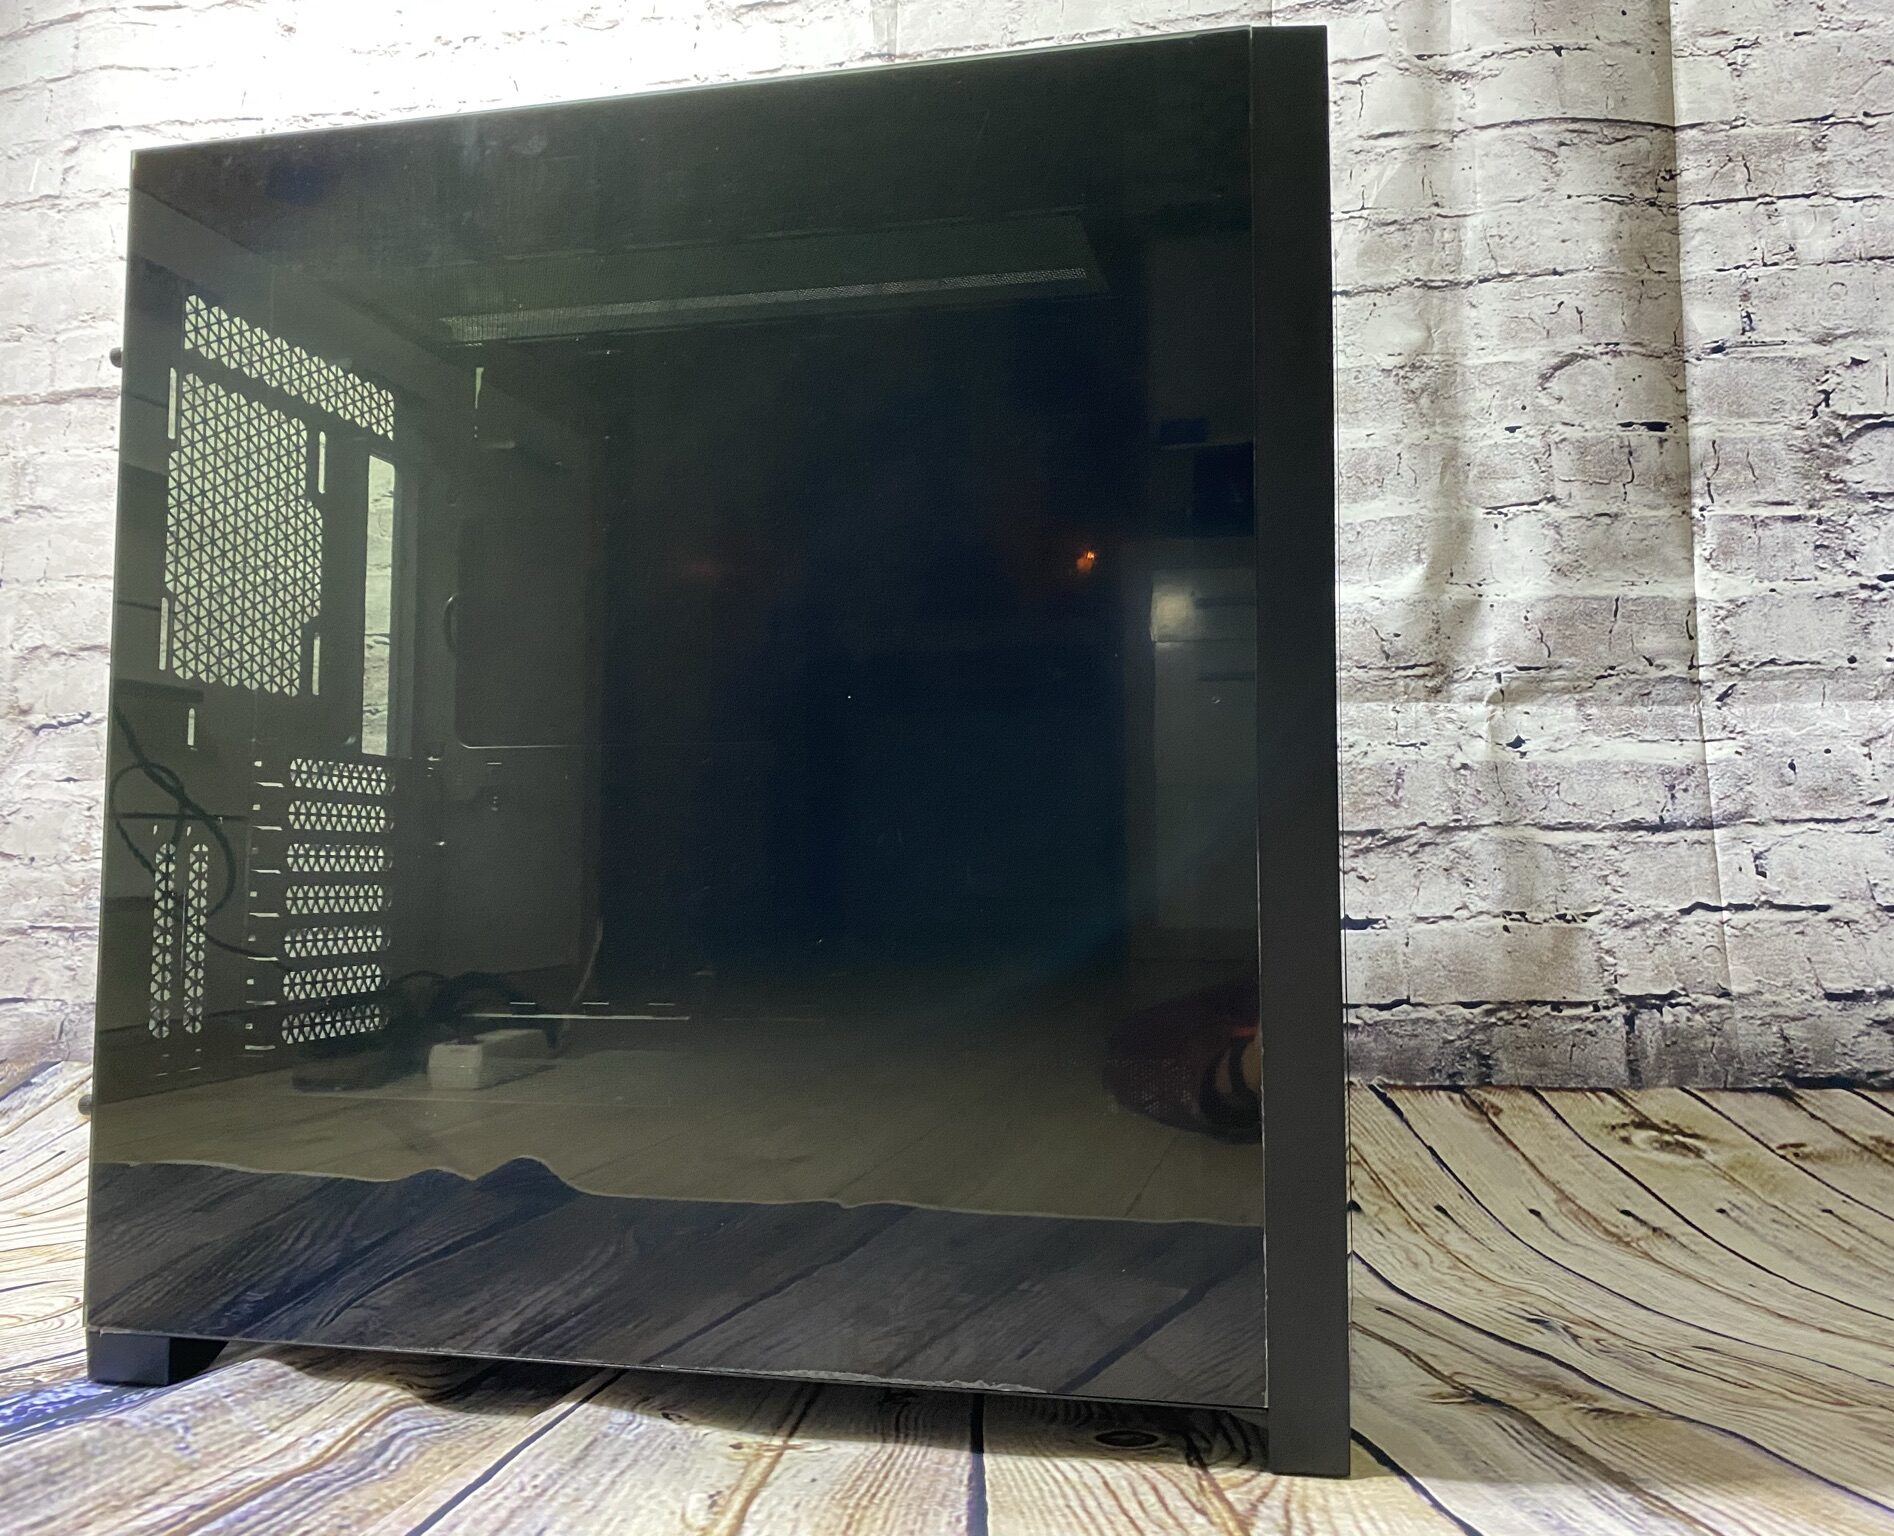
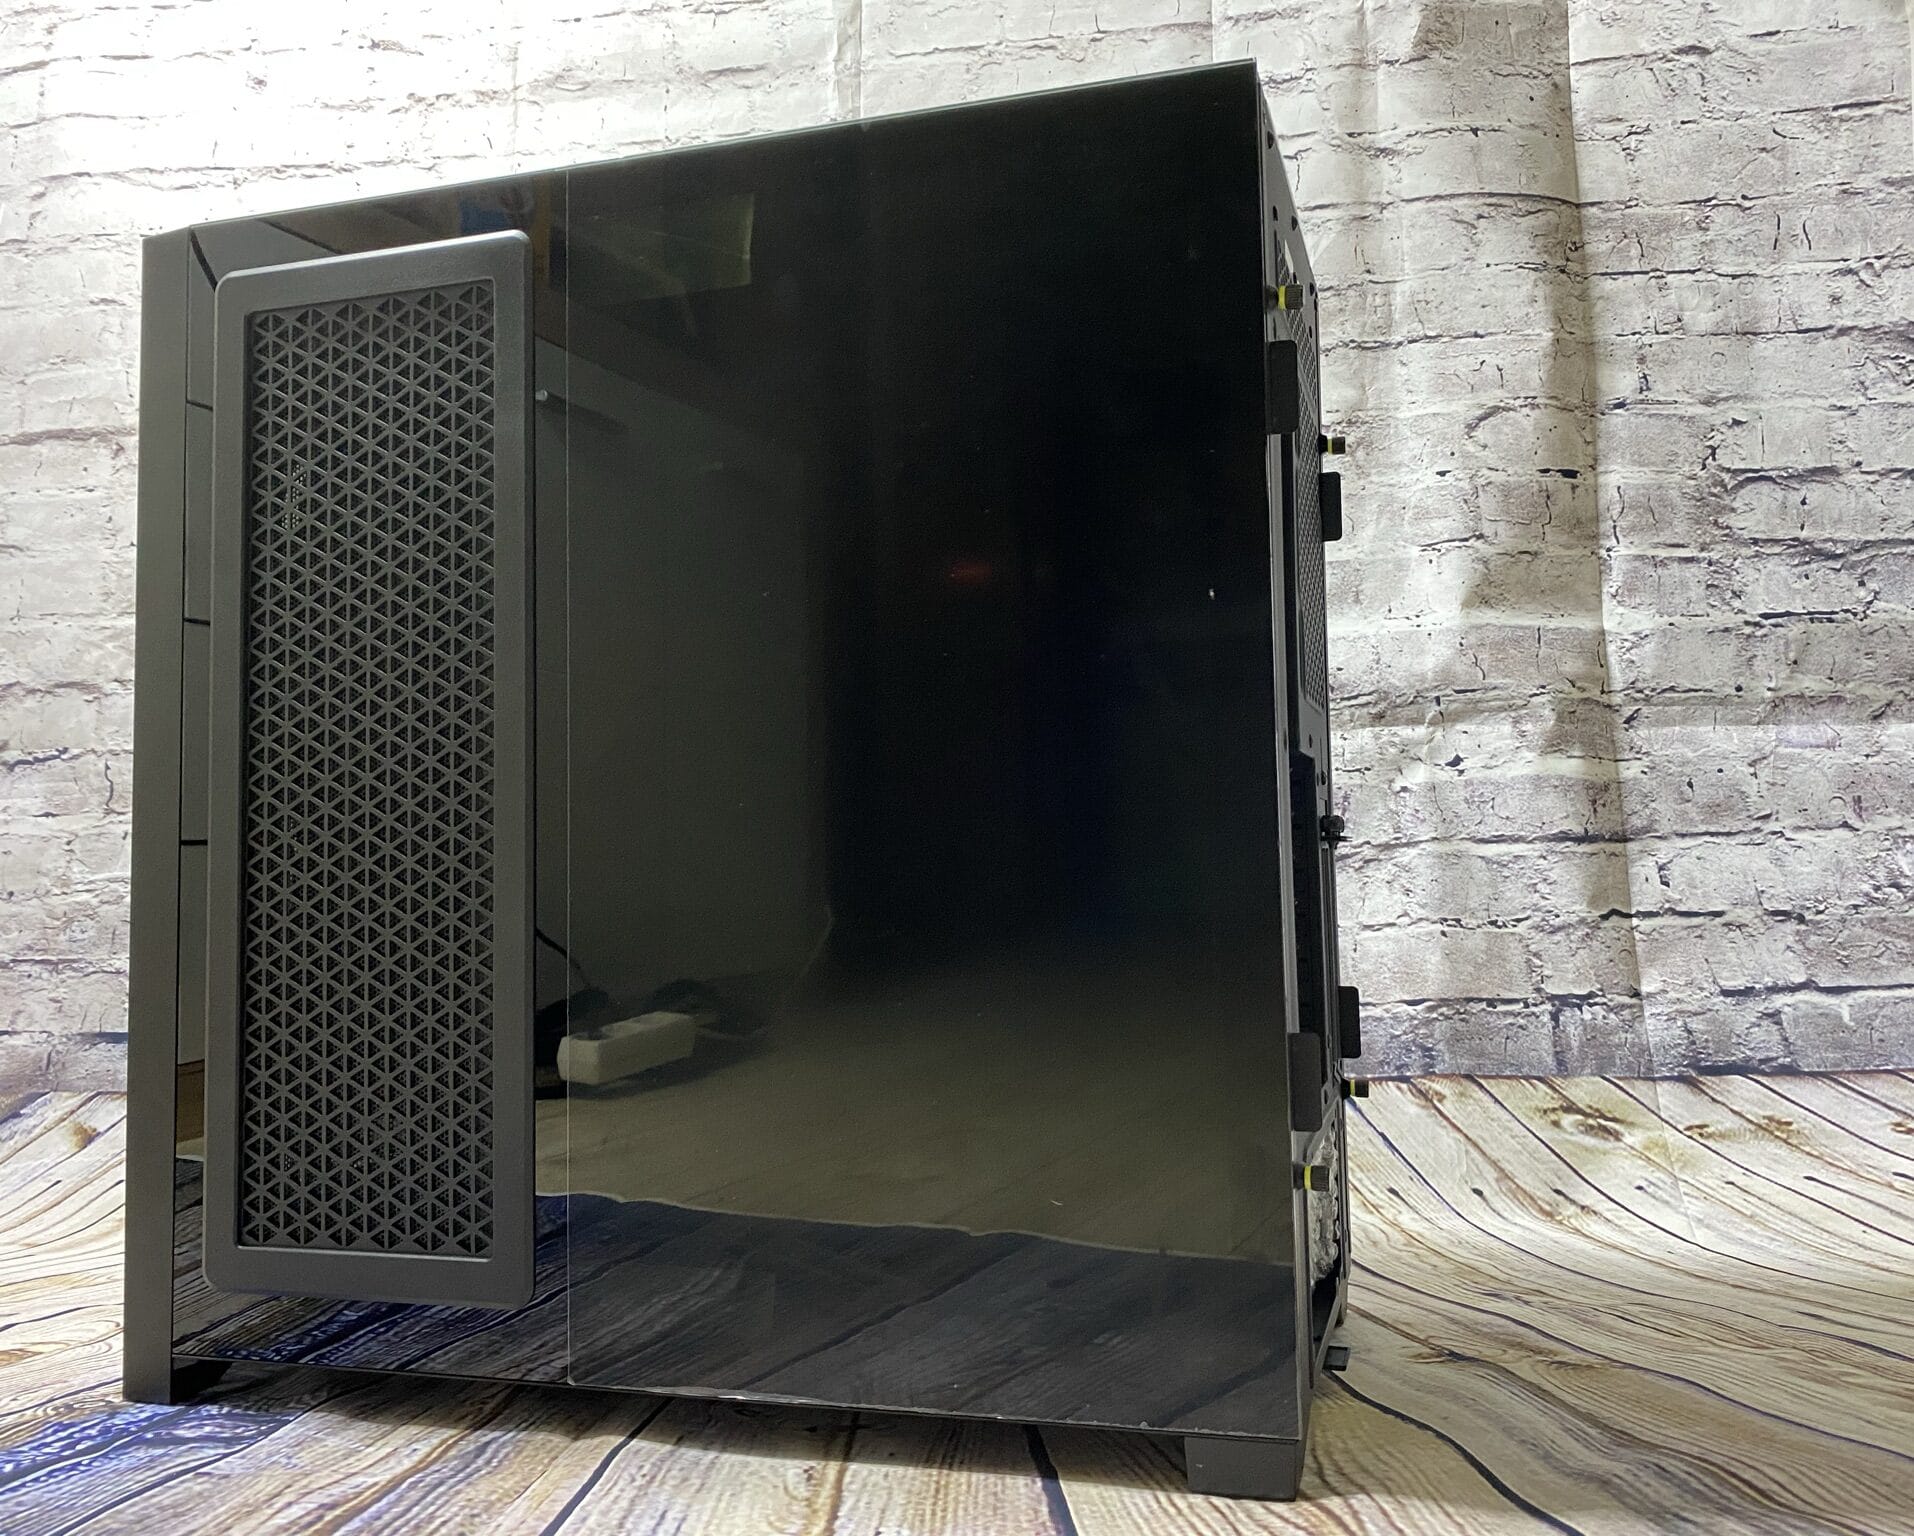
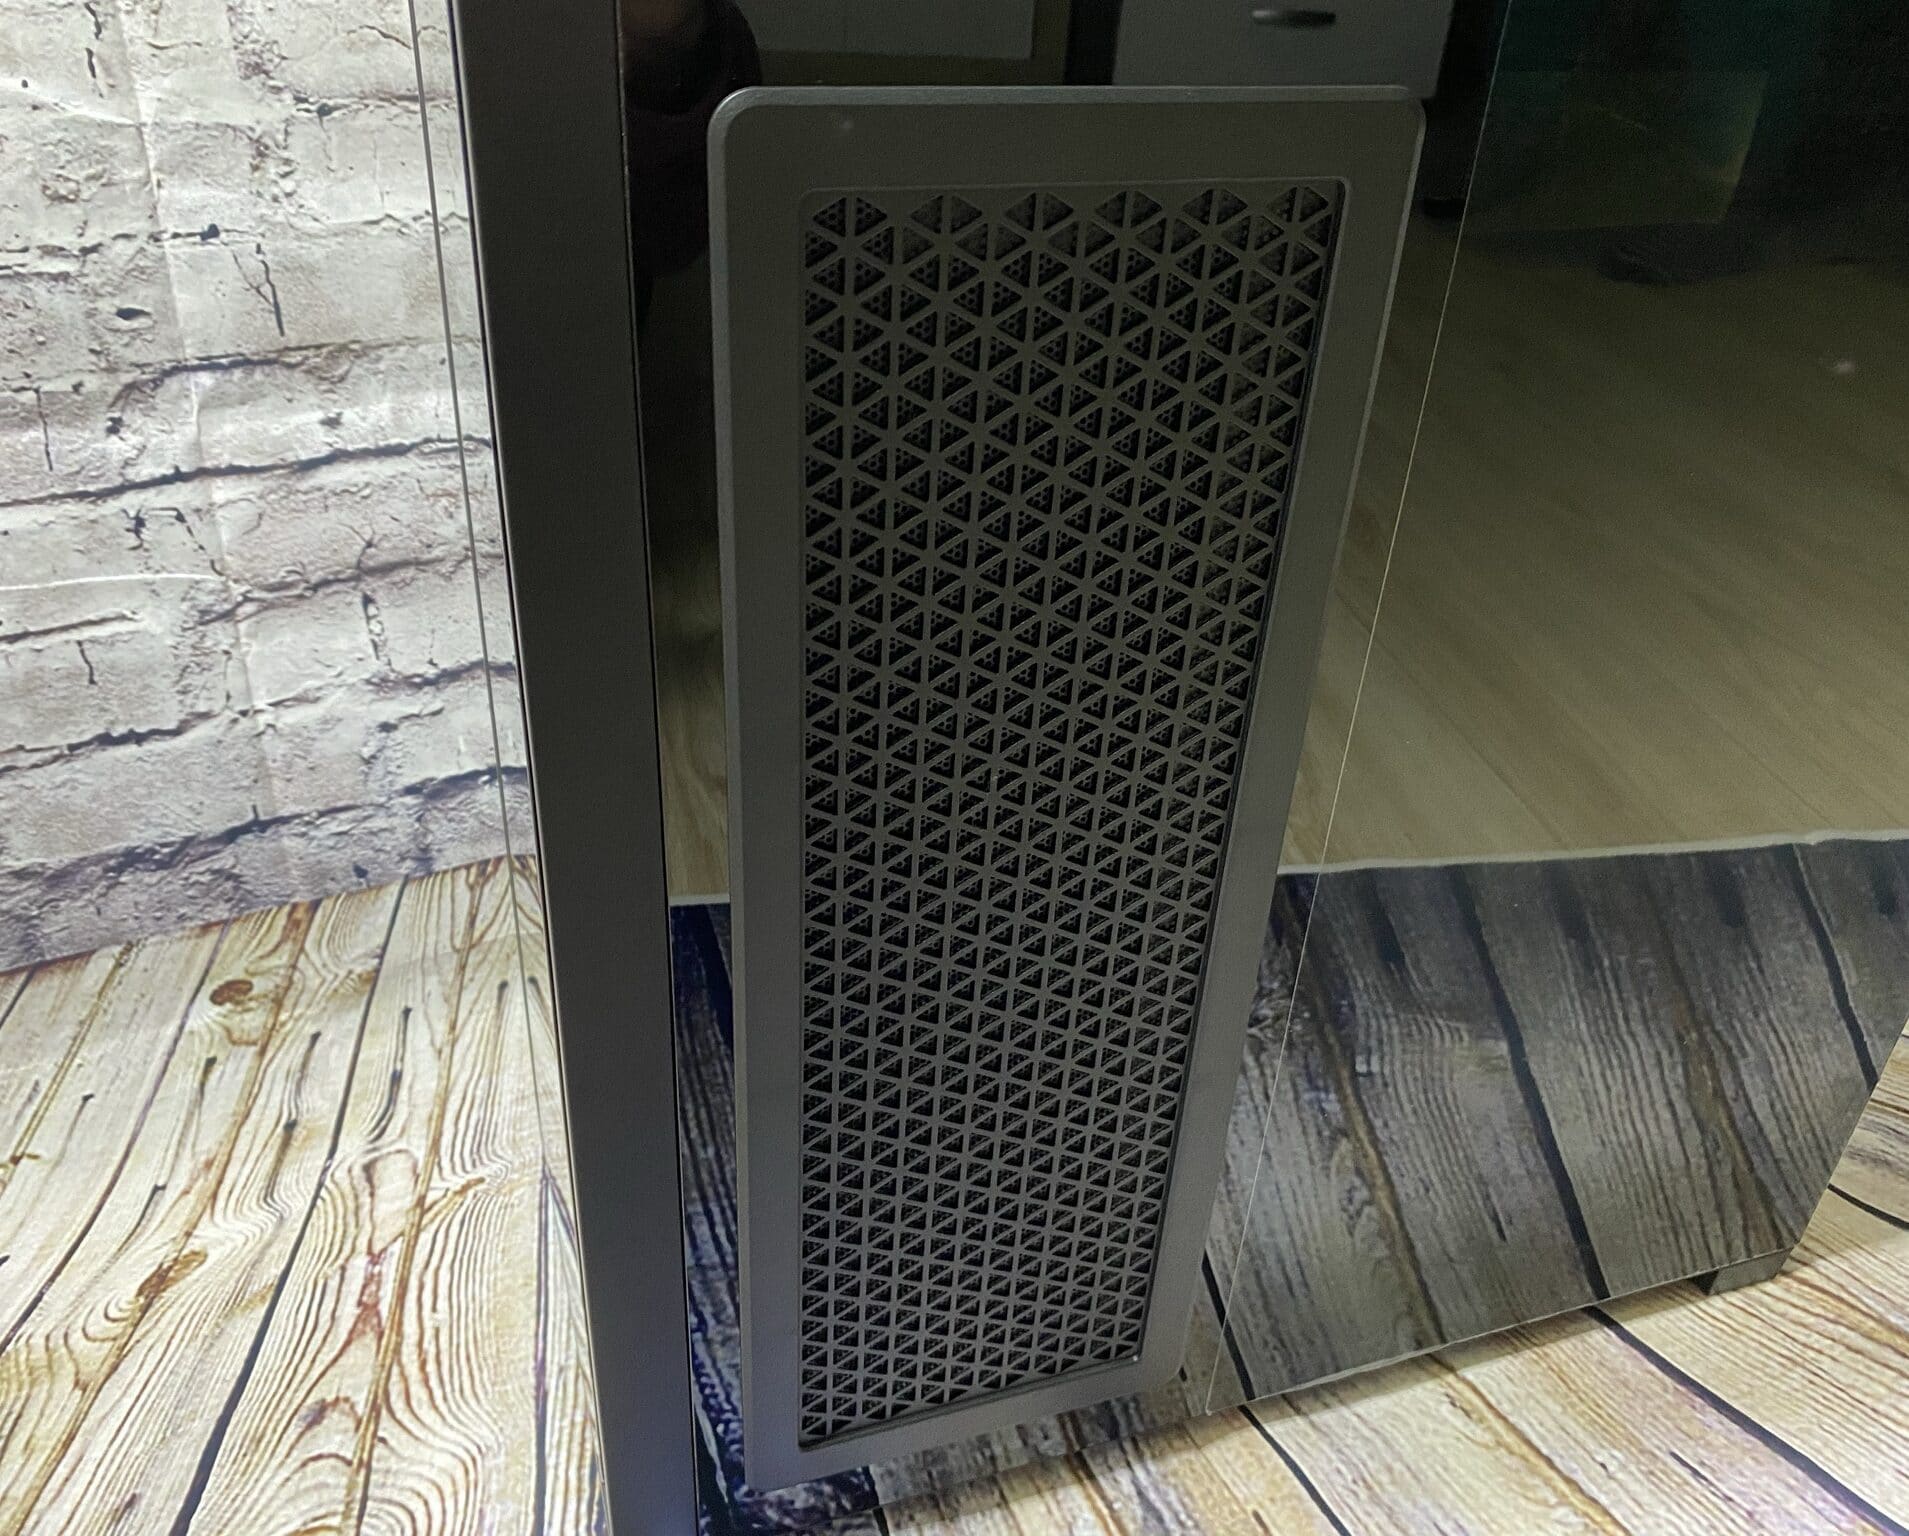
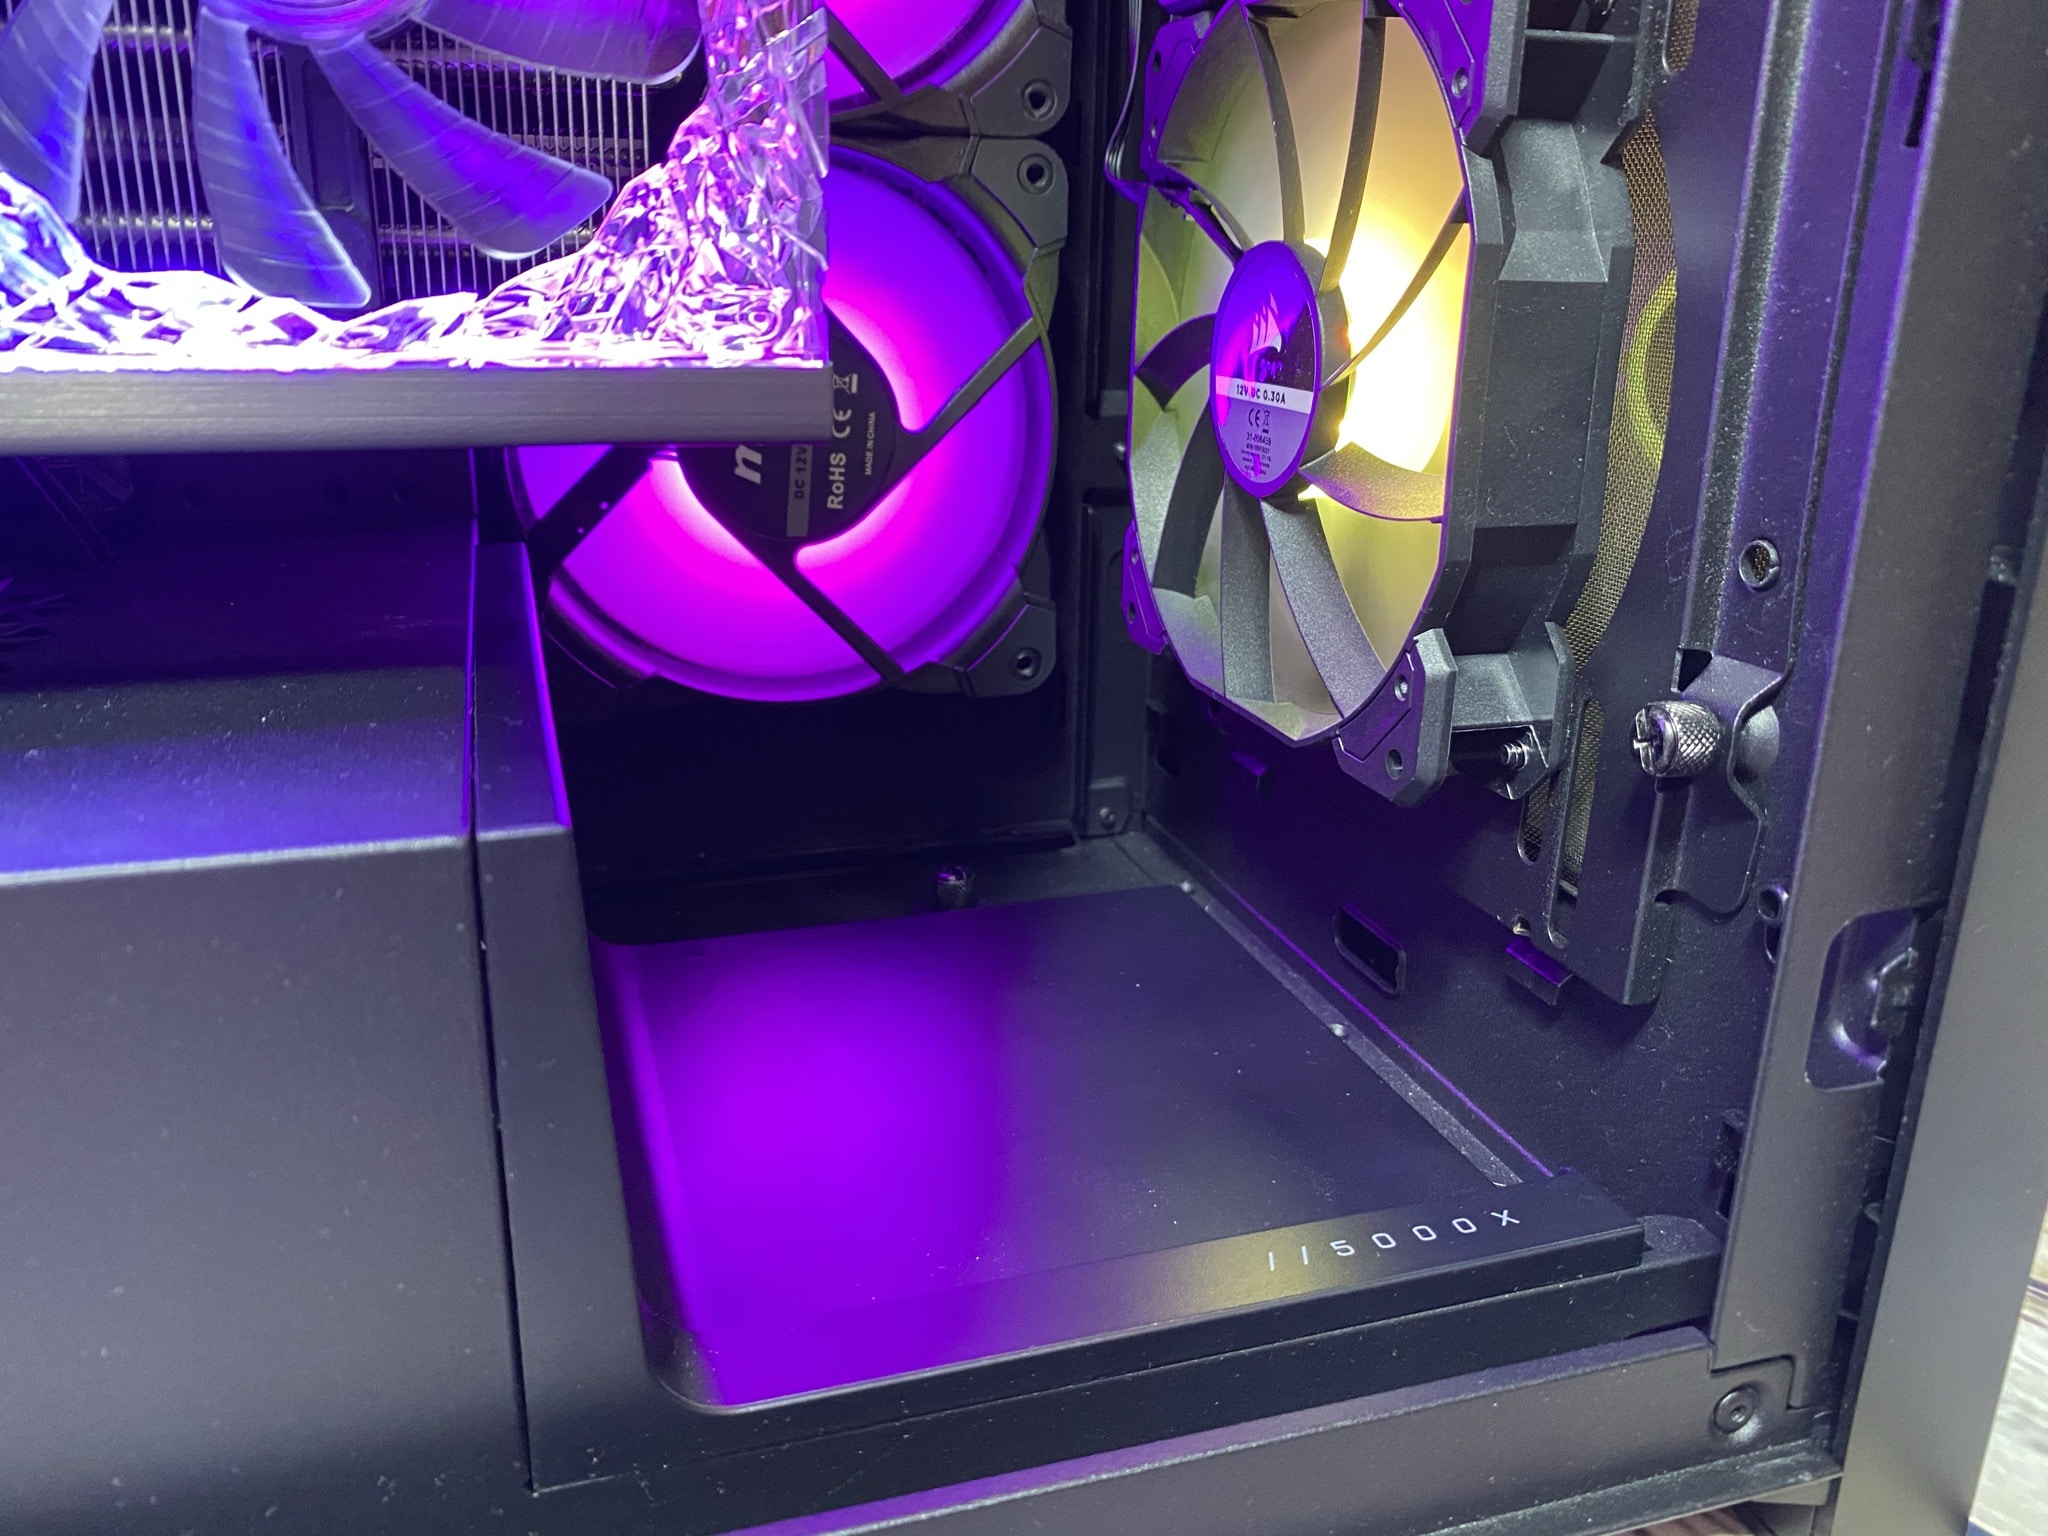
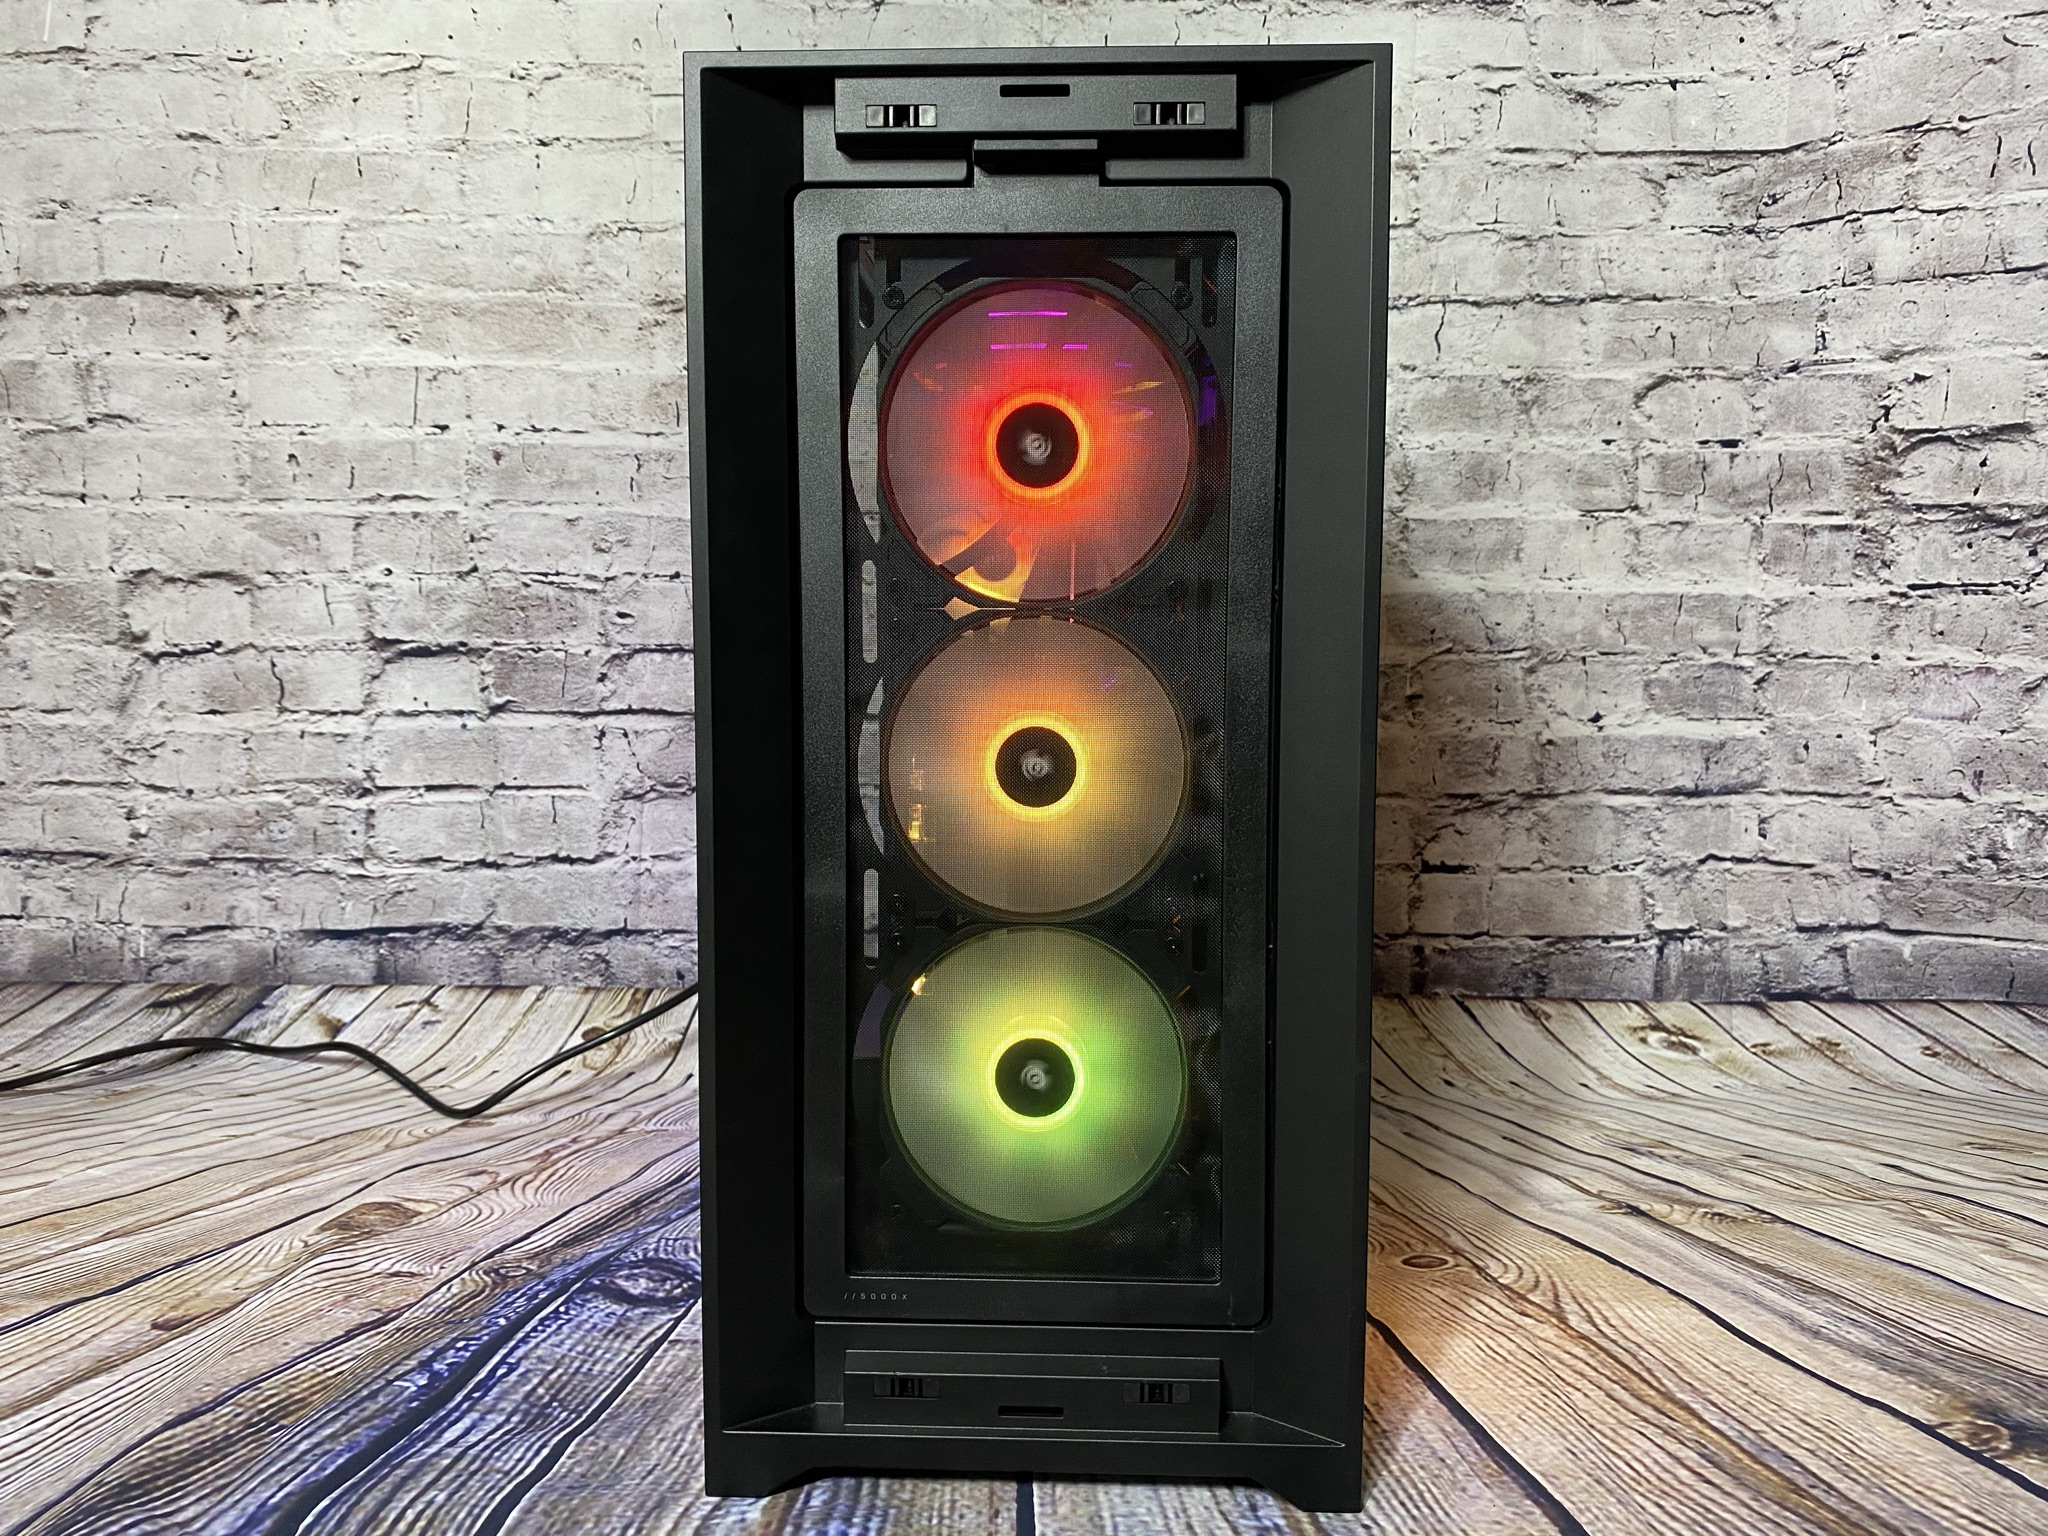
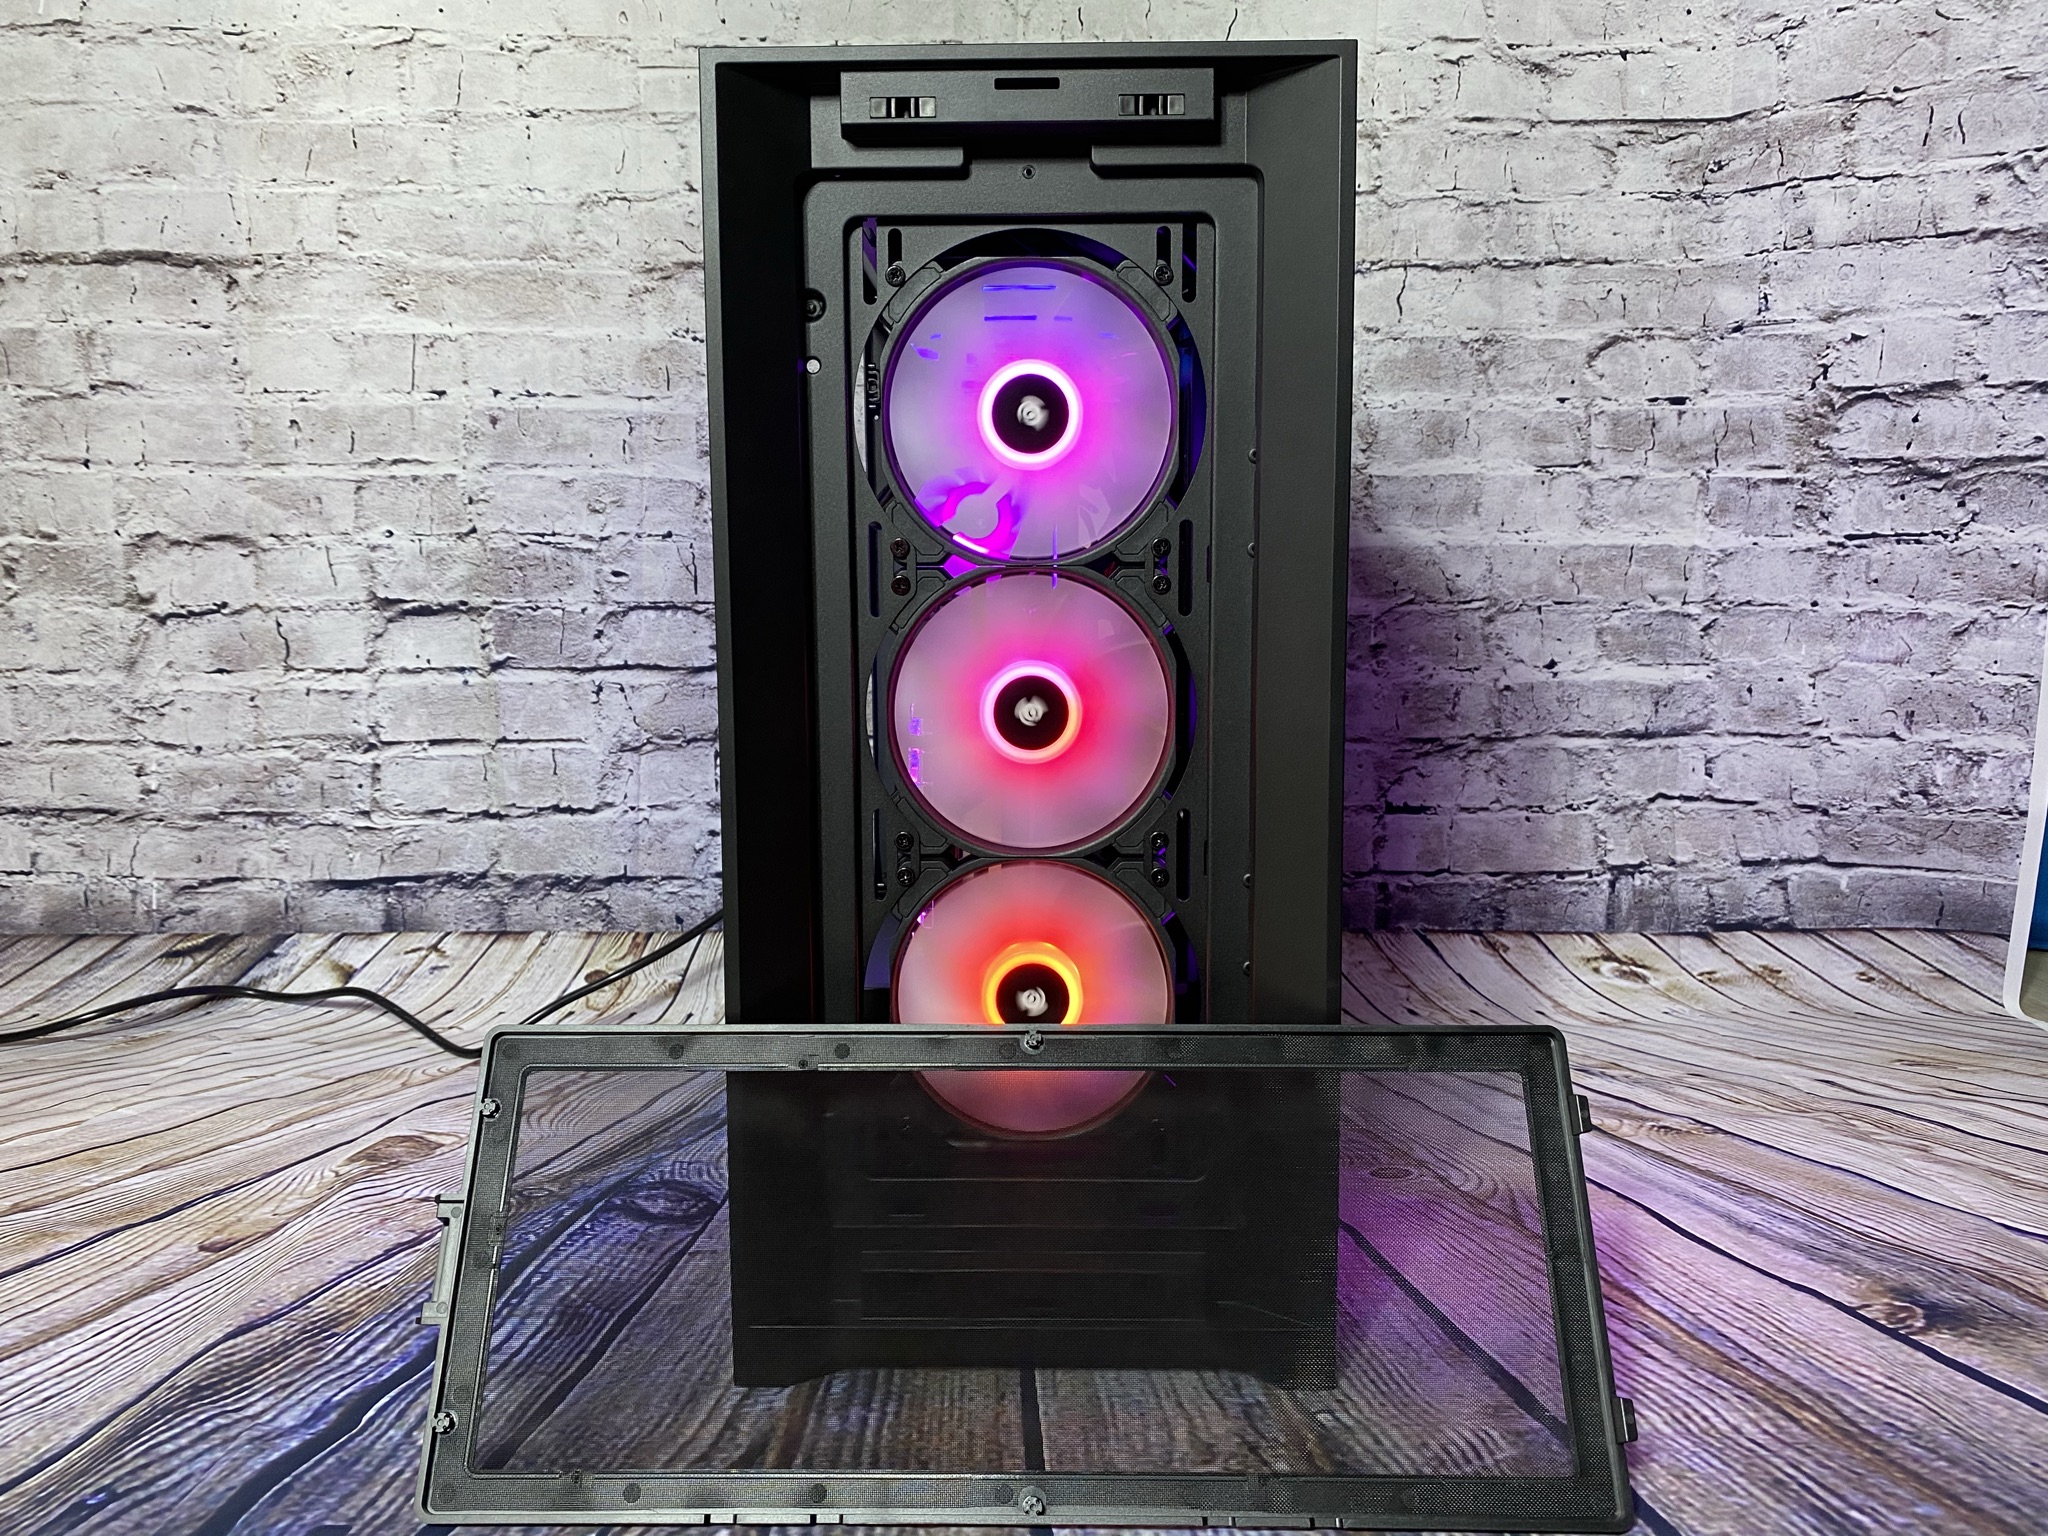
Moving on, we take a closer look at the sides. The sides feature a lot of glass, giving us a good look inside the case. Especially the showcase side is quite big, has a small edge and looks very elegant. Everything has been processed very solidly. The other side also looks very good. Here we find some mesh again on the iCUE 5000X RGB, which can also be found on the front of the new 5000D Airflow. Behind it, we can optionally mount three 120 mm fans. The mesh looks very successful here and has a very nice design.
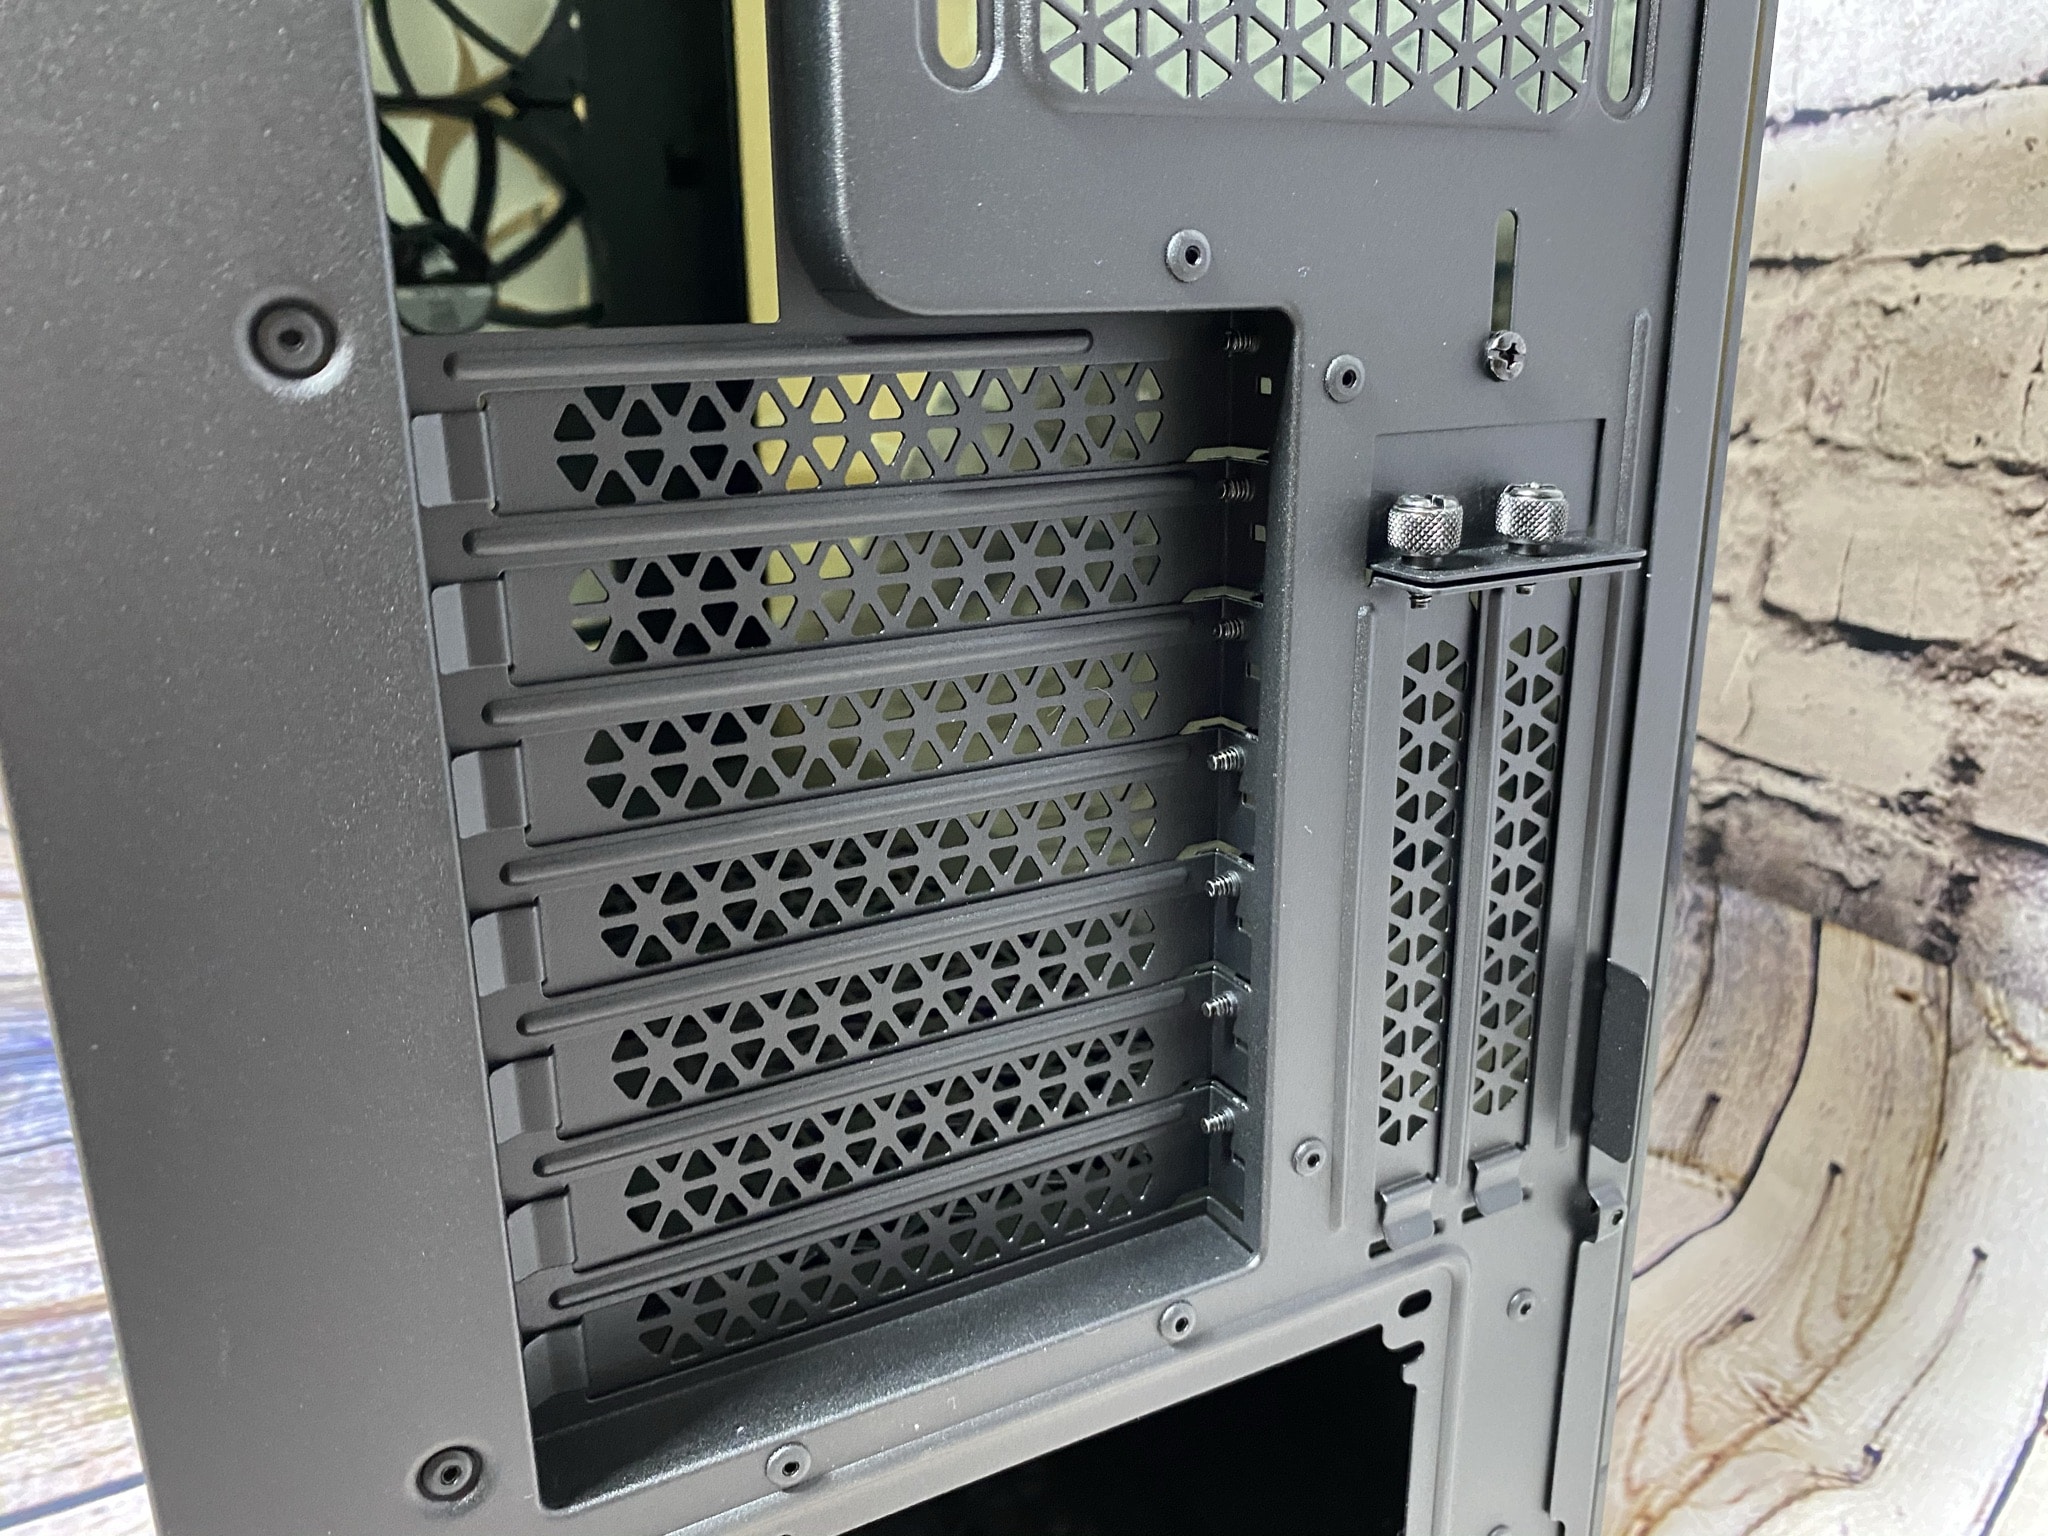
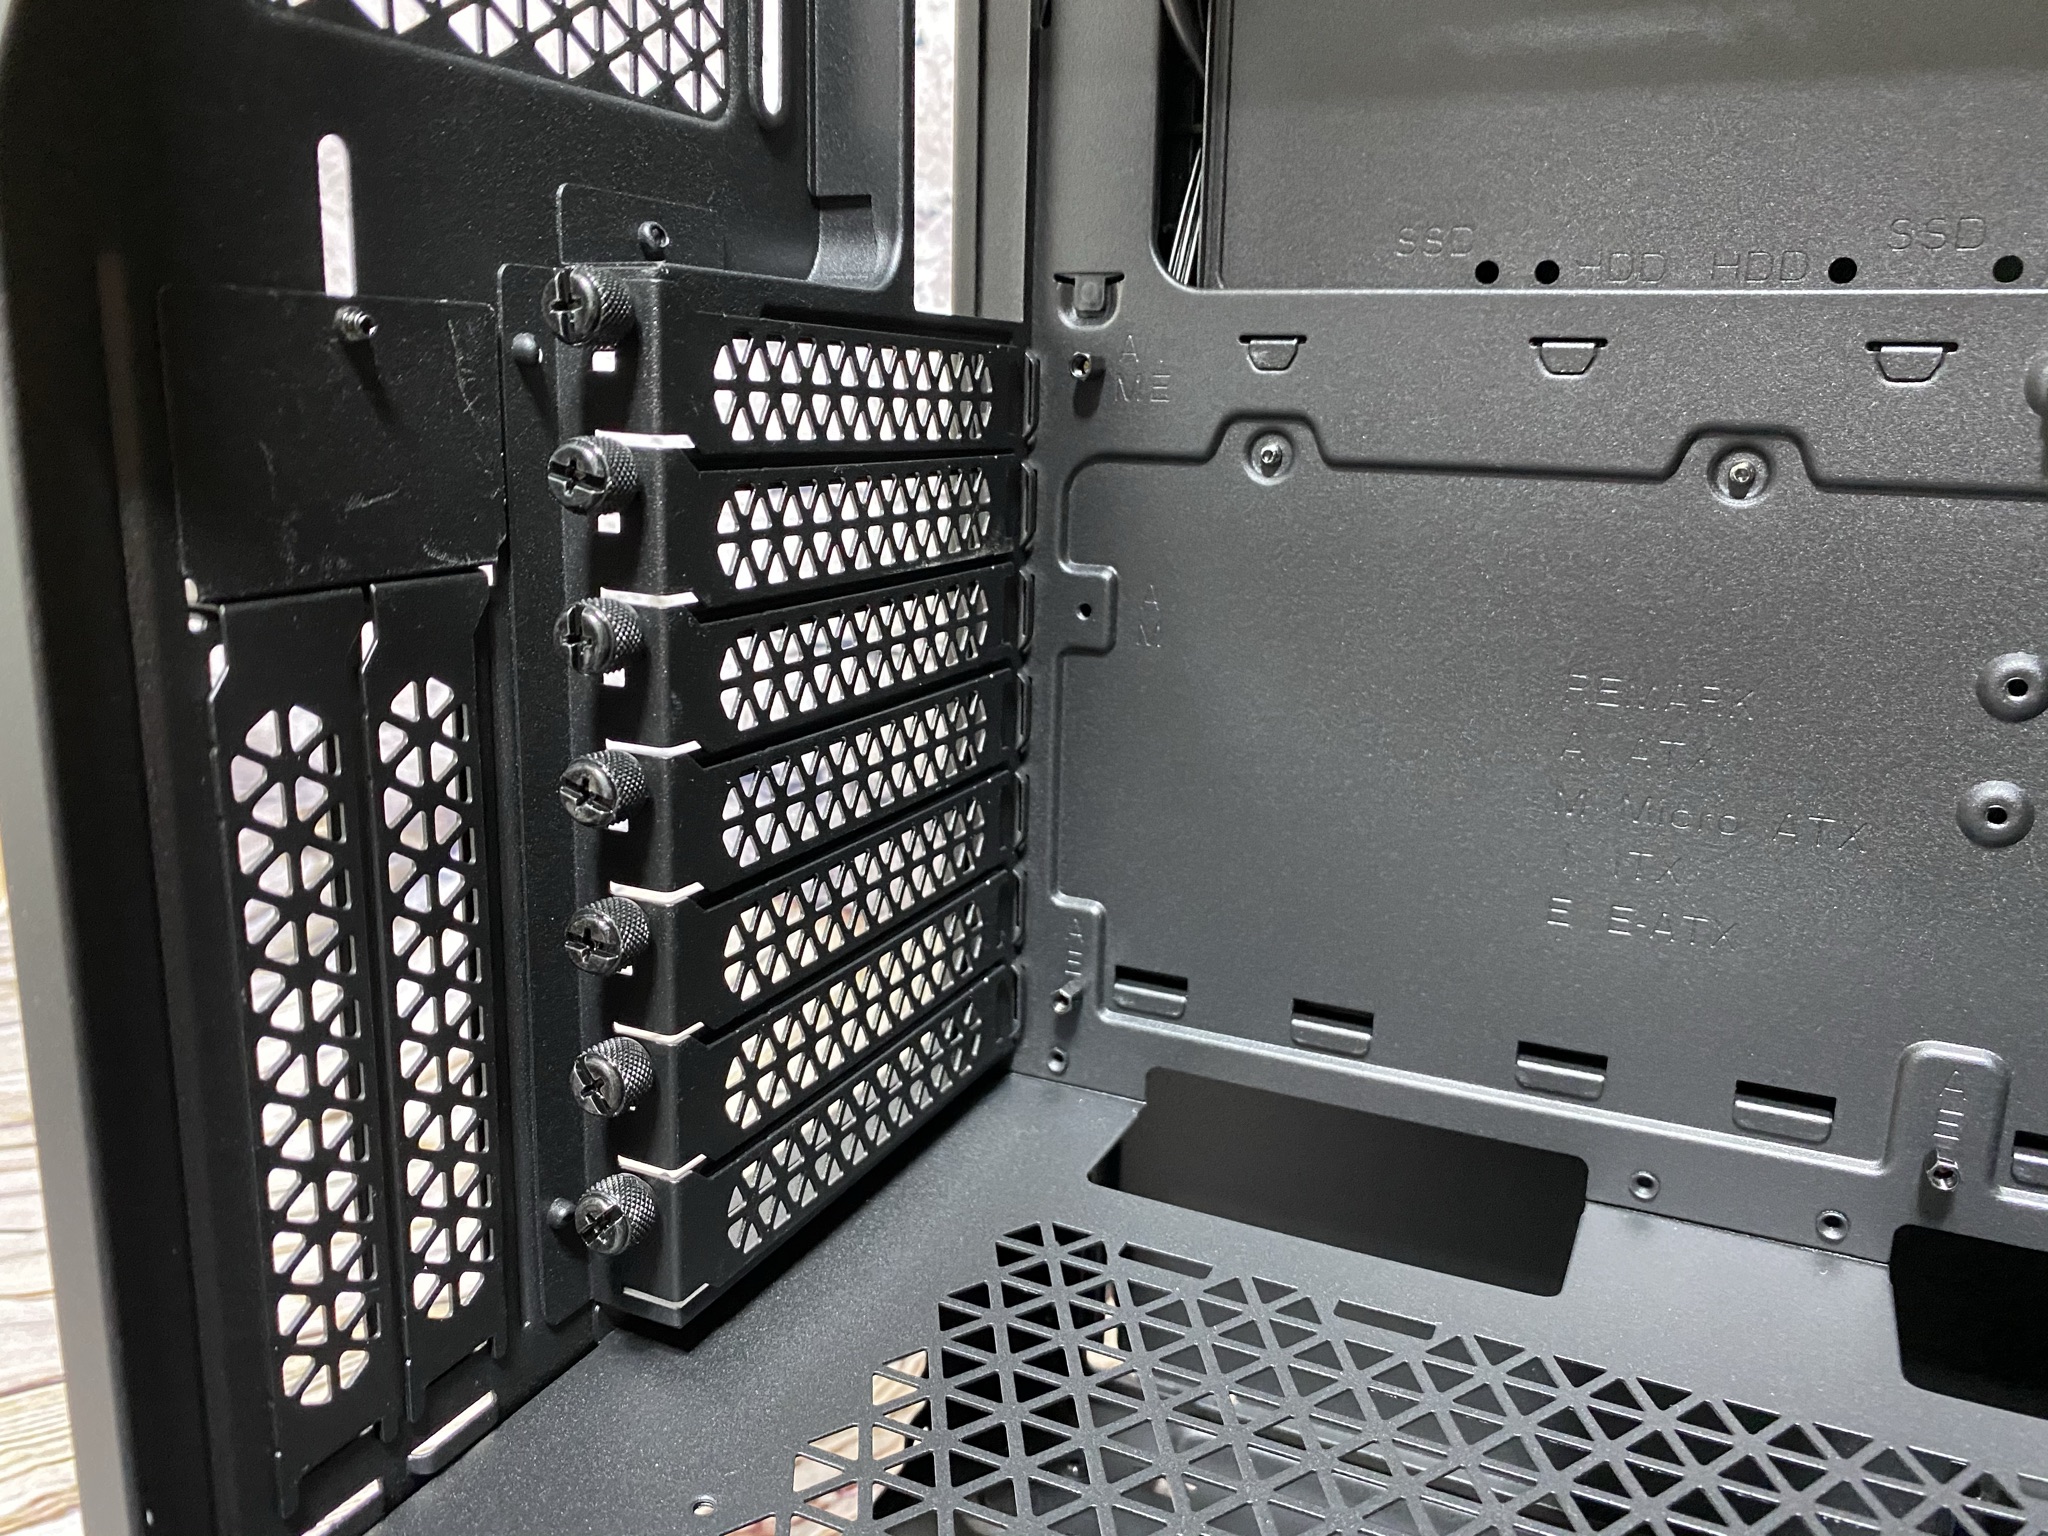
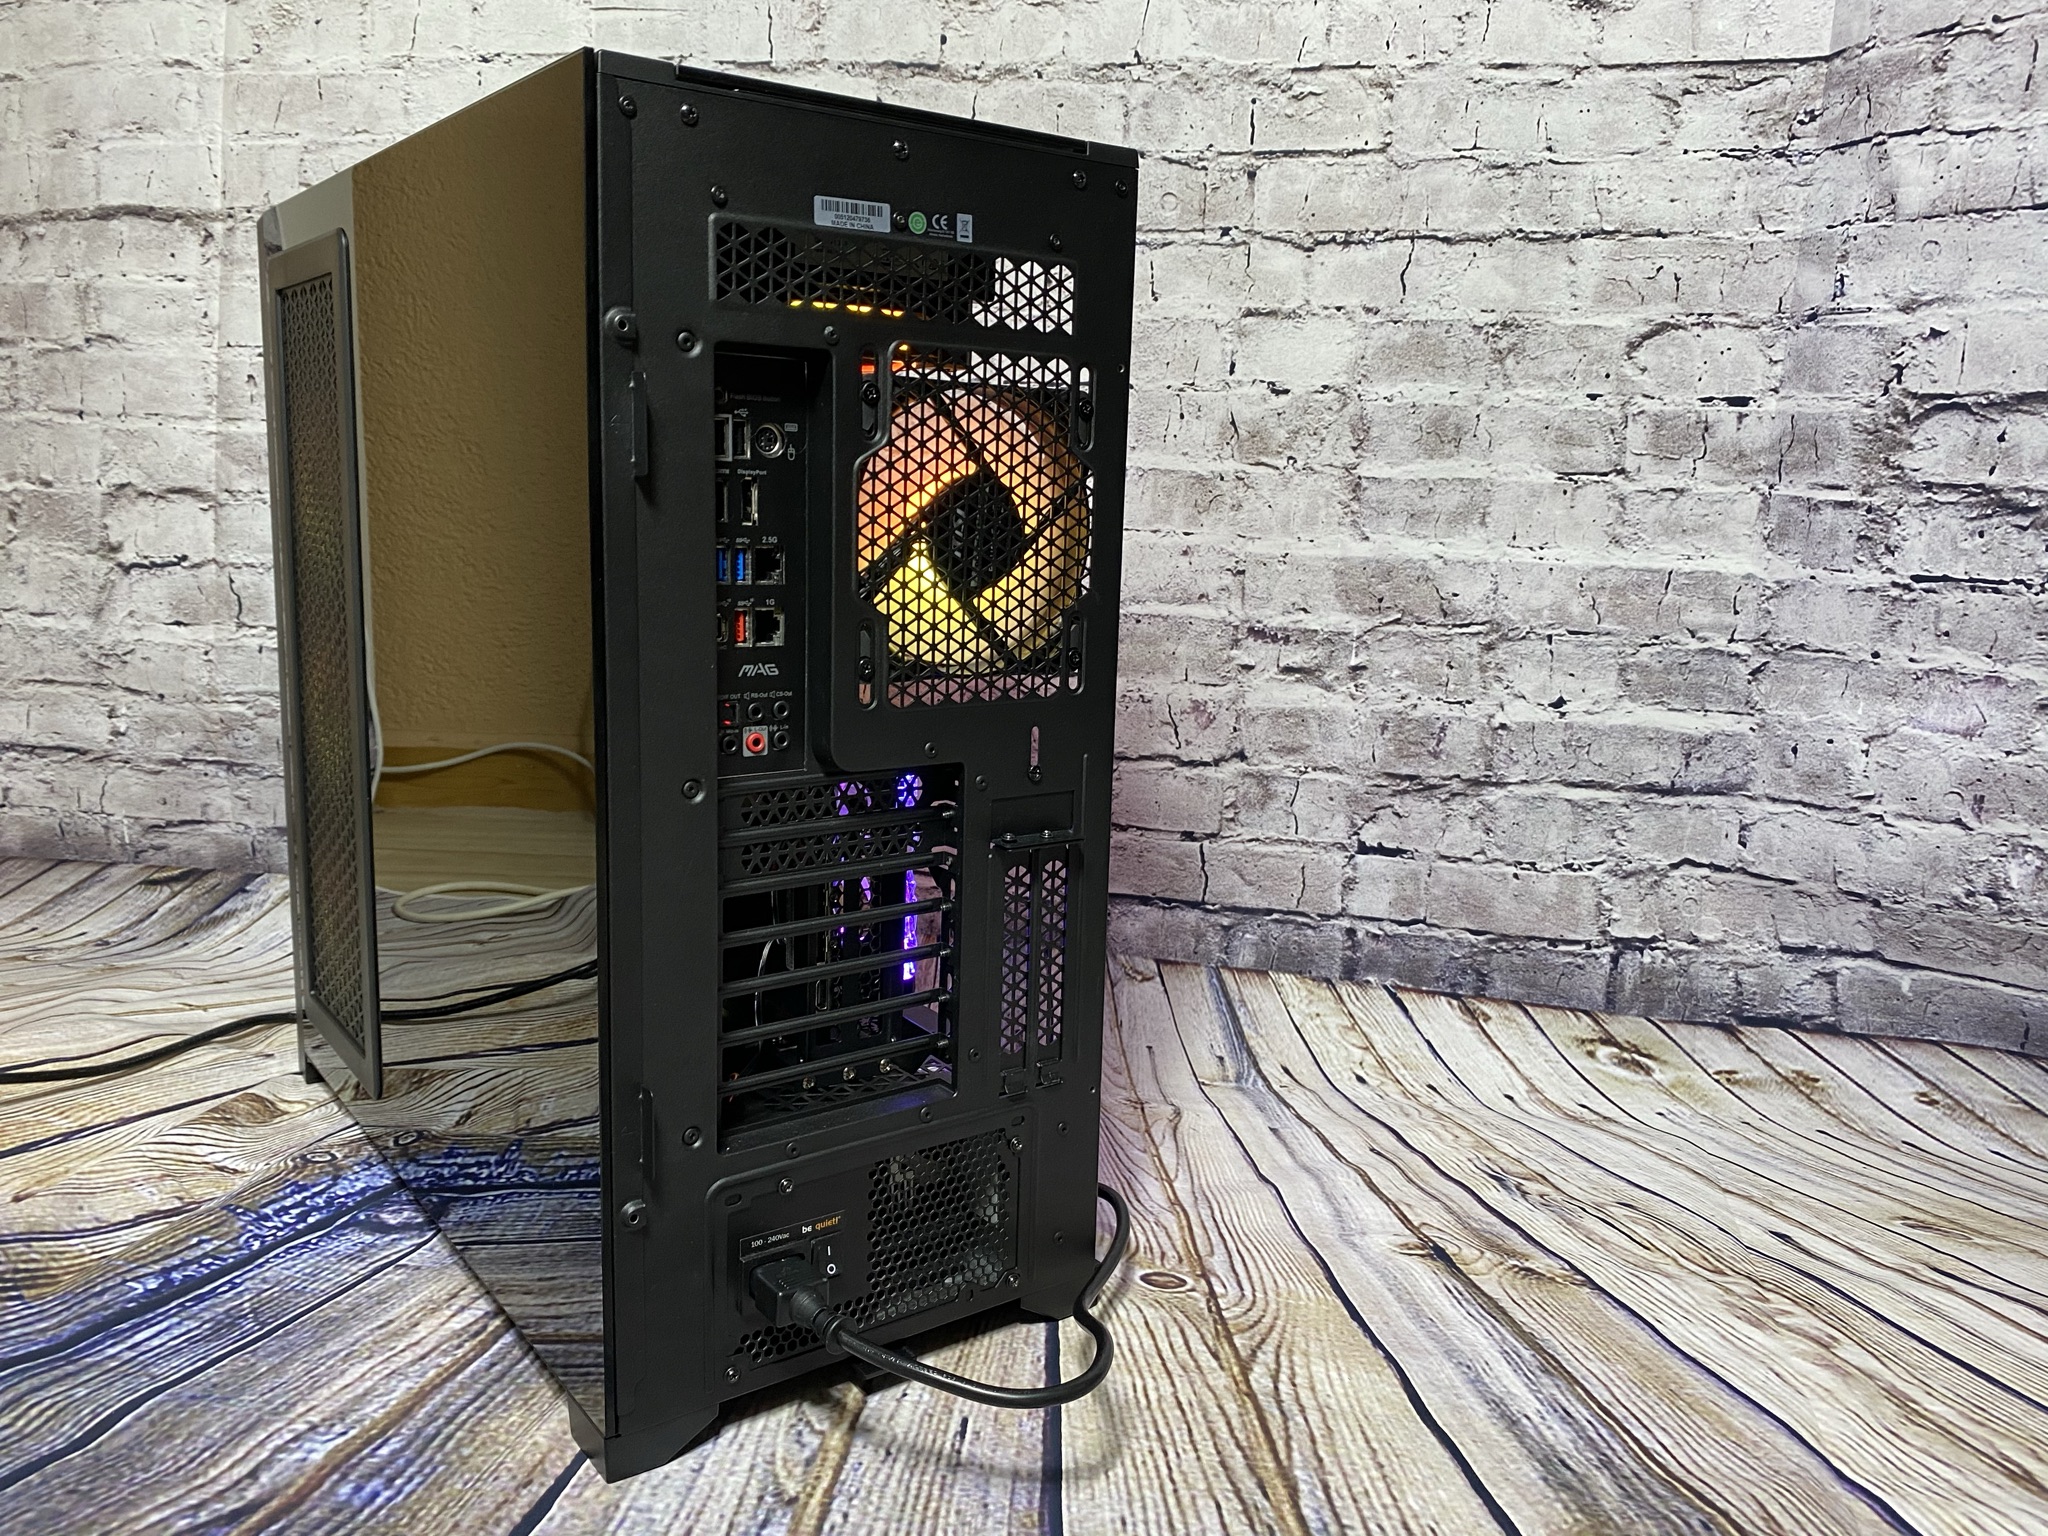
The back looks quite classic, as always. The grille we can see here has the same structure as the small piece of mesh on the side. Of the PCI slots, there are a total of seven removable bezels. In between, they are fitted with metallic braces. To the right, we find a small bracket for installing a vertical graphics card. This option is open to you and can easily be used after buying a PCI riser cable. Both sides are fixed with two screws each and can be pulled out of the bracket towards the back. In addition, the screws have been provided with a small yellow ring.

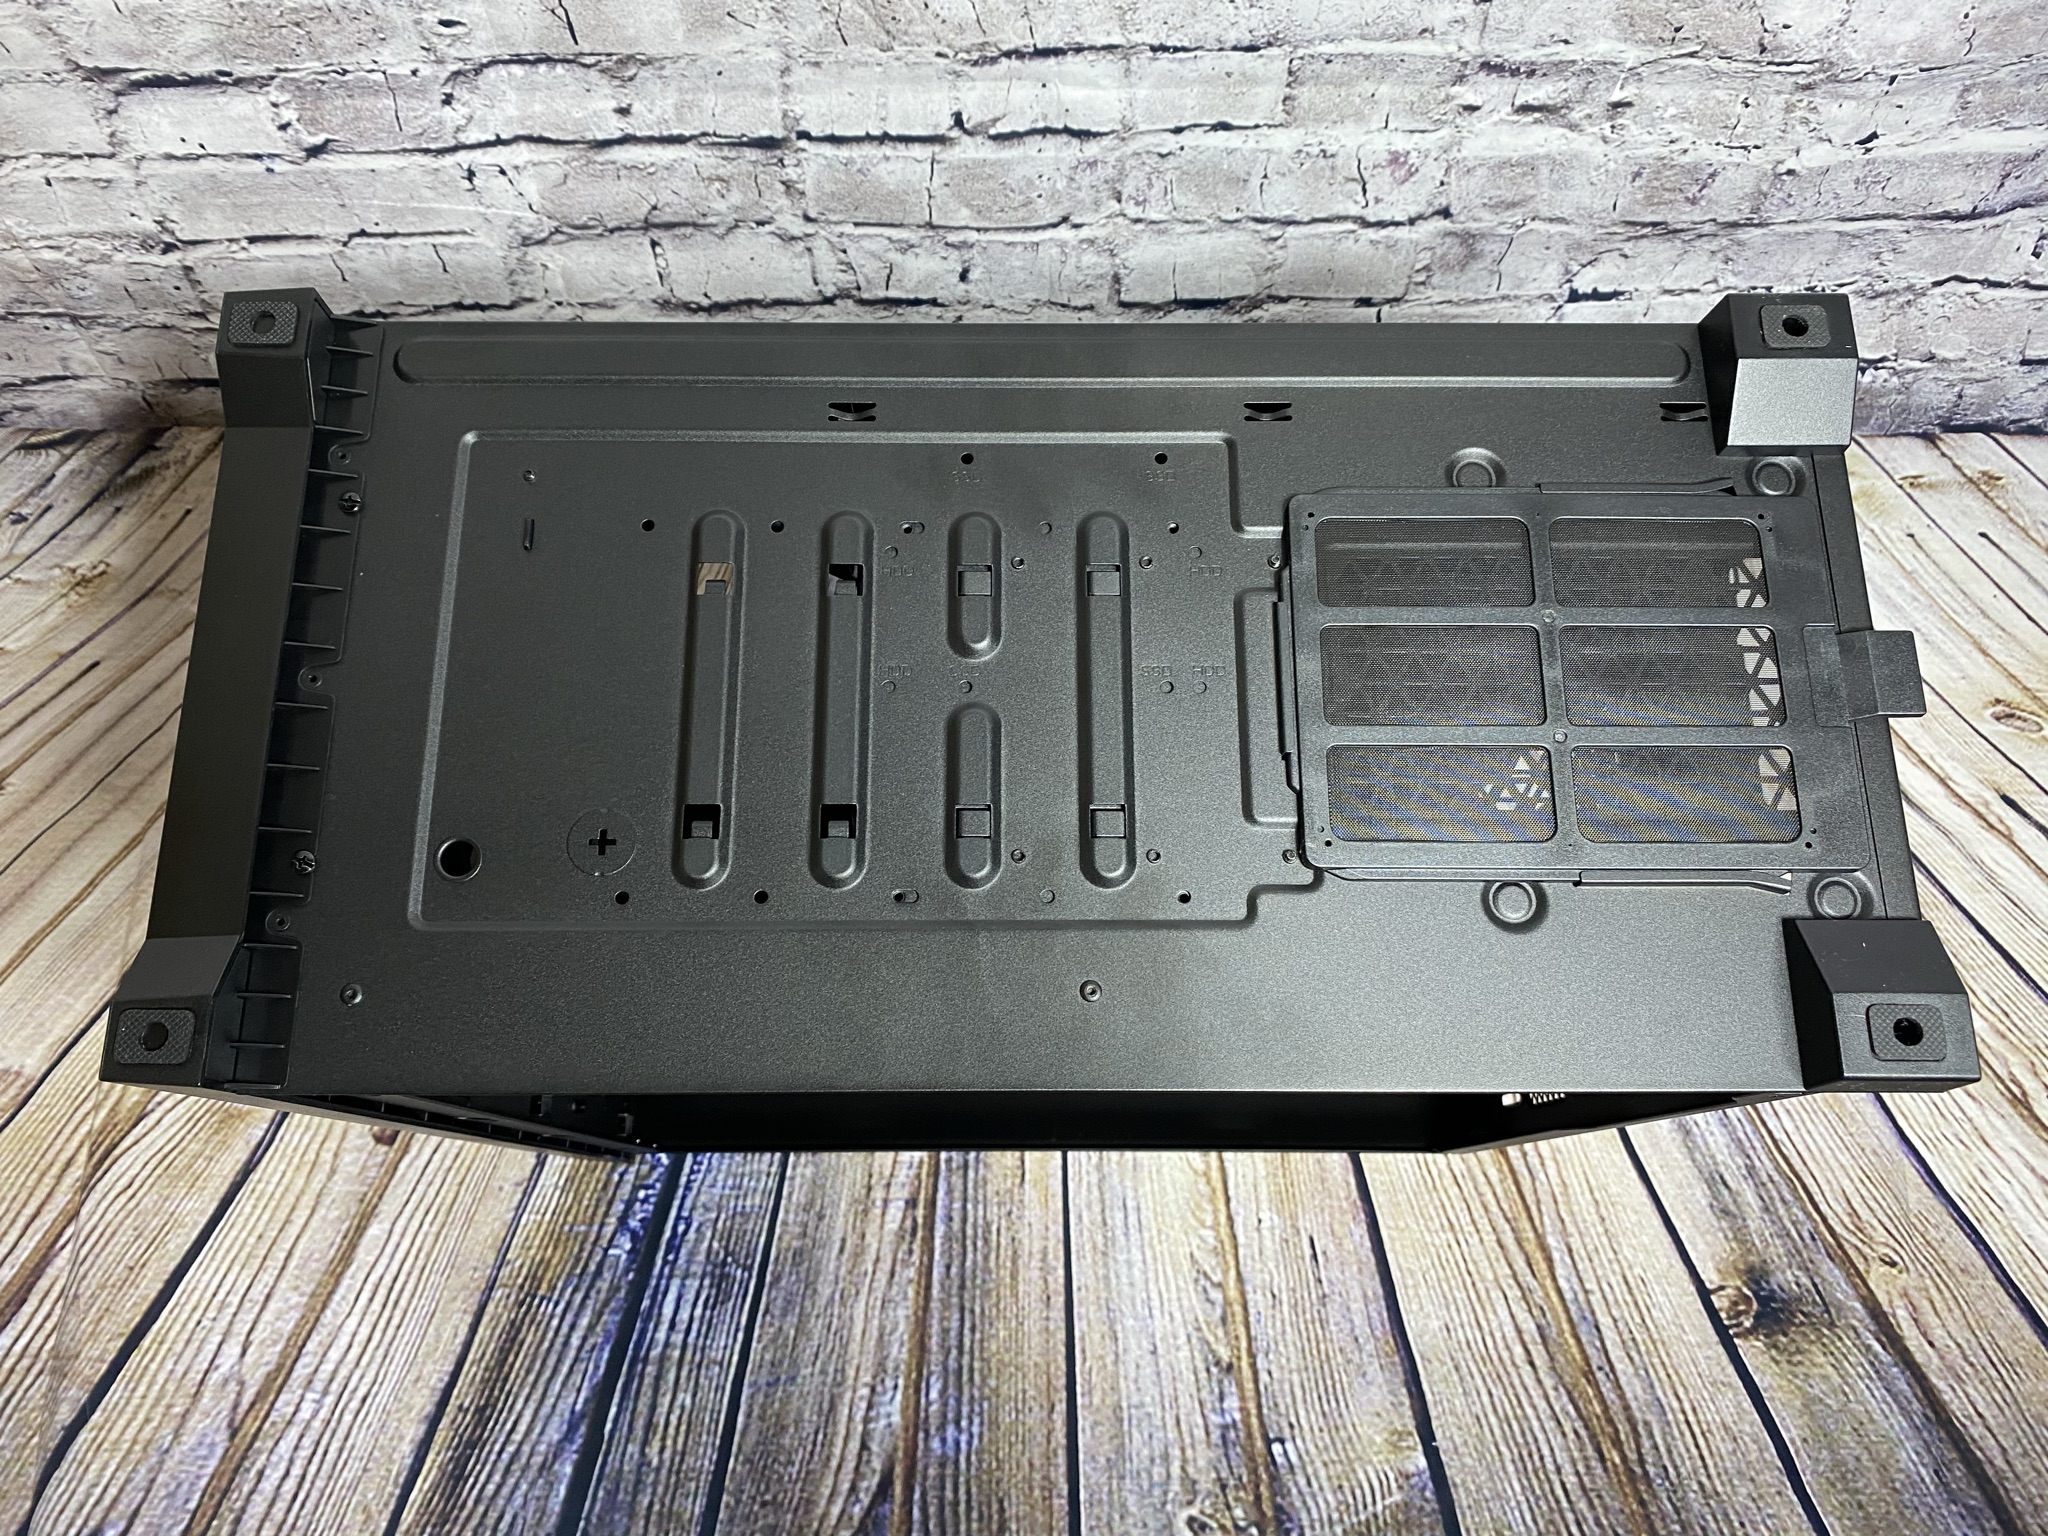
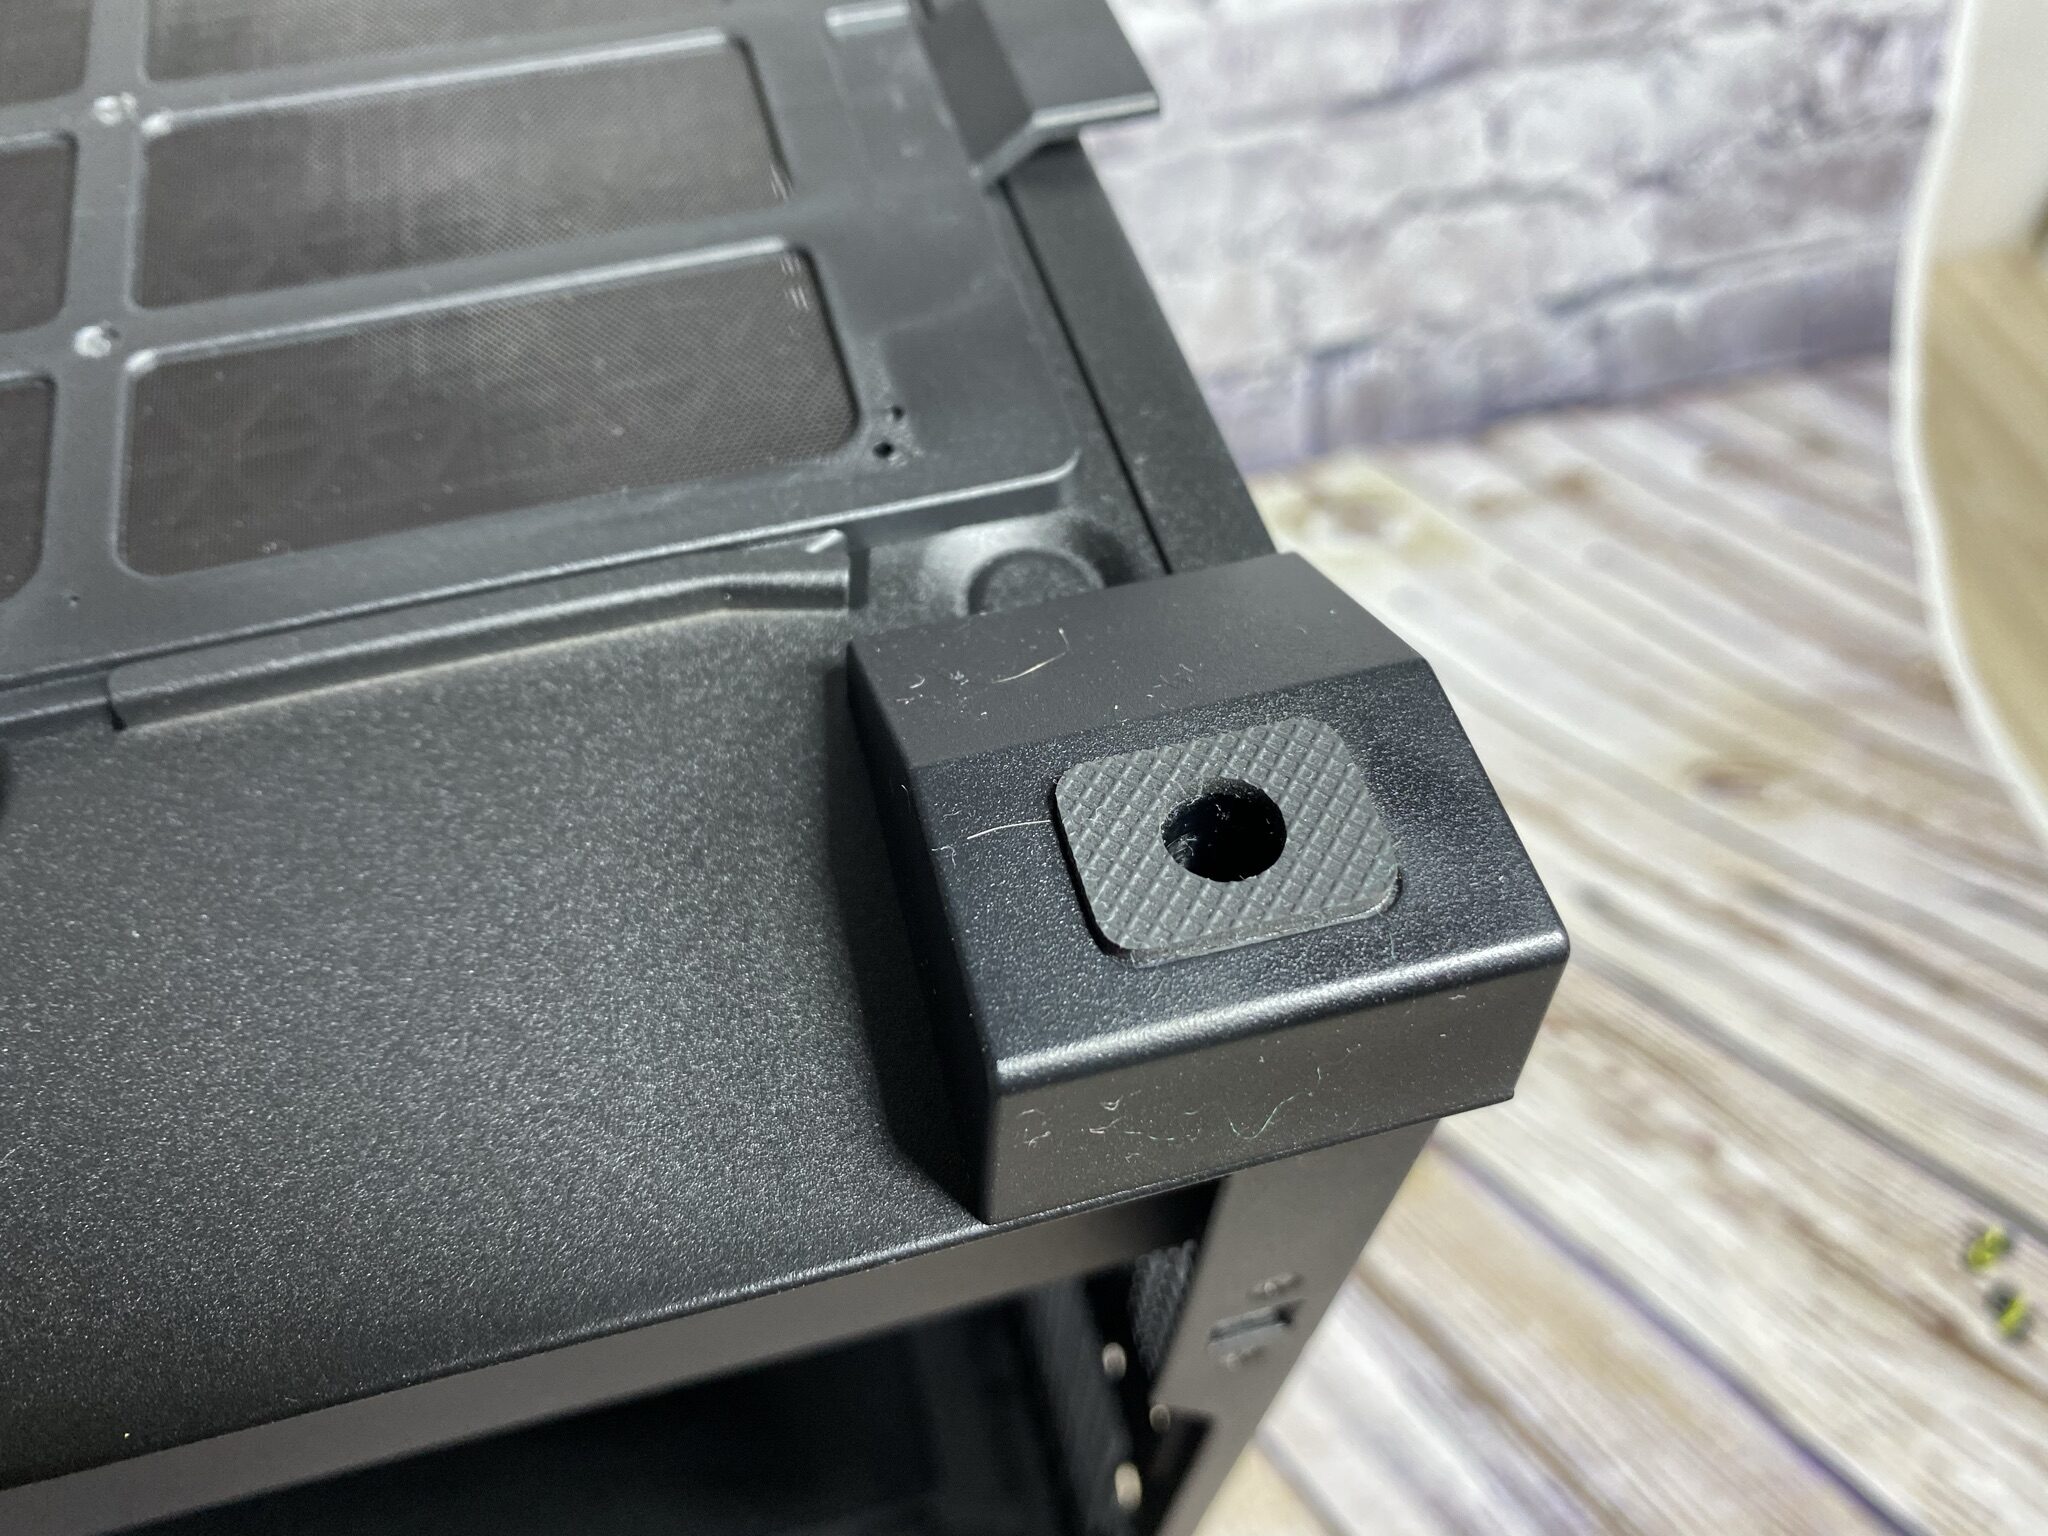
On the underside, we again find a grille in the place of the power supply, which becomes visible after sliding out a small dust filter. To the left of it is the holder for the HDDs, which is firmly attached at the bottom. It can also be easily removed from the case with a small jerk. The feet look rather small on the picture, but they are big enough and have a good grip on the ground.

Interior impression
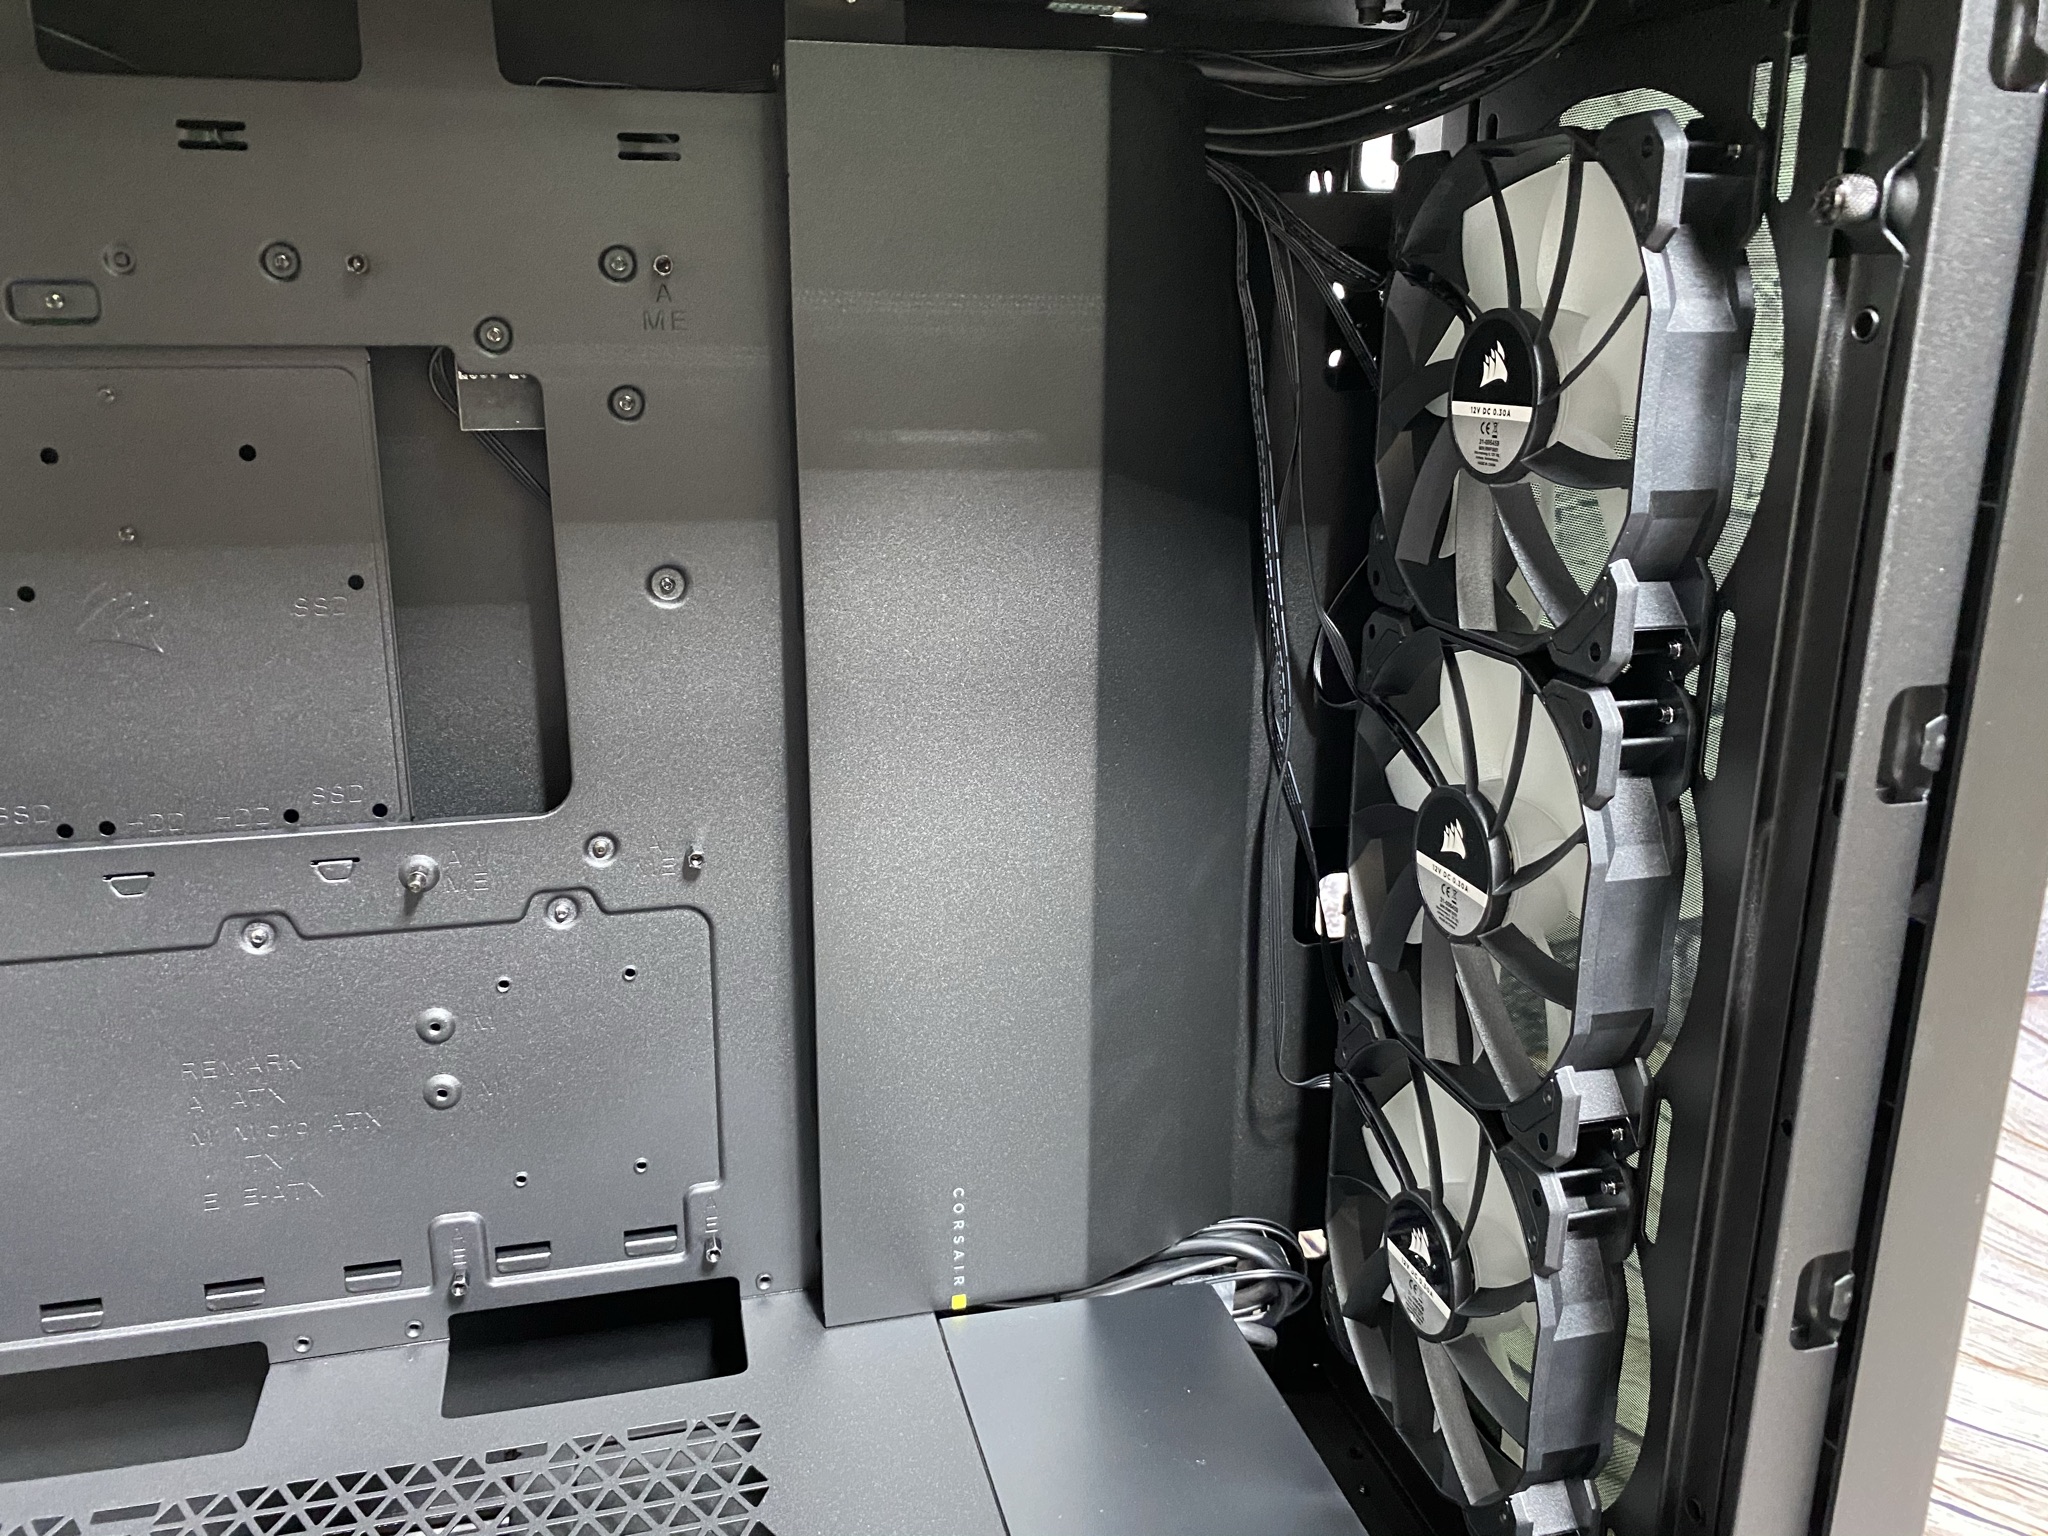
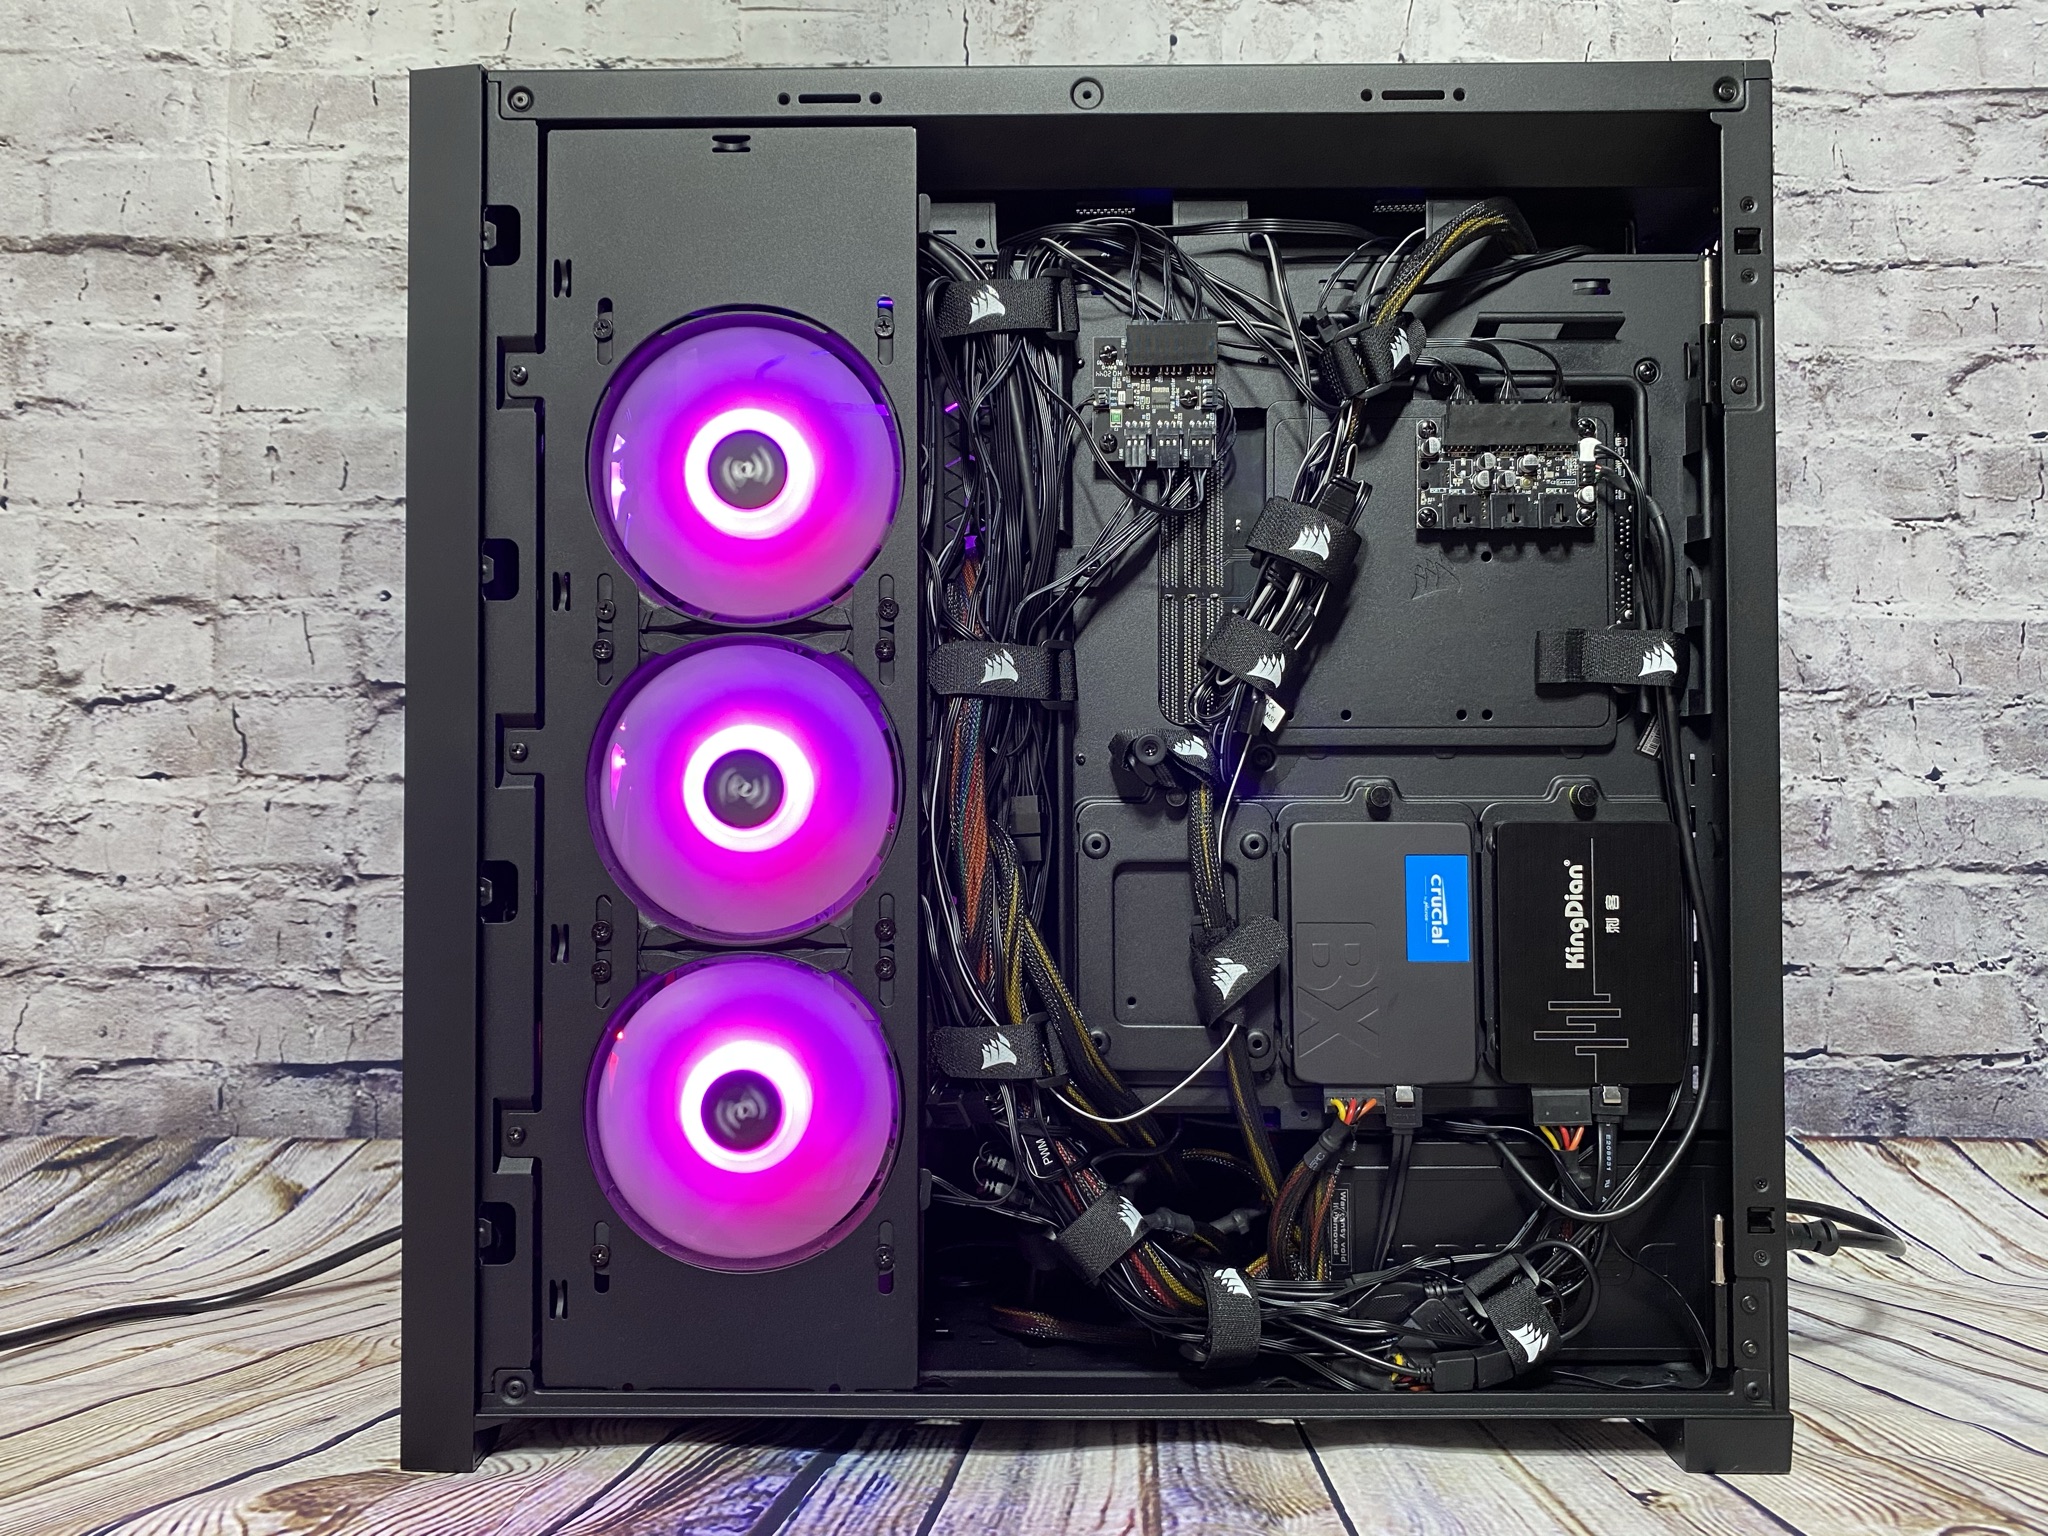
Let’s take off the very classy looking glass panel for a moment and take a look at the inner workings of the iCUE 5000X RGB. One feature is very noticeable right from the start – the spaciousness. First, let’s take a look at the front from the inside. Here we can see the SP120 RGB ELITE fans once again. To the left, it gets very interesting again, as Corsair has decided to attach a plastic cable channel. This hangs in front of the cutouts of the optional fan mount on the rear side.
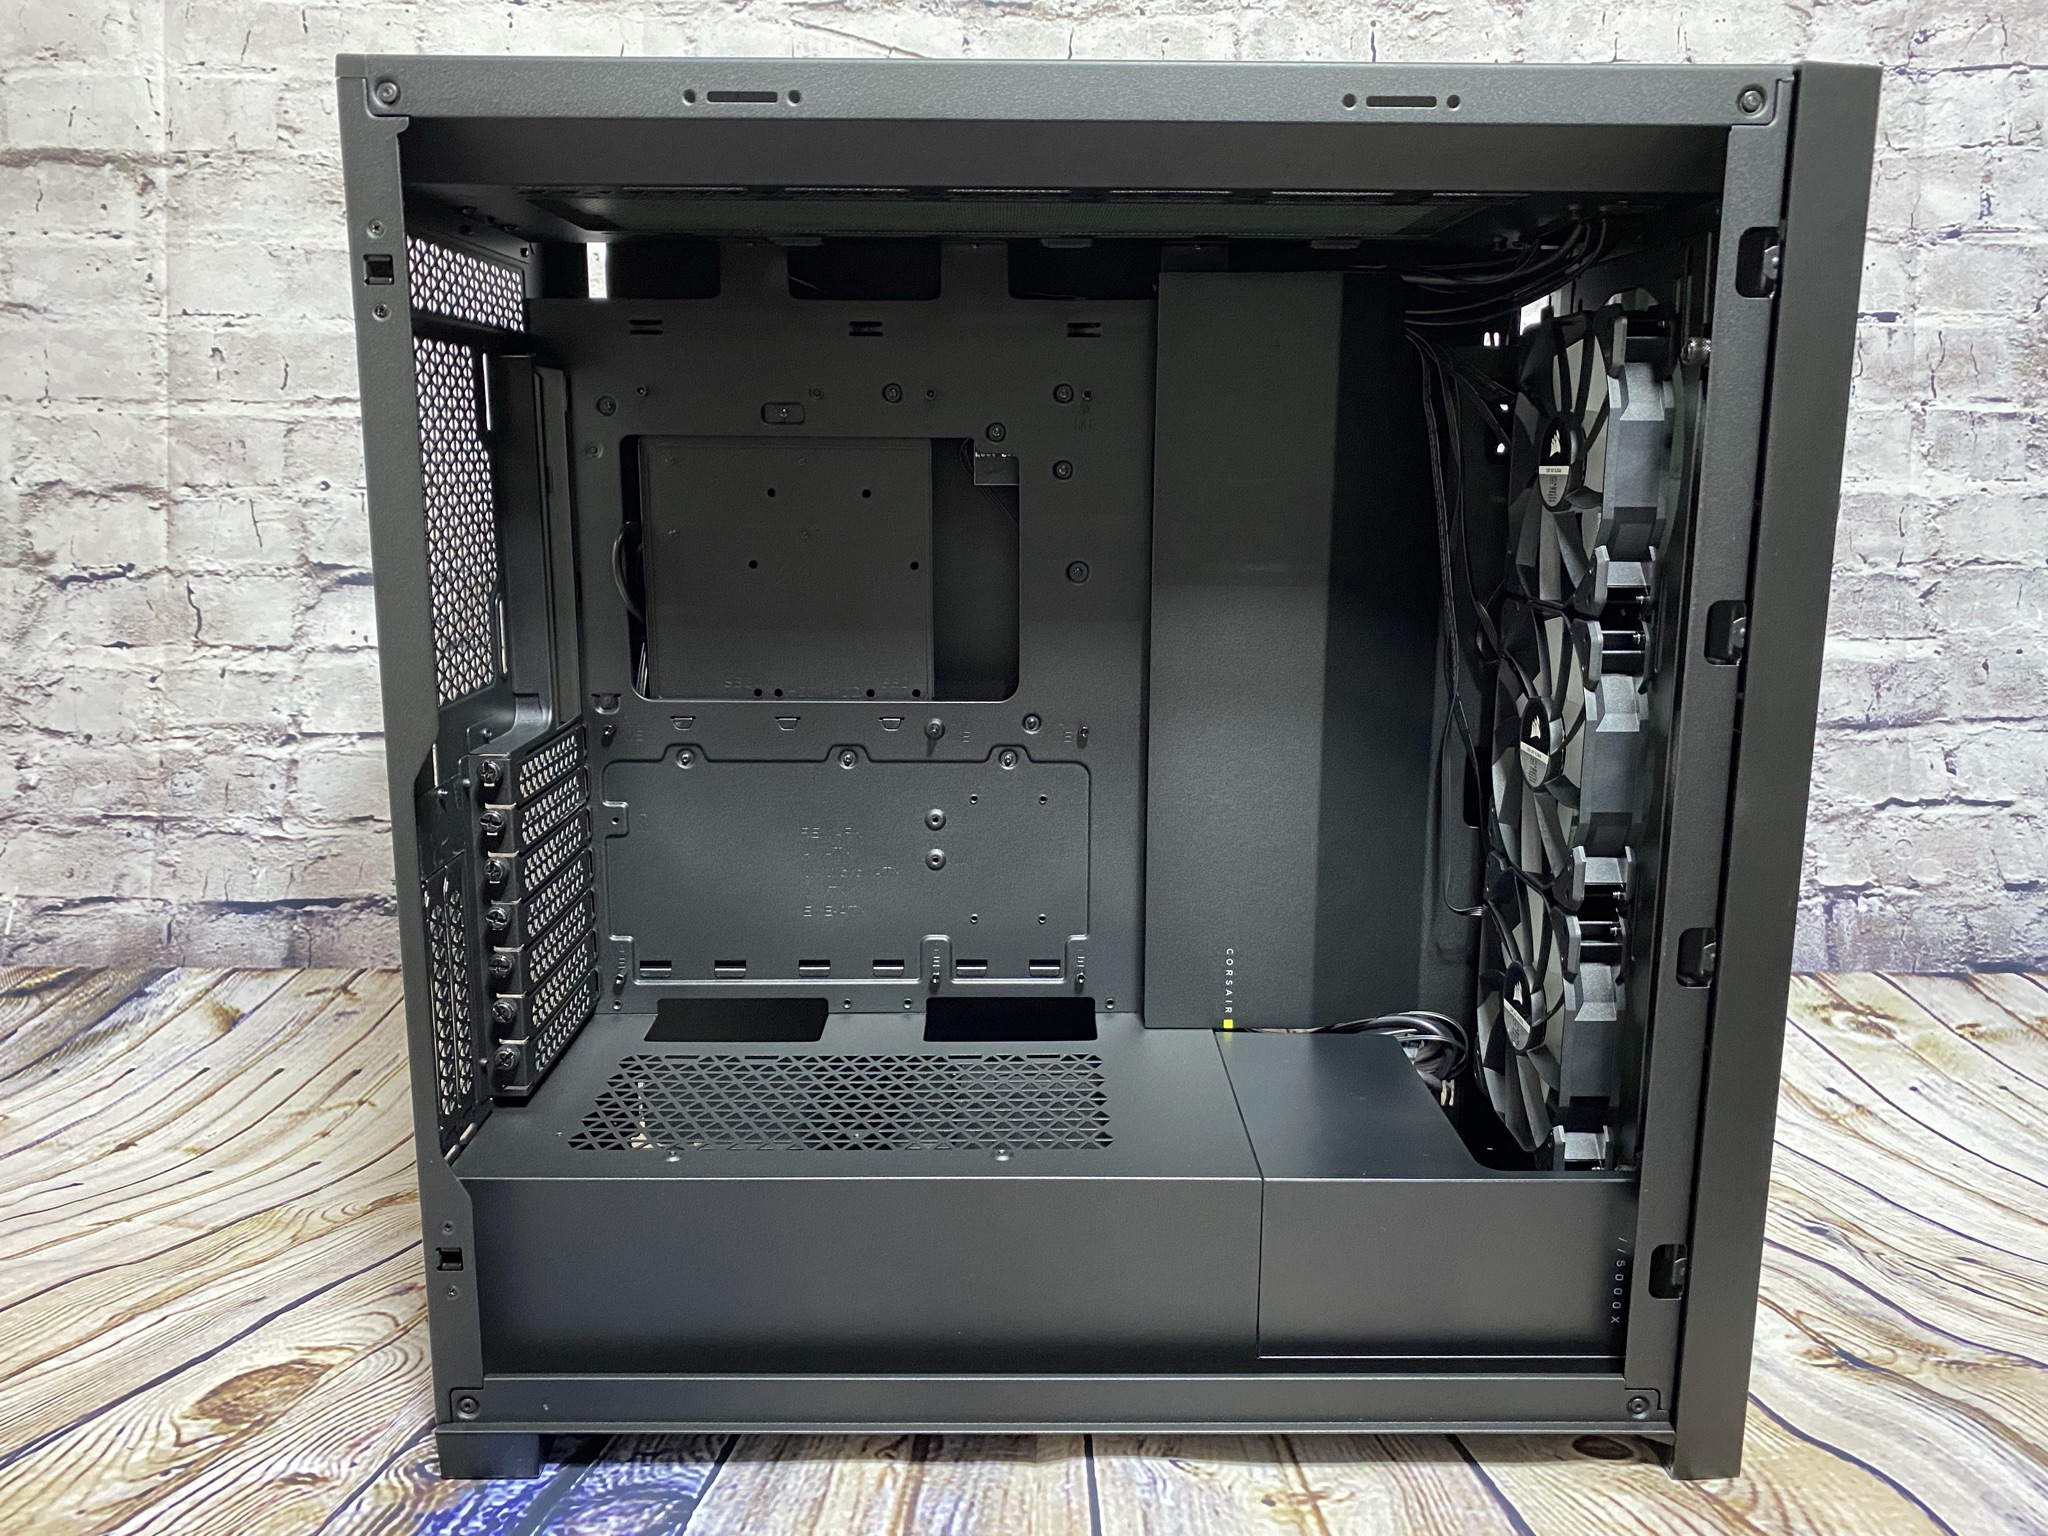
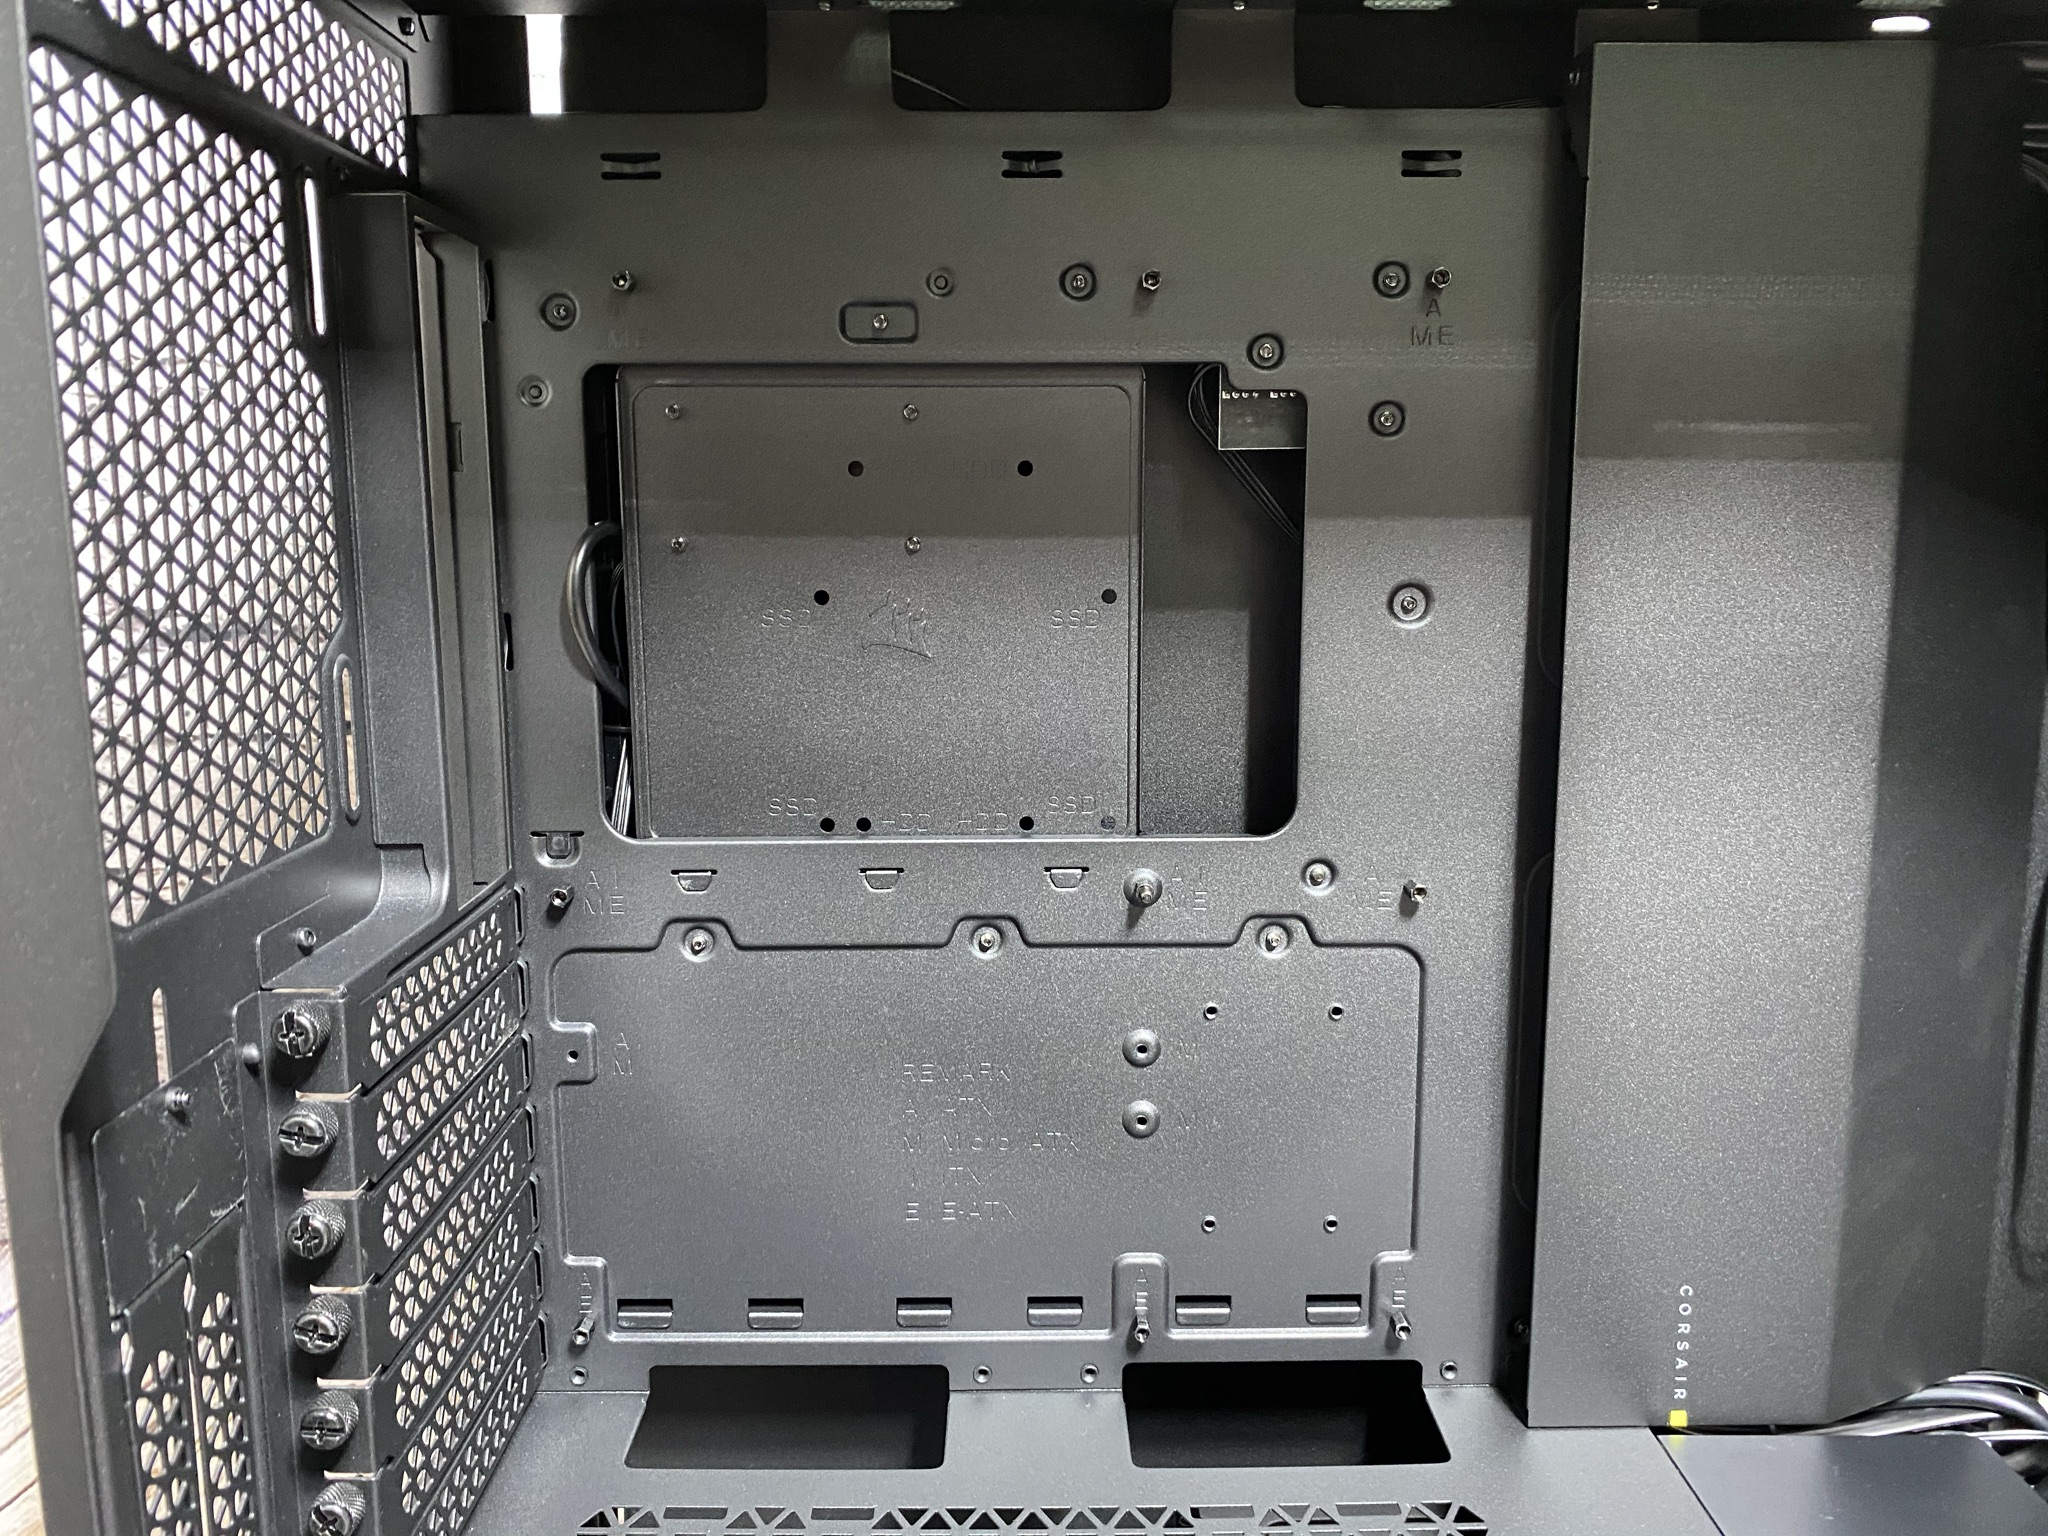
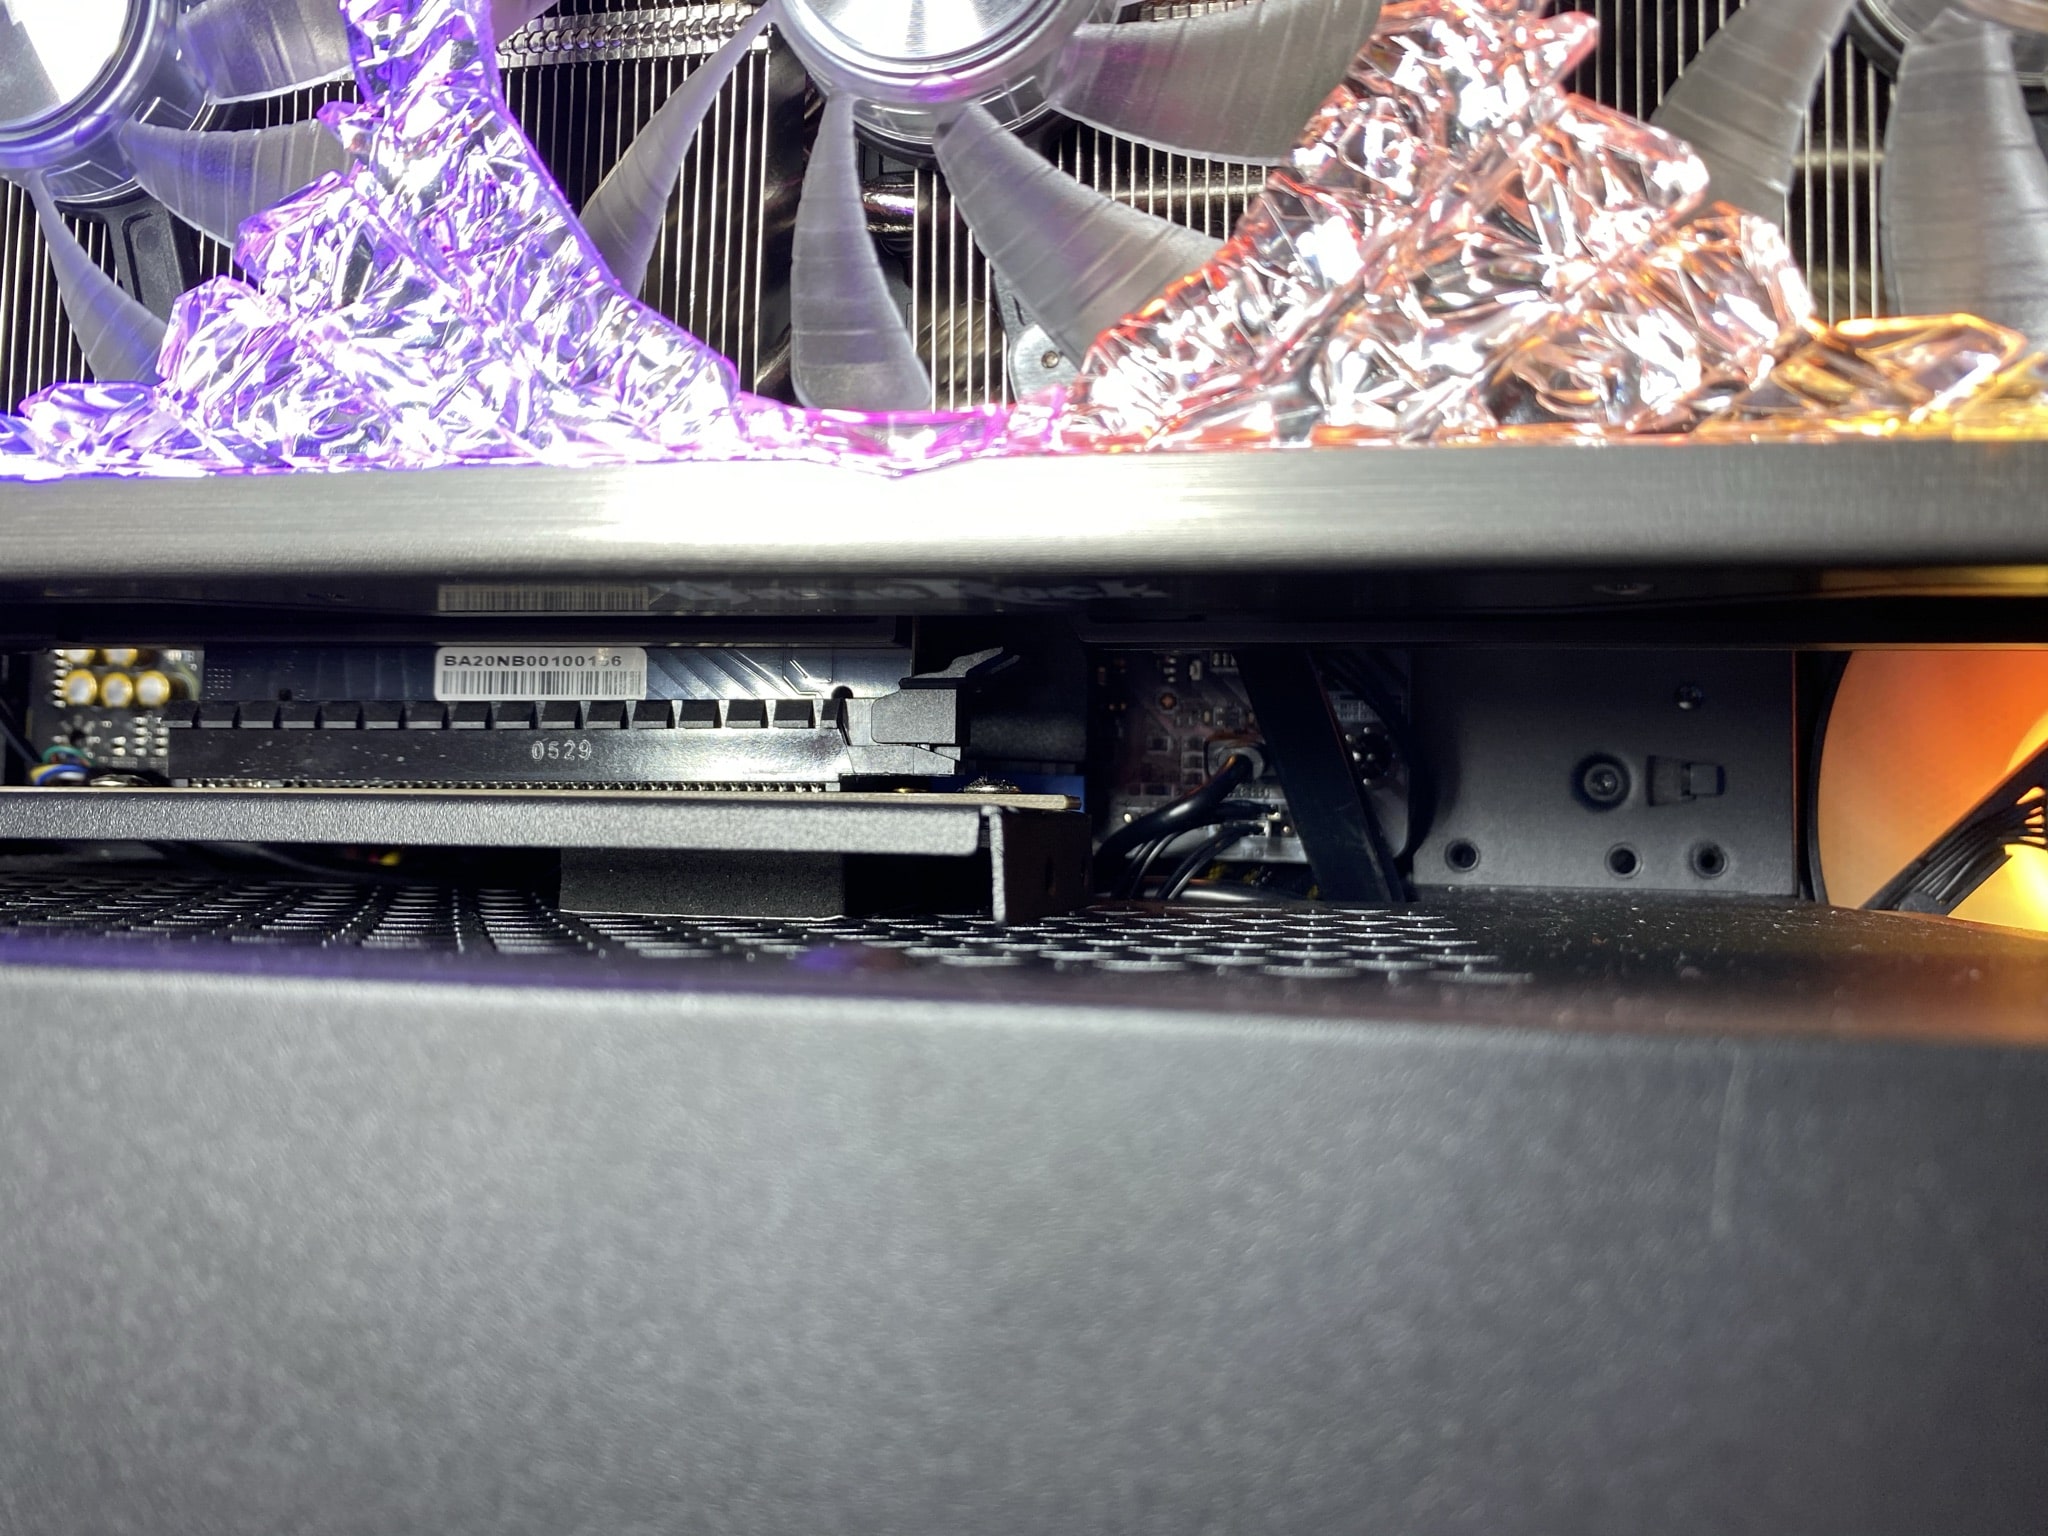
Again a little further to the left we can mount our motherboard from ITX to E-ATX. Above and below there are two holes each for cable routing, which are unfortunately without rubber sheathing. On the back panel, we can attach a 120 mm fan on top. From our point of view, a bracket for a 140 mm fan could have been milled out at this point due to the available space. There is also enough space a bit deeper. Here we have seven PCI slots and on the left two vertical PCI slots for mounting our graphics card.
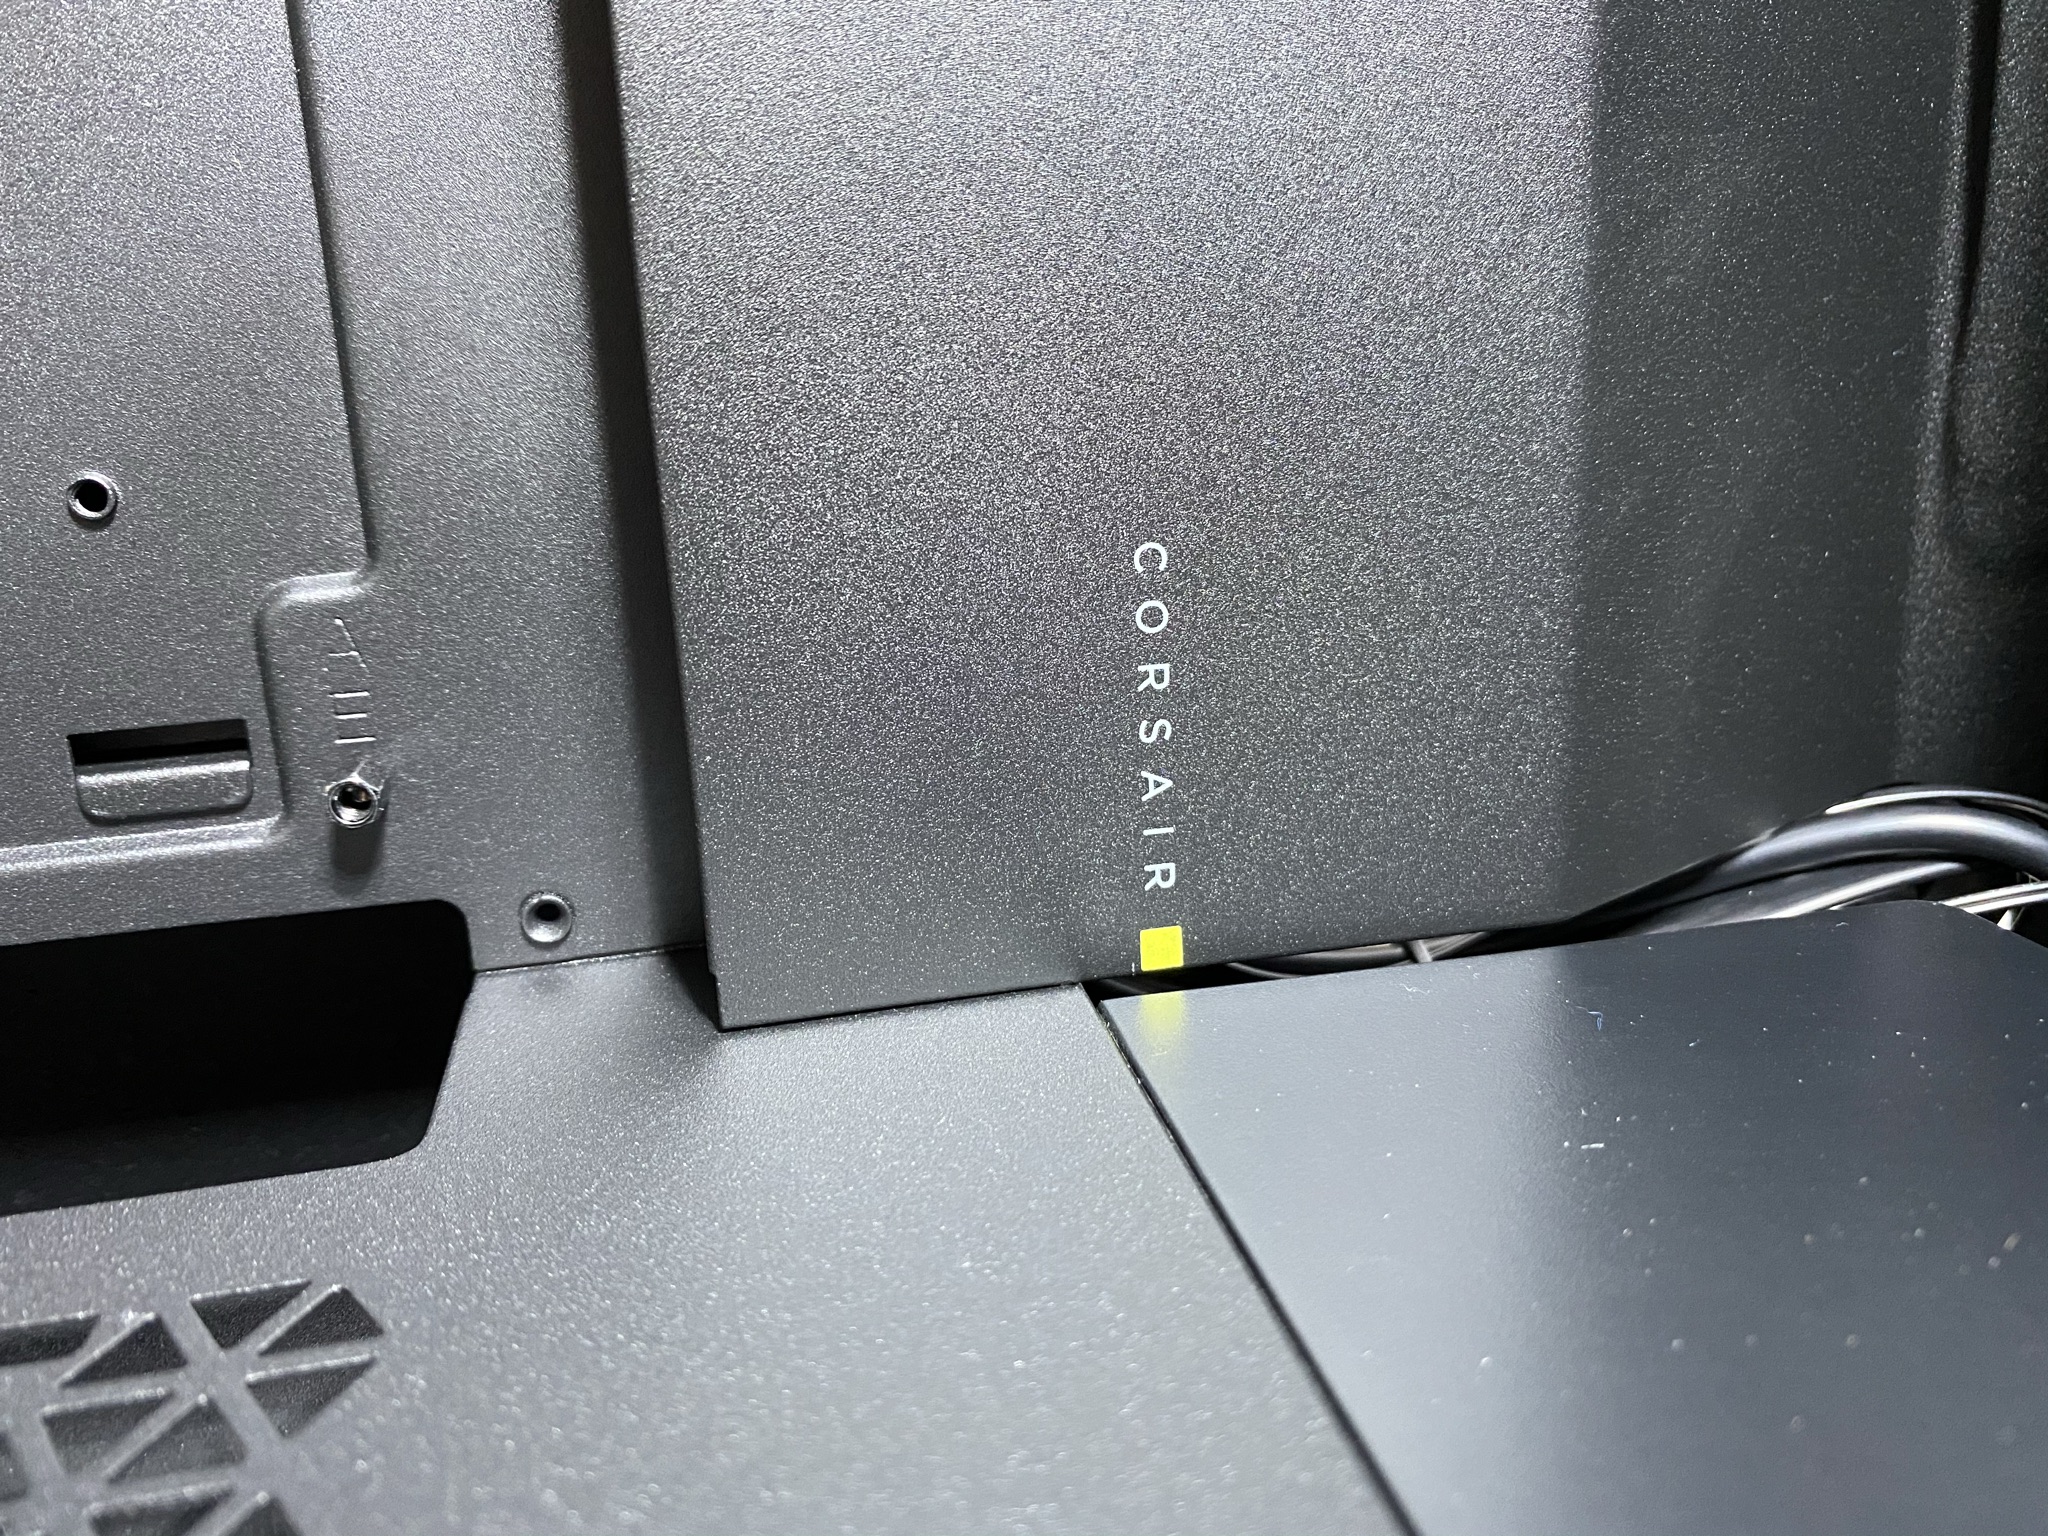
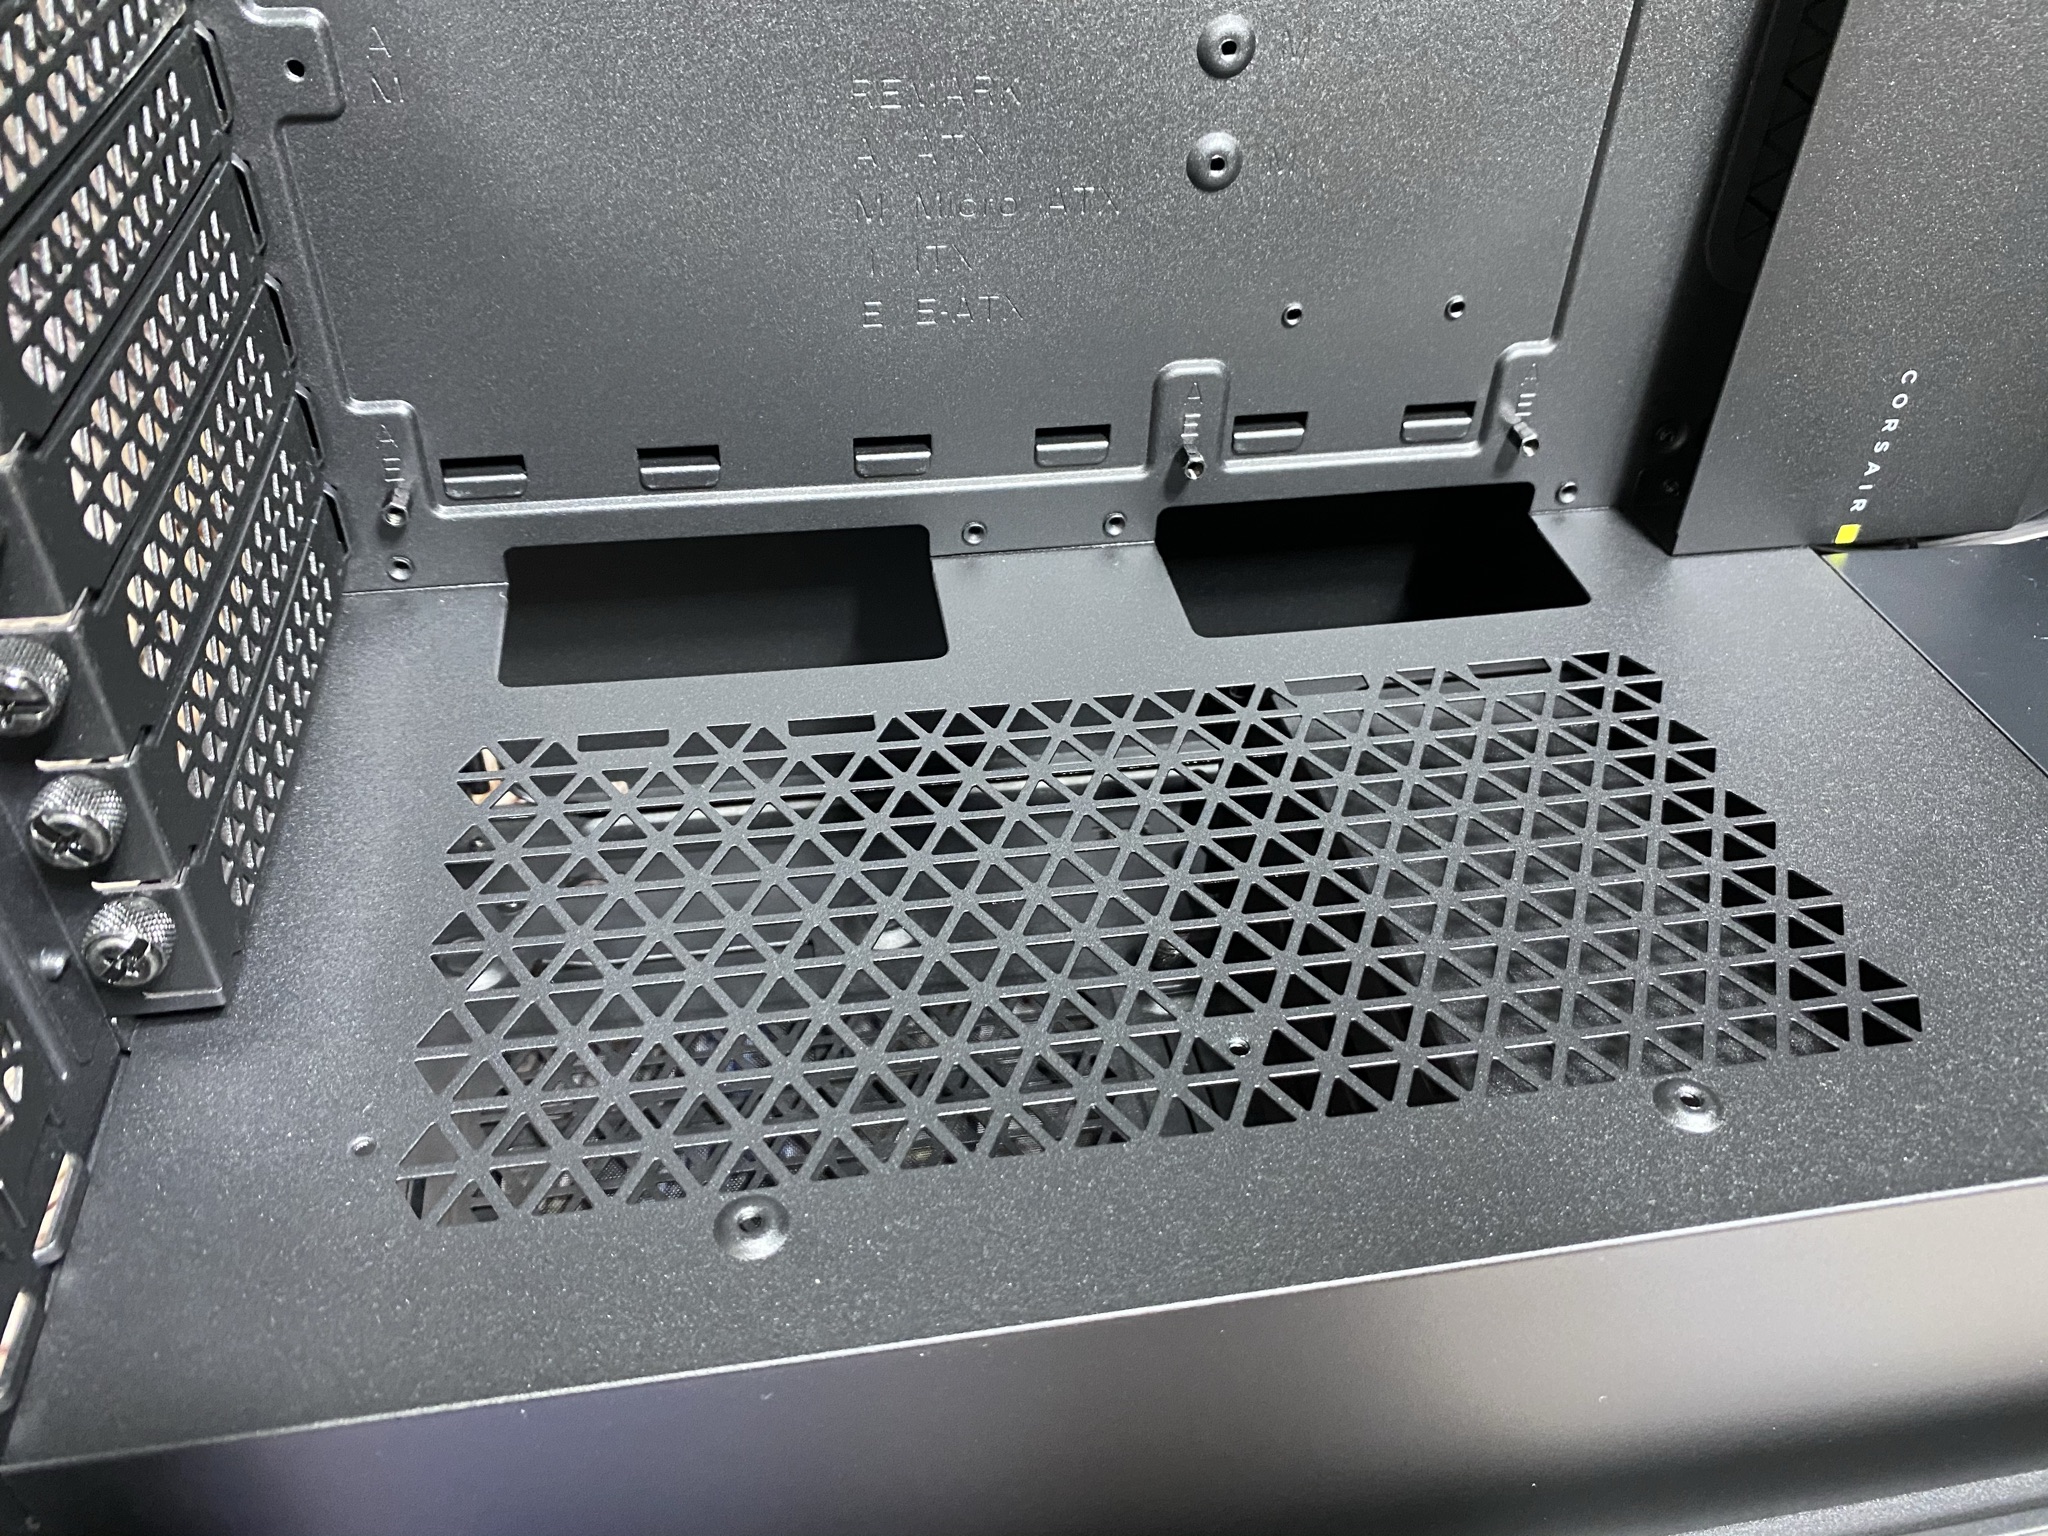
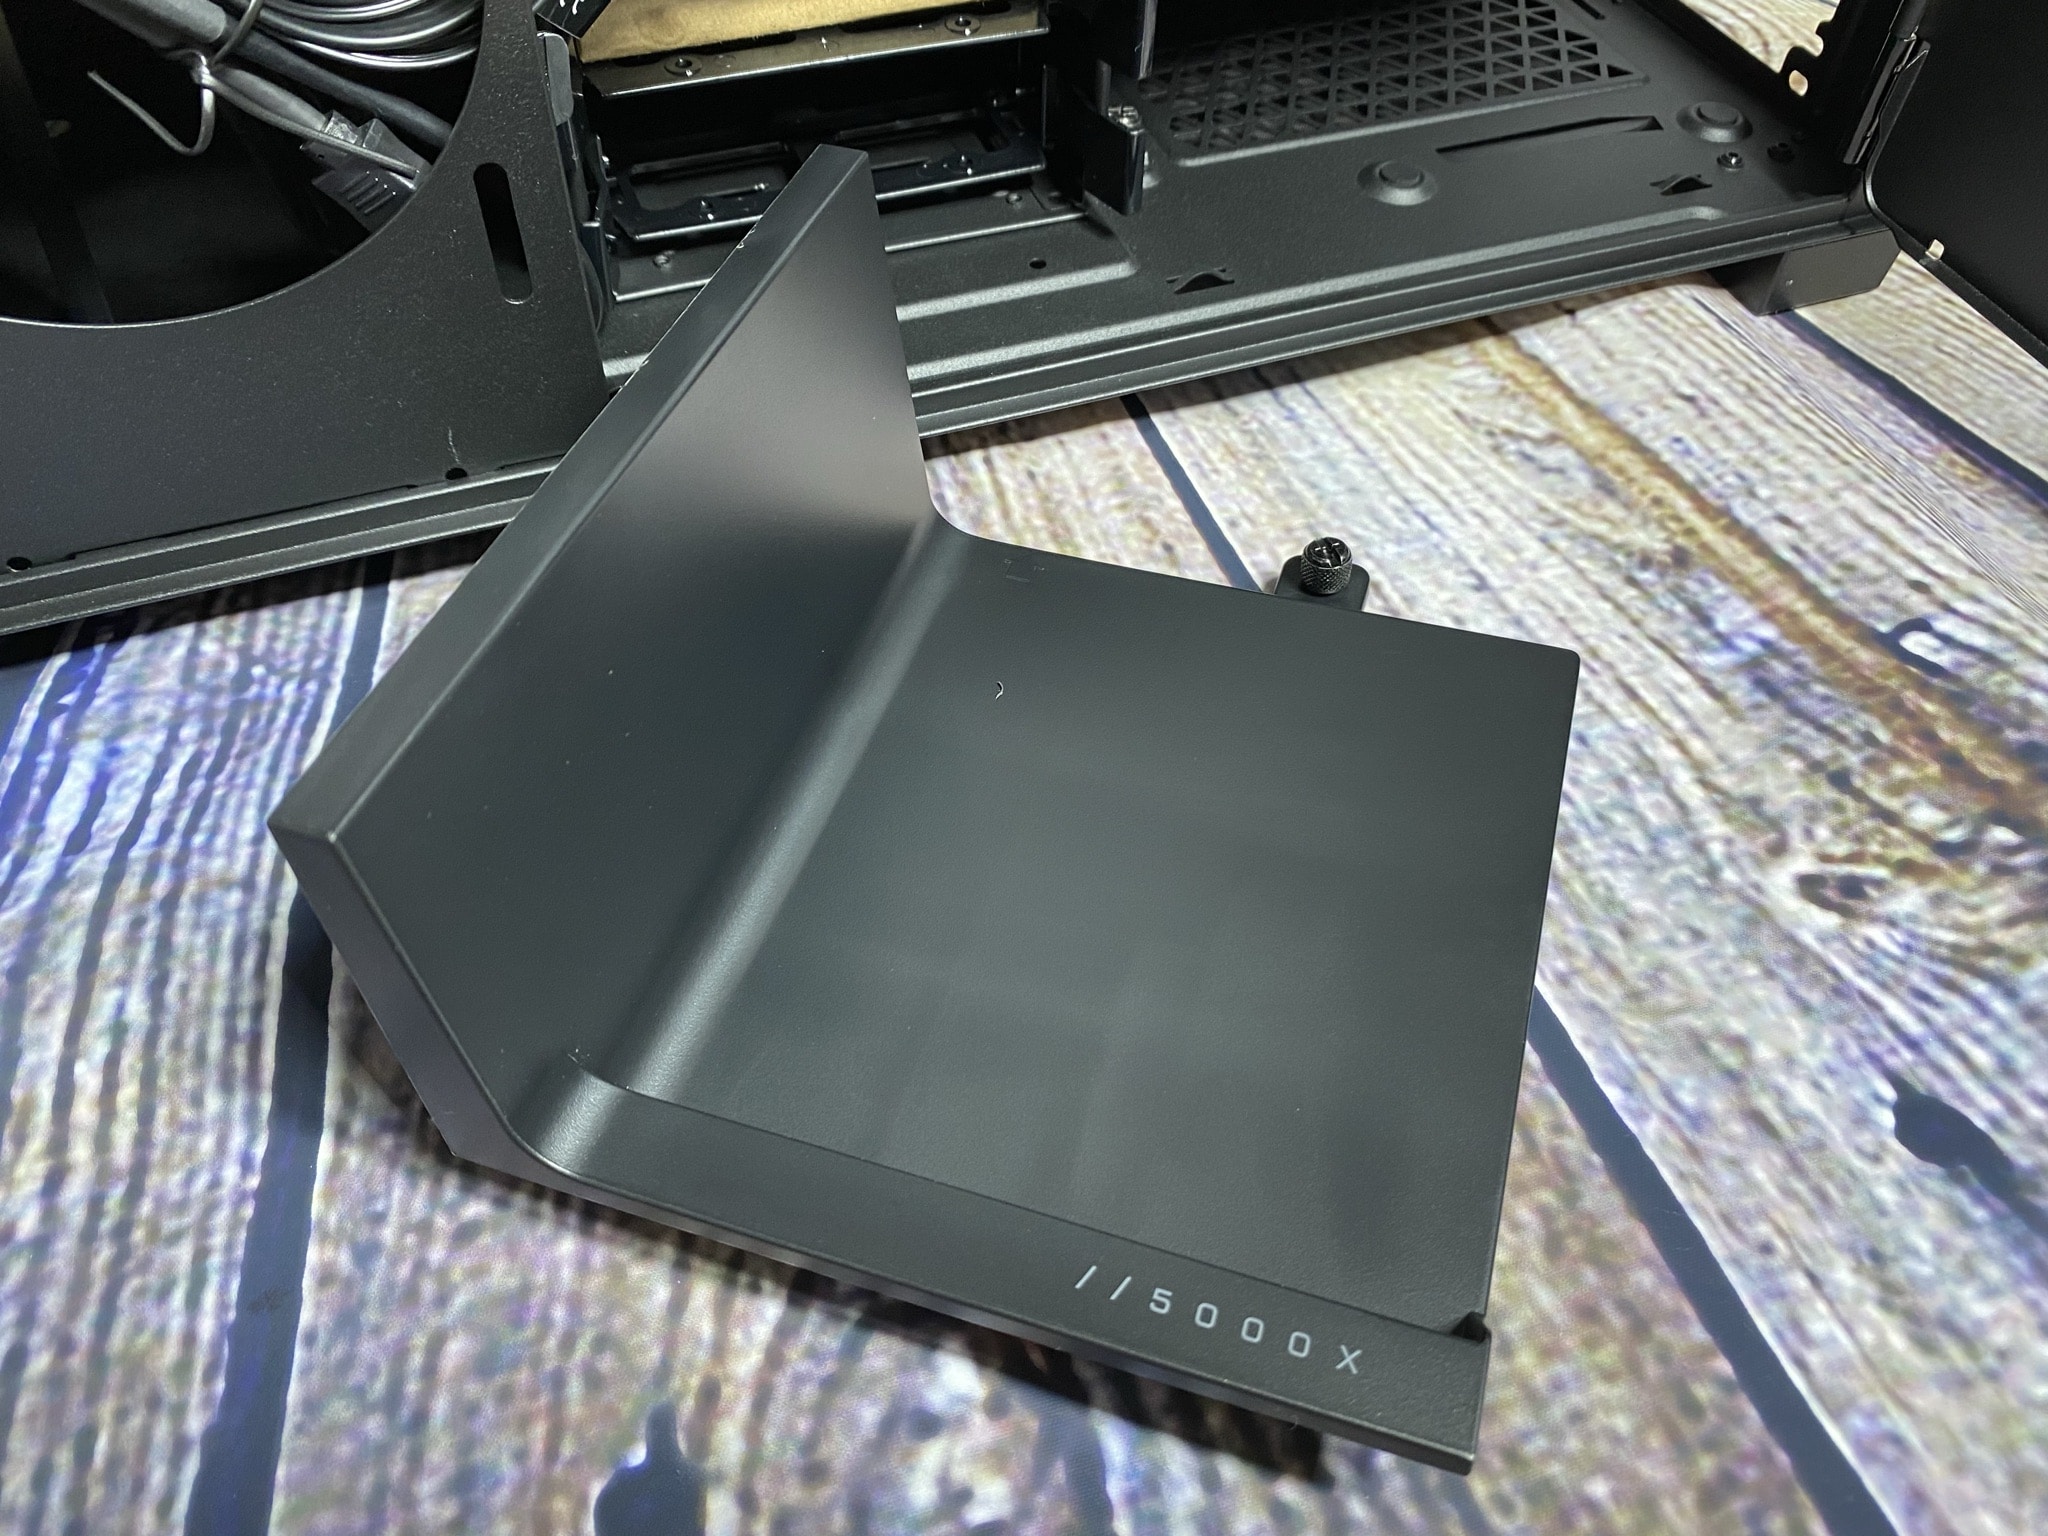
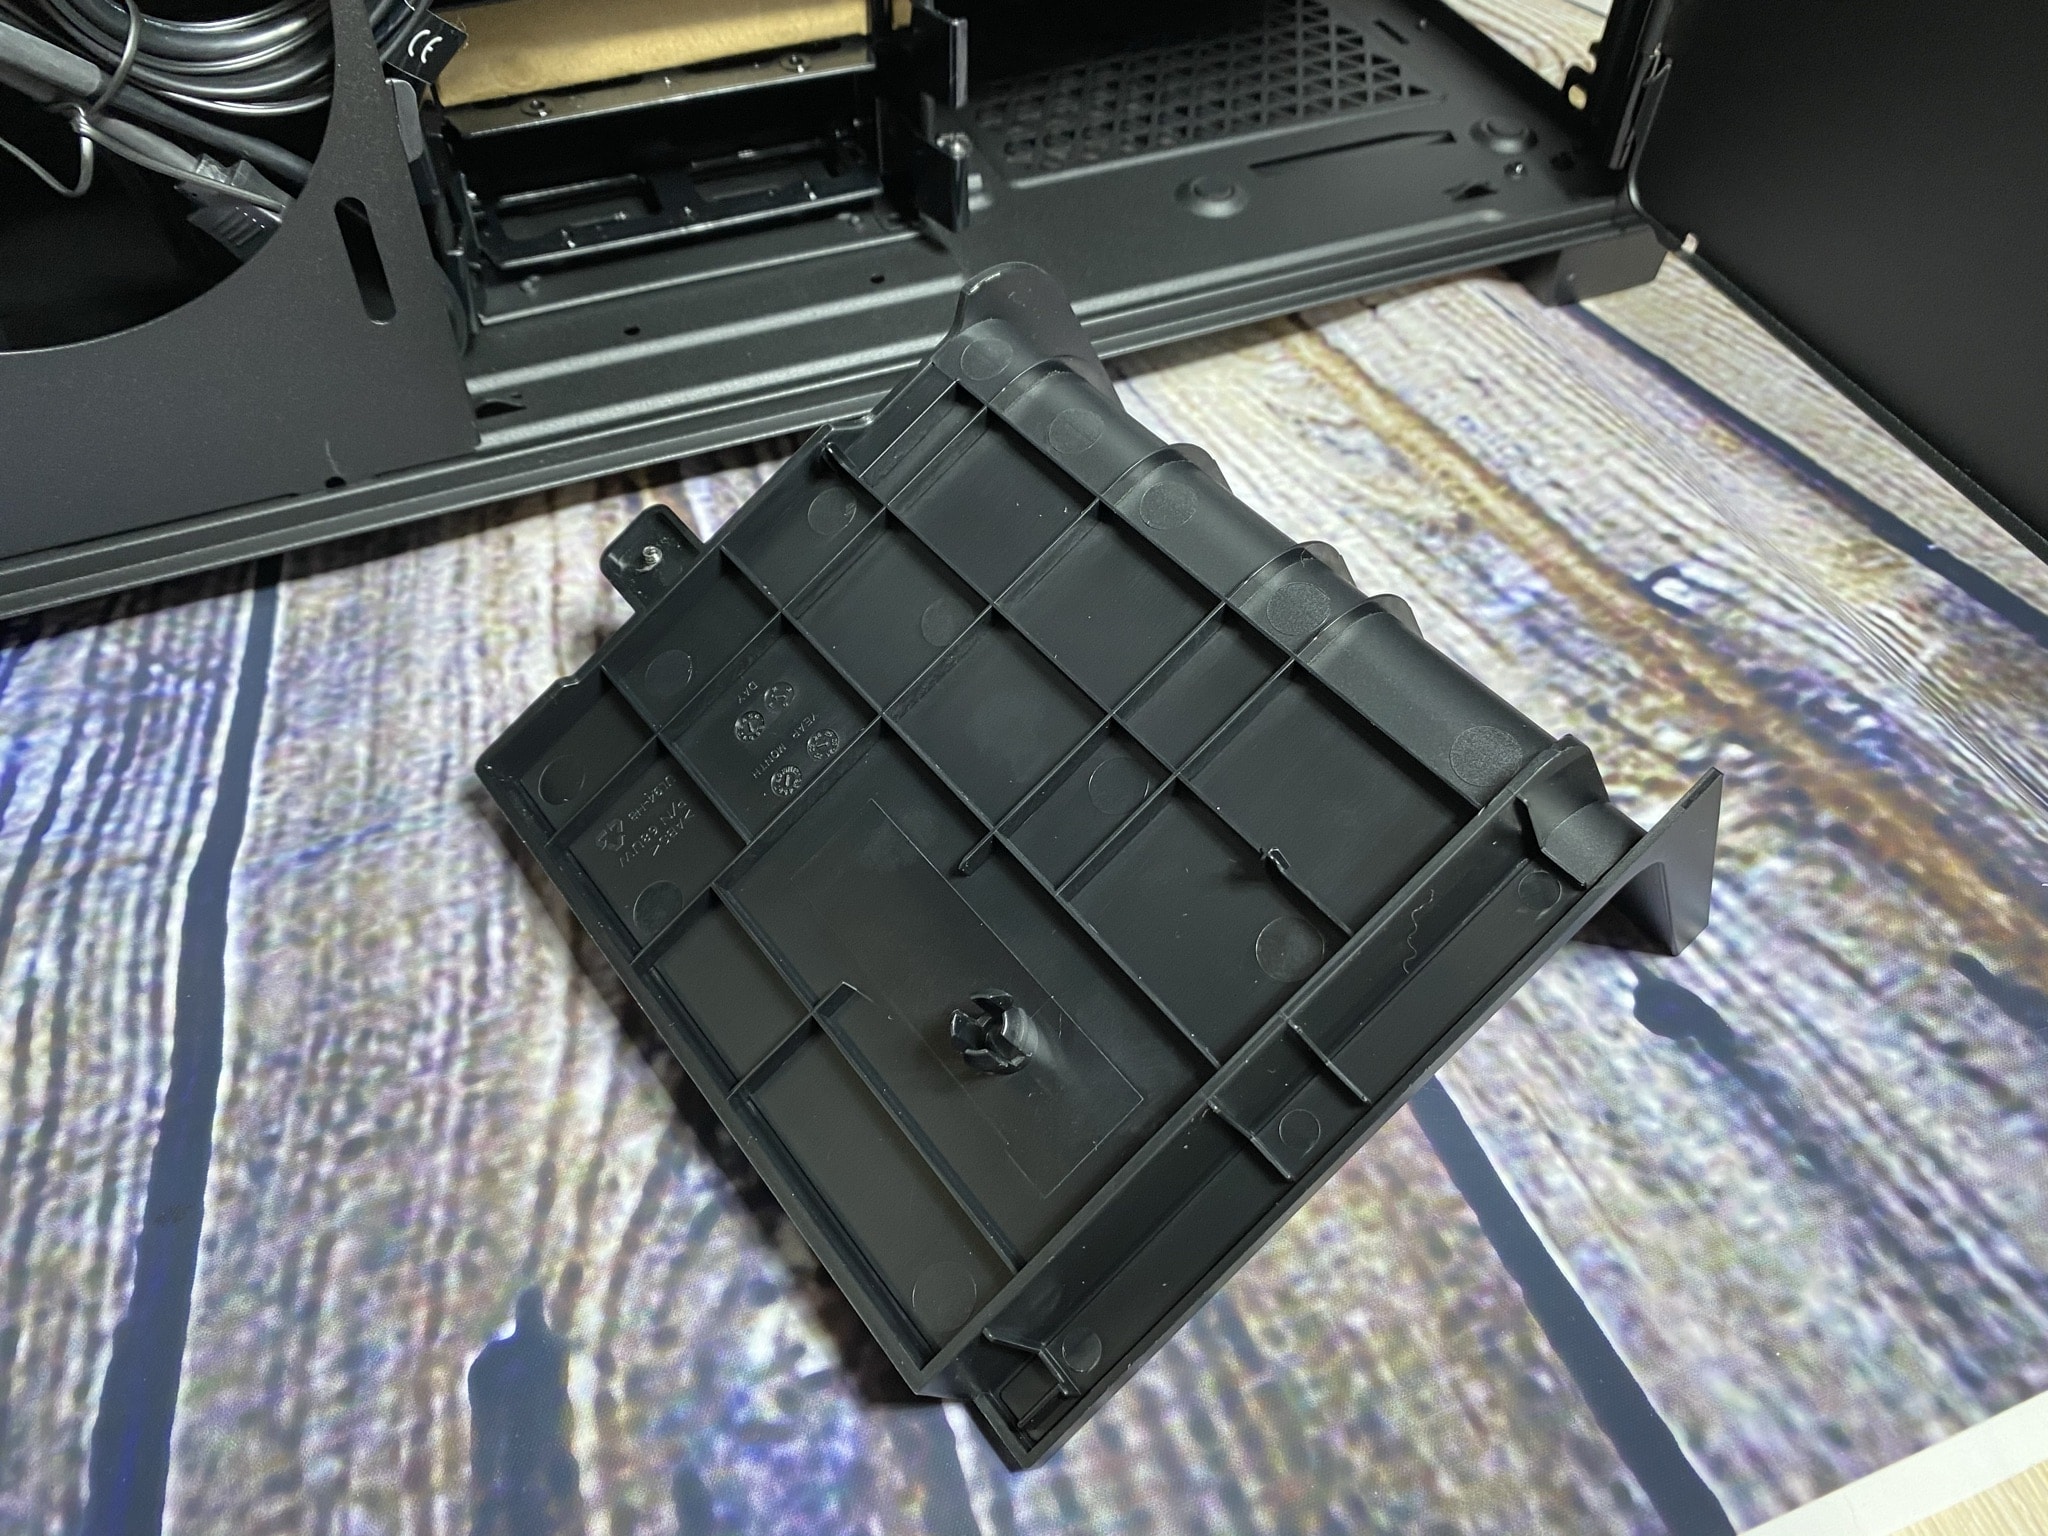
What’s really interesting is the bottom. Here, looking from the left, we see a small area that has been milled out in the pattern common on the case. The grilles always have the same design wherever they are placed, which we find remarkable. Looking over to the fans again, we see a plastic part there. We can remove this plastic part and replace it with a different looking one, so we can increase the volume inside again. This way, a larger radiator fits in the front.
If we take off the glass on the back, we see the fan mount there on the left and a door that can be opened to the right of it. This can be removed up and out at will and also put back in on the hinges. The door holds on to the actual back panel with a magnet. For this reason, three masking tapes were attached to secure the door and glass panel upon delivery.

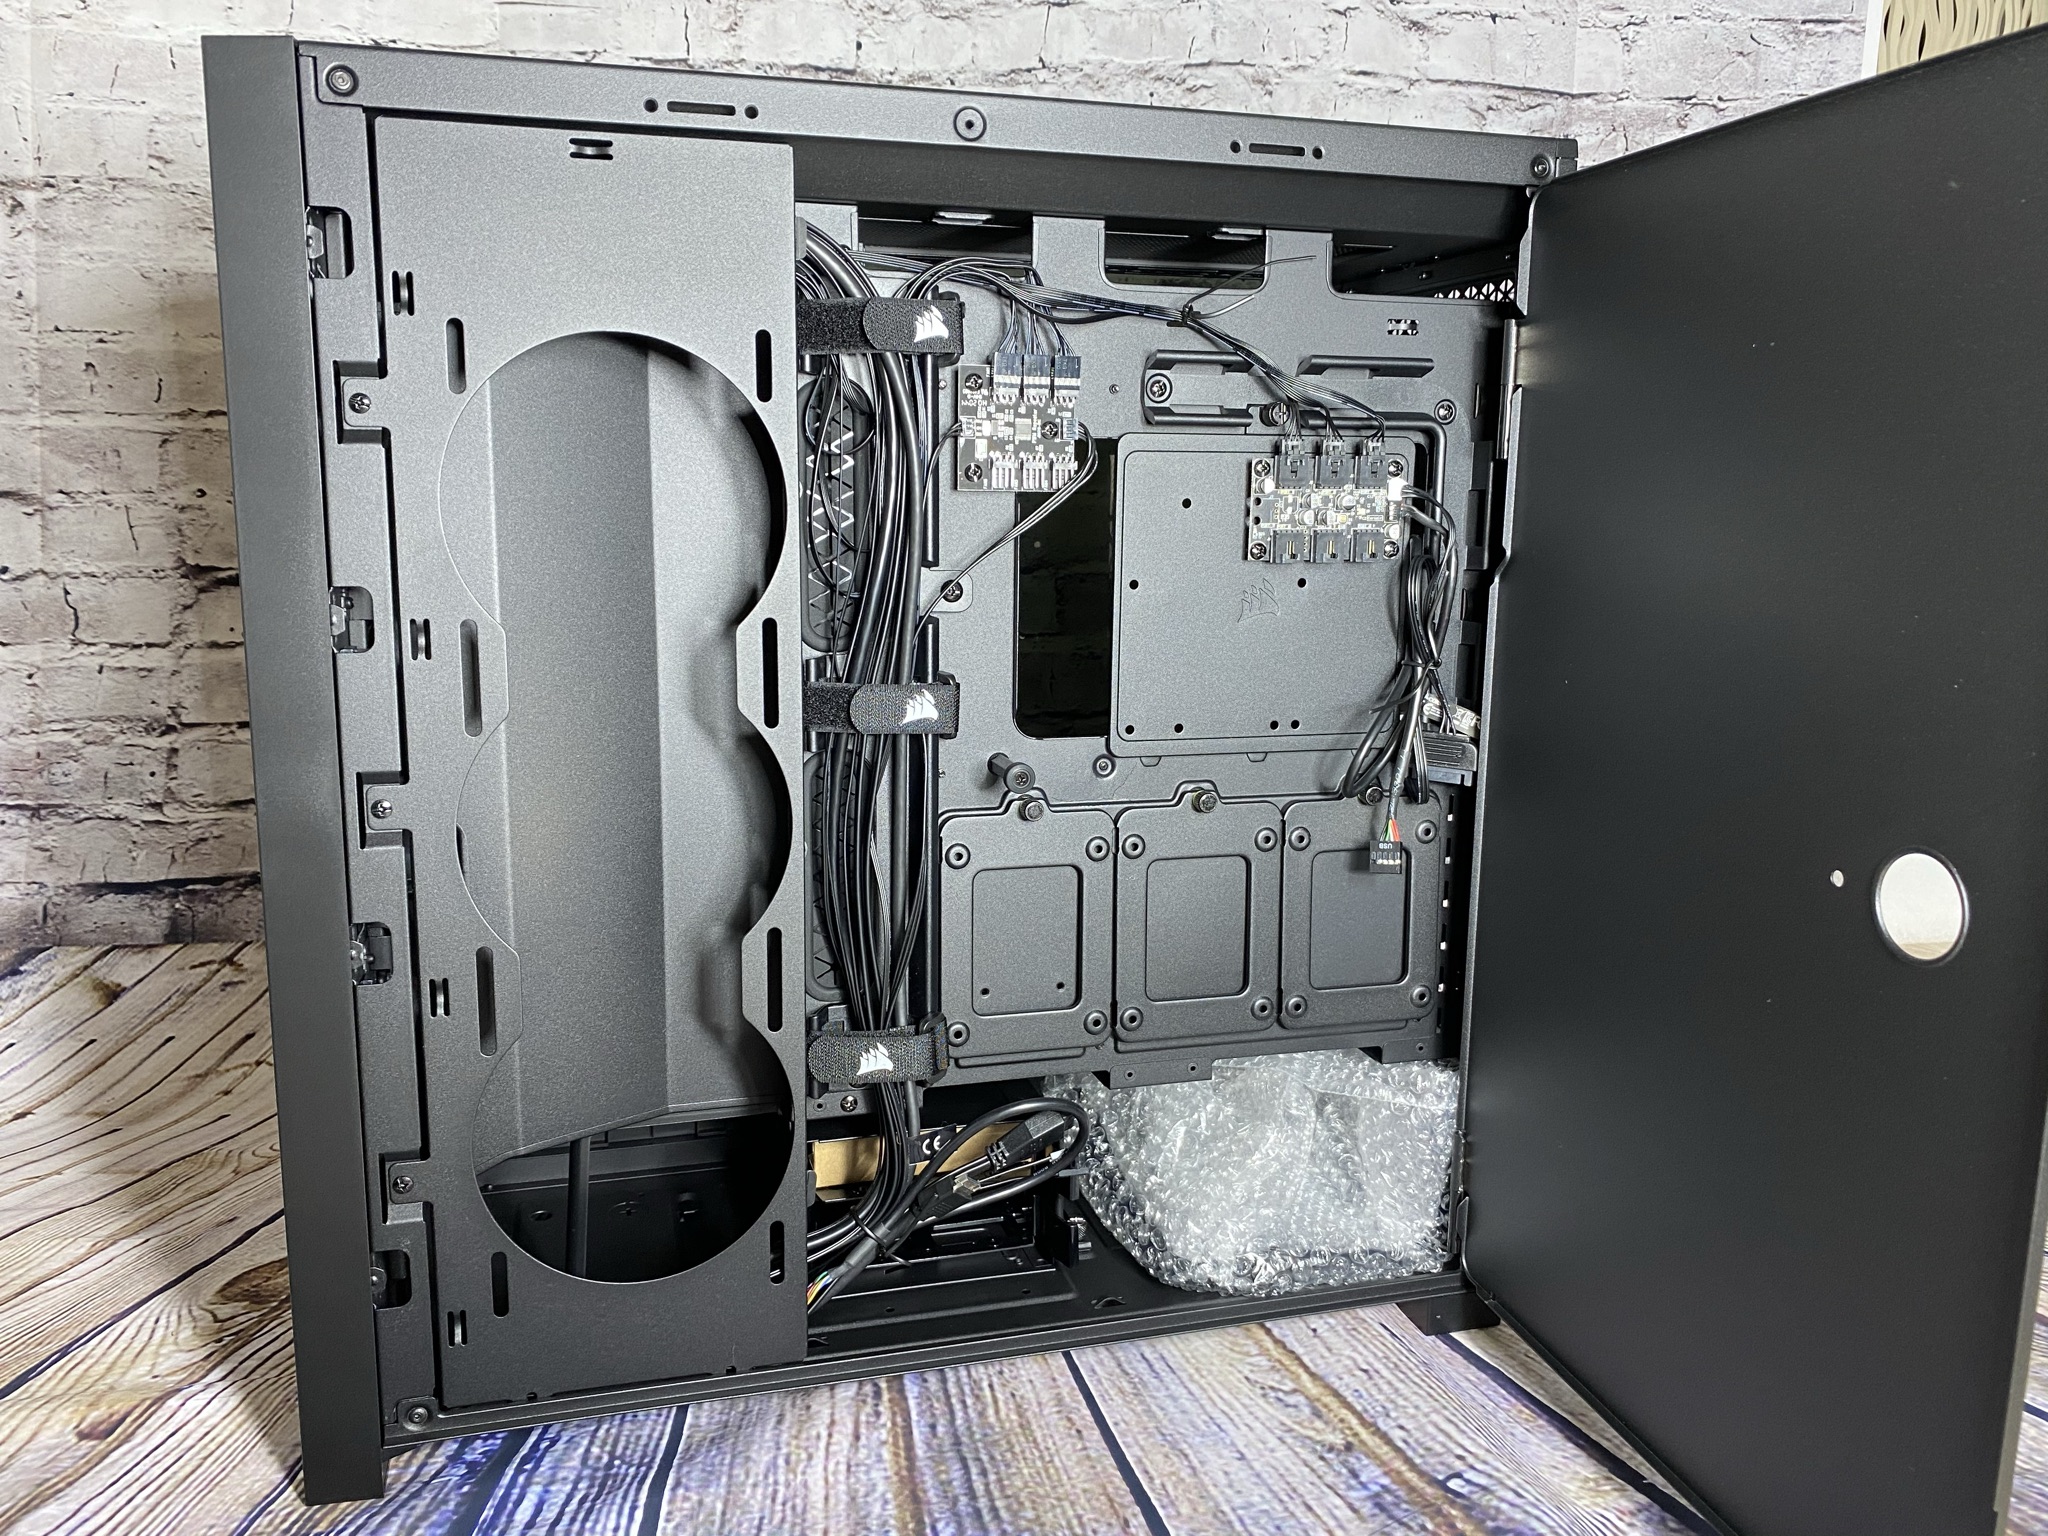
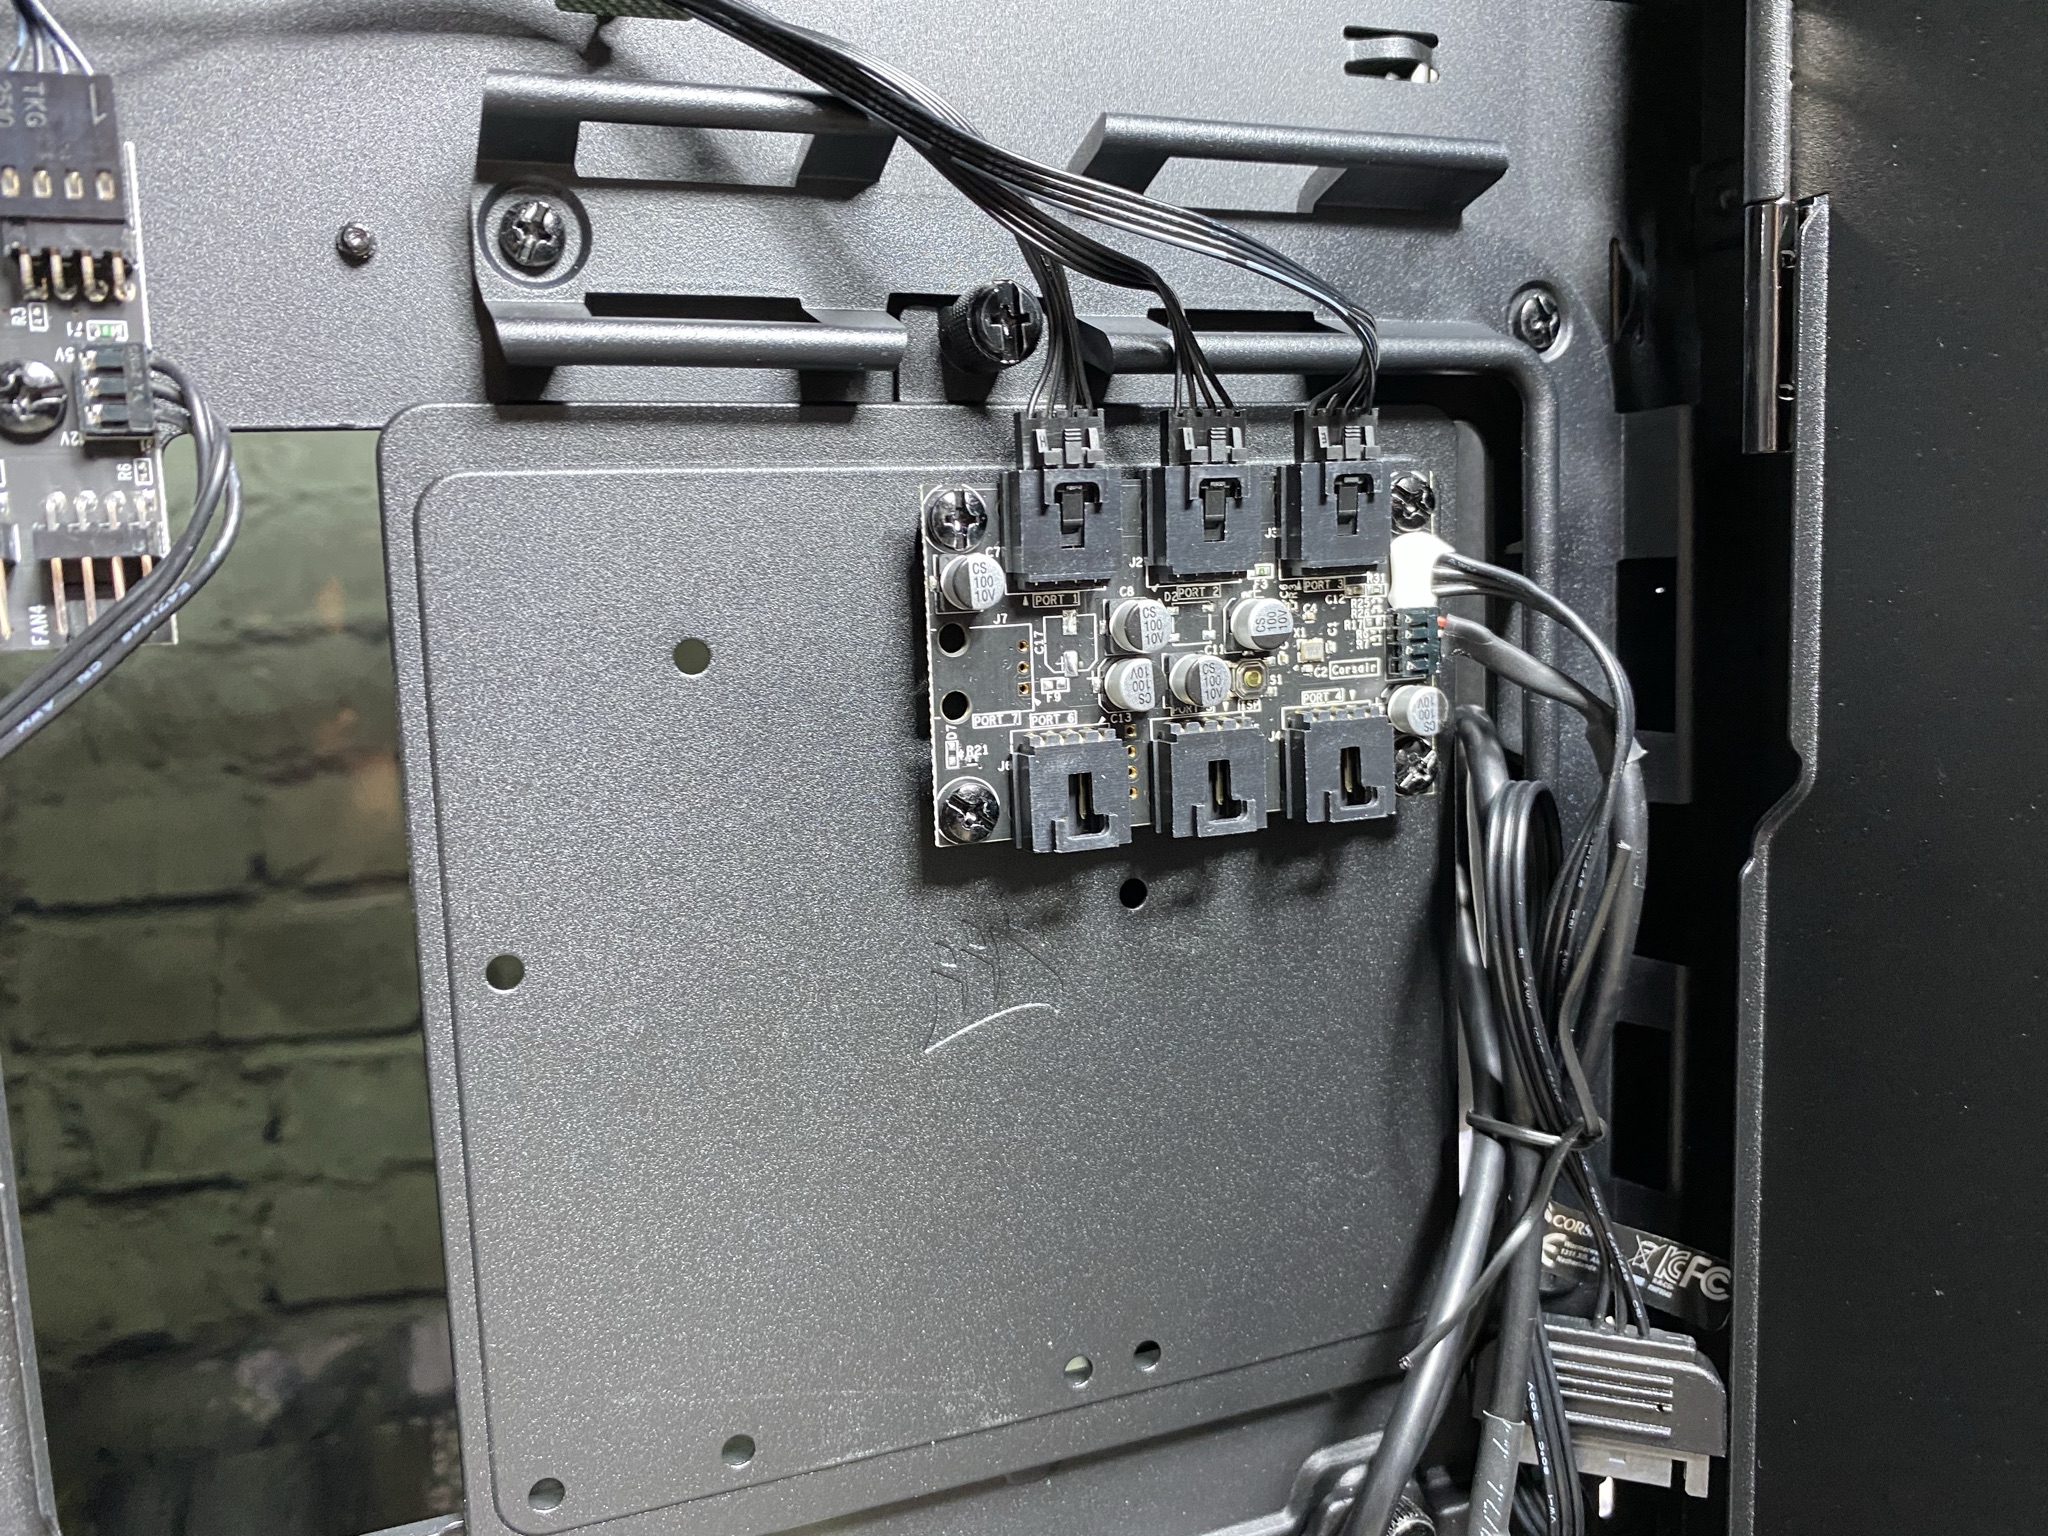
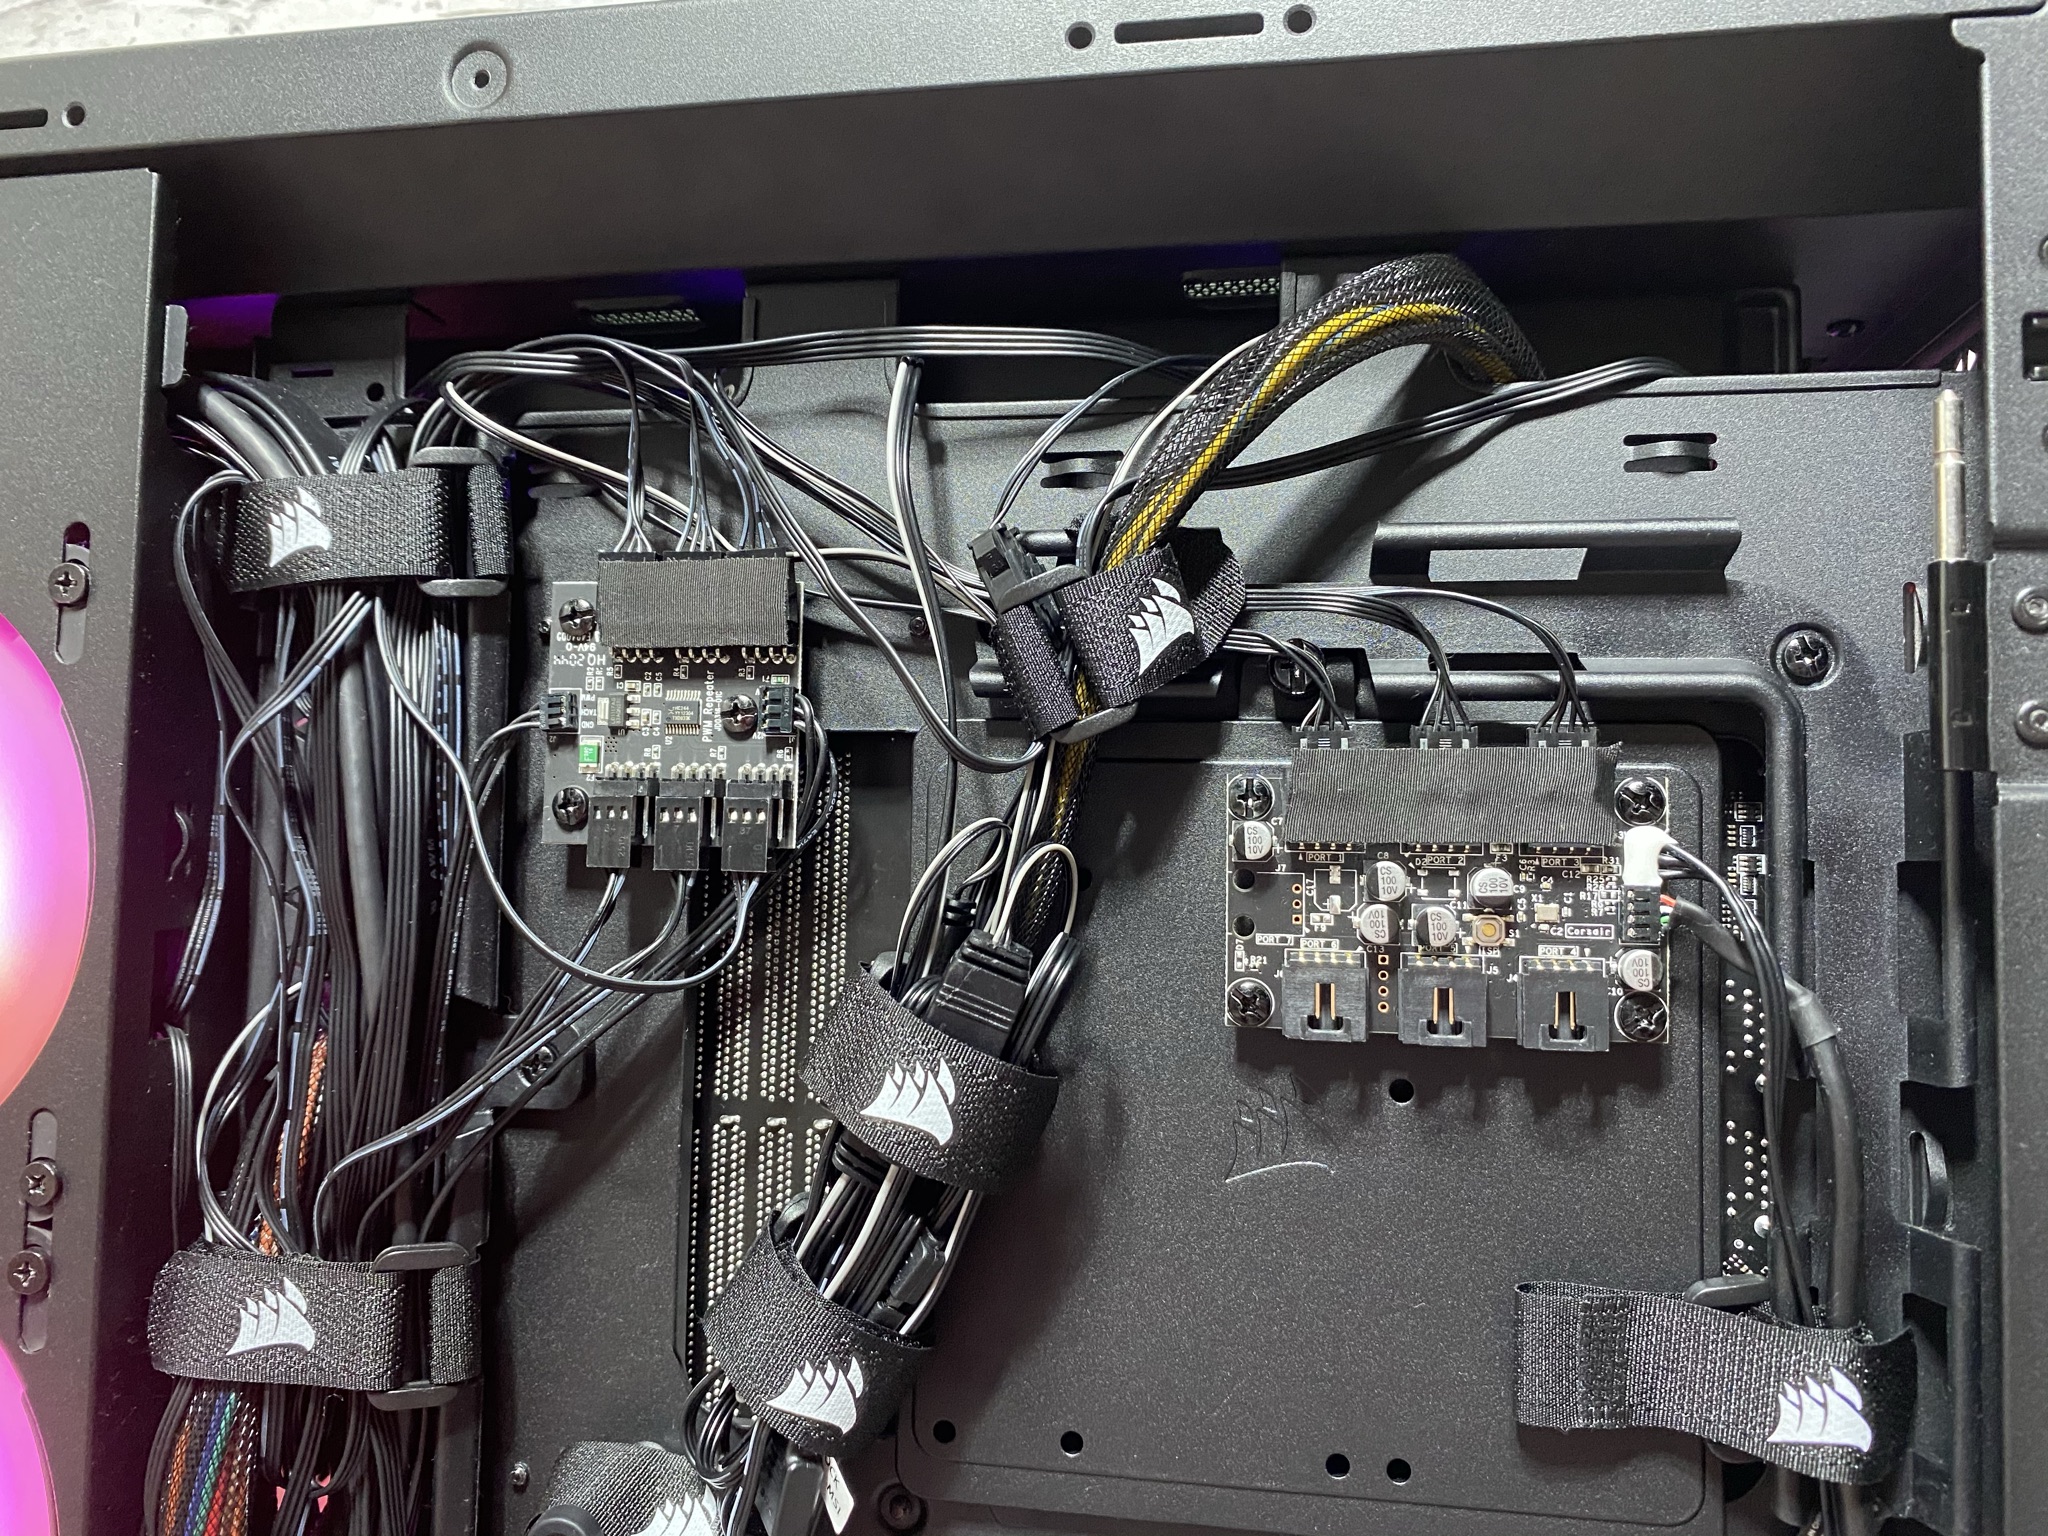
If we open them again, we have a lot of space in the back to be able to create a neat cable management, as is also the case in the interior. A prefabricated line is already given here and pulled tight to the case with fancy Corsair Velcro straps. On the motherboard backplate and a bit further up on the left next to it, we find two controllers. The pre-installed SP120 RGB ELITE fans are already connected to the controllers.

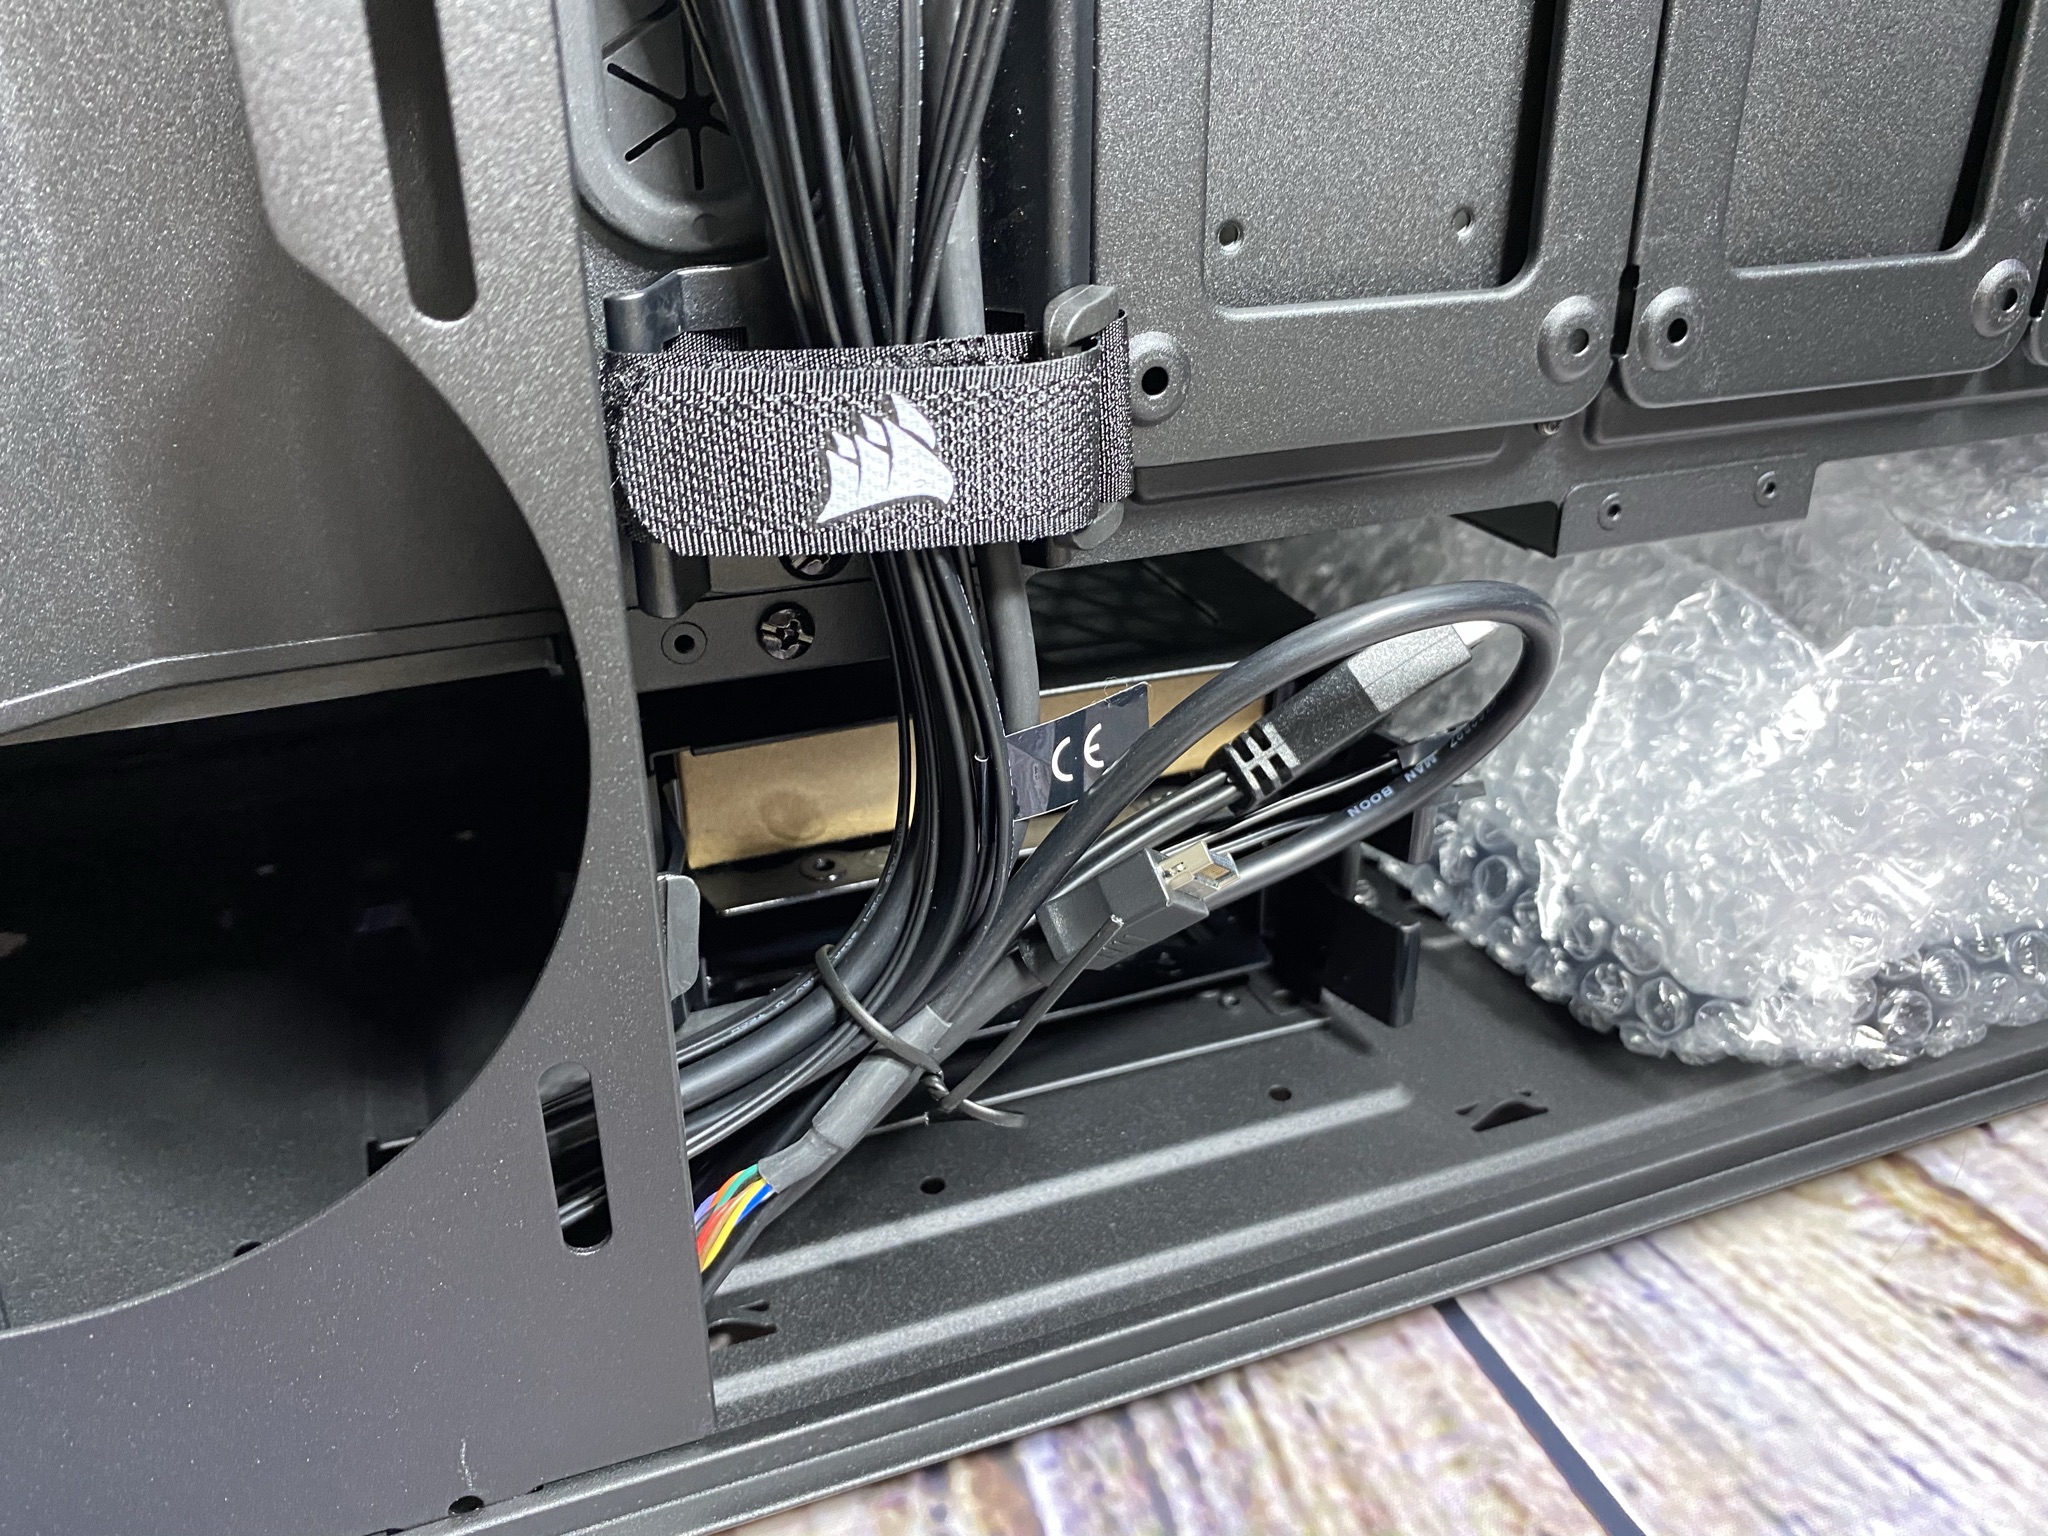

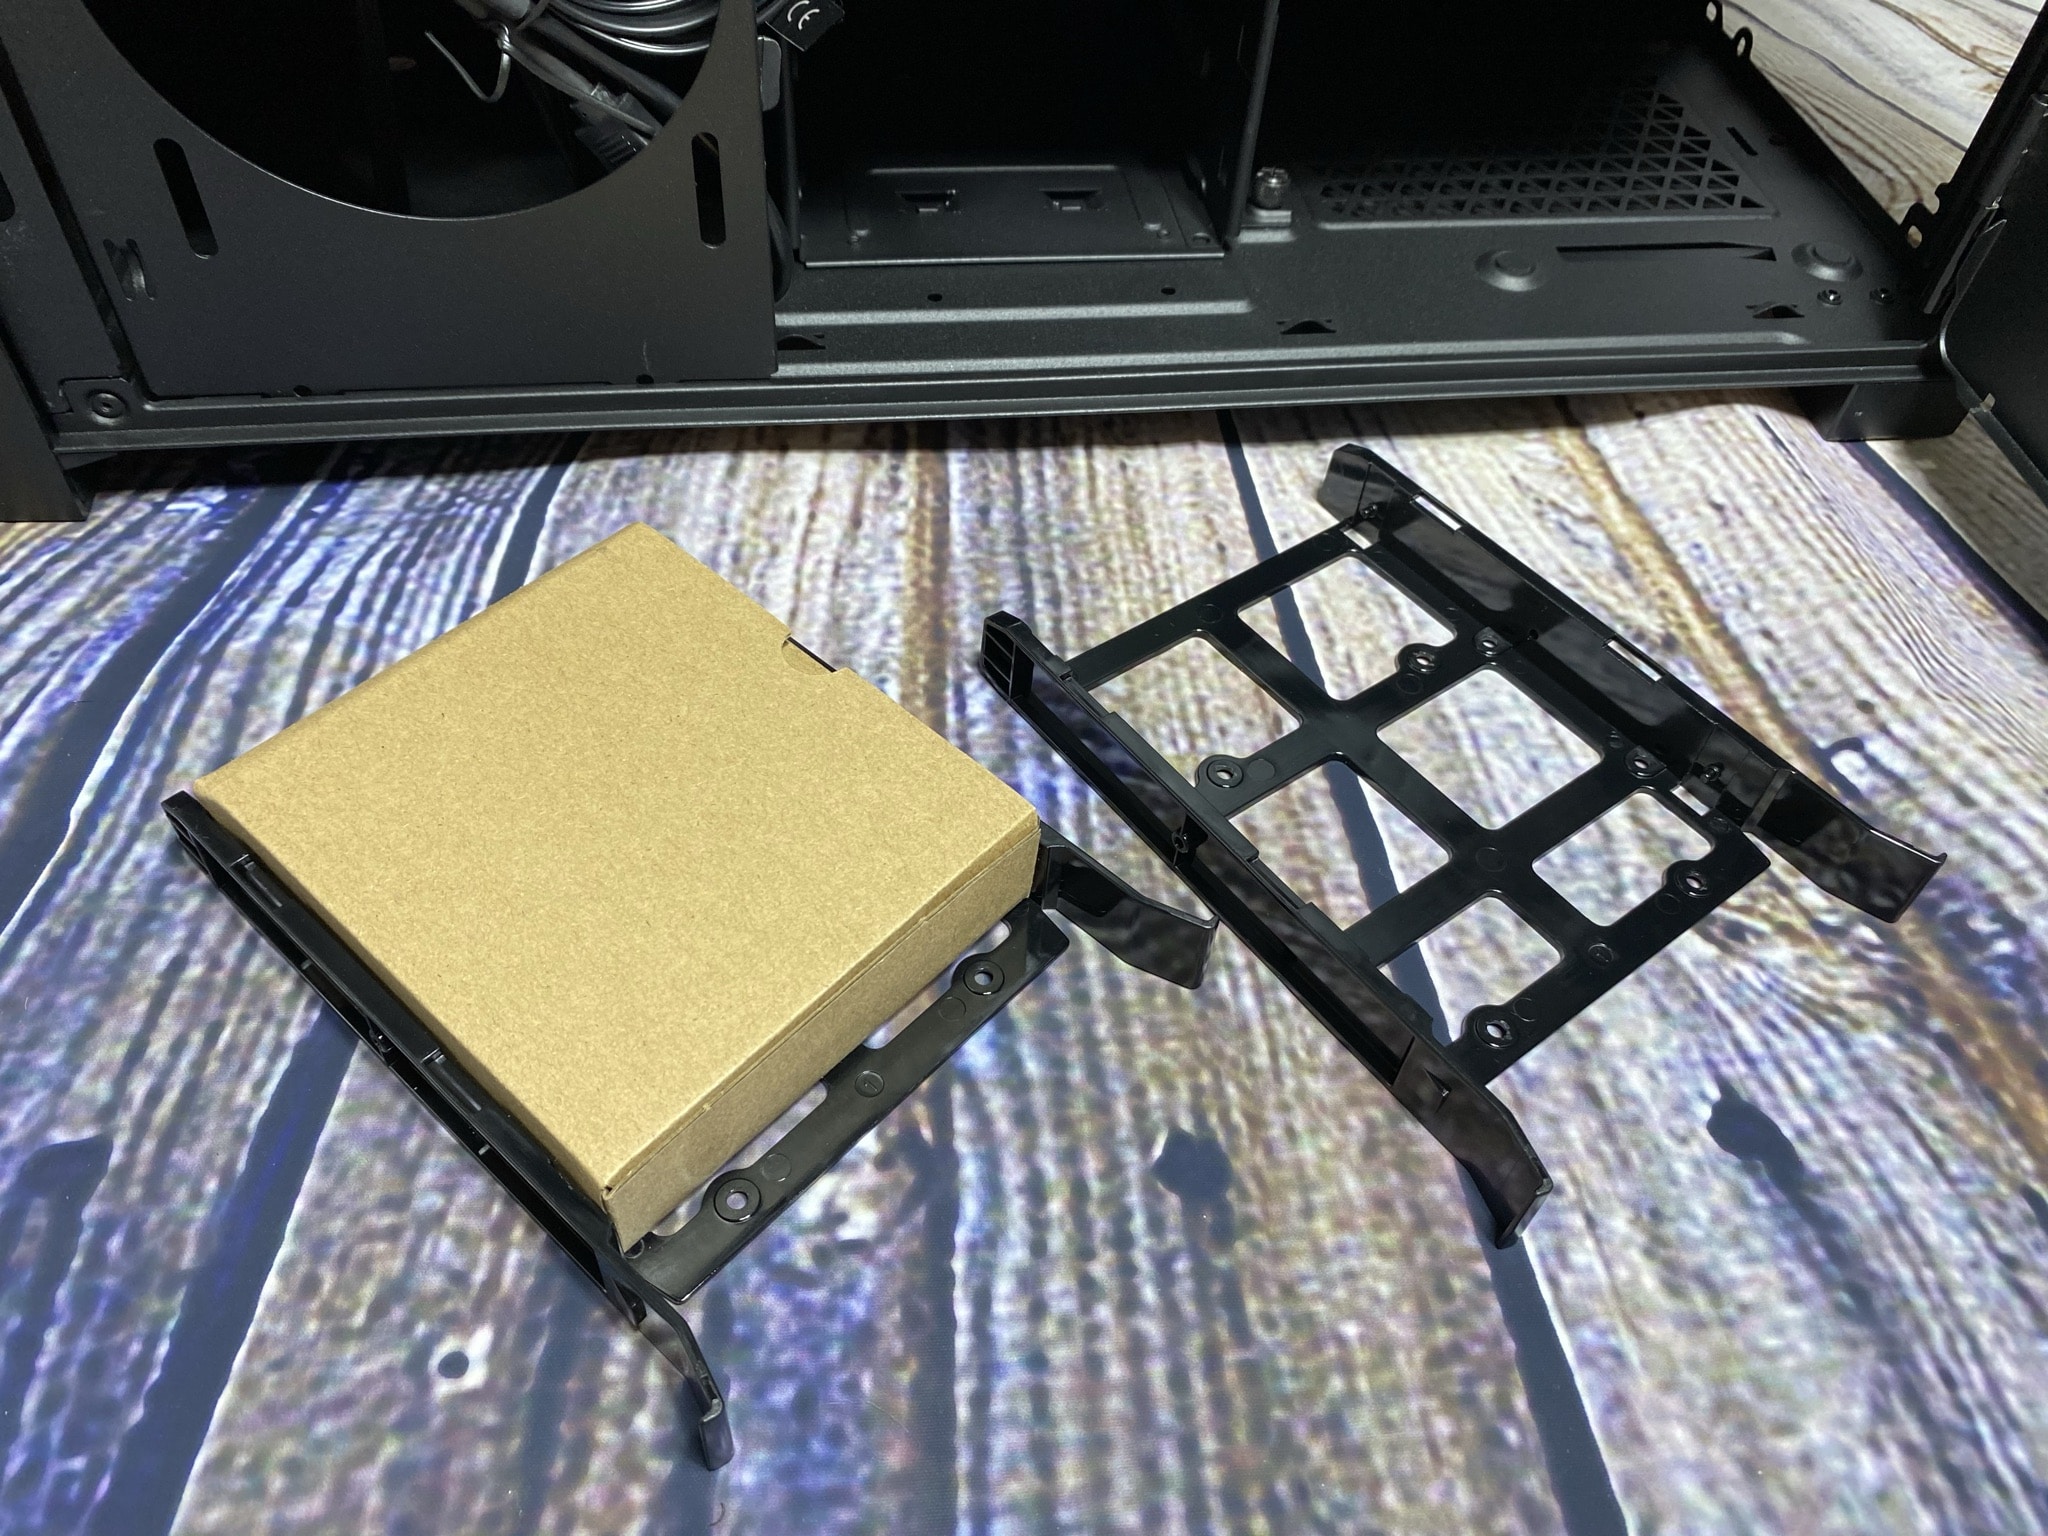
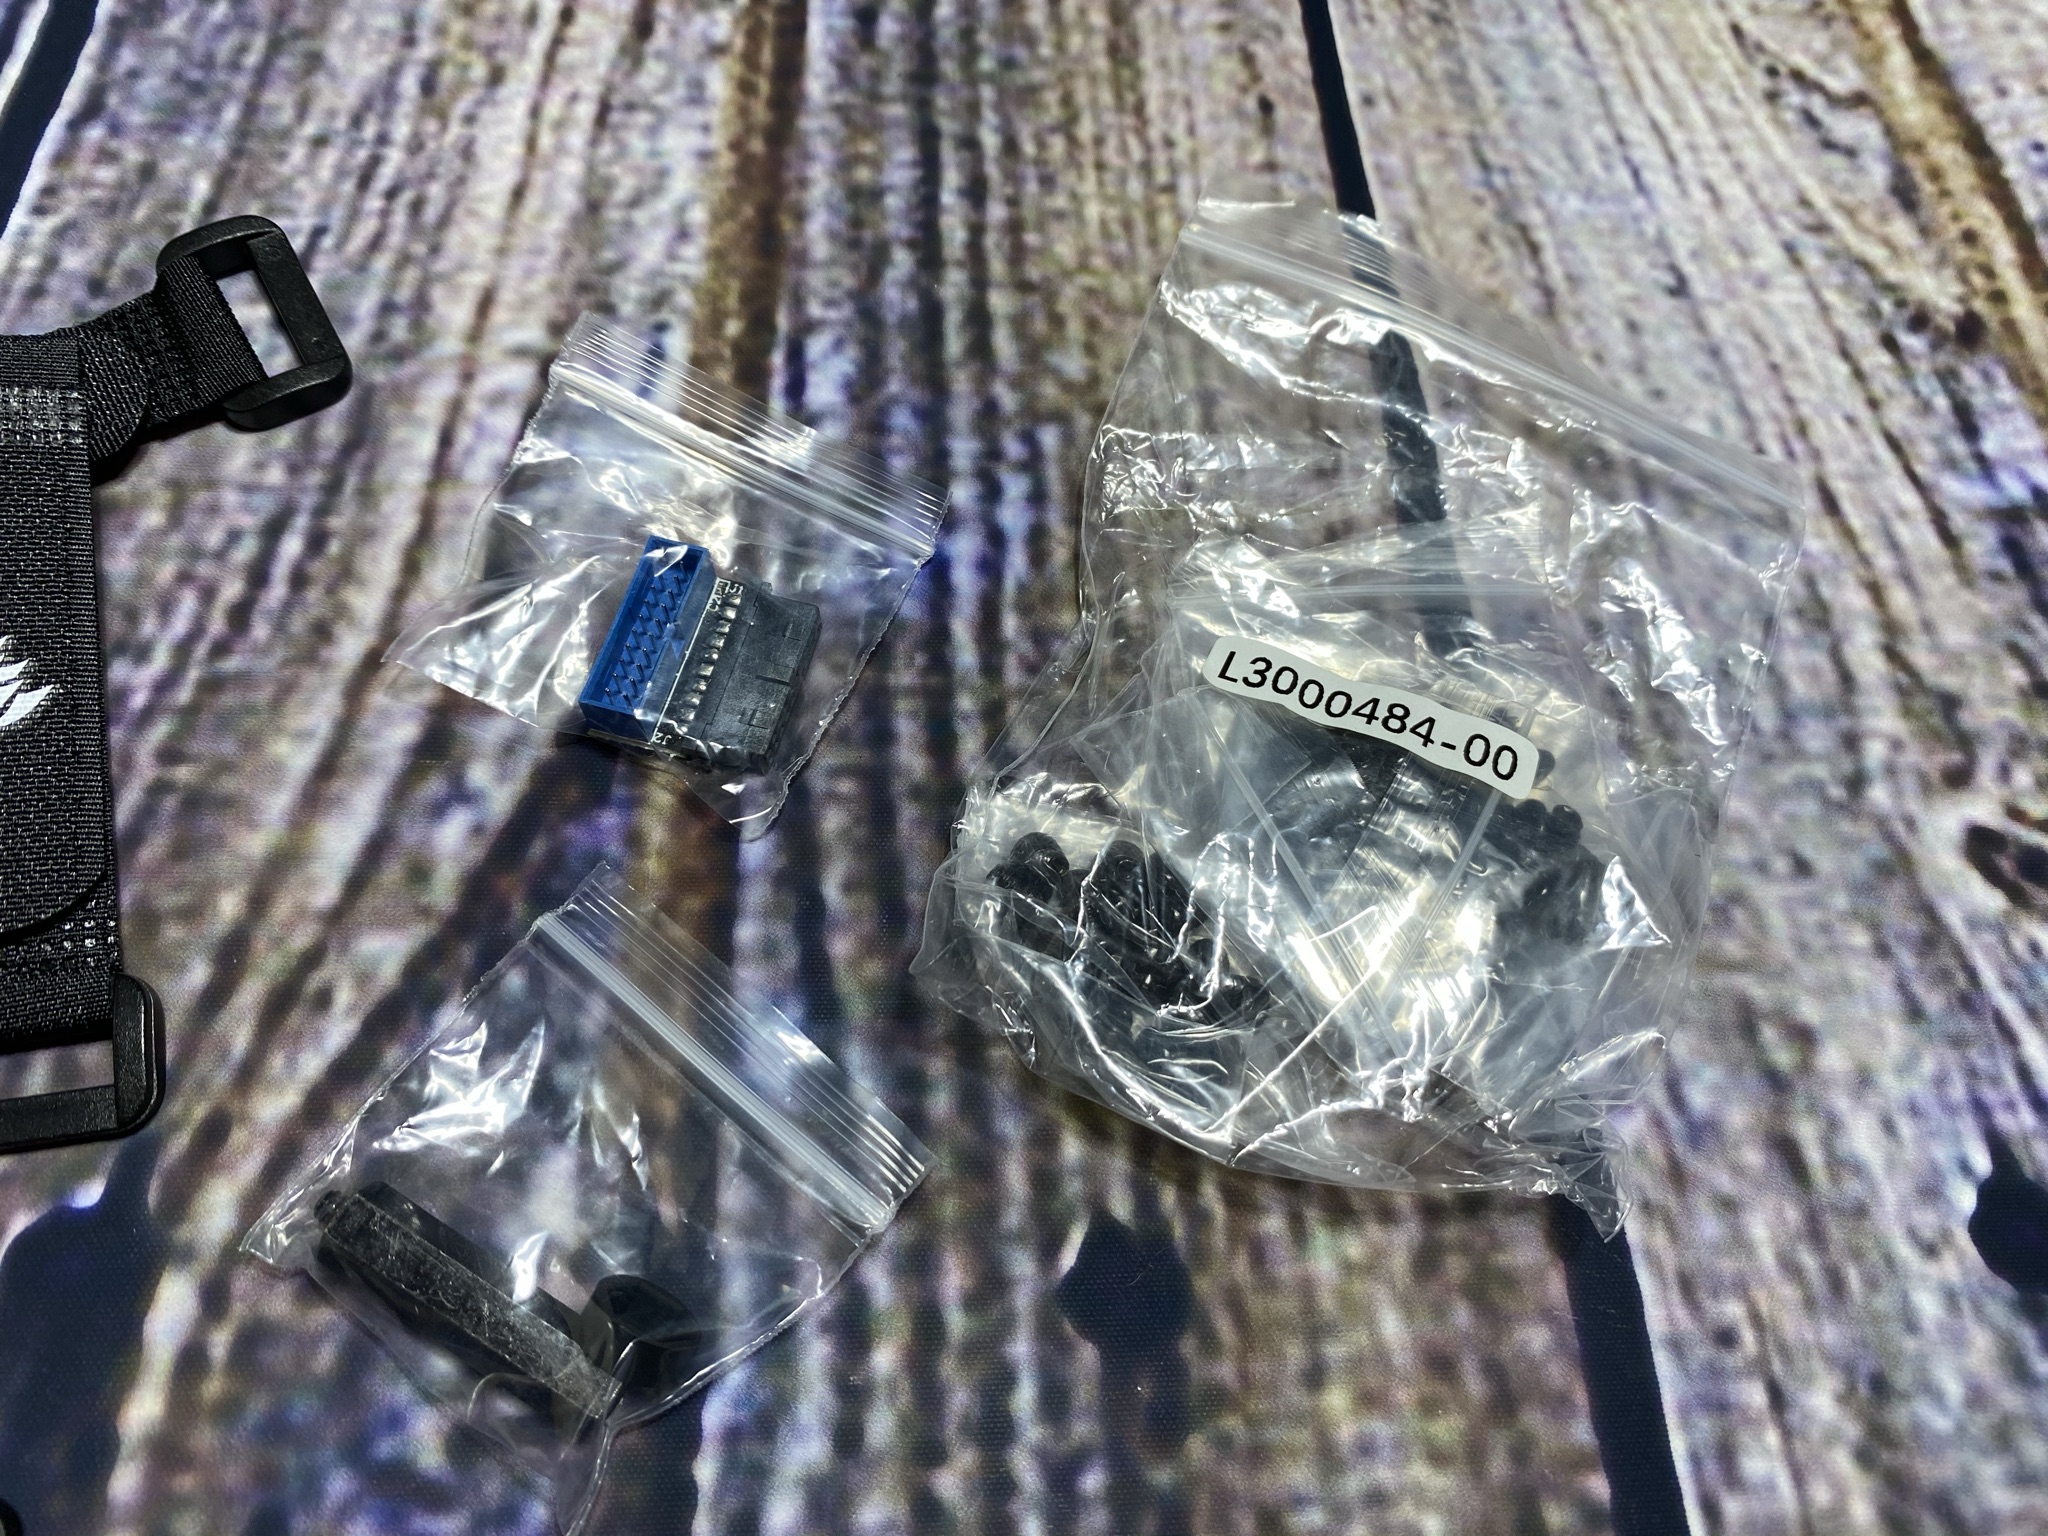
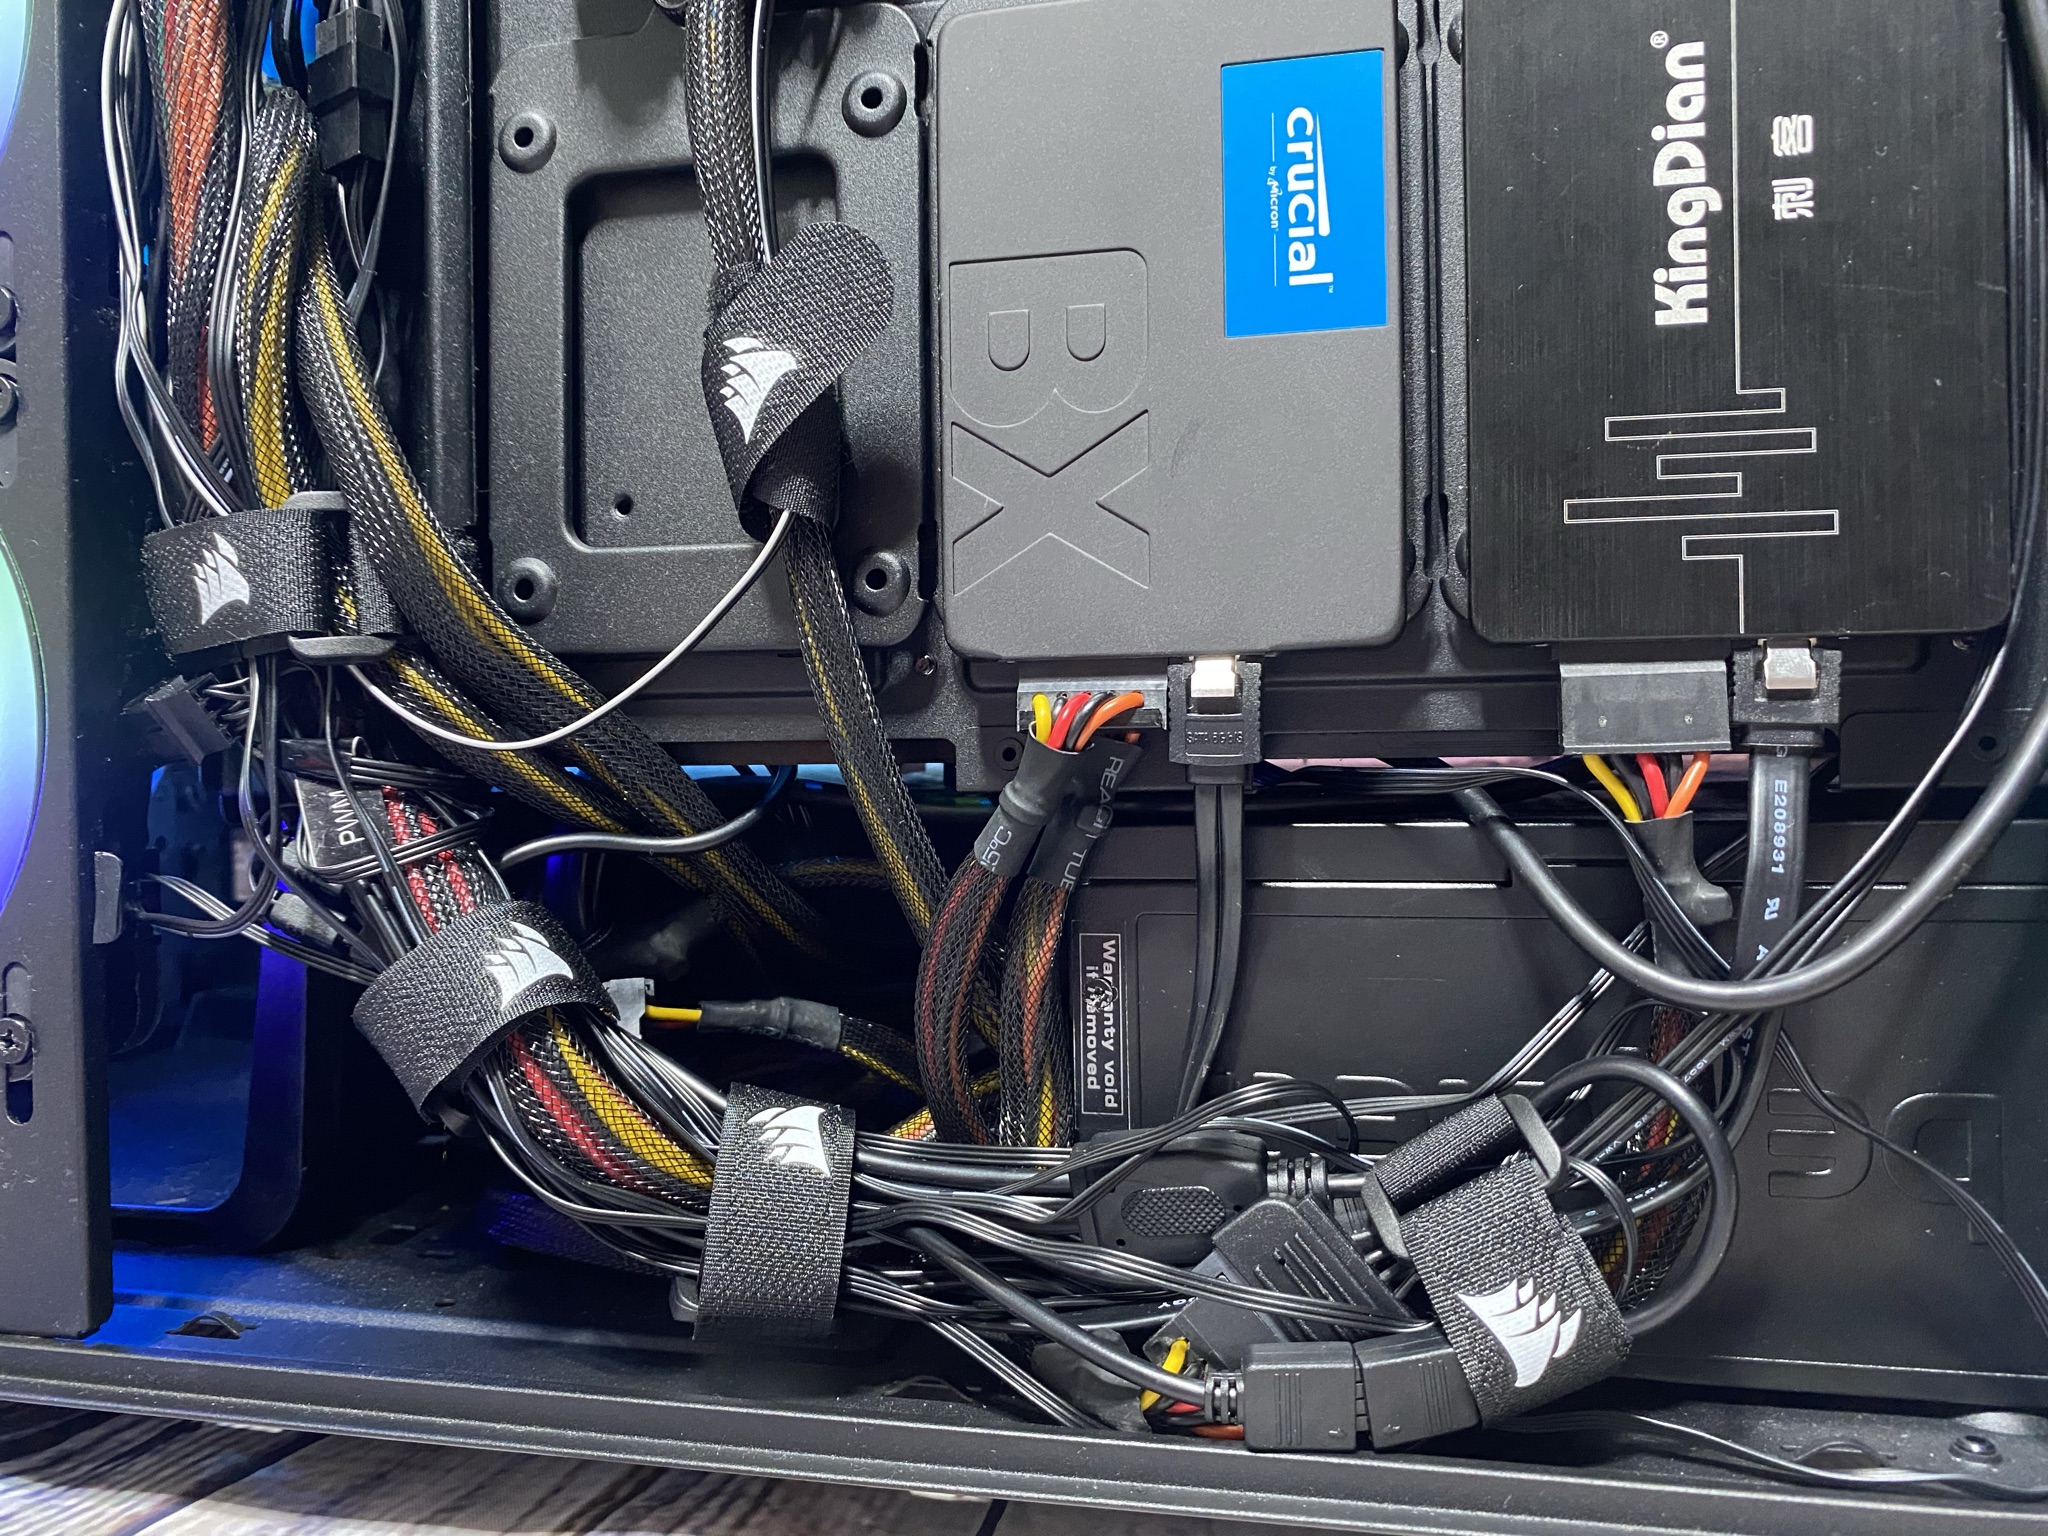
The lower storage space was used here to include a few things when the case was delivered. Inside the HDD rails is a small brown cardboard box that contains numerous Corsair Velcro straps, a USB adapter, another magnet for the back panel, and more of the case’s screws. Wrapped in foil, there isn’t already a power supply unit here, but the second plastic part that you can swap in the interior at the front fans, as already mentioned. By the way, above the whole story are the three 2.5″ SSD rails, which are held to the back panel with a screw and a sliding system.

Assembly
After our detailed review of the iCUE 5000X RGB, we will now install our test system into the case next. For this, we have compiled a small list of the installed components:
- AMD Ryzen 5 3600, 6x 3.60Ghz
- Alpenföhn Gletscherwasser 360
- MSI MAG B550 Tomahawk
- G.Skill Trident Z Royal 16GB DDR4 3200 MHz
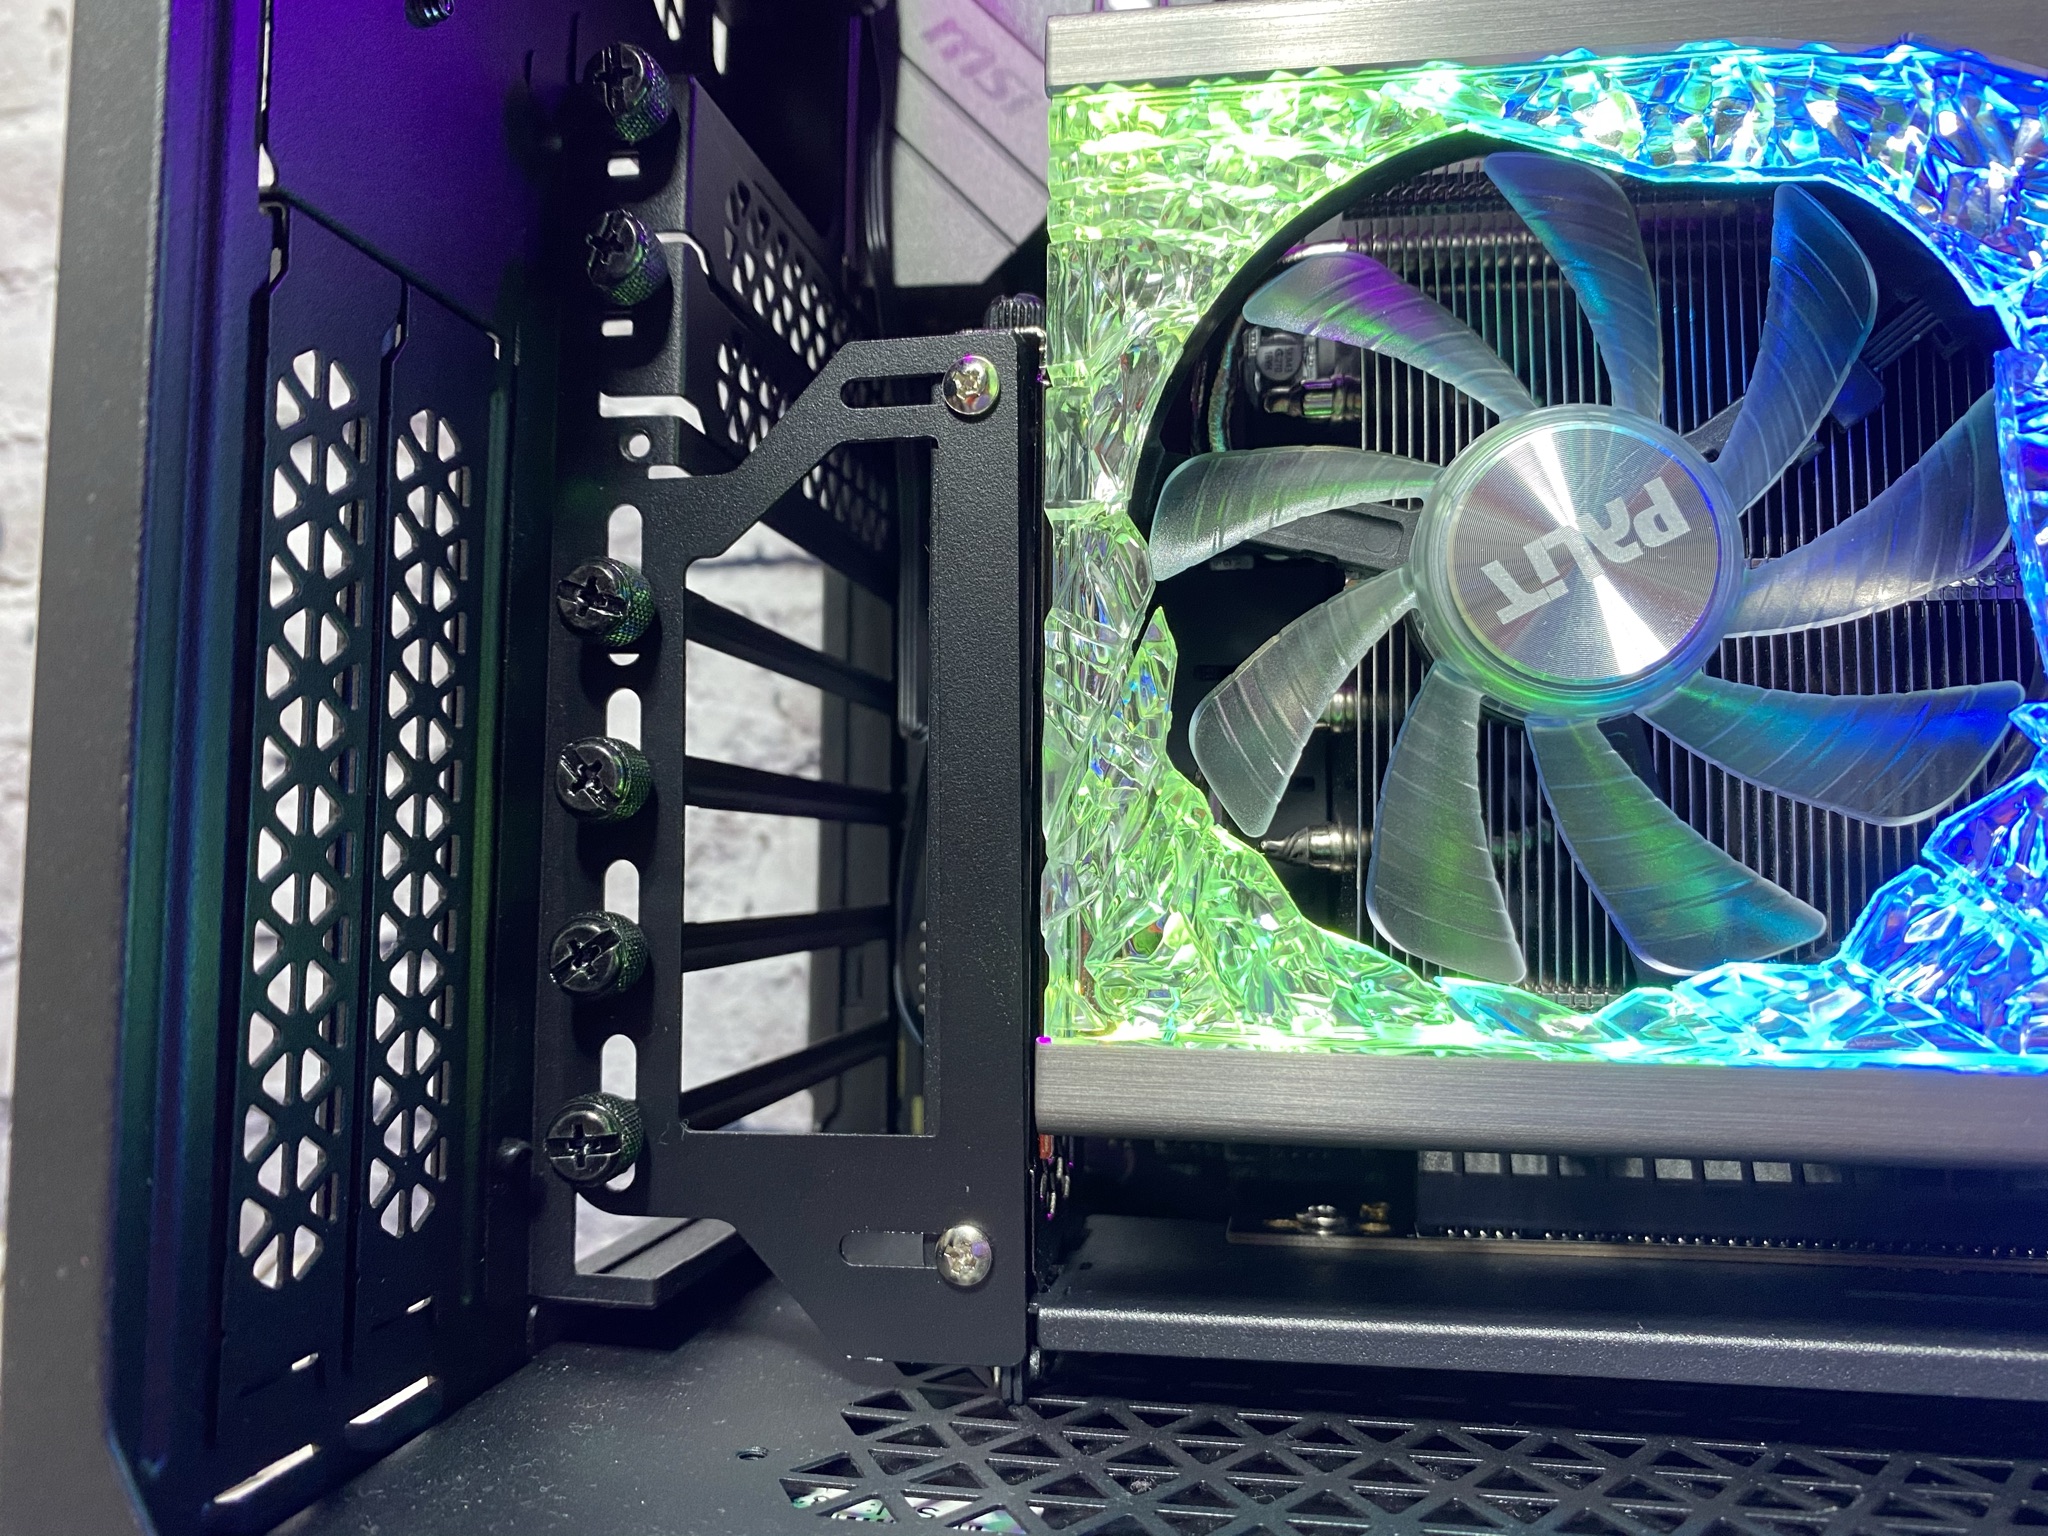
- Palit GeForce RTX 3070 GameRock
- WD Black SN750
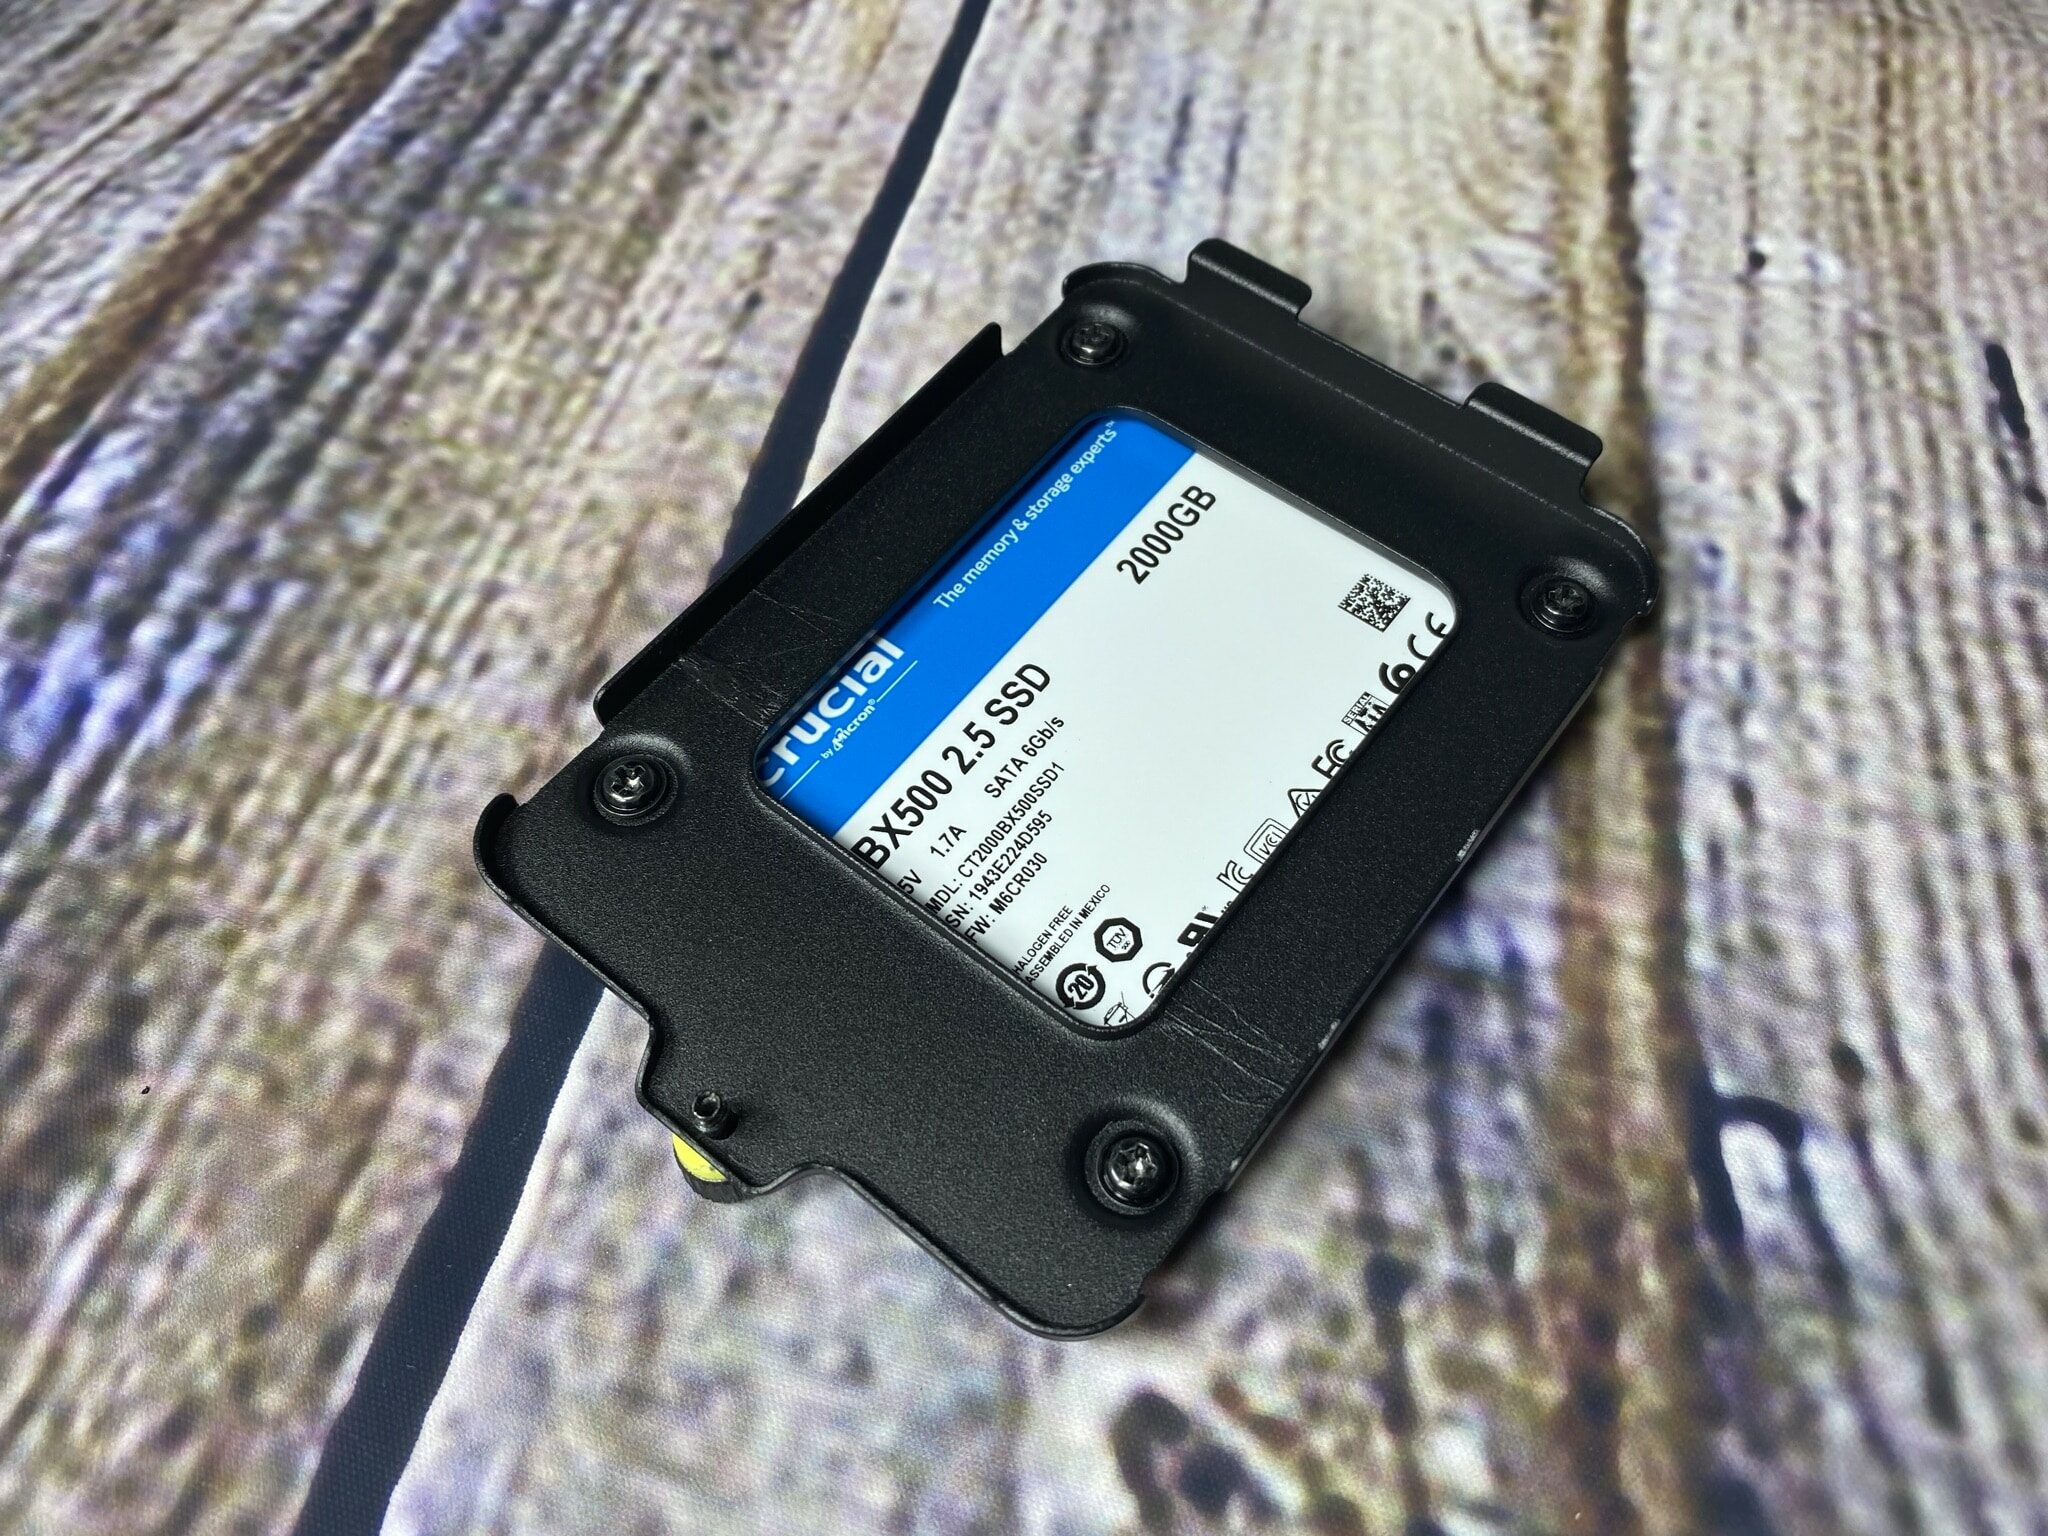
- Crucial BX500 2TB
- KingDian 240 GB internal SSD
- be quiet! STRAIGHT POWER11 CM 650 W


Basically, the installation went entirely without problems. All screws, which are attached to the case by fans and the rest, fit very well and can be easily screwed into place. The motherboard fits perfectly in its place, the HDD rail can be easily removed and the power supply is also easily attached in its place. Nevertheless, we can still talk about a few conspicuous features here. We find the USB mainboard adapter questionable. This is unwound towards the top when you plug it into the intended port. It would make more sense if it was pointing downwards, as this would allow the cable to be hidden a bit more.
Another noticeable thing is the cable cover that covers the rear fan mount. It takes some skill to unscrew these, as the screws are located inside between the fan mount and the cable cover. The lower one is a bit easier to unscrew due to the limited space at the bottom, the other one at the top is a real obstacle. It’s possible that we made life difficult for ourselves, but one thing is certain – it’s not immediately obvious how to get the cable cover out of the case. However, once the screws are loosened, the plastic part can be easily removed.
Another plastic part is also easy to change – the front inner plastic part which can be used to create more space in the front. To remove this, we first have to loosen two screws and then pull the piece out of the clipped-in holder with a little jerk. After this, the new one can be attached again by simply clipping it in and screwing it on at the same position. The whole thing is very easy to do and is a very nice feature of the case, which adds another little bit to the overall impression.
A very nice relief are the Corsair Velcro straps that are included. With their help, the cabling in the rear case can be managed very easily. All cables can be tightened together at will or simply plugged in at the bottom. Due to the small distance to the door, we also have a nice spacious room for the cabling. This door can be removed from the hinge as mentioned earlier. So you could also just put LEDs in the back to proudly display your wiring through the glass panel that is also located here.

The last thing we want to talk about is the vertical mount. A vertical mount is always a nice feature on the case to showcase the graphics card. For this, Corsair has milled out the PCI slots for us and all that needs to be taken care of is a PCI riser cable. We had a bit of a problem here, though. There wasn’t enough room for our RTX 3070 Gamerock at this point. Due to the thickness of the graphics card (3 slot), we only had half a fingertip of space to the glass panel after attaching it. This is not very reasonable for an at least conditionally good airflow. Therefore, we had to resort to an external vertical kit at this point. However, if you have a graphics card that is not as thick as the RTX Gamerock, everything at this point is harmless – so you should think about it beforehand.


Cooling
To test the cooling of the case, we measured the temperature of the system in the unloaded state and in the loaded state. The whole in each case in a 30 minute interval. The room temperature was about ~20 °C. All values of the system were set to the default values. We heated up the system with Prime95 and FurMark for the load. That clears everything up and we can present our test results.
| Fan Performance | temperature CPU | Temperature GPU |
| 5V without load | 35 °C | 30 °C |
| 12V with load | 70°C | 61 °C |
As was to be expected up front, the cooling performance is exceptionally good. With a total of 10 fans on the case, quite a bit of airflow can be generated and also directed. The front of the case gets particularly good and plenty of air. With the three SP120 RGB ELITE fans and three MSI case fans used in the test, a lot of air is moved in the case. This can be seen very well in the dust filters after a short time. Comparatively, it doesn’t take very long until some dust can be found there.
With many fans, the airflow is of course also a little audible. However, this is in no way to be perceived as annoying. The SP120 RGB ELITE fans are particularly quiet and not at all noticeable. They are only noticeable due to their RGB lighting, which we will now come to.
Lighting
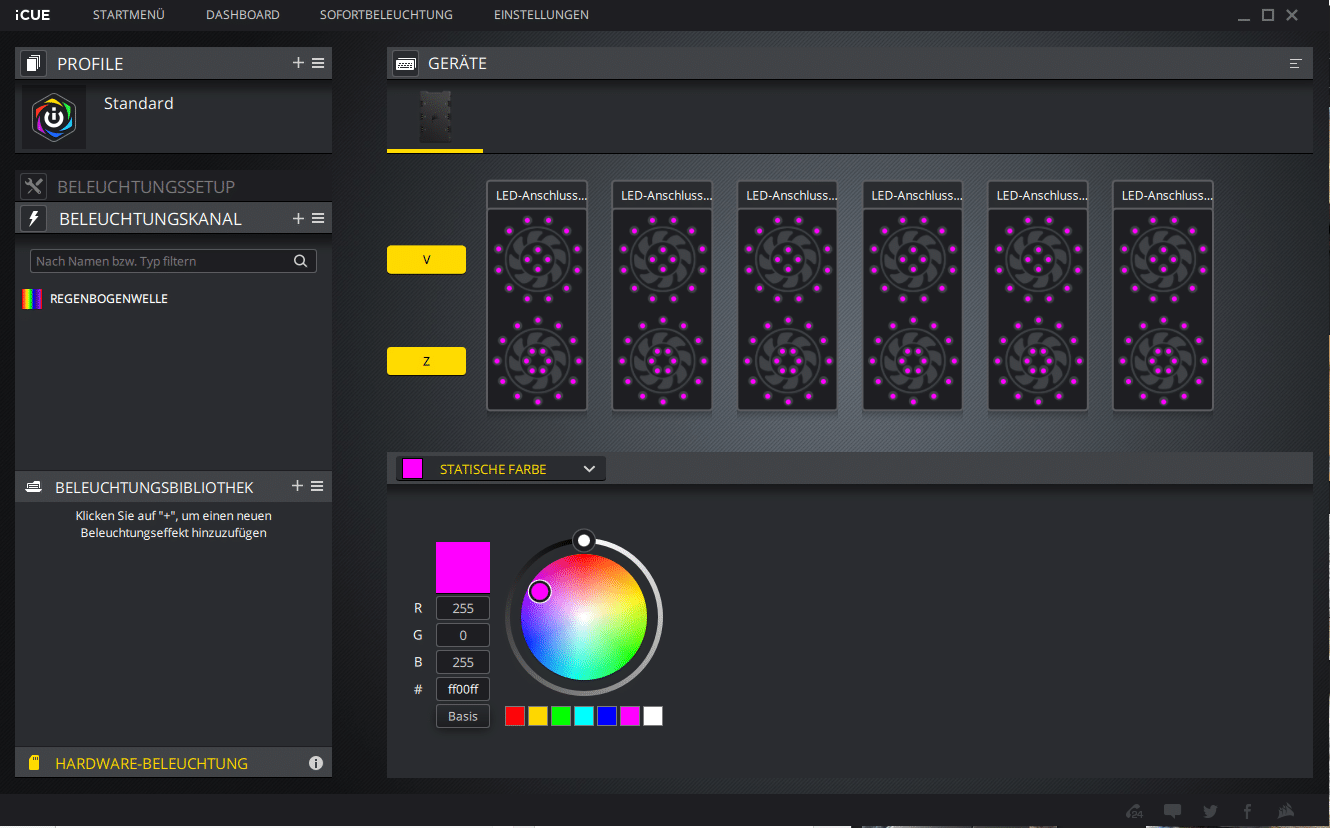
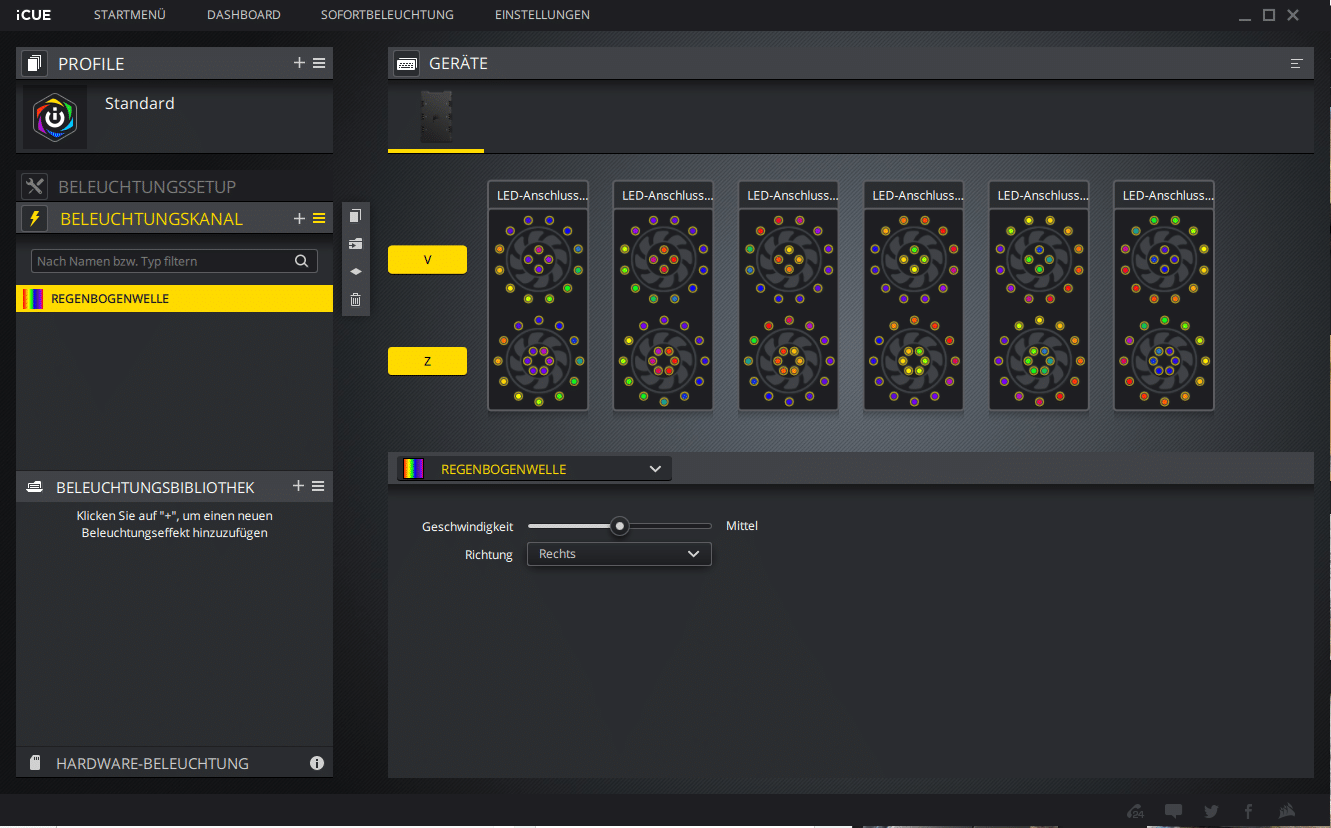
The lighting of the front three SP120 RGB ELITE fans can be addressed via the iCUE software. To do this, one can simply download iCUE from the Corsair website. After one has then installed it, we can make our first adjustments to the lighting. The built-in RGB controller is immediately recognized and we can adjust the lighting with two simple clicks. The software is clearly designed and is very easy to use. In addition, it is shown in a meaningful way how to address each individual LED.

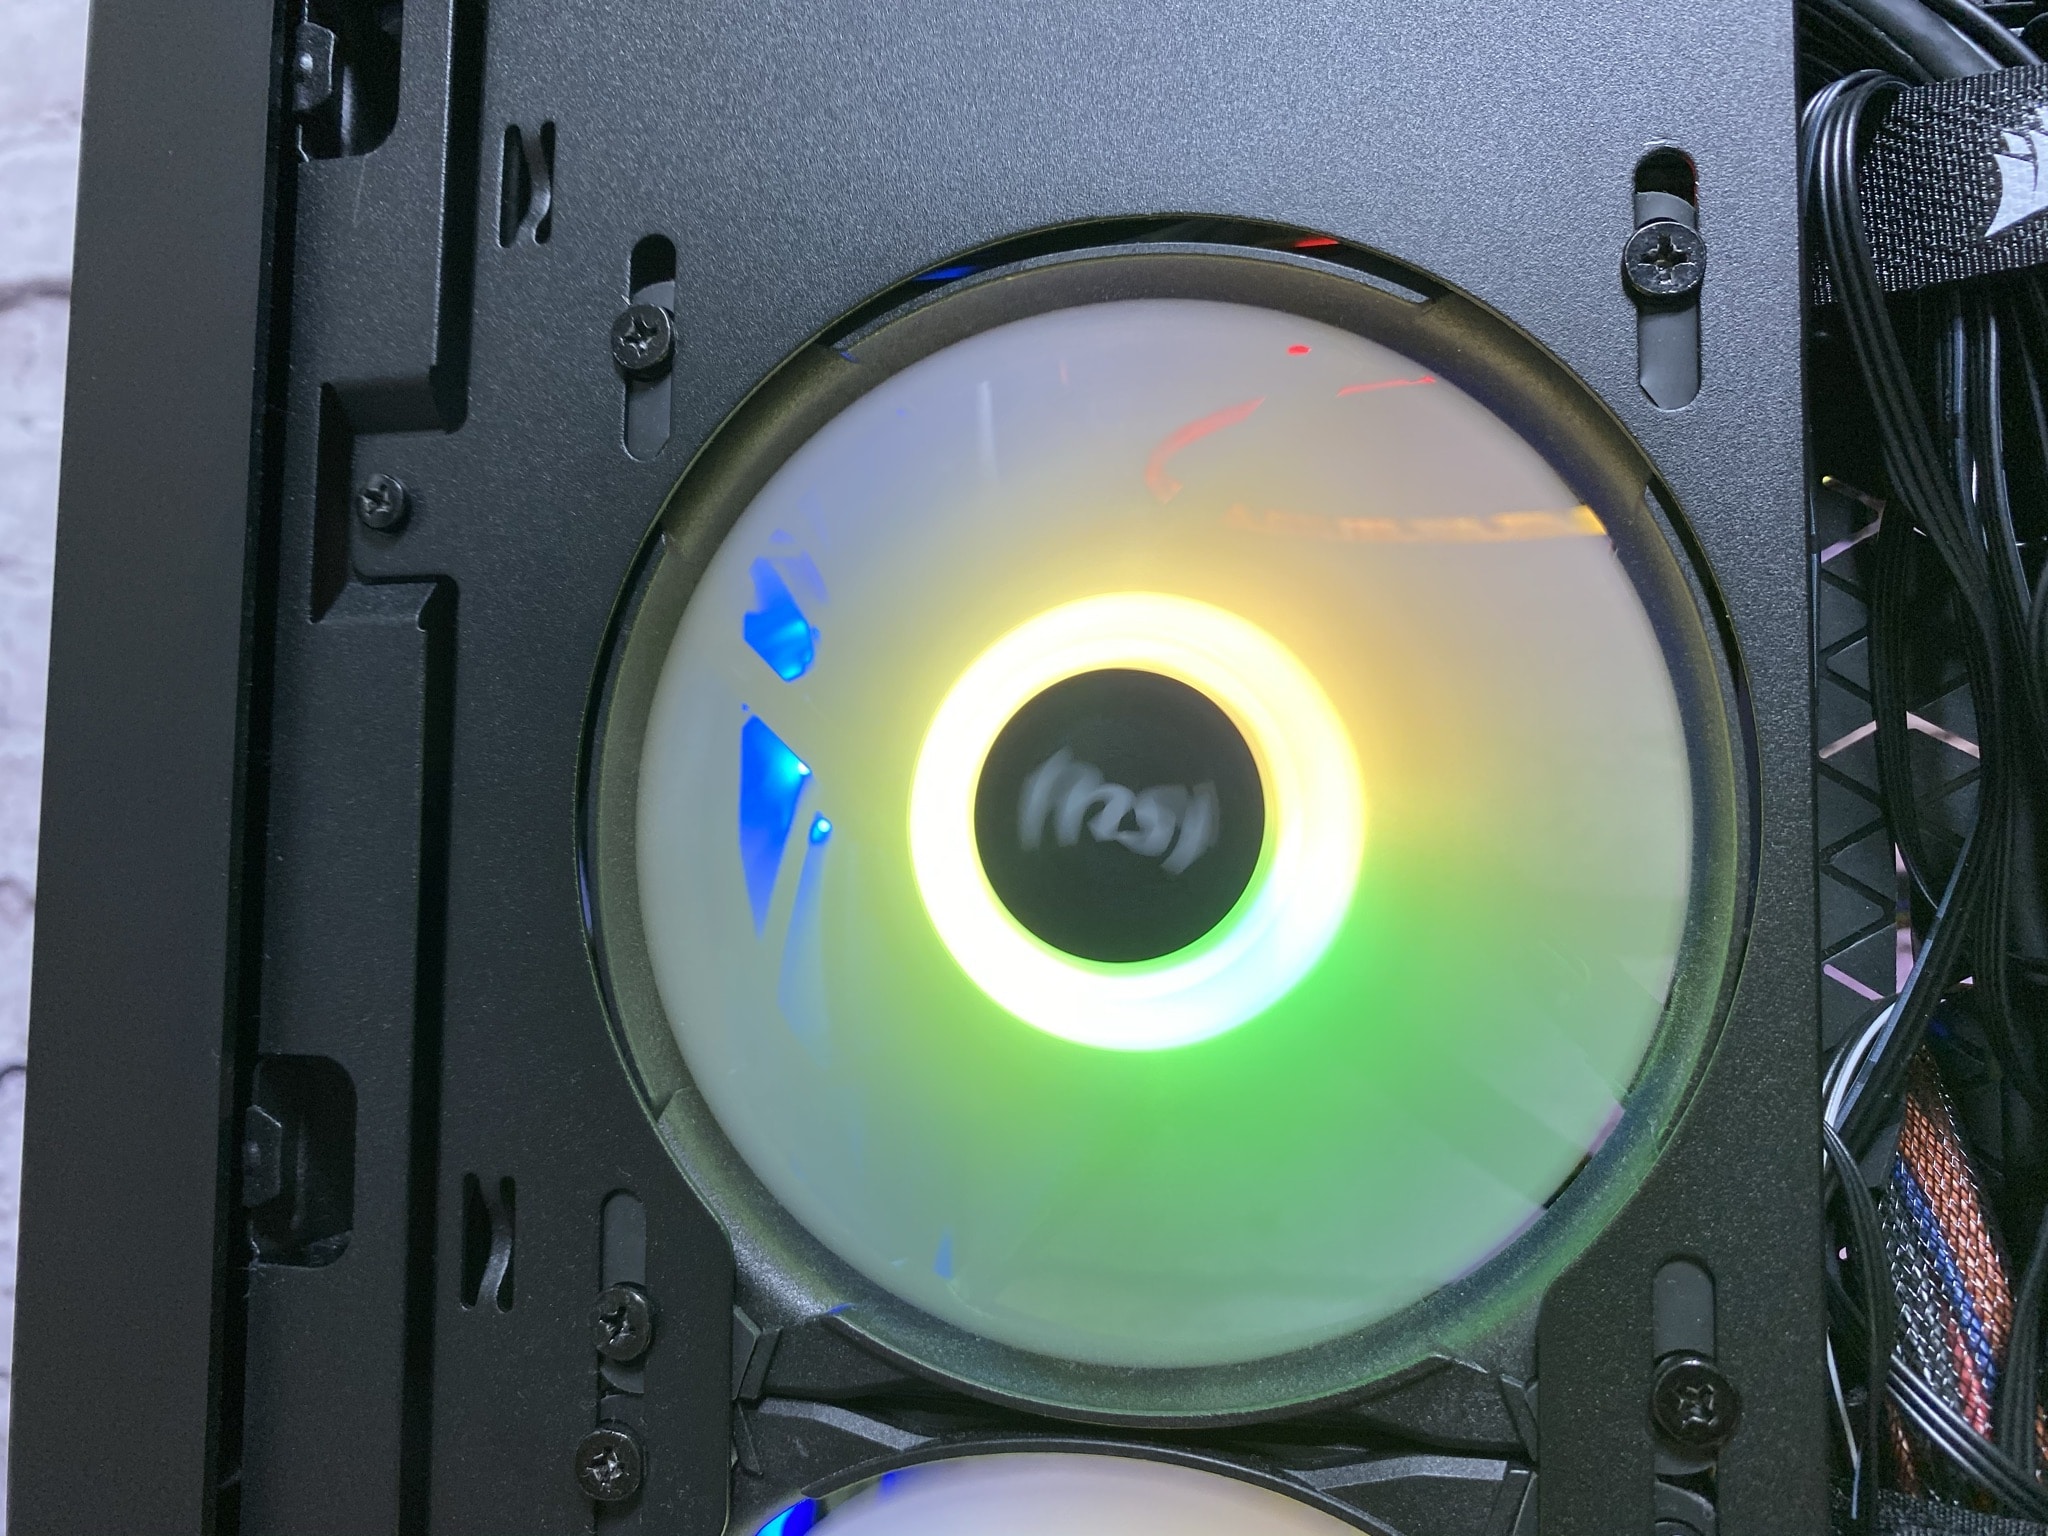
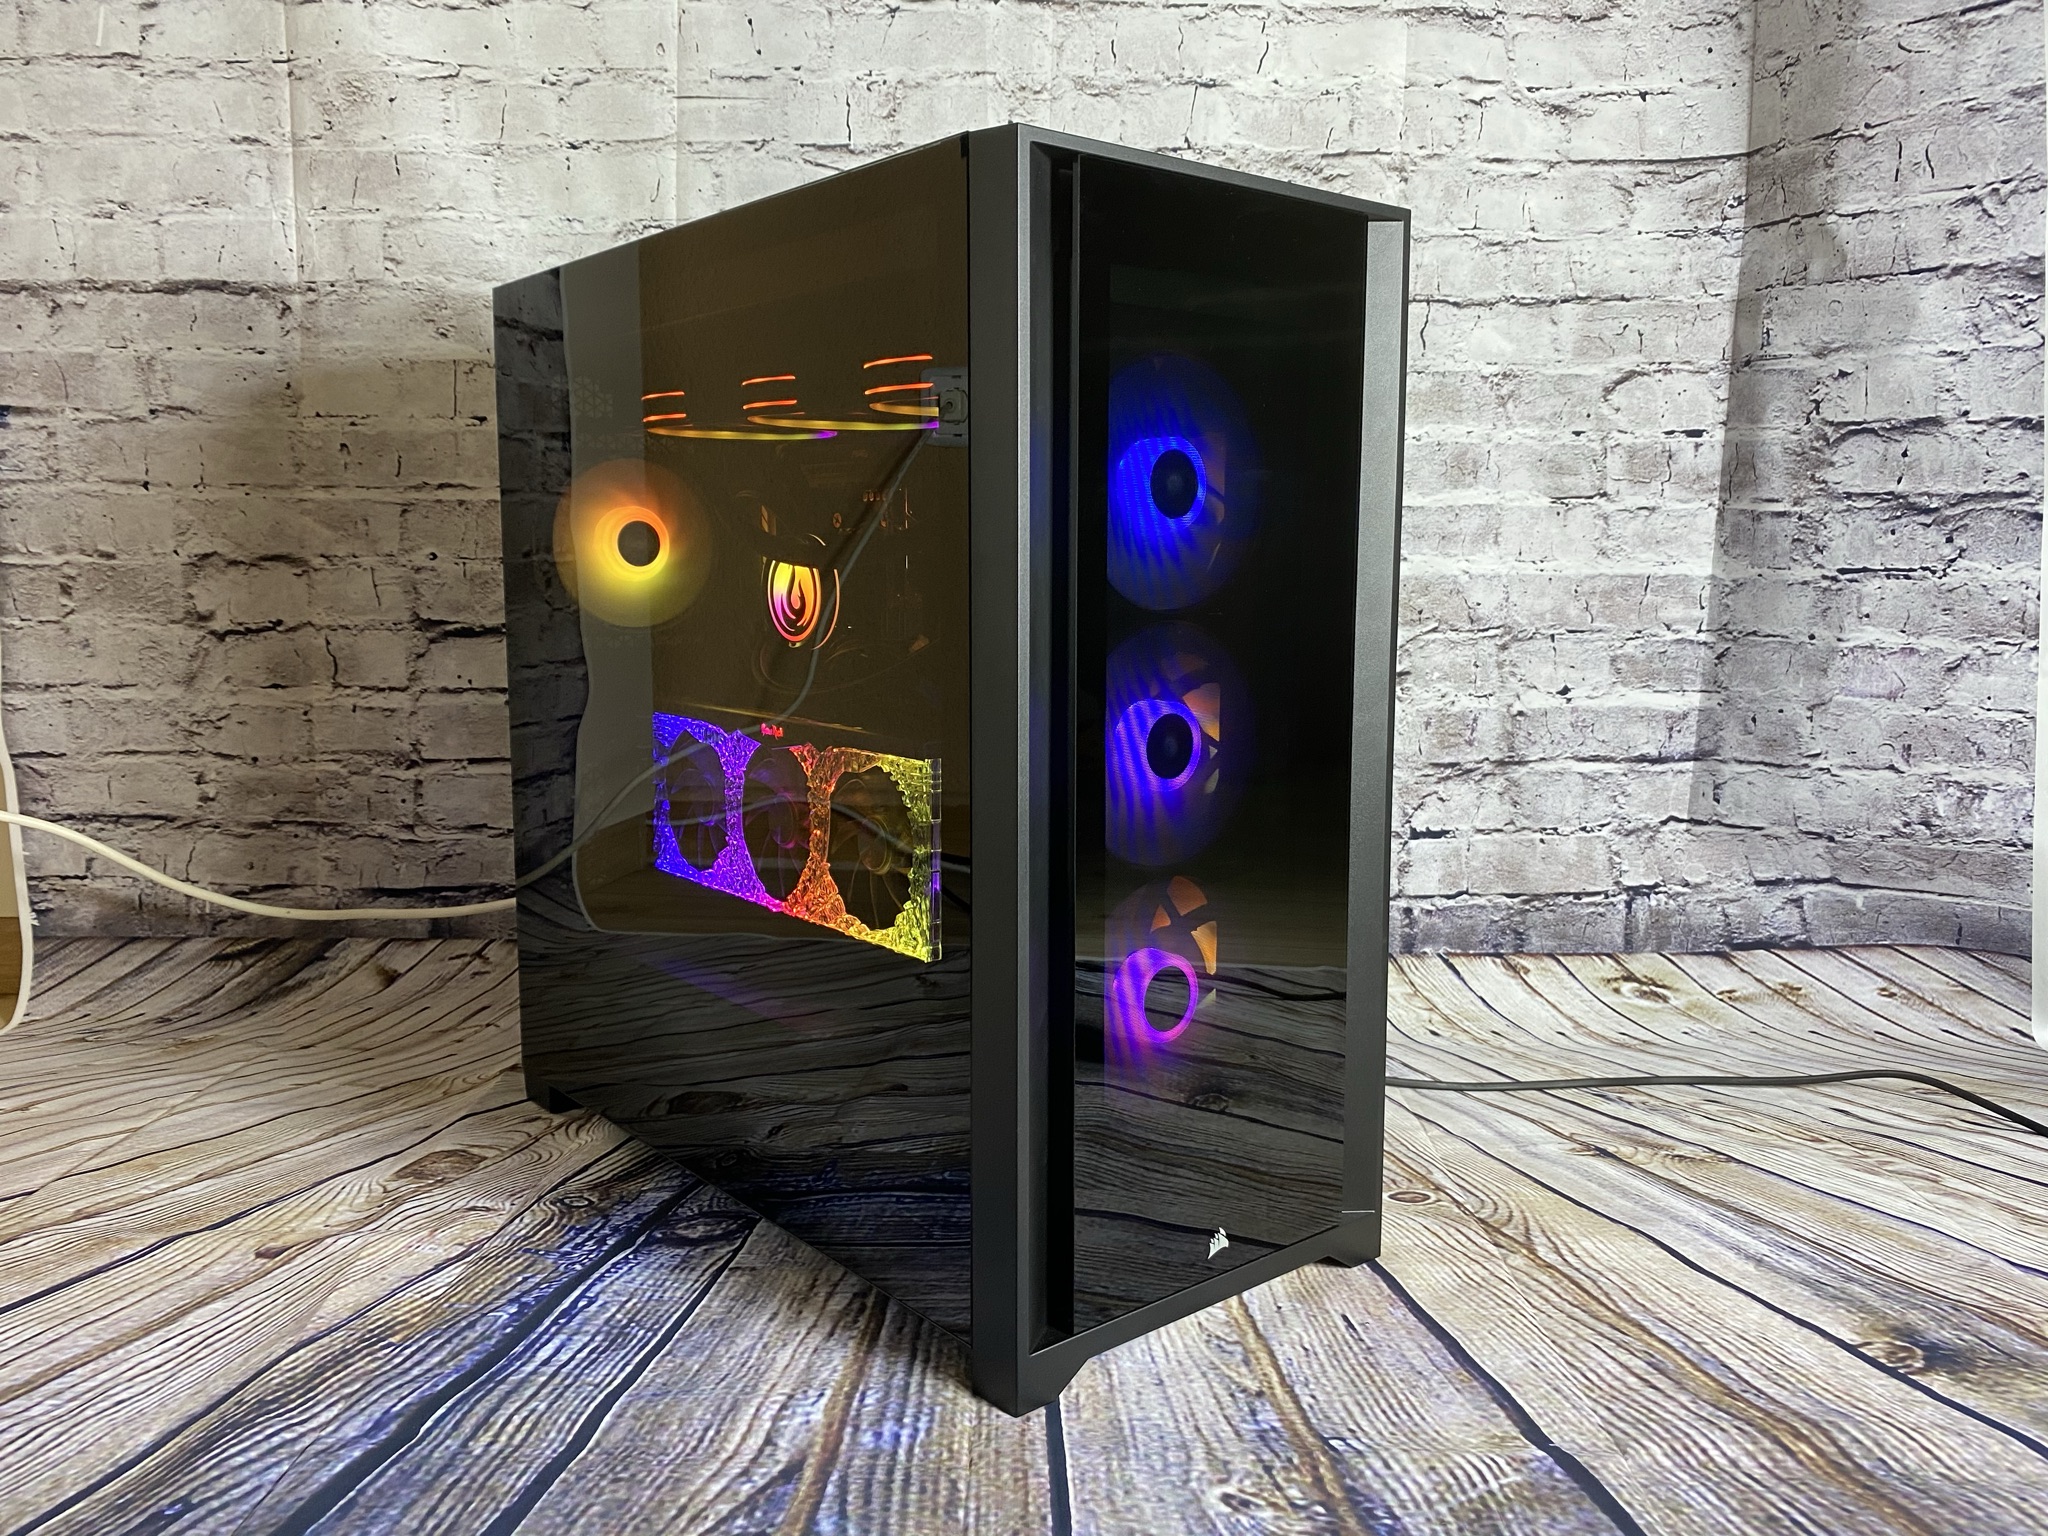
Overall, the case looks very classy when turned on. All of the internal lighting shines through the glass panel very fancy and makes your own eyes sparkle. We get a good impression of how the mesh front of the 5000D Airflow looks on the back. Here we can see how the RGB fans shine through the mesh and can state that it looks very successful. Visually, only the front fans seem a bit small in proportion to the rest of the front. From our point of view, there is a small “optical deficiency” at the front due to the size of the RGB fans. This can be avoided by installing 140 mm fans and thus making the front look a bit more crowded – The whole thing is again a matter of taste.

Conclusion
Now let’s get to the bottom line for the CORSAIR iCUE 5000X RGB. One thing is for sure, the iCUE 5000X RGB is a behemoth that won us over with its features. The case has a very high quality workmanship, the interior brings a lot of space with it, there are quite a few parts that can be changed or removed. The listed points are only a few features that the case has to offer. Also worth mentioning are the two included SP120 RGB ELITE fans and their controllers as well as the iCUE software that further enhances the entire product.
Smaller “blemishes” have the iCUE 5000X RGB as already mentioned also. The cable cover is one of these, aside from being a matter of taste itself. Another shortcoming is the limited space with a vertically installed graphics card. With the latest RTX models, it can get tight here. All things considered, however, it should be noted that the iCUE 5000X RGB is a very successful case.

CORSAIR iCUE 5000X RGB
Workmanship
Structure
Dampening
Cooling
Value for money
95/100
The CORSAIR iCUE 5000X RGB is visually a real eye-catcher and not only because of its size!