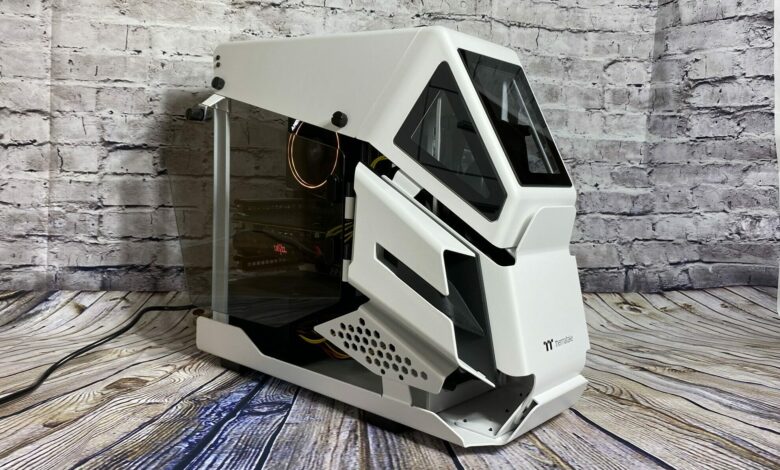
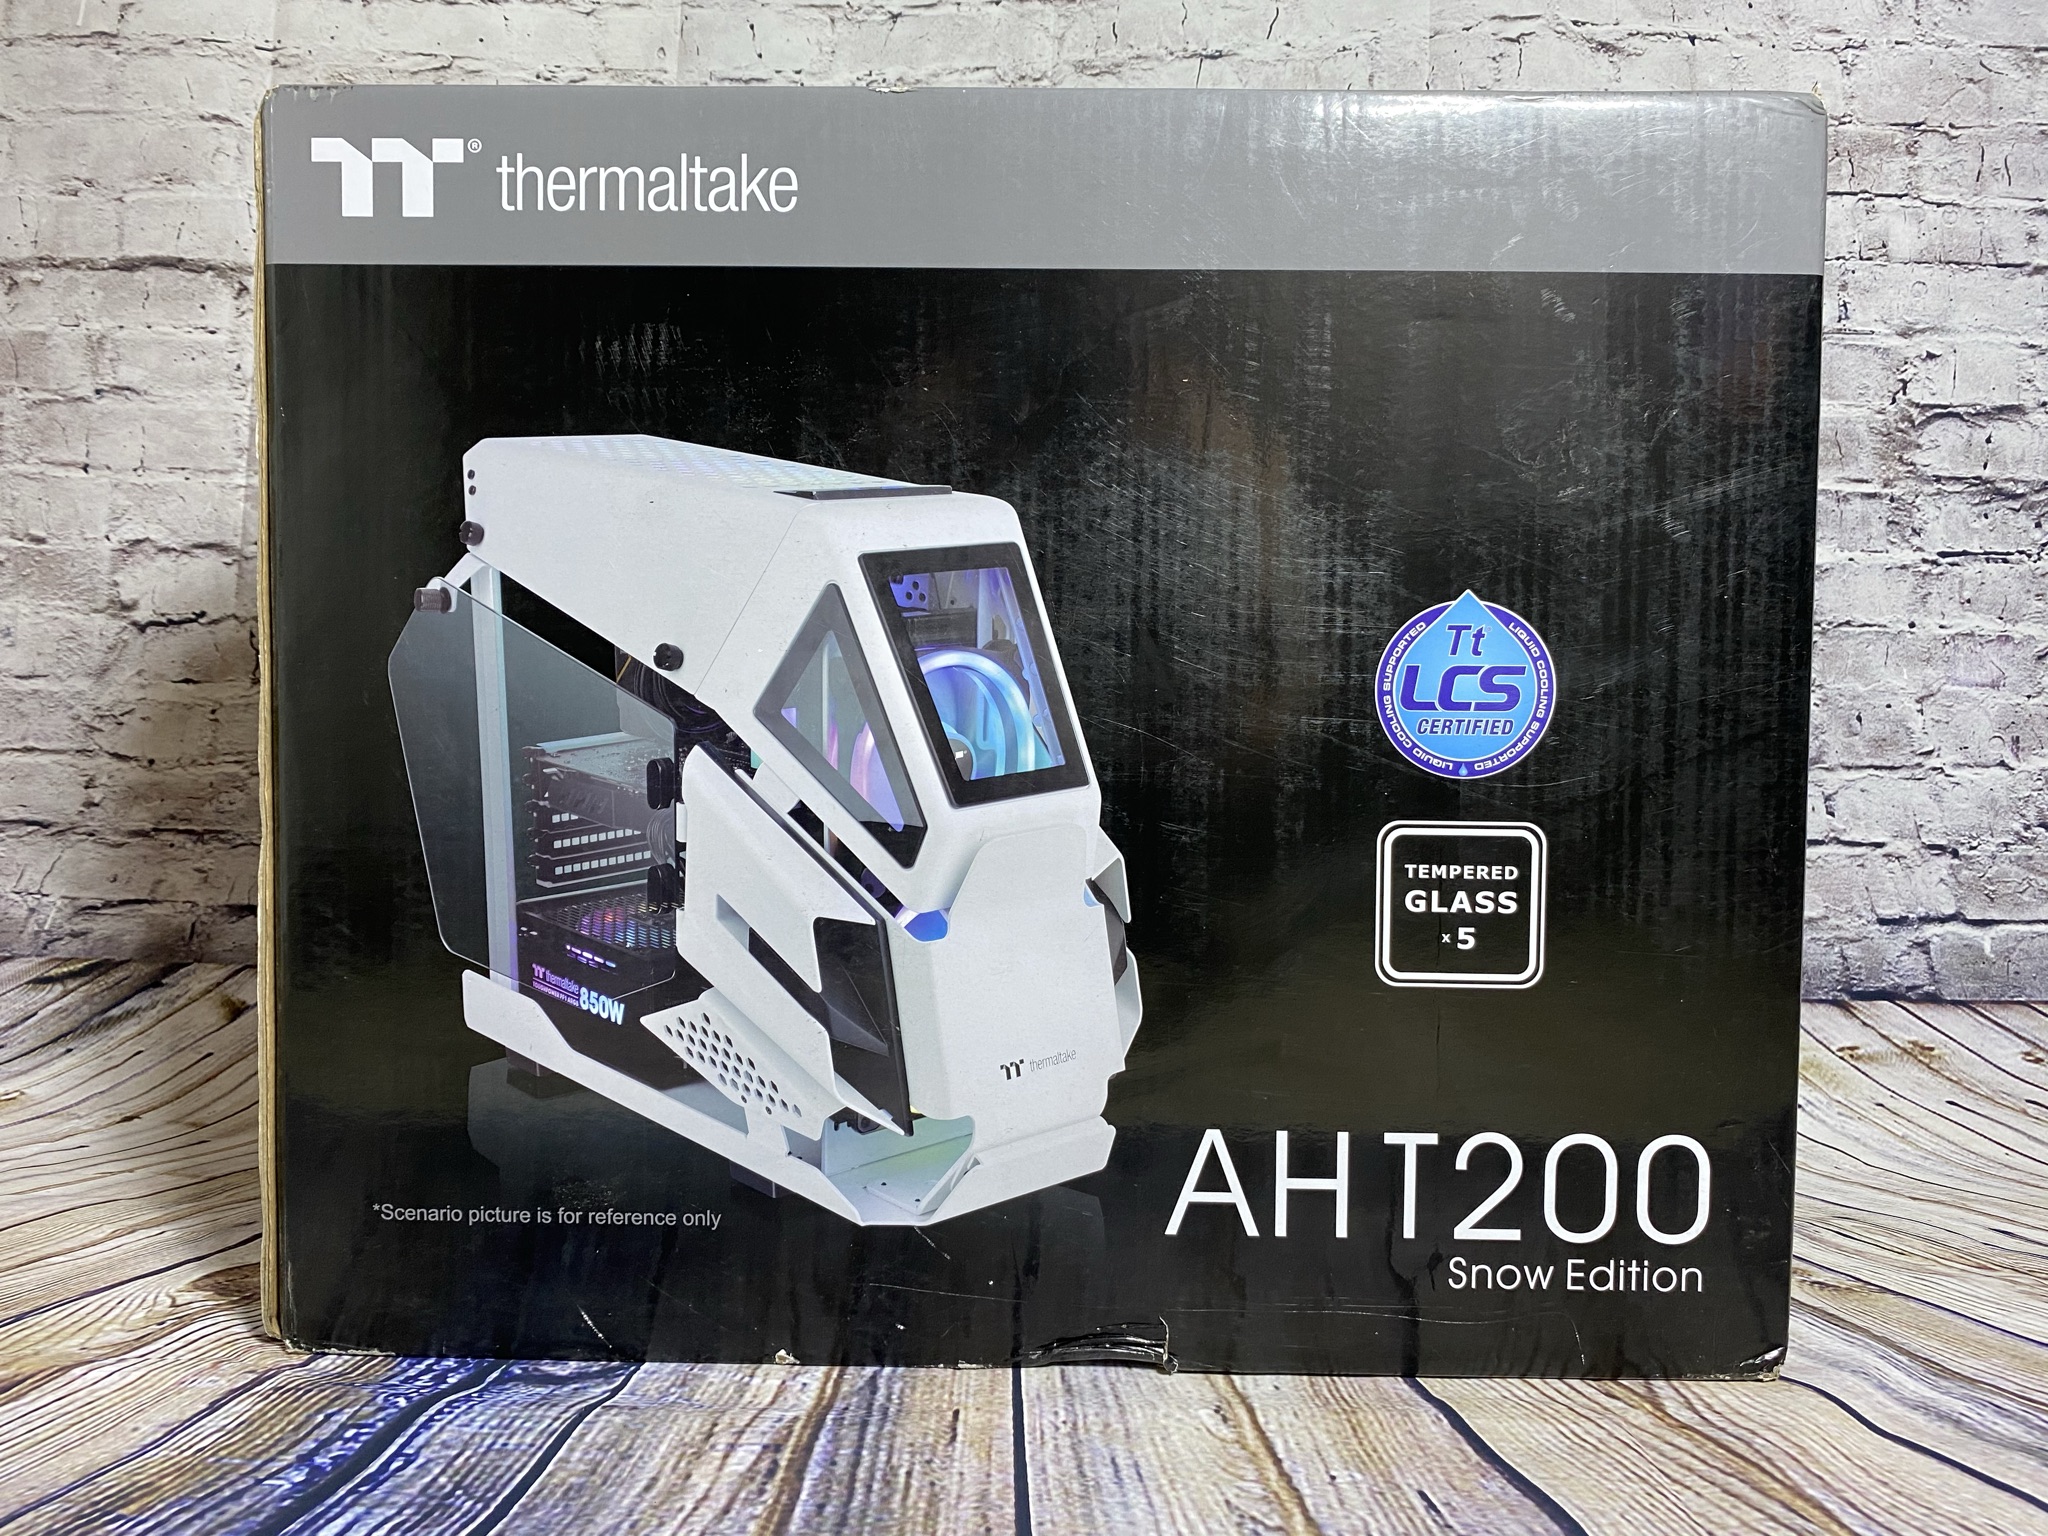
As a successor to the AH T600 Full Tower Chassis, Thermaltake recently launched a smaller version of the current case – The AH T200 Micro Chassis. Unlike its big brother, this one is suitable for MicroATX motherboards, but it is very similar to its big brother with the unusual attack helicopter design. The AH T200 extends the series in three different colors: In black, white and in a standout pink.
We tested the AH T200 Snow Micro Chassis in the open frame design for you. How well do all the components of the PC fit neatly and sensibly into the small case? Does the outstanding design allow a good airflow? This and much more you can find out now in the practical test!
Technical data
| Model | AH T200 Snow |
| Case type | Micro Case |
| Dimensions (H x W x D) | 444.2 x 282 x 551.5 mm |
| Weight | 10.8 kg |
| Side panel | Tempered Glass x 2 |
| Color | White |
| Material | SPCC |
| HDD/SSD Support | 2 x 3.5″ or 3 x 2.5″ |
| Slots | 5 |
| Mainboard | 6.7″ x 6.7″ (Mini ITX), 9.6″ x 9.6″ (Micro ATX) |
| Front I/O ports | 1 x USB 3.1 (Gen 2) Type C , 2x USB 3.0, 1 x HD Audio |
| Power supply (position / length) | Standard PS2 PSU (optional) |
| Fan Support | Front: 2 x 120 mm, 2 x 140 mm Top: 2 x 120 mm, 2 x 140 mm |
| Radiator Support | Front: 1 x 240 mm or 1 x 120 mm 1 x 280 mm or 1 x 140 mm |
| Spacing | CPU cooler max. height: 150 mm. VGA max. length: 320 mm PSU max. length: 180 mm 3.5″ hard drive thickness limit: 22 mm |

Exterior impression
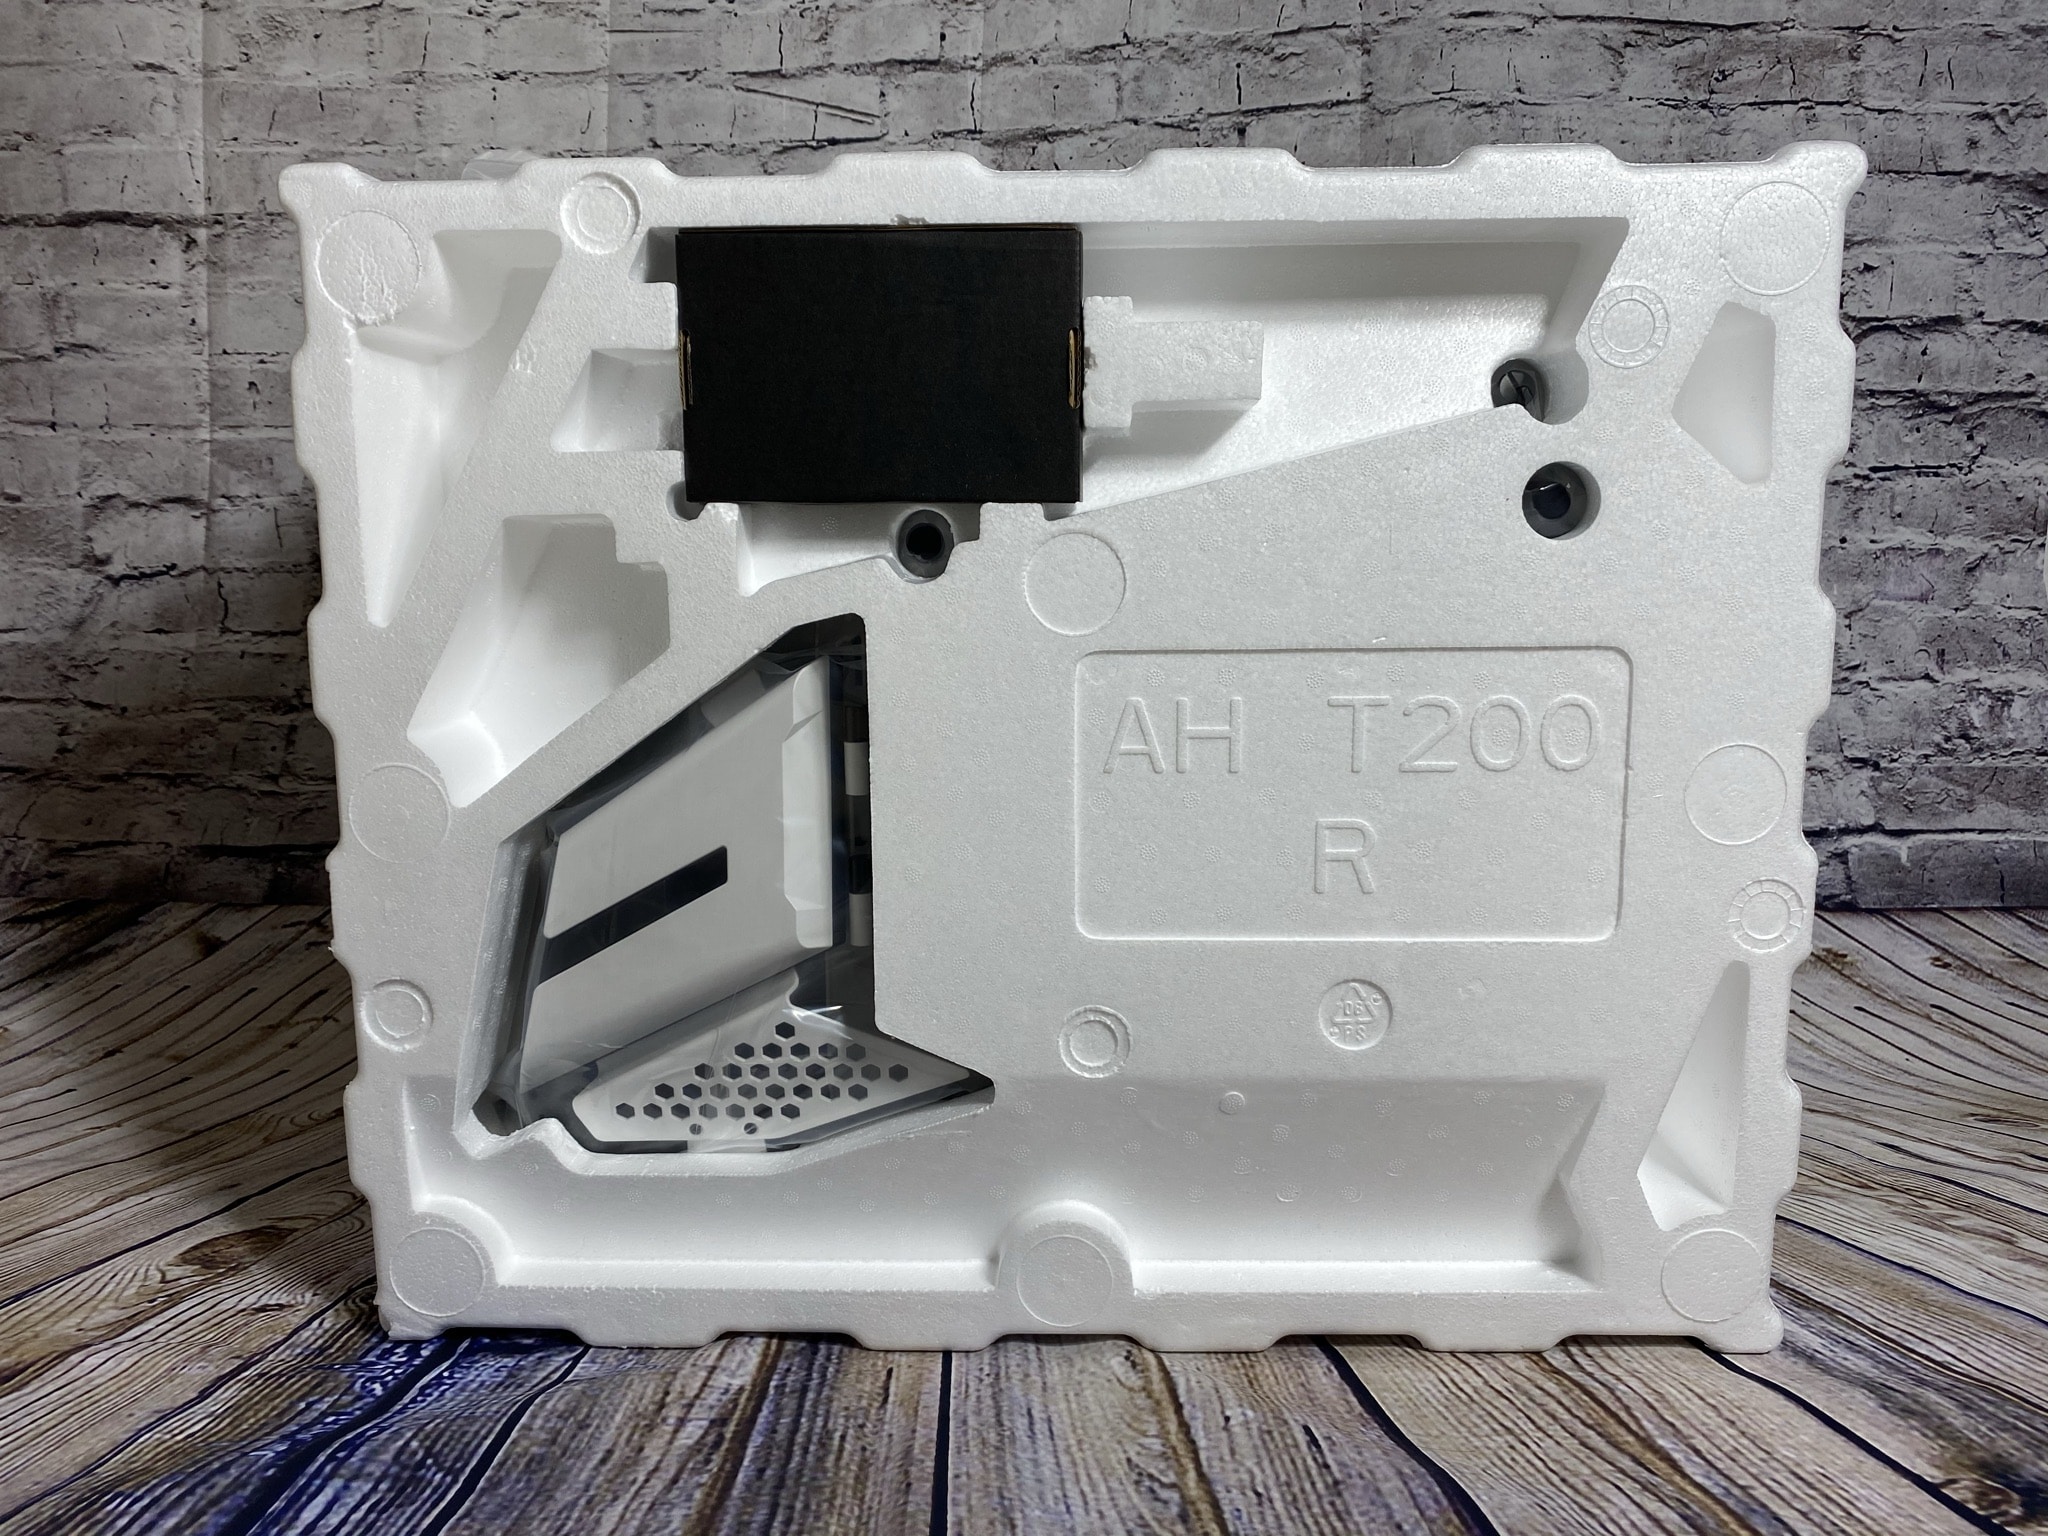
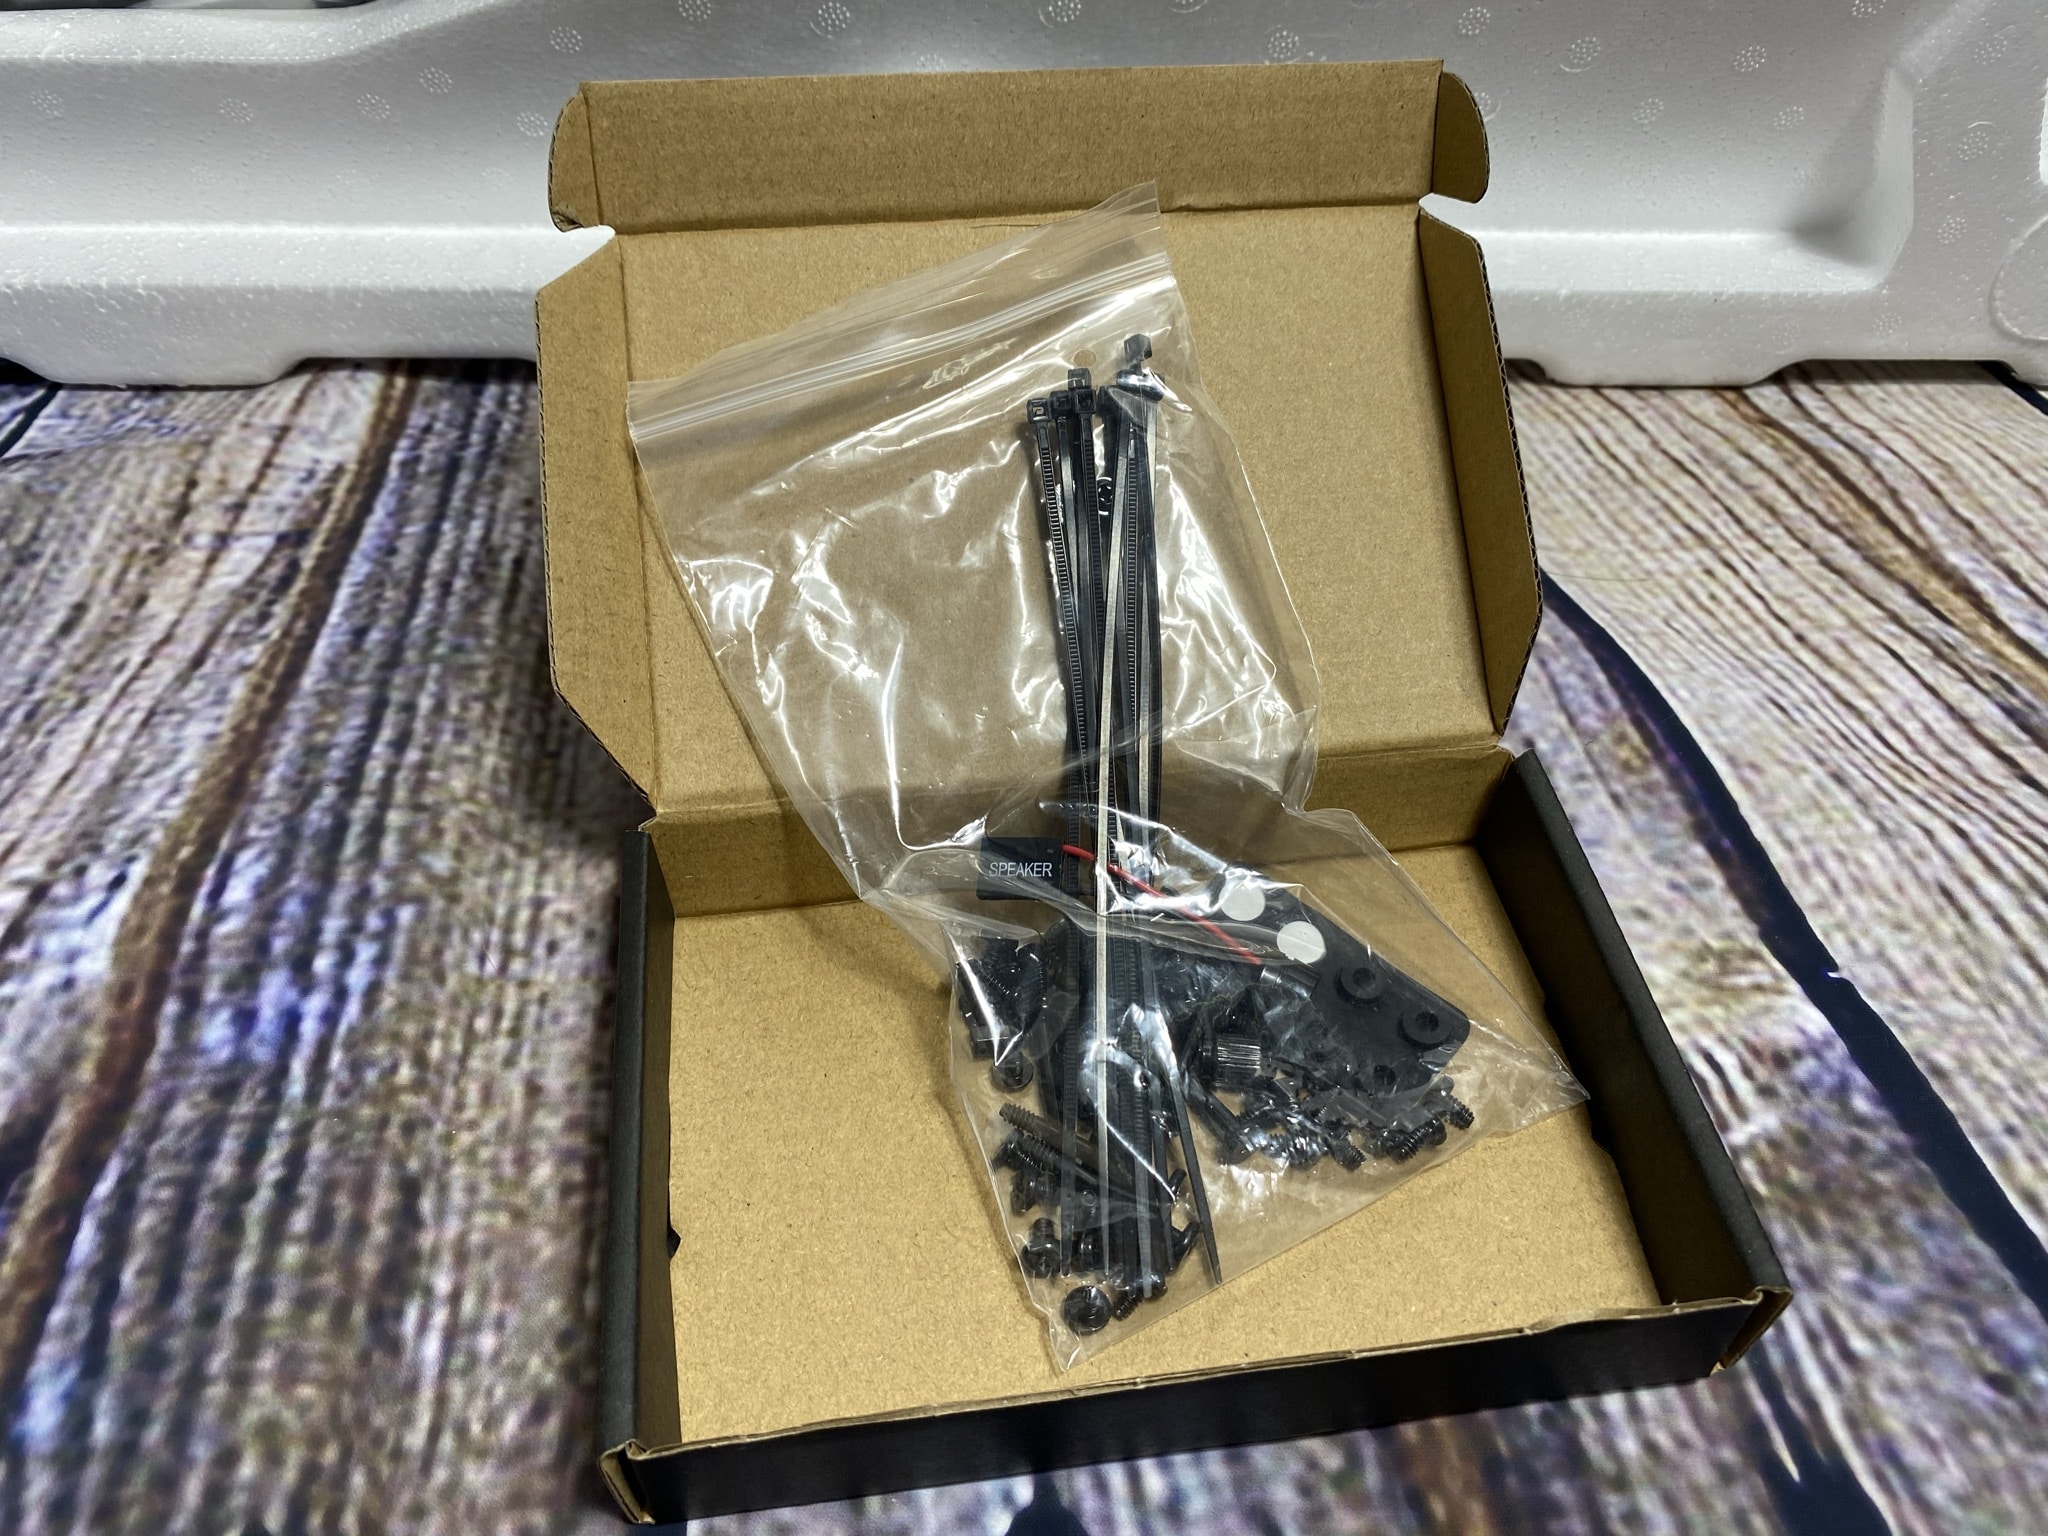
Looking at the packaging, we can already see from the product image that the AH T200 Micro Chassis is a real eye-catcher on the outside. The visually striking shape, which is based on a combat helicopter, looks very angular and successful at first glance. If you then pull the case out of its packaging, this first impression is impressively confirmed. The case is delivered in precisely fitting styrofoam, with a small black cardboard box attached to one of the sides. This box then contains the accessories, which consist of screws, cable ties and an additional motherboard speaker.

Let’s redirect our attention back to the case. The AH T200 not only has a visually appealing front, but also a very well-designed side. The front has three glass panels on top with a thick black border around them, which have been rounded off a bit to the sides. If you look through this front into the interior, you can already see the holder for the front fans. The glass panes are in a cap made of plastic, which can be removed with six screws on the sides. Underneath, highlighted with a small paragraph, is already the actual base made of steel, on which the company logo as well as name are written.
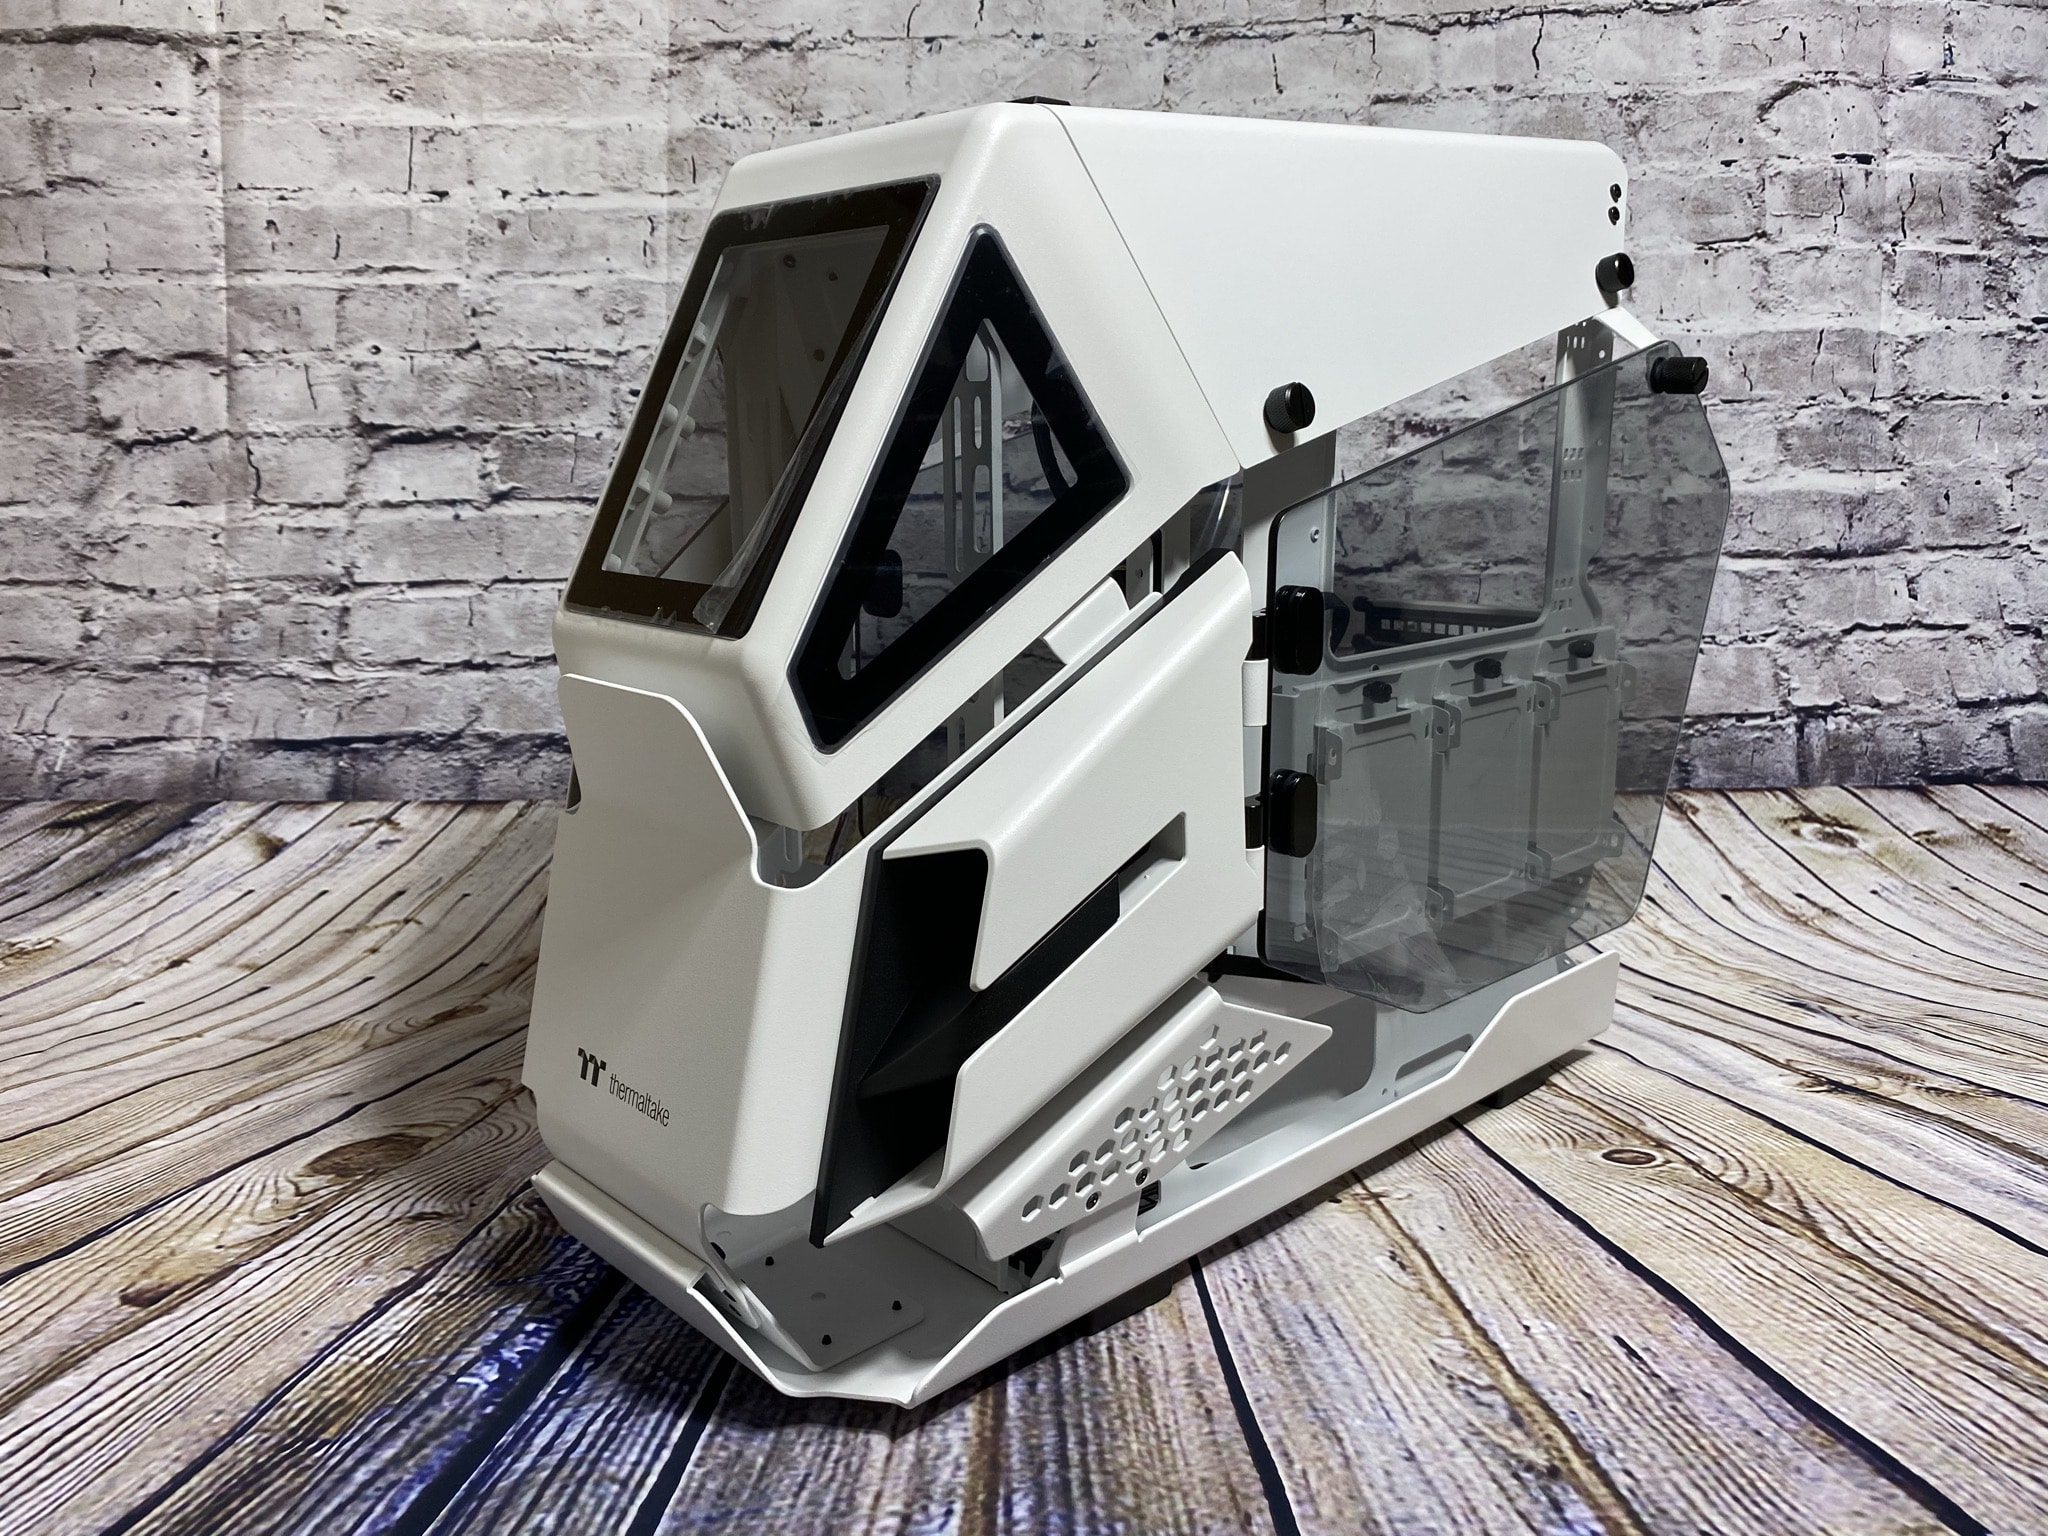
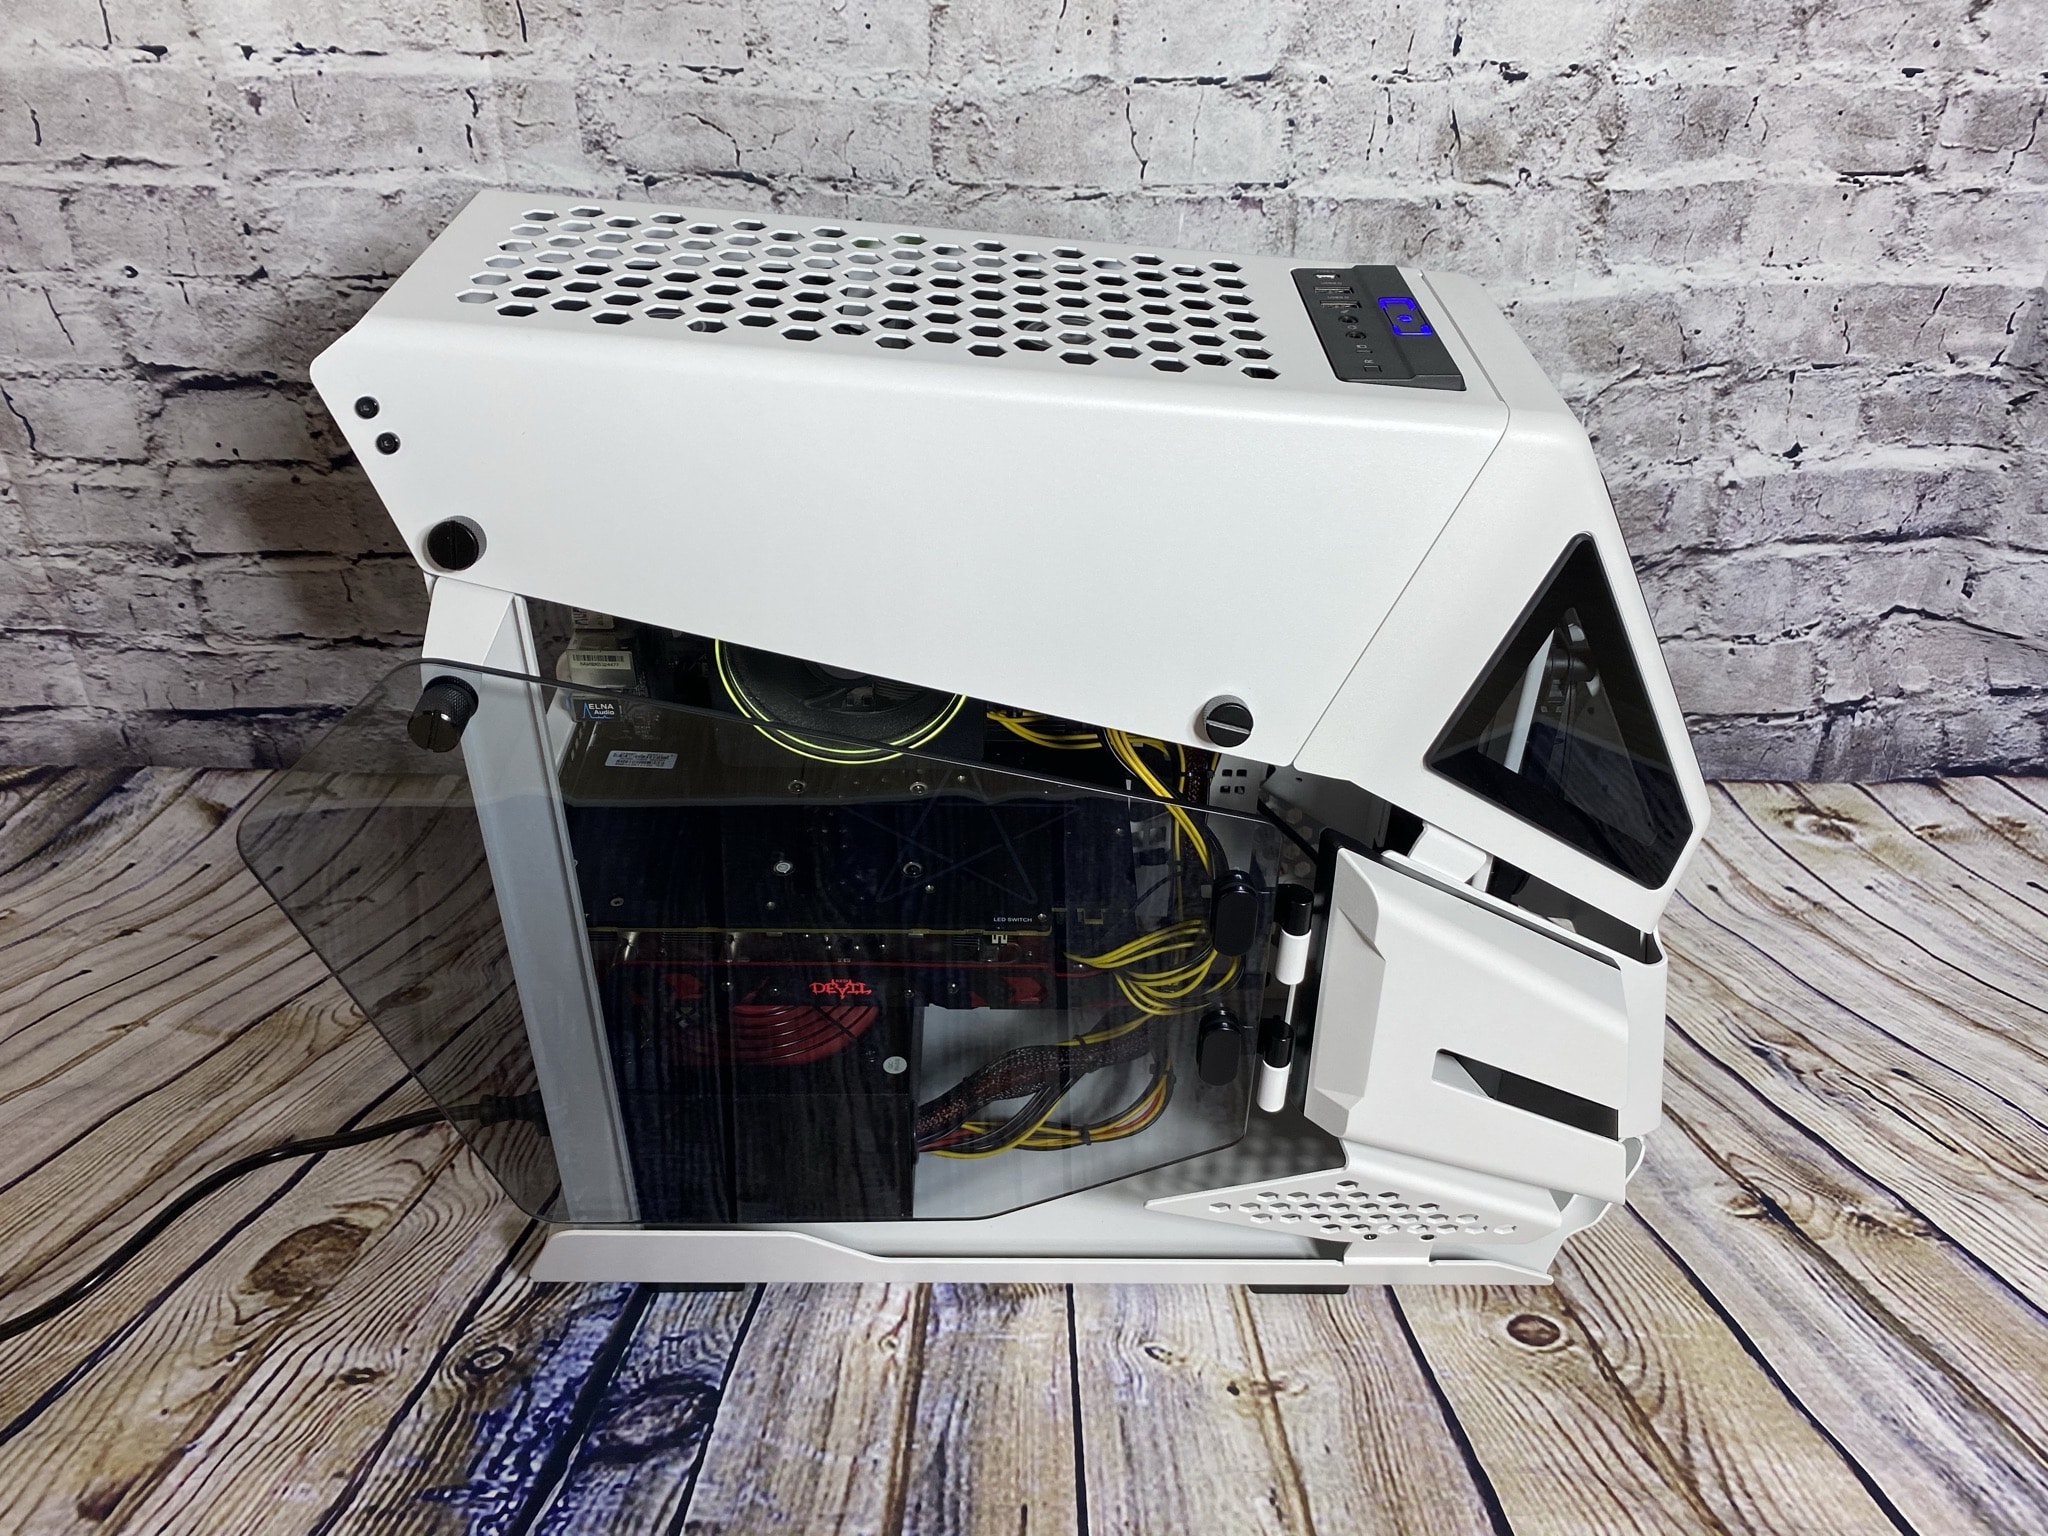
On the sides, things continue in an exciting way – The sides in particular have been built with a lot of openings, allowing a lot of air to get into the case. A little further forward, we can see plastic parts on the sides that have been added to clarify for the gunship design, but also serve as stoppers for the glass panels. Behind them are the side panels made of somewhat obscured glass, which can be opened up by unscrewing a very large screw a bit further up. The panel can be lifted out of the hinges towards the top and can also be put back in without any problems. This makes it easier to assemble the case.

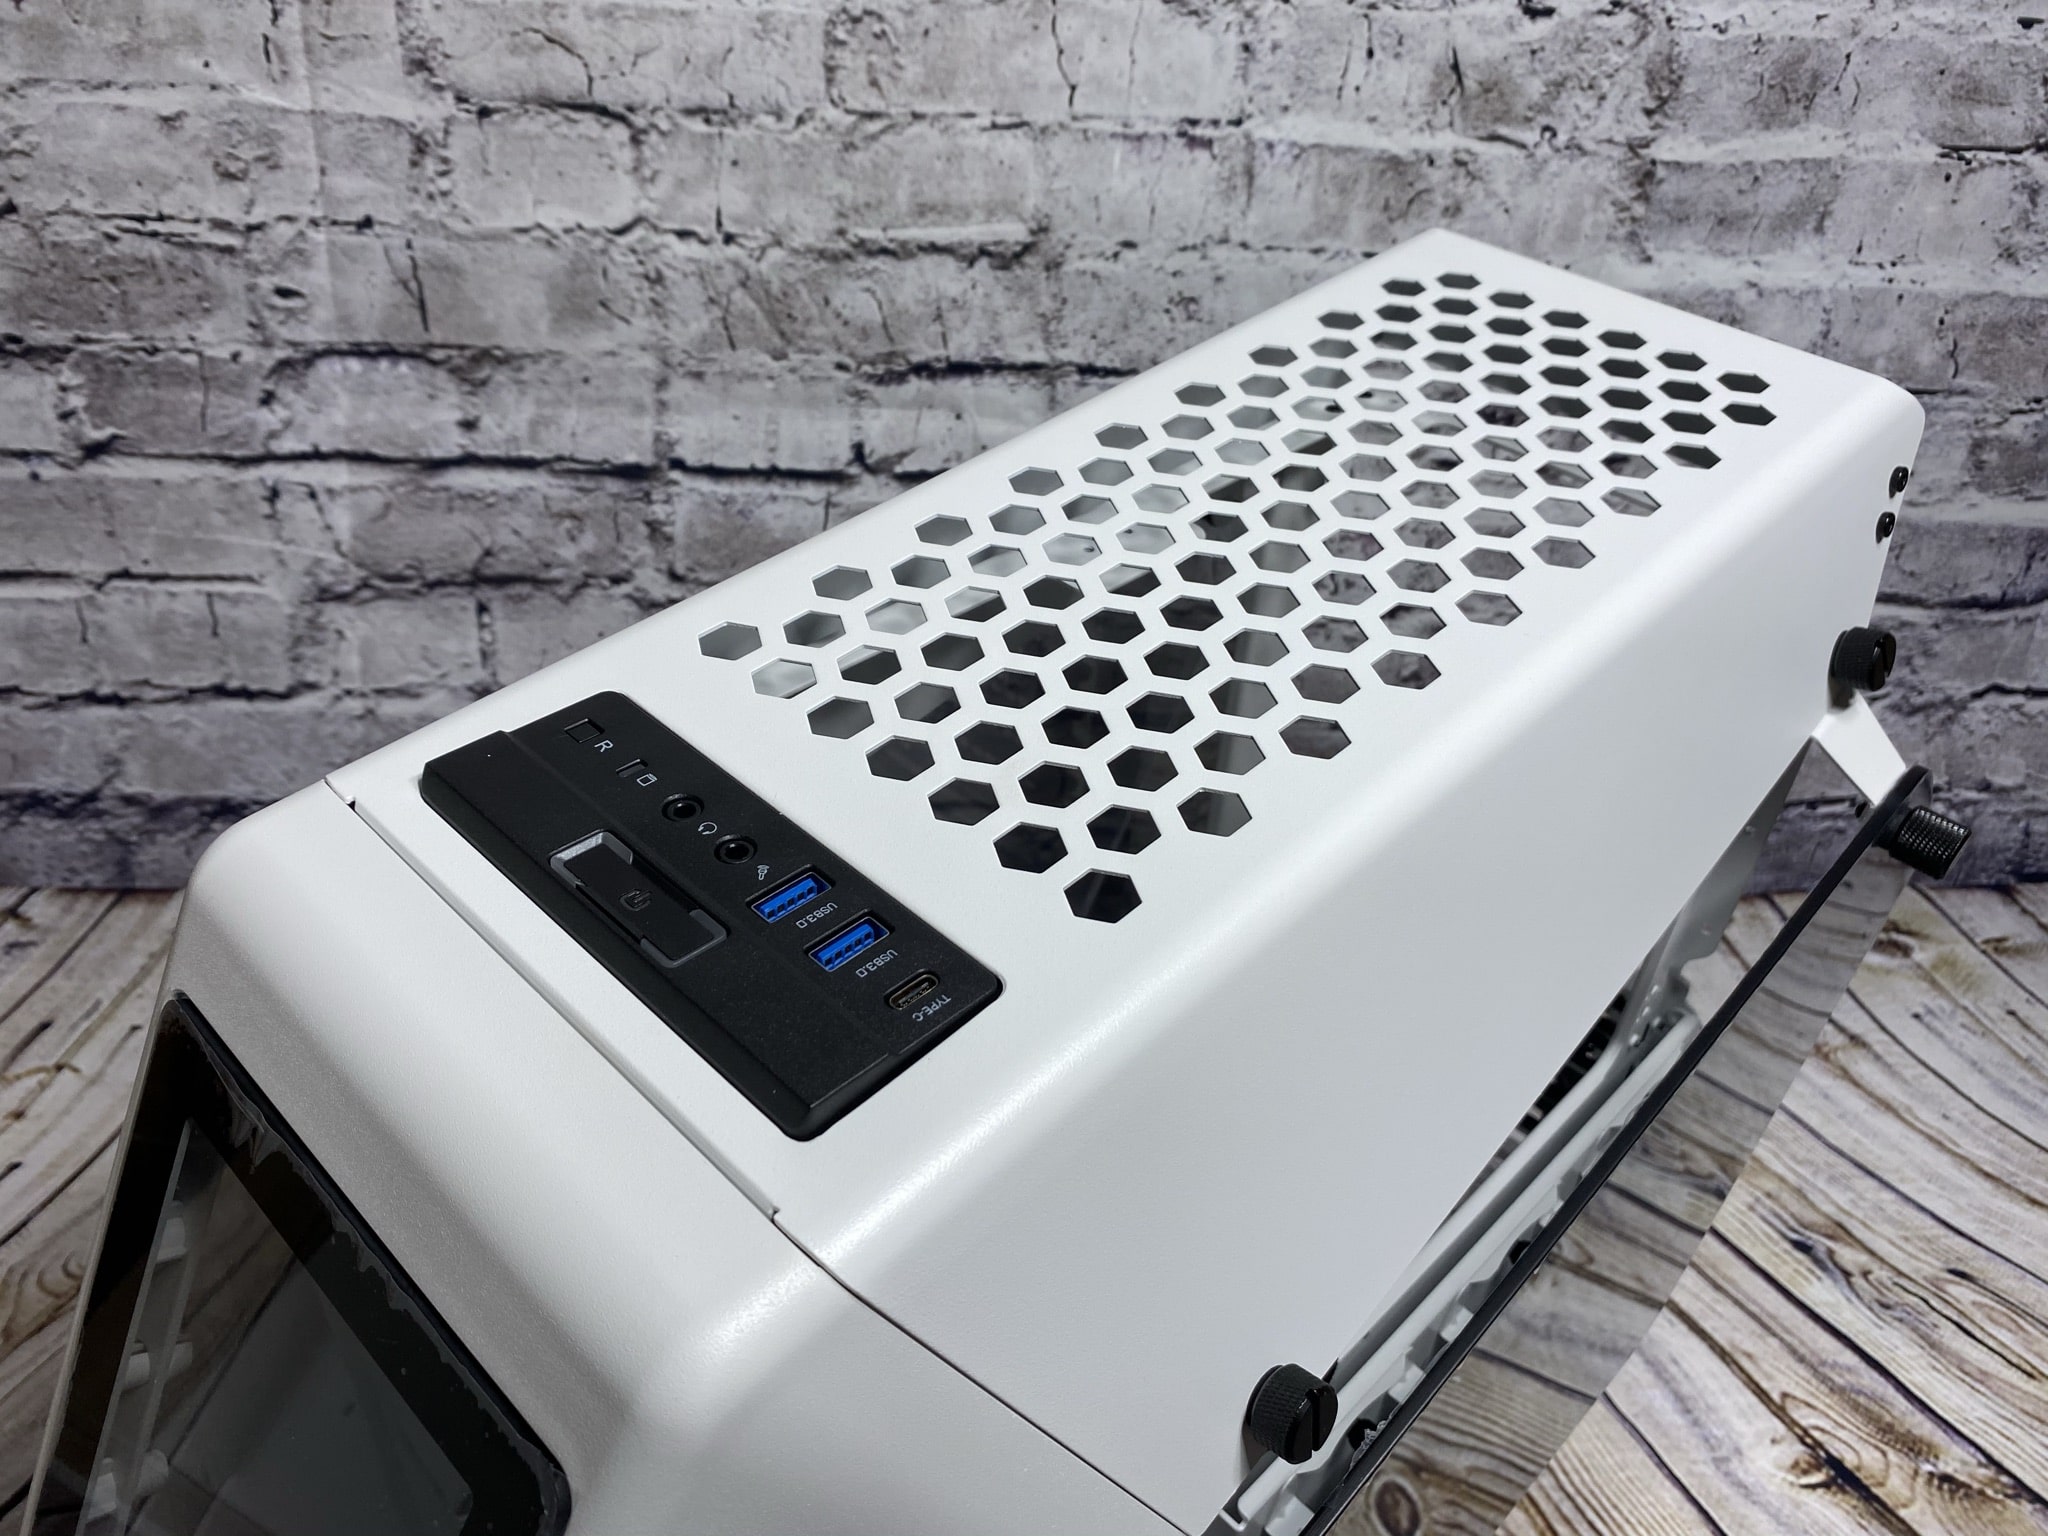
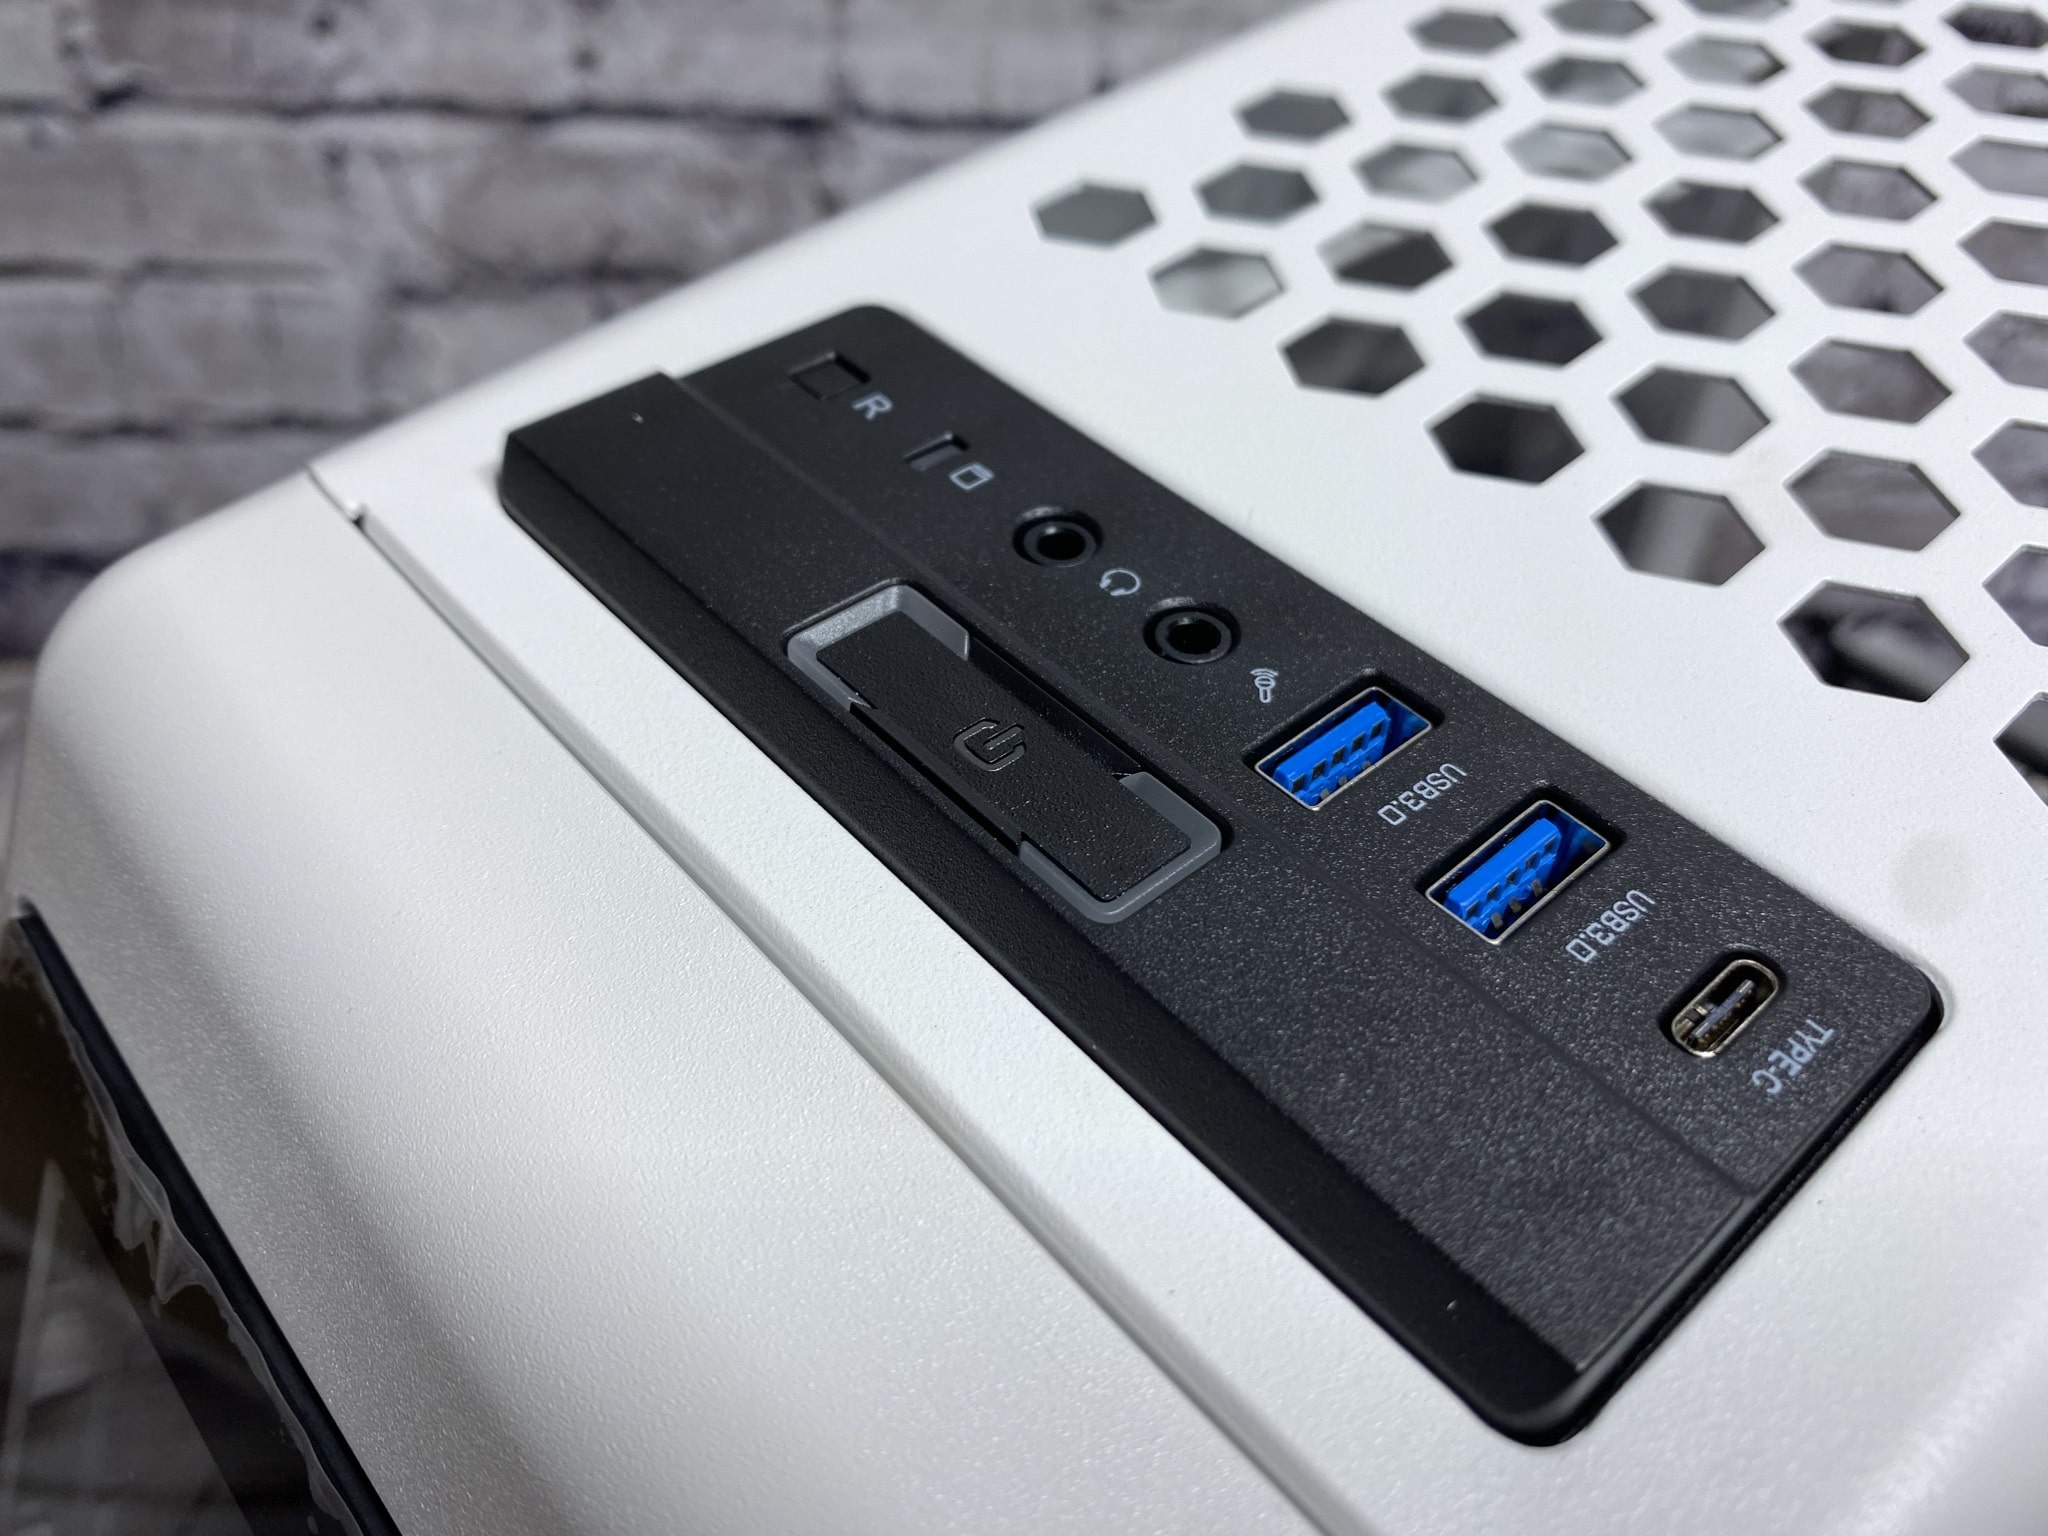
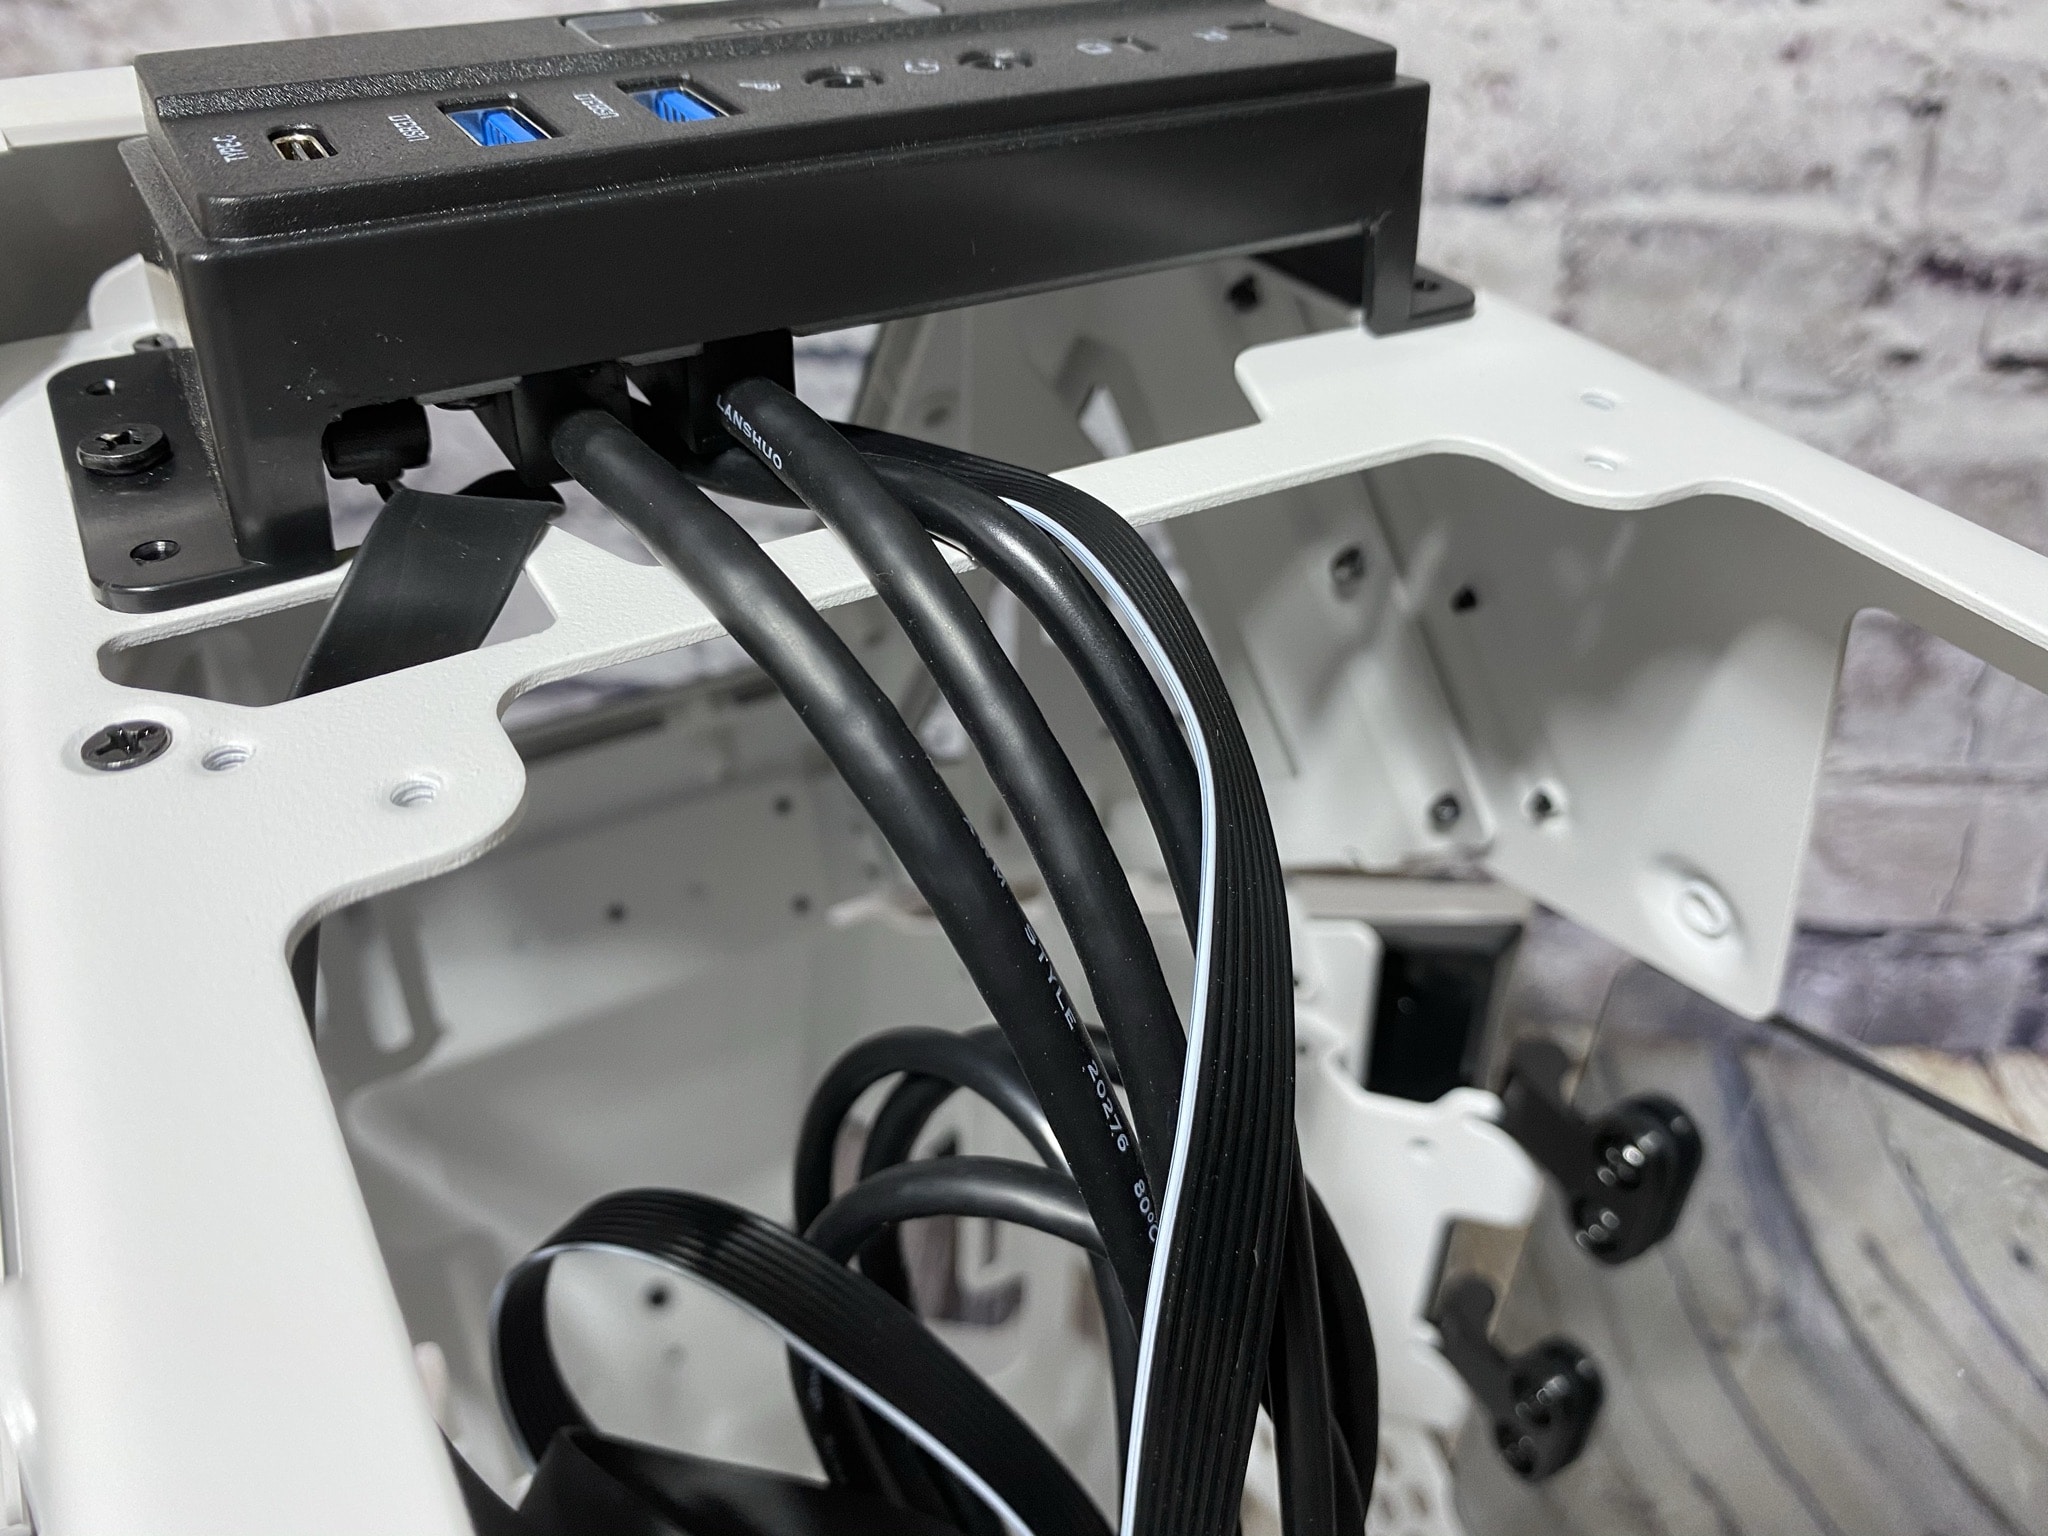
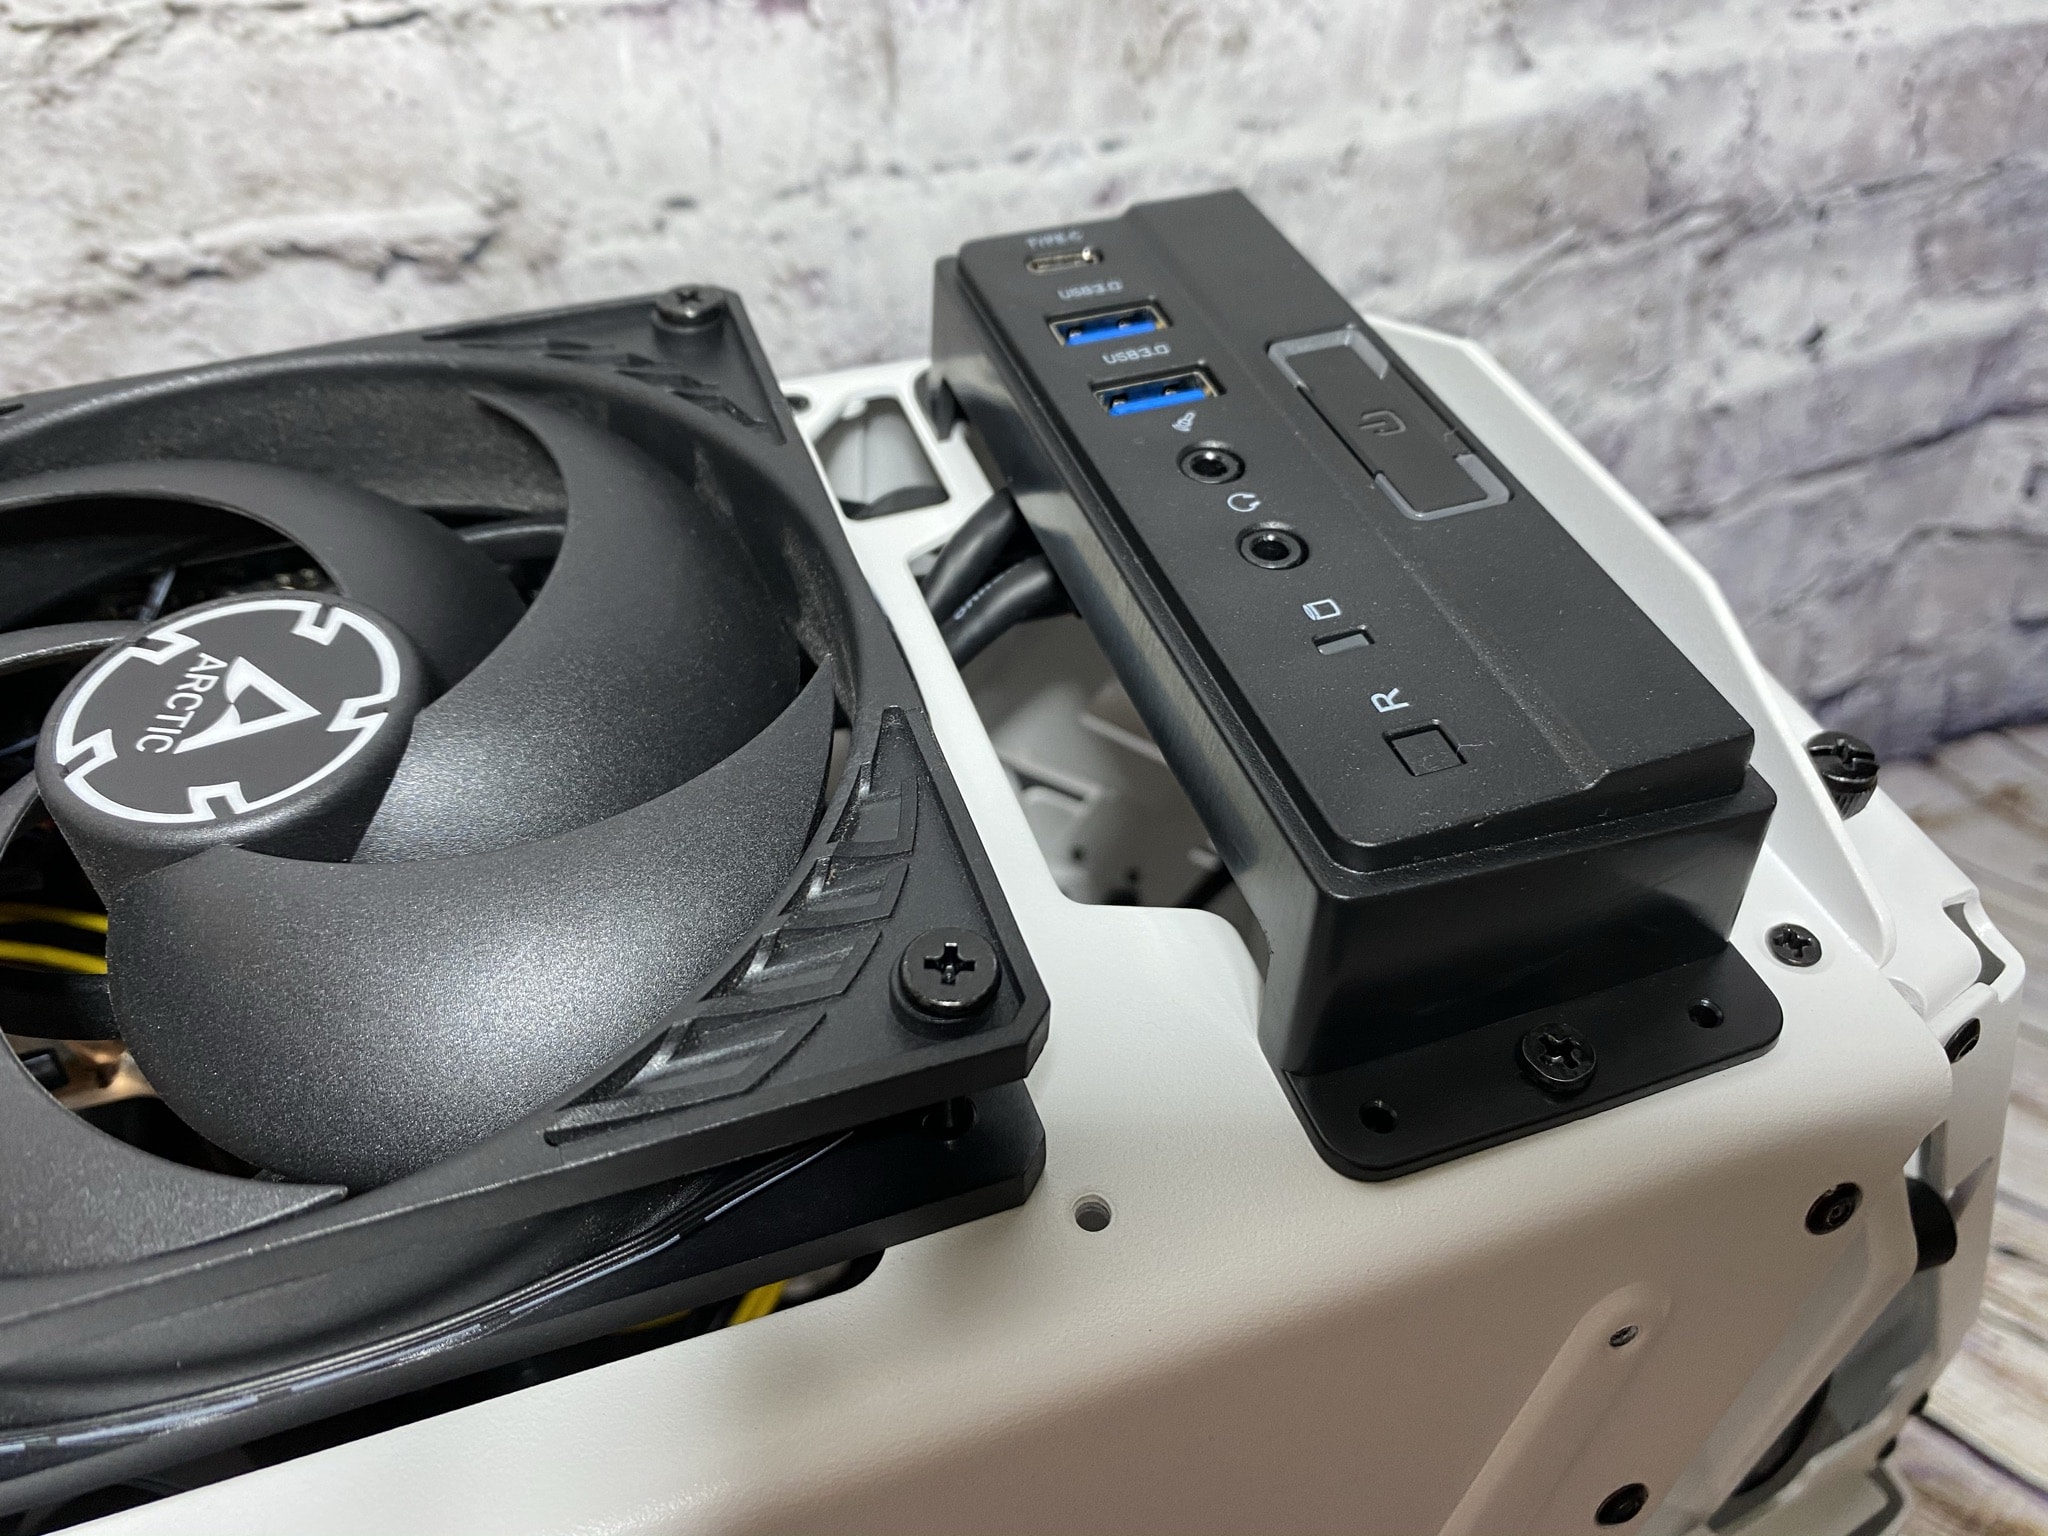
We also see four more very thick screws on the sides that can be removed. These are used to remove the steel upper part of the case by pulling it out of its rail towards the back. Underneath, we don’t find anything too exciting again. Only additional case fans can be mounted here. A bit further to the front we find the front I/O panel again. This is equipped with a large power button on the side and two USB 3.0 ports, USB 3.1 Type C port and an HD audio port above it. The power button has to be pressed down a bit harder and unfortunately feels rather cheaply finished when pressed – nevertheless, the ports have been finished to a high standard.
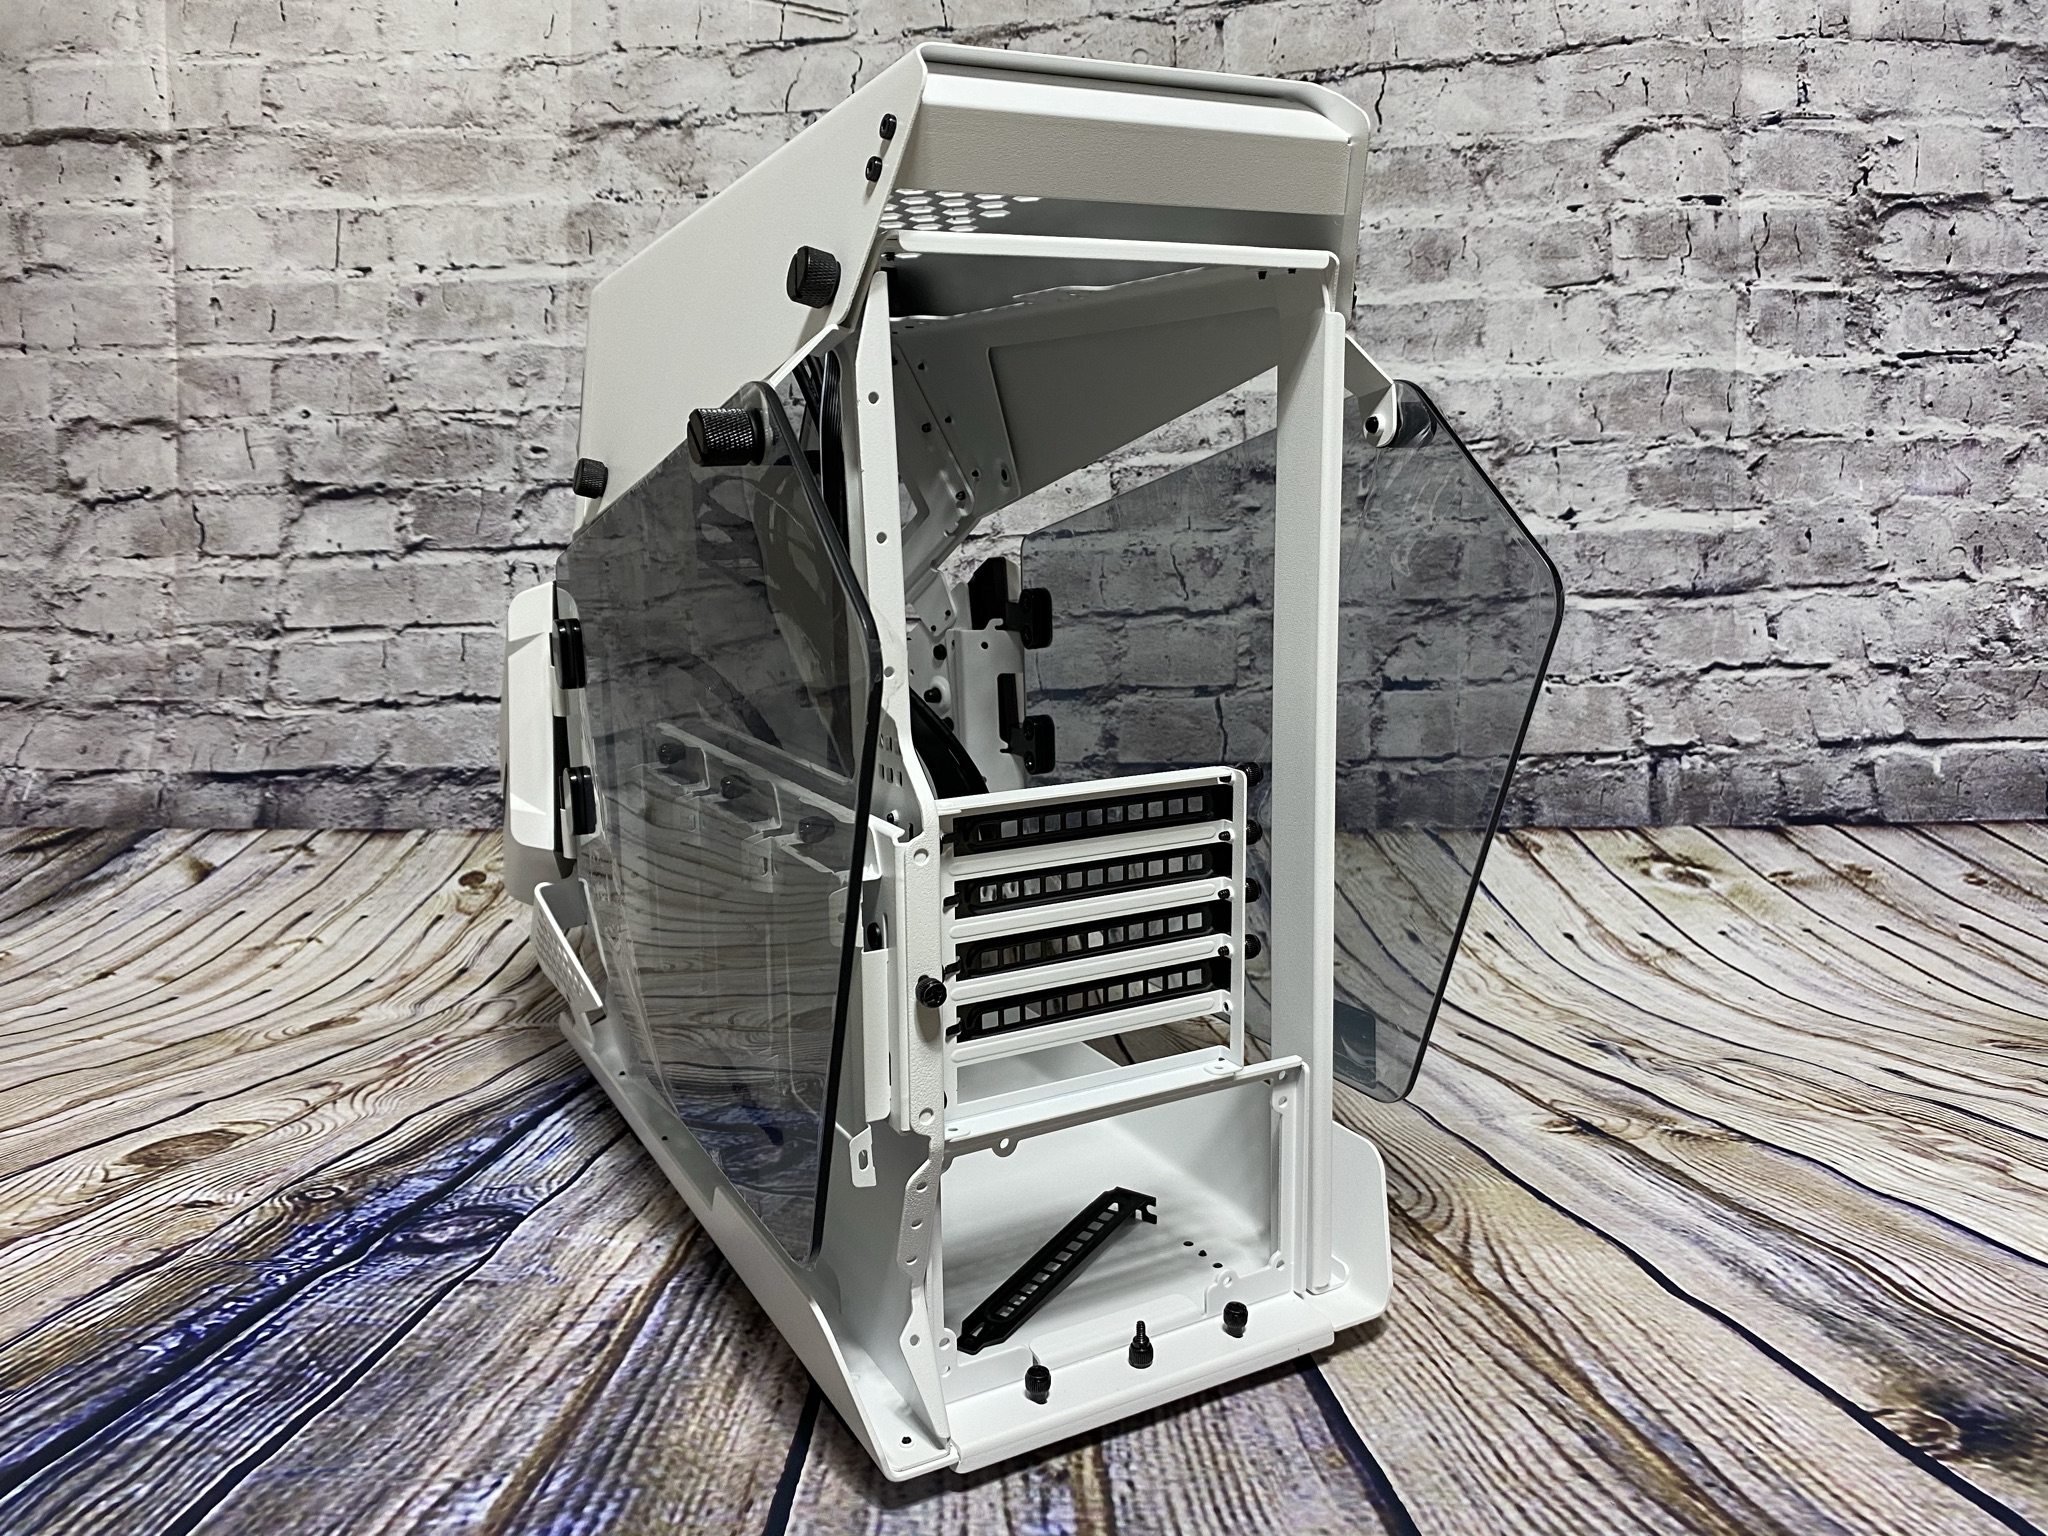
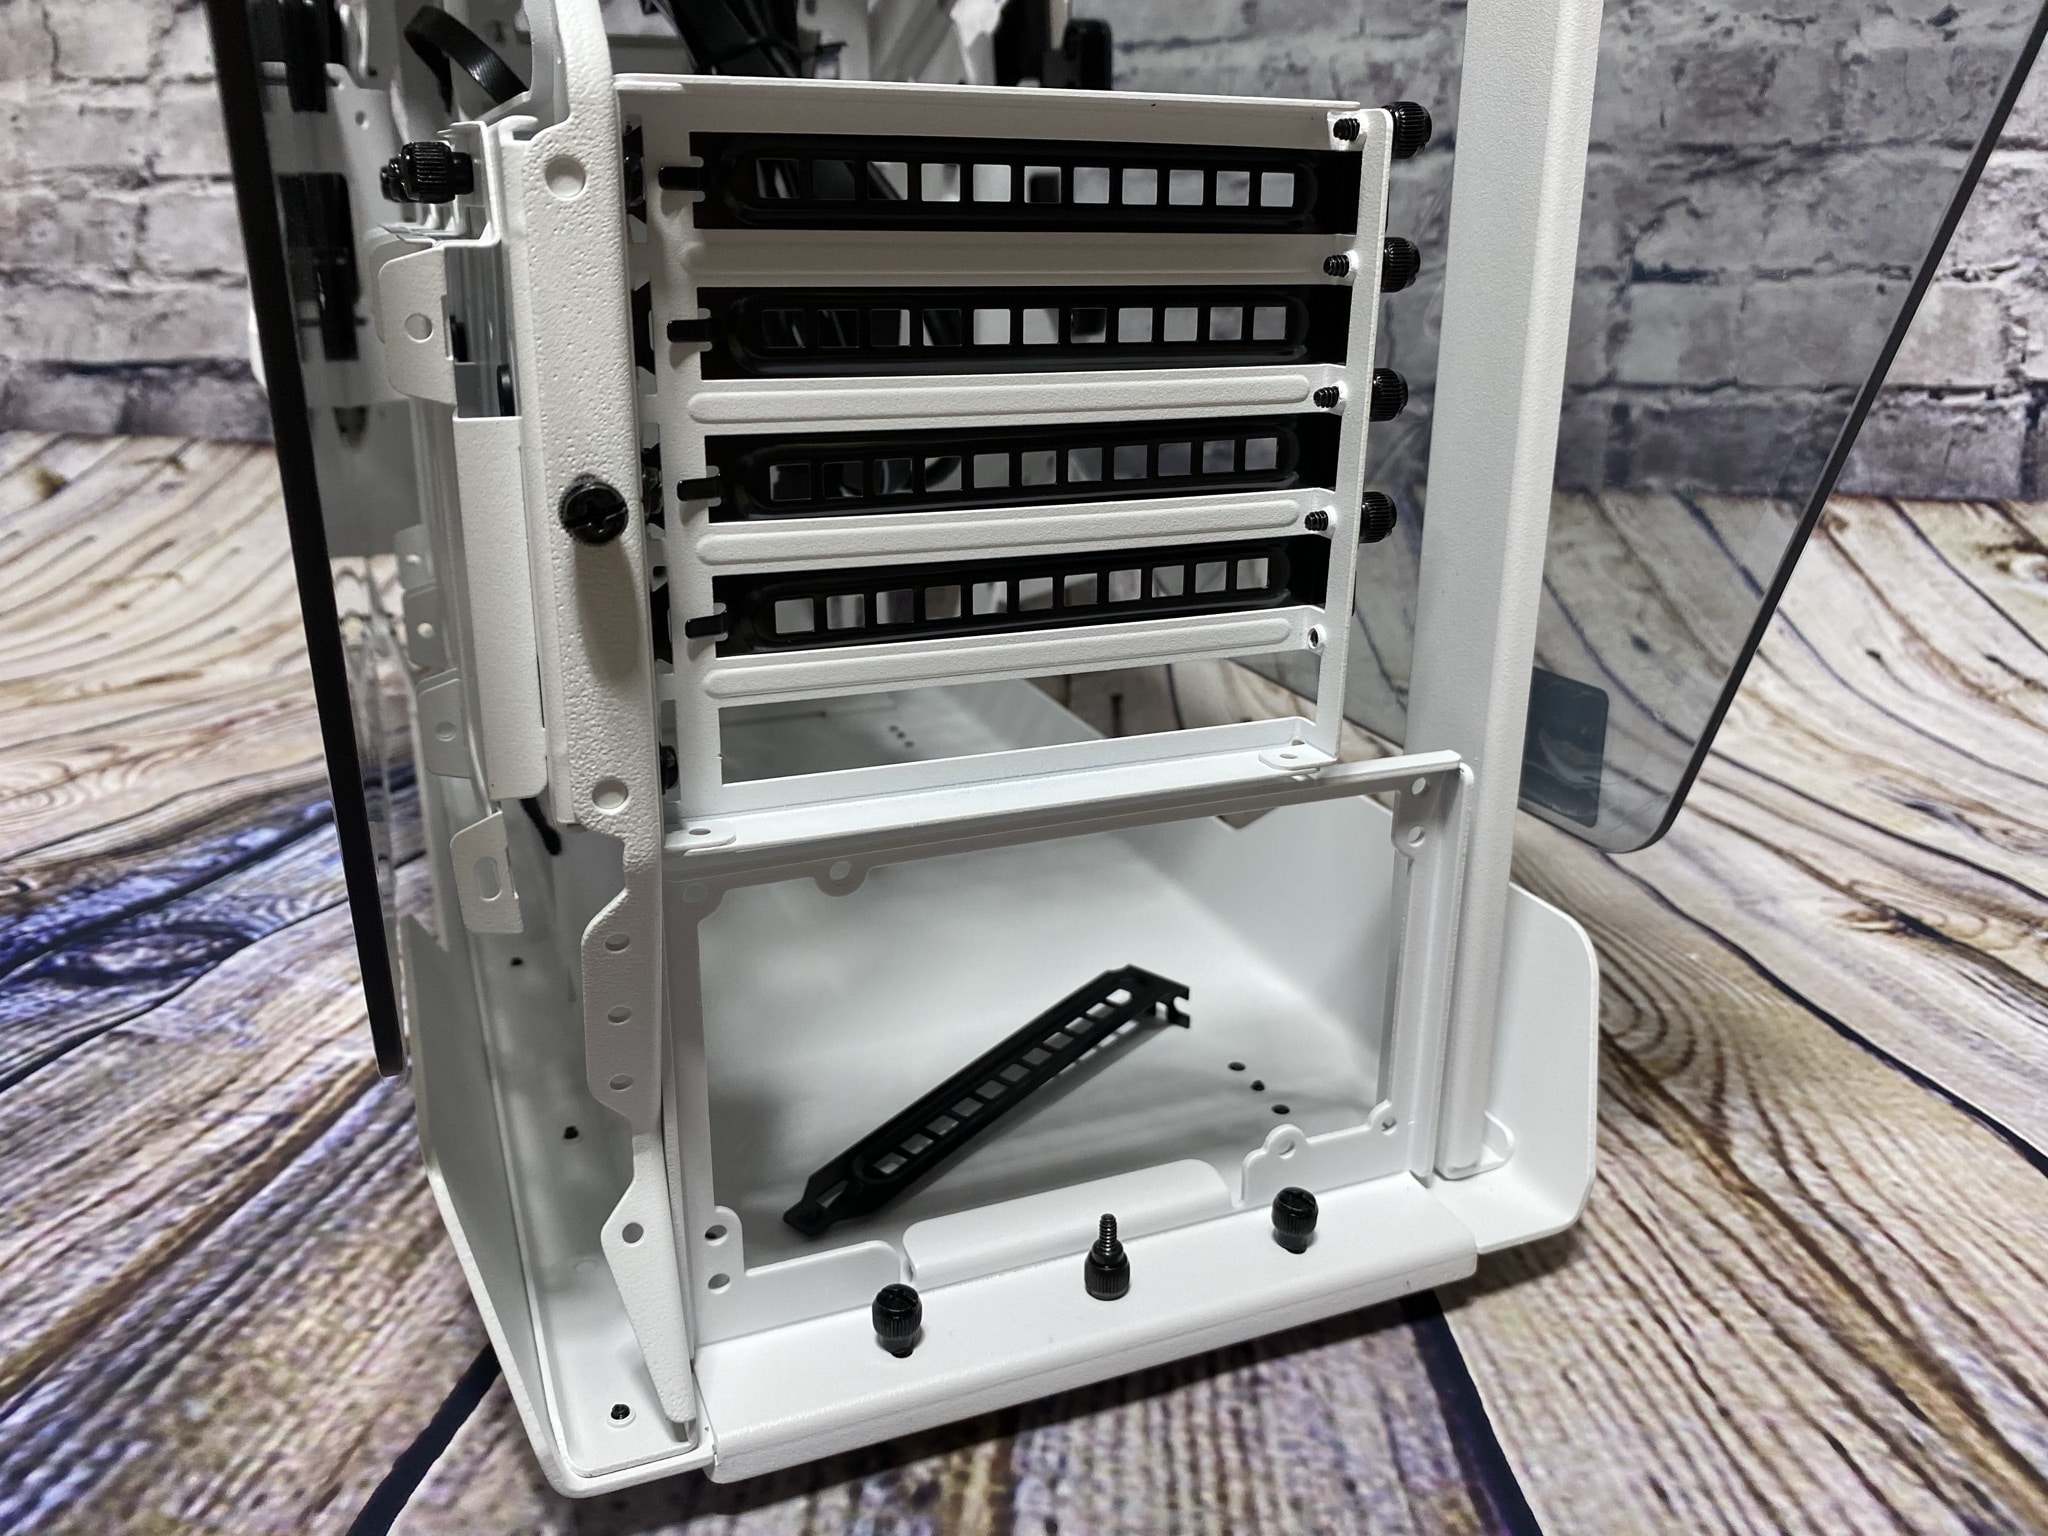
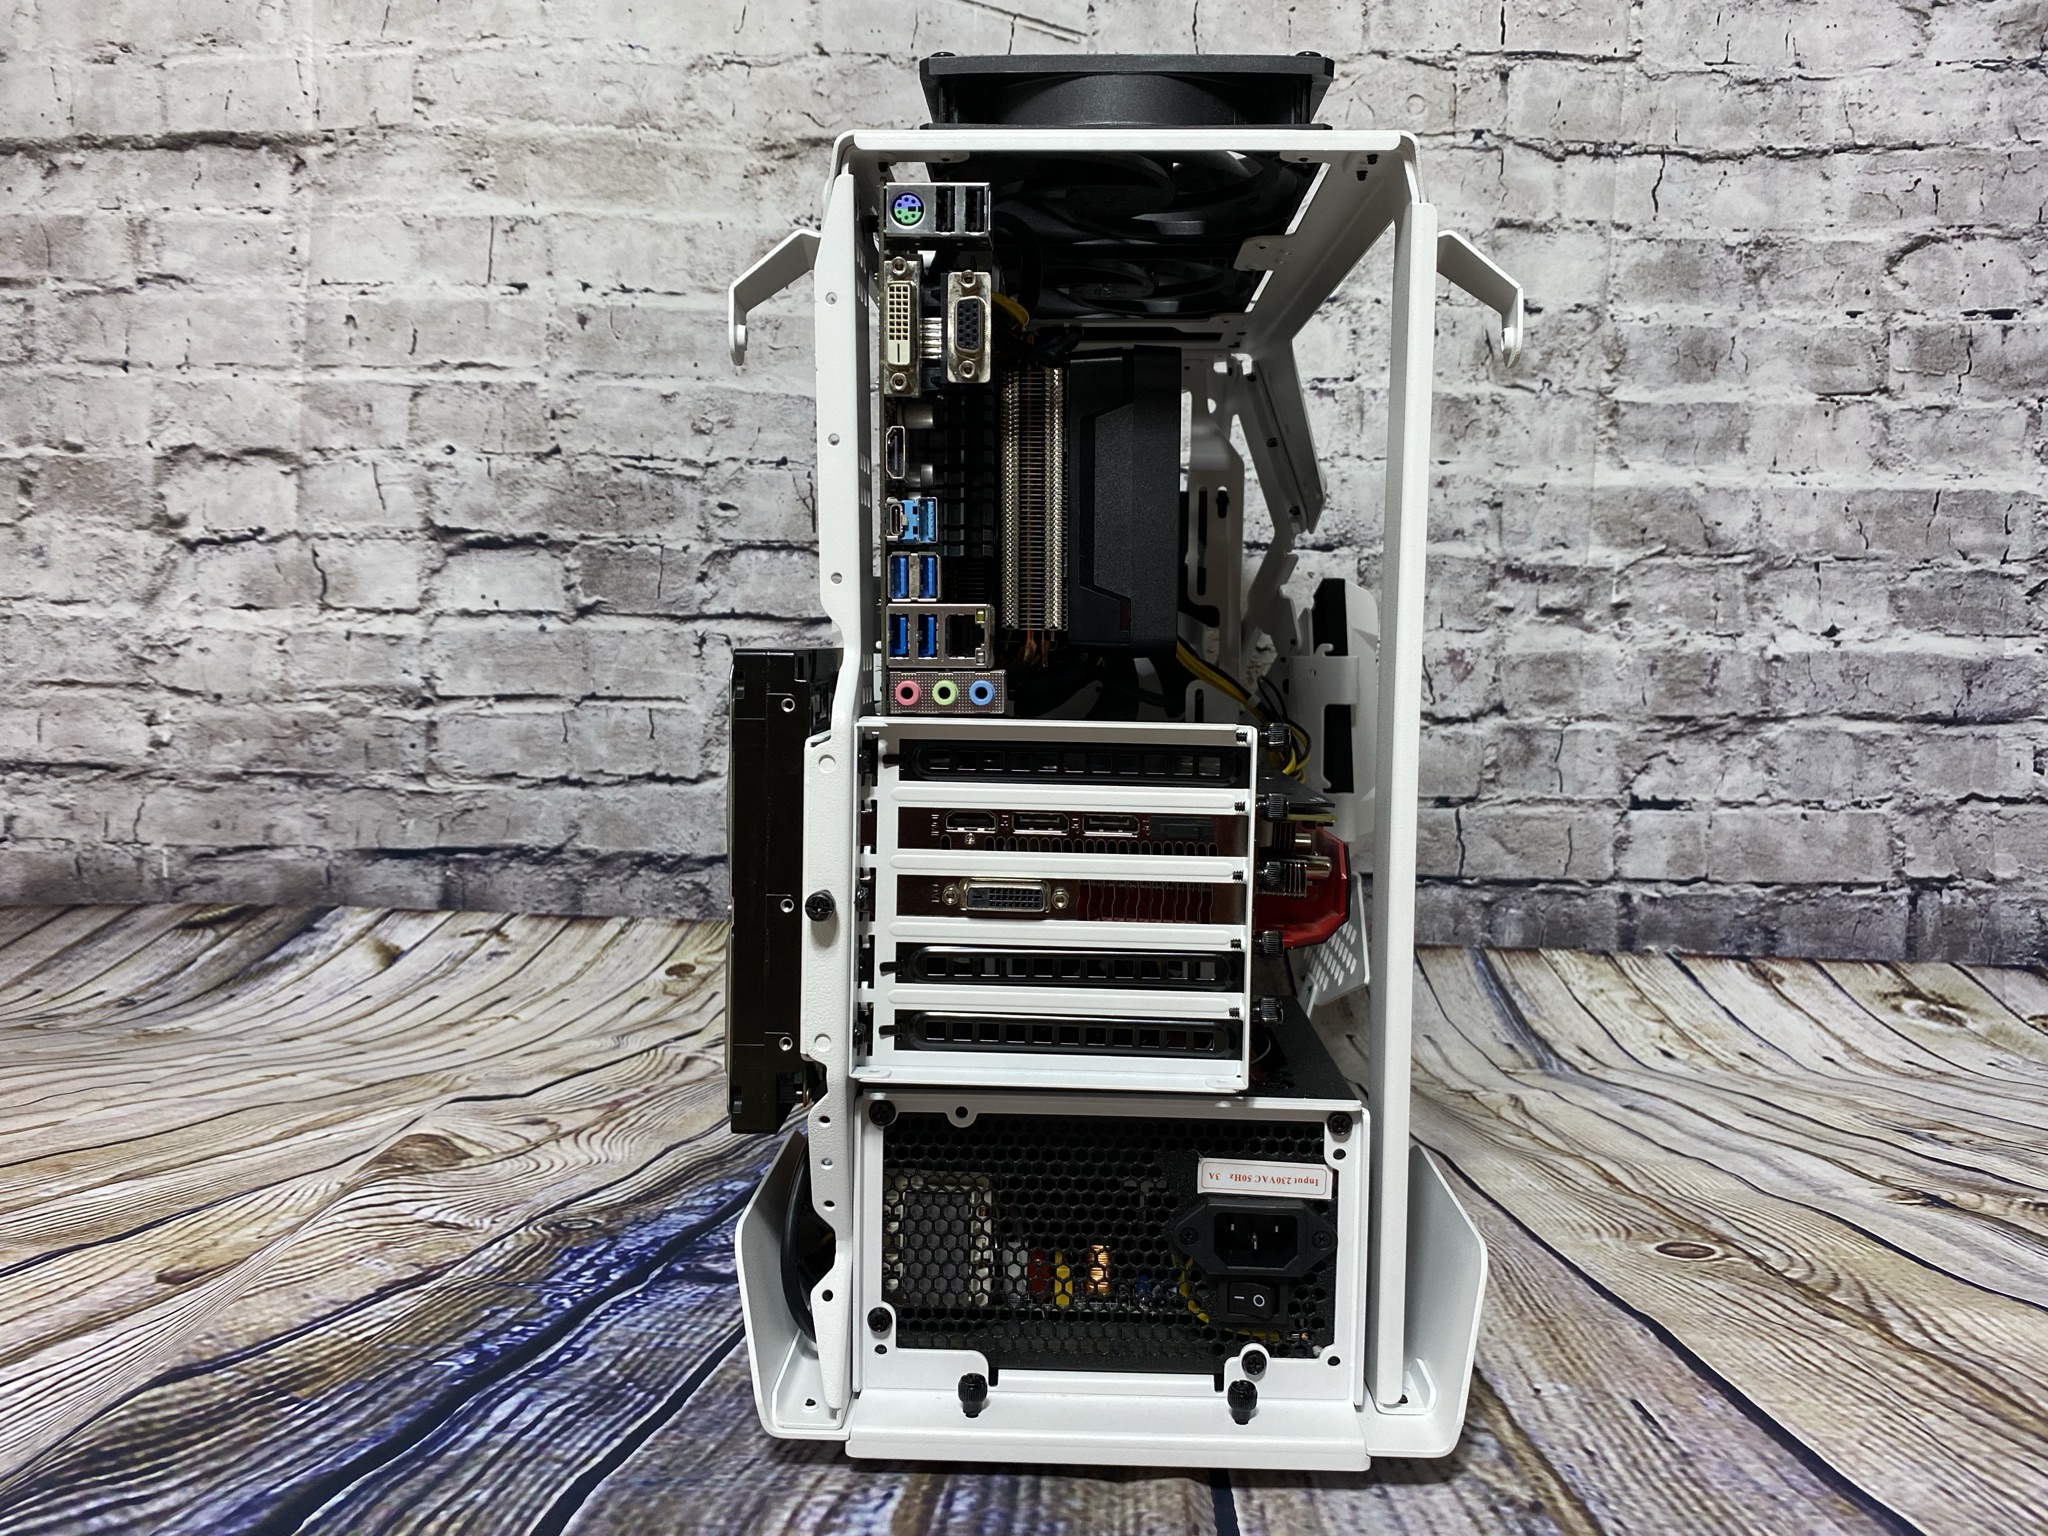
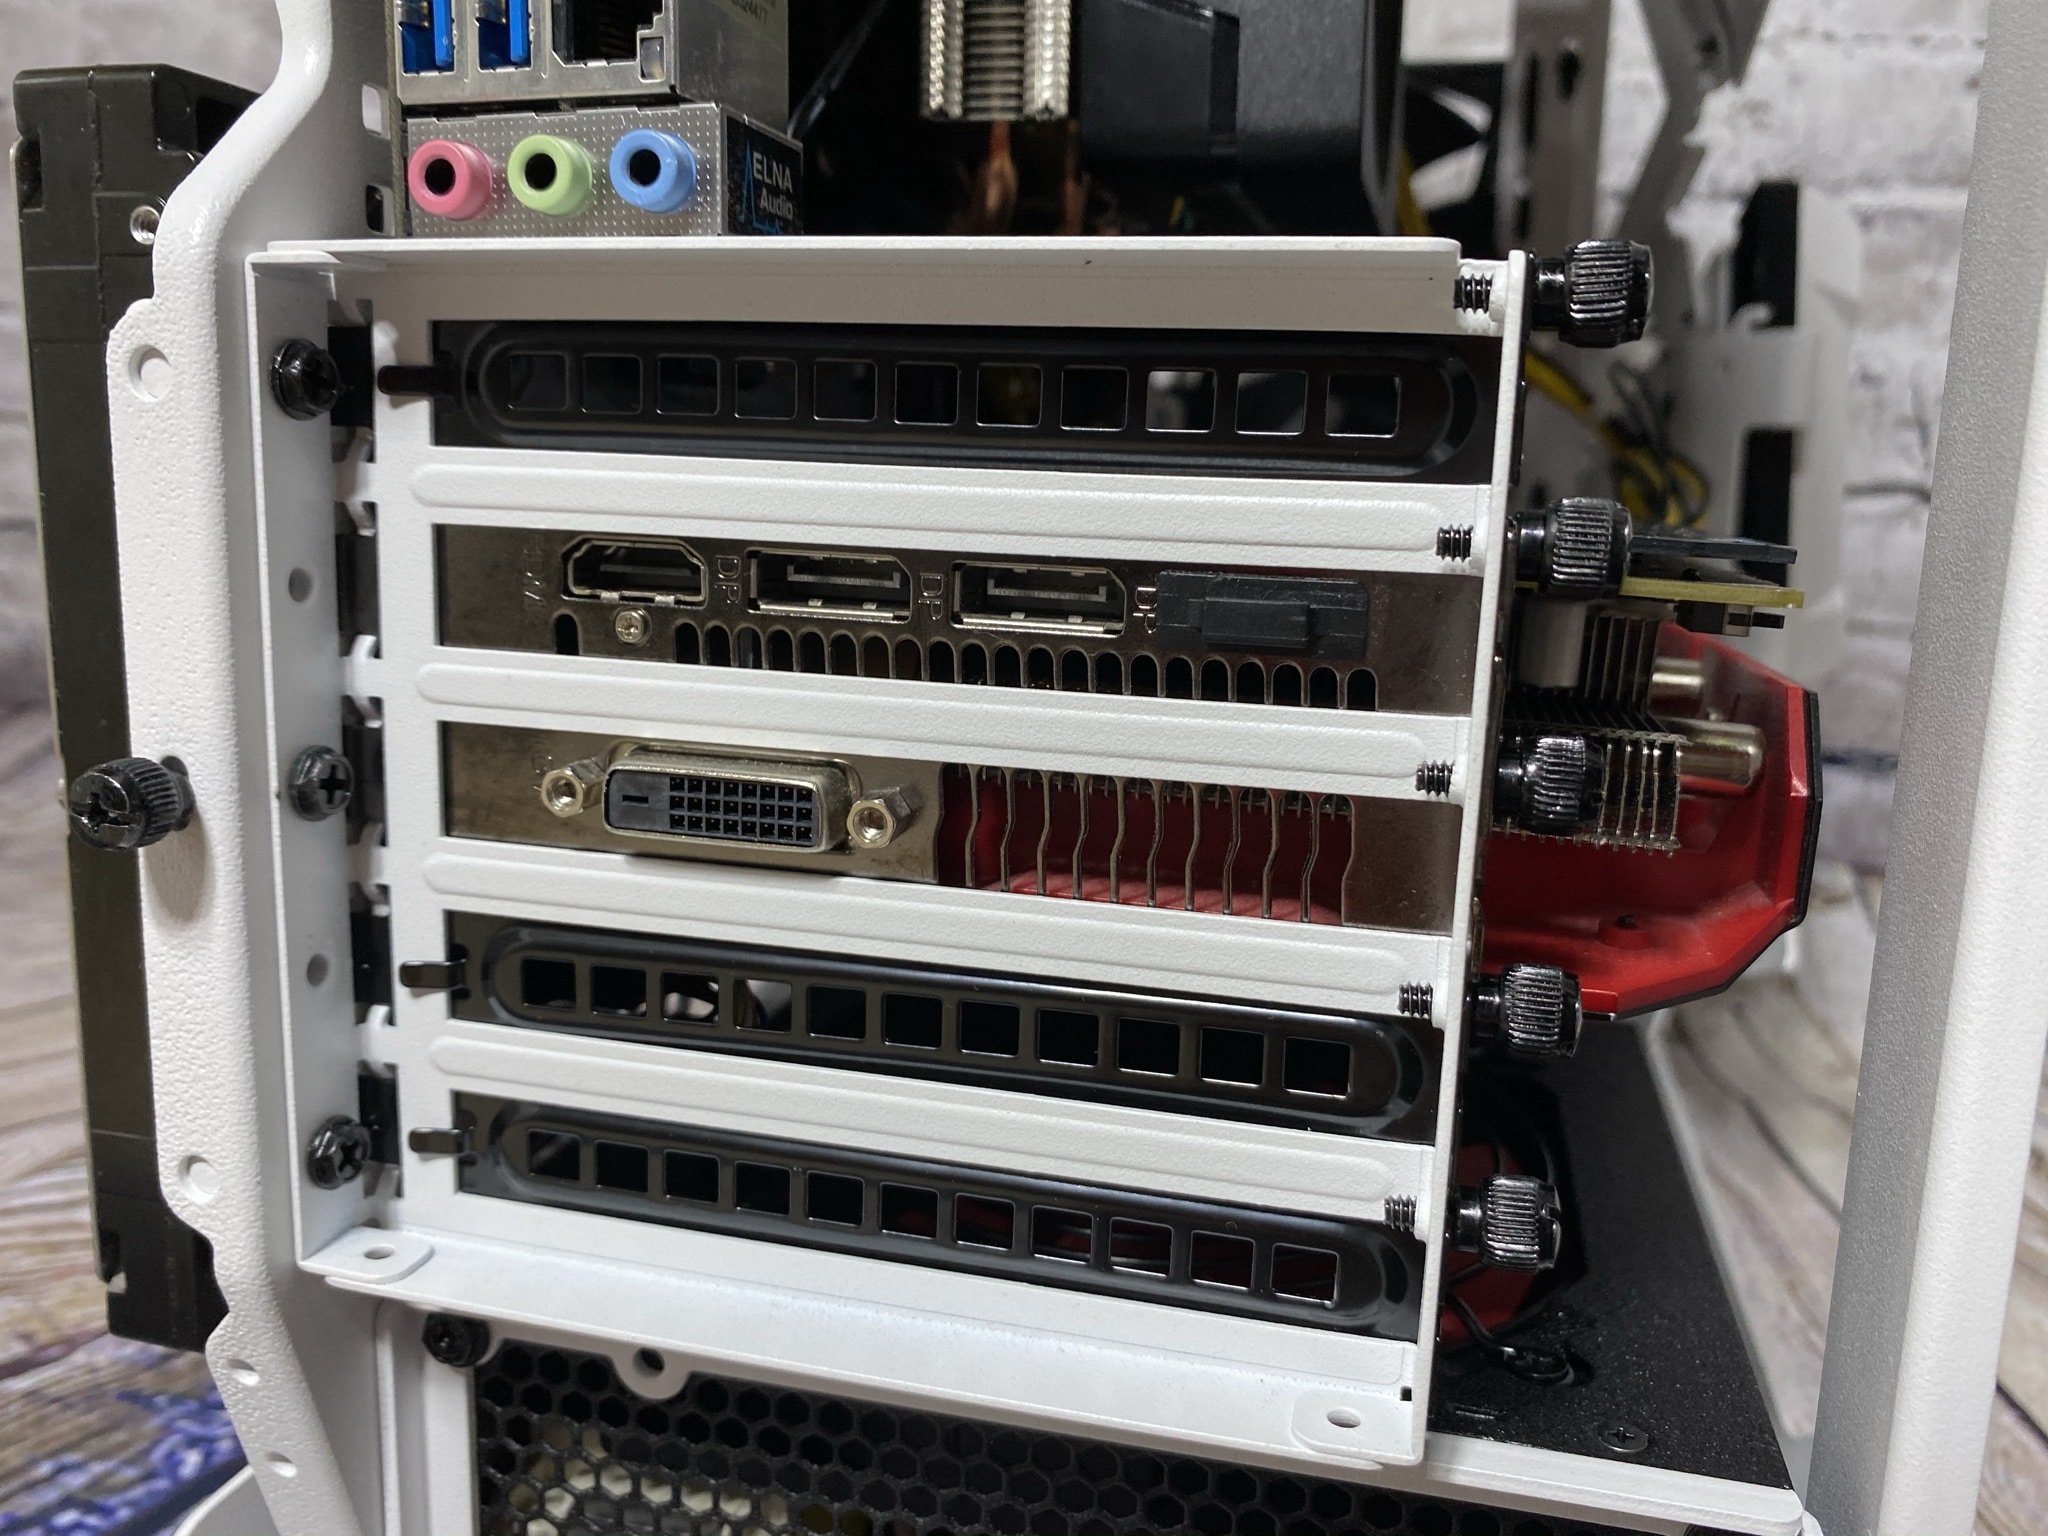
The back is best described with one word: open. We noticed a small thing here already during unpacking. There was something loose in the case and it made rattling noises. This was a PCI slot bezel that had probably come loose from its holder during delivery. Fortunately, the case wasn’t damaged or scratched on the inside. The white paint seems to be able to withstand quite a bit. Apart from that, we find a completely removable PCI slot bezel and directly below that a bracket for the power supply, which can be unscrewed with two screws at the bottom.

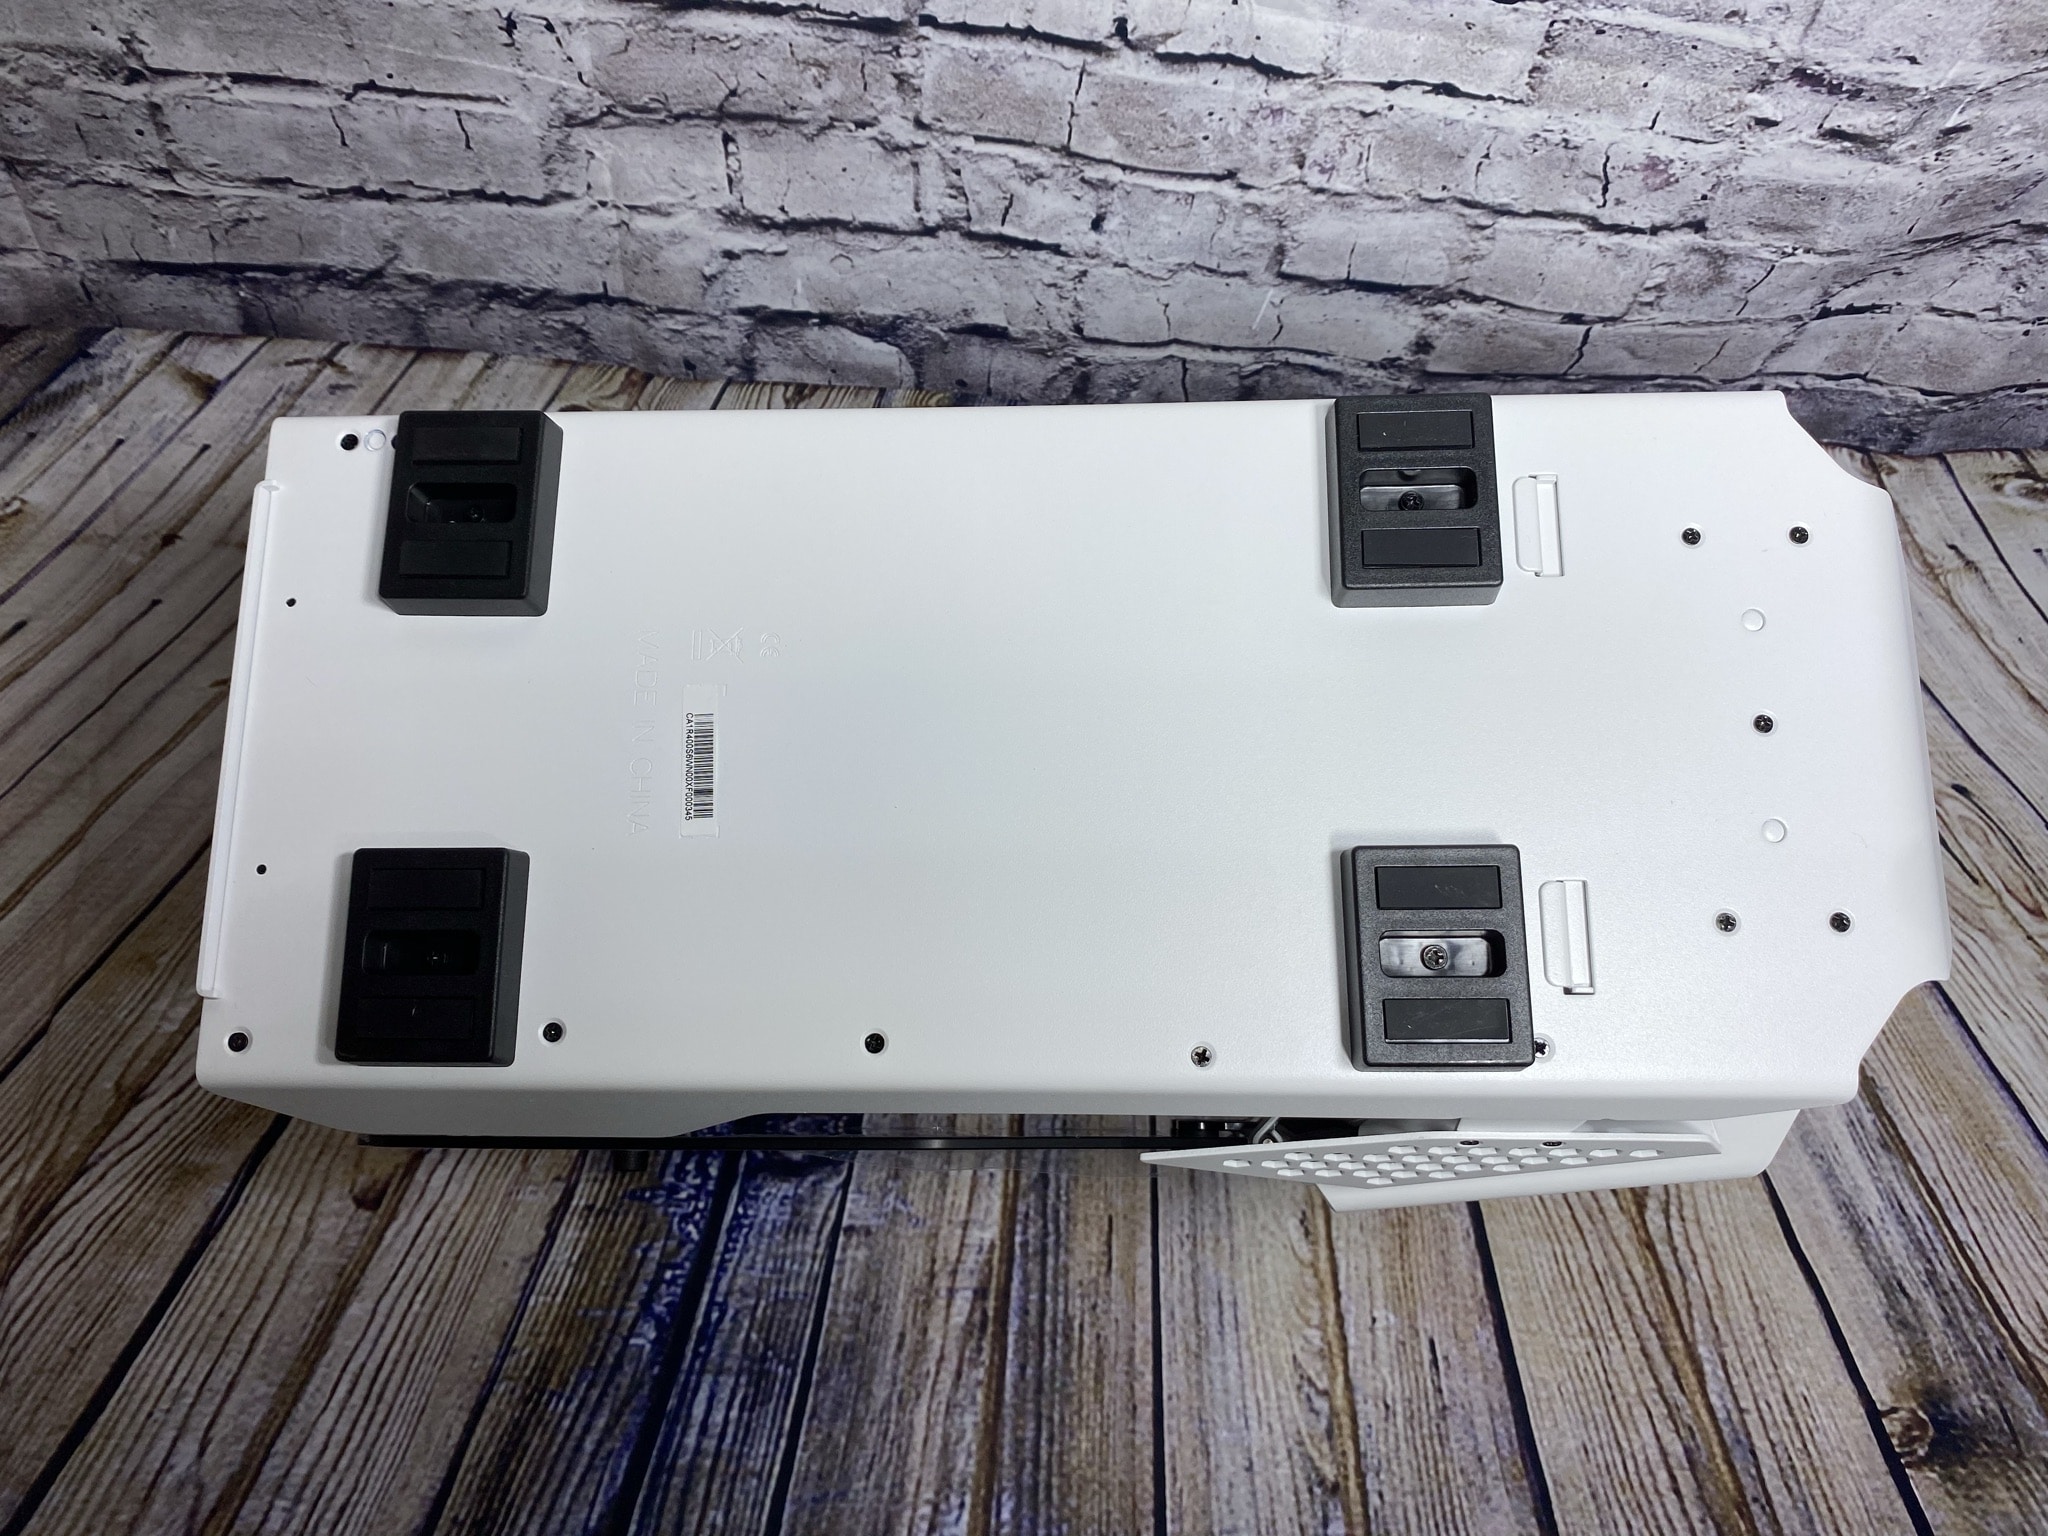
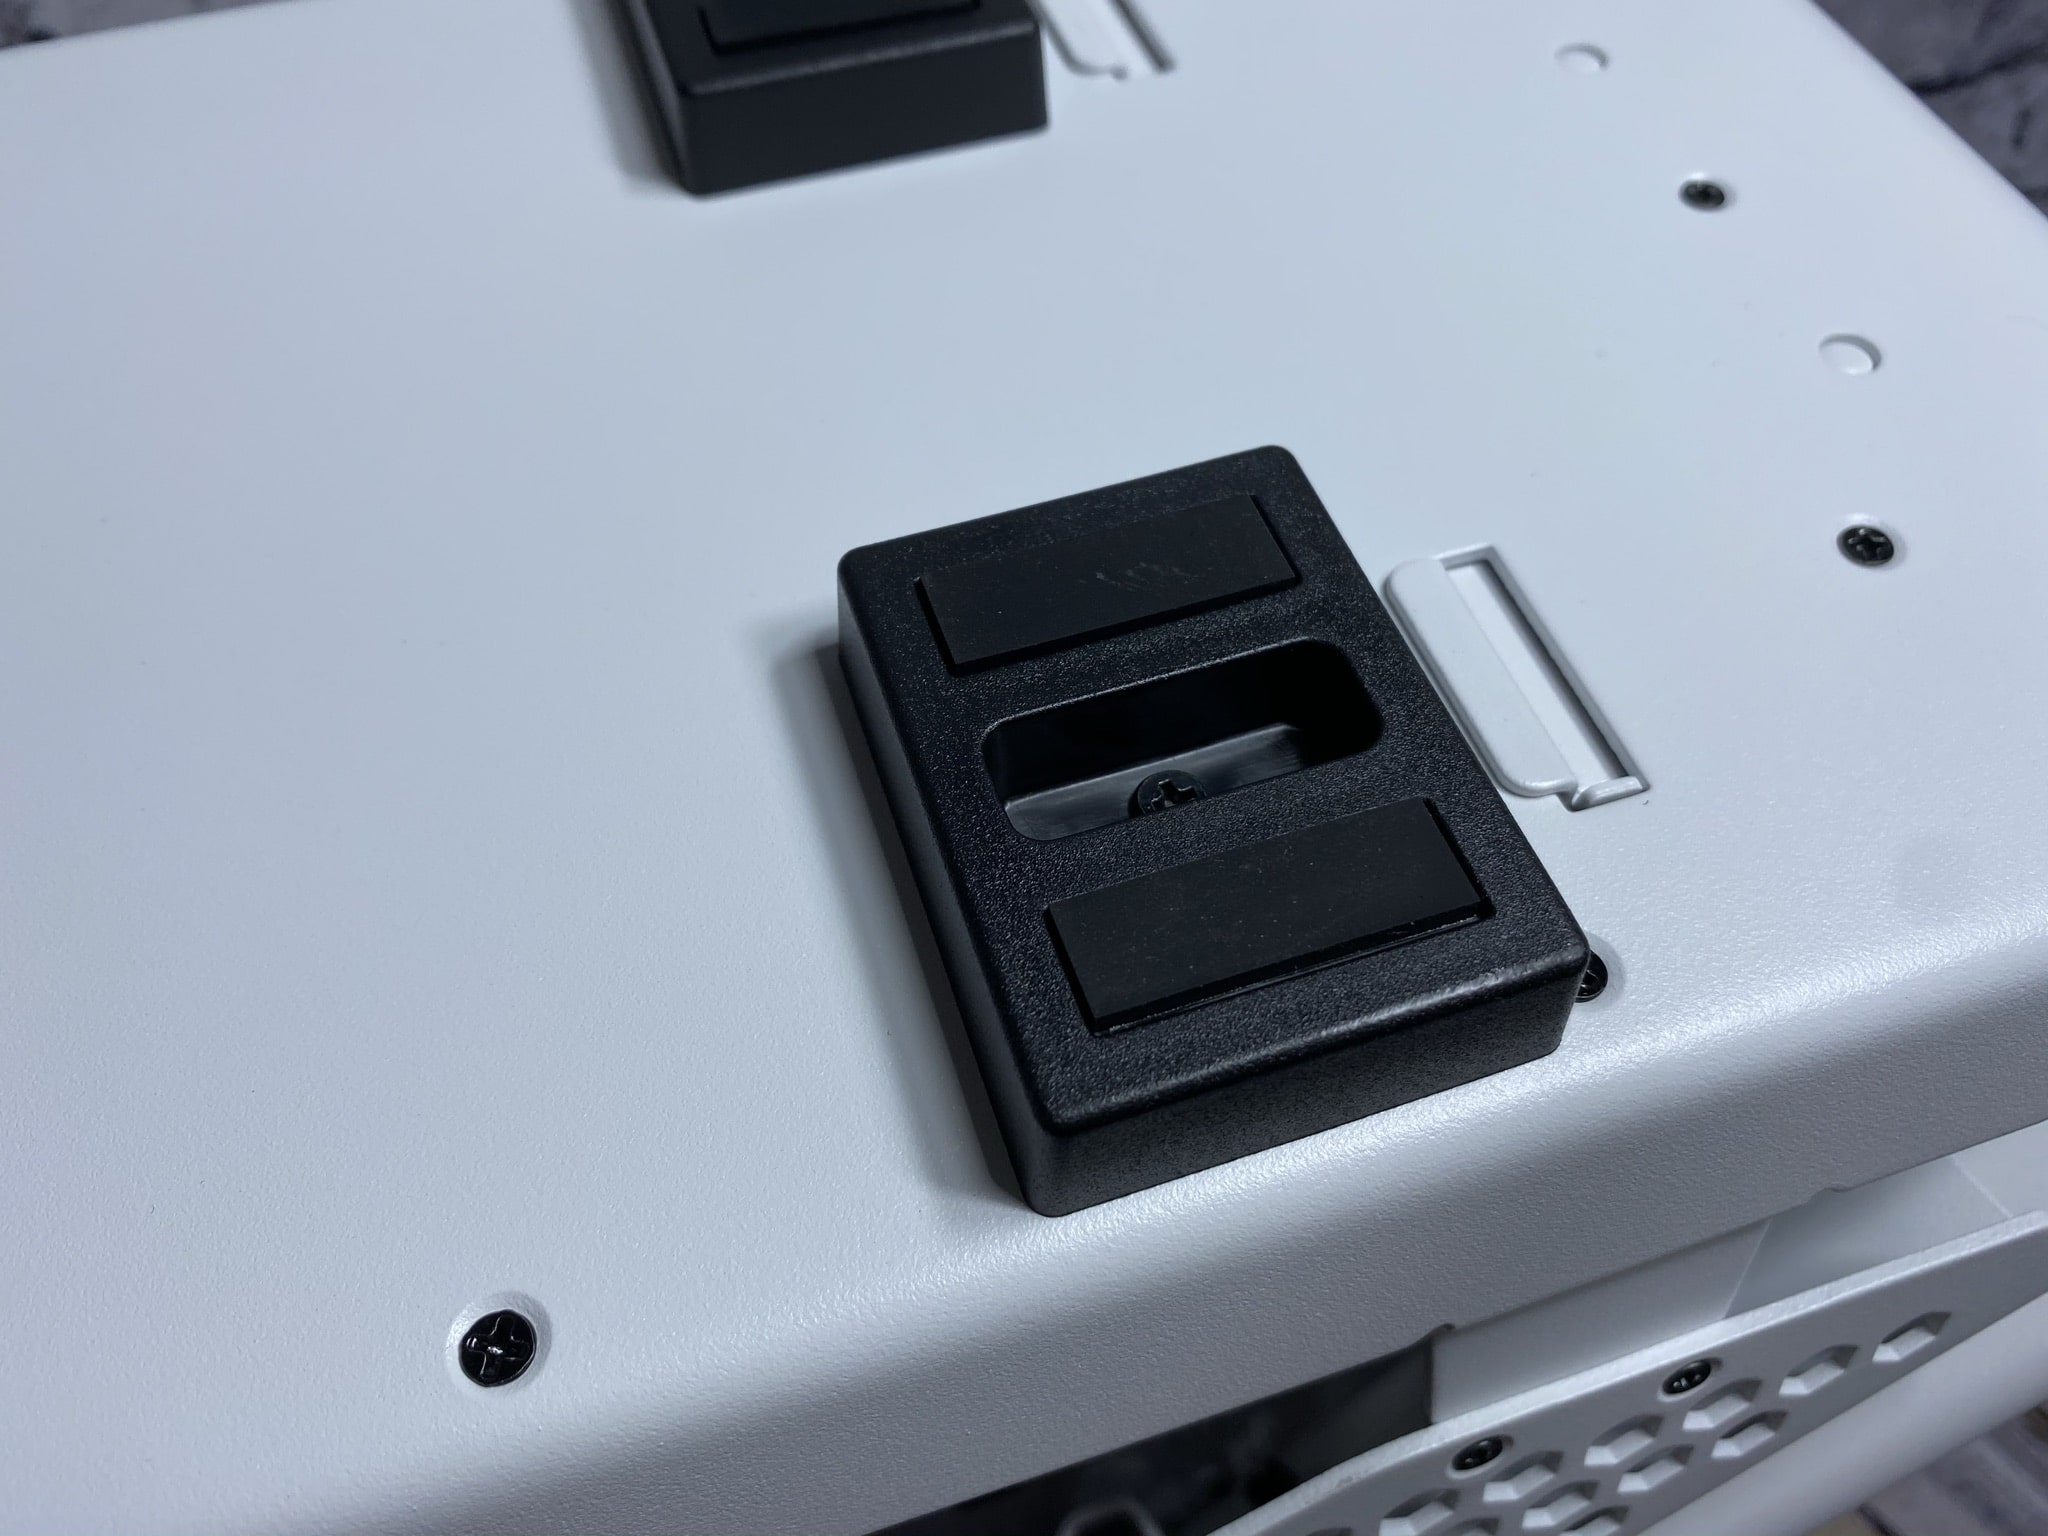
Lastly, we lose a few words on the underside of the case. Here we find four large black plastic feet, each of which is screwed to the case with a screw. In addition, there are two smaller strips of anti-slip pads on each of the black feet, which provide stability for the feet. Thus, we have checked off the most important points from the outside and can now dare to take a look inside.
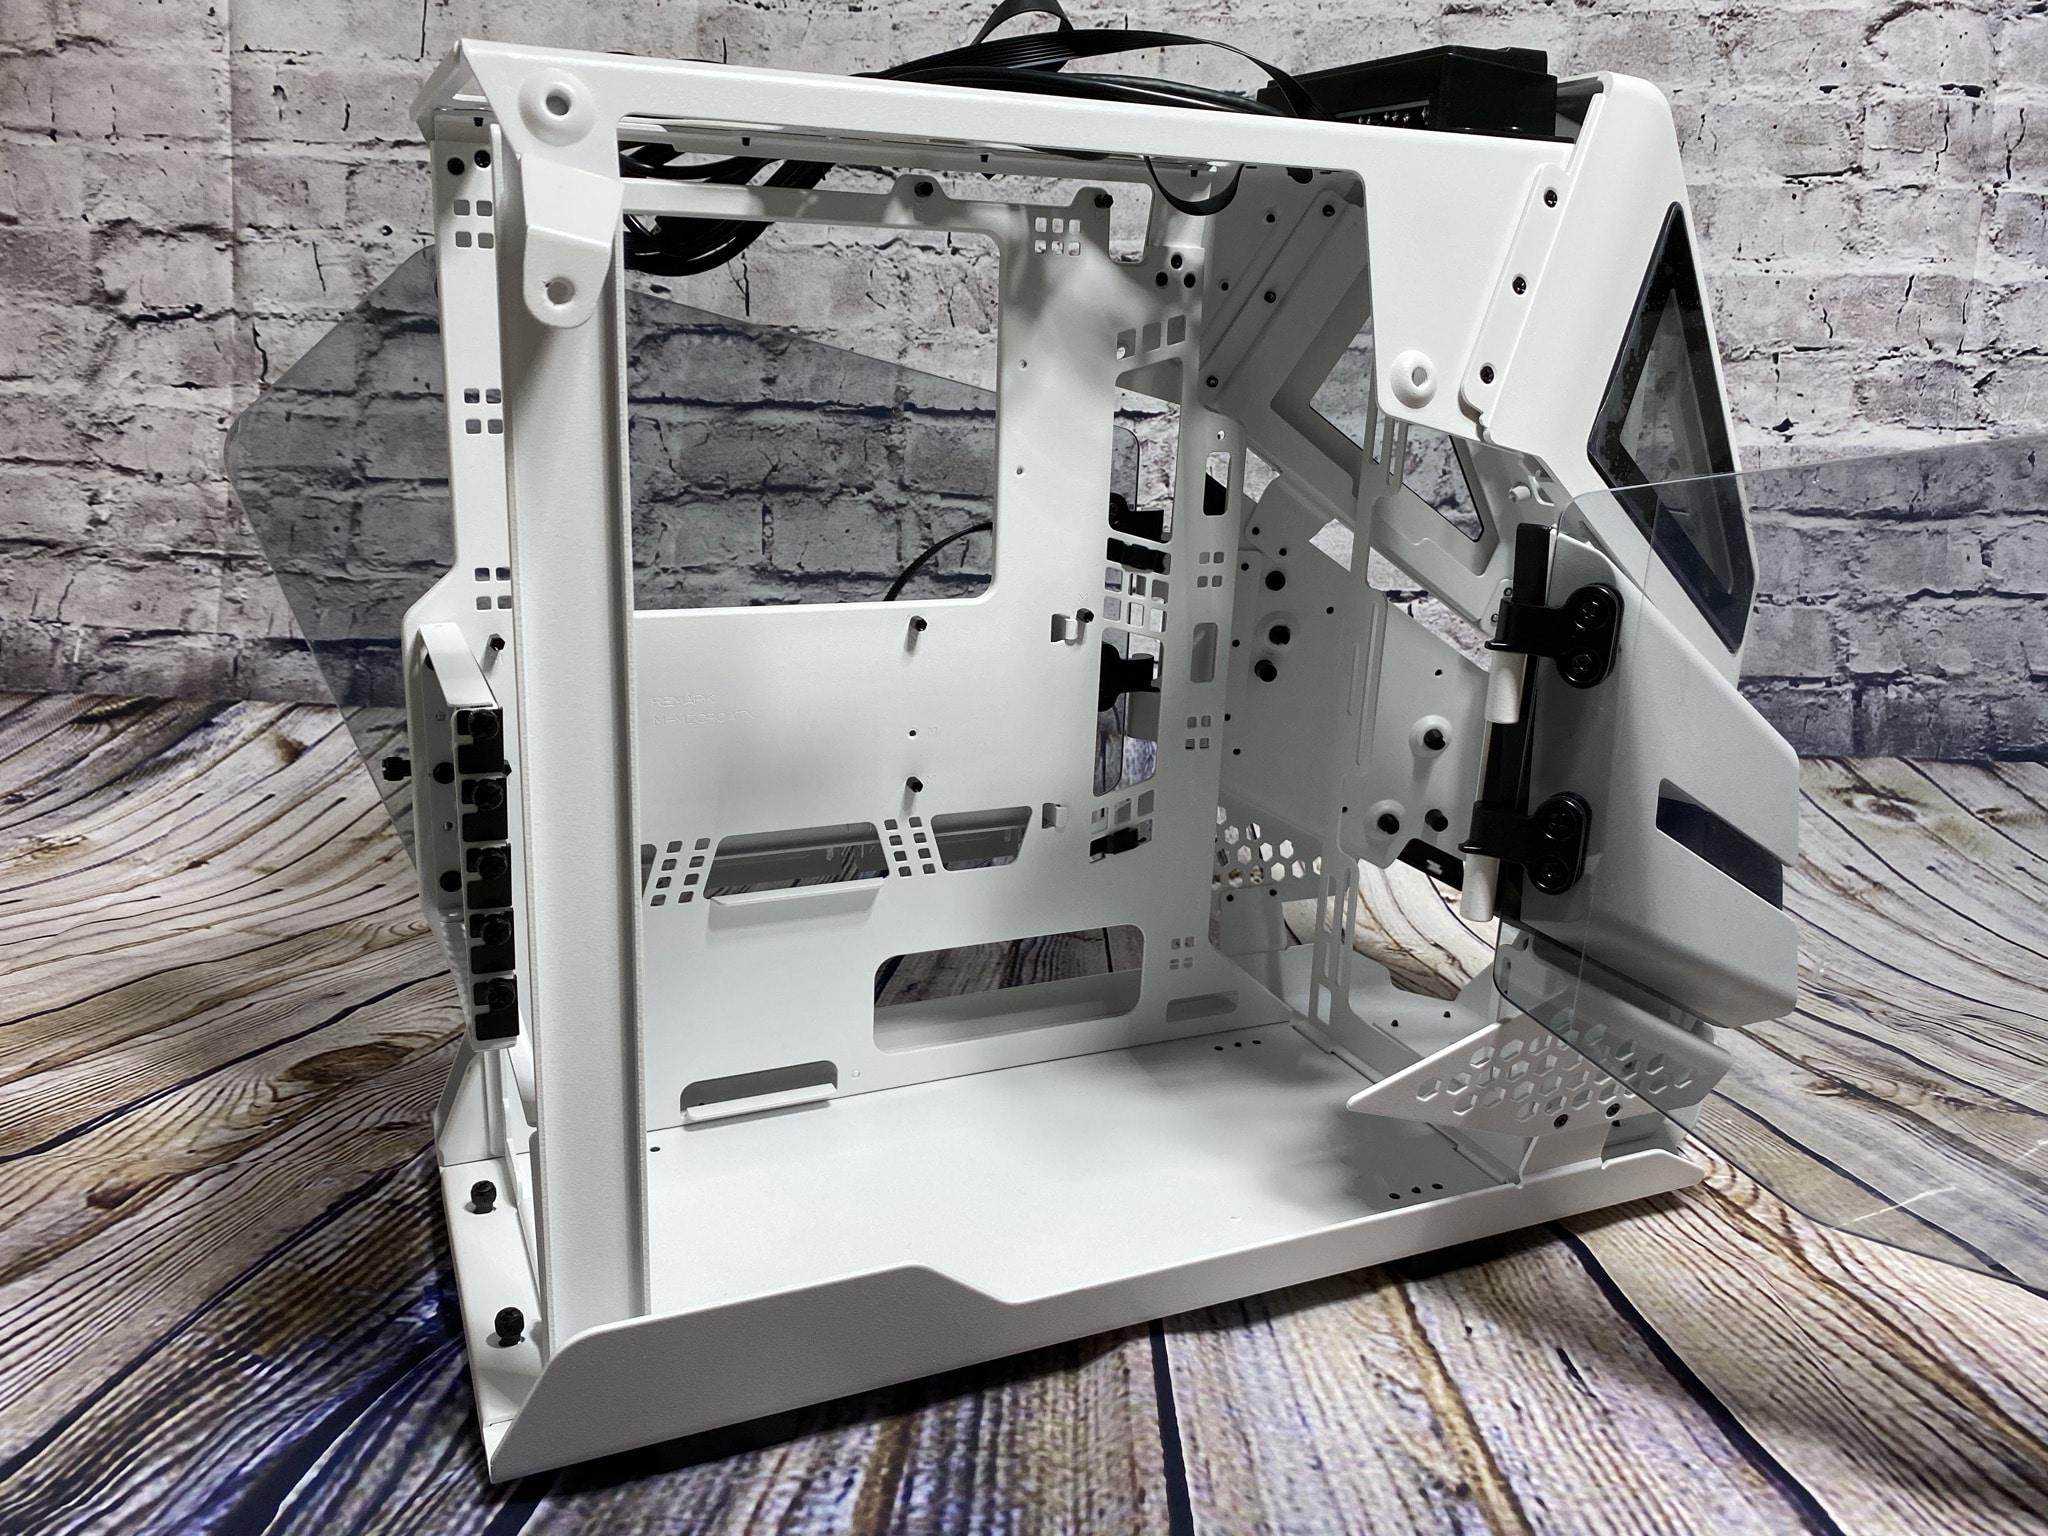
Interior impression
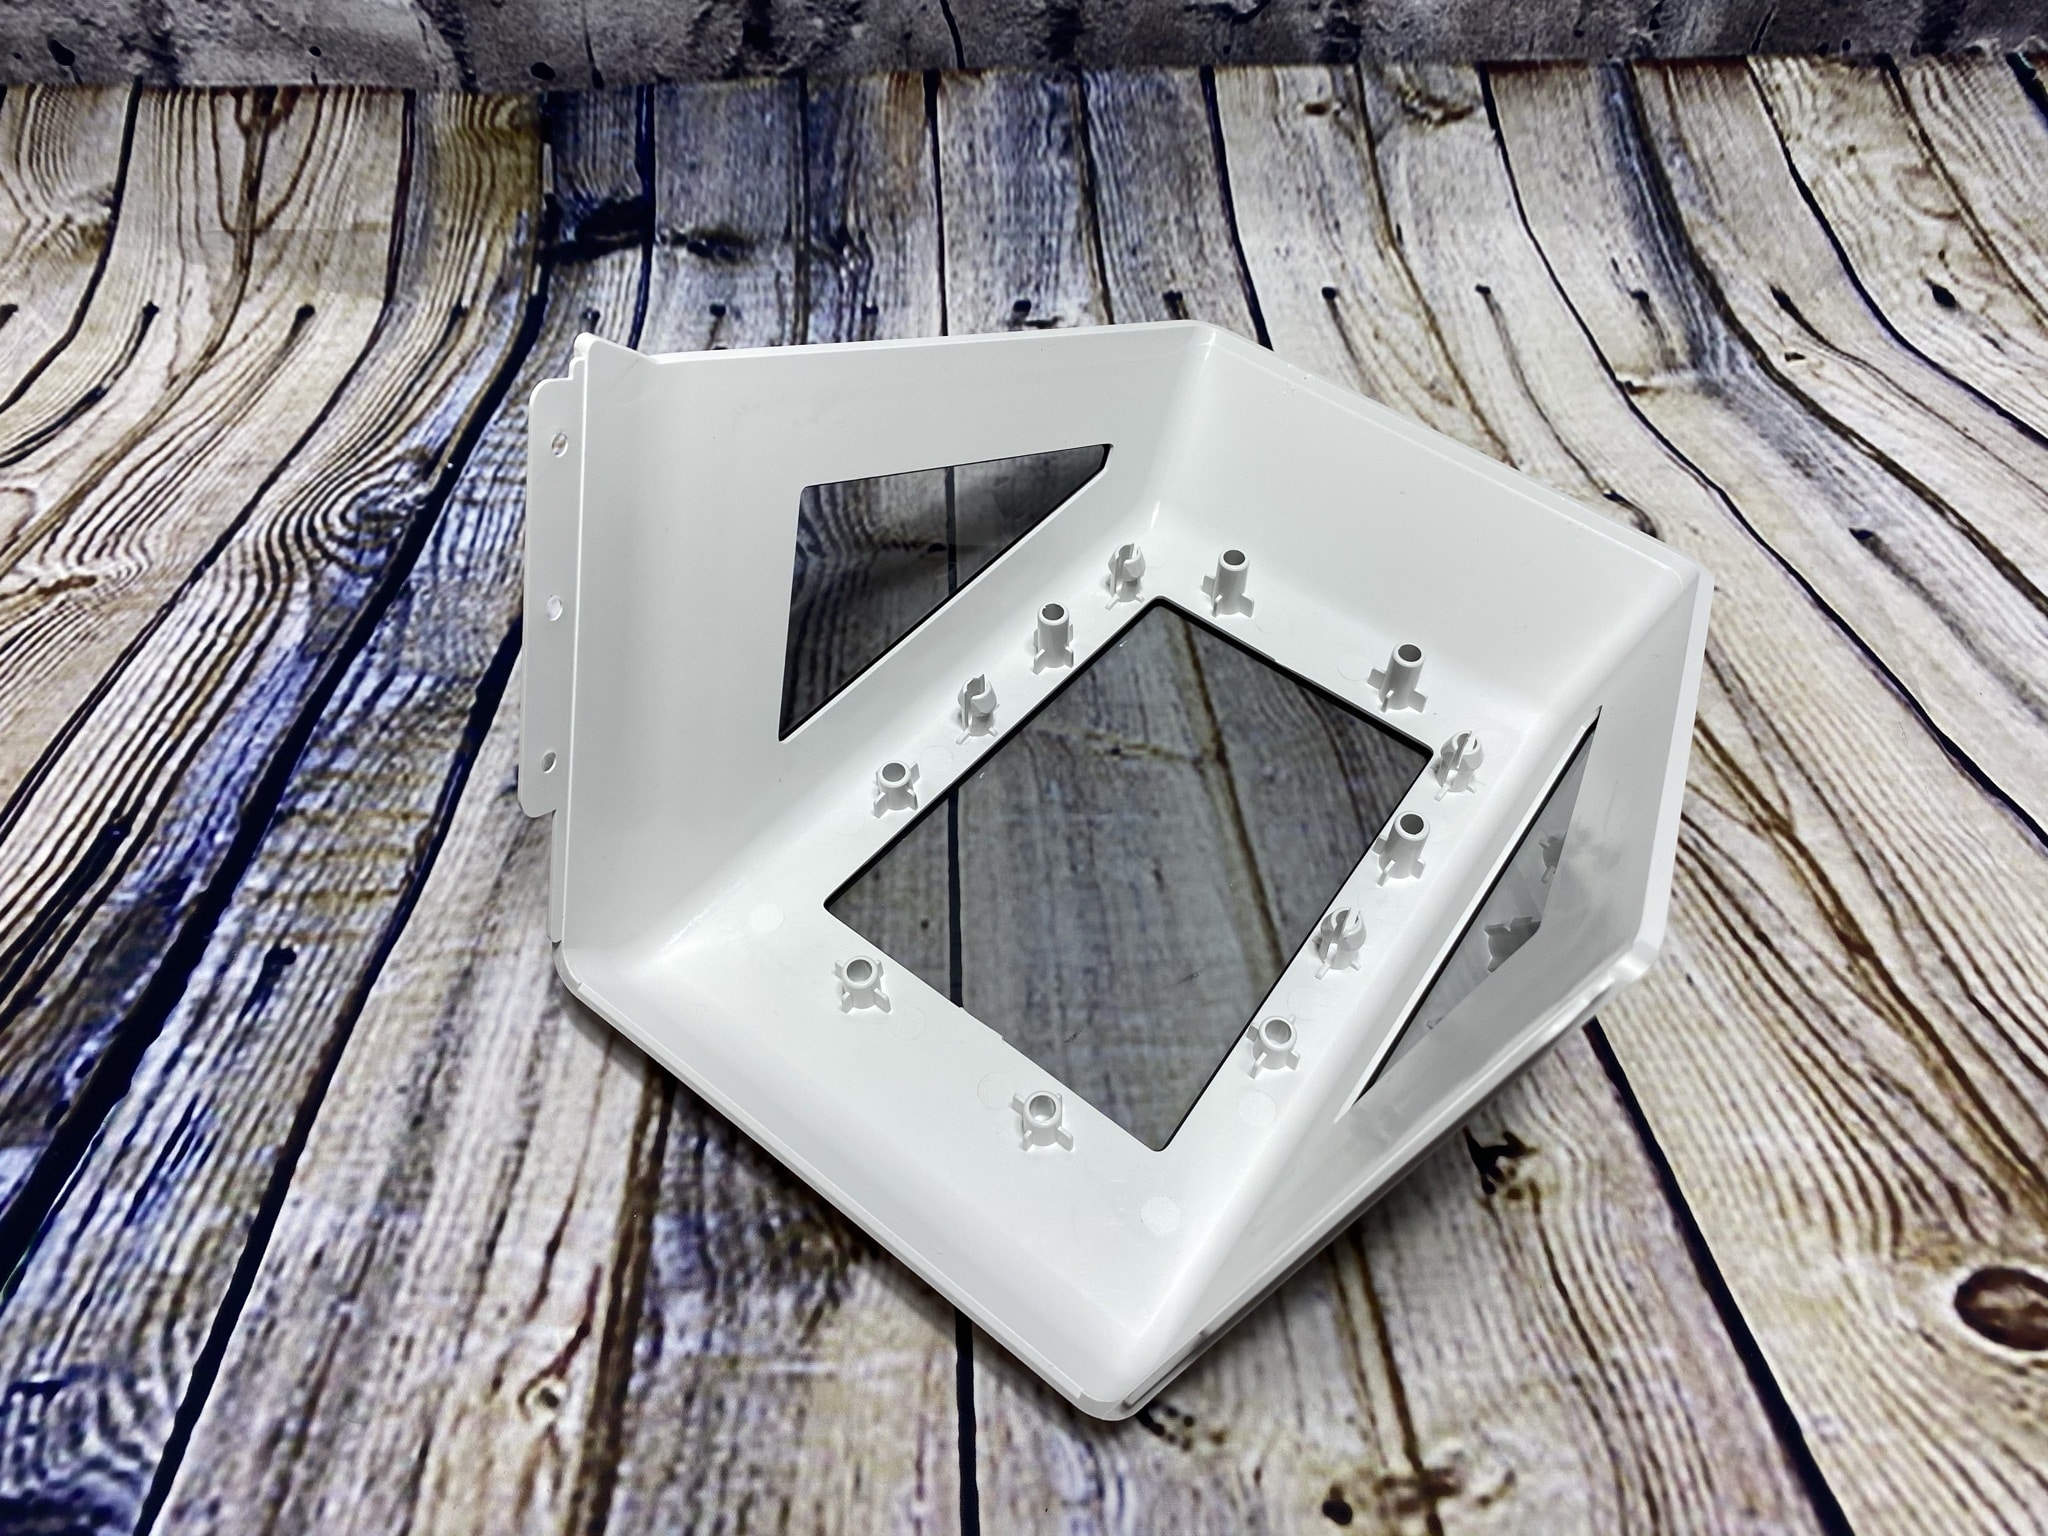
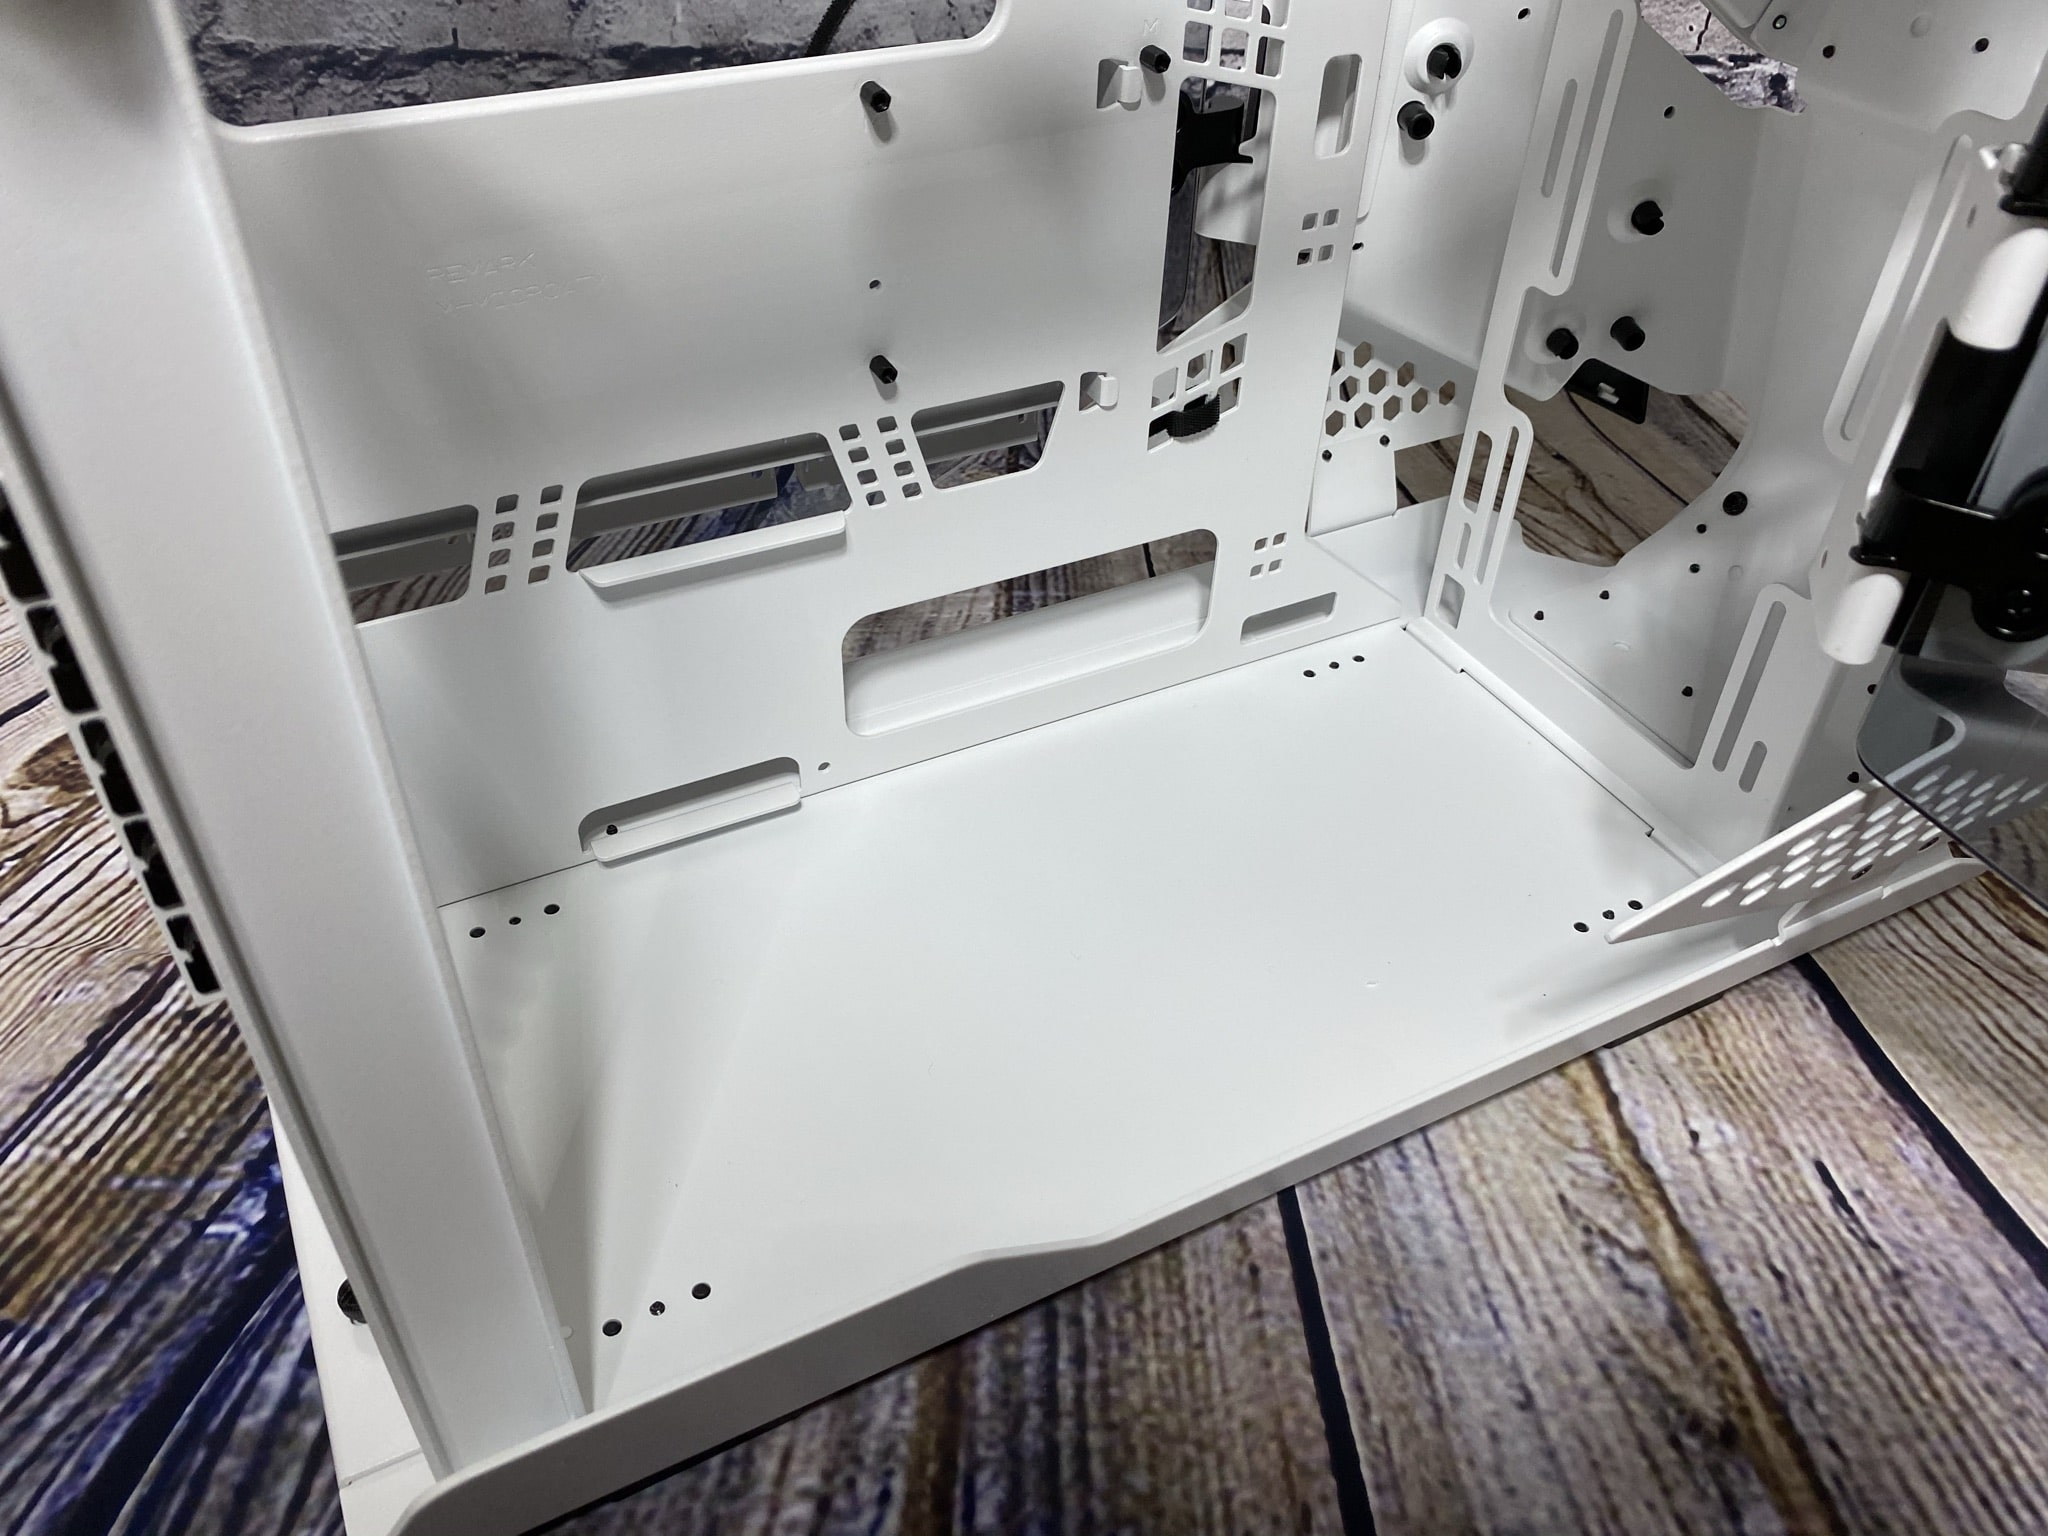
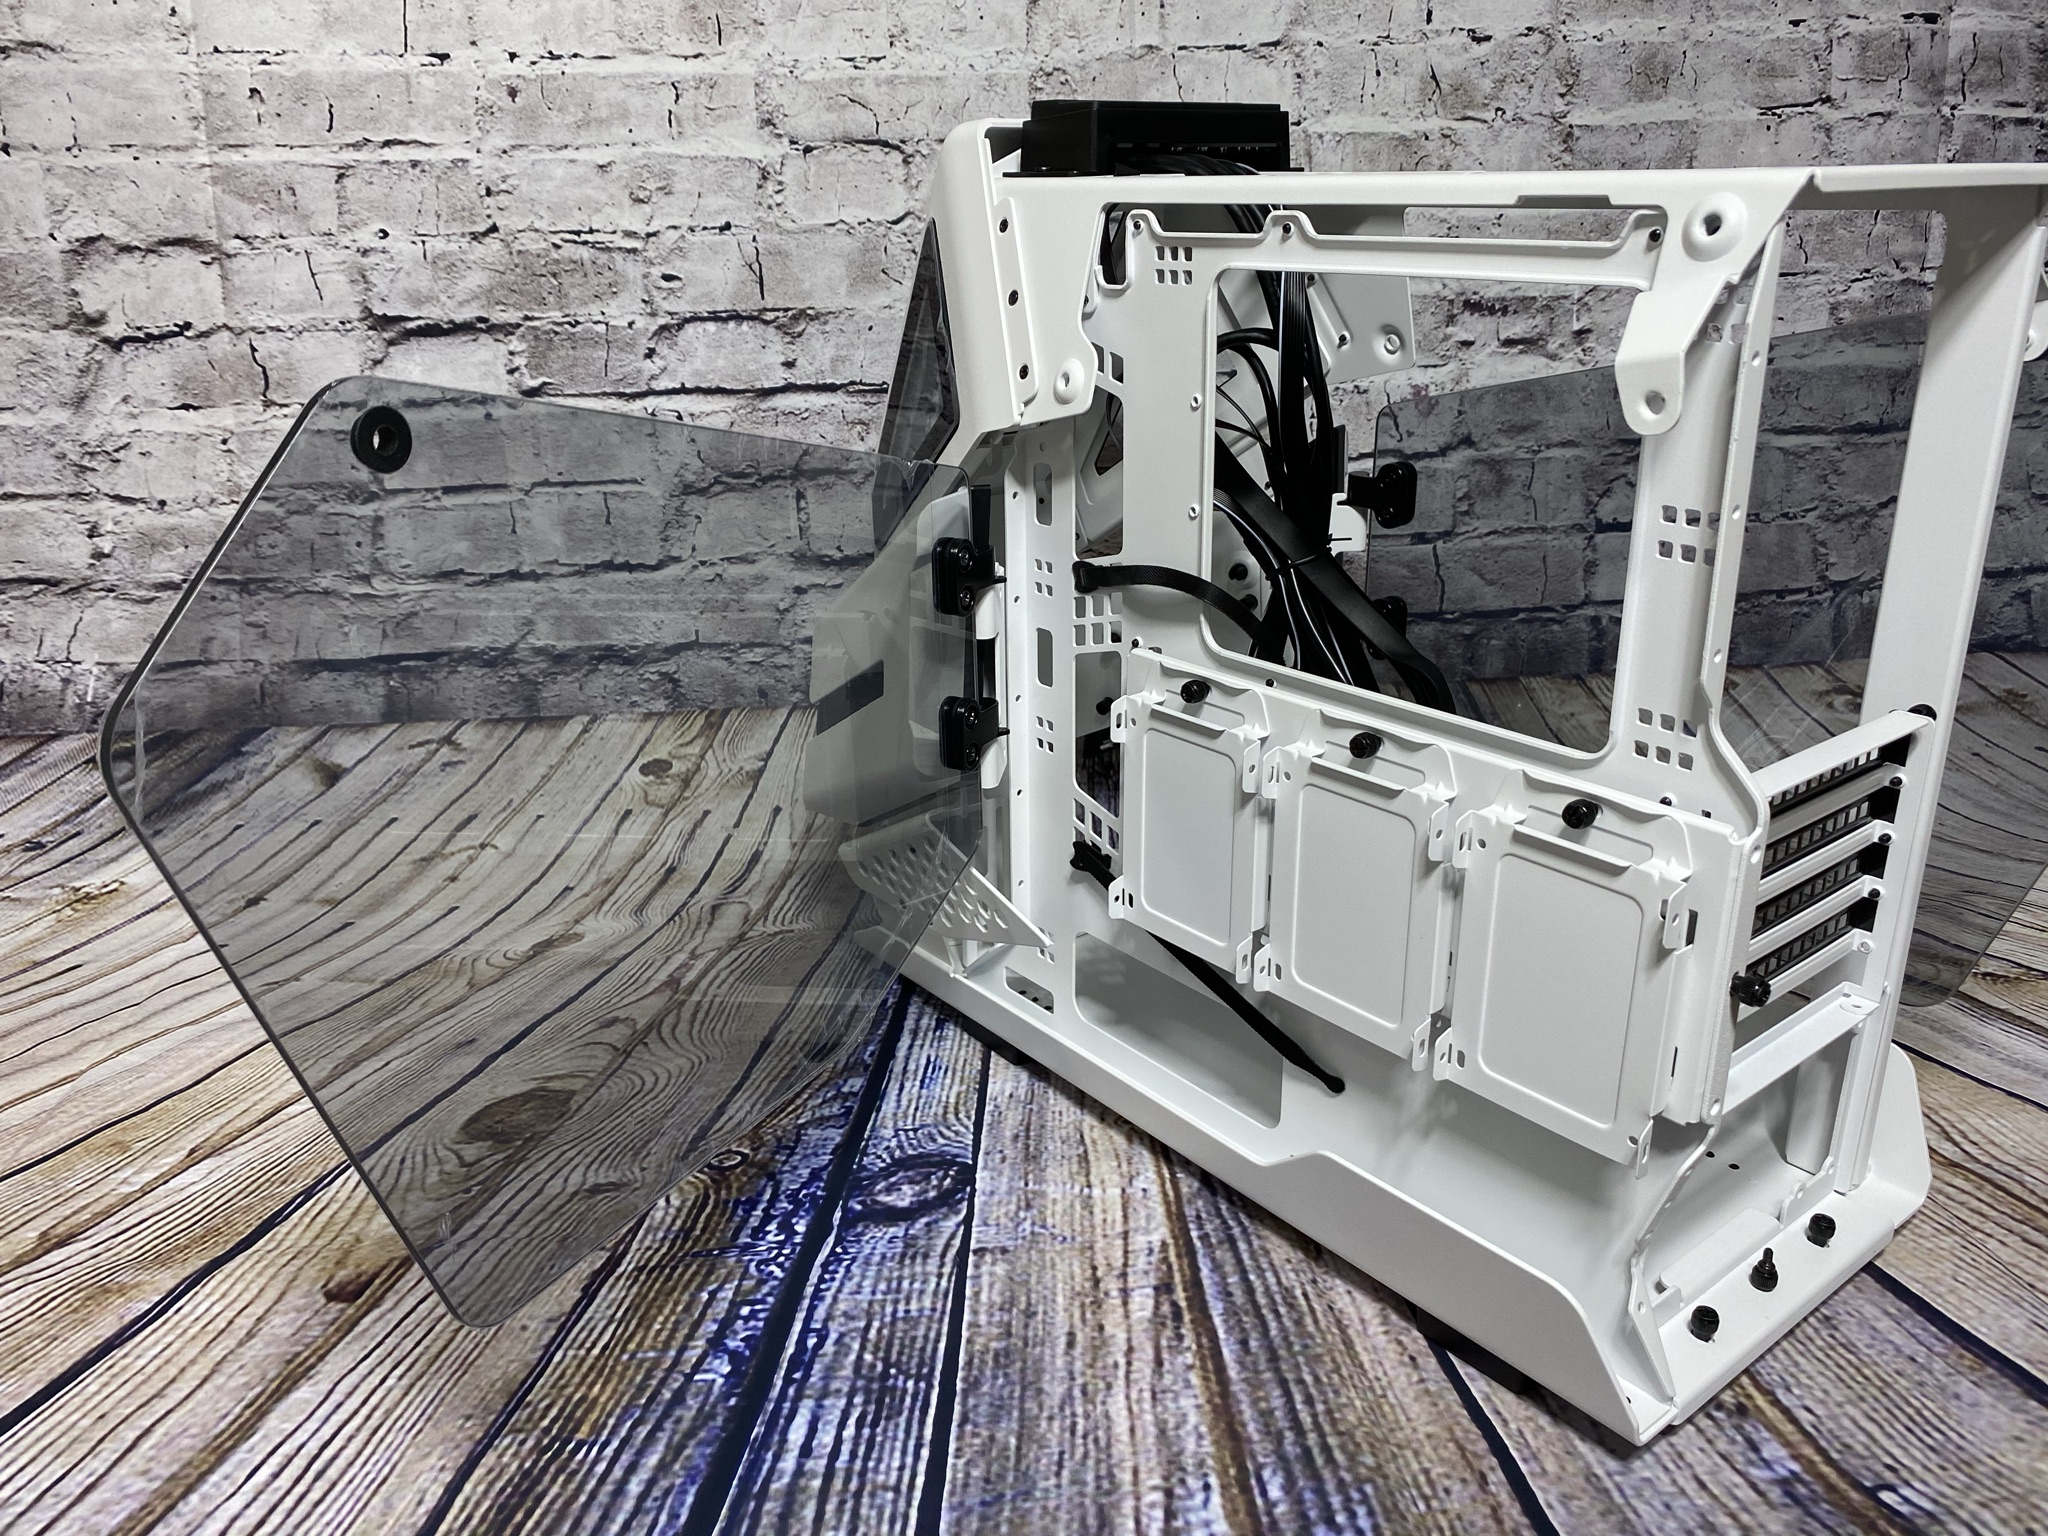
Inside, in the raw state of the AH T200, you can again see one small thing quite well – all through it. The open frame of the case is reflected in the interior as well. For mounting the motherboard, there are threads for the screws at the respective anchor points. Around the outside, we see a total of five somewhat larger holes for cable routing in the case. These are not equipped with edge protectors. Apart from that, there are numerous other small holes in the steel, which are due to the open design. If you look at the place where the PSU will later be mounted, you’ll notice a small protruding notch when you take a closer look. The power supply will later be placed and supported on this.
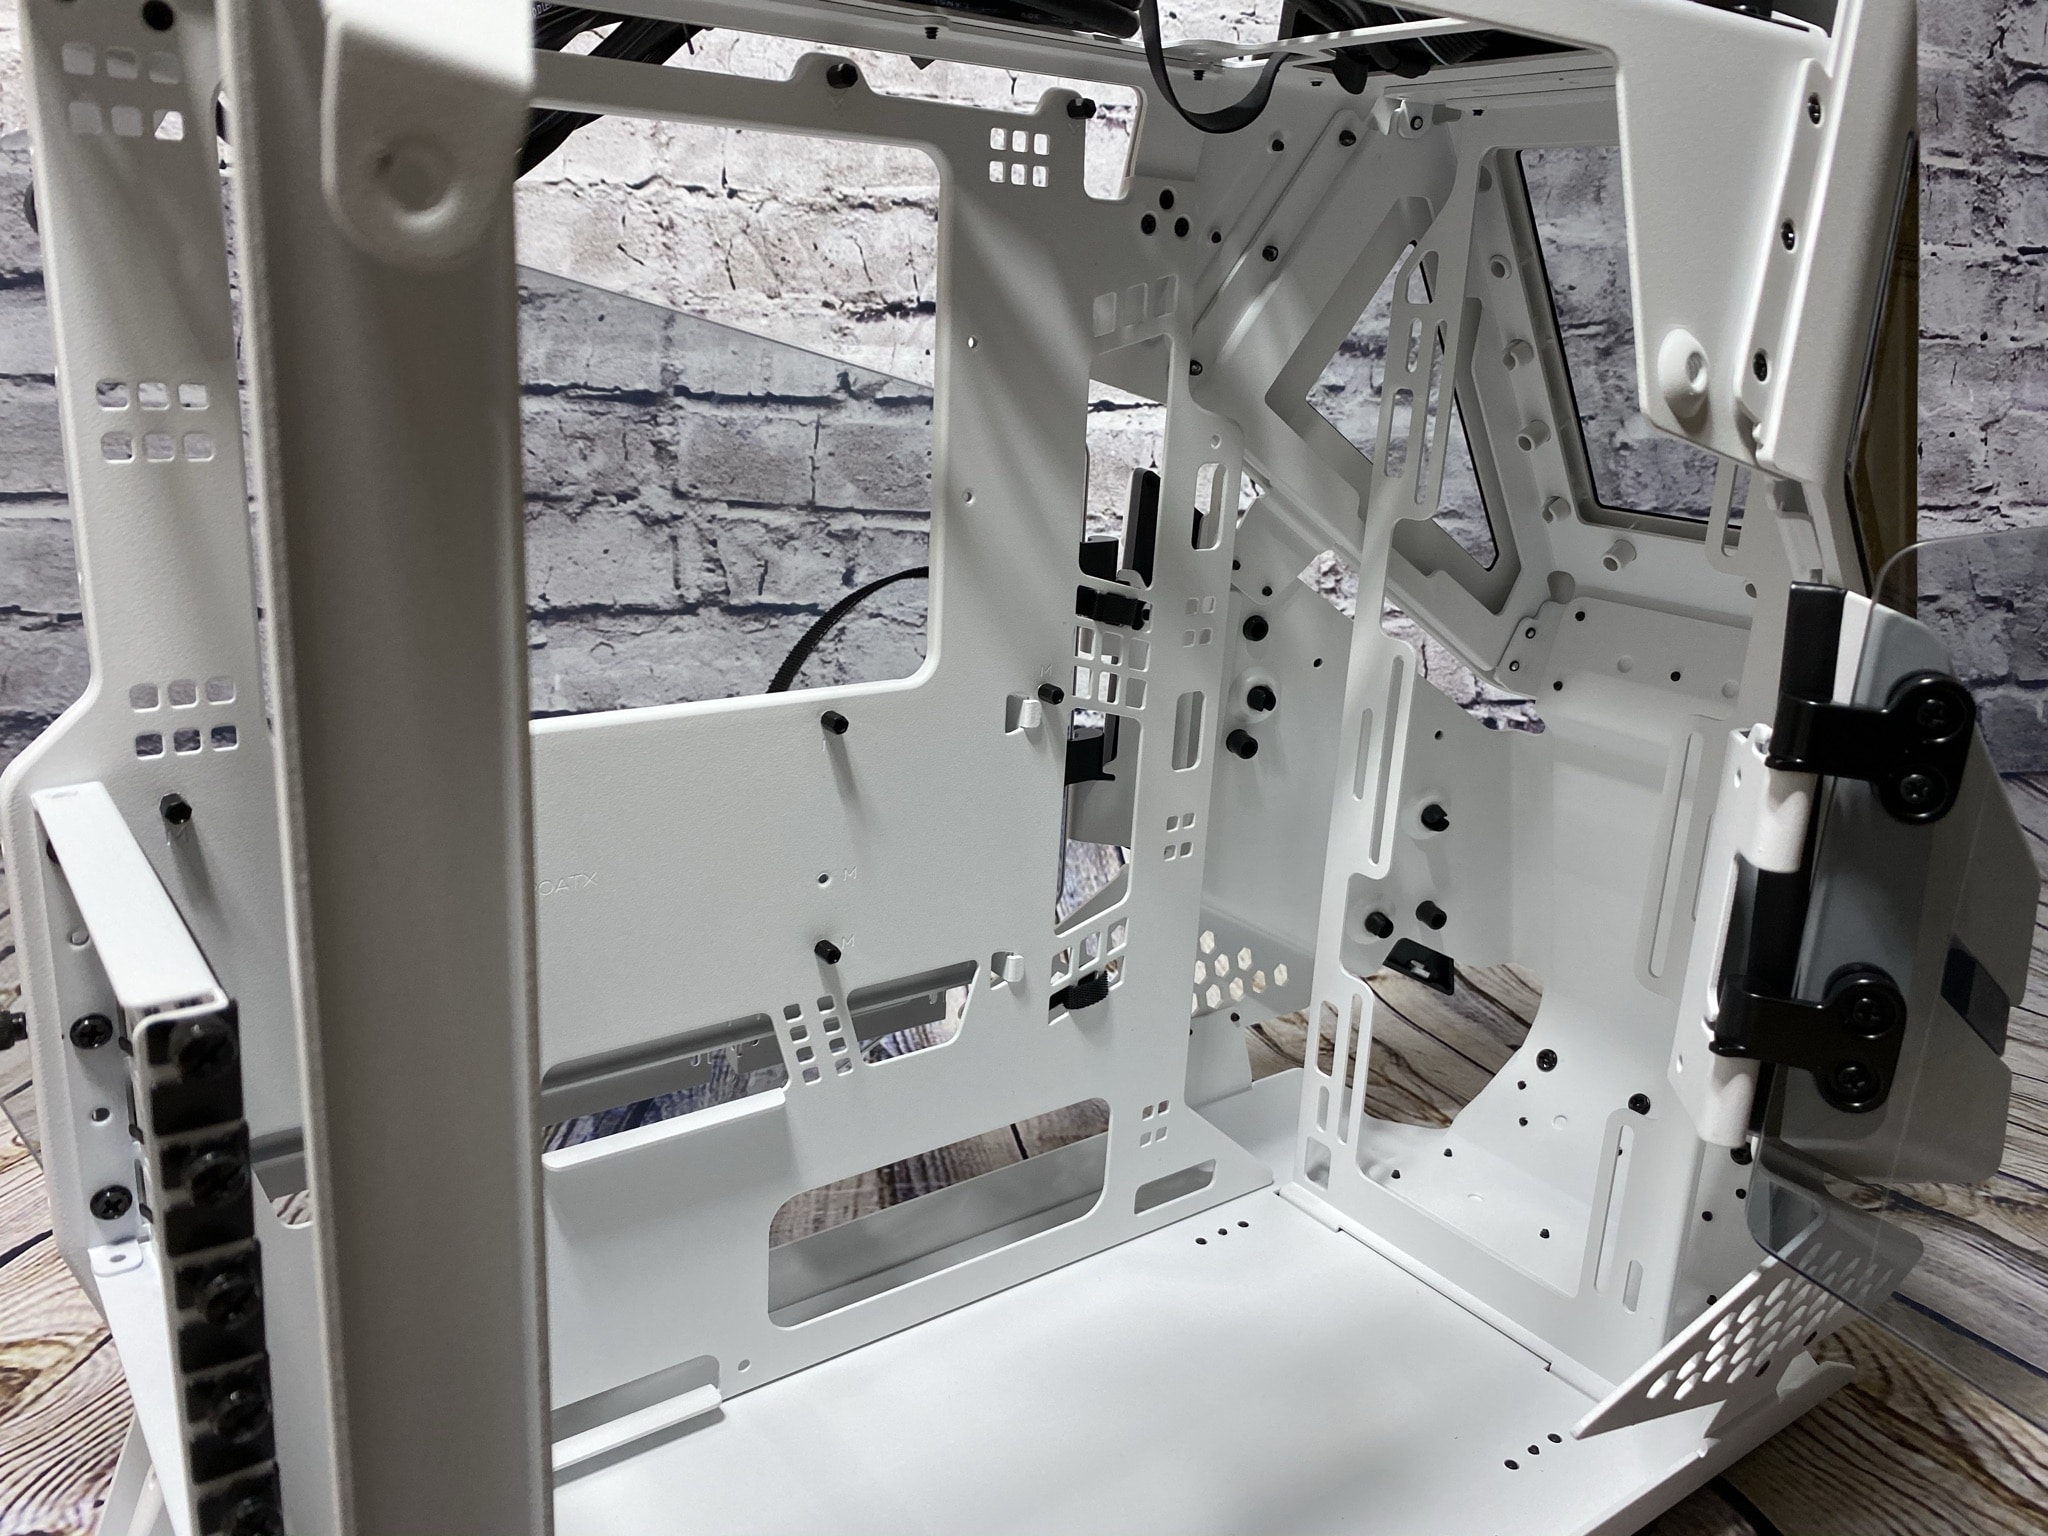
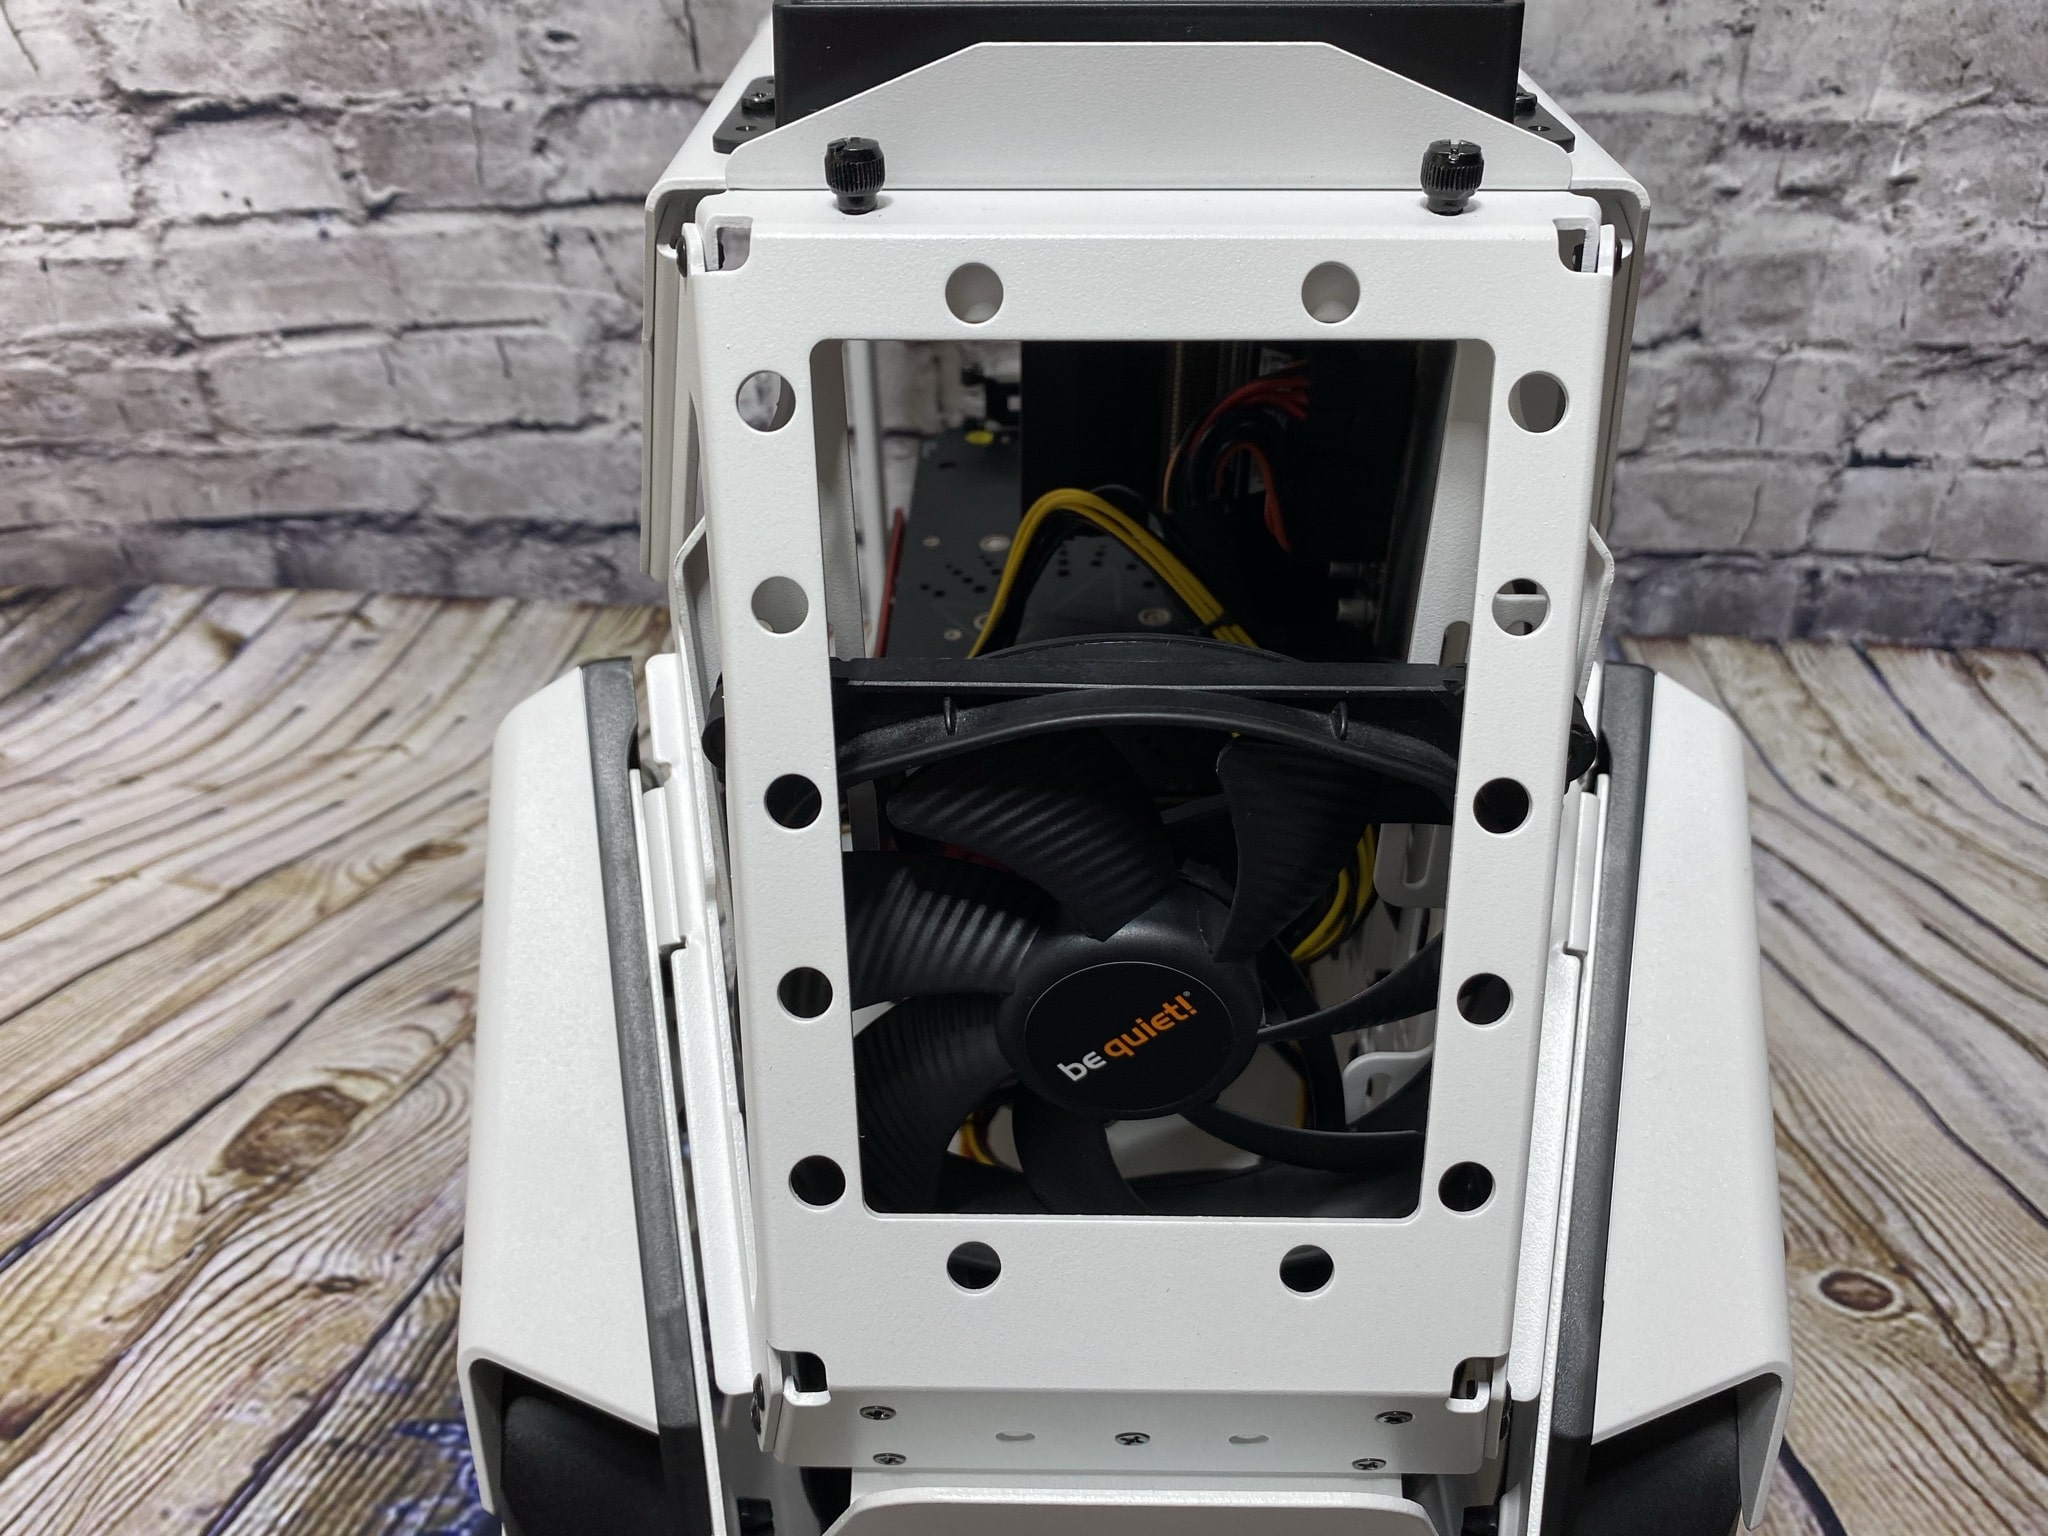
If we look to the front panel, we can see the bracket for the front fans there. Here we can also screw 120 as well as 140 mm fans on top. For this, we can remove the bracket by loosening two screws at the top. This is also necessary, because otherwise you can’t get the fans on the right side. A little bit in front of that, more precisely on small deco plastic parts, we can optionally attach two 2.5″ HDDs. The position is a bit unusual, but it makes more than sense at this point and is commendable. Space has clearly been used wisely here and the HDDs are sensibly hidden inside – high praise from our side!
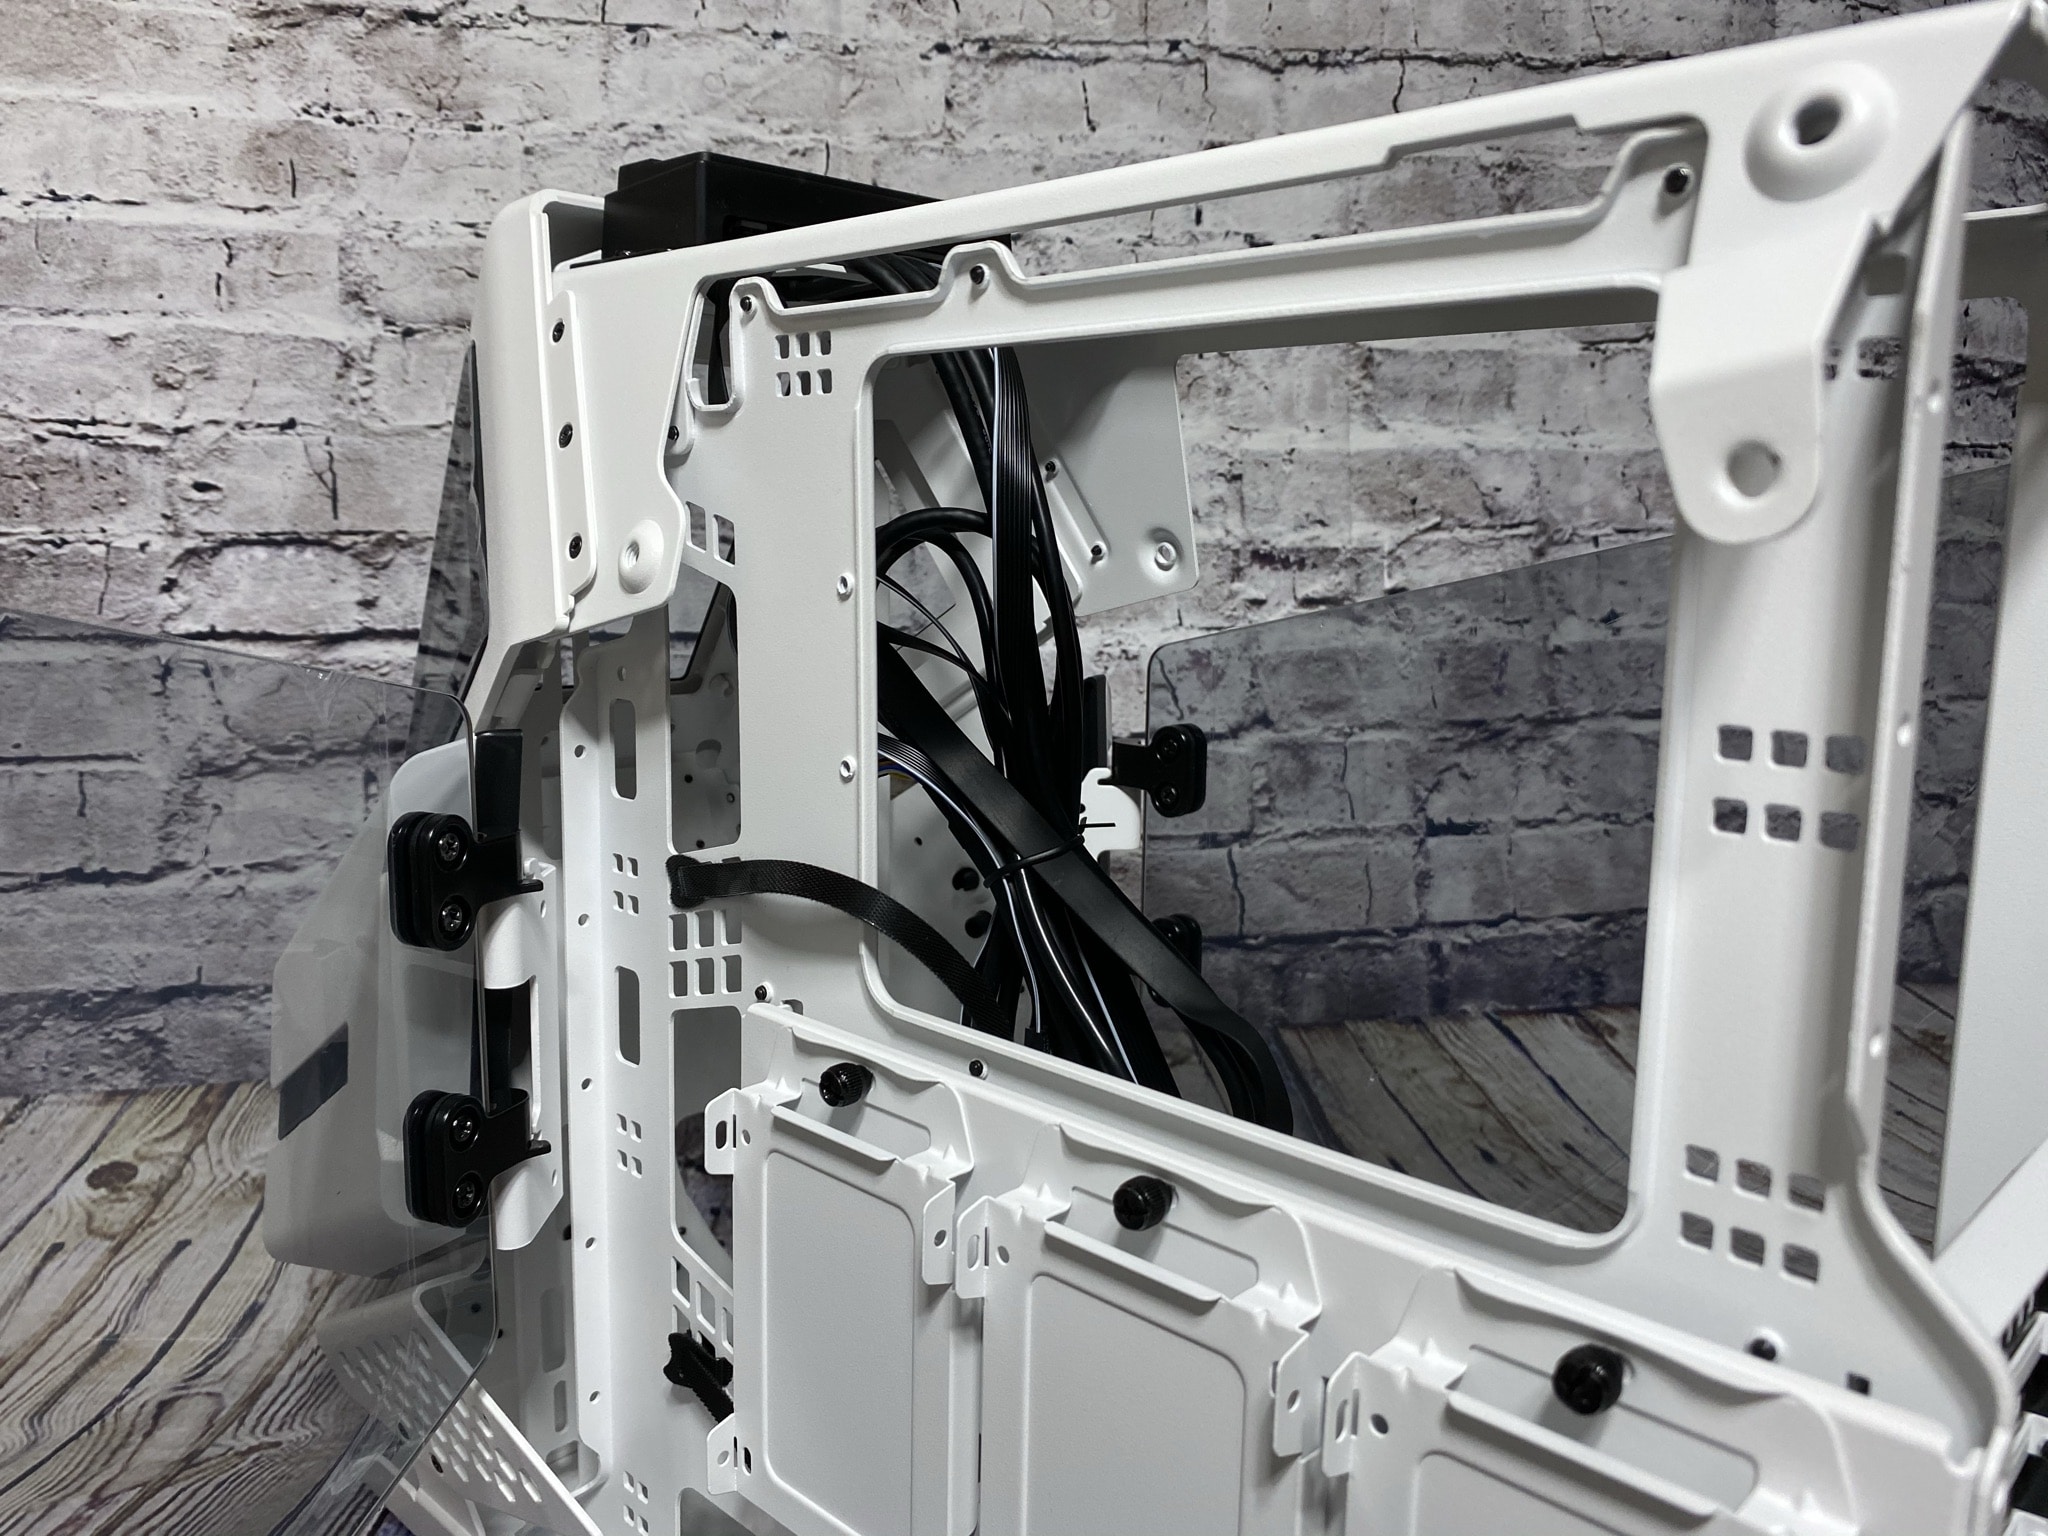
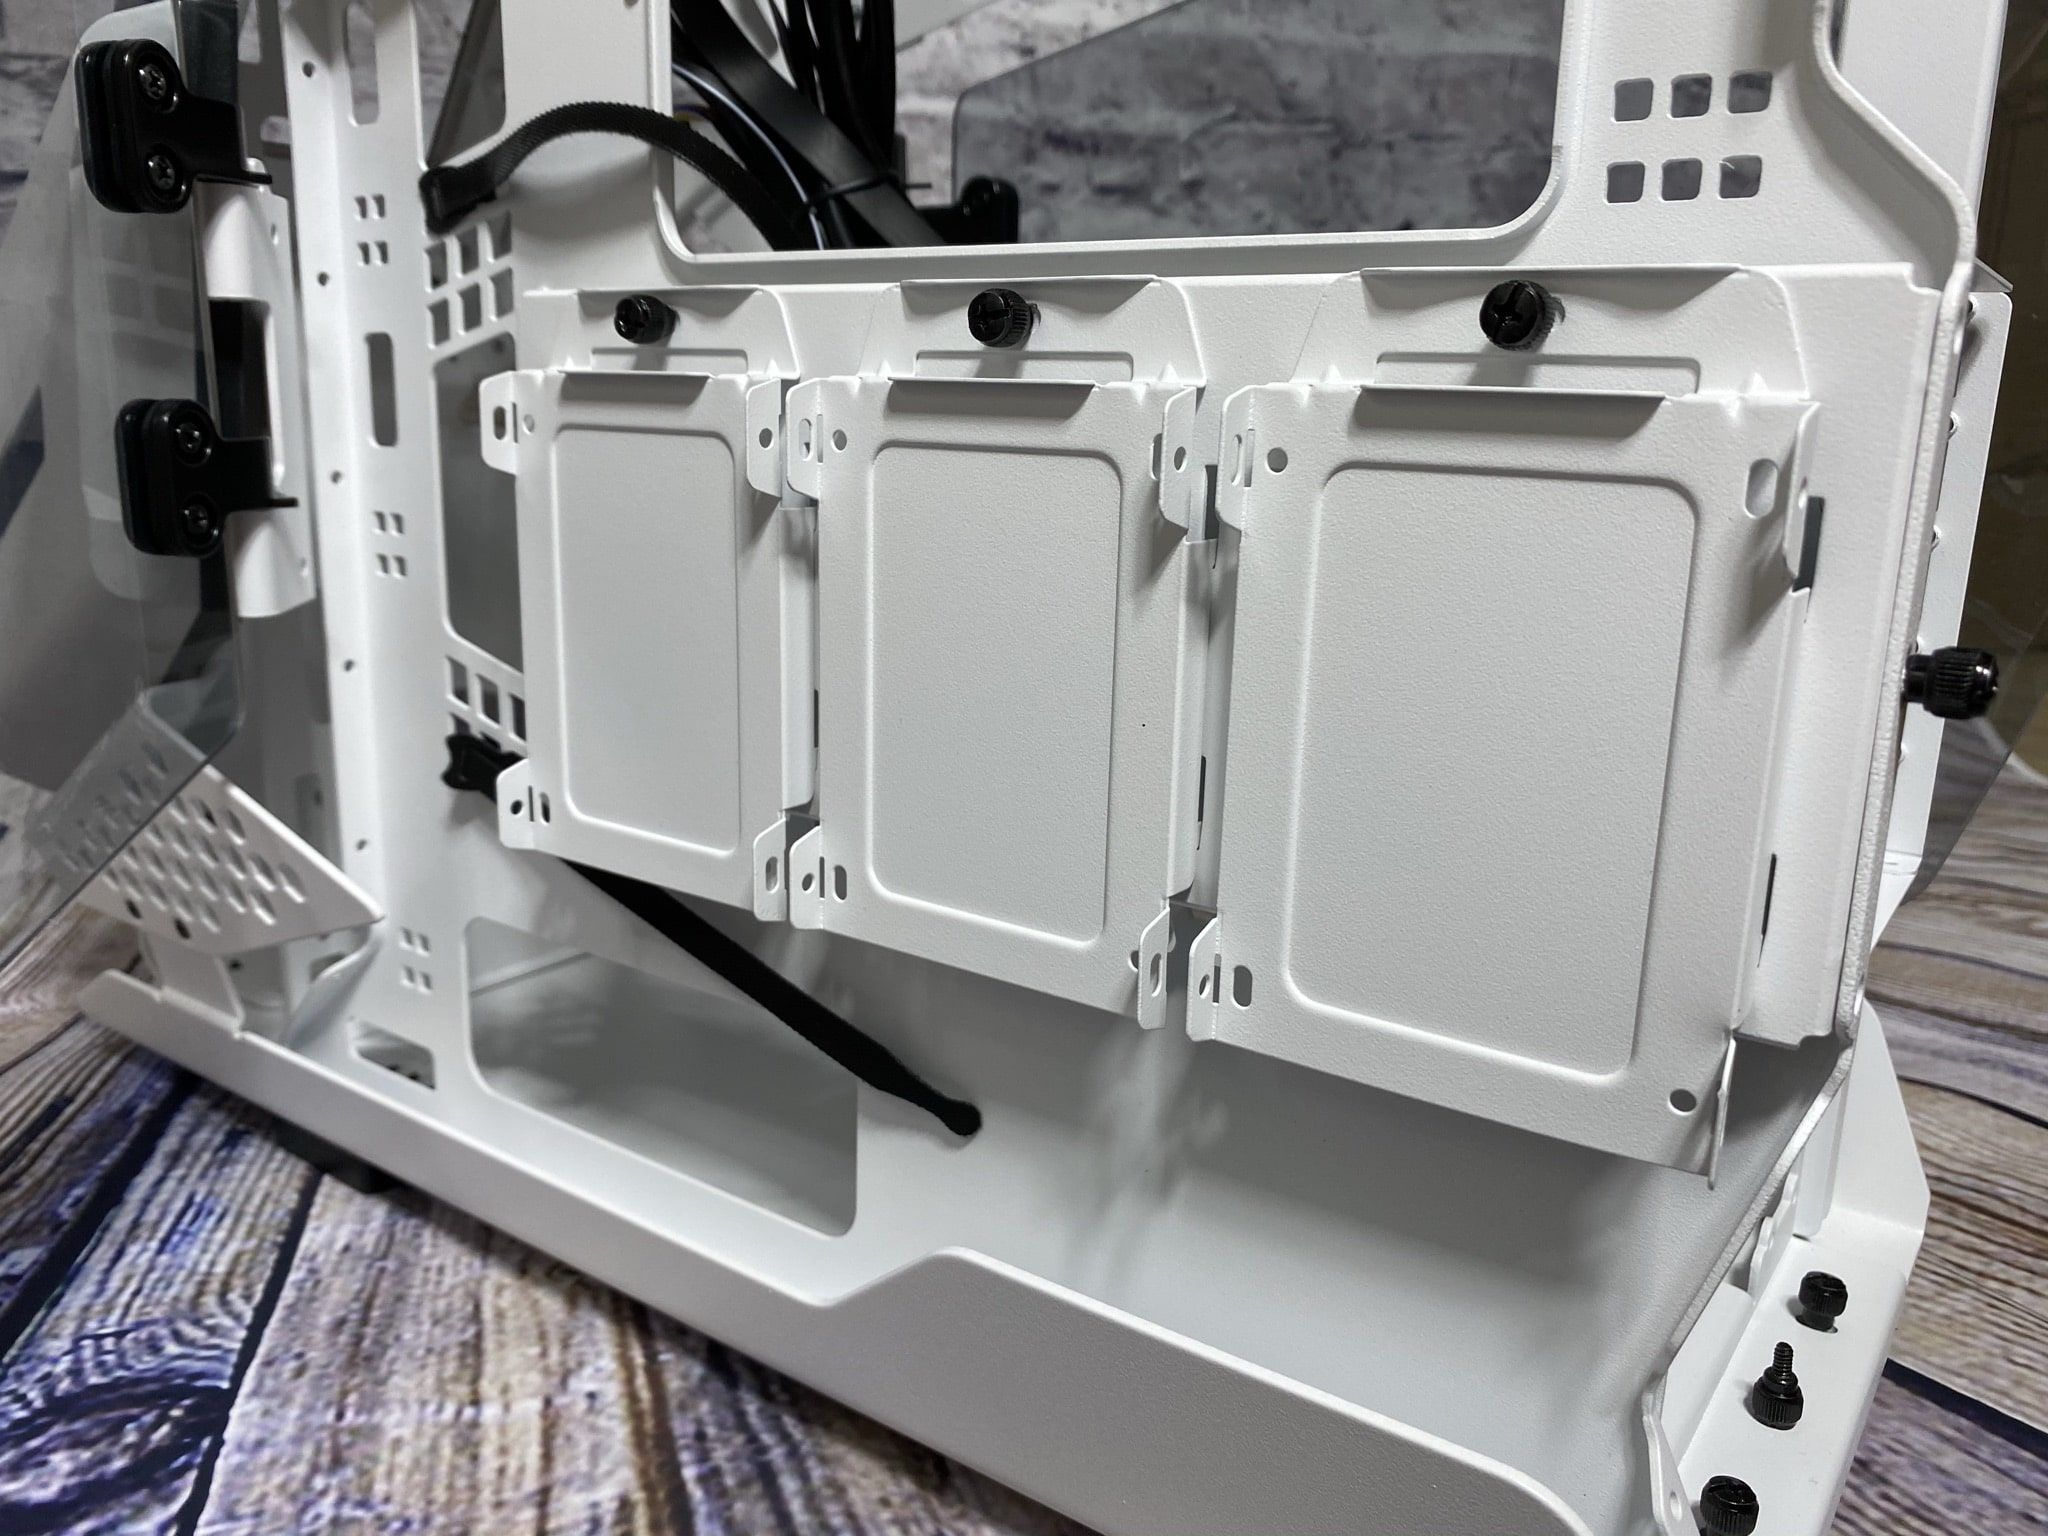
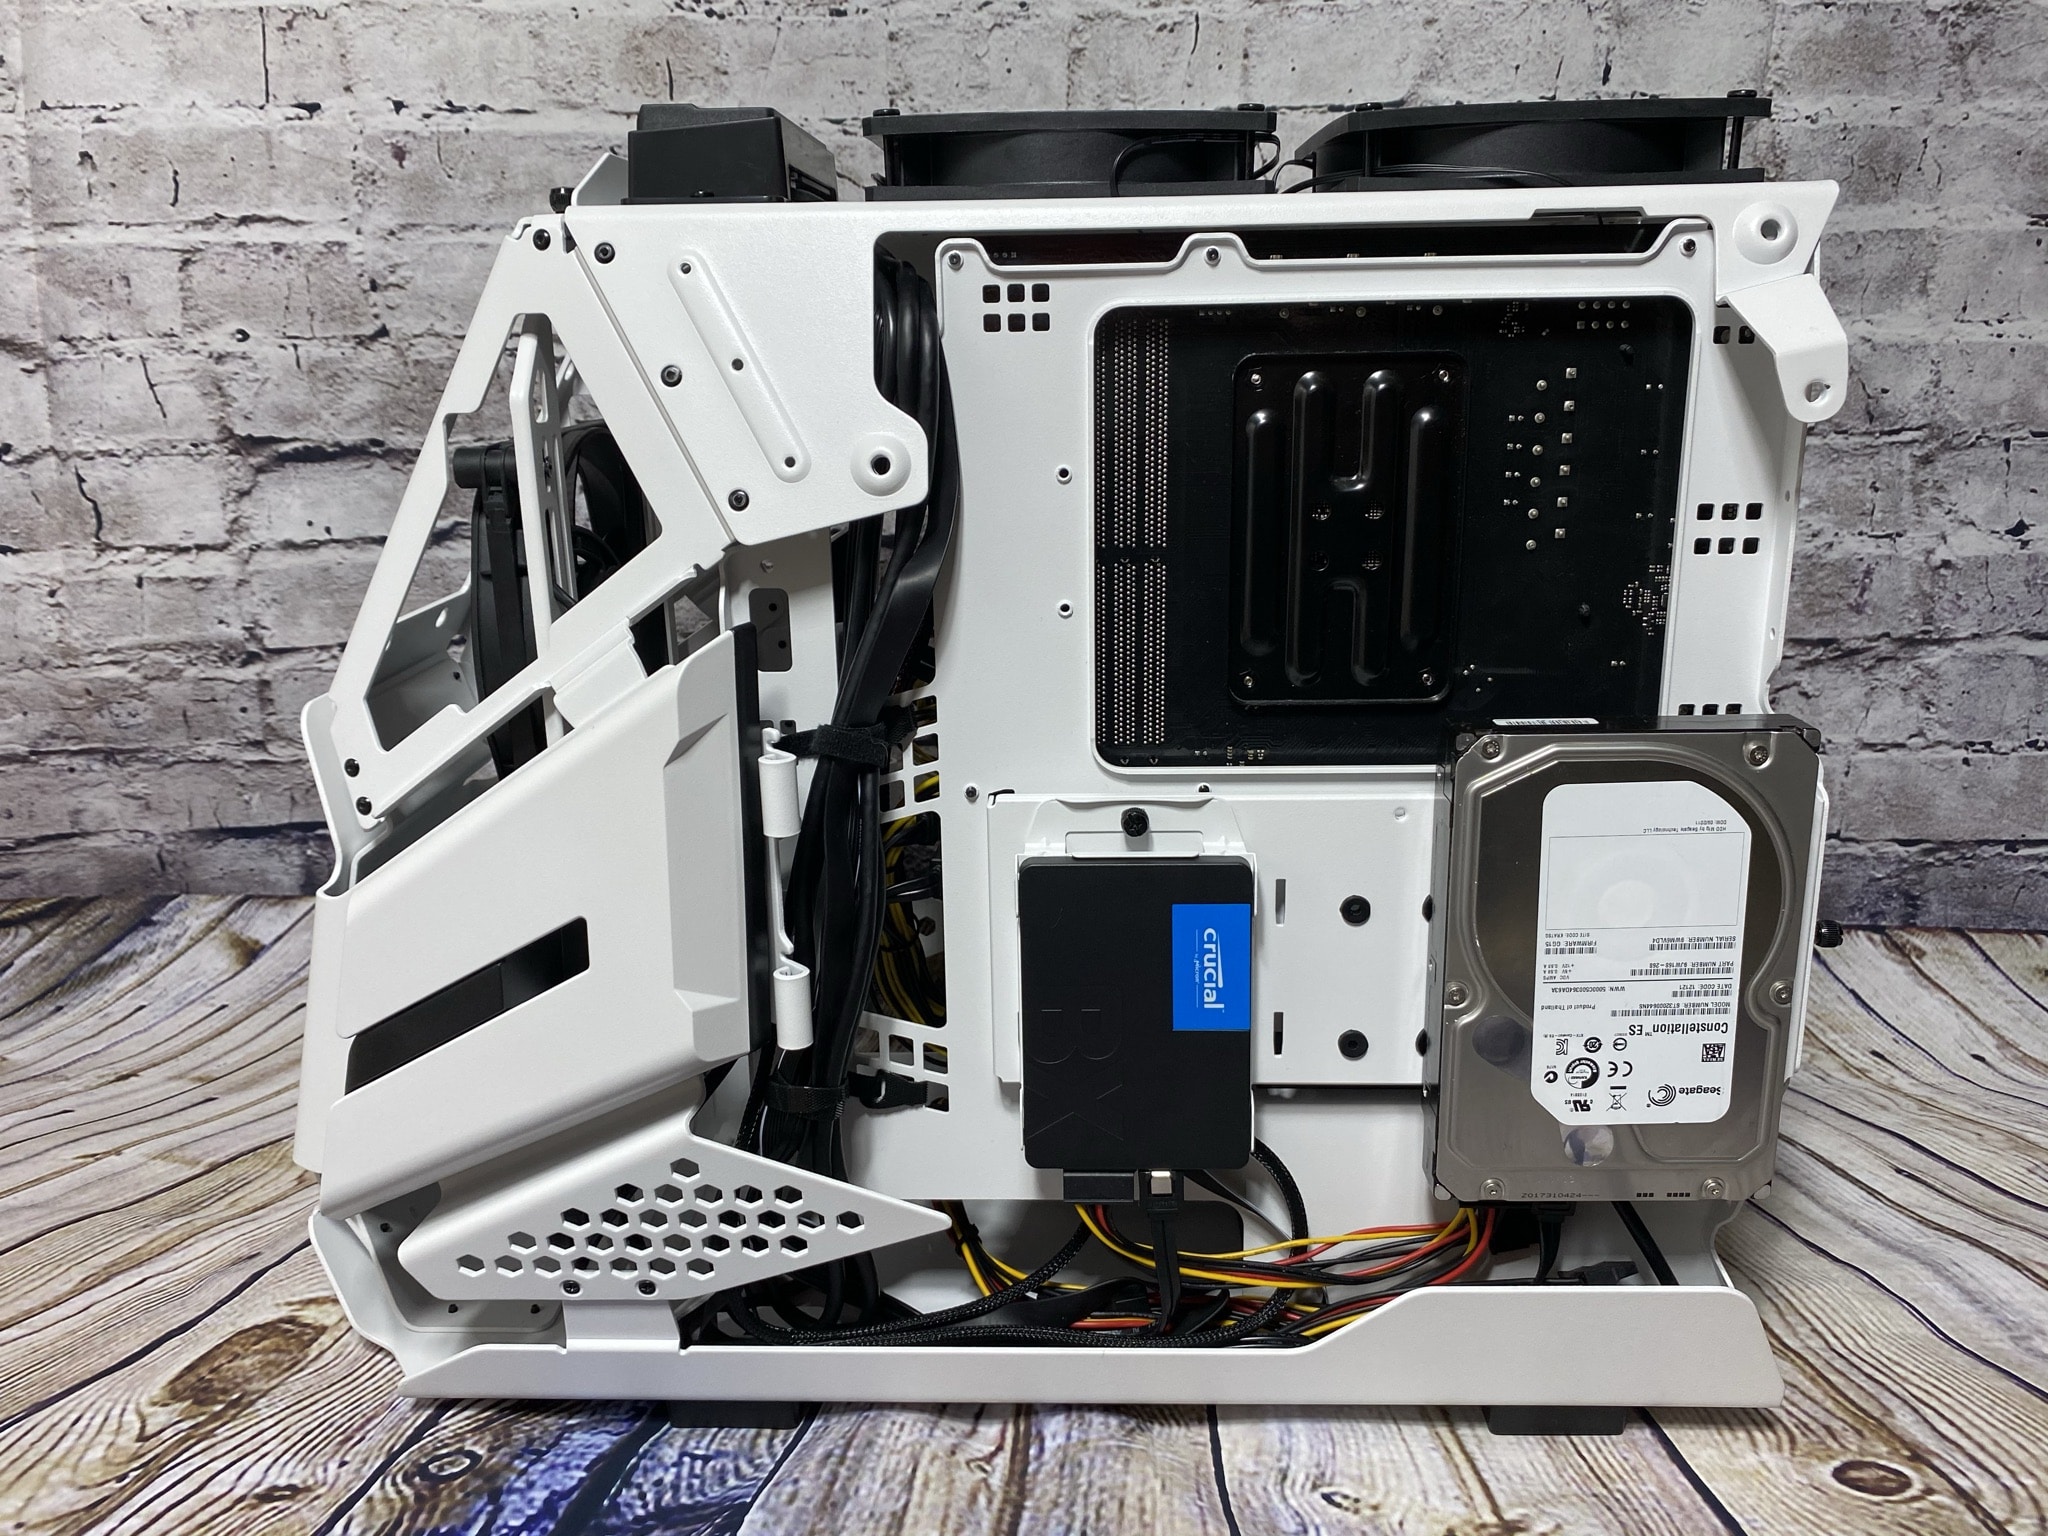
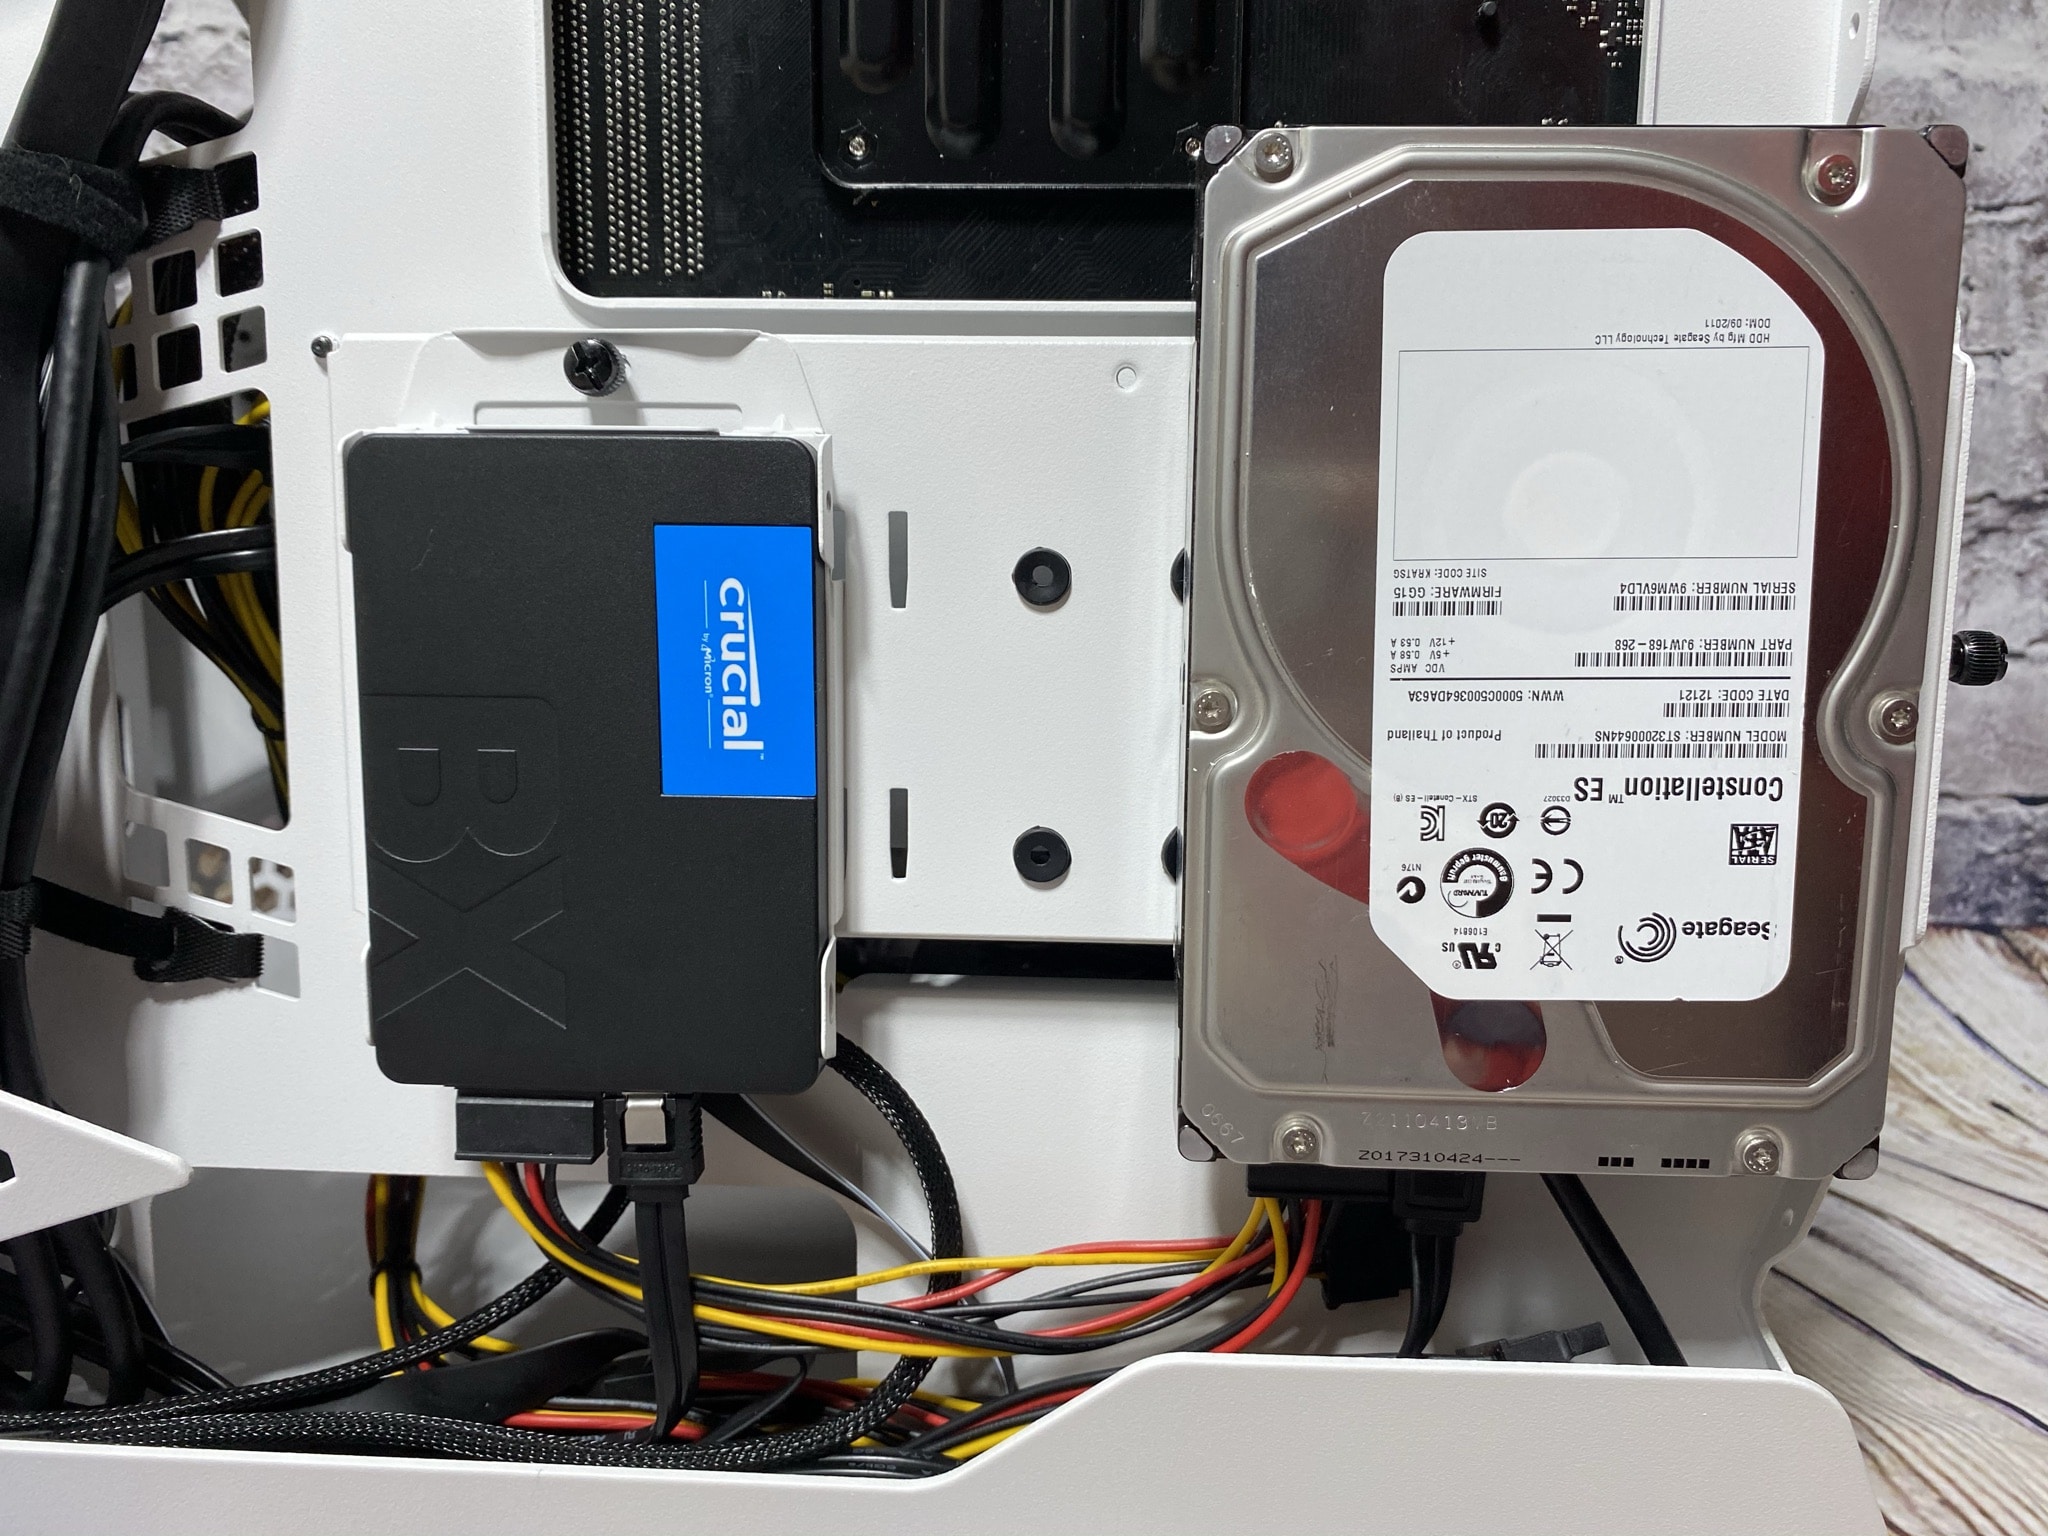
Let’s turn the case over once and take a look at the back. Here we find two Velcro fasteners on the left side, so that we can fix the cables in the right positions later on. Underneath the mainboard cutout are three SSD mounting rails, each of which is attached to another rail behind it with a screw. A maximum of two 3.5″ HDDs can be screwed to these. A bit further down, we see a small protrusion, where the cables can be placed later. Here again, everything has been perfectly workmanship and no points have been left open.
Assembly
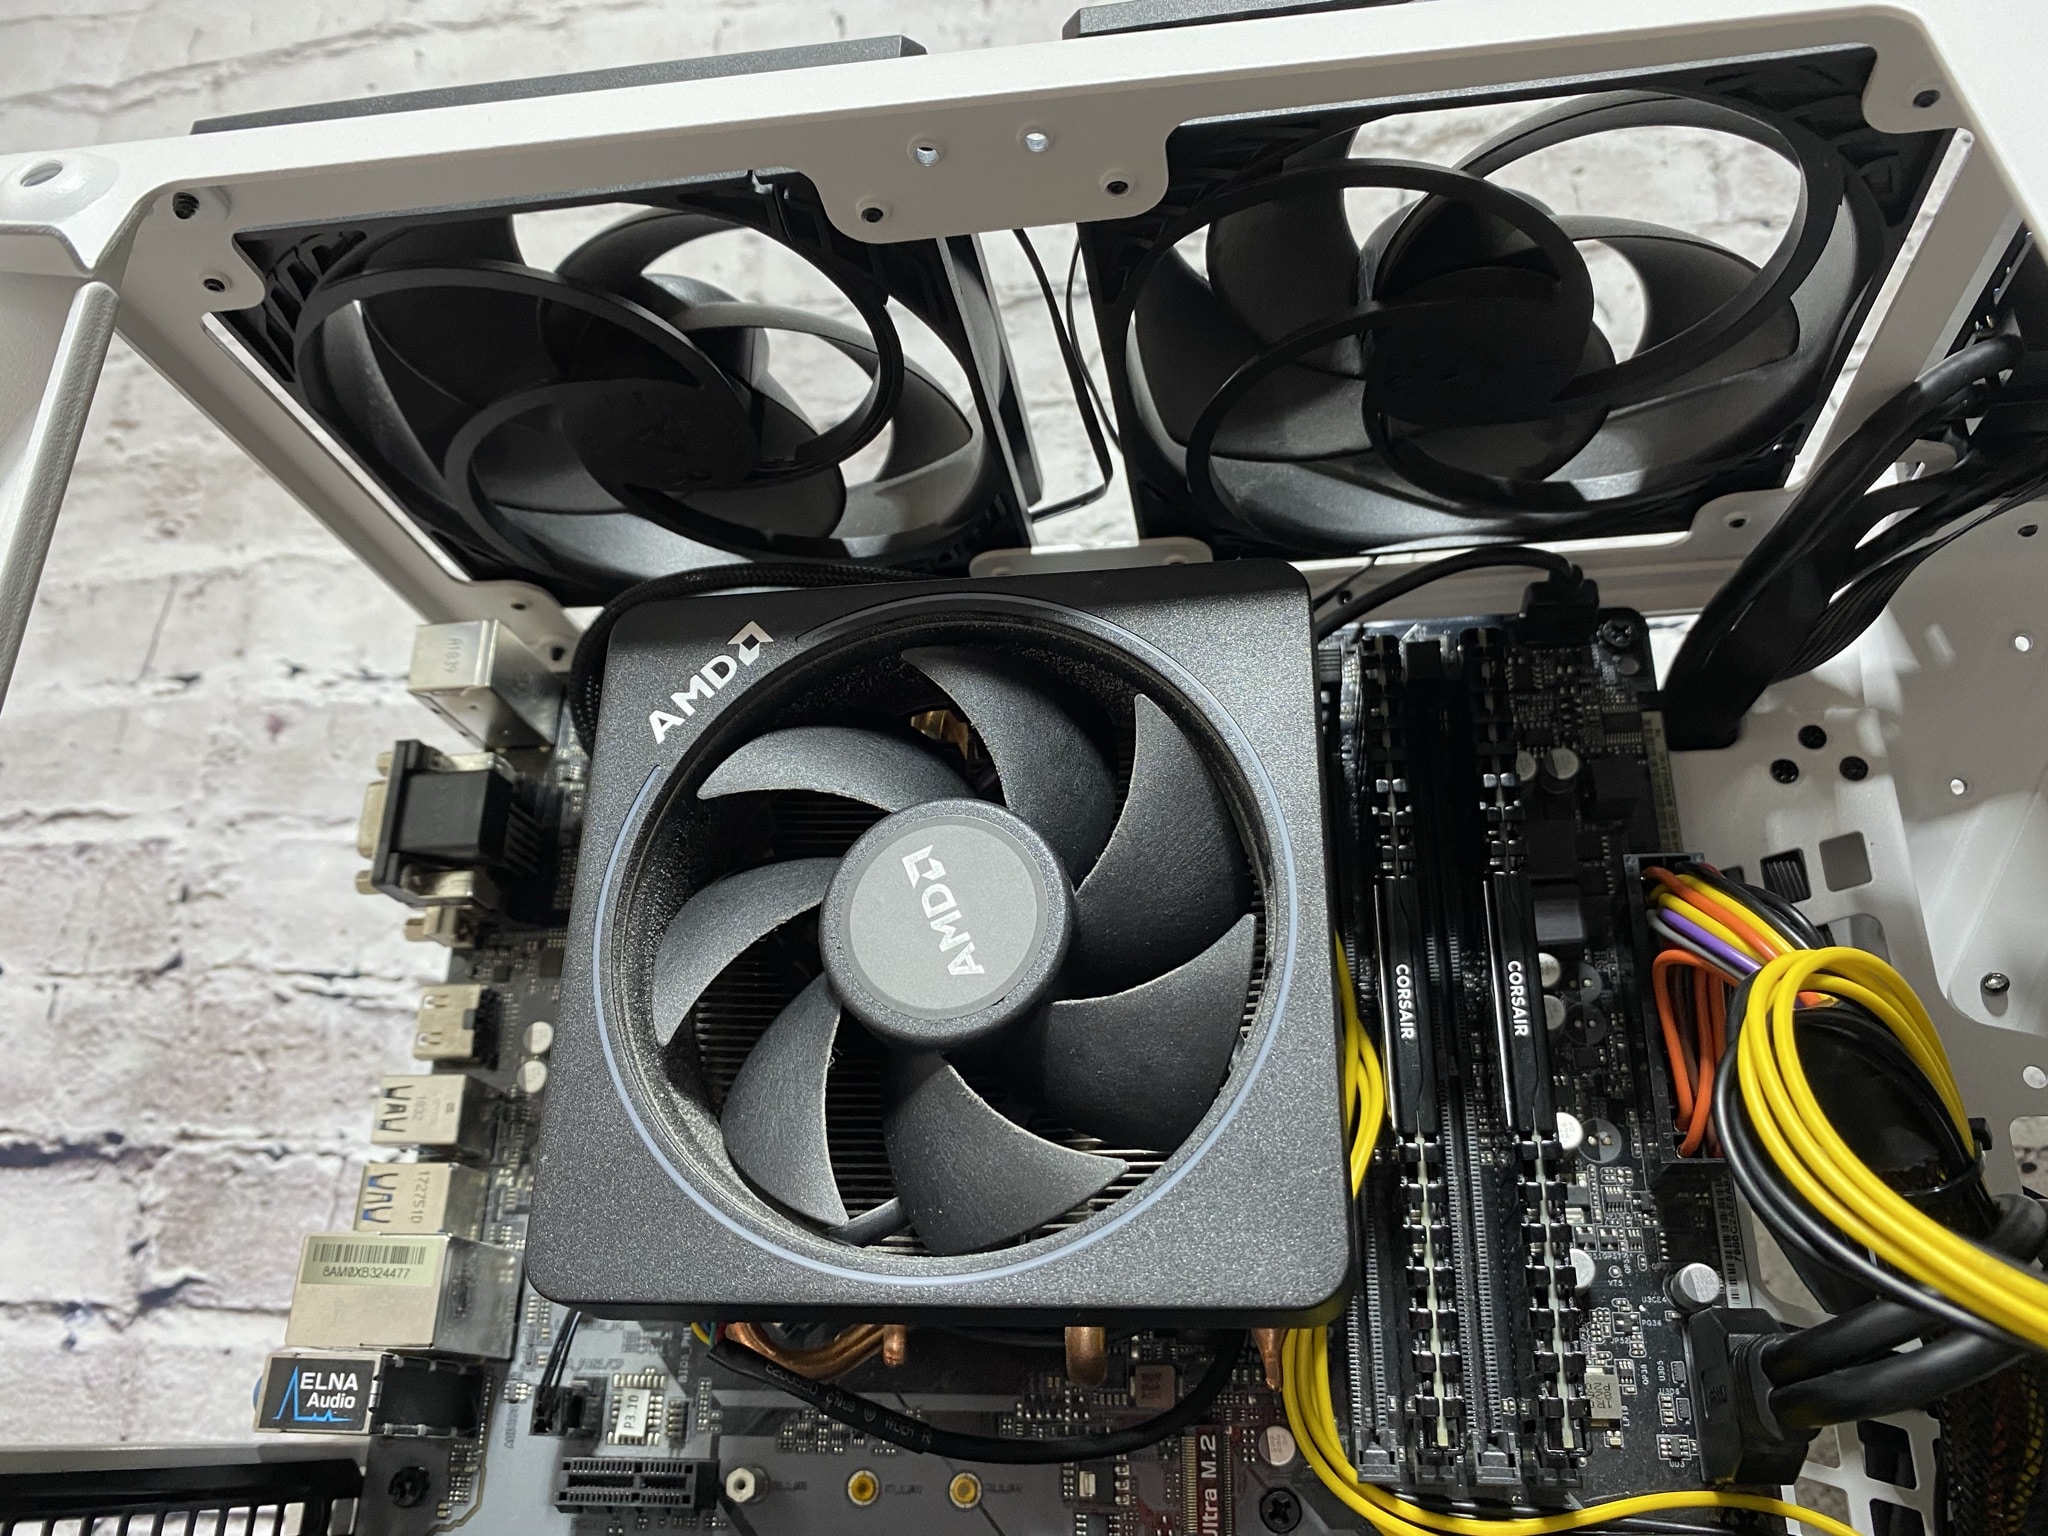
Next, we’ll talk about the assembly of the PC components into the case, discussing how well it went, or where there is still something to touch up. For this, we installed the following PC components into the Thermaltake AH T200:
- AMD Ryzen 3 2200G with RadeonTM VegaTM graphics card
- AMD Wraith Prism LED RGB fan
- Asrock B450M Pro4-F
- Corsair Vengeance LPX 2x 8GB DDR4 2400MHz C14 XMP
- PowerColor AXRX580 8GBD5-3DHG/OC Graphics Card, 8GB Memory gray
- HKC V-Power 650W
- Crucial BX500 240GB
- Seagate Constellation ES.3 HDD 3.5″ 3TB SATA III 128MB 7200rpm
- 2x be Quiet! Silent Wings 140x140x25
- 2x ARCTIC P12 PWM – 120mm
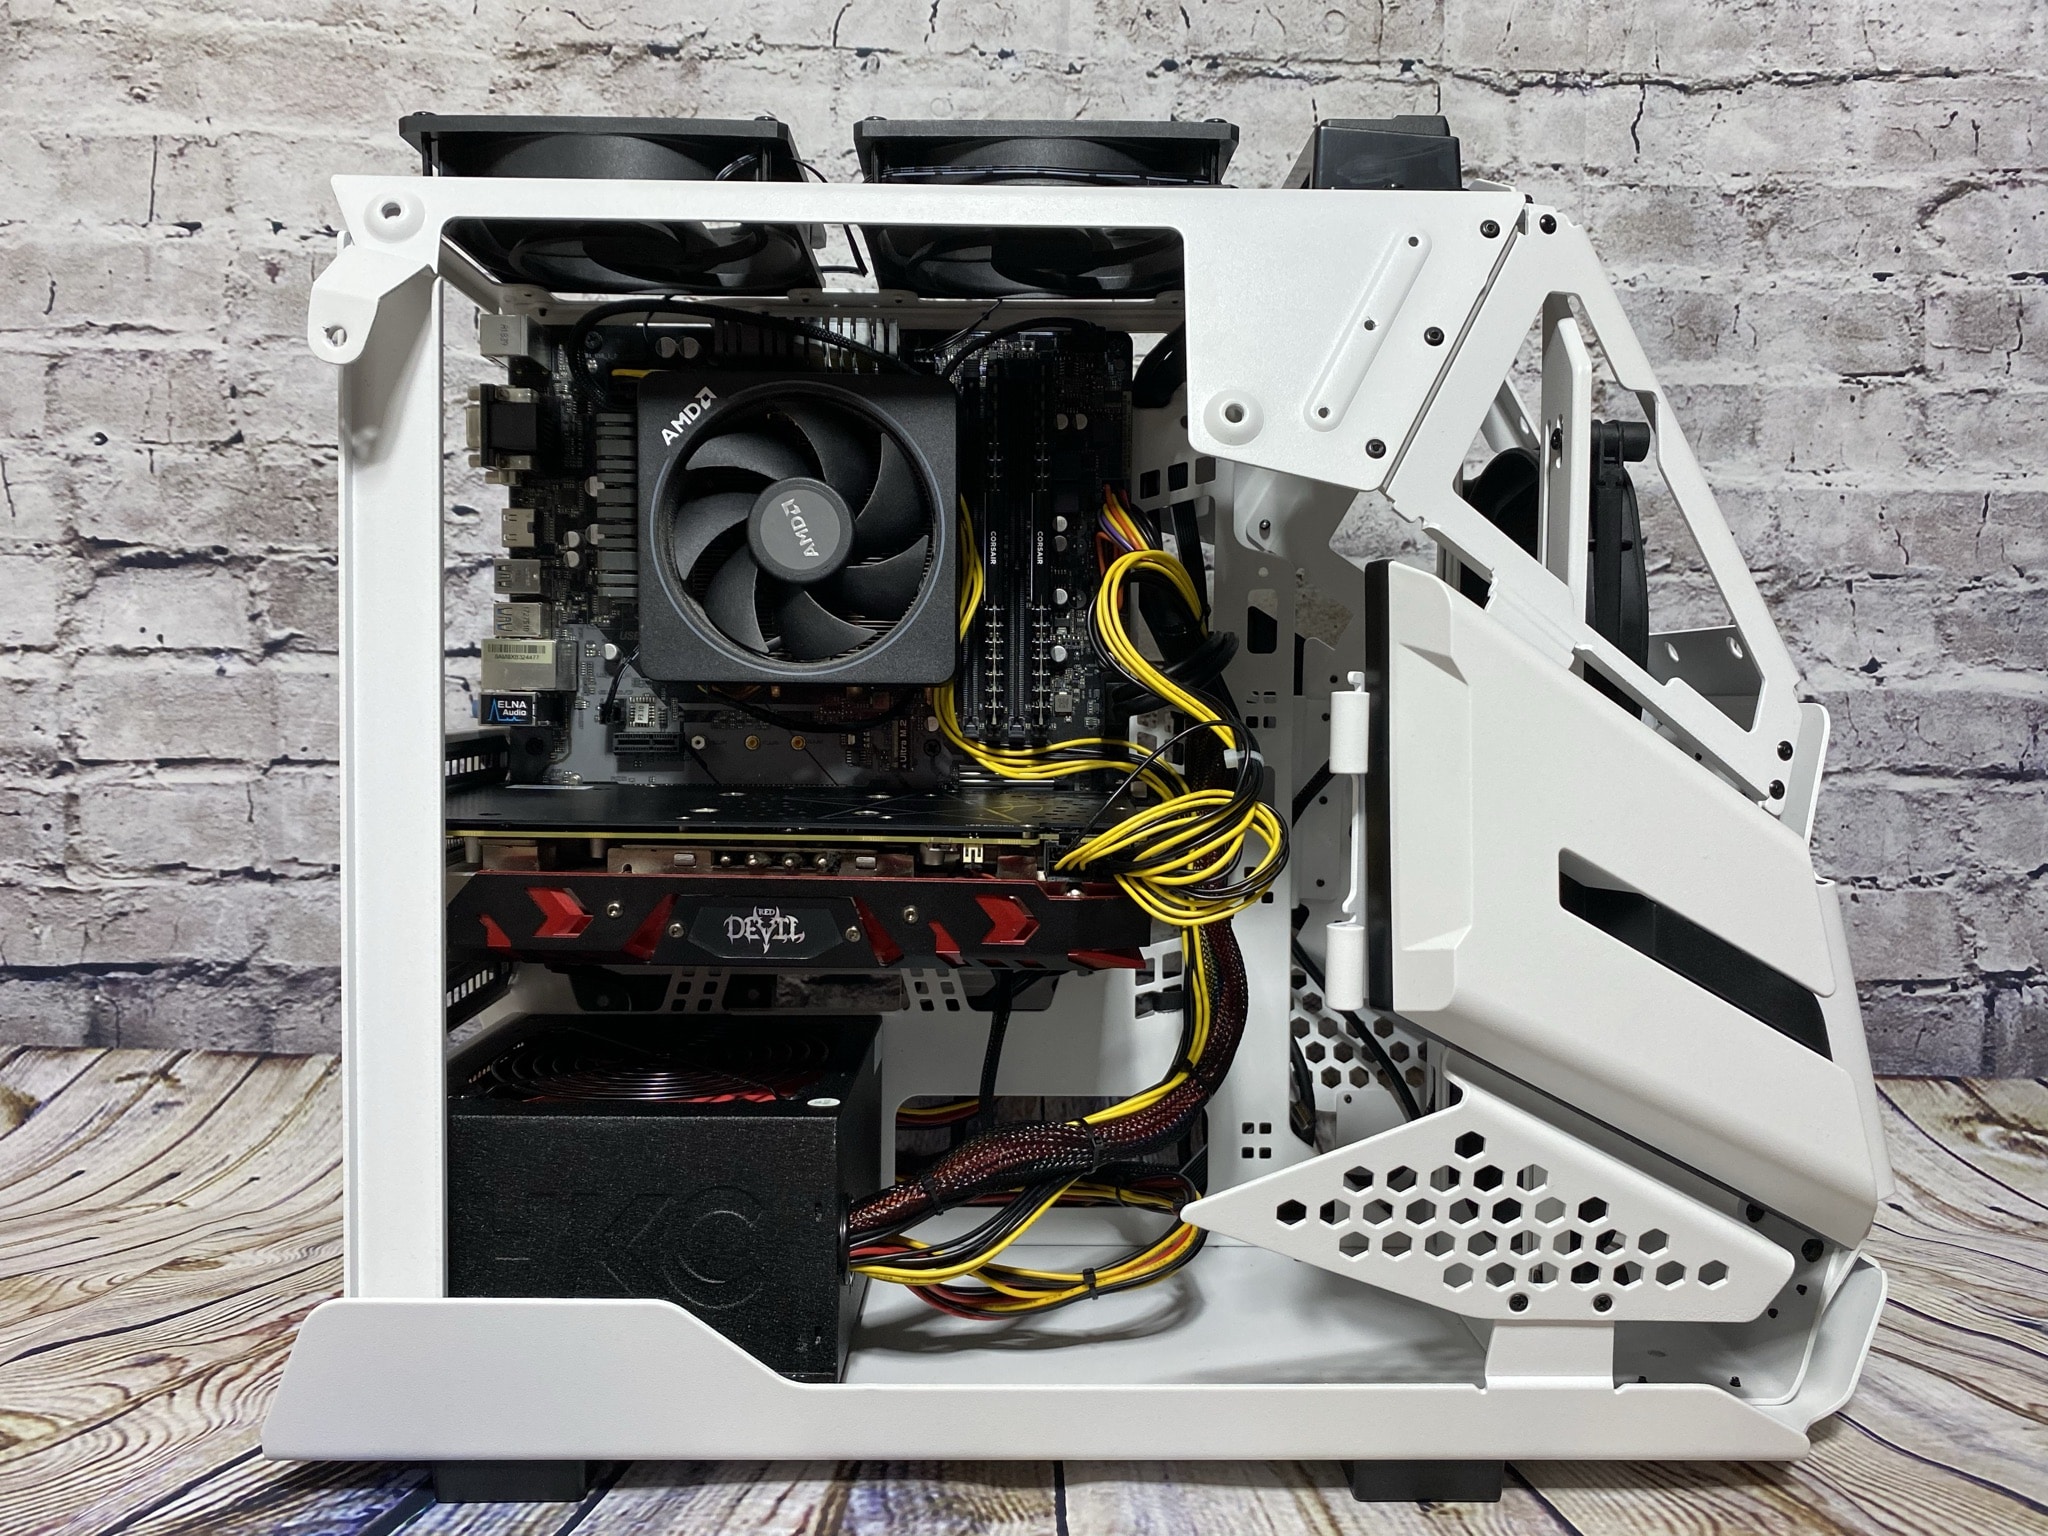
The assembly as a whole went without any major obstacles, but we can still say a few words about it. The motherboard was easy to screw in, but it was a bit of fiddling to get it pushed into the right position. Installing the PSU was particularly pleasing to us, as the idea behind the bracket is clever. After loosening one screw on the bracket and holding the bracket in your hand, it’s much easier to screw the PSU into place than with normal cases. After that, you can easily slide it back into the rail provided. The small protrusion also holds the PSU well in place, so not much can move there. Unfortunately, we couldn’t tighten the screws properly, so our PSU still had a bit of play.

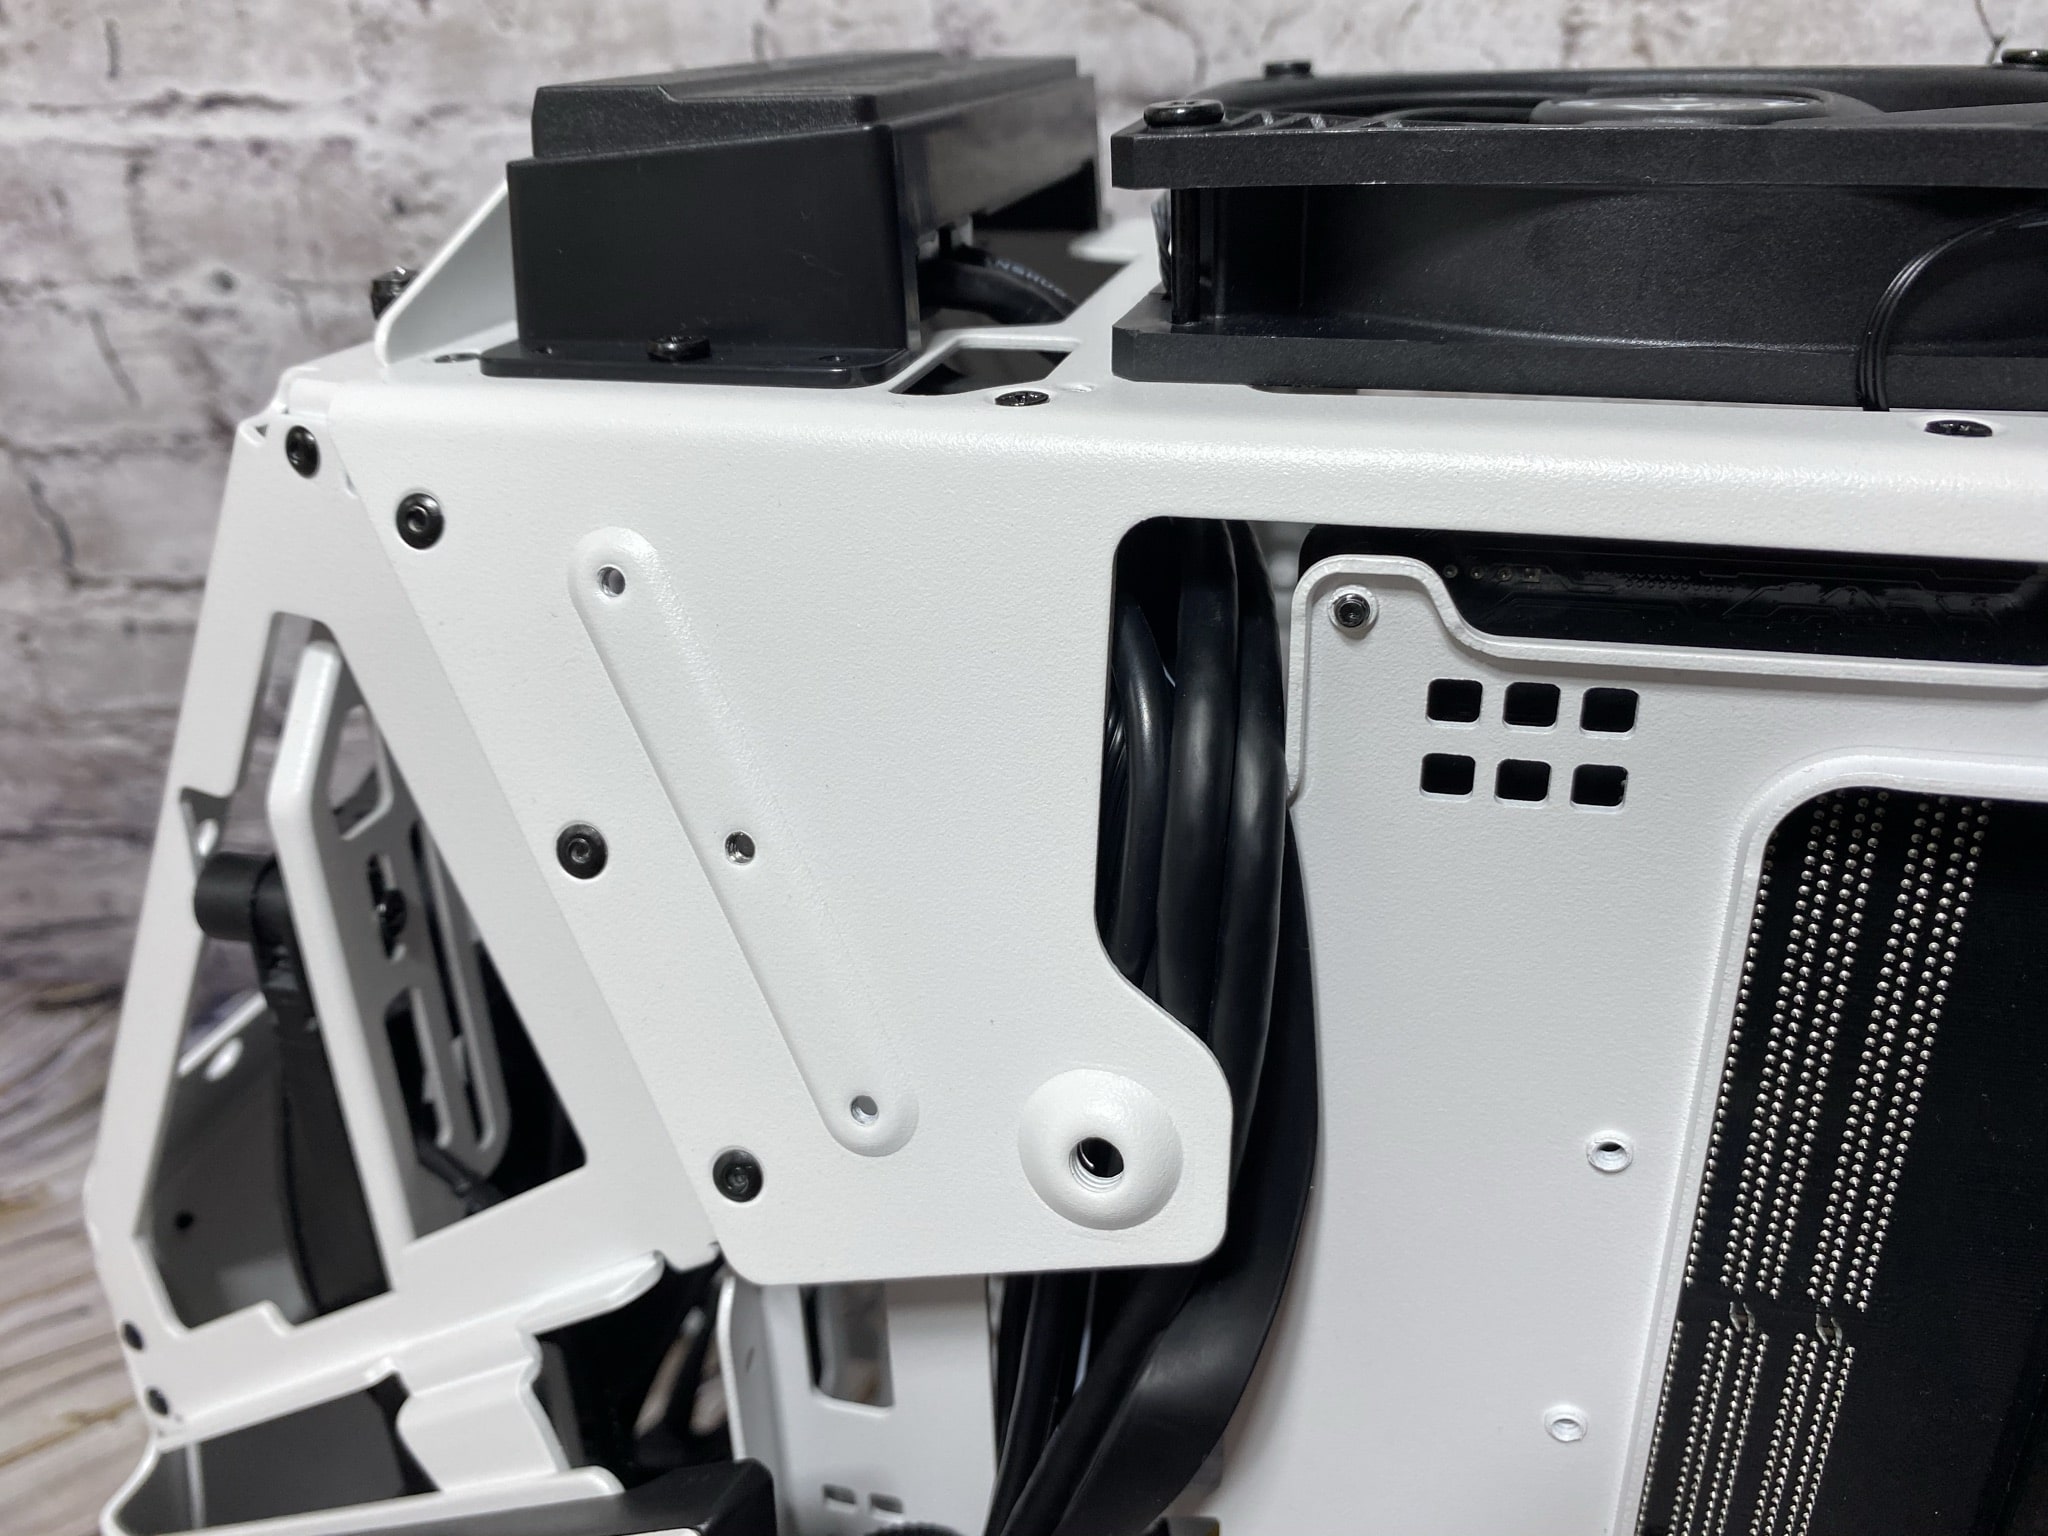

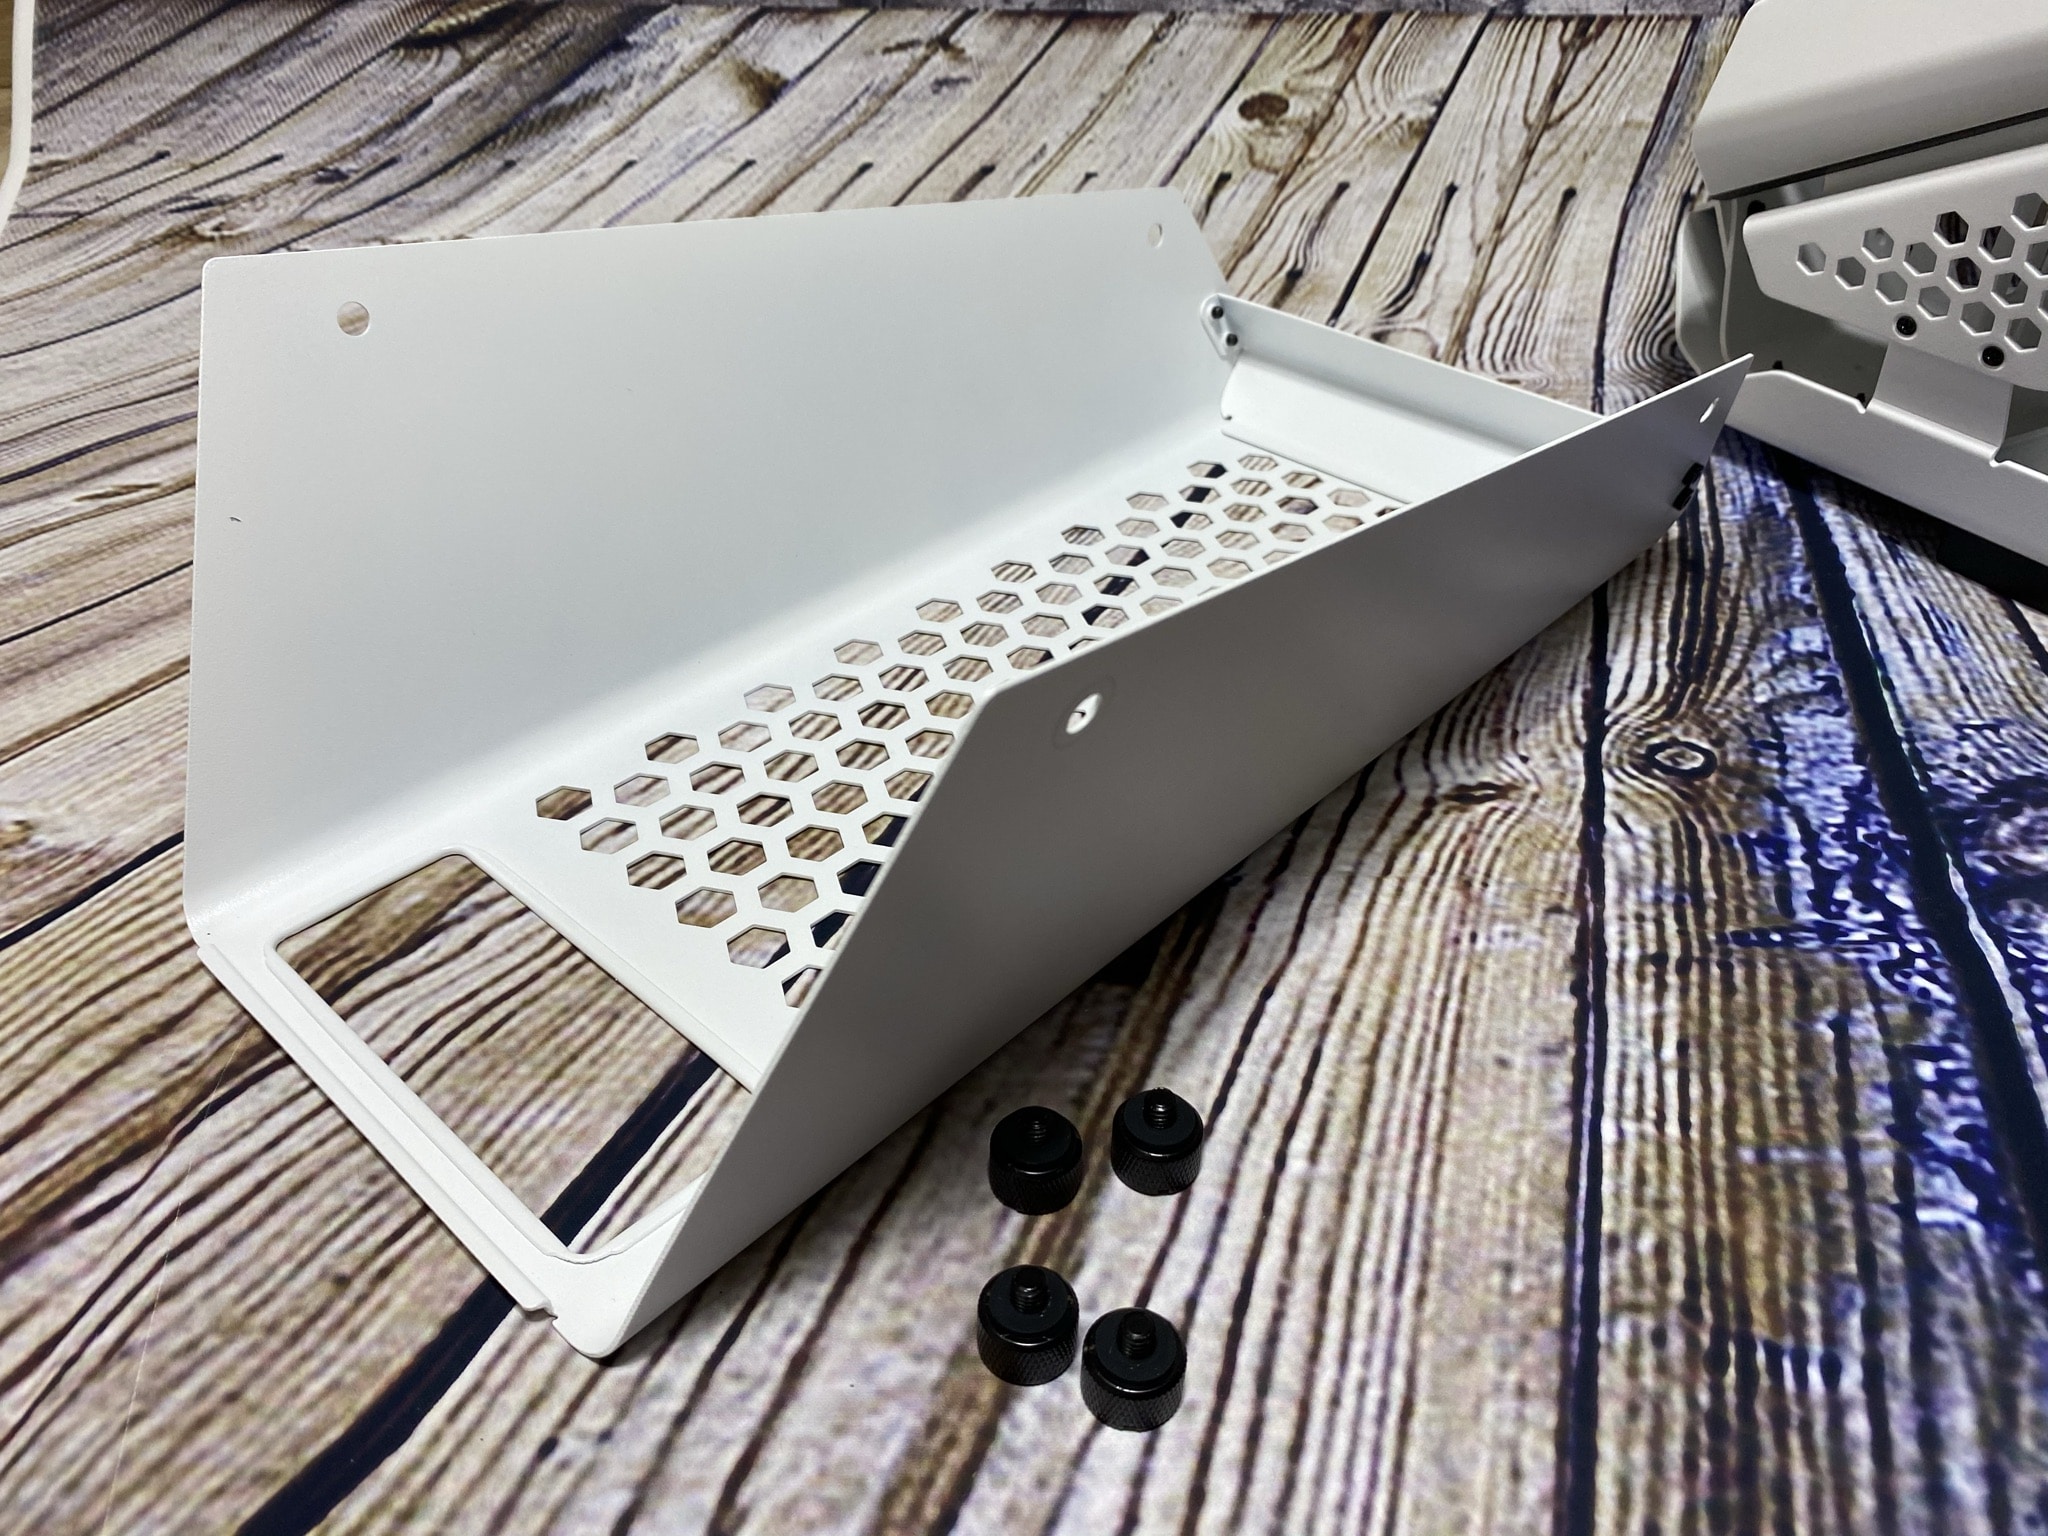
After these steps, we screwed the fans to the case. At the top this went smoothly, just unscrew the caps with the four very large screws on the sides and pull them out of the rail. Now you can mount two fans to the case from above using the included screws. The slightly longer screws are very useful in this case and could also be useful again for other applications in the future. In order to access the front mount of the fans, you have to unscrew the plastic cover with the three glass panes. After that, you can unscrew two screws at the upper edge and take the bracket out of the case. Now you only have to fix the fans and the rail on the same way back into the case. There is more than enough room for that, even if some components have already been mounted. Overall, it has been implemented here very convincingly.


On the back, we screwed a 2.5″ SSD and a 3.5″ HDD onto the intended holder for testing. There is nothing to criticize here either. Everything fits exactly into the rails and closes cleanly. The last thing to do is to connect the cables. At the beginning we were a bit afraid, because we suspected that it could be a bit tighter in the lower protrusion. However, this fear did not prove to be true. The cables can be guided well in the case and with a little work and with the help of the included cable ties, everything can be wired sensibly and good looking. From the front it looks fancy, from the back to it too!

Practice & cooling
The PC is assembled, everything is ready to start the PC. Thus, the chapter “practice” can start. At startup, we immediately noticed the volume. Unlike normal towers, the AH T200 is up there with the loudness point. The open frame allows a lot of air to get into the case, which is very good, but at the same time a lot of noise gets out. The 3.5″ HDD with its associated noise is most noticeable. When buying, you should think about whether you find this annoying in advance. In return, however, you have an unusual design. We find an inconsistency in the power LED. The entire case is wrapped in black and white. The power LED shines in blue and somewhat destroys the overall picture from above.
To test the cooling of the case, we tested the temperature of the system in an unloaded state and in a loaded state in a 30 minute interval. The room temperature was approximately ~22 °C during this test. For the load, we made the system sweat with Prime95 and FurMark. You can see our test results in the following table:
| Fan Performance | temperature CPU | Temperature GPU |
| 5V without load | 34 °C | 26 °C |
| 12V with load | 70 °C | 76 °C |
The cooling performance is very good as expected in advance. The open frame design allows a lot of new and fresh air to get into the case and thus a good airflow has been provided. The airflow is not quite perfectly controlled, but it is sufficient because of the open frame. We have to make one important remark at this point. Due to the fact that the case has been designed open, the air can enter the case unfiltered from several angles and also escape again. As a result, a lot of dust is collected in and around the case. If you don’t want to vacuum out the case and your PC often, you should avoid this type of case – The AH T200 is not only an attack helicopter, but also a “lifting dust”.
Conclusion
The Thermaltake AH T200 is an exceptional case with an exceptional target audience. However, these points in no way affect the case itself. The design is successful all around, the assembly of the components goes flawlessly and without any flaws. It is a pity that no fans are included in the scope of delivery and only cable ties are supplied for cabling. Apart from that, the case is qualitatively very well implemented and the cooling performance is right! If you are looking for a new case, which is not 0815, then the AH T200 is worth a recommendation from our side. The cooling performance is right with the right fans, it must be wiped in the “Hubstauber” only dust from time to time.
It is in any case a daring design, which not only by its edges on the case but also a successful. We hope for more cases in this direction and look forward to the future, which creative ideas are still realized by Thermaltake!

Thermaltake AH T200
Workmanship
Structure
Features
Dampening
Cooling
Value for money
83/100
The Thermaltake AH T200 is visually a real eye-catcher and can pick up its target group very well!