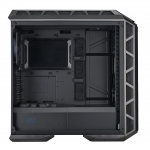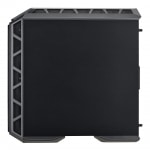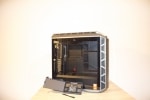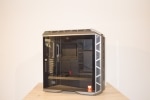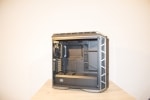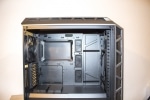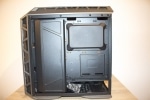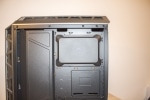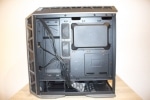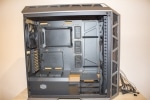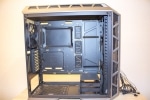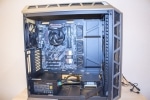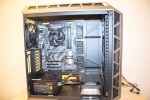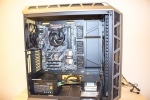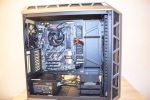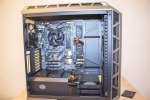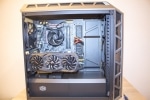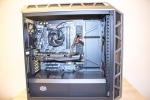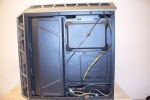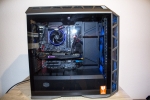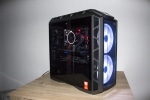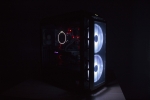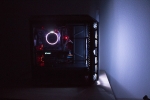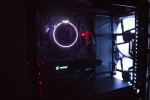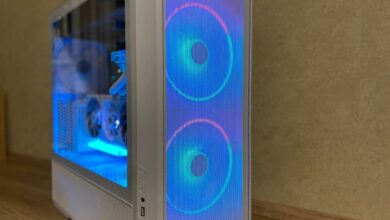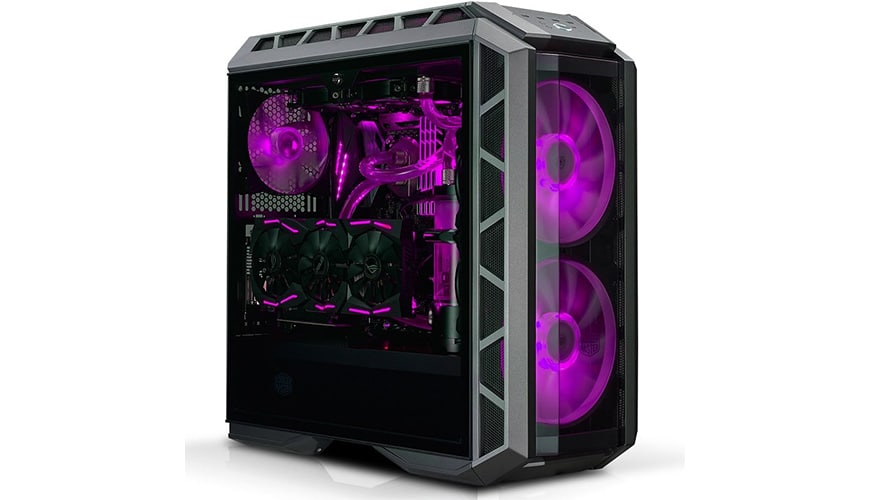
The MasterCase H500P Midi-Tower by Cooler Master with its hard glass side panel and the two large fans illuminated with RGB LEDs is very trendy. The case is large, spacious, modular and offers a design that is both futuristic and archaic. One of the special features of the tower is the possibility to install the graphics card vertically. Thus, the often impressive cooler design of the pixel accelerator can be displayed.
Thanks to its spacious interior, the Medium Tower offers space for custom water cooling, but can also keep the hardware in check with conventional air cooling. This is where the two huge pre-installed 200 mm fans come into their own, which can be supplemented by additional fans.
Design
The design includes elements in a military look and combines them with a touch of futurism to create a good looking midi tower. The RGB lighting of the pre-installed fans and the tempered glass side panel are more or less standard for enclosures in 2017, but I have to give B-note prints for the front and lid where acrylic glass is used. With a case in this price range, I personally would have expected hard glass there as well. It should also be noted that the grey cladding of the tower looks good, but is made of plastic. This makes the case relatively light for its size, but you have to be careful when moving the tower. Especially worth mentioning is the possibility to install a graphics card vertically. This allows the cooler design of the GPU to be presented. The RGB lighting of the hardware and the pre-installed fans can be synchronized via software, making the Midi Tower a great showcase.
https://www.youtube.com/watch?time_continue=3&v=yE2MmE6fc3o
Scope of Delivery
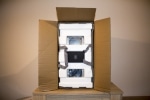
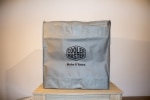
In addition to the very well packed tower, the Cooler Master H500P comes with a box for accessories, cable ties and a small manual. With the additional carrying bag, the tower can easily be lifted out of the packaging and you are more mobile later if you want to pack the tower for longer distances.
Workmanship
The workmanship is top! The Cooler Master MasterCase H500P belongs to the upper category of enclosures in terms of price and the workmanship corresponds to the price segment. The rubberized cushions for the cable bushings are tight and no disturbing gap dimensions or the like were found.
Equipment
The Cooler Master MasterCase H500P Midi-Tower offers very good hardware support and allows the installation of a maximum of two 360 mm radiators. Like so many enclosures, the H500P does without a 5.25-inch drive bay and offers space for two HDDs/SSDs or four SSDs each.
| Material: |
|
|
| Dimensions (LxWxH): | 544 x 242 x 542mm | |
| Mainboard: | Mini-ITX, Micro-ATX, ATX, E-ATX | |
| Expansion Slots: | 7 + 2 | |
| Drives: | 5.25″ ODD | 0 |
| 2.5/ 3.5 inch SSD/HDD | 2 | |
| 2.5 inch SSD | 2 | |
| I/O Ports: |
|
|
| Pre-installed Fans: | Front | 2x 200 mm, RGB LEDs, 800 rpm |
| Rear | 1x 140 mm, 1,200 rpm | |
| Fan max.: | Top | 3x 120/140 mm or 2x 200 mm |
| Front | 3x 120/140 mm or 2x 200 mm | |
| Rear | 1x 120/140 mm | |
| Radiators max.: | Top | 280 mm / 360 mm |
| Front | 280 mm / 360 mm | |
| Rear | 120 mm / 140 mm | |
| Clearance | CPU cooler (height) | 190 mm |
| Graphics cards (length) | 412 mm | |
System Construction in the MasterCase H500P
The system construction in the MasterCase H500P was a success without any major problems and the tower offers a lot of space. However, it is sometimes somewhat cumbersome to reach the corresponding mounting positions. First you have to remove the cover behind the mainboard tray. Then the front part of the PSU shroud can be removed before the rear part can be removed. If the rear part is removed, the power supply unit can be installed. To install media in the hard disk cage, the front part of the power supply cover must be removed, as the slots are only accessible from the left side. To install the mainboard it is necessary to install the spacers in the correct positions.
Cables can be routed through the rubber grommets or through a gap next to the mainboard. At the back of the mainboard tray there are numerous possibilities to fix the cables with the included cable ties. For connecting the lower ports, such as the audio and front panel connectors, to the motherboard, the rear part of the Shroud should be reinstalled. Once all cables are connected, the front part of the PSU cover can also be refitted.
As already mentioned, you can install the graphics card vertically, but you need an additional PCIe riser cable. If you install a radiator in the front, the power supply cover is simply moved backwards during installation. Once you’ve finished mounting the hardware, the cover is attached to the back before you reattach the side panels.
The LEDs of the mainboard, the graphics card and other hardware are easy to recognize during operation due to the slightly tinted side panel. The RGB fans in the front light up very brightly and intensively ex works. Since the 200mm fans fill the entire front, the lower fan is optically somewhat cut off if you look at it from the inside.
Conclusion
The appearance of the MasterCase H500P is a matter of taste, as with all cases. Either you like it or you don’t. The Midi Tower is large and offers plenty of space for hardware. Only the installation is a bit difficult in some places. If, for example, you want to retrofit a data carrier in the drive cage, the cover on the back of the MB tray and the front part of the PSU shroud must be removed. The tower draws air through the inlets on the sides of the front and top. However, the 200 mm fans are positioned so close behind the acrylic glass pane that they cannot suck in enough air for my taste. If you mount the graphics card vertically, you have to consider that there is not much space between the fans and the glass pane. The tower’s good, no question. However, I would like aluminium for the cover and tempered glass in the lid and the front even better. In my humble opinion, acrylic glass has lost nothing in a case of this price class.
Cooler Master MasterCase H500P
Cable Management
Features
Water Cooling Support
Cooling
Workmanship
Value for Money
Stylish midi tower with distinctive design and good hardware options. Large RGB fans and optional vertical installation of the graphics card make the hardware look particularly impressive thanks to the glass side panel.

