Many hardware enthusiasts might not have come across the manufacturer APNX before. This is simply because the brand only saw the light of day in Taipei in the summer of 2023. The name APNX is an abbreviation and stands for Advanced Performance Nexus. The manufacturer presented itself for the first time at Computex 2023 and initially unveiled a case, two fan series, two CPU coolers and various power supply prototypes. The case presented there is called APNX C1 and we will take a closer look at it today in this review.
The black version of the C1 starts with an MSRP of €139.99. The white and “ChromaFlair” versions cost €5 and €20 more, respectively. Thus, the C1 is positioned in a very competitive price range, where many well-known manufacturers and very good cases are already doing their thing. The C1 should convince with a simple design, which is designed for a very high airflow. In addition, the C1 comes from the factory with four pre-installed case fans including ARGB lighting. According to the manufacturer, the overall package is rounded off by tool-free panel mounting, a high-quality choice of materials as well as a very high build quality and a generous amount of space for hardware.
Technical details
| Model: | APNX C1 |
| Case Type: | ATX |
| Dimensions: | 230 mm (W) x 502 mm (H) x 464 mm (D) |
| Weight: | 9.9 kg |
| Material: | Steel |
| Color: | Black |
| Front ports: | 1x USB 3.1 Type-C, 2x USB 3.0 Type-A, 1x headphone, 1x microphone |
| Drive bays: | 3x 3.5″/ 2.5″ |
| Expansion slots: | 7x horizontal |
| Form Factors: | ATX, mATX, ITX |
| Ventilation: | Front: 3x 120/ 140 mm Rear: 1x 120 mm Lid: 3x 120/ 2x 140 mm Side: 3x 120 mm Mainboard tray: 1x 120 mm |
| Radiators: | Tail: 1x 120 mm Lid: 1x 240/ 280/ 360 mm Side: 1x 120/ 240/ 360 mm |
| Max. CPU cooler height: | 166 mm |
| Max. Graphics card length: | 395 mm |
| Max. Net part length: | 270 mm |
| Cable management space: | 40 mm |
| Price: | € 79.90 *, €139,99 (MSRP) |
| Features: | Dust filter, cable management, 4x pre-installed ARGB fans (1x 120mm, 3x 140mm) including 5-port PWM ARGB control board, tempered glass, tool-less panel mounting |

APNX C1 review: the scope of delivery
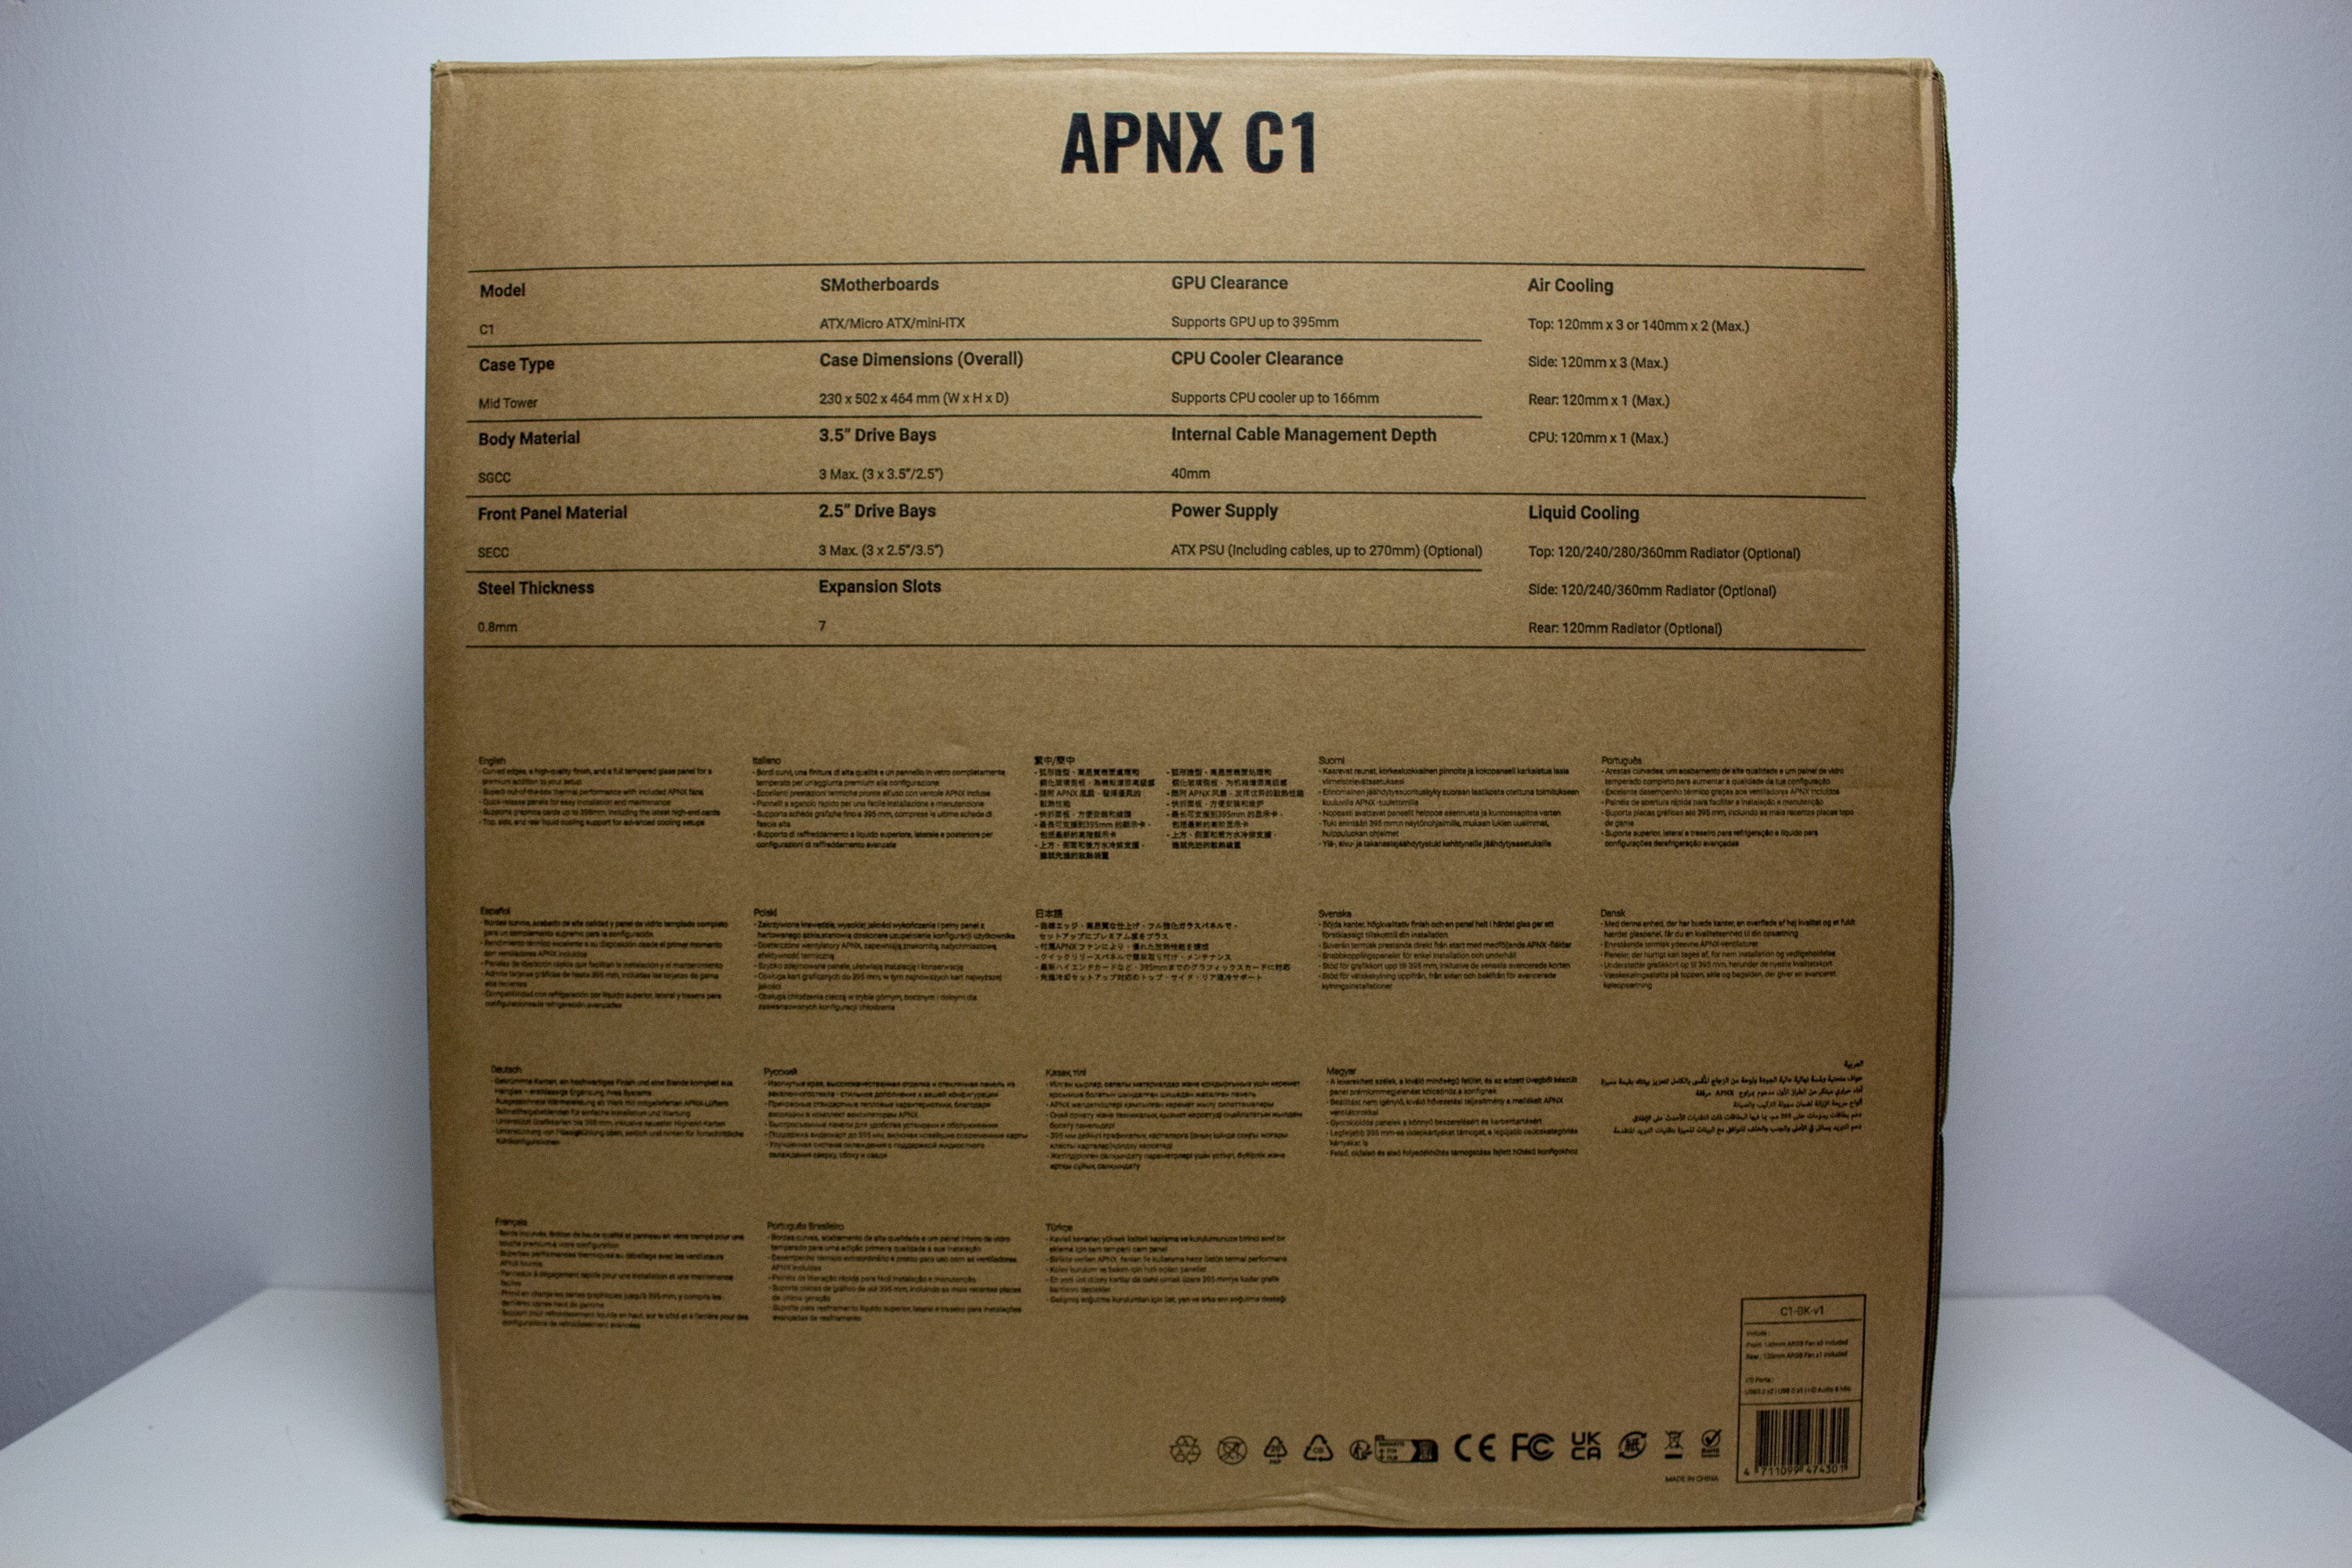
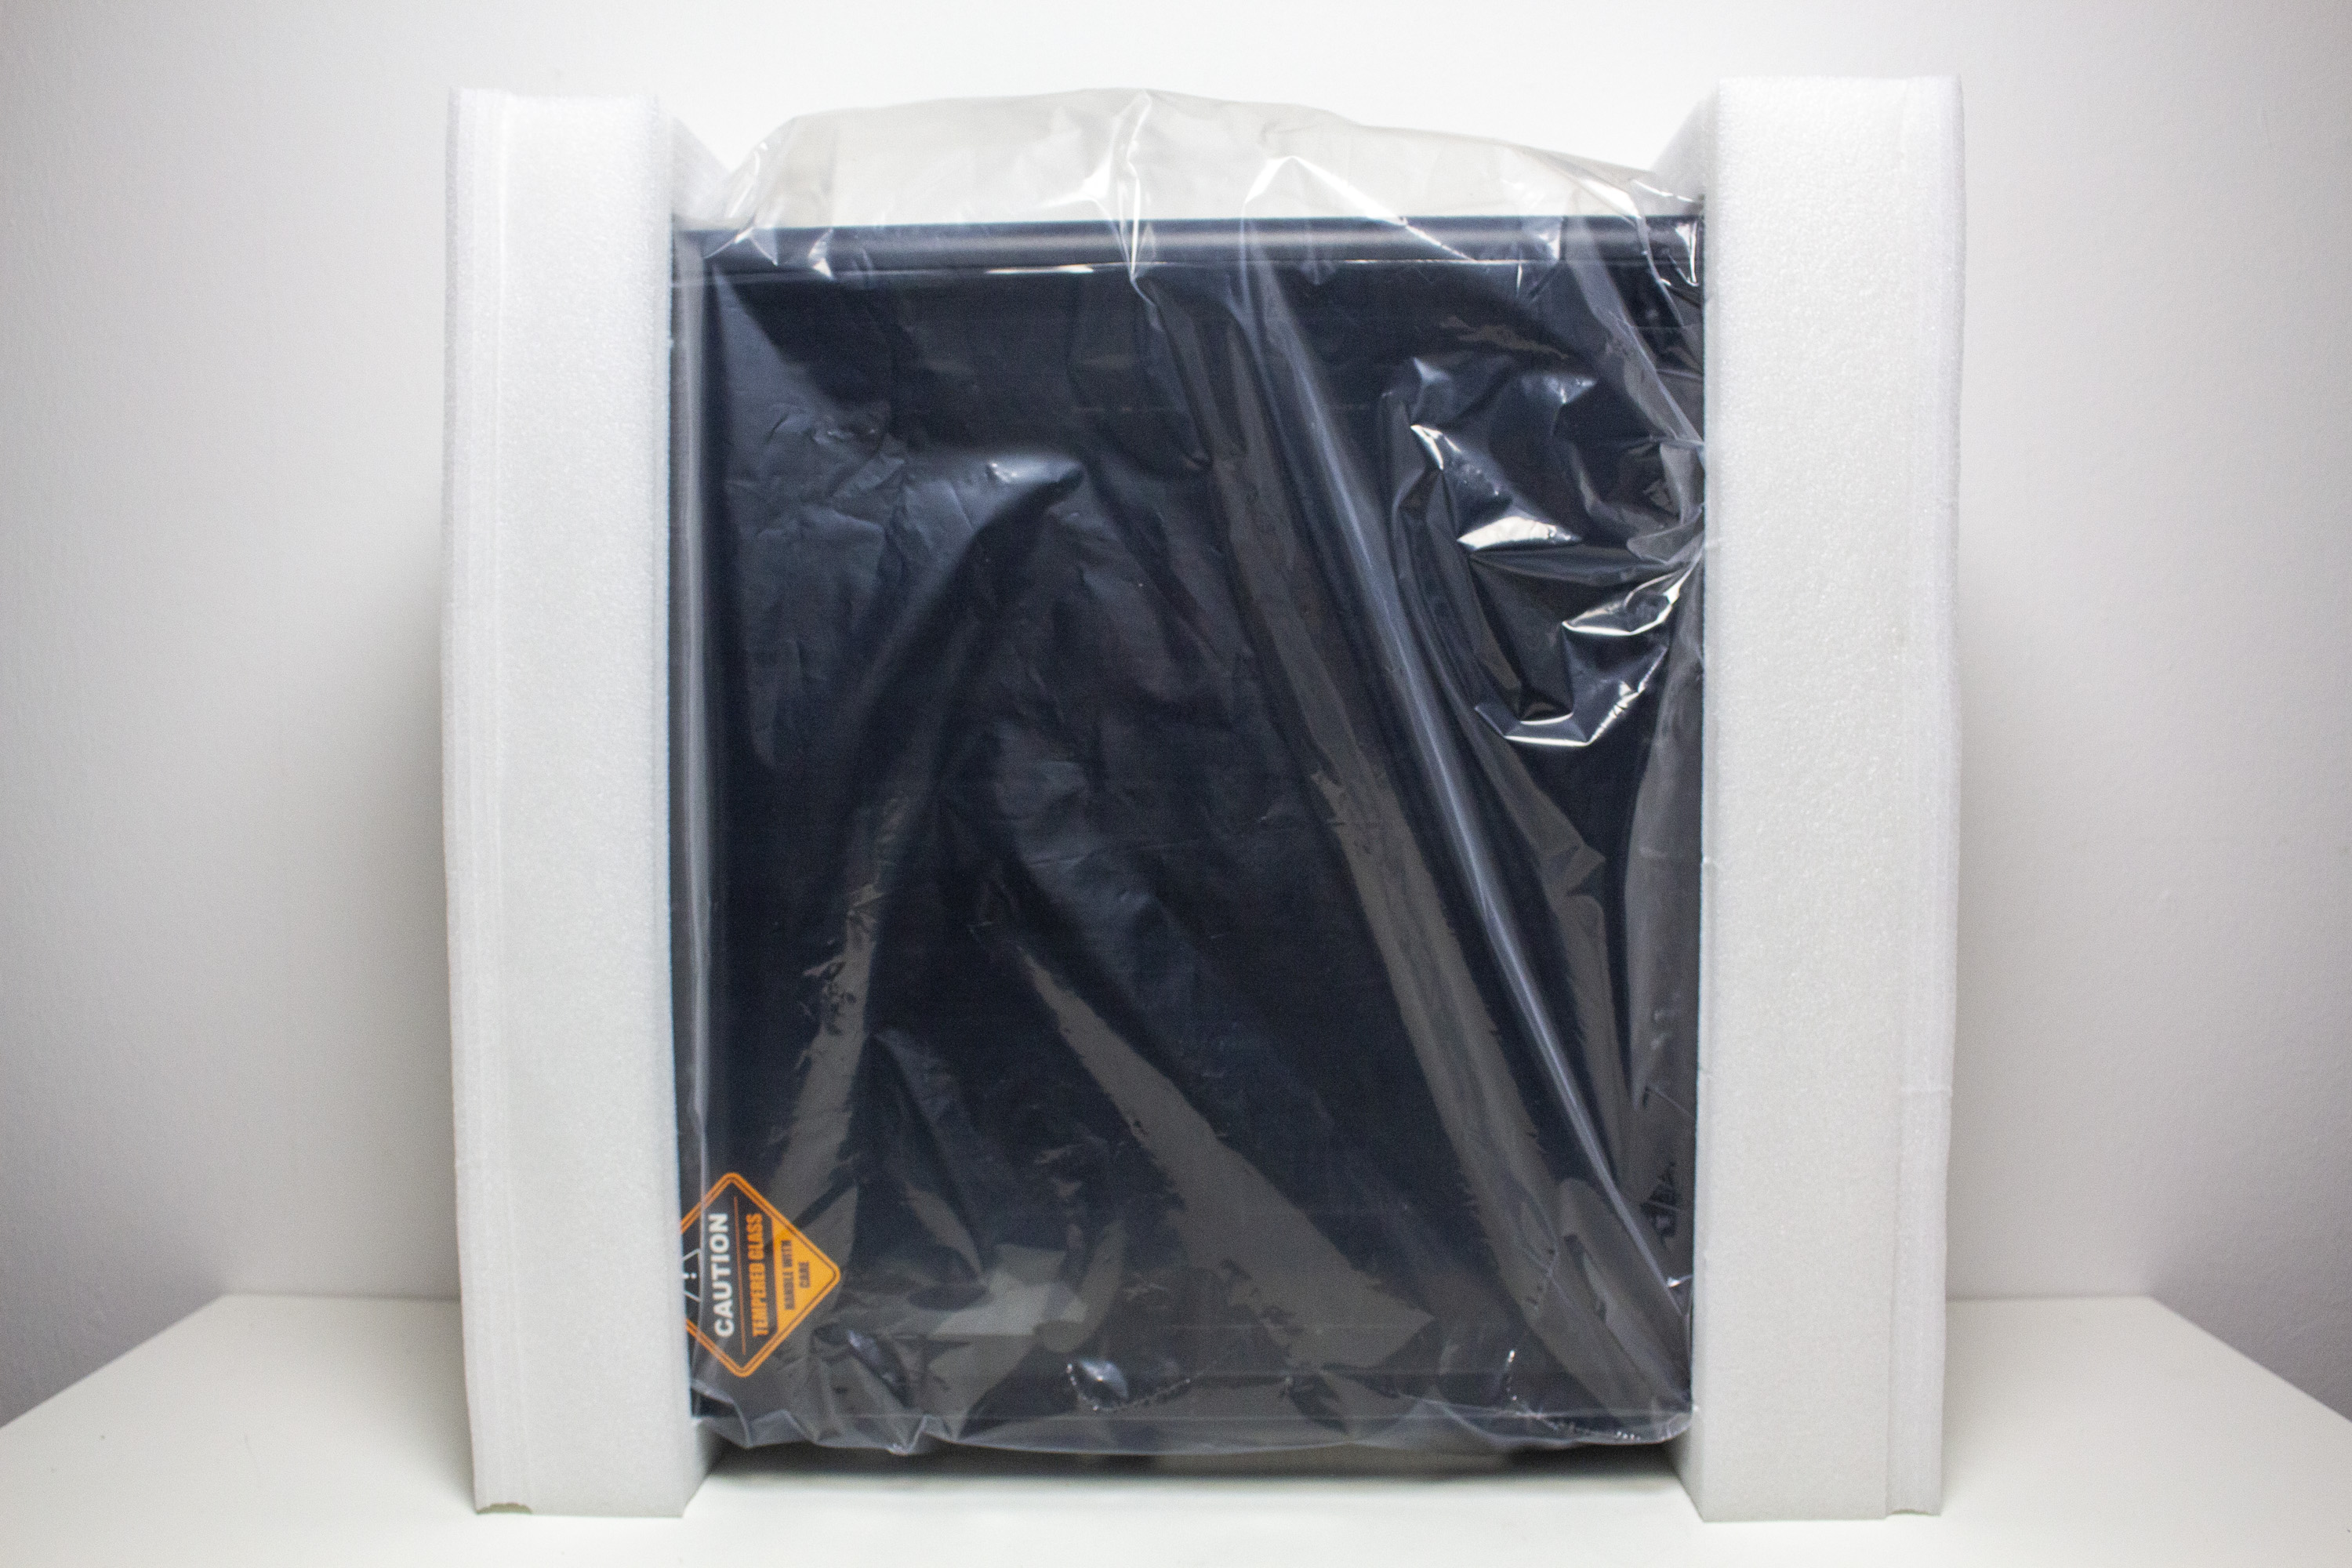
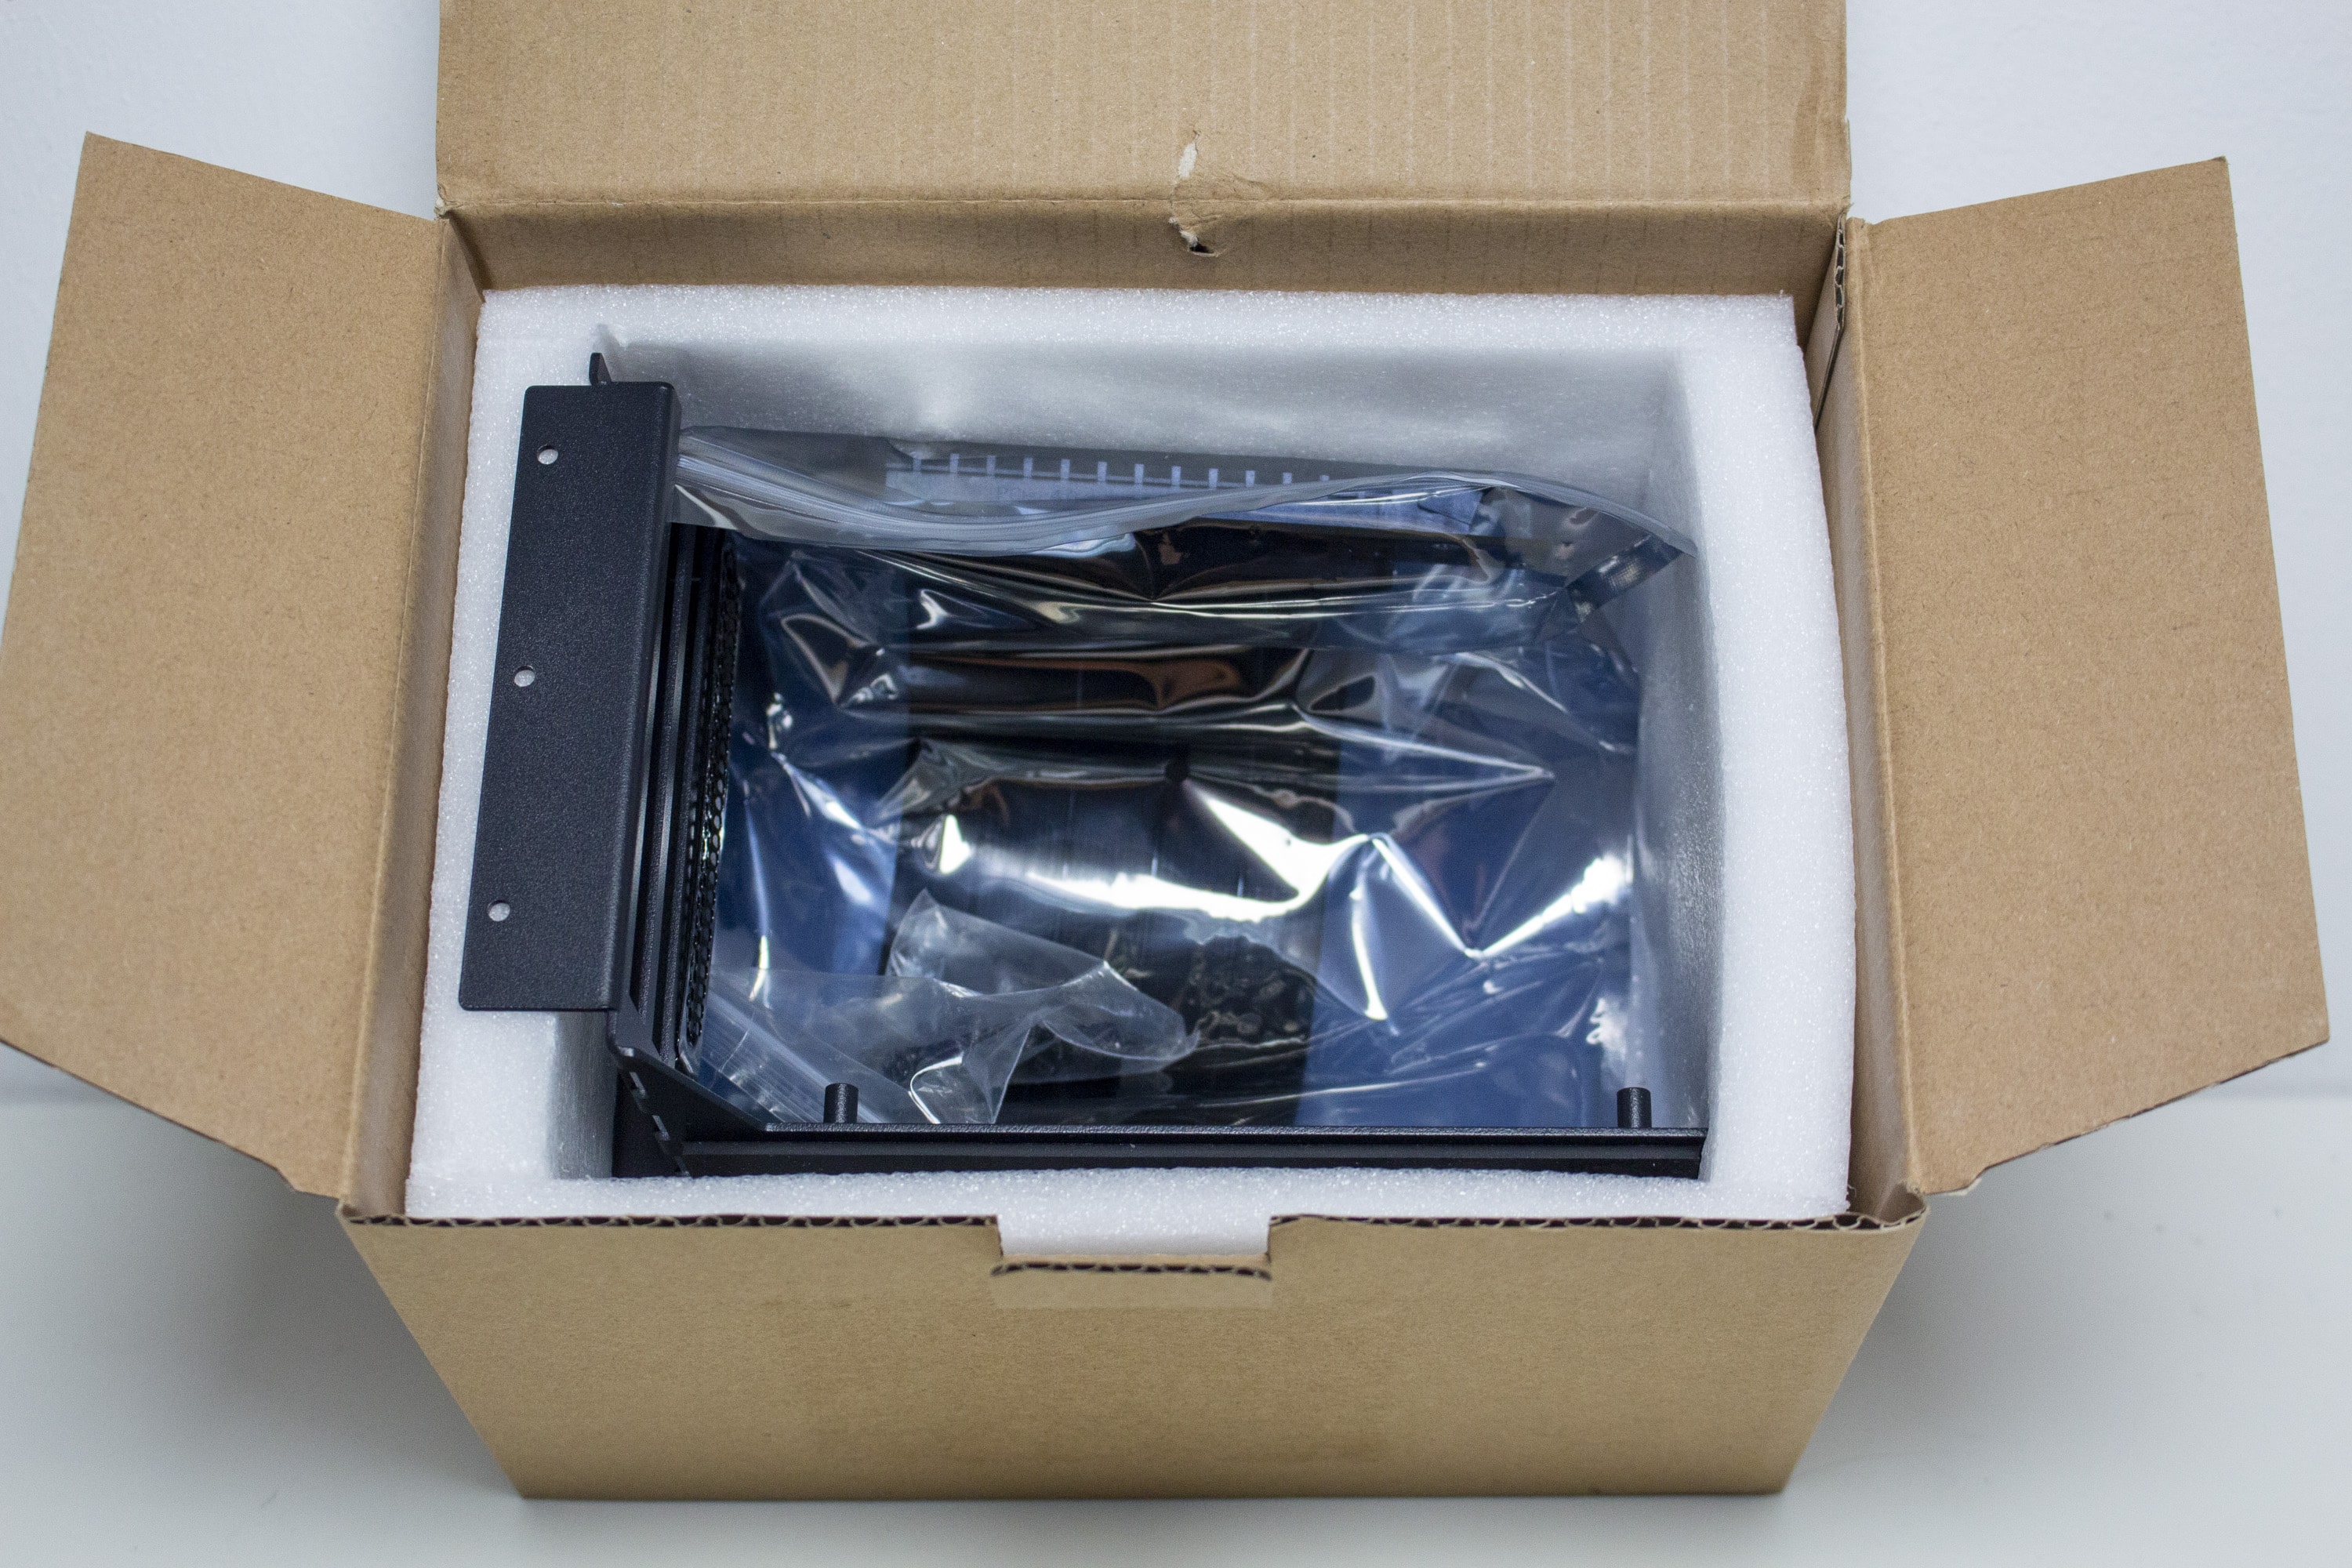
The APNX C1 is shipped in a brown cardboard box, on which a pattern has been applied with black paint. We also find a colored sticker on the packaging, which shows a picture of the APNX C1 as well as a compact summary of the features and the brand. On the back, we can also read a breakdown of the most important features as well as technical data again in different languages. Inside the cardboard box, the manufacturer wraps the midi tower with two blocks of soft foam as well as a sheet of plastic.

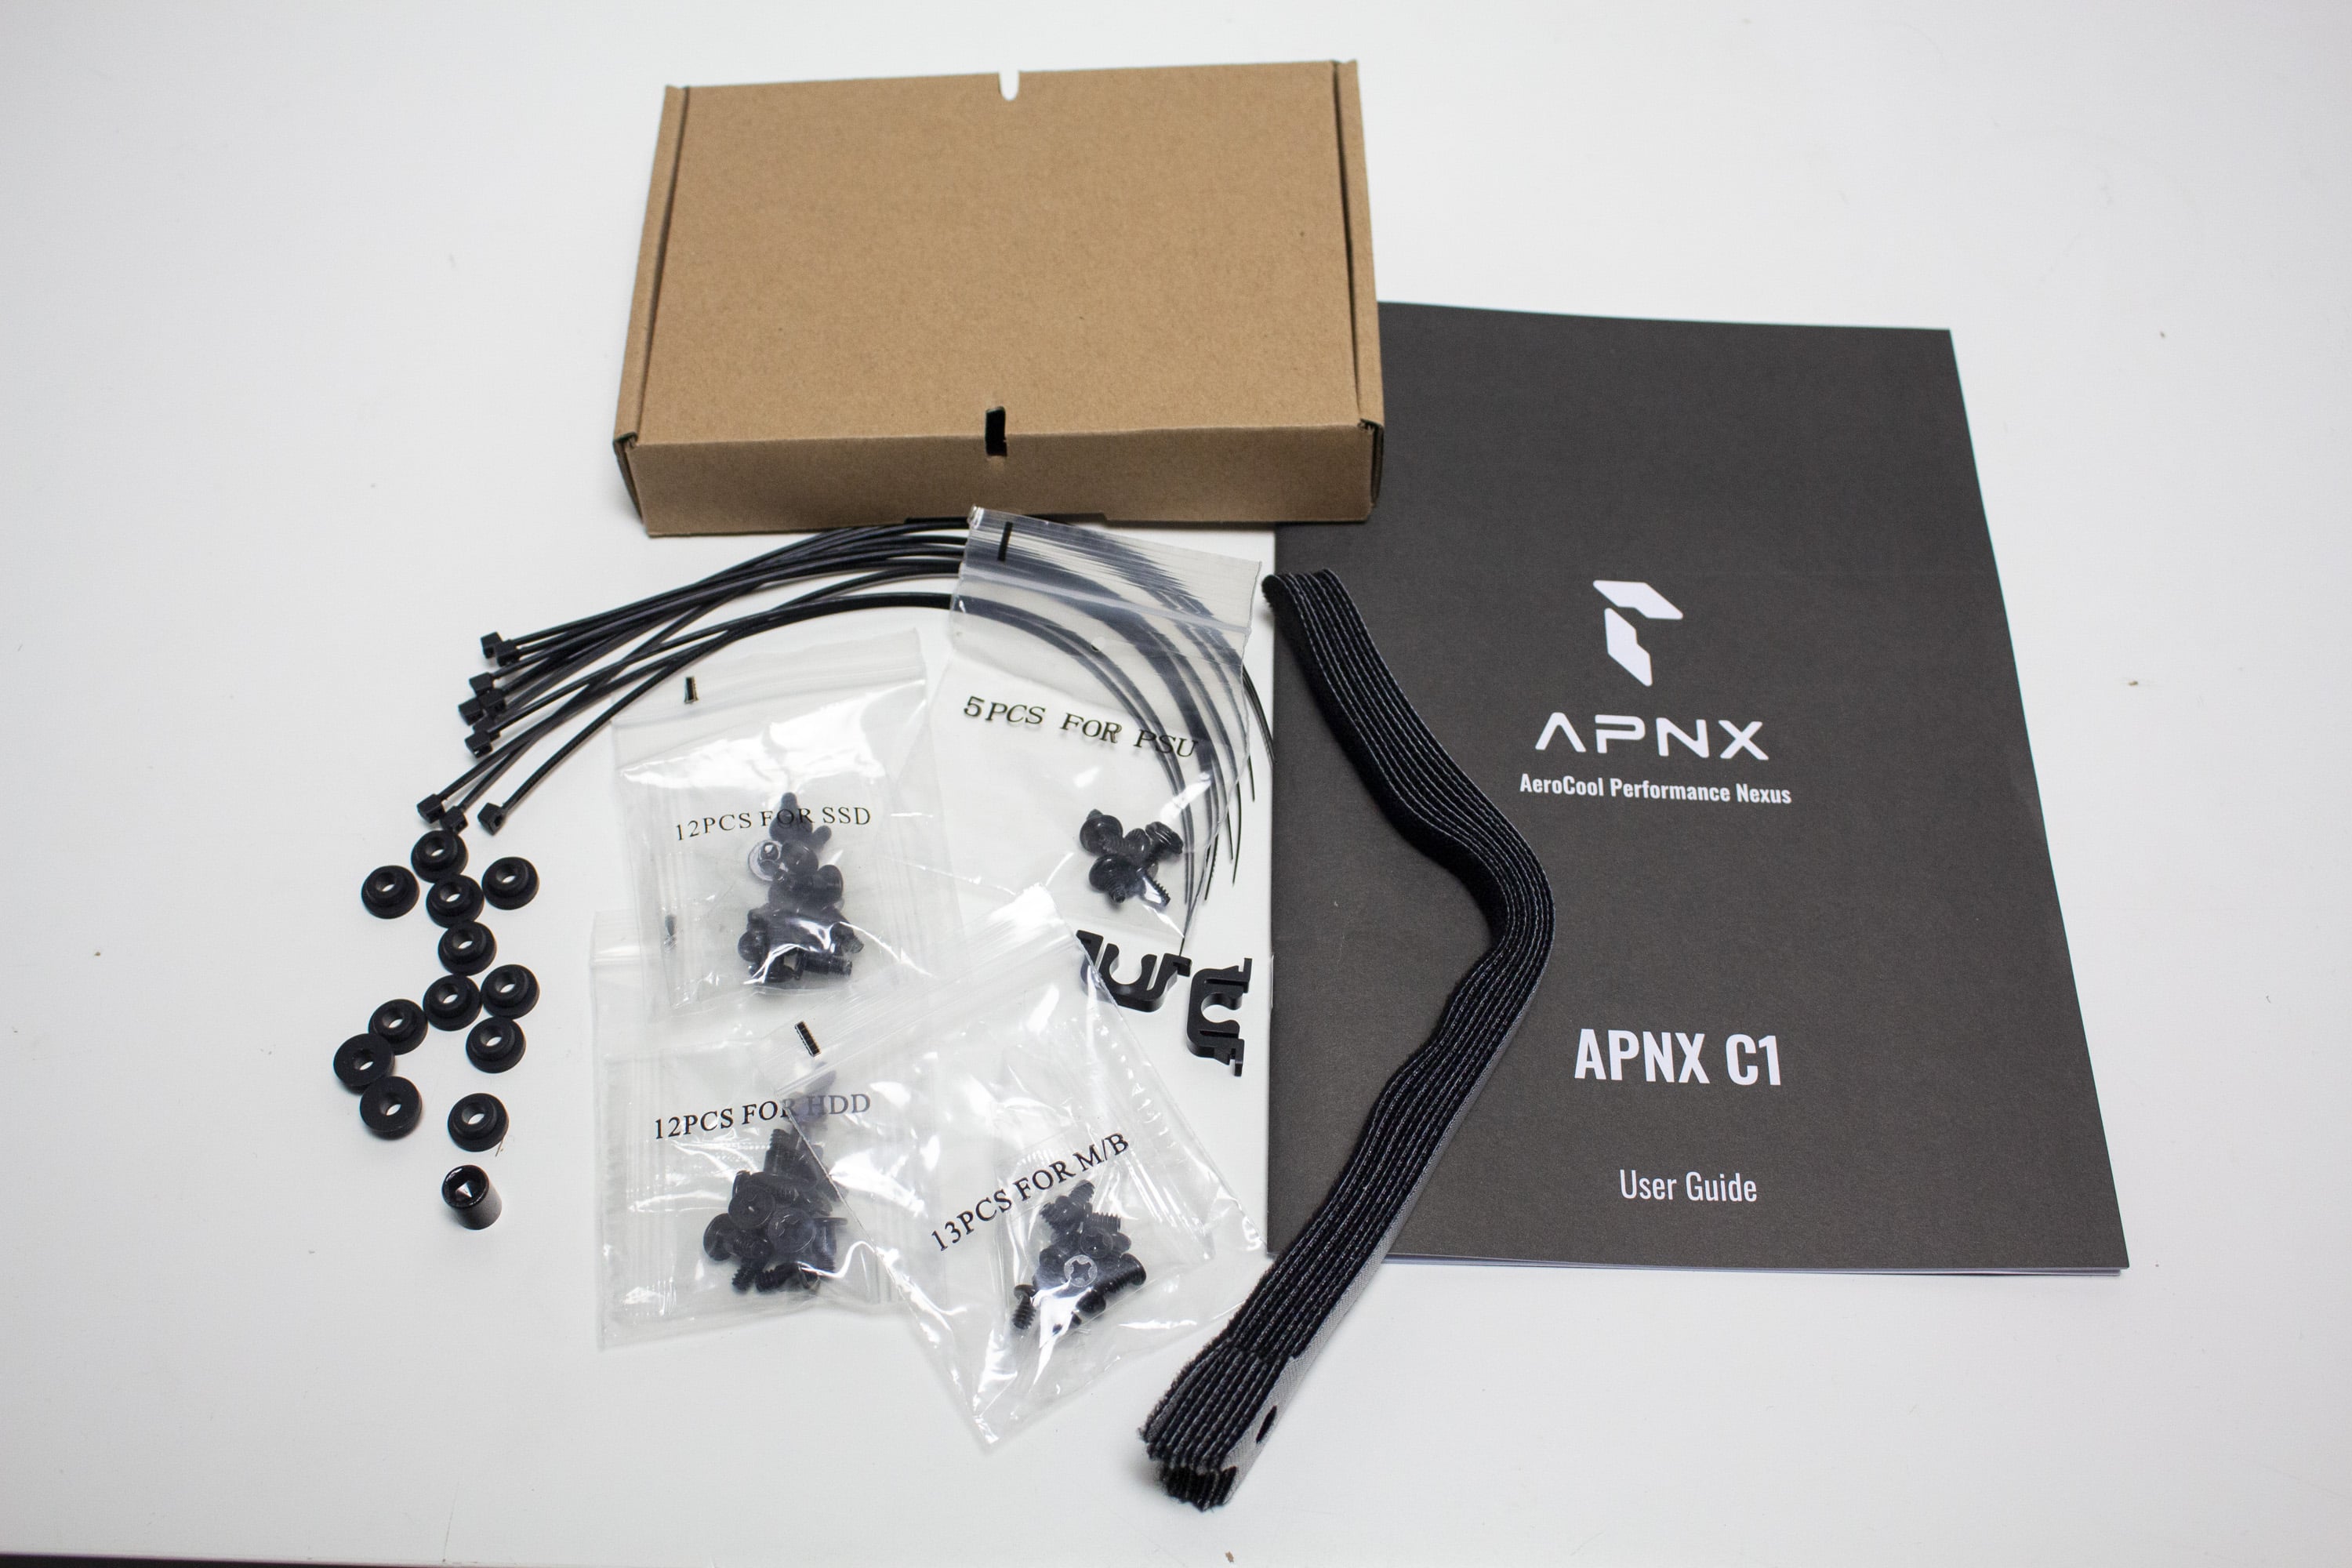
APNX stows the mounting accessories in a brown box, which was attached to the motherboard tray by means of cable ties. This box contains all the necessary mounting screws for installing the hardware as well as ten simple and nine reusable cable ties. Also included is a compact installation guide, four pre-installed APNX FP1 fans (1x 120mm, 3x 140mm), a 5-port PWM ARGB control board, and two pre-installed dust filters for the front and bottom.
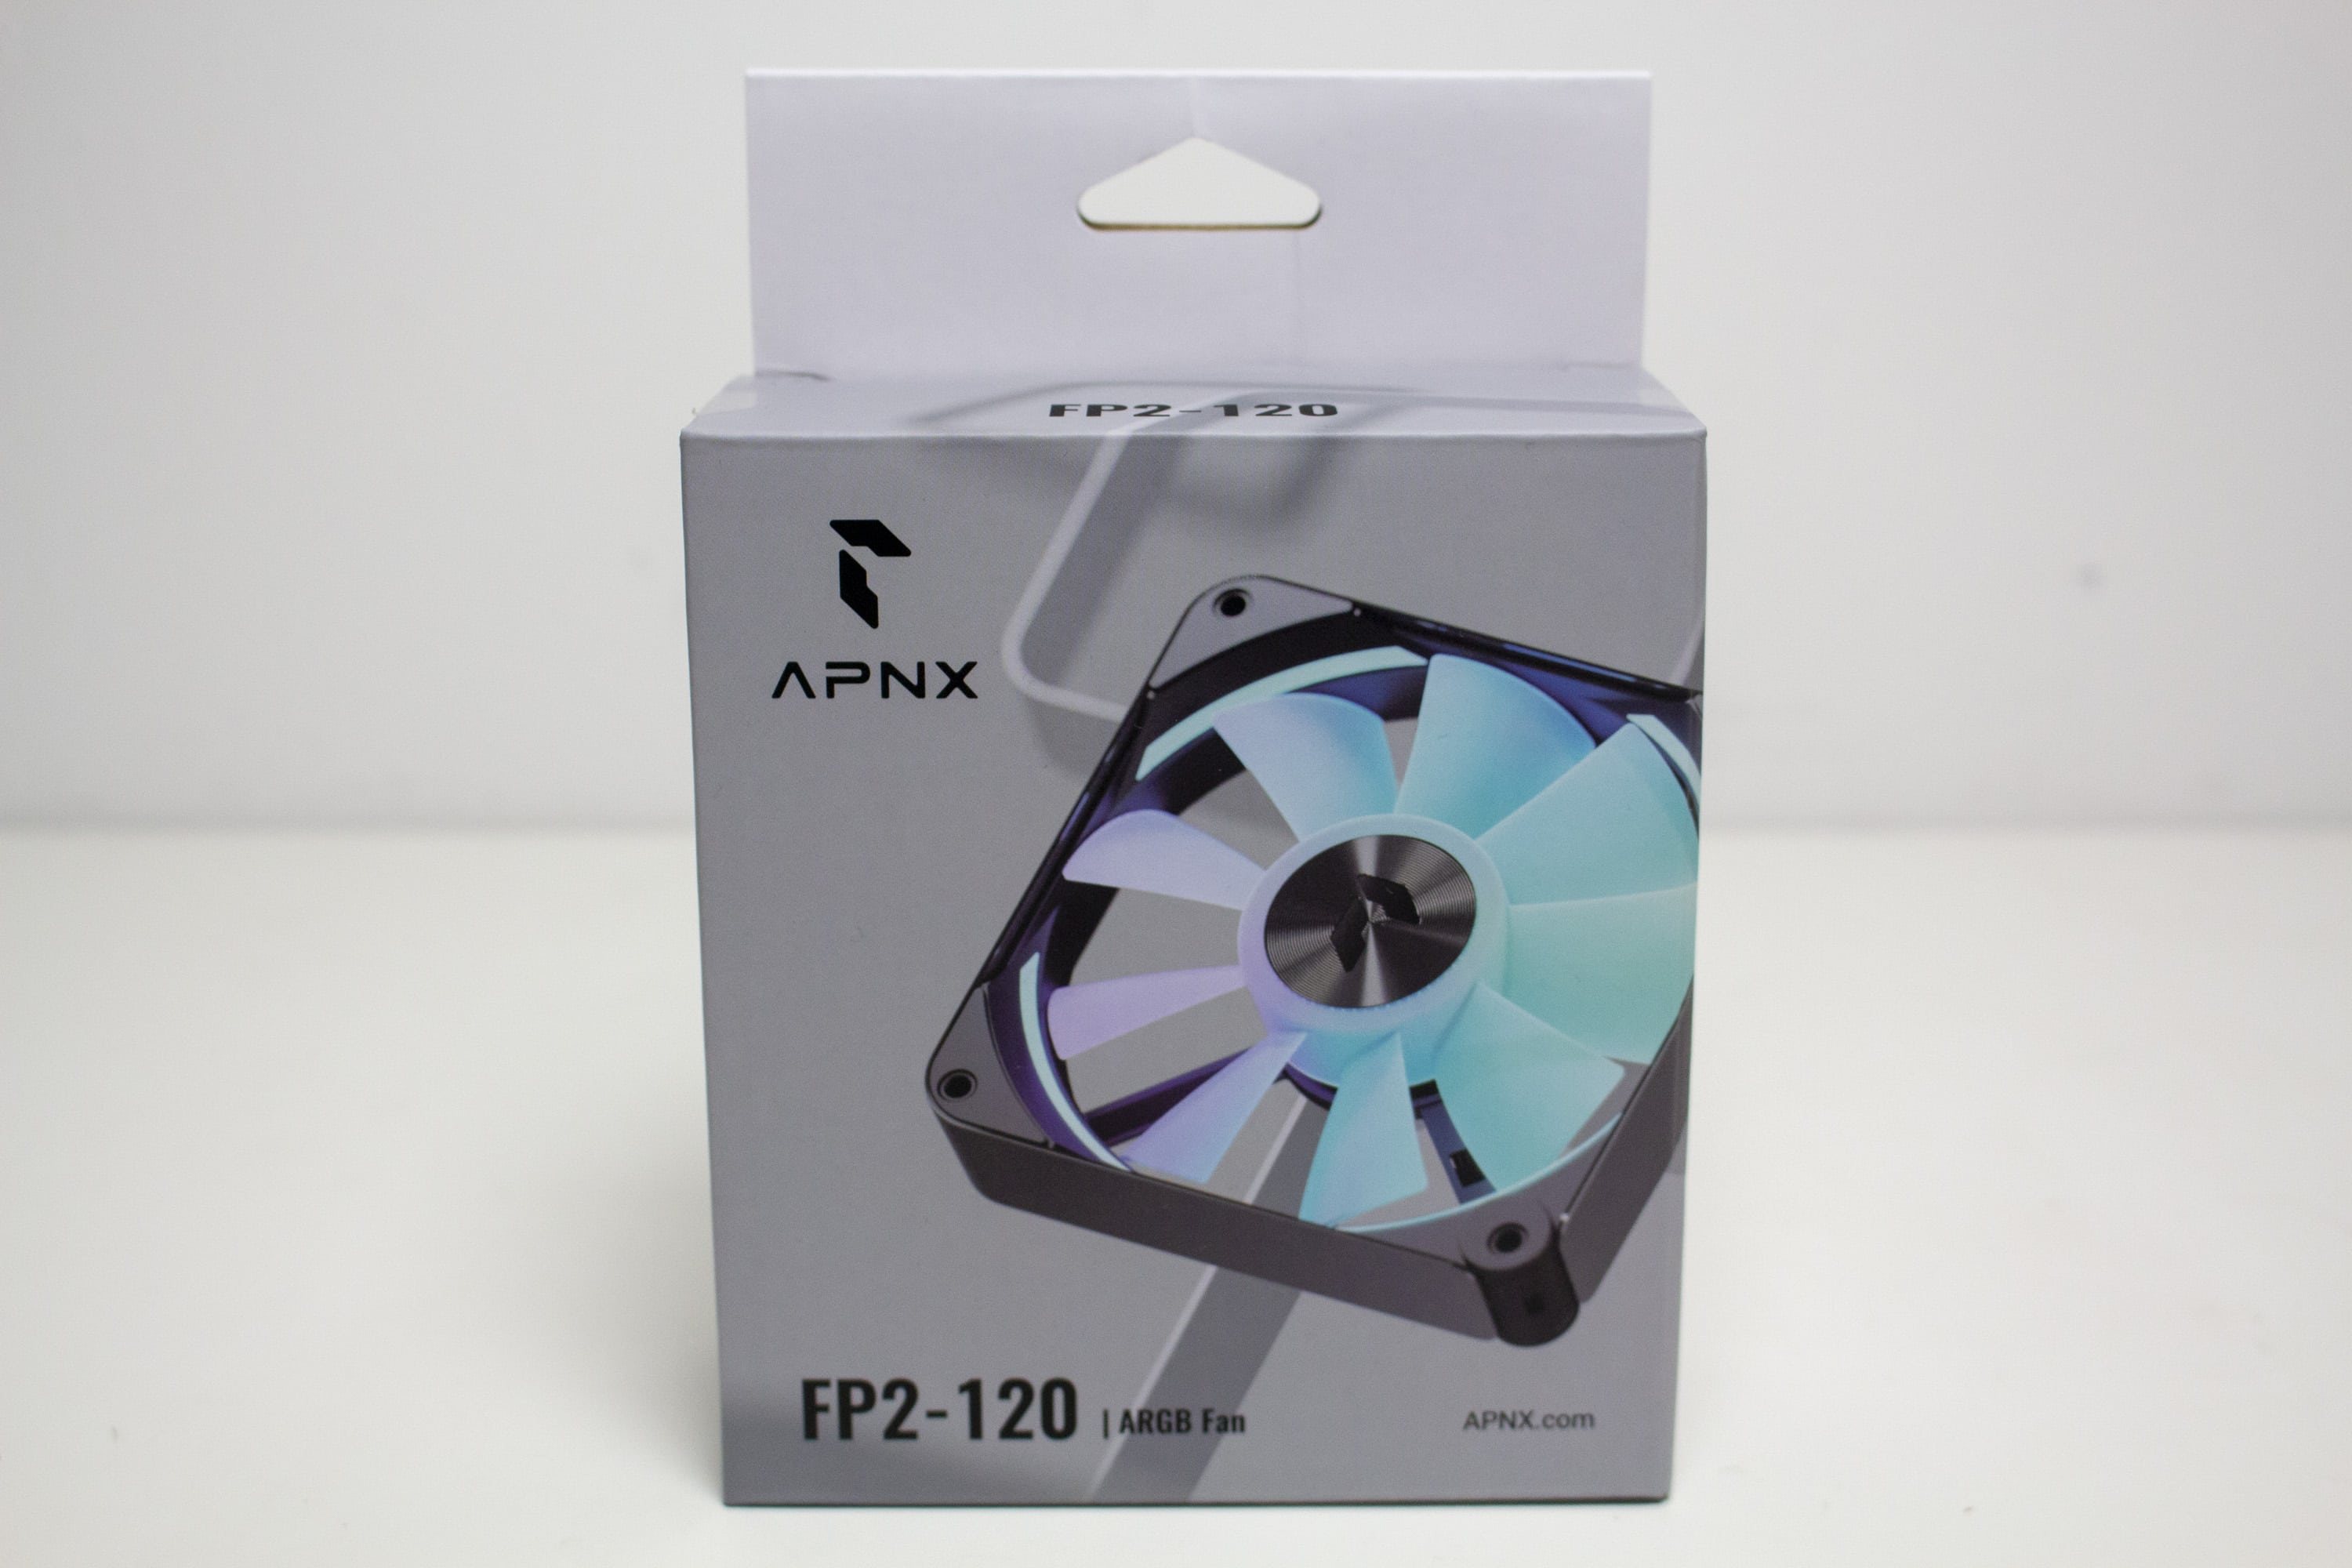
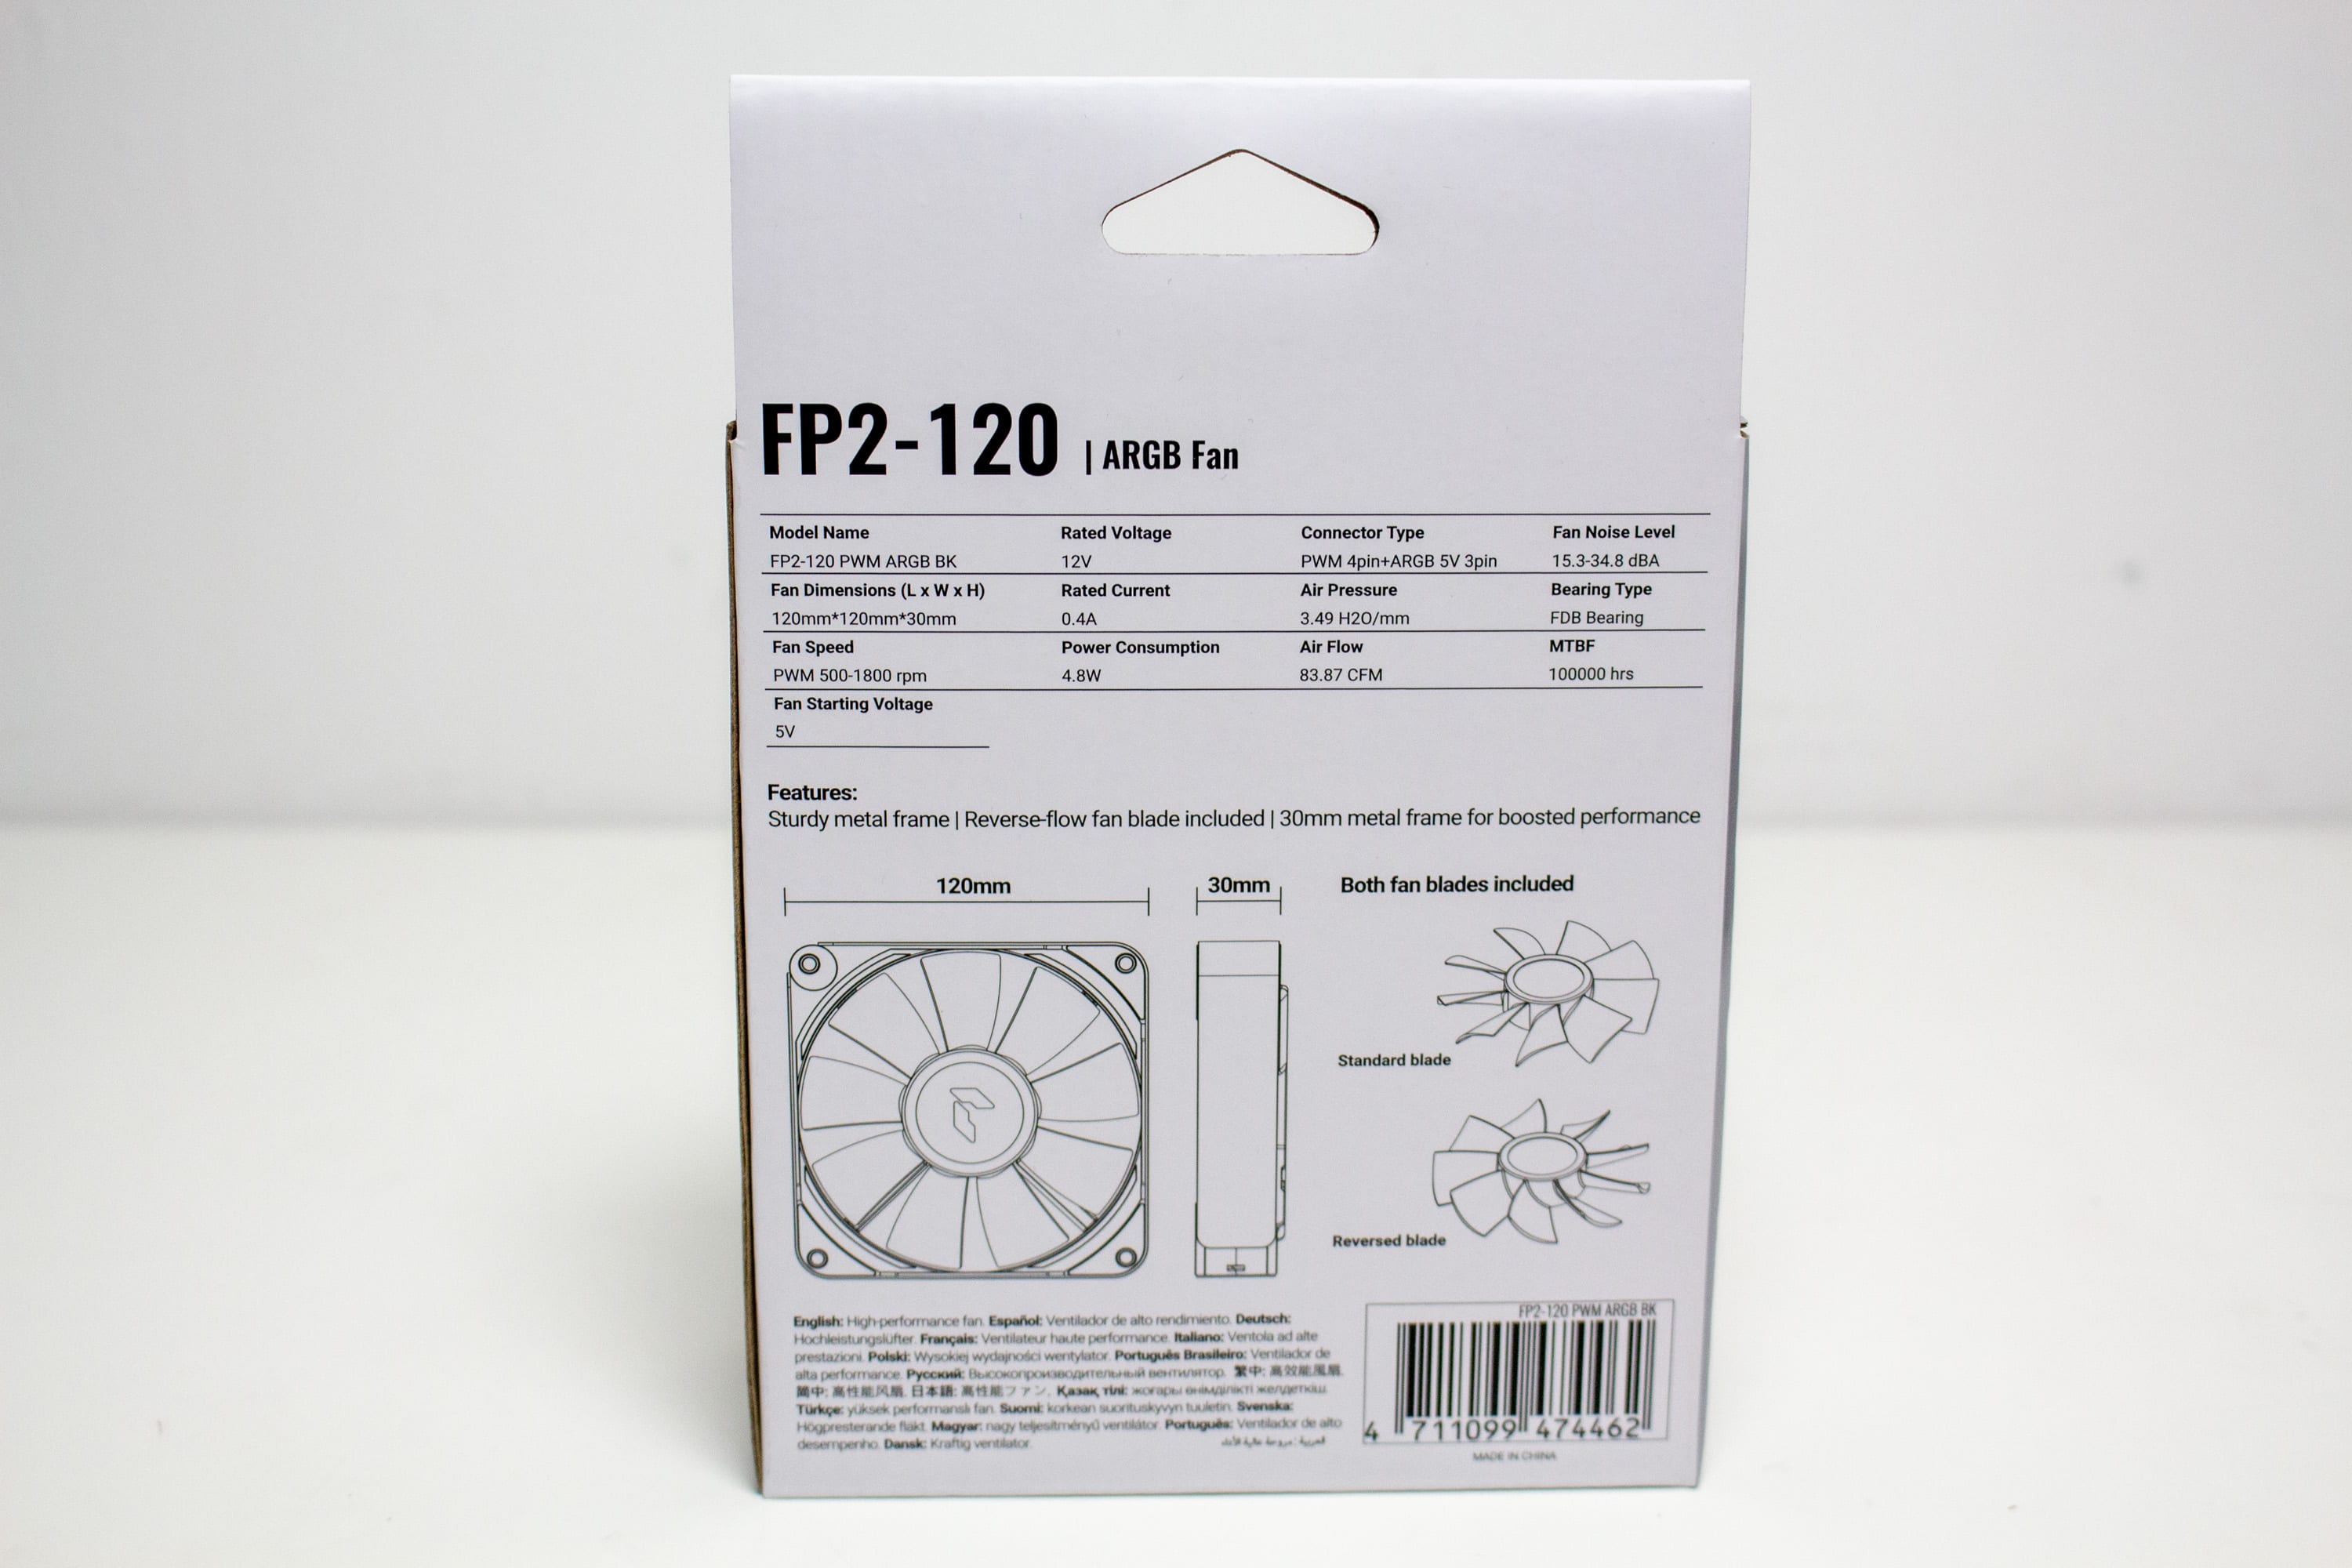
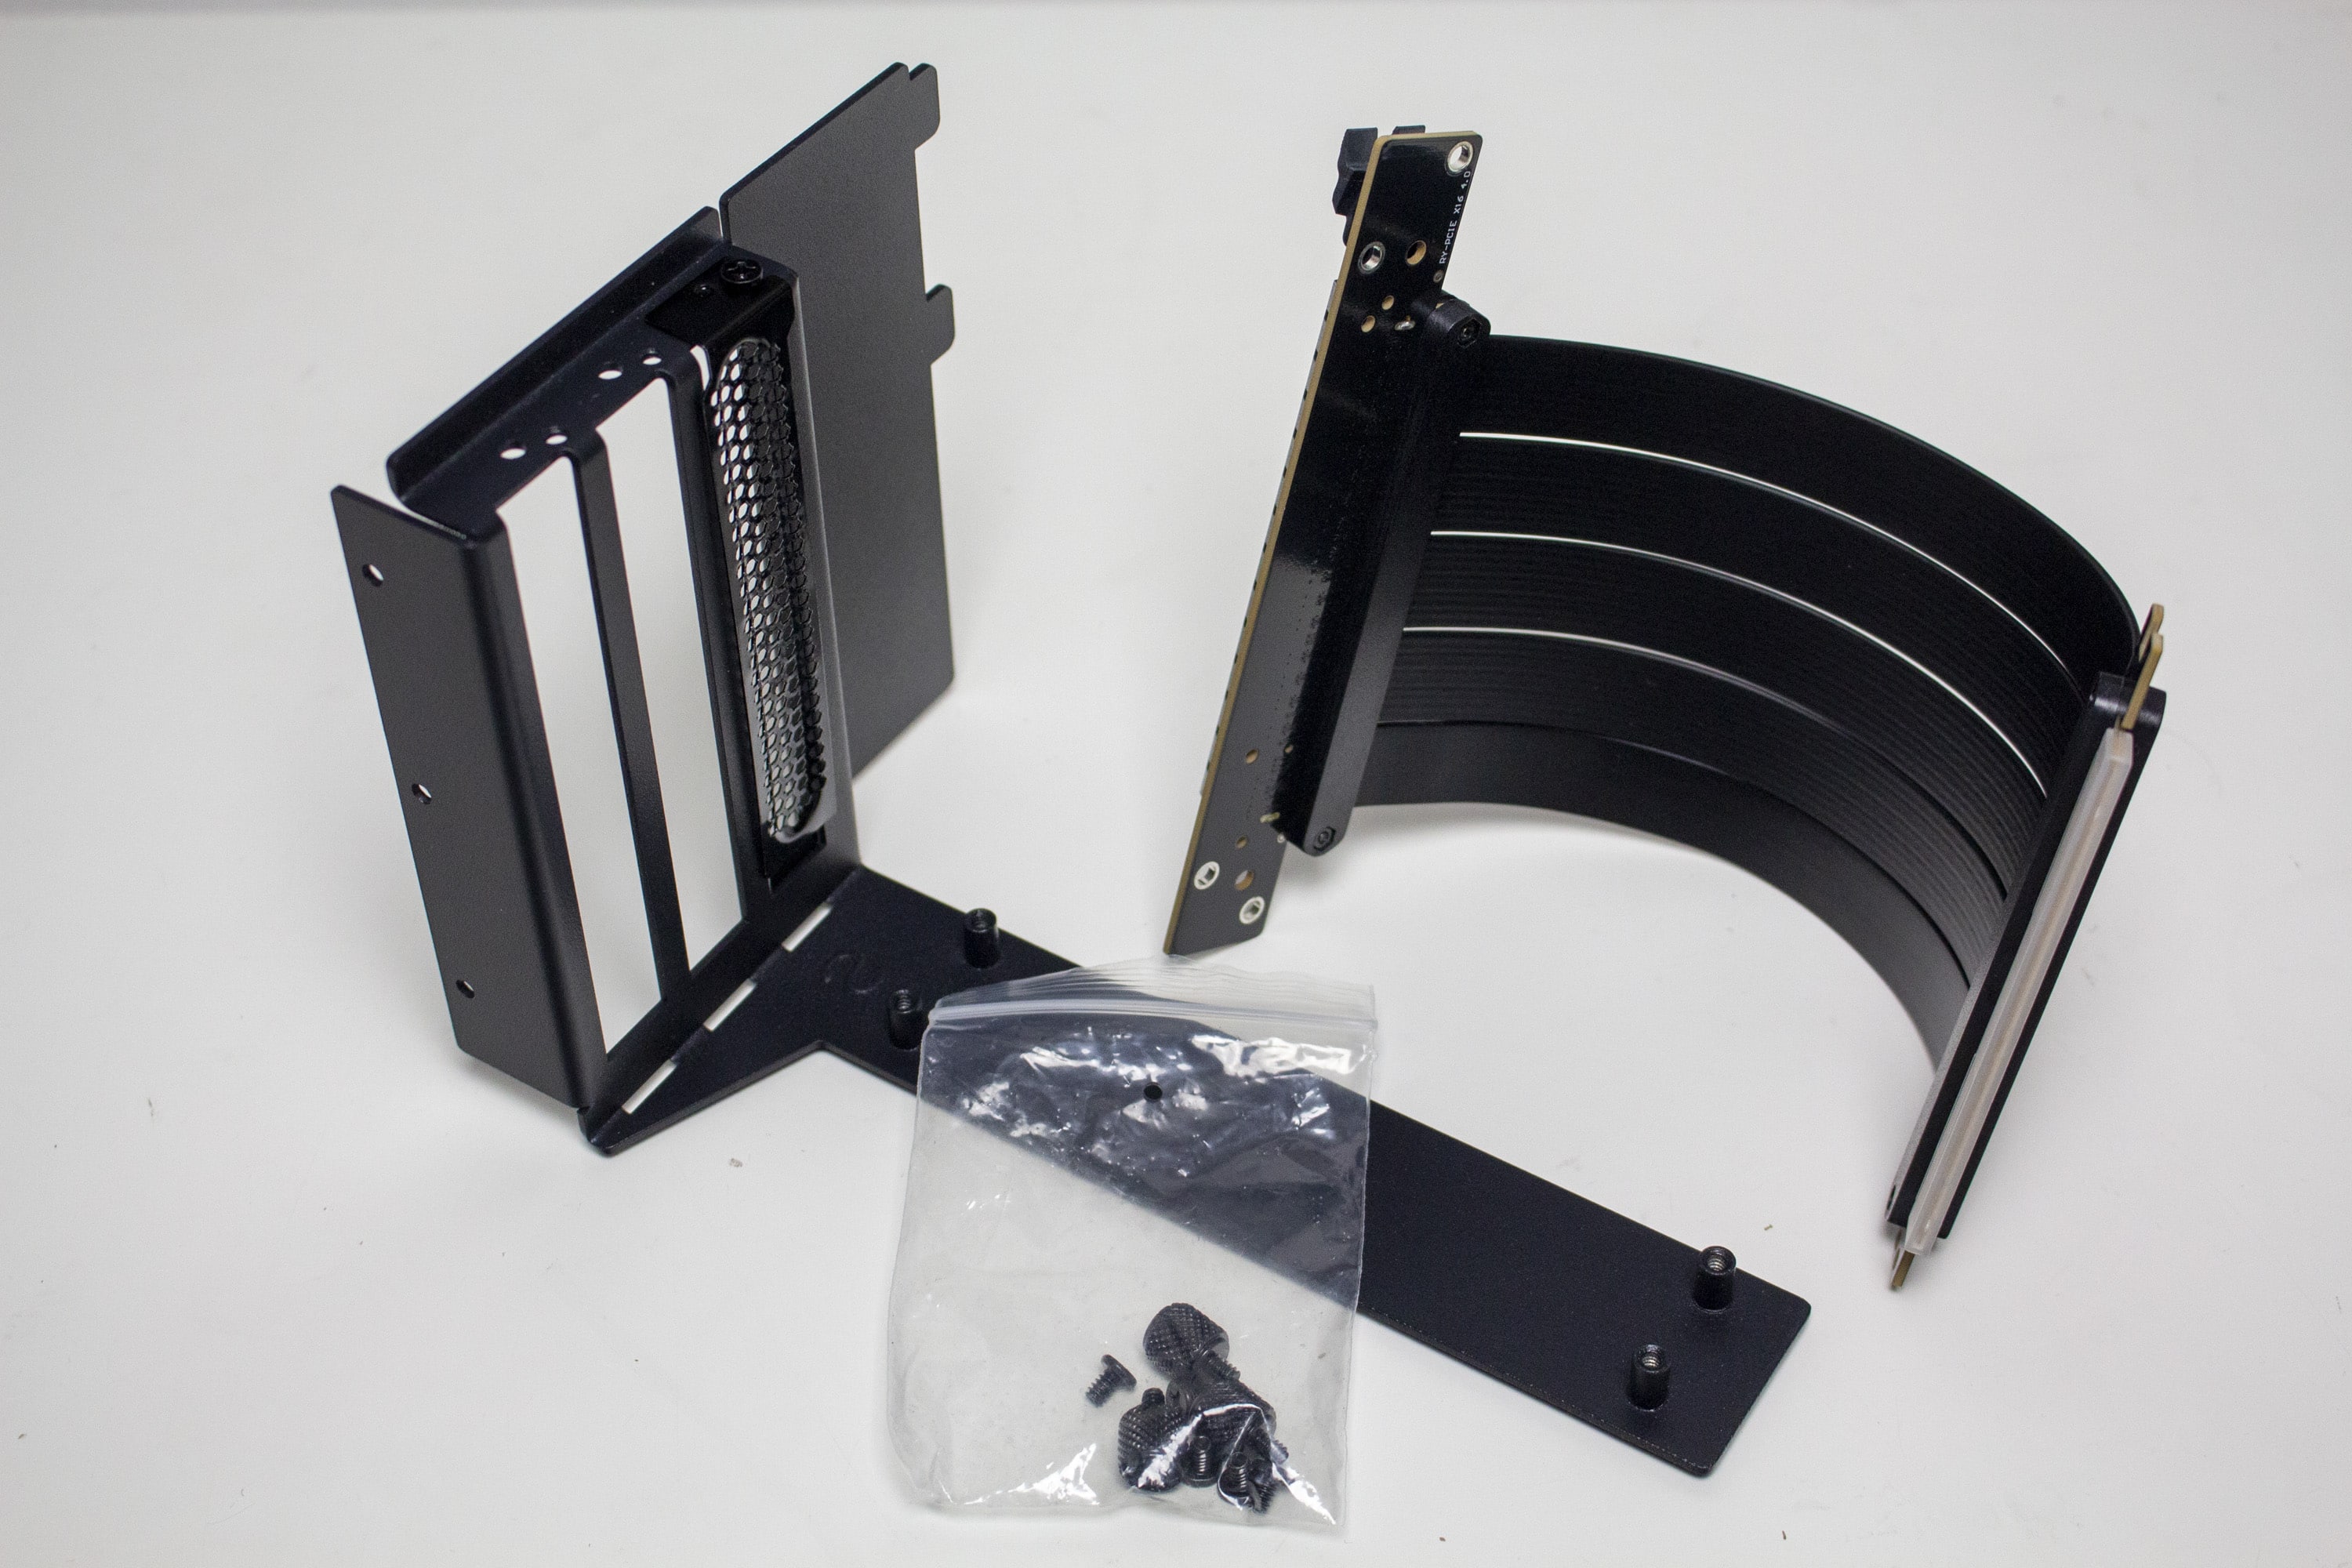
Our review sample also came with two additional accessories that have to be purchased separately in stores. These include an APNX FP2 120-millimeter fan (€19.90 (MSRP)) and a VGA kit (€59.90 (MSRP)), consisting of a steel frame and a matching PCIe 4.0 riser cable for mounting the GPU vertically. More information about these accessories will follow in a later chapter.

Exterior Impression
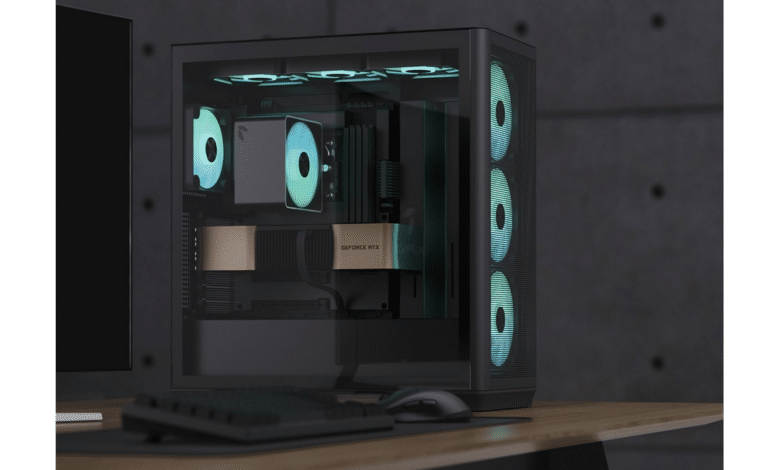
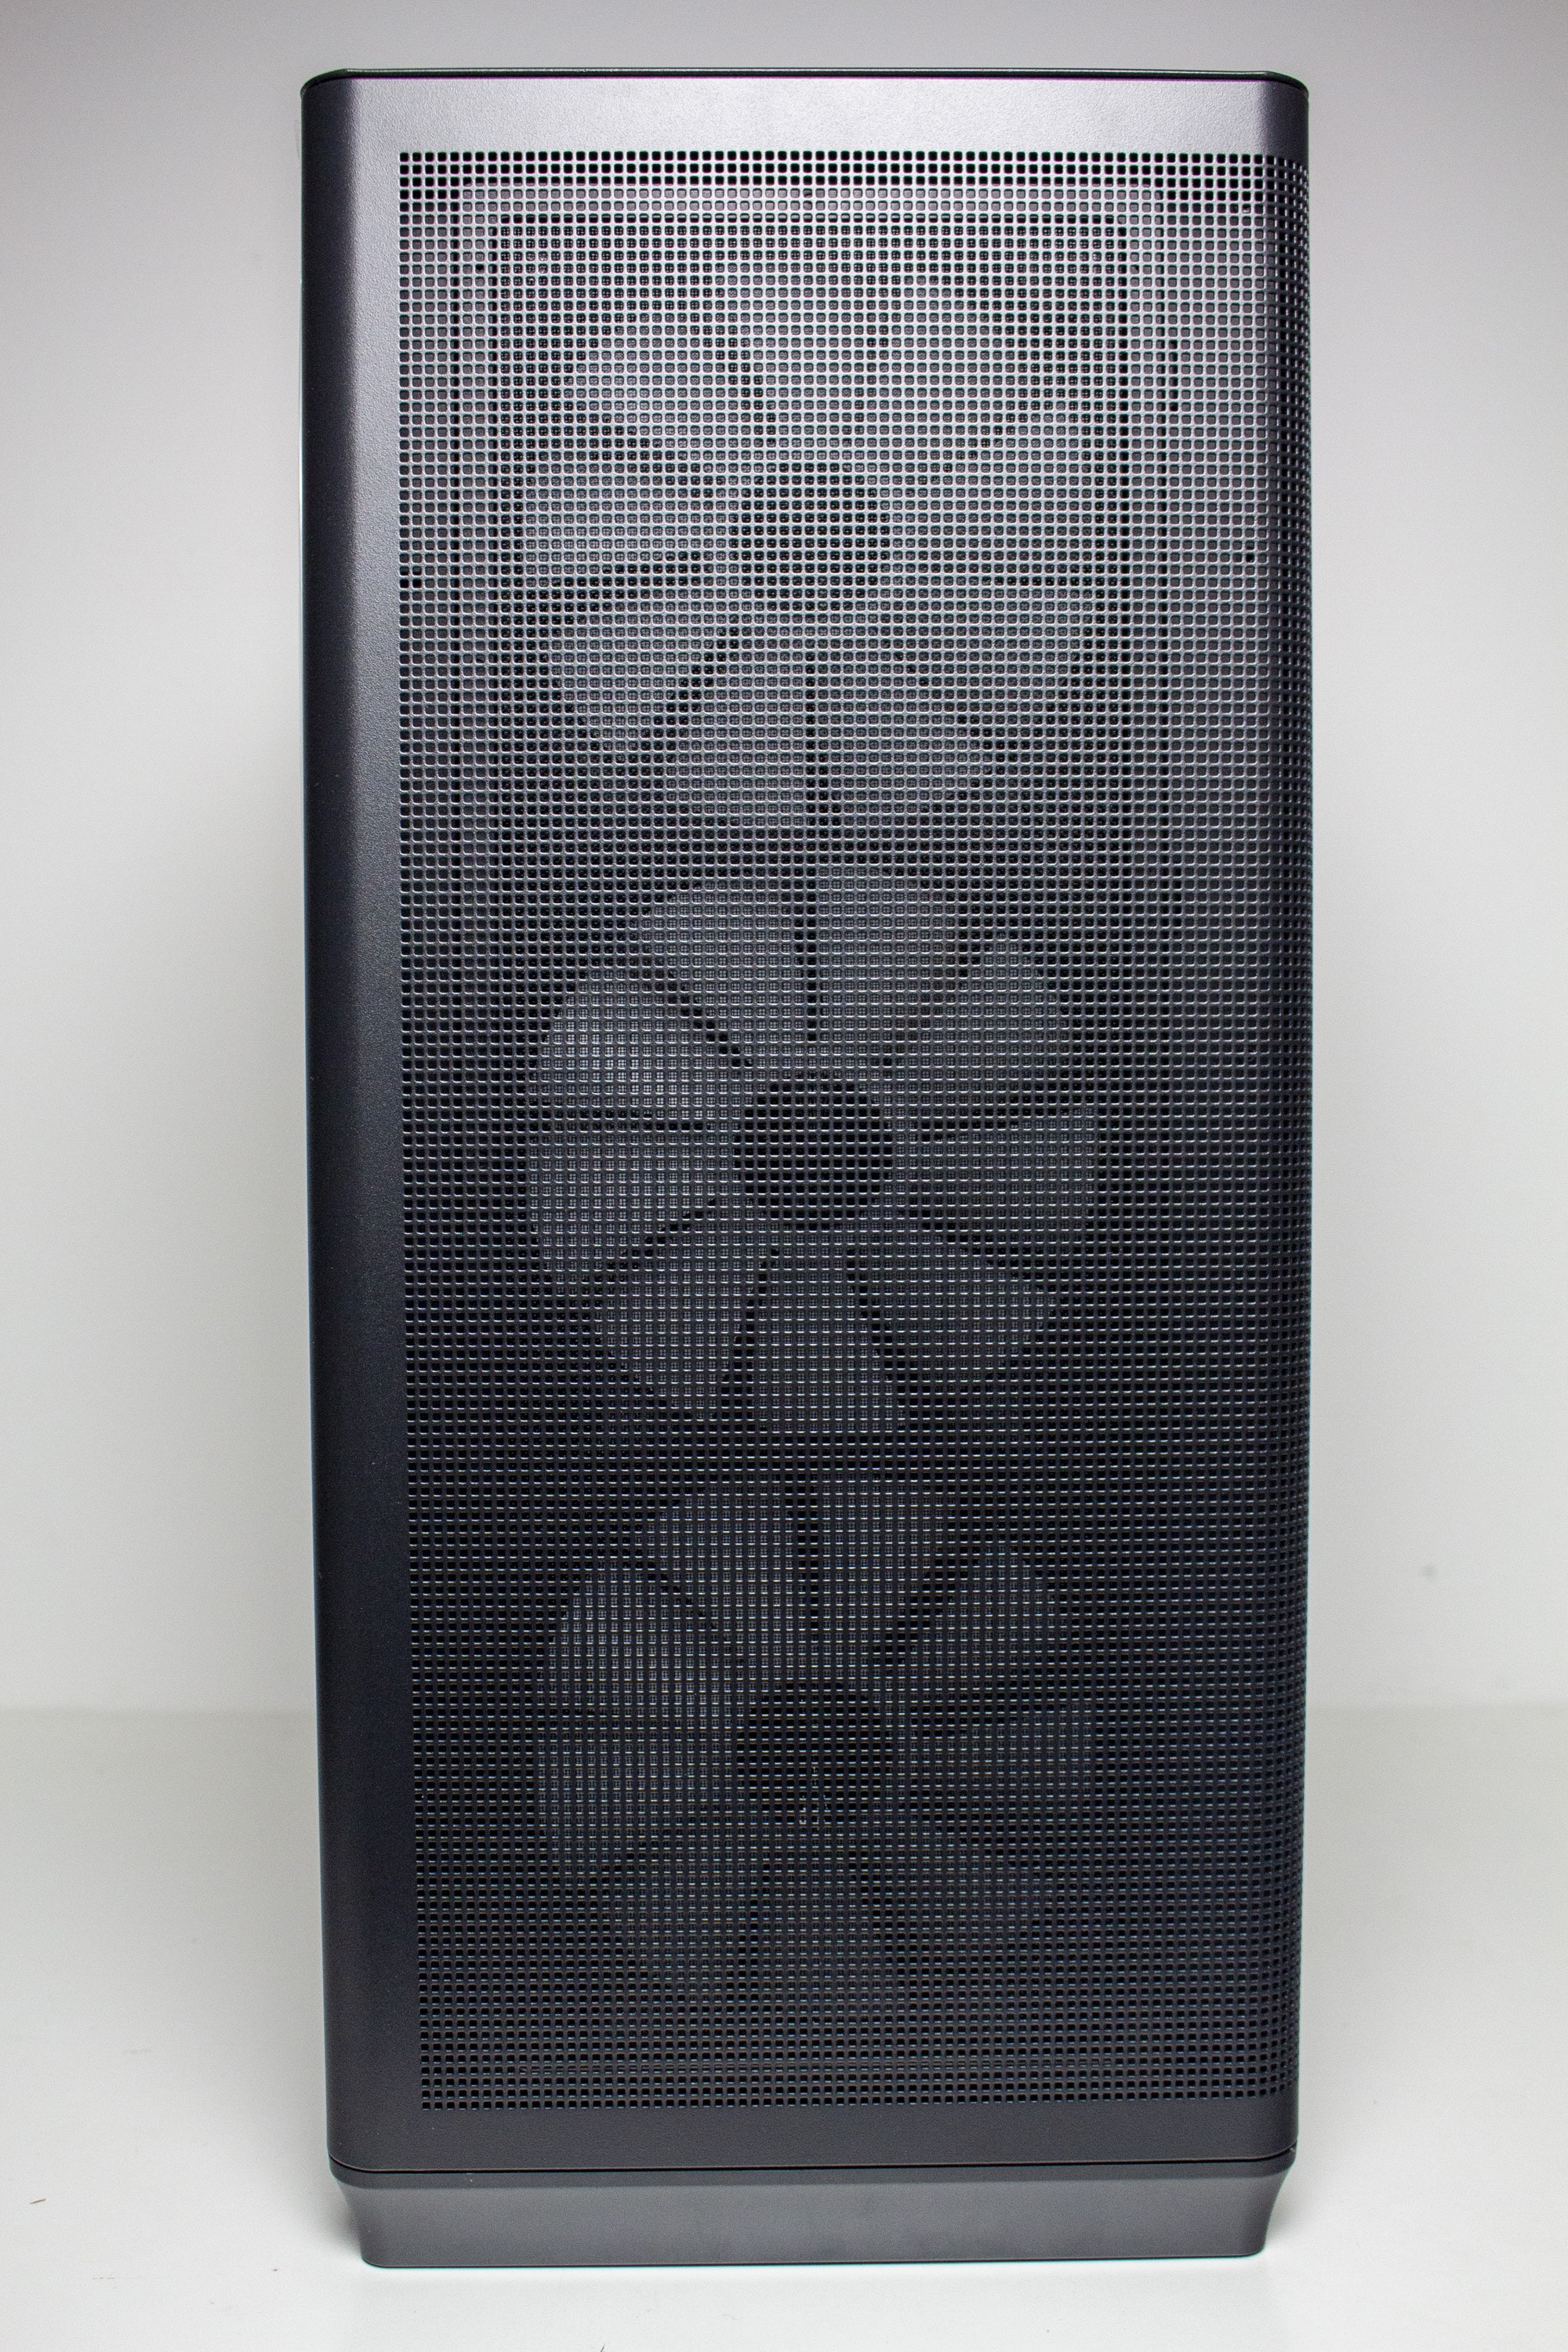
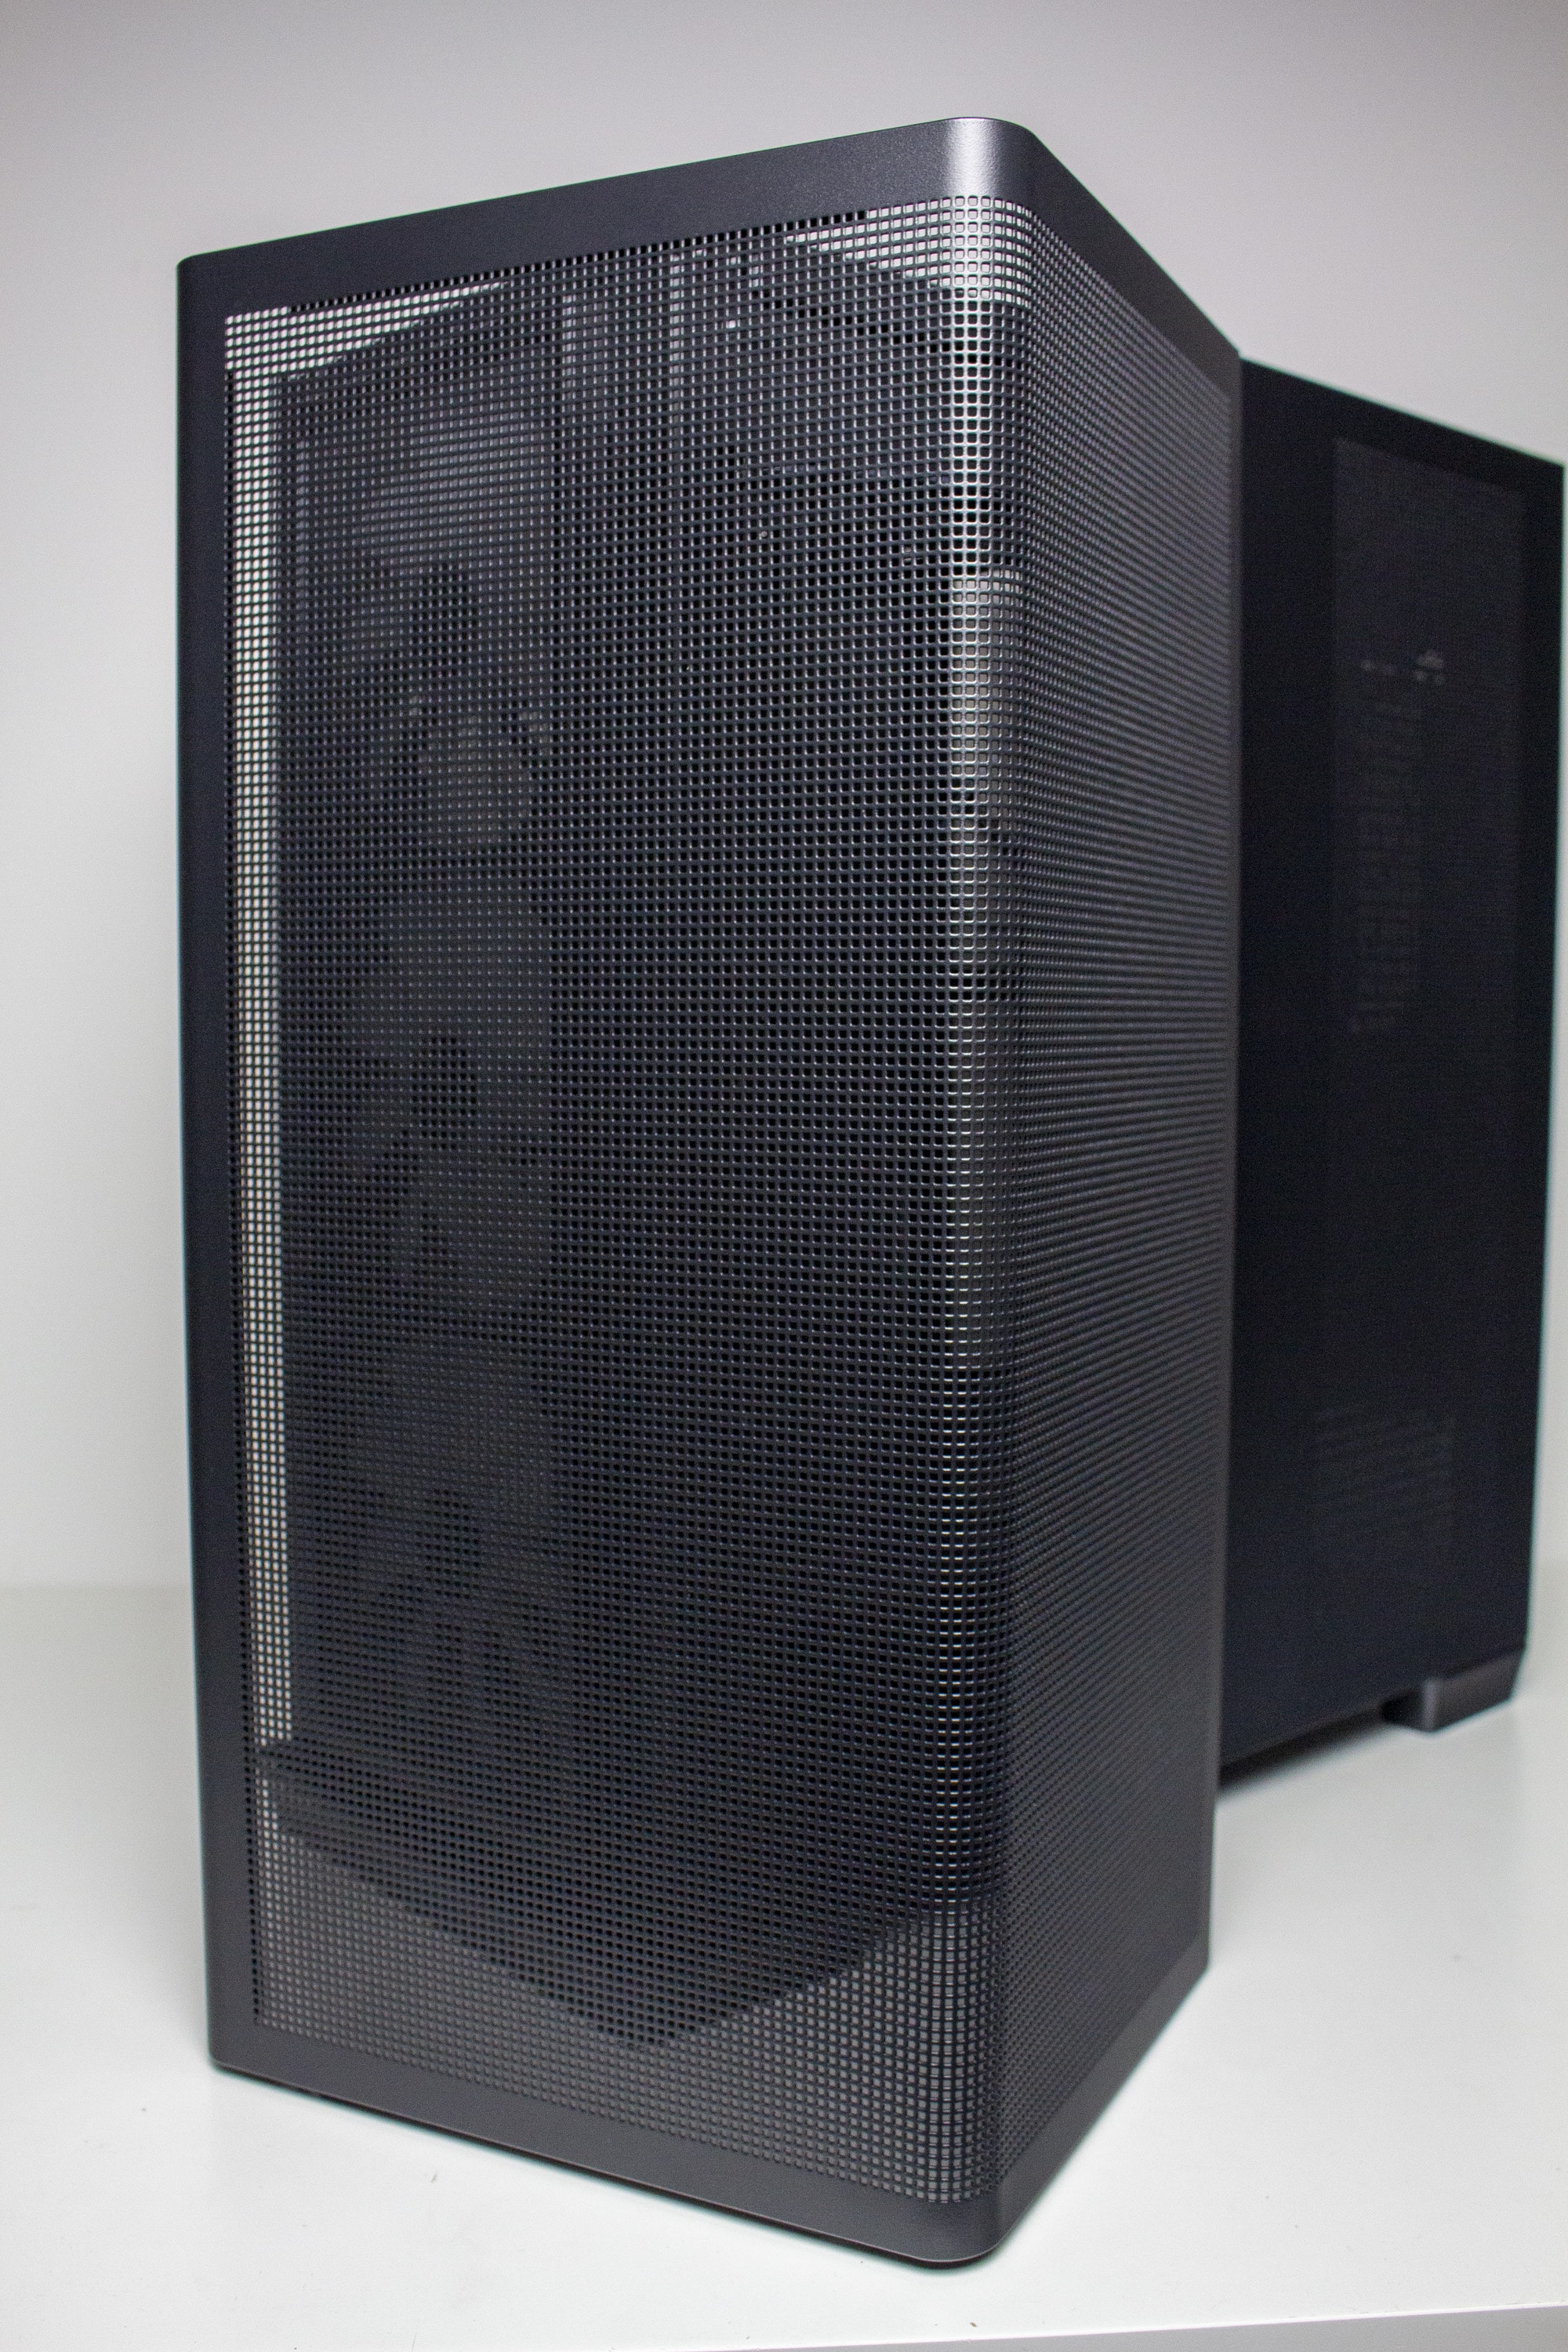
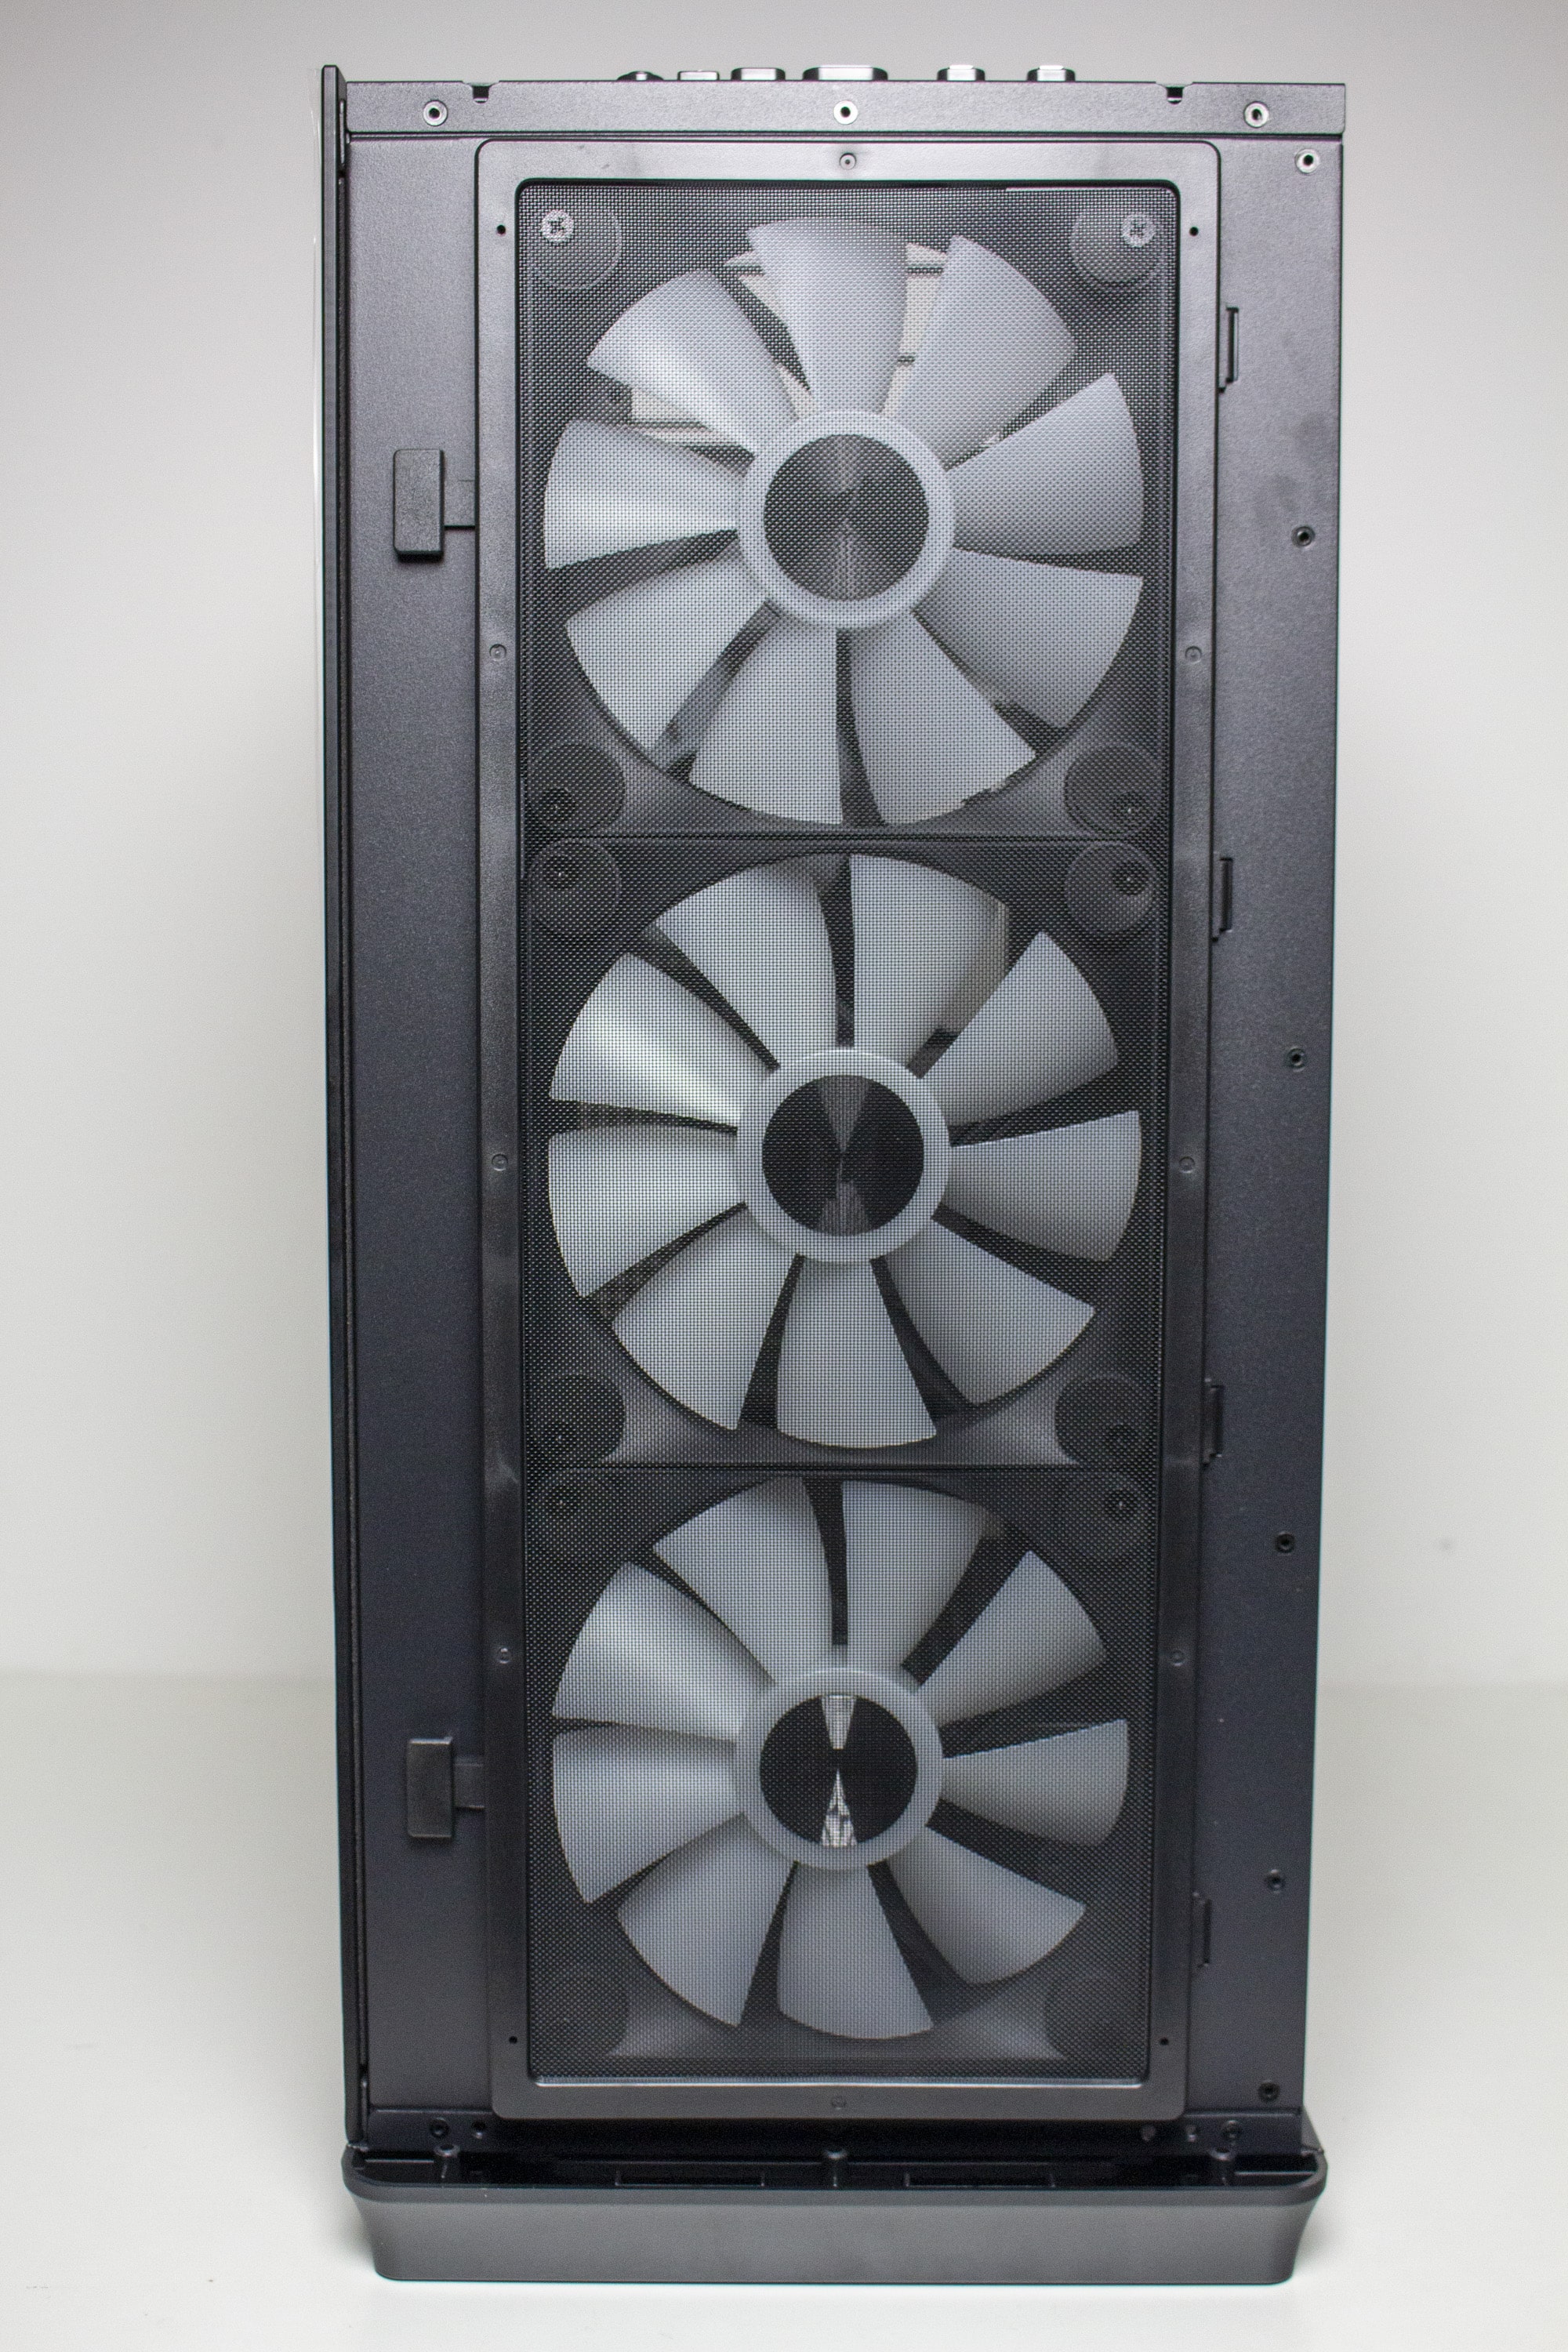
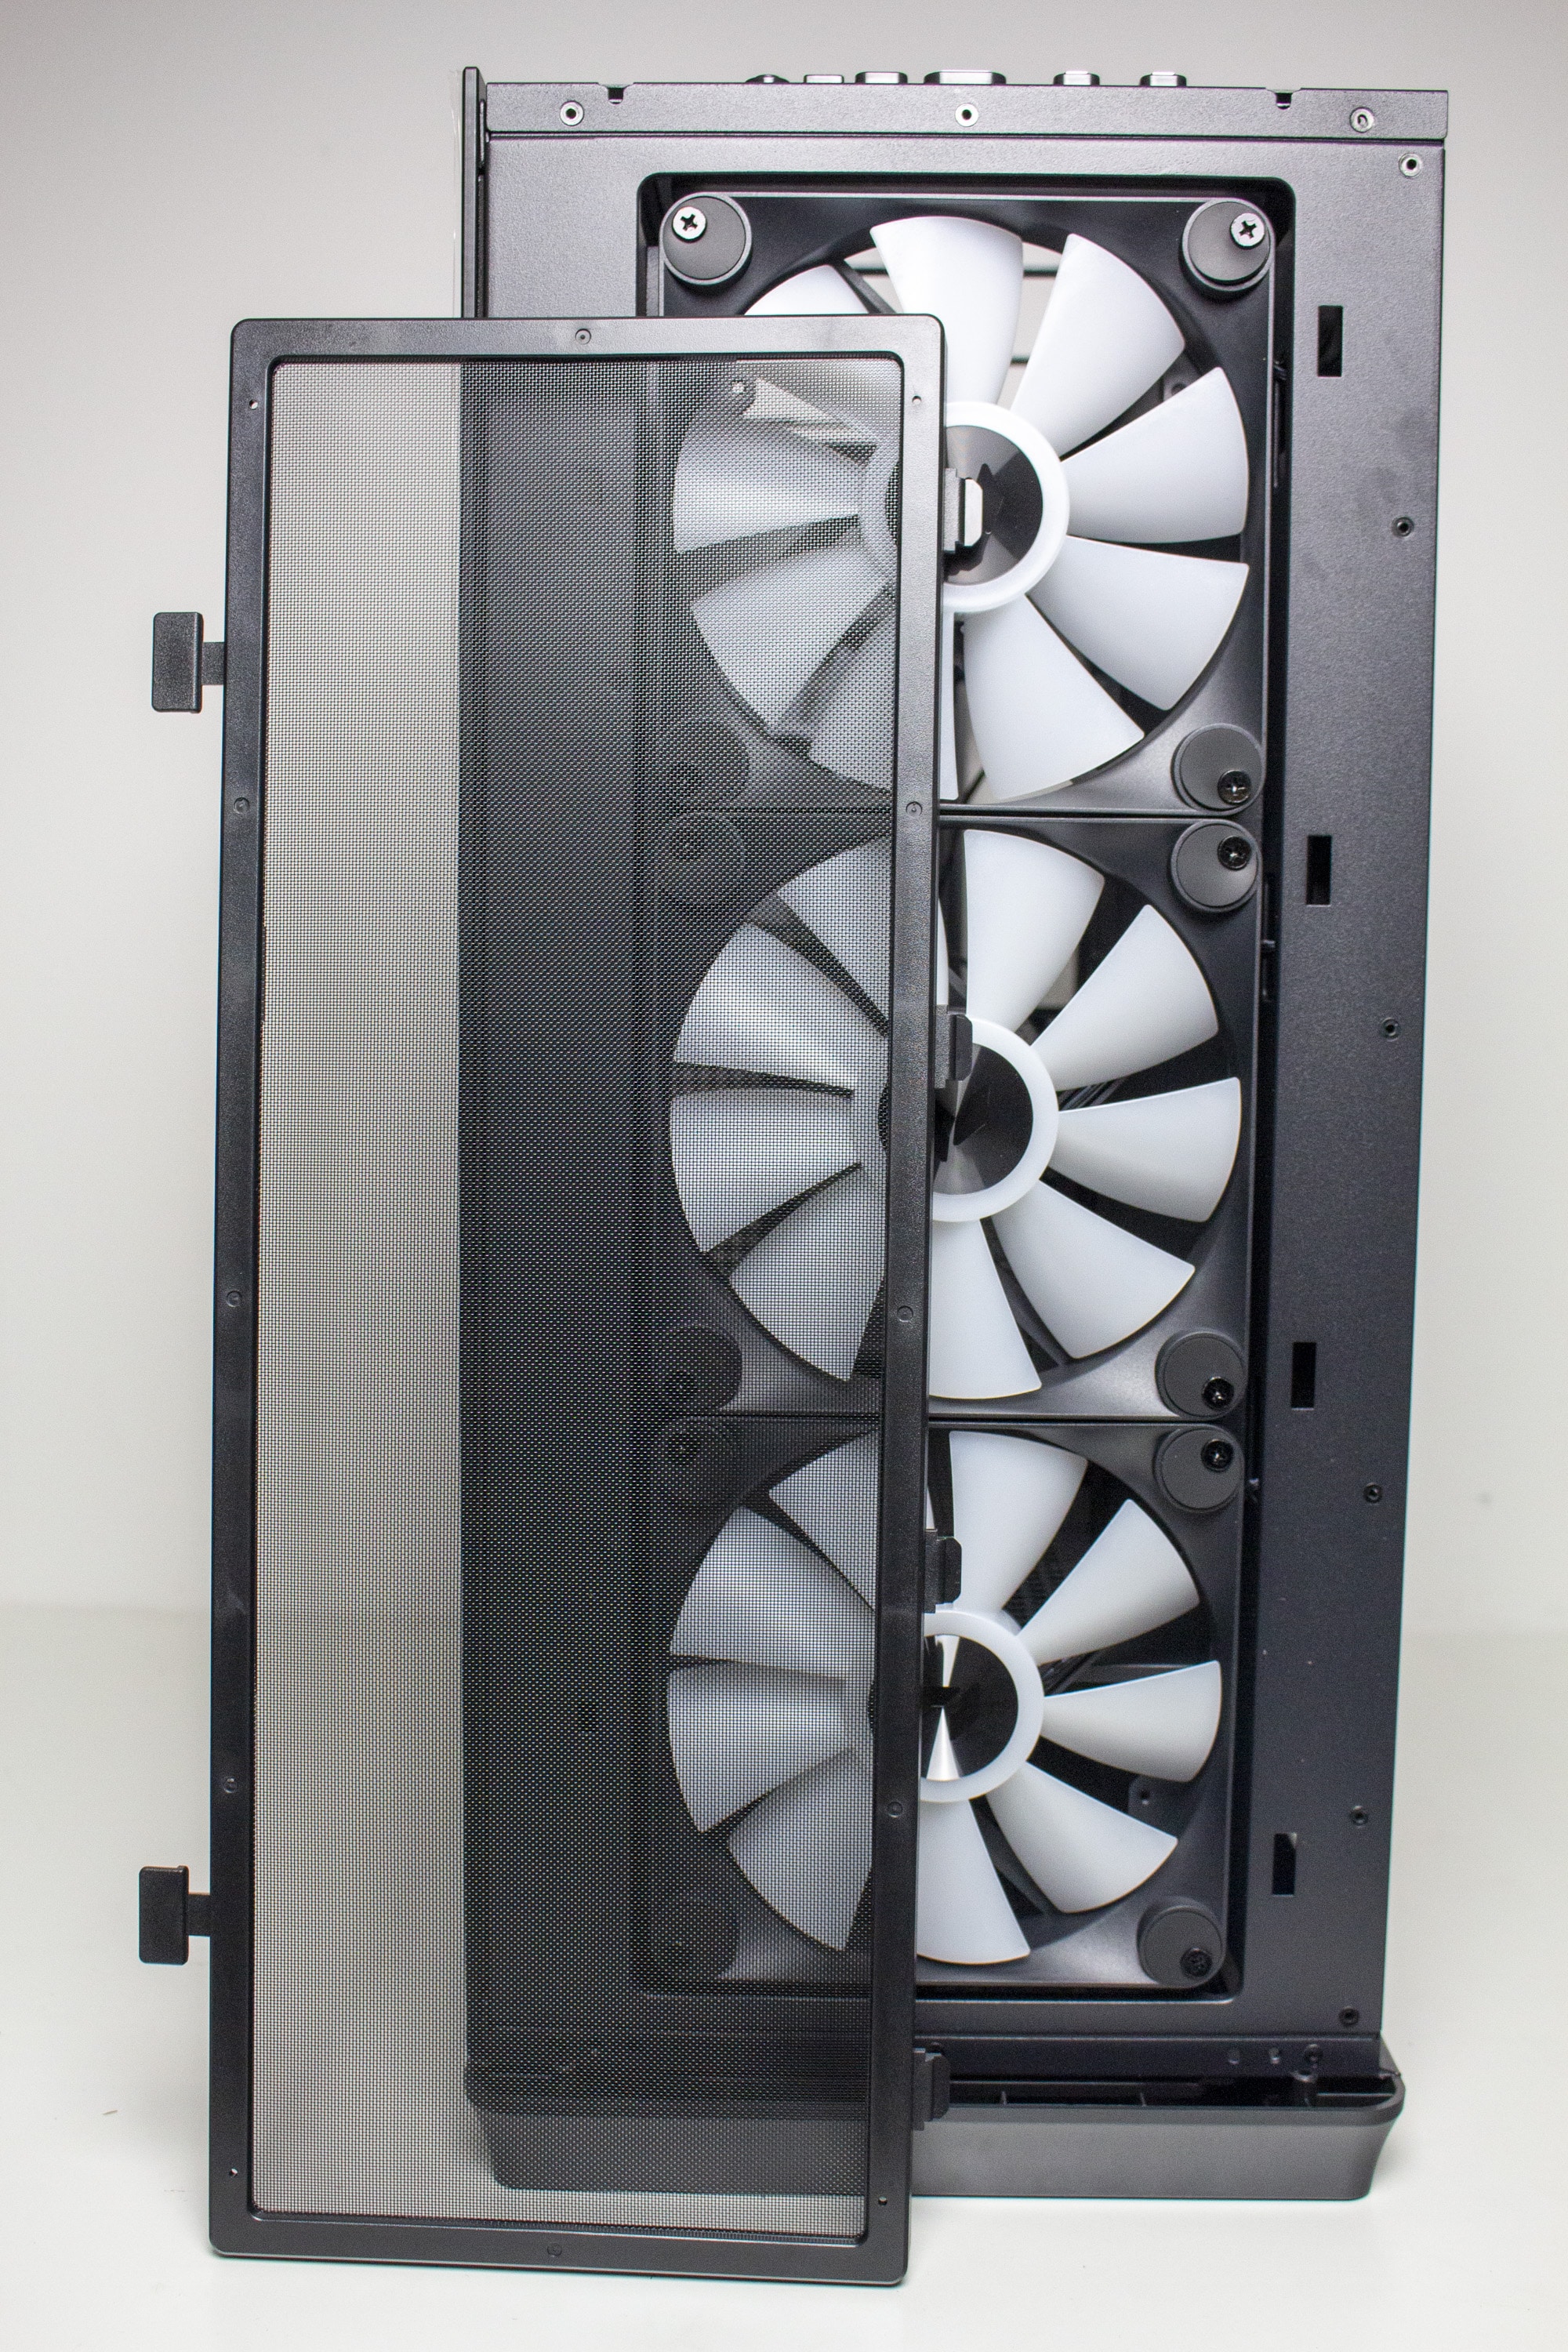
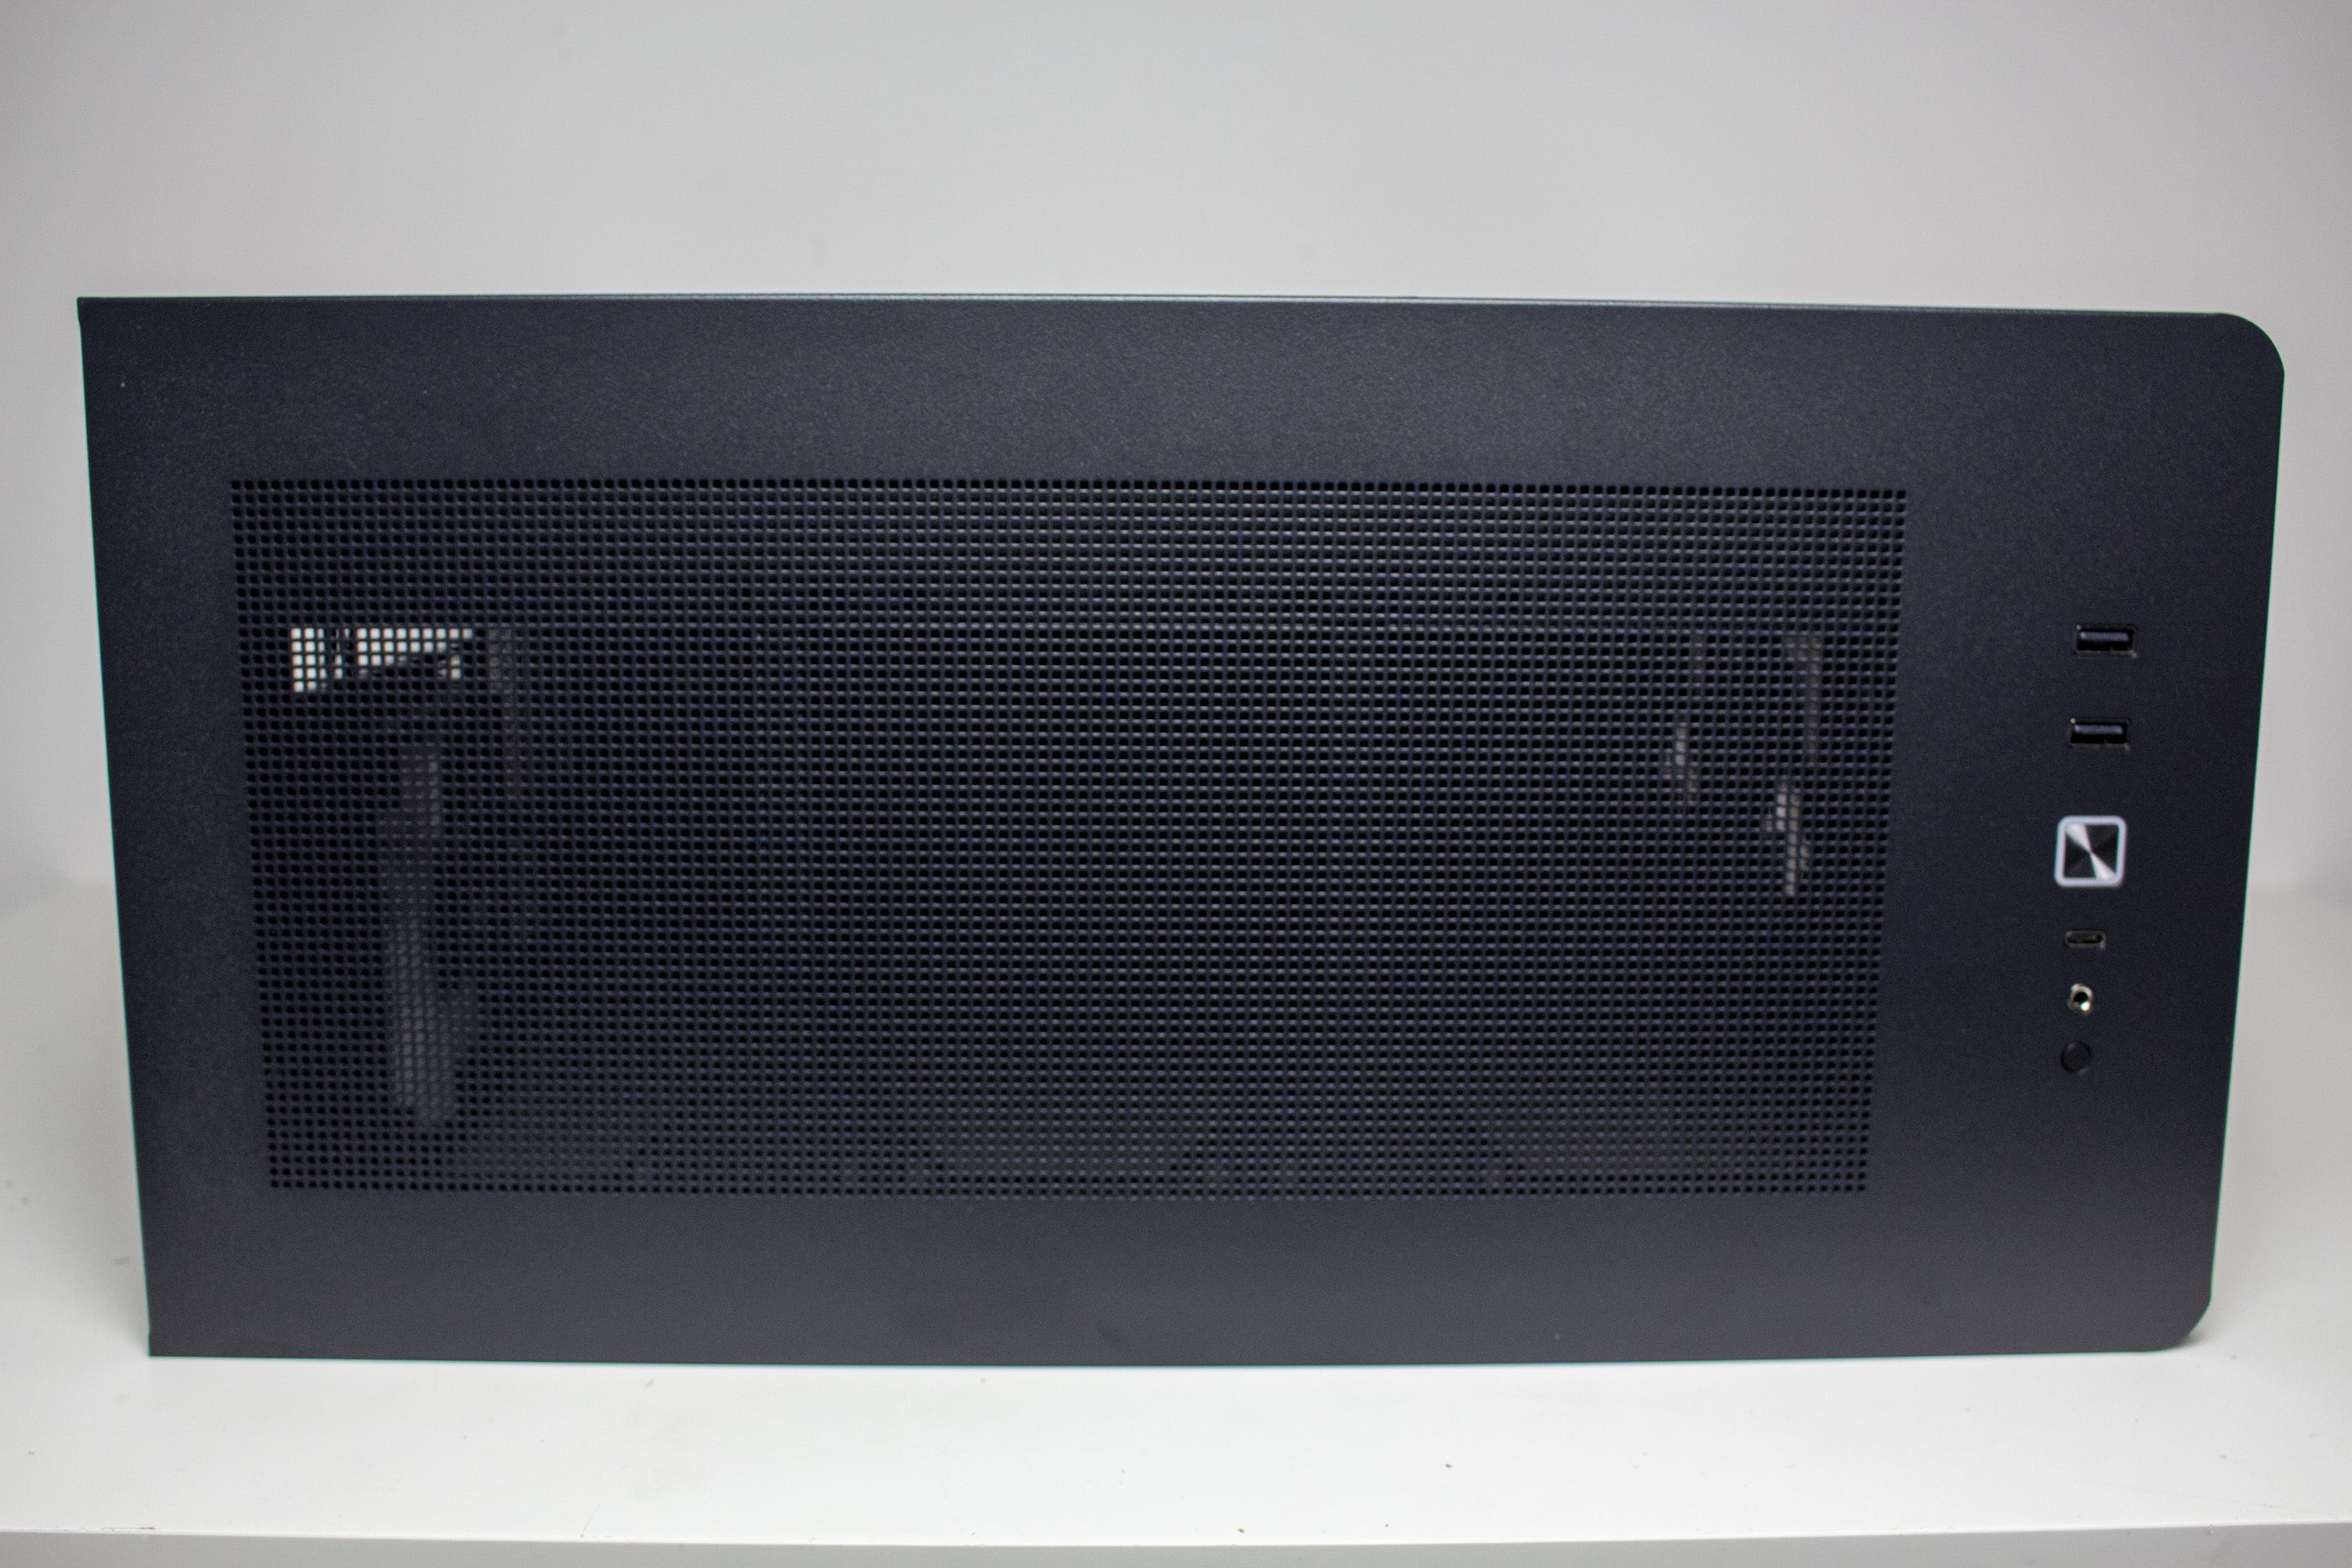
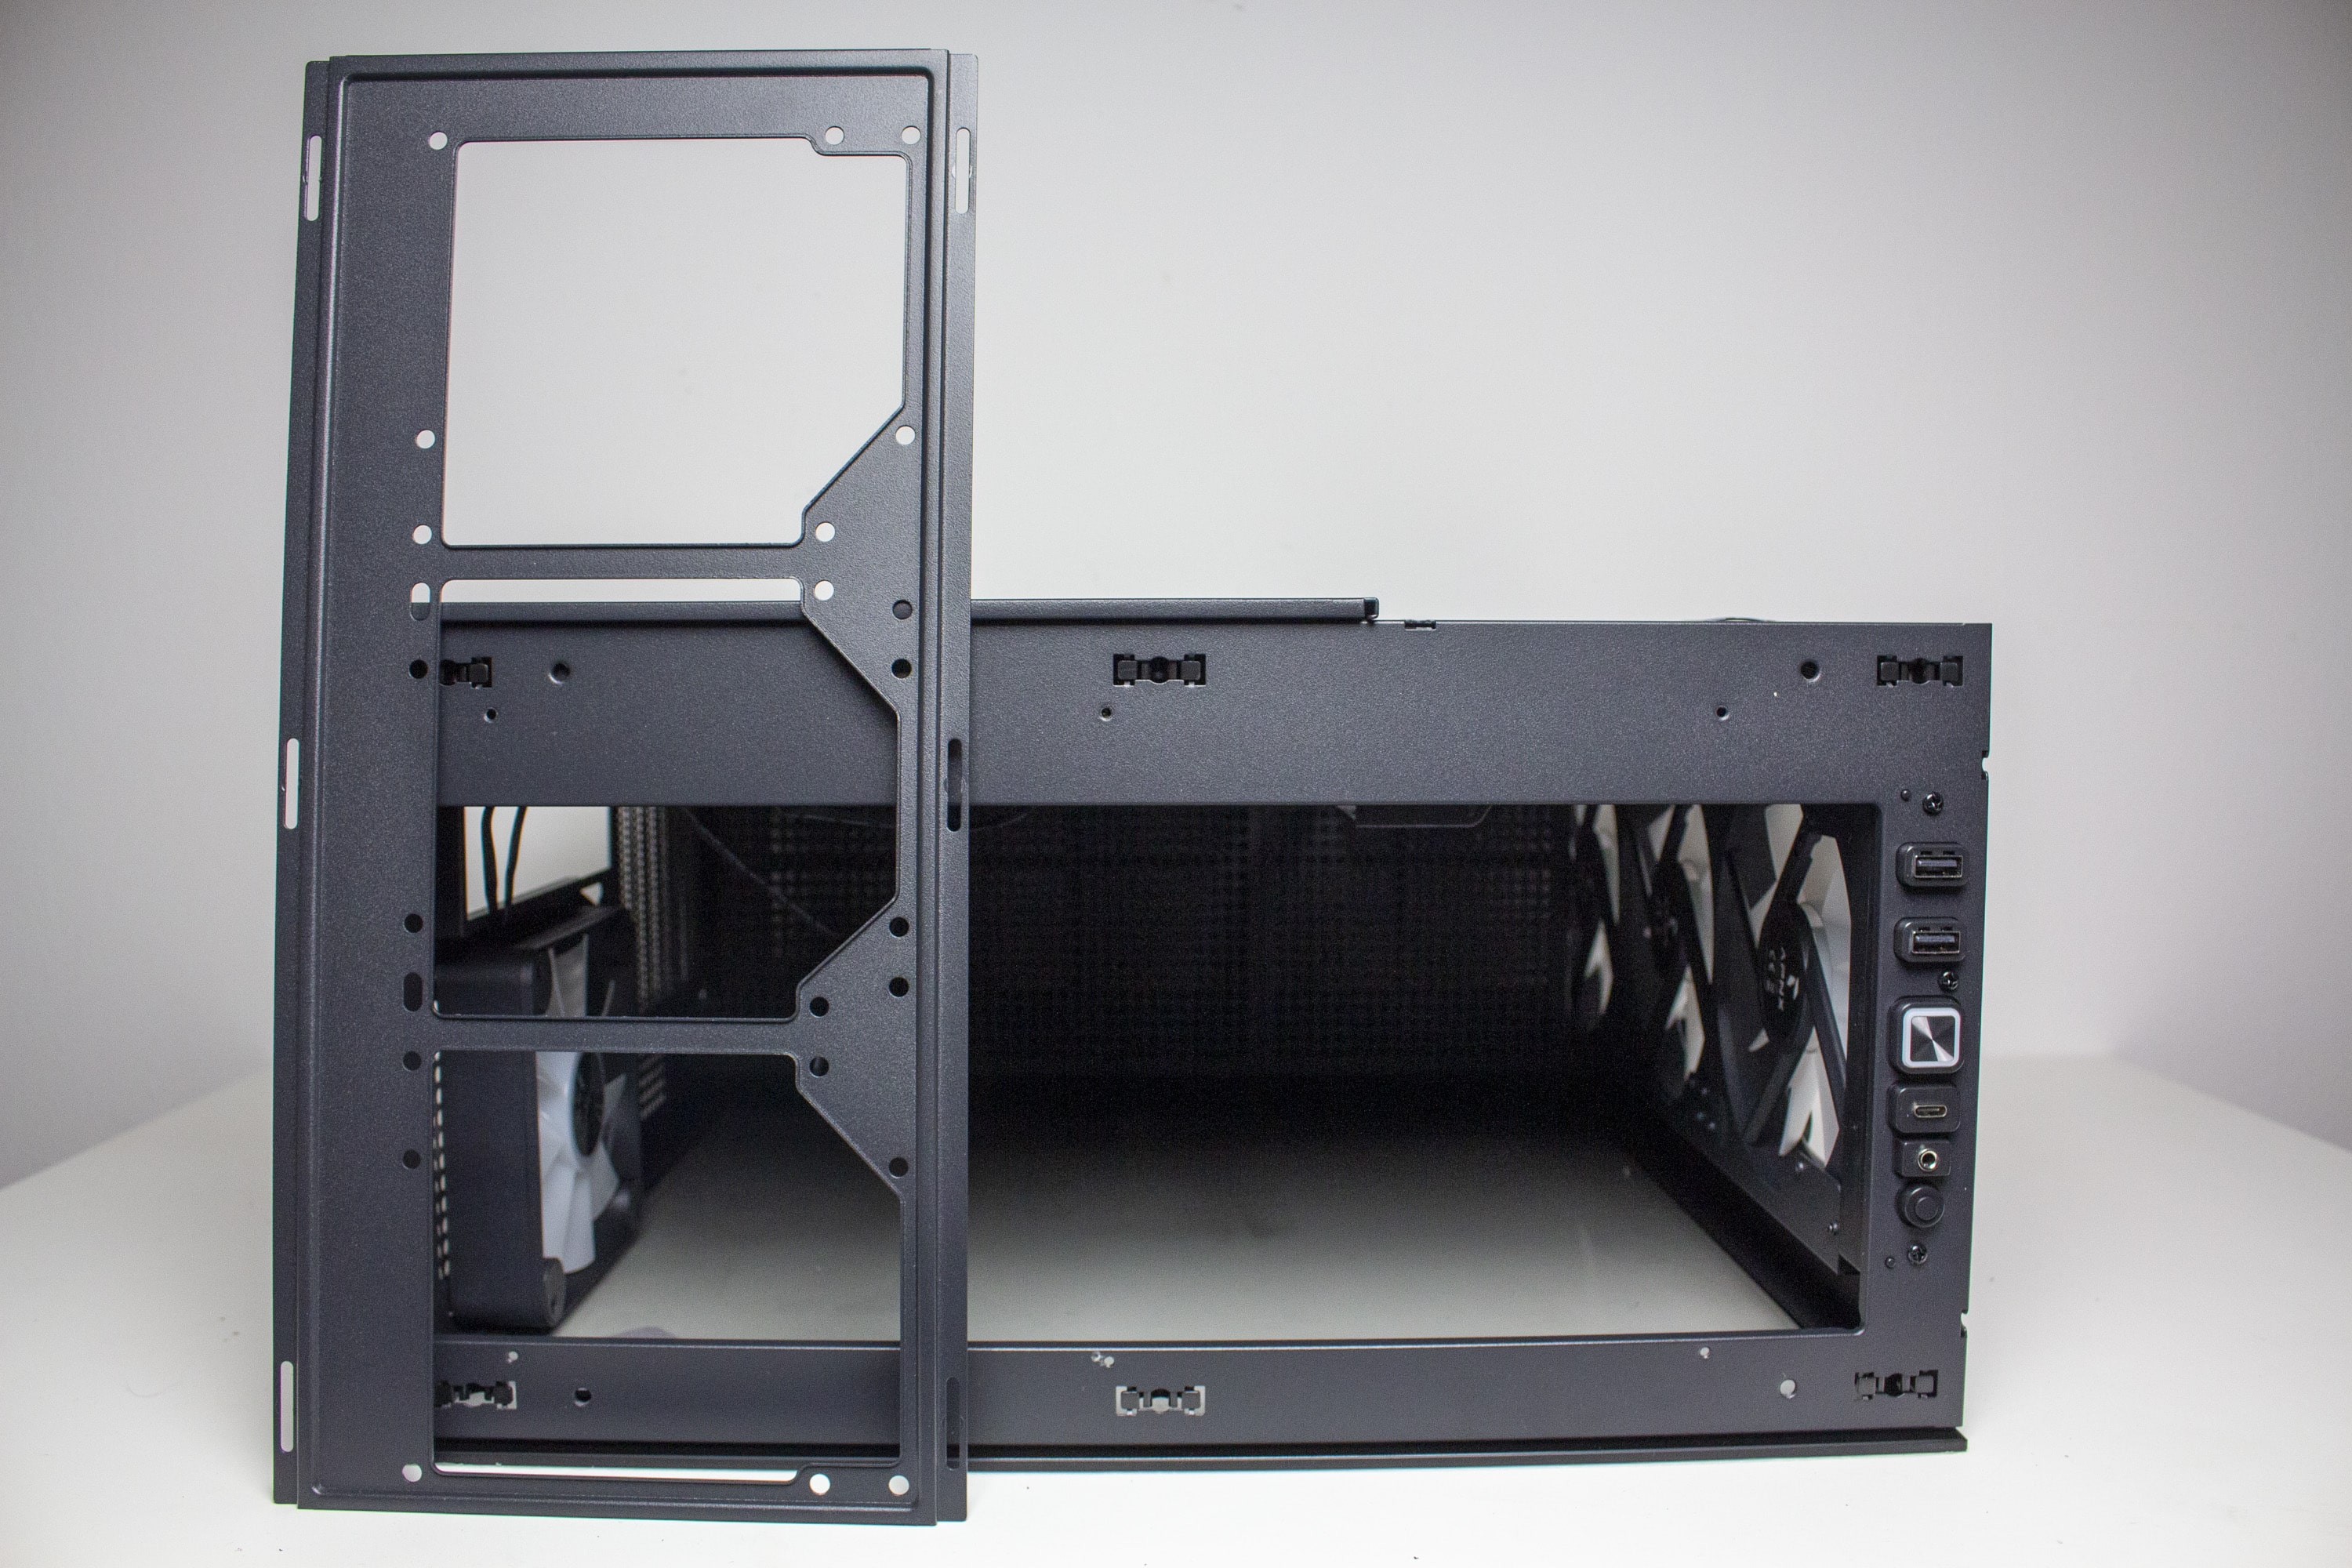
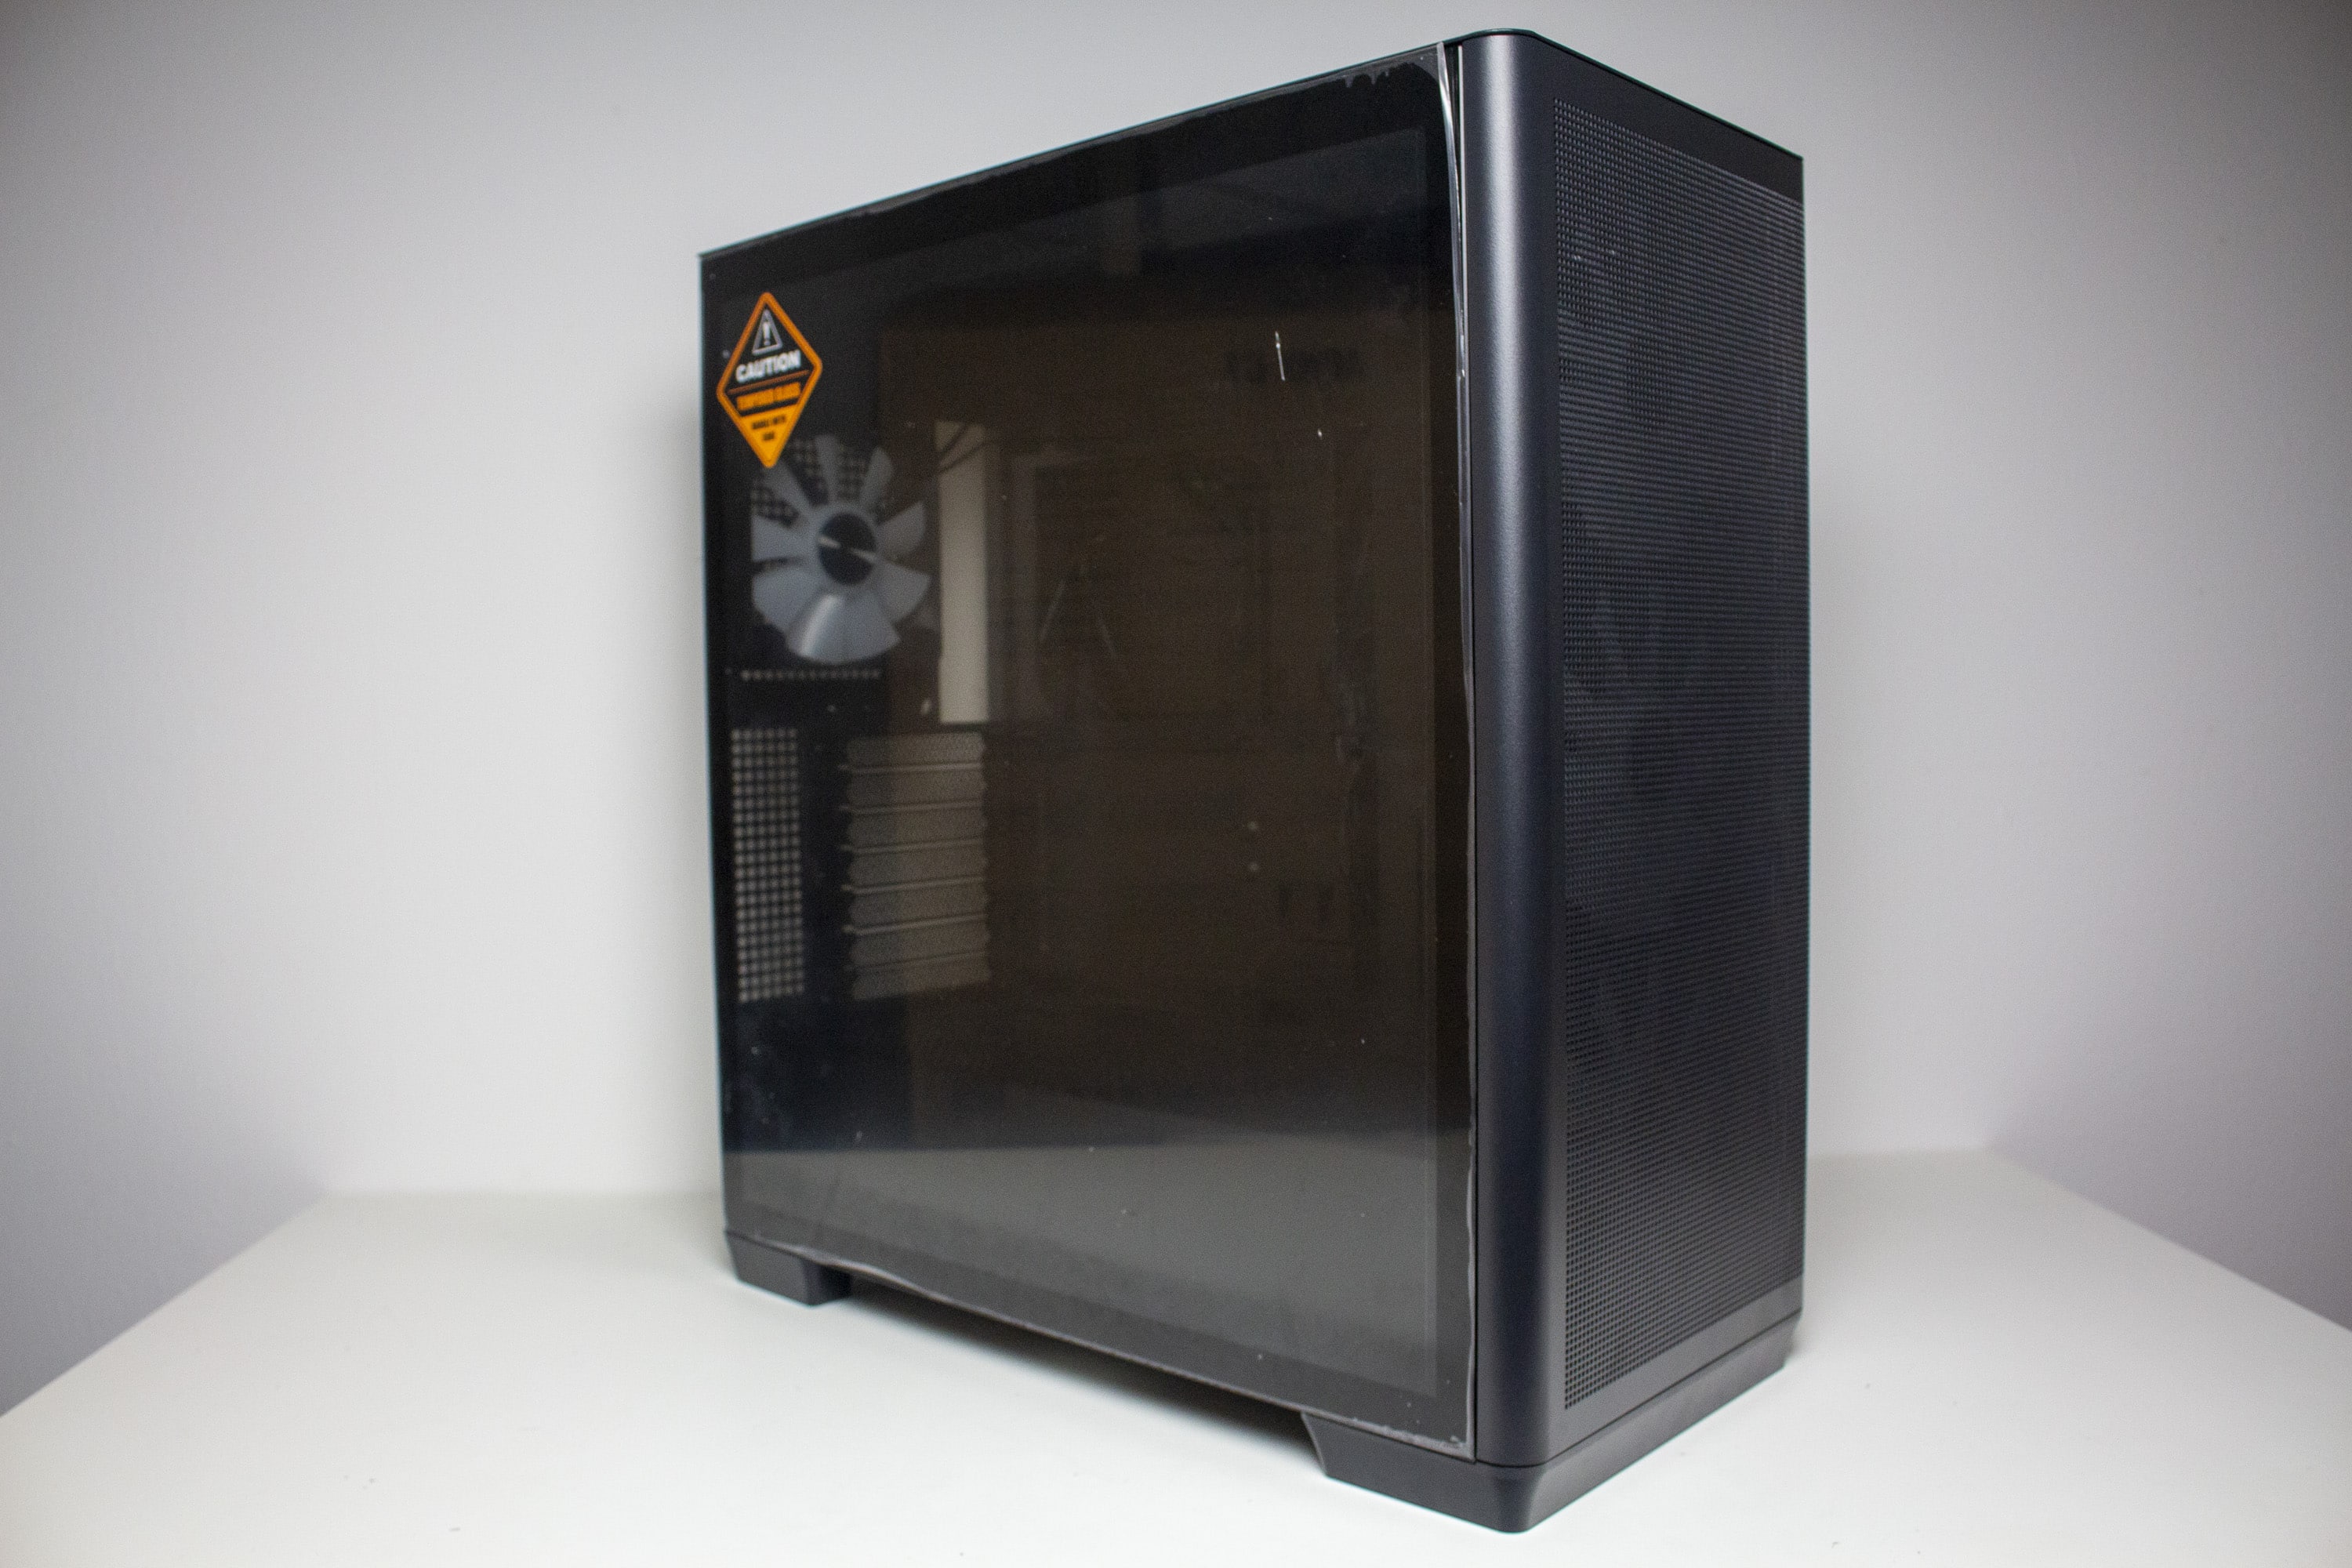
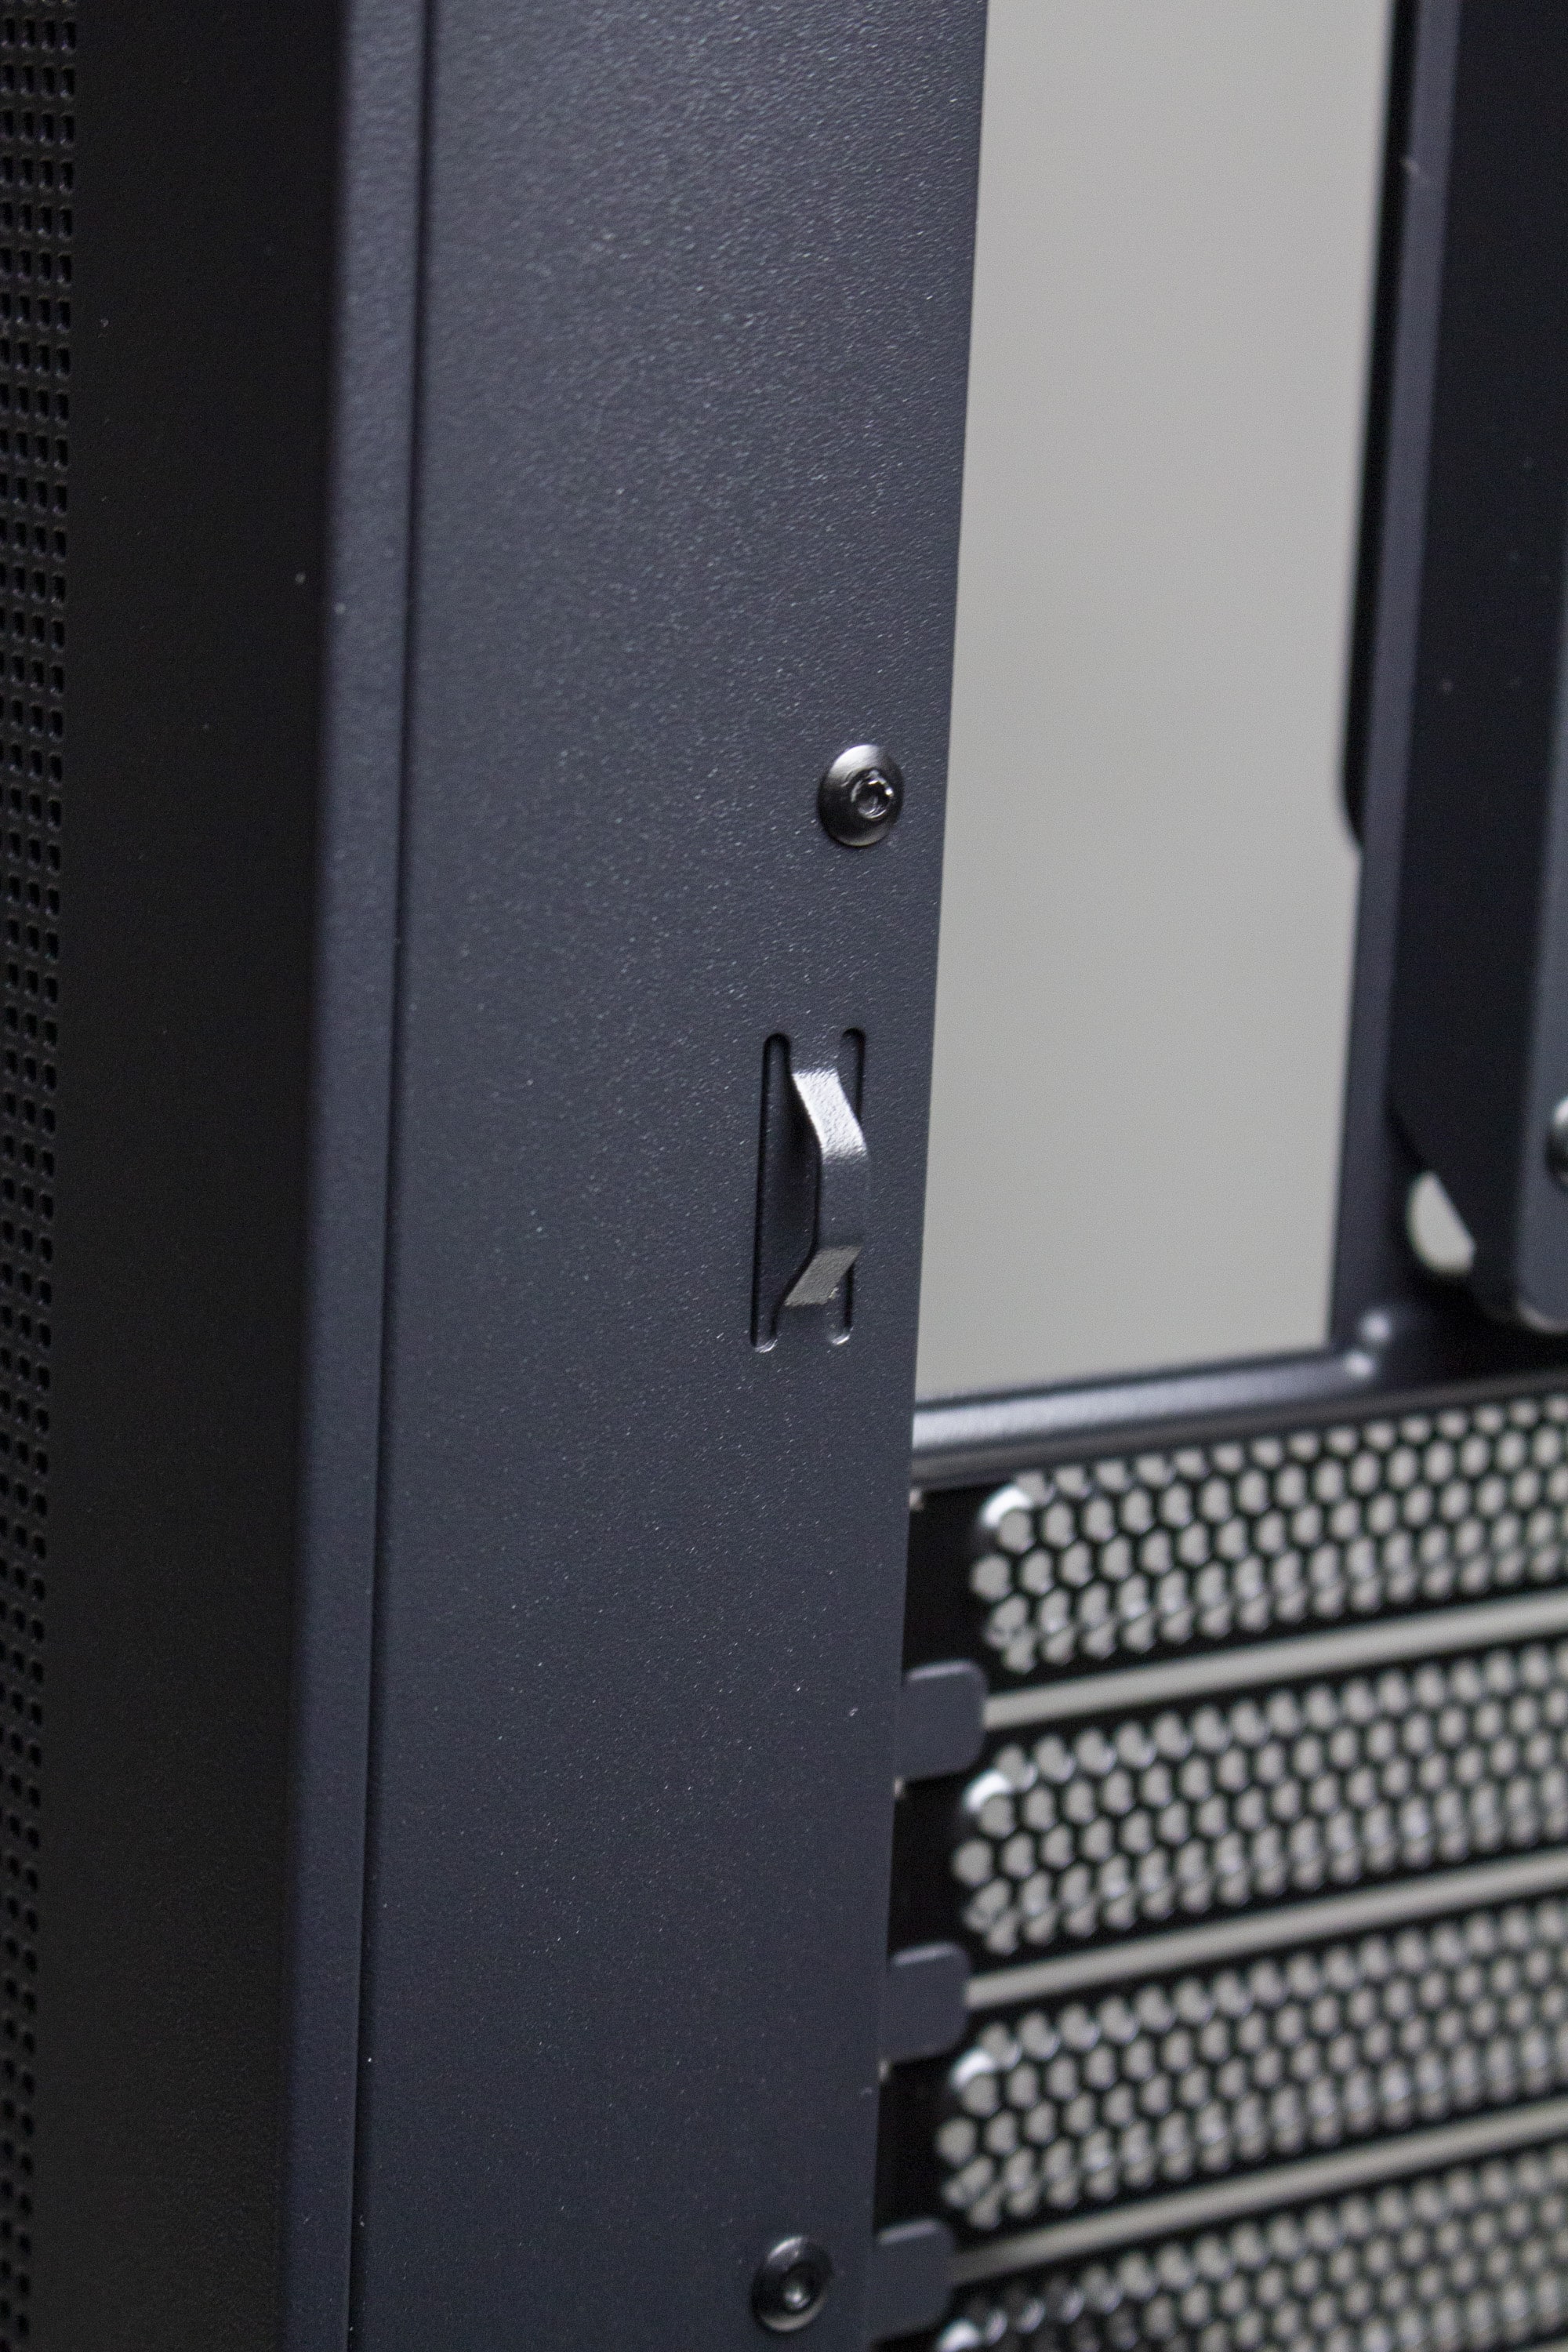
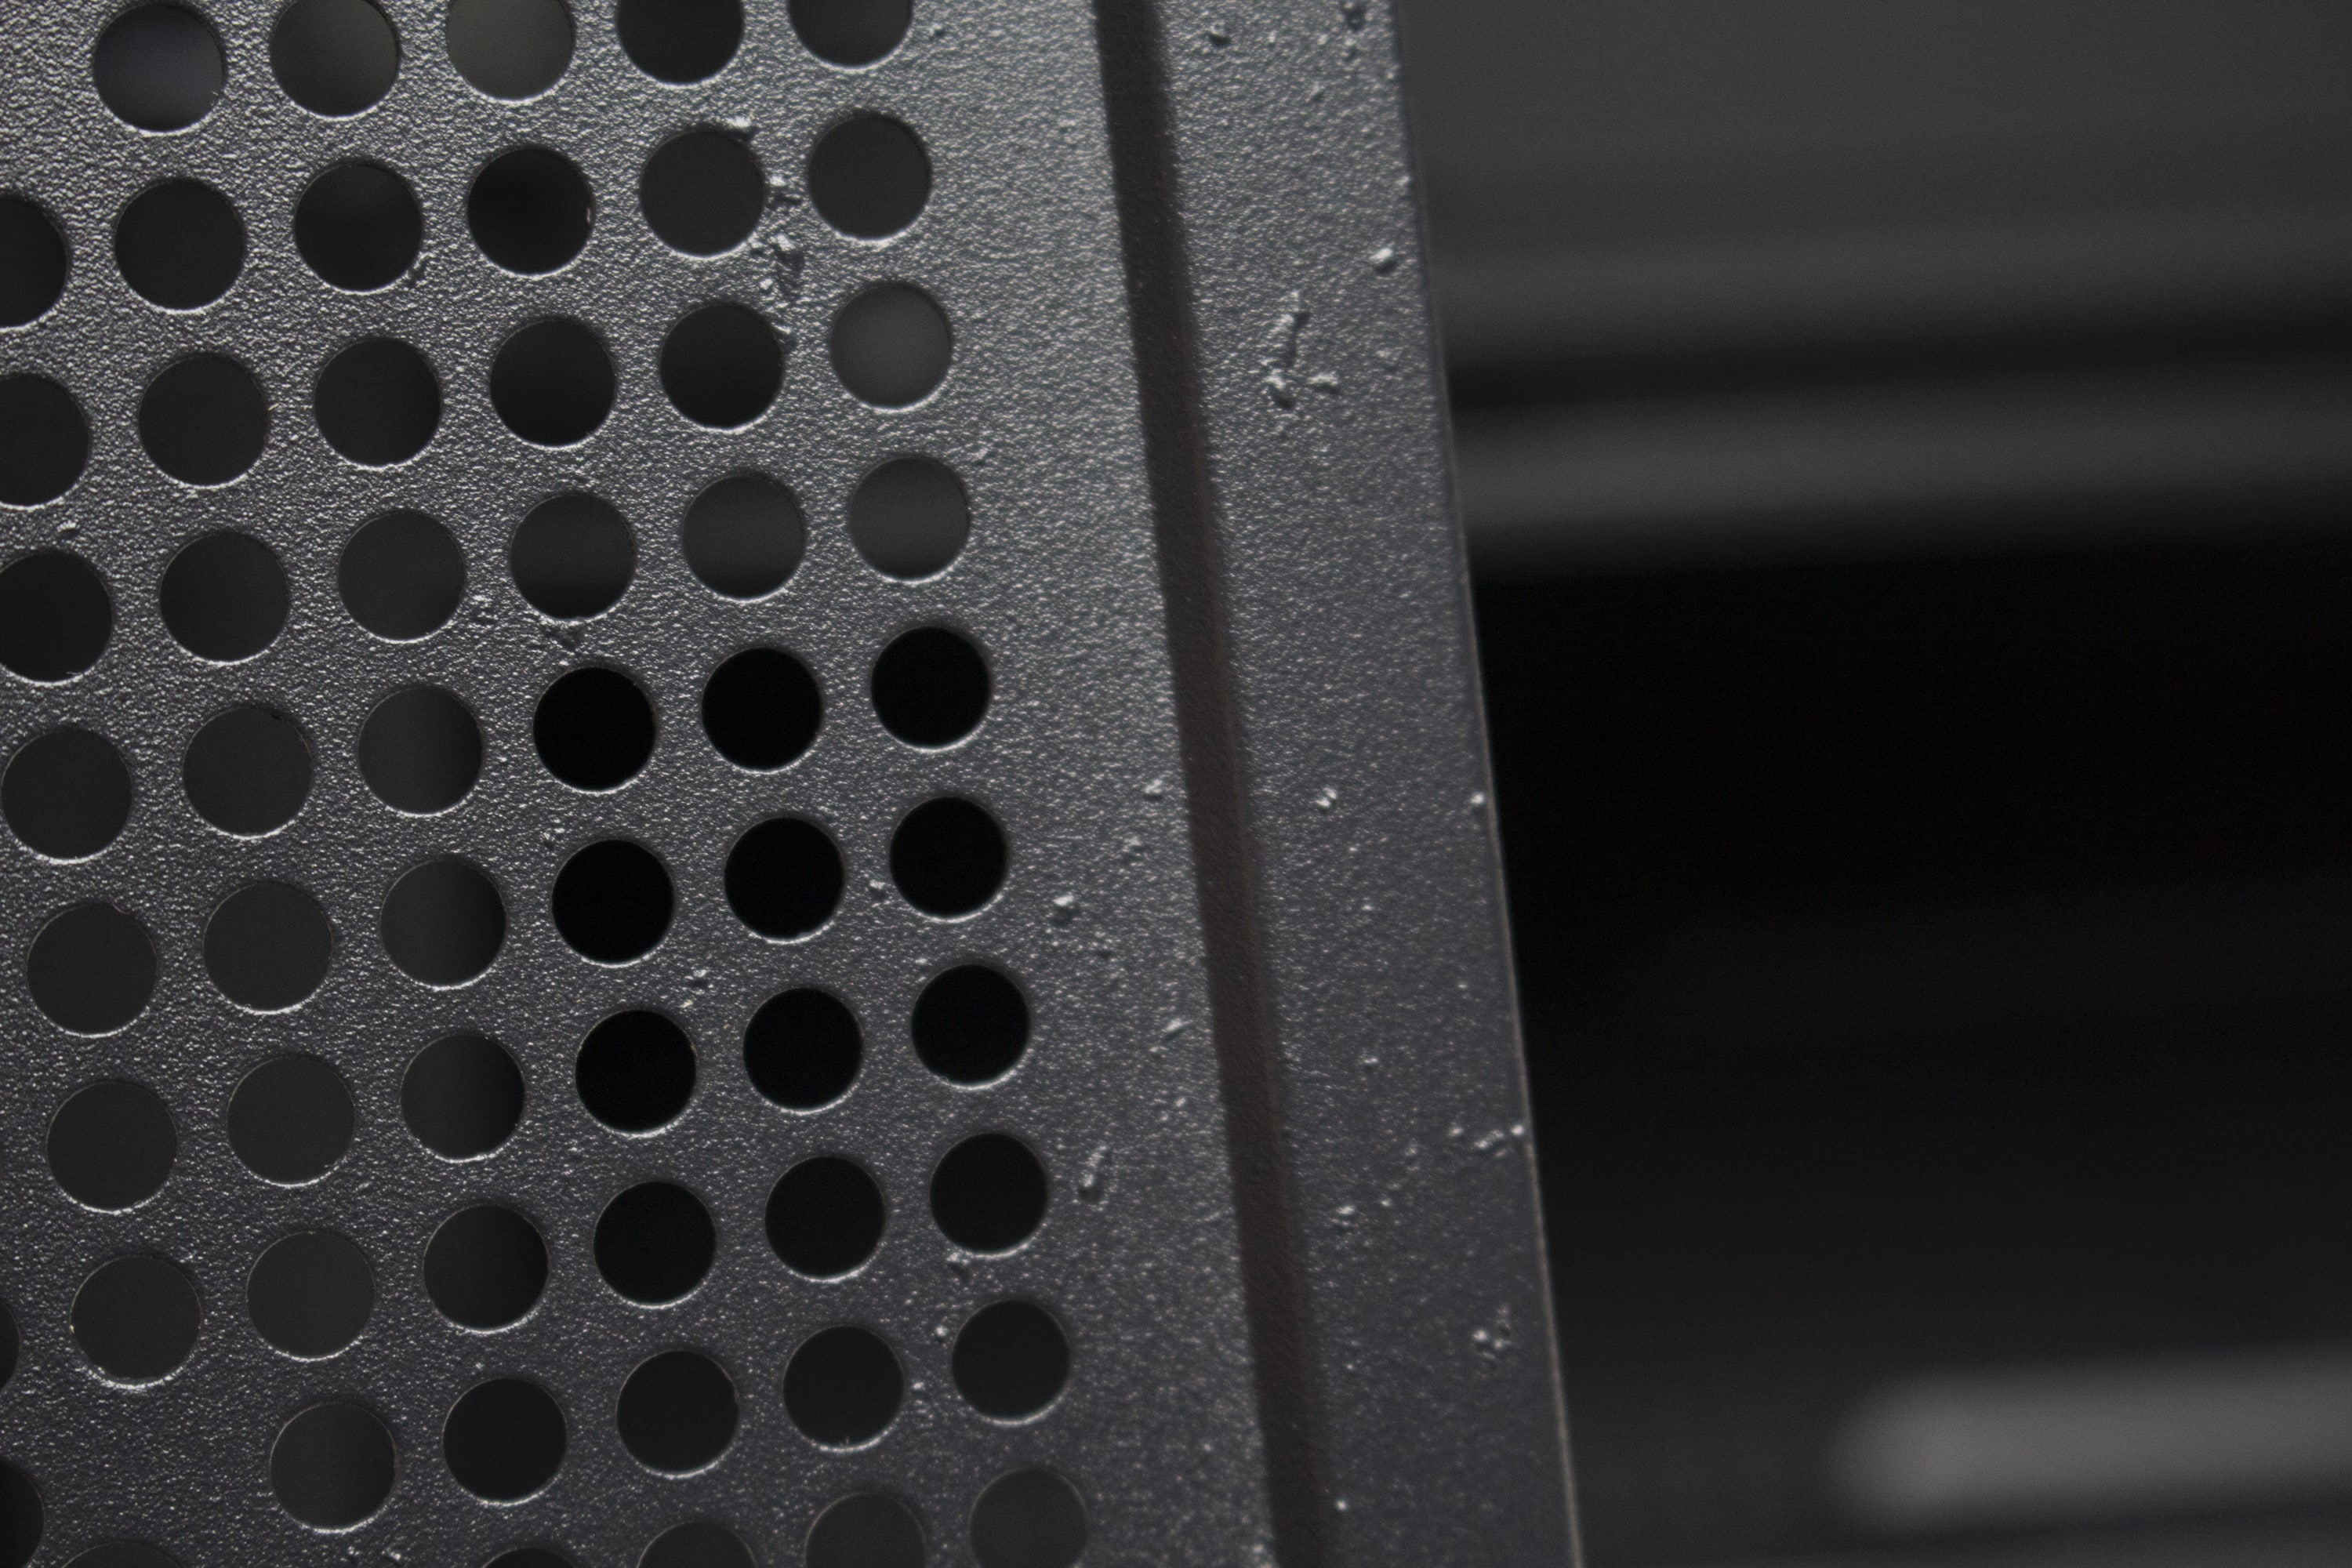
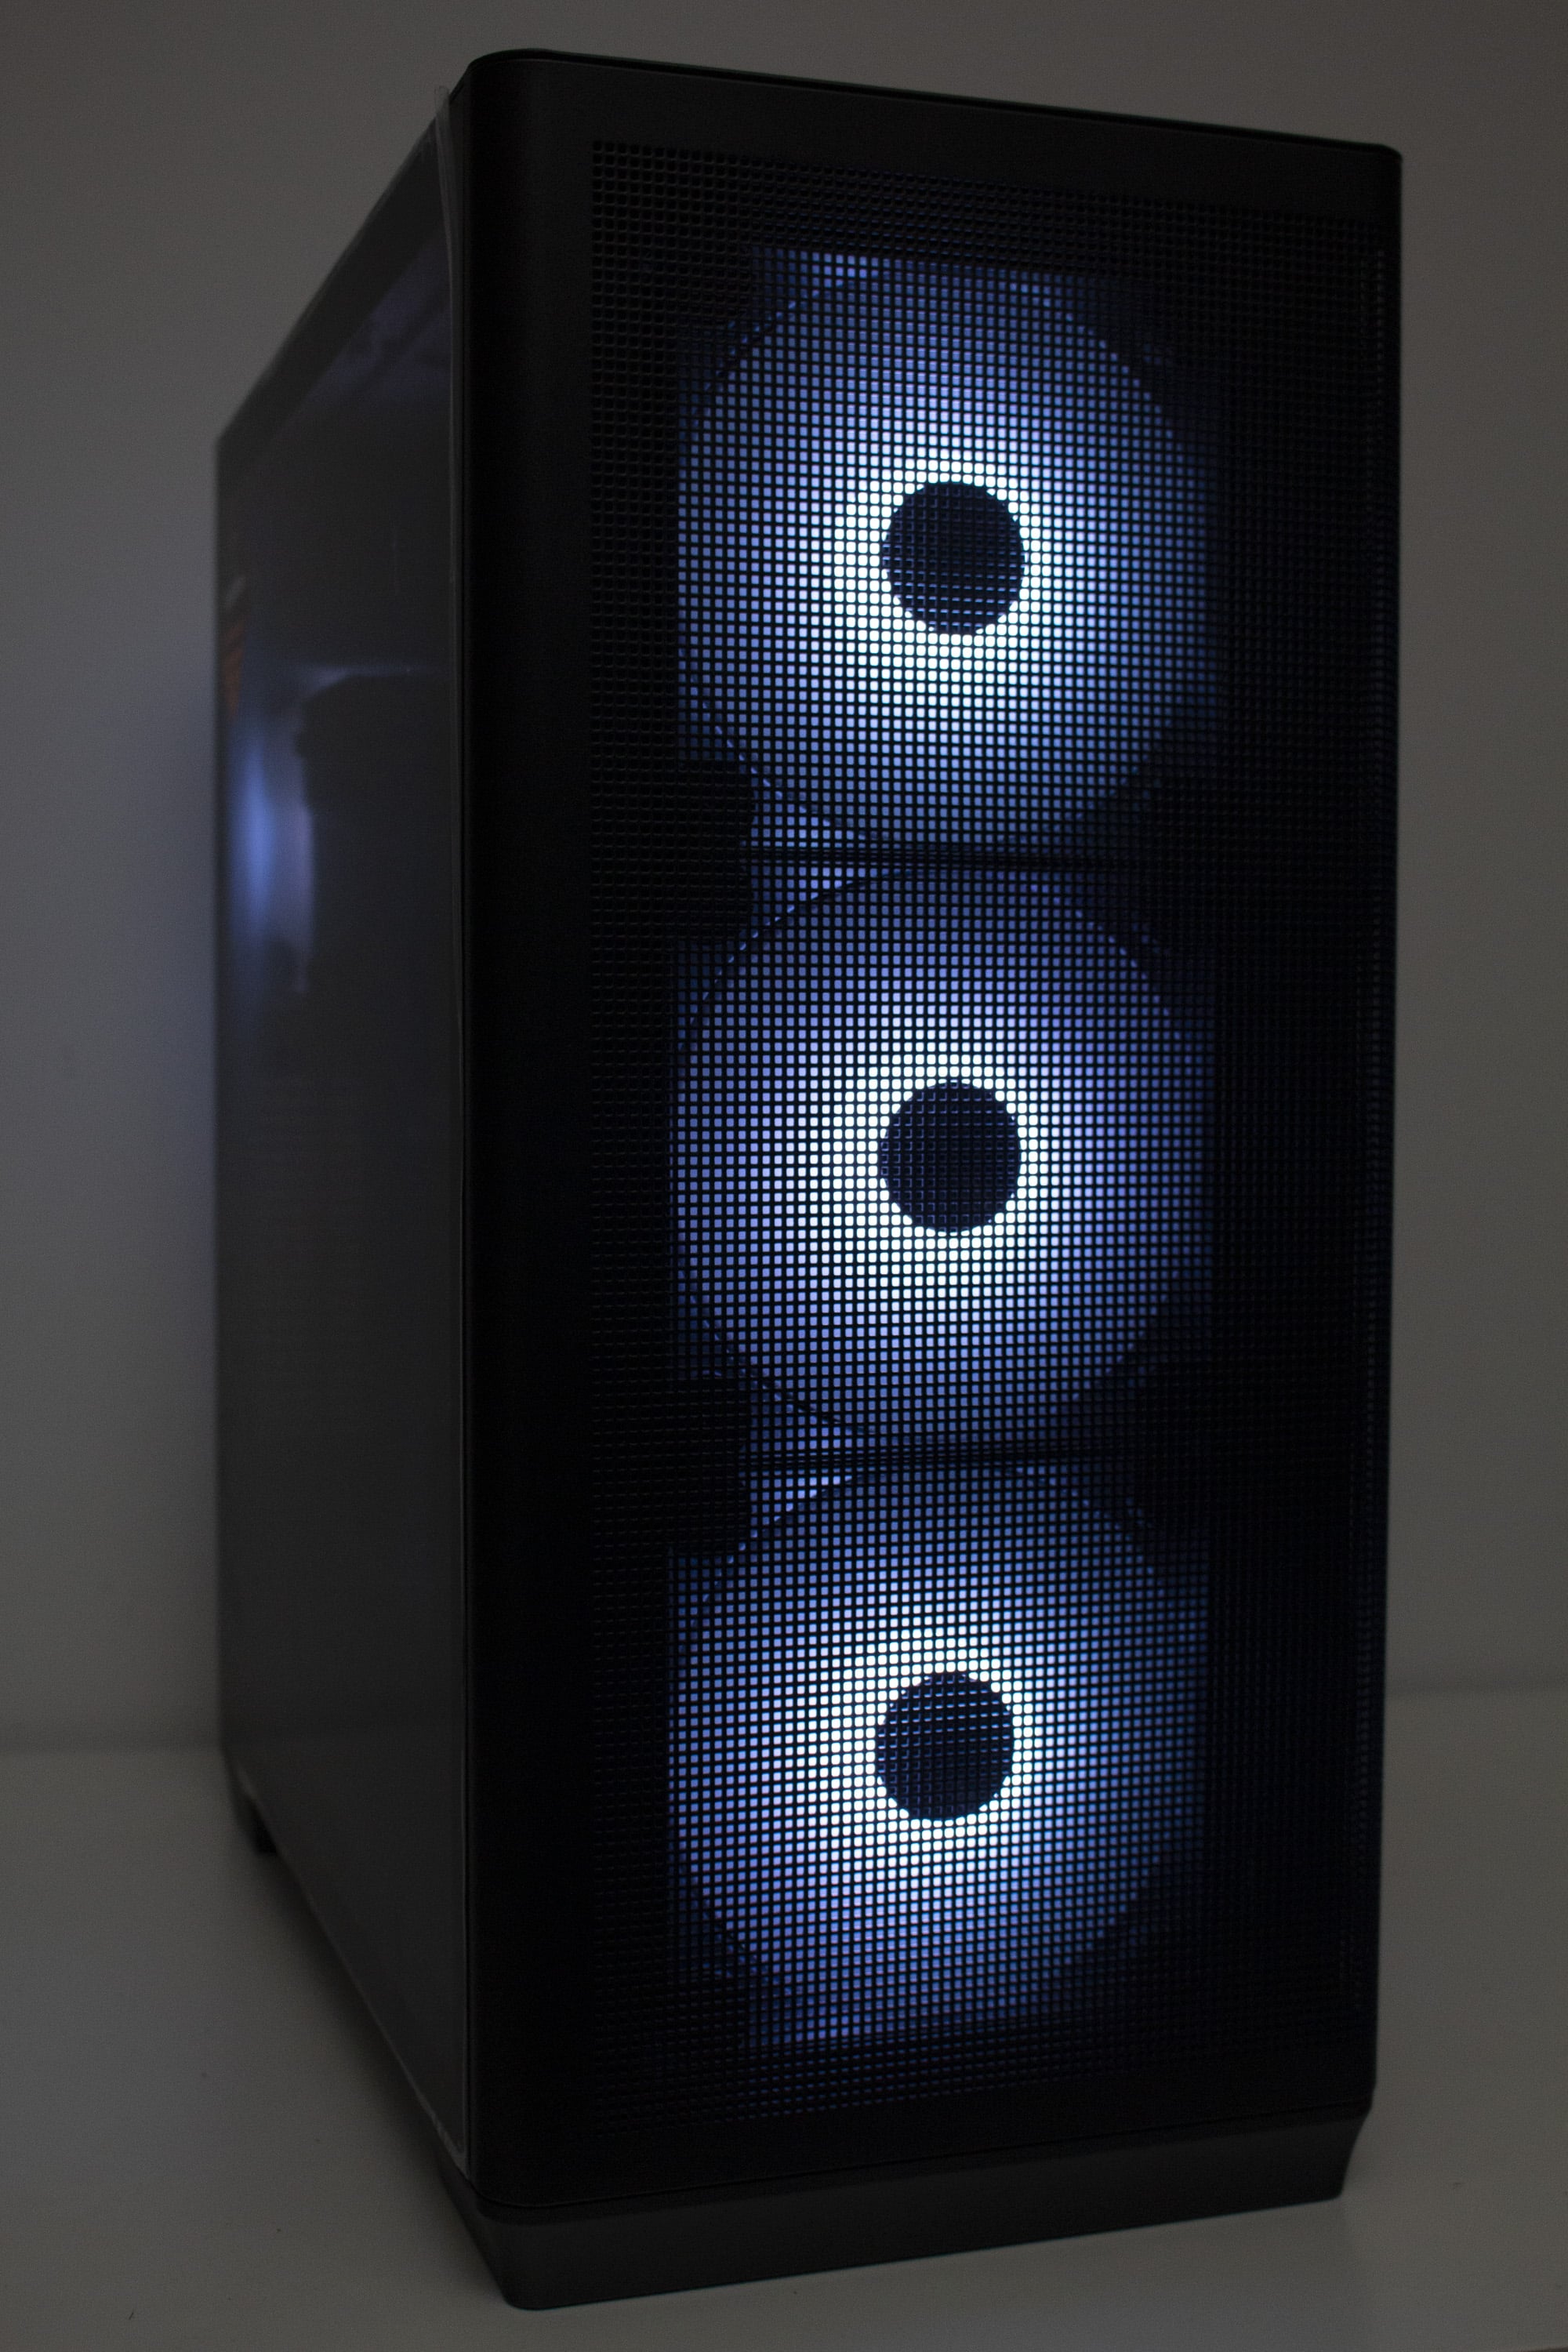
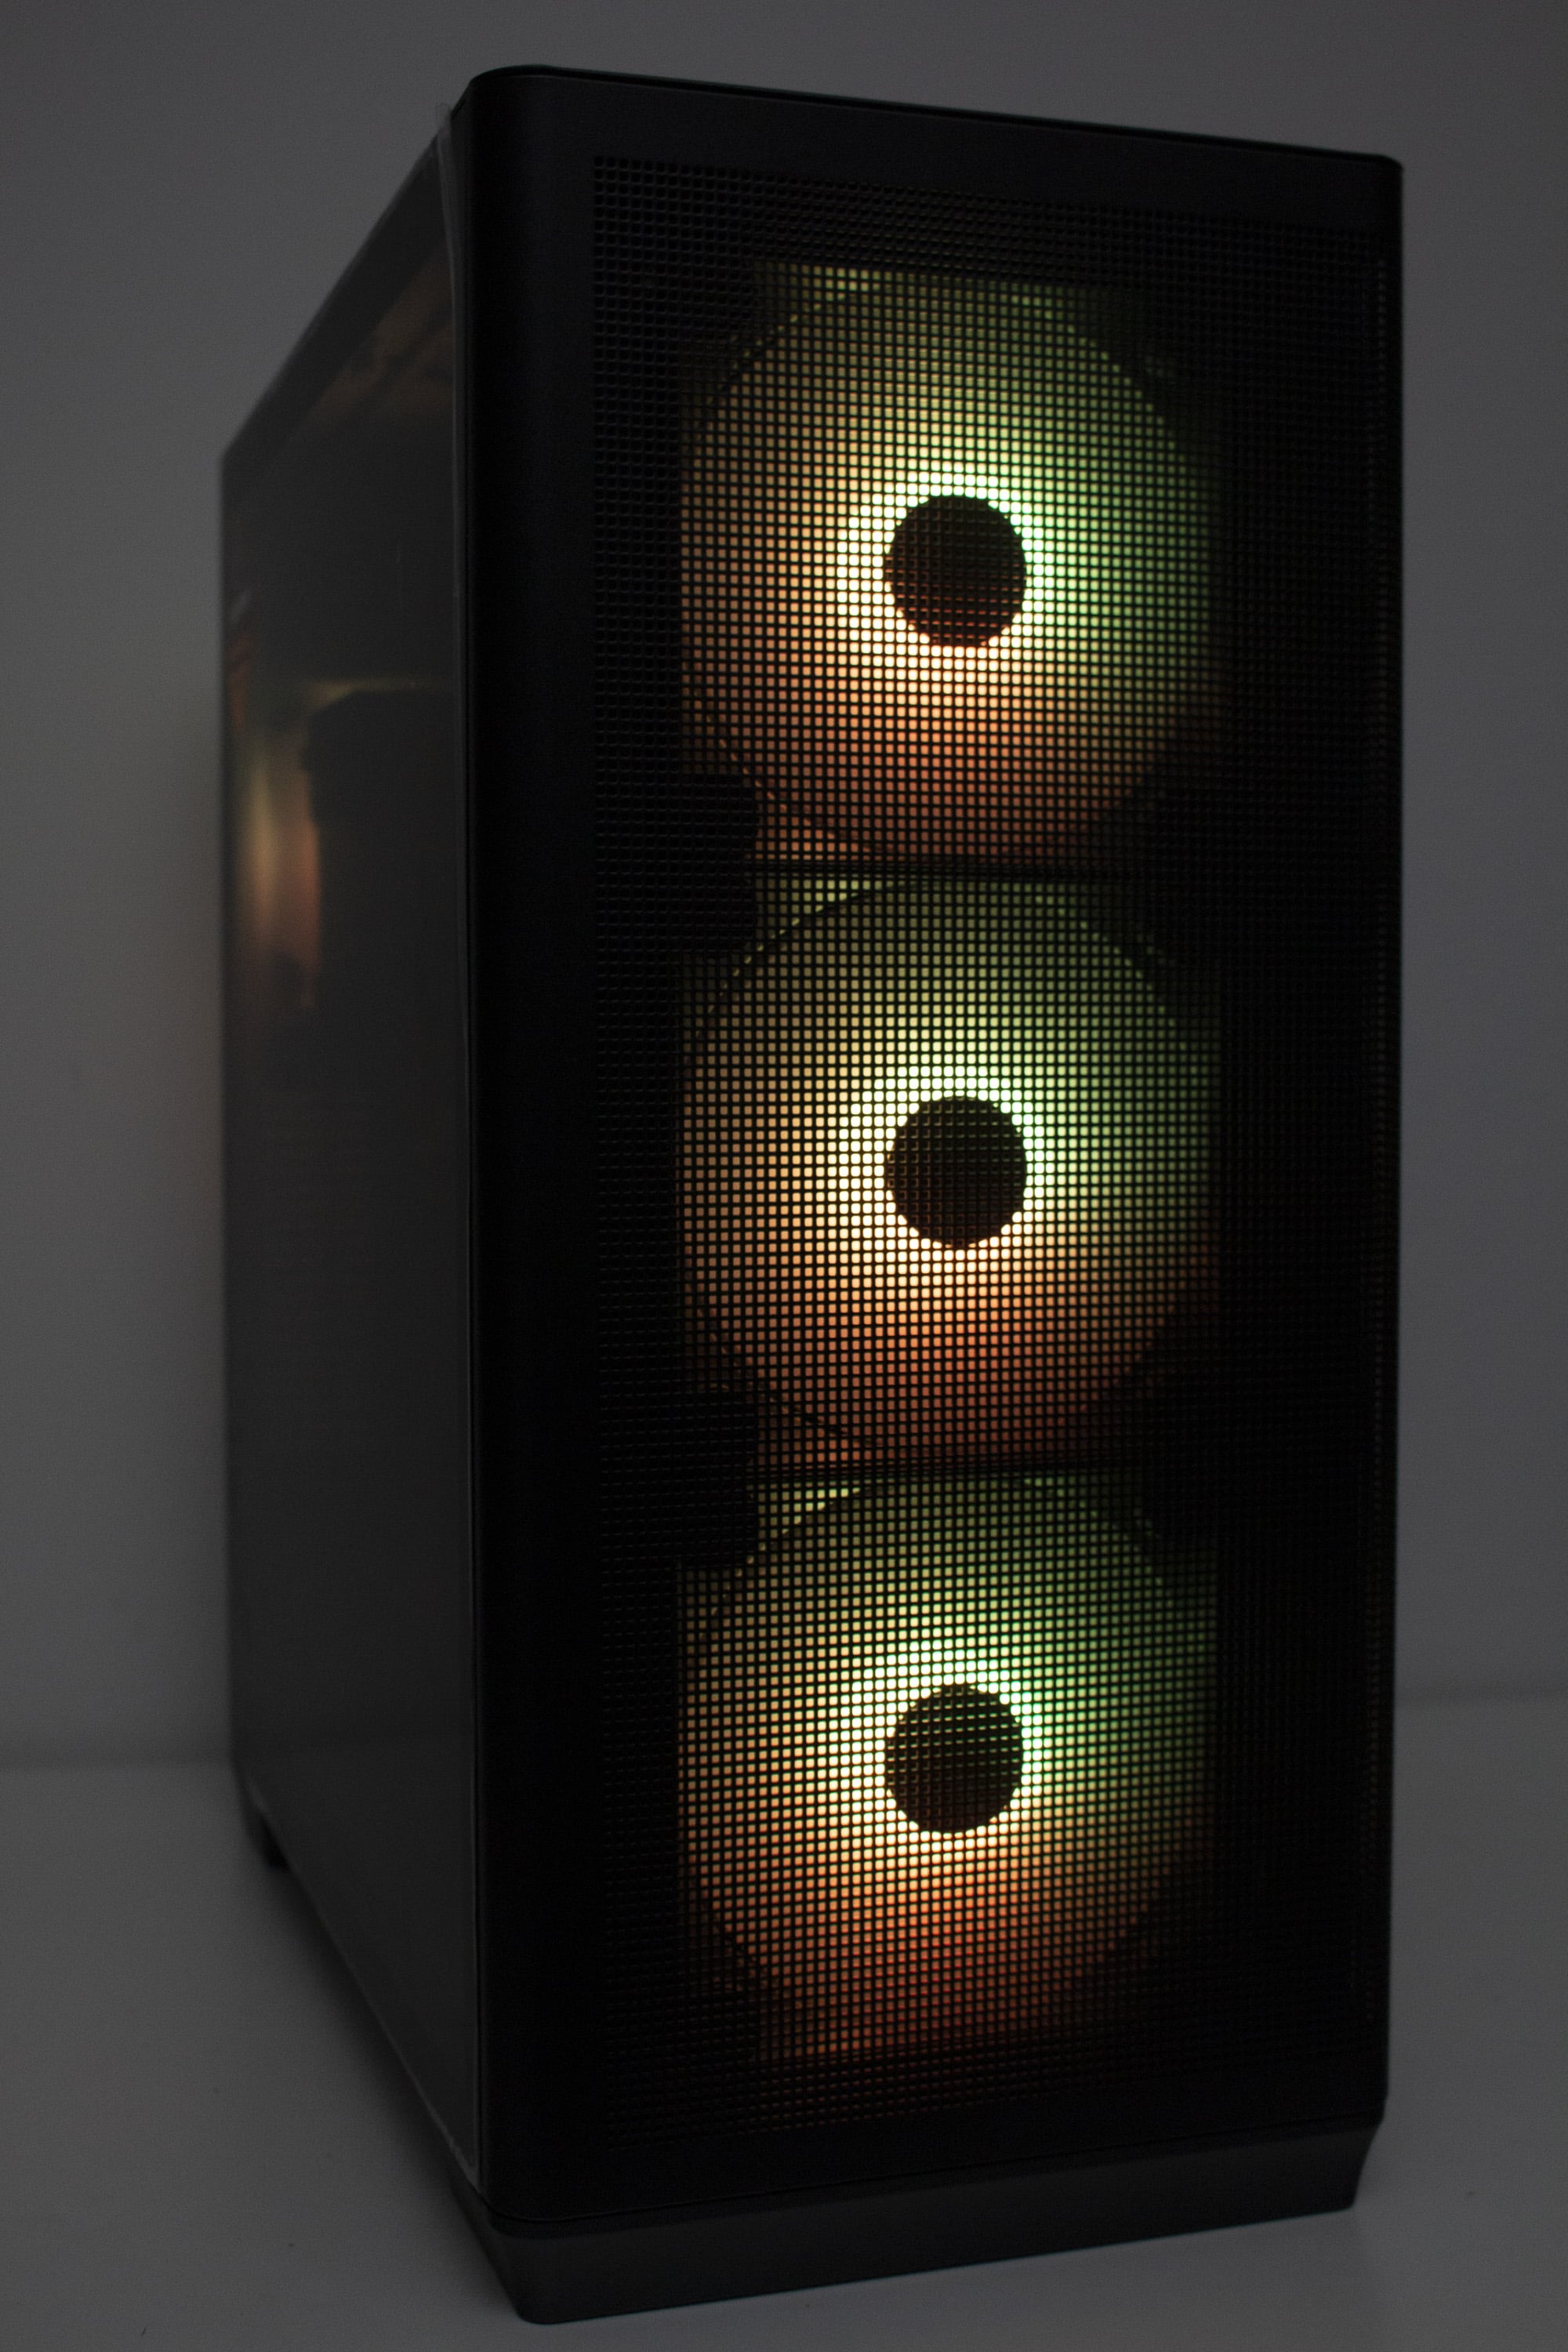
Visually, APNX designs the C1 to be rather restrained or timeless, focusing on a simple elegance paired with a design that is designed for high airflow. The front panel is made entirely of steel and has a large ventilation opening consisting of small squares. Rounded corners on both sides also make the midi tower appear less bulky. Disassembly of the front panel is only possible after removing the cover plate. Afterwards, the front panel can be removed towards the top. The connection to the body is done via plastic pins in the lower and small steel lugs in the upper part of the panel.
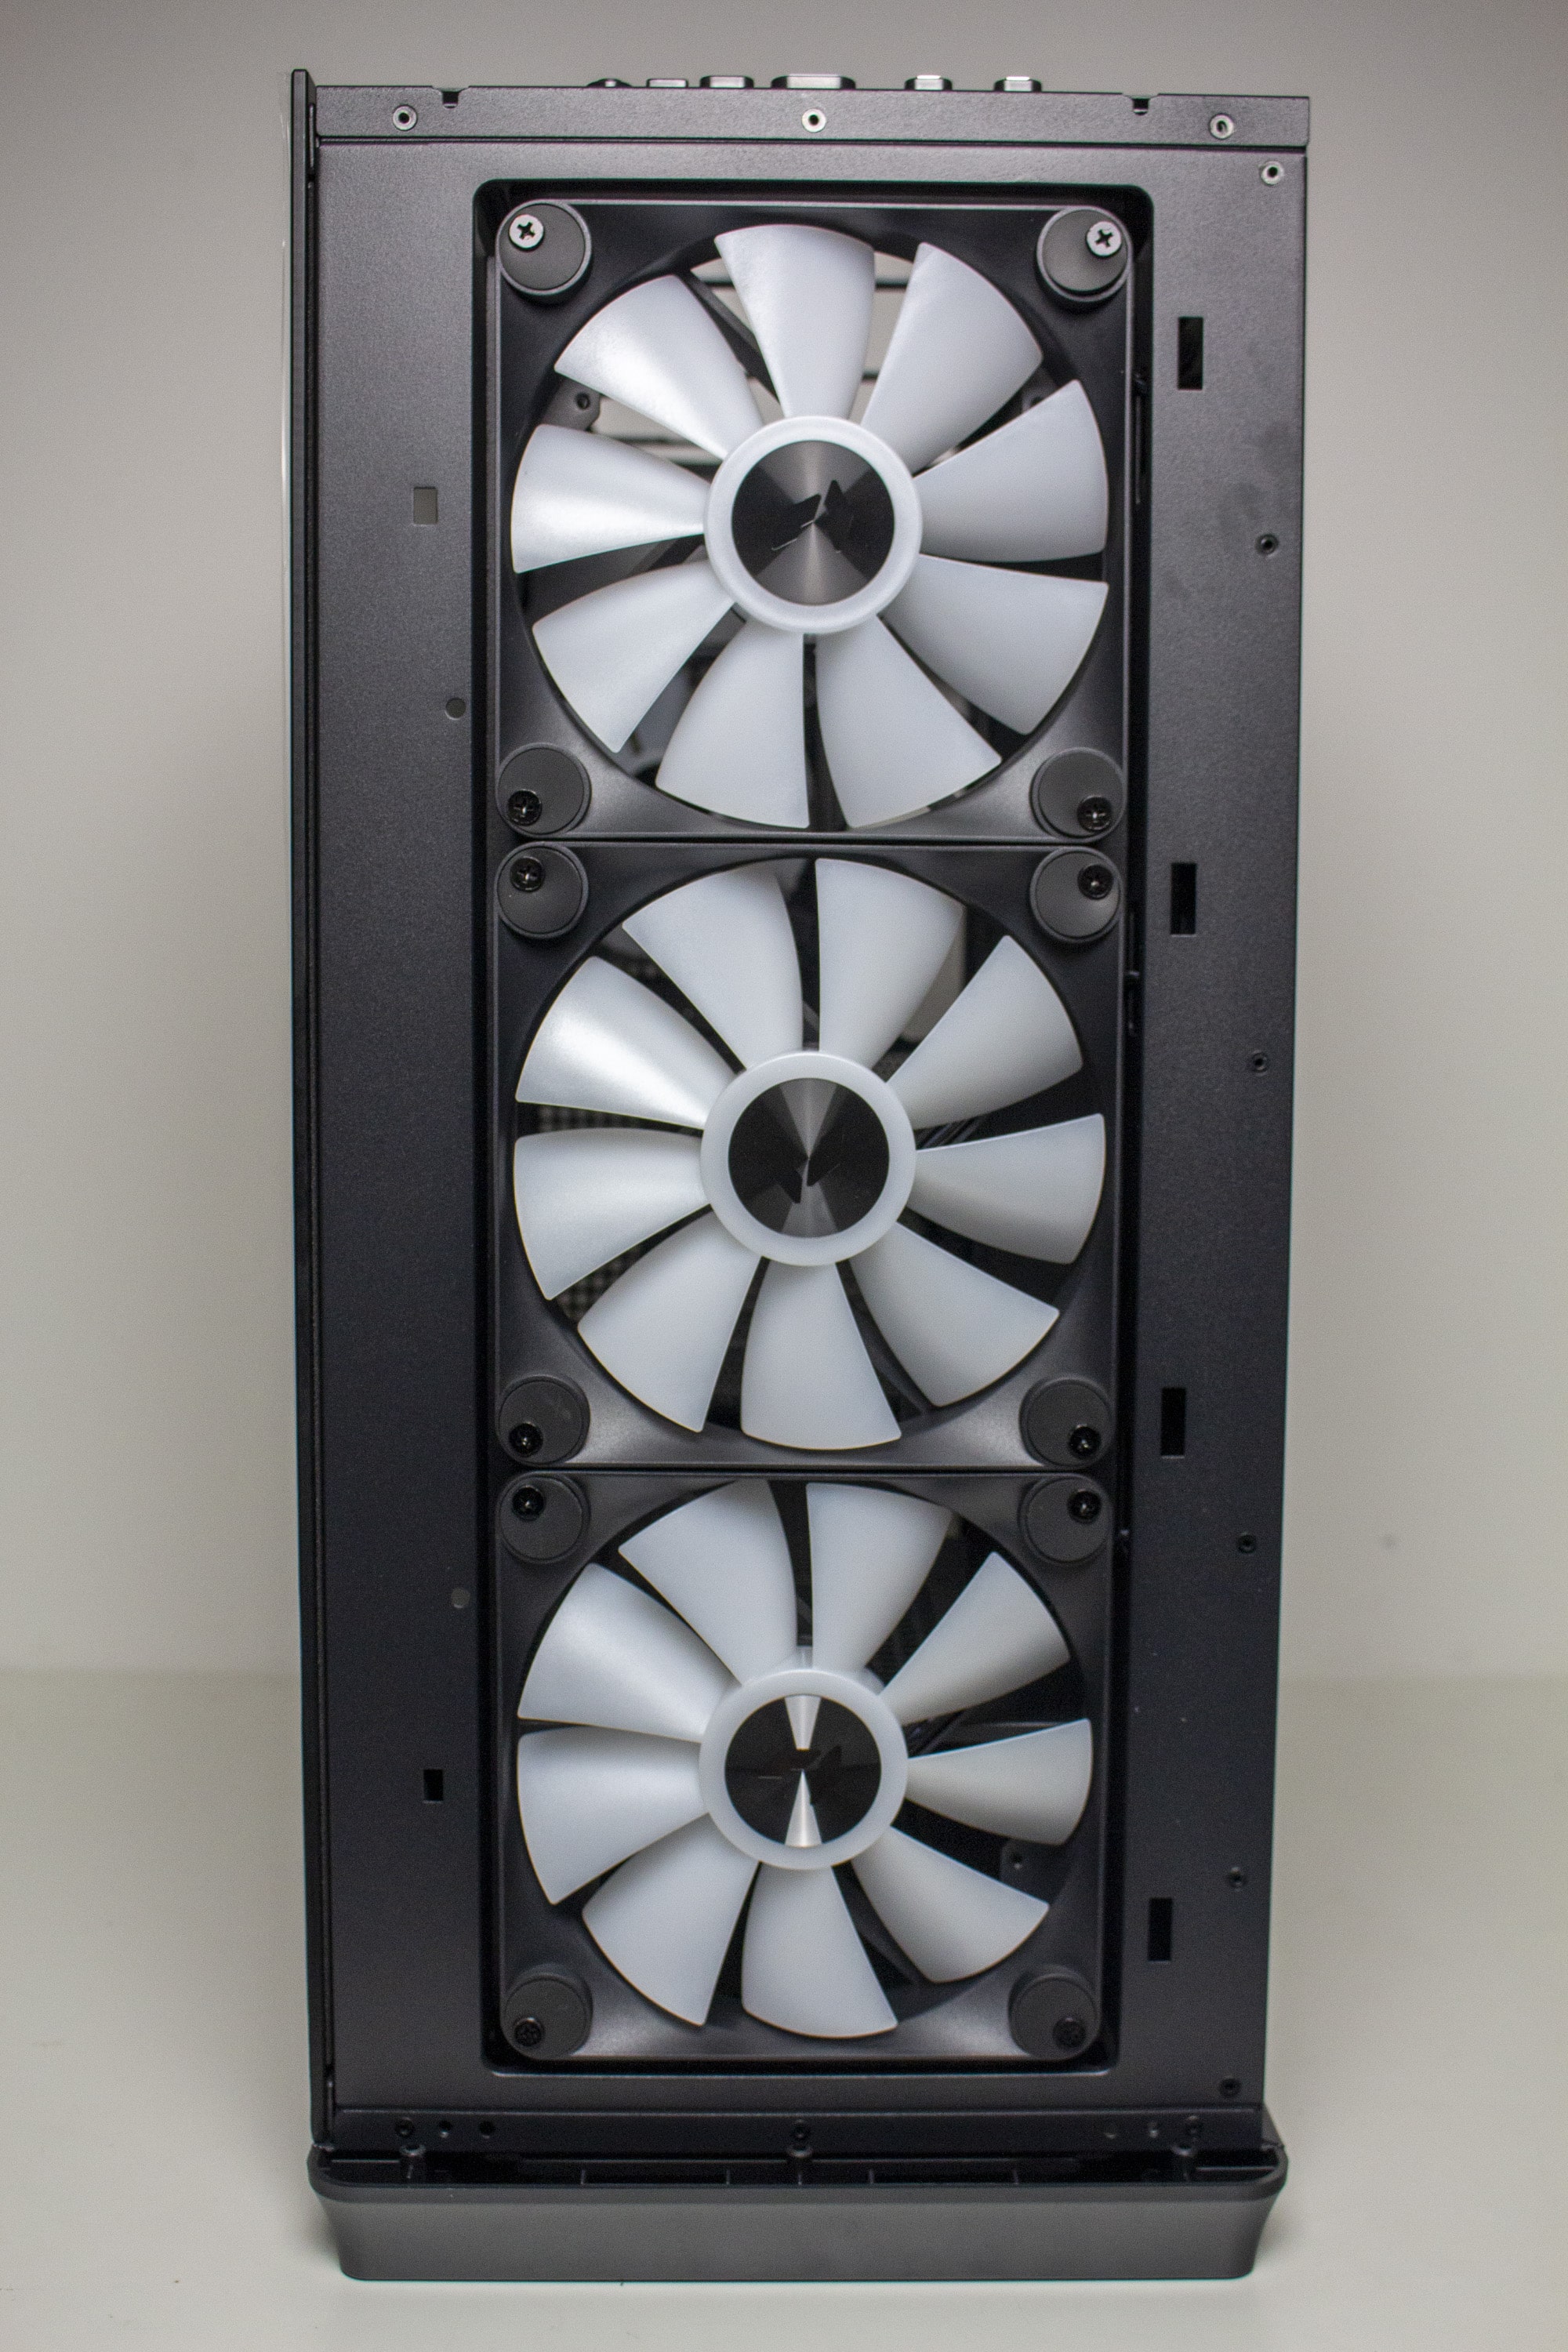
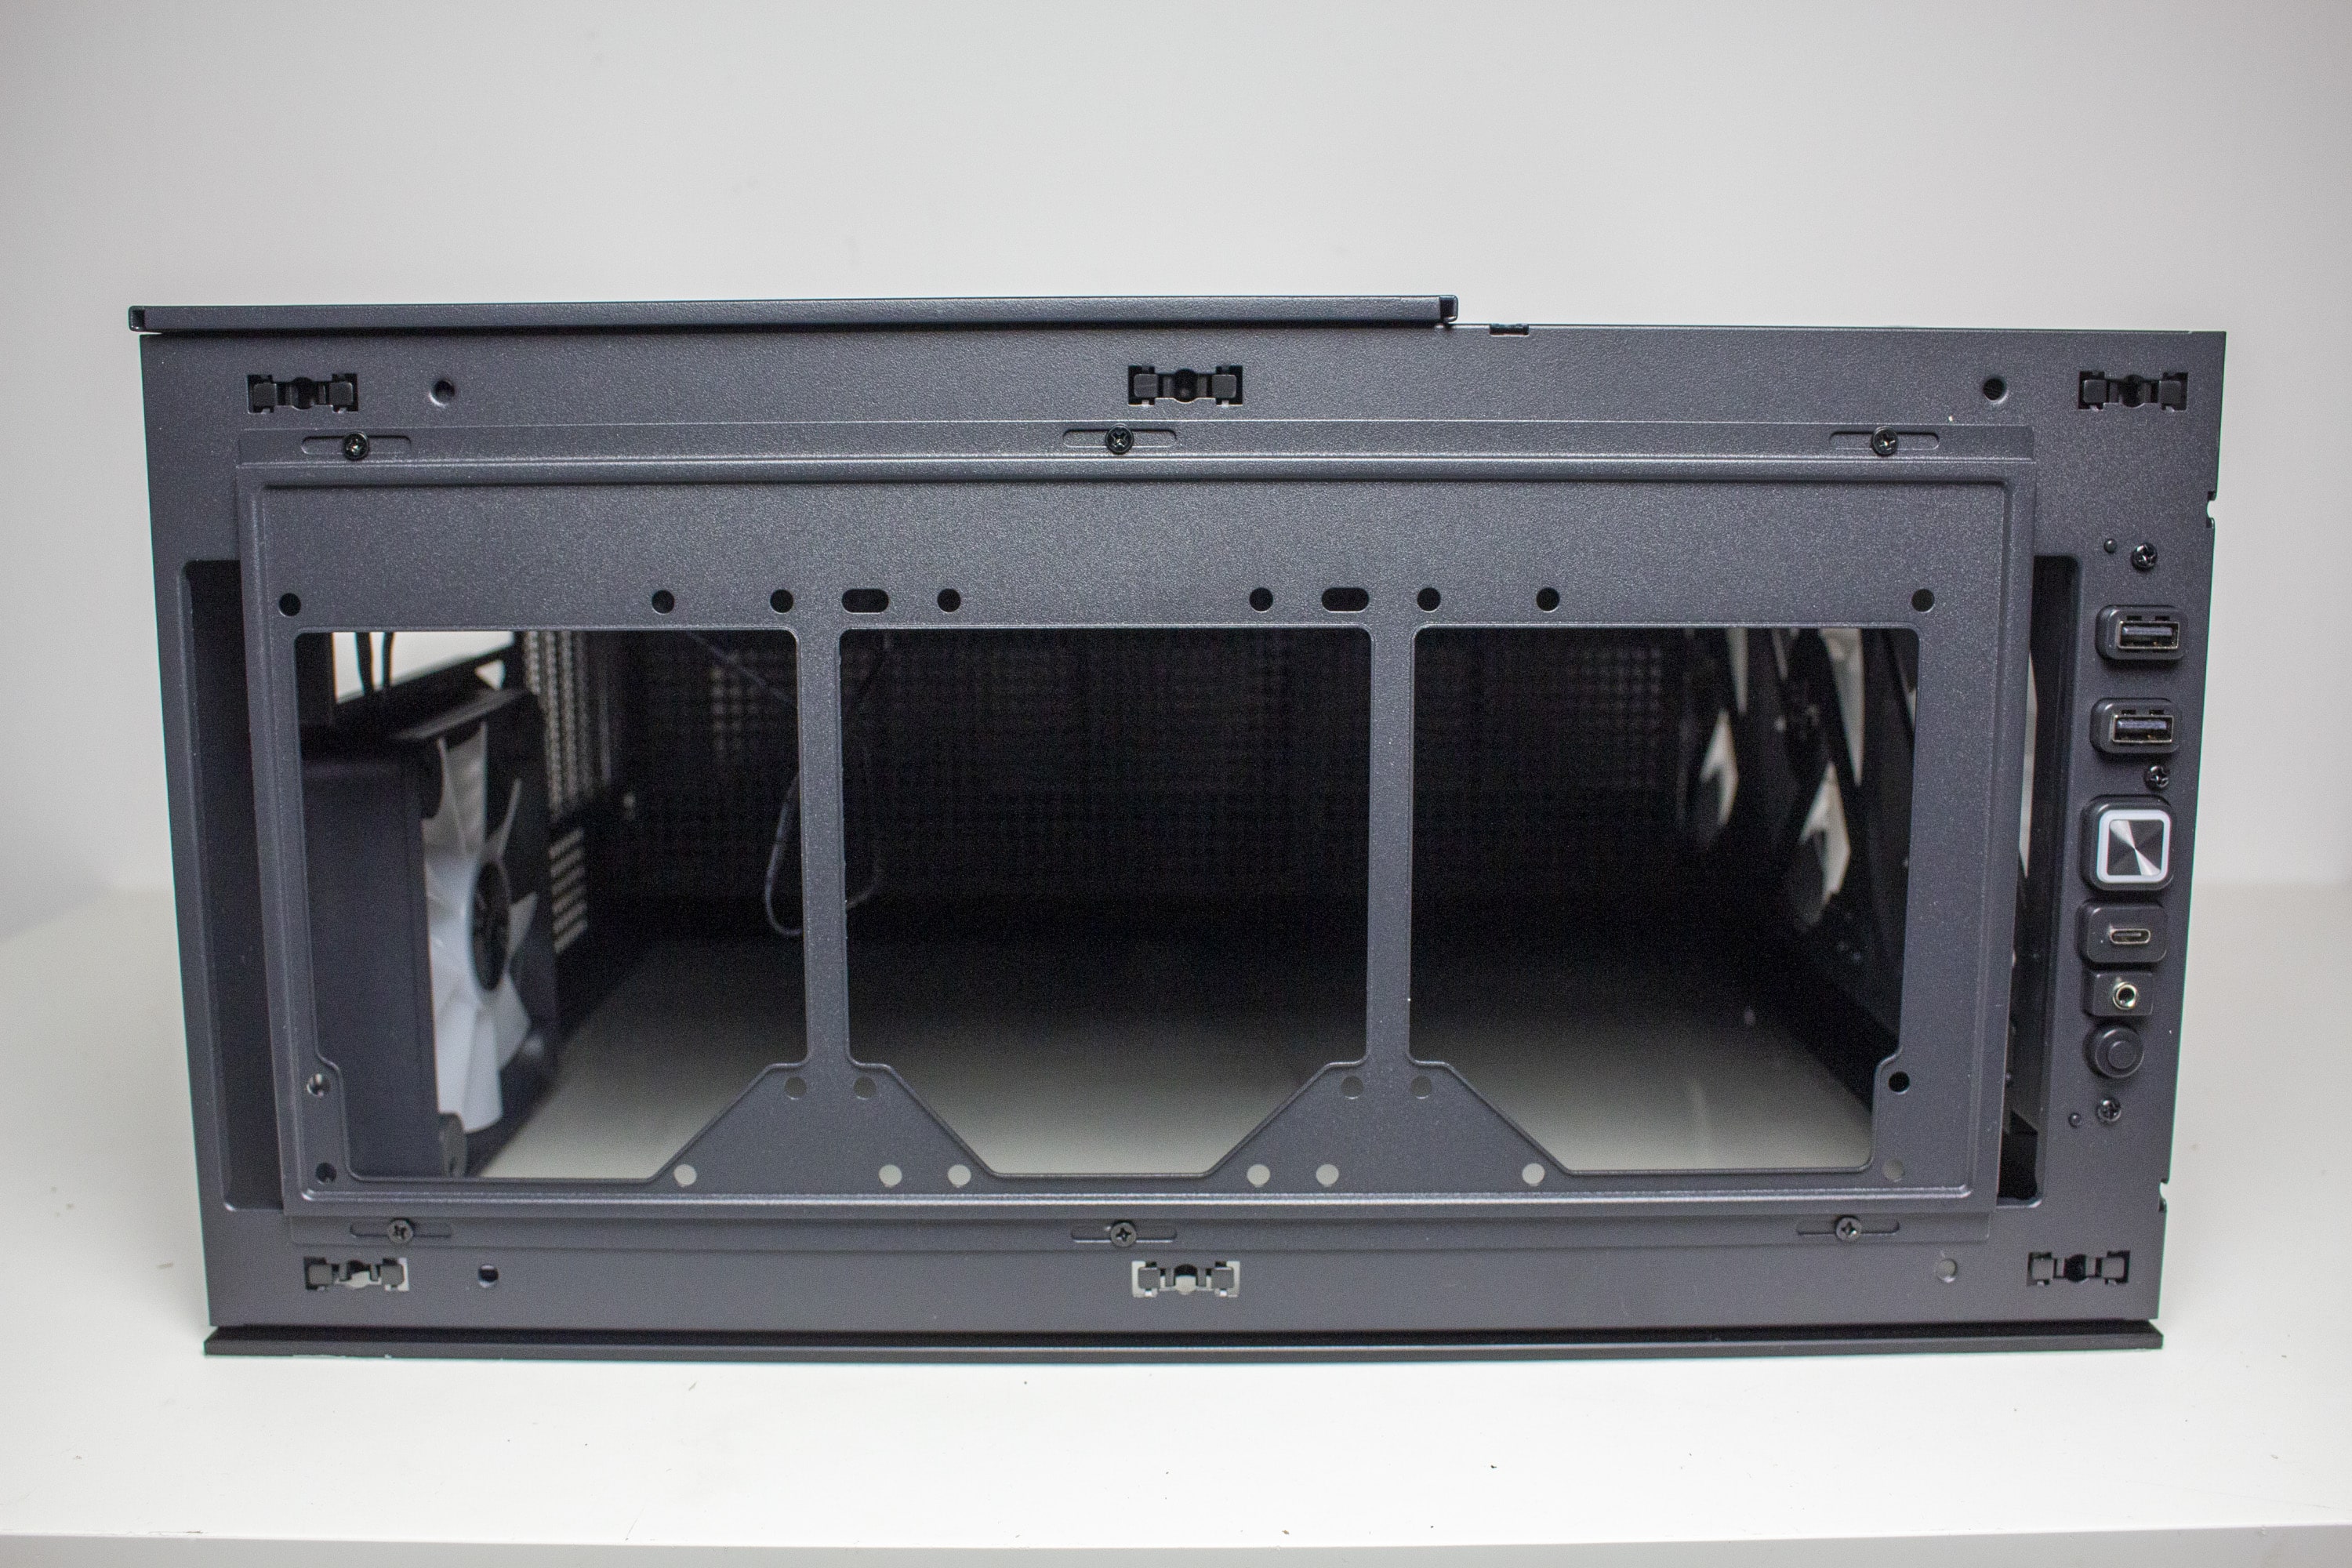
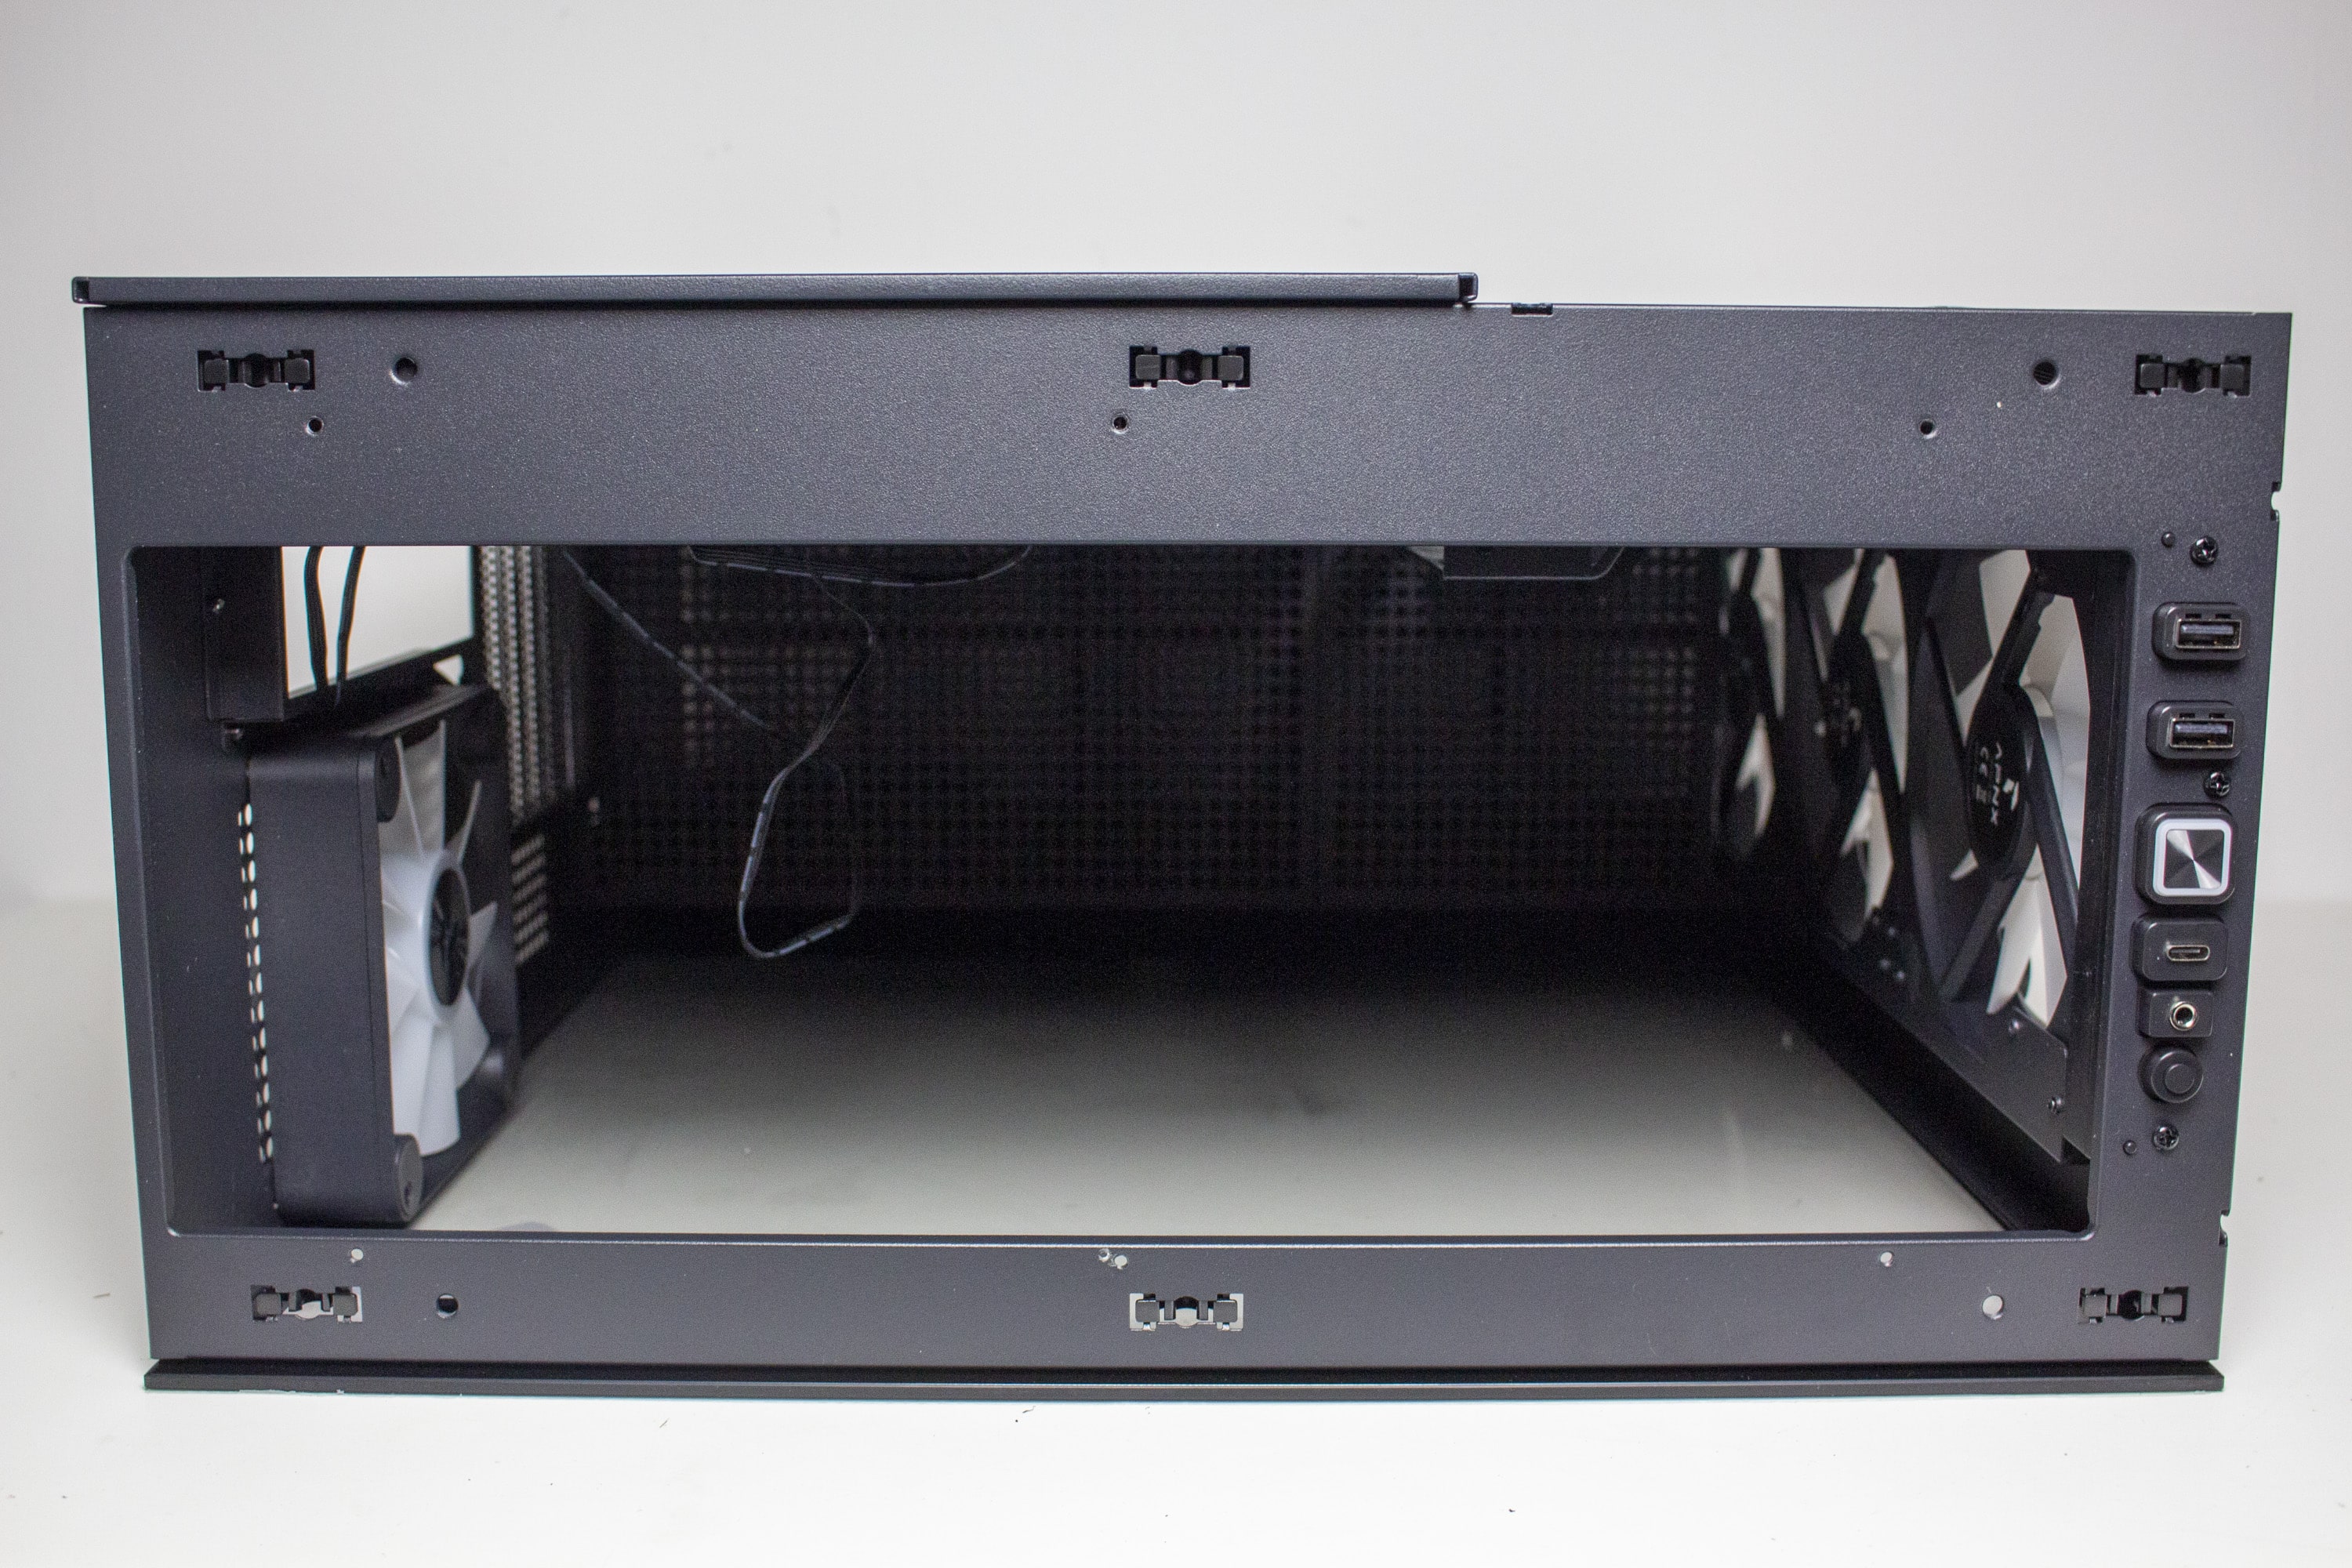
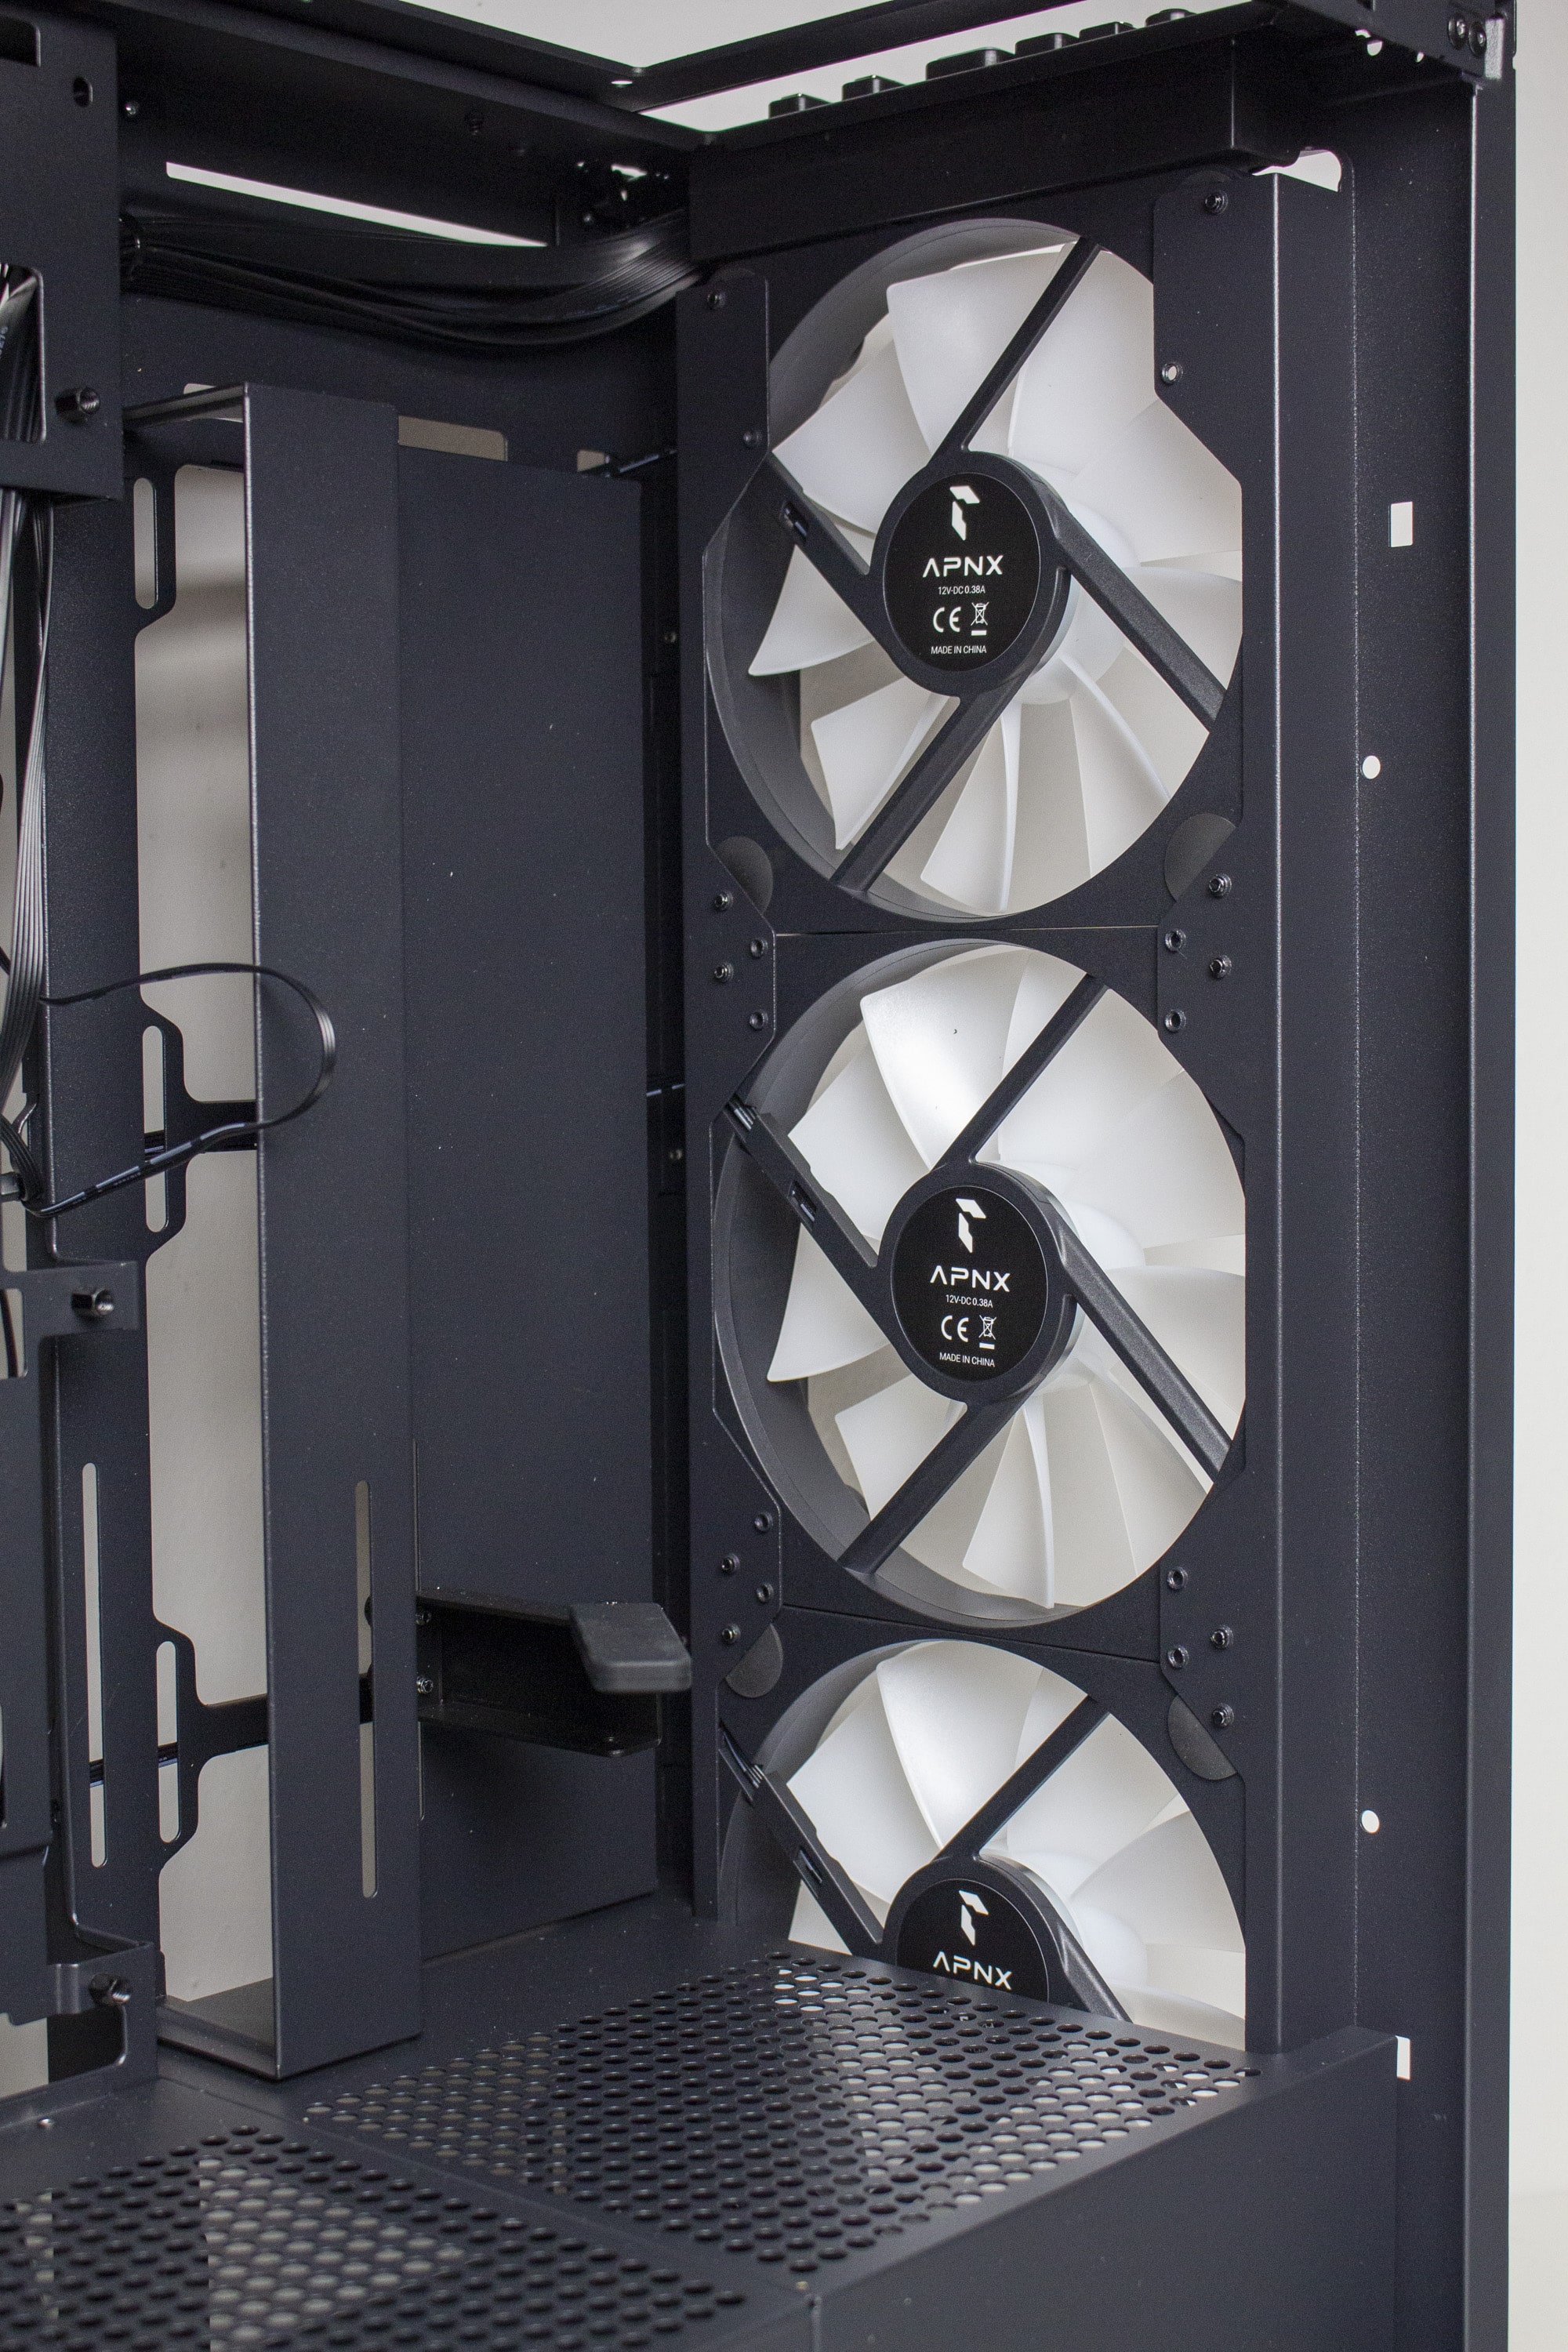
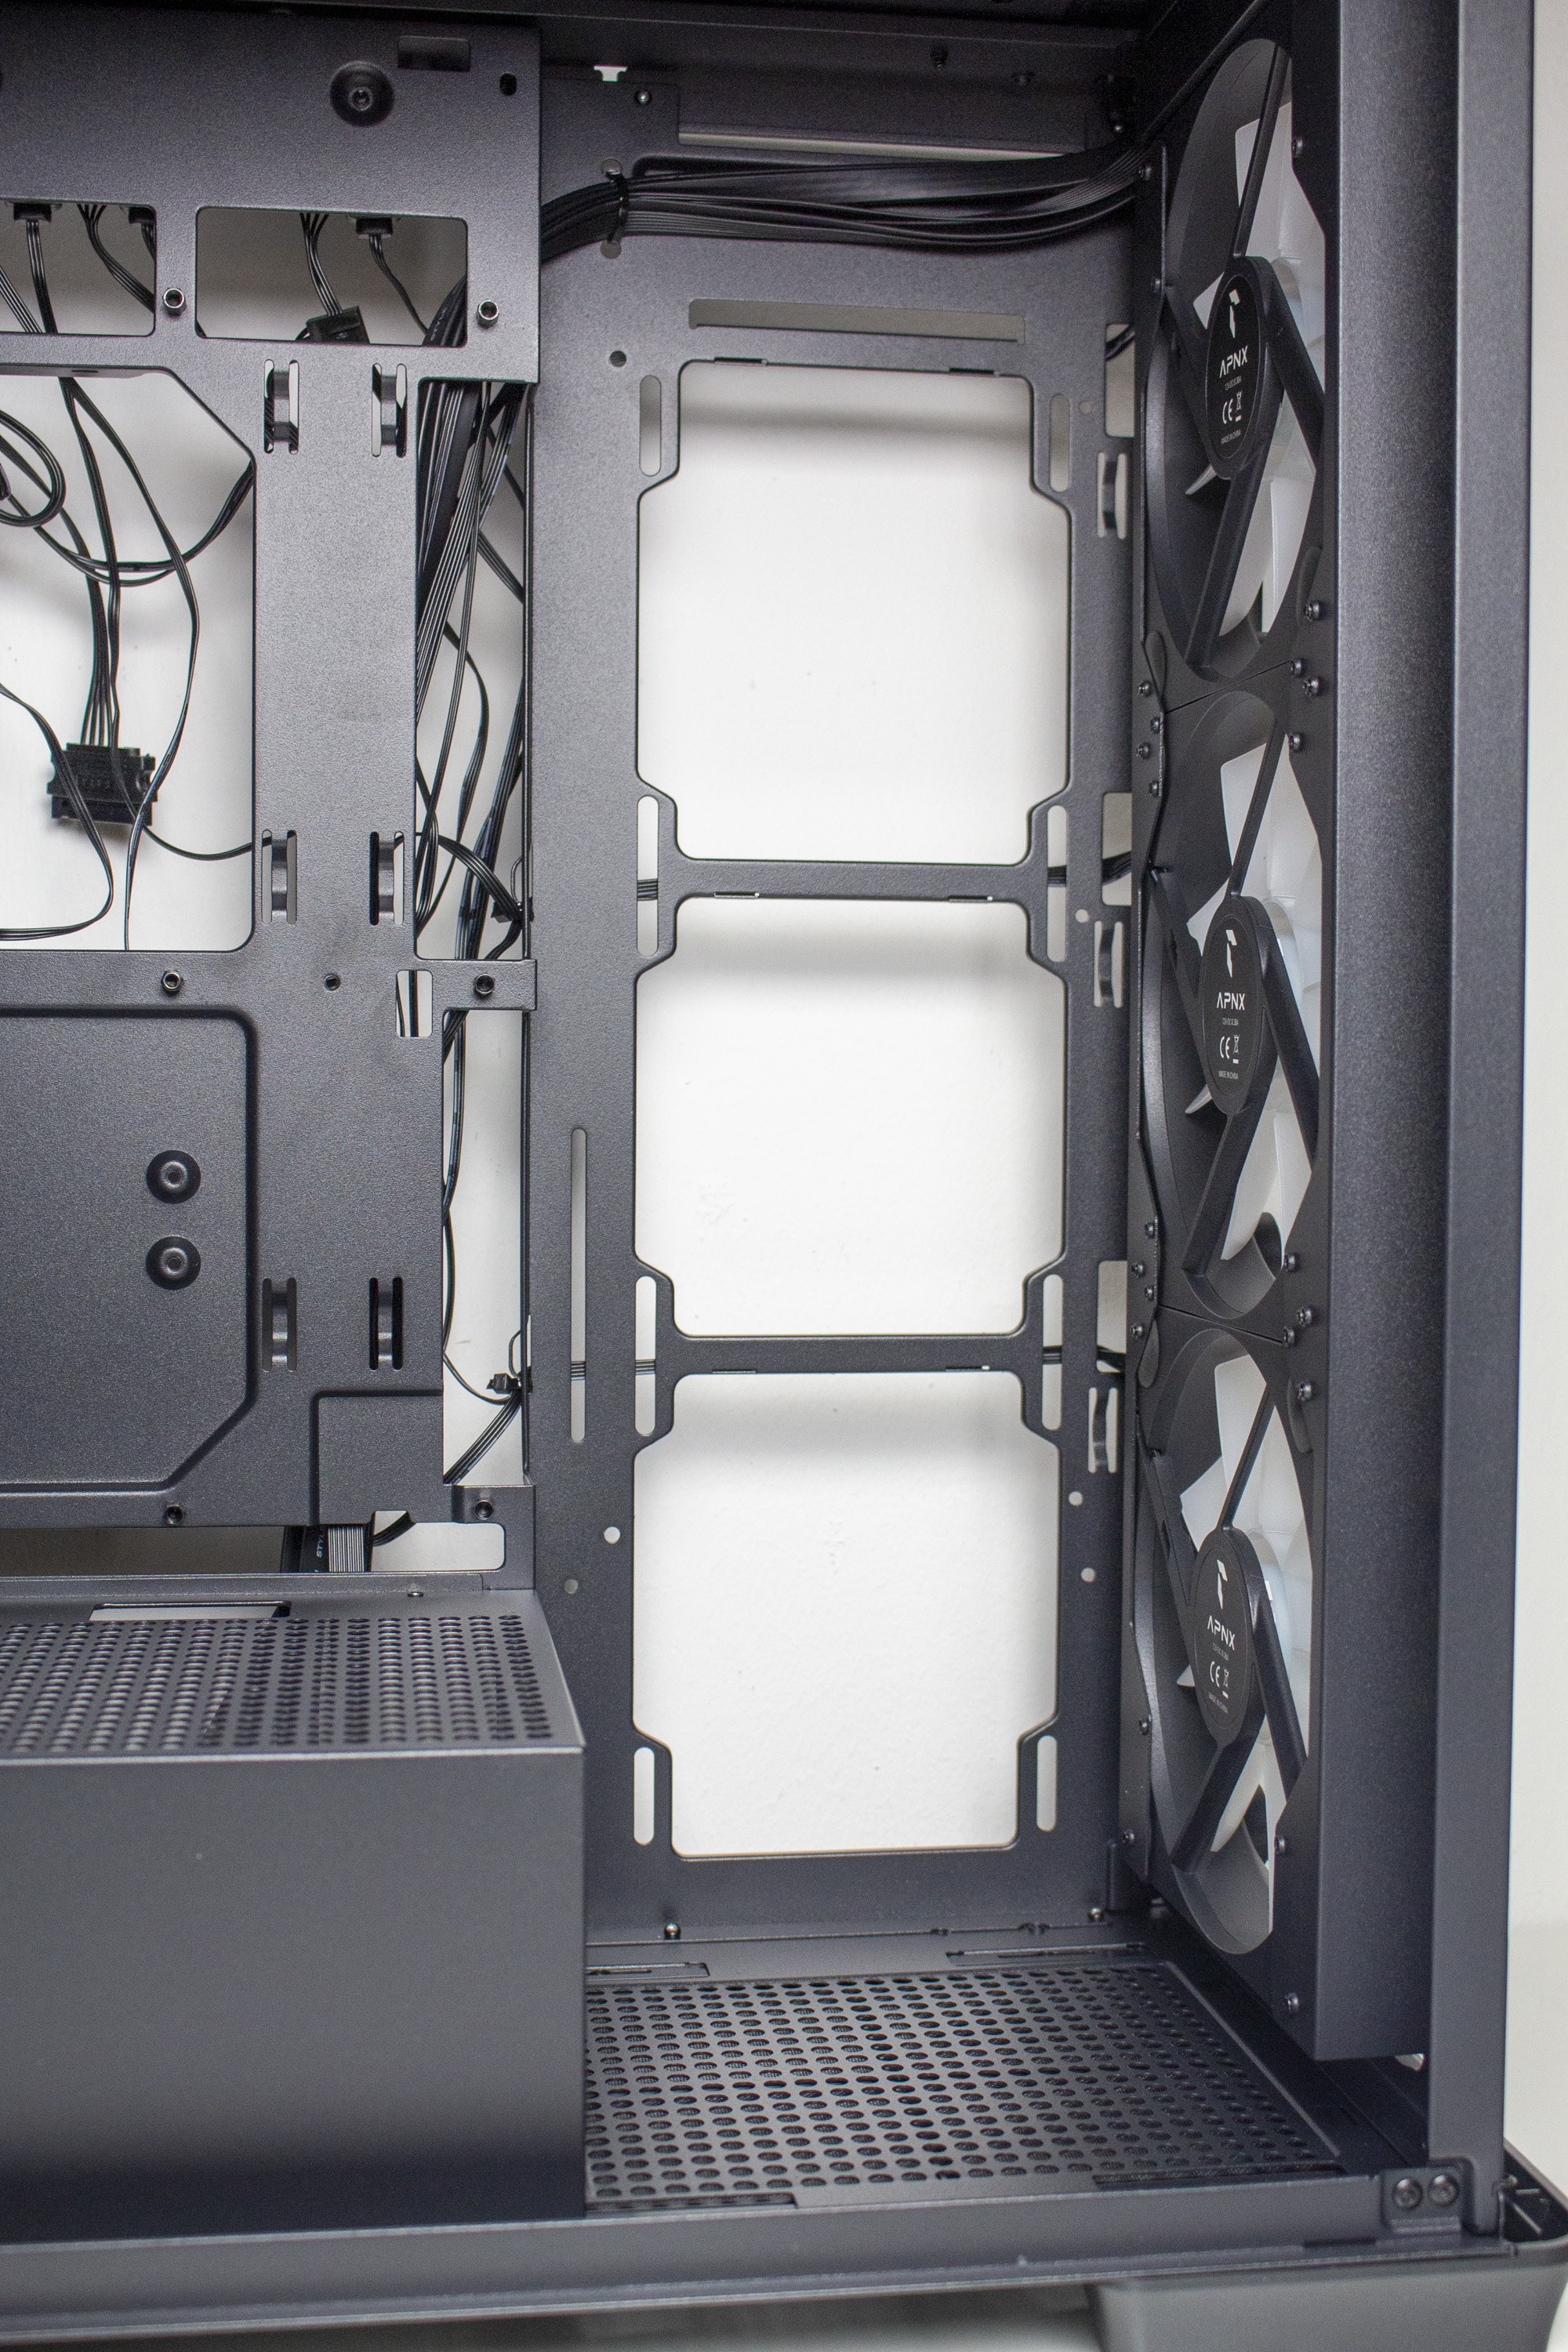
After removing the front panel, it is immediately noticeable that it forms a unit with a piece of the right side panel. Behind the front panel, a fixed mounting frame for up to three 140 mm fans can be seen. These mounting slots are already occupied with corresponding APNX FP1 140mm fans ex-works. Alternatively, the mounting frame also offers mounting points for three 120 mm fans. A fine dust filter has been placed in front of the fans, which can be easily removed. The side vent unfortunately does not have a dust filter.
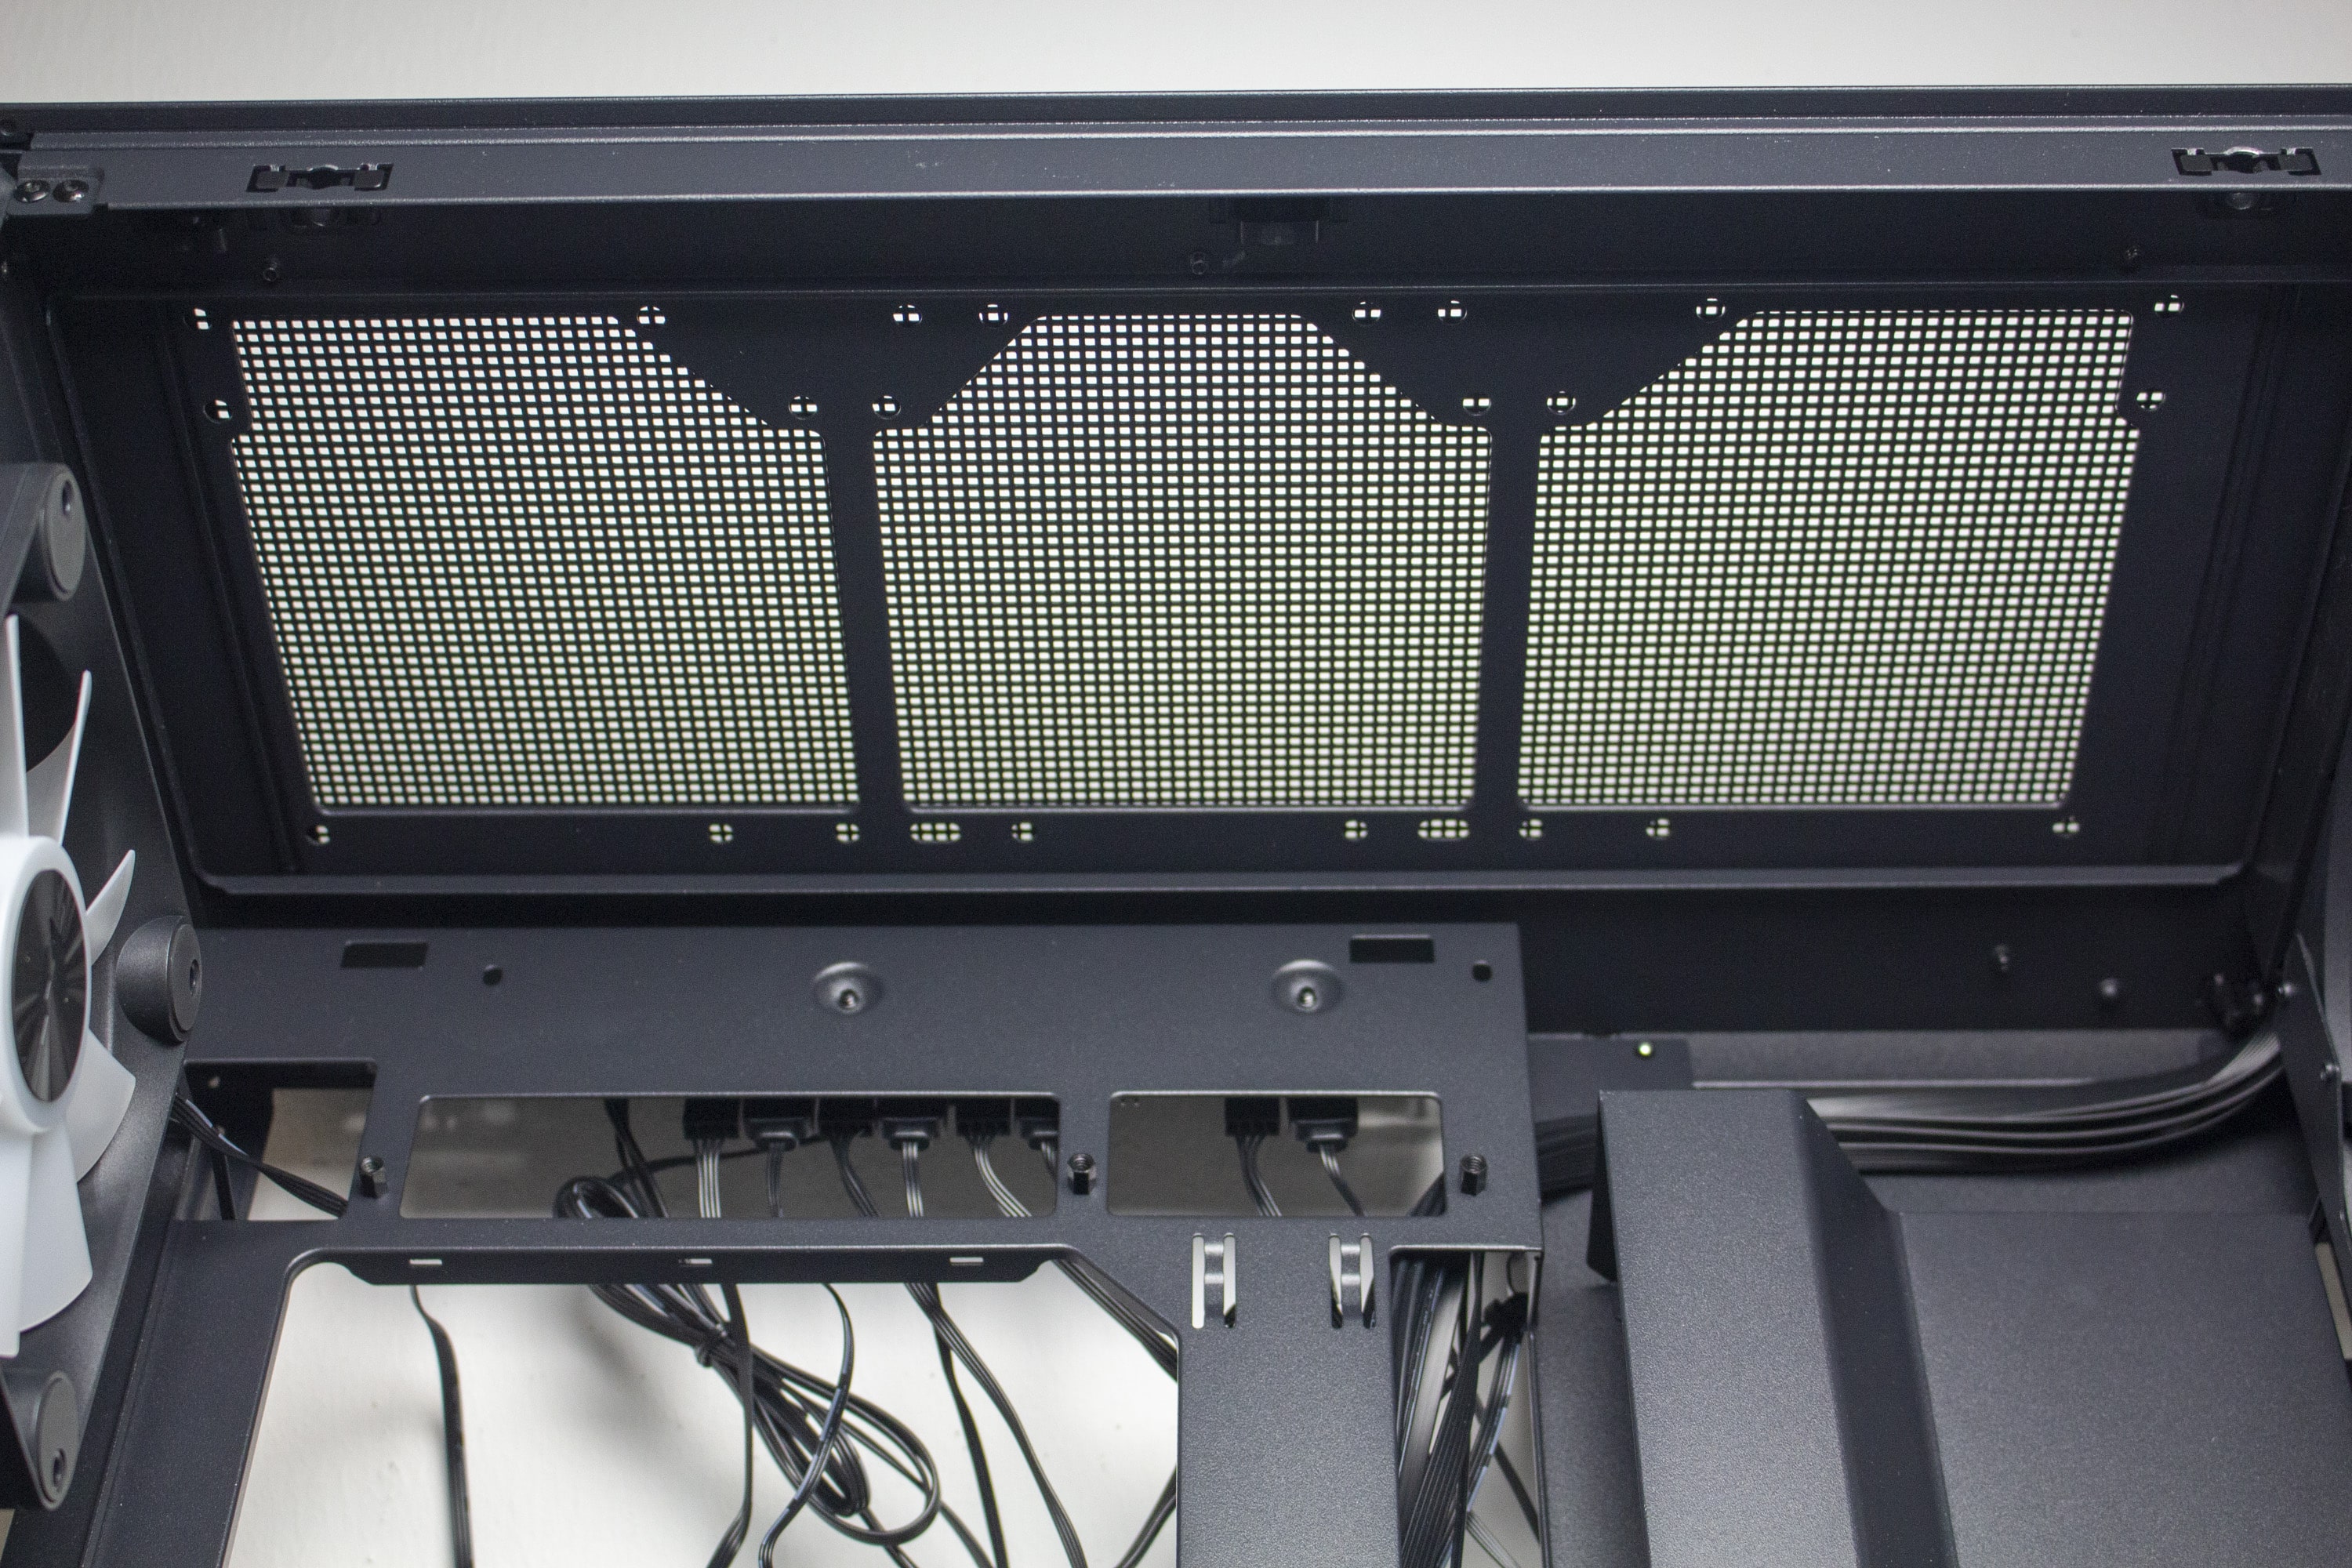
The lid section is visually identical. This is also made entirely of steel and can be pulled off with a strong jerk. APNX also relies on steel push pins for fastening. The upper side is also dominated by a large ventilation grille, which again consists of small squares. Below the top panel, we find a modular mounting frame with room for three 120 mm or two 140 mm fans. Unfortunately, there is no dust filter at this point either.

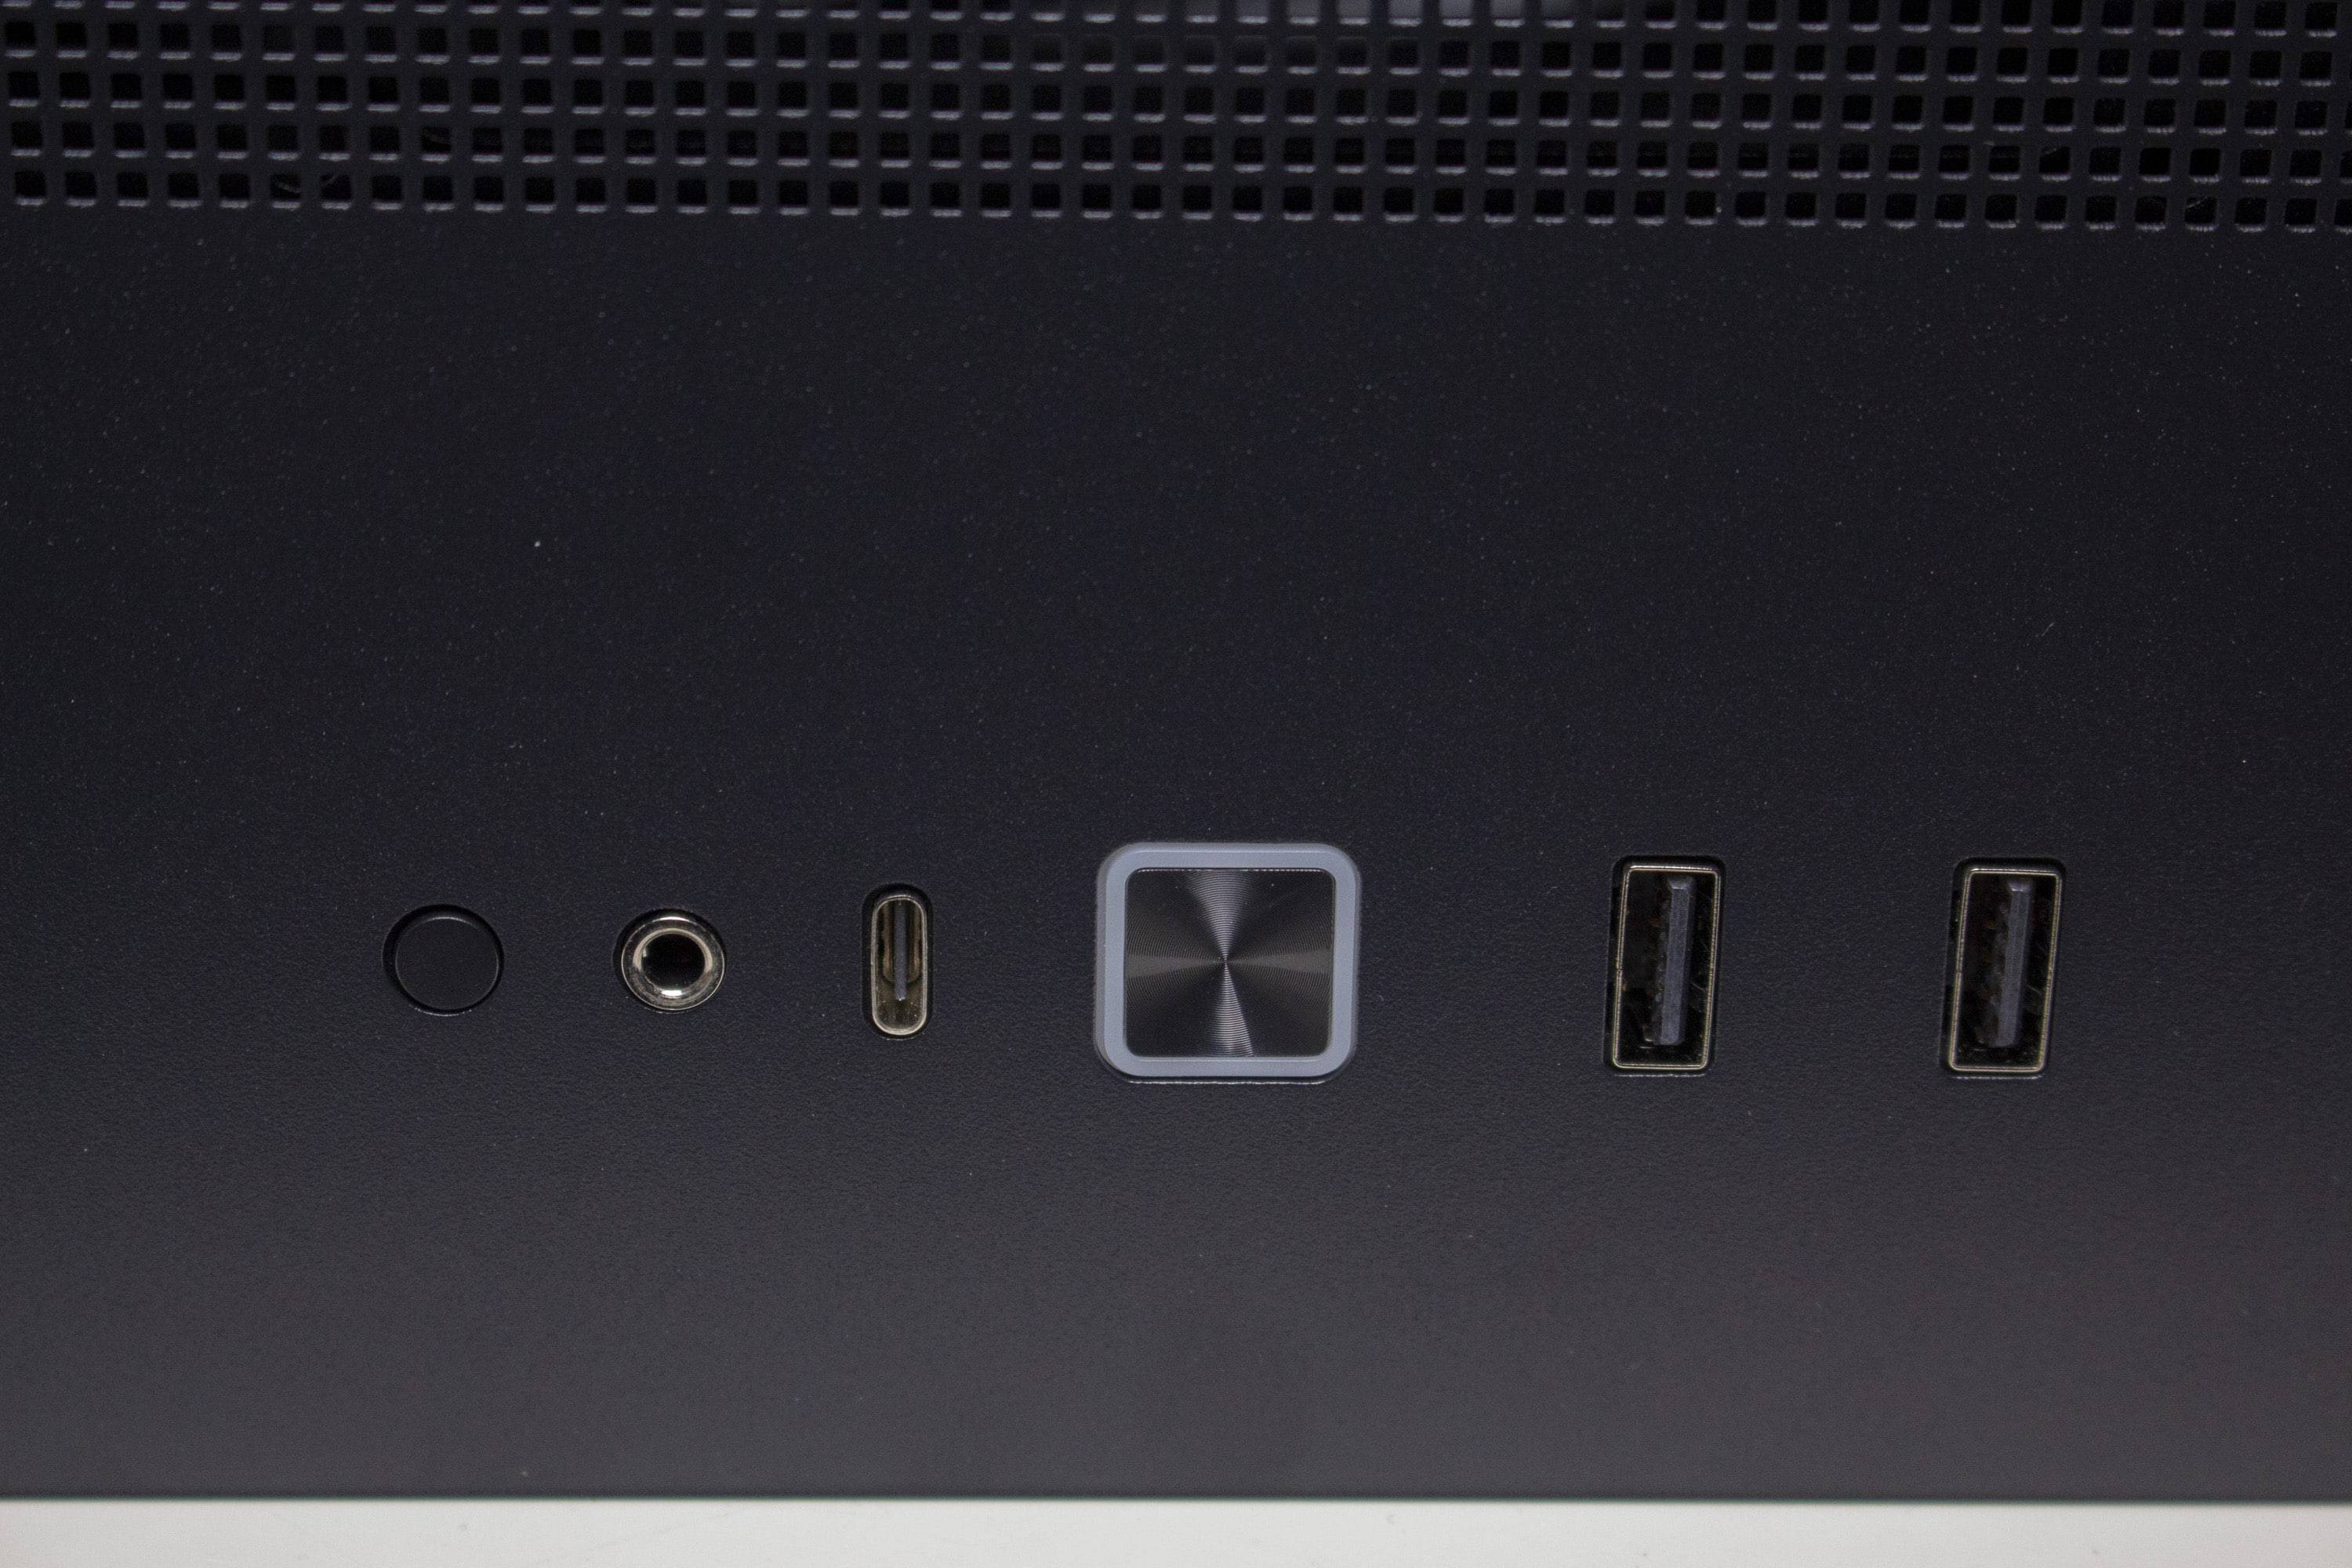
APNX positions the I/O panel in the lid and equips it with one USB-C 3.2 and two USB-A 3.1 ports. You also get a combo jack for headphones and microphone, respectively, as well as a white illuminated power button. There is also a smaller button that can either be used as a reset button or to control the RGB lighting. Both buttons have a pleasant feel.
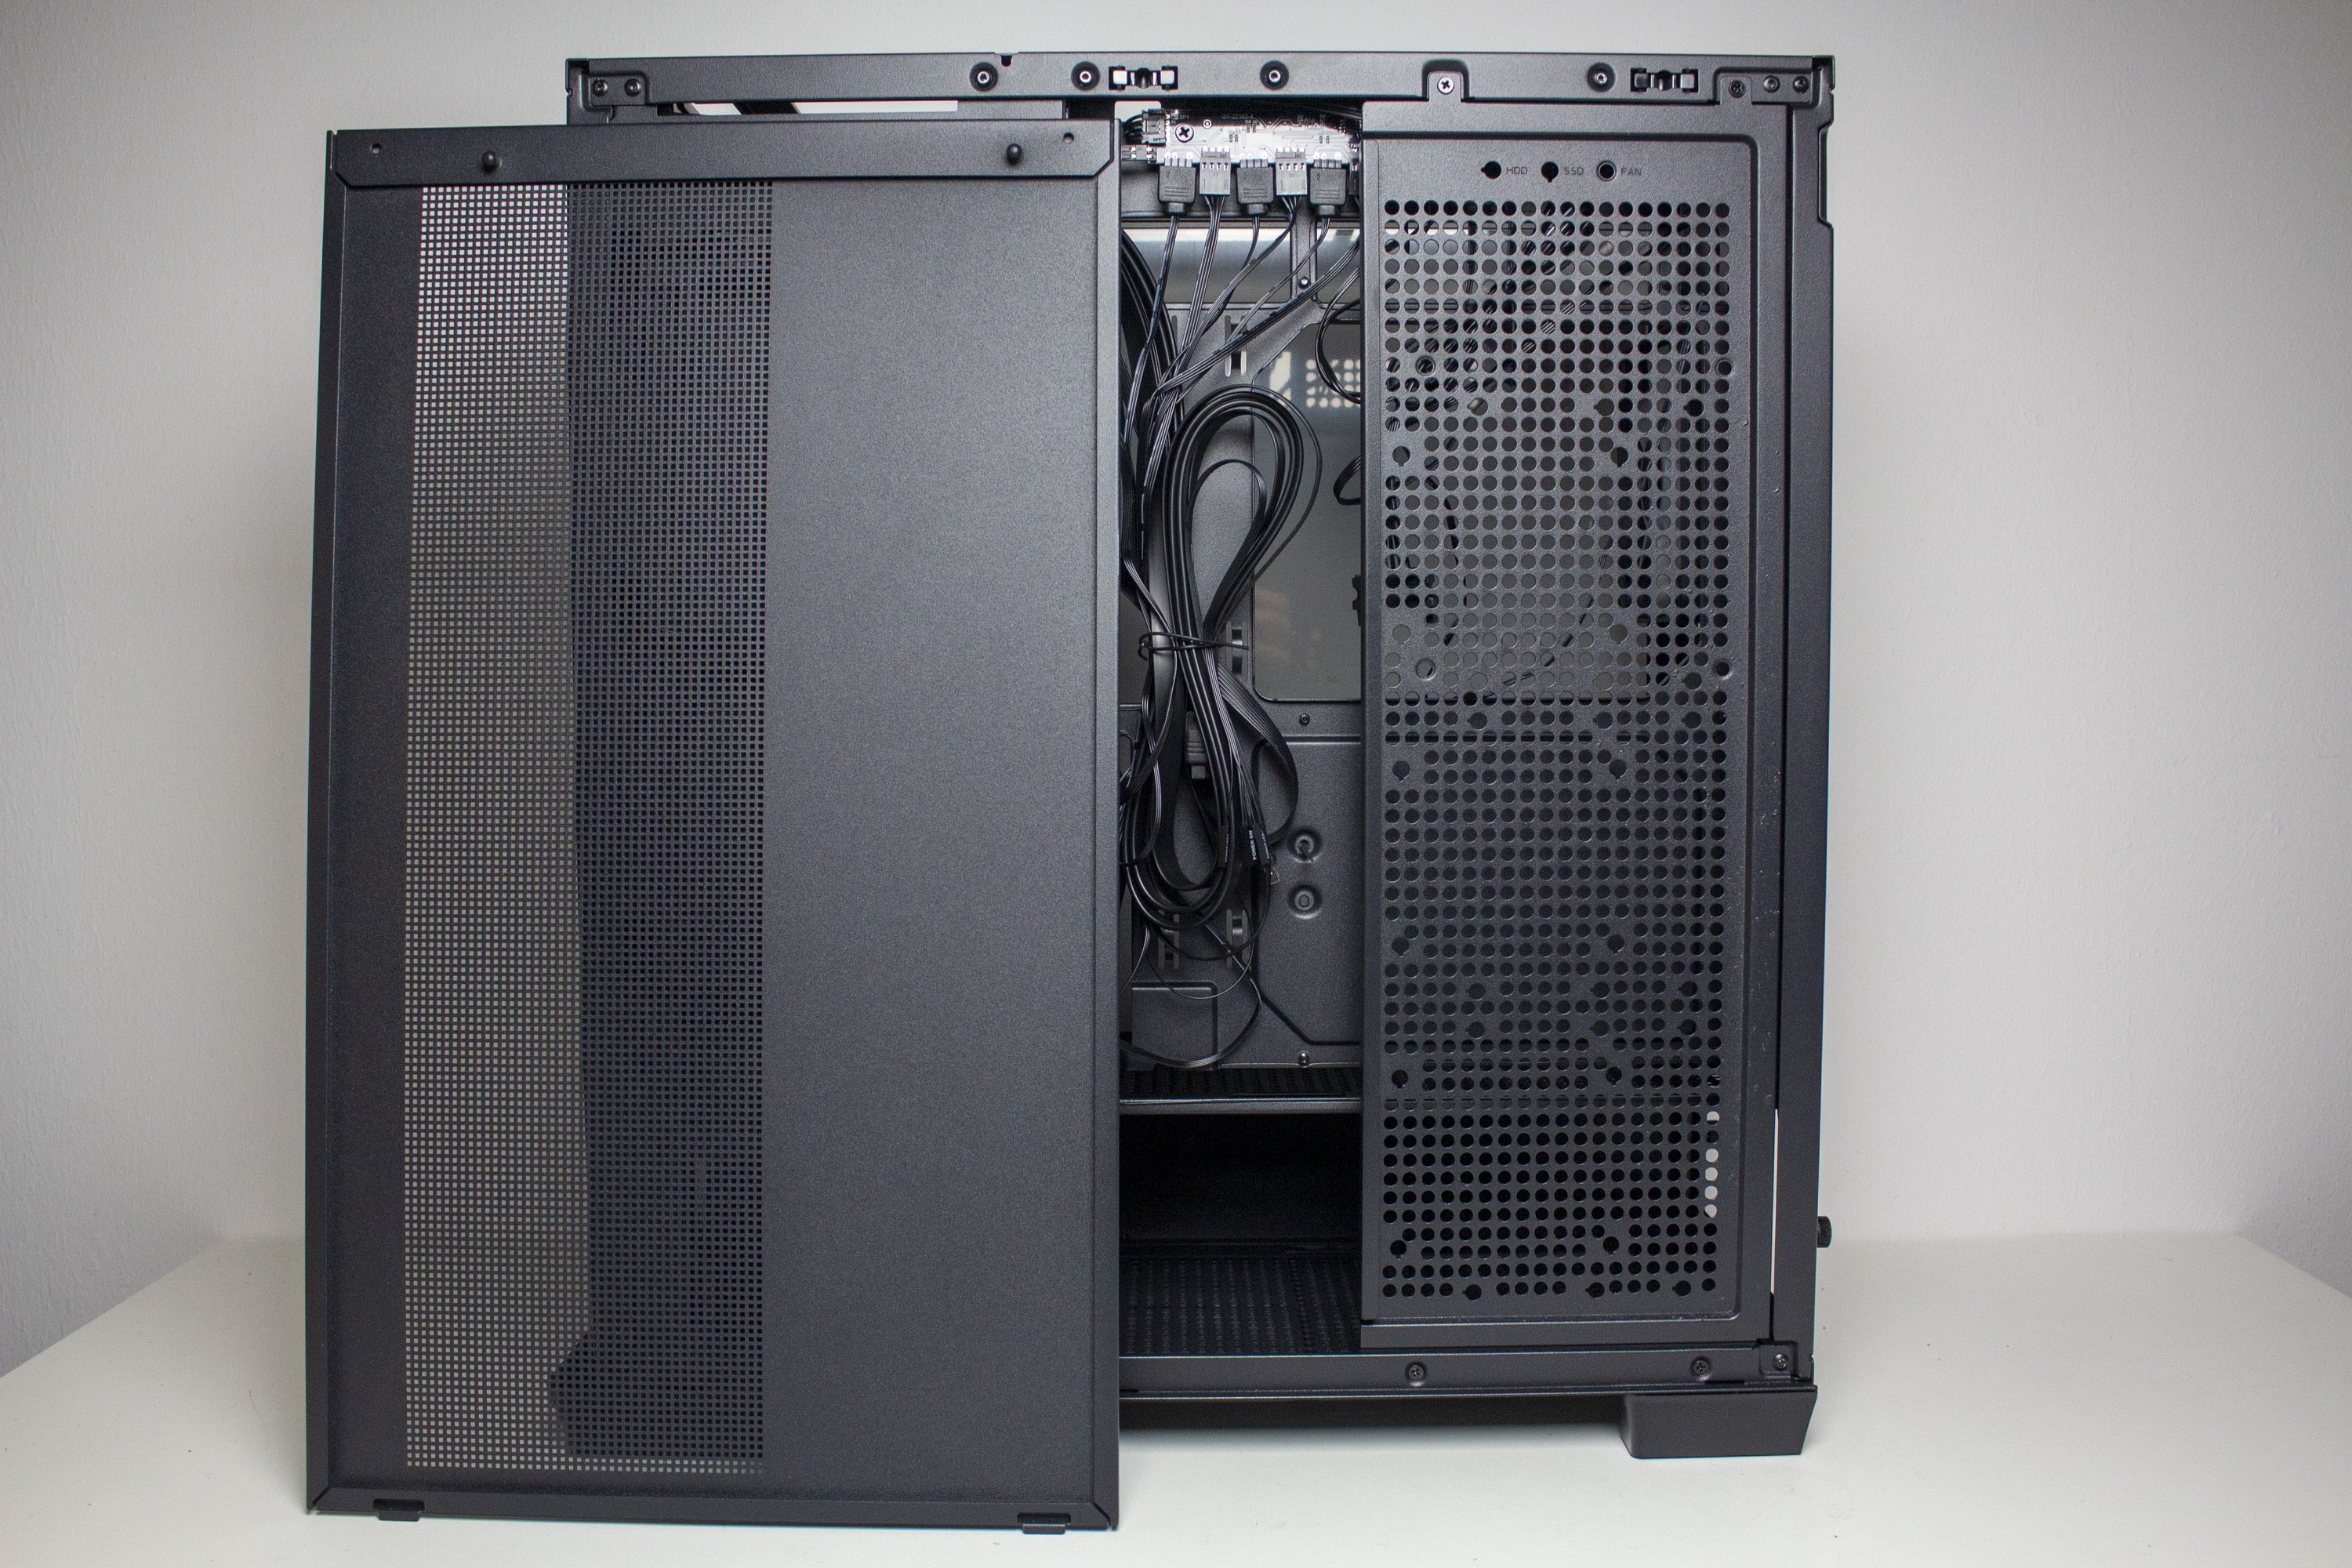
APNX installed a tempered glass side window on the left side of the C1 so that the RGB effects of the fans are visible. The glass was glued to a steel frame, which also has push-pins to attach it to the body. The right side panel is made of steel and only spans two thirds of the right side, since the last third is part of the front panel. In return, it also has a tool-free push-pin attachment as well as a large ventilation grille. Unfortunately, this is again not filtered.

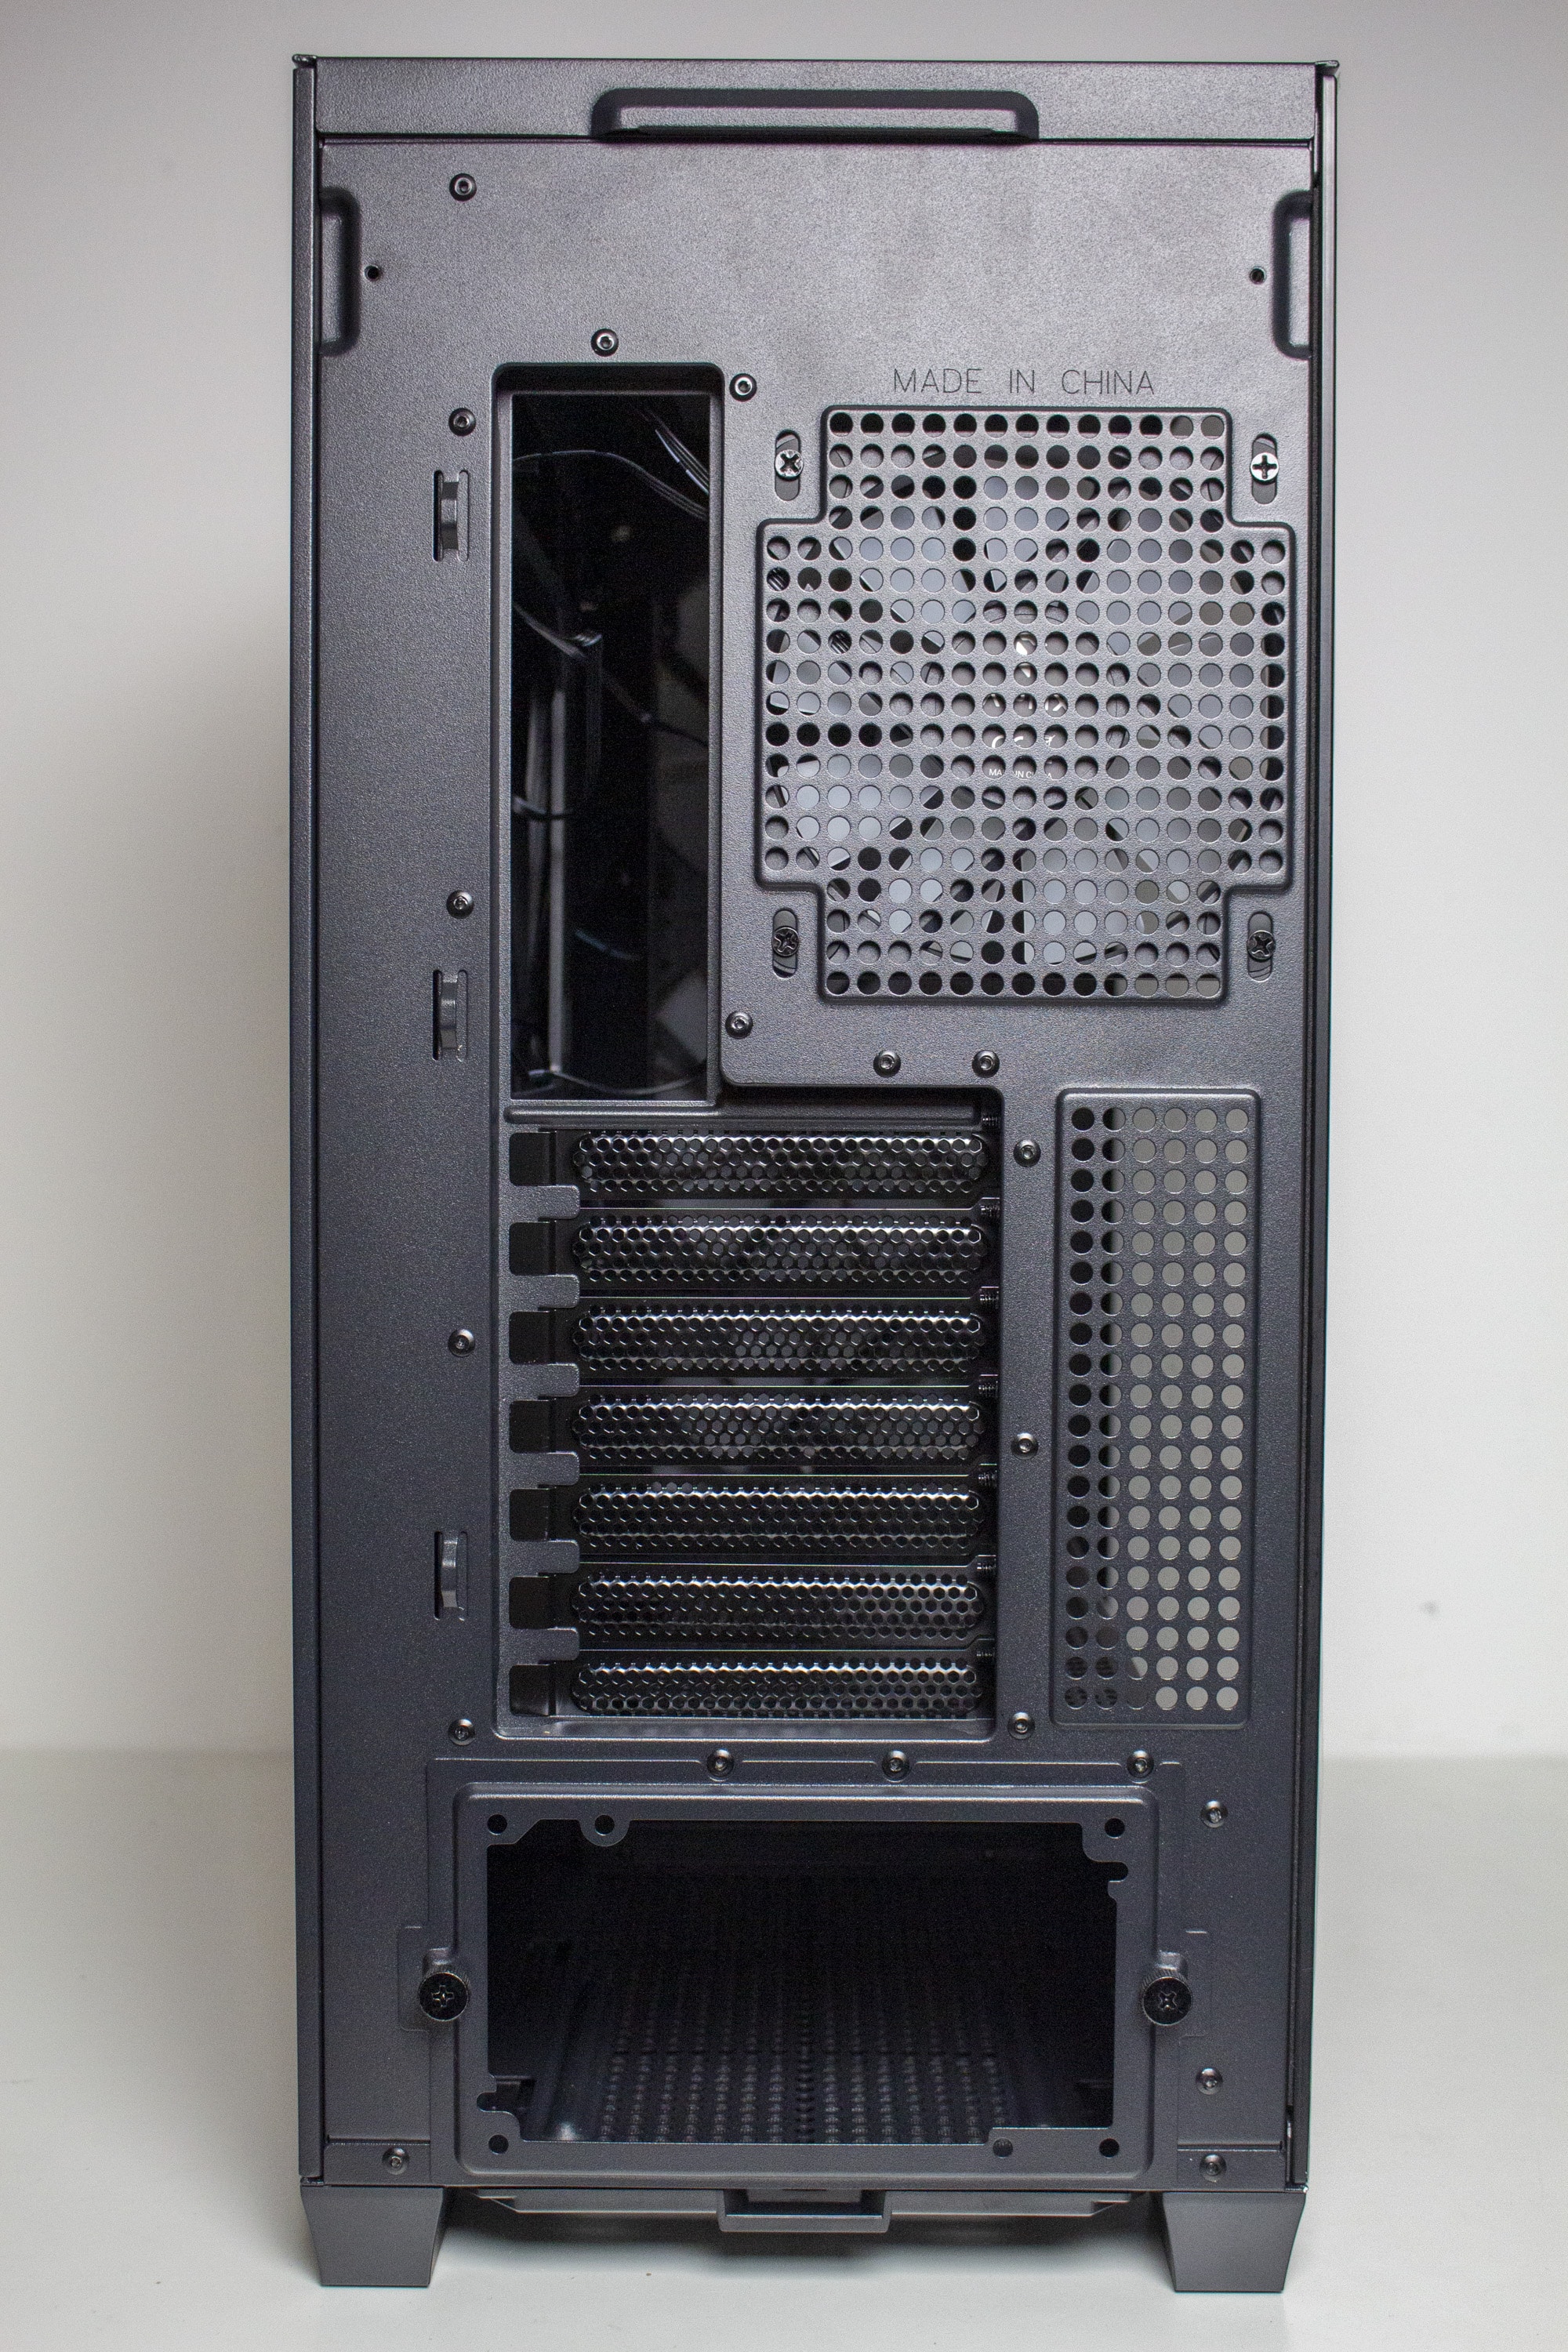
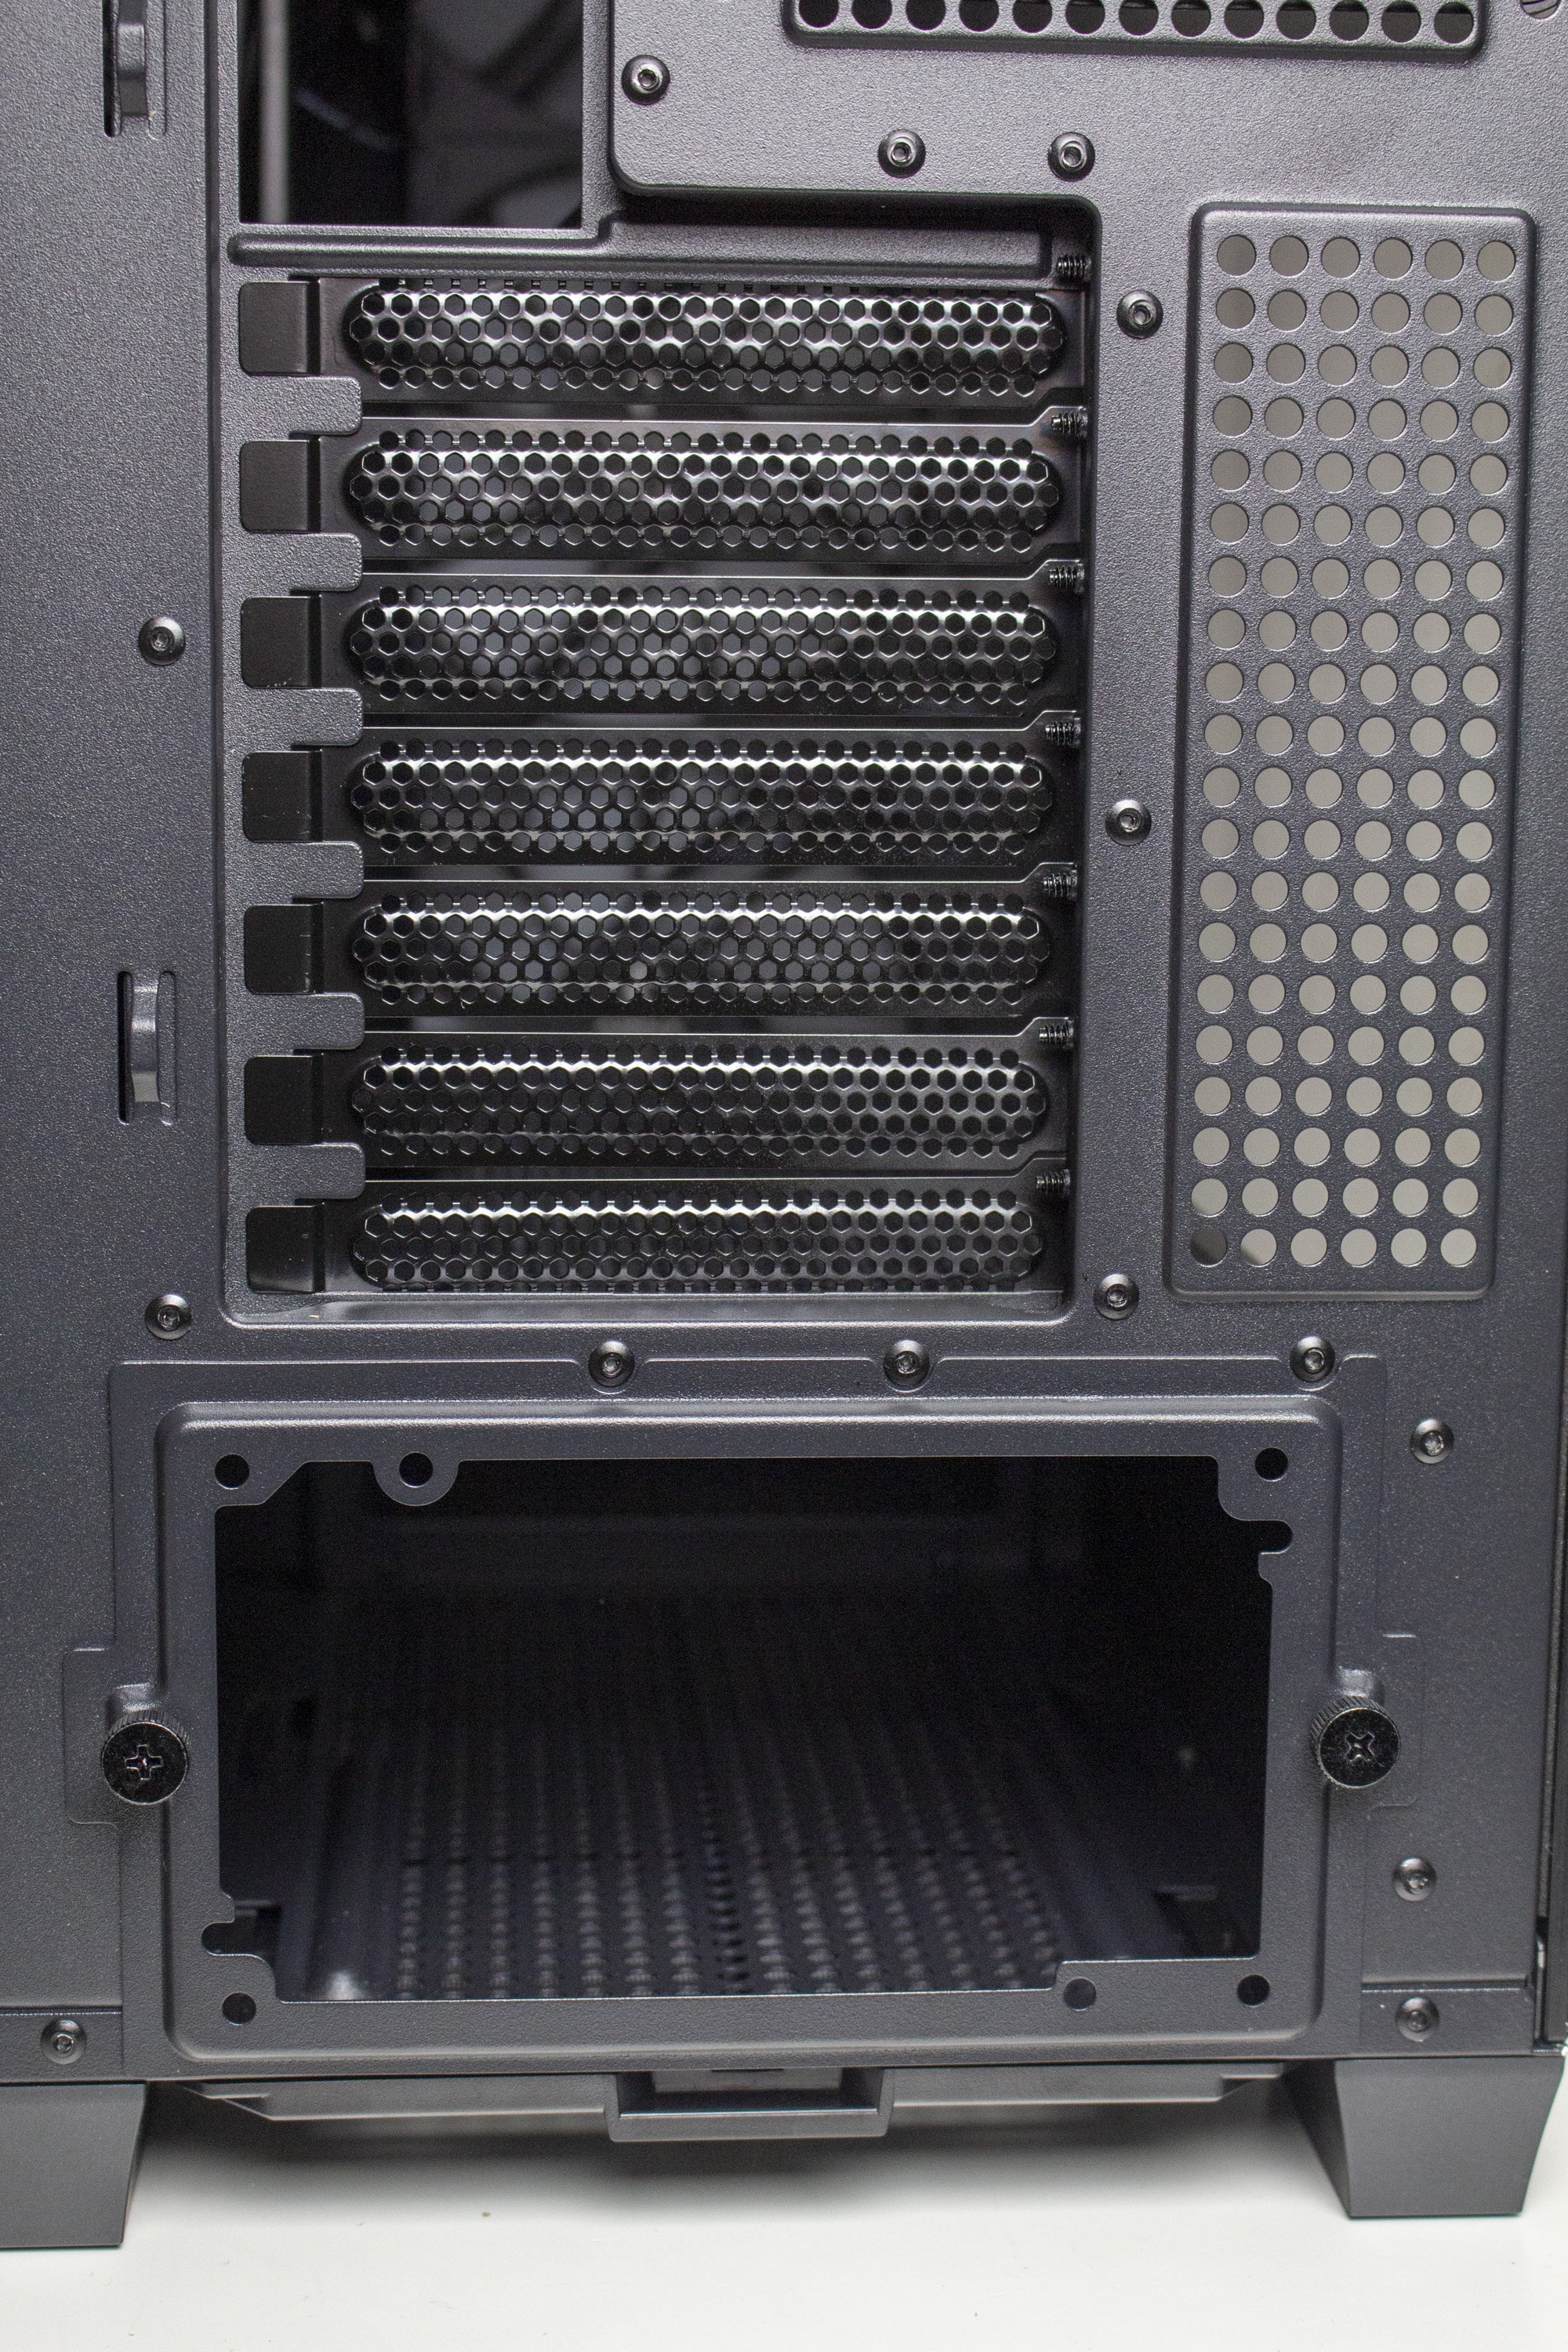
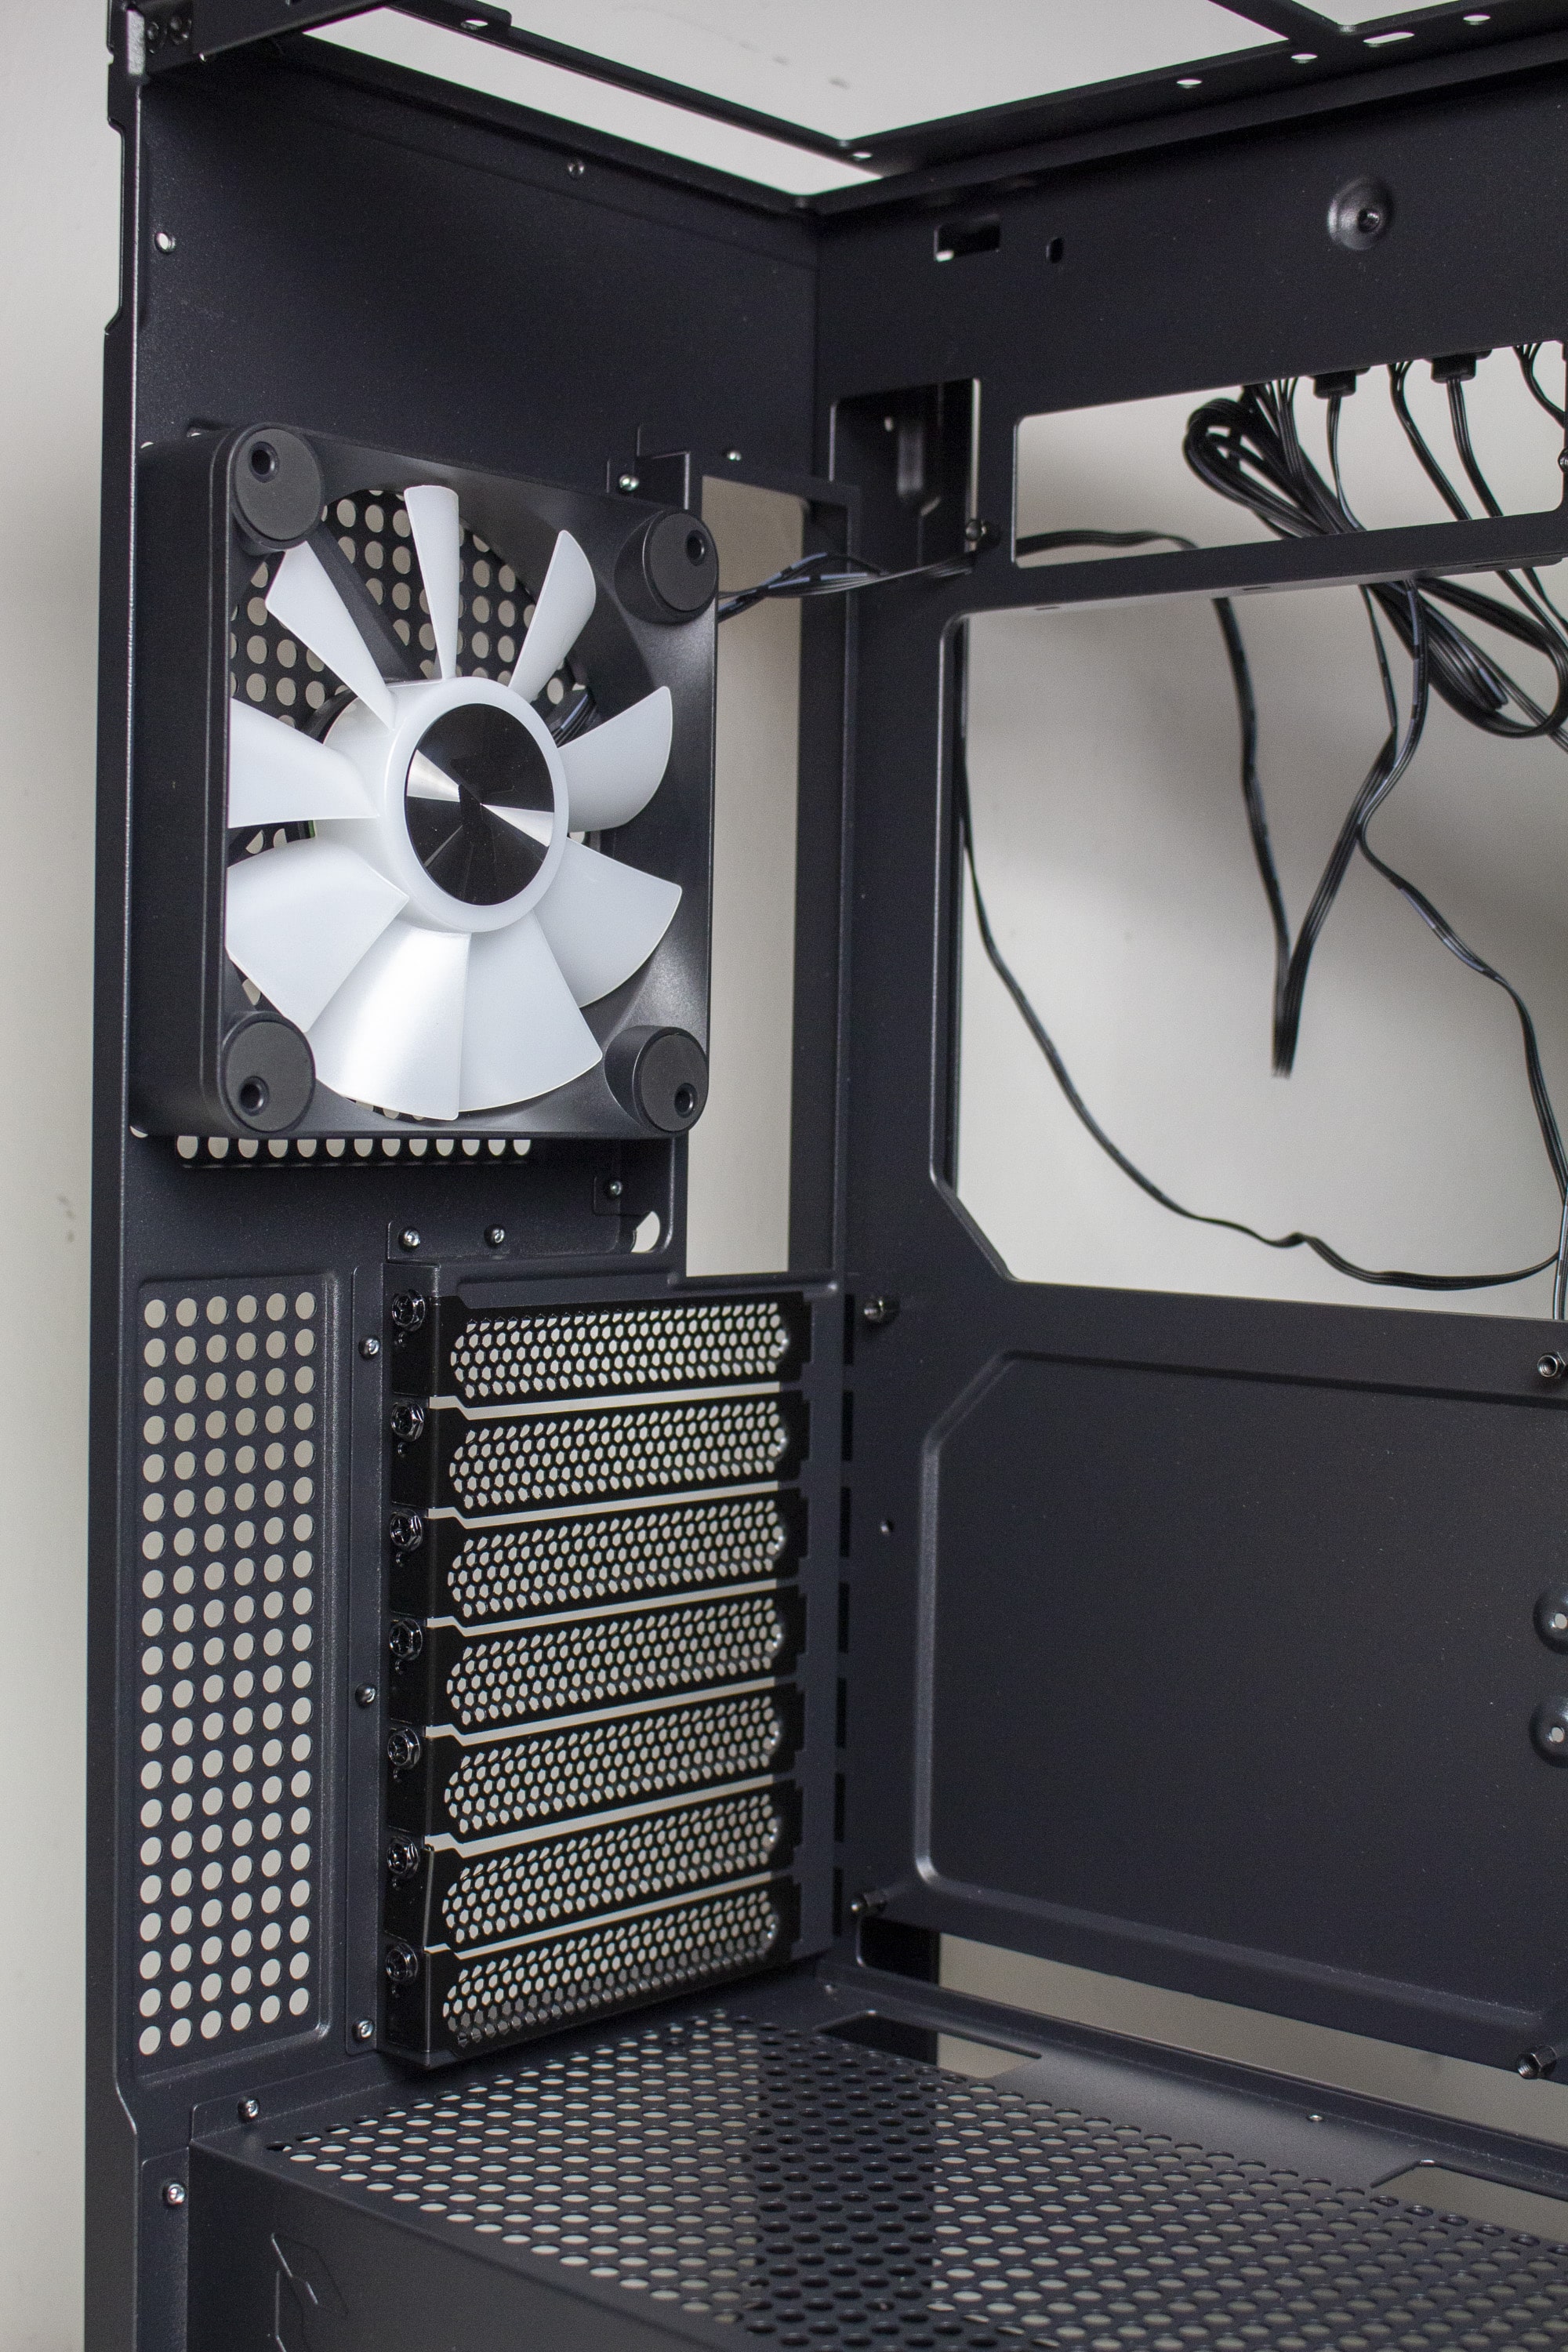
At the back of the midi tower, APNX relies on the proven standard. Thus, a well-known layout with a power supply unit in the bottom is used. Above the power supply, seven reusable slot covers as well as the fourth pre-installed case fan can be seen. The space between the fan and the lid should also allow the installation of thicker radiators in the lid. Furthermore, APNX equips the back with three eyelets for cable ties.
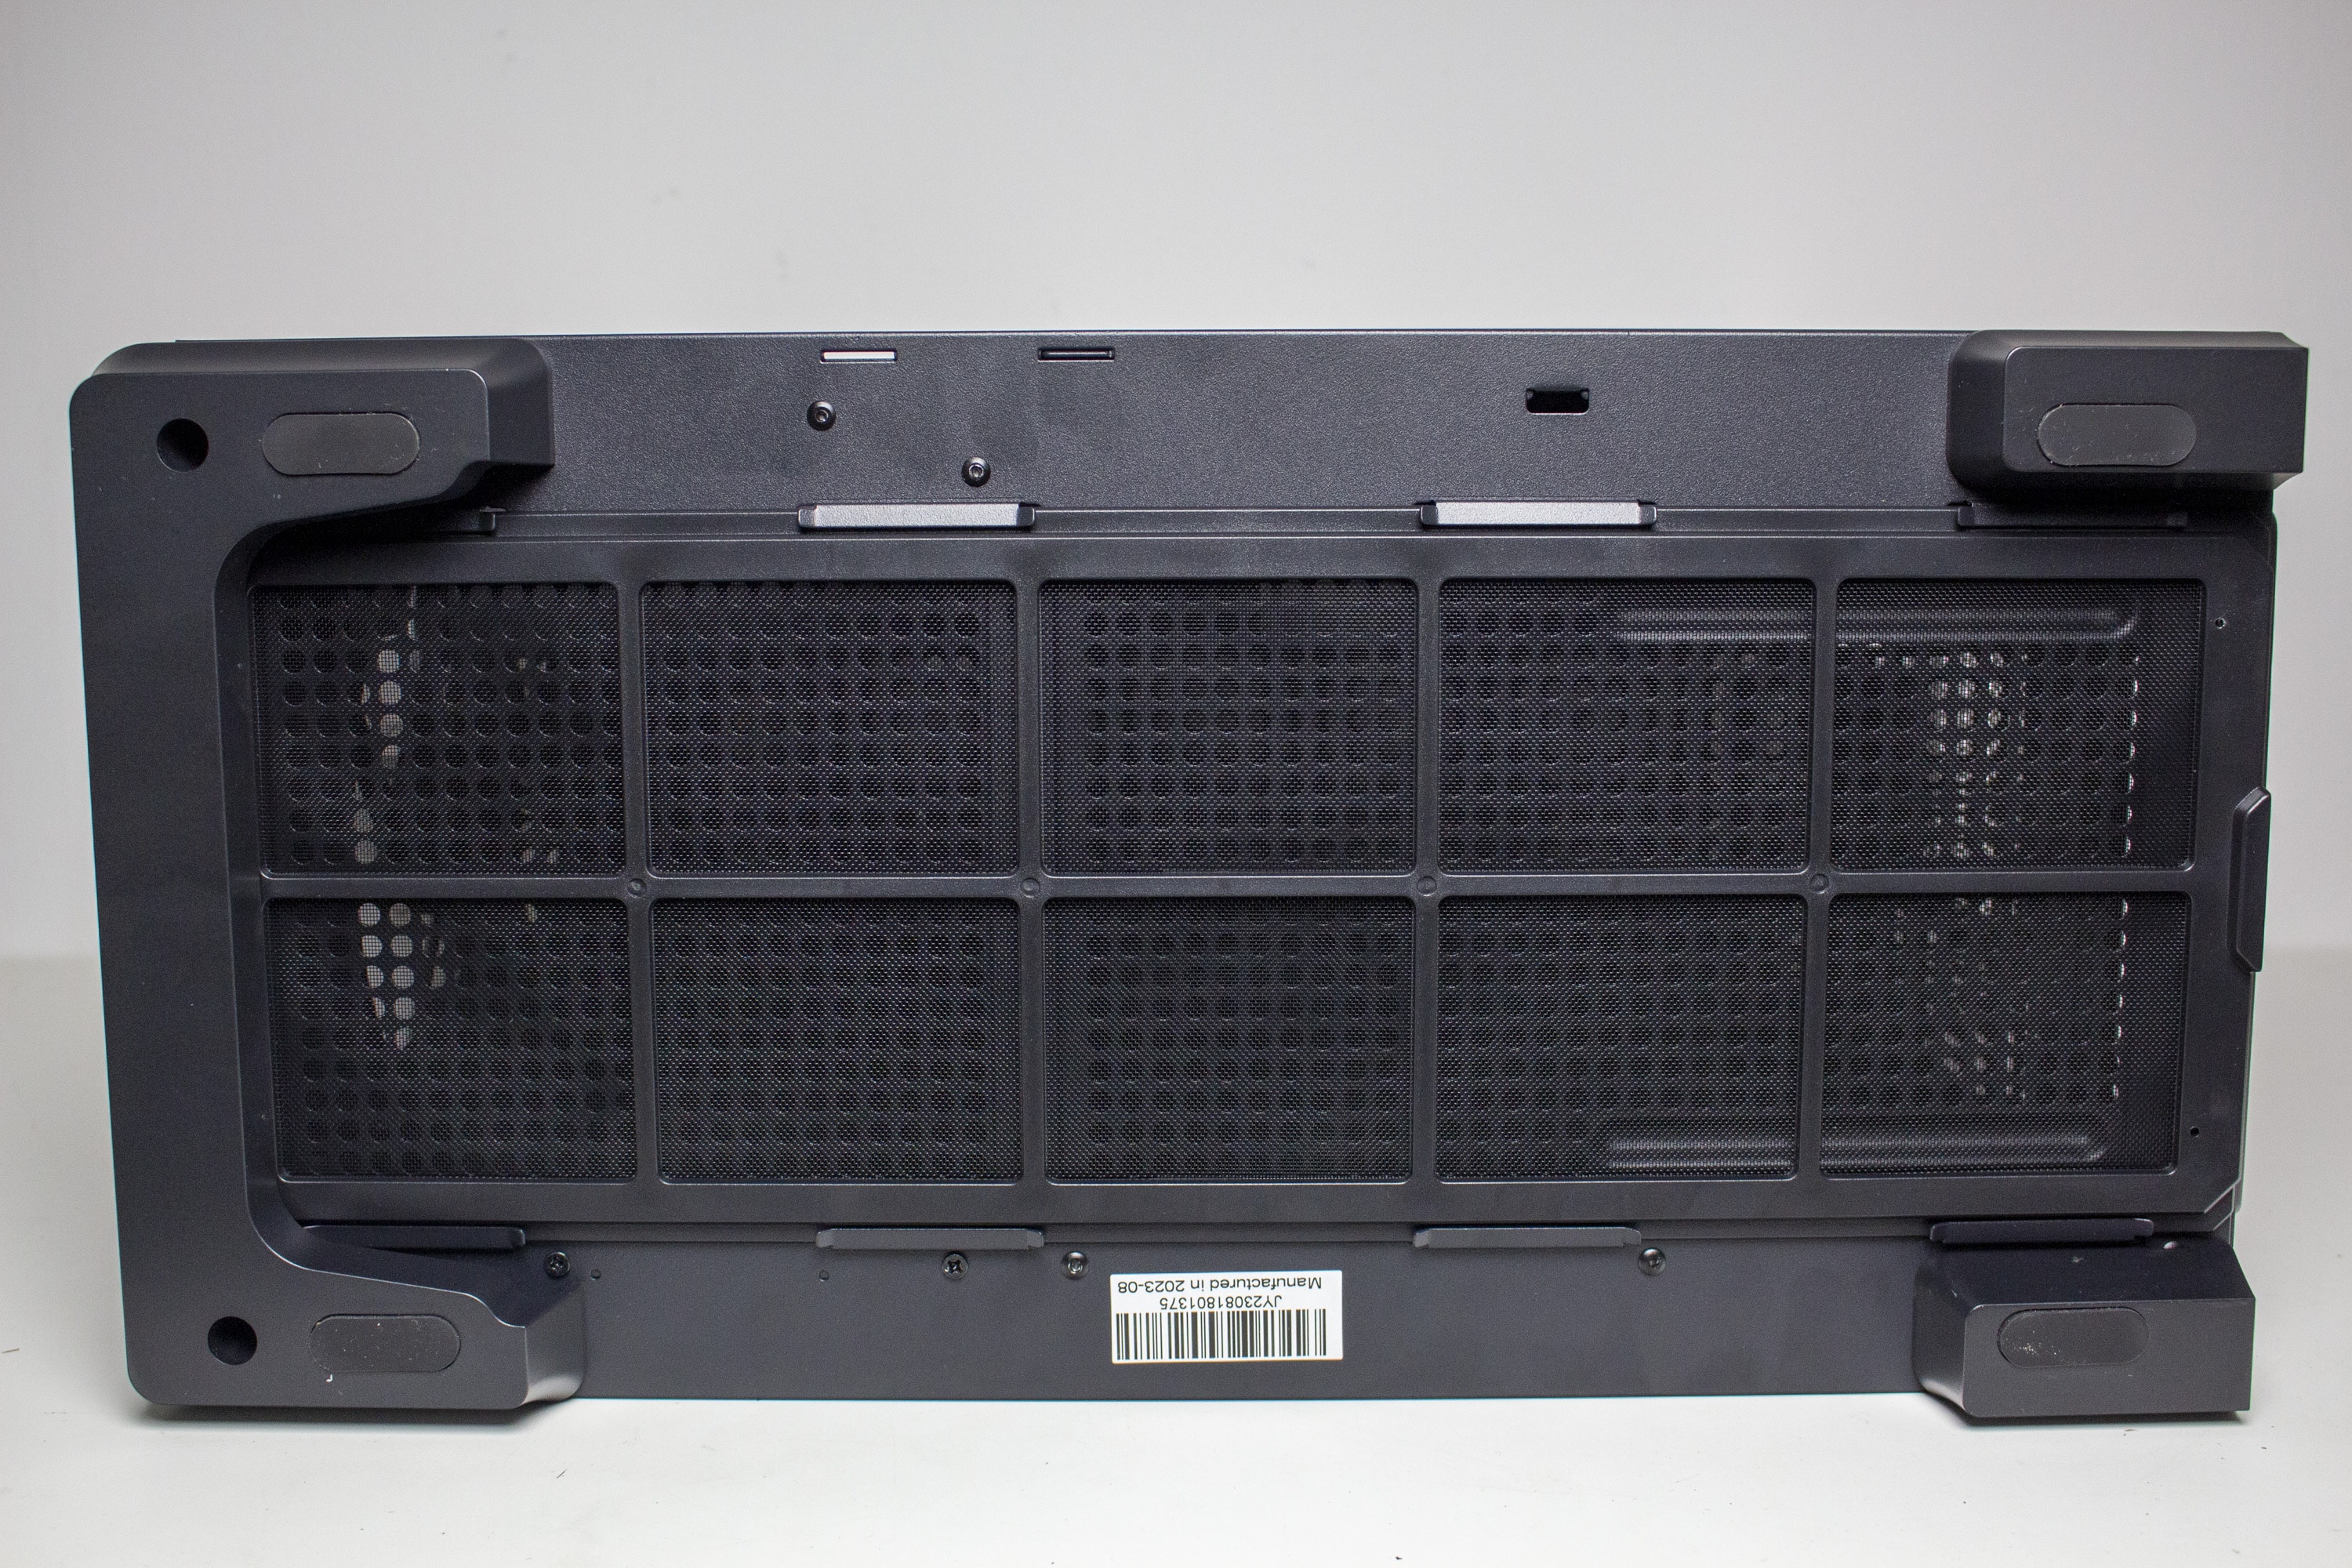
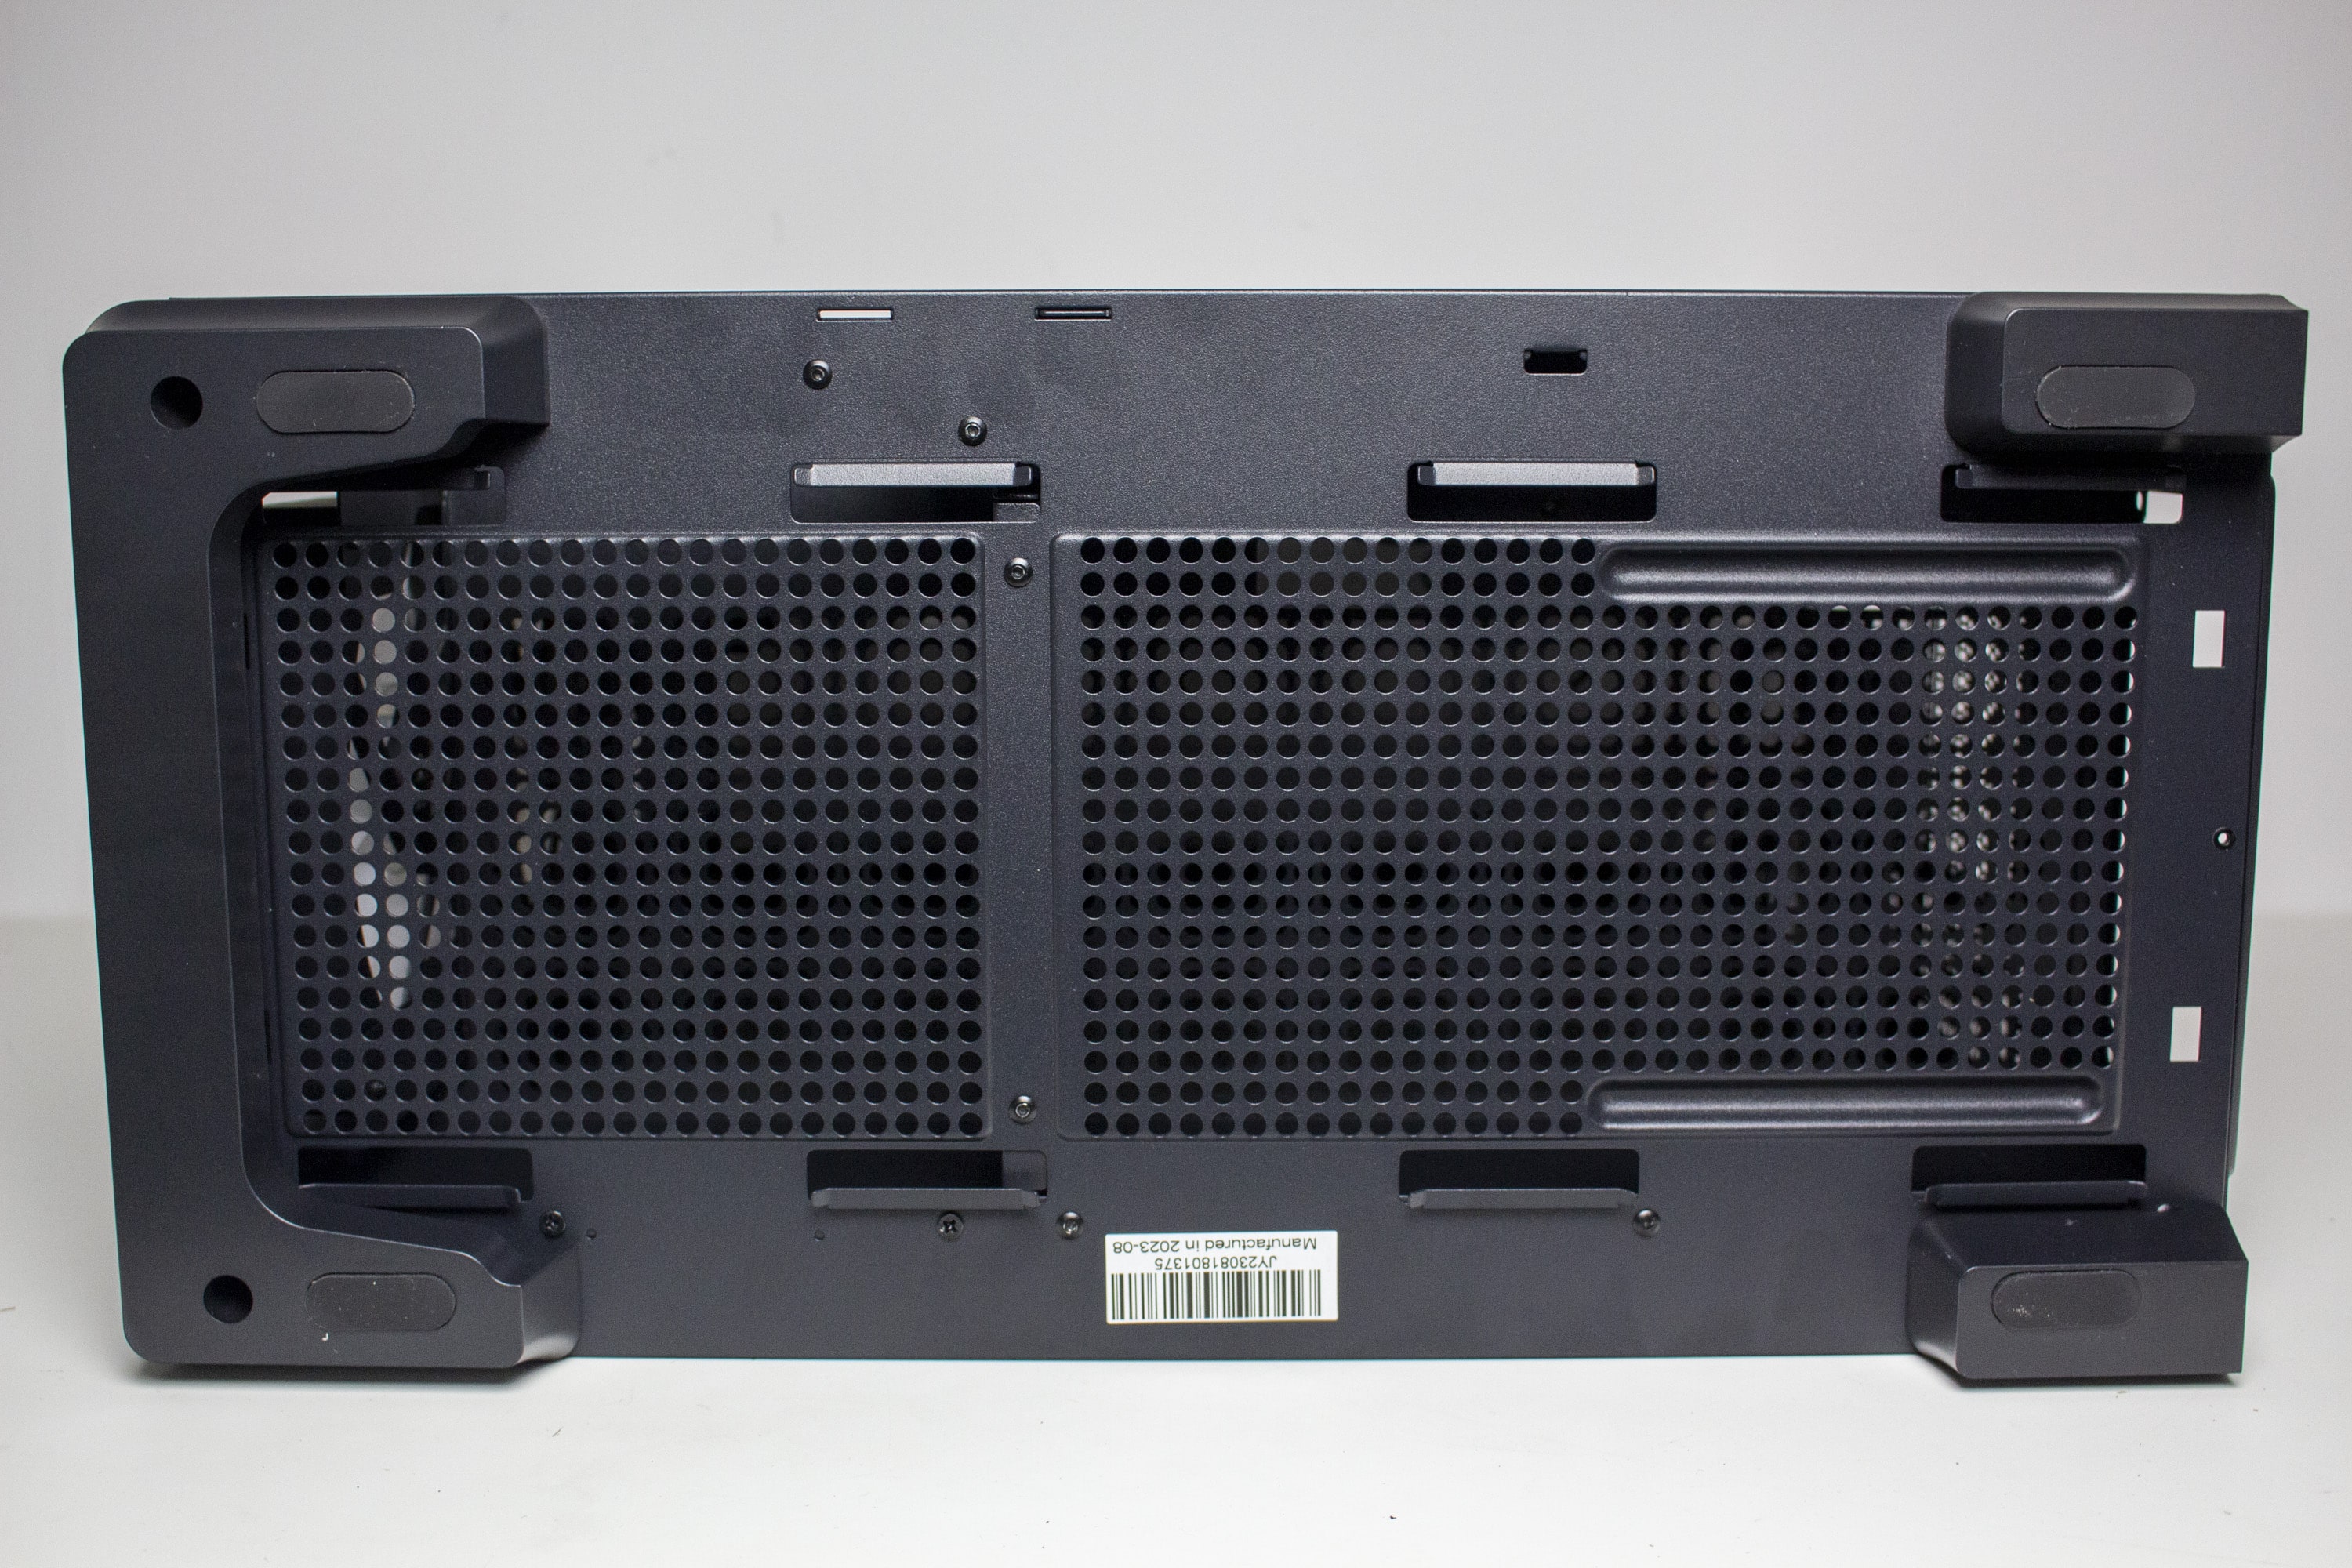
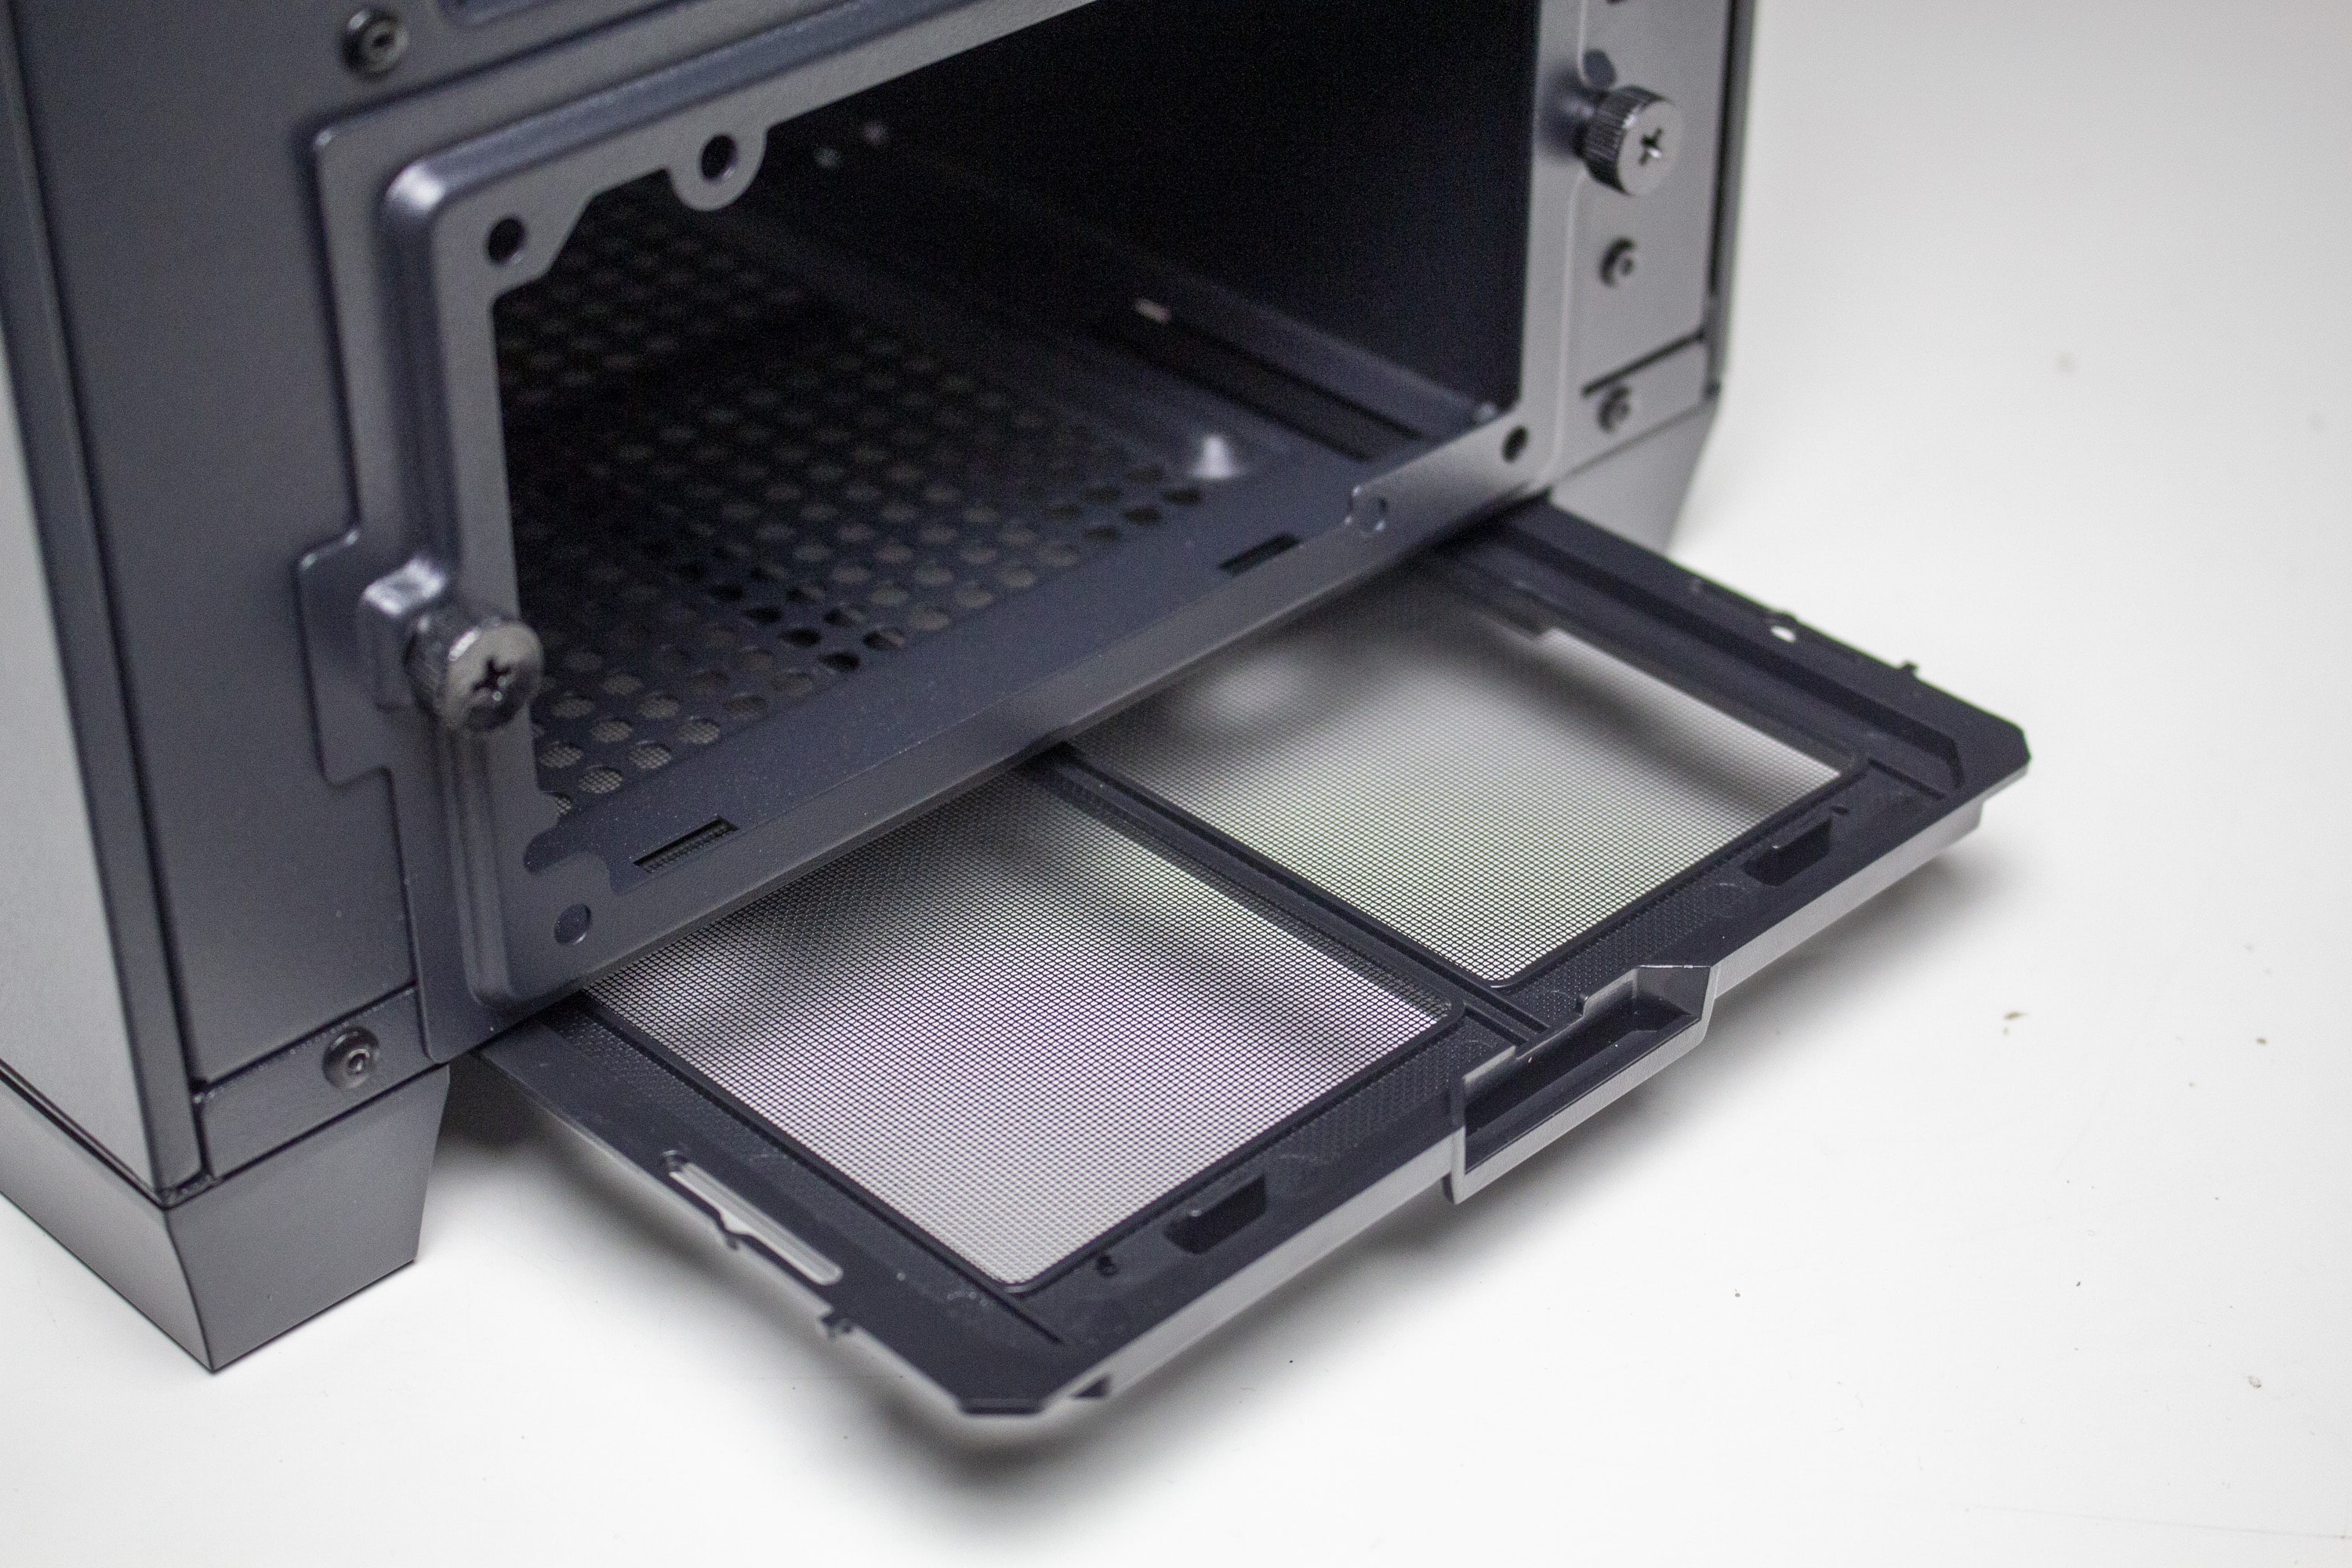
Three feet made of solid plastic allow the C1 to stand firmly and without slipping on any surface. The rear feet, unlike the large stand in the front, are separated from each other. Between them, APNX positions the fine dust filter for the power supply, which can easily be removed towards the back. Without the dust filter, you get a clear view of the perforated underside of the midi tower.
Interior Impression
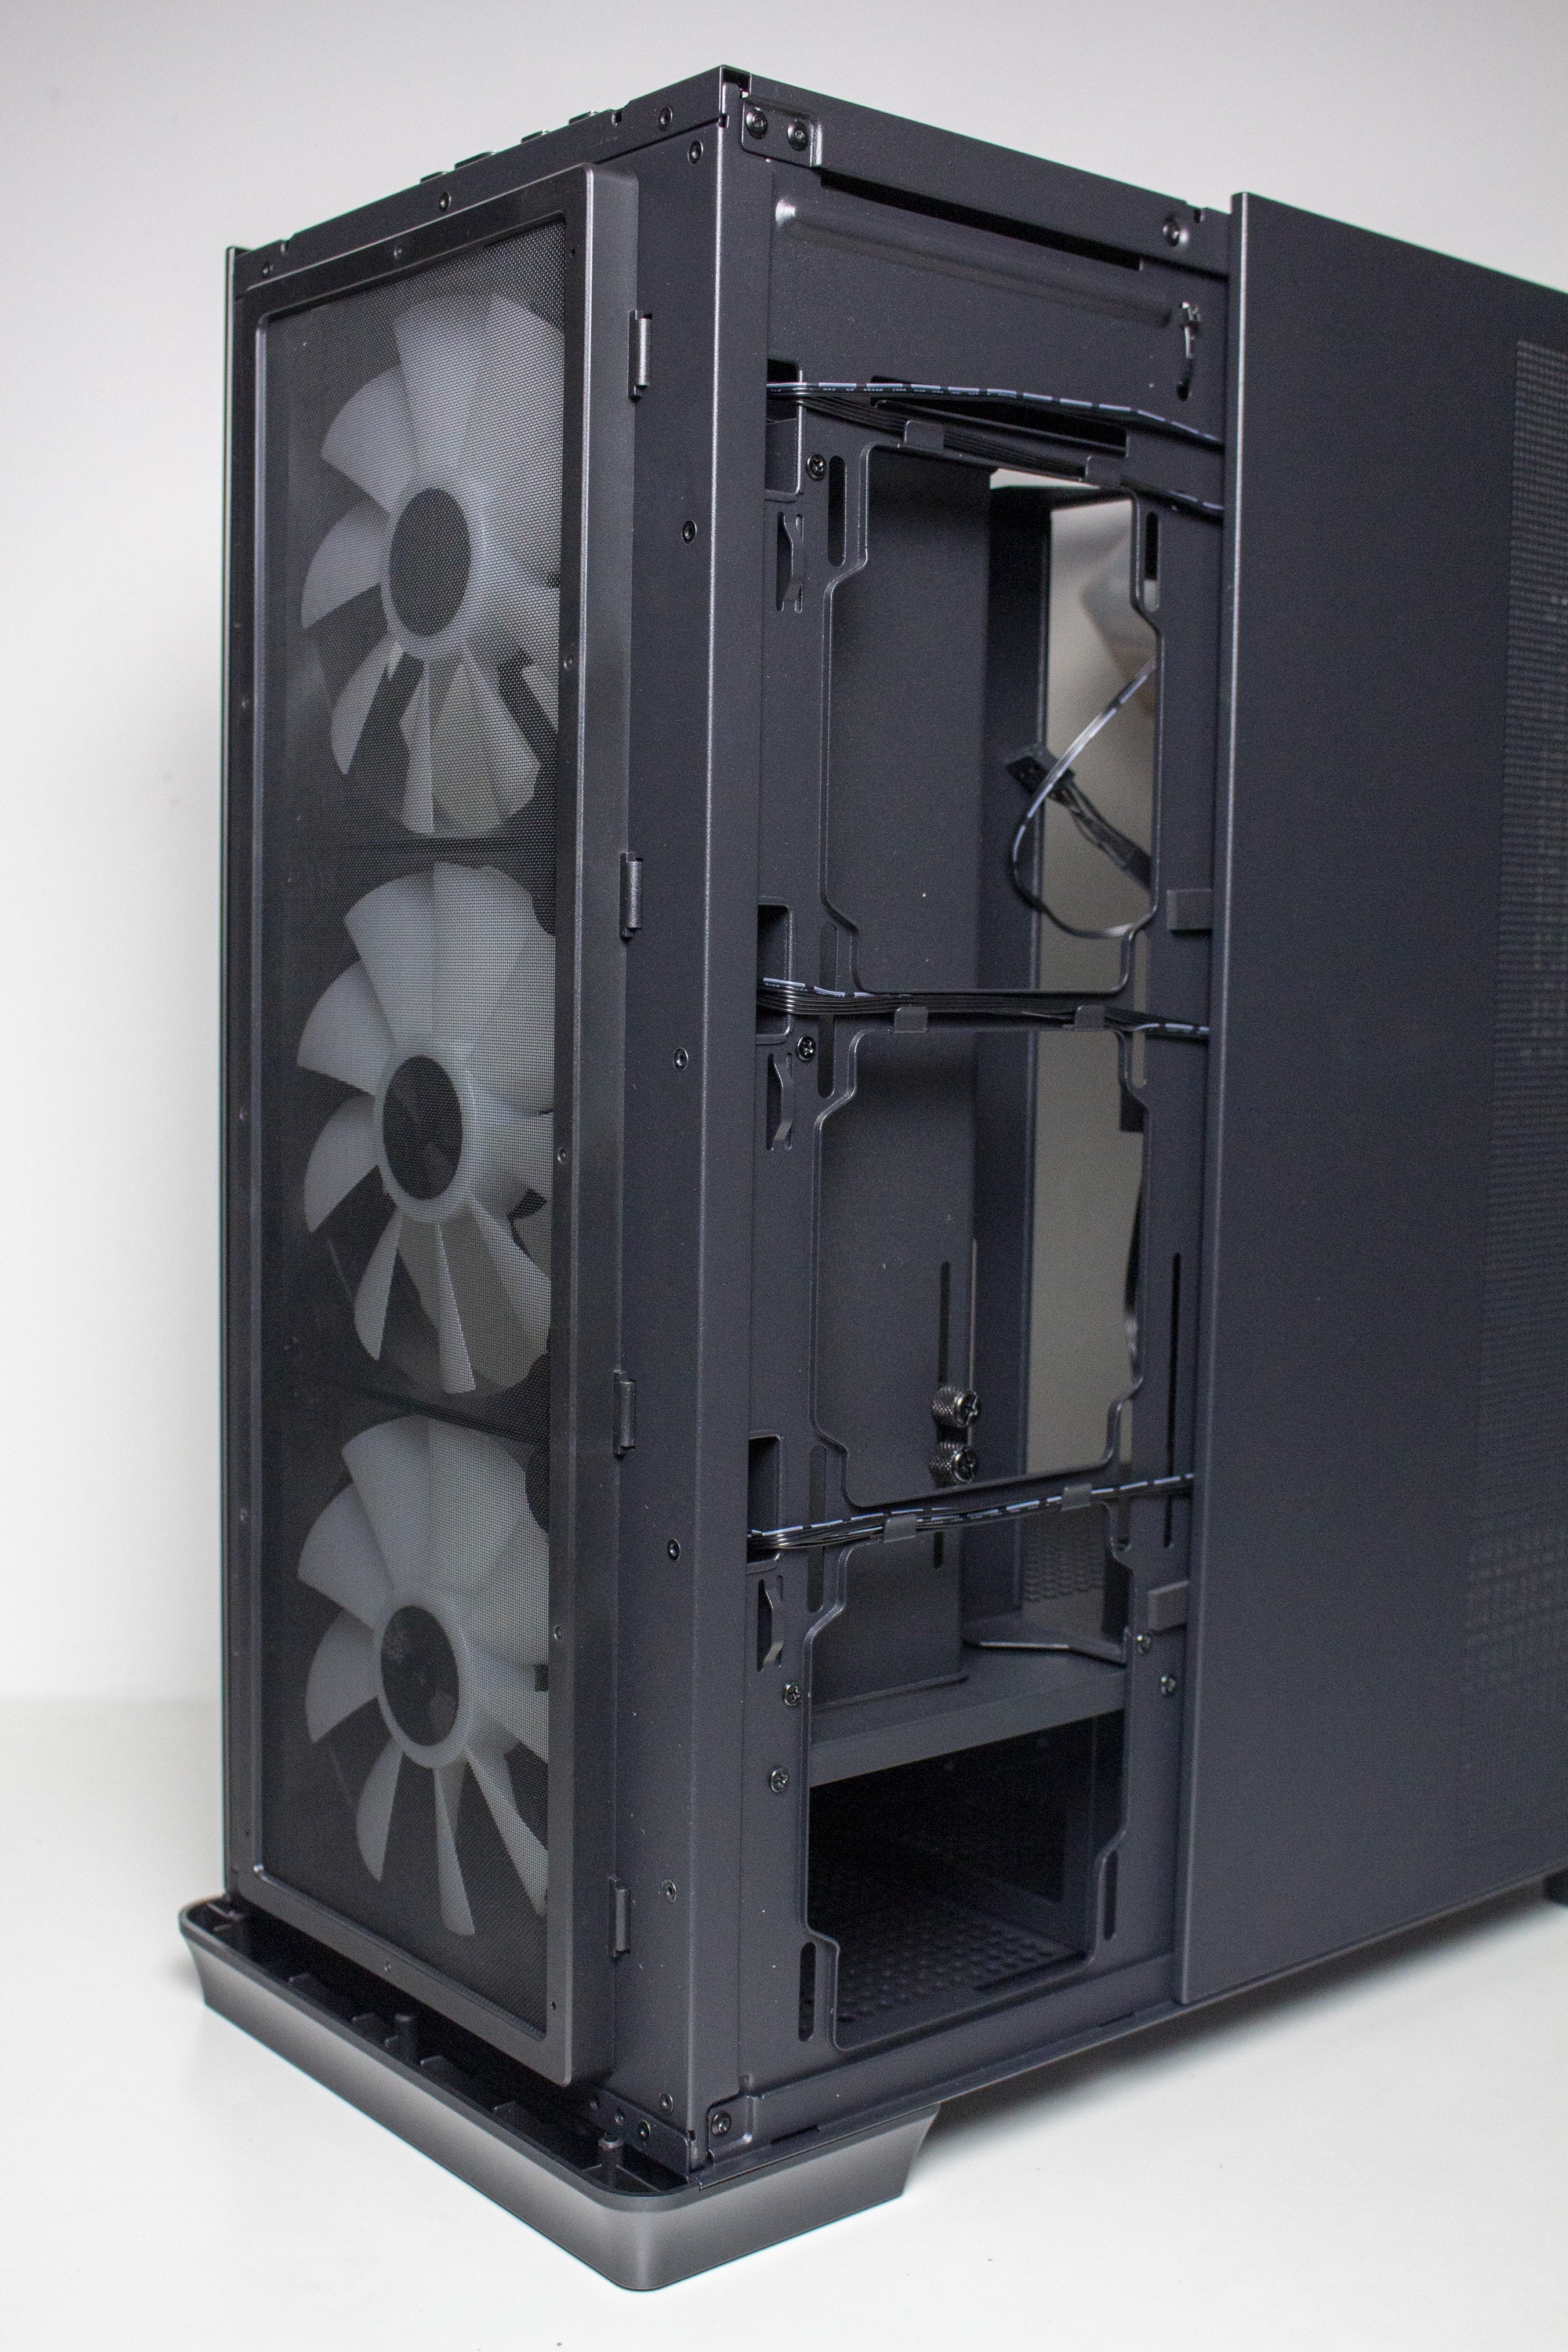
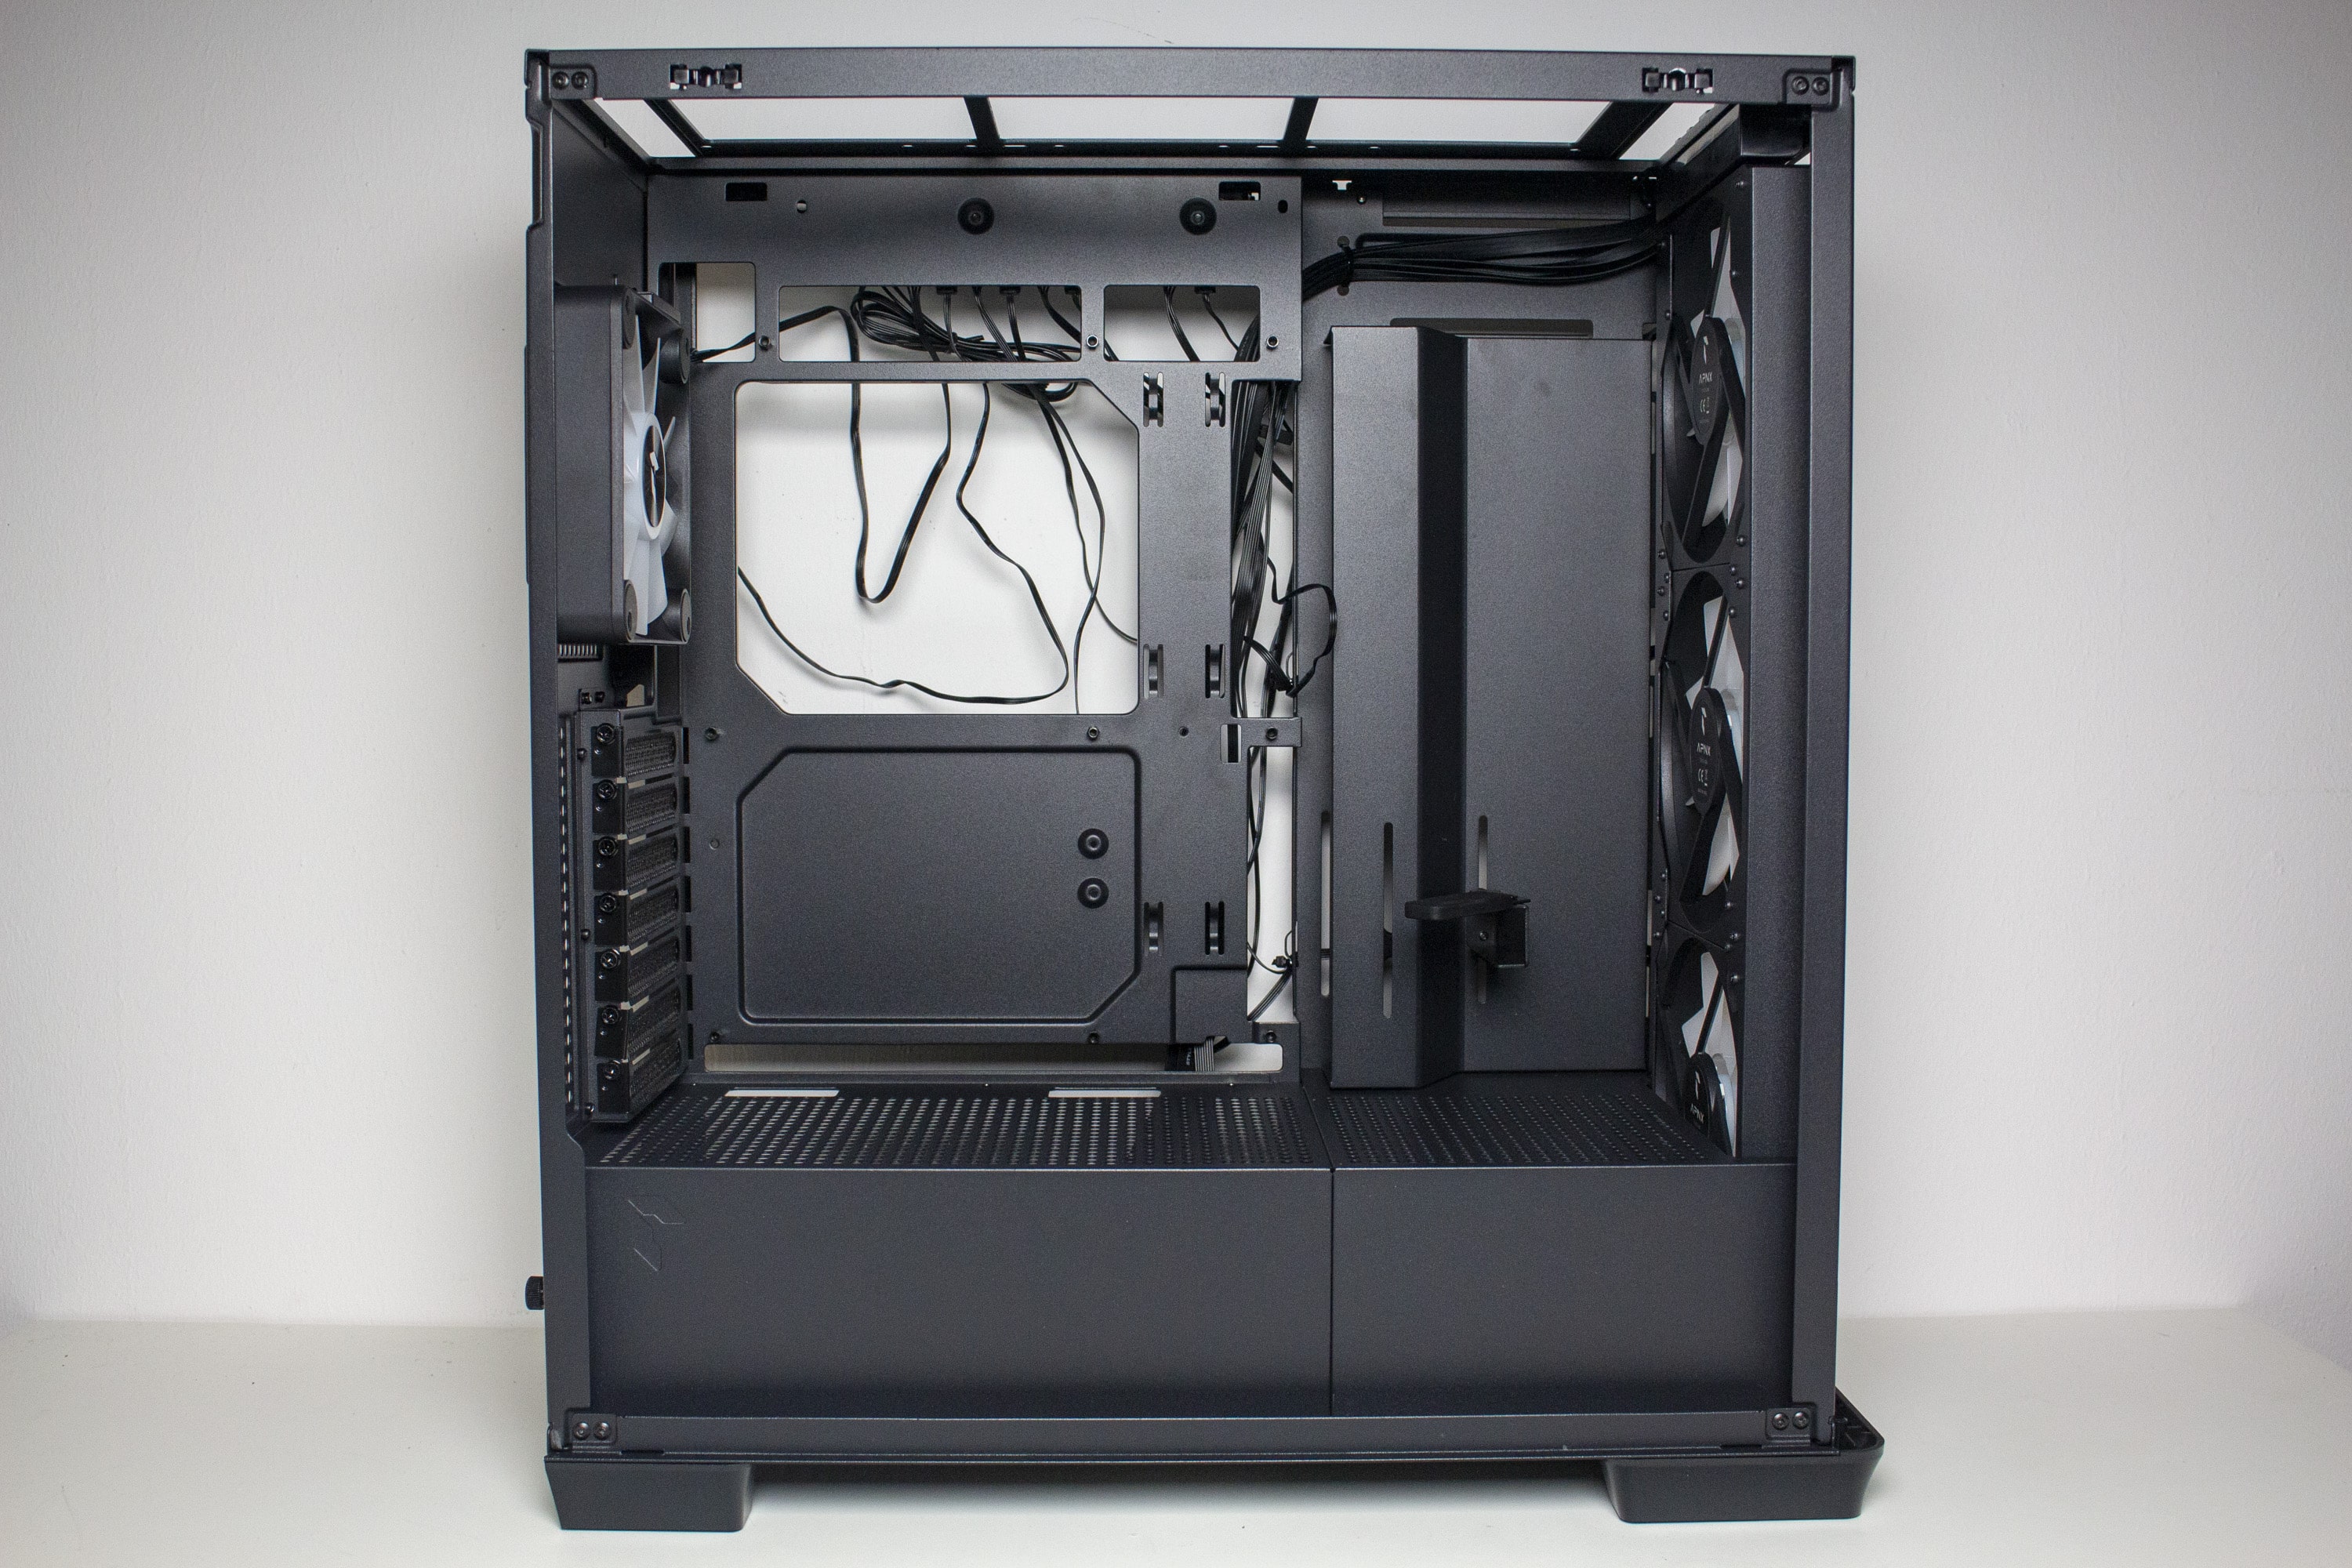
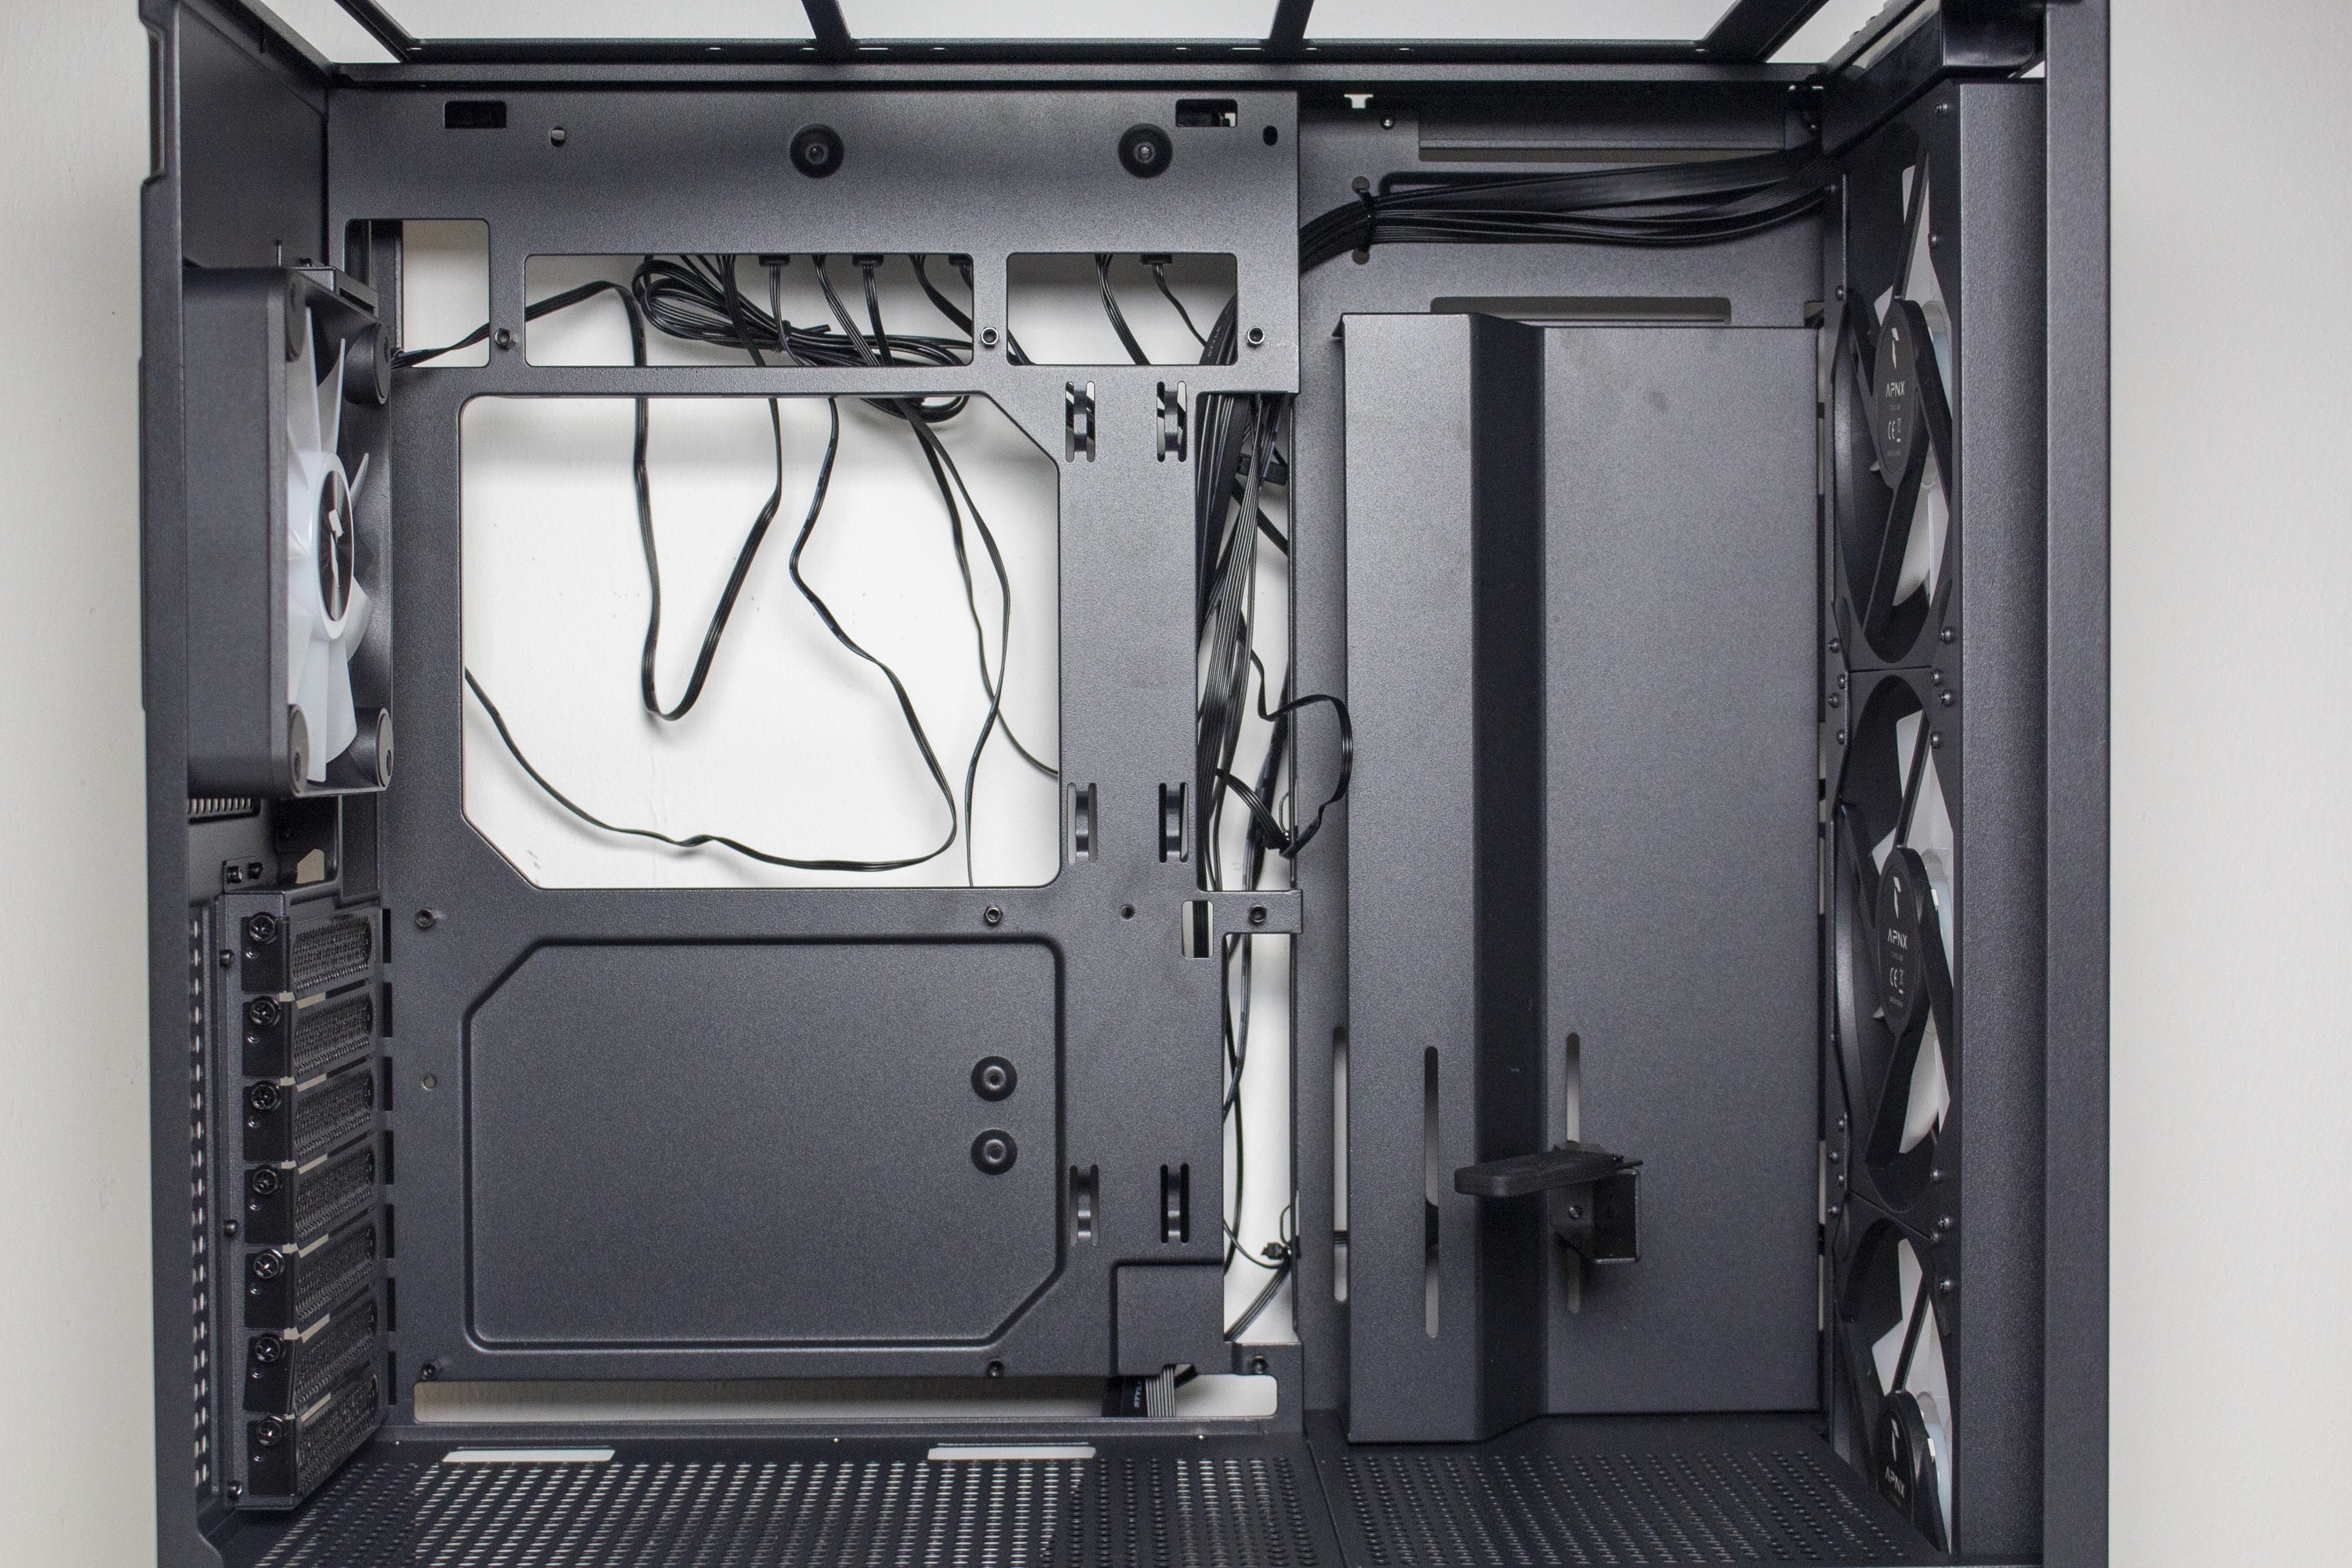
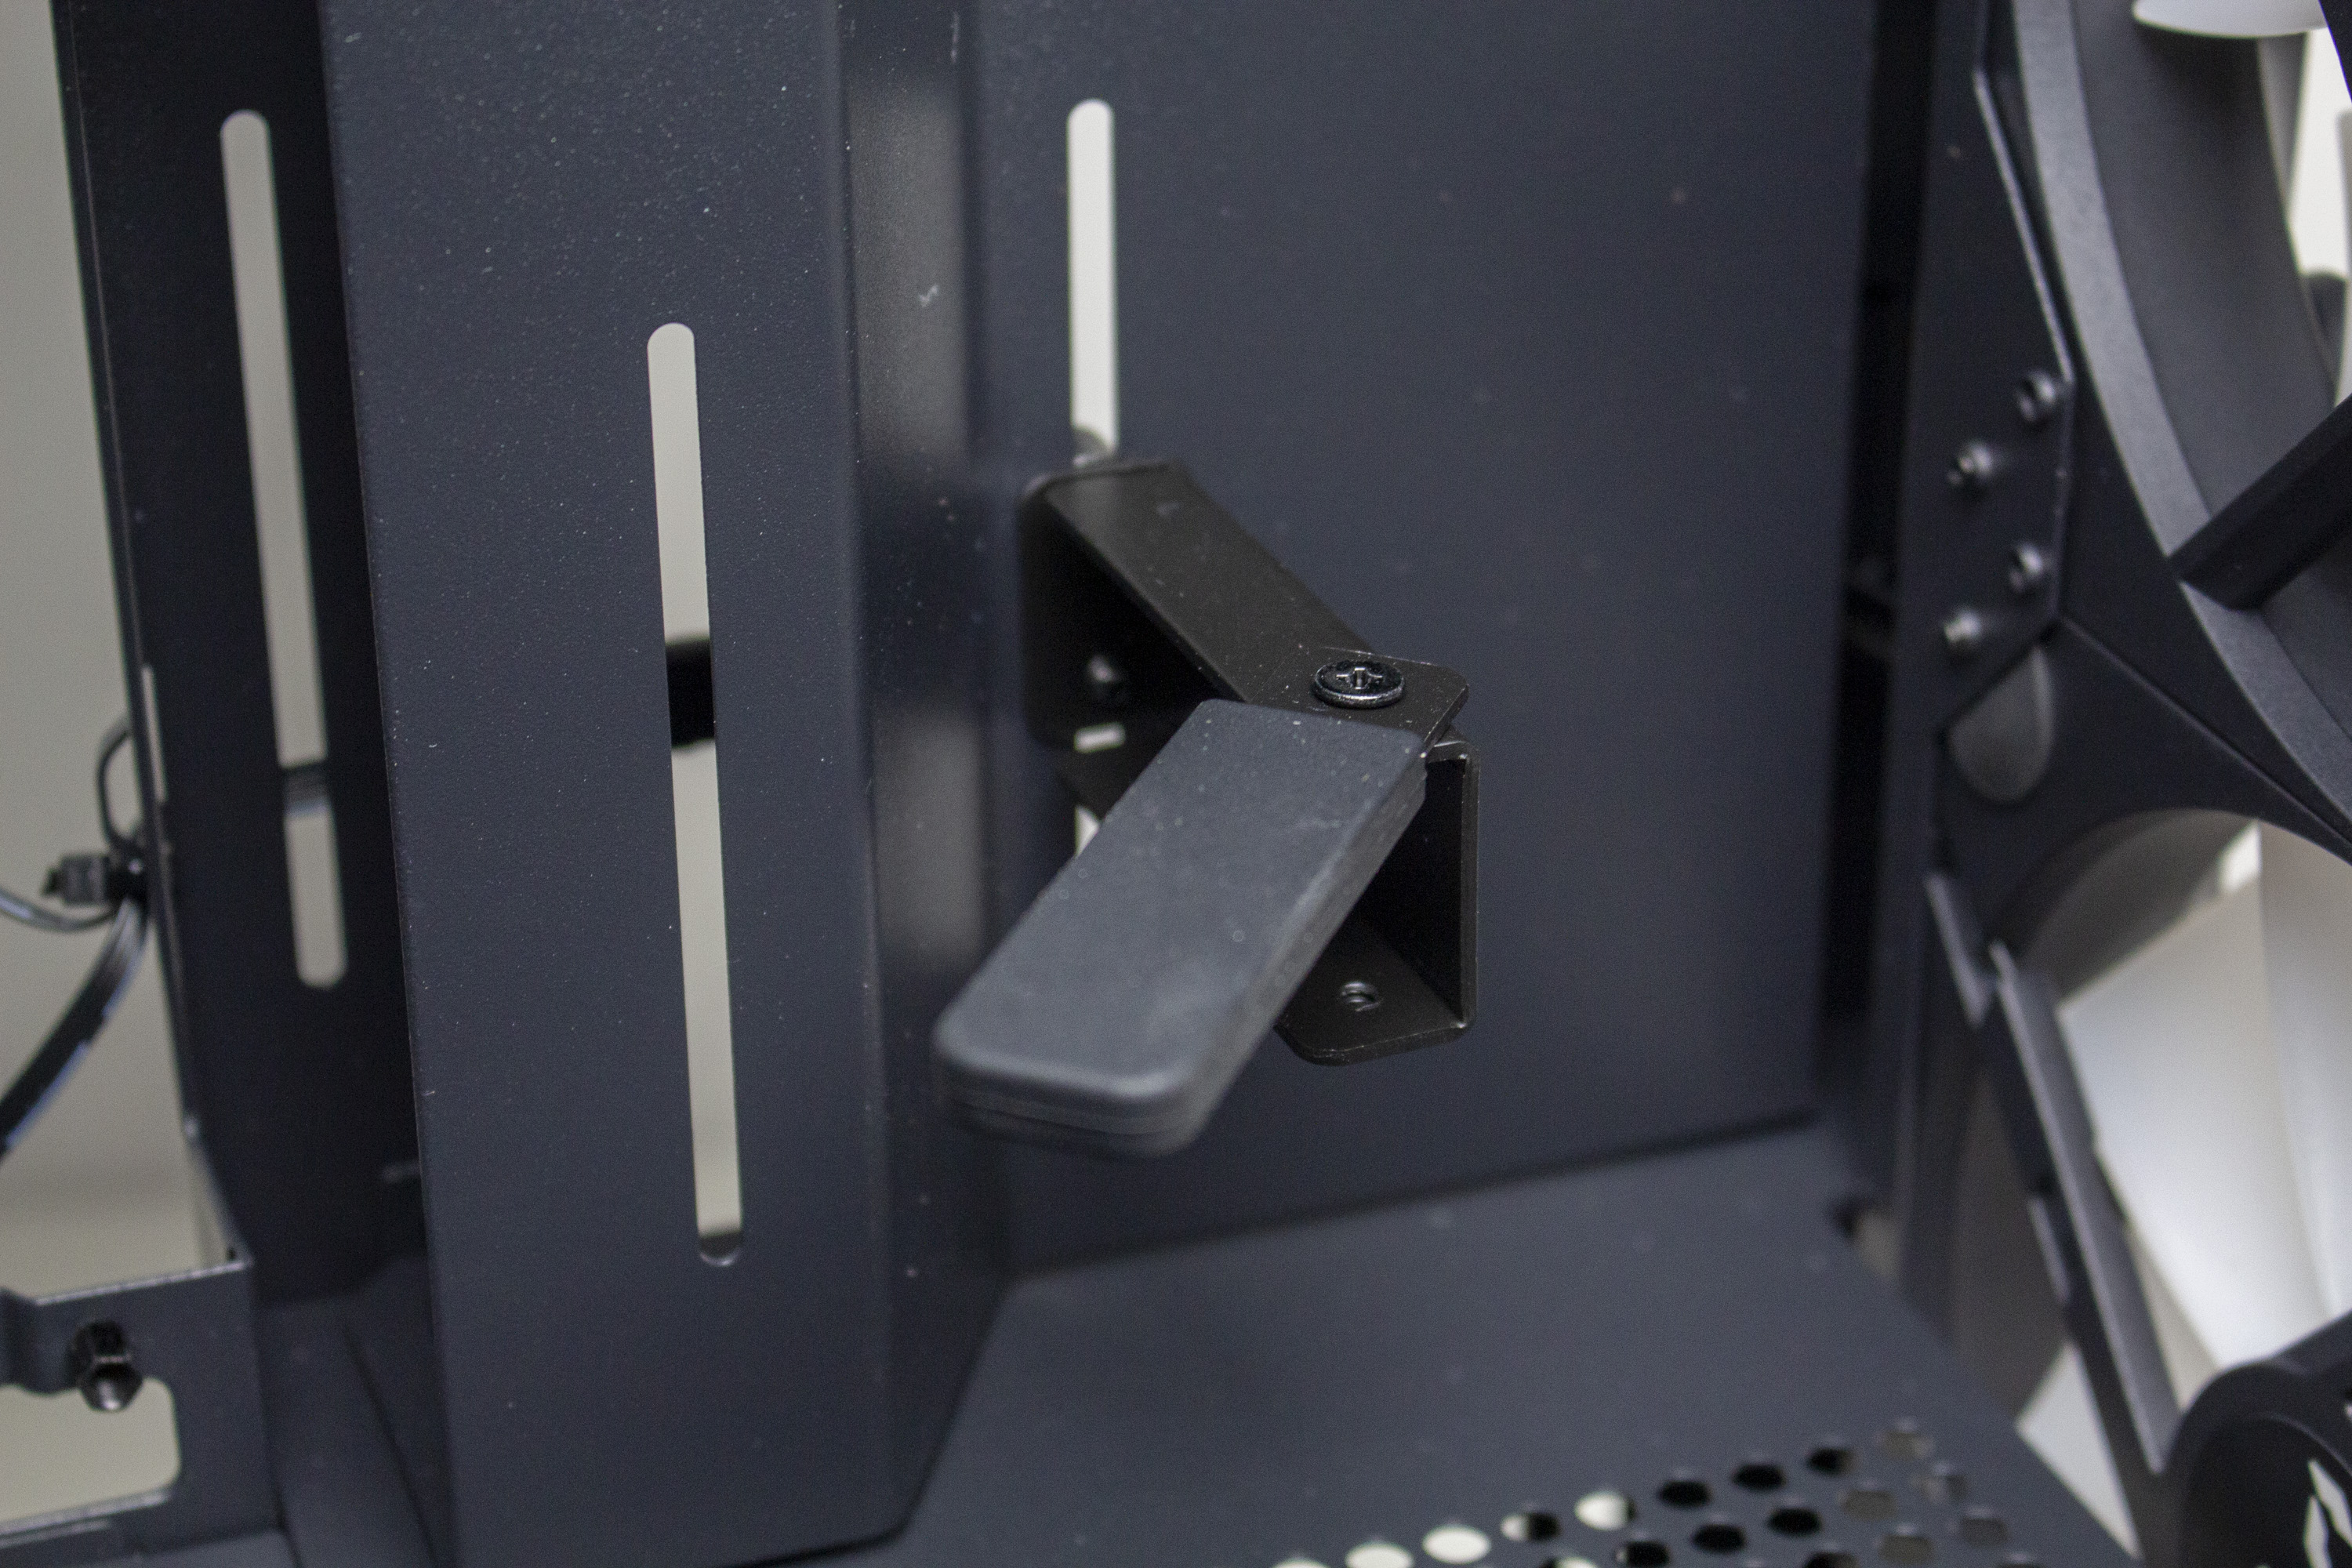
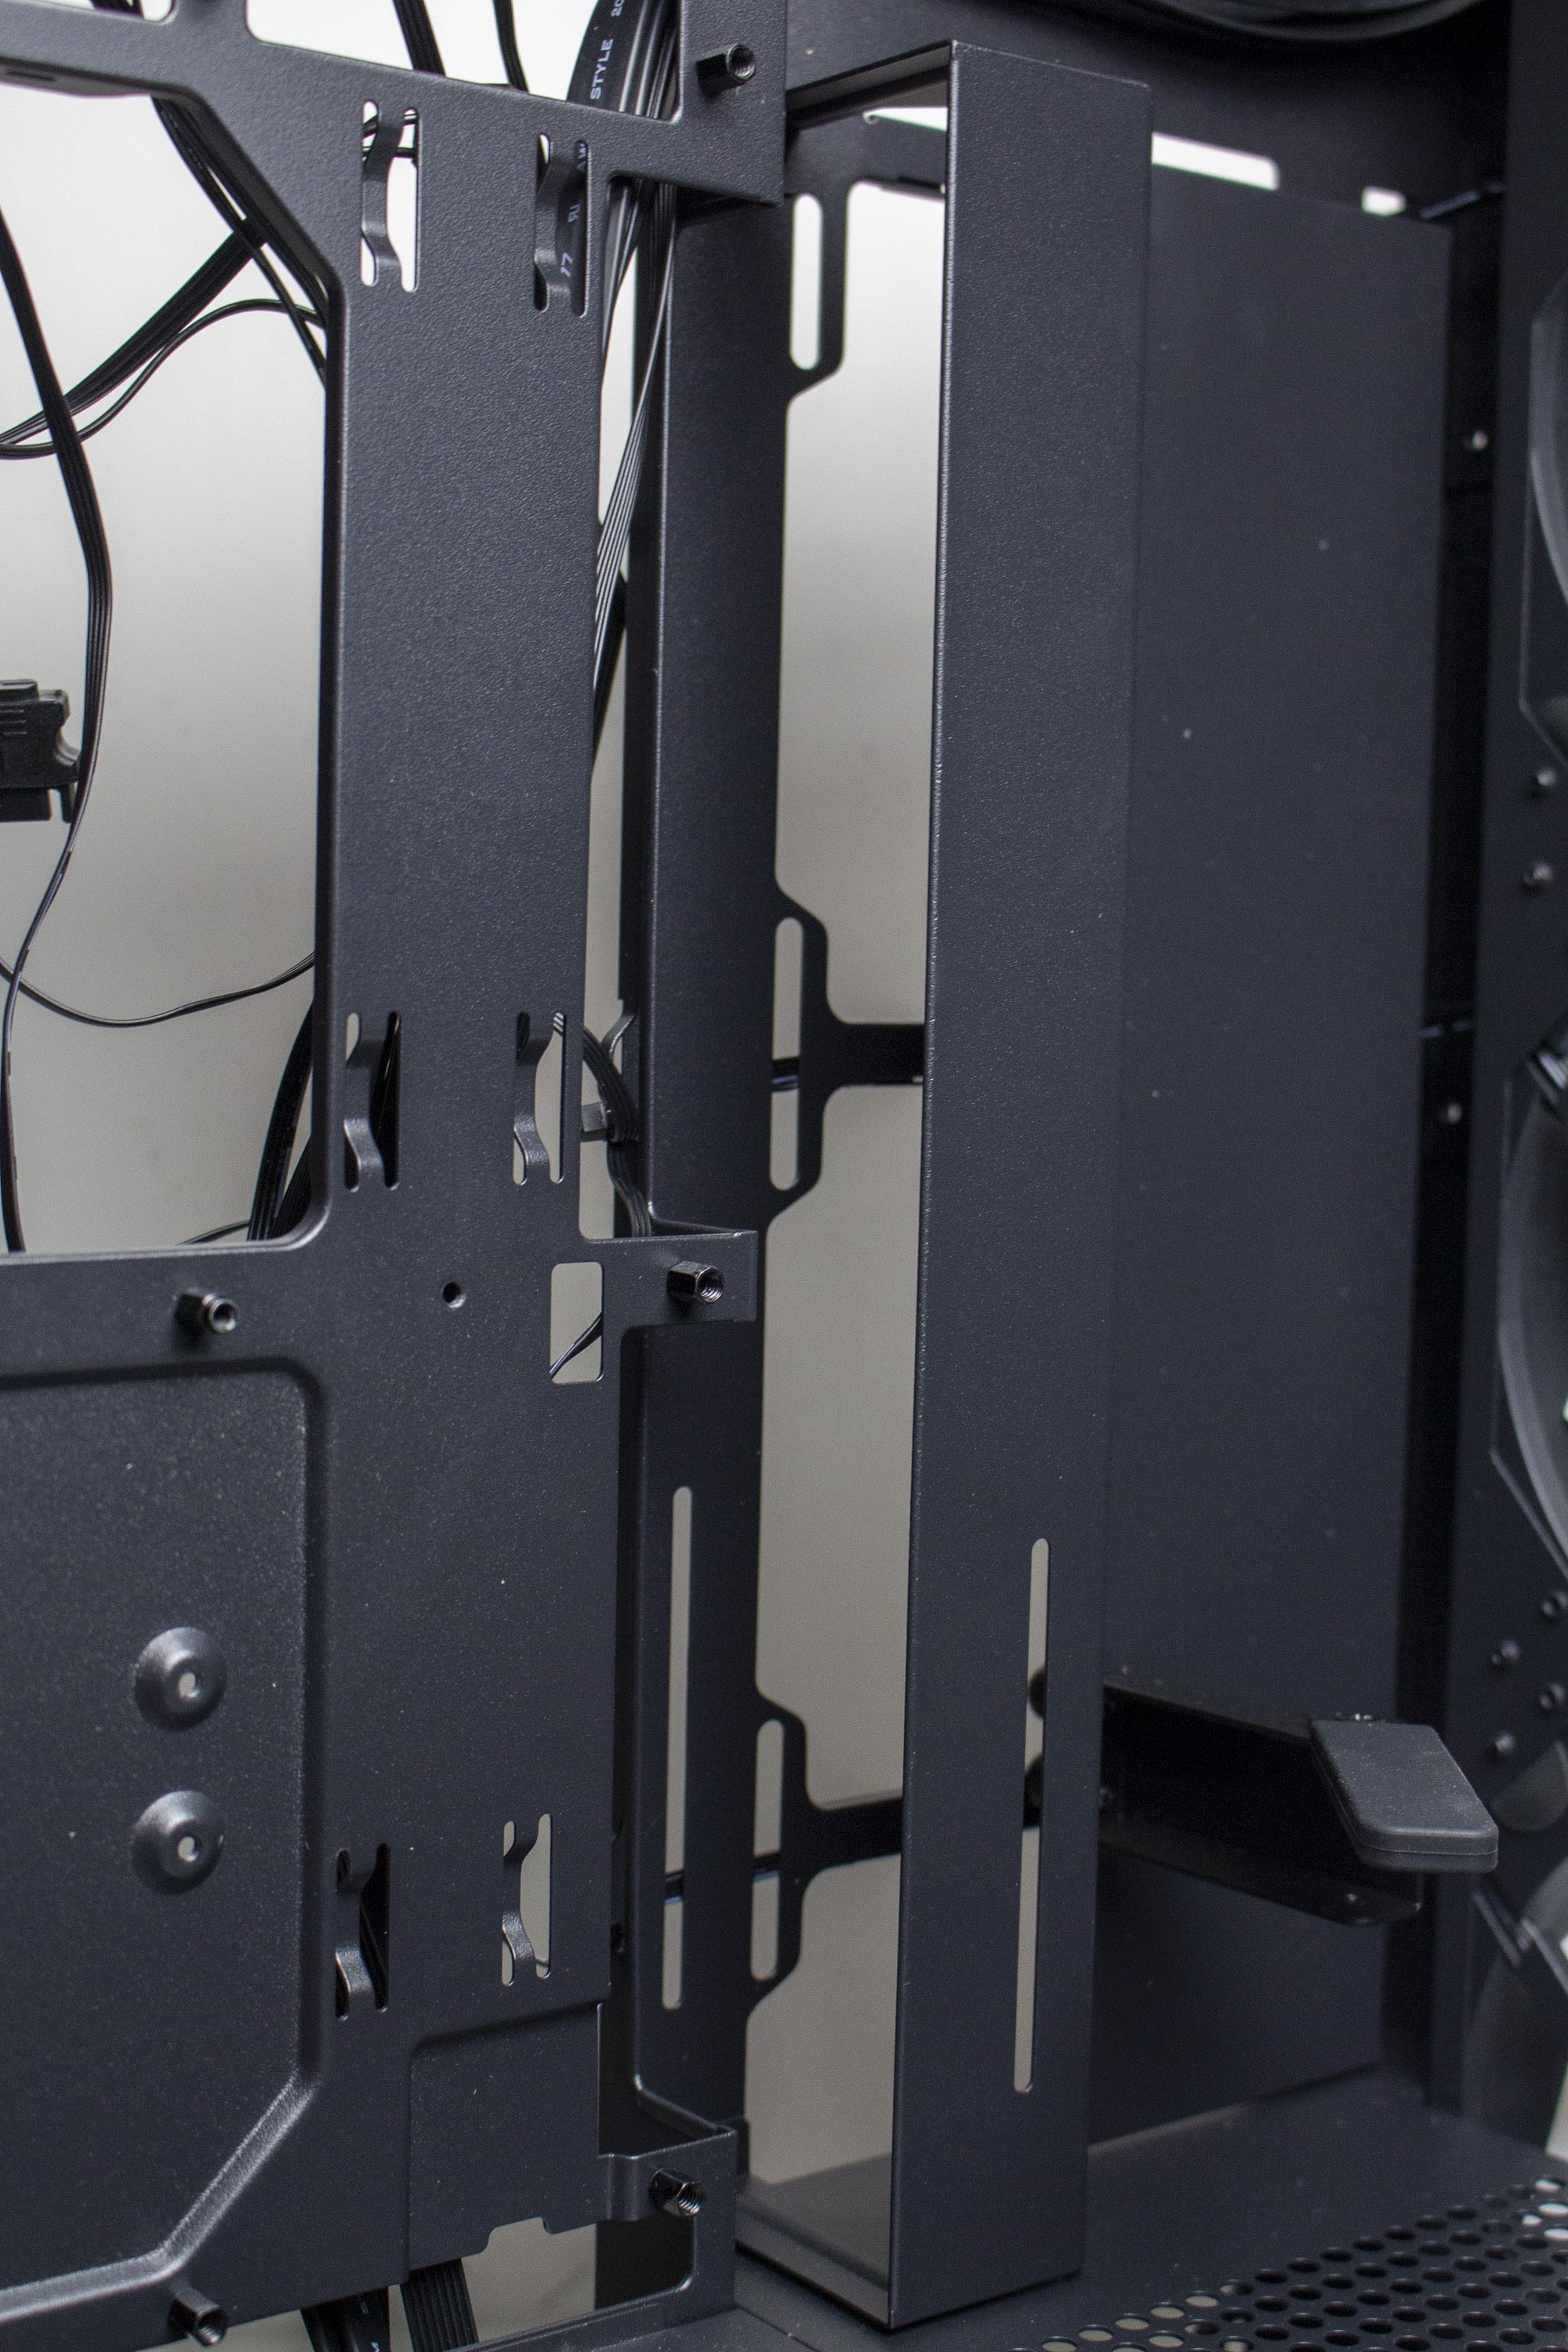
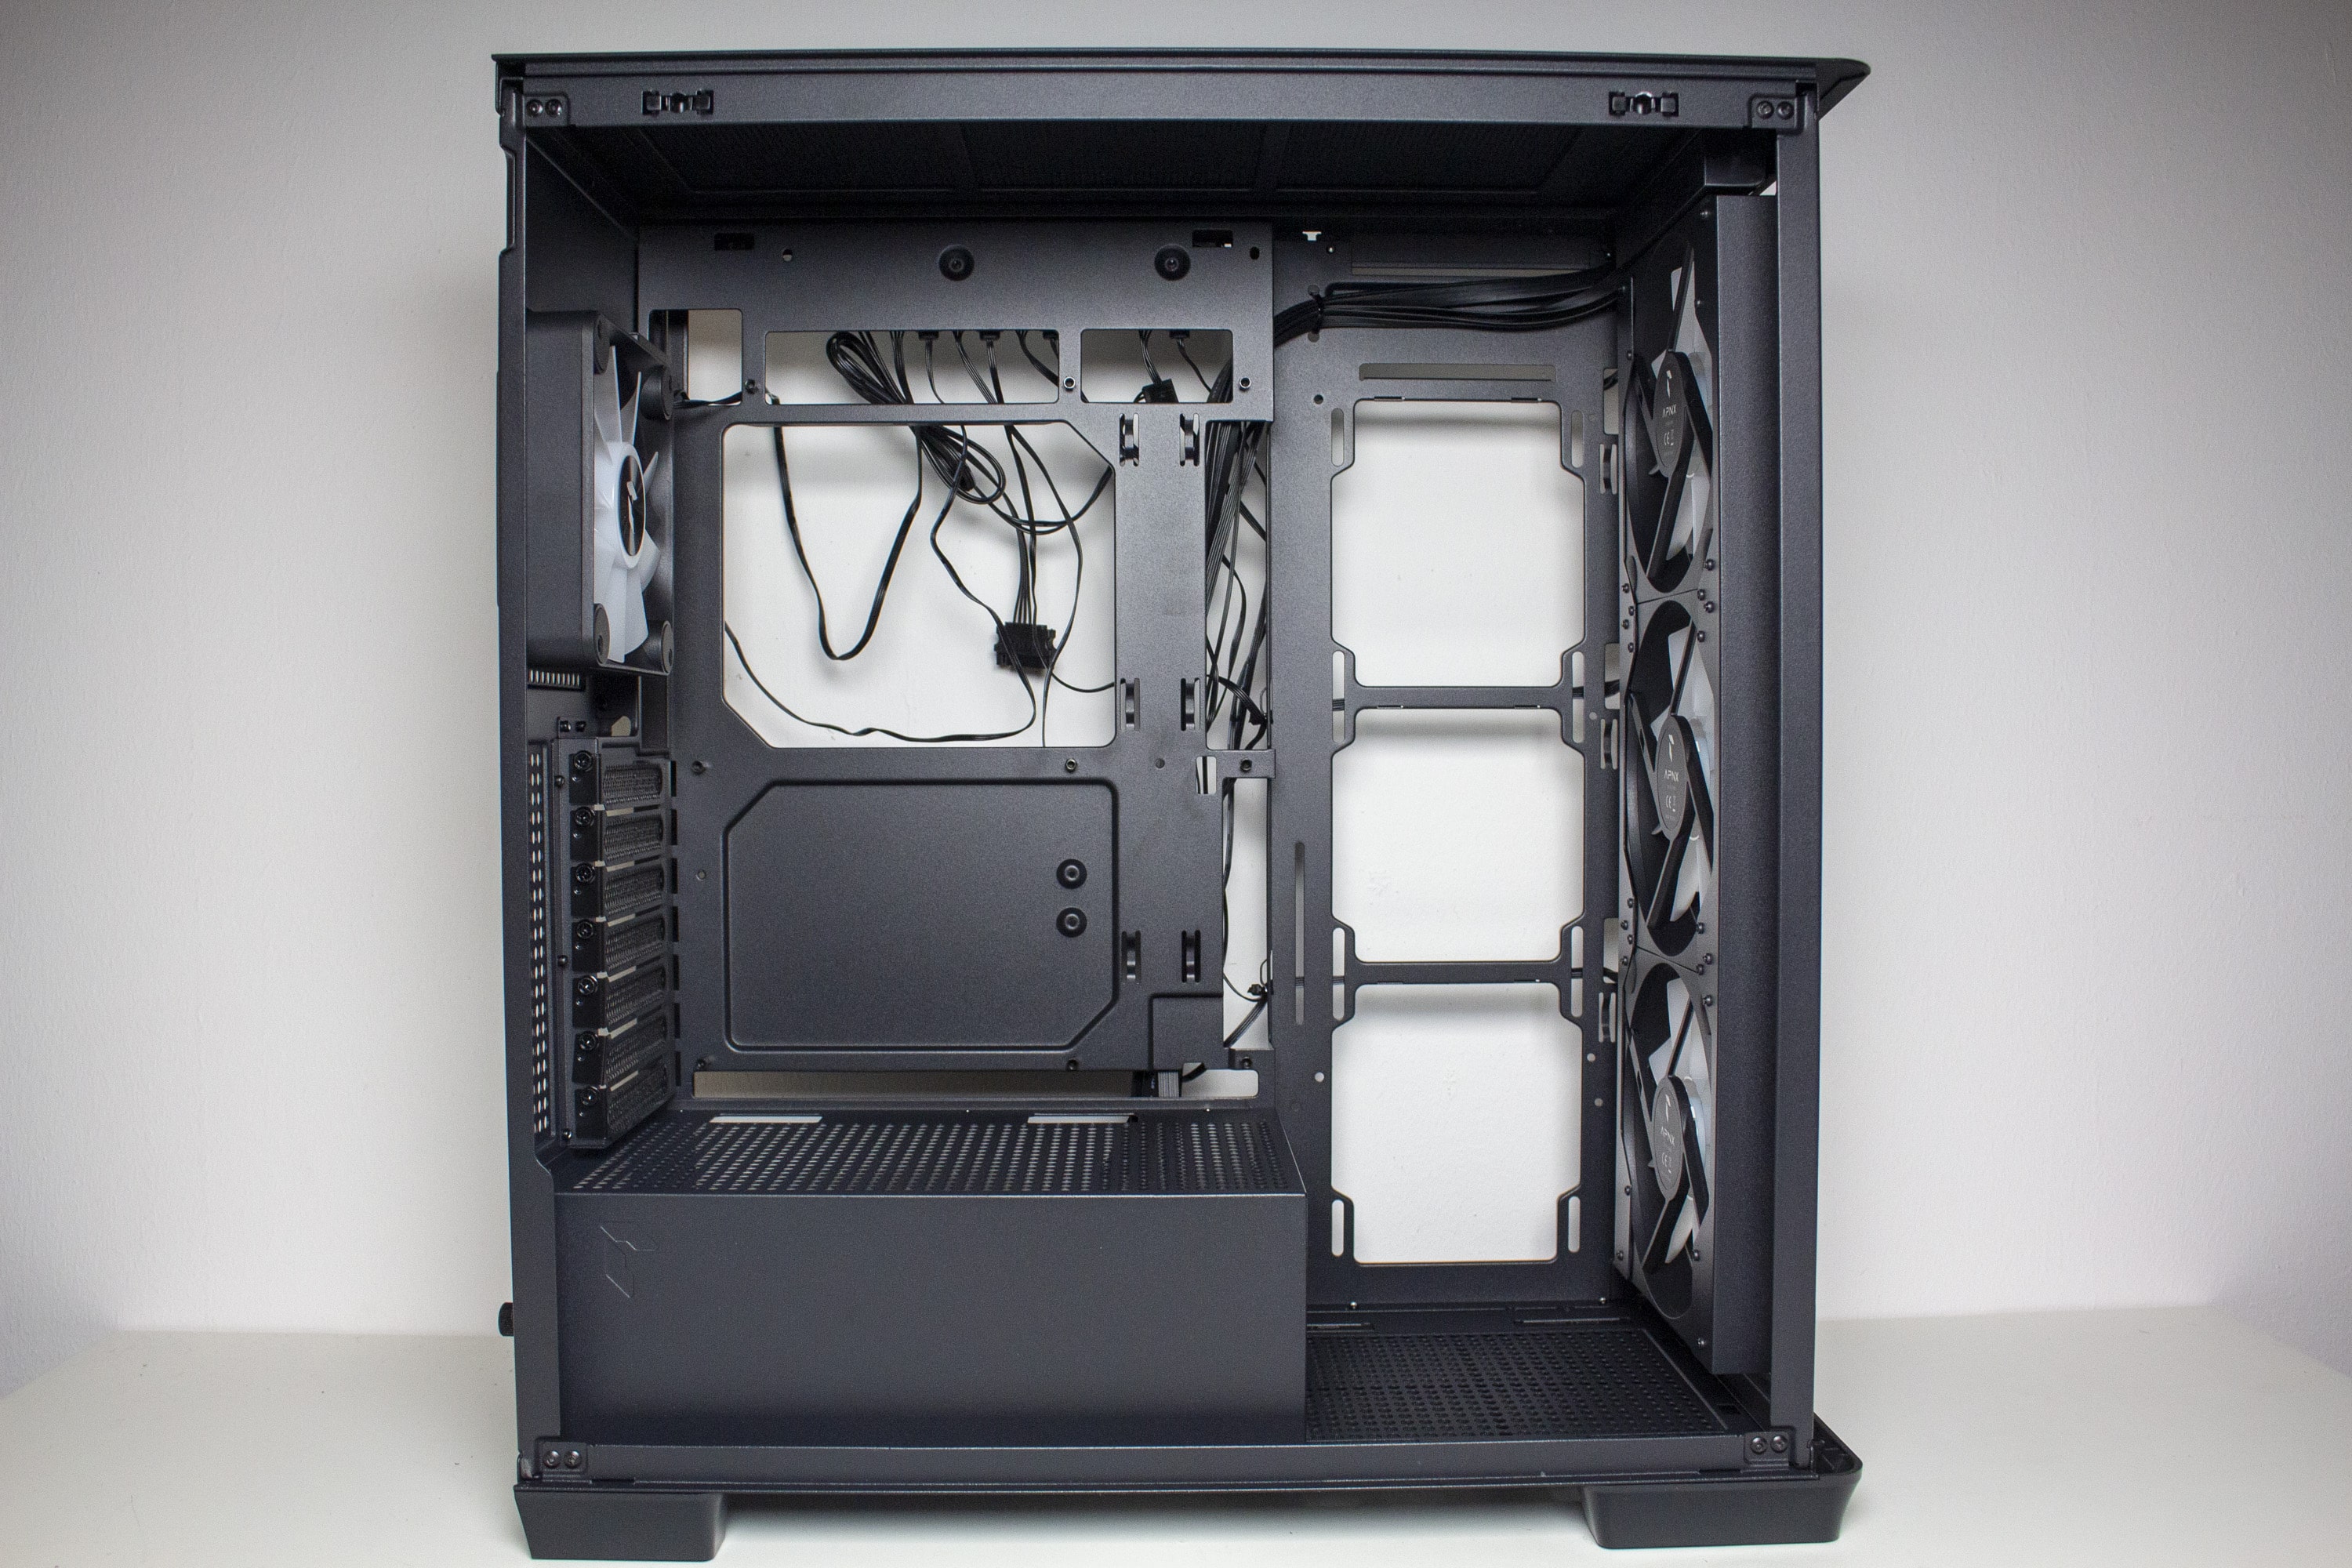
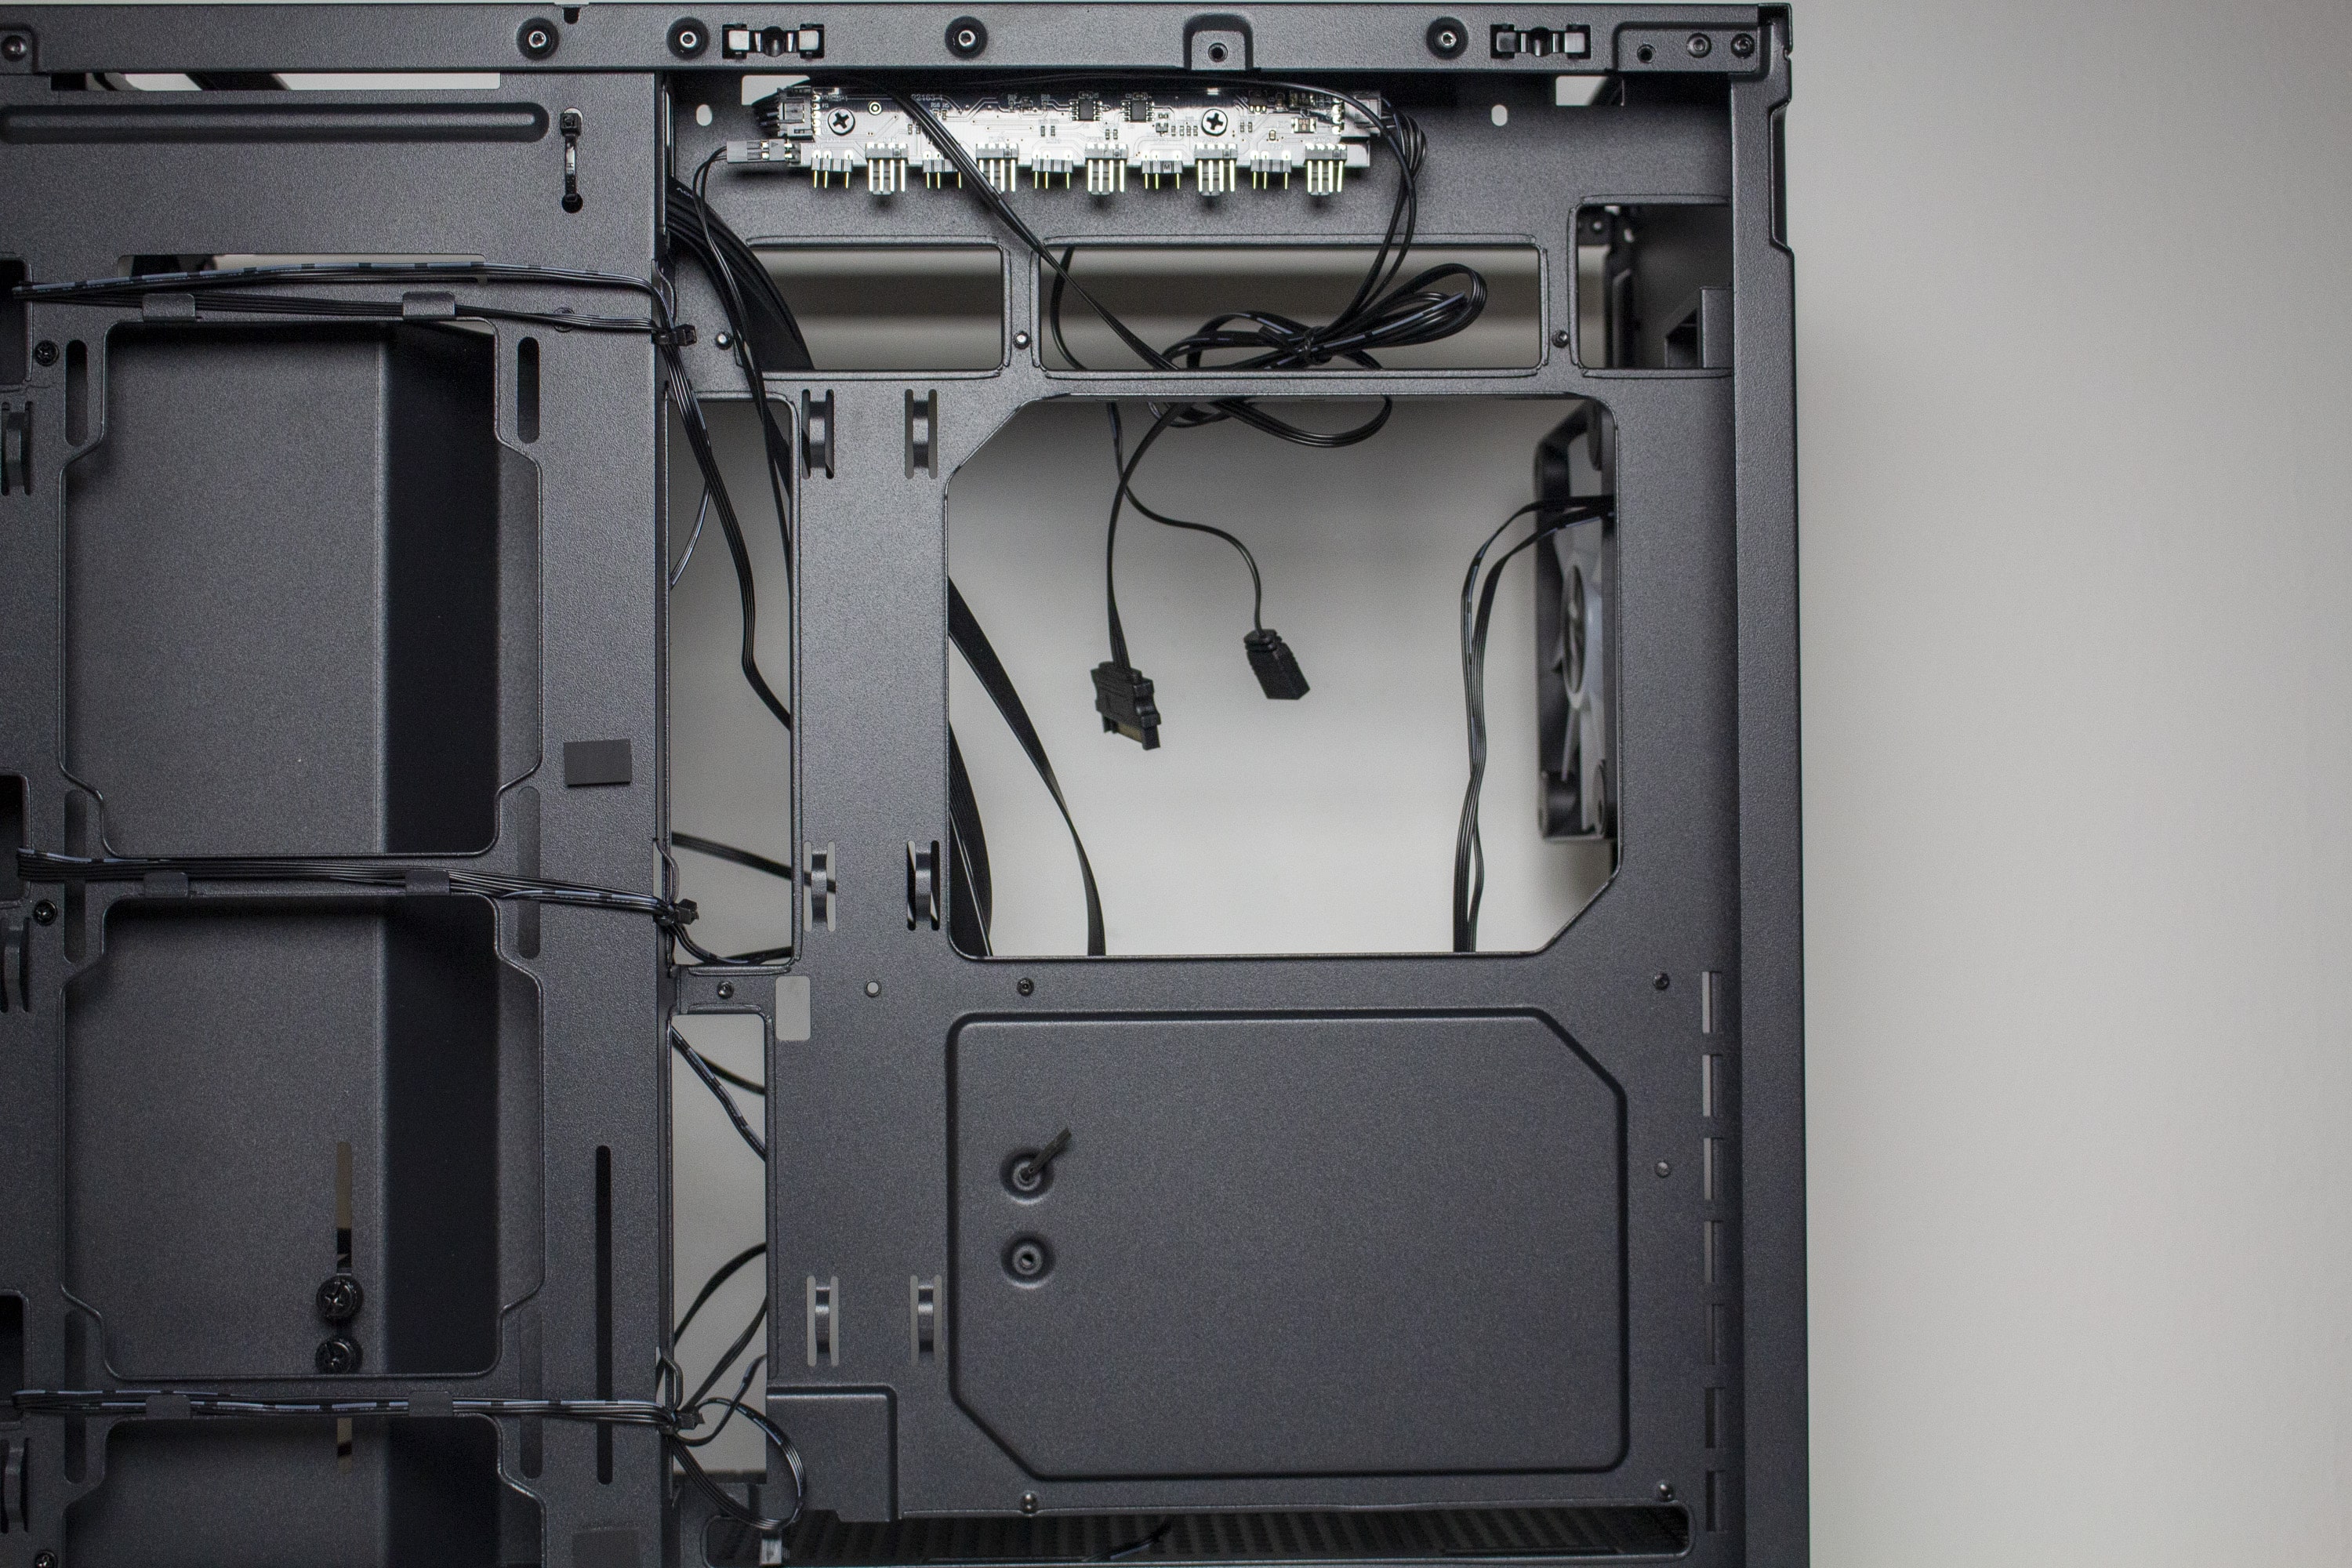
APNX does not reinvent the wheel and relies on a two-chamber system for the interior. This consists of a large main chamber with room for an ATX motherboard, the graphics card, various fans and the CPU’s cooling solution. The mainboard tray is flat and has numerous openings for routing cables, which have also been placed so that a mainboard with rear connectors can be installed. From the factory, the right area of the motherboard tray is dominated by a plain cable management cover, but it can also be removed completely if necessary. A nice feature is also the height-adjustable GPU mount, which is part of the cable management cover.
Typical for a midi tower of this size, the manufacturer omits drive bays behind the three pre-installed front fans in favor of better cooling. The heated air should then actively find its way out via the fourth fan in the rear as well as passively via the openings in the lid. If you also remove the aforementioned cable management cover, you can see a mounting frame for up to three 120 mm fans or a corresponding radiator behind it. No radiator can be attached to the front.
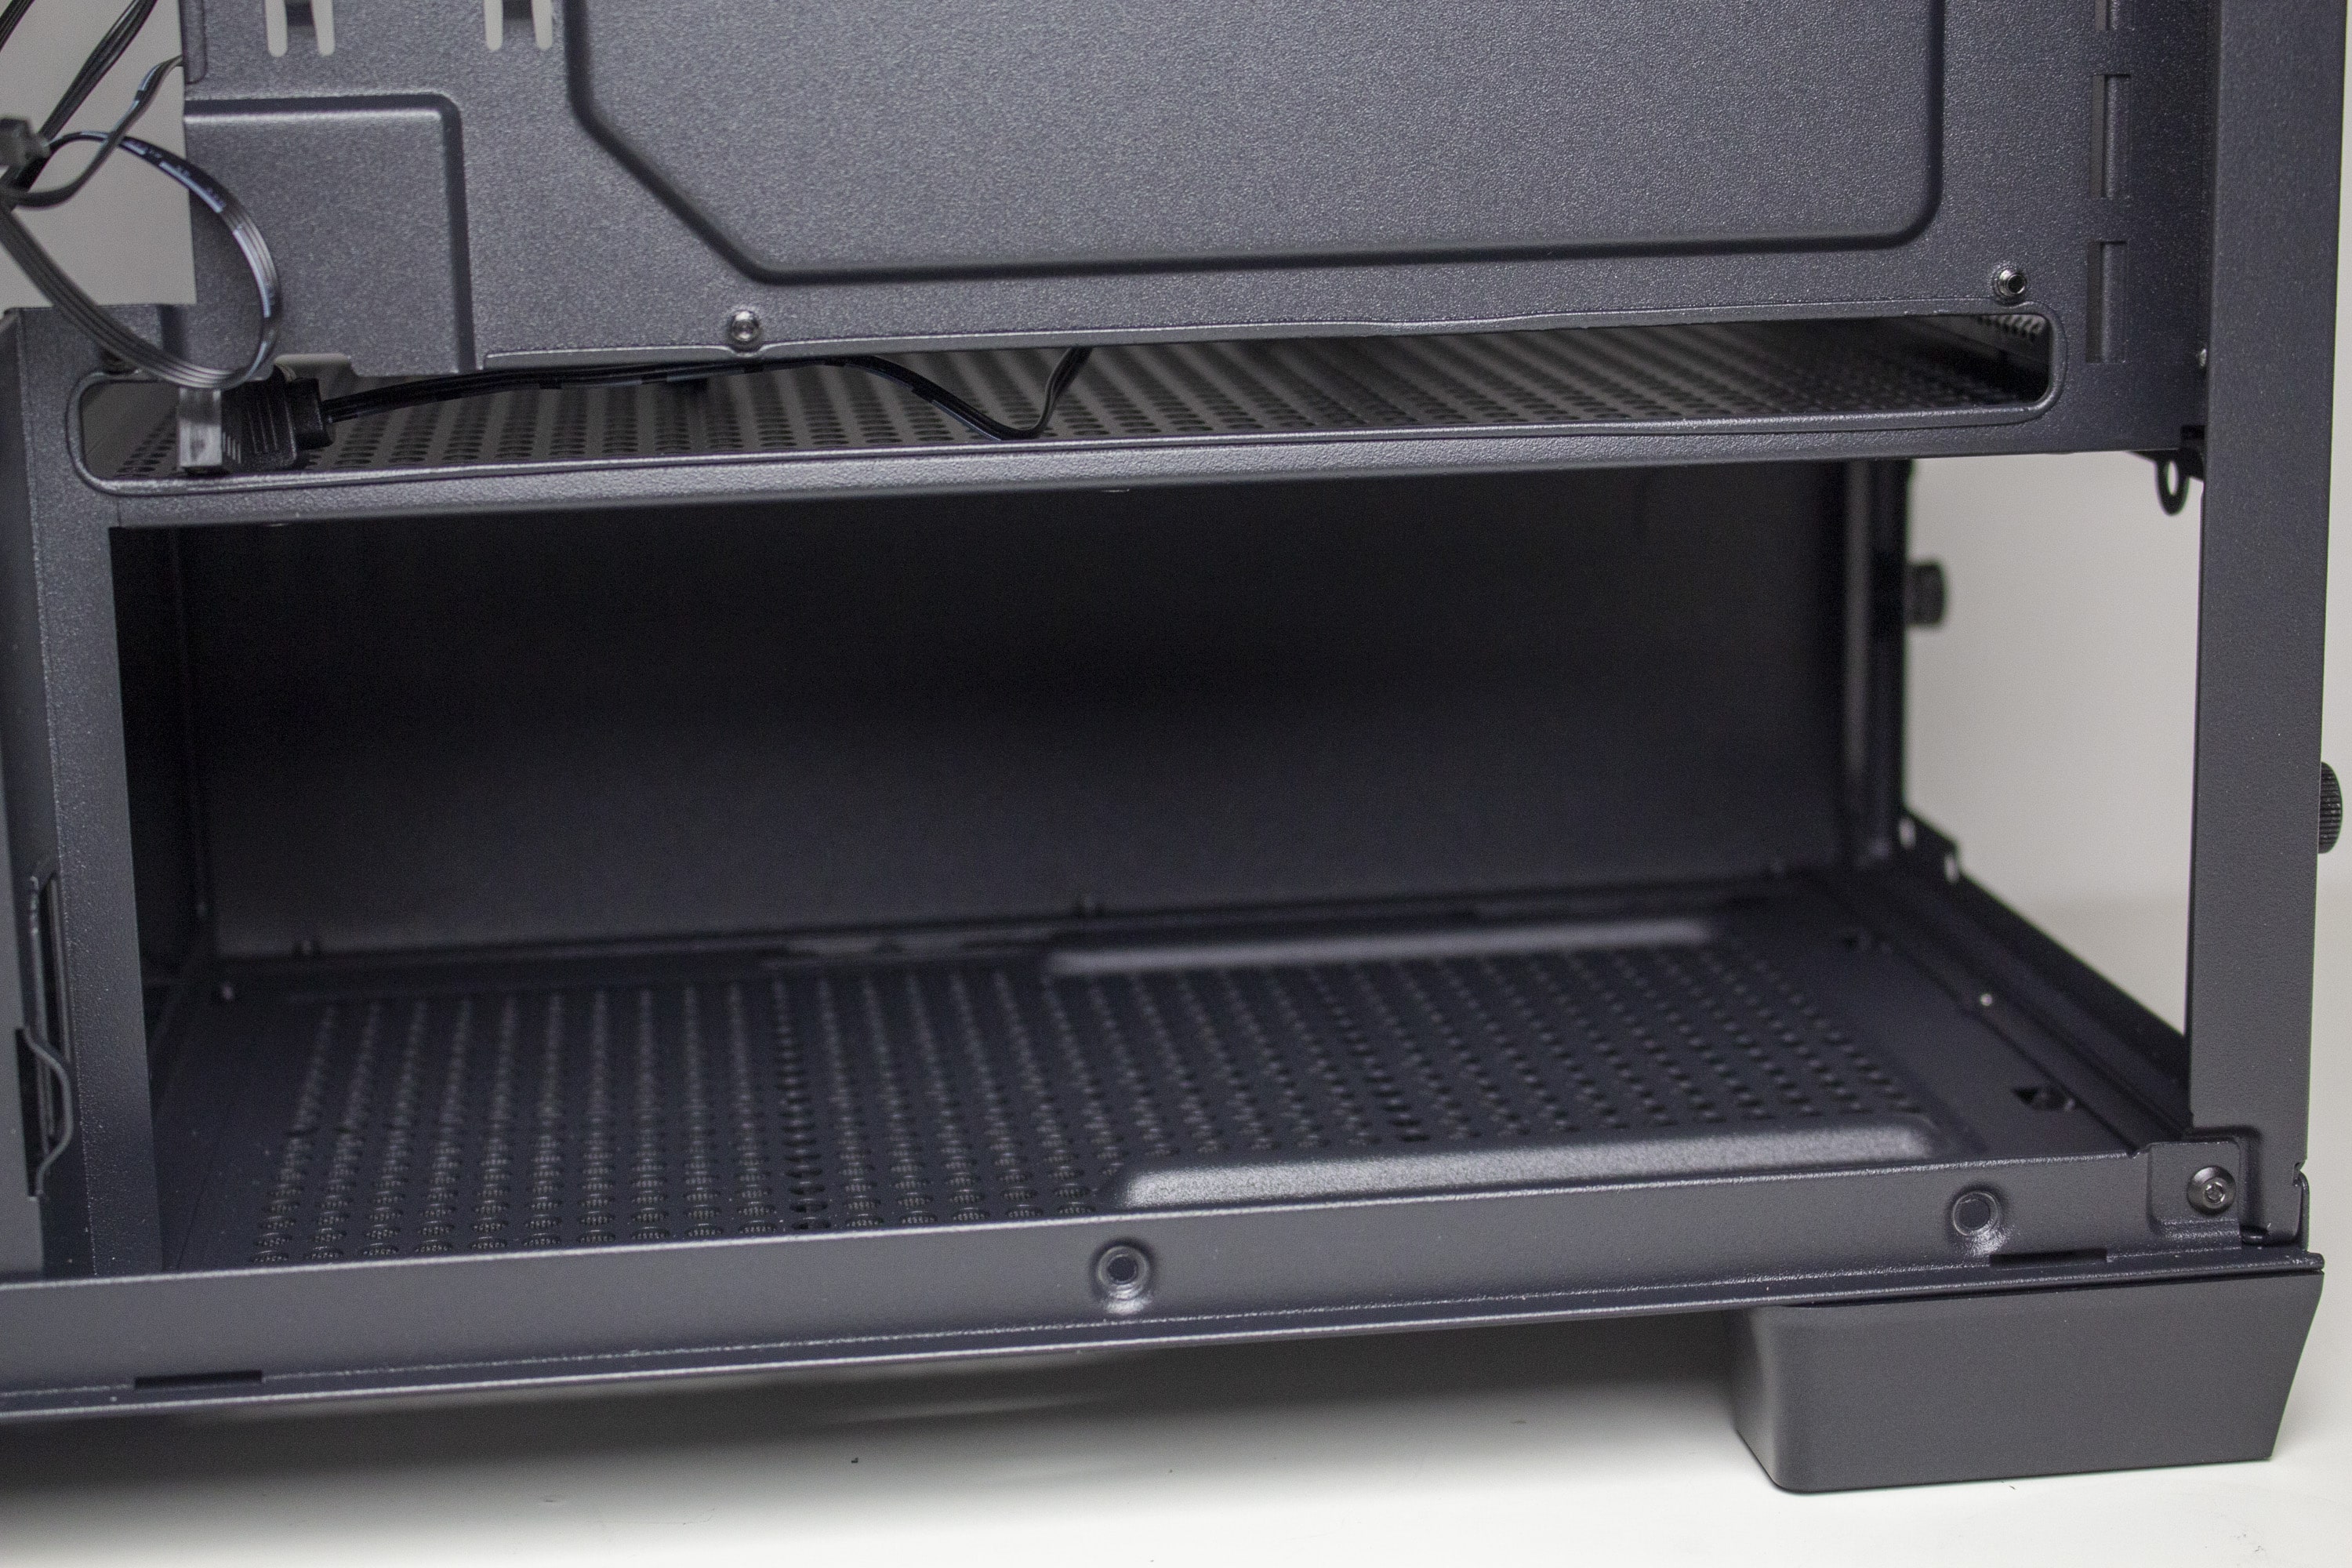
The division into two chambers is done via a PSU cover that spans the entire bottom area. However, the cover consists of two elements, both made of steel and perforated at the top. To increase compatibility with a radiator on the side, the front area of the cover can also be removed. At the rear transition between the PSU cover and the motherboard tray, APNX also positions another elongated opening as well as two small cutouts to pass cables through.
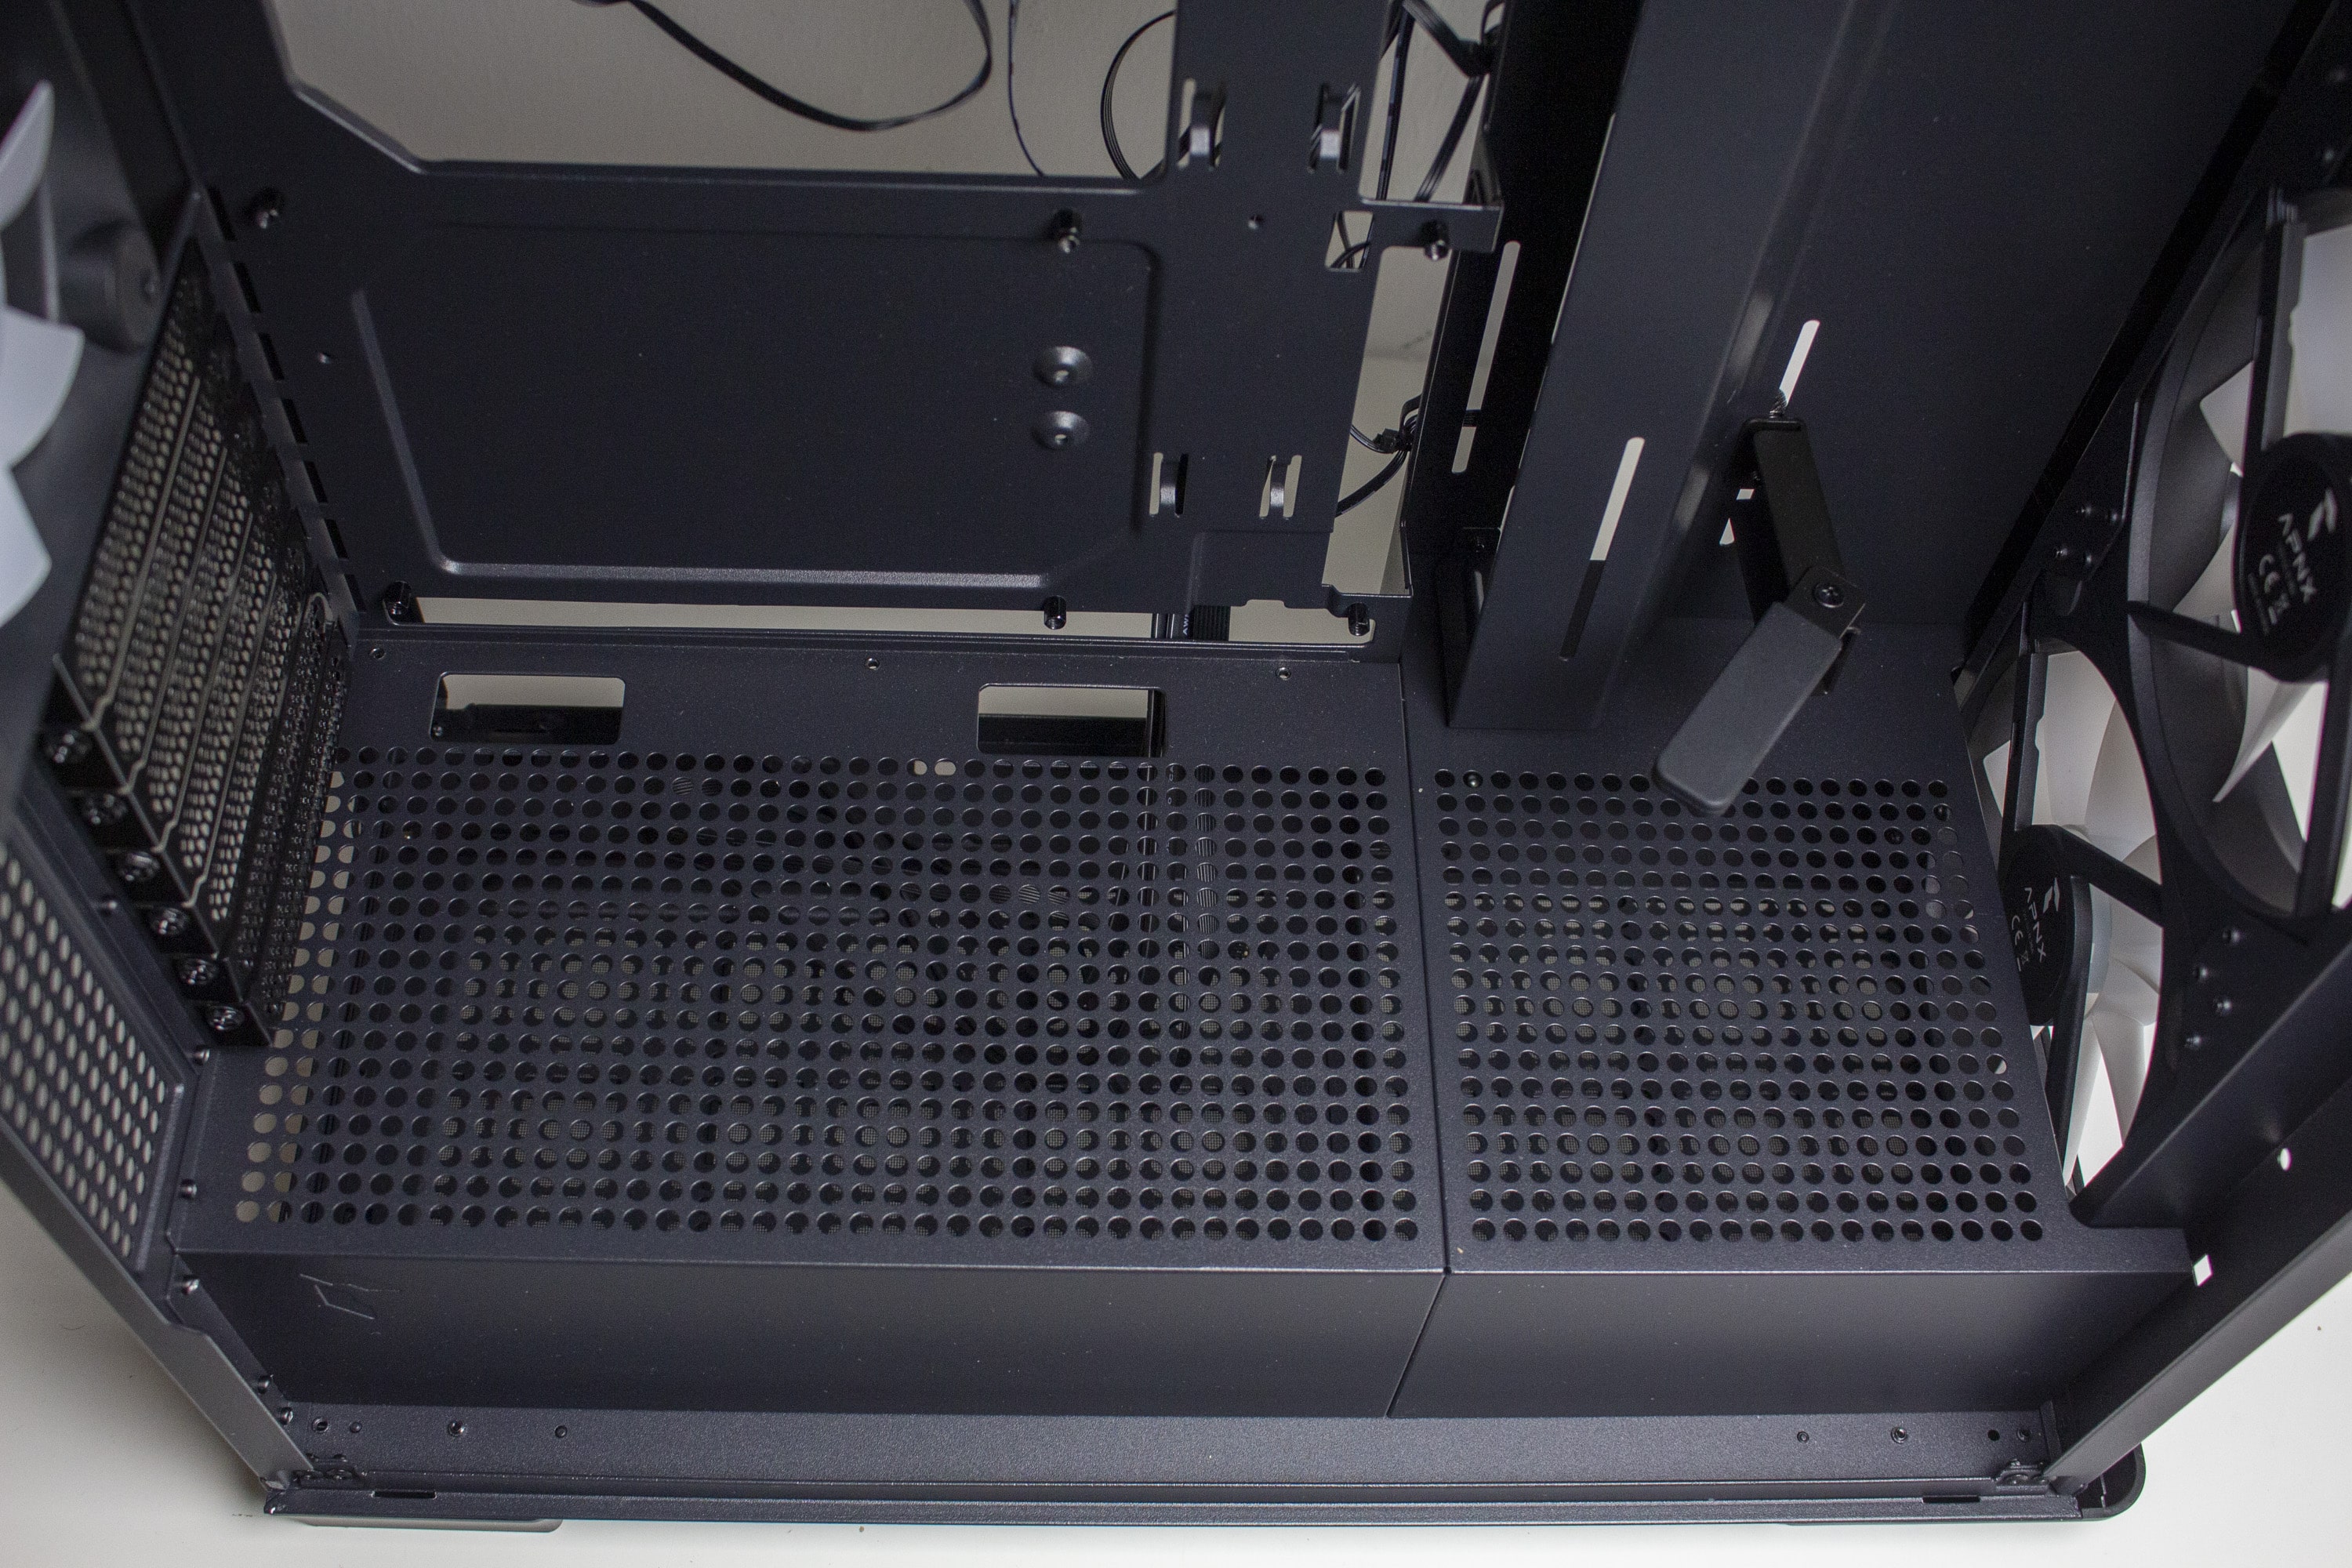
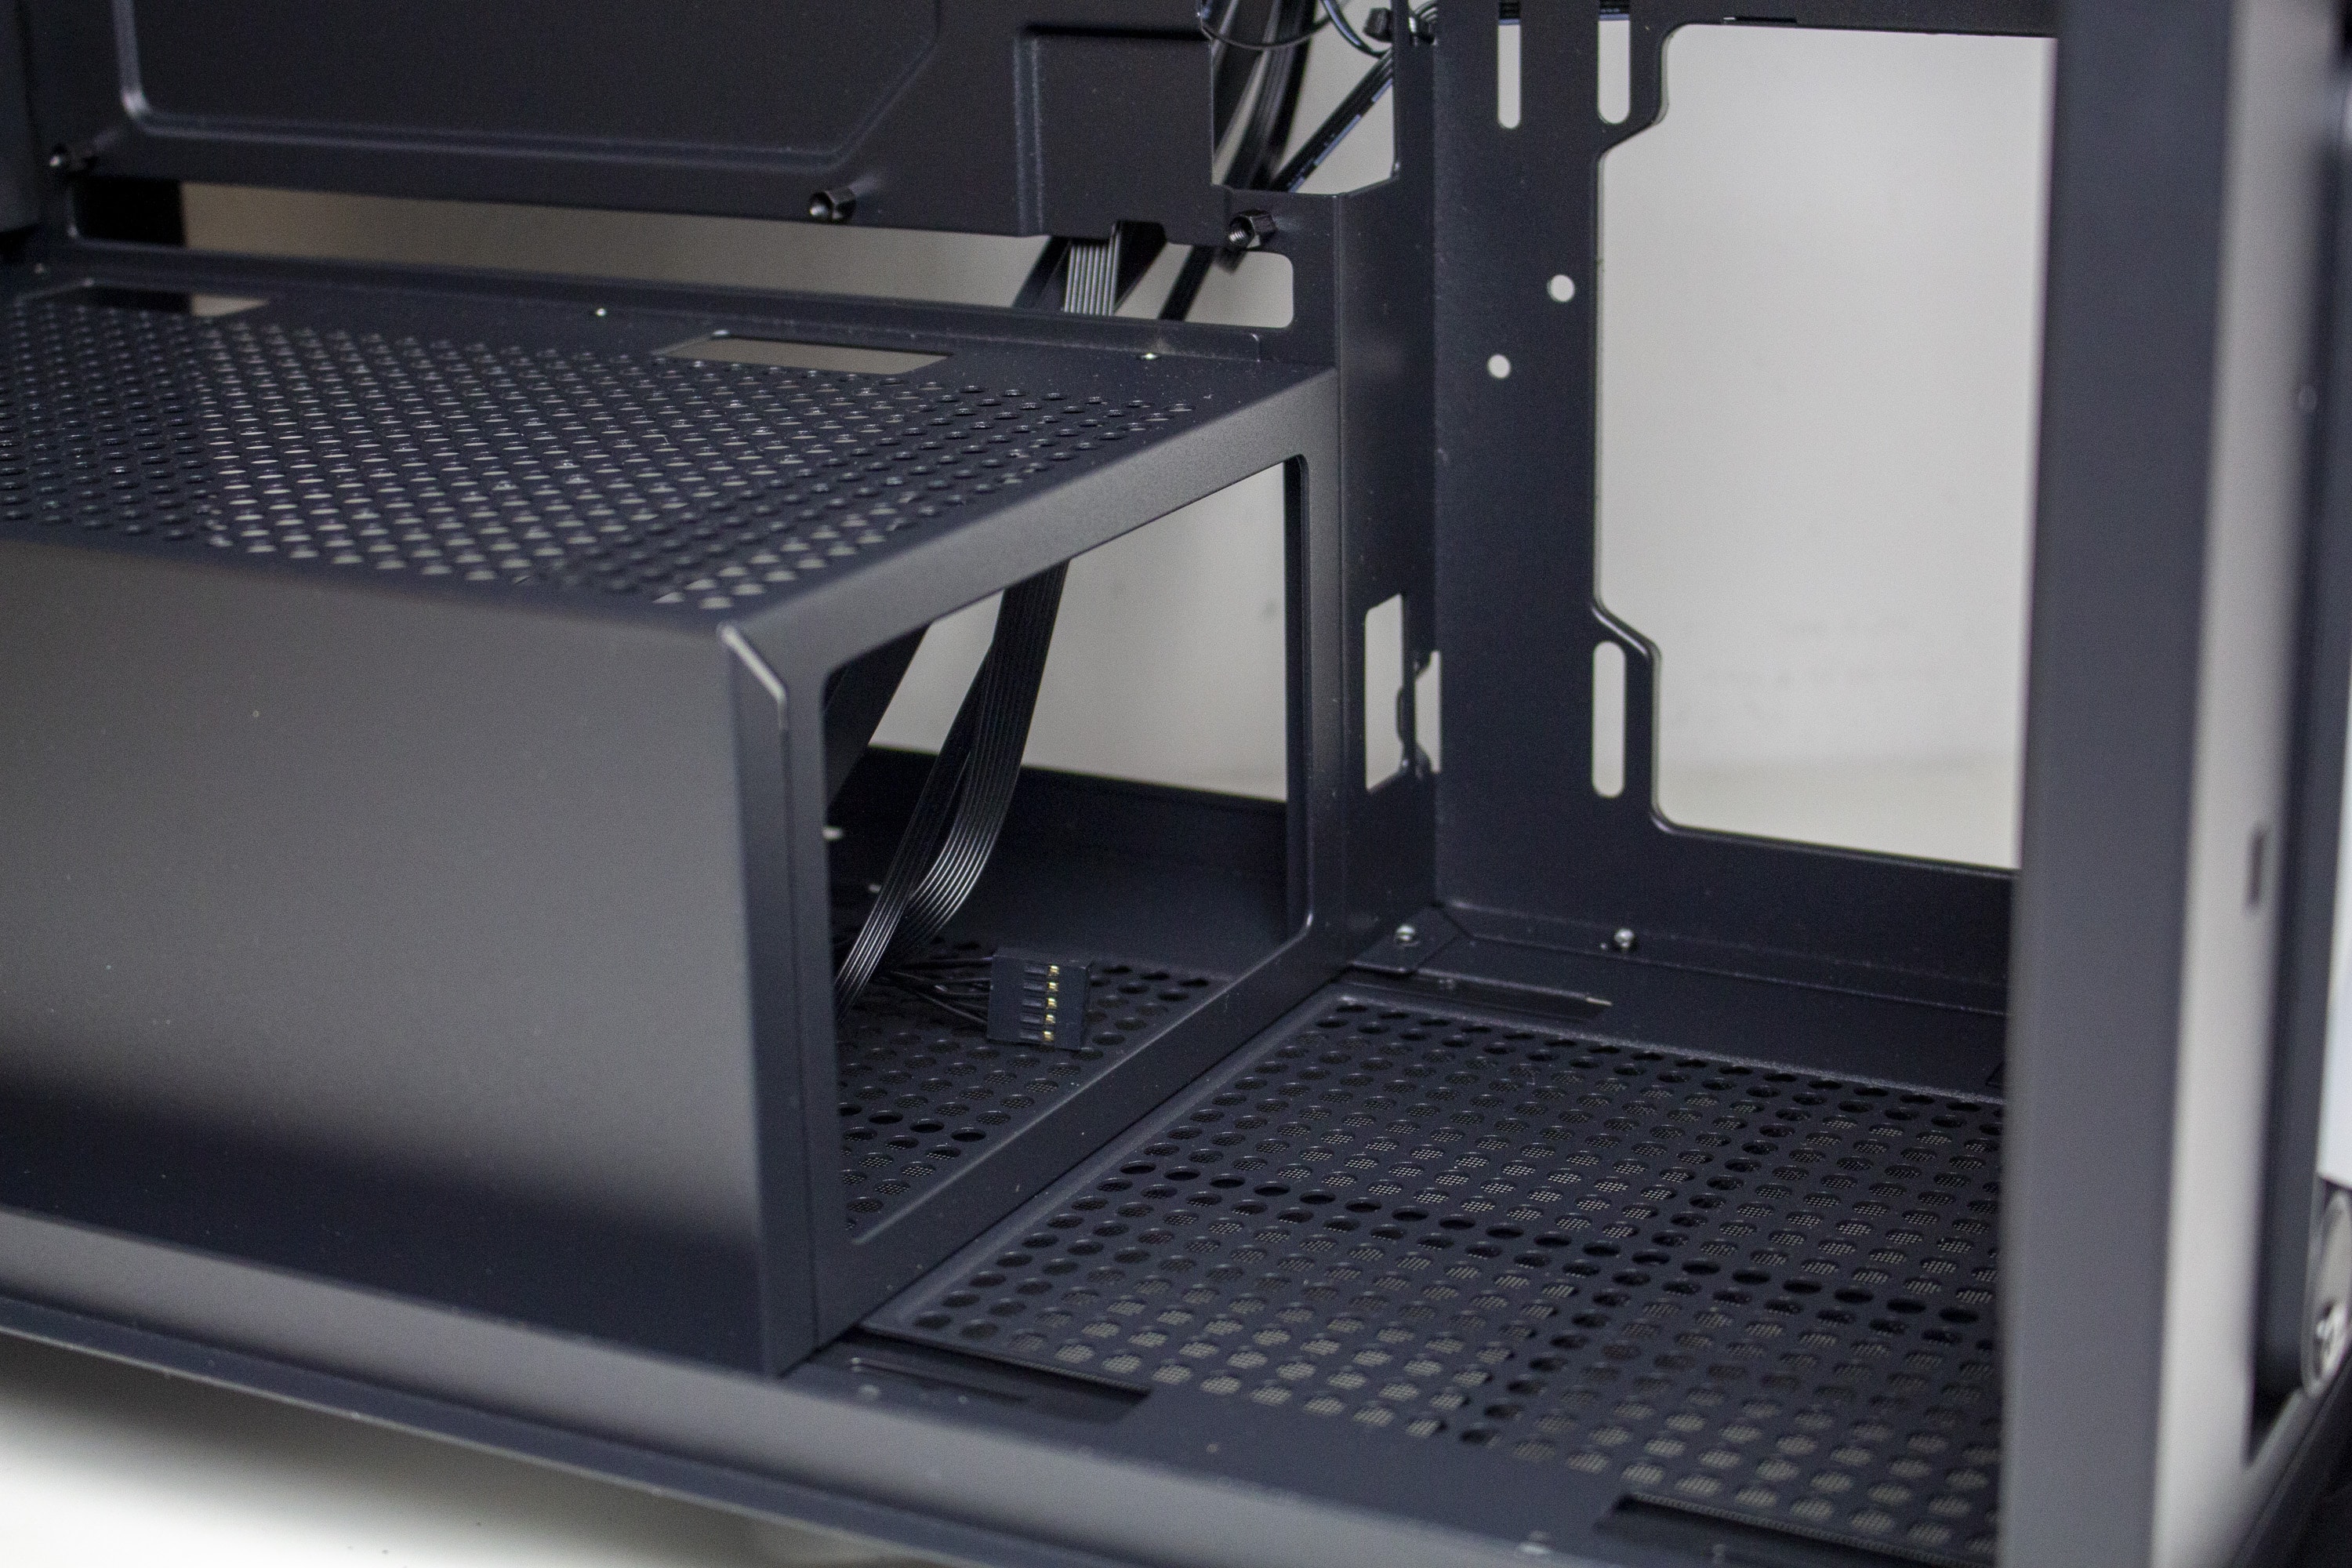
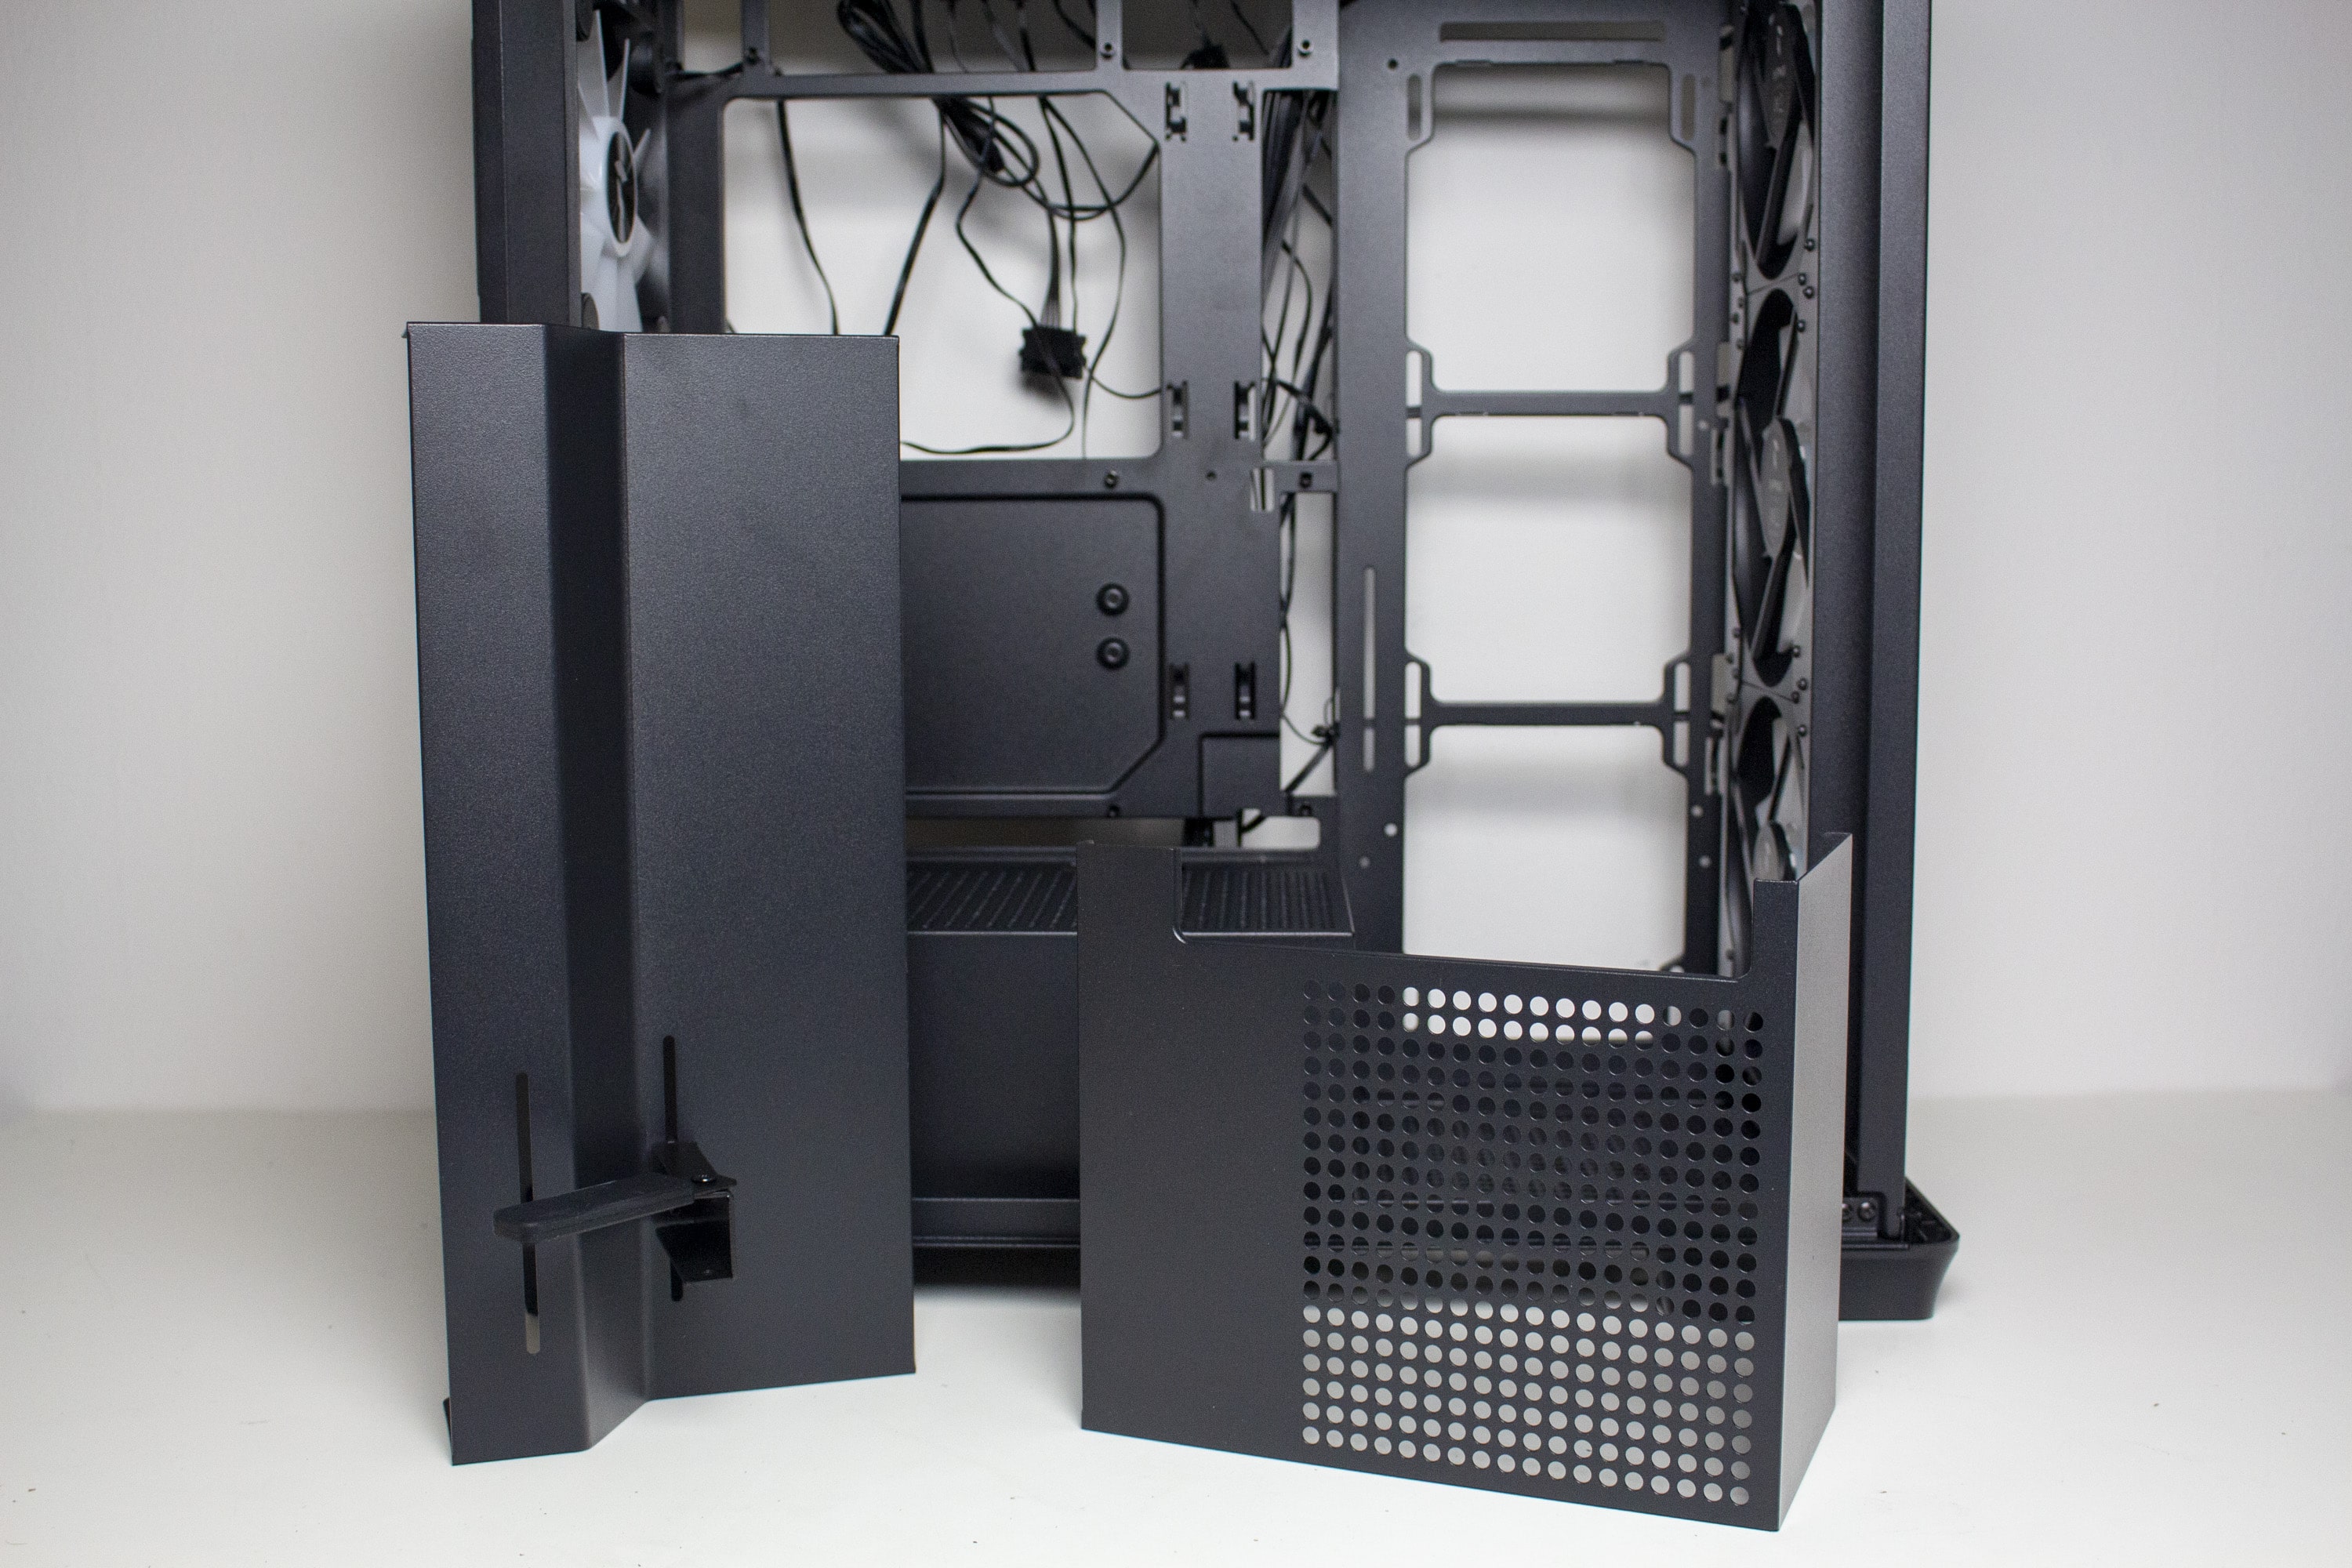
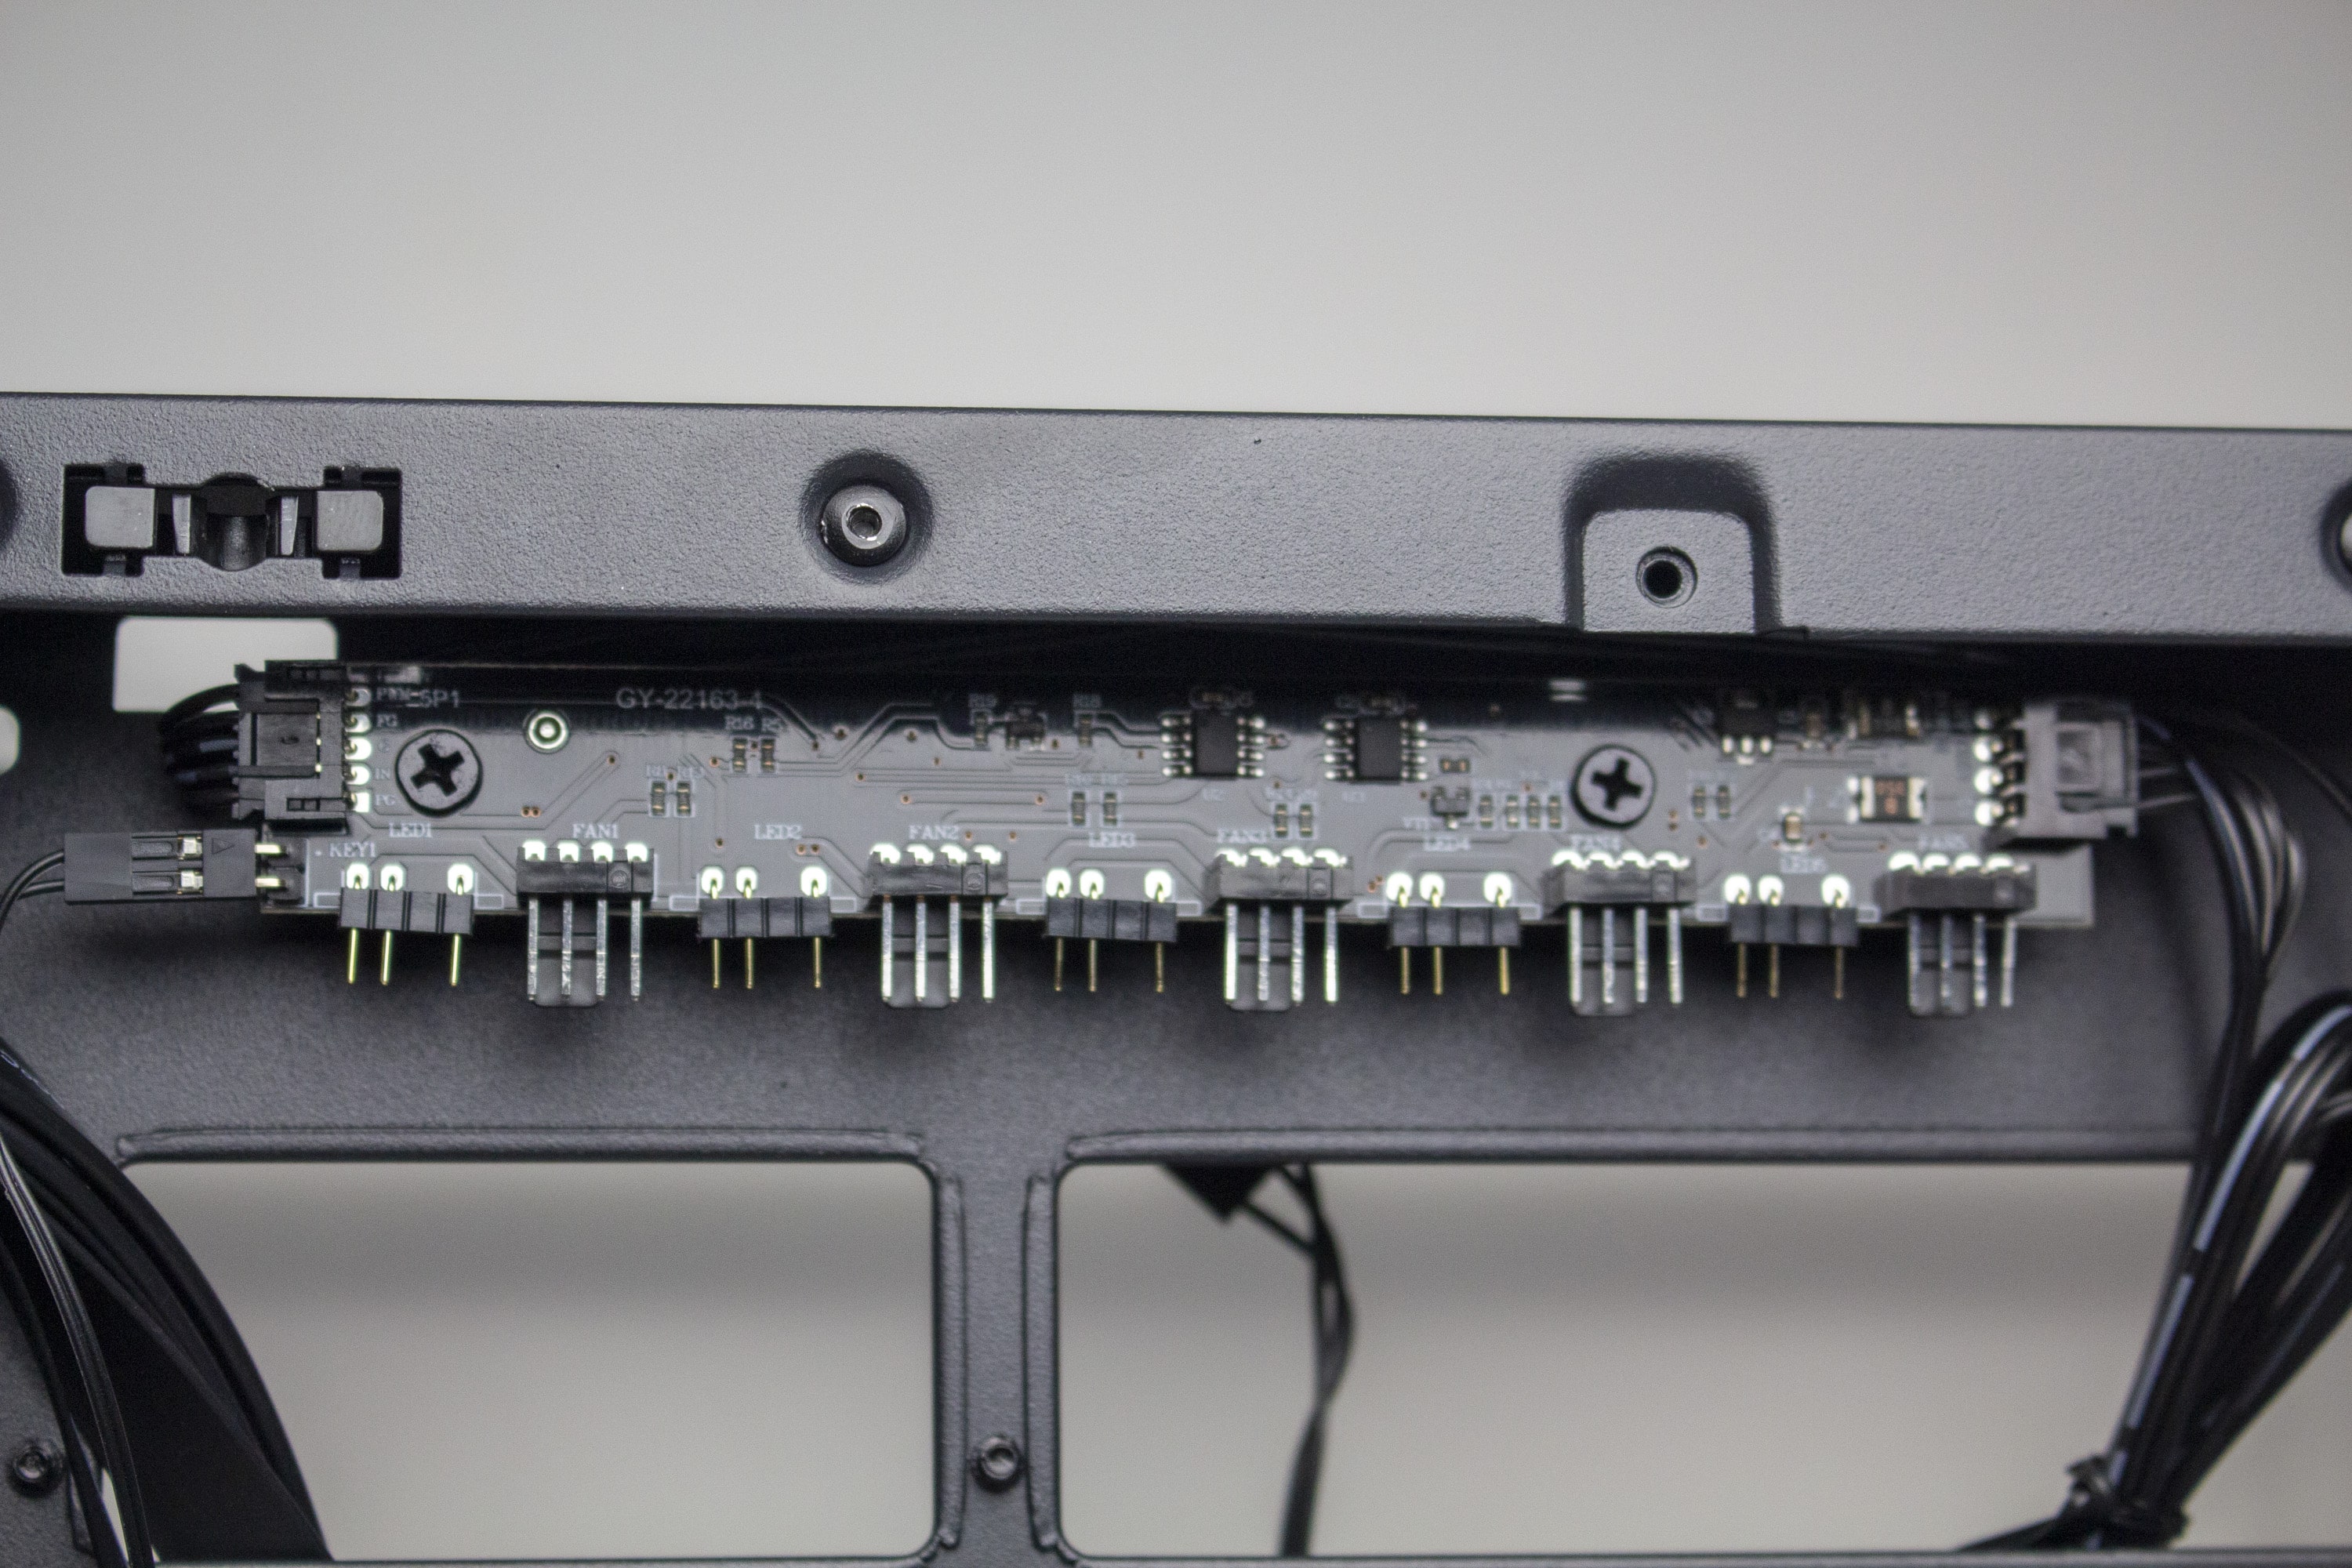
Below the power supply cover, the mounting place for the power supply can be seen. It rests on two elongated plates, which have to do without additional rubber strips to minimize vibrations. There is no HDD cage underneath the PSU cover. In return, there is a lot of space for cables at the back with up to 40 millimeters, numerous eyelets for cable ties as well as a 5-port PWM ARGB control board in the upper area.
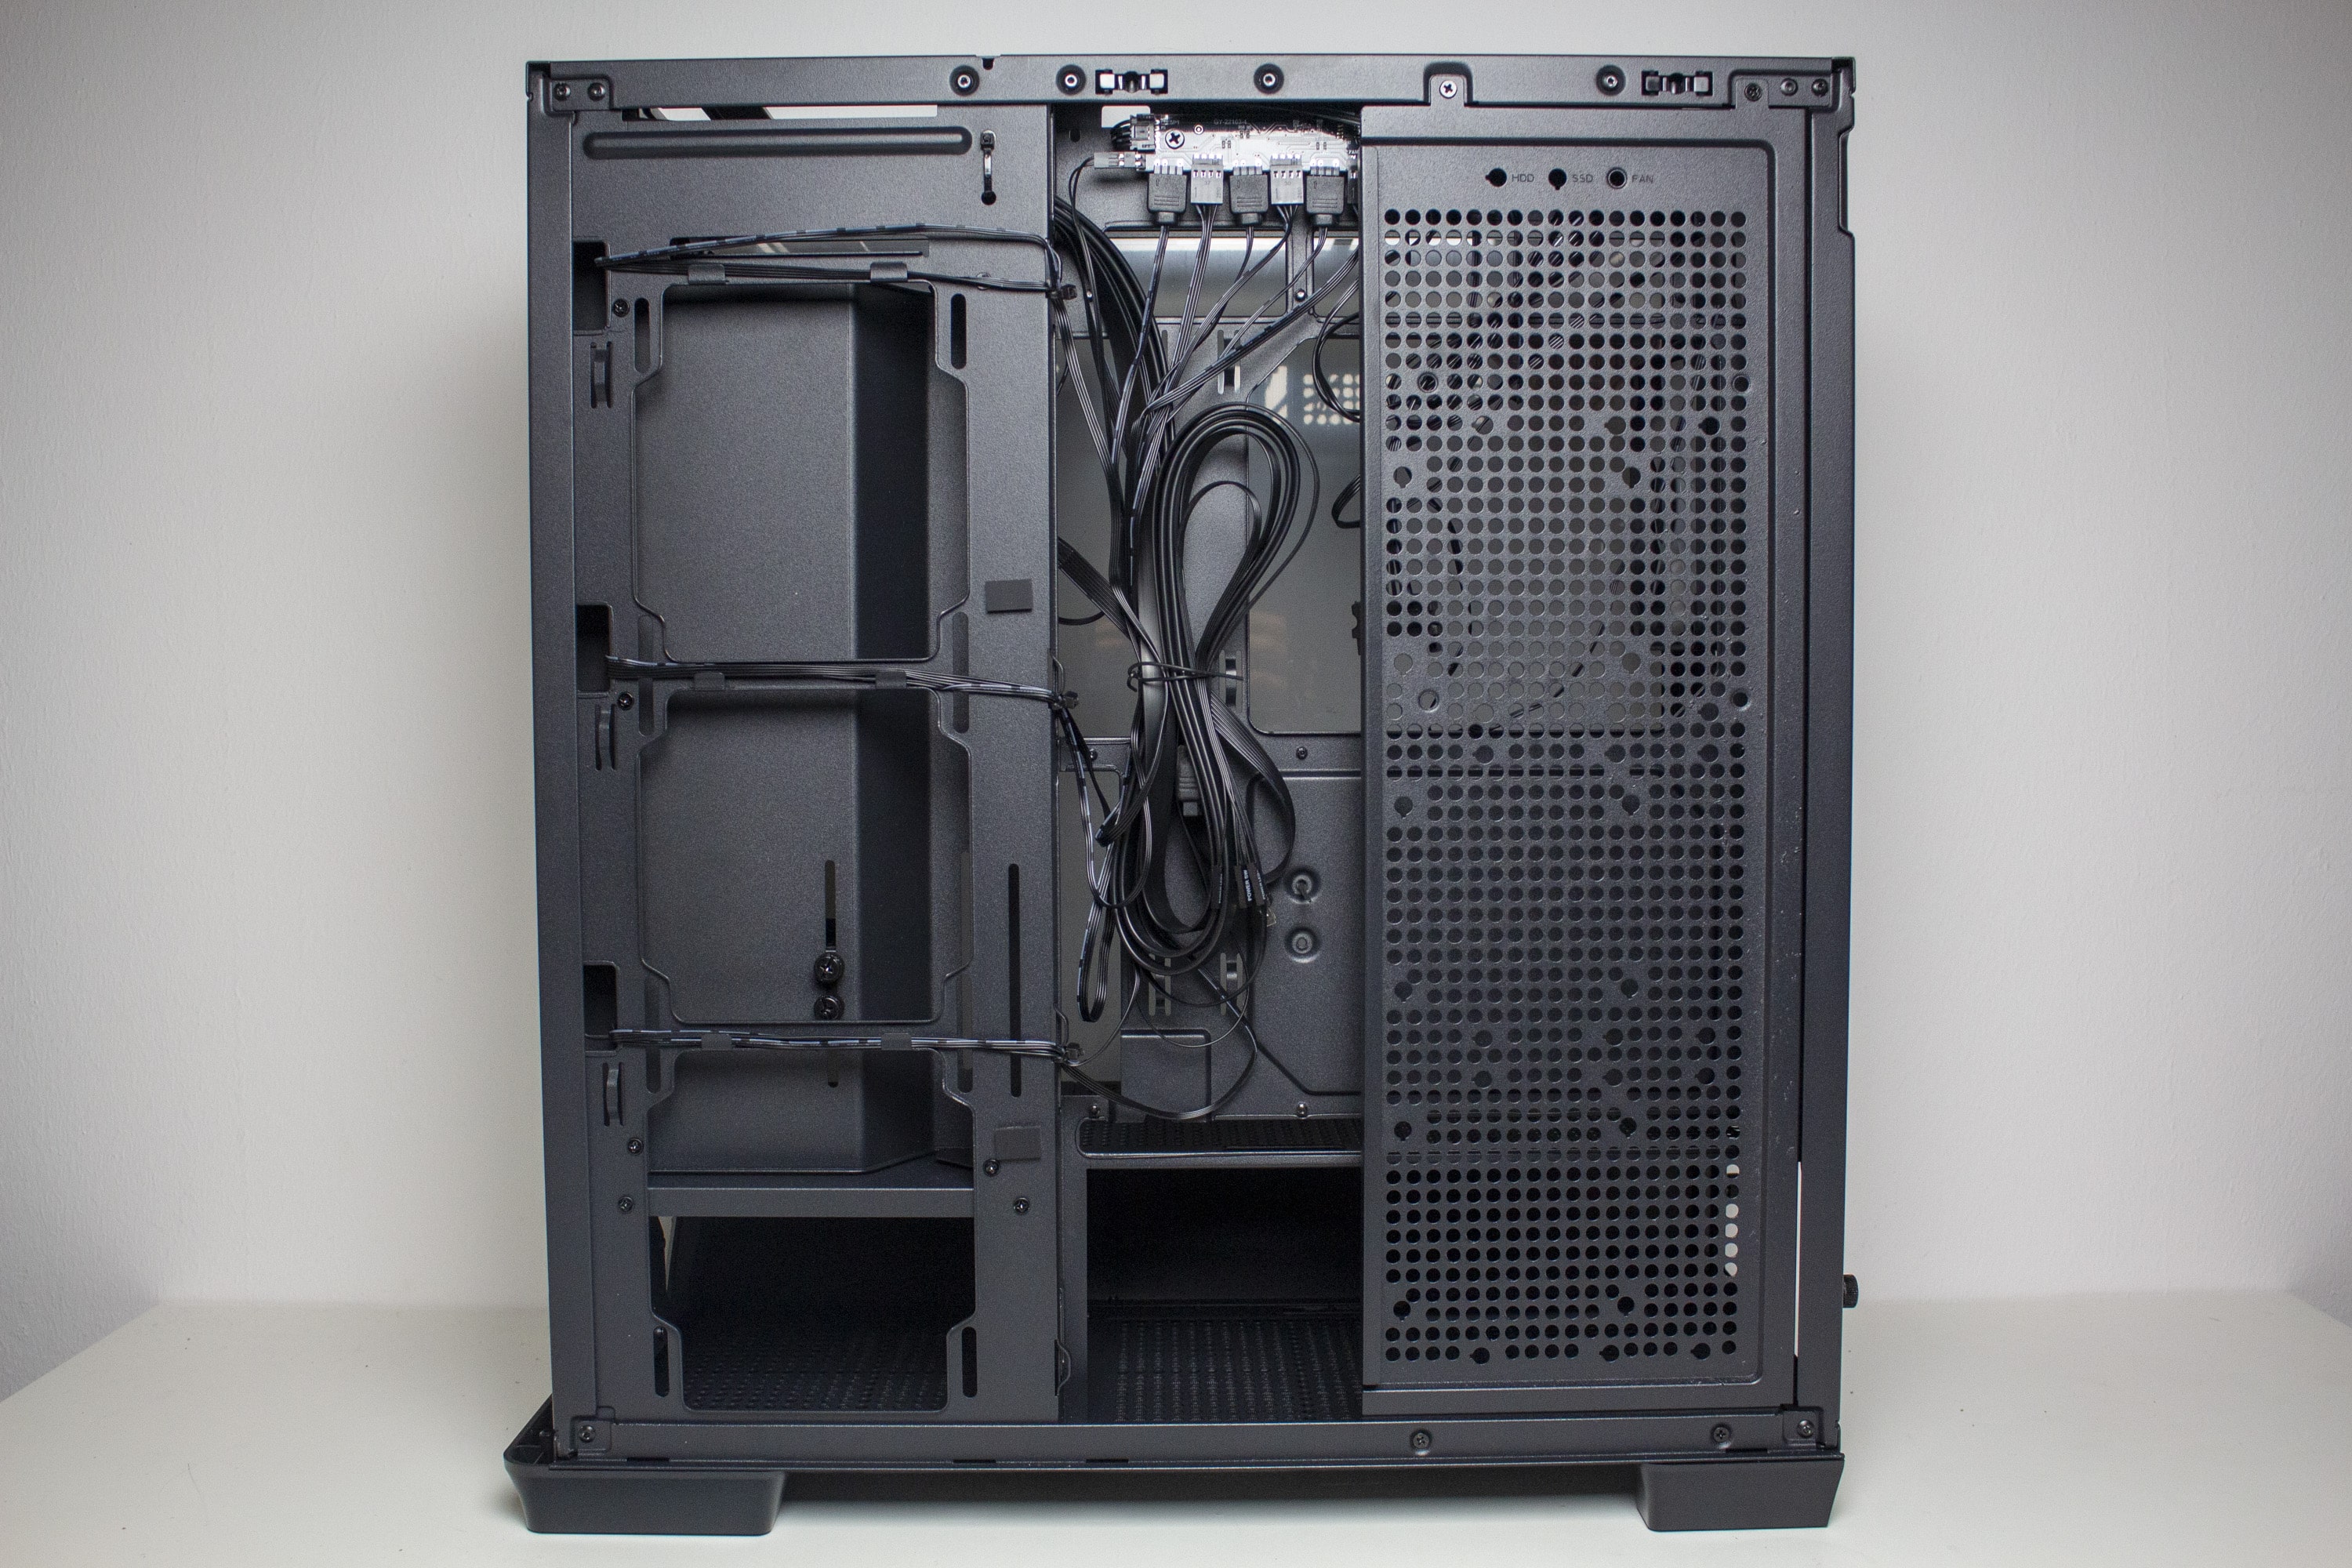
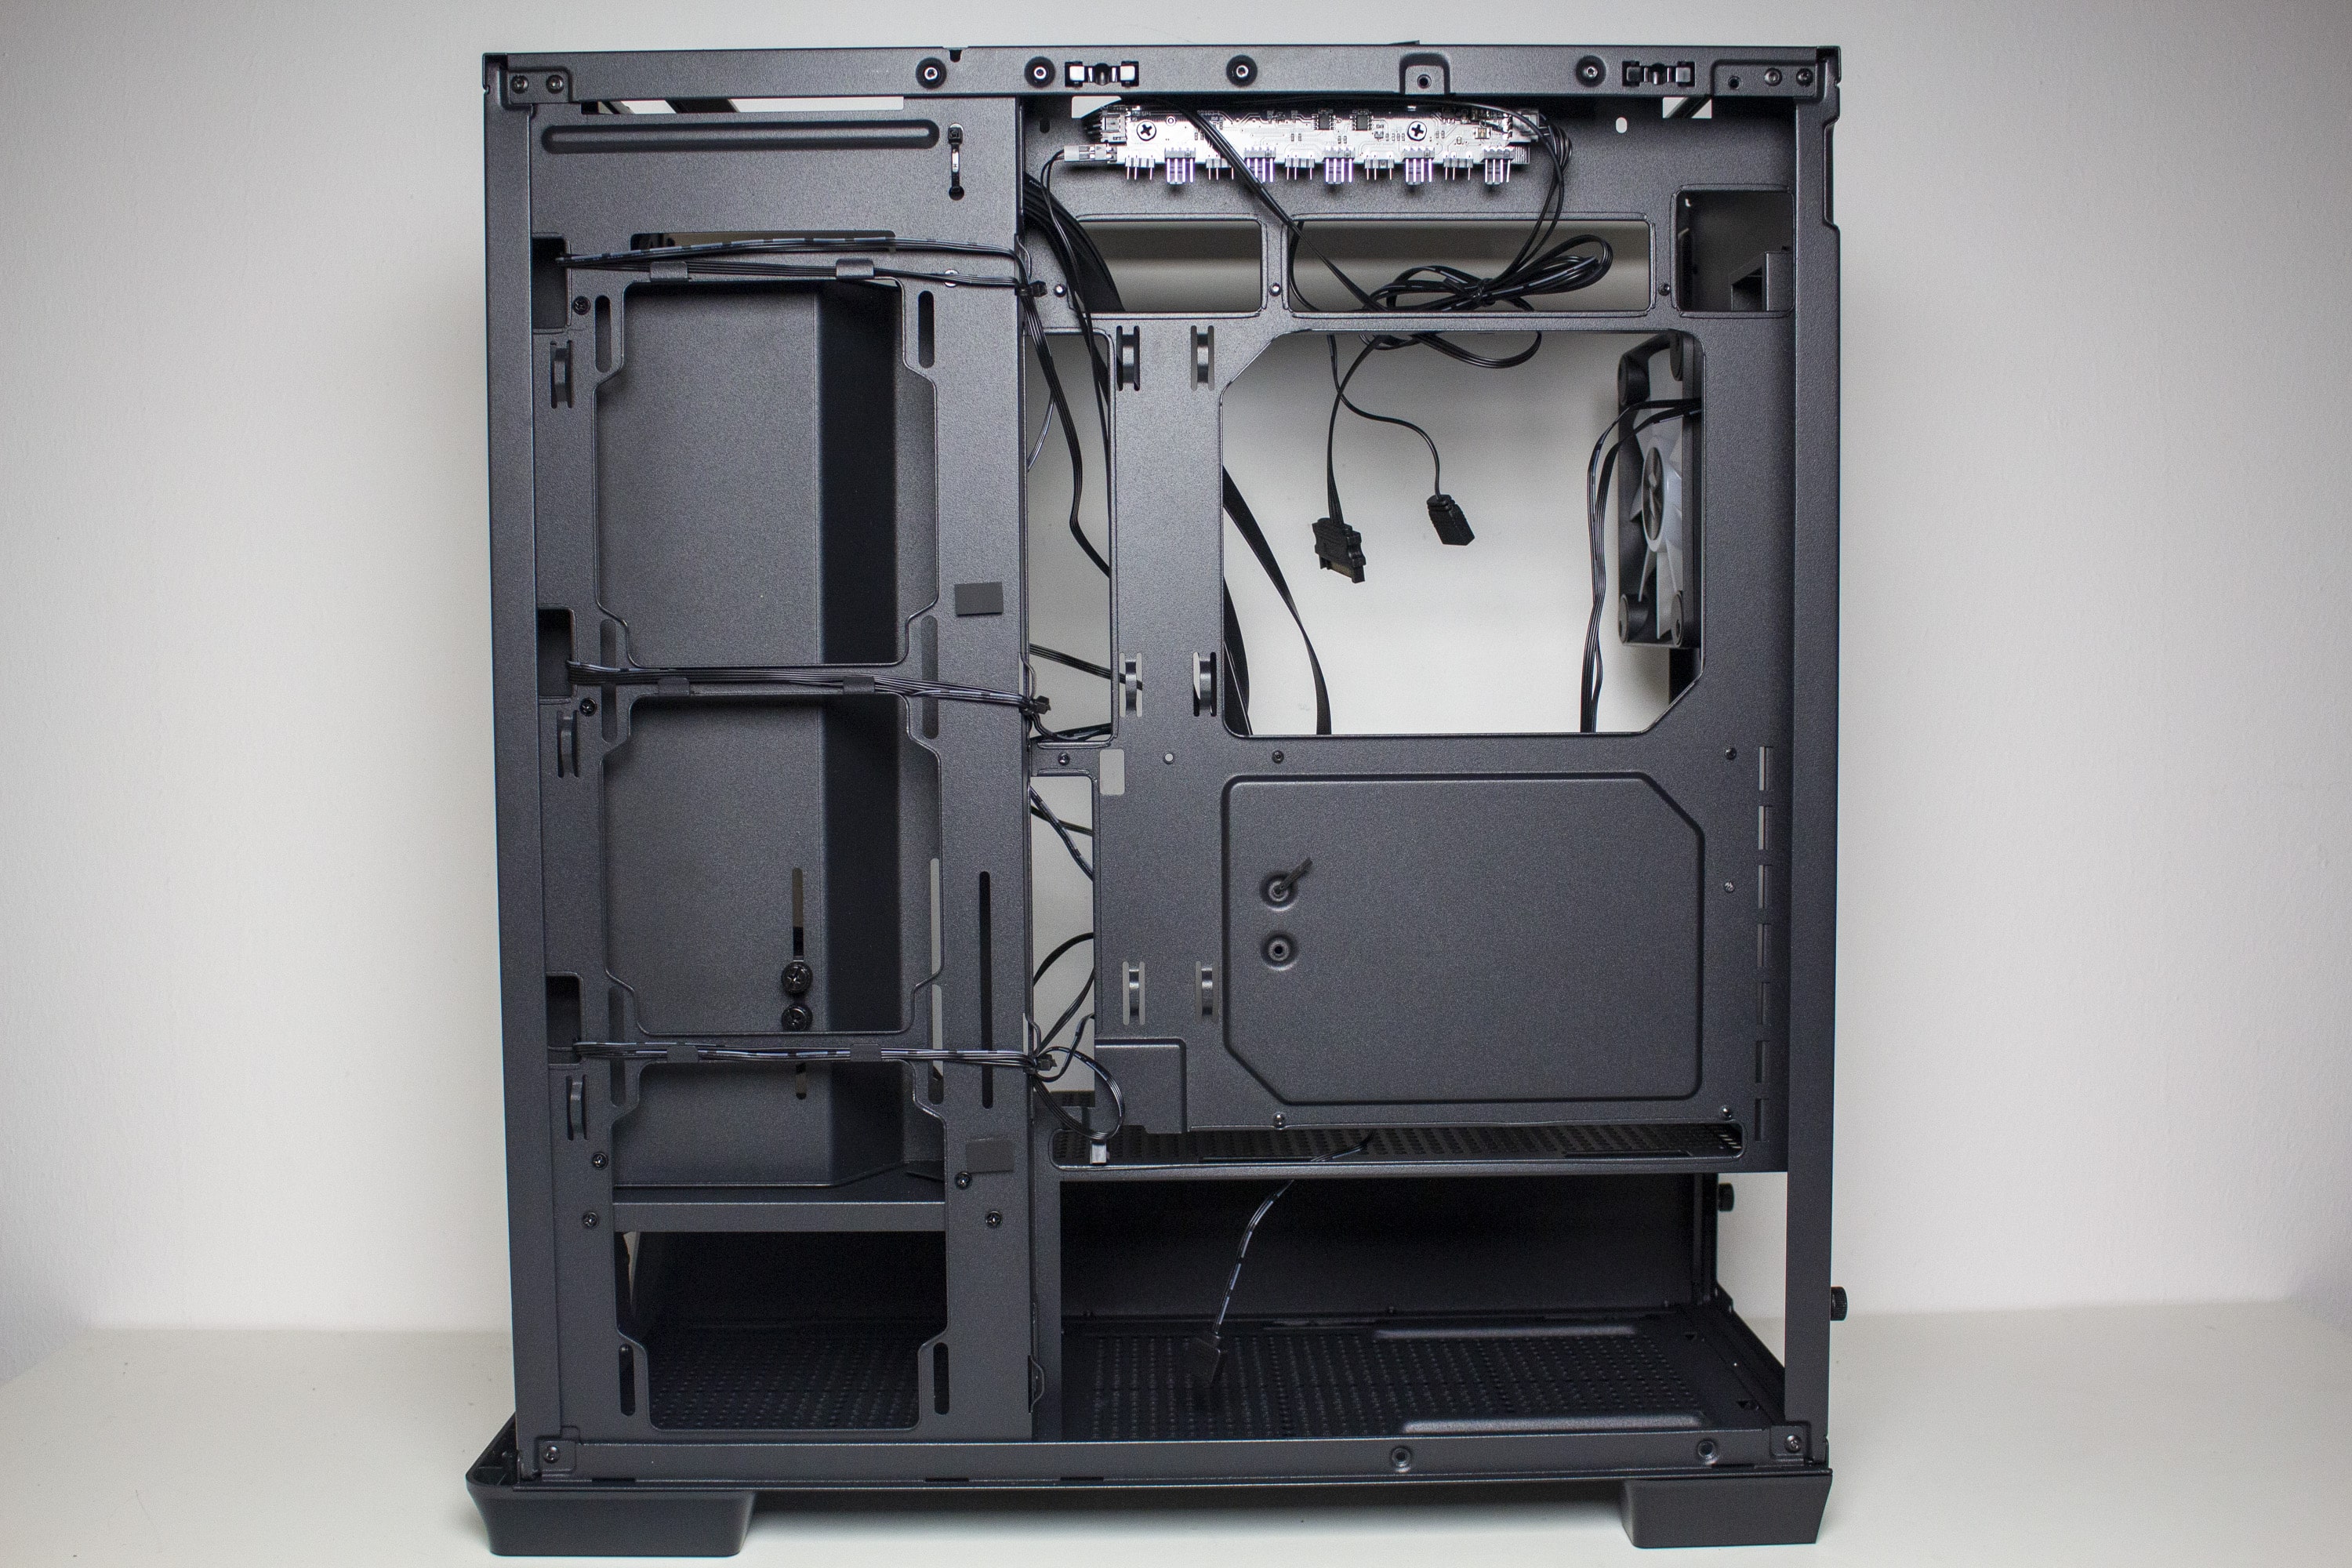
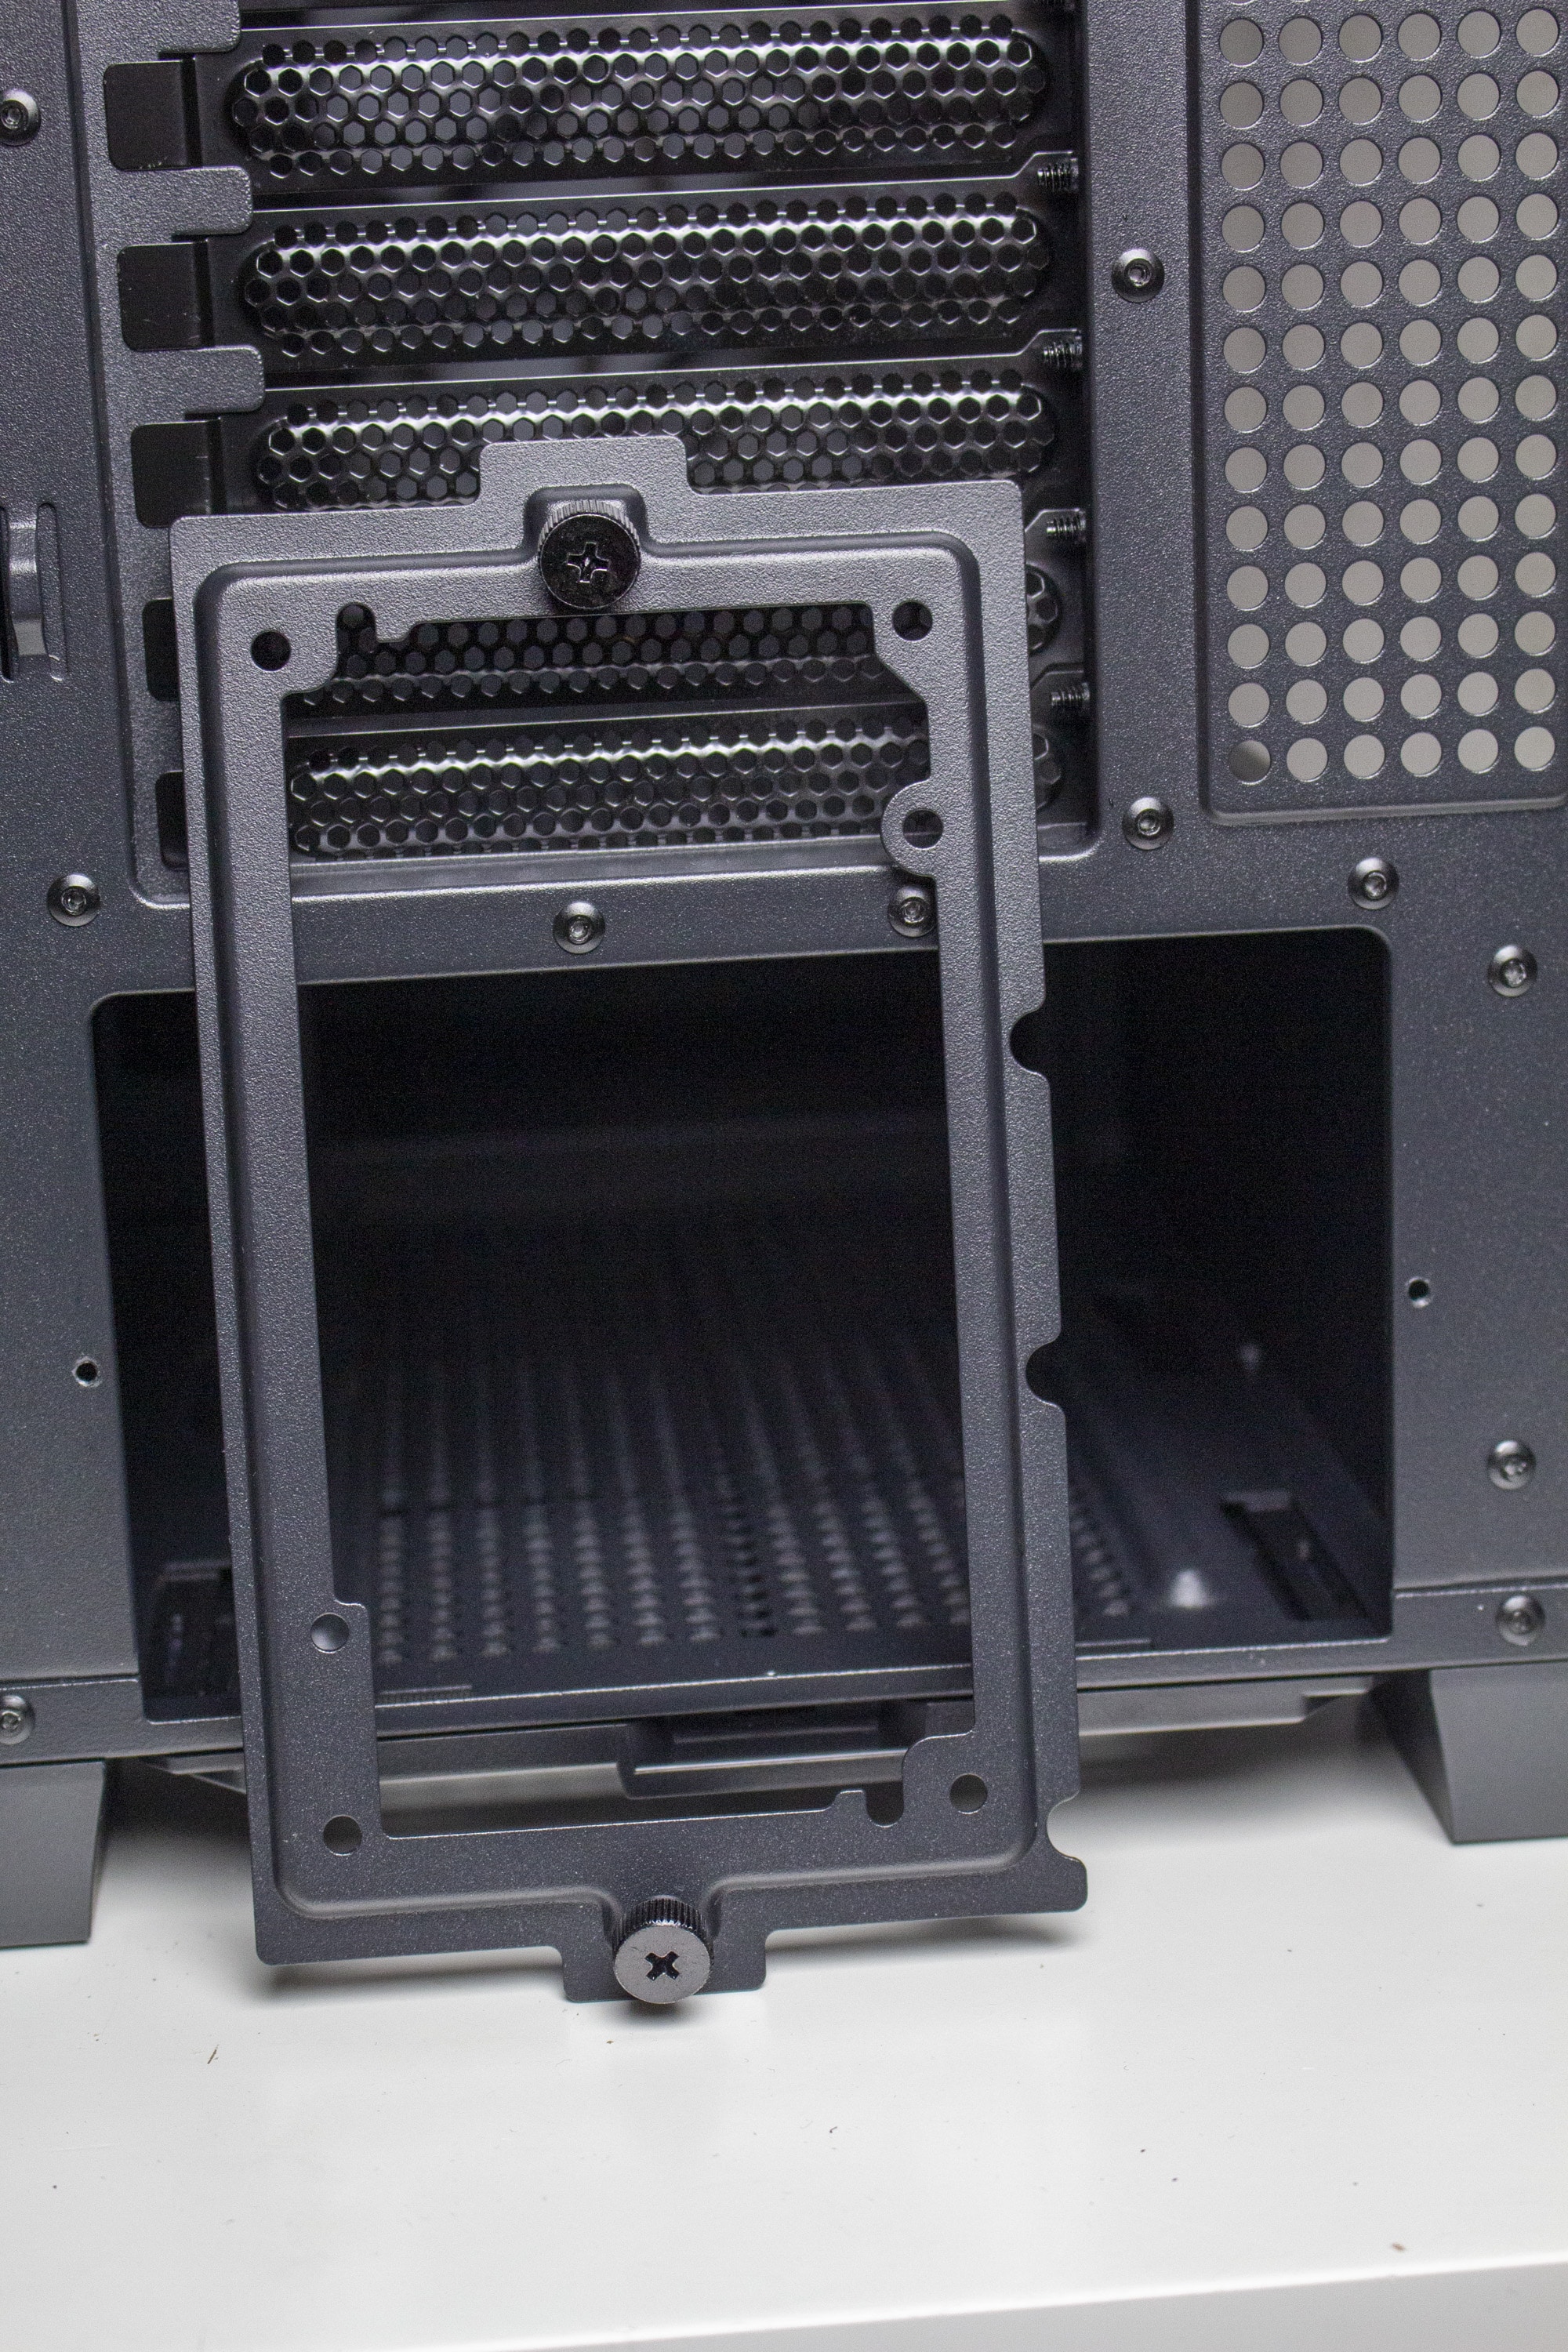
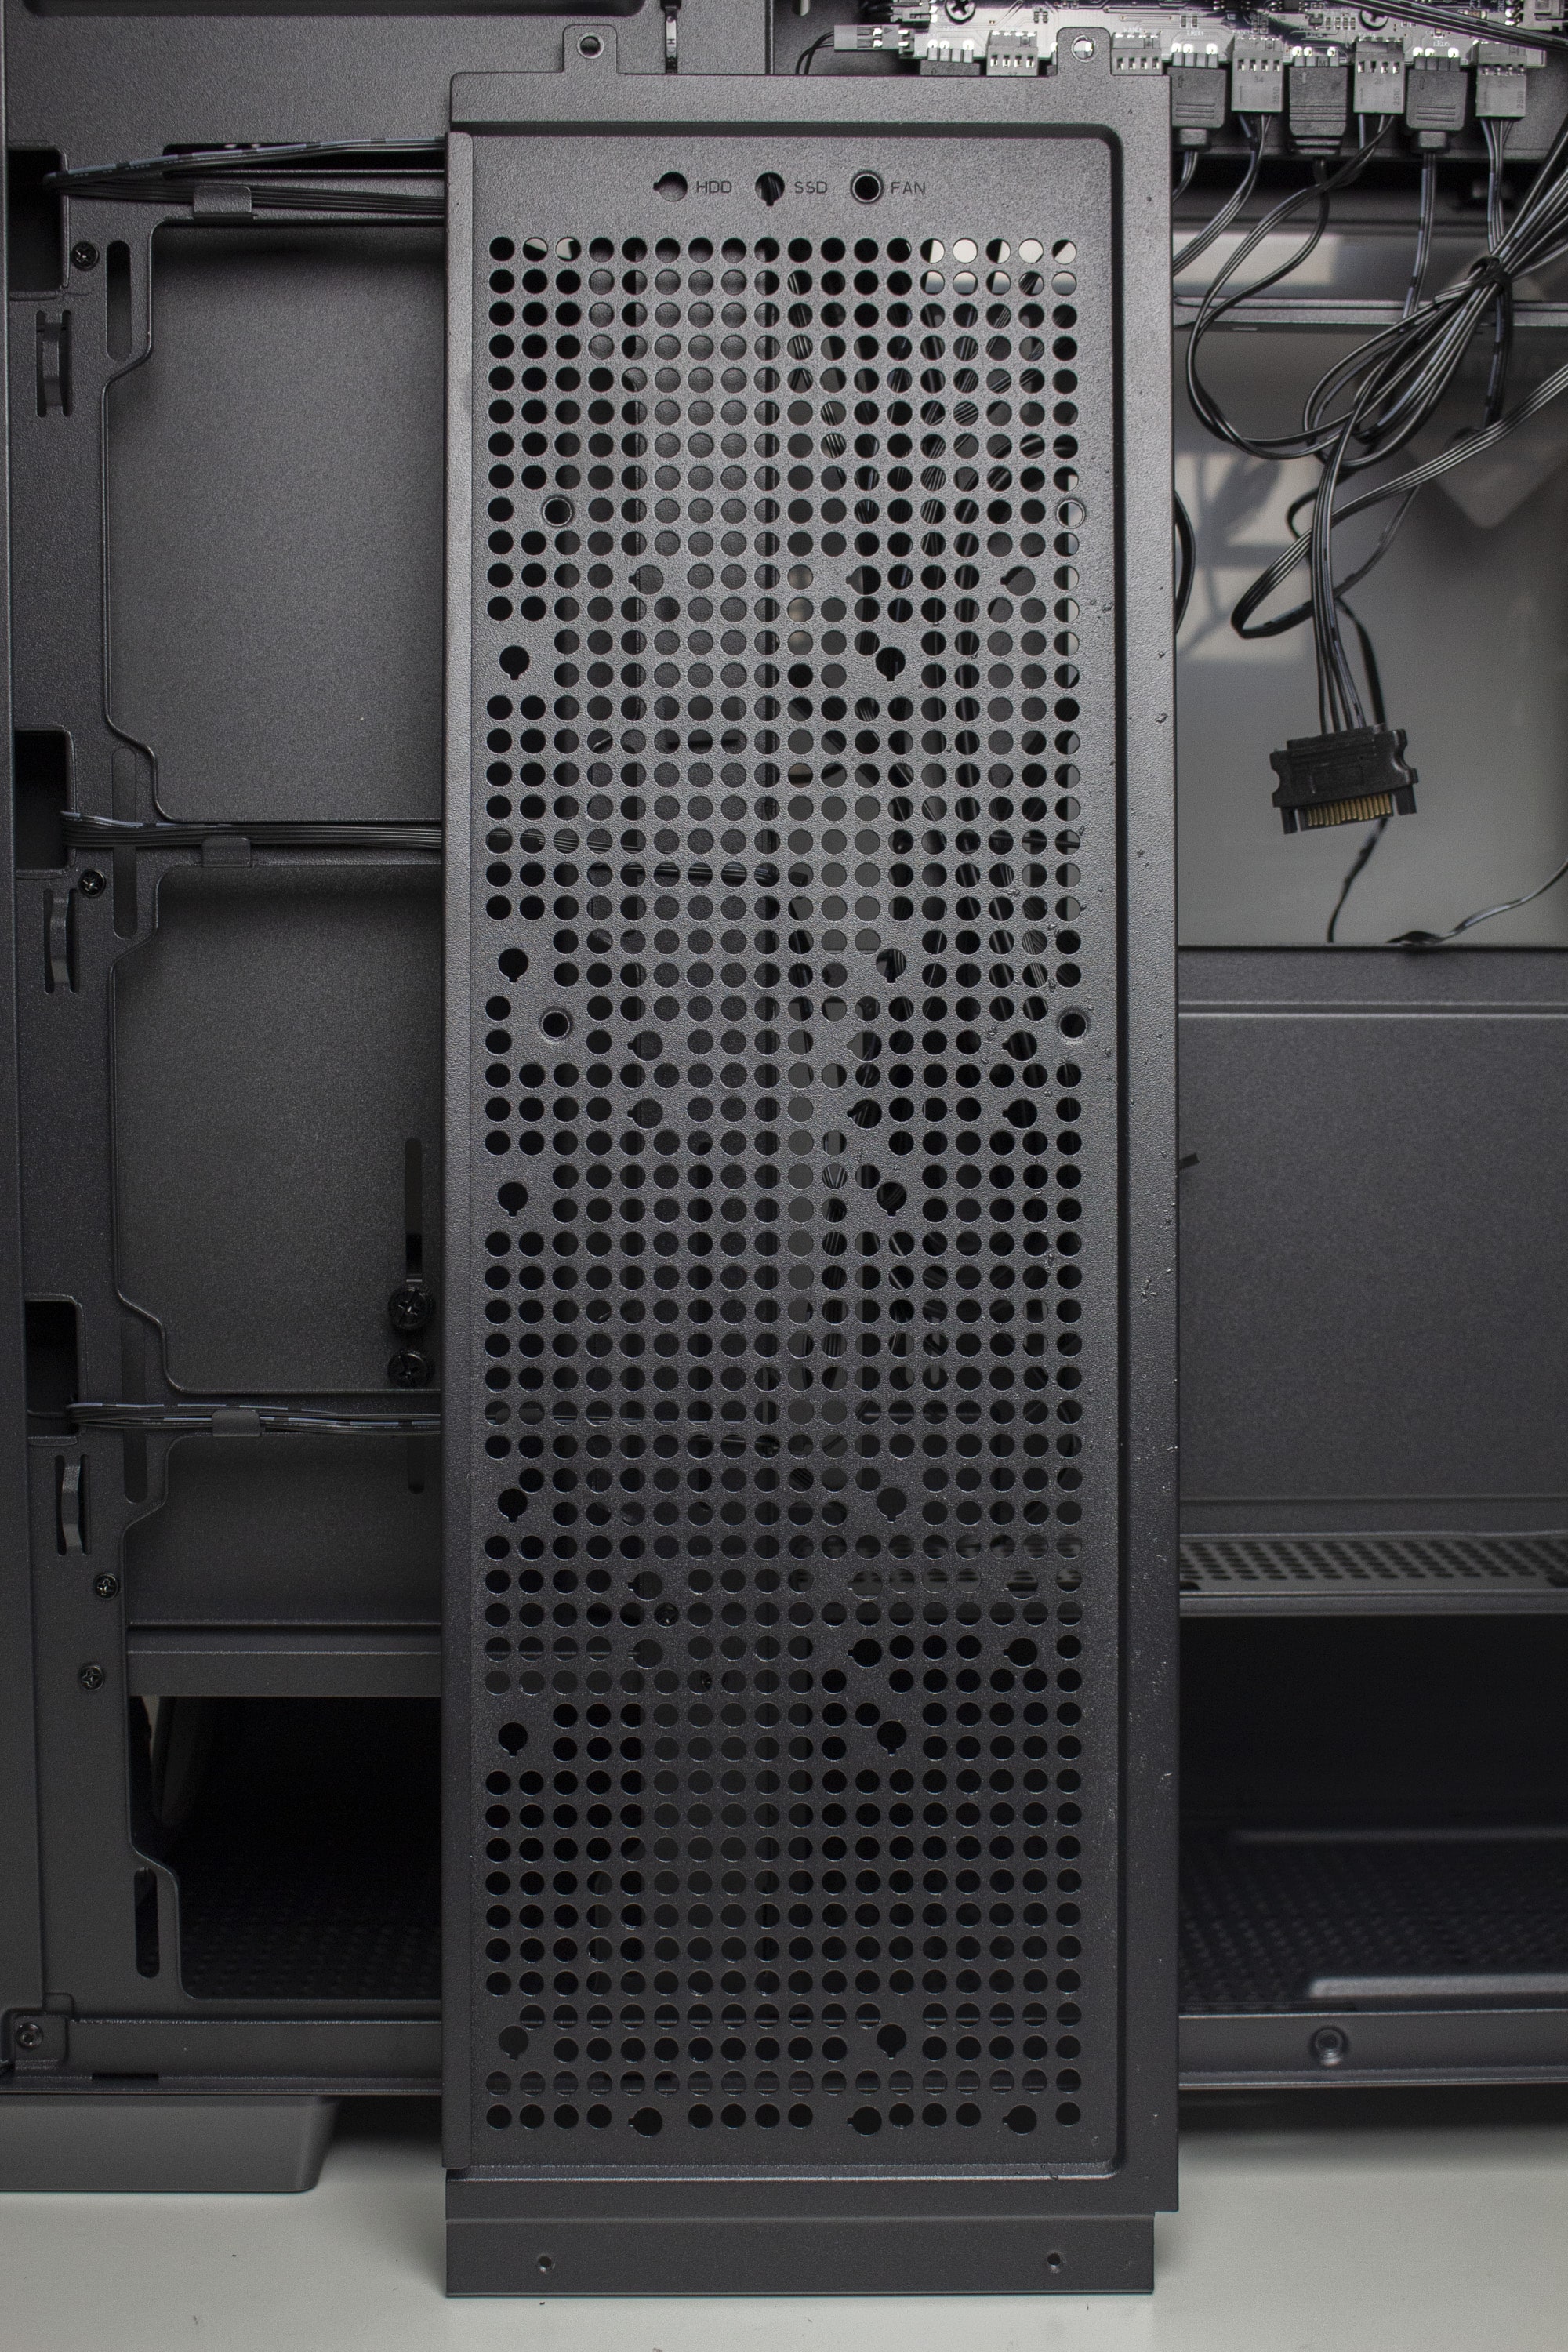
For data media, there is instead a modular mounting frame that spans most of the motherboard tray back. It offers space for three 3.5″ or 2.5″ hard drives or SSDs. Alternatively, another 120 mm fan can be placed here, which then cools the back of the motherboard tray. Both the mounting of the data carrier and the frame require tools, but they are decoupled.
Workmanship
Since APNX uses mostly steel in the C1, the midi tower looks quality and sturdy. The only plastic elements are the three feet and the push-pin mounts on the outer panels. The material thickness of the steel is specified by the manufacturer with 0.8 millimeters, which results in a high torsional stiffness. The mainboard tray on the right edge is a bit less stable. However, this is basically due to the fact that the tray is designed for rear motherboard connections and therefore there are only thin holding points in places. We couldn’t find any sharp edges or other manufacturing flaws.
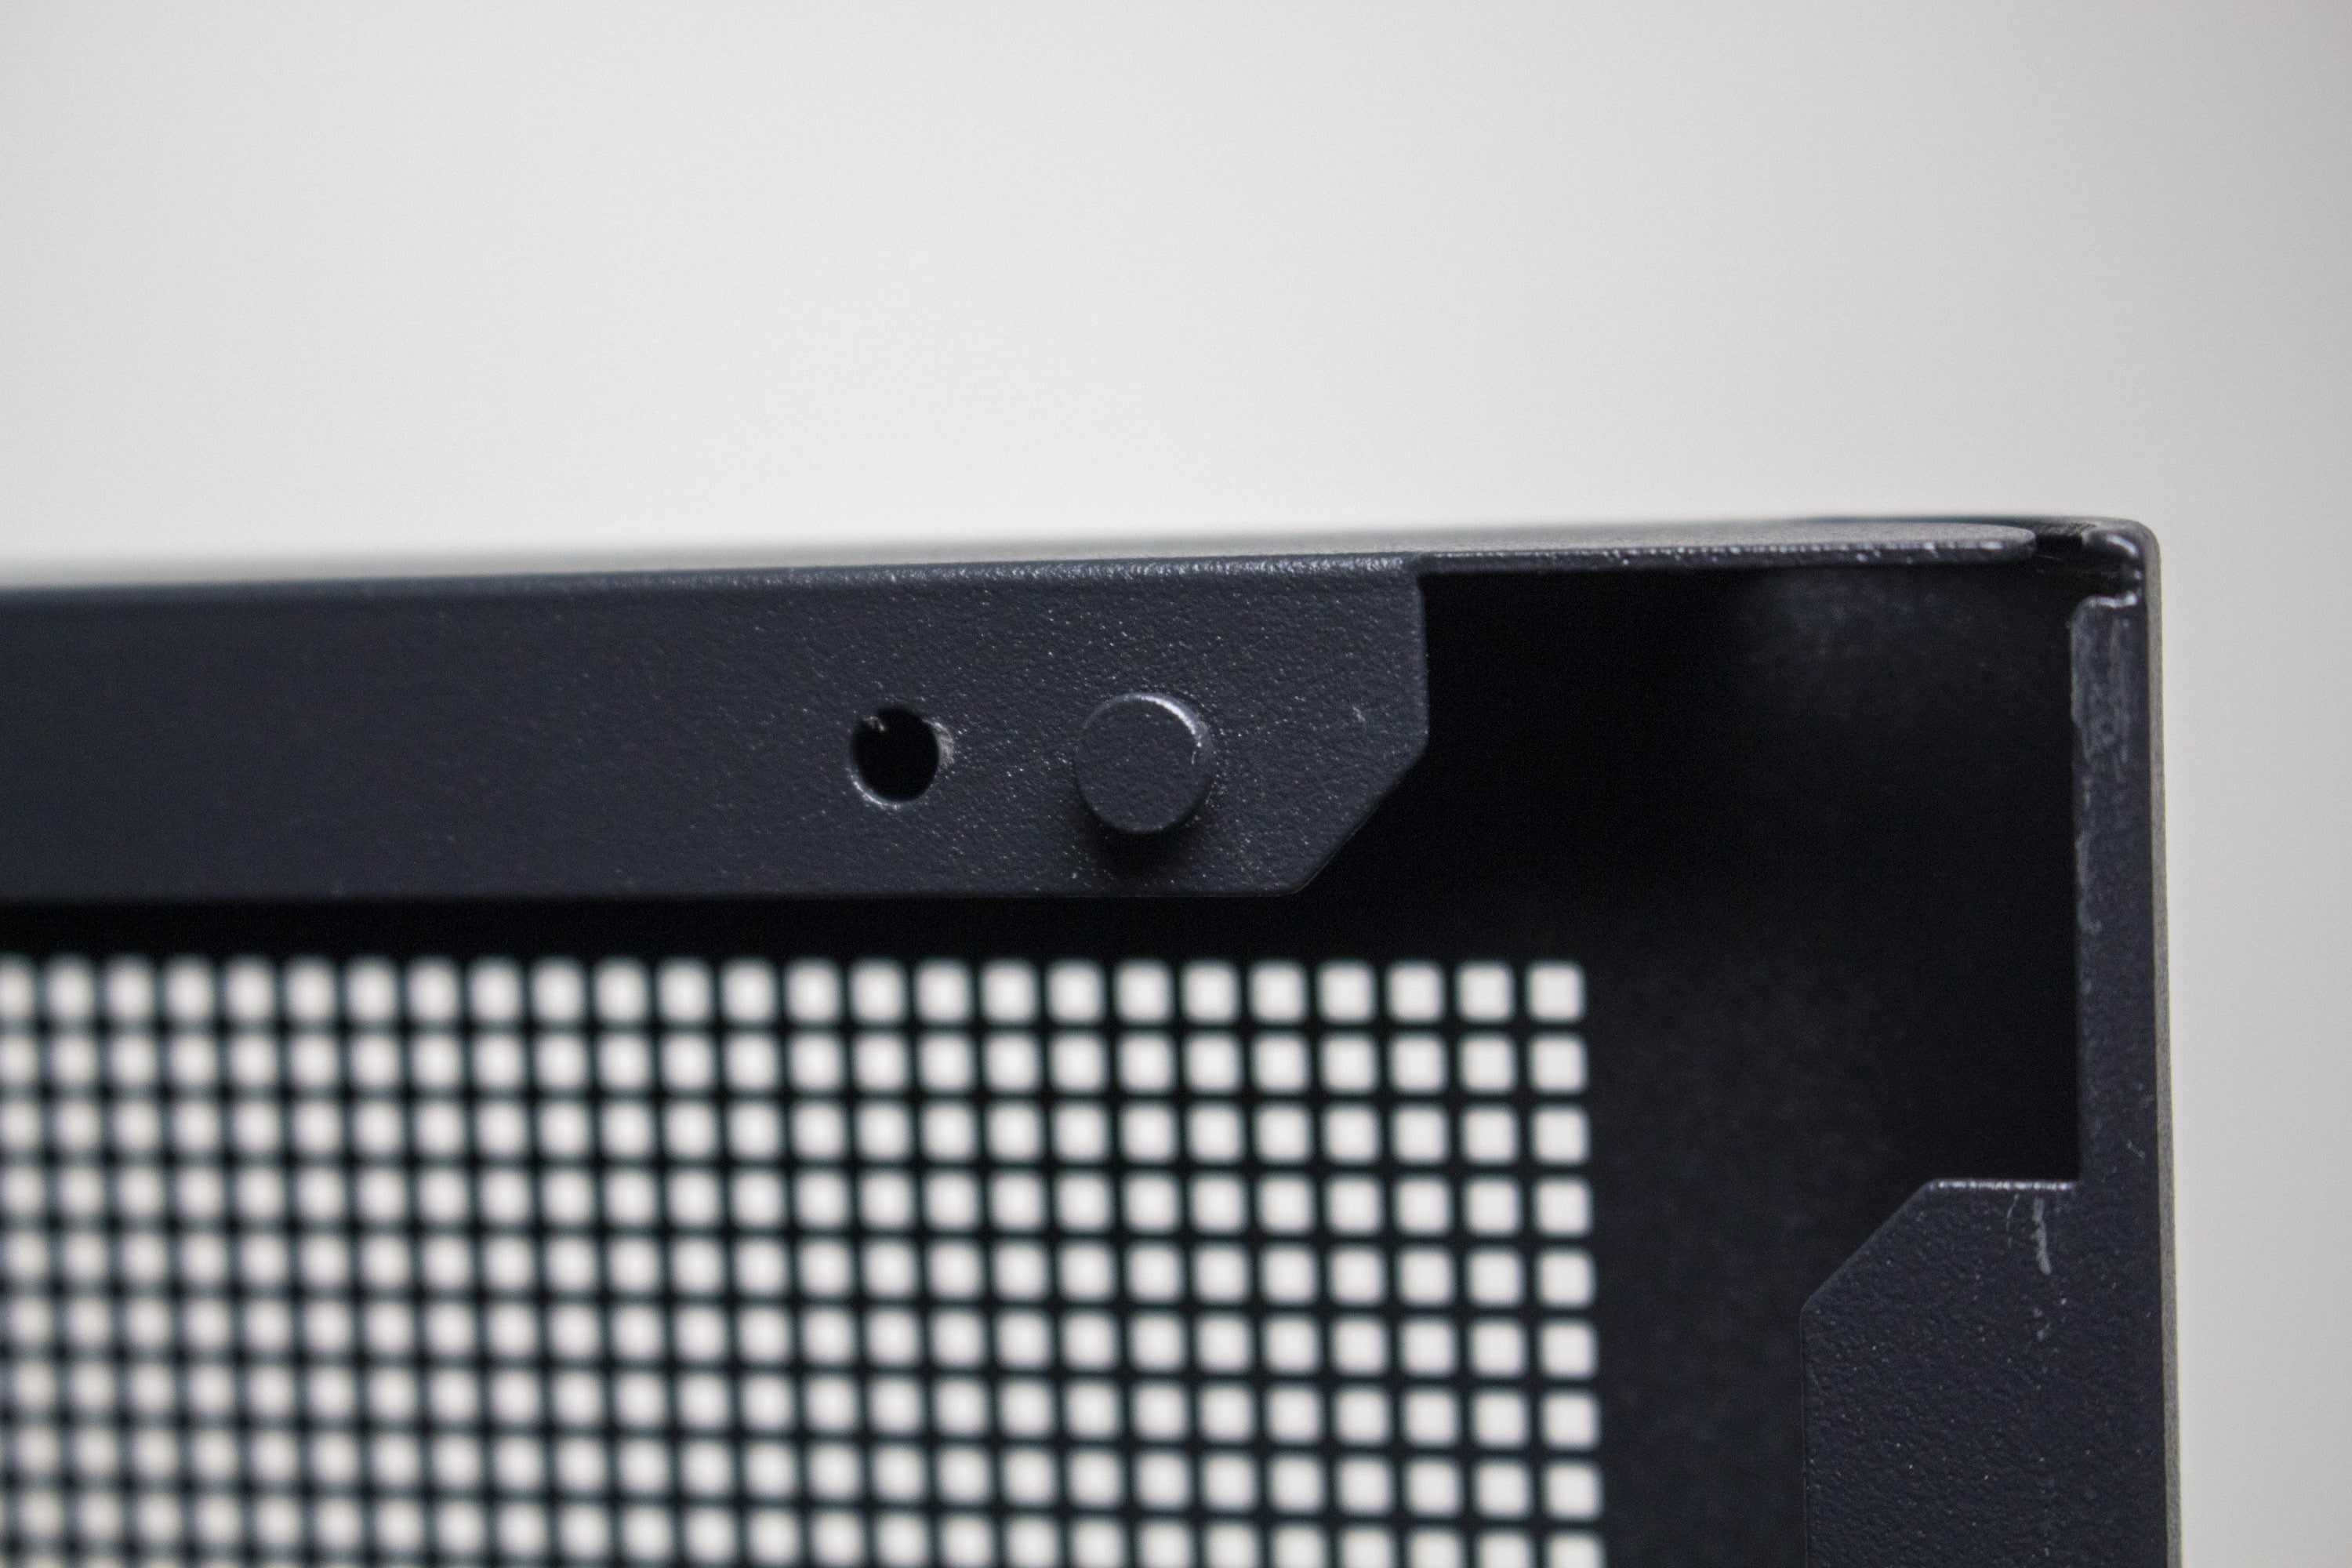
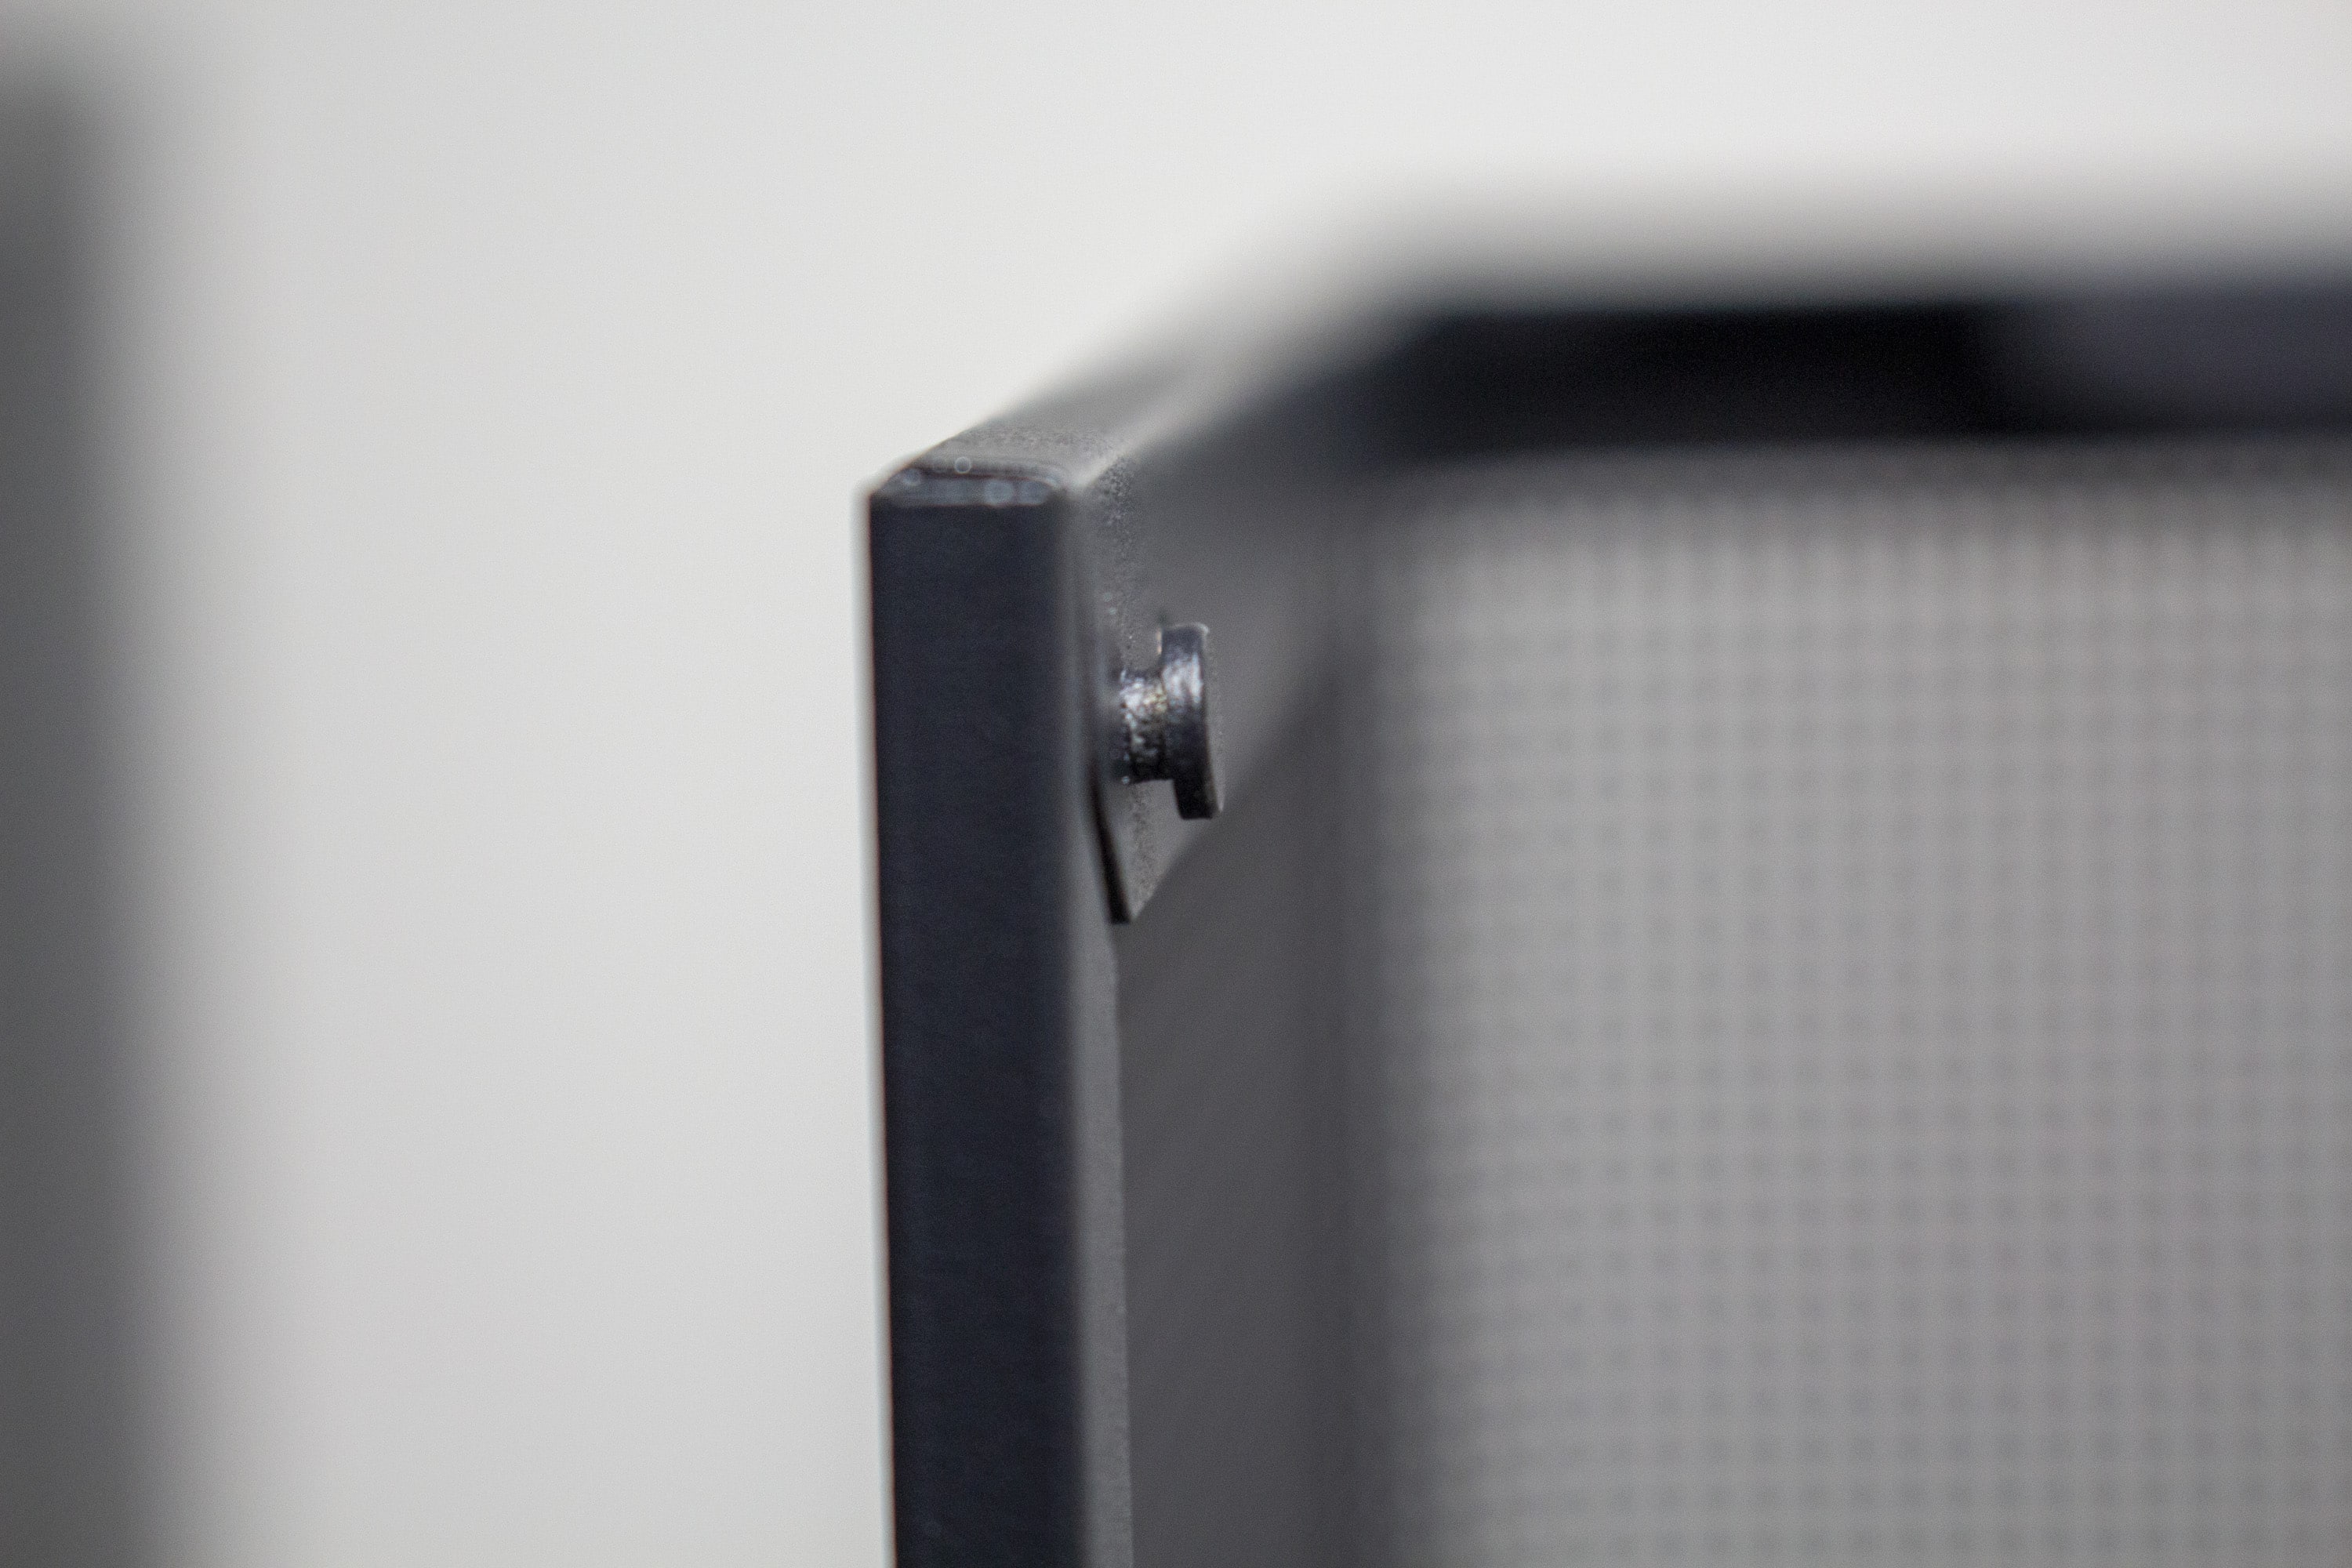
On the other hand, the mounting of the curved front panel is not quite perfected. In the lower area, two plastic lugs are used on the stand and in the upper area, the manufacturer relies on three flat steel lugs that have to be pushed into a groove on the case. However, if you touch the front panel in the upper left area, it can be moved easily, which in turn leads to a slight rattling. A thin layer of foam rubber or foam could probably have prevented this problem. Overall, attaching the front panel to the body is unfortunately a bit tedious due to the implemented mounting method.
The finish of the entire case is mostly impeccable. However, APNX has made an unnecessary mistake in the area of the mounting frame for the HDDs. There are such obvious paint flaws on the entire frame that we are surprised how this flaw was not noticed during quality control. After all, this area is not visible in most cases anyway. Nevertheless, there is a point deduction for this.
APNX C1 test: installation of the components
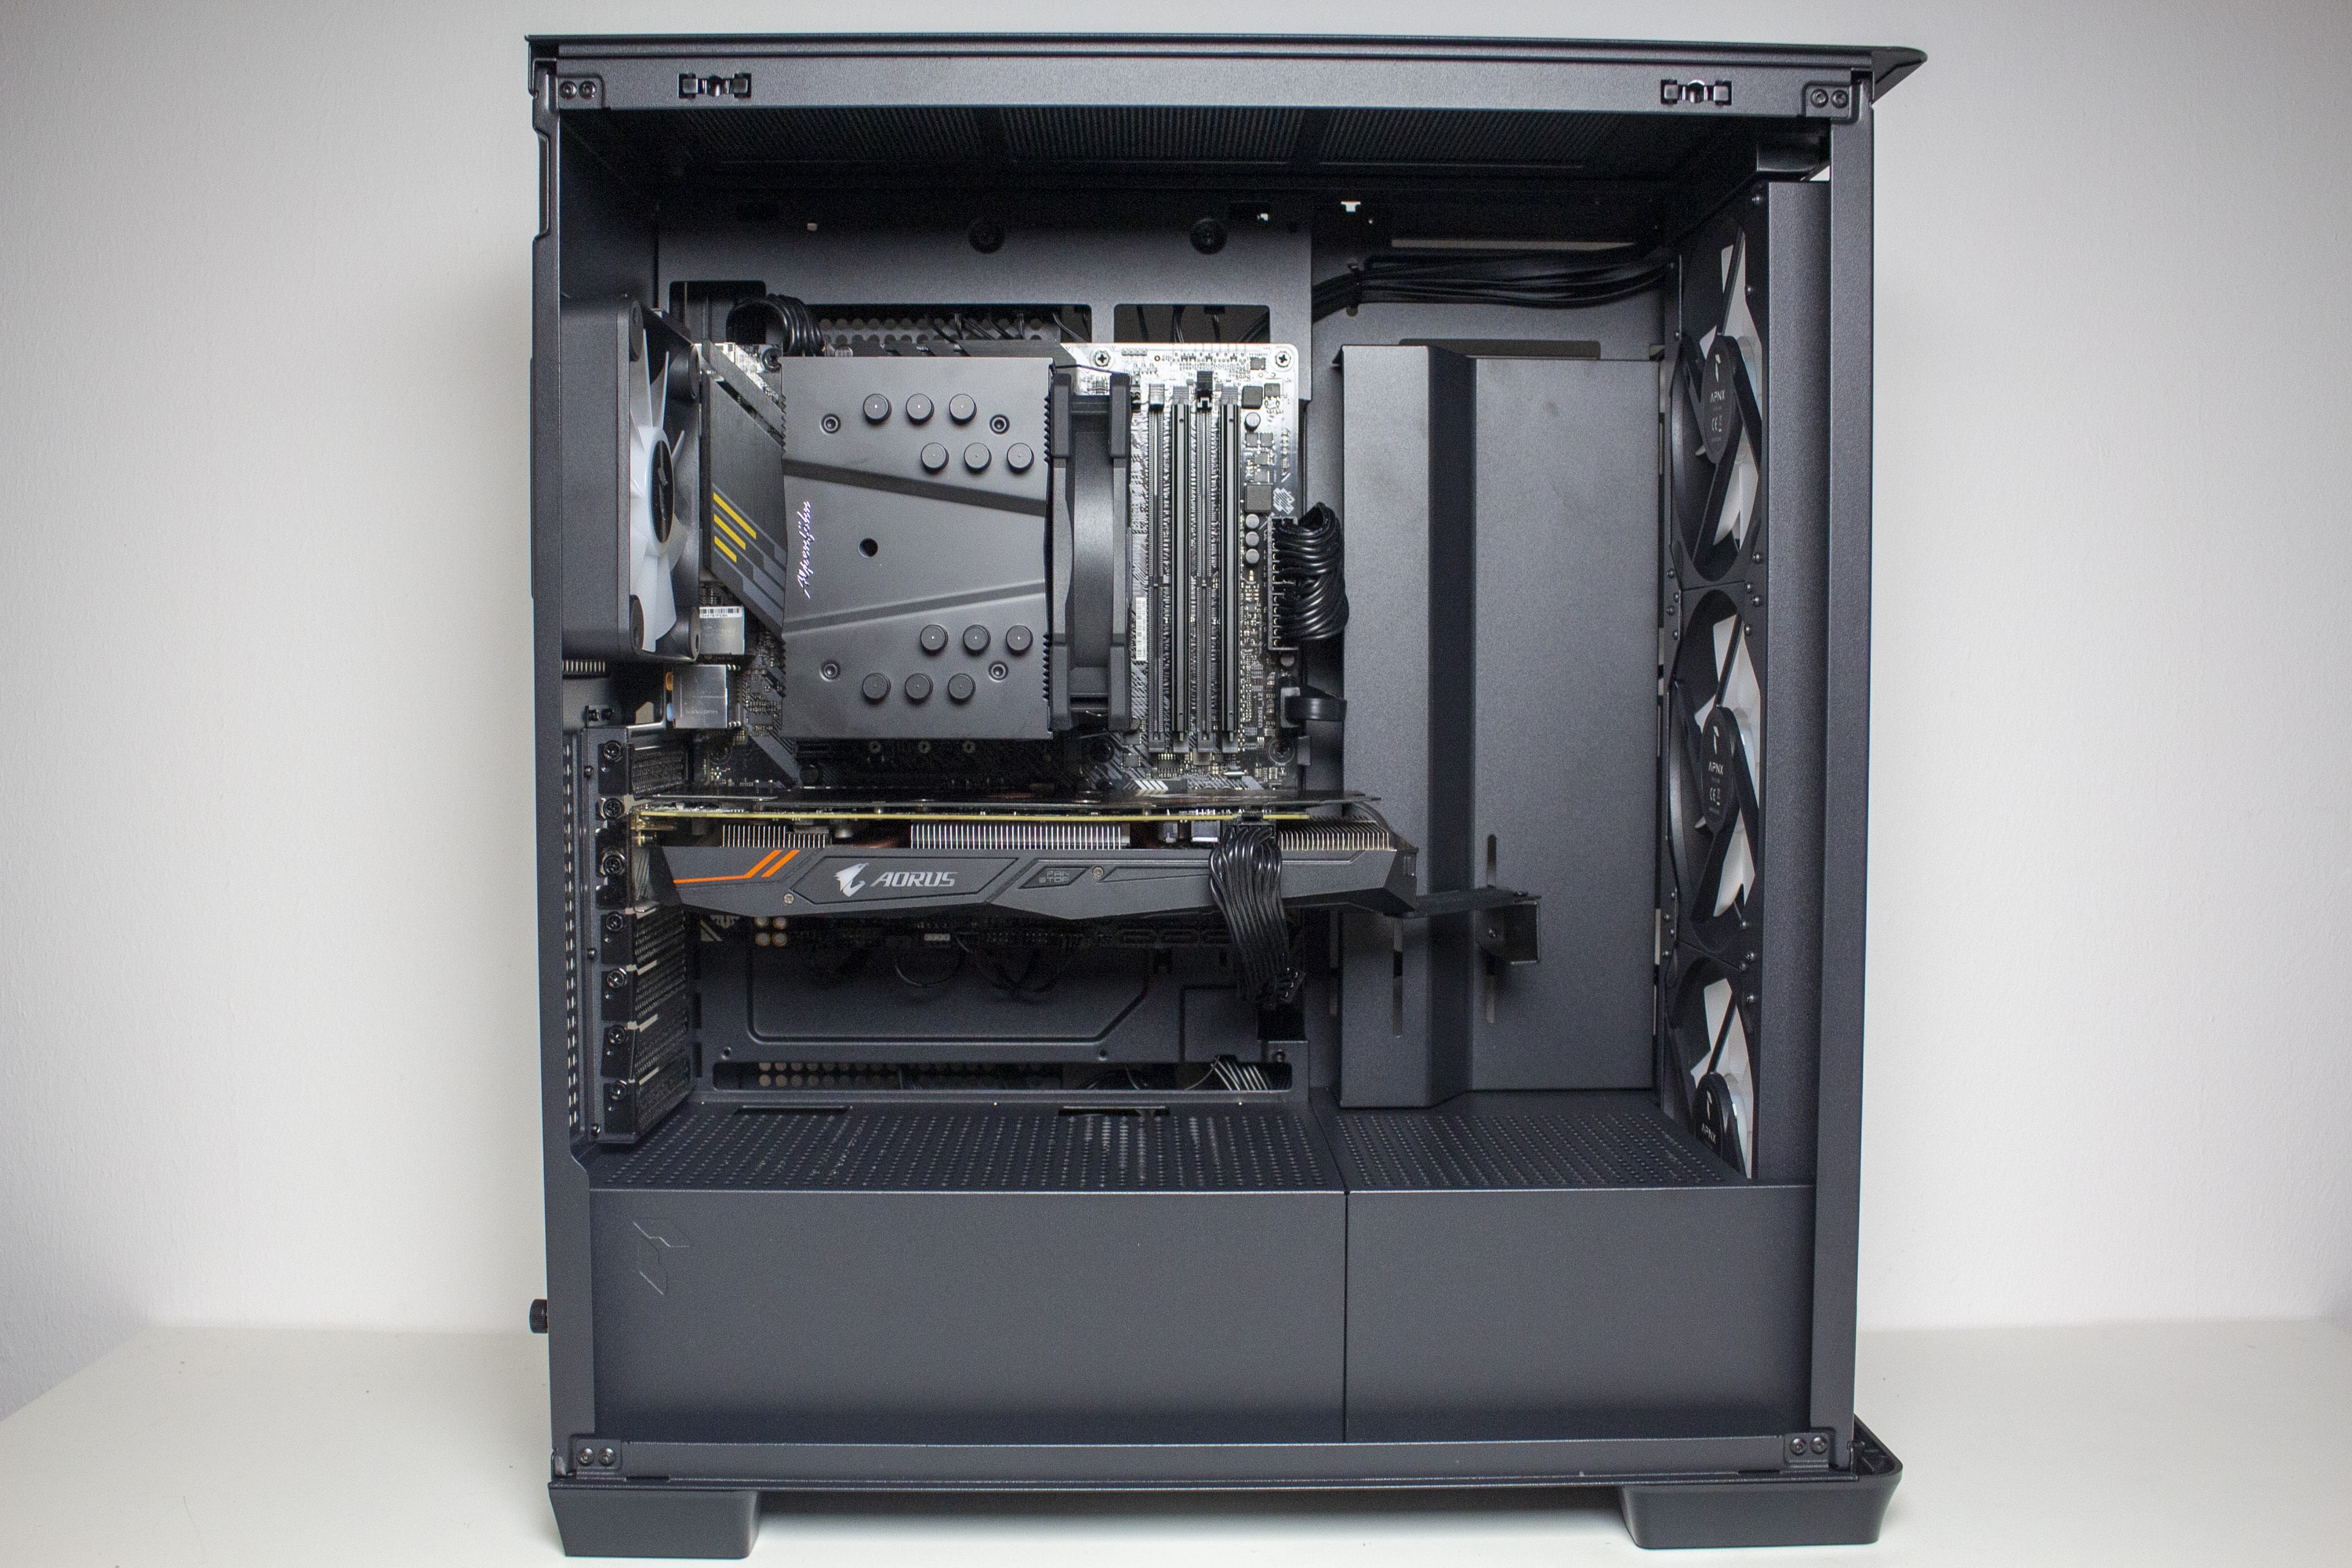
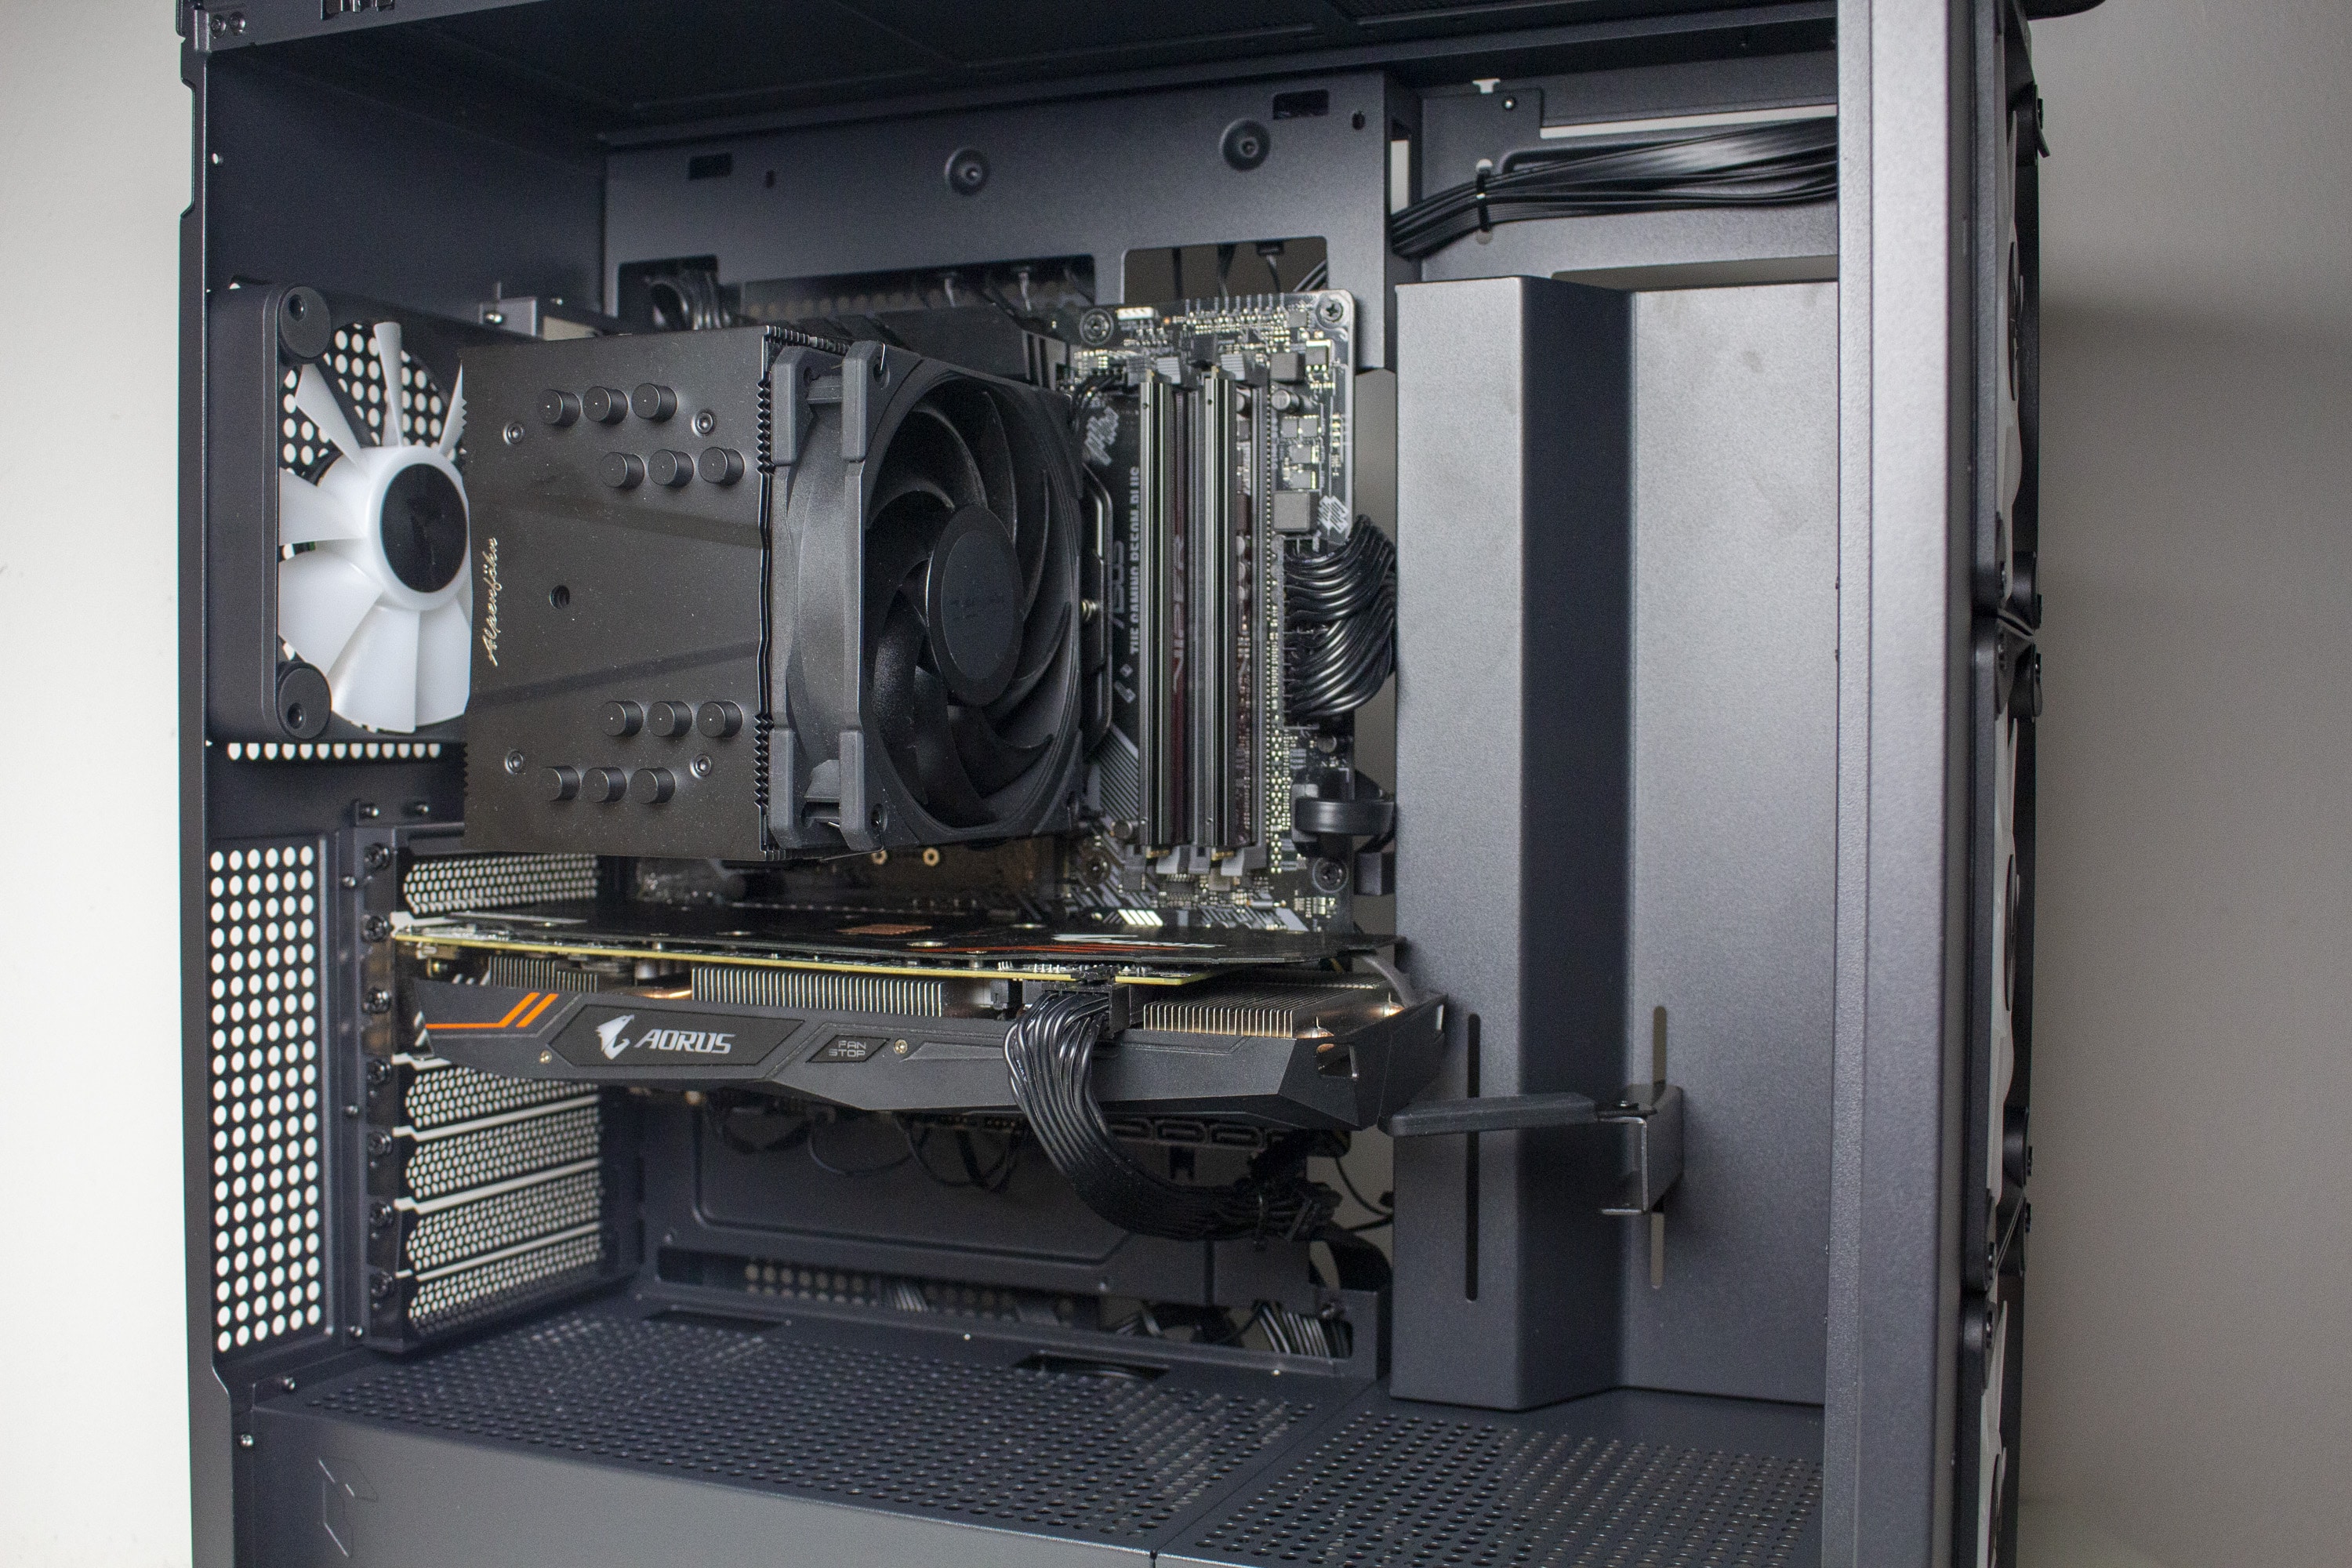
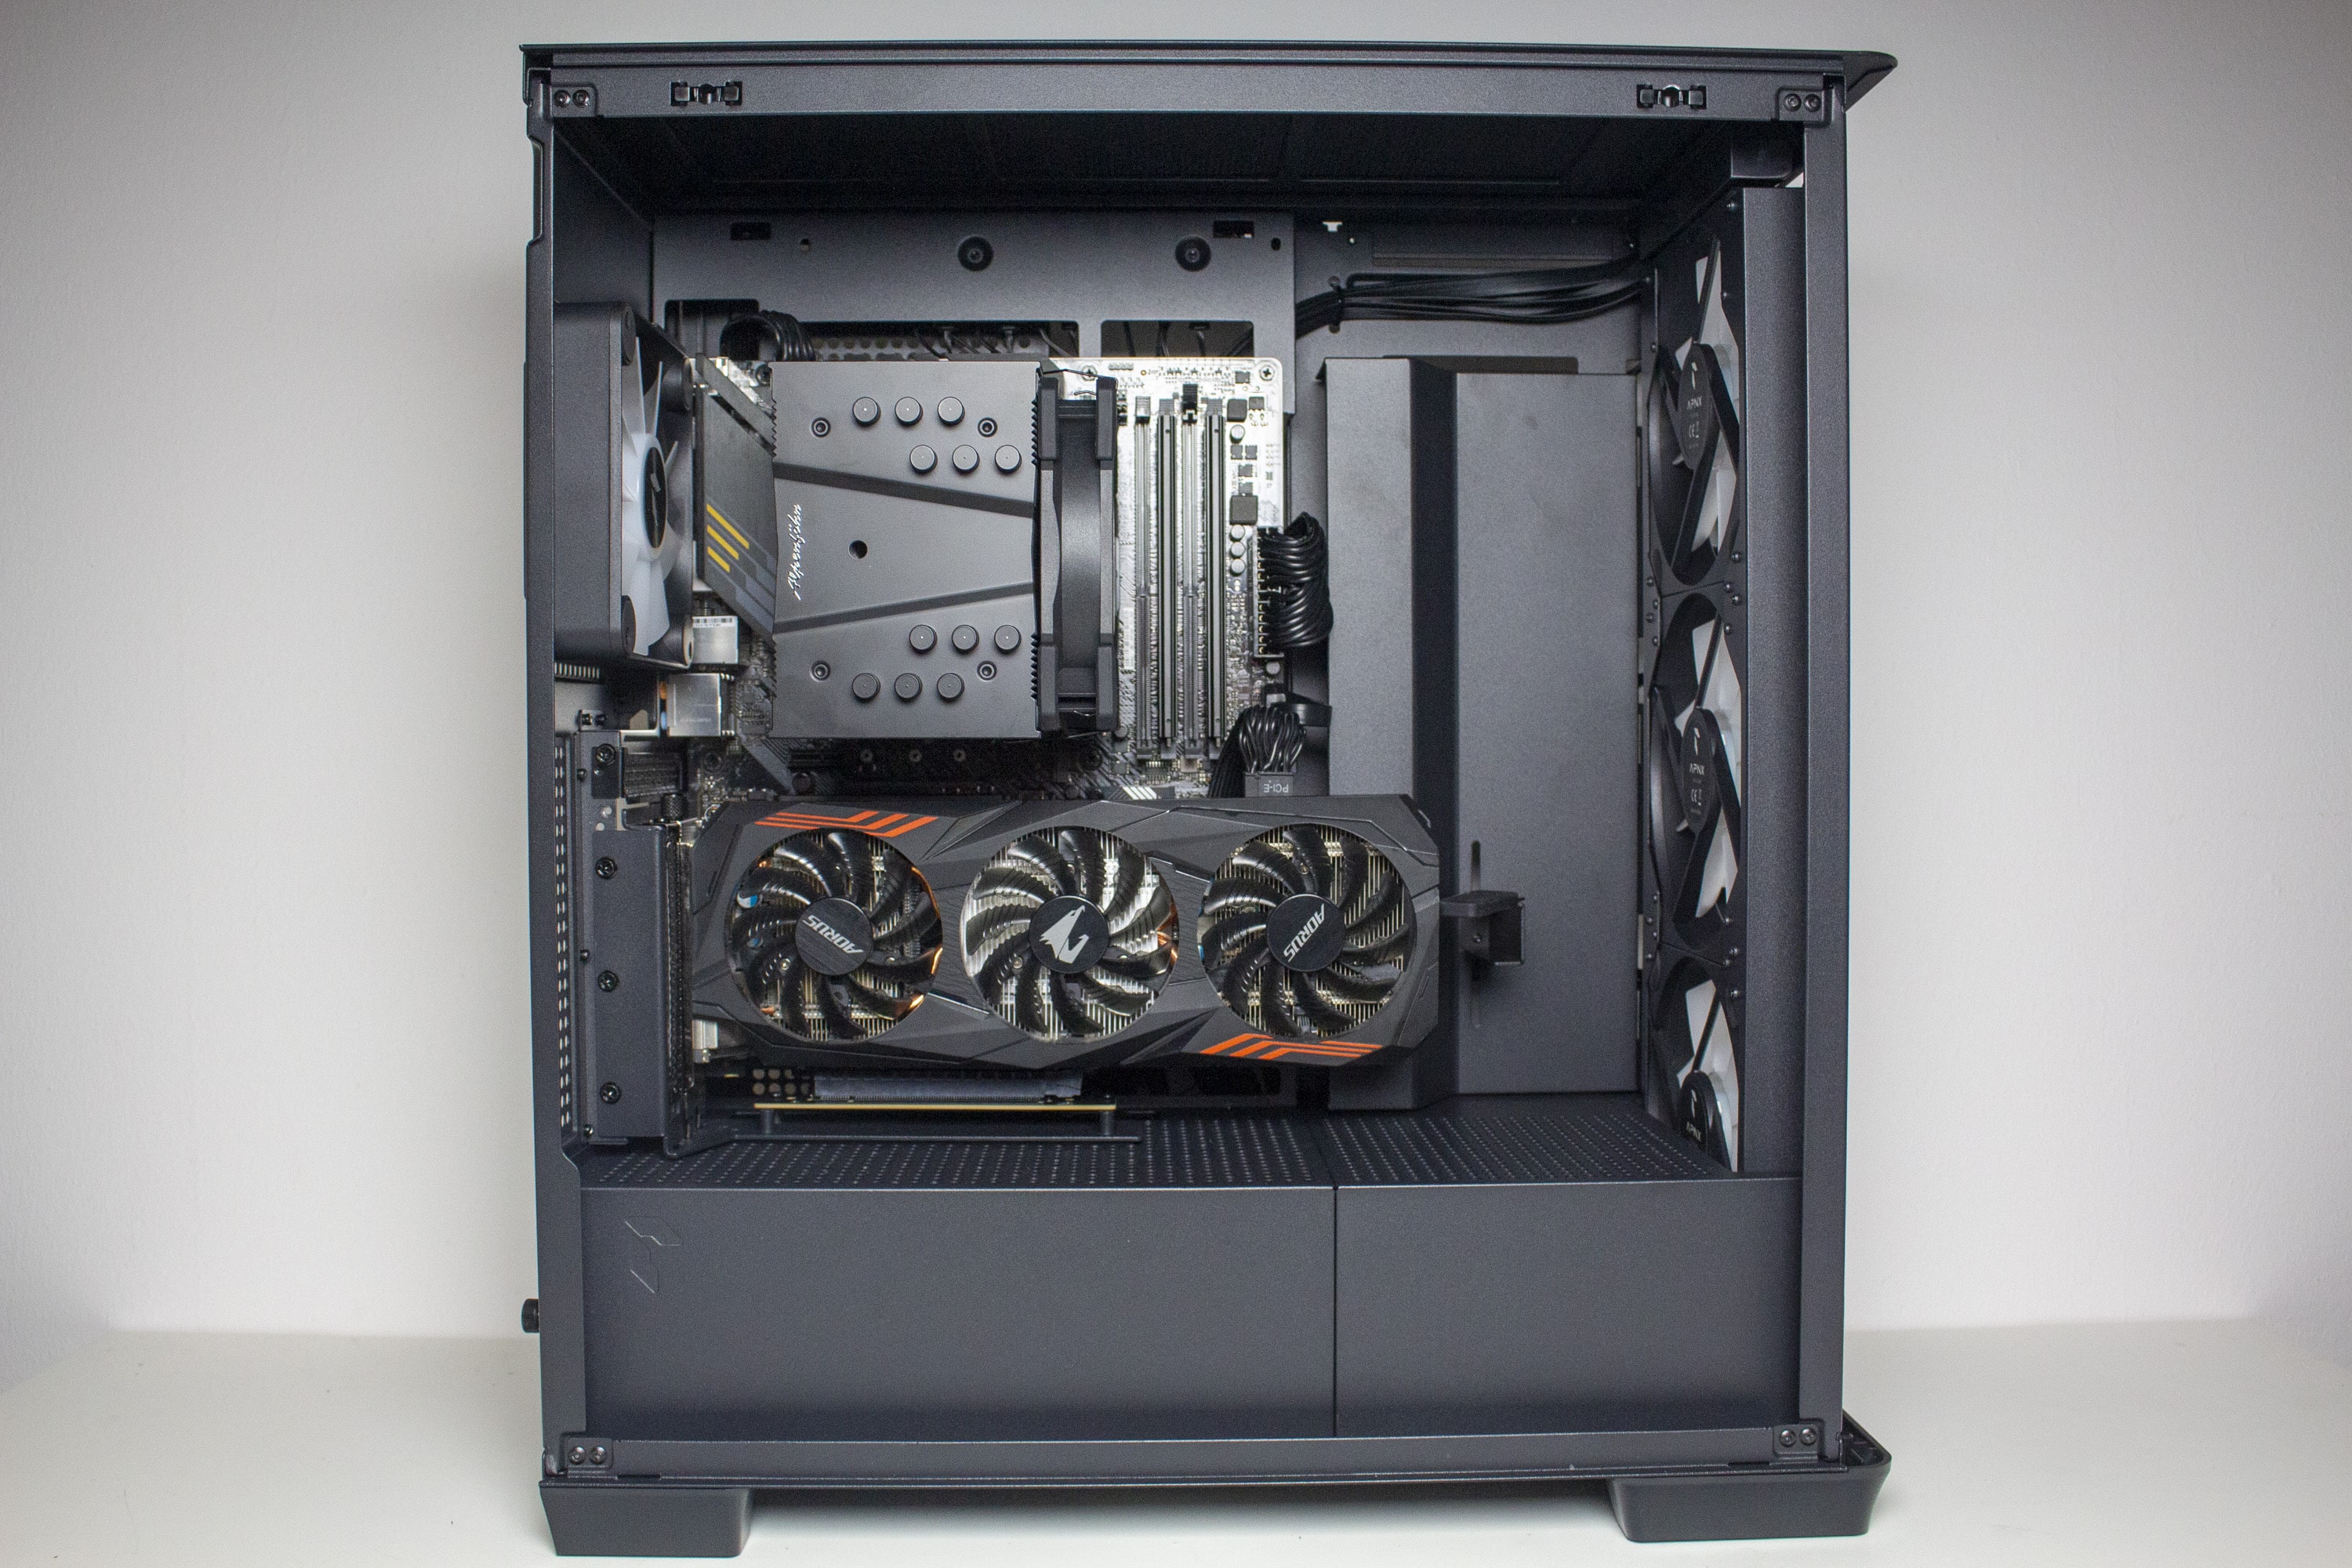
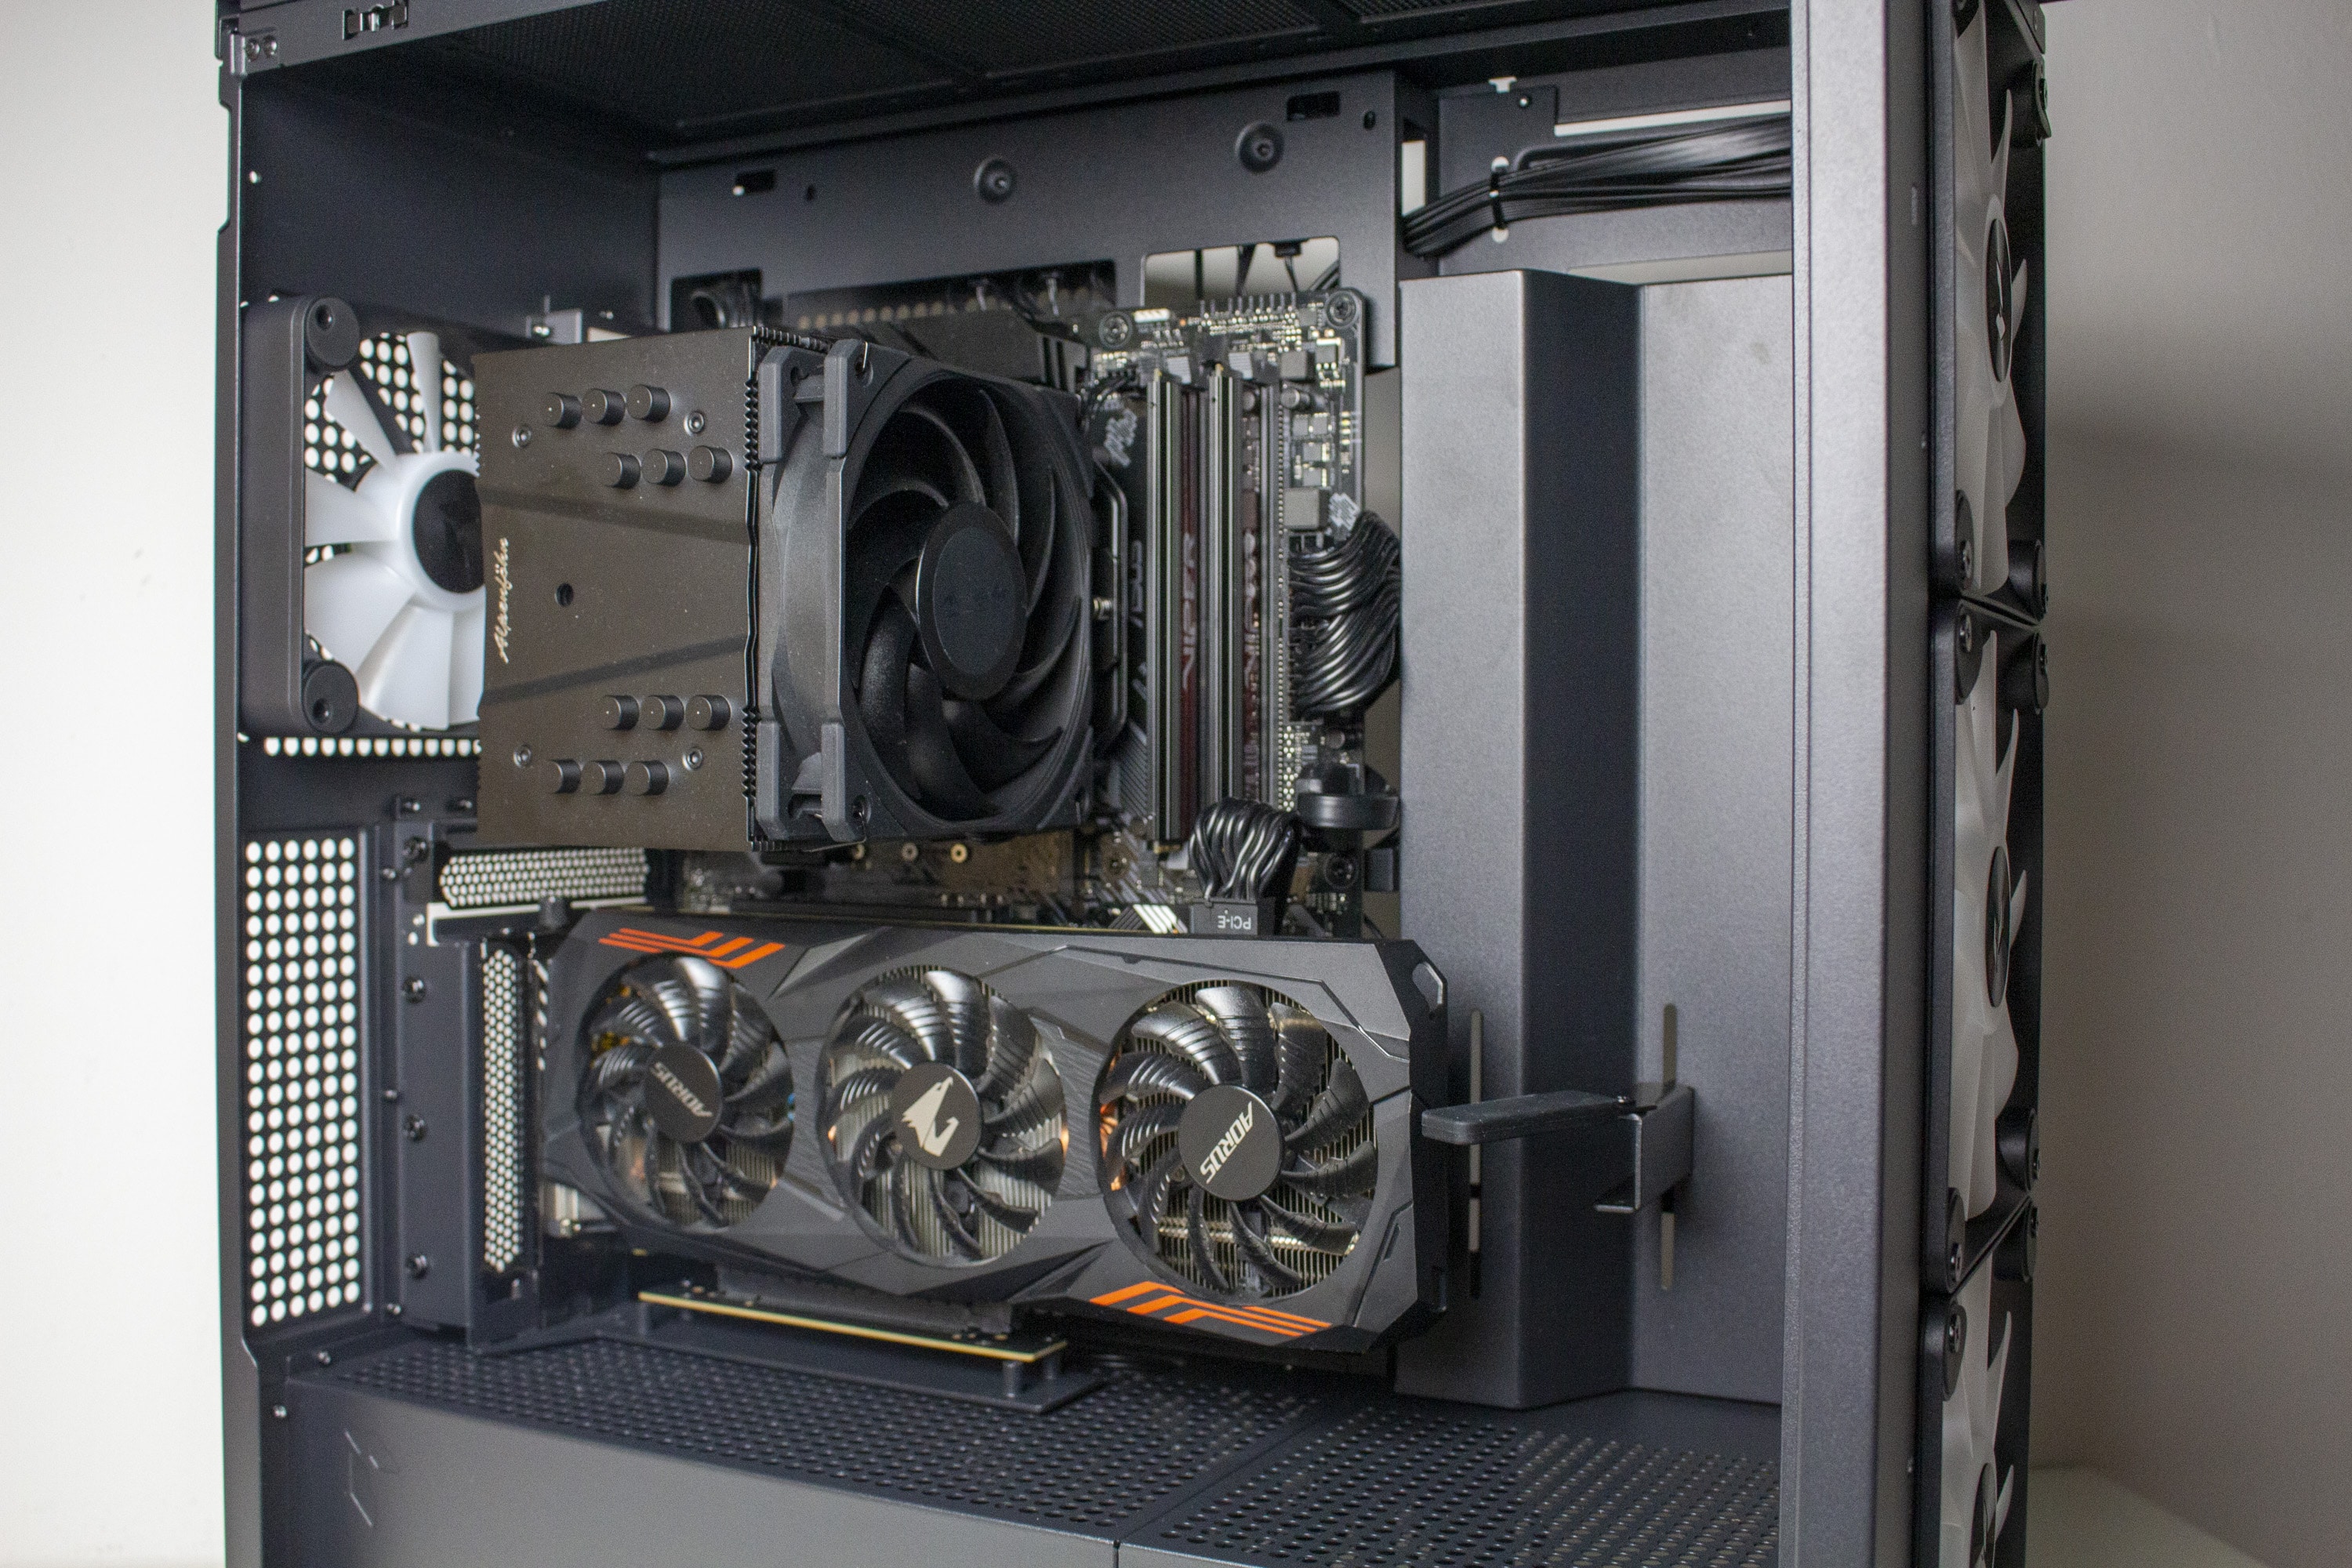
Now we come to the system installation for the APNX C1 test. For hardware, we are using an AMD Ryzen 5 1400* on an ASUS TUF Gaming B550M-Plus* with 16GB Crucial Ballistix Sport LT gray DDR4-2666*. The Ryzen is cooled by an Alpenföhn Brocken 4* and is overclocked to 3.8 GHz (1.175 V). A Gigabyte AORUS GTX 1060 6GB is responsible for the image output. The power supply is handled by the fully modular LC-Power LC550 V2.31 Platinum*.
The installation of our test system did not present us with any problems in the APNX C1. The spacers for the motherboard were pre-installed and the center stand-off has a tab to temporarily hold the motherboard in place during vertical installation. There is also plenty of room to work and screw throughout the interior. Cabling didn’t present us with any challenges in the APNX C1 either. All openings were sensibly placed as well as sufficiently large and the space behind the motherboard tray is excellent at 40 millimeters. Regardless of whether the GPU is installed horizontally or vertically, the overall result always looks neat and tidy.

The APNX C1 can also convince in the area of hardware compatibility. It offers space for 166 millimeter high CPU coolers as well as 395 millimeter long graphics cards. The power supply may not exceed a maximum length of 270 millimeters. Thus, there is no graphics card, no power supply and only very few CPU coolers that do not fit into the APNX C1. In addition, there are a total of eleven mountable fan slots and three mounting points for radiators. A maximum of 280 mm and 360 mm radiators can be installed at the same time. Depending on the radiator depth, two 360 mm radiators on the side and in the lid are also possible.
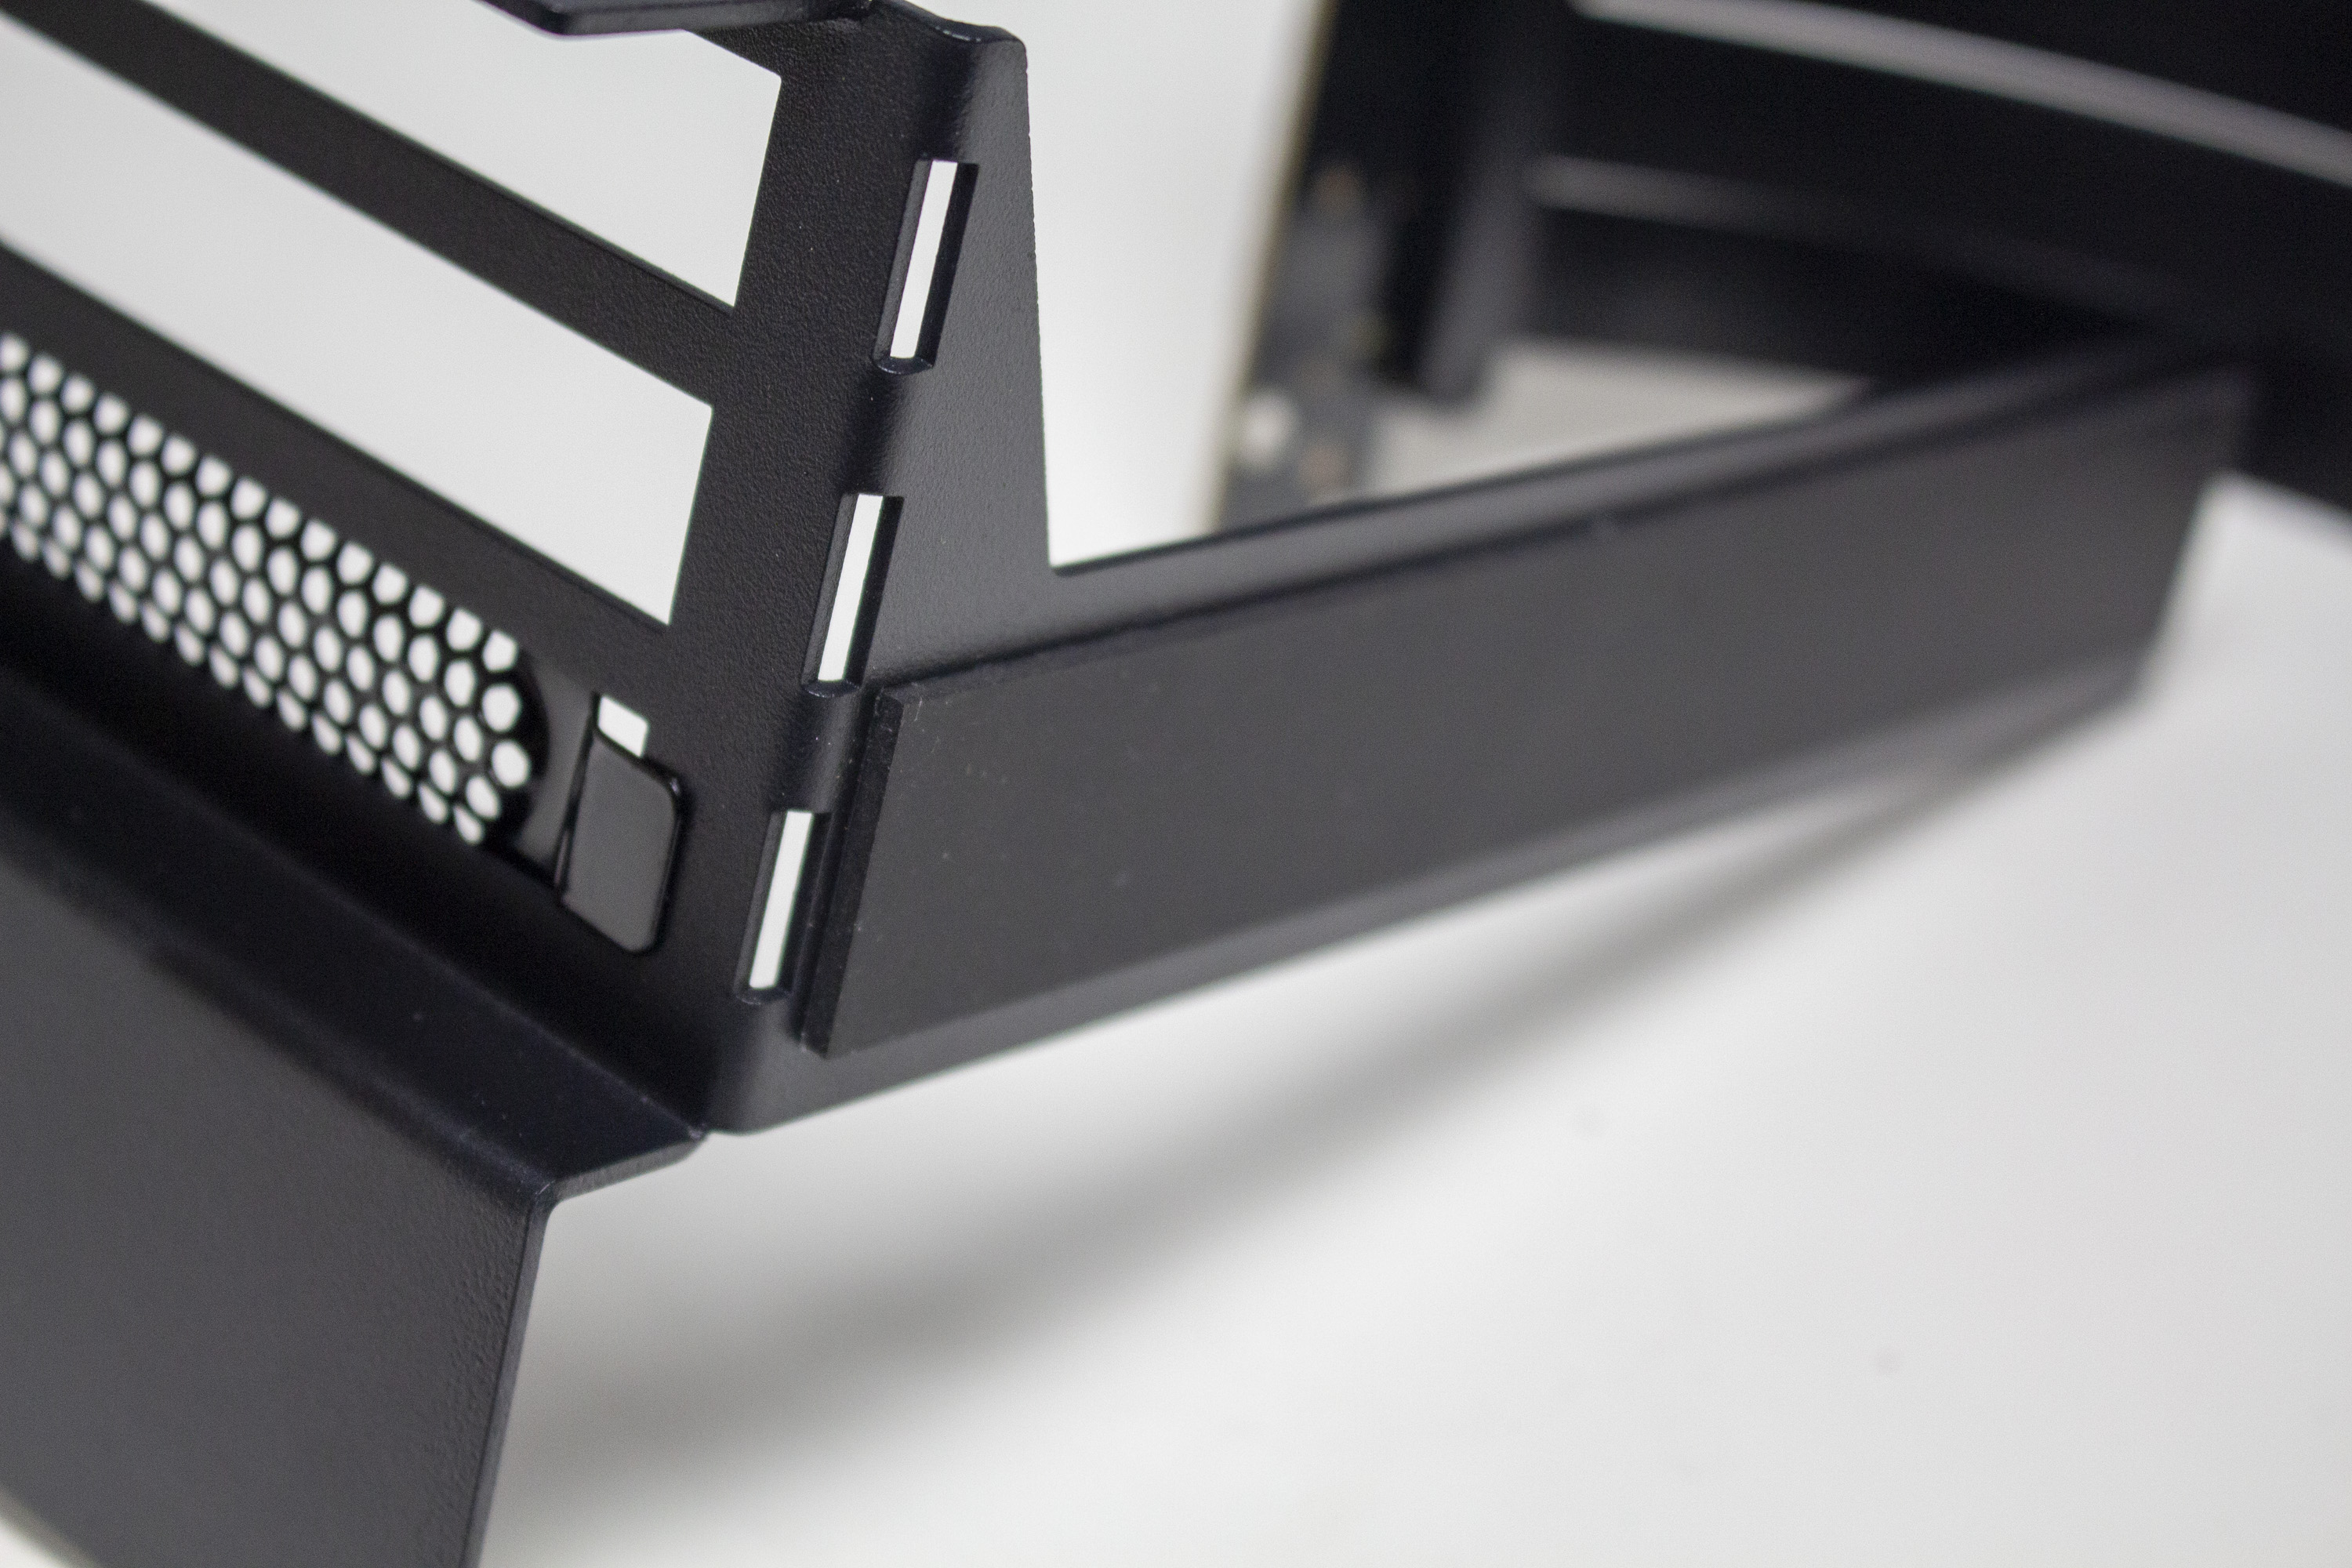
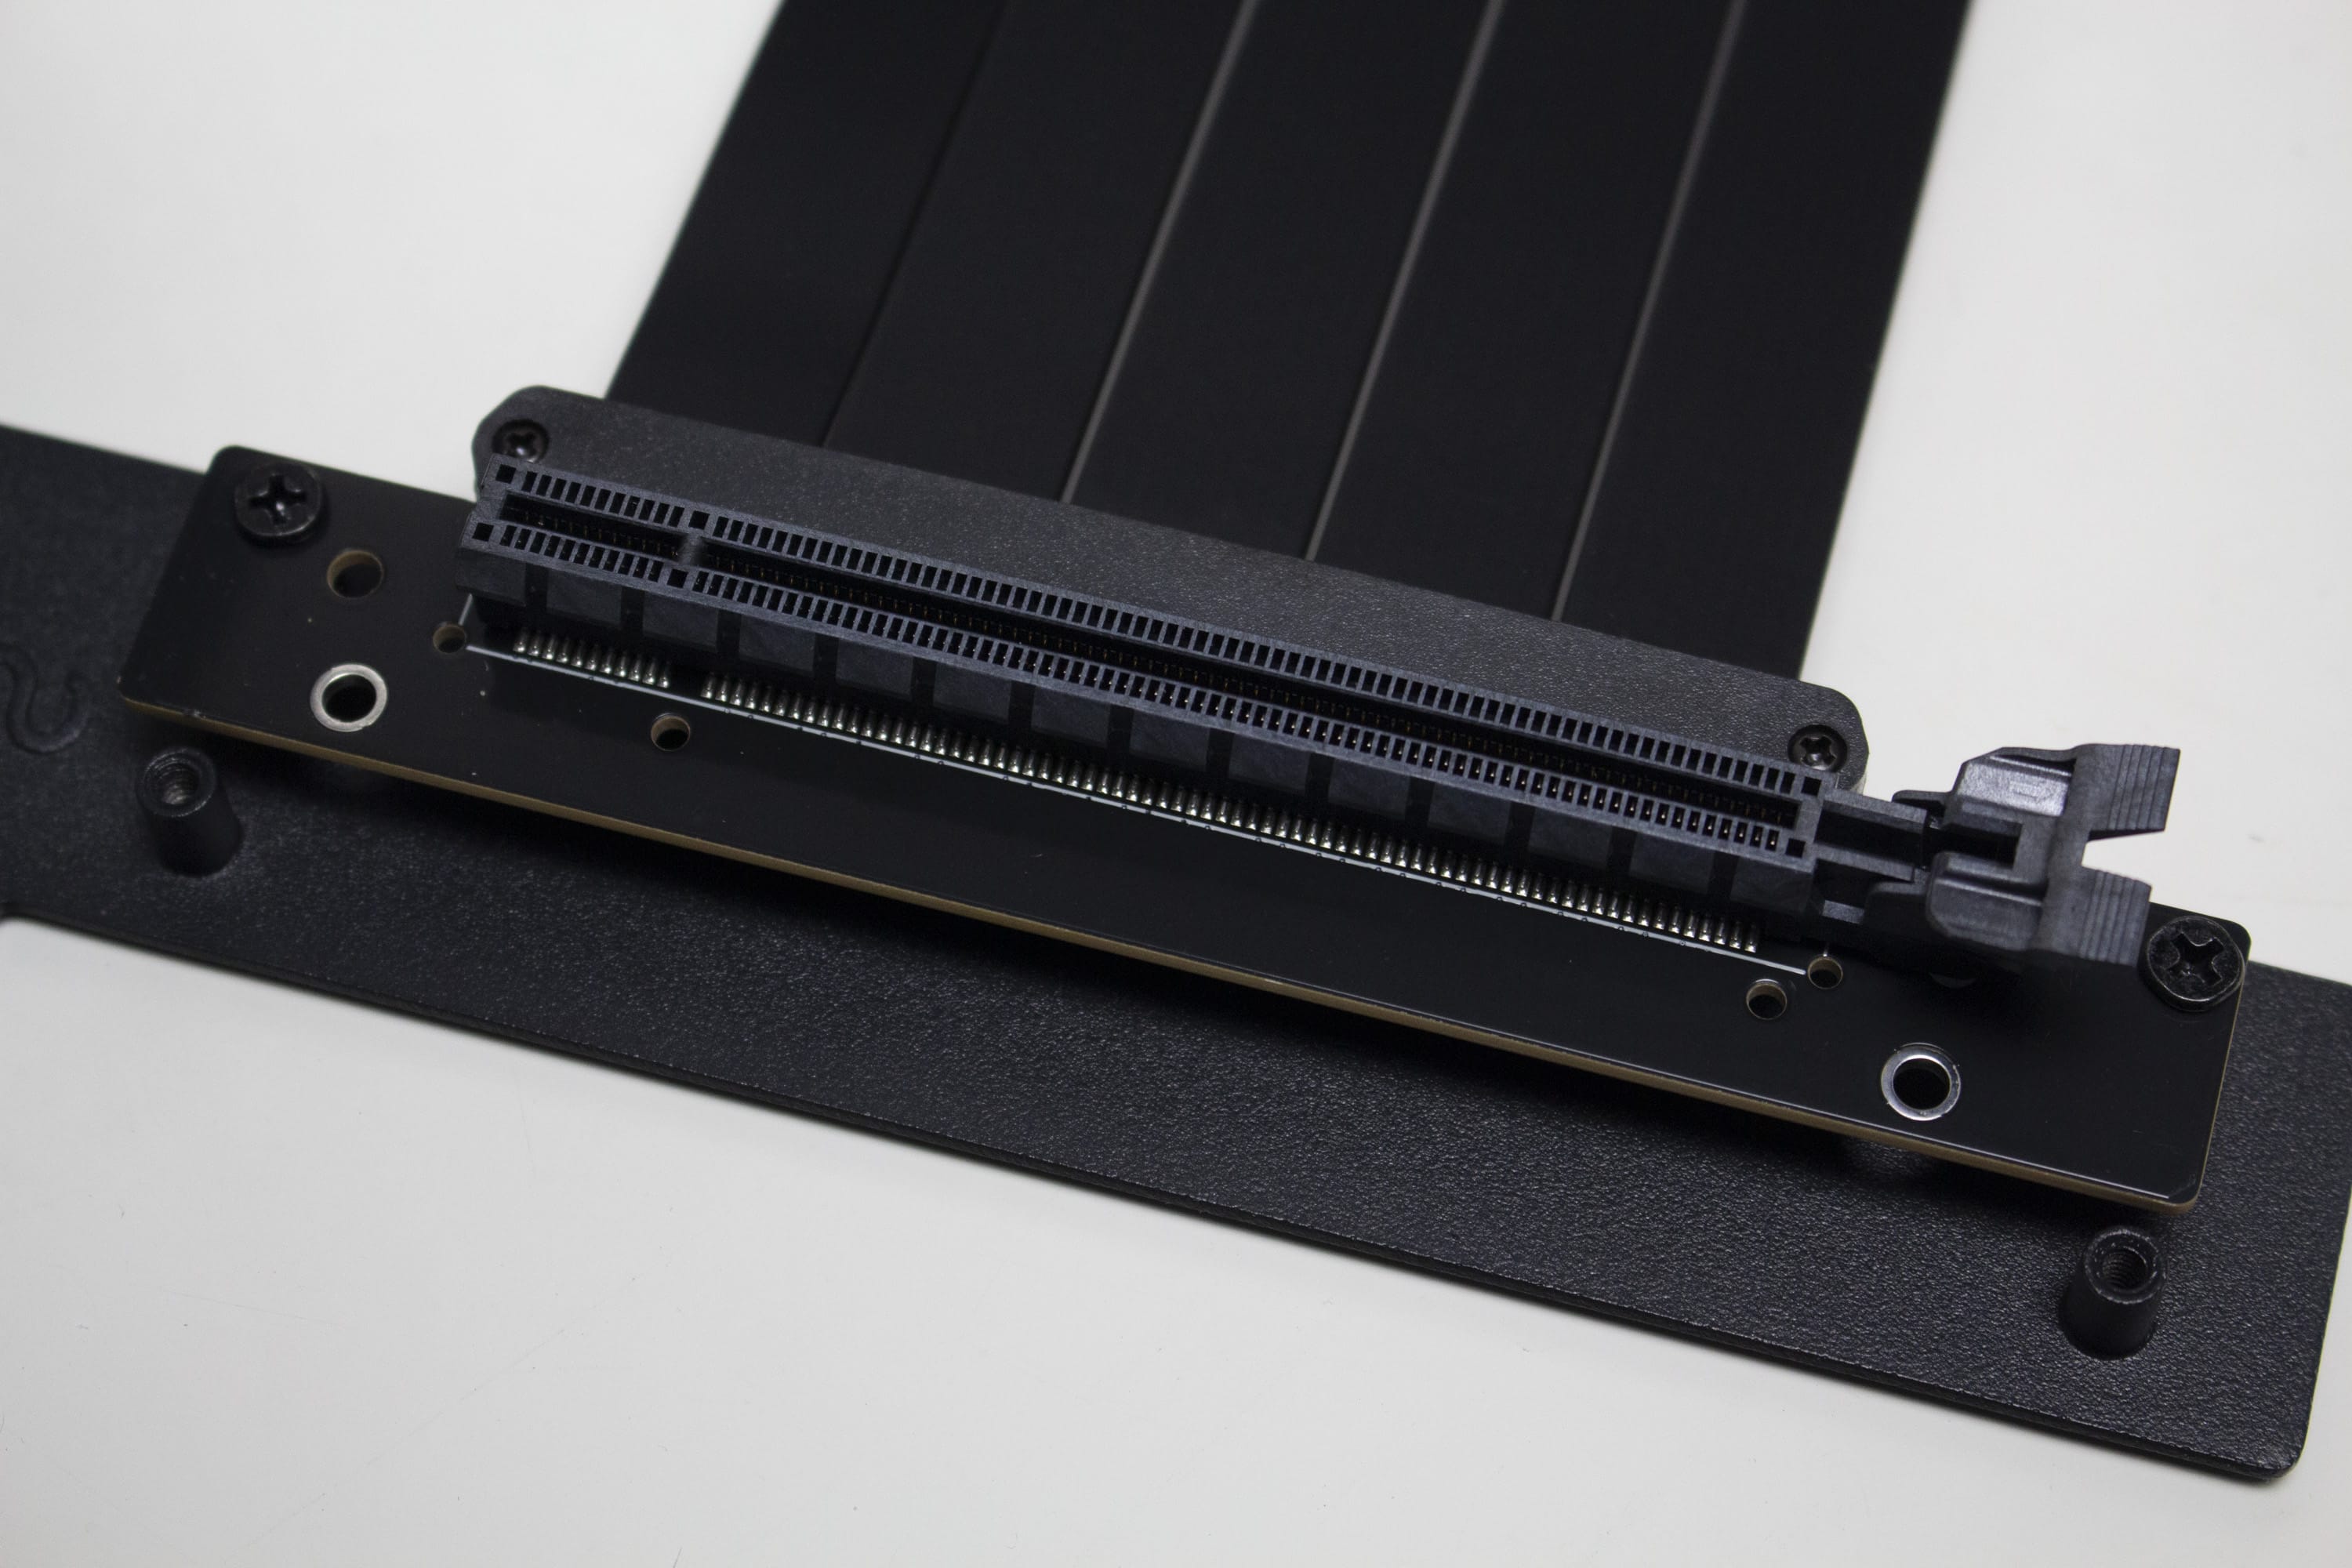
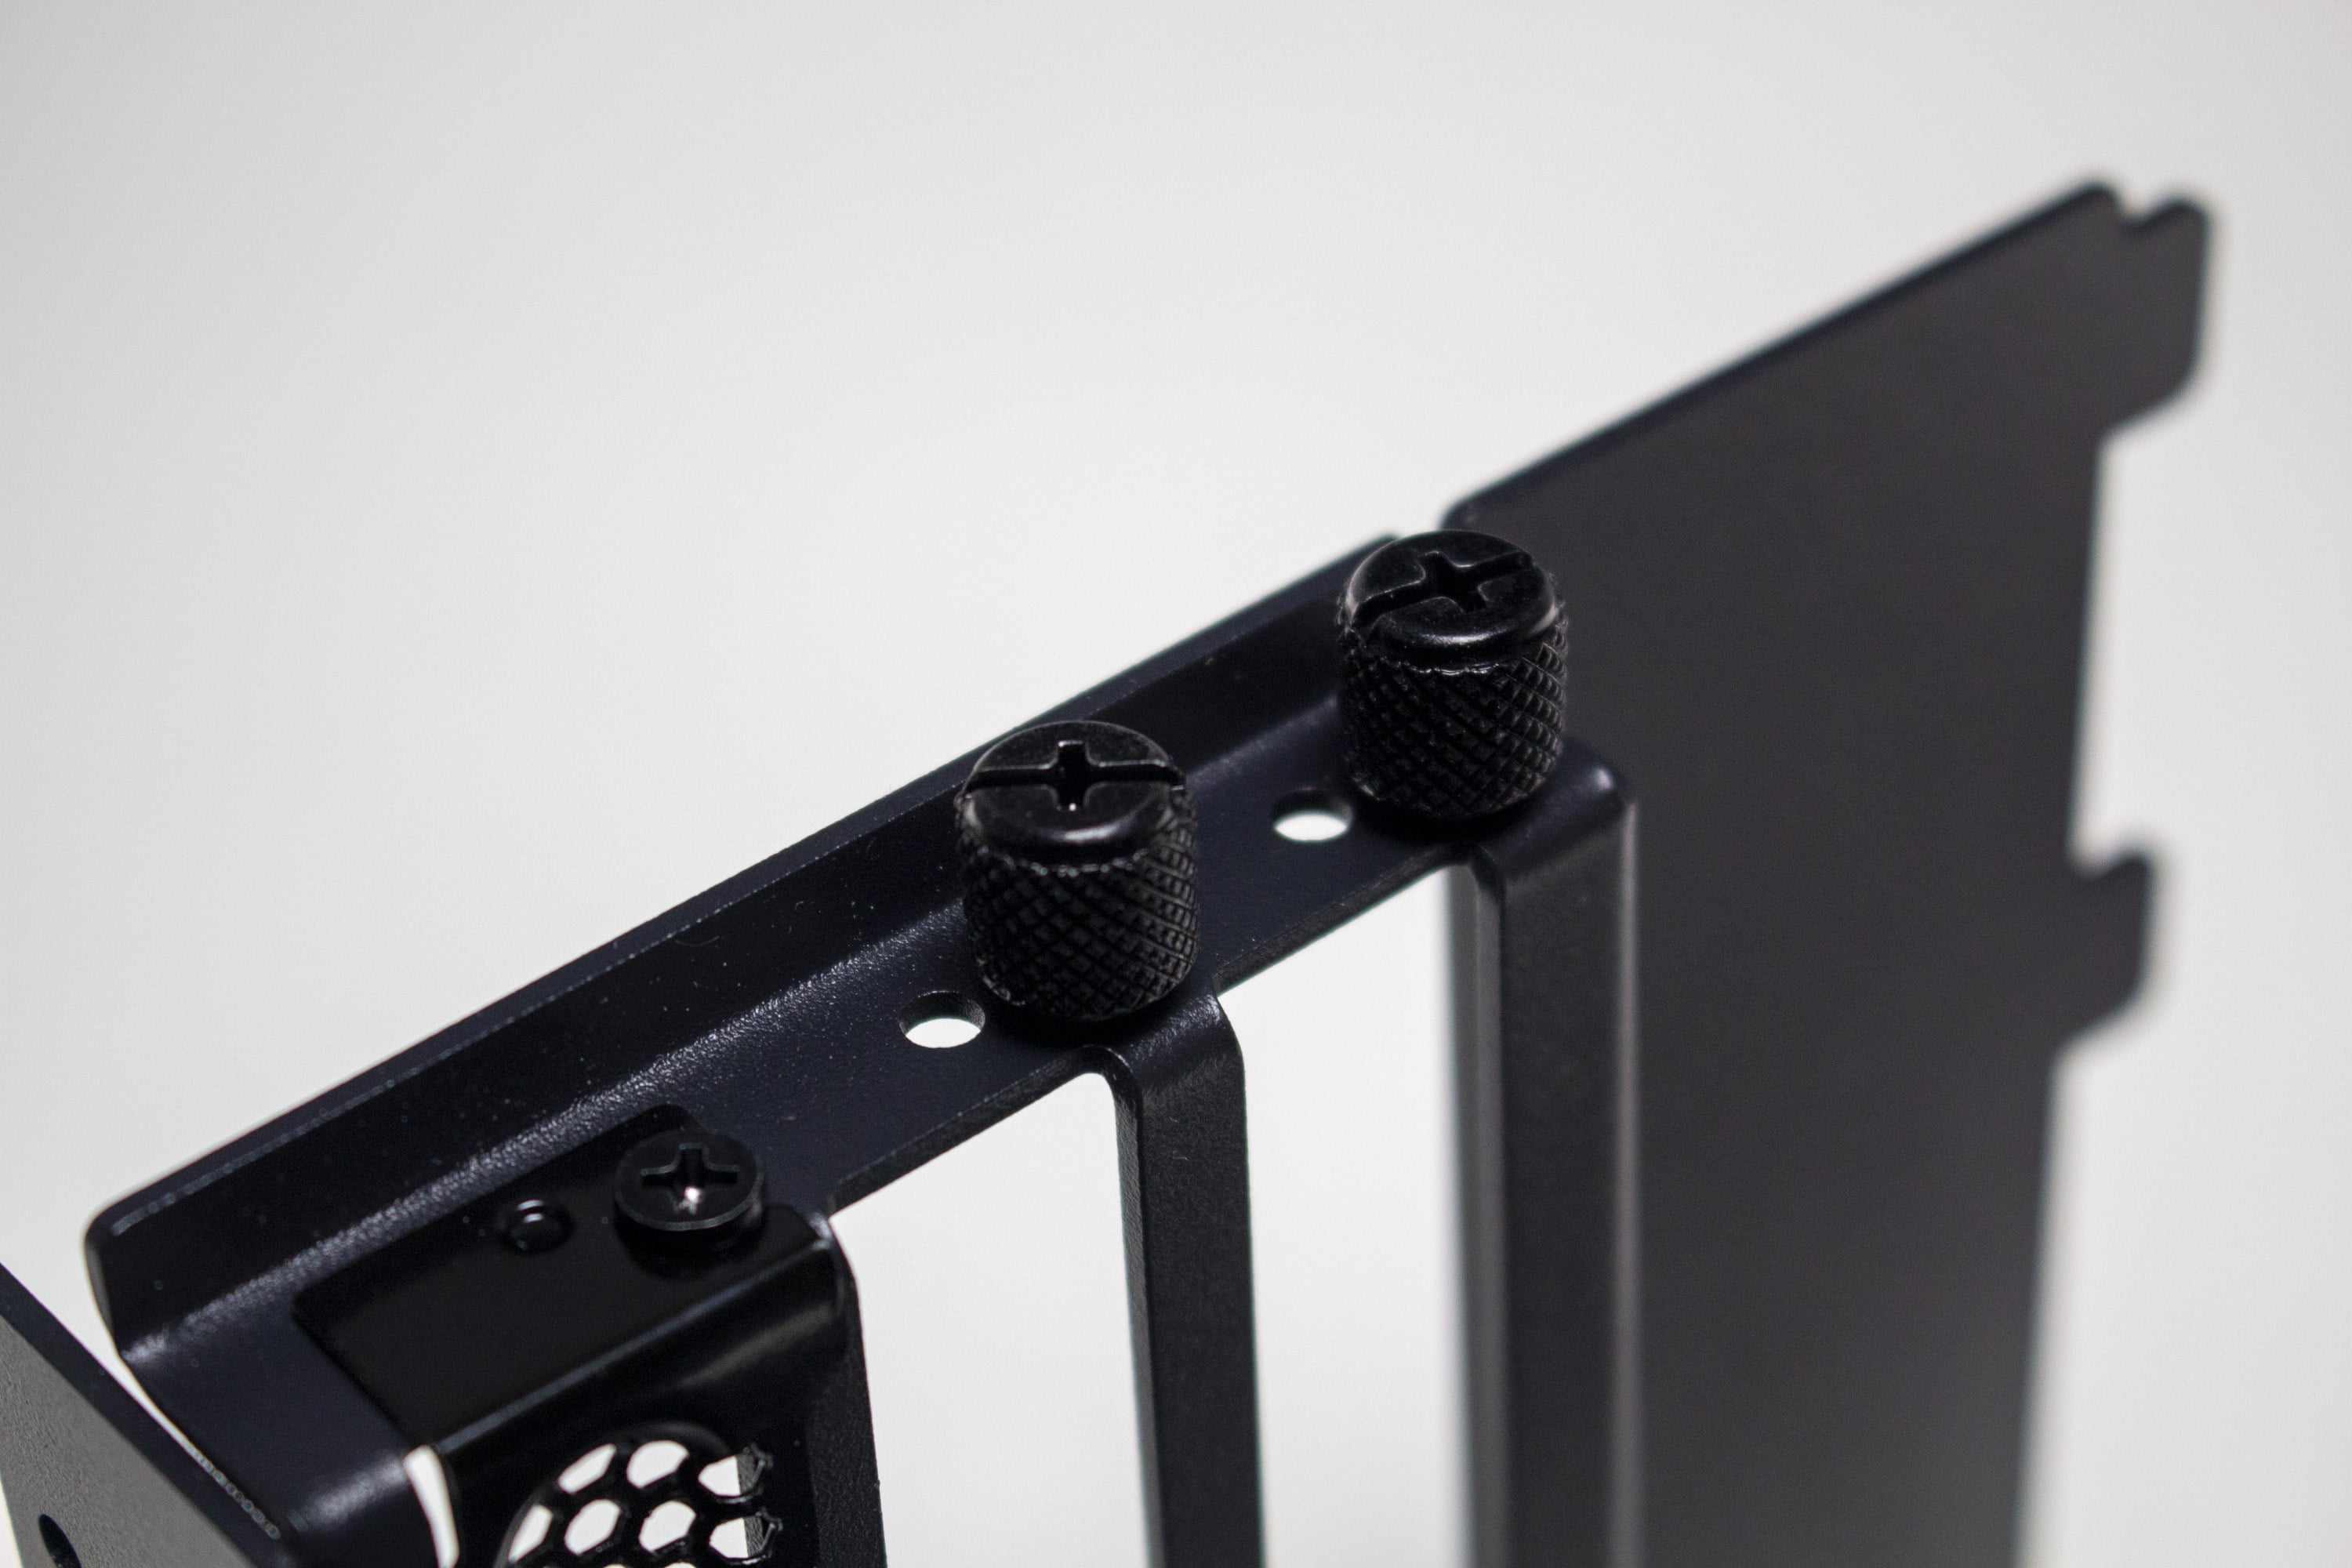
As already mentioned, APNX also offers a VGA kit for the C1 to mount the GPU vertically. This kit costs €59.90 (MSRP) and consists of a black steel frame, mounting screws and a PCIe 4.0 riser cable. The frame has three mounting points as well as a rubber support surface. After attaching the riser cable to one of the two positions on the frame, all slot bezels on the back of the C1 must be removed and the frame installed. The riser cable is then plugged into the PCIe slot and the GPU can be installed. However, with particularly wide GPUs, there could be compatibility problems with air coolers, which is why the installation of a compact water cooler would rather be recommended in this case.
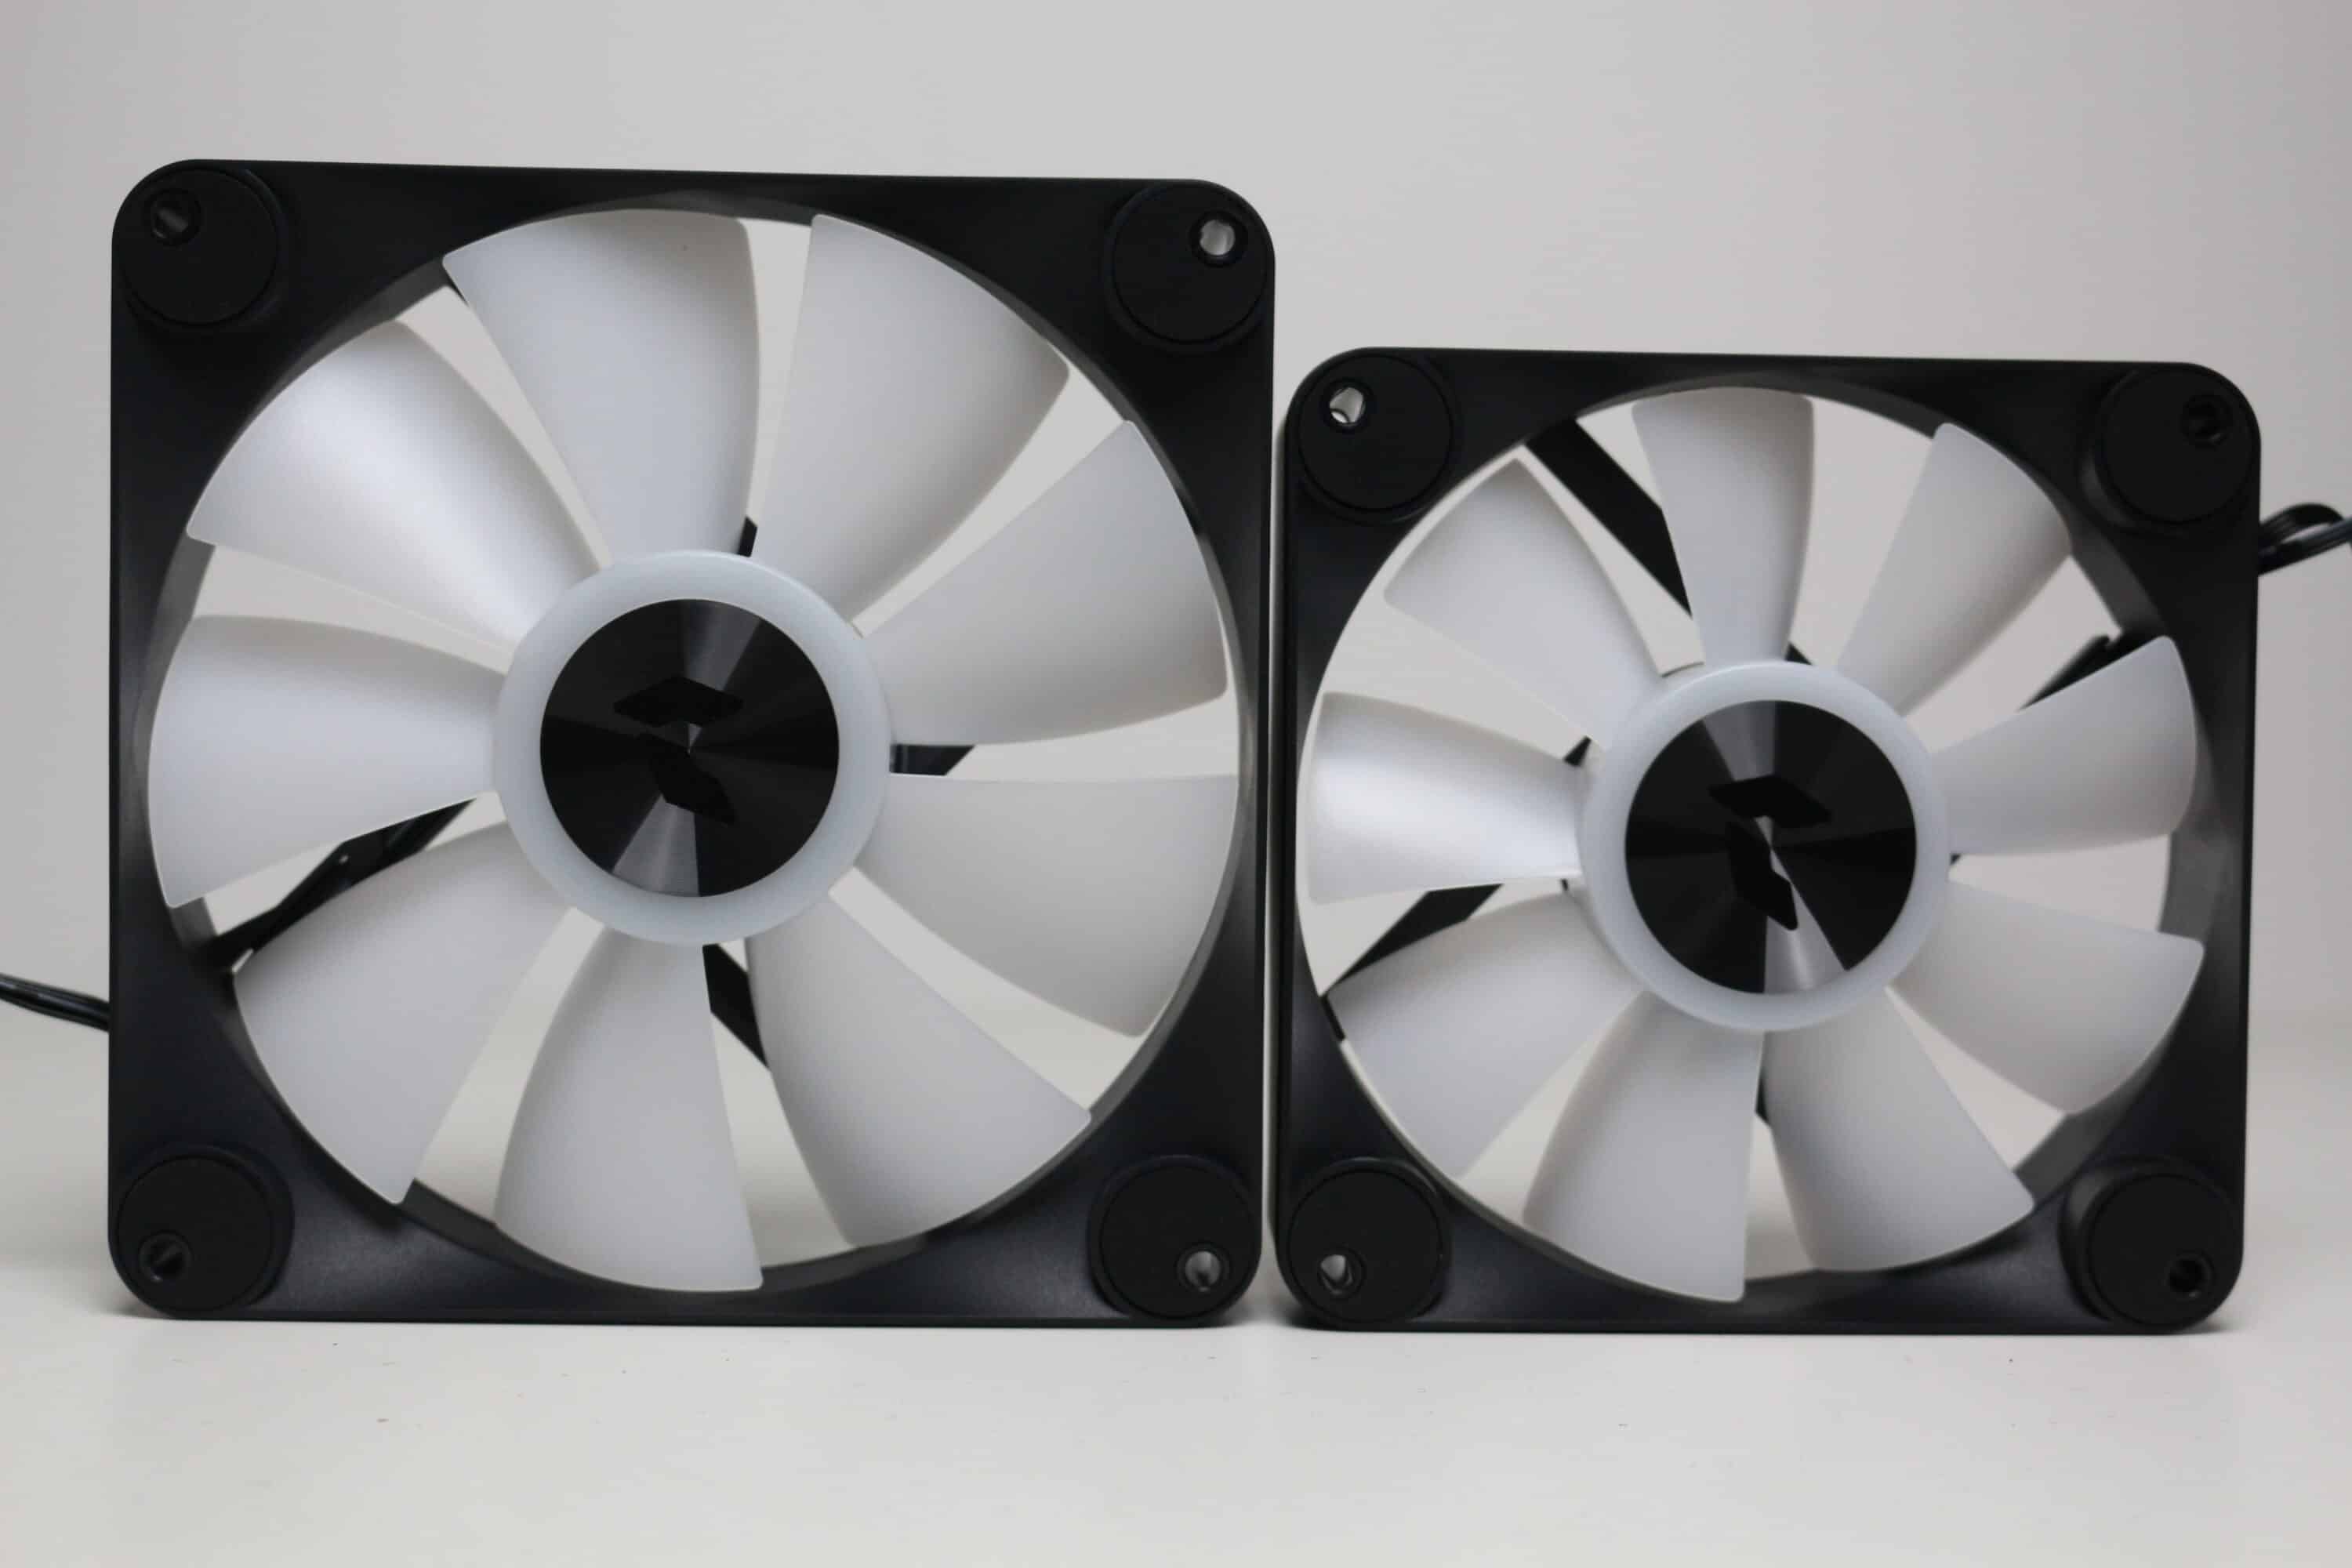
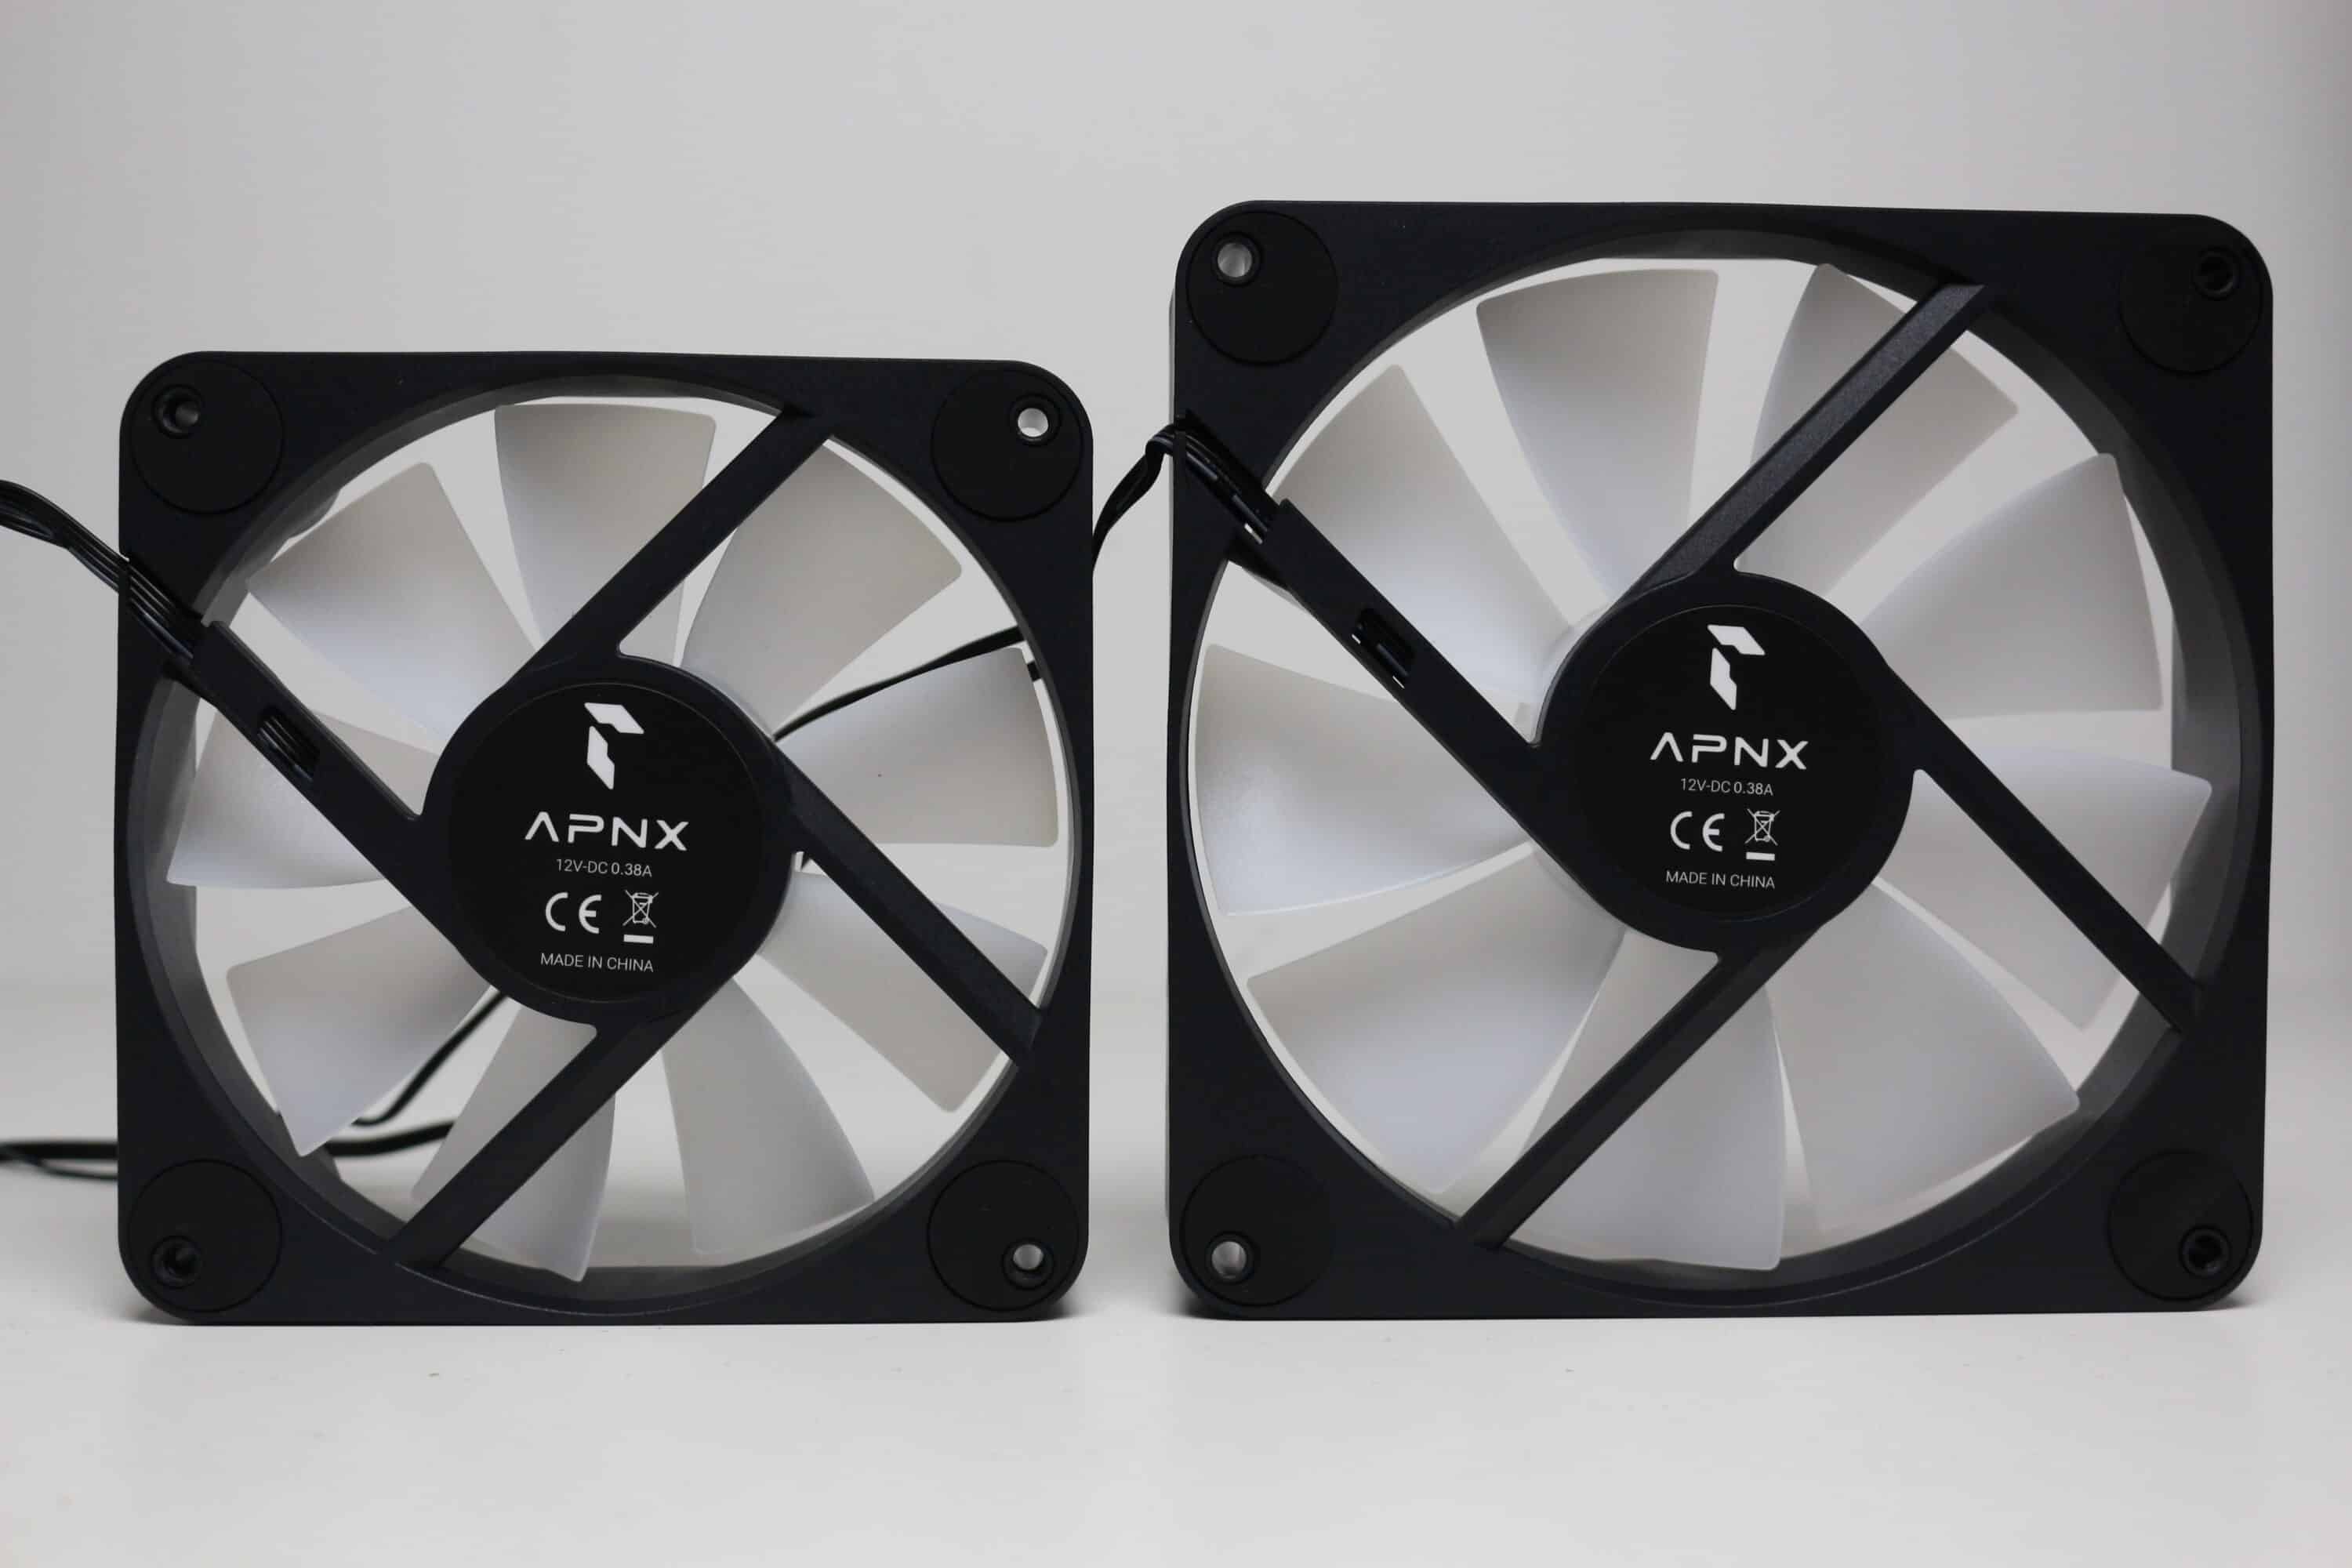
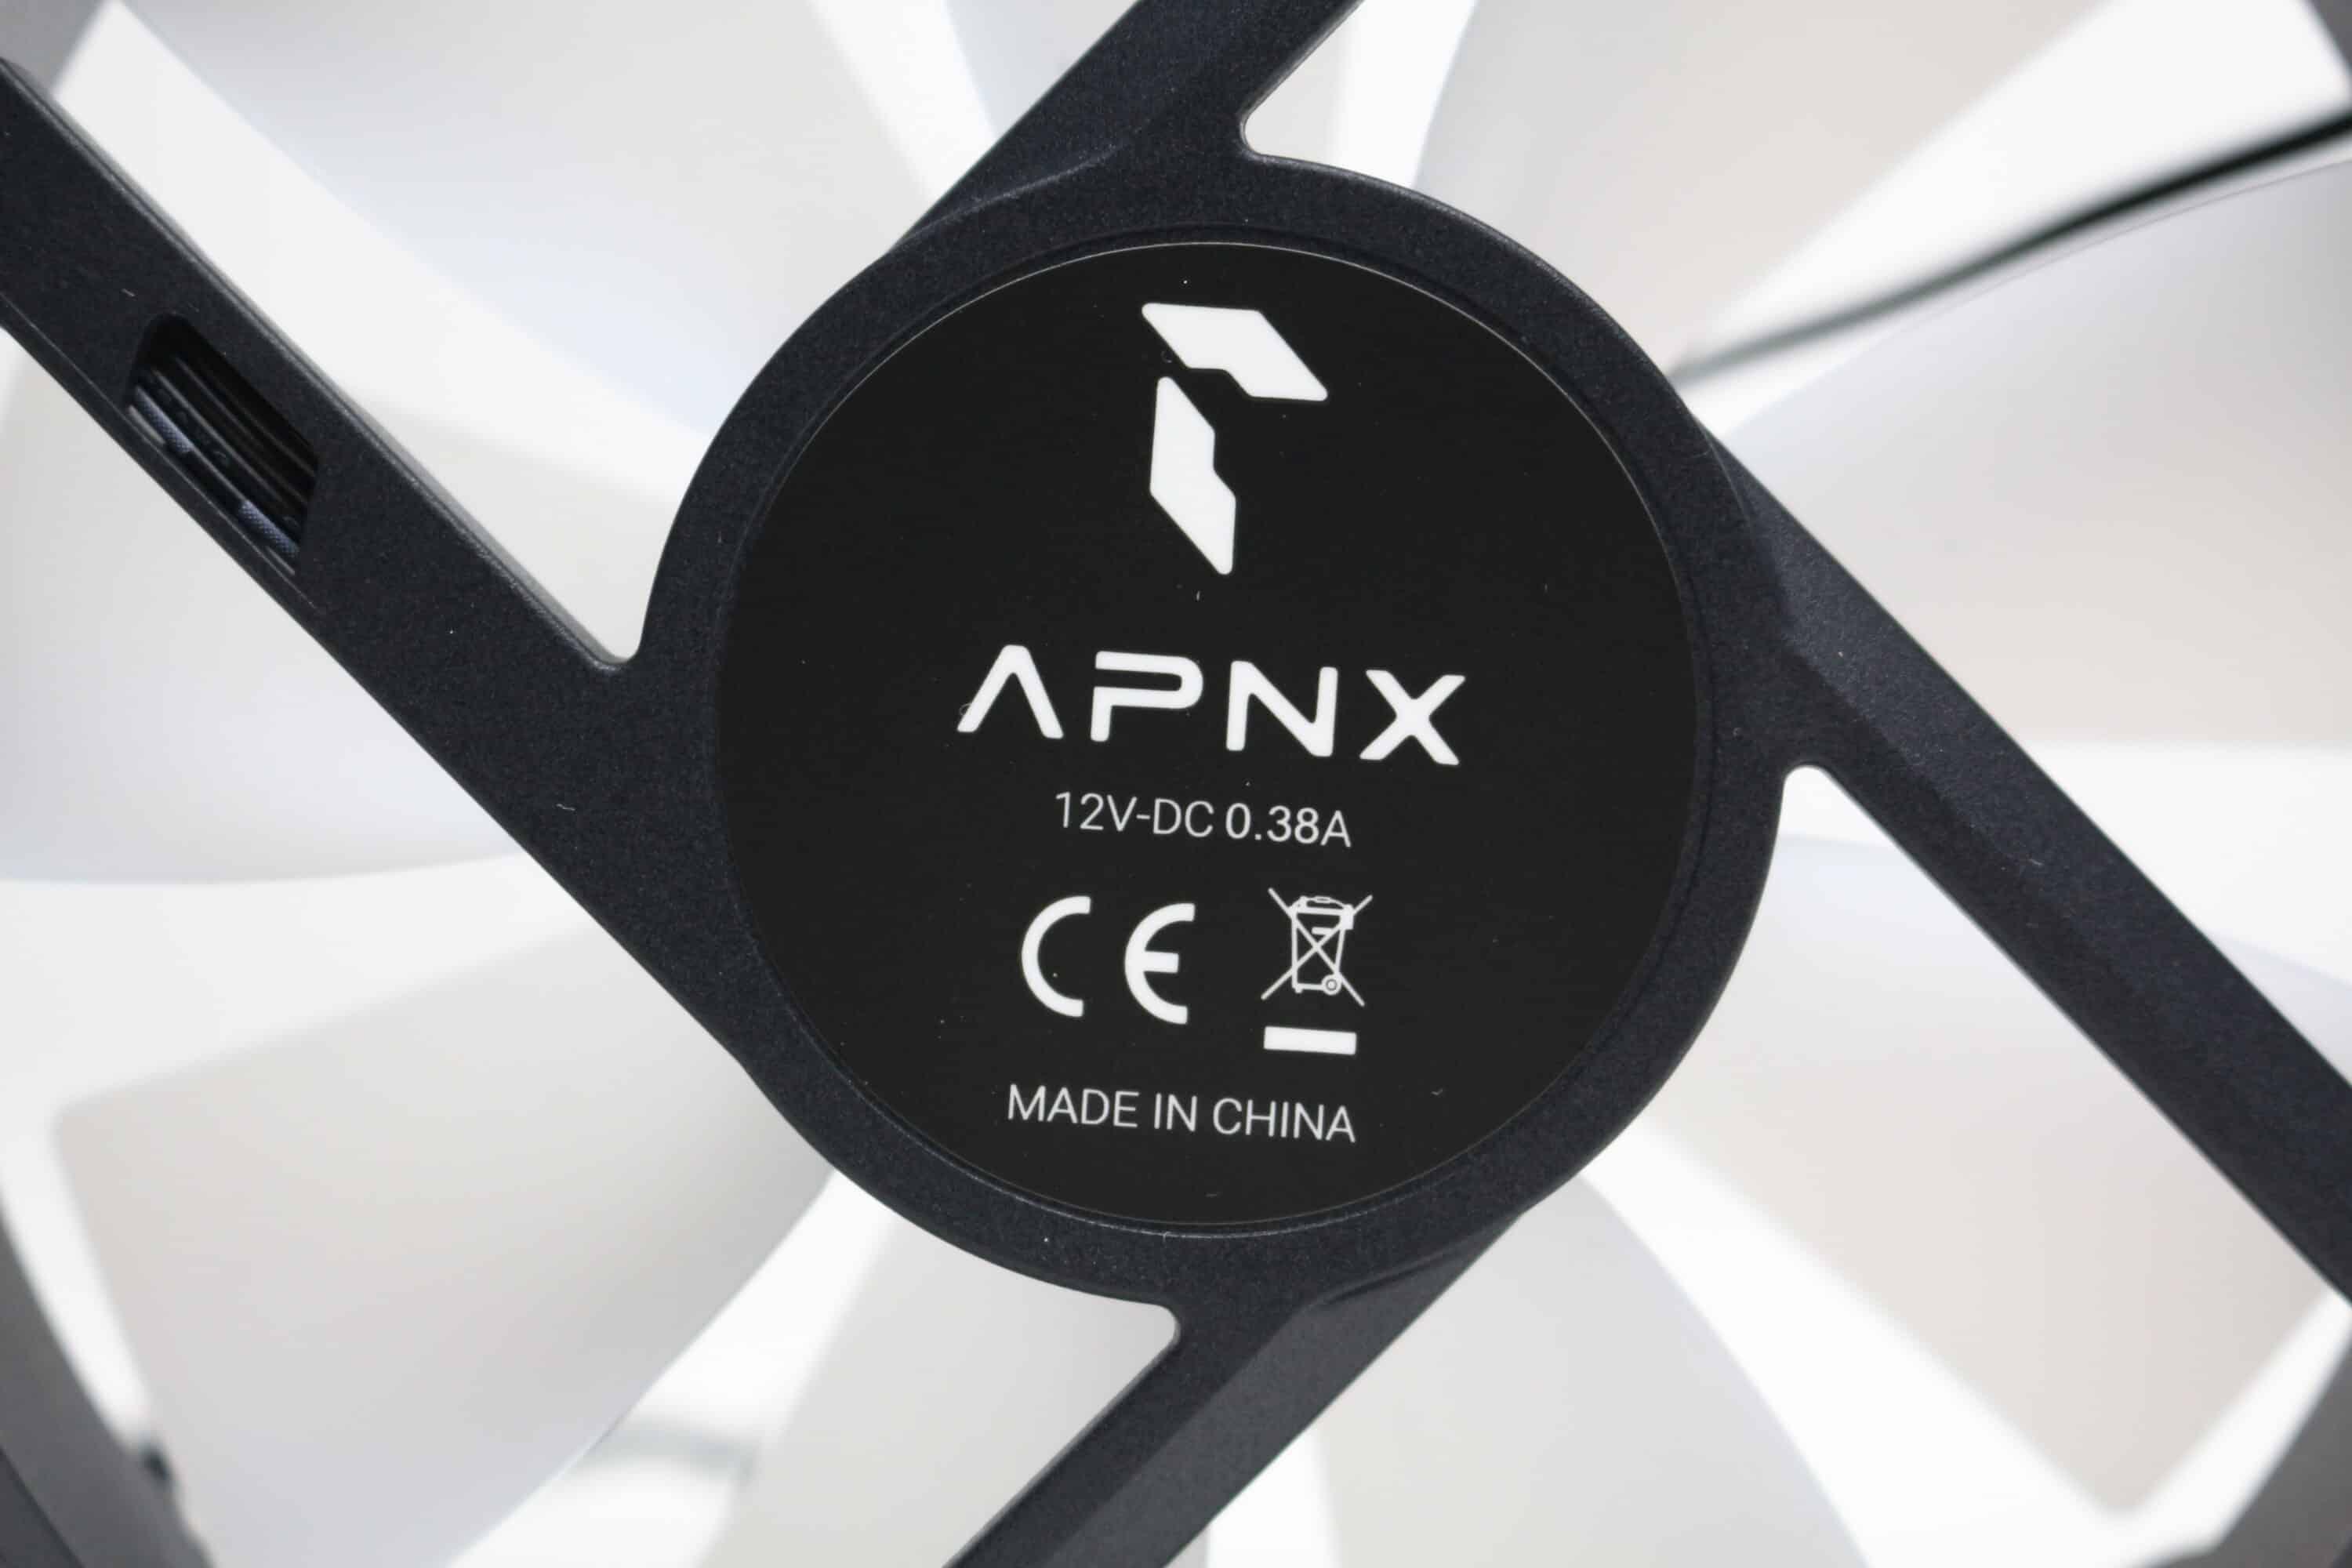
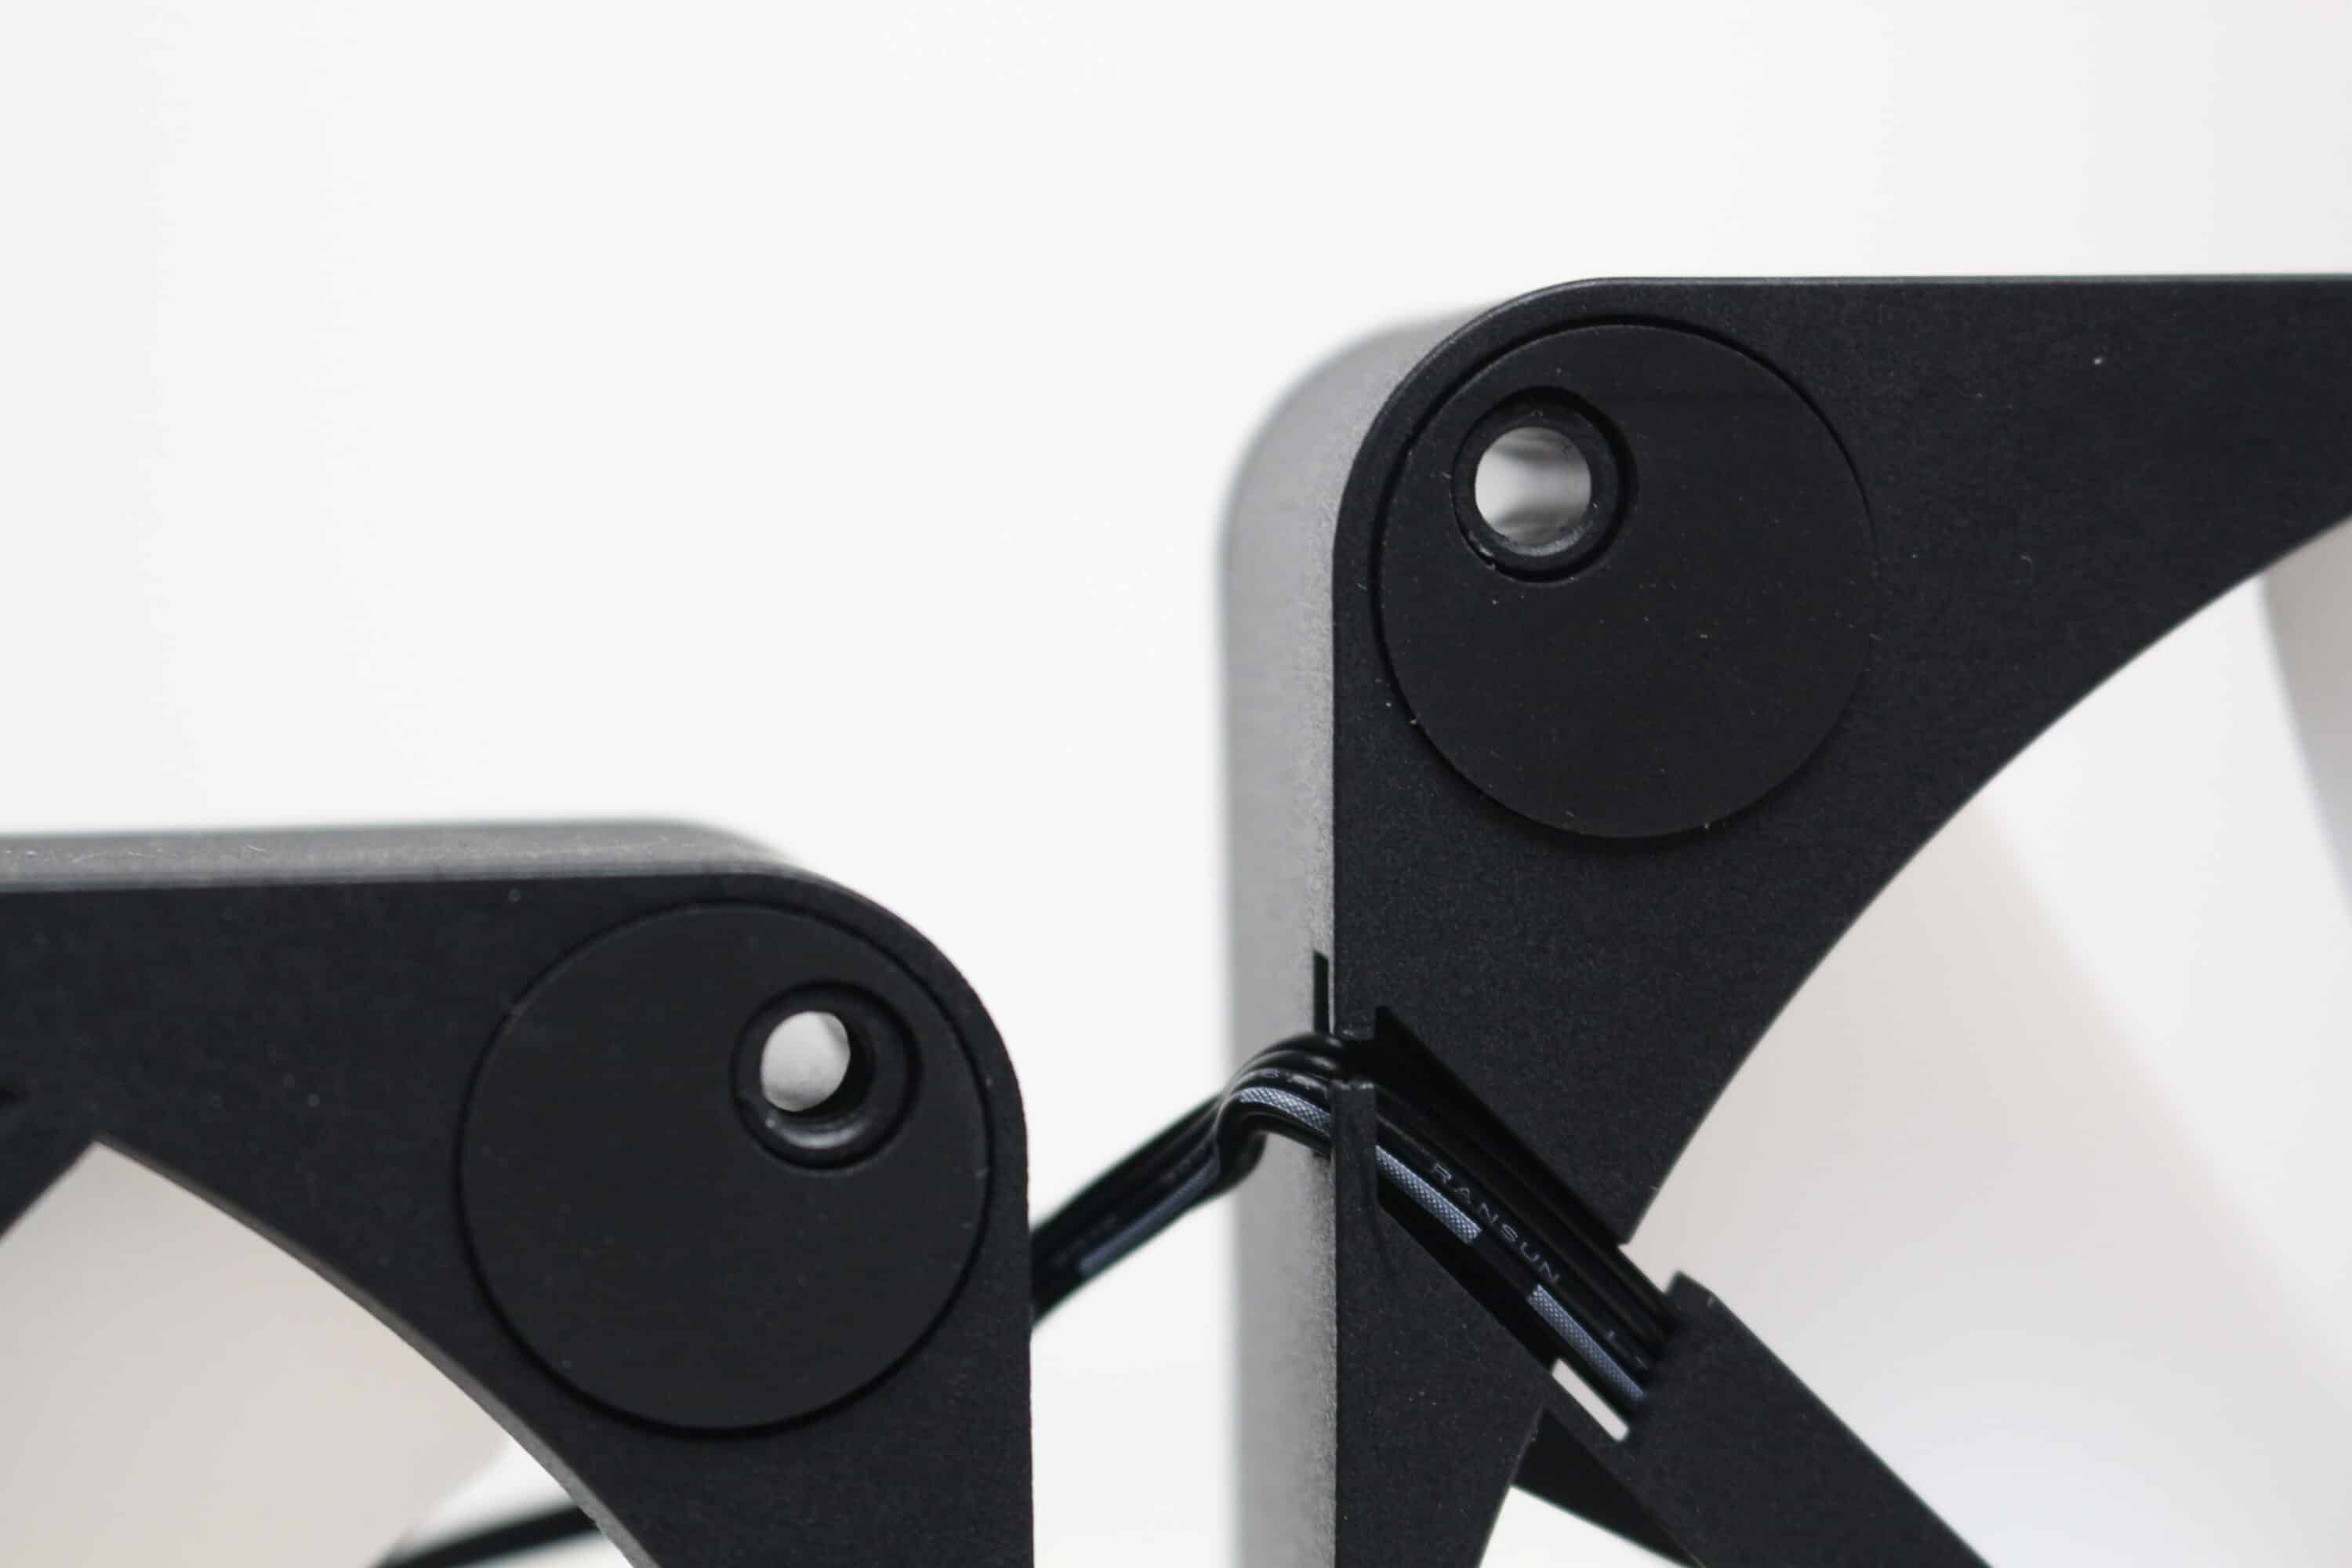
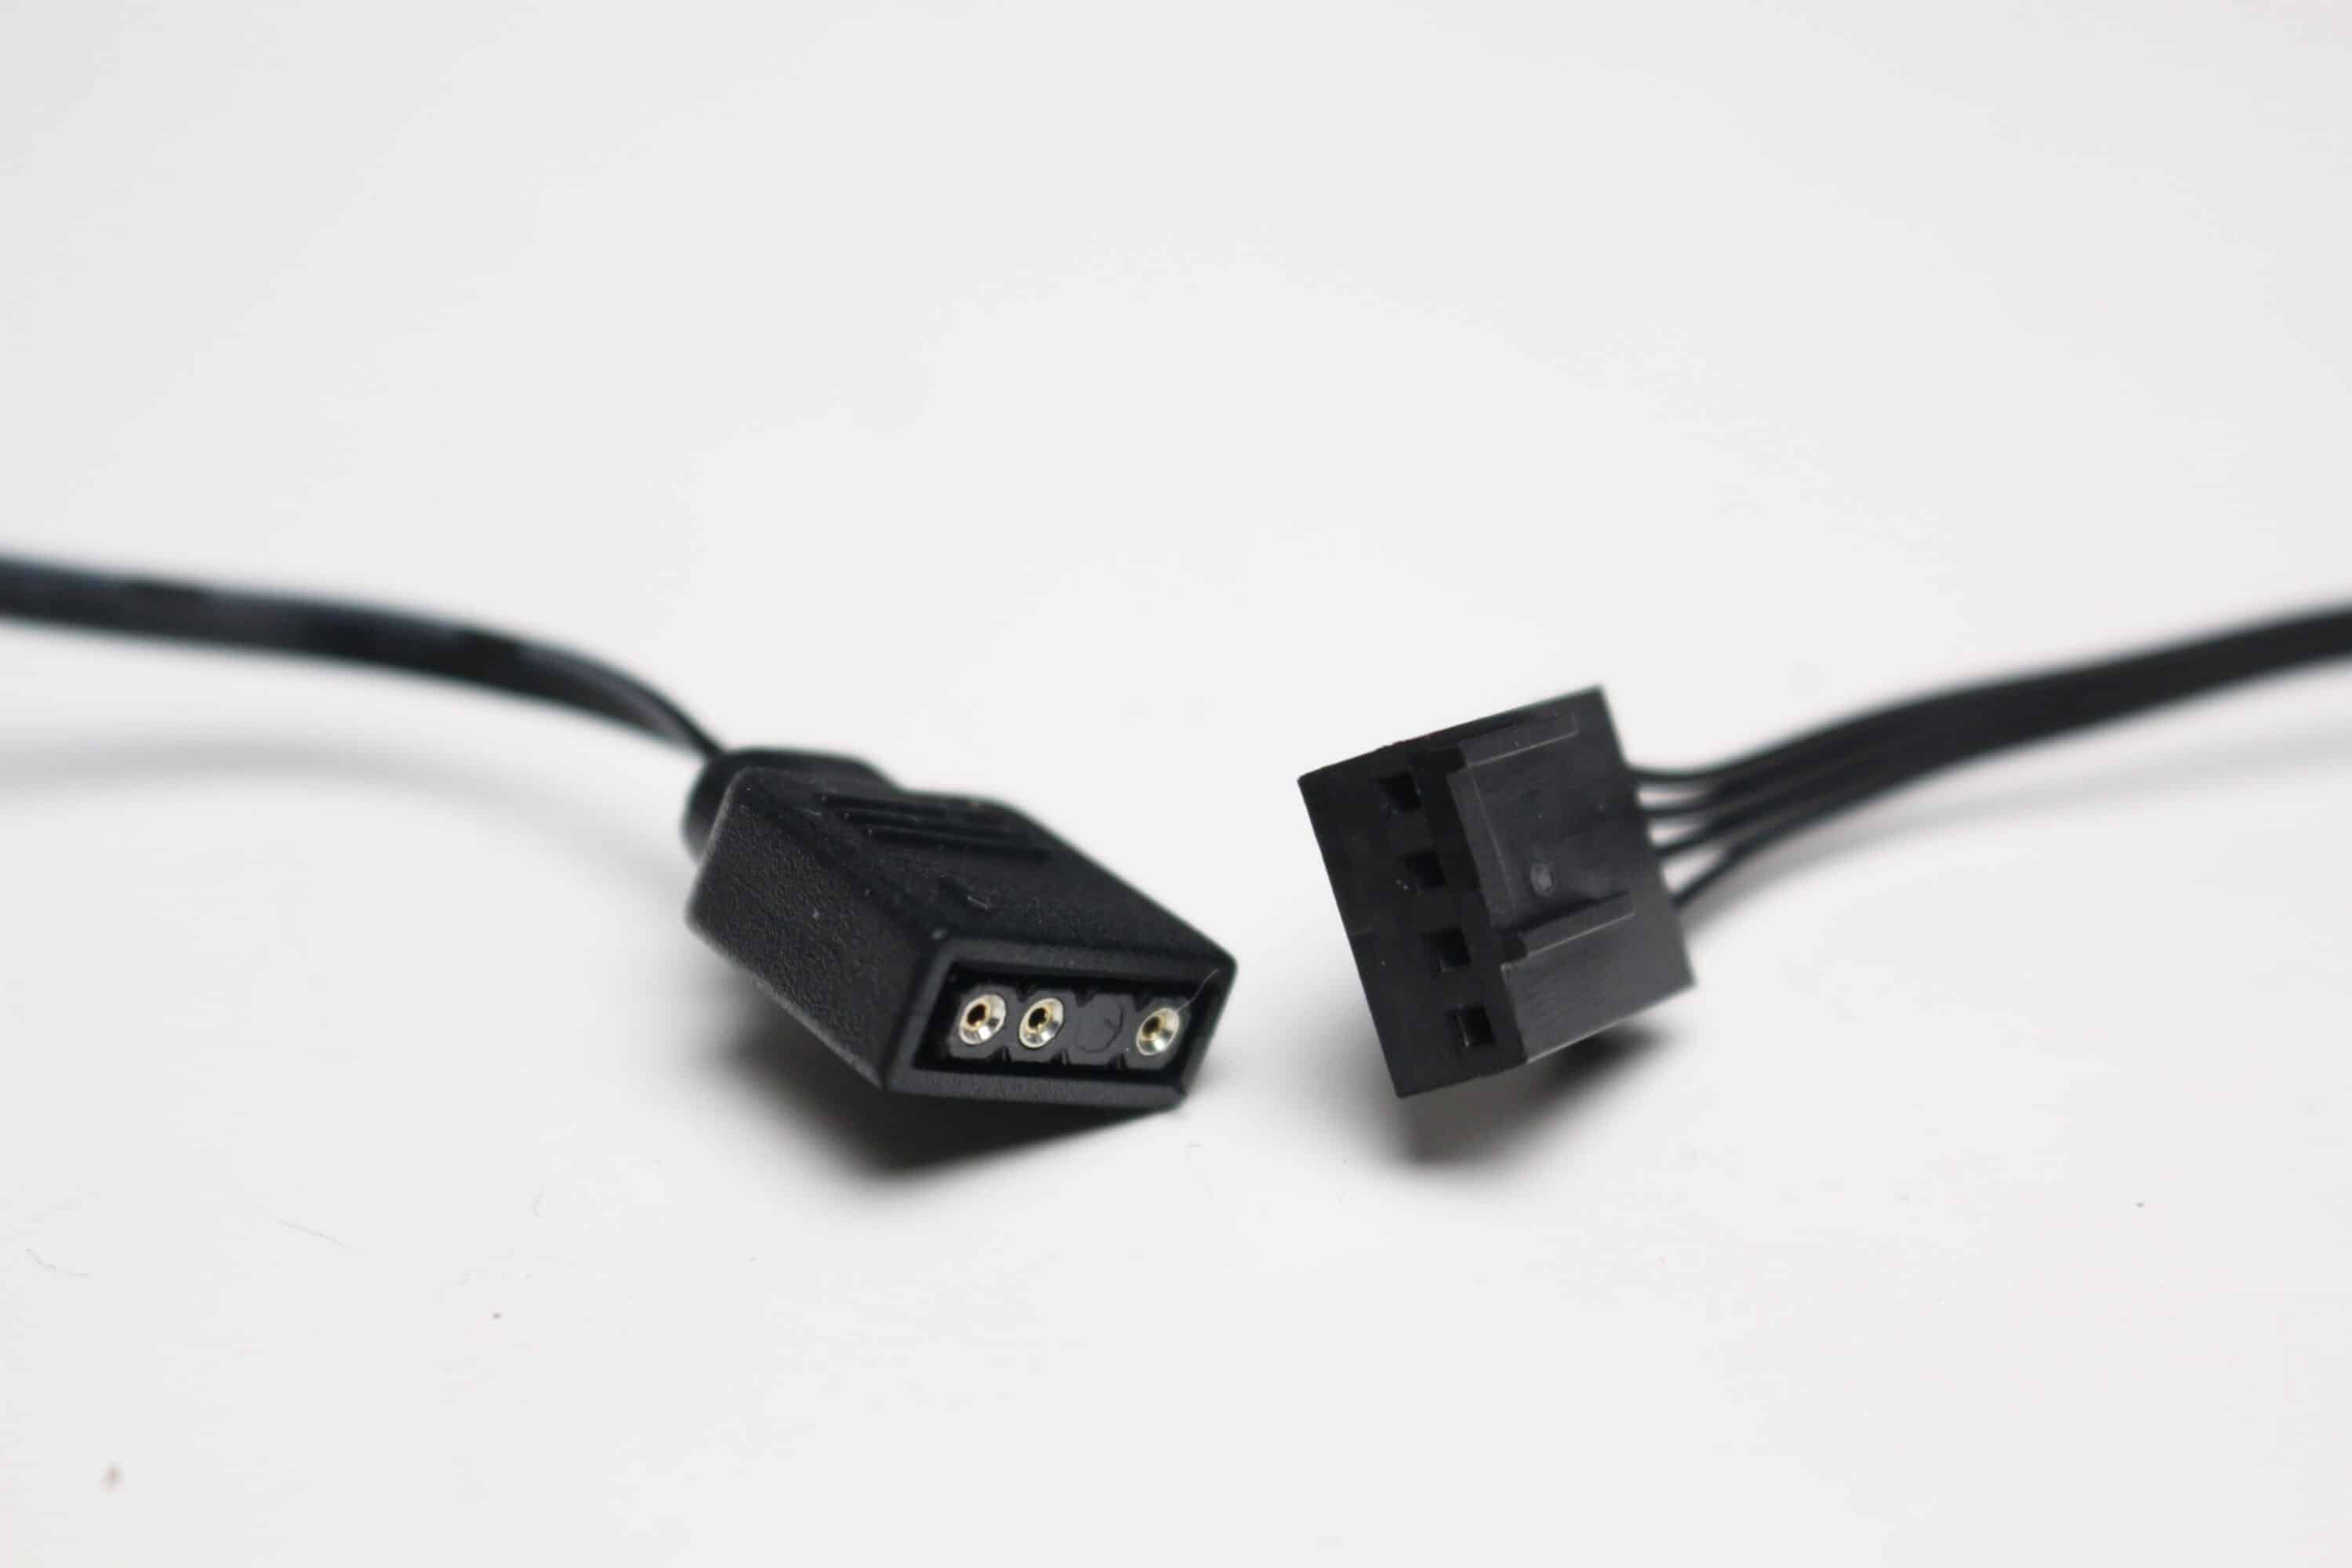
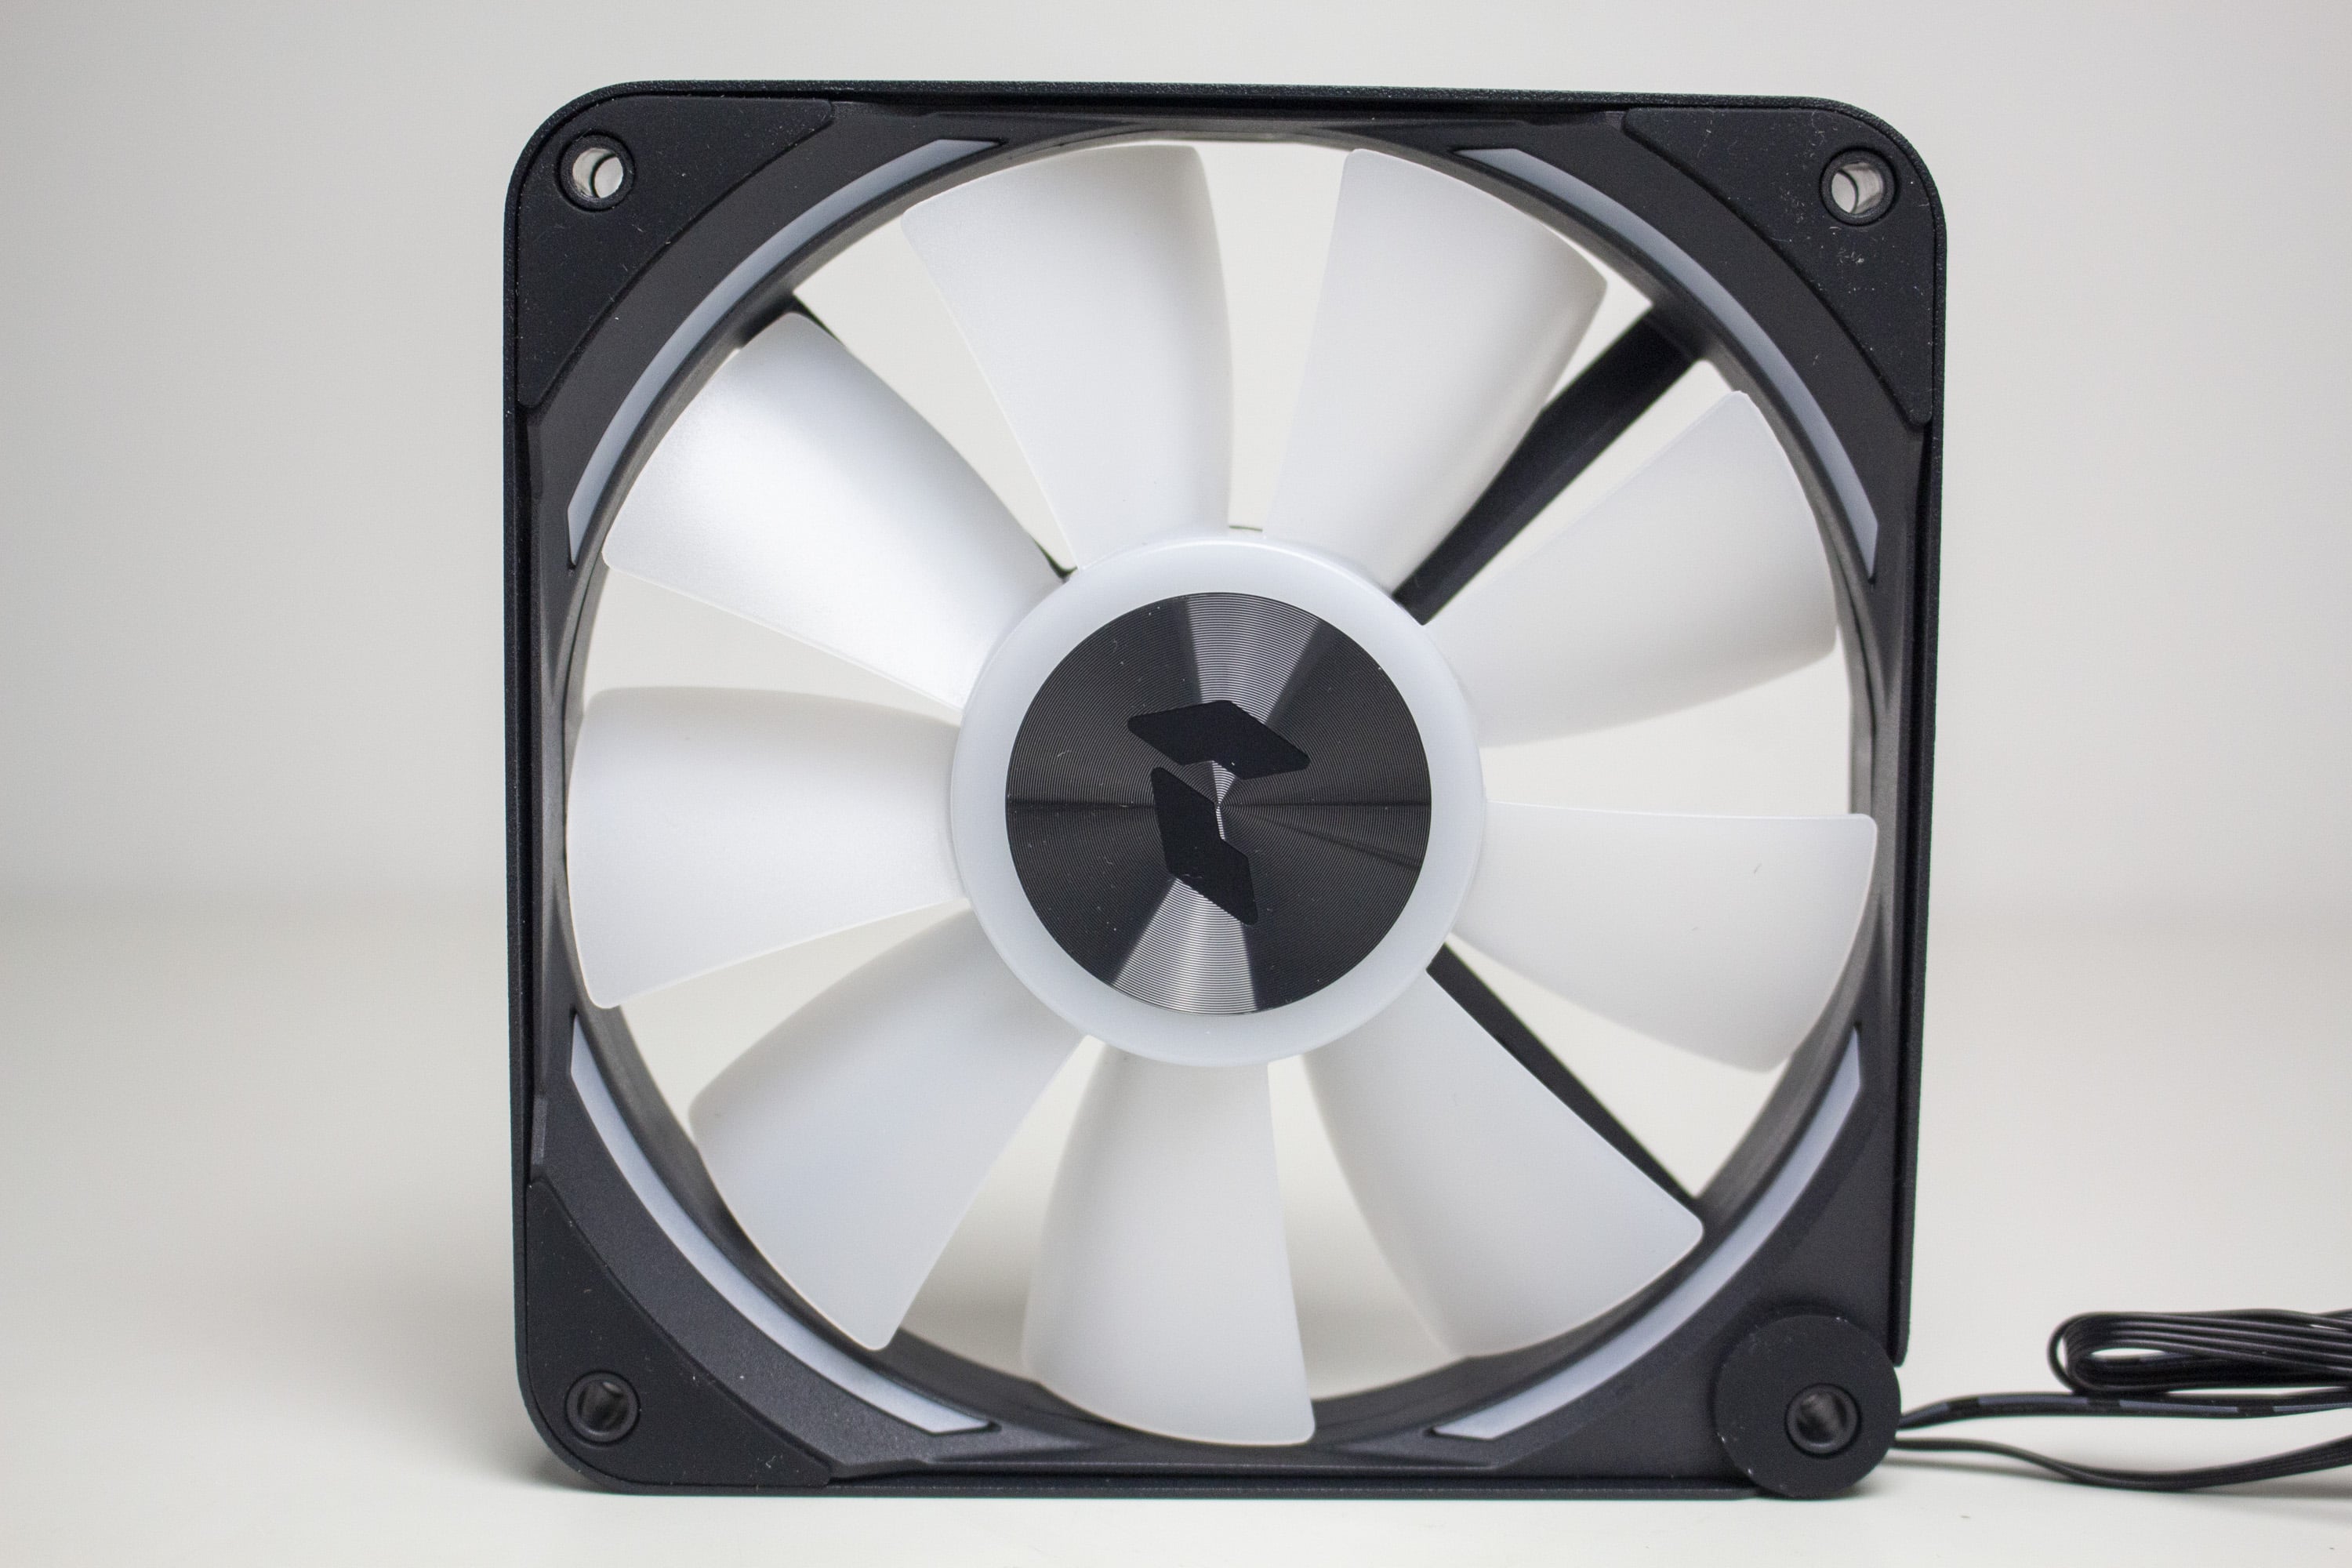
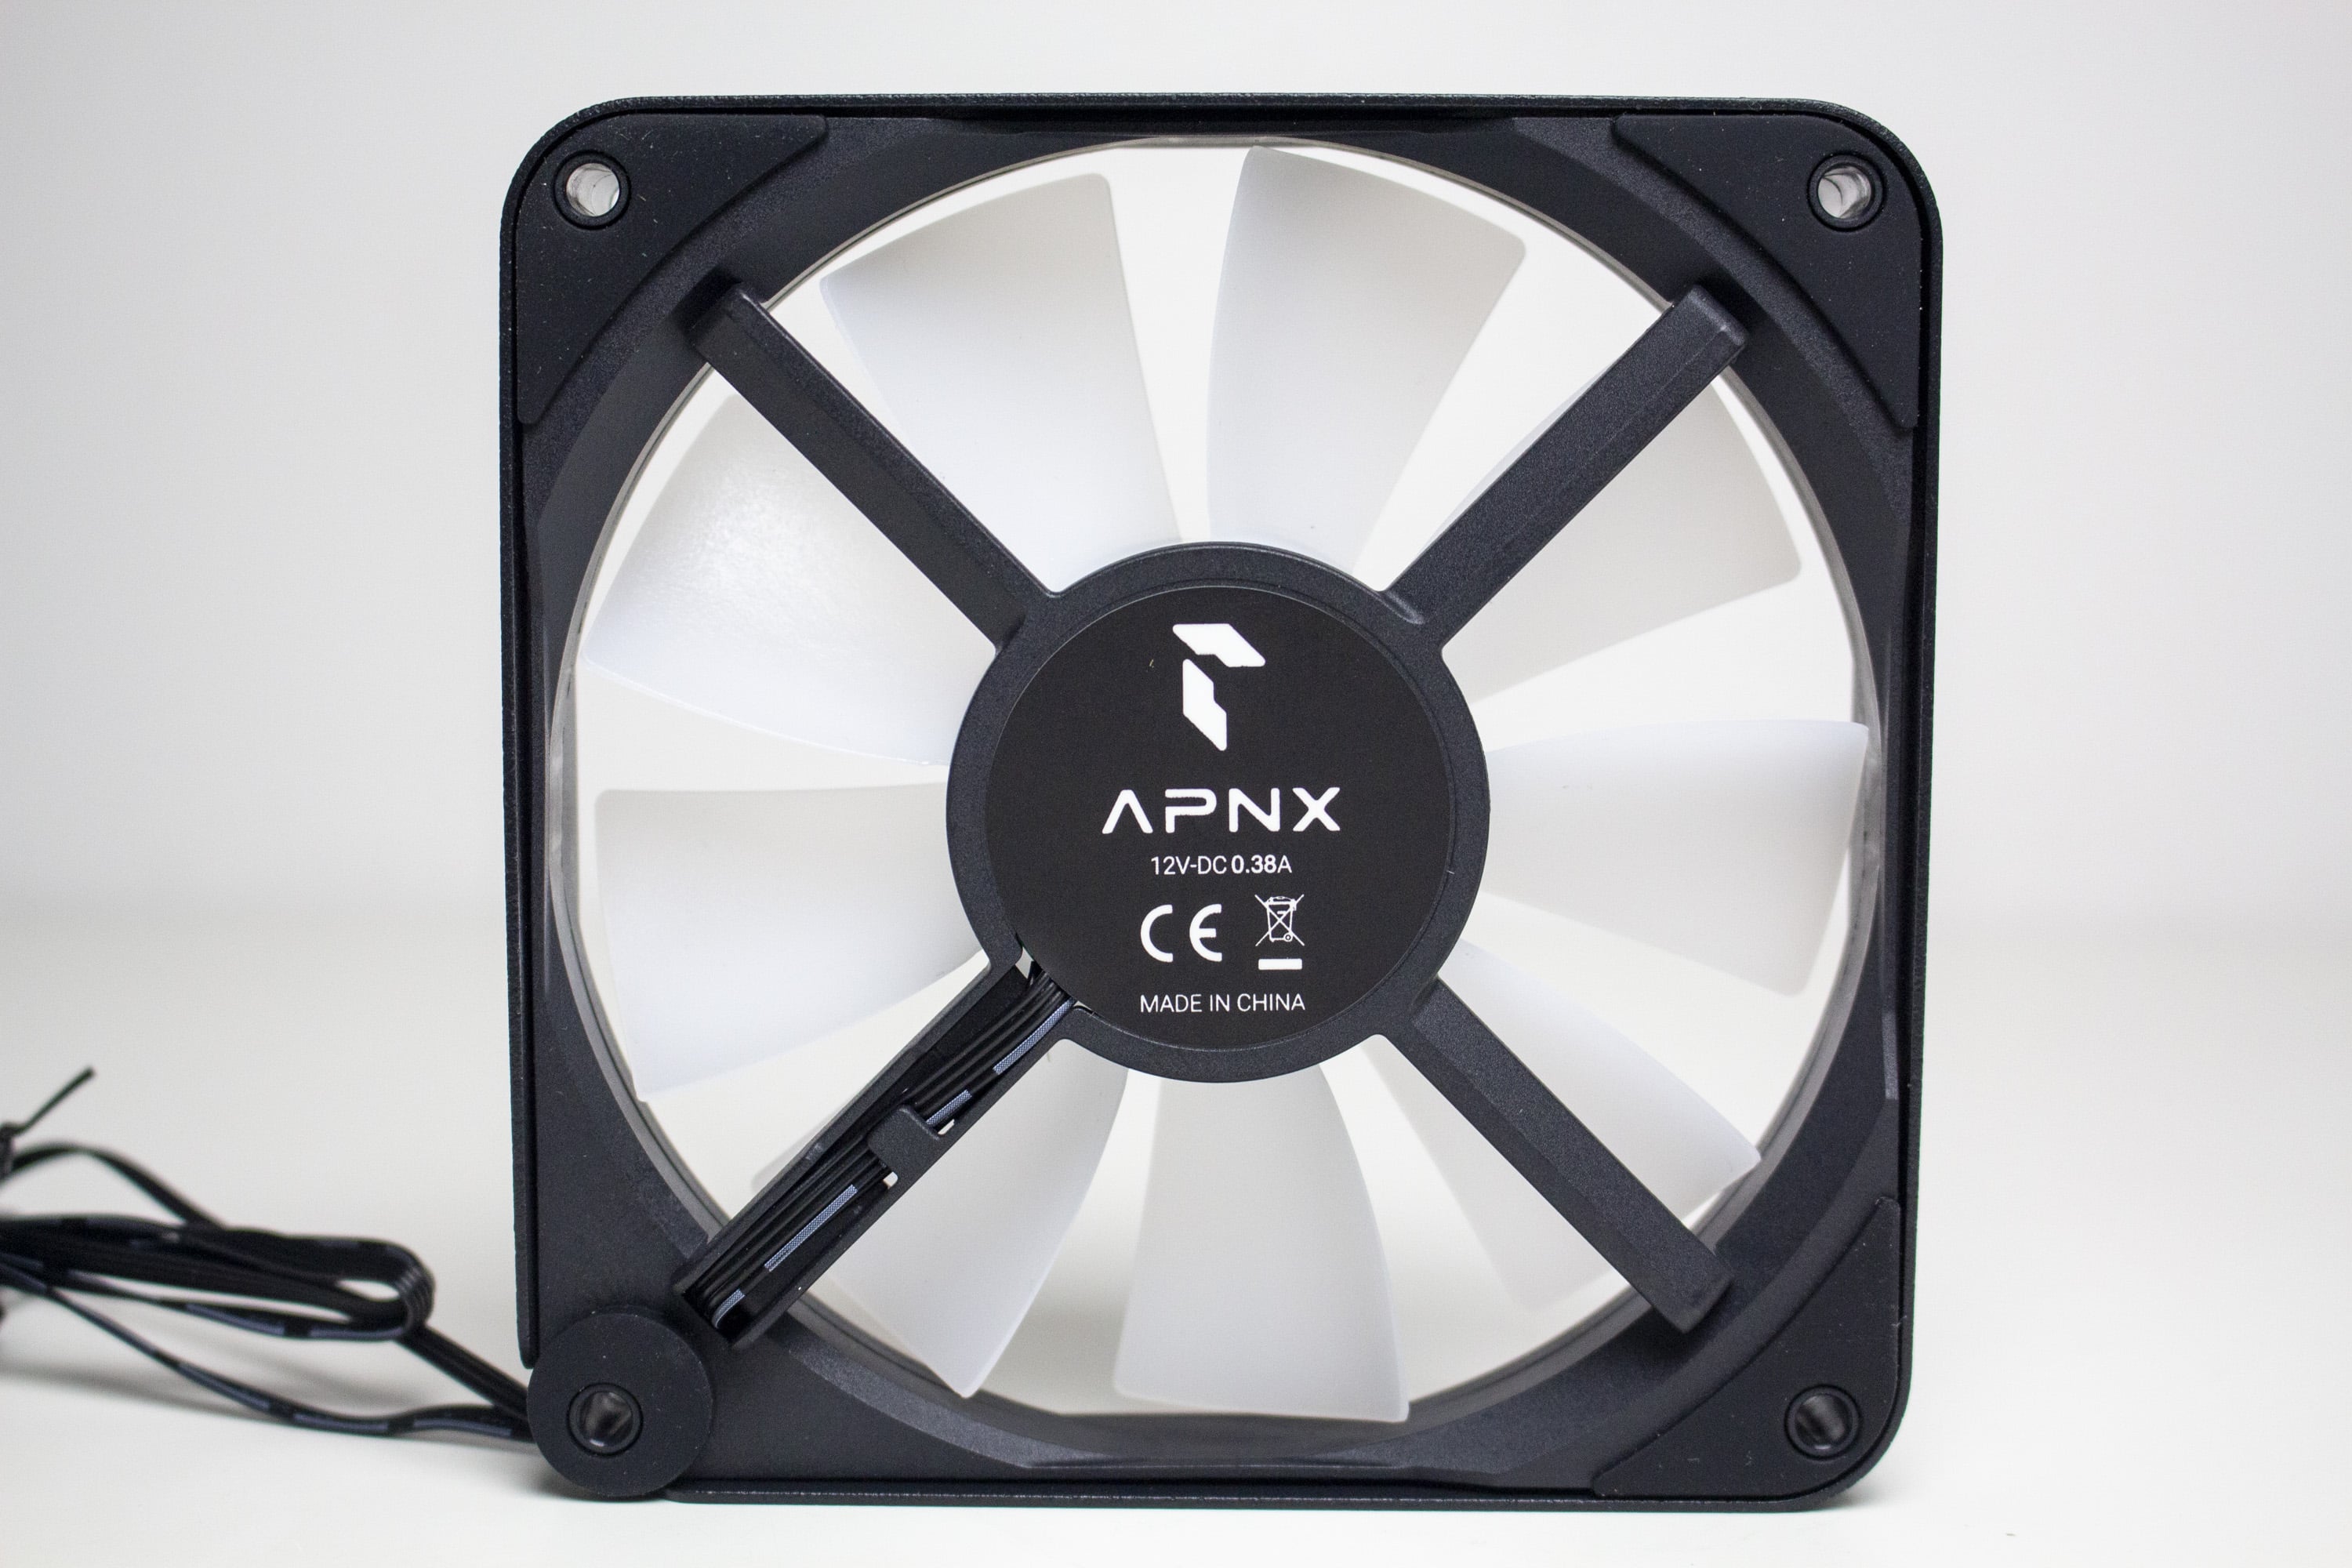
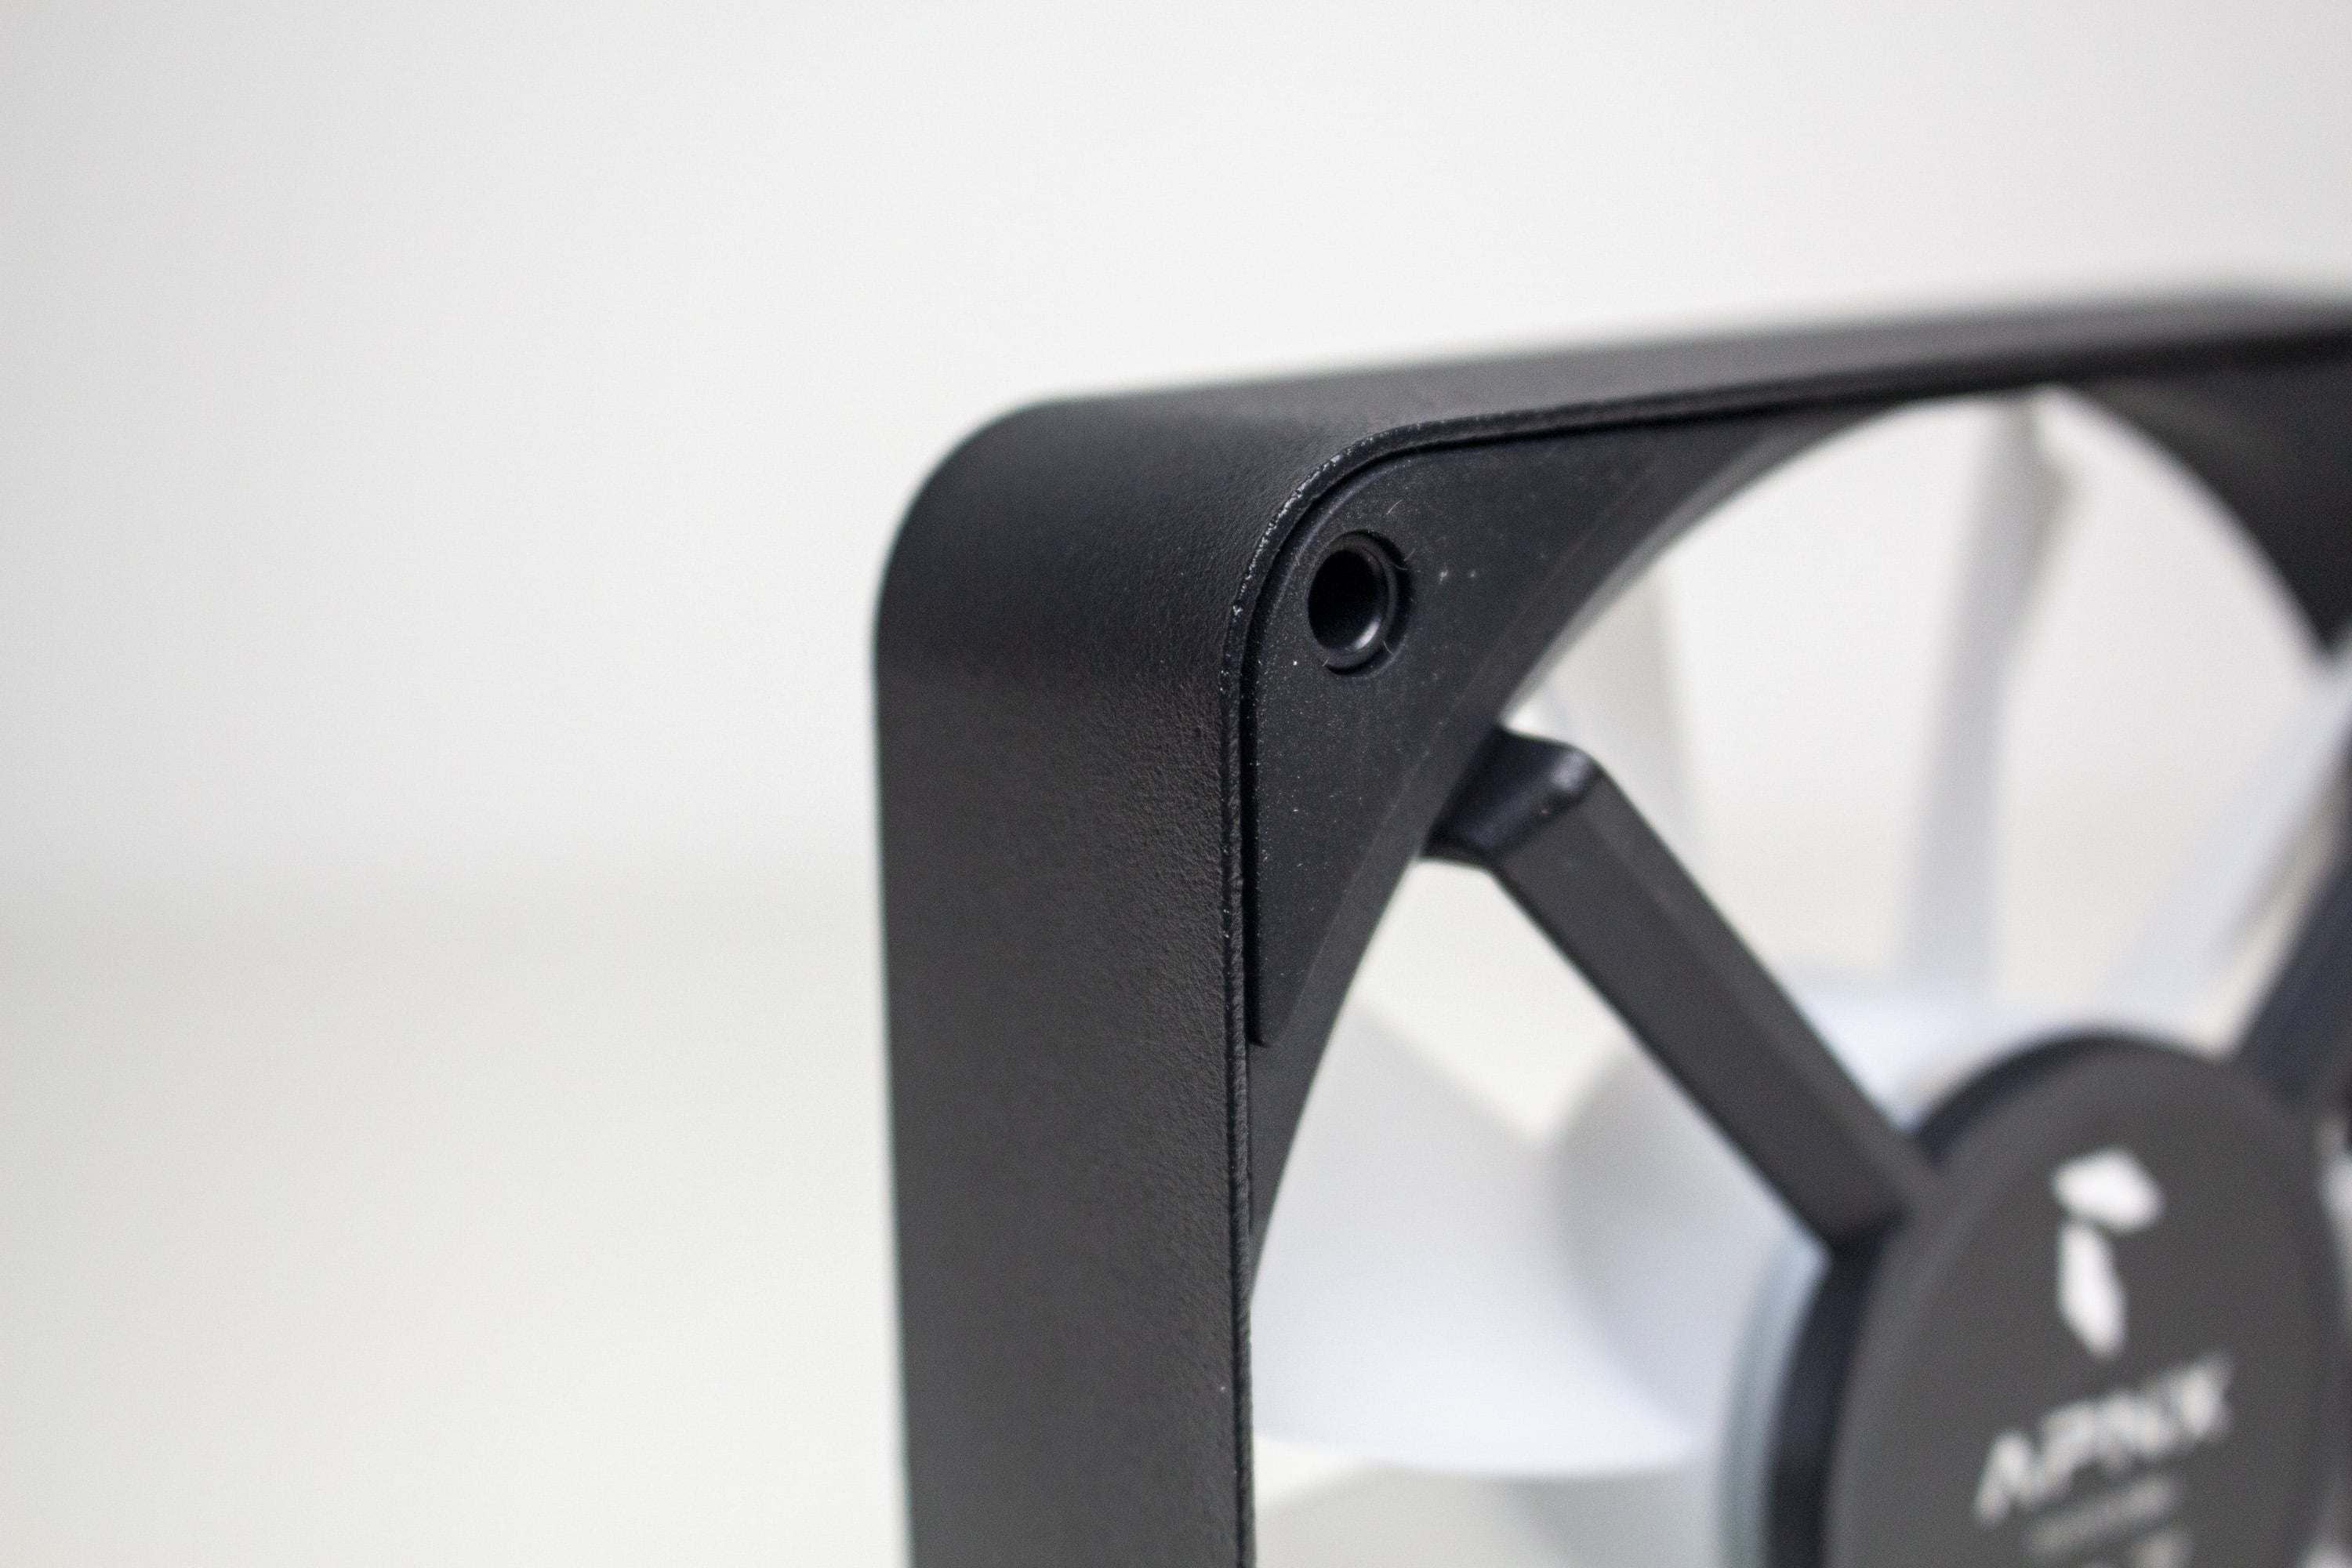
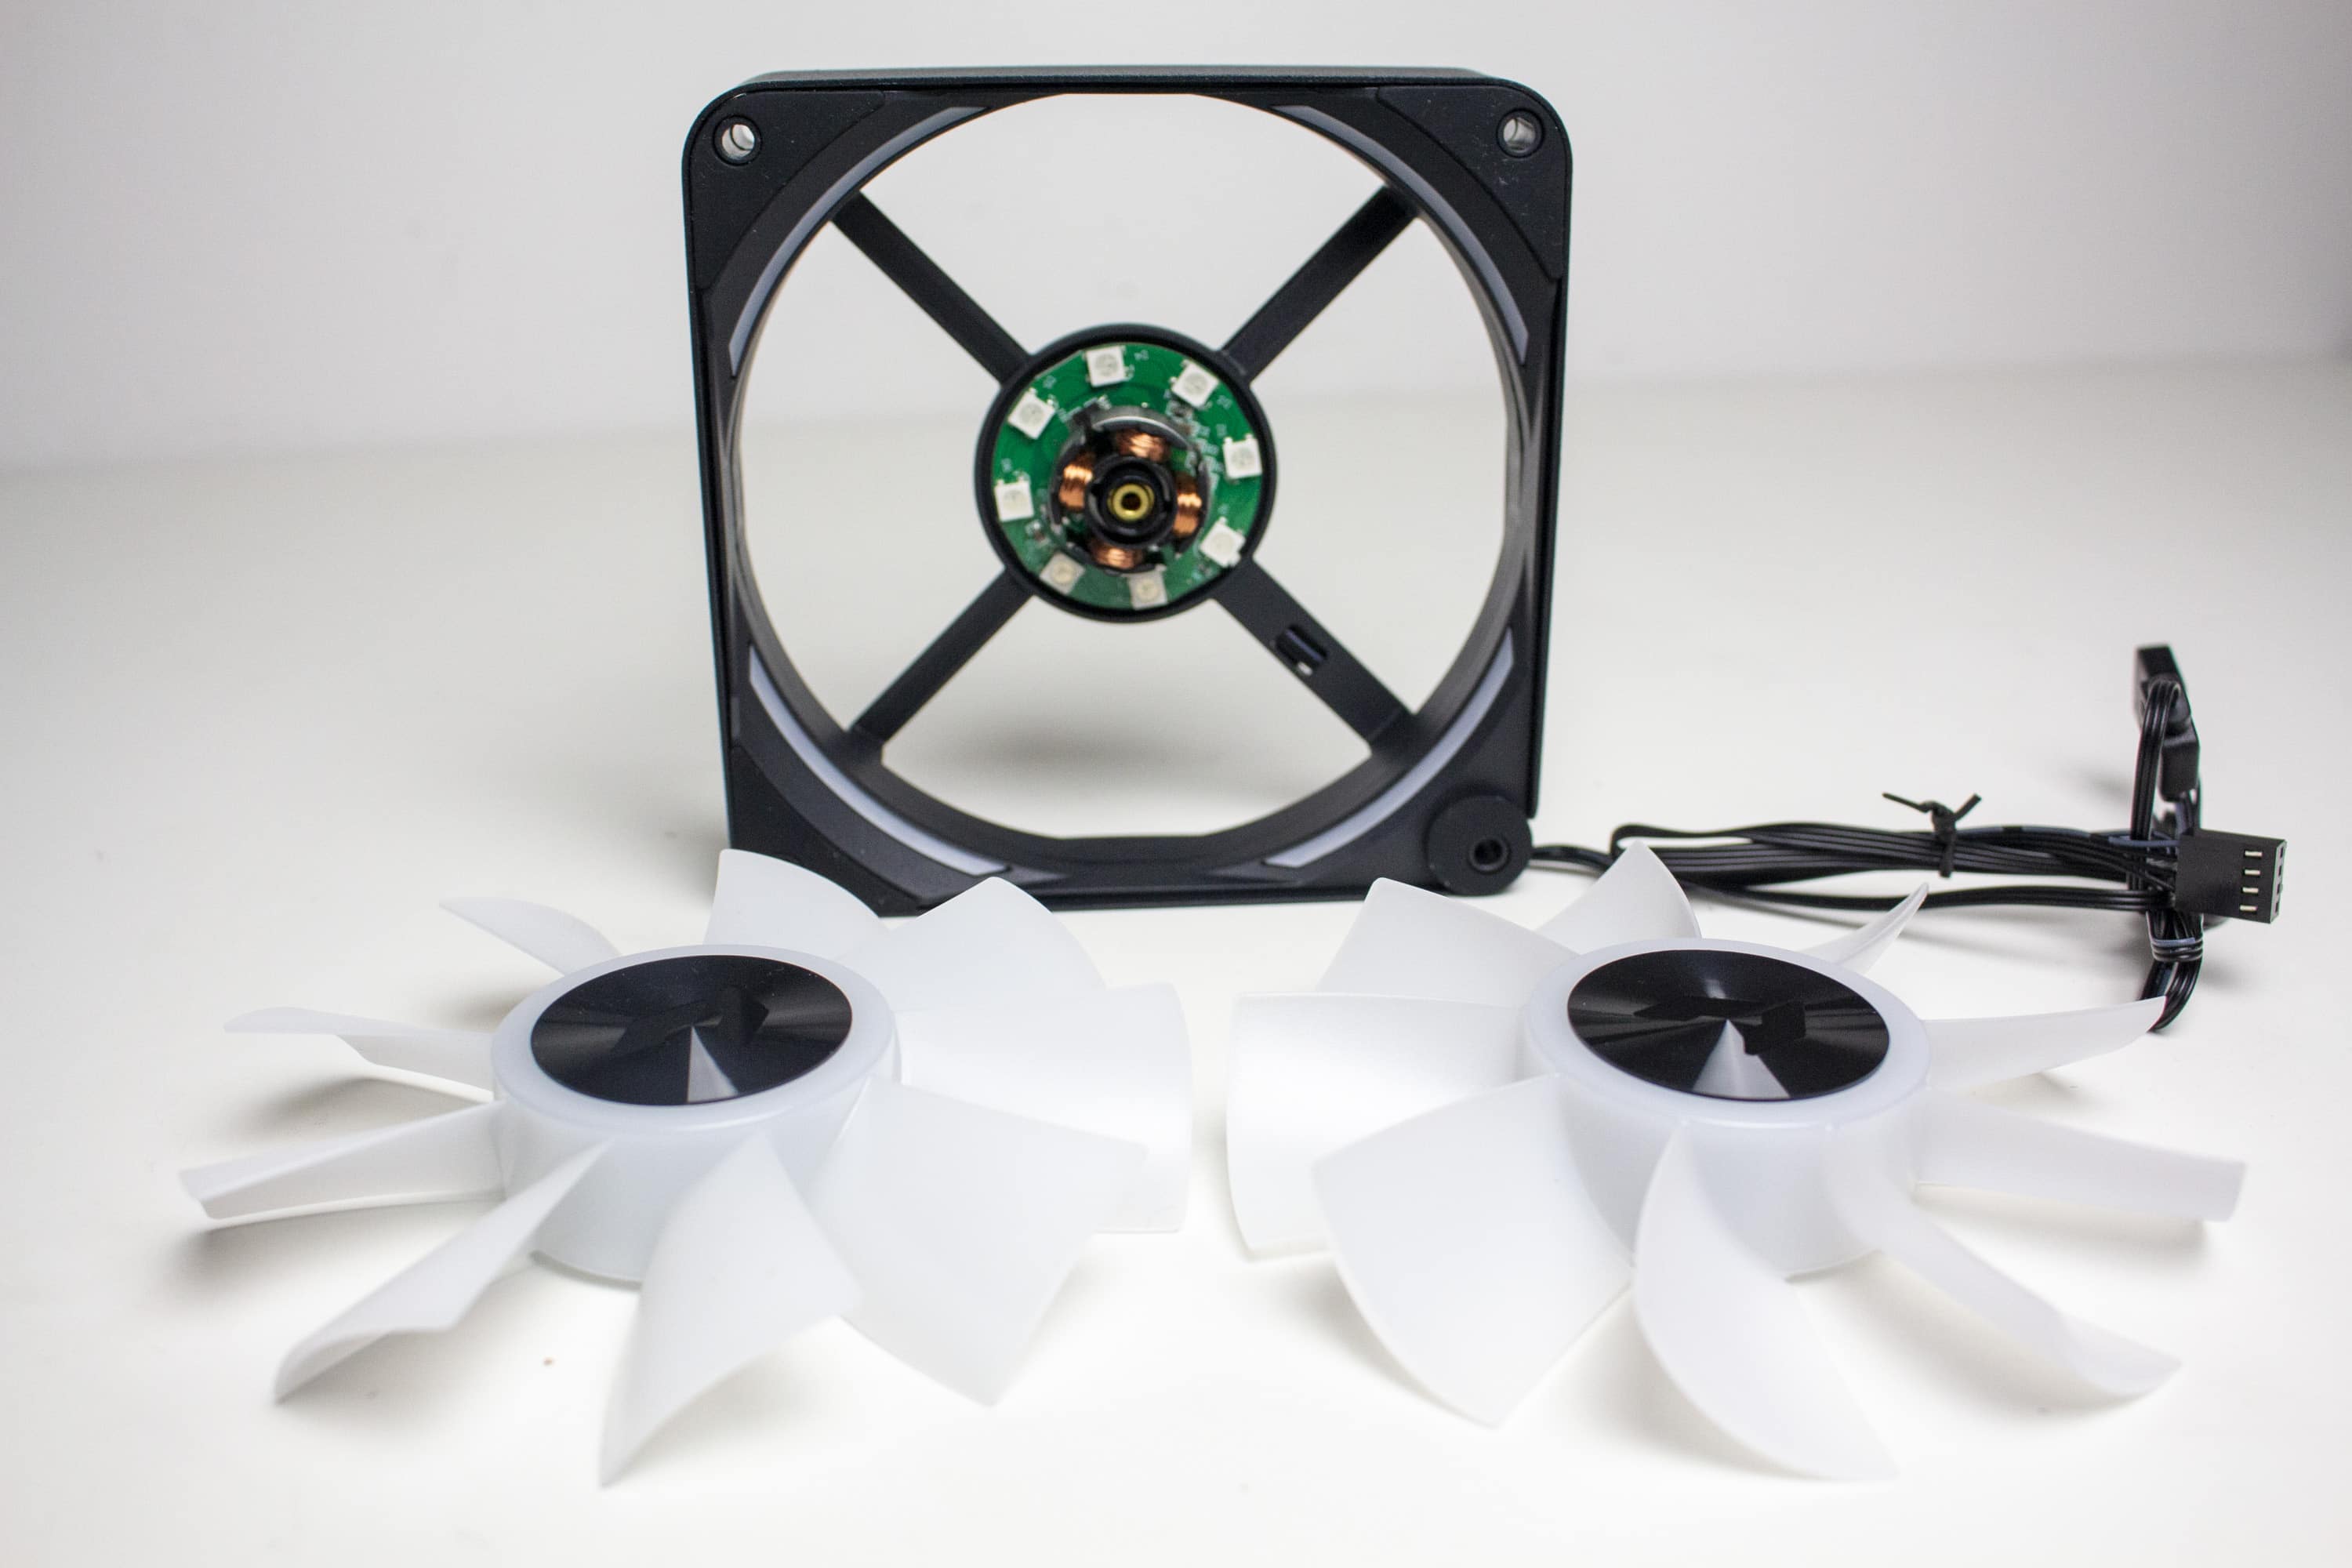
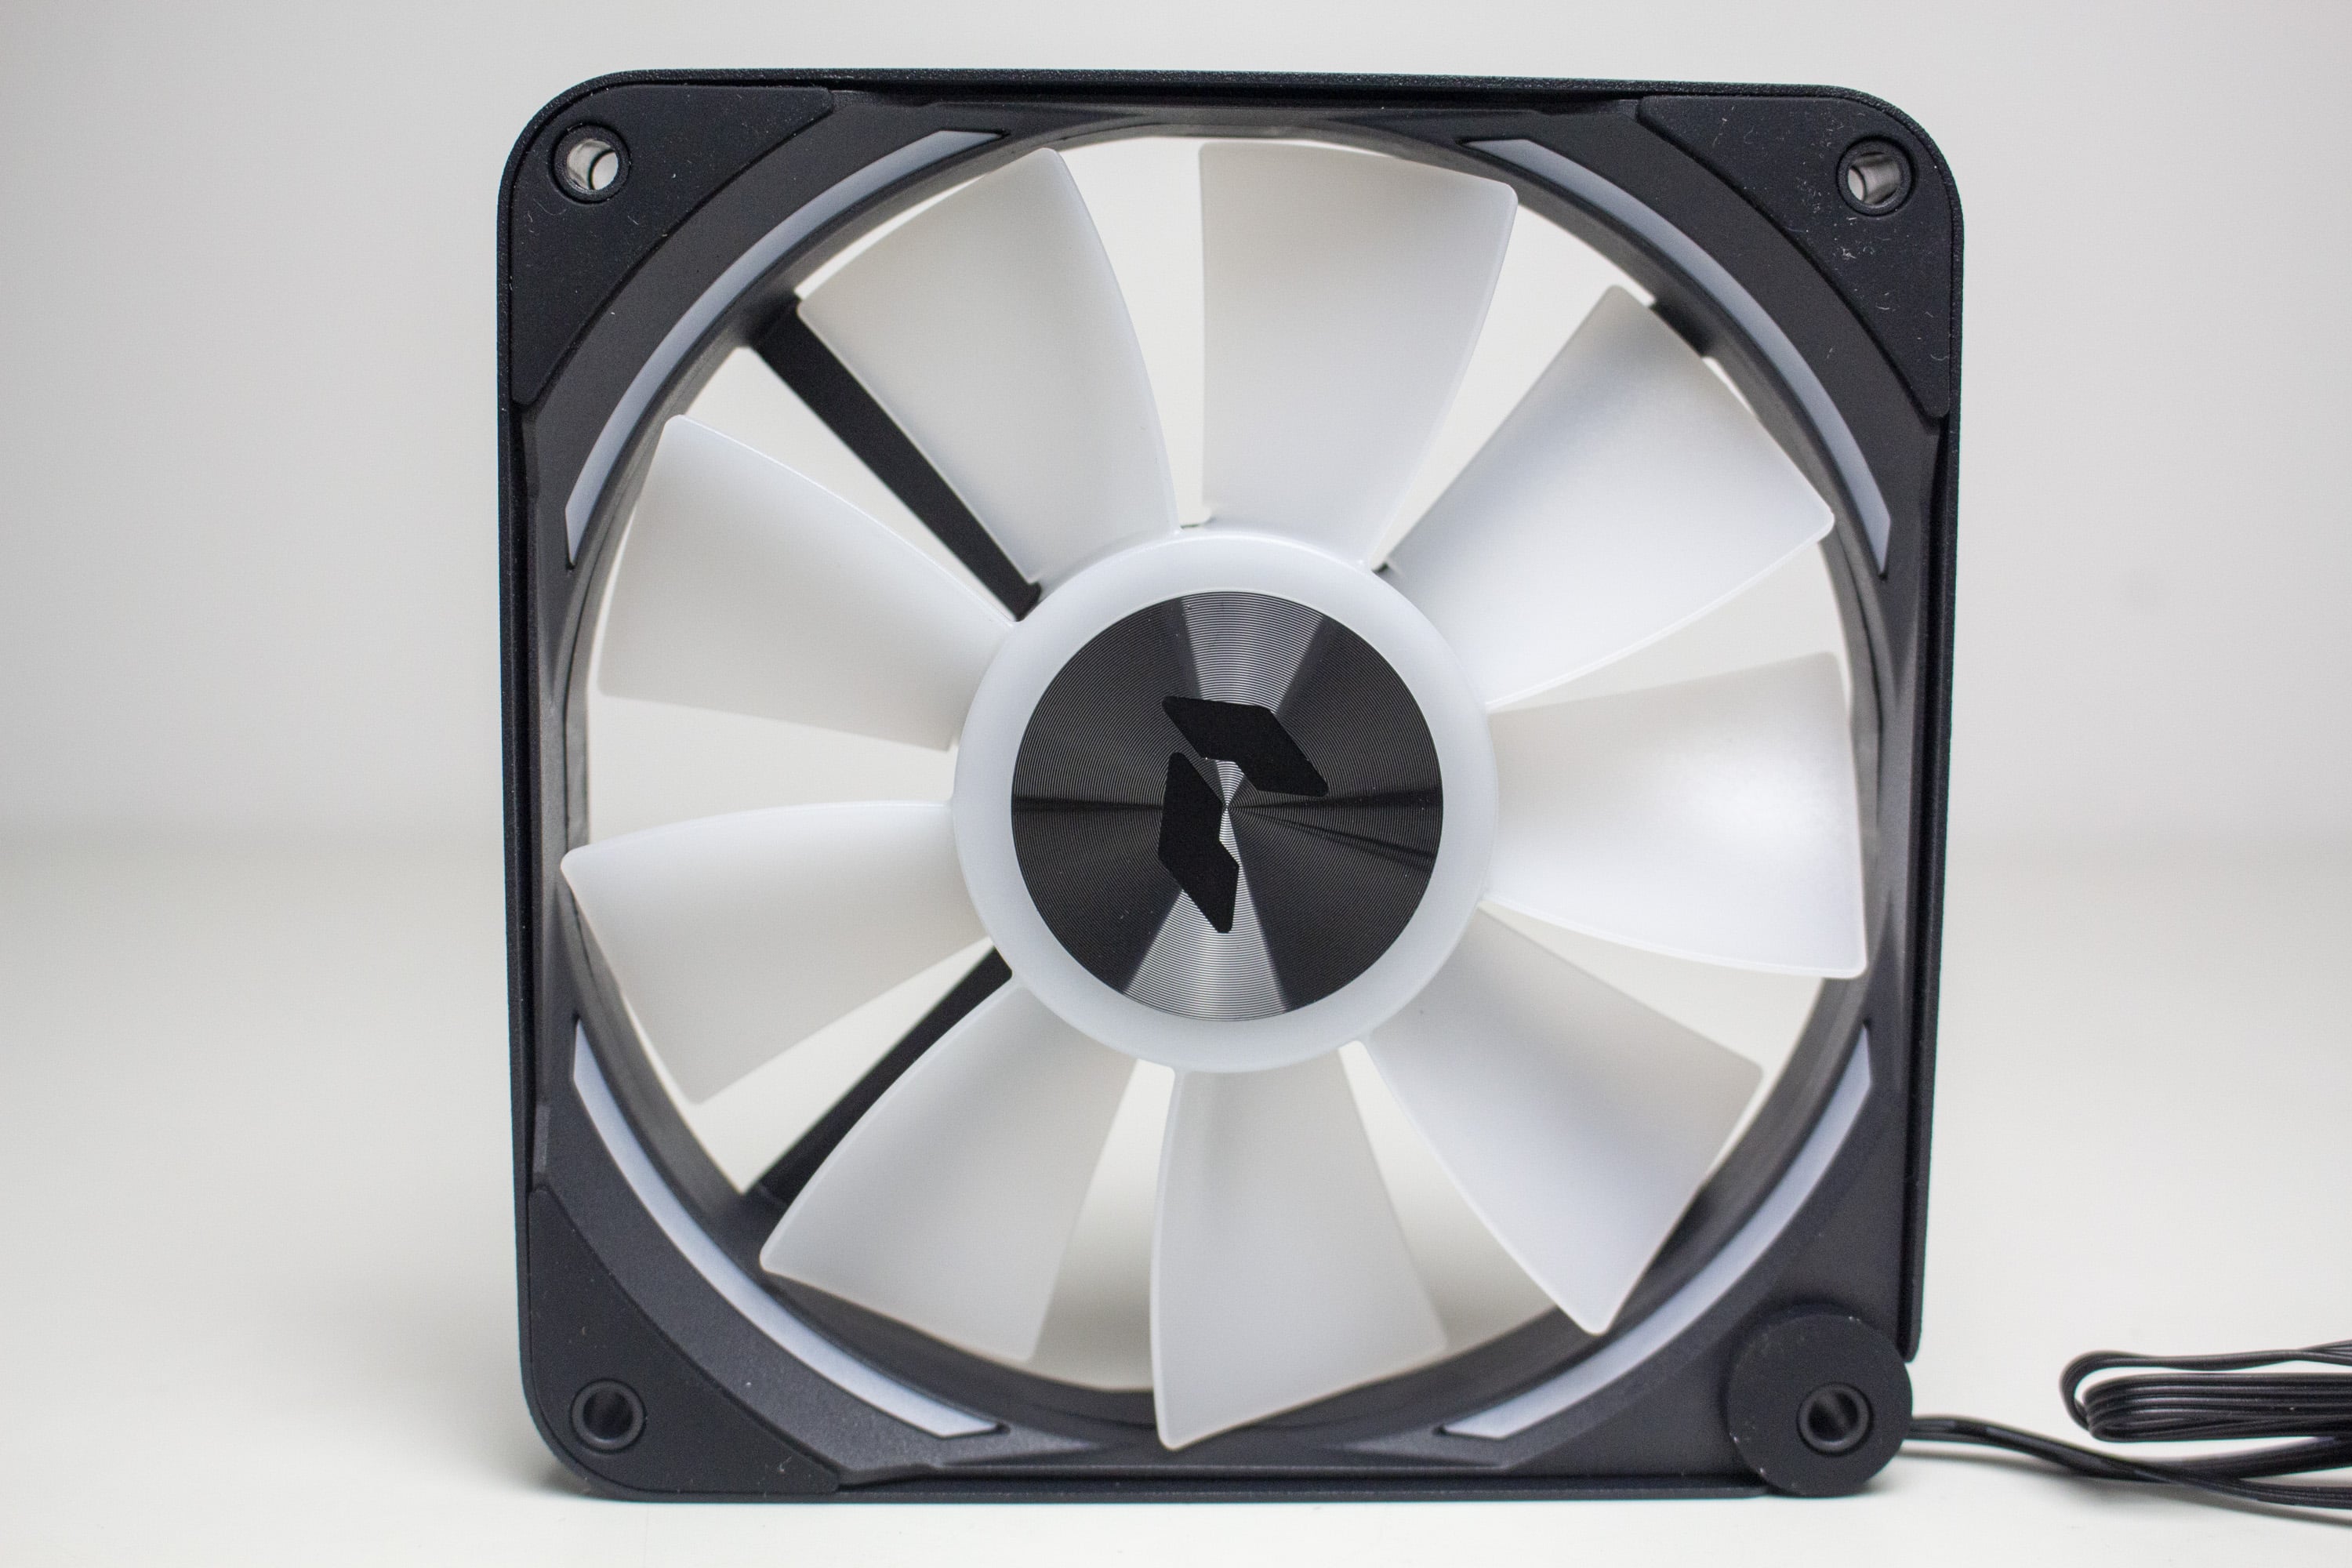
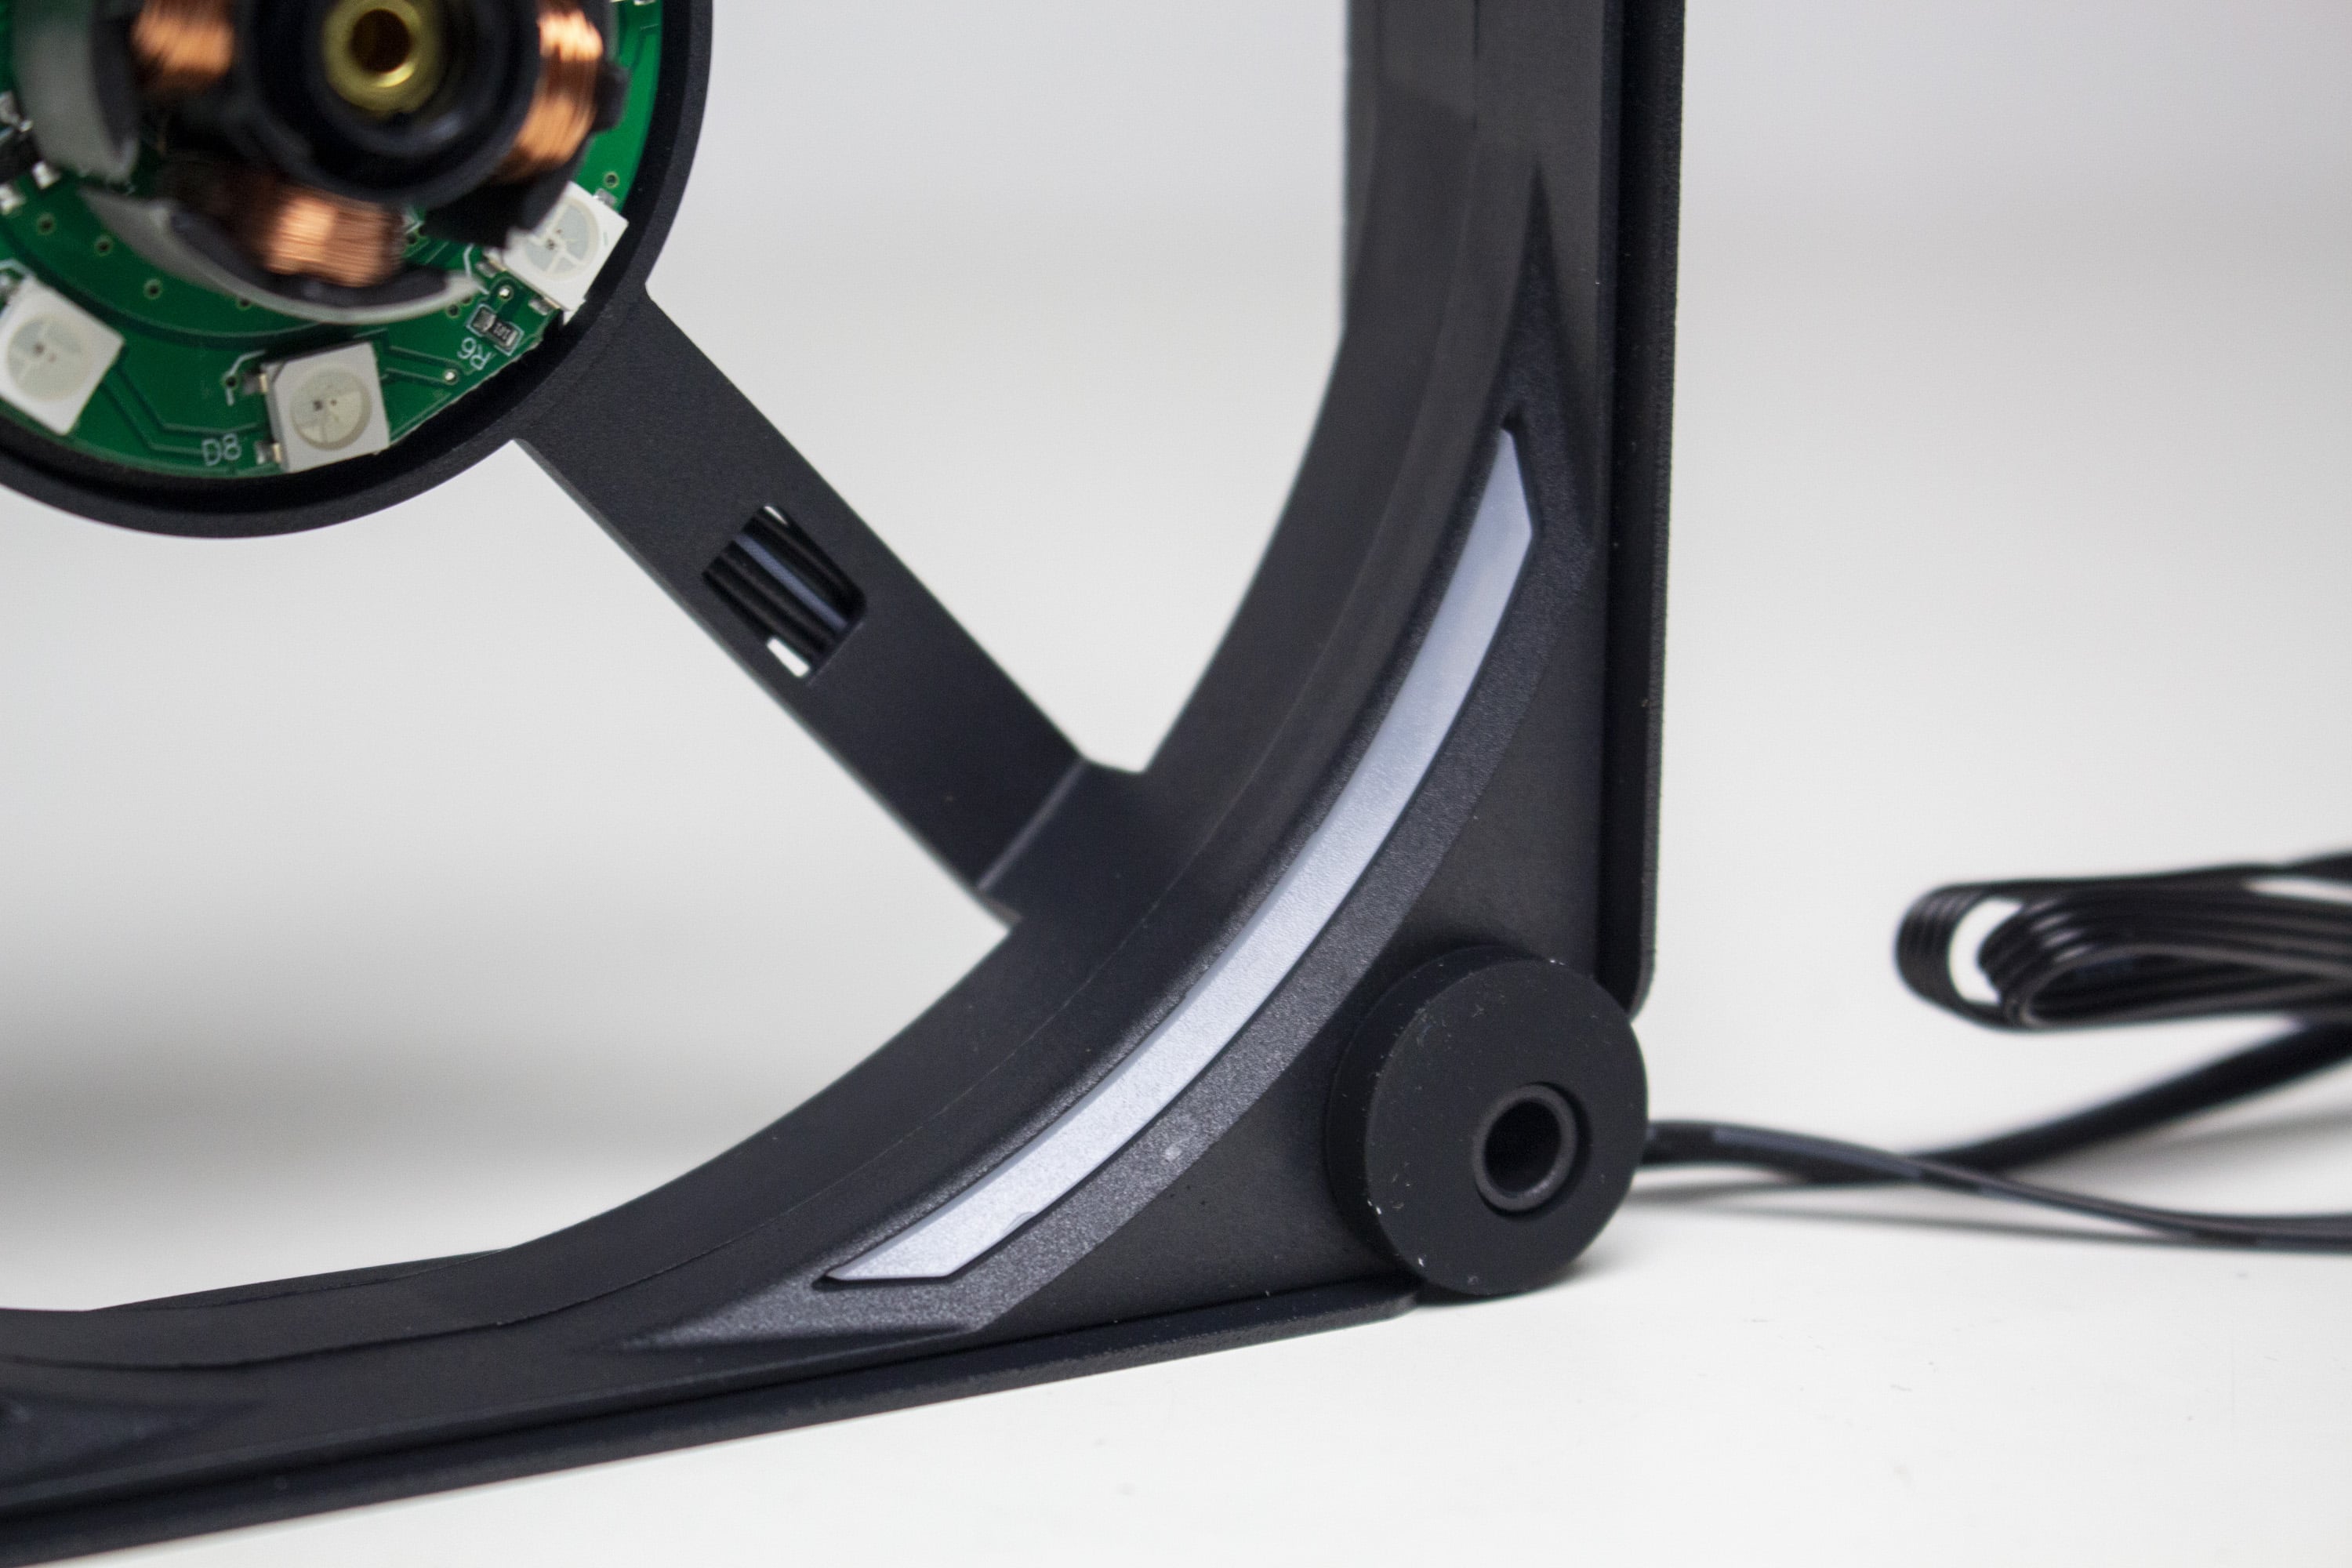
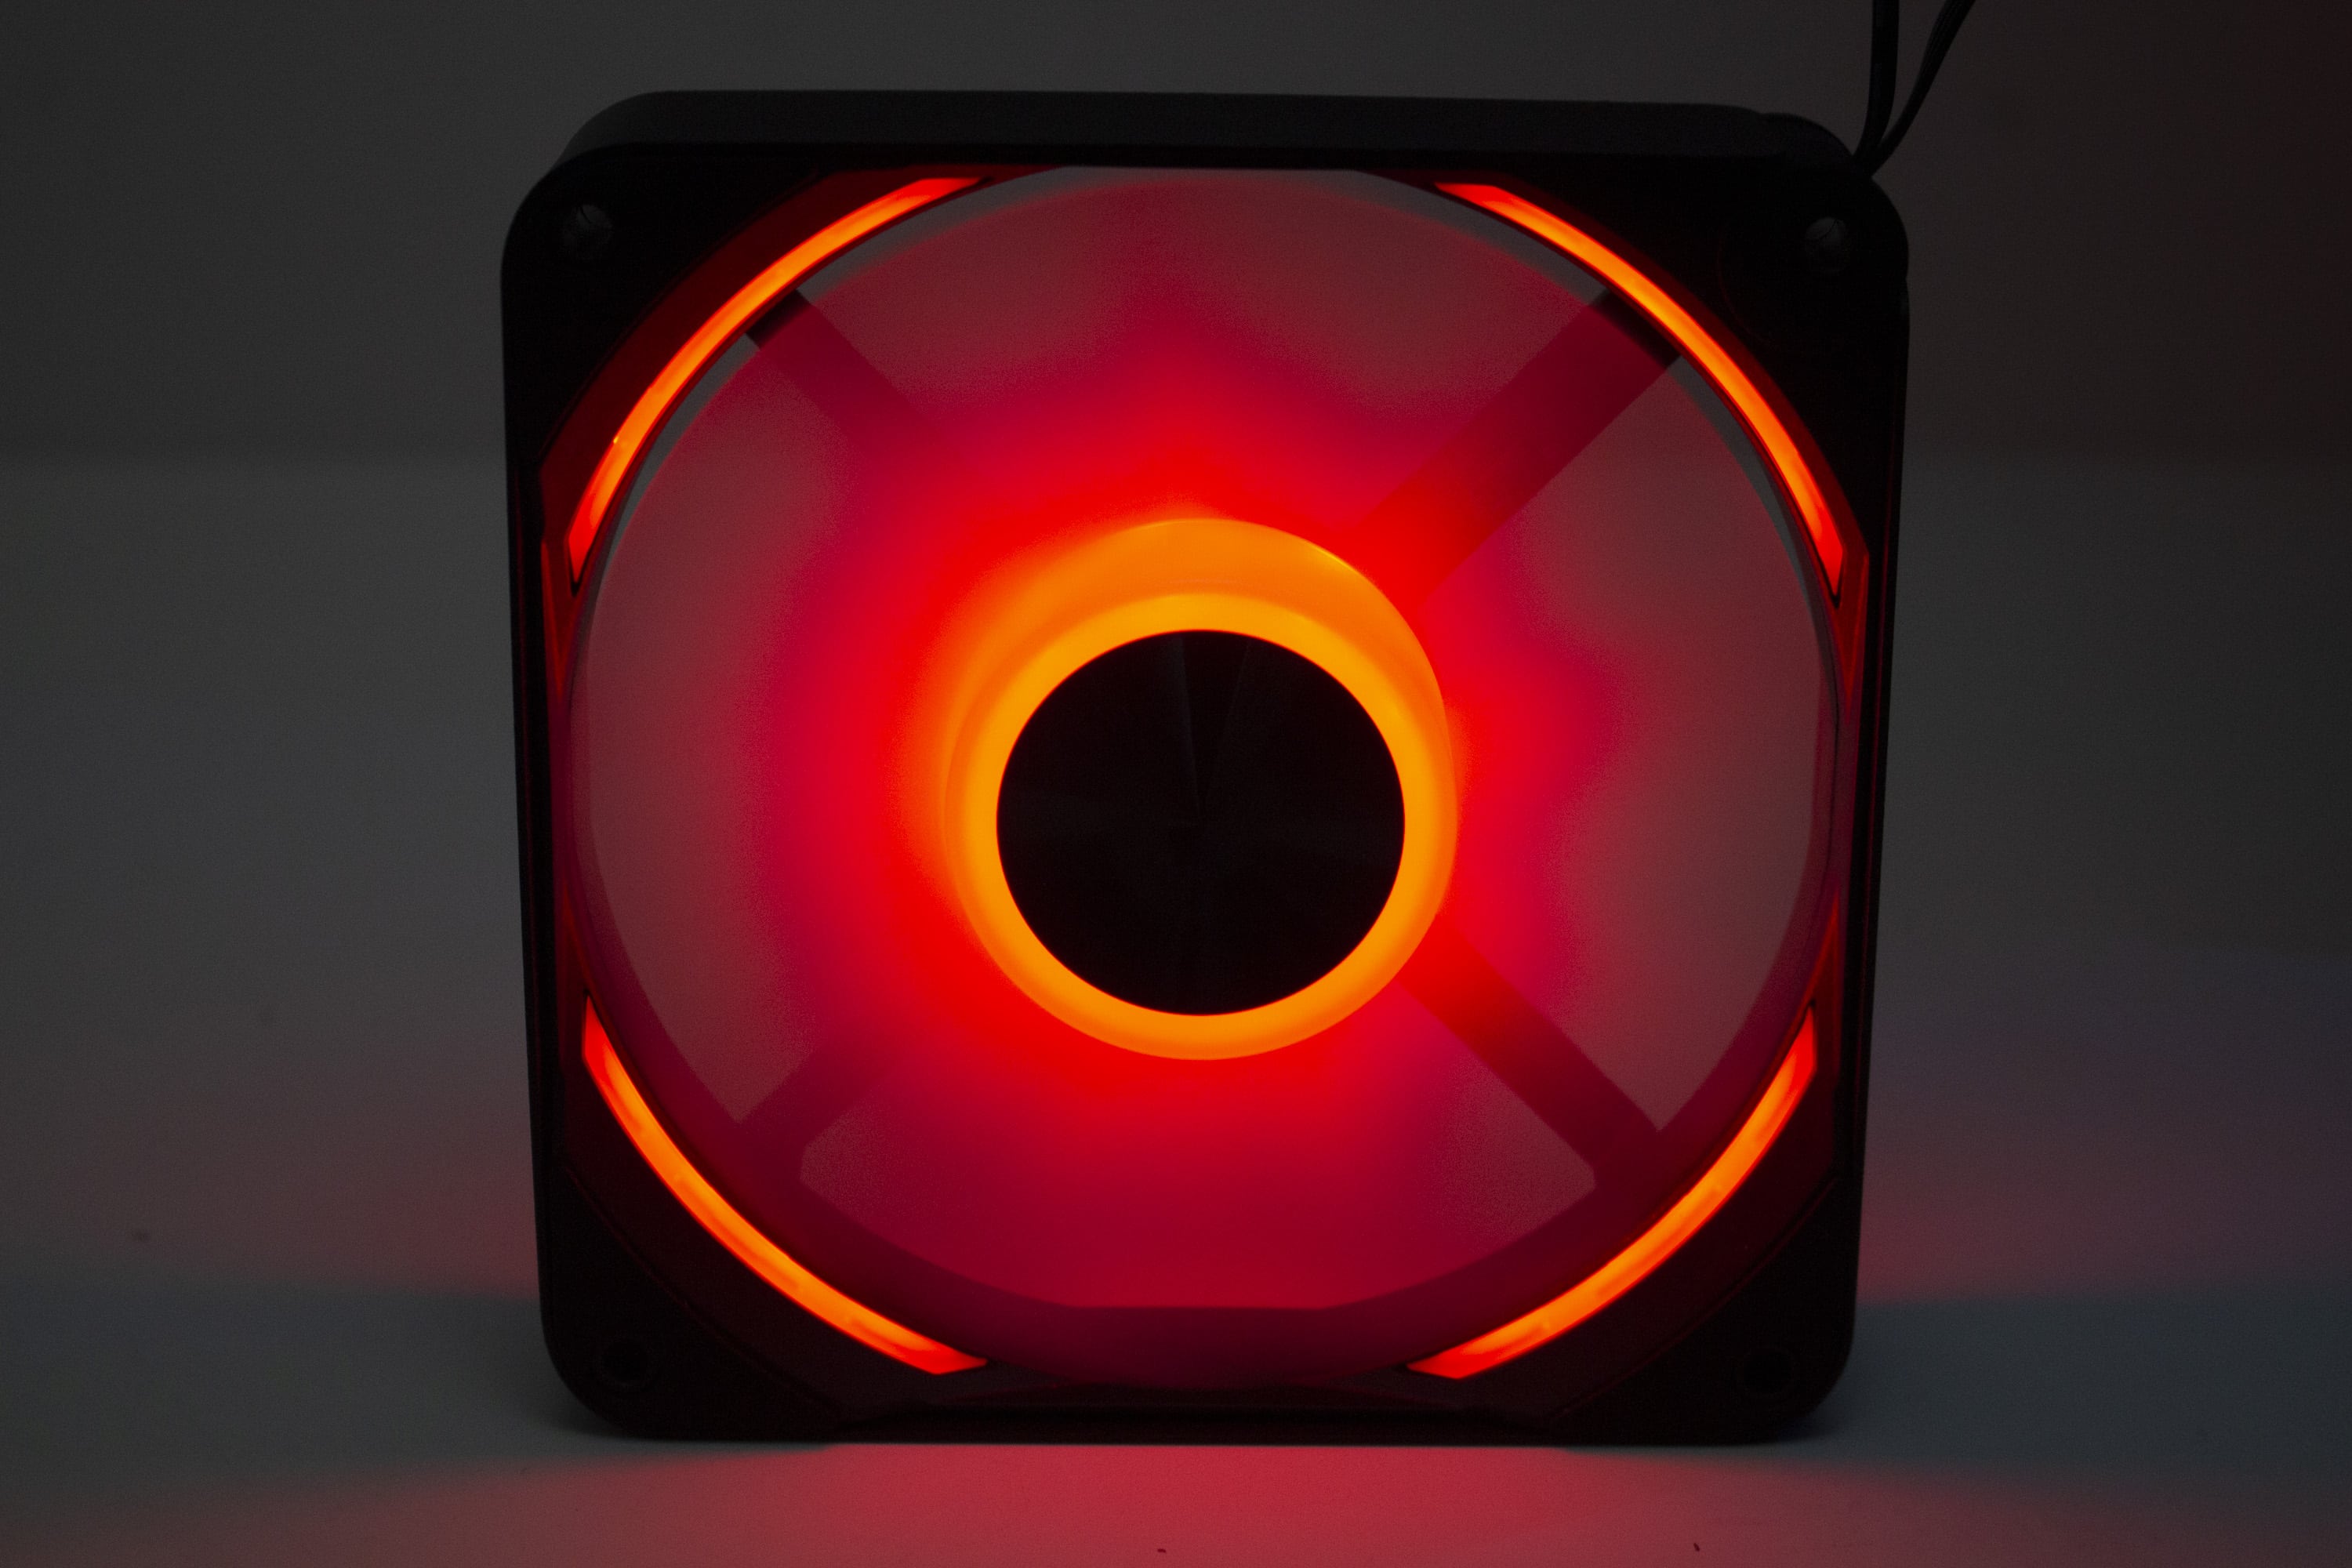
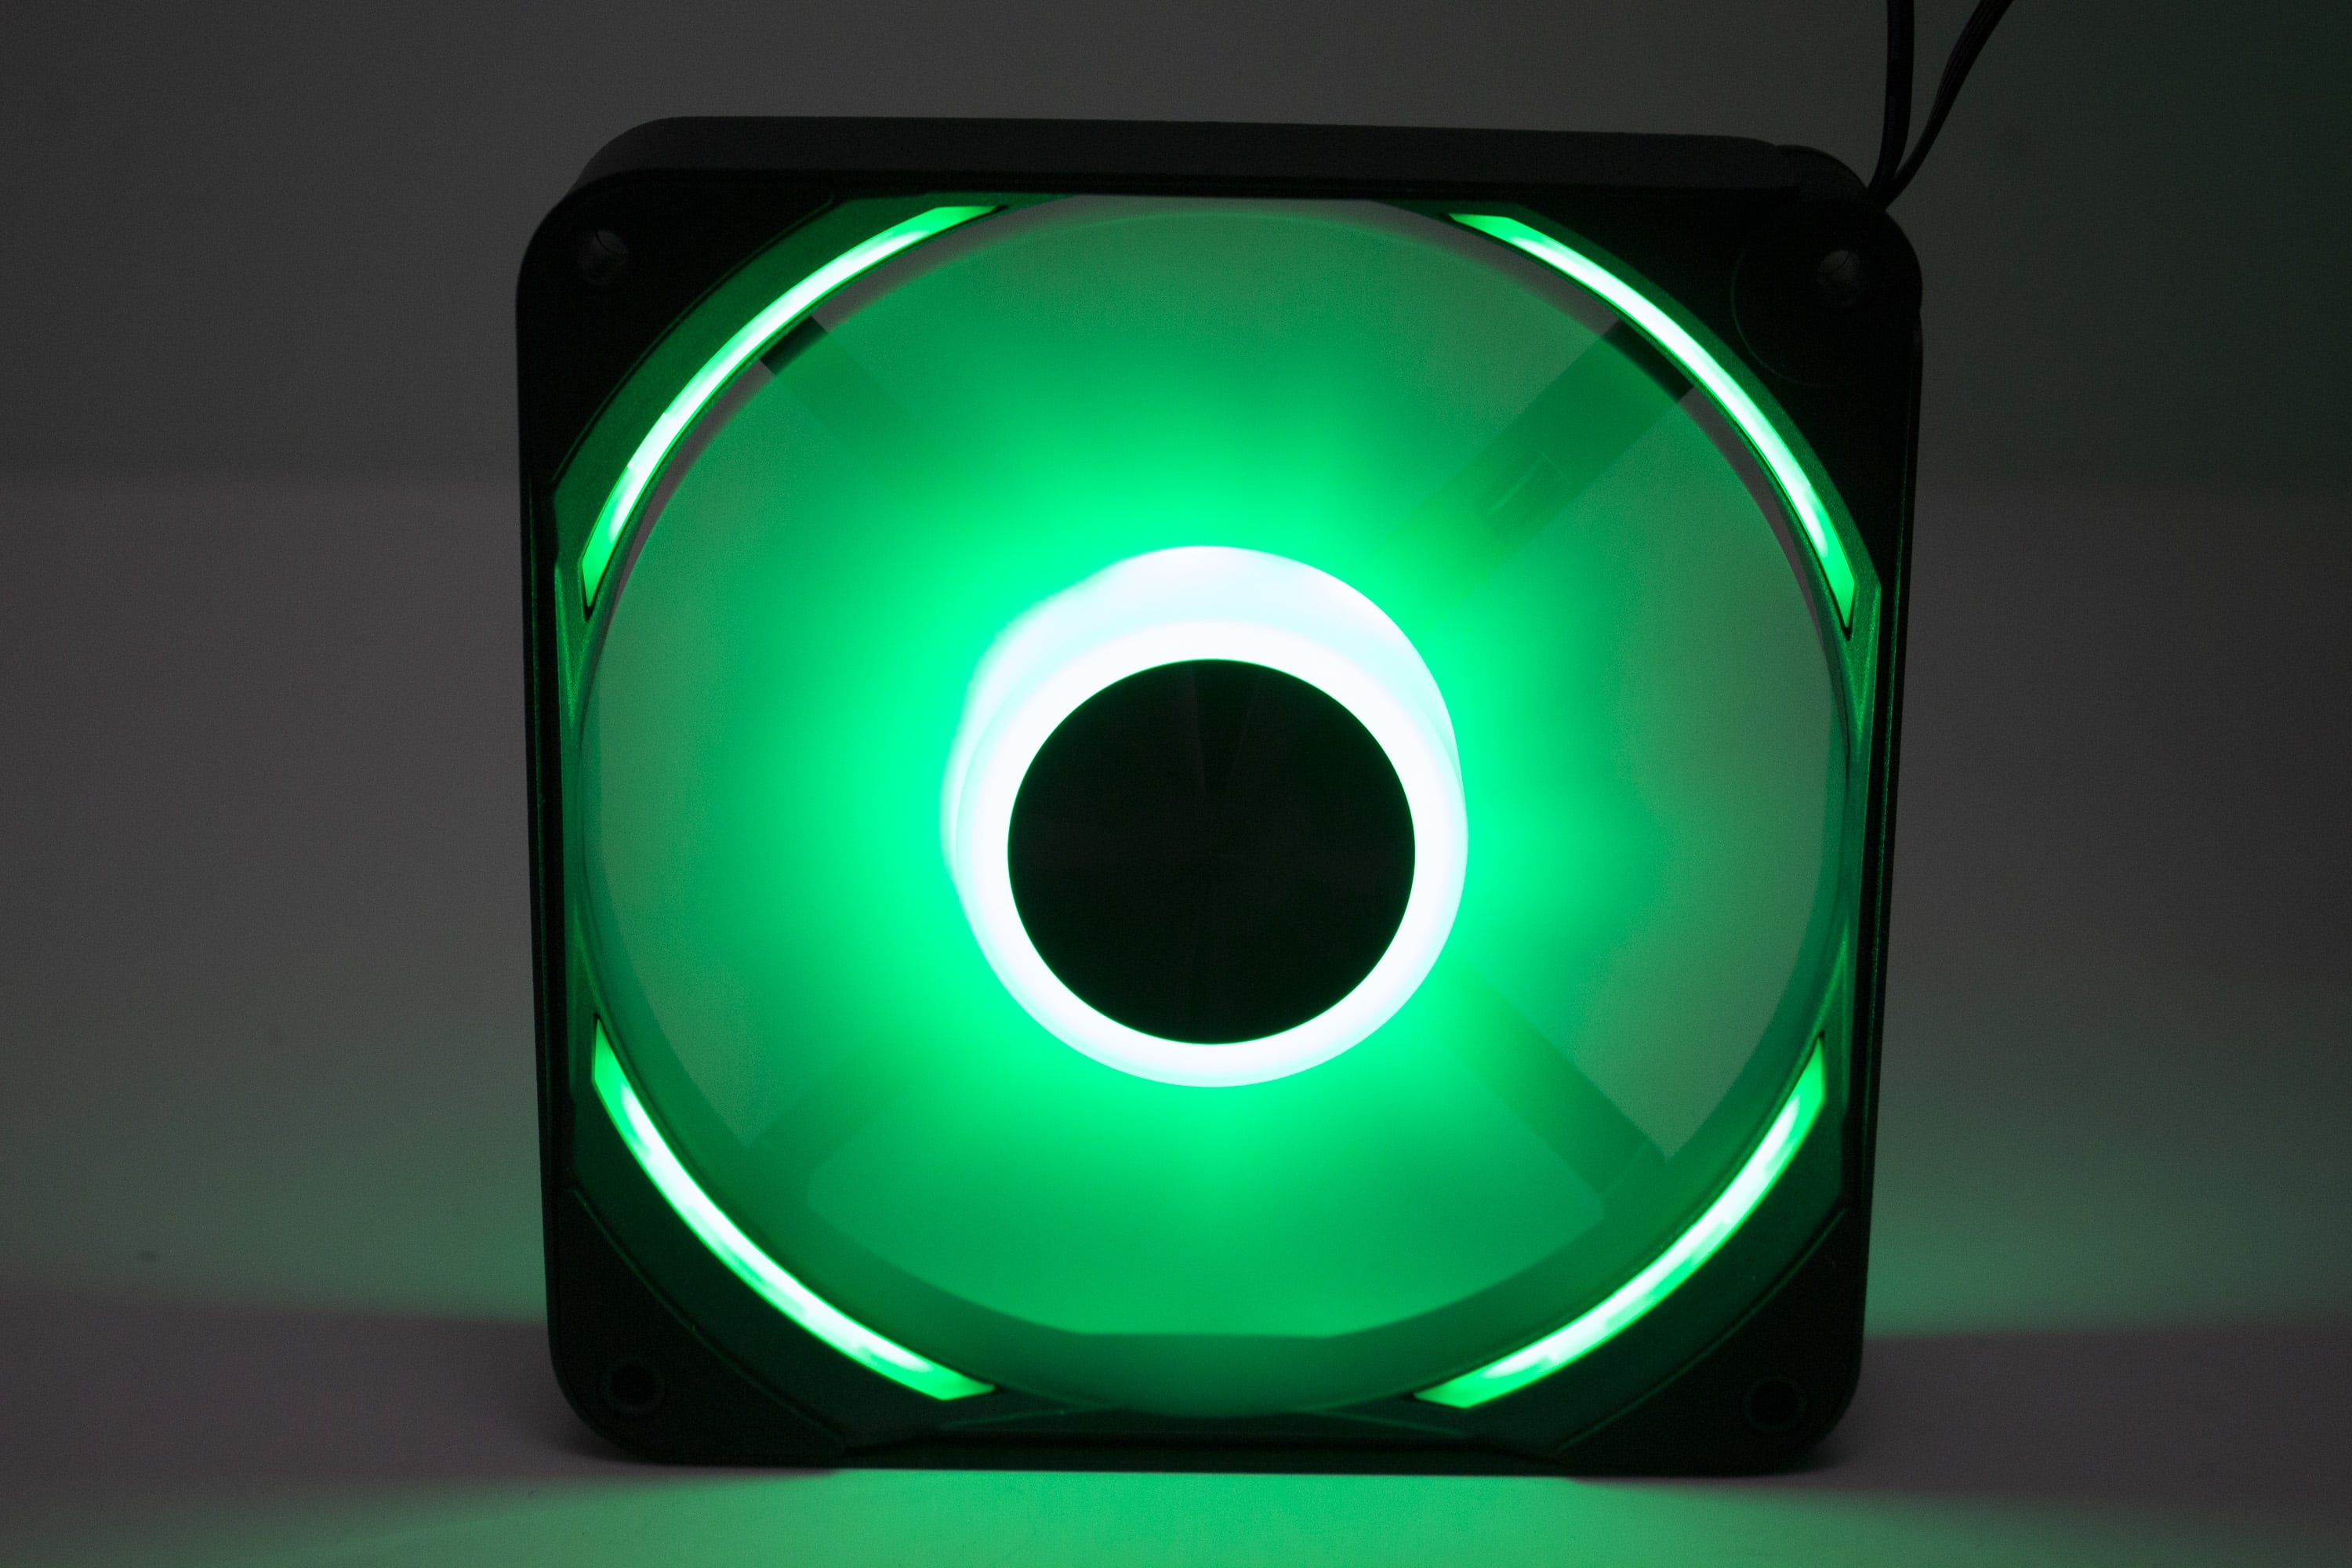
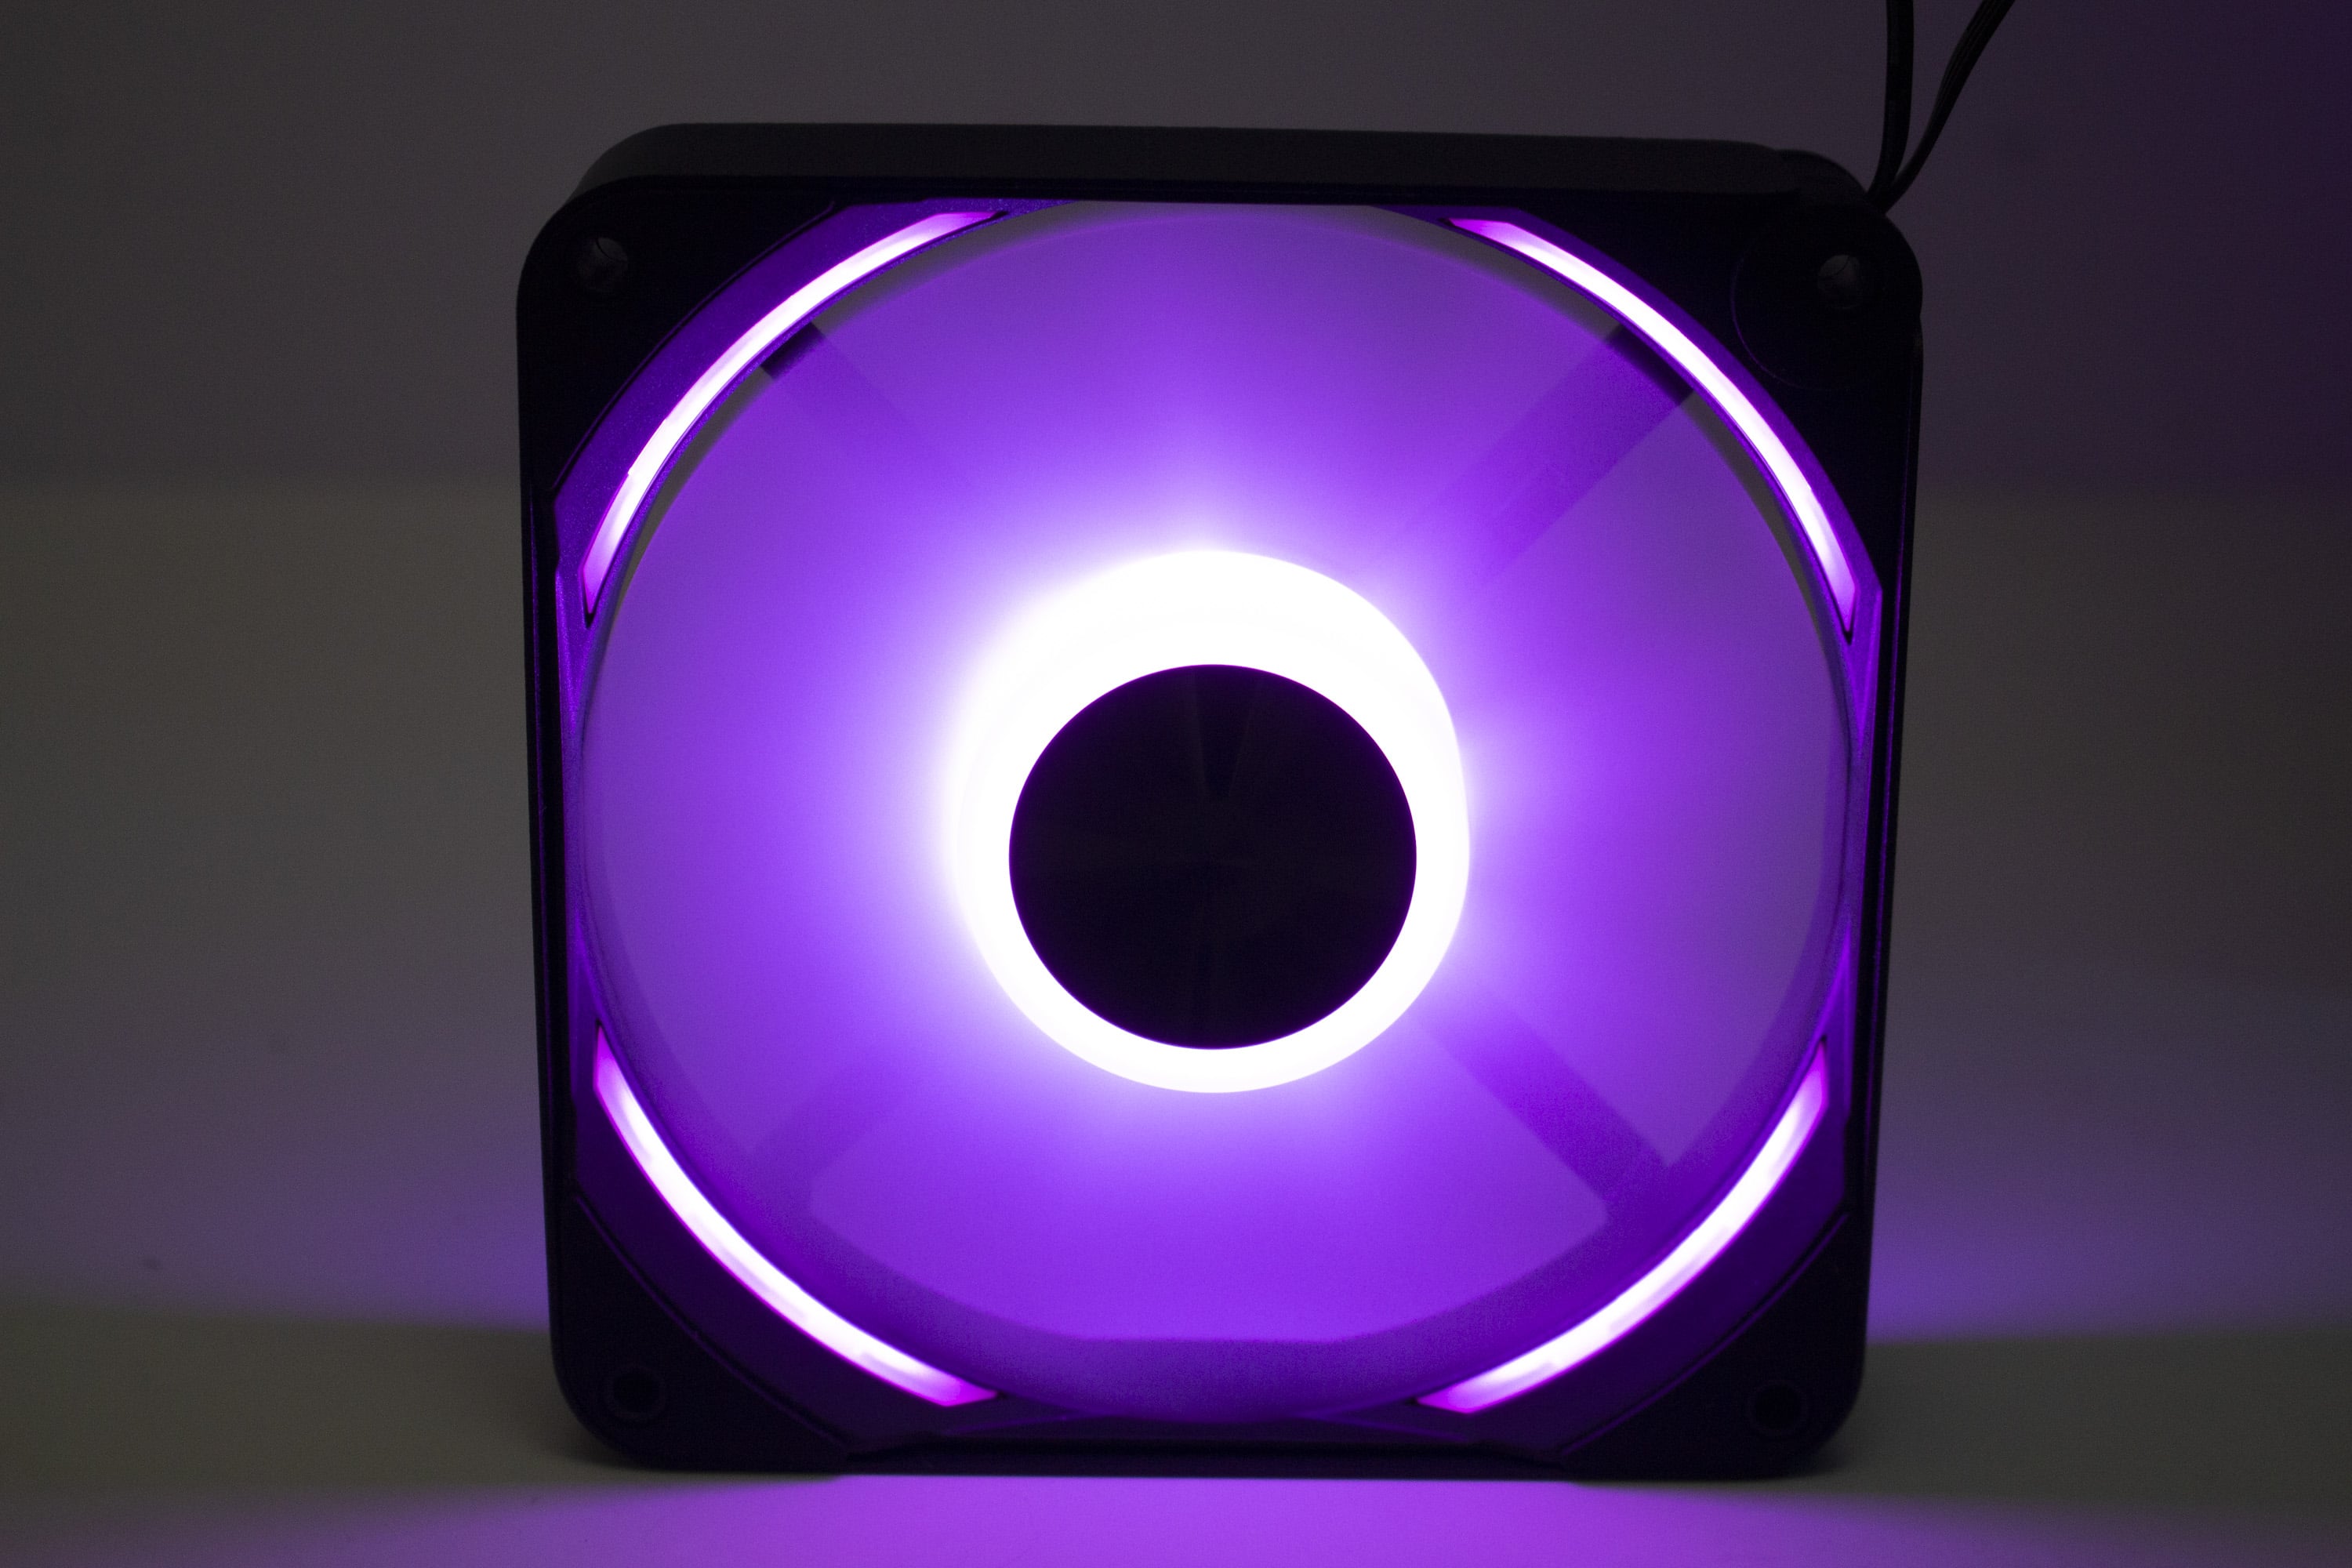
The APNX C1 comes from the factory with four pre-installed APNX FP1 fans. These have a frame width of 120 or 140 and a frame depth of 30 millimeters. The manufacturer specifies 1600 revolutions per minute as the maximum speed. The connection to the pre-installed control board or mainboard is made via a 4-pin PWM connector for power and a 3-pin 5V ARGB connector for the lighting. The ARGB LEDs on the FP1 series are located exclusively in the fan hub of the milky rotor, which is surrounded by a black plastic fan frame. APNX also installs thin rubber surfaces on both sides at all four corners for decoupling.
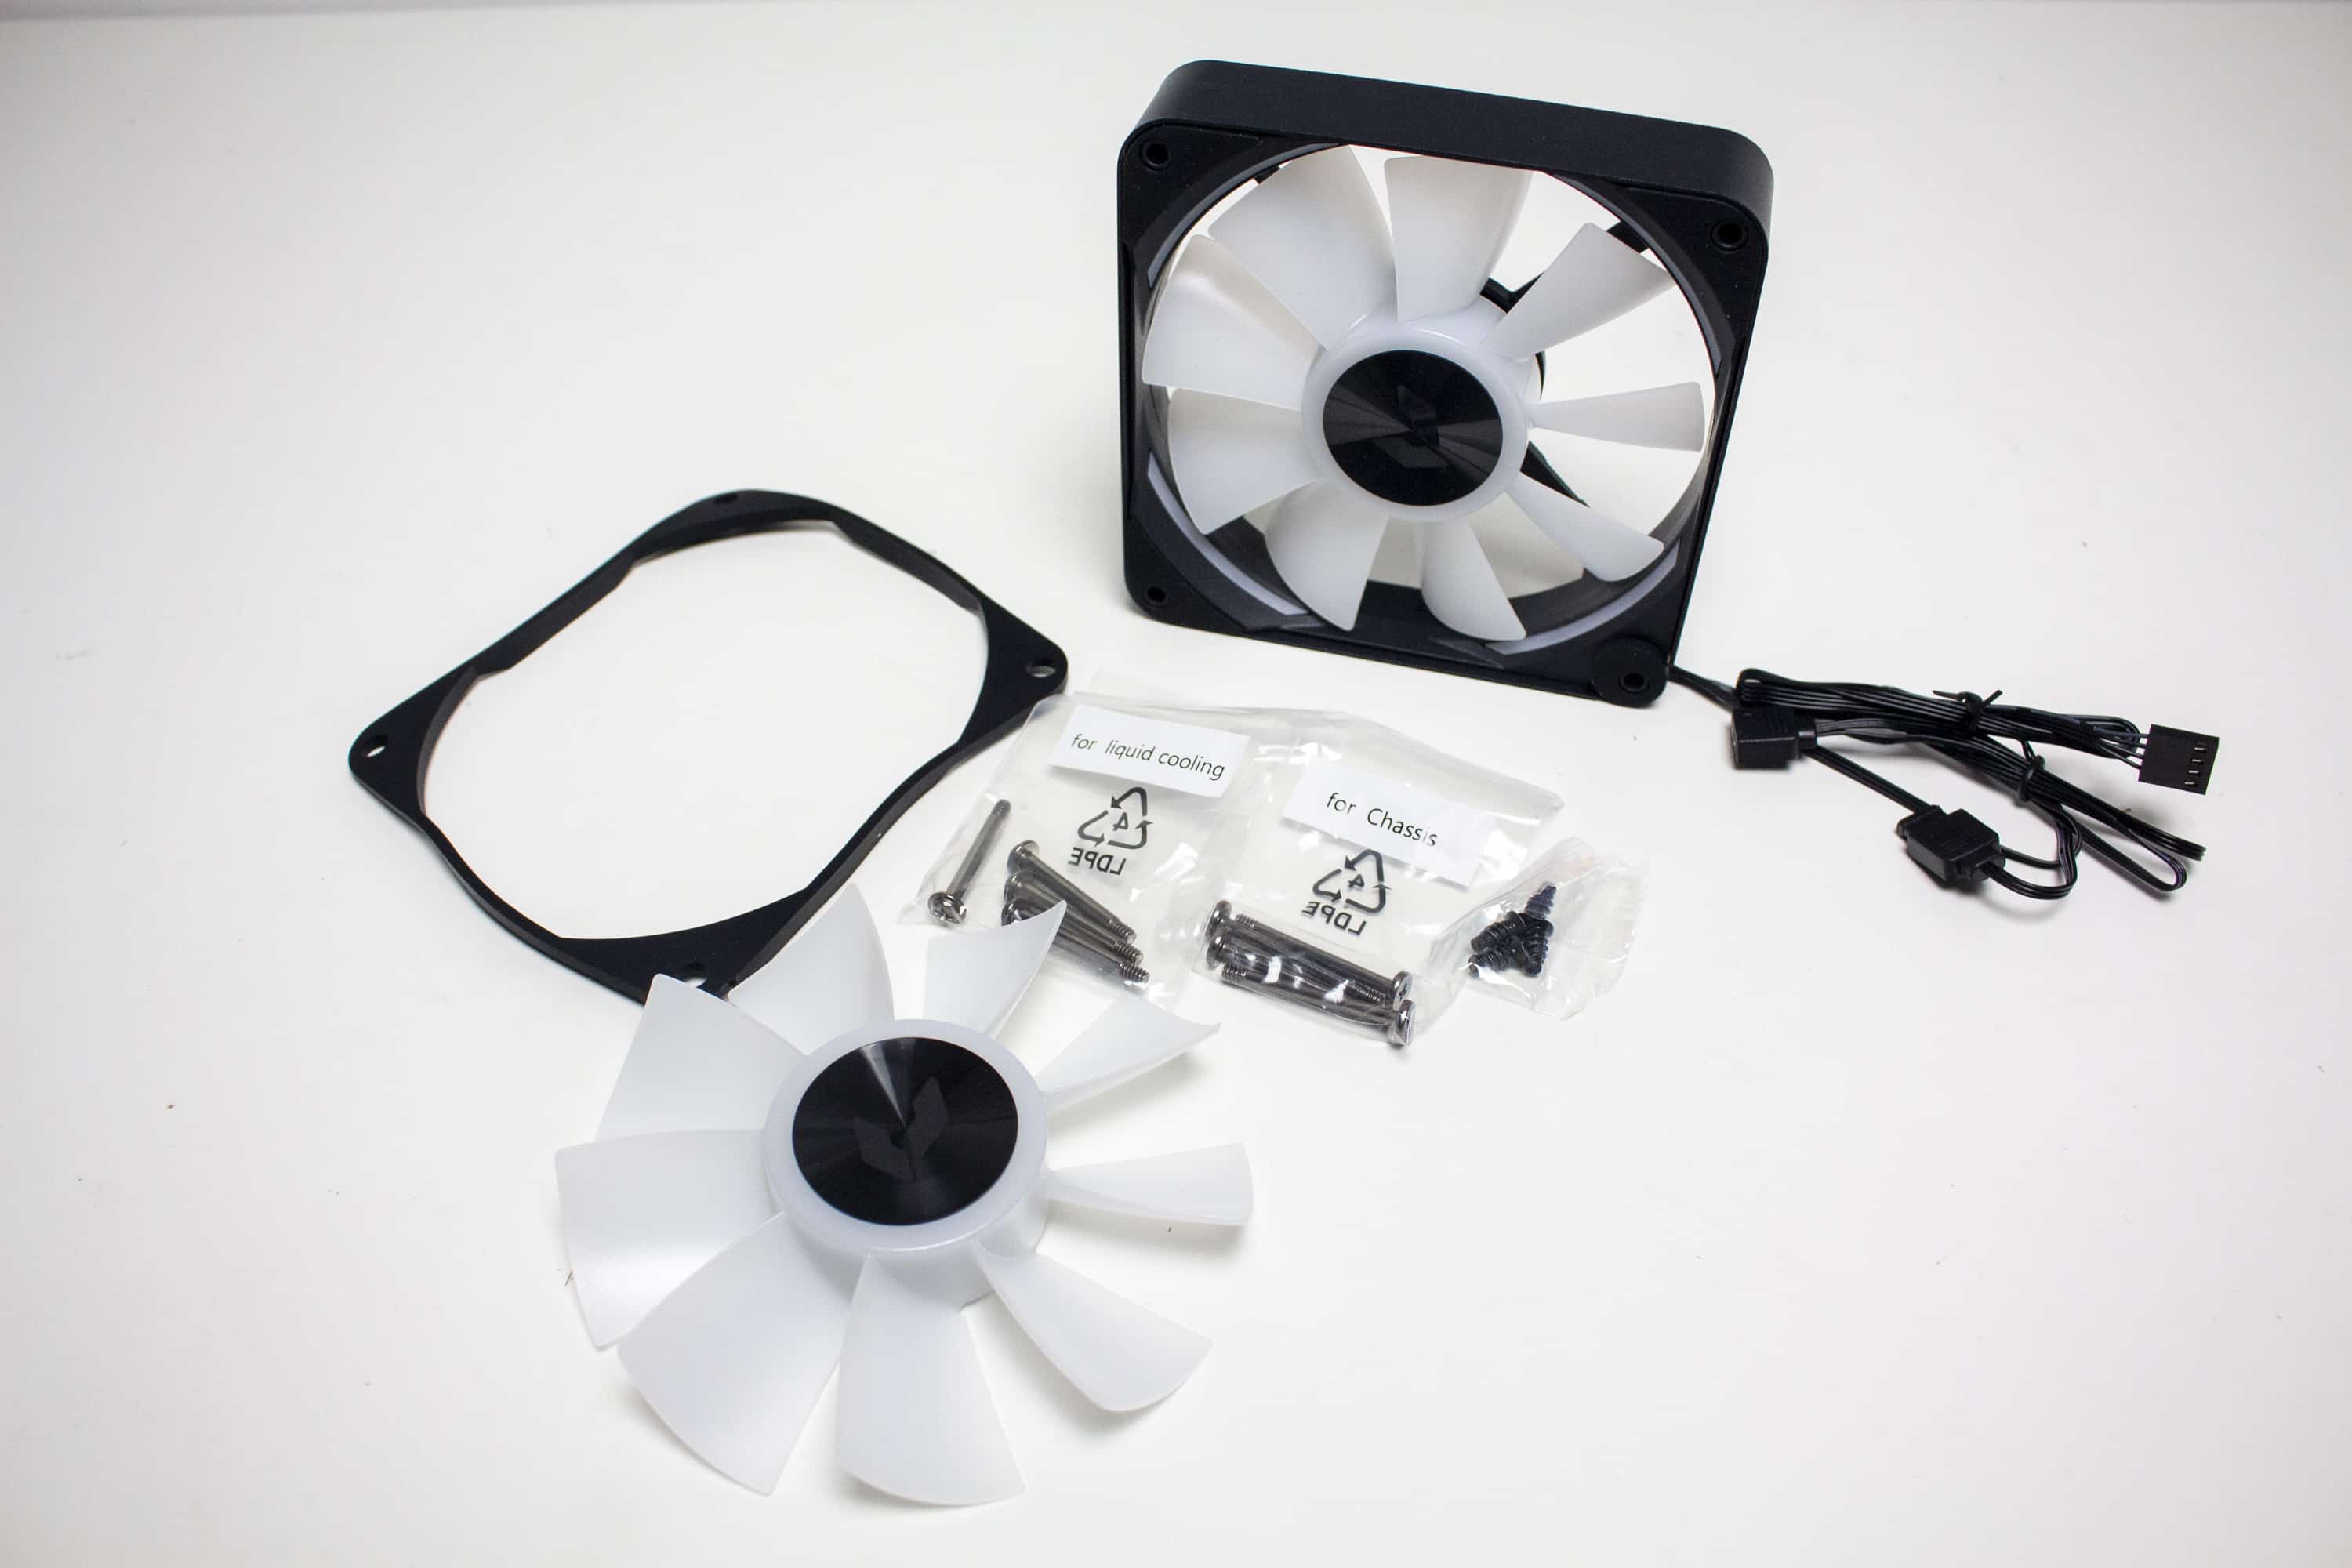
In addition to the APNX FP1, the manufacturer has also introduced the FP2 series. Visually, fans of this series are very similar to the FP1 fans, but additionally offer four lighting strips on the inside of the fan frame, as well as a fan frame made of aluminum. Technical differences are the slightly higher speed of 1800 rpm and the fan bearing (Fluid Dynamic Bearing). In addition, the fans come with three different types of mounting screws, an inverted rotor and a rubber decoupling frame. To replace the rotor, it can simply be pulled off and the inverted version put on.
Stress test
Lastly, we come to the temperatures that were reached in the APNX C1 test. During the stress test, Prime95 and FurMark were run for 15 minutes at a room temperature of 20 °C. Furthermore, the test was performed with two different fan speeds.
Scenario |
Temperature |
| CPU: 50% PWM (950rpm) GPU: 50% PWM (1650rpm) Open-air benchtable (no additional fans) |
CPU: 58.3 °C GPU: 58.2 °C |
| CPU: 50% PWM (950 rpm) GPU: 50% PWM (1650 rpm) 3x 140 mm 50% PWM (630 rpm) 1x 120 mm 100% PWM (770 rpm) GPU horizontal |
CPU: 61.0 °C GPU: 60.8 °C |
| CPU: 50% PWM (950 rpm) GPU: 50% PWM (1650 rpm) 3x 140 mm 50% PWM (1420 rpm) 1x 120 mm 100% PWM (1710 rpm) GPU horizontal |
CPU: 54.2 °C GPU: 60.2 °C |
| CPU: 50% PWM (950 rpm) GPU: 50% PWM (1650 rpm) 3x 140 mm 50% PWM (630 rpm) 1x 120 mm 100% PWM (770 rpm) GPU vertical |
CPU: 59.4 °C GPU: 59.1 °C |
| CPU: 50% PWM (950 rpm) GPU: 50% PWM (1650 rpm) 3x 140 mm 50% PWM (1420 rpm) 1x 120 mm 100% PWM (1710 rpm) GPU vertical |
CPU: 54.8 °C GPU: 58.0 °C |
Due to the airflow-friendly design as well as the four pre-installed fans, cooling our test system is not a problem at all. Whether running at reduced or full speed, the components never reach a critical temperature range at any time. Therefore, we are sure that even stronger components can be cooled in the APNX C1 without any problems. If the use of air cooling is not enough, there is also the possibility to install a water cooling system with up to two radiators in the C1.
As expected, the pre-installed case fans are not exactly quiet at the highest speed (1600 rpm) and the minimum possible speeds could also be a bit lower. In addition, all four fans unfortunately produced audible bearing noise in the form of a “rattling” noise. However, the APNX FP2 was free of any bearing noise.
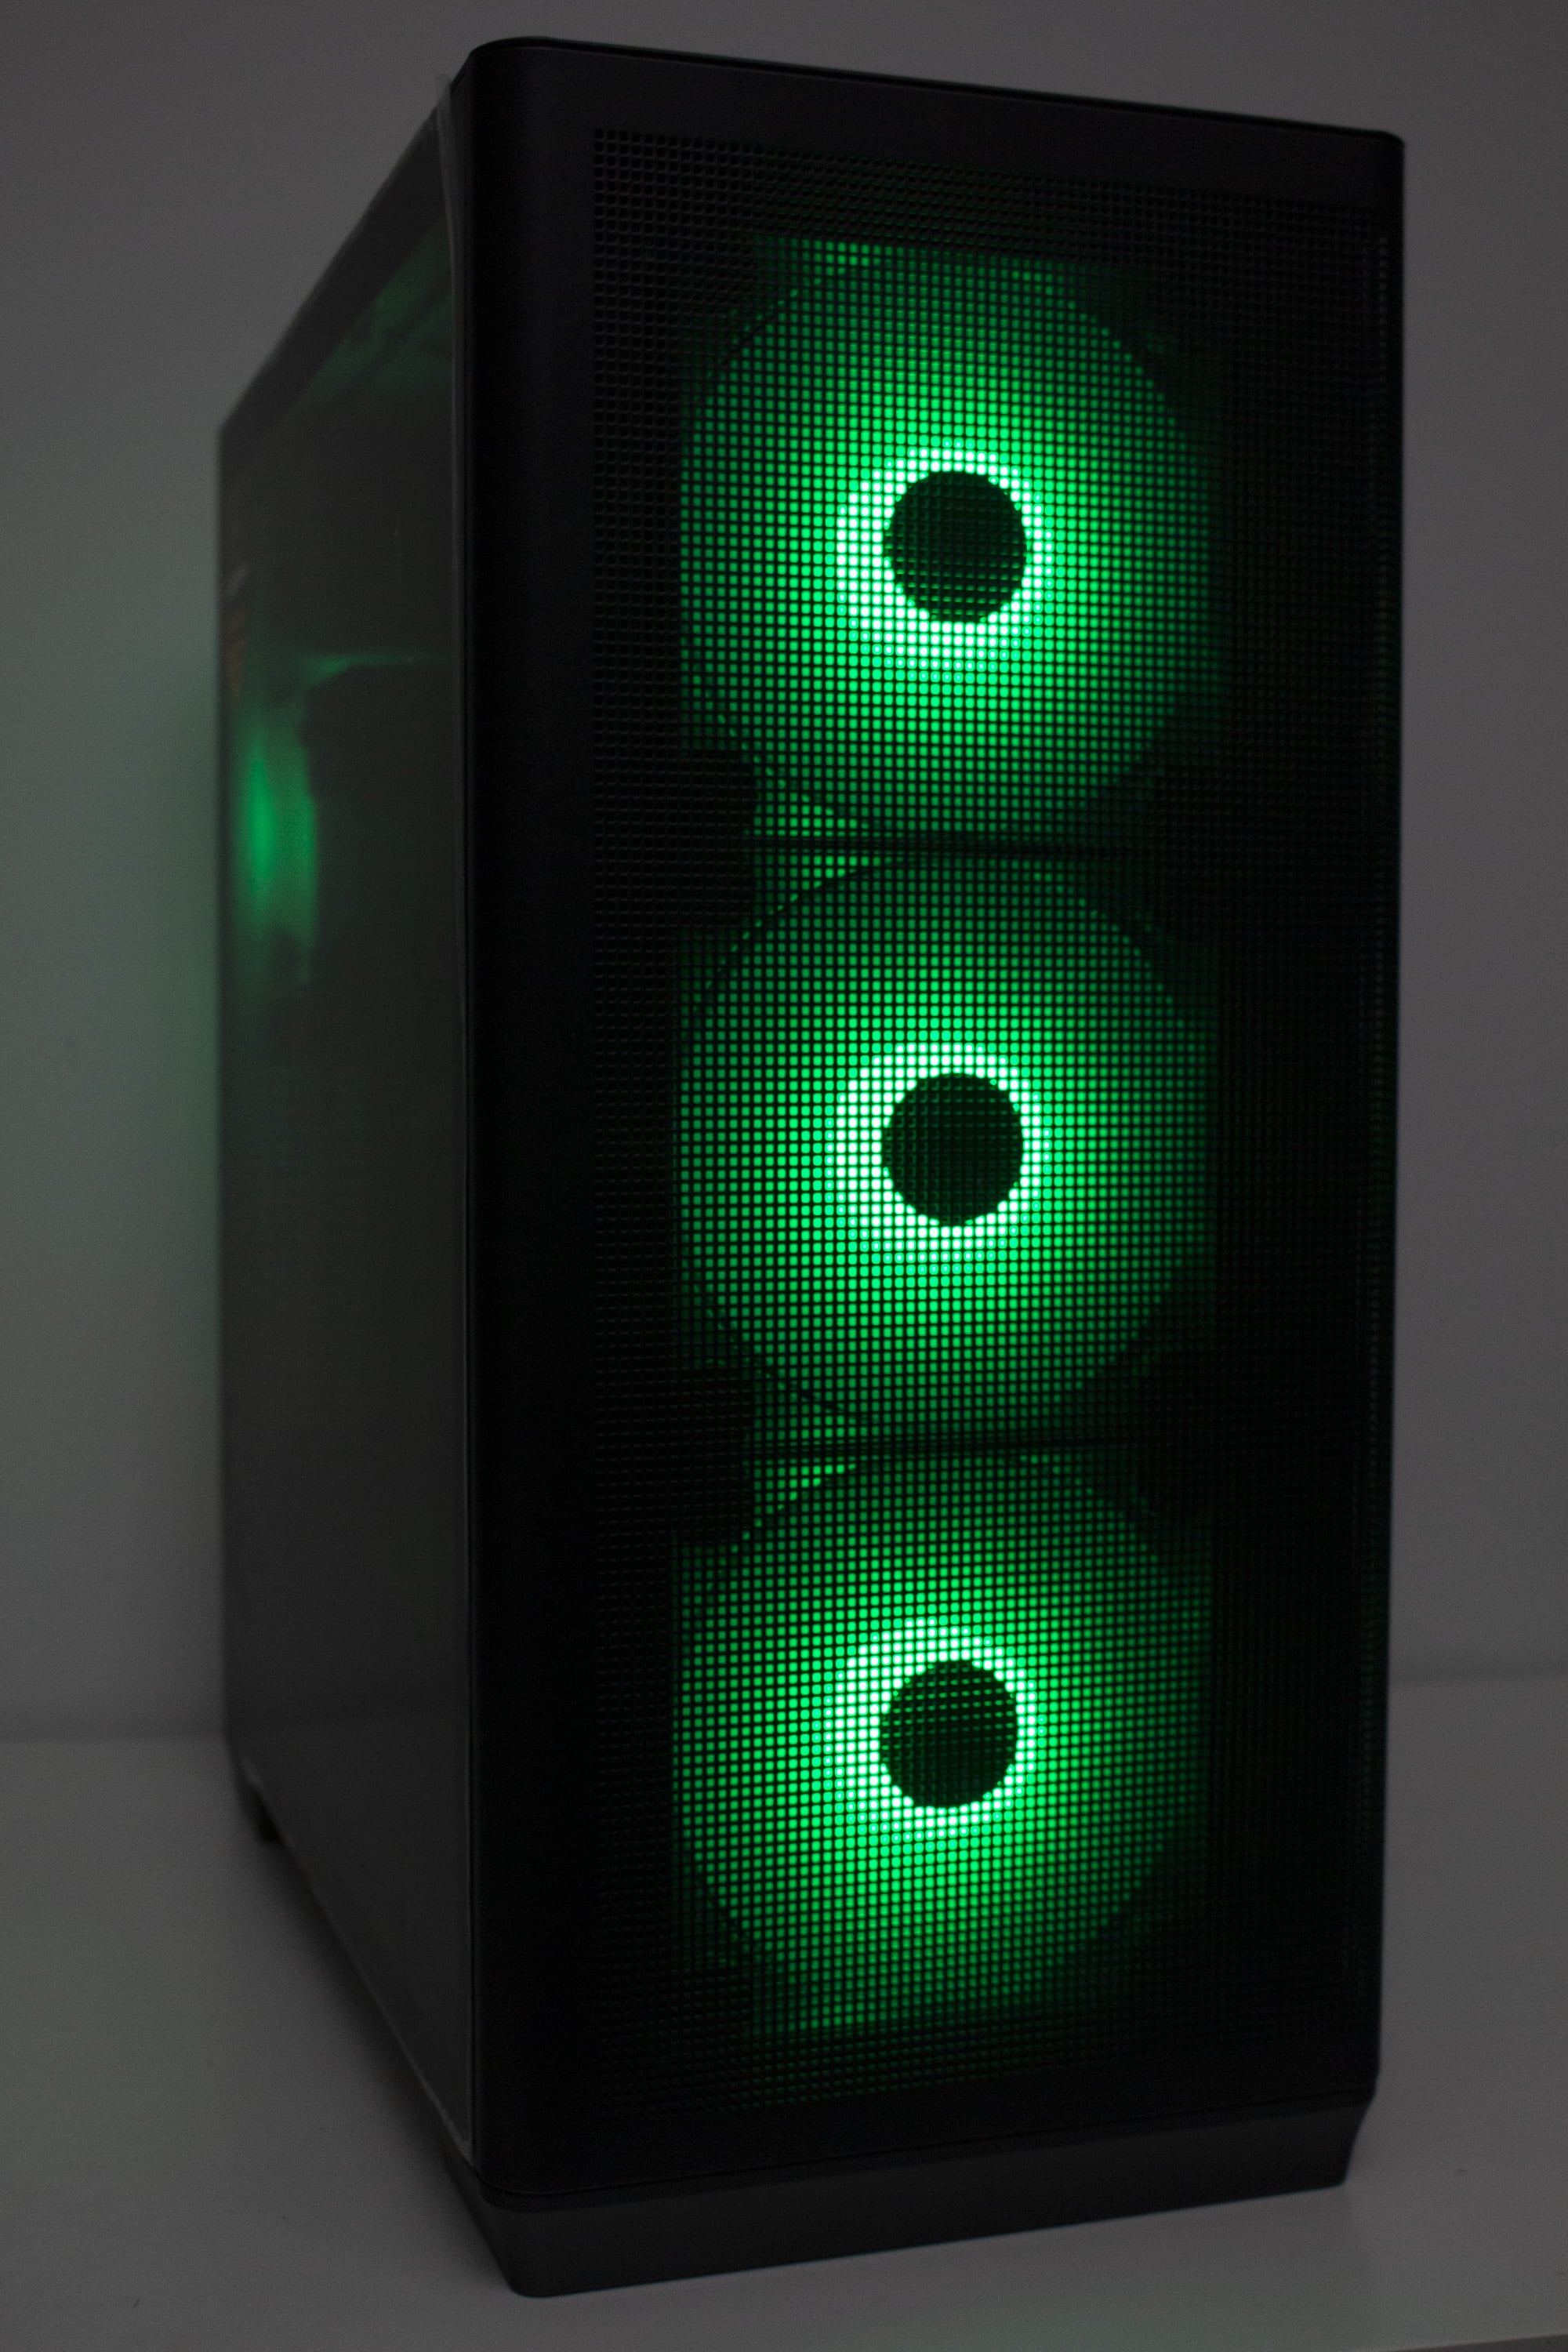
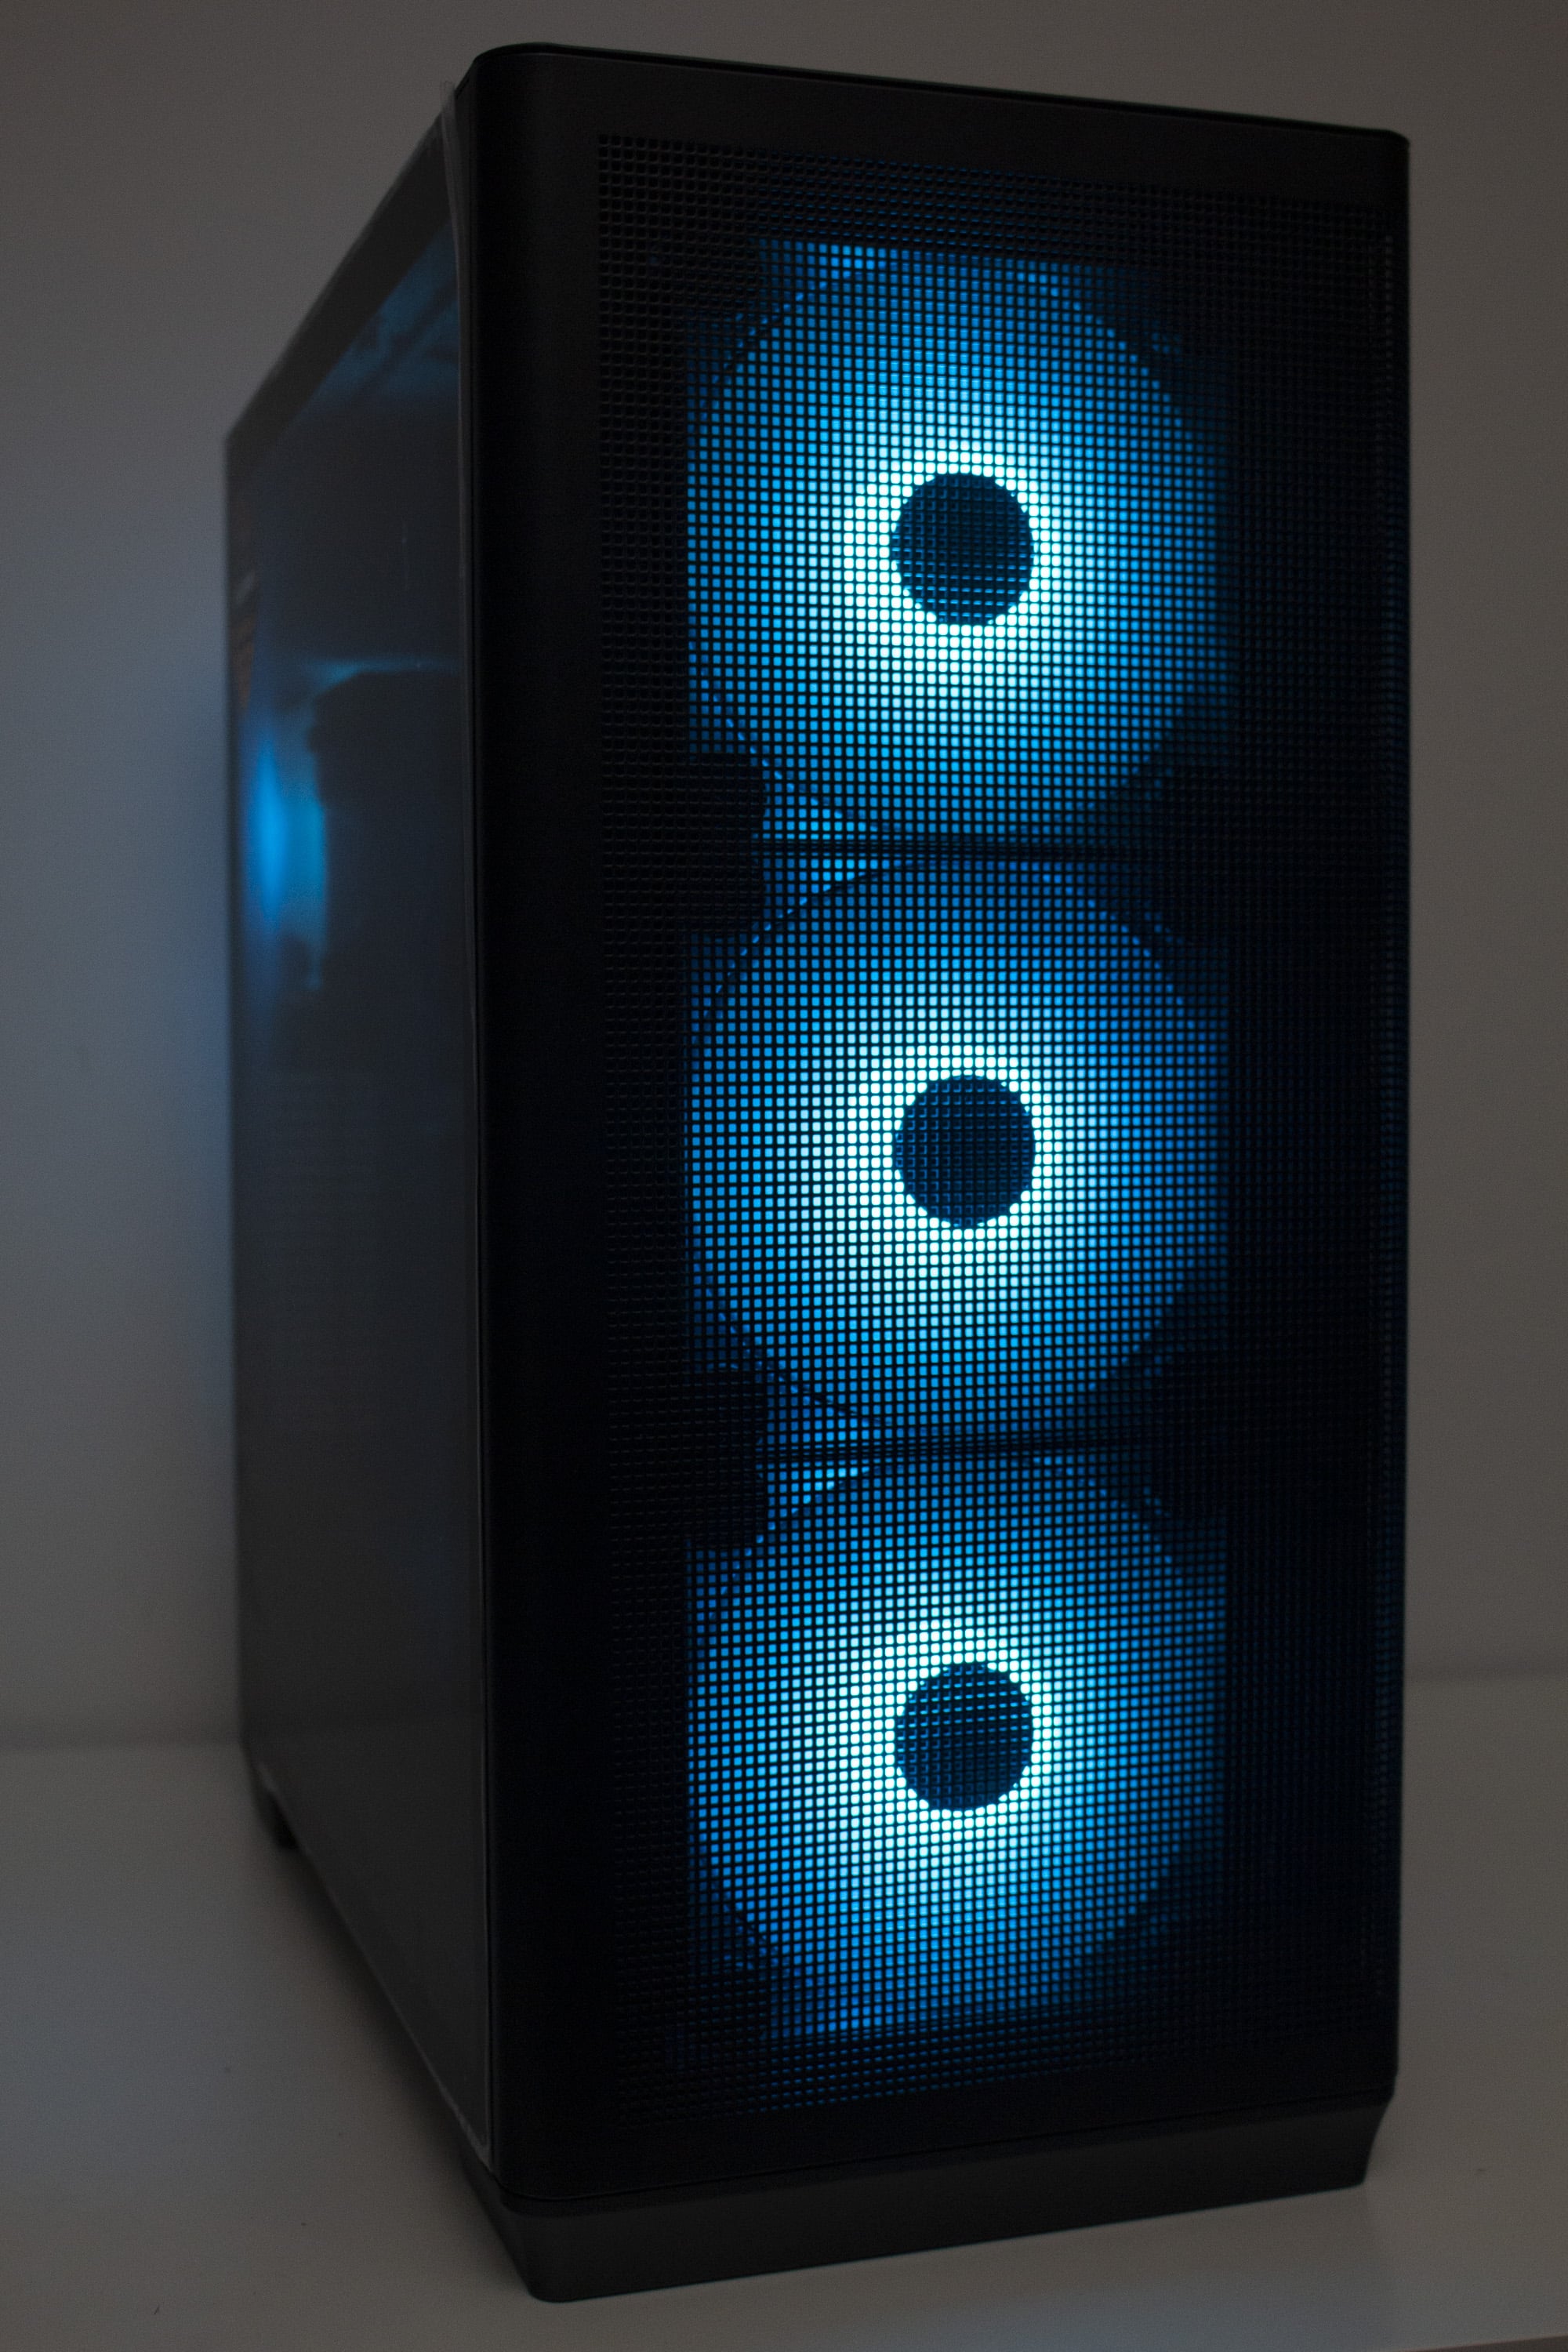
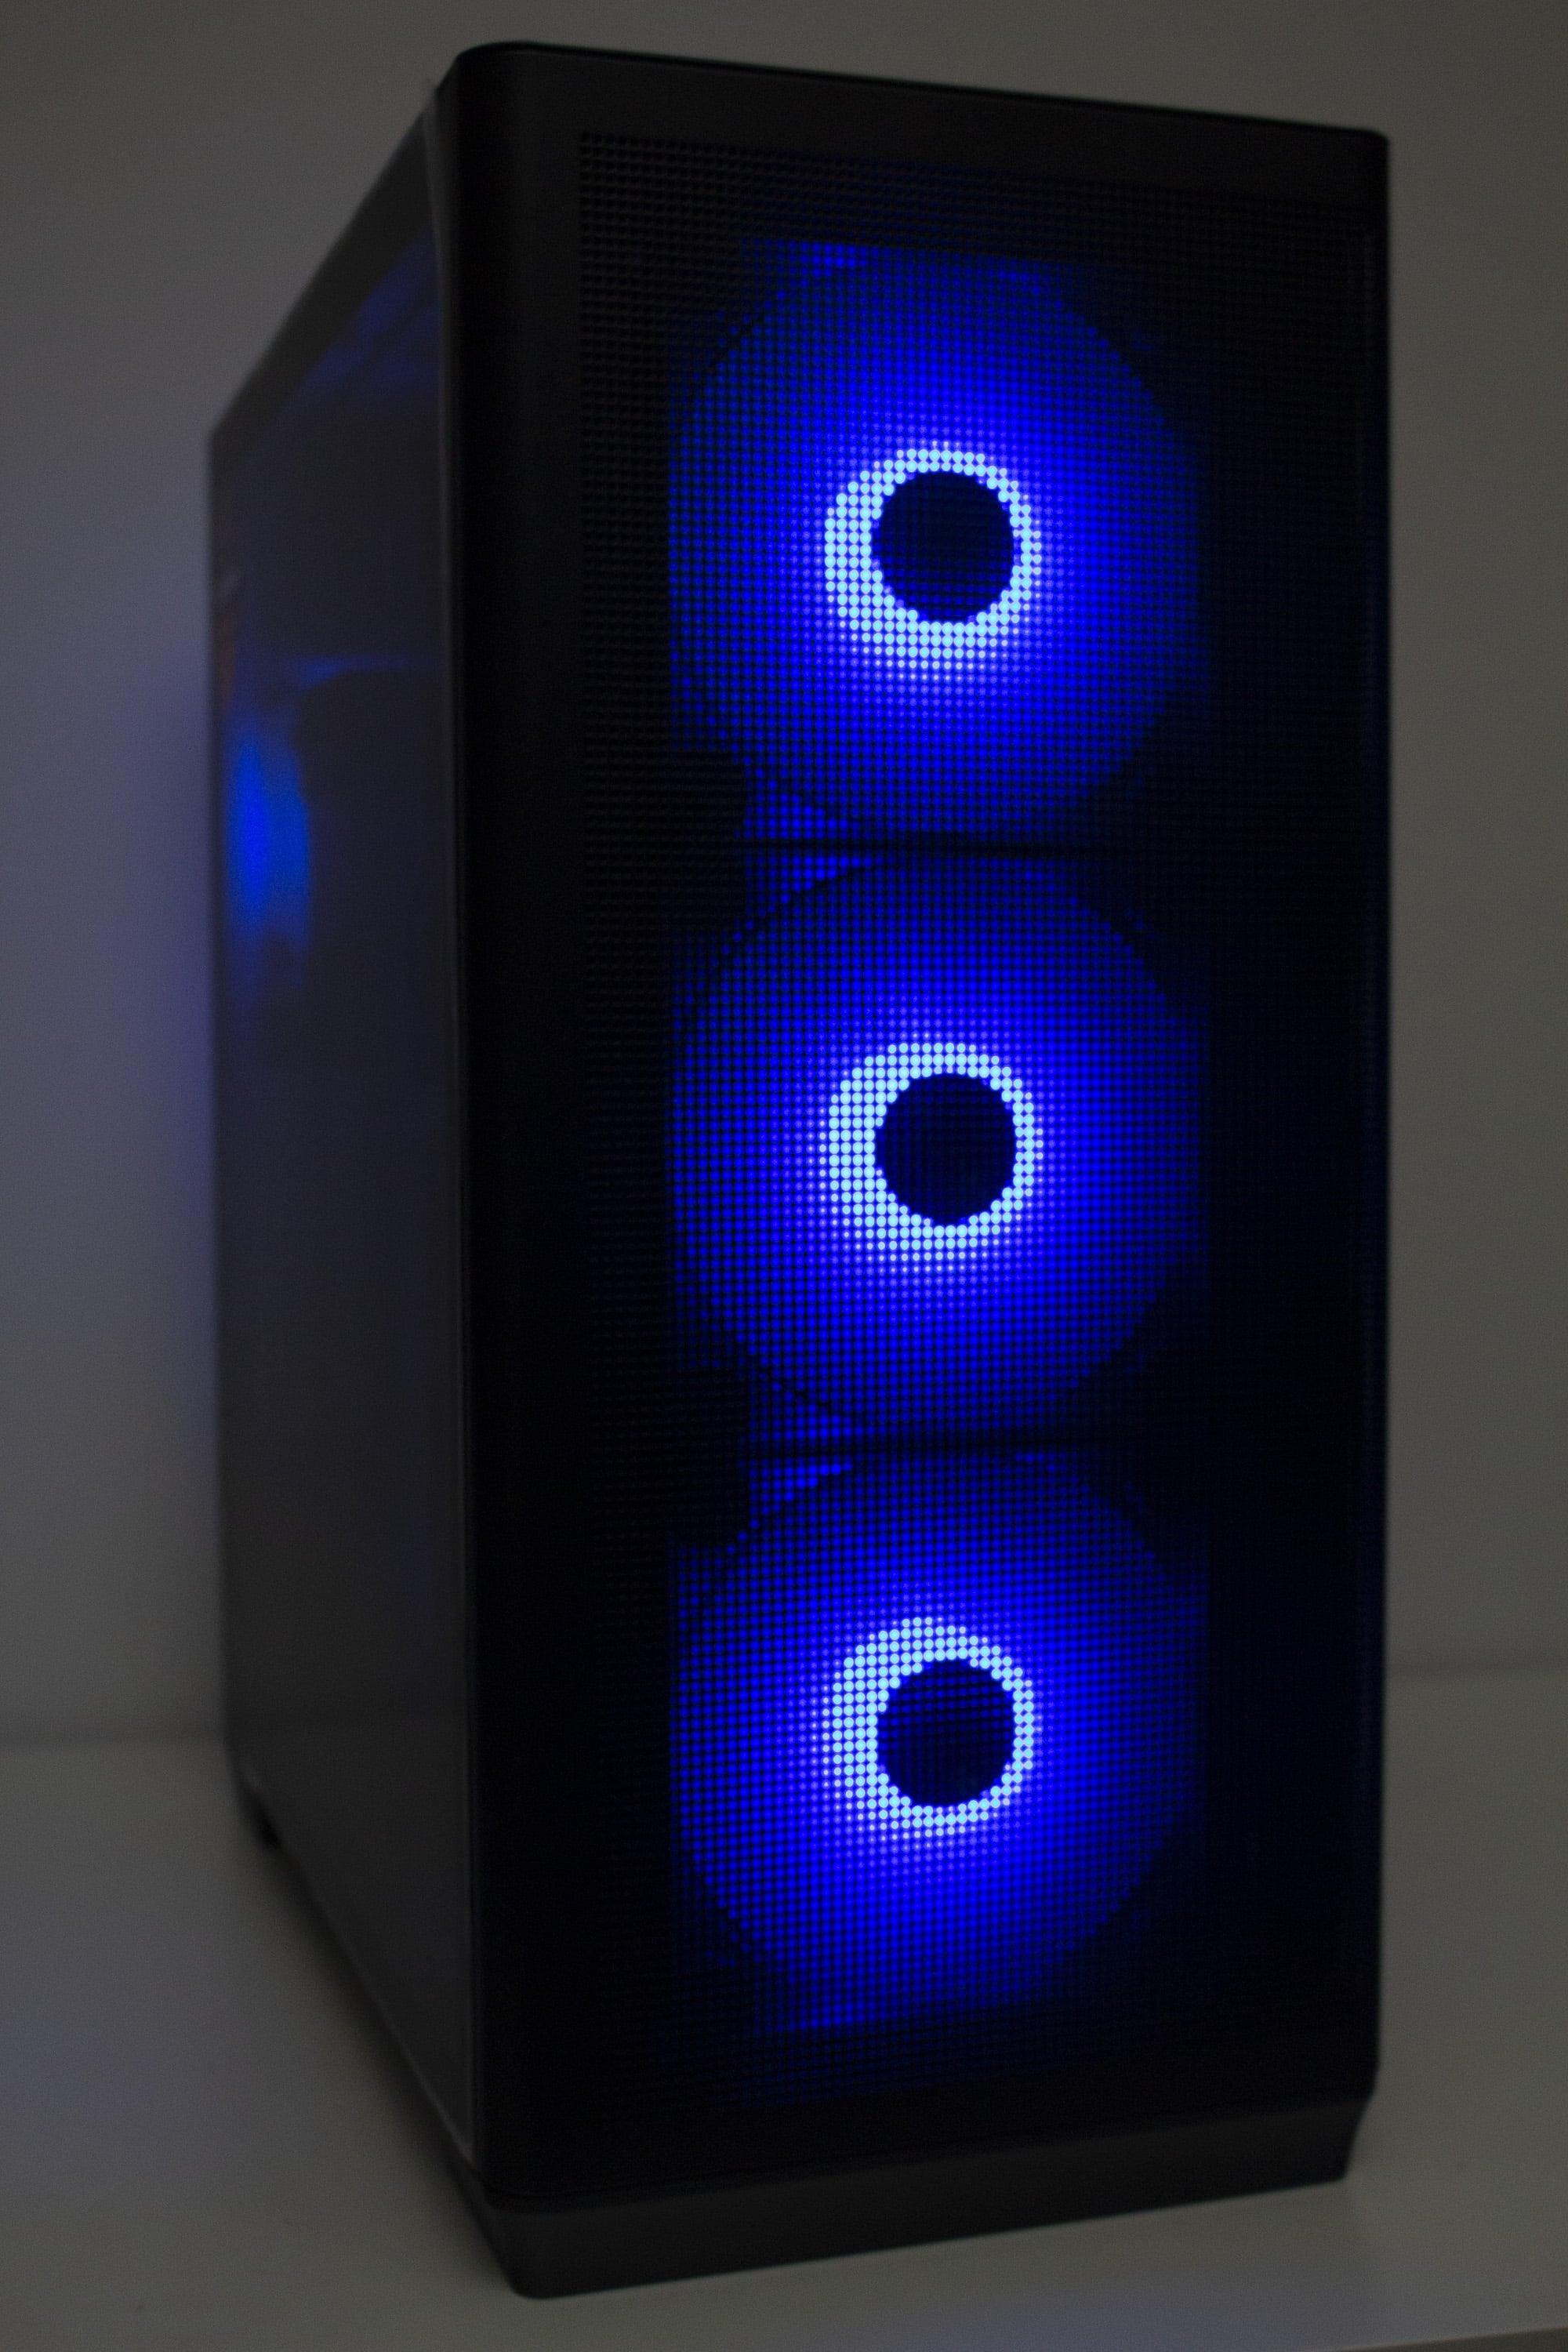
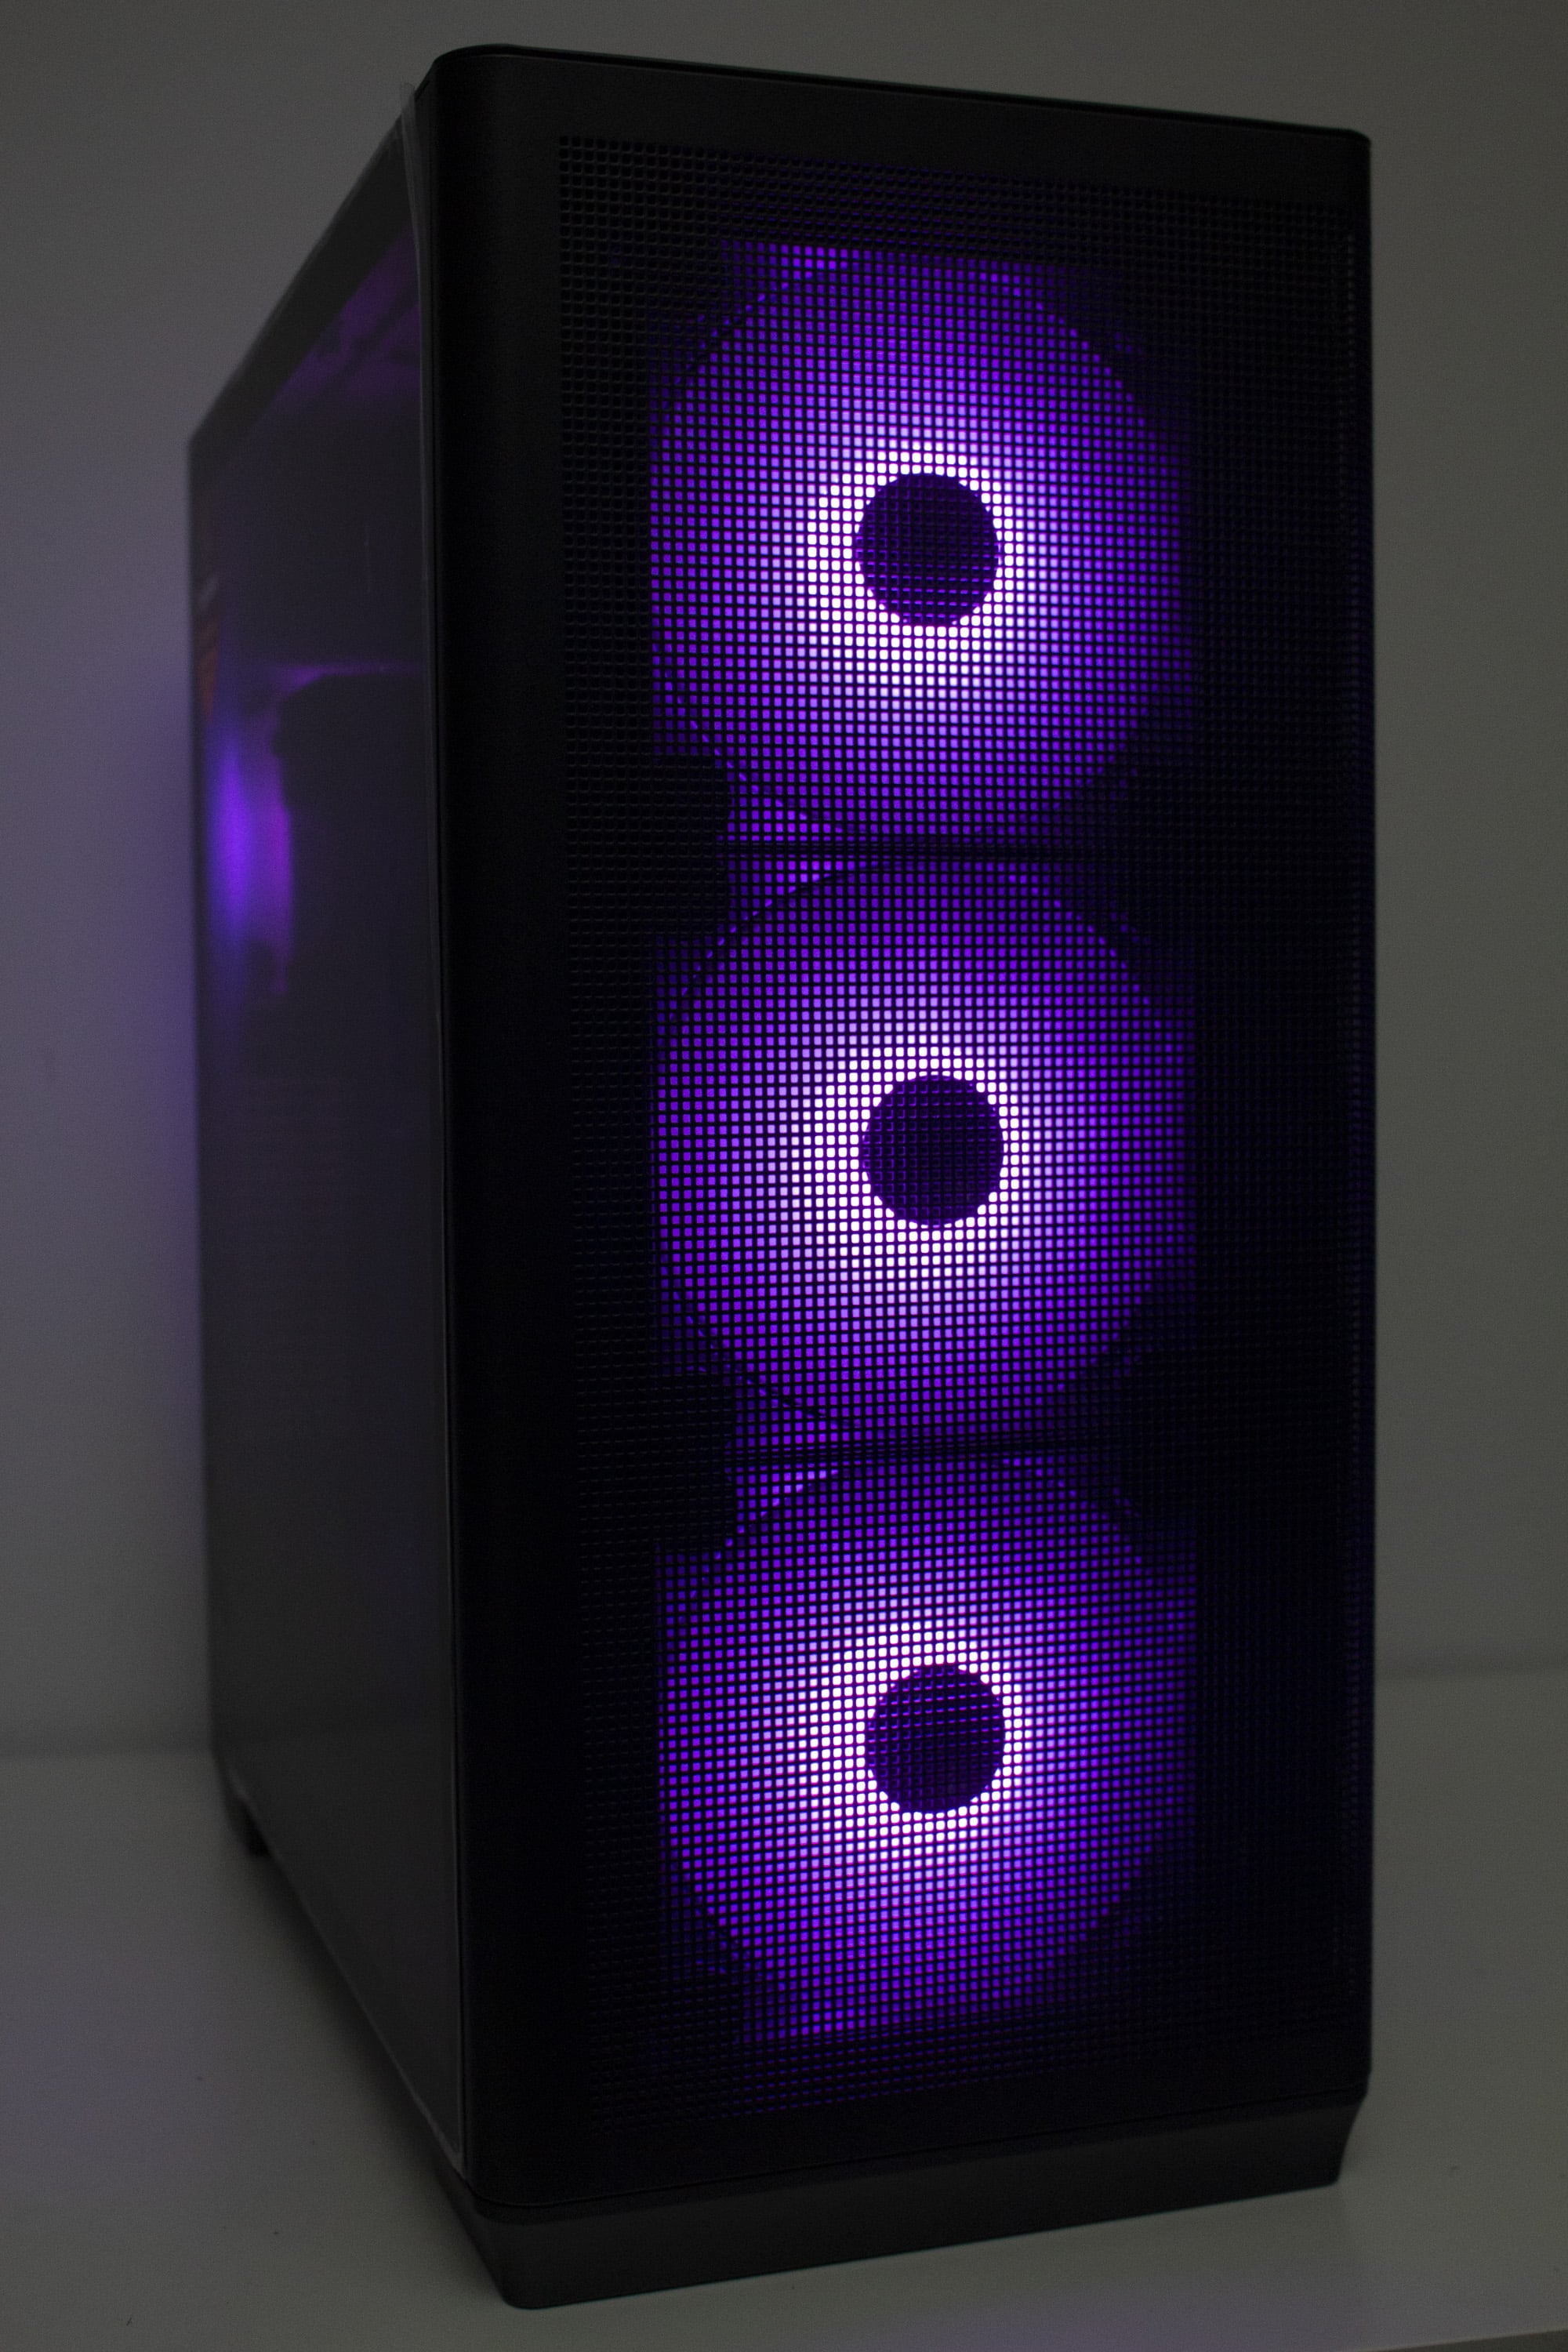
APNX C1 review: lighting options
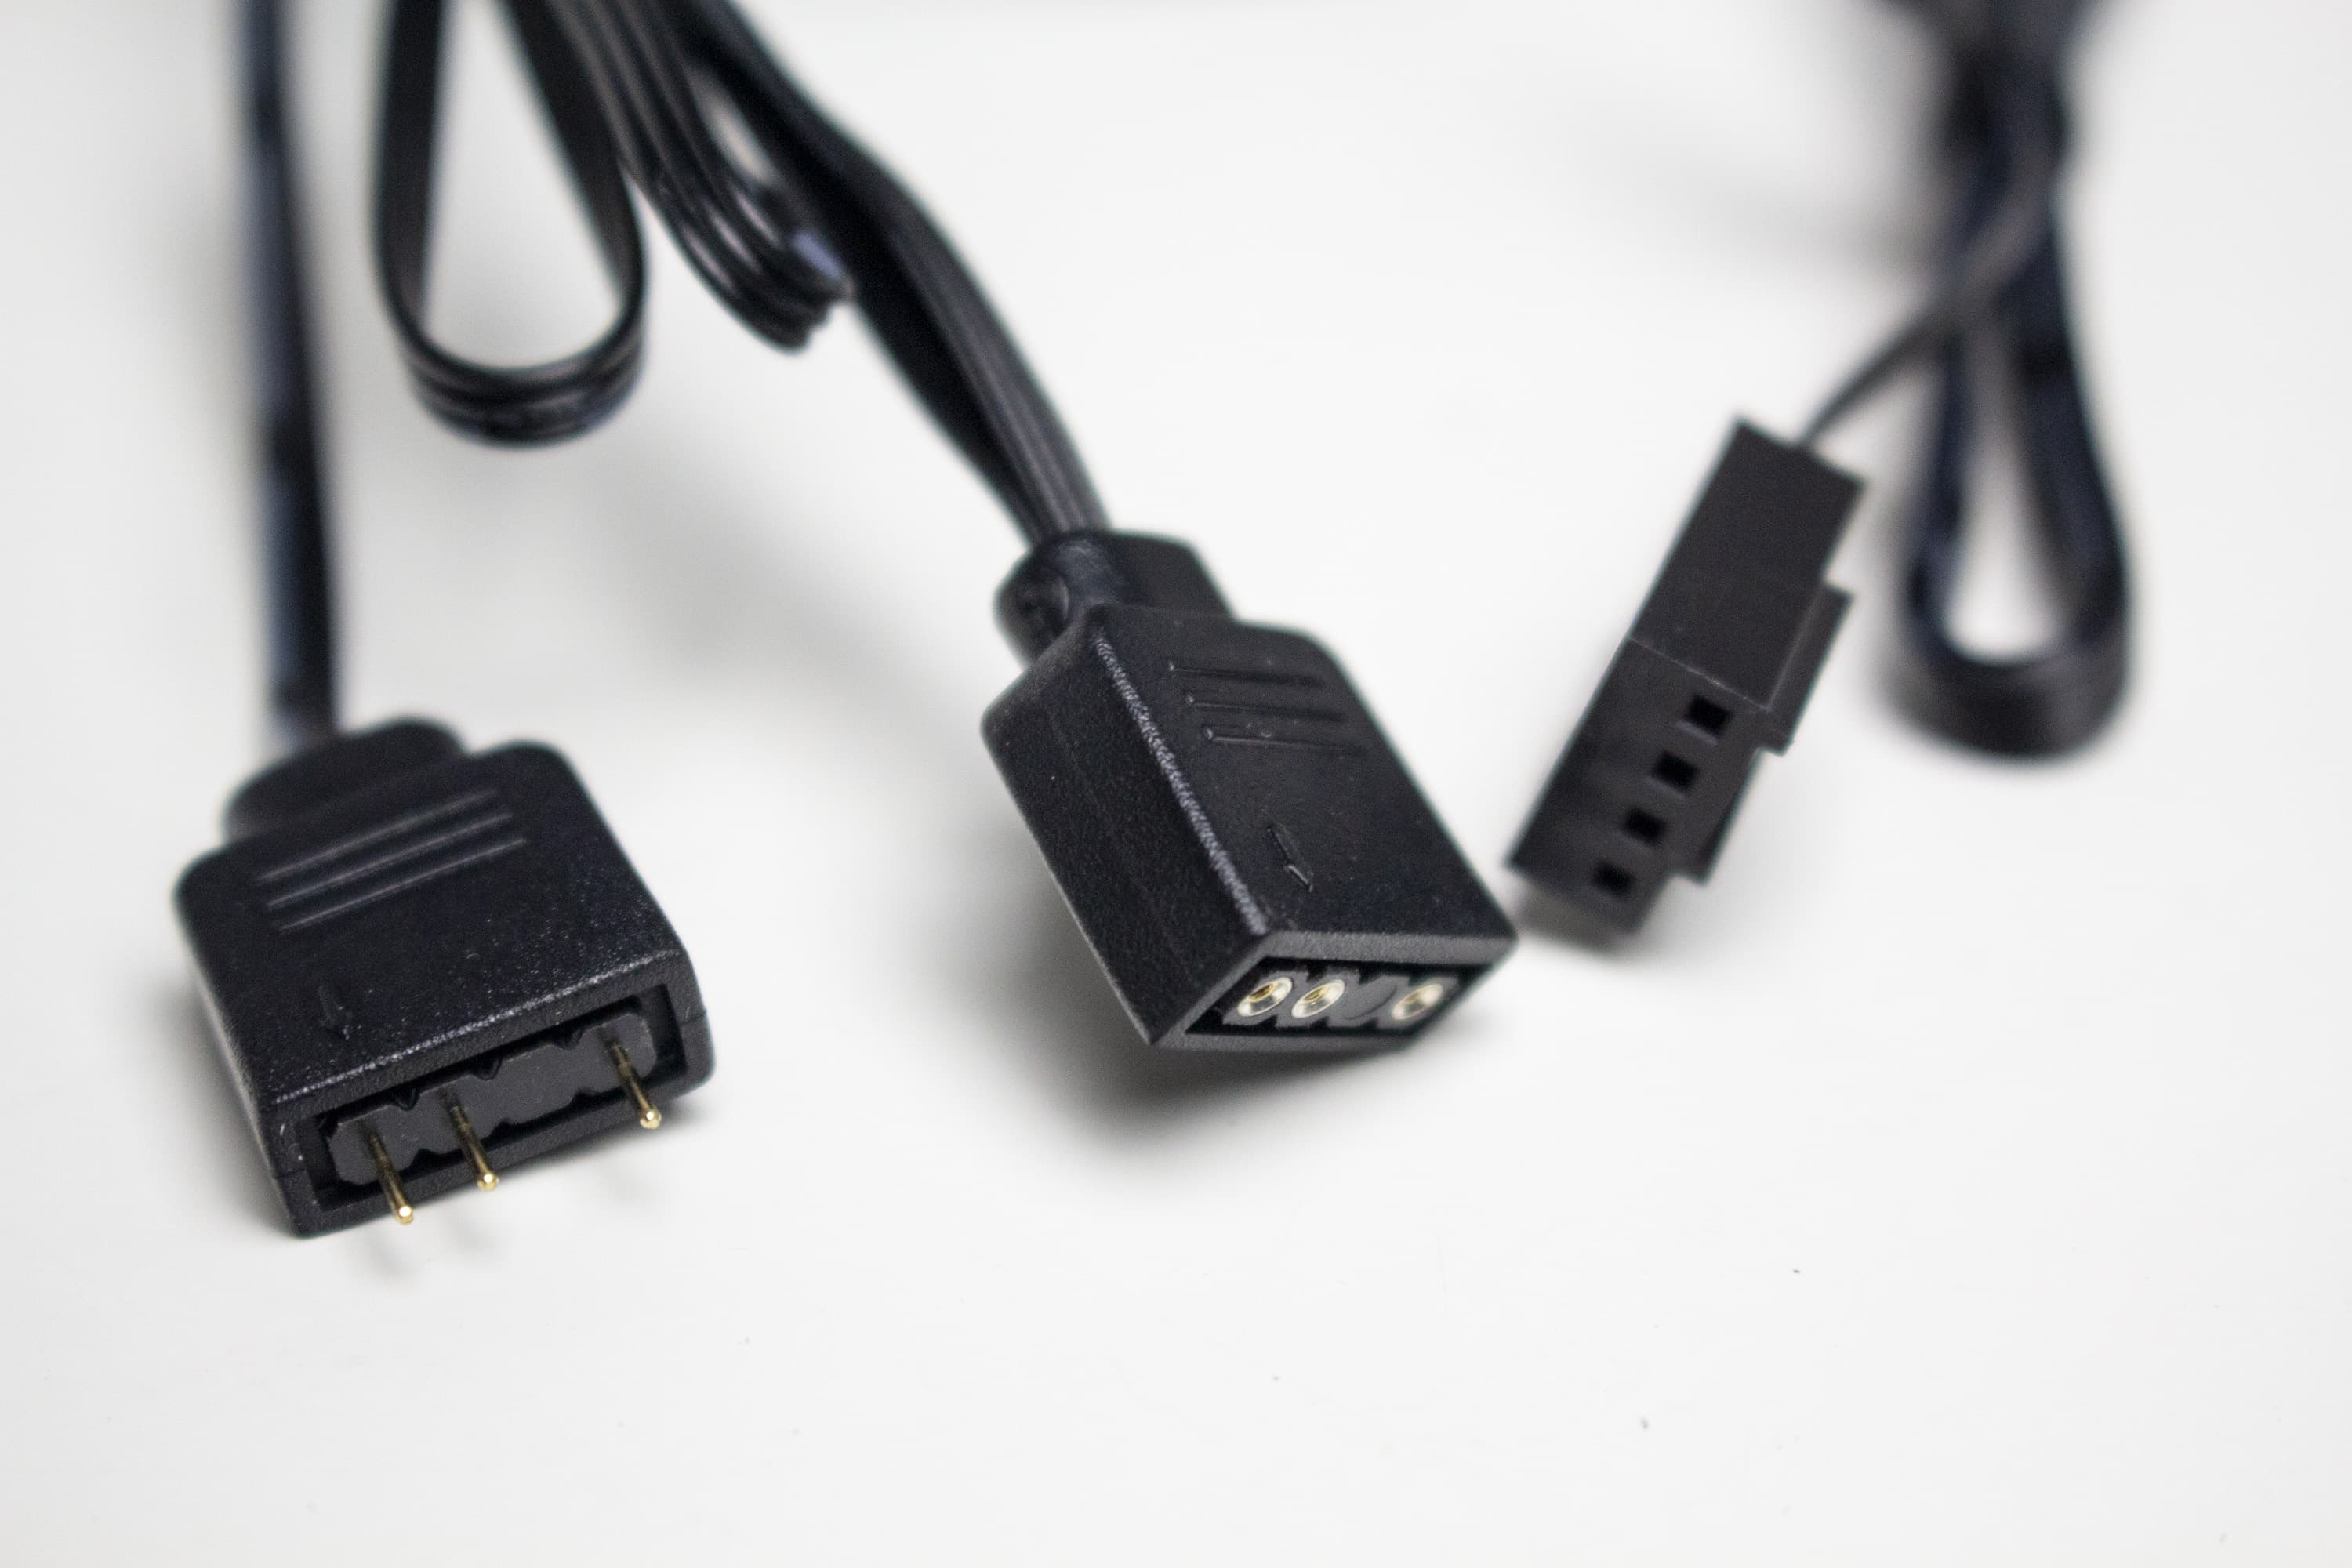
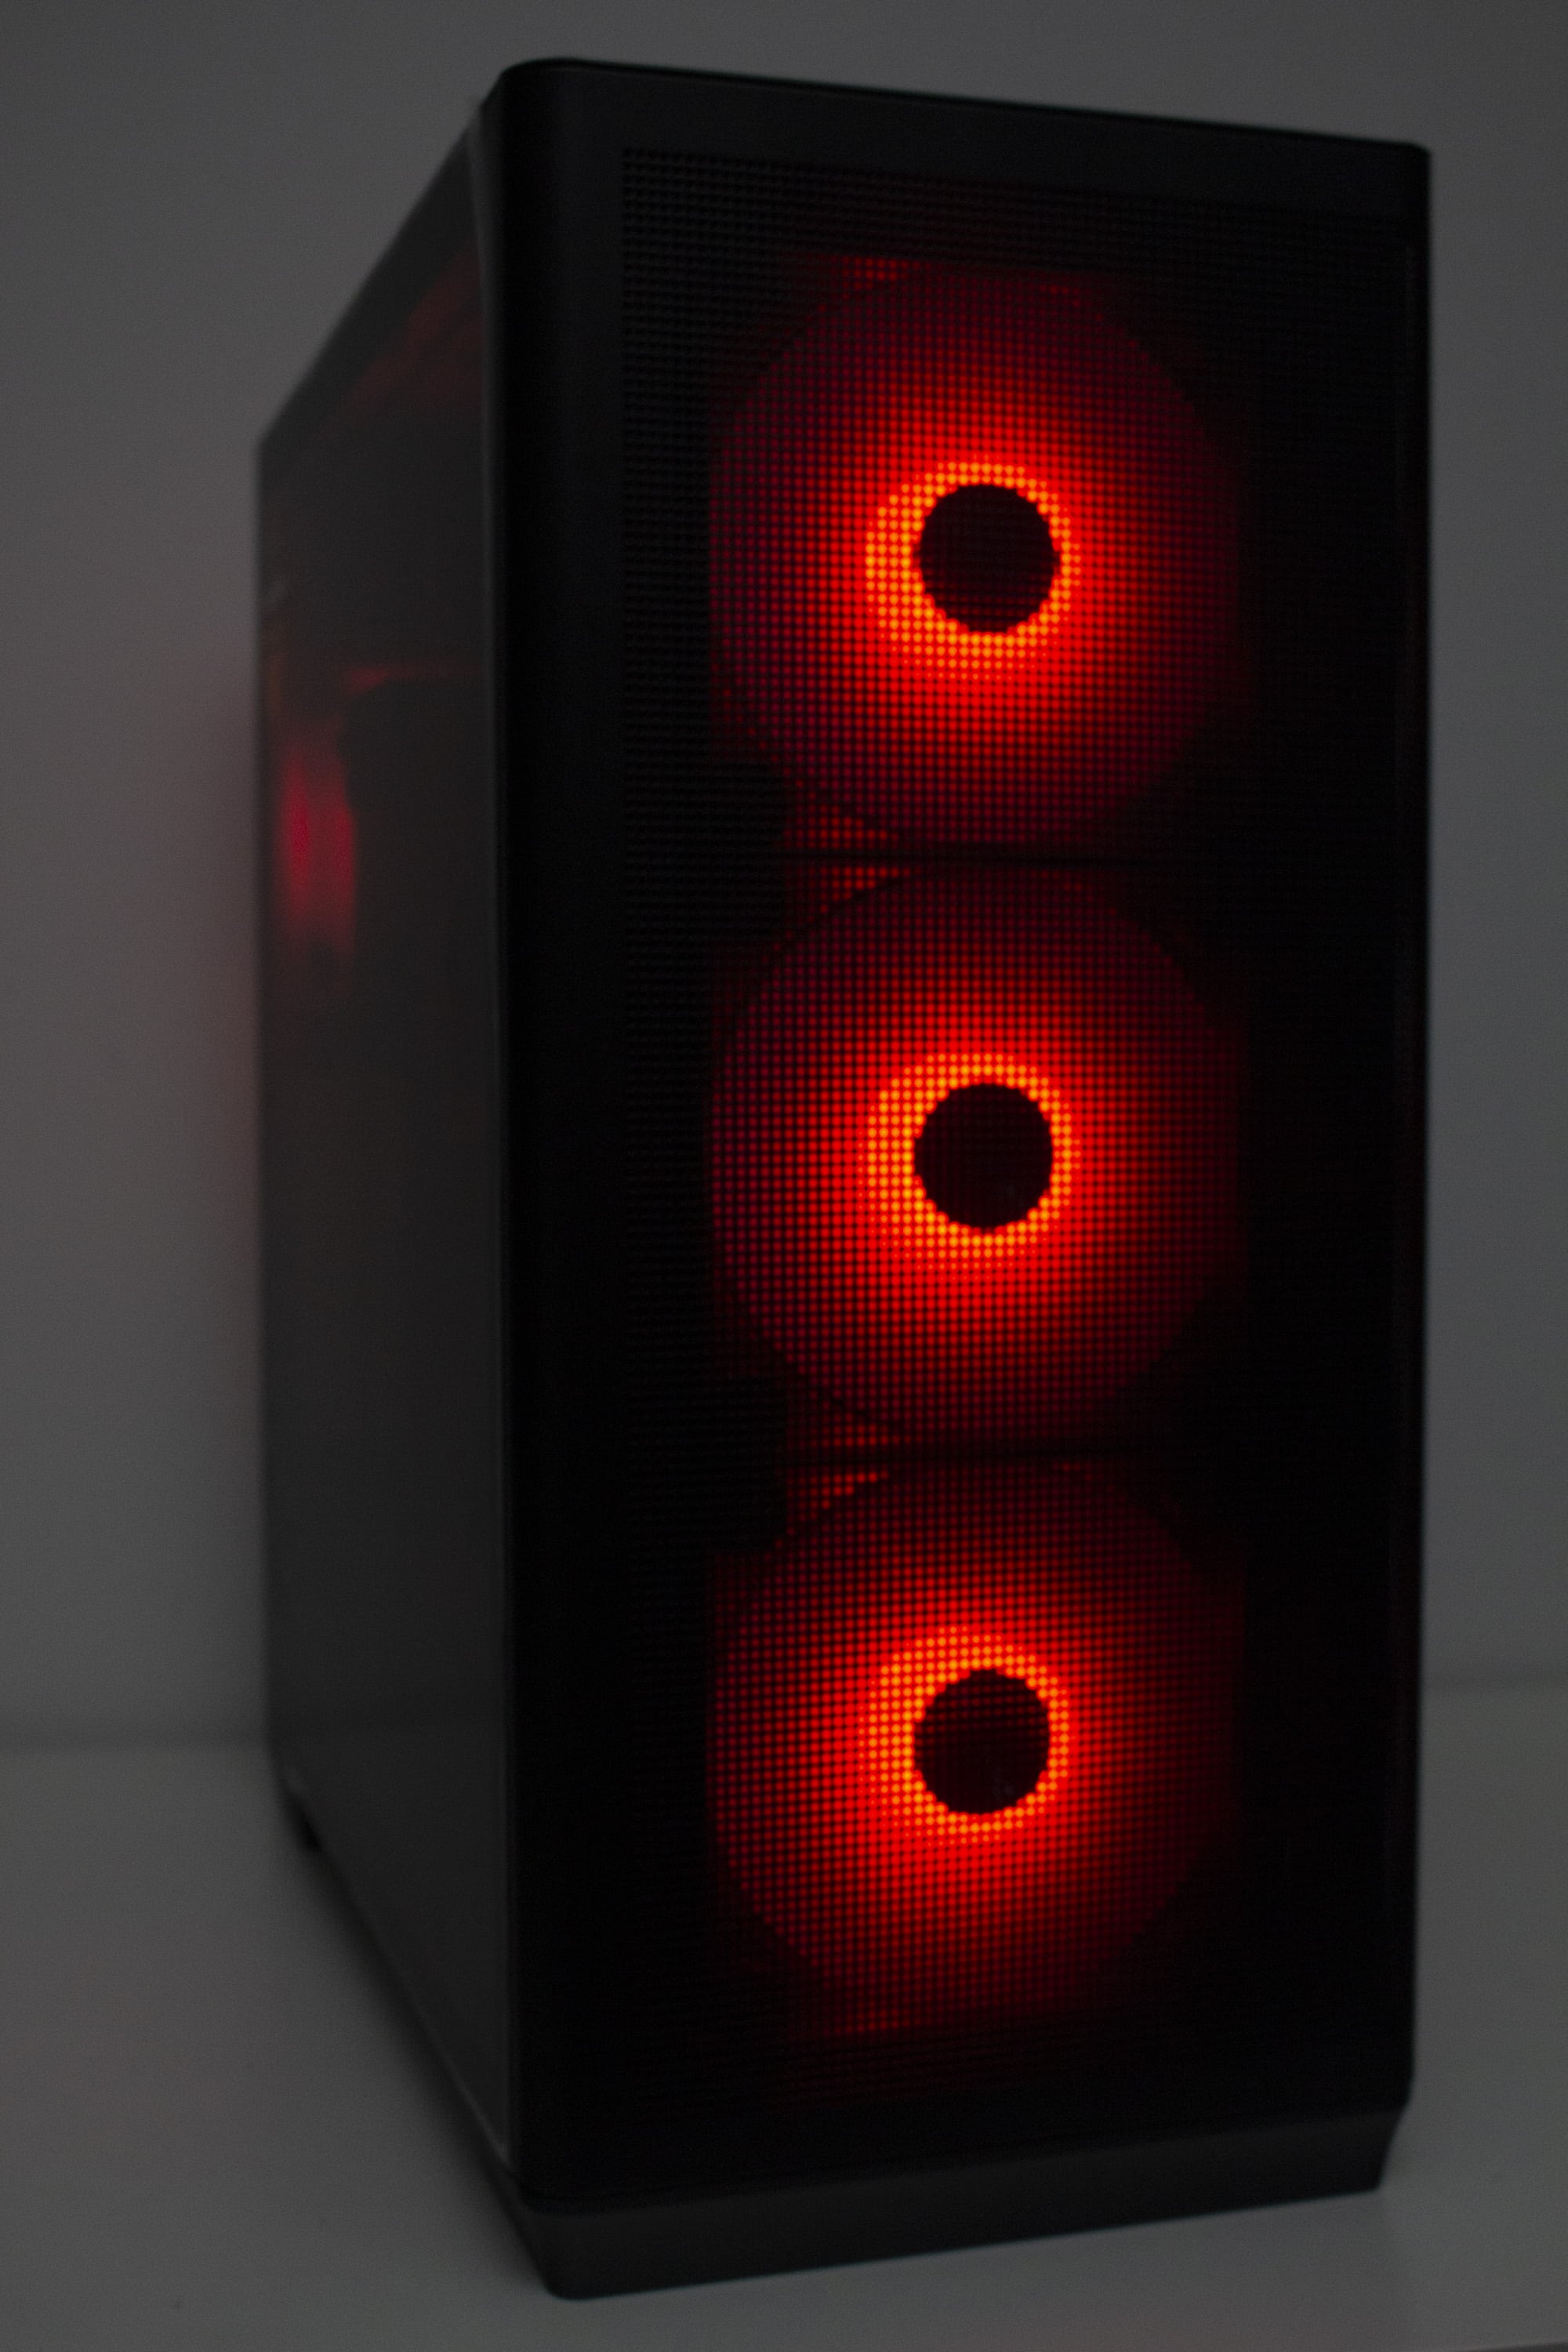
Lighting in the APNX C1 is entirely provided by the four pre-installed fans, which have ARGB LEDs located in their fan hubs. The connection for lighting the fans is made via a classic 3-pin 5V ARGB cable. These cables can be connected either directly to the mainboard or to the pre-installed 5-port PWM ARGB control board. From the board, only two cables then go to the mainboard (1x 4-pin PWM, 1x 3-pin 5V ARGB) as well as a SATA power cable to the power supply. The reset button is also connected to the board ex-works and allows controlling the lighting via it. A mainboard with a 3-pin ARGB connector is therefore not mandatory.

On the FP2 series fans, in addition to the LEDs in the fan hub, there are also four illuminated strips in the fan frame itself. Again, the connection for lighting the fans is made via a classic 3-pin 5V ARGB cable. The included inverted rotor allows the FP2 fan to be mounted sideways or in the base without the view of the lighting being obscured by the fan struts.
APNX C1 review: conclusion
Has APNX succeeded in making its debut with the C1? From our point of view, this statement is true. With the C1, APNX has developed an interesting and competitive case that can convince with many features. Haptics and workmanship are mostly excellent due to the use of 0.8 millimeter thick steel. Furthermore, all modular components seem stable and durable. In addition, there is the simple but by no means boring look, which provides the perfect basis for an excellent airflow due to the mesh structures.
Other positive features include the very good amount of space for hardware and cabling, the four pre-installed APNX FP1 ARGB fans including a 5-port PWM ARGB control board, and the tool-free mounting system for all exterior panels. The interior also shines with a high flexibility due to modular components and is even suitable for the installation of motherboards with rear connectors ex works.
However, the manufacturer definitely still has to do some fine-tuning. For example, there was one component (HDD frame) on our specimen that had such obvious paint defects that it should have been noticed in the quality control area. The rest of the paintwork was fortunately impeccable, which is why we hope for an isolated case. We were also a bit disappointed with the pre-installed FP1 fans. The generated airflow is very good and the illumination looks nice, but many buyers would probably replace the fans immediately due to the audible running noise.
In our opinion, the mounting system of the curved front panel should also be reworked. The installation is a bit awkward and the panel sometimes rattles when touching certain spots due to the implemented installation method. Finally, we miss dust filters for the side openings and the lid of the APNX C1. Especially if you want to install a radiator with blowing fans on the side, the air gets into the case unfiltered.
As mentioned at the beginning, the APNX C1 costs €139.99 (MSRP) in the black version and thus places itself in a very competitive price range. In terms of the overall package, the ANPX C1 is definitely competitive in our opinion, despite the flaws. However, APNX will have to improve a few things. In addition, a version with a reduced price and without or with fewer fans would have been even more desirable.

APNX C1
Structure
Workmanship
Features
Cooling
Value for money
90/100
The APNX C1 can convince with a mostly high-quality build, an excellent cooling performance and a very good equipment package including four ARGB fans and control board. Points are deducted for the partly missing dust filters and the clearly audible noise of the pre-installed FP1 fans.