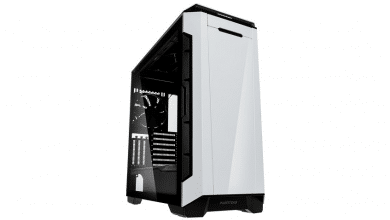
The Cougar Panzer Midi-Tower is a very interesting case and if you compare the price with the list of offered features, you can’t really go wrong with the case. The design is very striking and the Panzer Midi-Tower offers good support for the components of a water cooling system. Due to its large mesh surfaces, gaming hardware can also be well cooled by air, so the case is also well suited for later conversion from air to water cooling.
The Cougar Panzer is also available as version Panzer S available with three pre-installed LED fans in the front. The specimen reviewed here is the “normal” Cougar Panzer.
Design
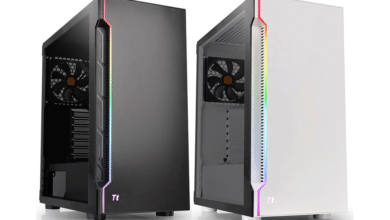
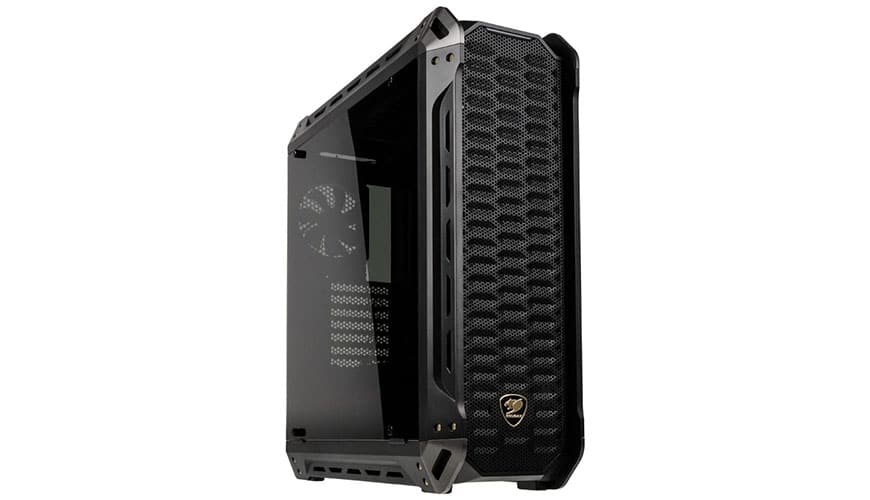
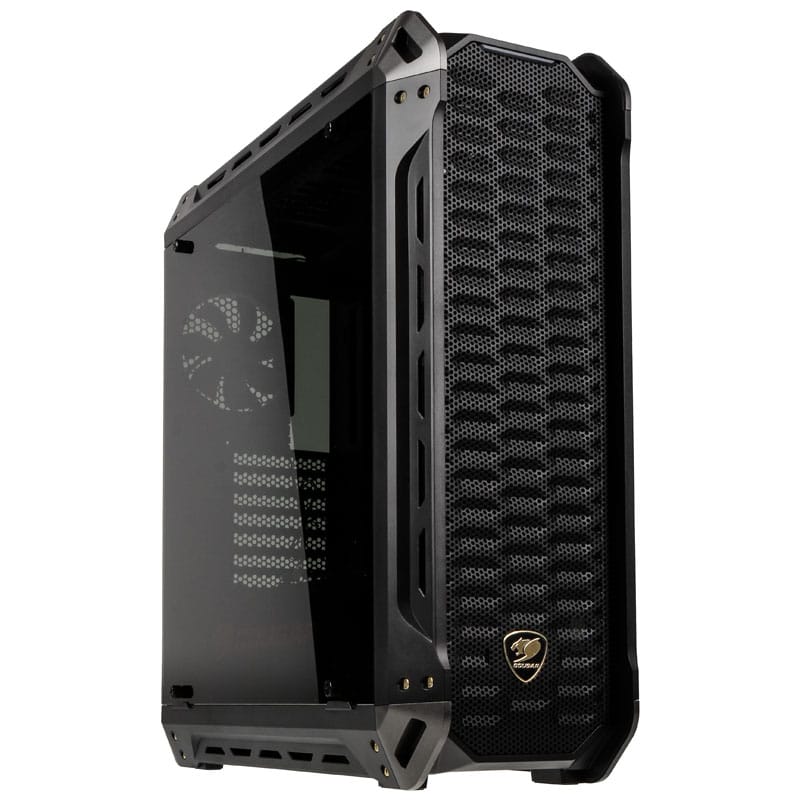
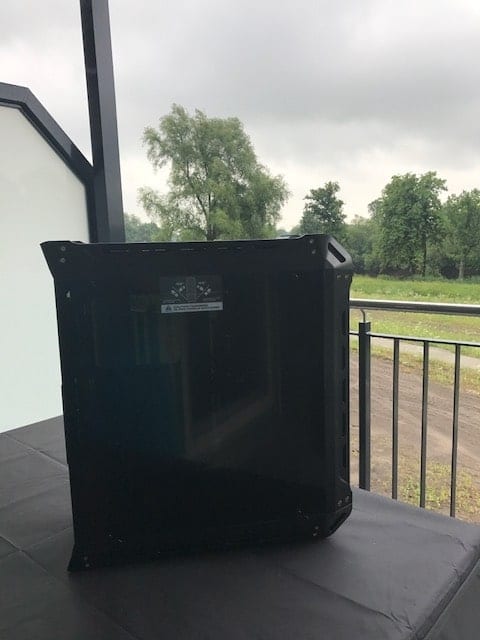
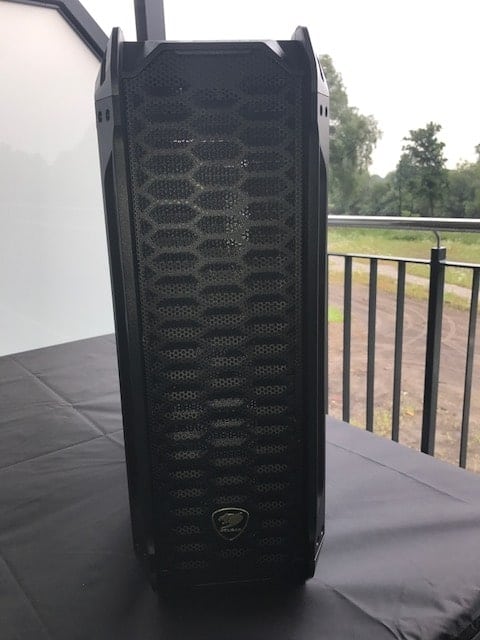
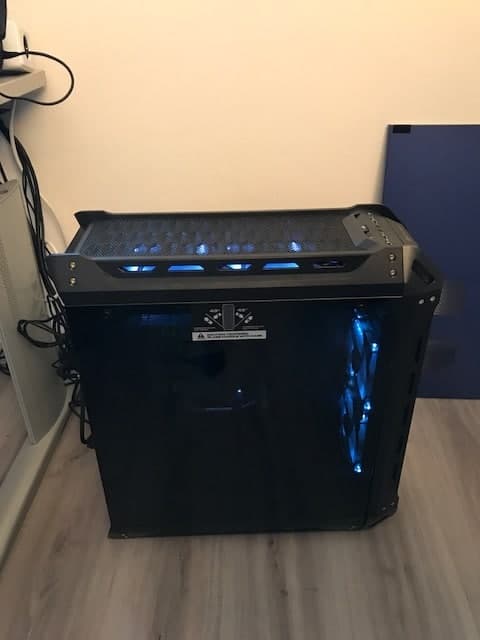
The “large mesh surfaces in tank chain look” make the Cougar Panzer look very martial and the military look frame contributes to the robust, aggressive design of the tower. As always, the design of the case depends on the subjectivity of the viewer.
Both sides are made of tinted tempered glass and are held to the case by thumbscrews. The use of tempered glass instead of acrylic glass additionally supports the robust design of the Cougar Panzer.
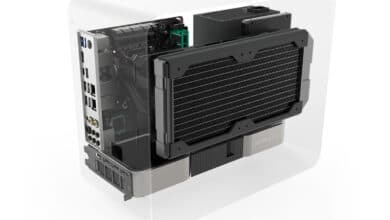
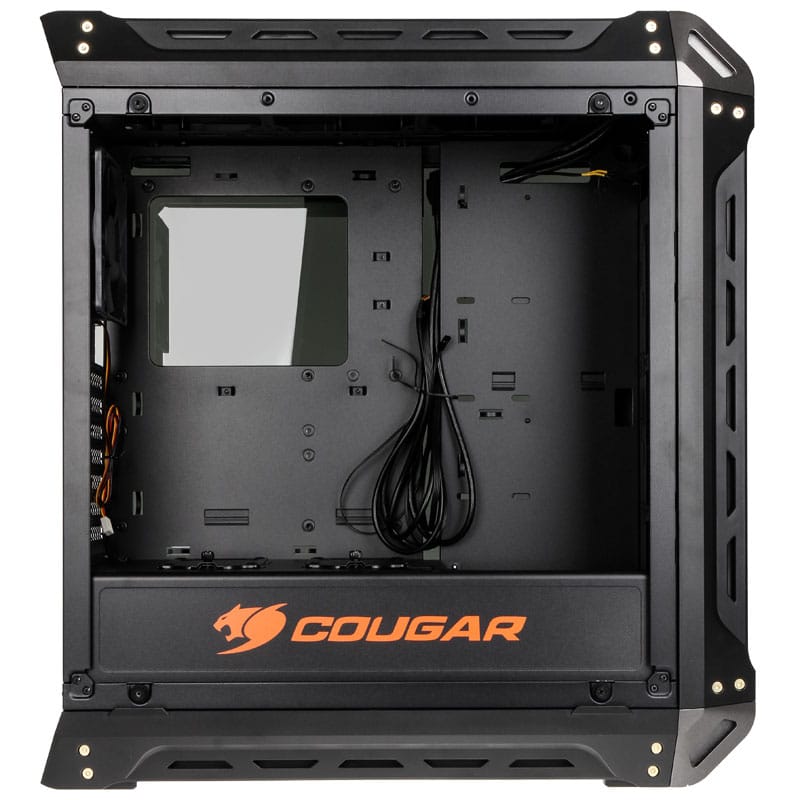
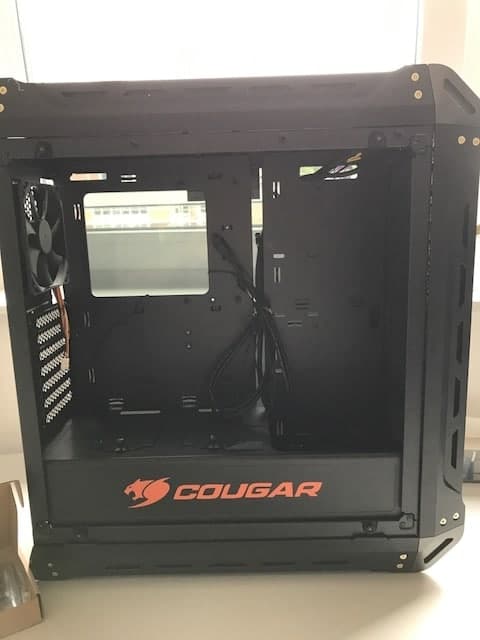
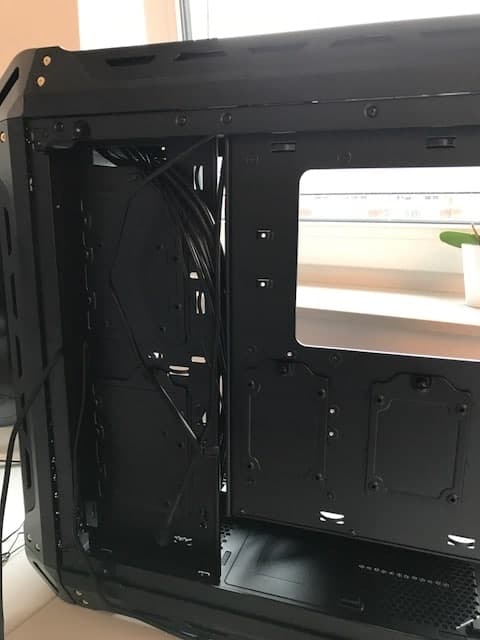
The interior of the Midi Tower has a very minimalist design and fits in perfectly with the martial design scheme without forgetting its functionality. The power supply is concealed under a PSU shroud, so you don’t have to see a “cable mess” when looking through the side panels.
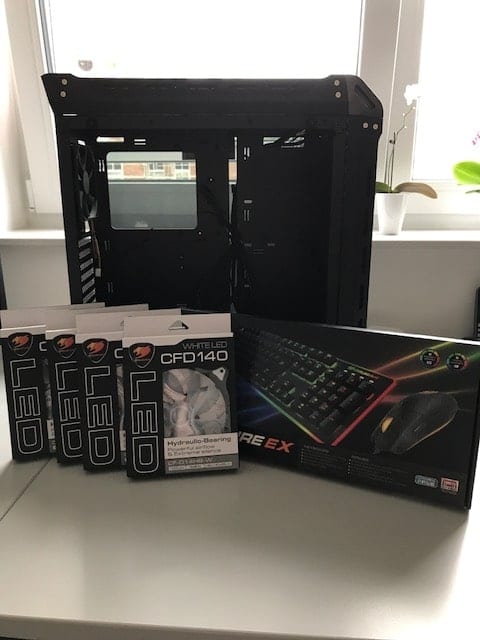
Scope of Delivery
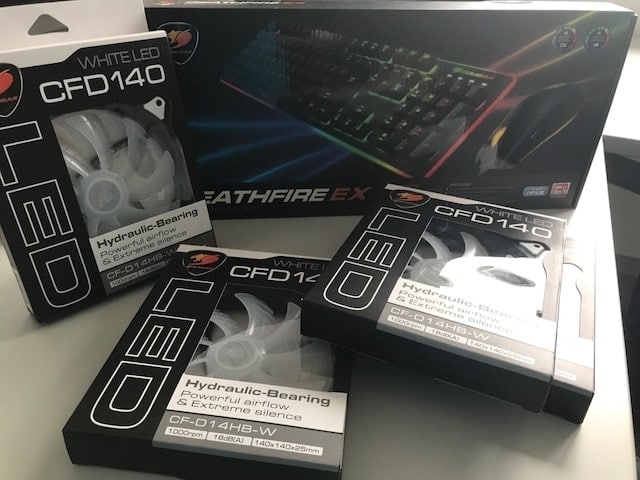
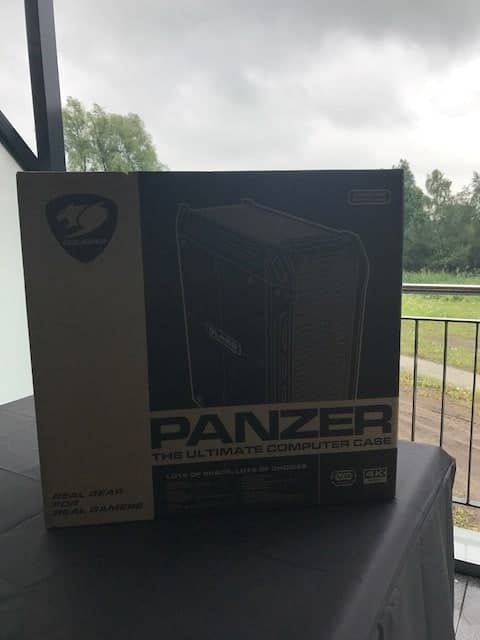
Cougar was kind enough to give us four of the very good D14HB-W 140-mm fan with white LEDs and one Deathfire Ex Mouse and Keyboard Combination (for test). The tower itself reached us in a printed package and the first time we opened it we noticed the foam padding instead of the frequently used styrofoam. All necessary accessories can be found in the housing, including the four holders for SSDs and the two brackets for 2.5″ or 3.5″ data carriers.


Workmanship
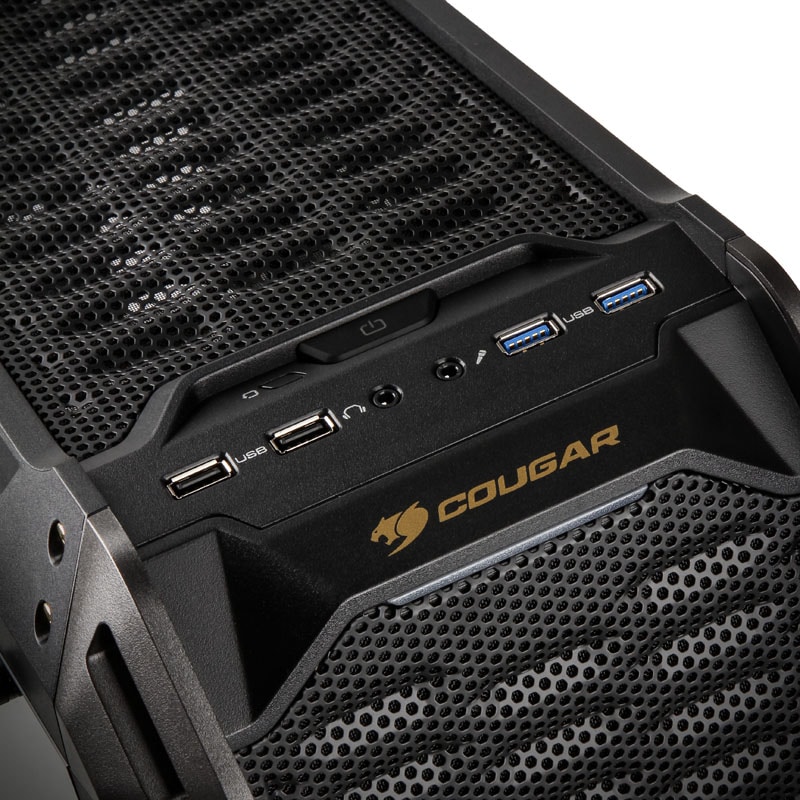
After unpacking, we took a closer look at the case and were very positively surprised that despite the many material transitions, there were no noticeable gaps. Even with a case in this price class, this is not a matter of course, so that a full five stars could be awarded for the workmanship! As you can see on the pictures, the cables of the front panel are already attached to the mainboard tray ex works with cable ties.
Equipment
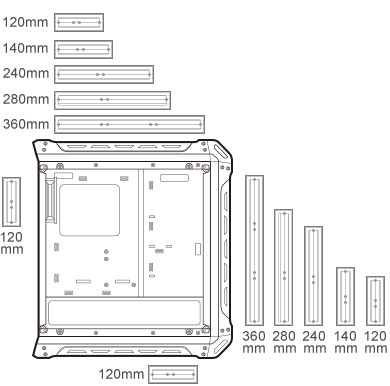
In order to be able to present you the equipment graphically, we have used the very good product page of Cougar:
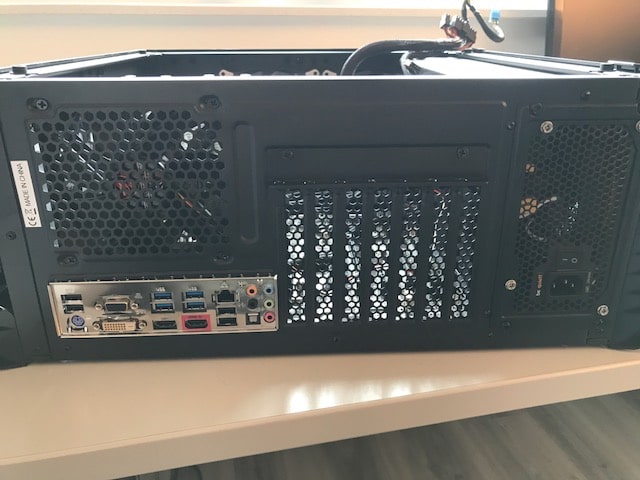
Up to 425 mm long graphics cards can be accommodated in the Cougar Panzer and depending on the motherboard used (Mini-ITX, Micro-ATX, ATX, CEB) up to three pixel accelerators can be installed in the Midi Tower. Installing radiators in the front would reduce the possible length of the graphics card, but any standard card should fit into the housing .

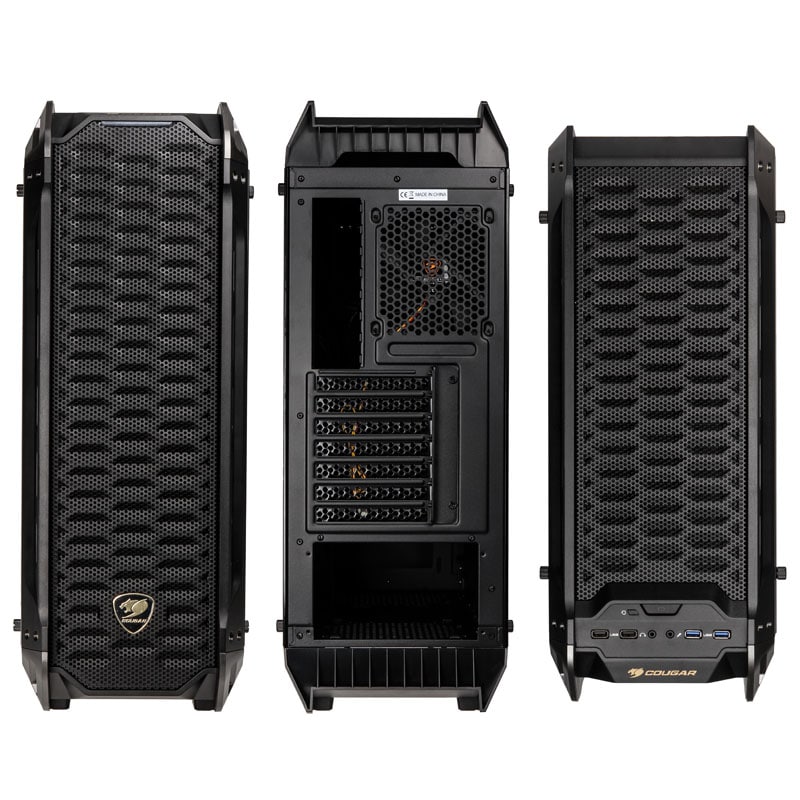
The fan configuration looks like this:
- Front: 3x 120 mm or 2x 140 mm
- Cover: 3x 120 mm or 2x 140 mm
- Rear: 1x 120 mm (pre-installed)
- Floor: 1x 120 mm
Installation options for radiators:
- Front: 1x 120/140/240/280/360 mm
- Cover: 1x 120/140/240/280/360 mm
- Rear side: 1x 120 mm
- Floor: 1x 120 mm
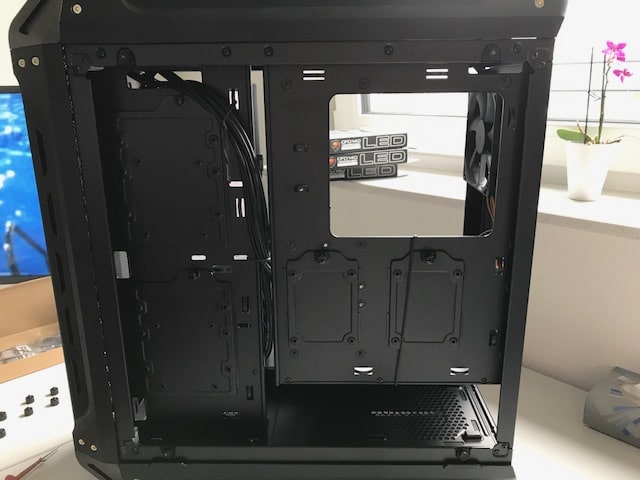
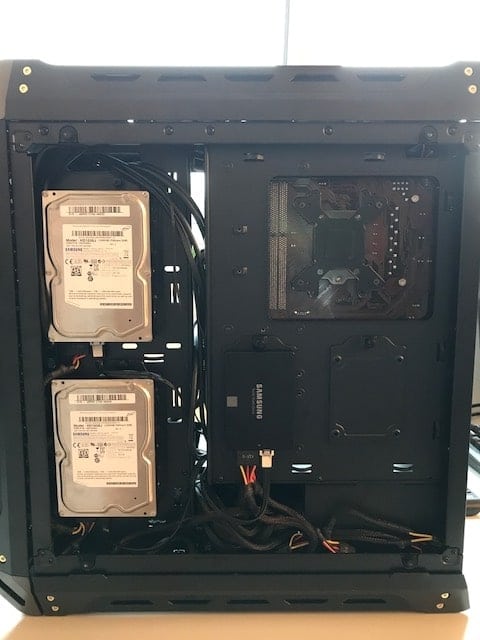
 Up to six 2.5-inch SSDs can be installed in the Panzer and two of the solid-state disks can be placed behind the mainboard tray and on the power supply cover, while two more SSDs or two 3.5-inch hard disks can be installed at the rear next to the mainboard.
System Construction in Cougar Panzer
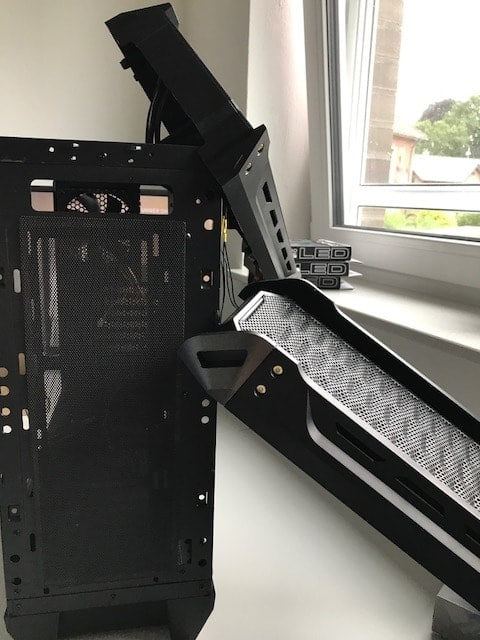
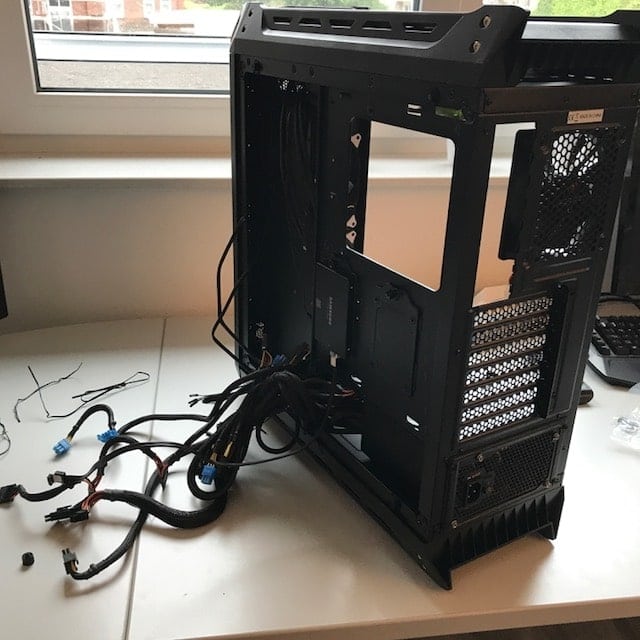
 To give you an idea of how building a gaming PC in Cougar Panzer can look like, we grabbed the Midi Tower and the four LED fans and started building a system. The hardware was previously installed in a poorly ventilated tower, which had already been 14 years old and no longer met today’s requirements.
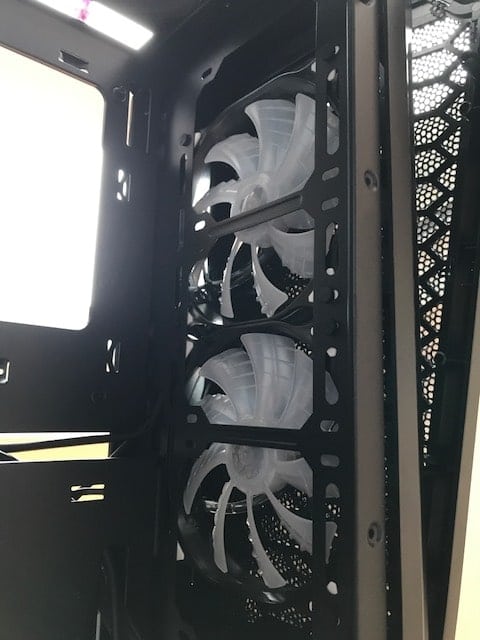
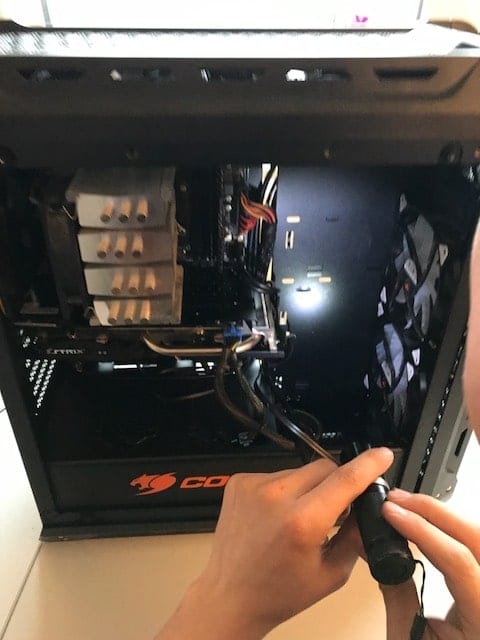
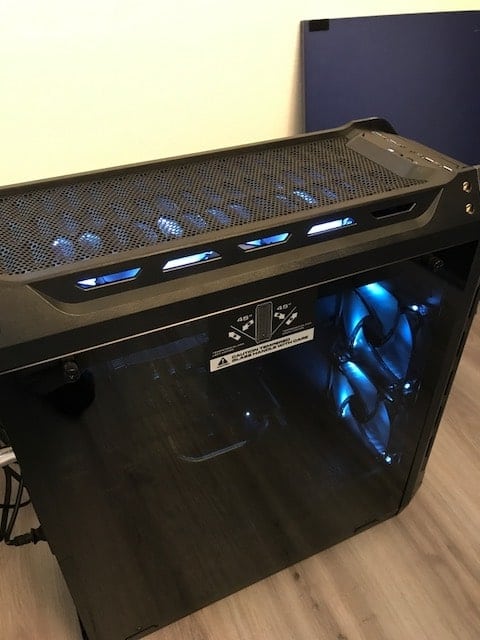
First the front fairing and the cover were removed from the chassis so that we could mount the four 140 mm fans. We mounted two of the good fans (18.0 dB(A) at 1,000 rpm; airflow: 124.4 m³/h) in the front (intake) and two in the cover (outtake). This significantly strengthened the good passive airflow. We could hide the fan cables behind the fairing next to the mainboard.

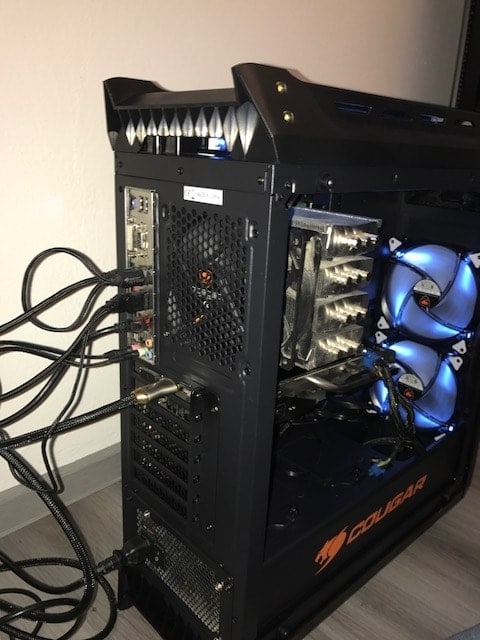
Next we installed an SSD and the (unfortunately non-modular) power supply before screwing the mainboard and CPU cooler together. Depending on the mainboard and positioning of the power connections, the cables can be placed directly behind the fairing next to the mainboard. Alternatively, there are also cable bushings on the mains cable cover. After the two HDDs had been placed and connected, a large part of the cables could be hidden.
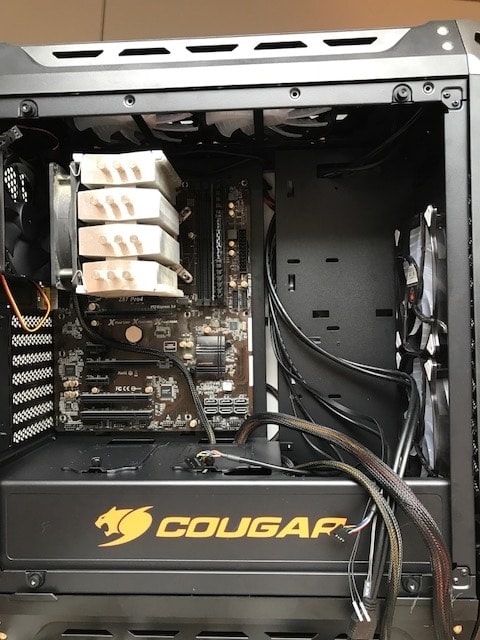
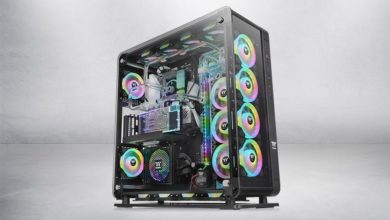
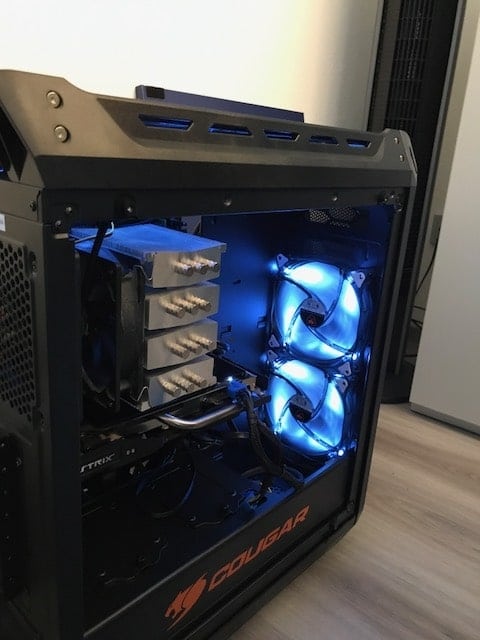
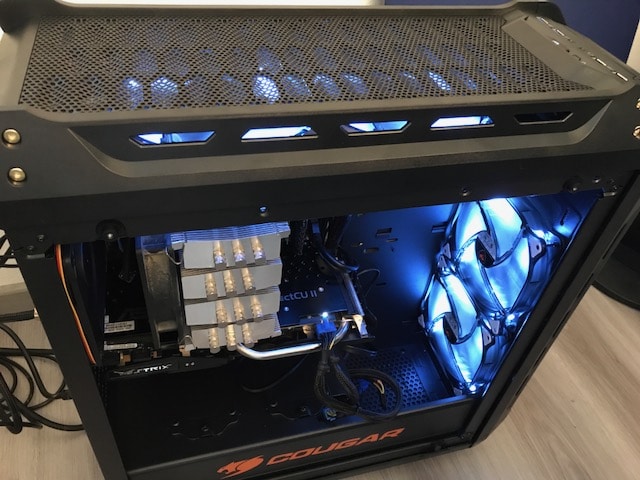
After the installation of the graphics card all cables were checked again and then the system could be started! The graphics card now lies directly in the airflow of the two fans in the front (which have a slight blue cast, especially due to the tinted side panel) and is no longer prevented from “breathing” by the drive cages.
Conclusion
The Cougar Panzer looks very martial, offers very good cooling options and is compatible with pretty much any gaming hardware. The workmanship is very good for such a complex housing in this price range and building in the Midi Tower is very easy.

Cougar Panzer
Workmanship
Design
Features
Clearance
Cooling
Robust & Aggressive
The Cougar Panzer is a midi tower with a Paanzer chain look that is ideal for air- and water-cooled gaming PCs. In its price range, the tank is a good case that makes a damn good impression even without LED lighting.