In the summer of 2020, Lian Li launched the Lancool II Mesh RGB Performance and, compared to the Lancool II, has given much more thought to the airflow inside the case and implemented it. It can be purchased in black and white. For this review, I chose the black variant and will give you an insight into the many possibilities of this tower.
Technical data
| Product name | Lian Li Lancool II Mesh RGB Performance |
| Dimensions | (D) 478 mm x (W) 229 mm x (H) 494 mm |
| Materials | Plastic, steel, tempered glass |
| Mainboard support | E-ATX, ATX, Micro-ATX |
| Fan support | Front: 2 × 140 mm or 3 × 120 mm Rear: 1 × 120 mm Lid: 2 × 140/120 mm Interior: 2 × 120 mm |
| Lighting | ARGB |
| Radiator support | Front: 360/280 mm Top: 240 mm |
| Height distance of CPU cooler | 176 mm |
| Memory slots | 6x 2.5″ SSD and 3x 3.5″ HDD |
| VGA length | 384 mm |
| I/O connectors front | 2 × USB 3.0, 1 x USB 3.1 TYPEC (can be upgraded), HD audio, RGB lighting |
| Dust filter | 1x Top (Magnetic) 1x Bottom (to pull out) |
| Price | € 15.23 * |


Exterior impression
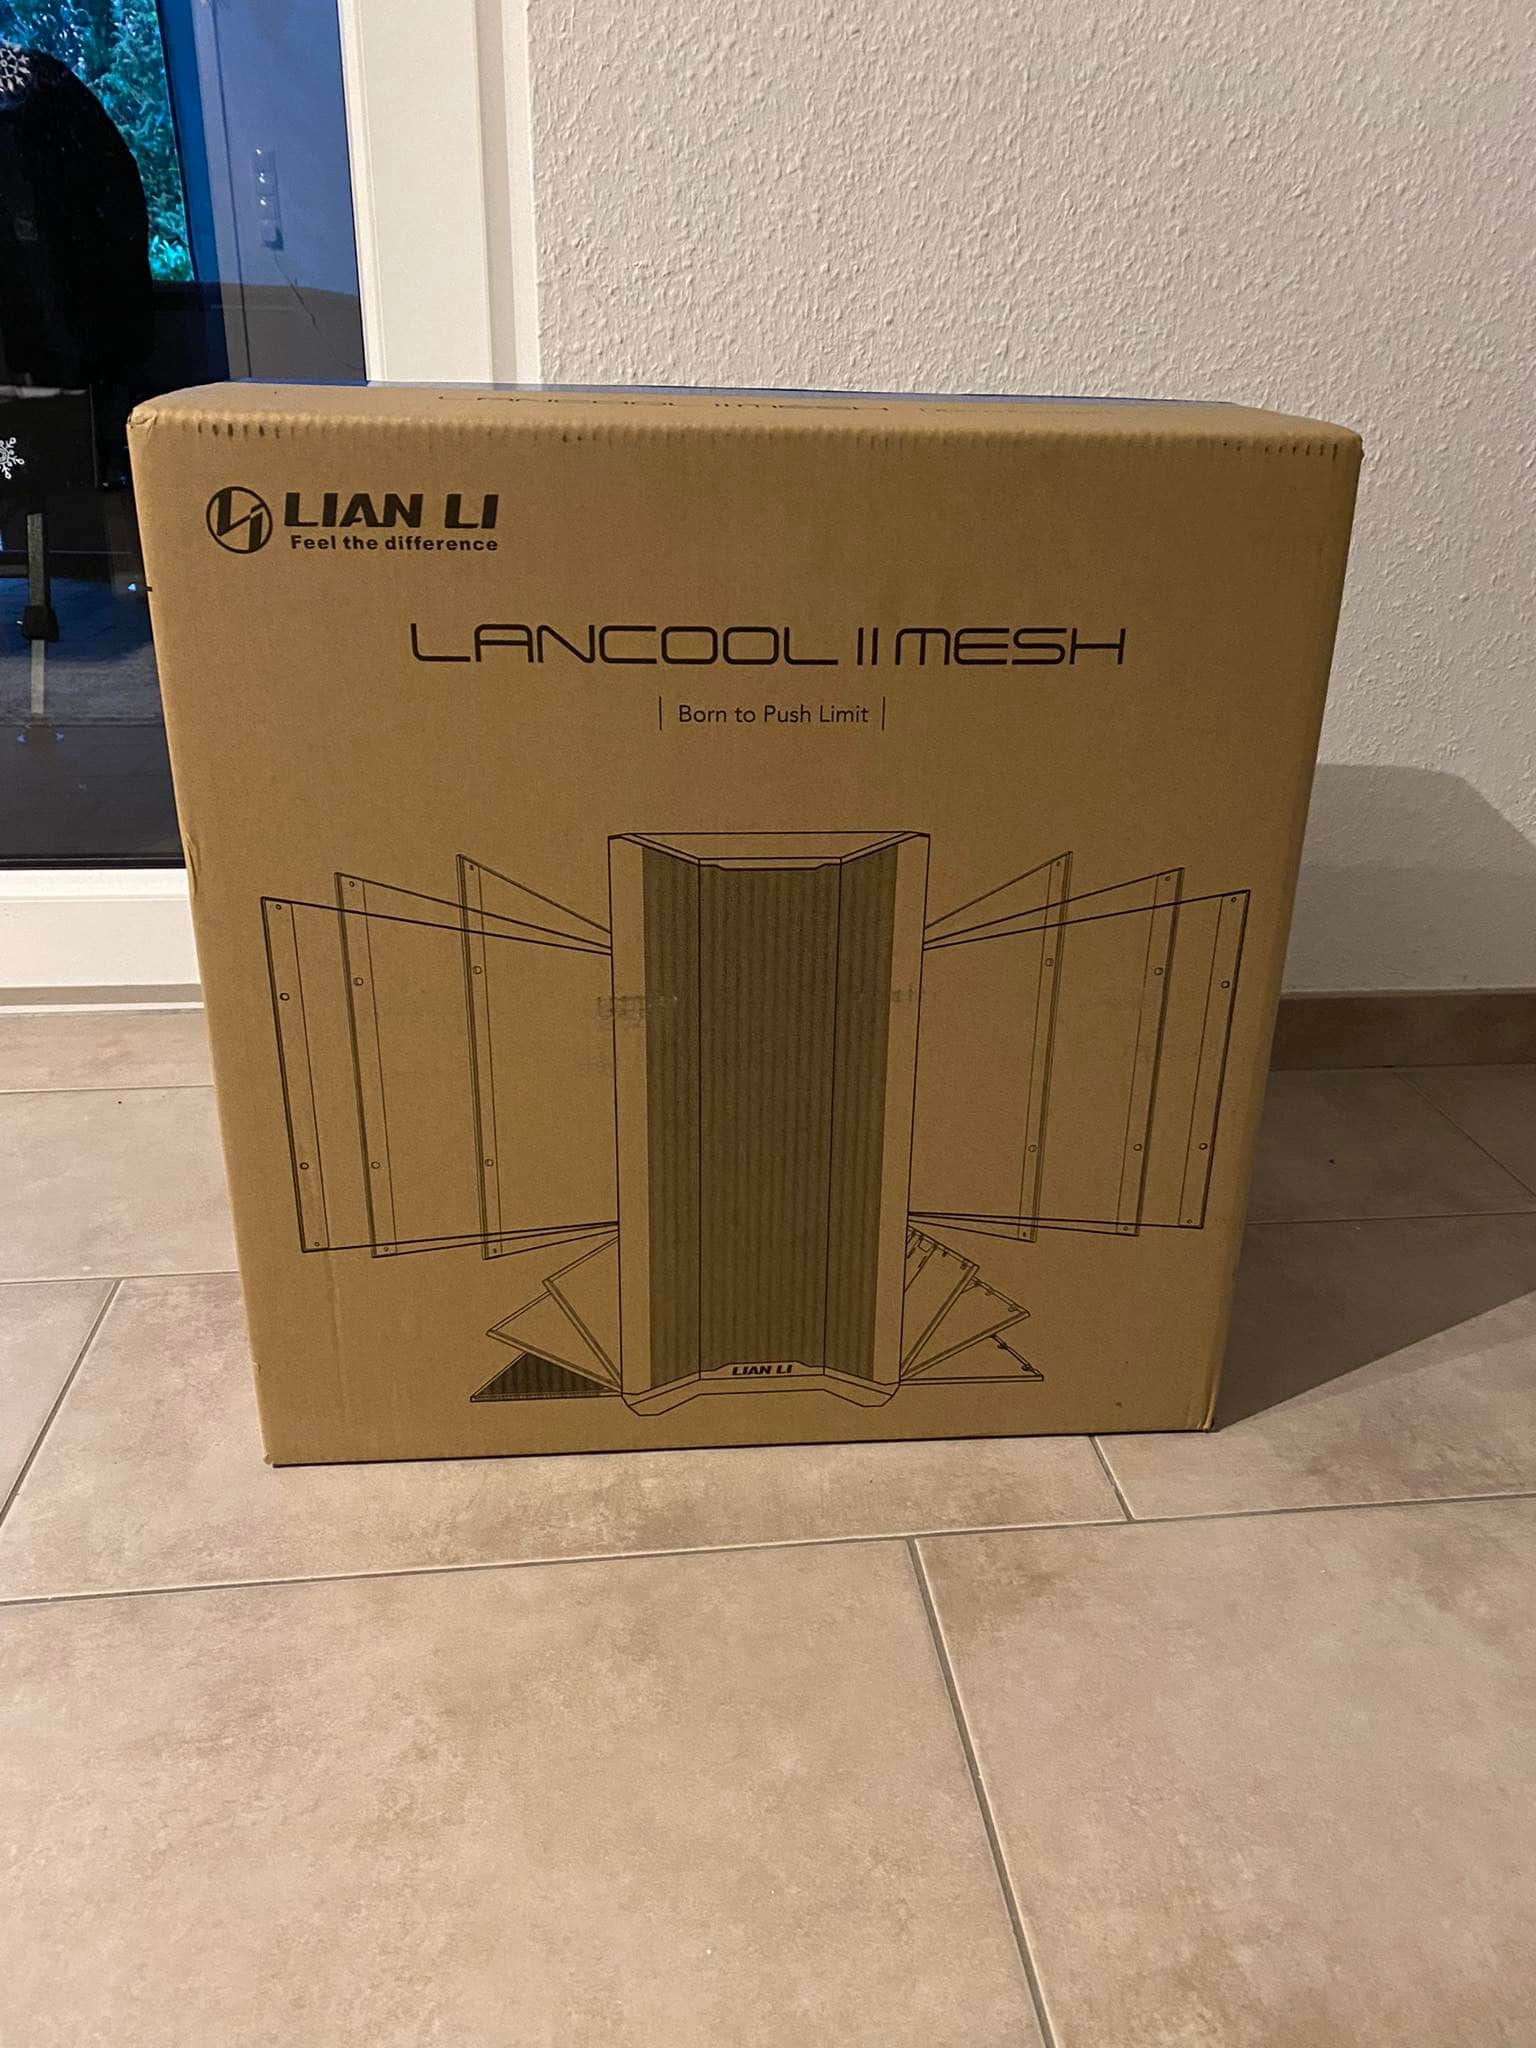
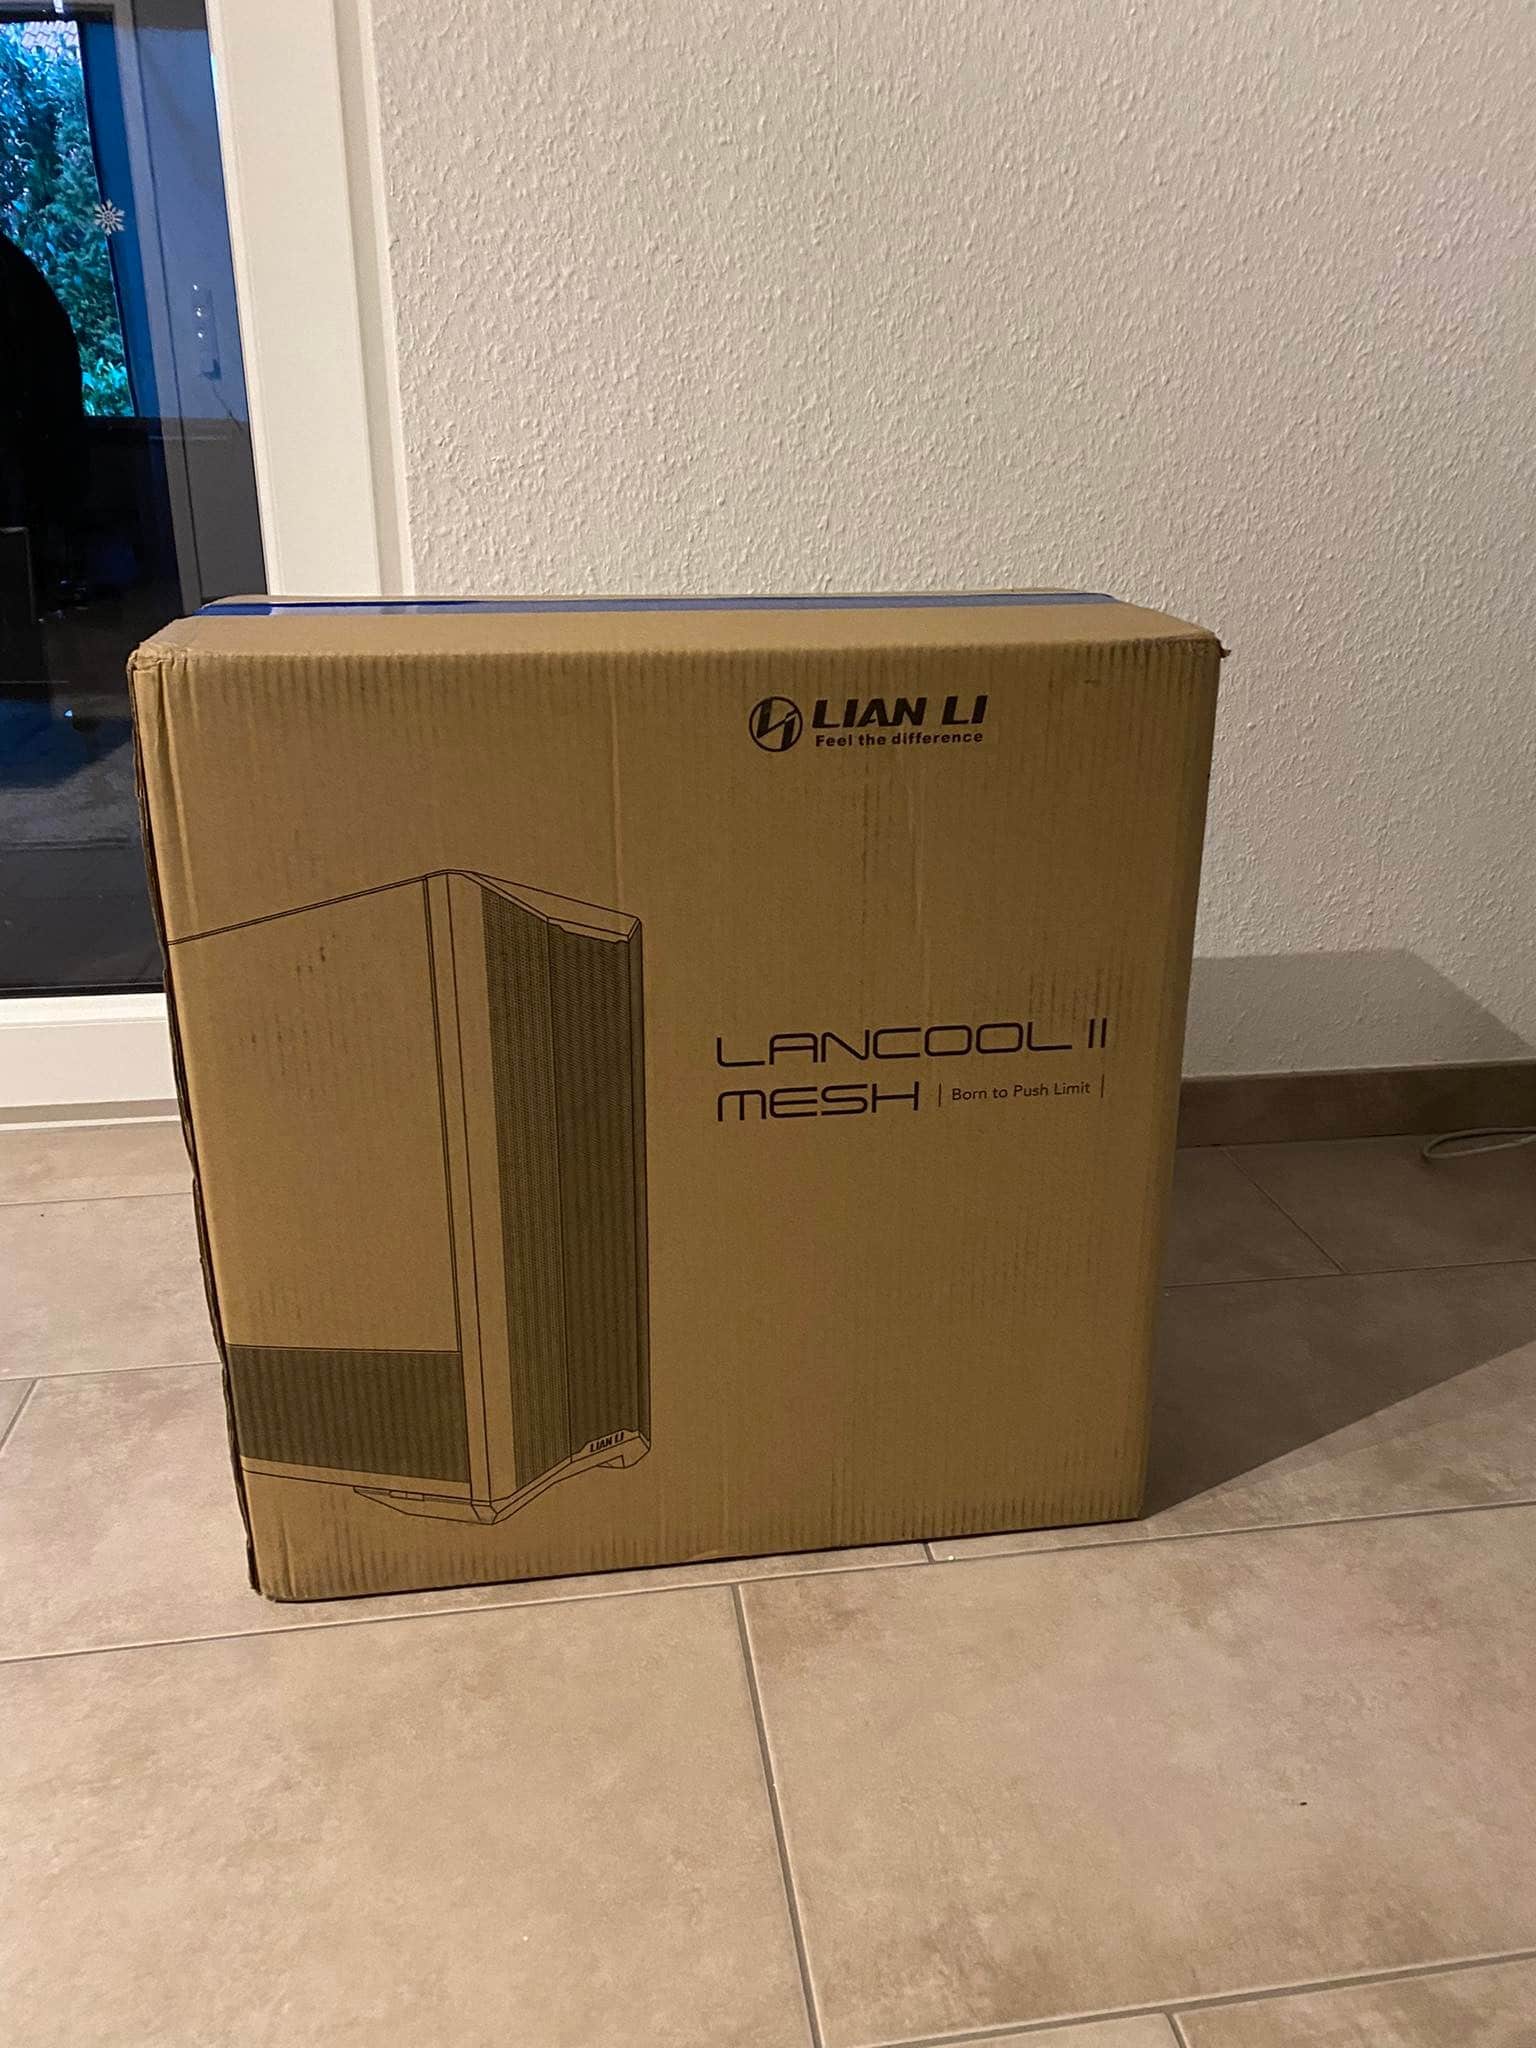
The package of the Lian Li case is, as you would expect, a brown cardboard box with a first look inside. Once the blue tape is cut, we look into 2 styrofoam supports and a protective film around the tower.
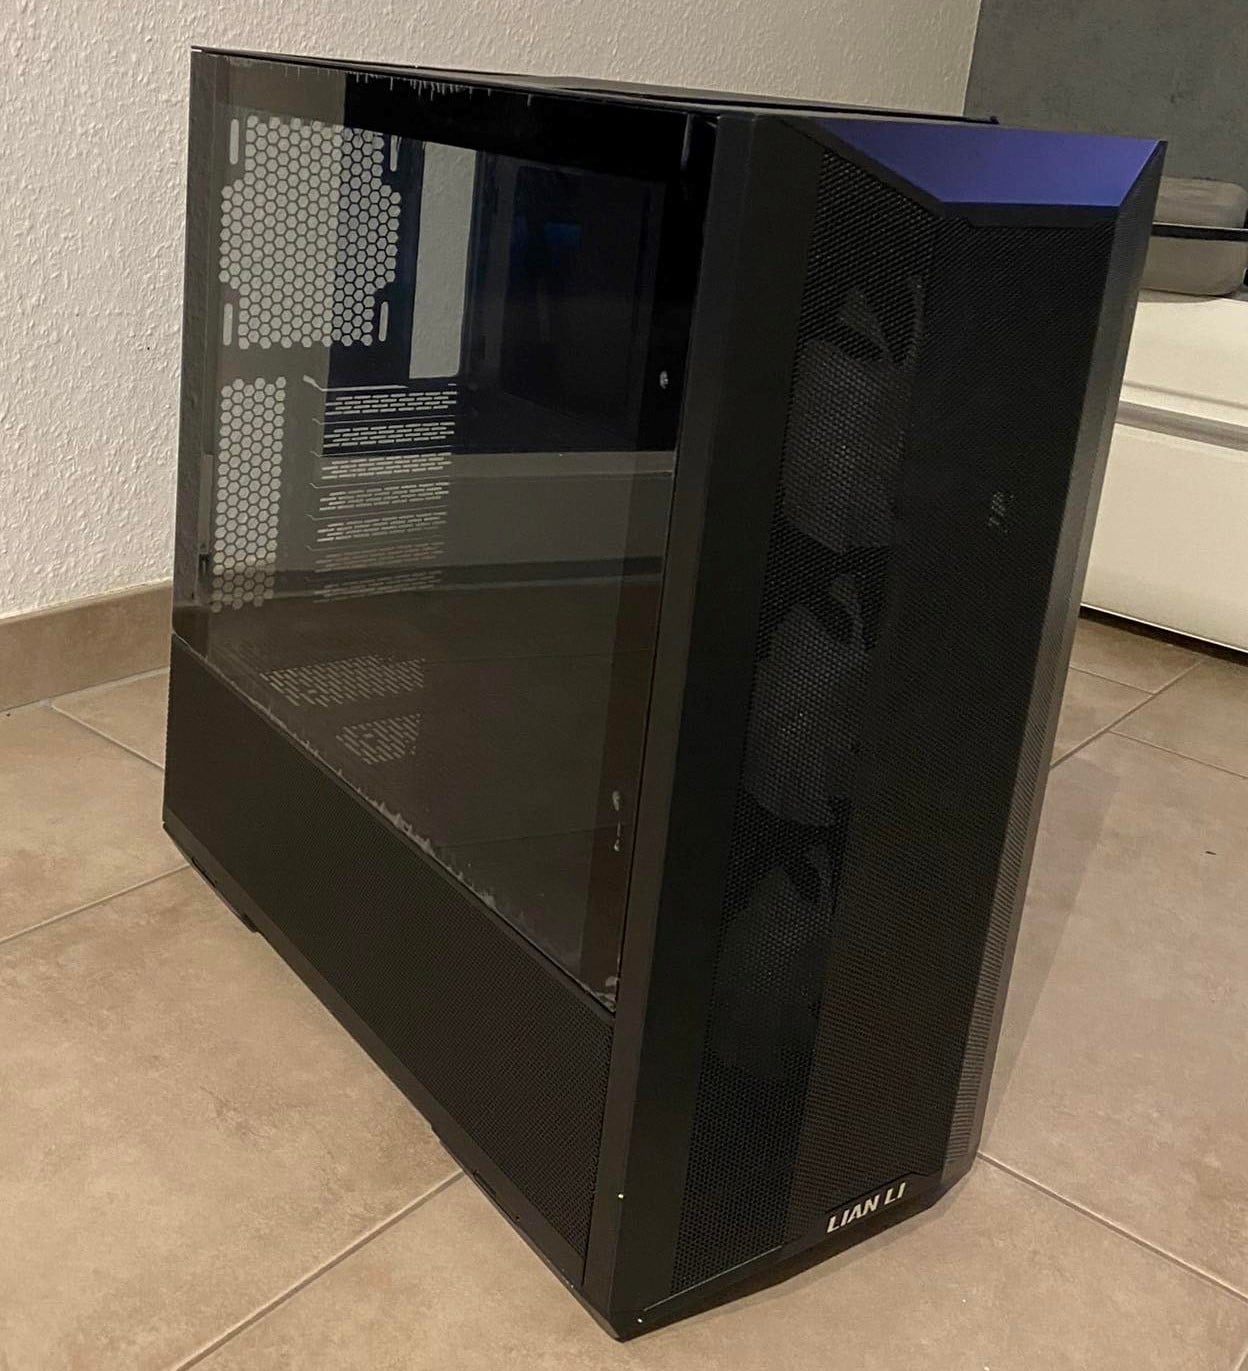
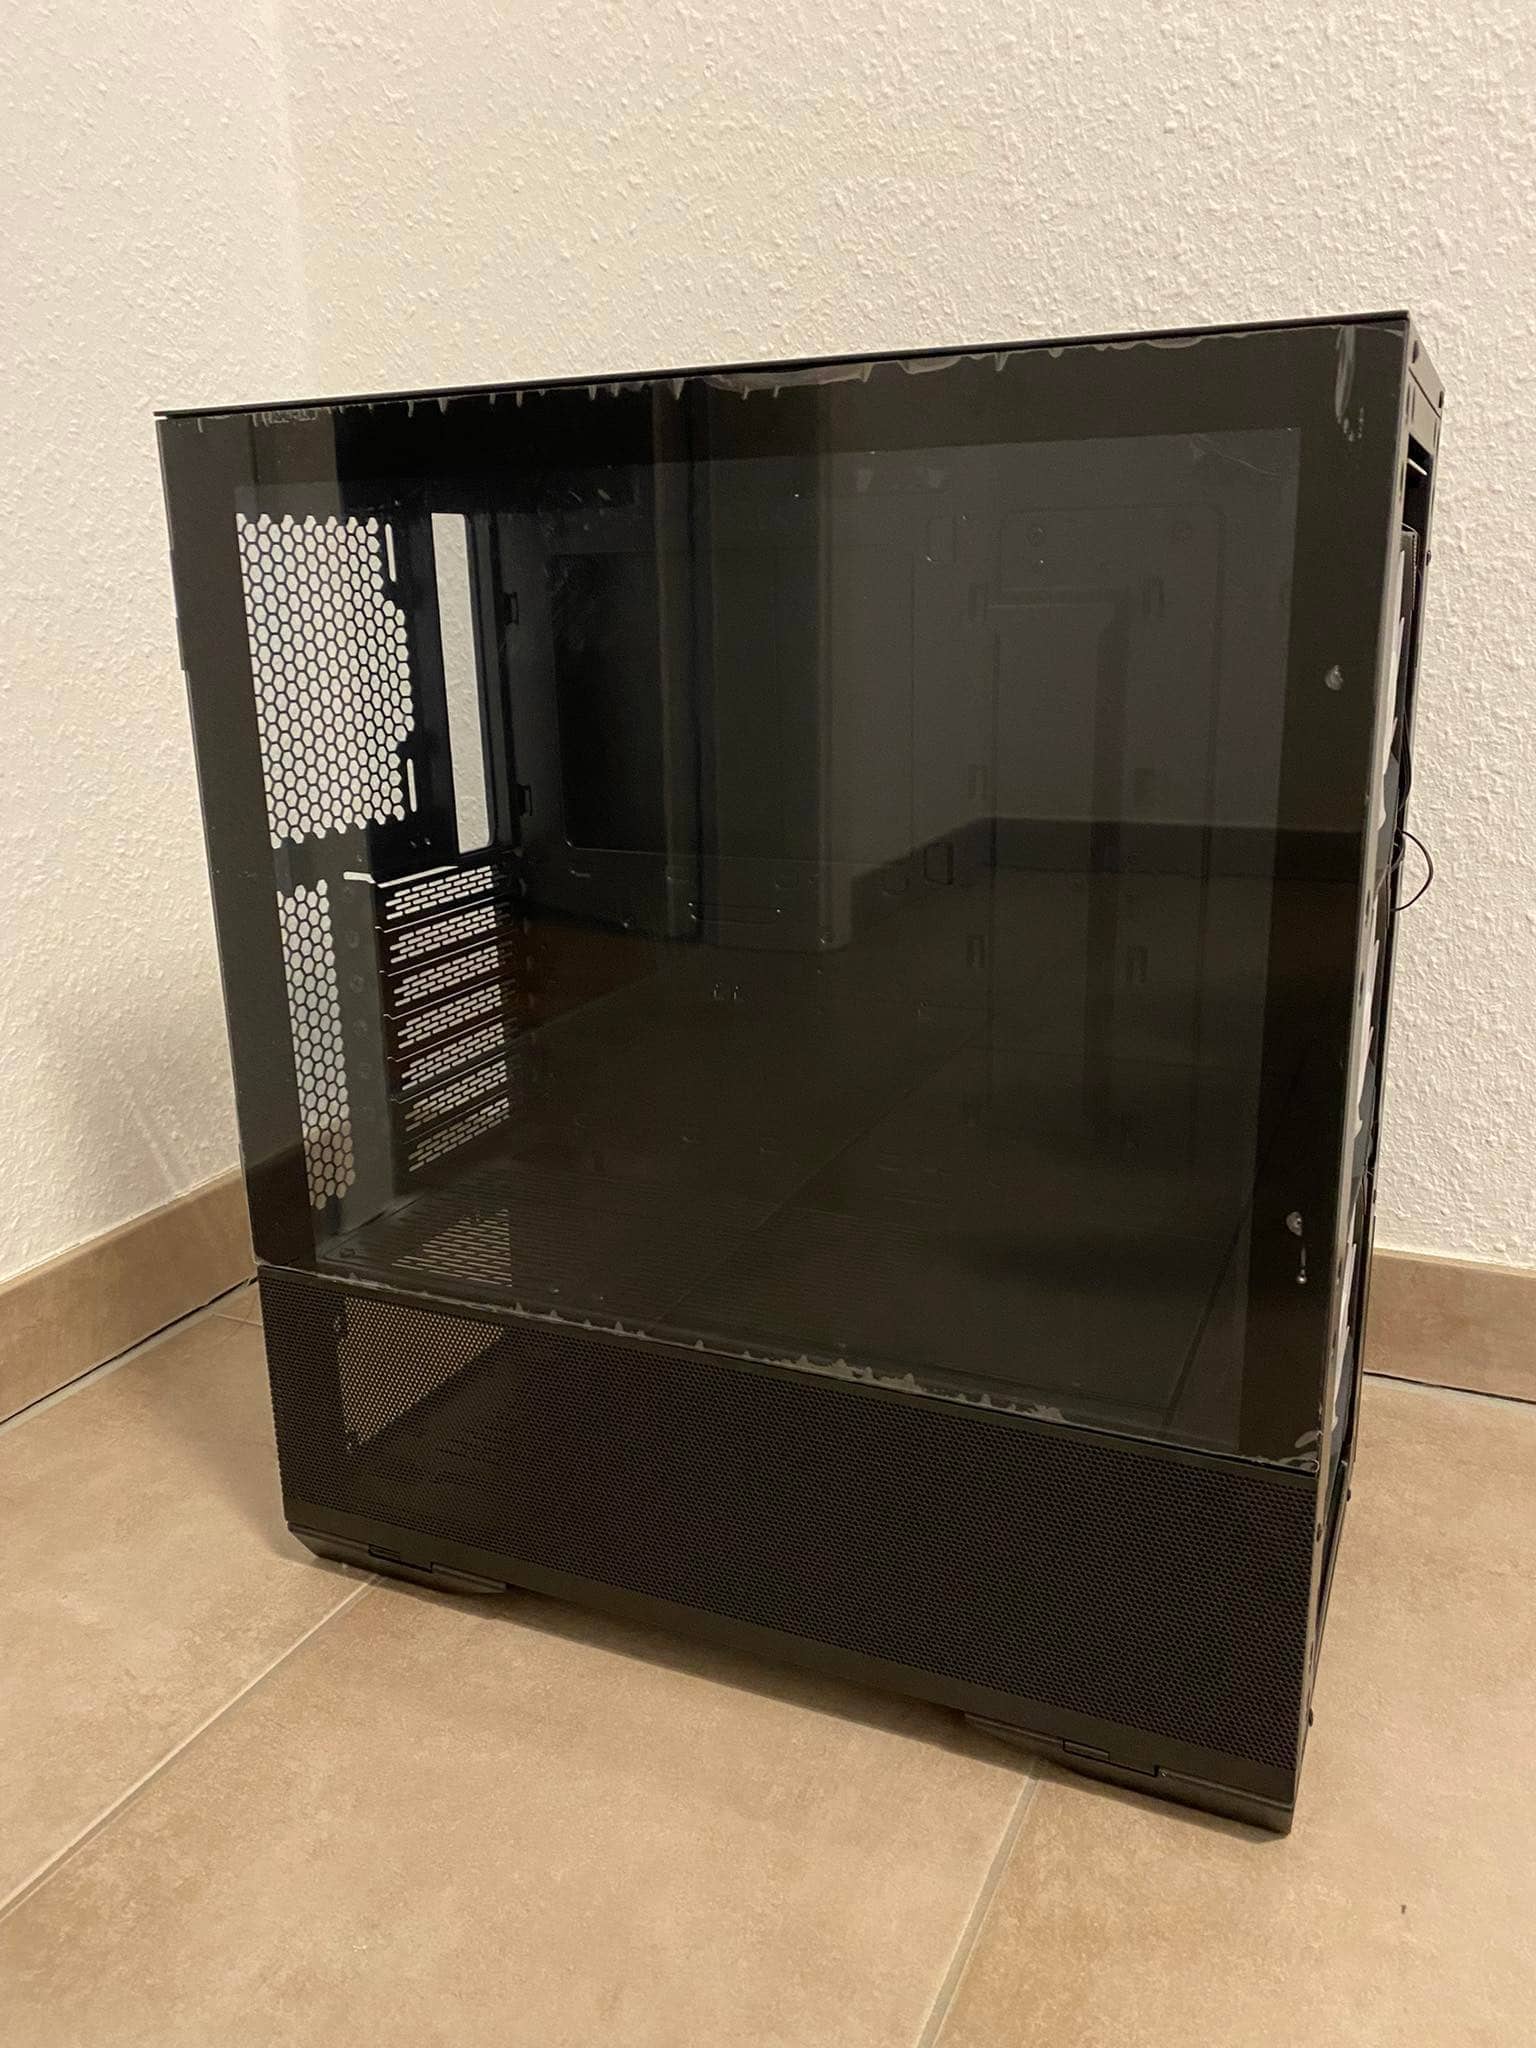
Packaging removed and we can get a first impression of the product. Visually in my eyes an absolute eye-catcher! Solid appearance and flawless workmanship of the materials are definitely noticeable. The glass doors are magnetically attached and can be opened accordingly conveniently by opening the lower side panel (also magnetic) using a handle on the rear side and then pulling the glass from below.
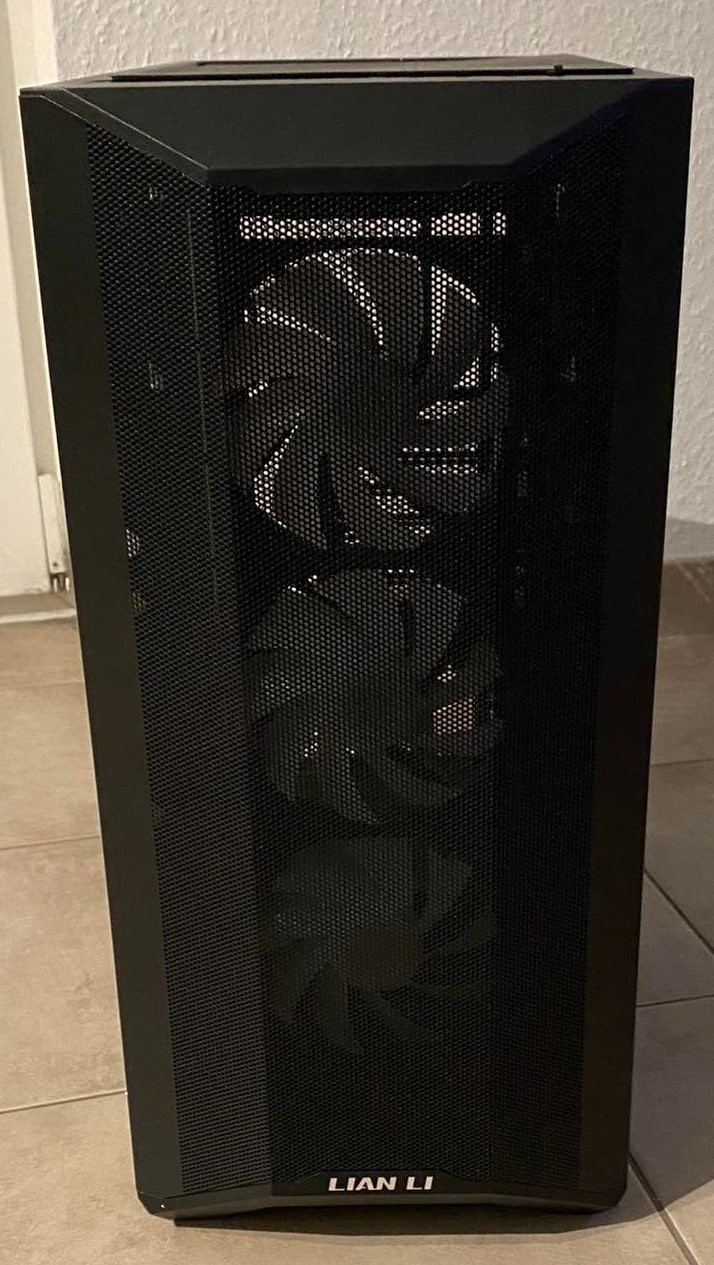
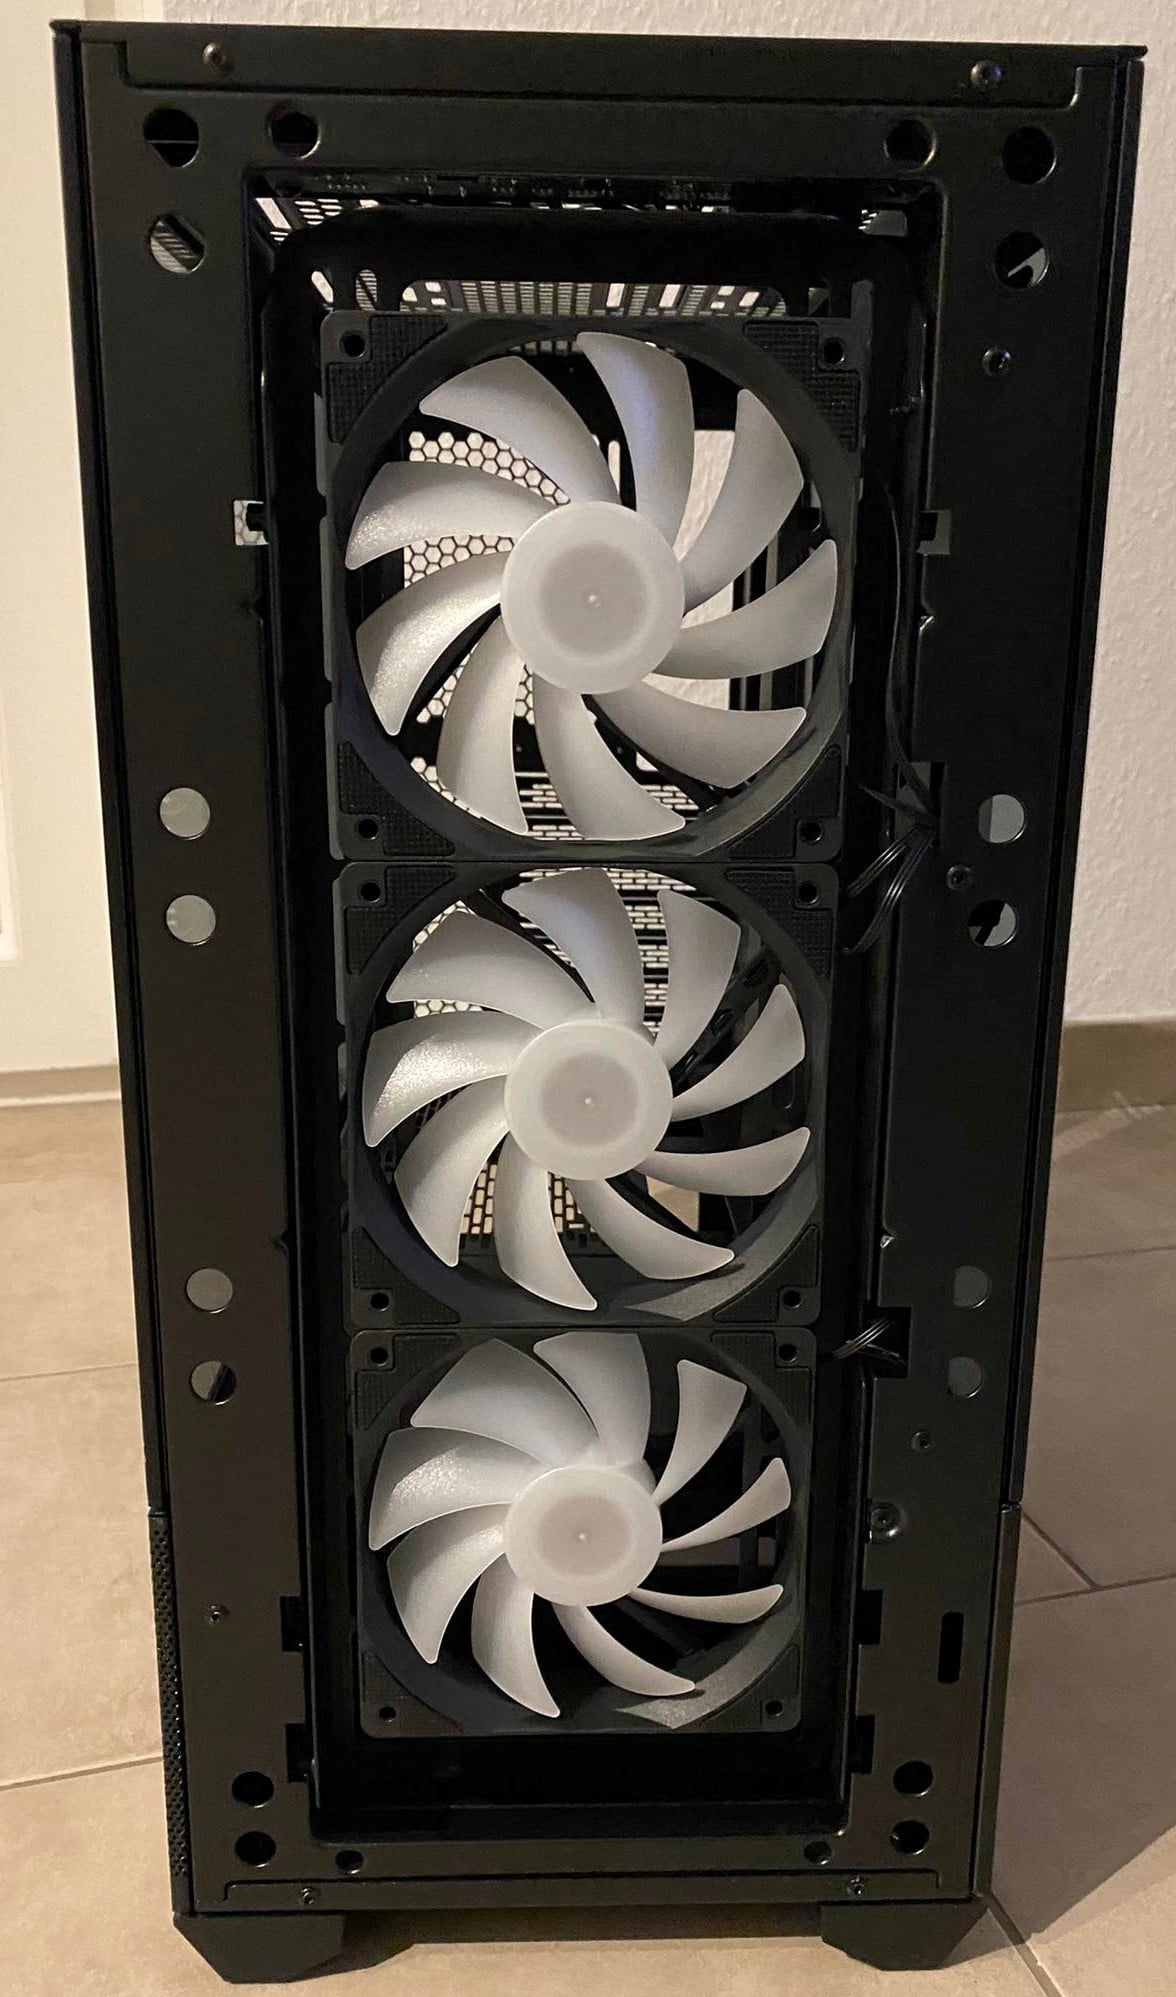
Looking at the front panel, we mainly peek into mesh grilles. Behind it we can see the three 120 mm ARGB fans, which are installed from the factory and can also be replaced by two 140 mm fans if needed. However, I find that these 3 fans give the whole thing a coherent look and would leave it at that. The chrome Lian Li logo is located on the bottom of the front panel.
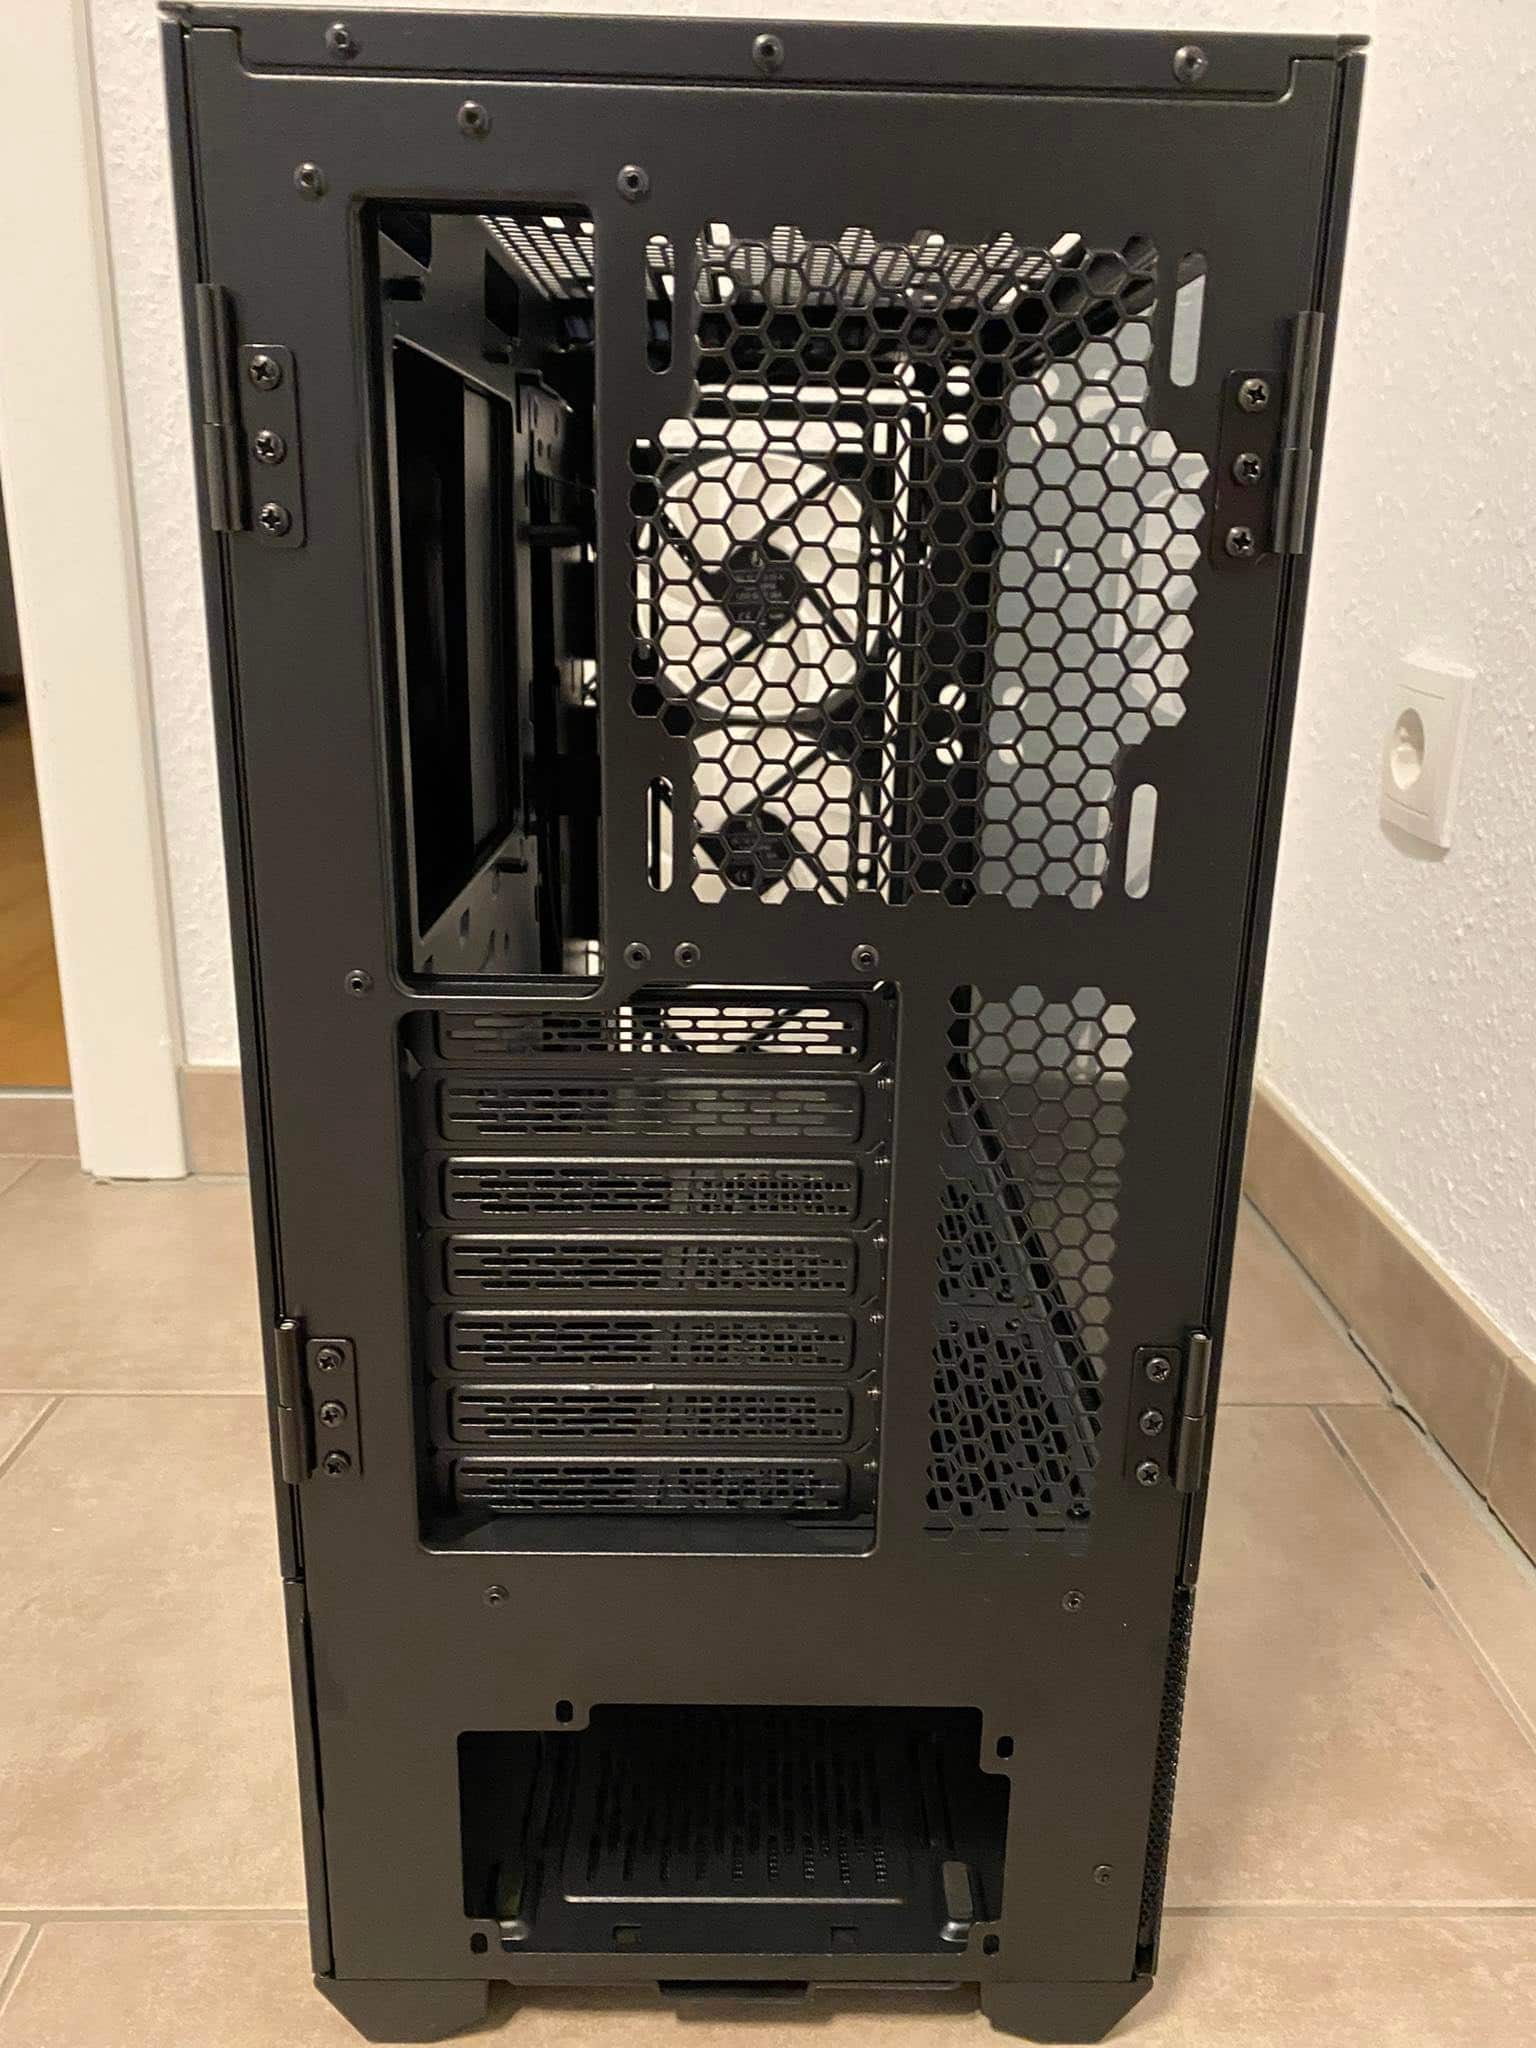
There is nothing particularly worth mentioning on the back. We have room for a 120 mm fan and a total of 7 PCI slot bezels. Additionally, there is an opening at the top for the I/O ports and at the bottom for the power supply. That leaves a grill next to the PCI slots for additional ventilation.
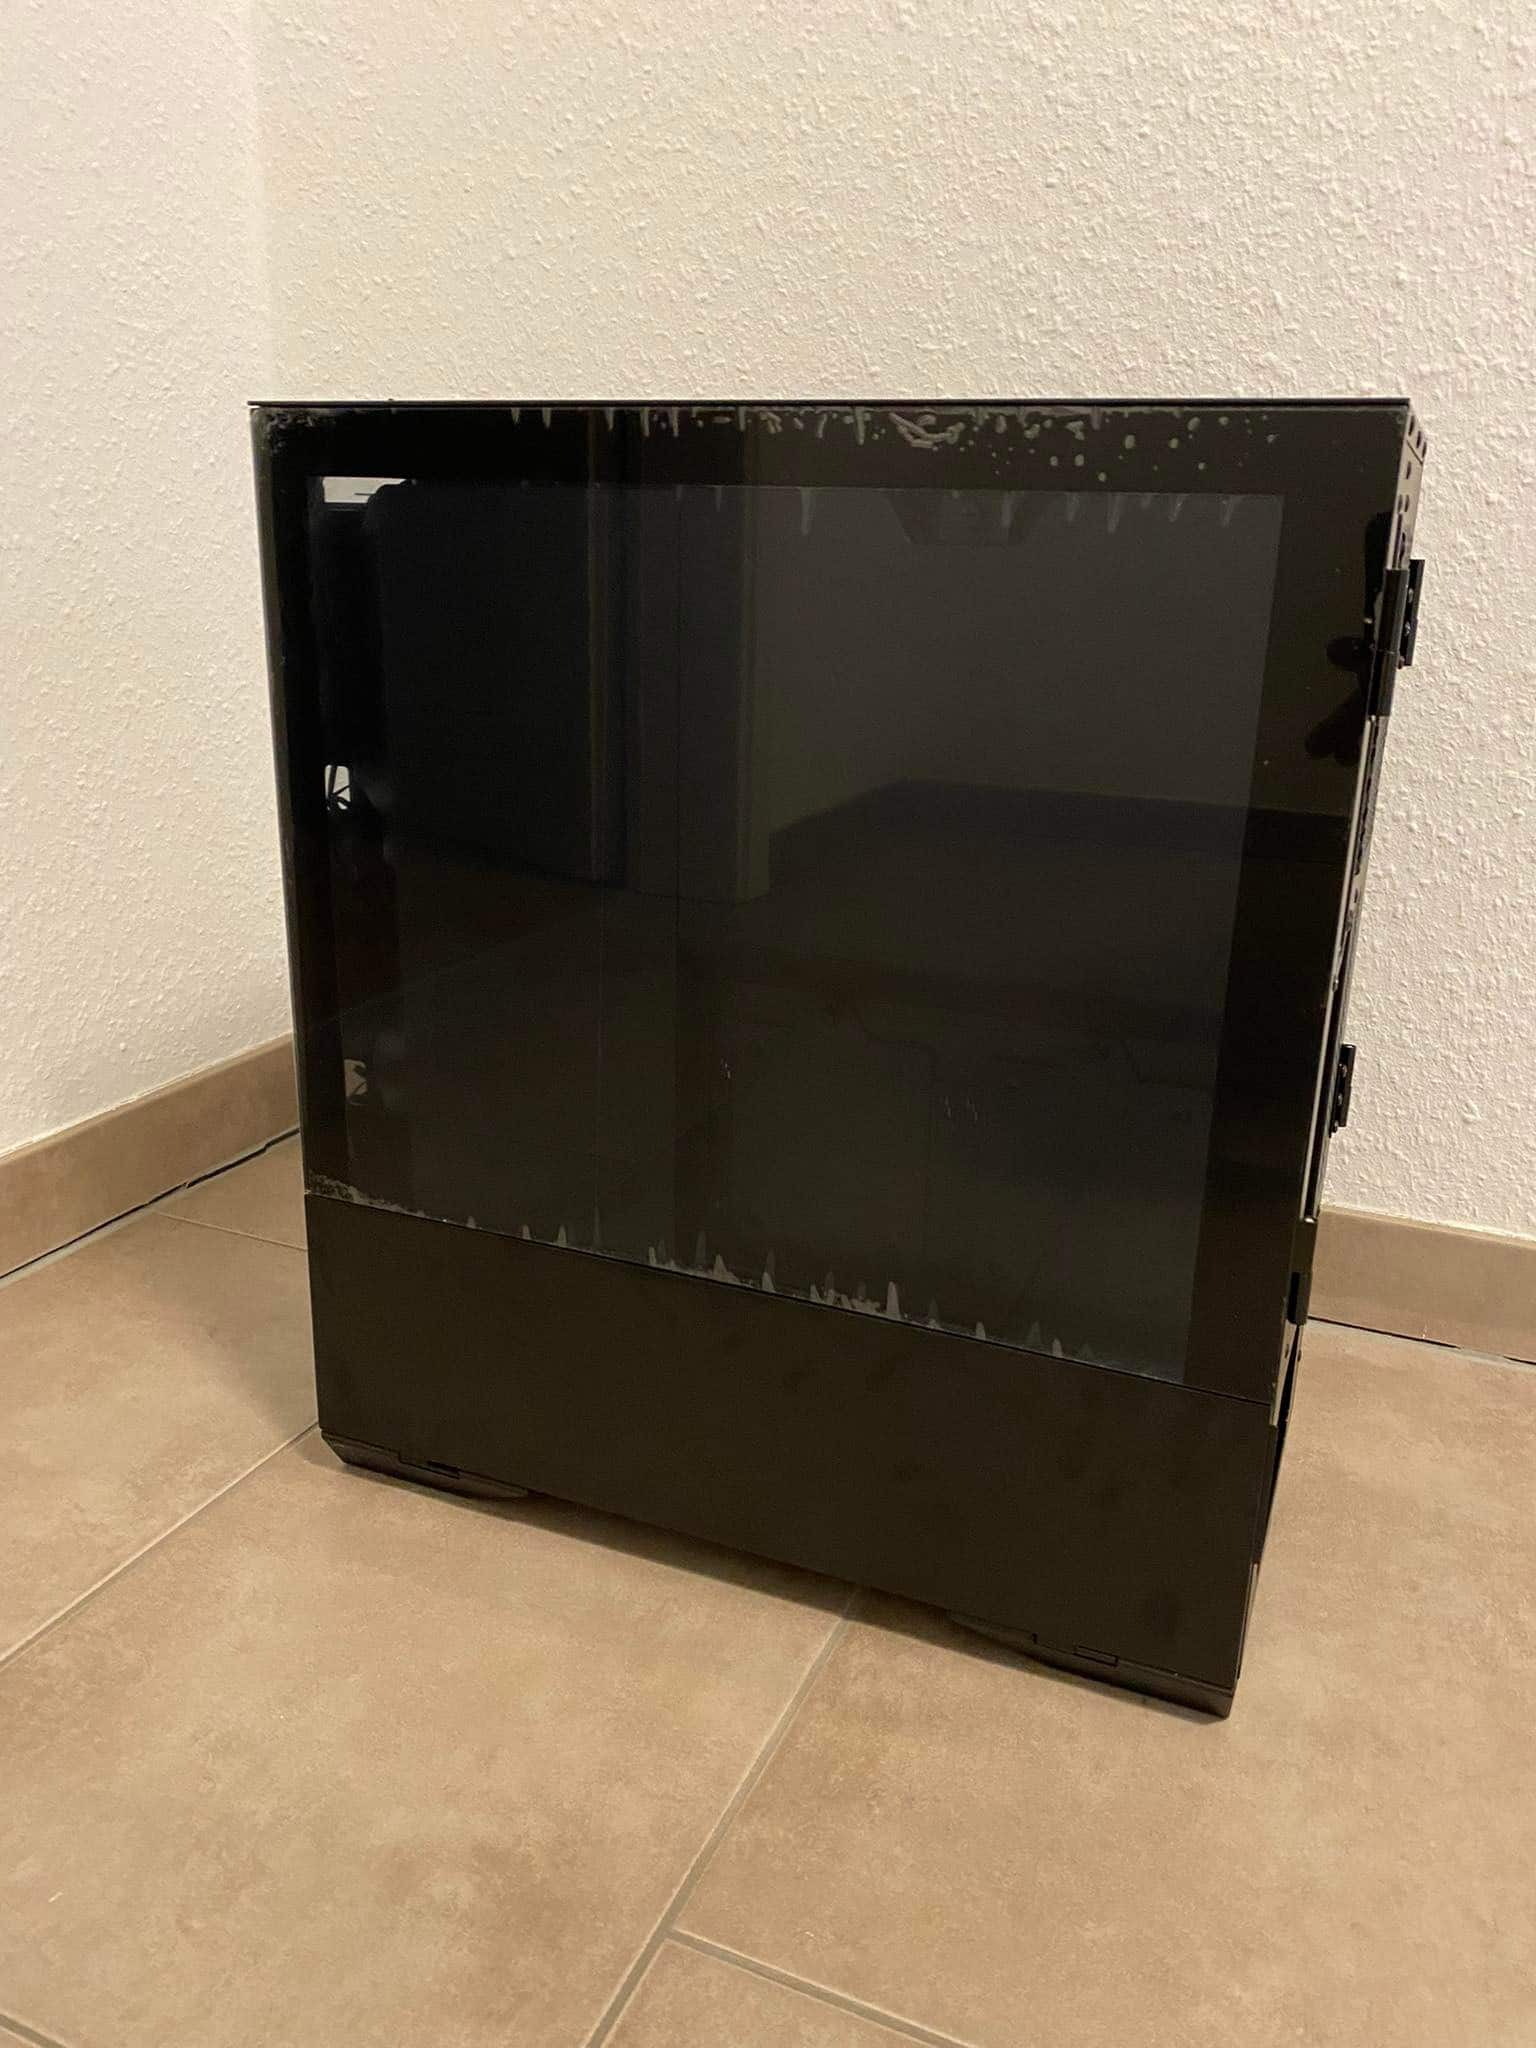
The two top side panels are made of Tempered Glass on a steel frame. They are attached to hinges on the back of the case and fold back when opened. The lower side panels cover the area underneath the PSU cover. They flip up towards the bottom and are made of sheet steel, while the cover on the left side of the case is also air-permeable due to the mesh surface.

Looking at the case from the top, we can see grilles covered by a magnetic dust filter. In addition, the I/O ports can be seen, whereby there is only a matching hole for the USB-C port, so it can be retrofitted if necessary.

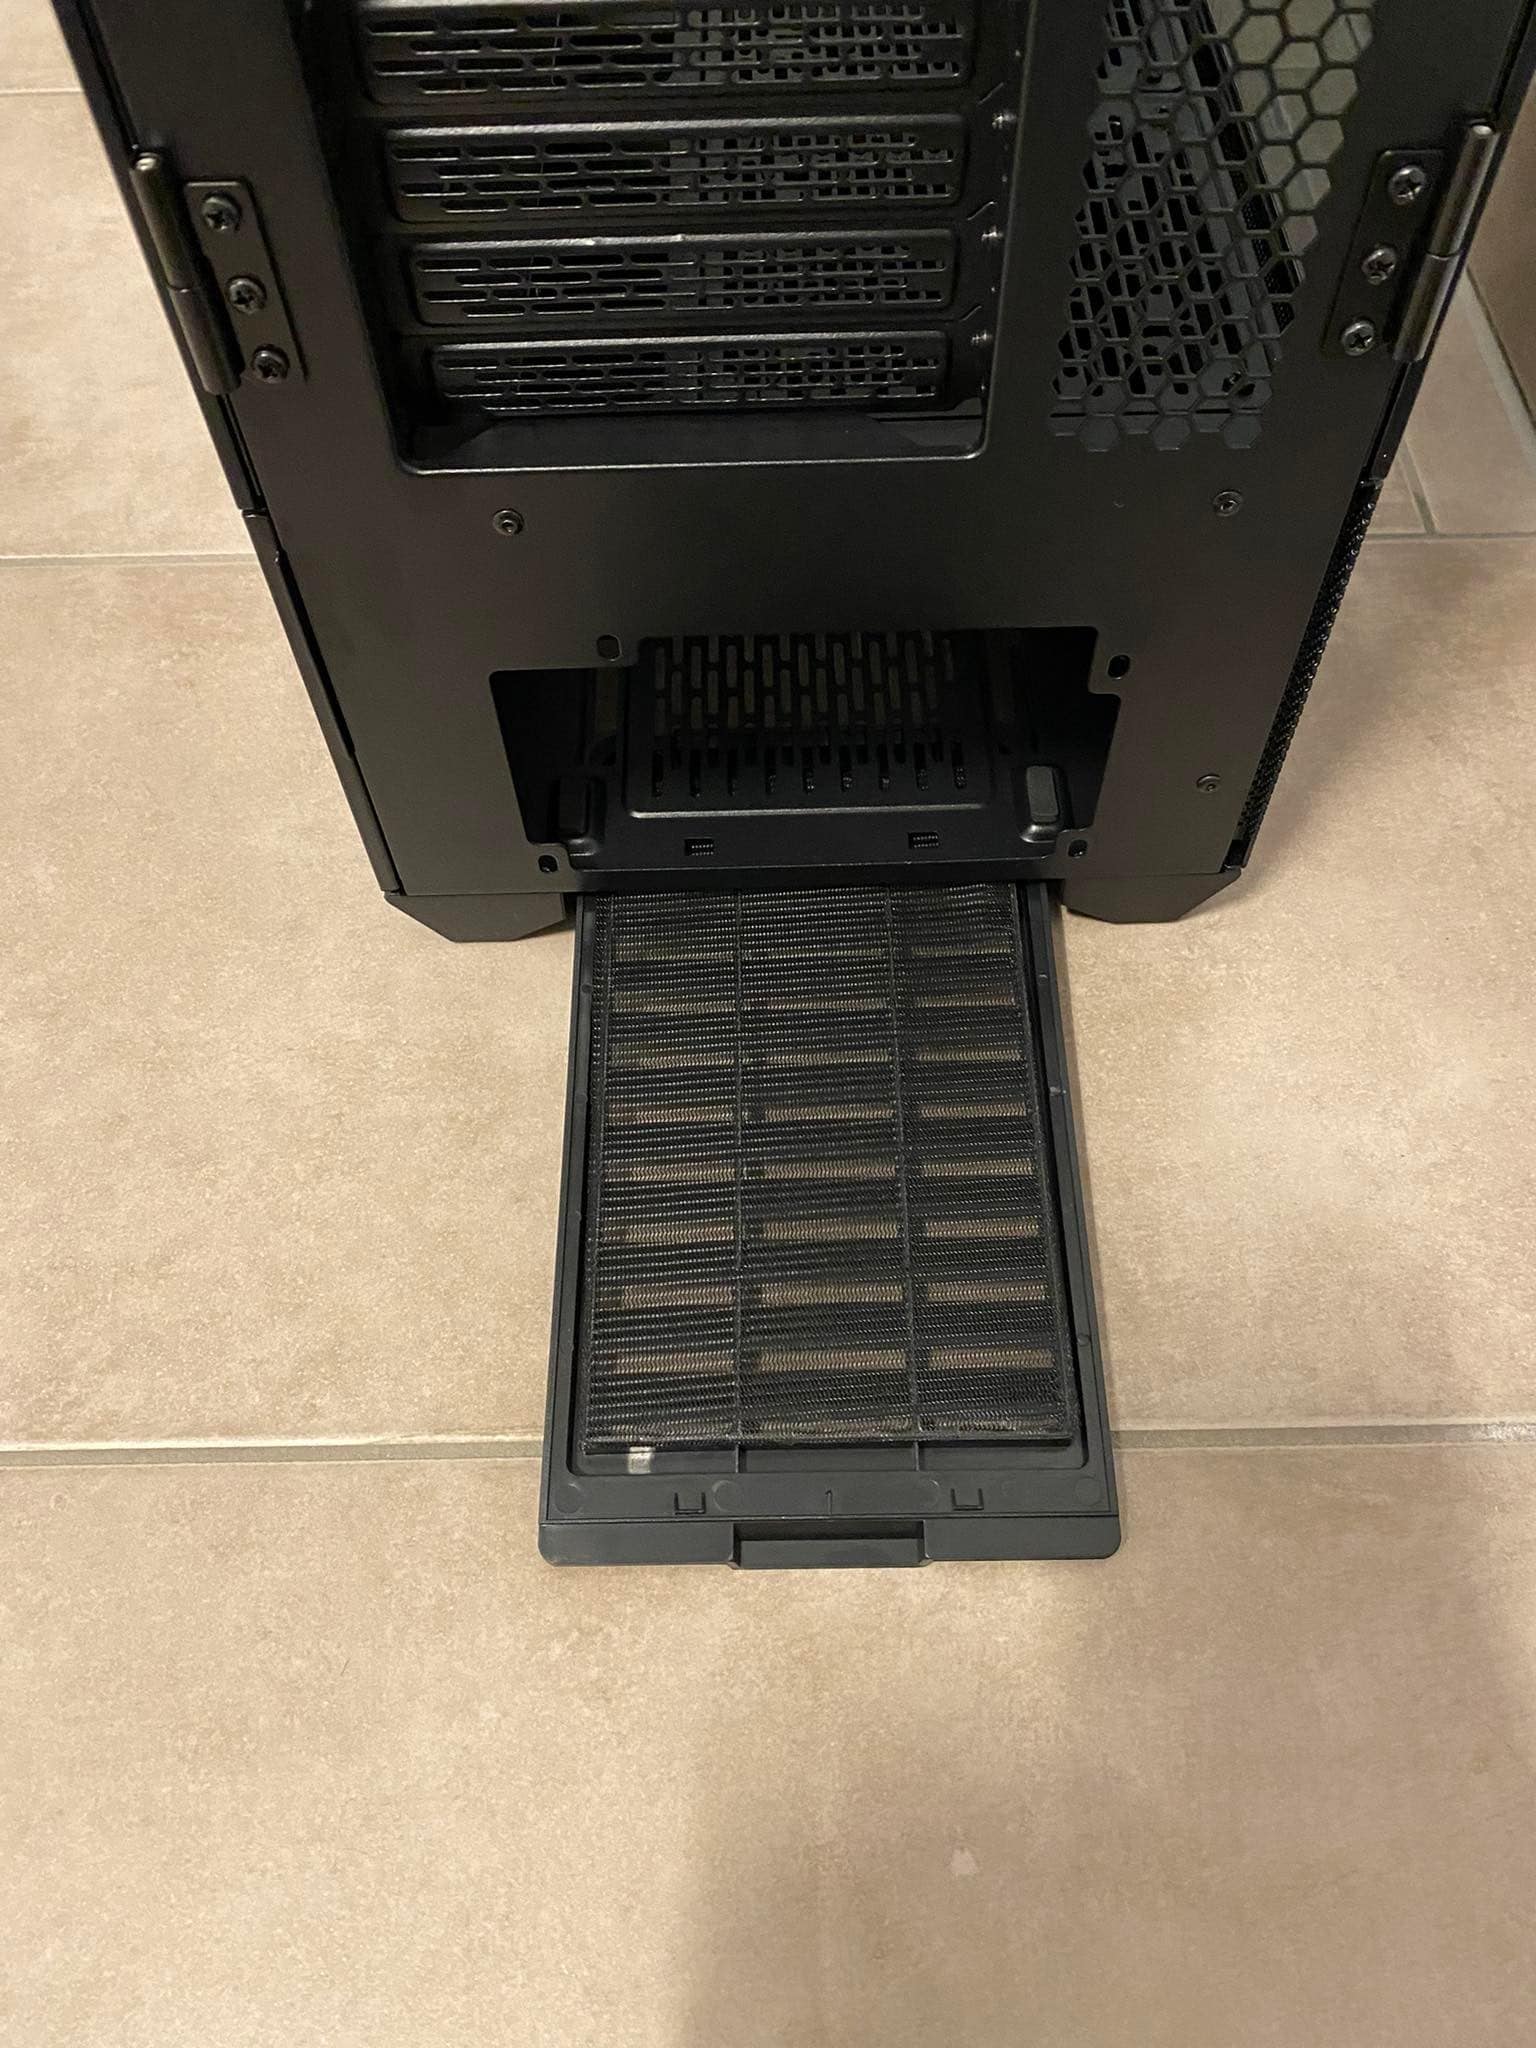
At the bottom of the case we find a larger dust filter, which can be removed by pulling it. Visually, it doesn’t look very impressive, but it isn’t visible in normal use and is therefore irrelevant. All of this is held by four feet with non-slip rubber, which give the whole thing a stable hold.
Interior impression
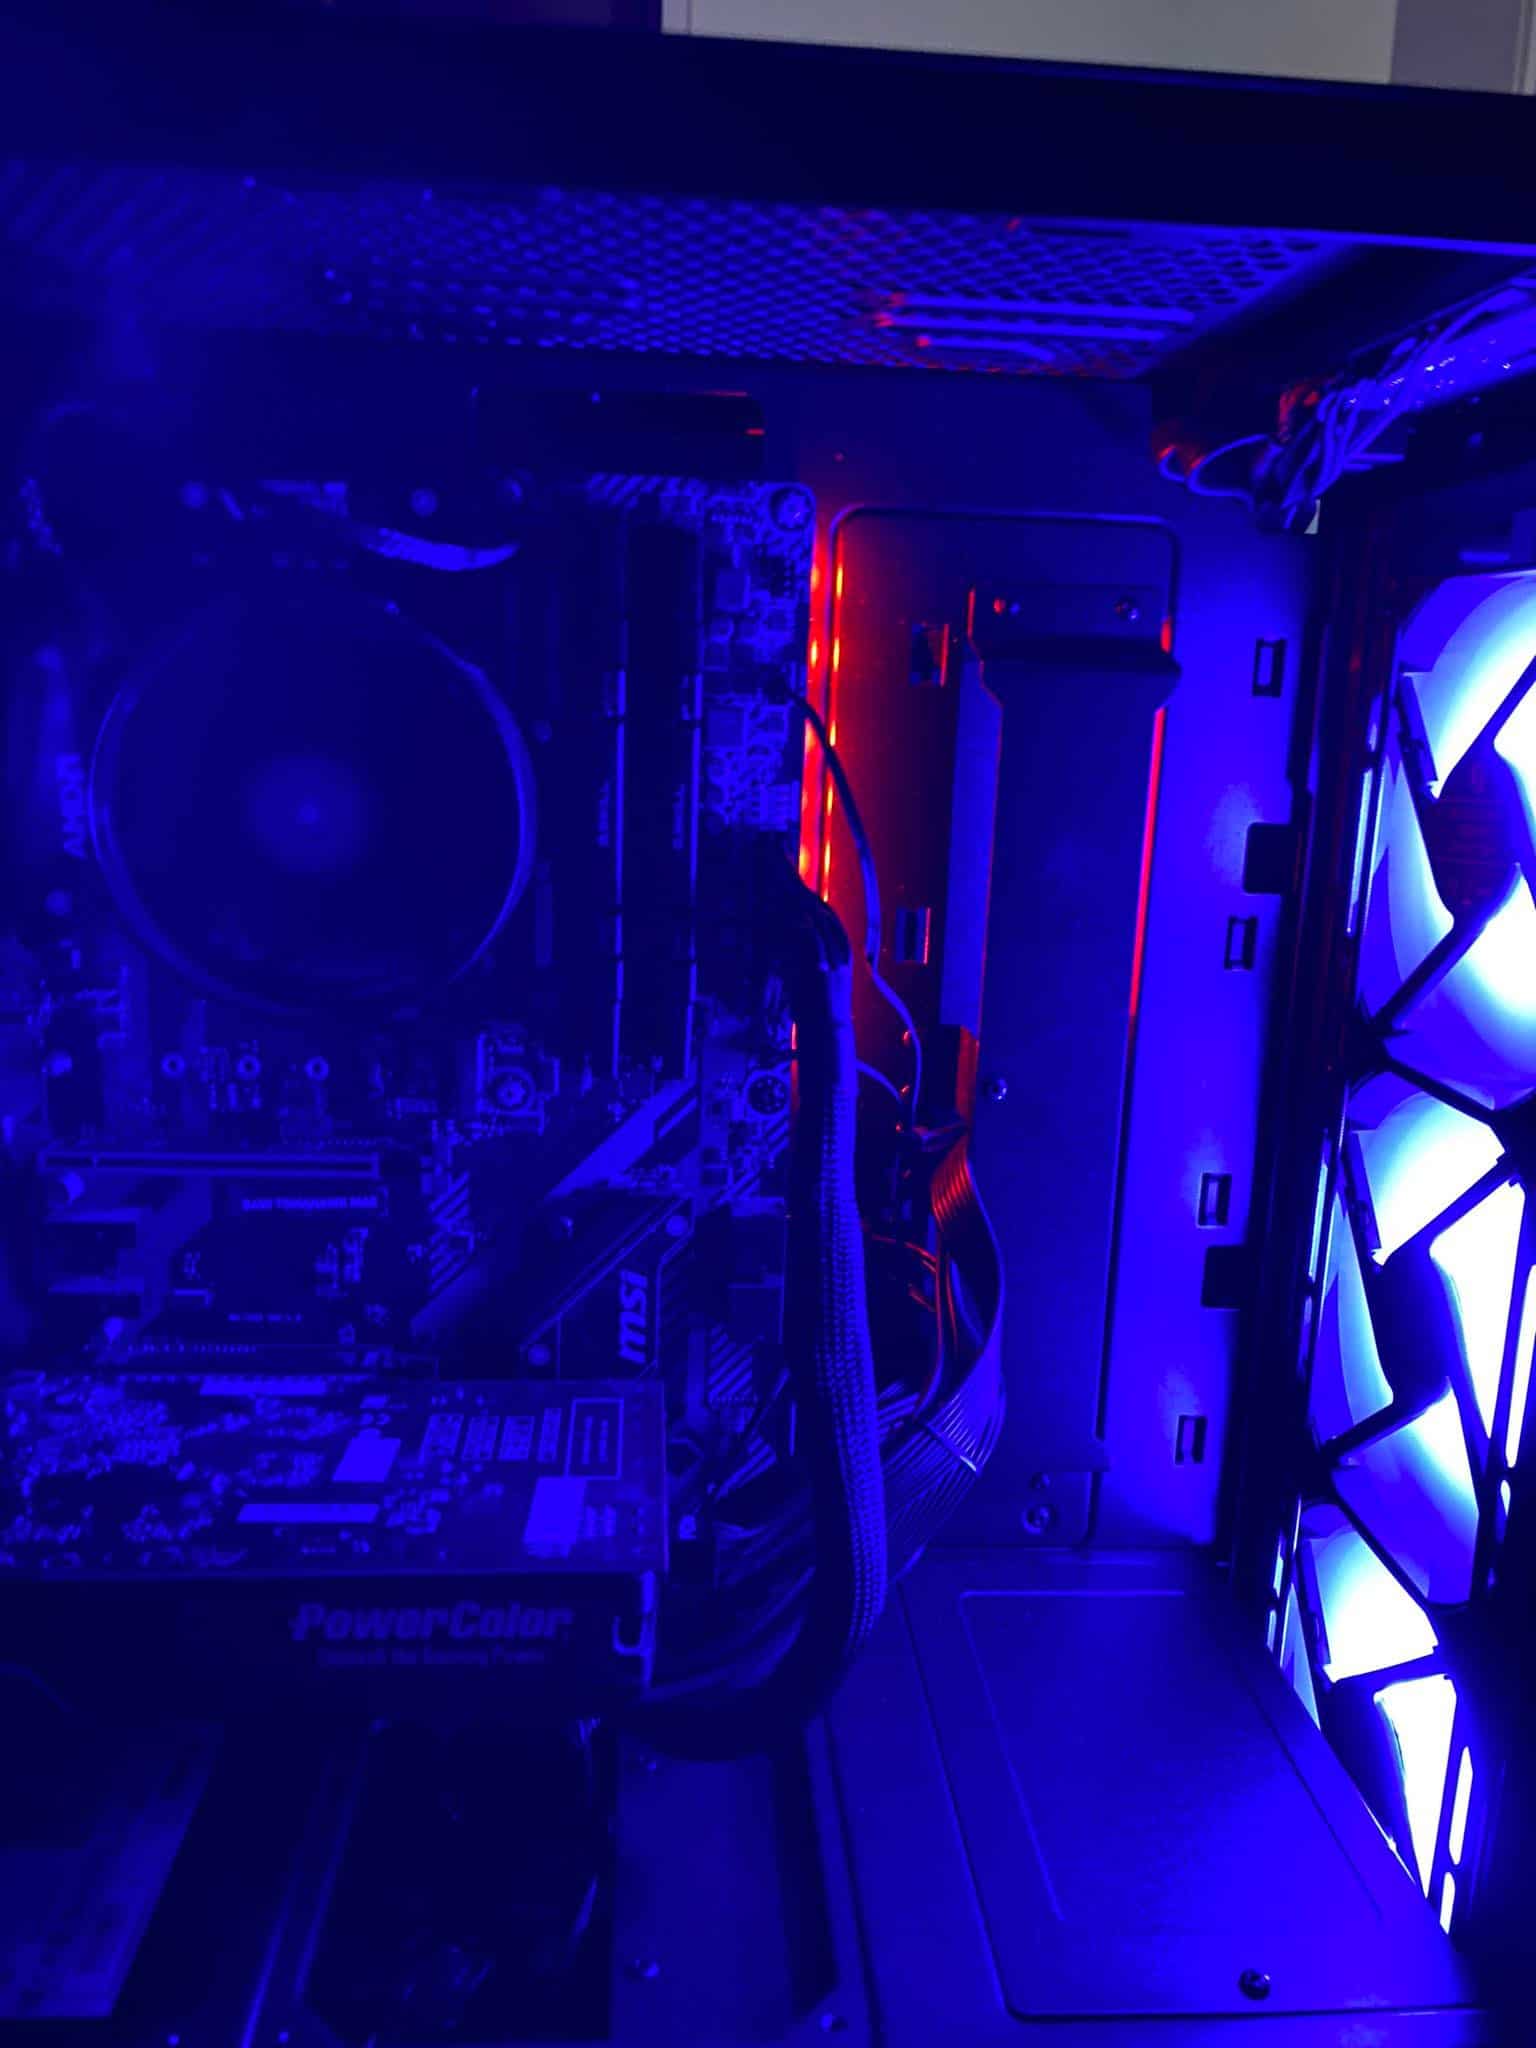
After looking at the exterior of the case, let’s get an idea of the interior as well. For both color variants, the interior is kept black and offers enough space for E- ATX motherboards up to a width of 280 mm. For cable management, we have a rod to the right of the motherboard mount, which in my opinion offers too little space for the cables and they would easily bend when connected. I simply turned this 180° and thus got more space for the cables.
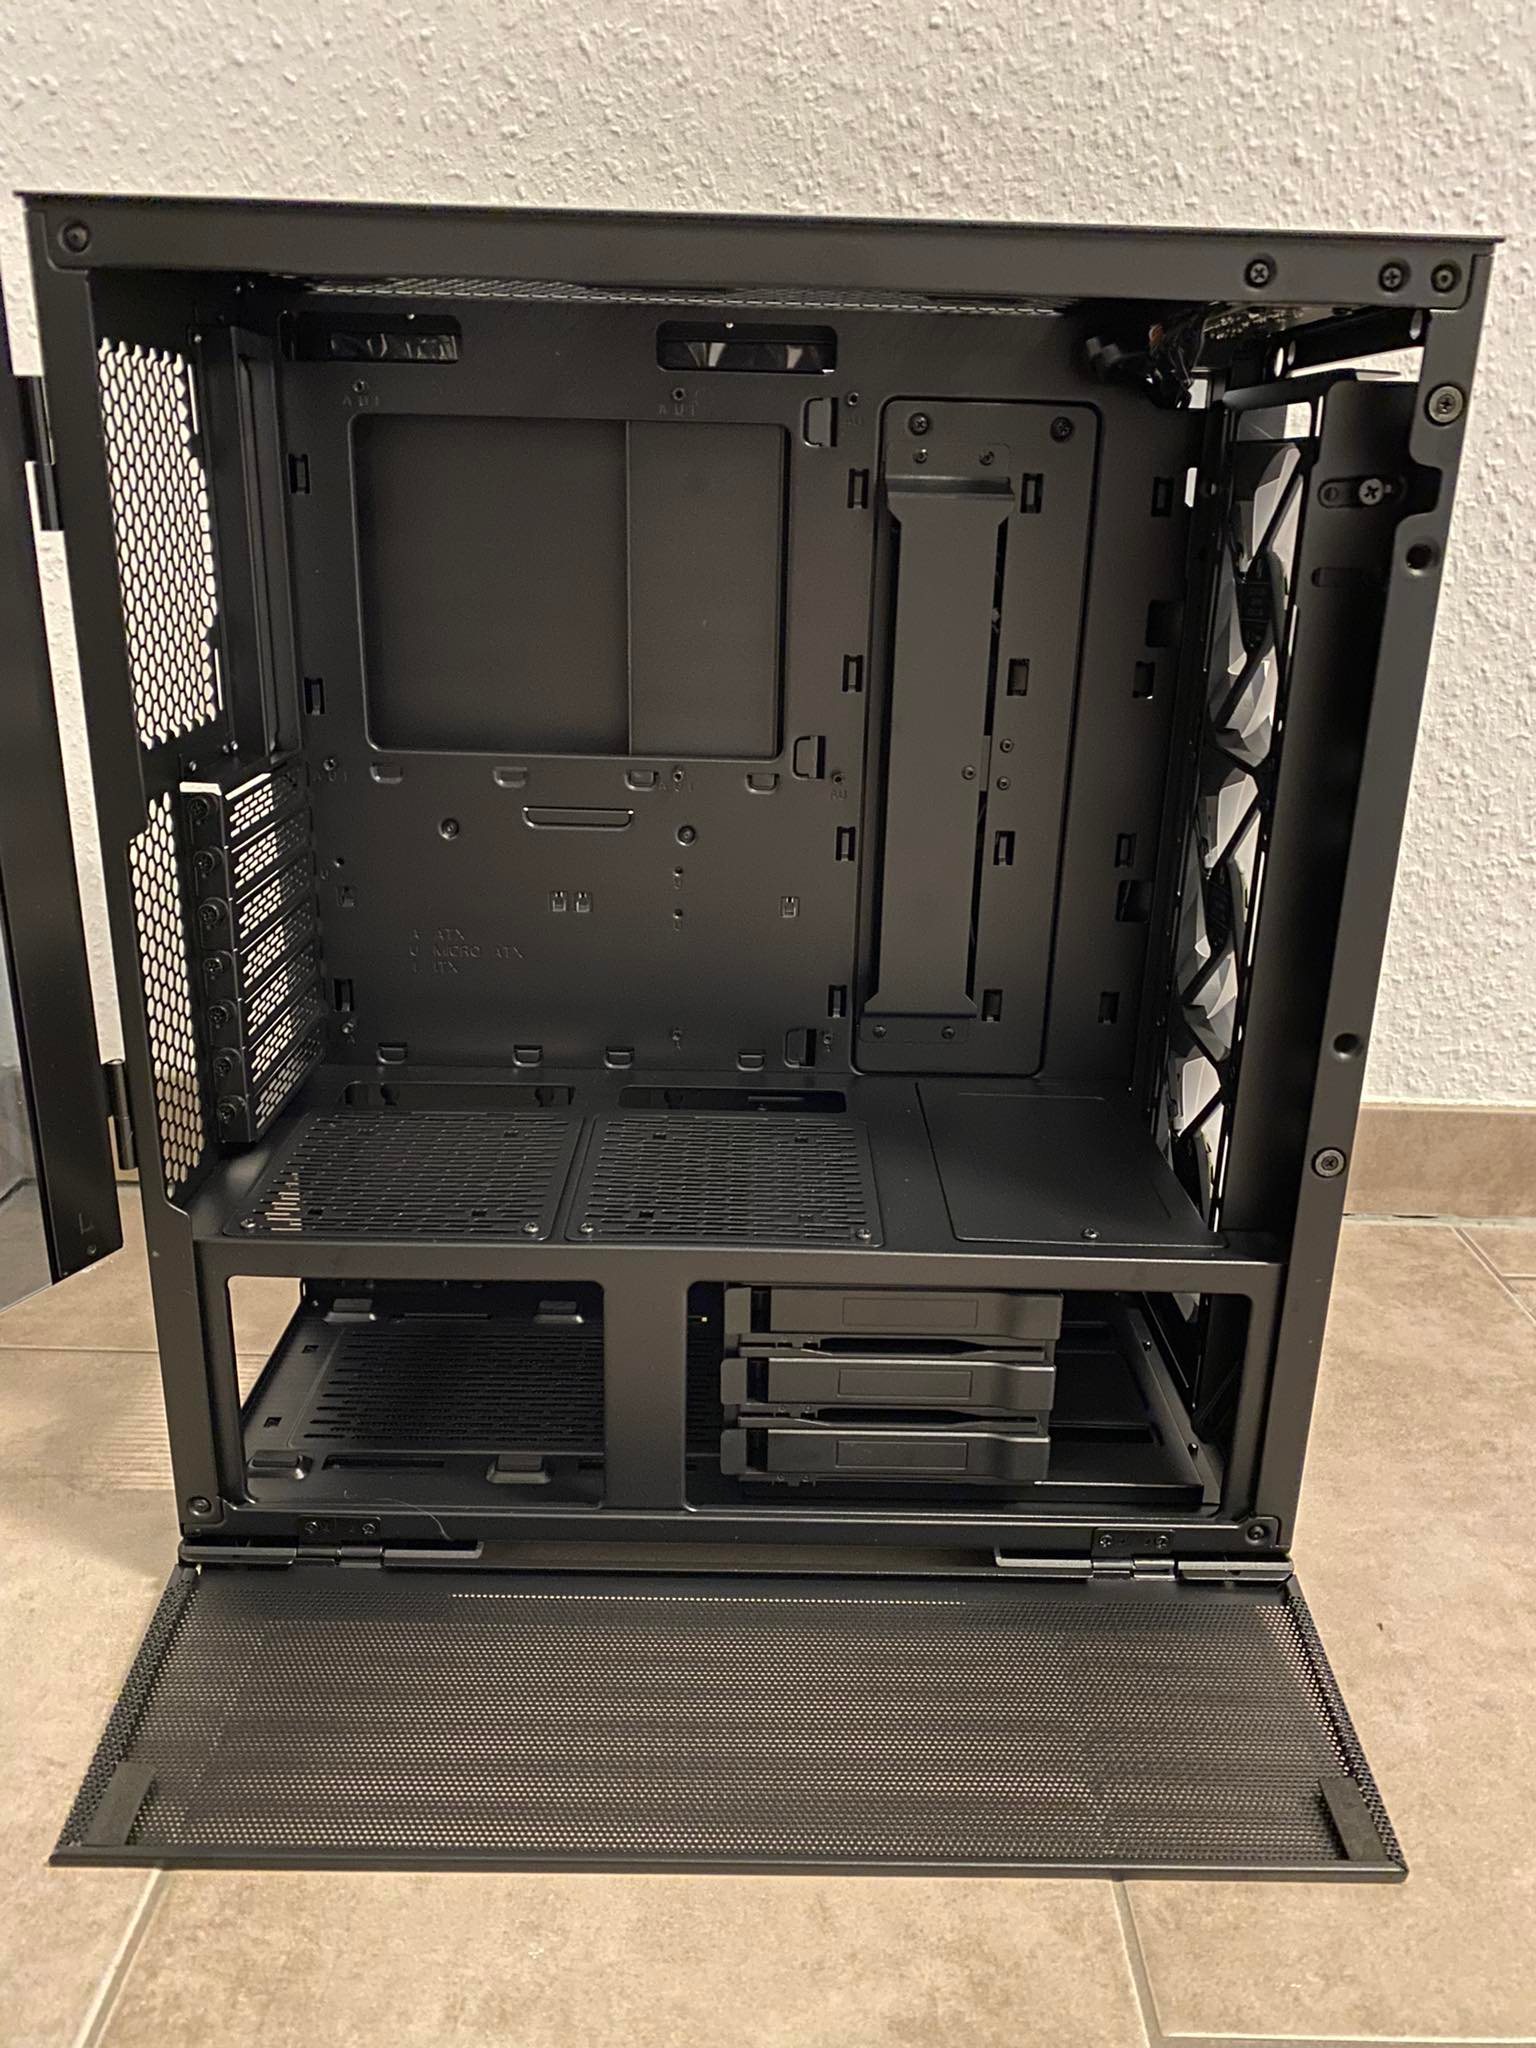
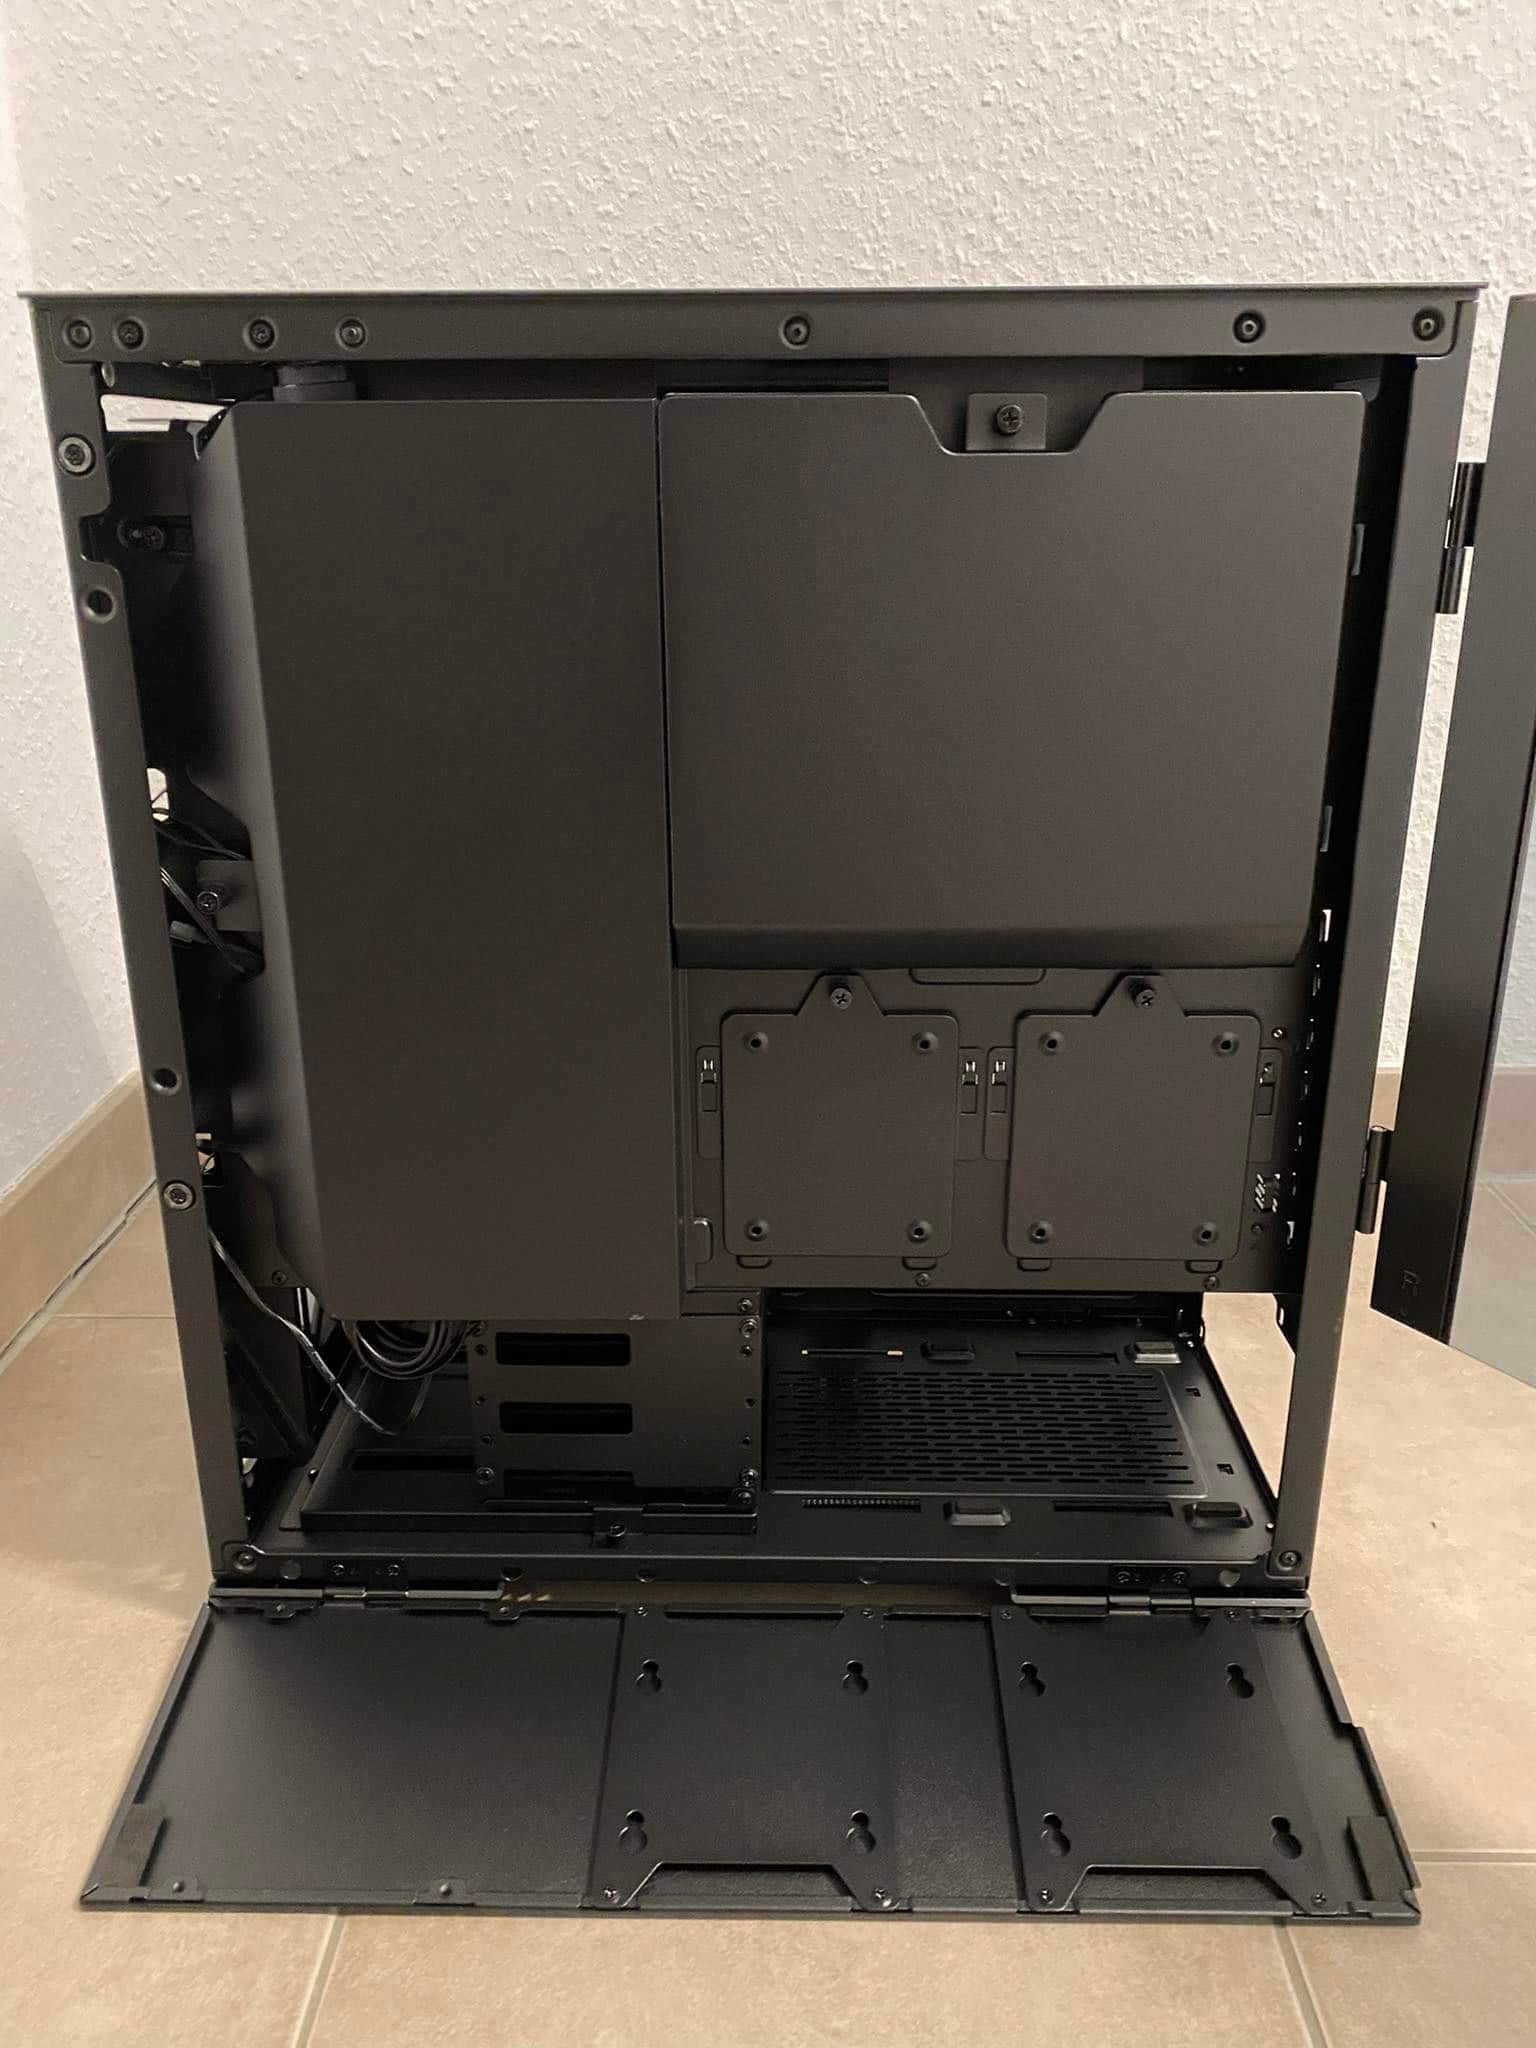
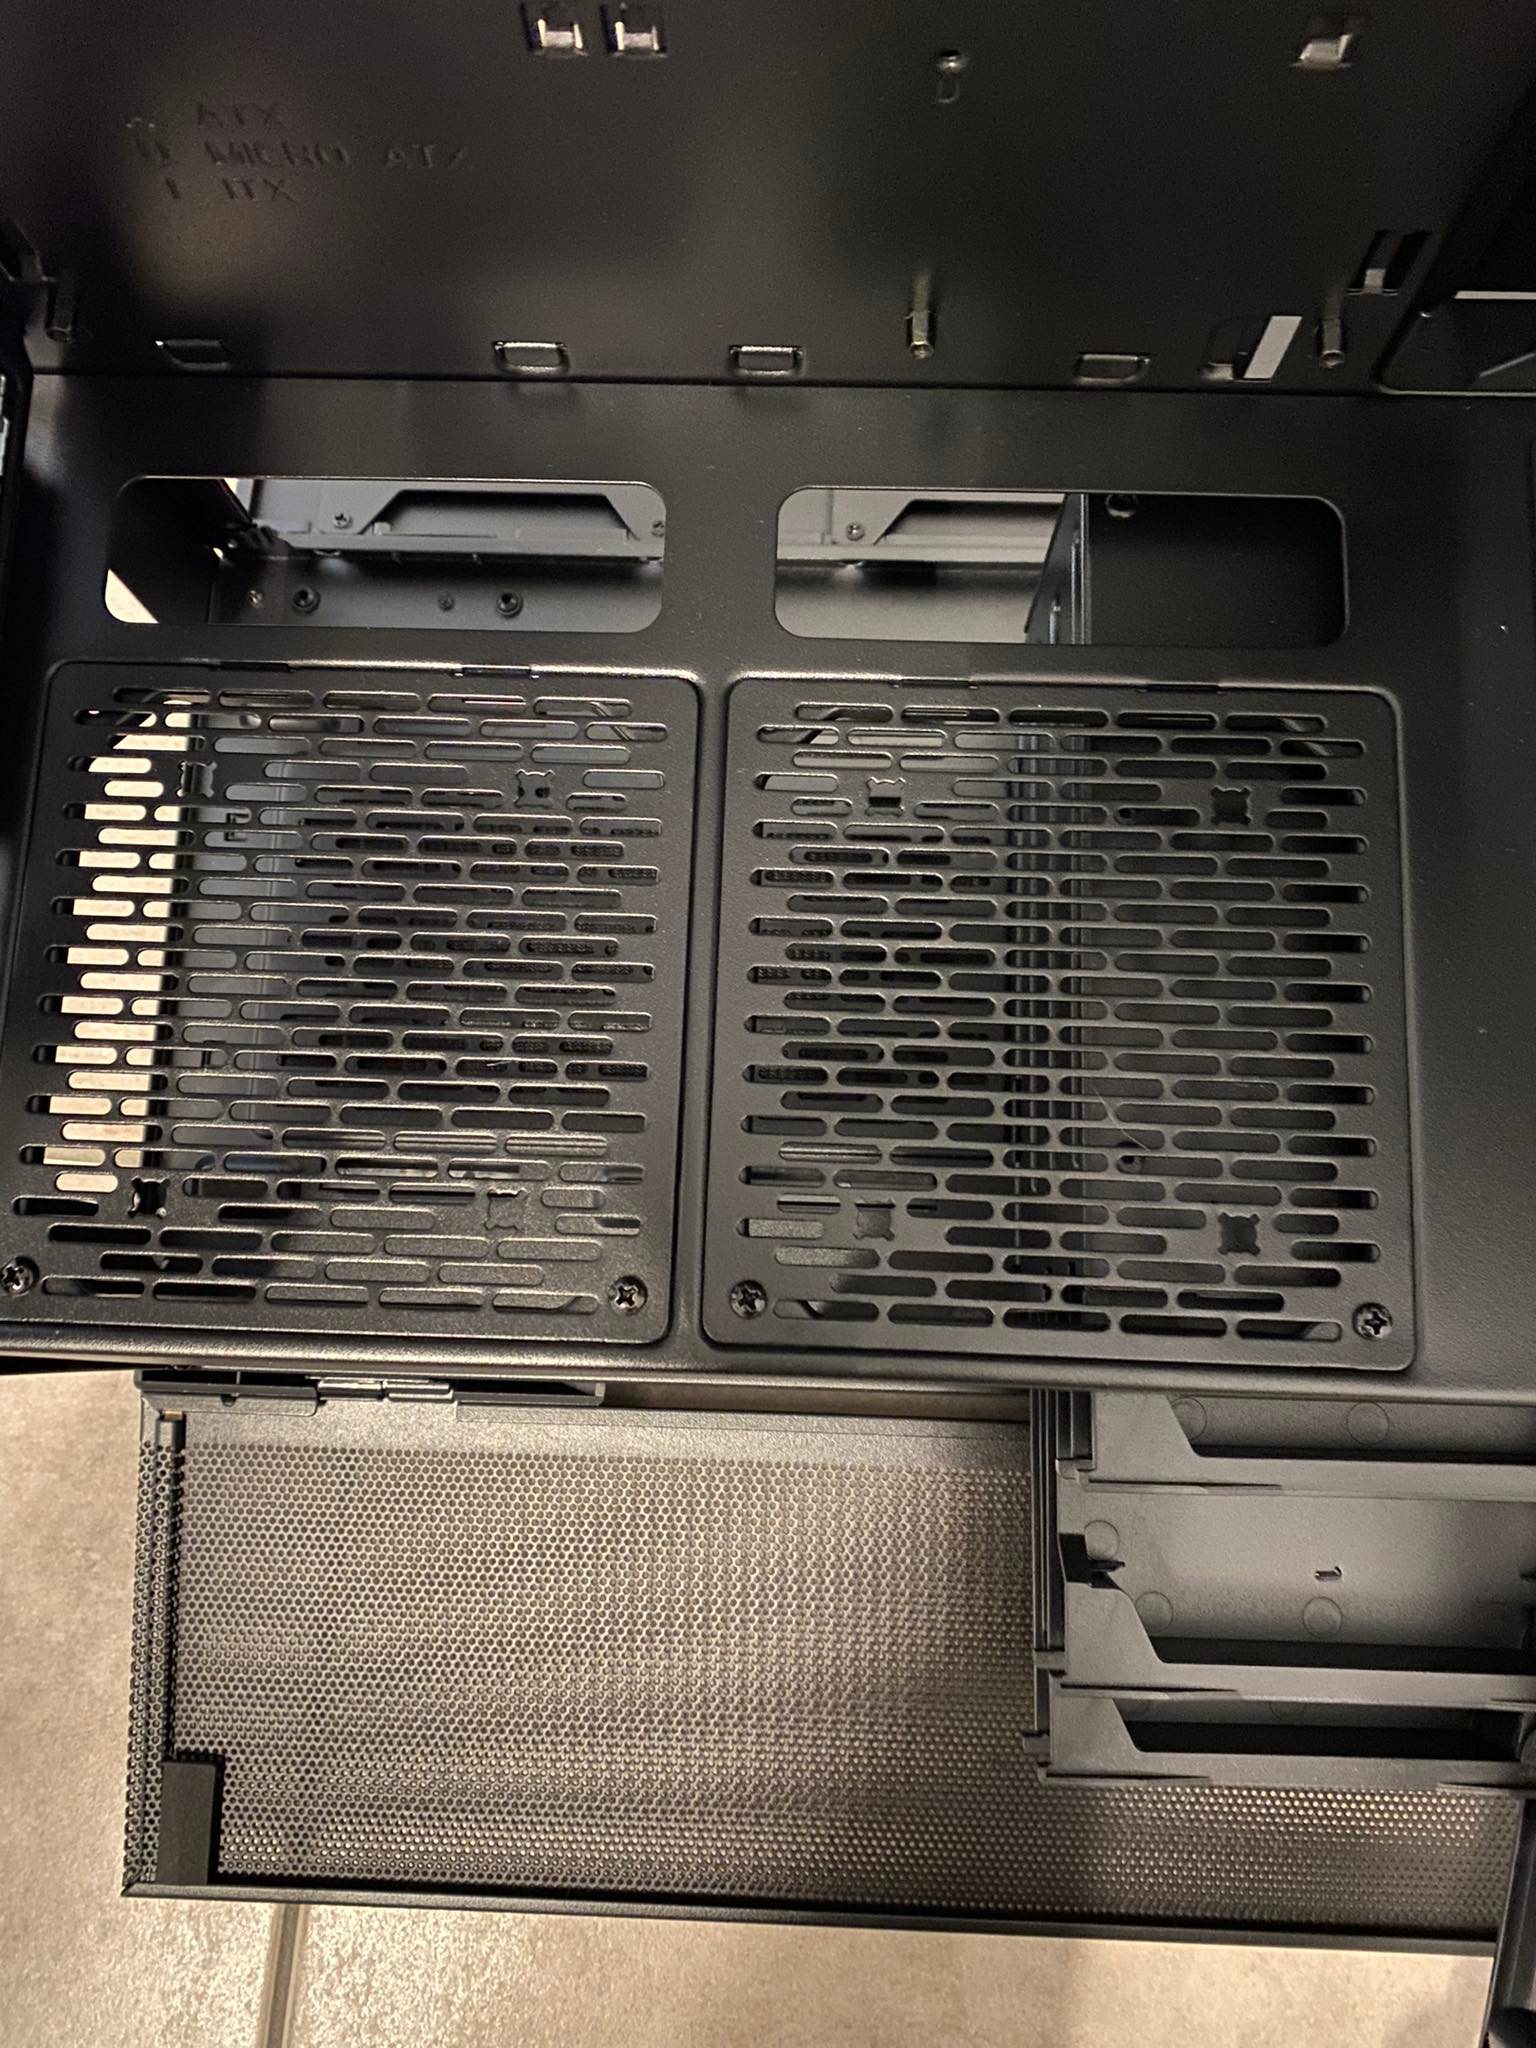
Above the bay for the power supply are two holes for the supply cables to pass through. Again, we find ventilation grilles above the bay. We have massive space for hard drives here. On the back of the motherboard tray, two 2.5-inch SSDs can be mounted on individual carriers. The right cover panel takes two more 2.5-inch drives on the inside and on the PSU cover, two 2.5-inch drives can be mounted on the two removable carriers. Up to 3 SSD or HDD (2.5″/3.5″) can also be mounted under the PSU cover.

If we now remove the side panel on the right side we have a large amount of space for neat cable management. For this, we just need to loosen a screw by hand or with a Phillips screwdriver (I needed the screwdriver) and then we have the possibility to sort and set up our cables reasonably. Lian Li also gives cable ties to it, which again make it easier to install everything neatly.

Assembly
Now we come to the assembly. This turns out to be quite simple, as all we have to do is open the magnetic bottom flaps and the glass door so we can work inside. Next, we screw the ATX motherboard in place with the 9 included screws, which was no problem. Then we remove the factory-assigned Velcro from the pre-existing connectors for the RGB and I/O panels so we can feed the cables through the slot to the front of the motherboard and connect them to the designated slots.
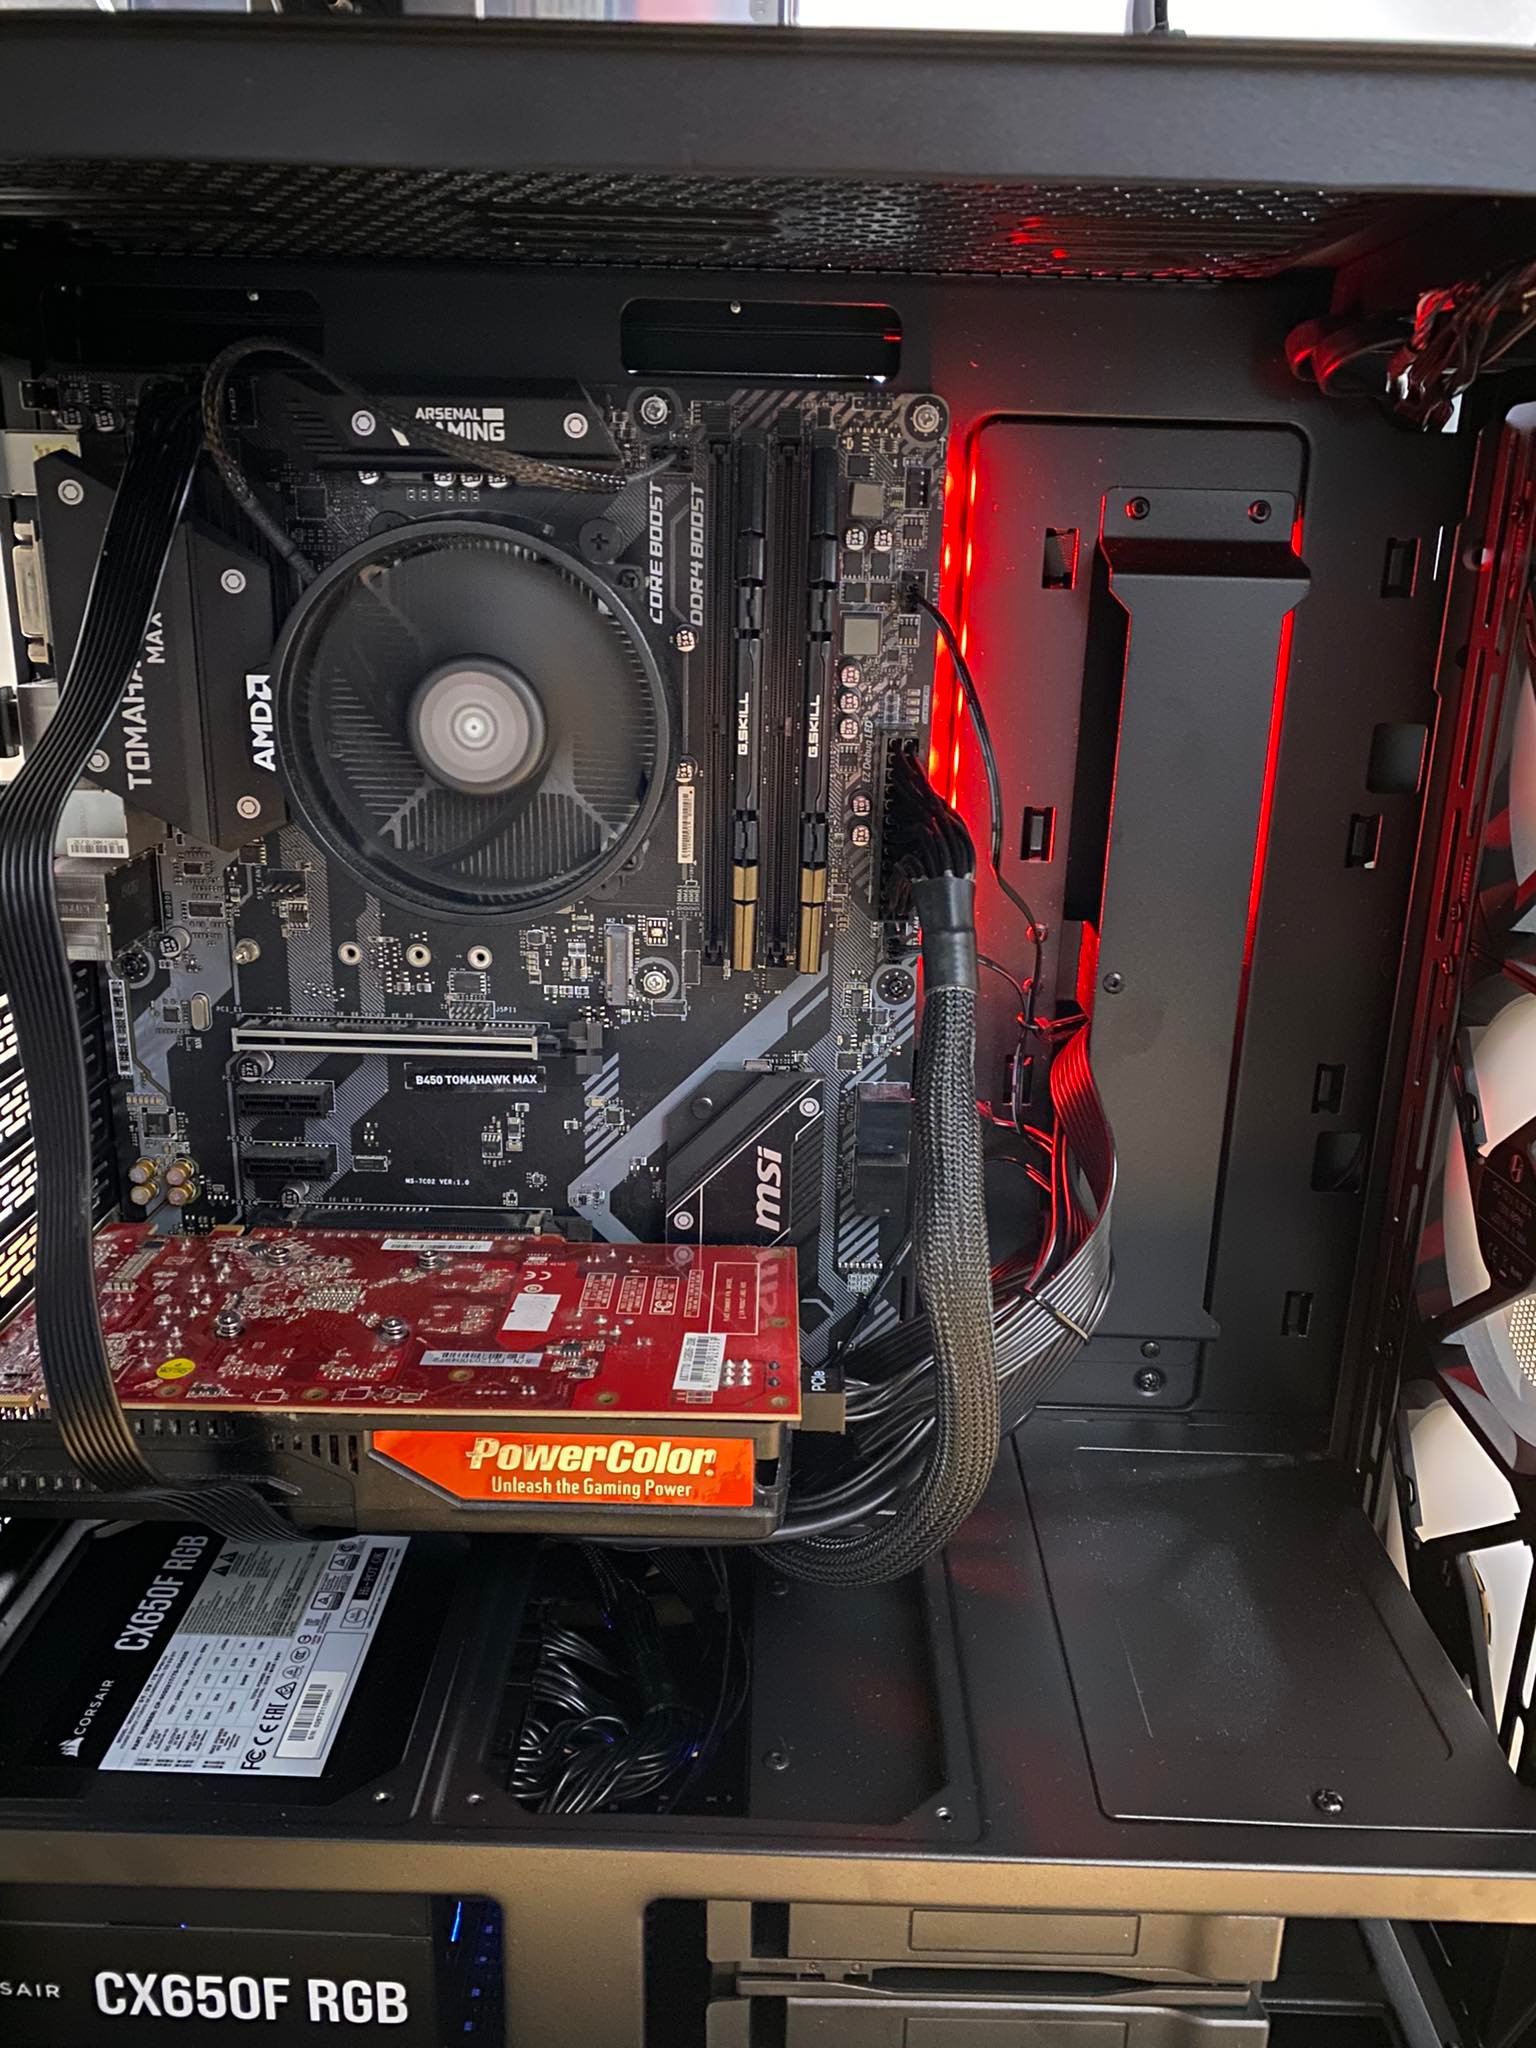
I see criticism here at the openings for the power supply cables. These are kept very small and the cables can only be carried out with some finger breaking and cable bending. The installation of the power supply is also difficult, as the opening for it is also very narrow and the thick power supply cables tend to get in the way. Otherwise, the rest of the assembly of all components worked flawlessly. Lian Li has installed a controller for the ARGB fans, so unless you have a 5V 3 pin slot on the motherboard, you can easily connect it to the controller. I would only criticize the installation situation a little for the power supply installation.
Lighting
We have a total of seven different lighting modes. Due to this variety, there is certainly something for everyone here. The modes are set using the “M” button on top of the I/O panel on the top. The “C” button also allows us to switch between seven different colors as we please.
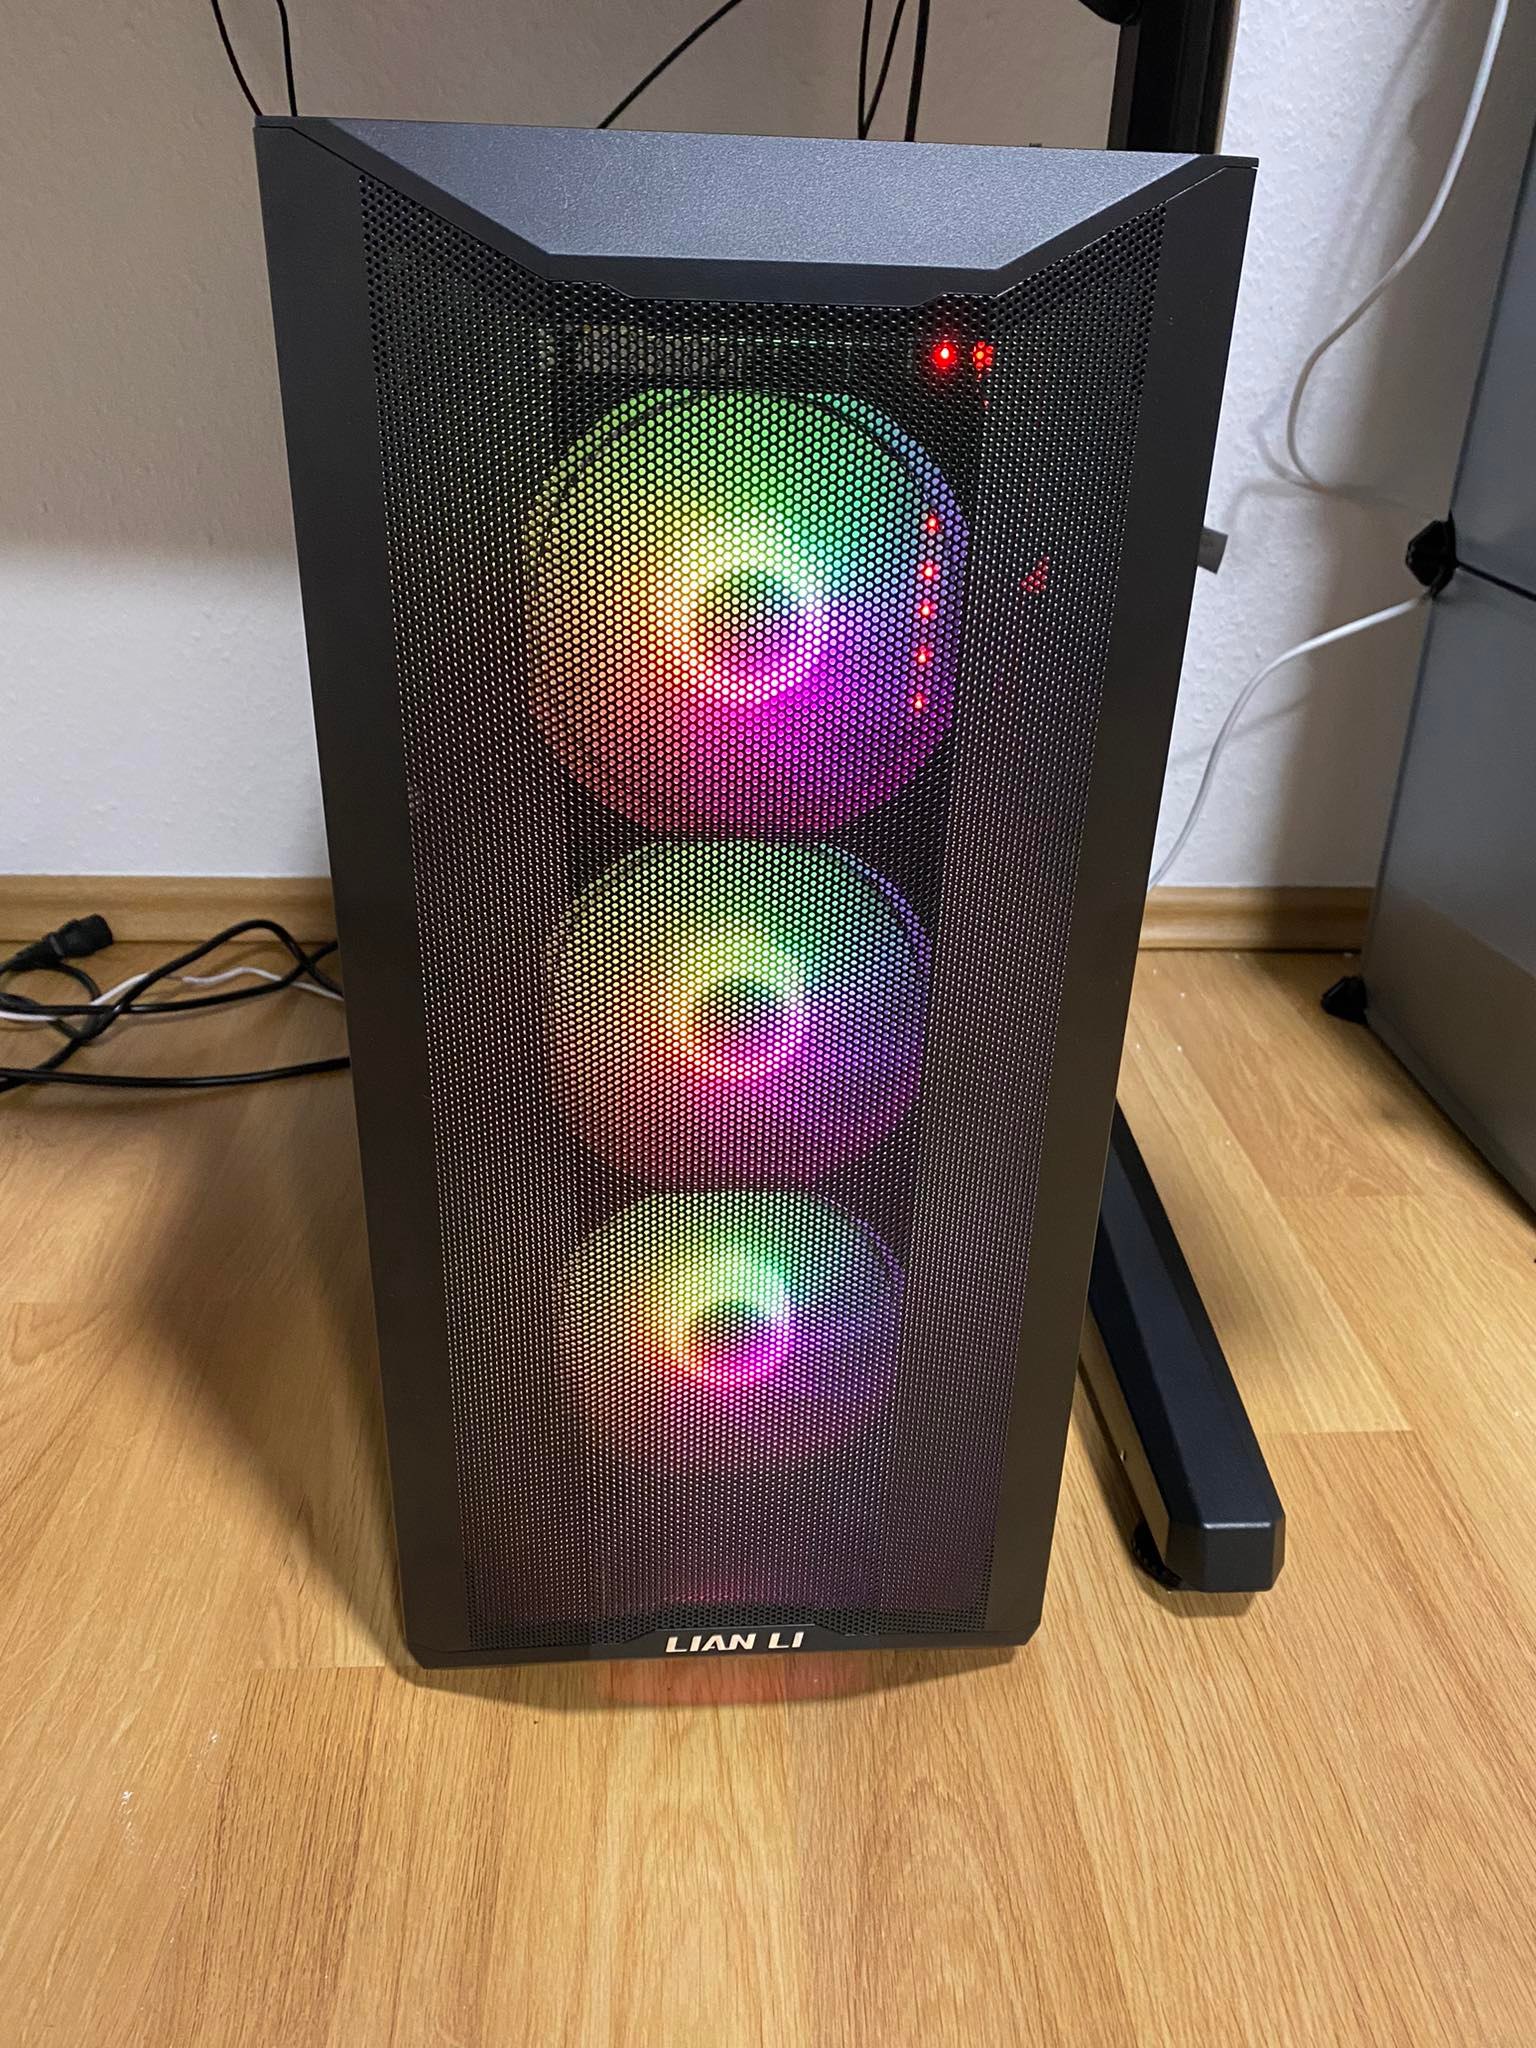
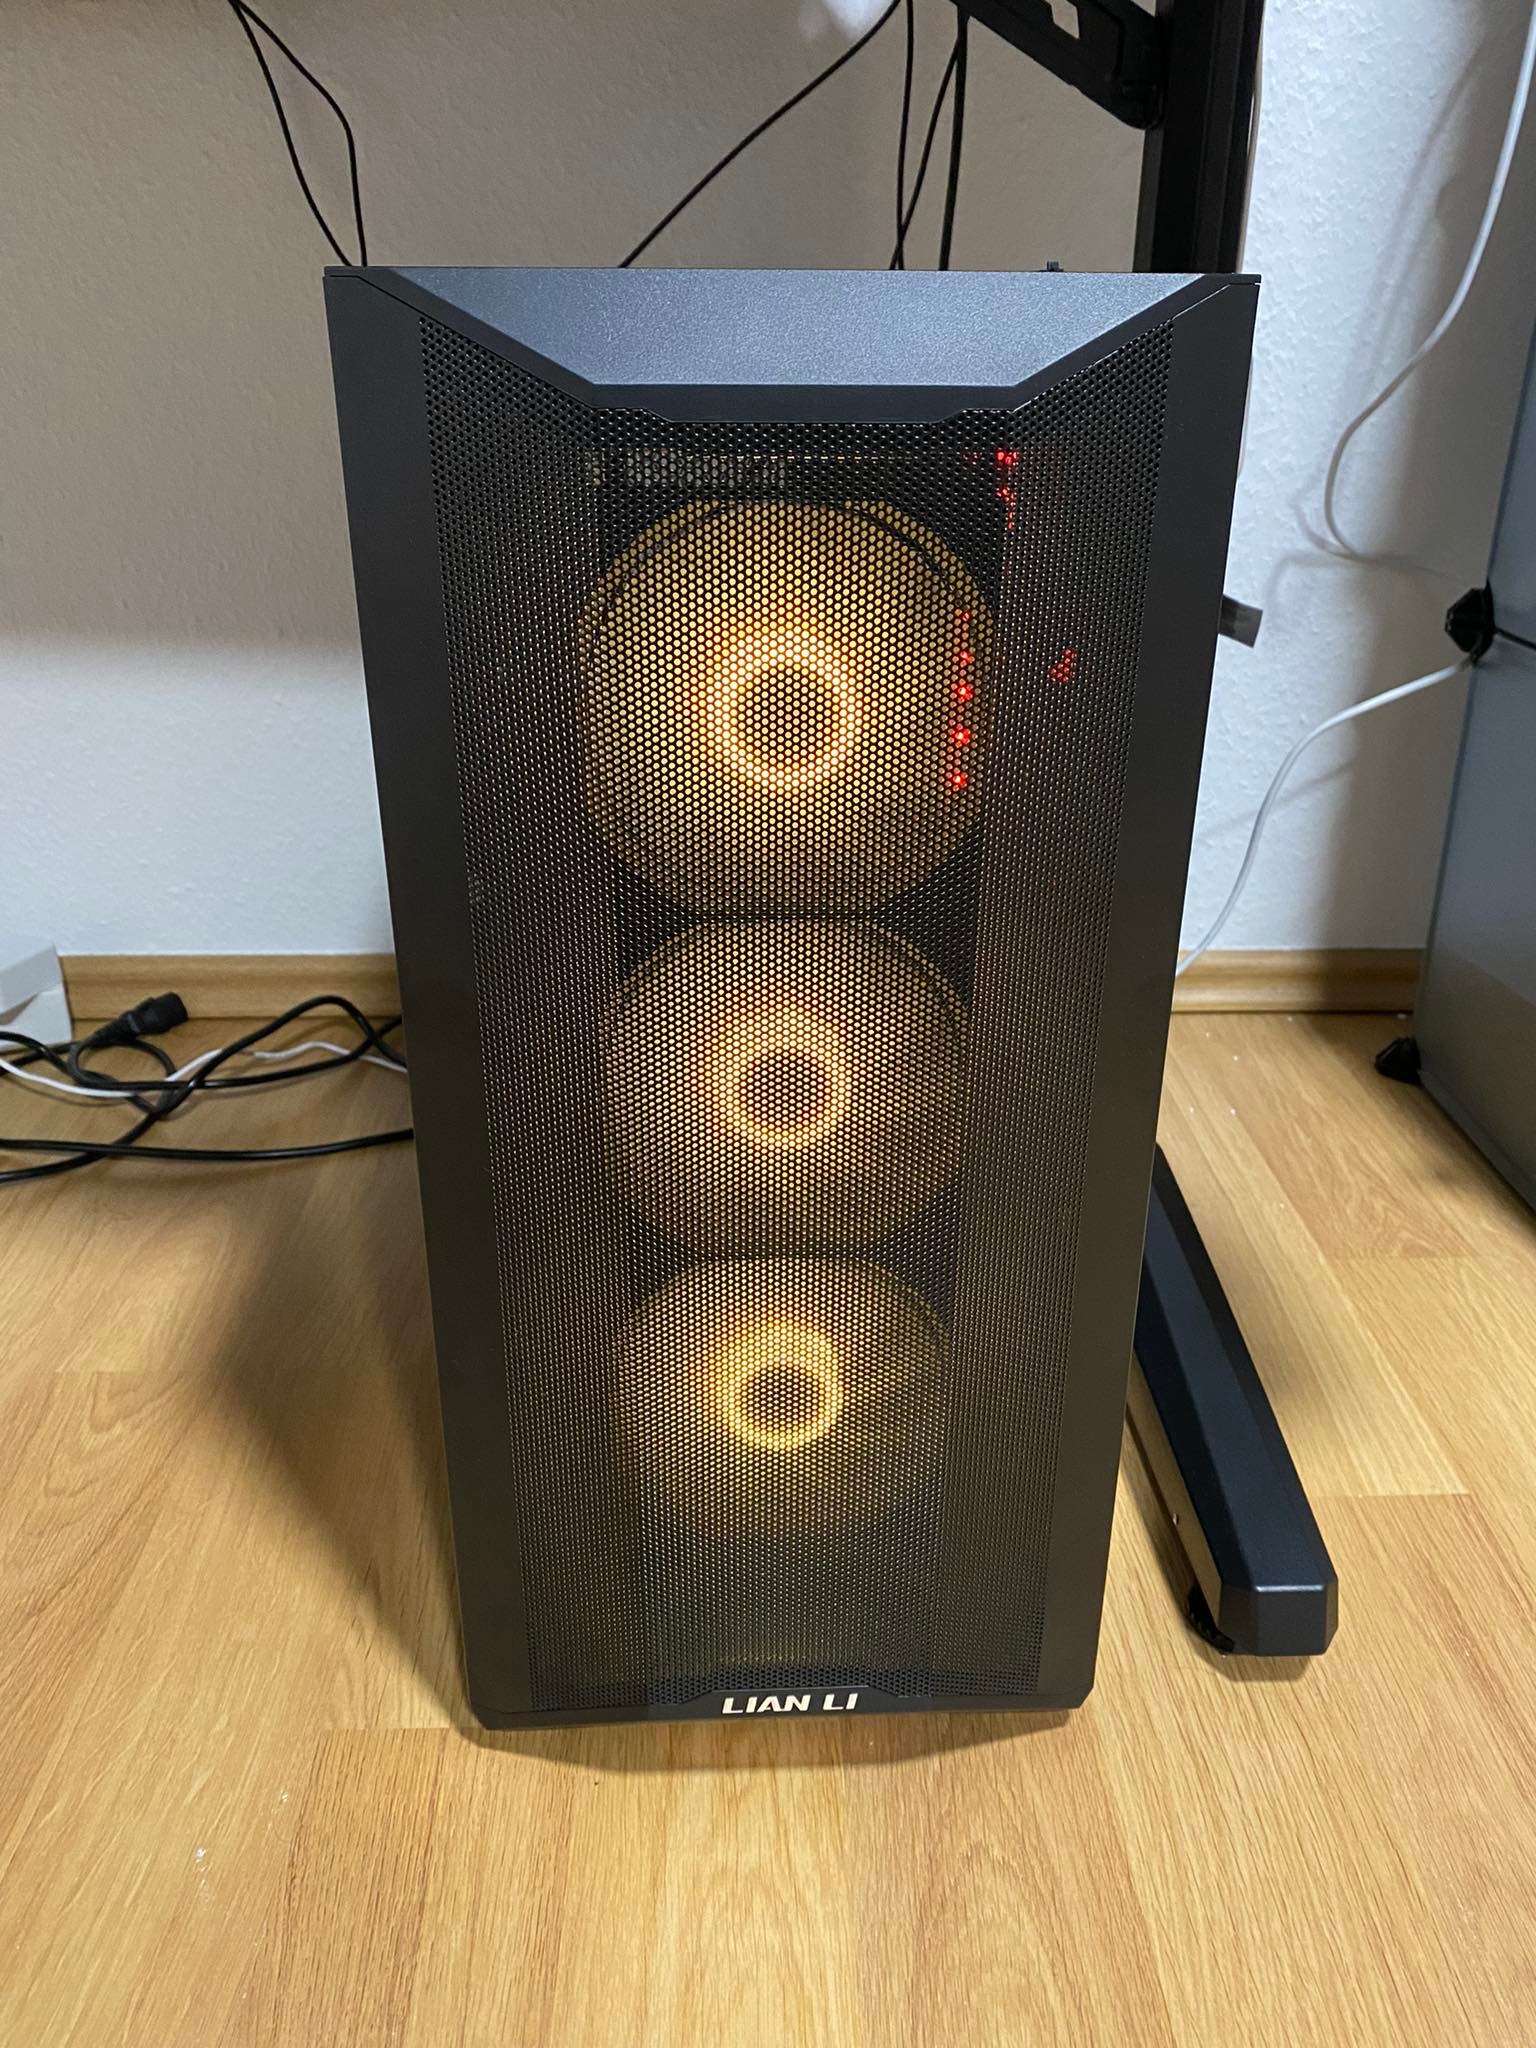
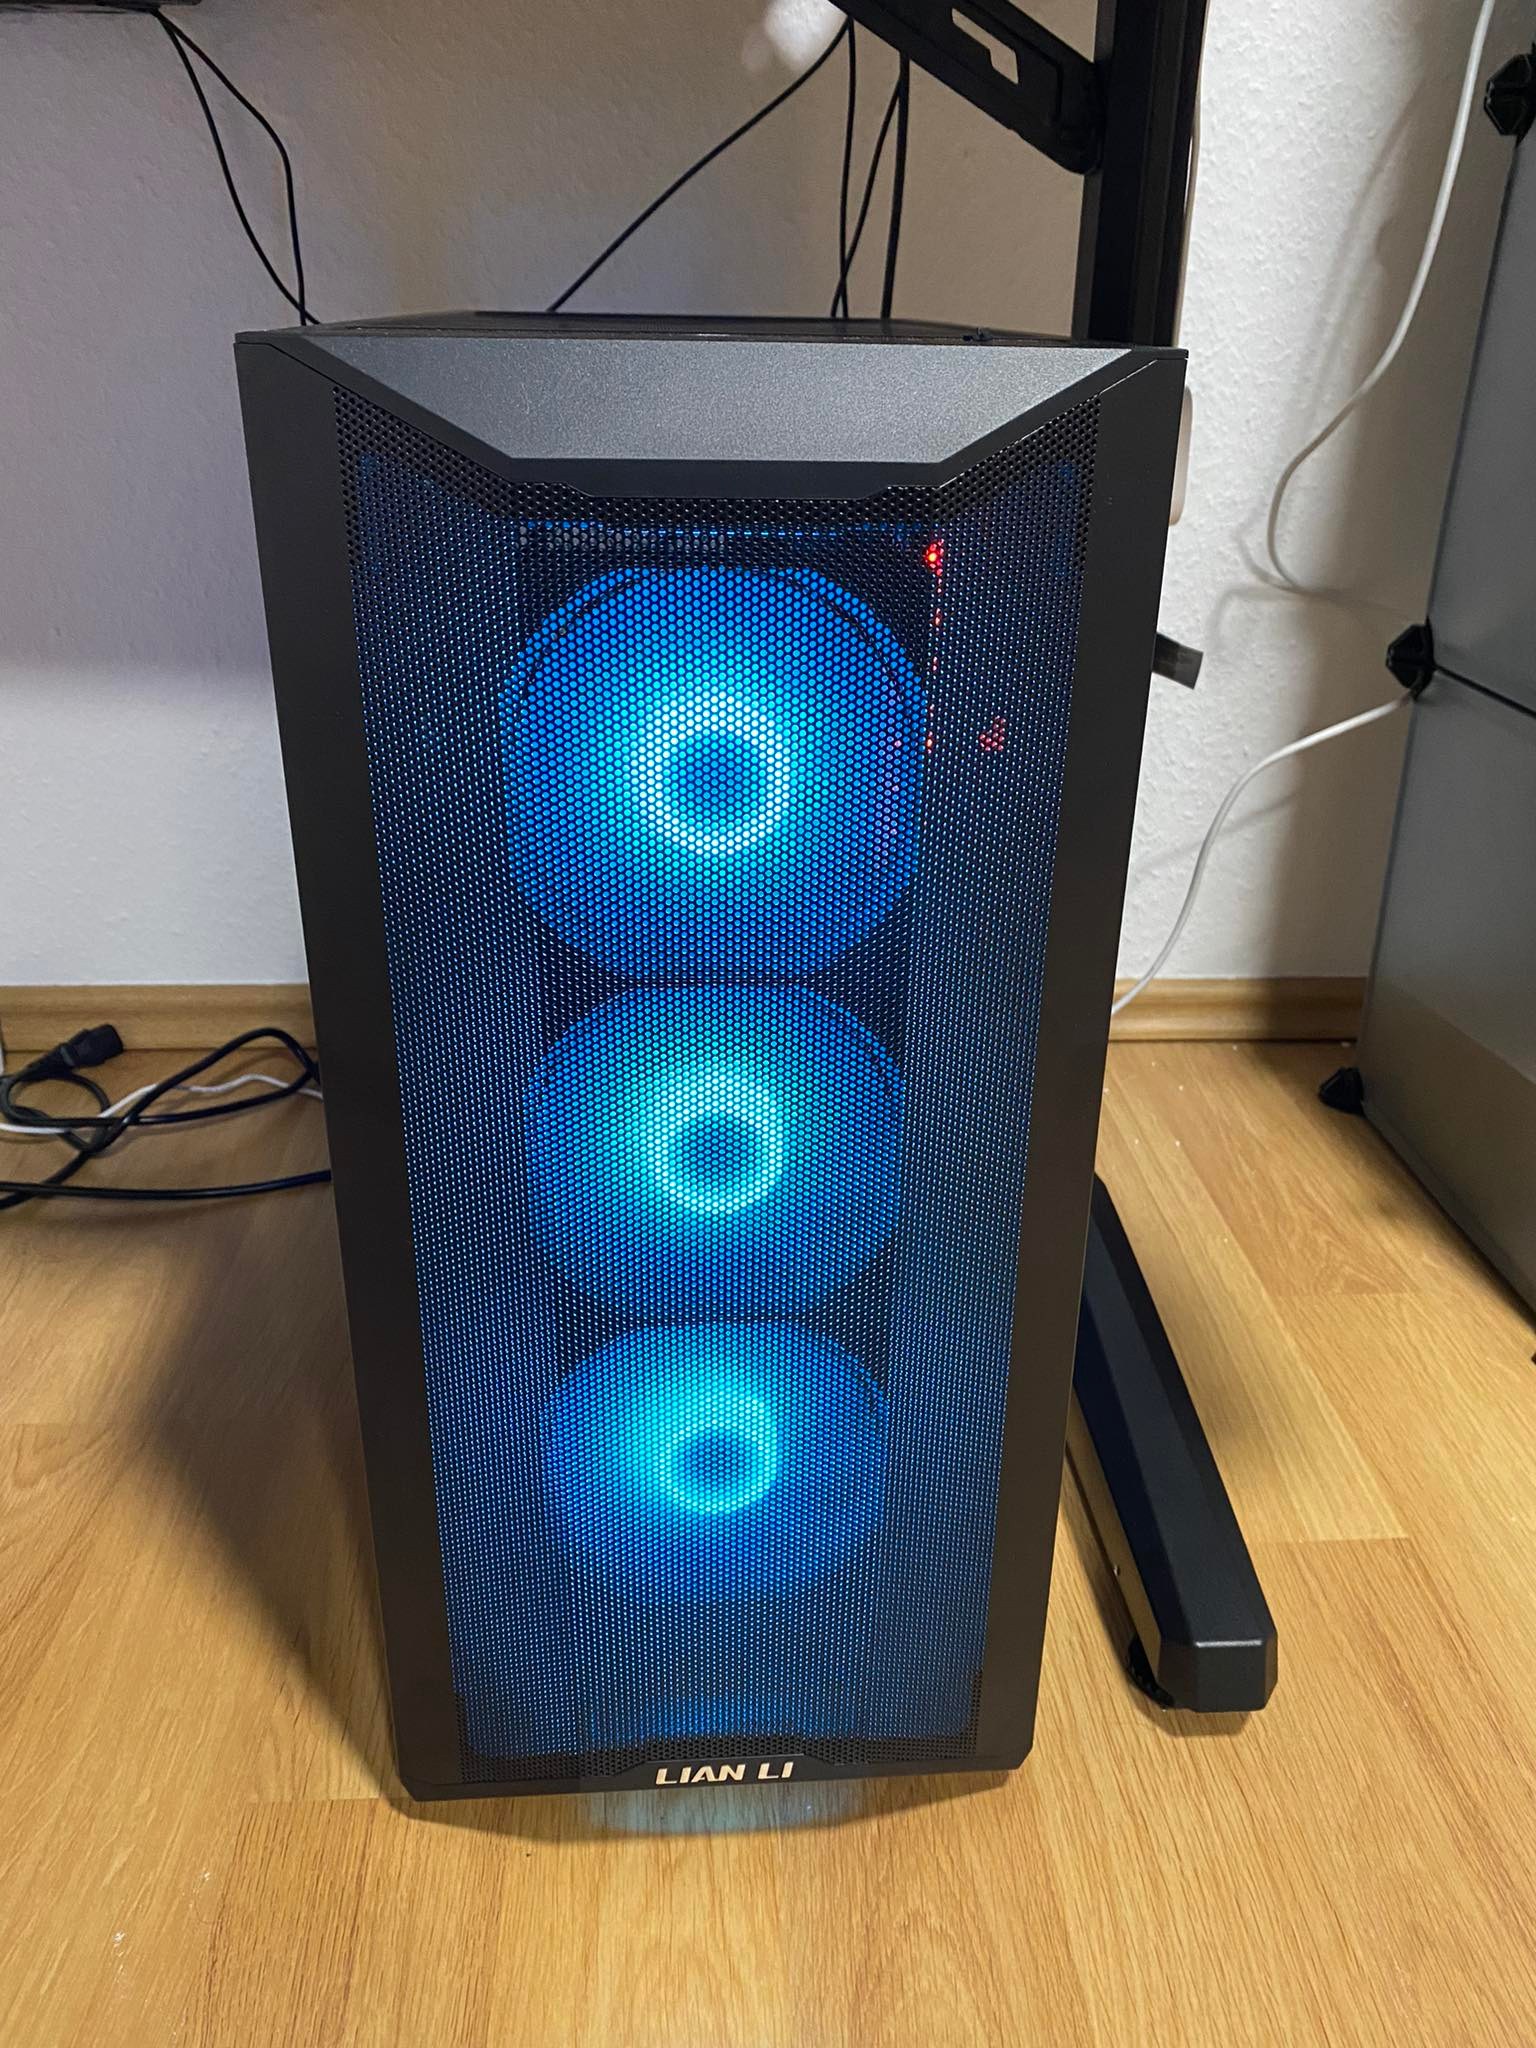
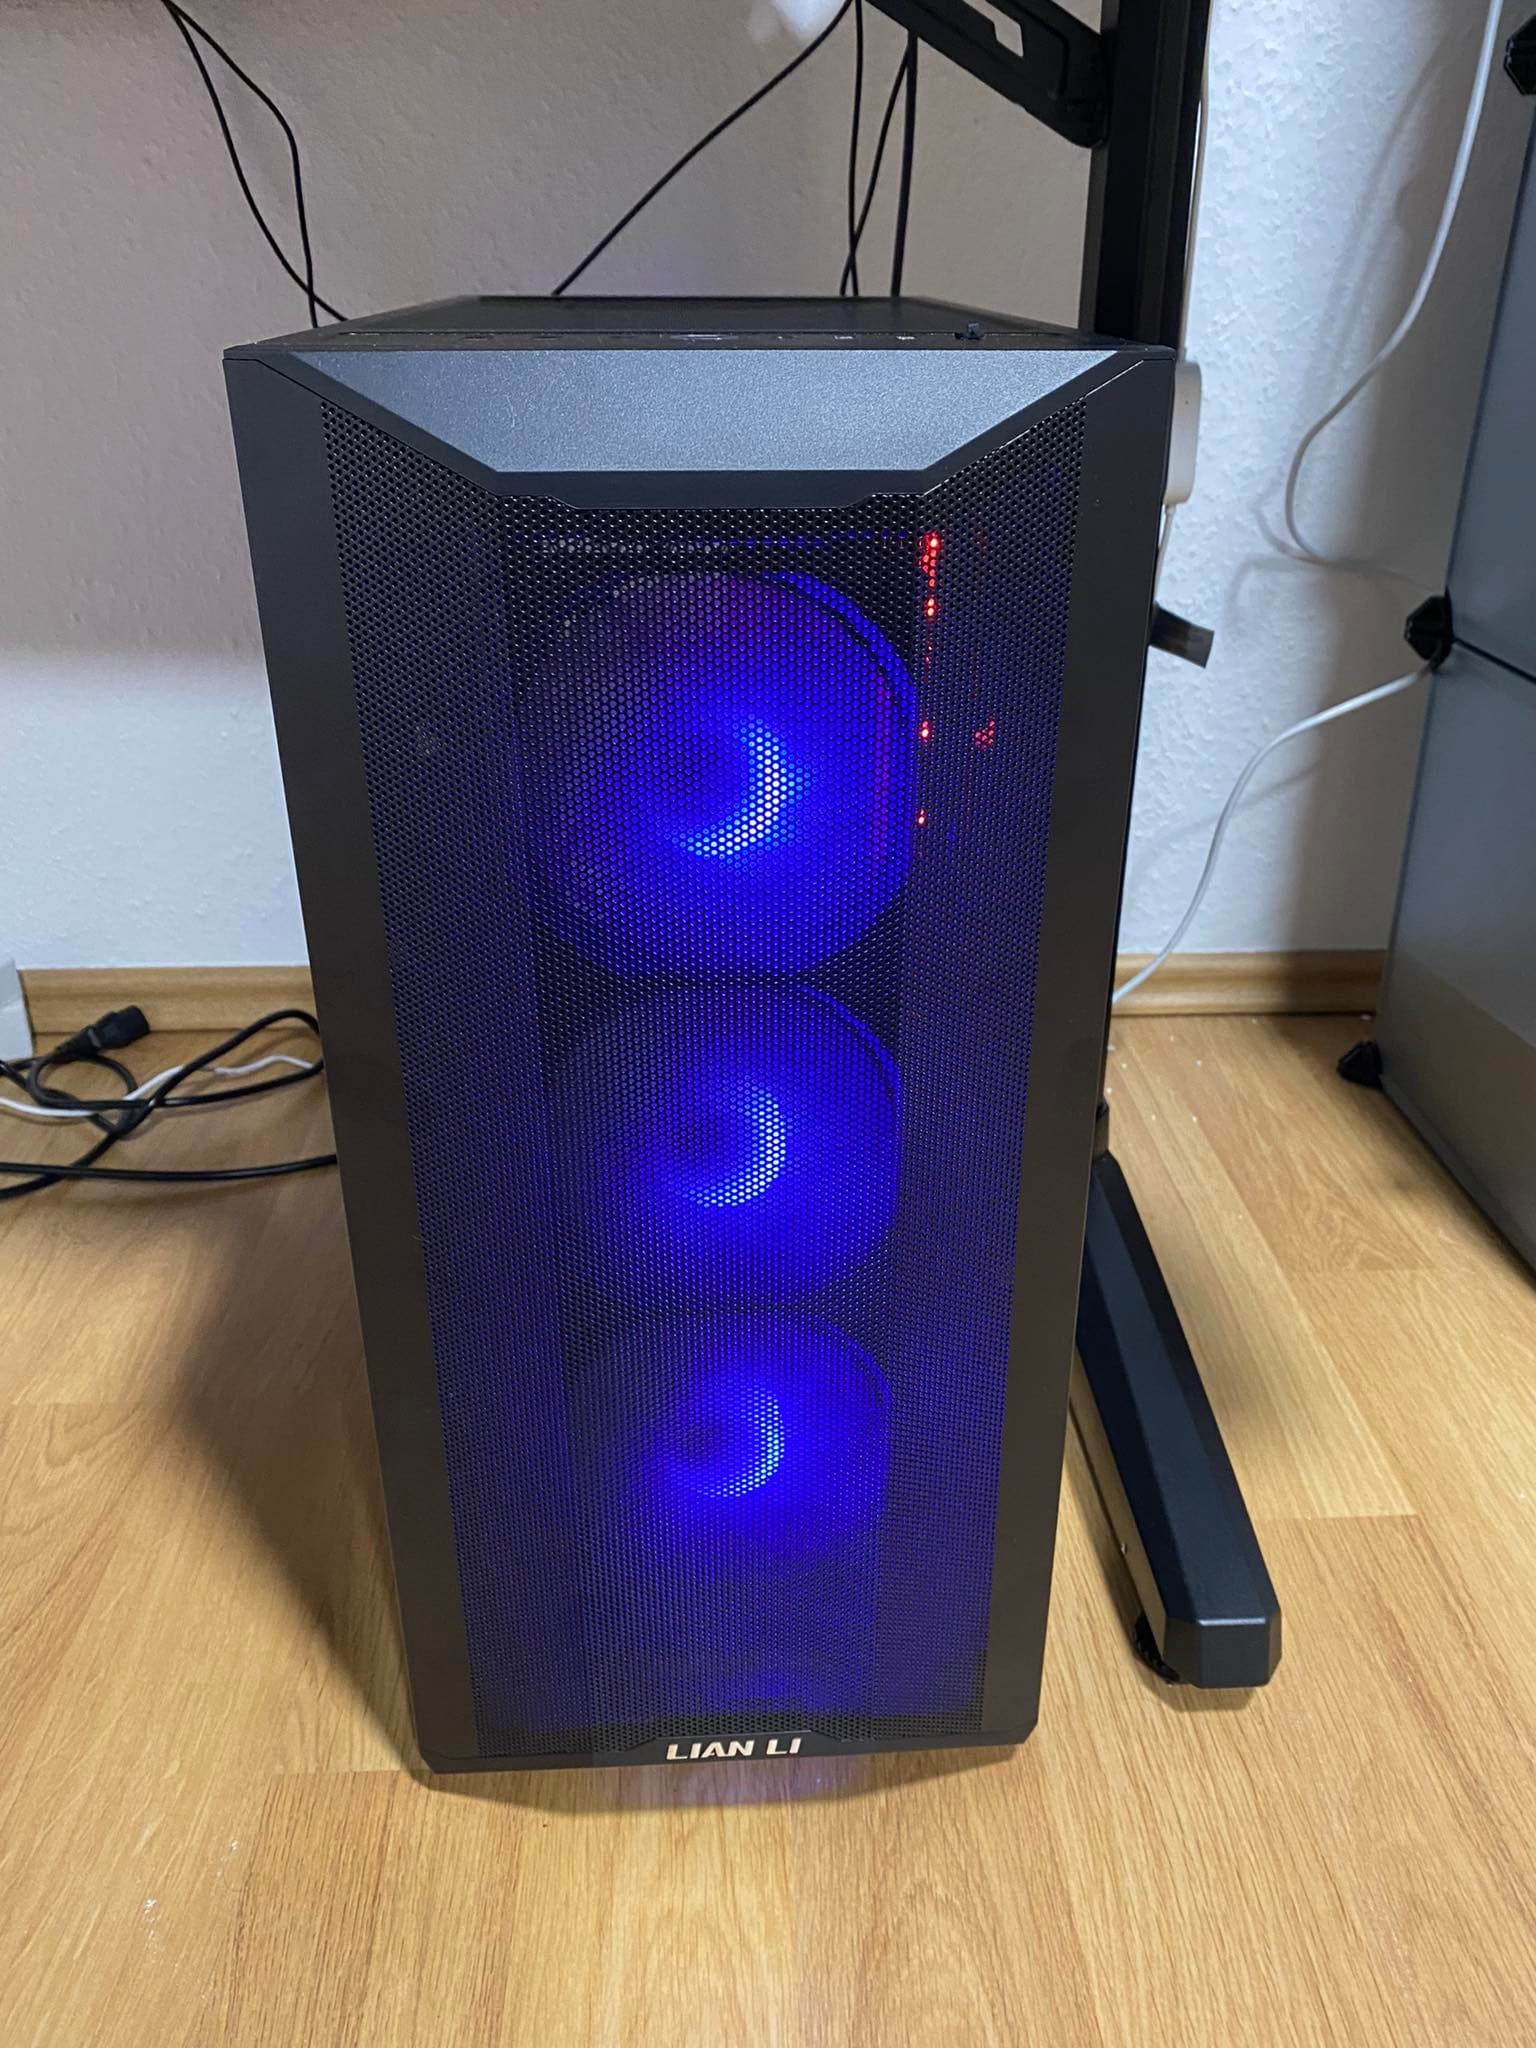
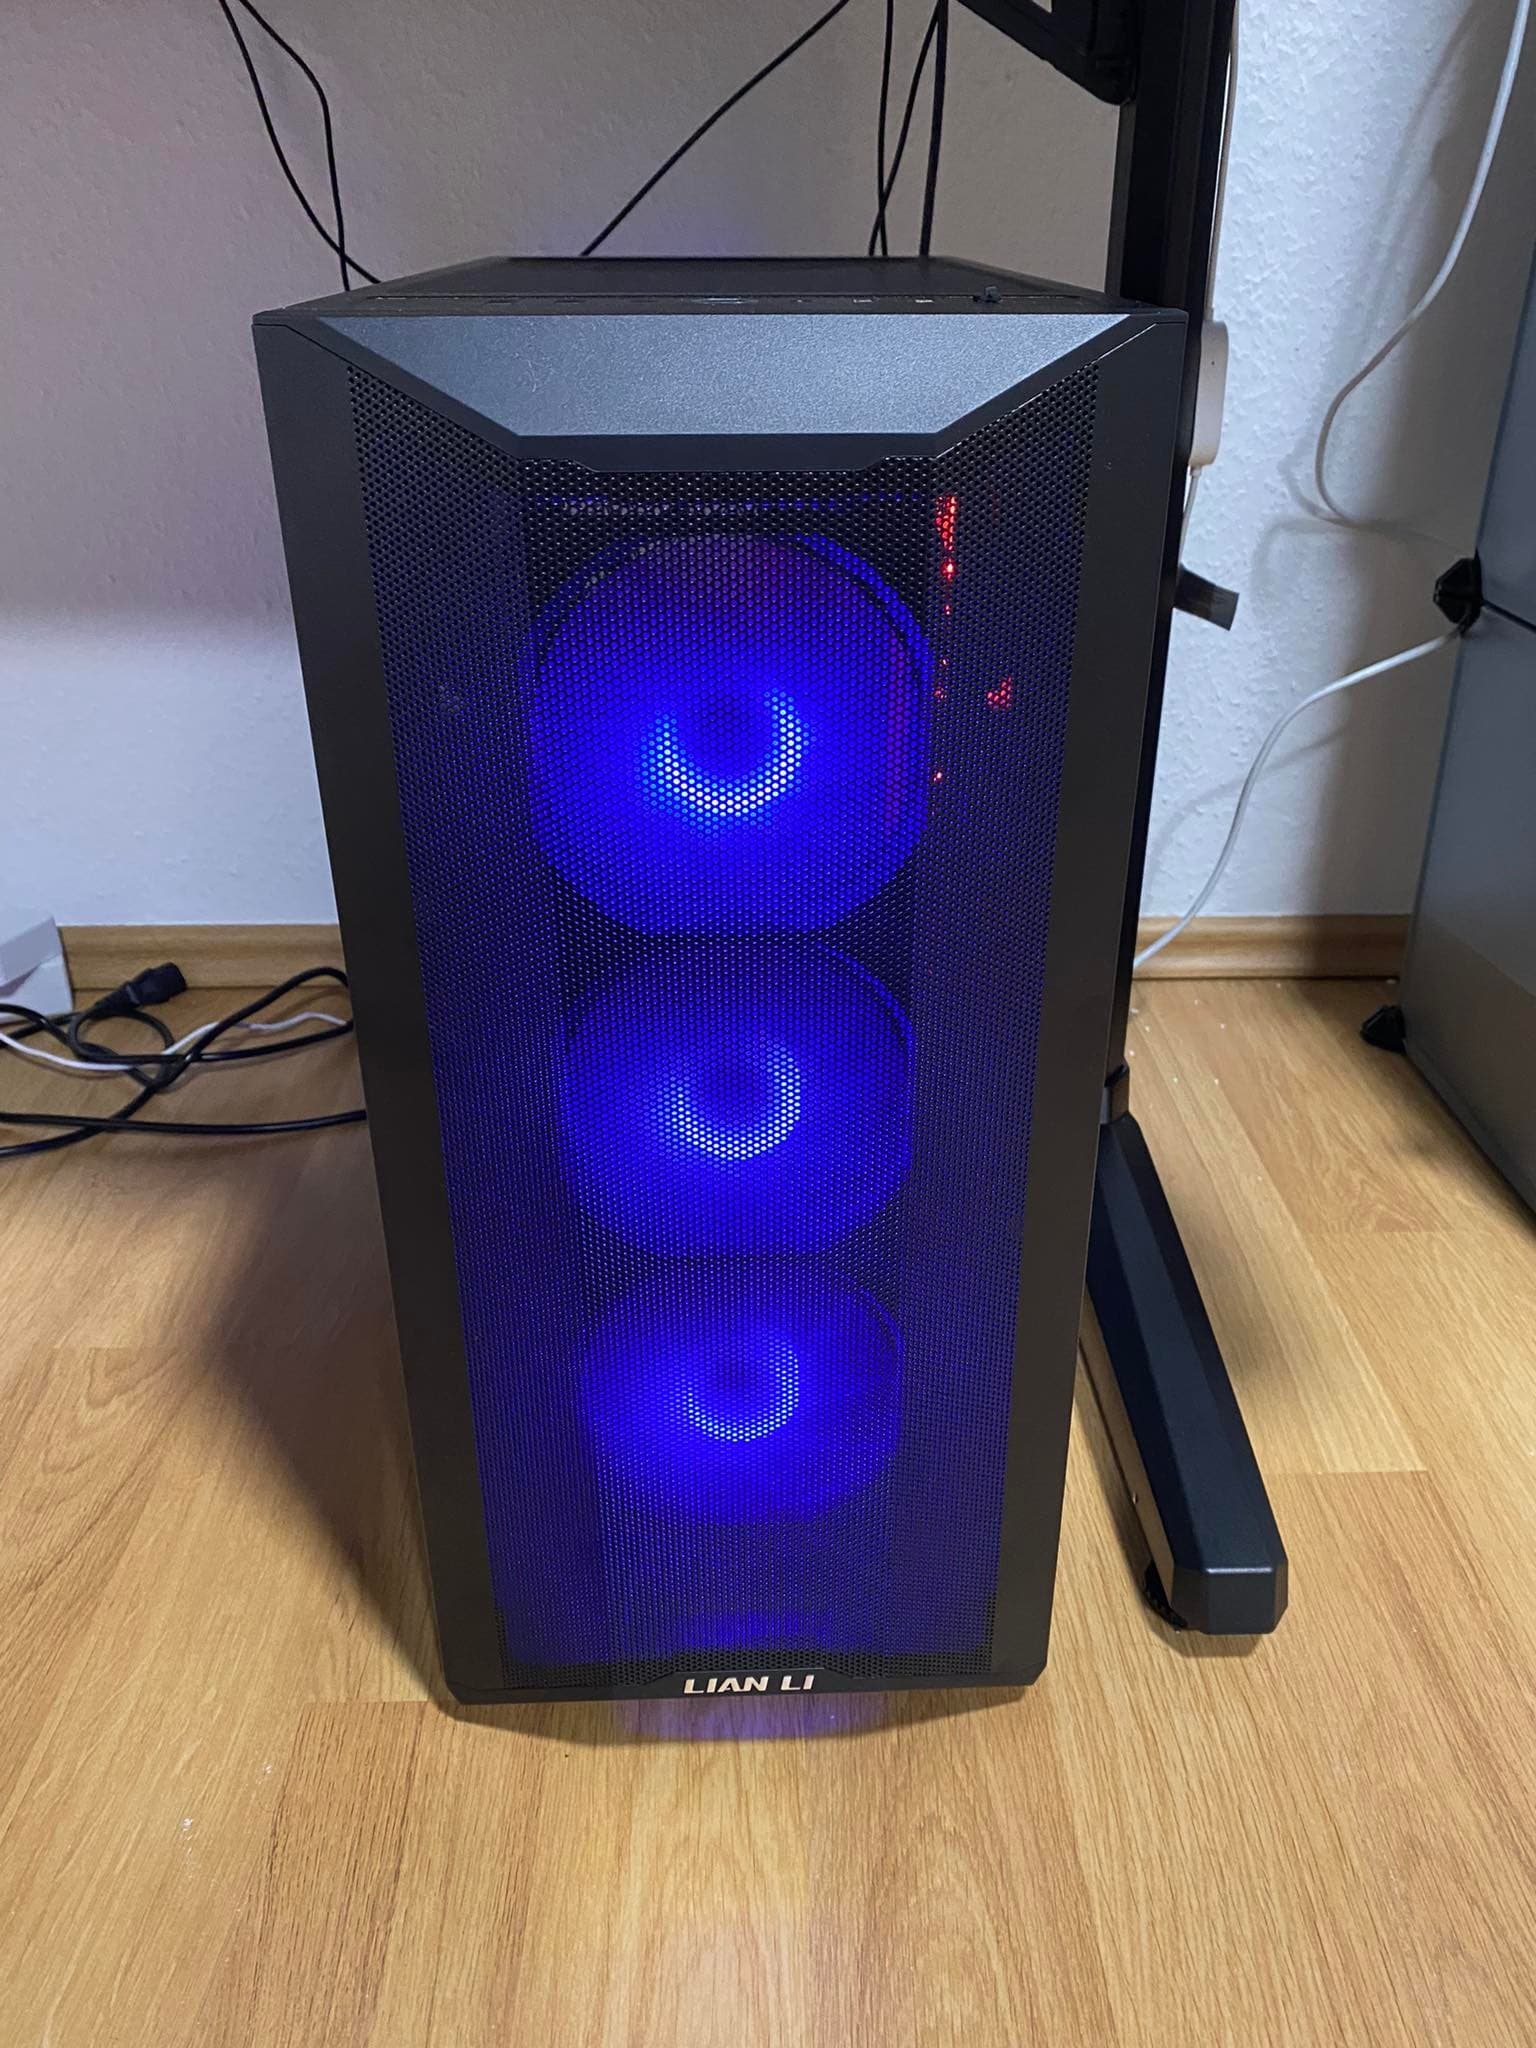

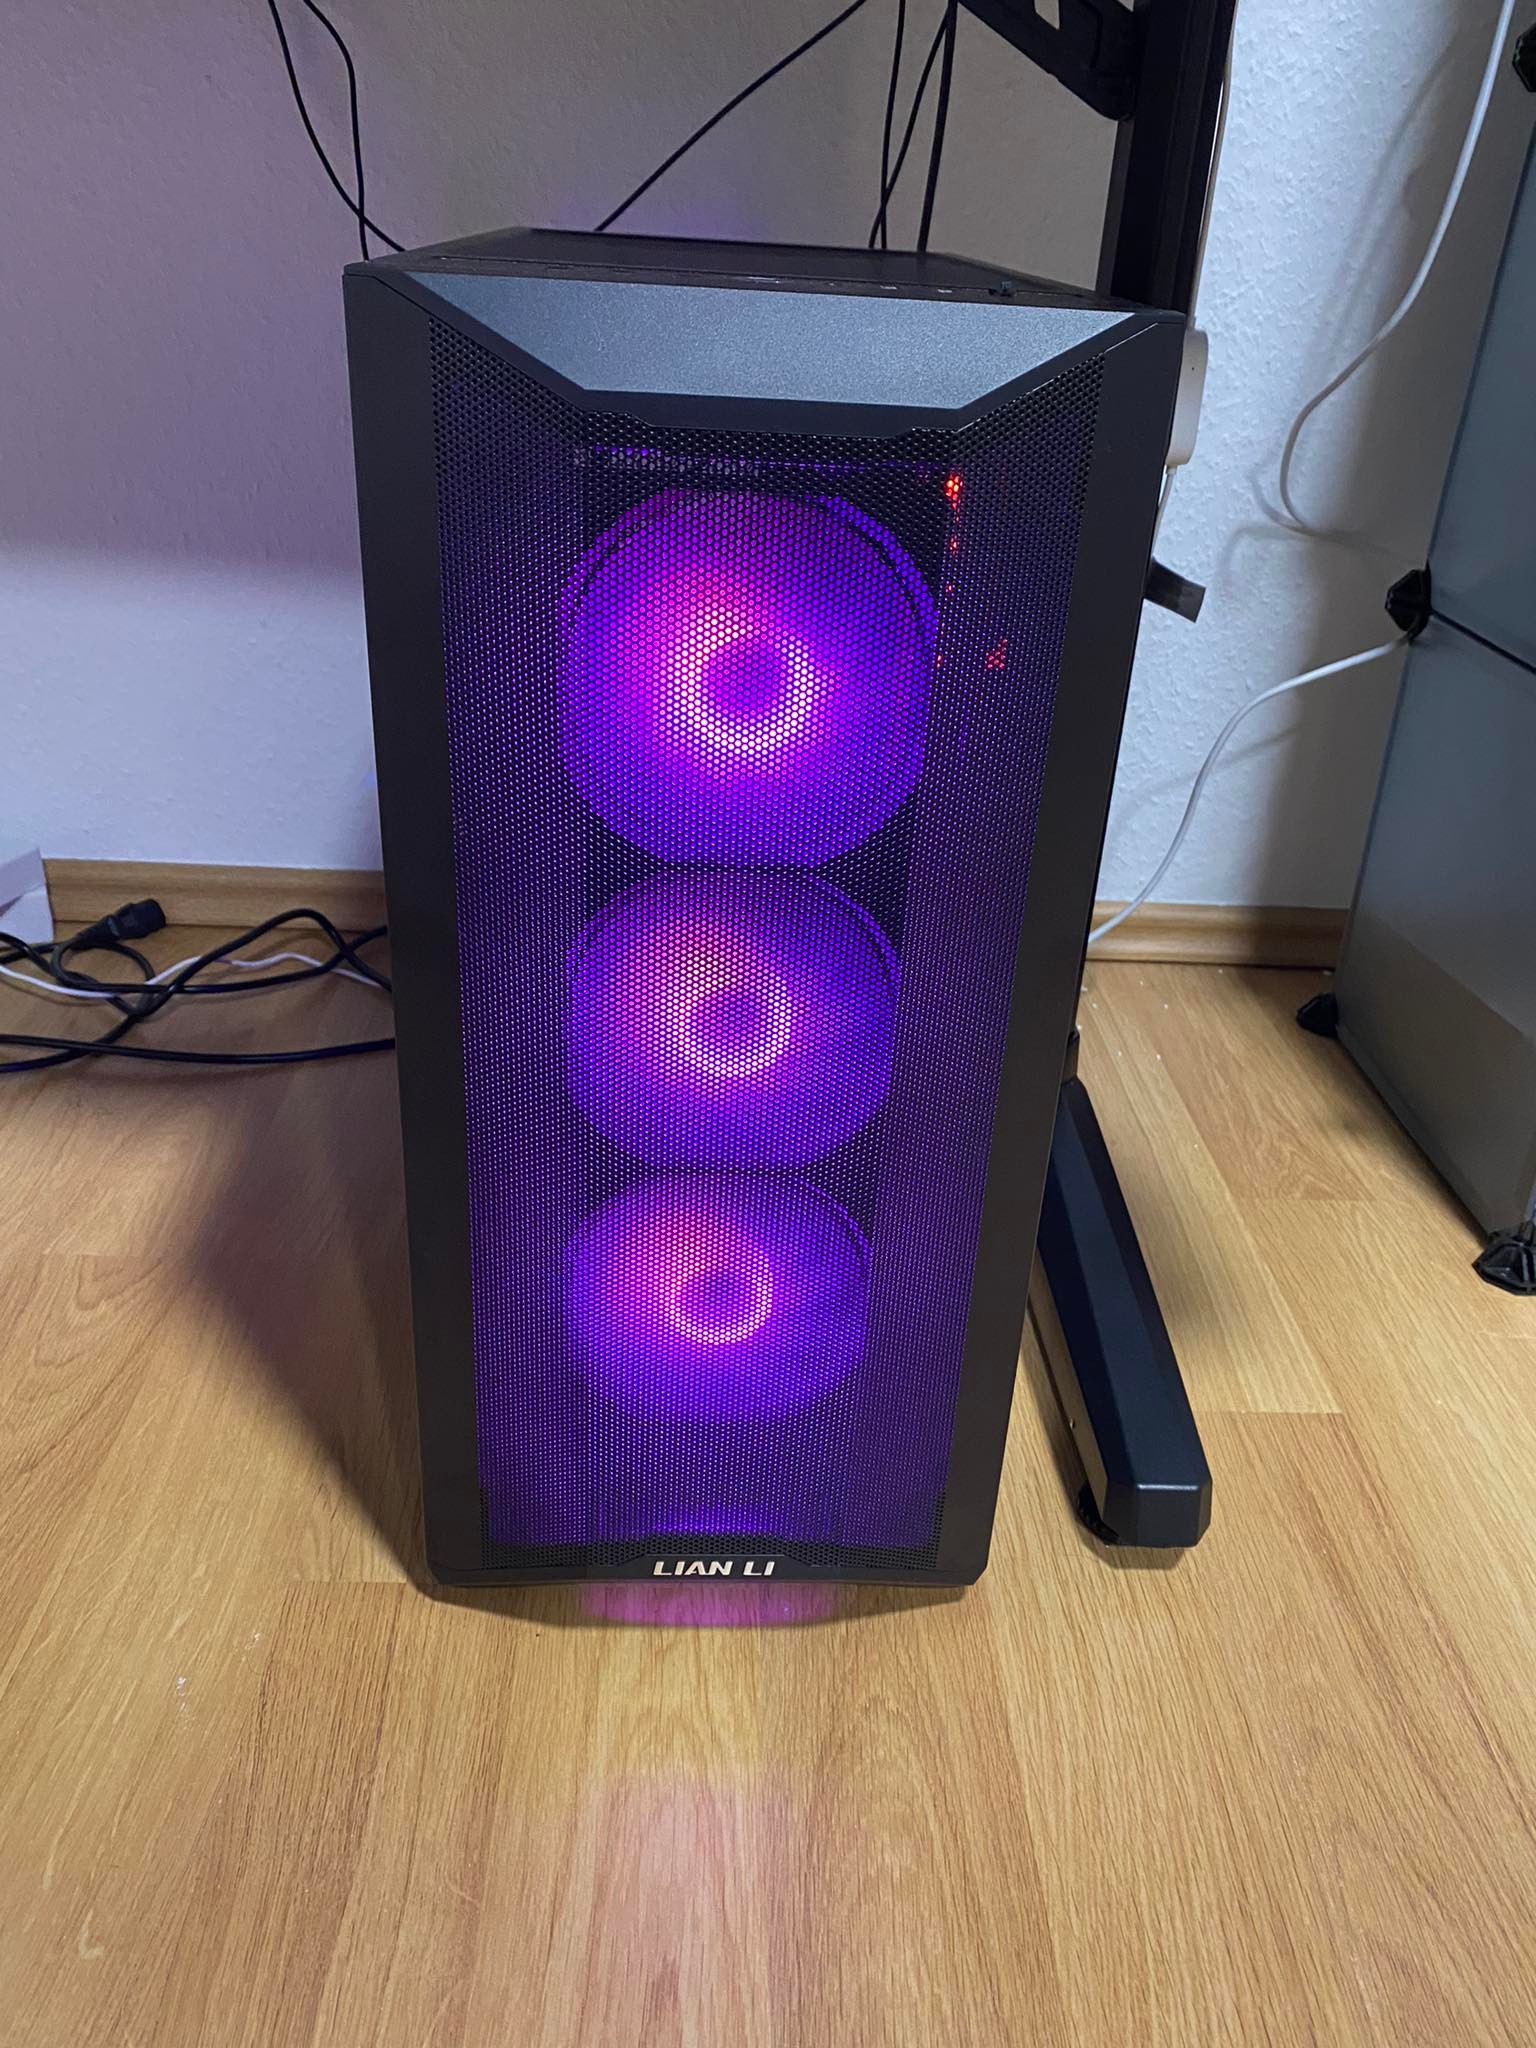
Even if you don’t have any additional RGB elements in the setup, as in my case, these 3 fans provide a nice light in the case and a nice look through the glass wall.
Conclusion
For just over 100€, you get a high-quality, visually appealing and well-ventilated case from Lian Li. The factory-installed fans are audible, but that is still absolutely within reason. Space-wise, there is enough room for a creative assembly of the interior, so you can let your imagination run wild. The numerous hard drive sockets ensure that you can place them as you wish. The mesh grilles ensure a top airflow and a solid appearance of the tower. If you’re into ARGB, you’ll get an excellent base here with the three illuminated fans on the front. The only criticism of the case for me are the narrow inlets of the power supply cables. All in all, I think Lian Li has once again brought a very good case on the market, which also delivers a super performance for a little less money!

Lian Li Lancool II Mesh RGB Performance
Workmanship
Structure
Features
Dampening
Cooling
Value for money
90/100
Super case with good airflow, quality workmanship and attractive design.