Remember the Seasonic Connect? Seasonic has attempted to reinvent the universal power supply concept. Instead of putting the electronics in a box, they split them up and thus put them closer to where the cables should go as well. The only problem was that this solution didn’t fit in every case. There had to be at least 28mm of space behind the motherboard tray to the side panel, otherwise the PSU wouldn’t fit. Of course, Seasonic wasn’t satisfied with that and designed a second variant and integrated it directly into a case. Below you can find out what the Seasonic Q704 case including Connect has to offer.

Packaging and scope of delivery
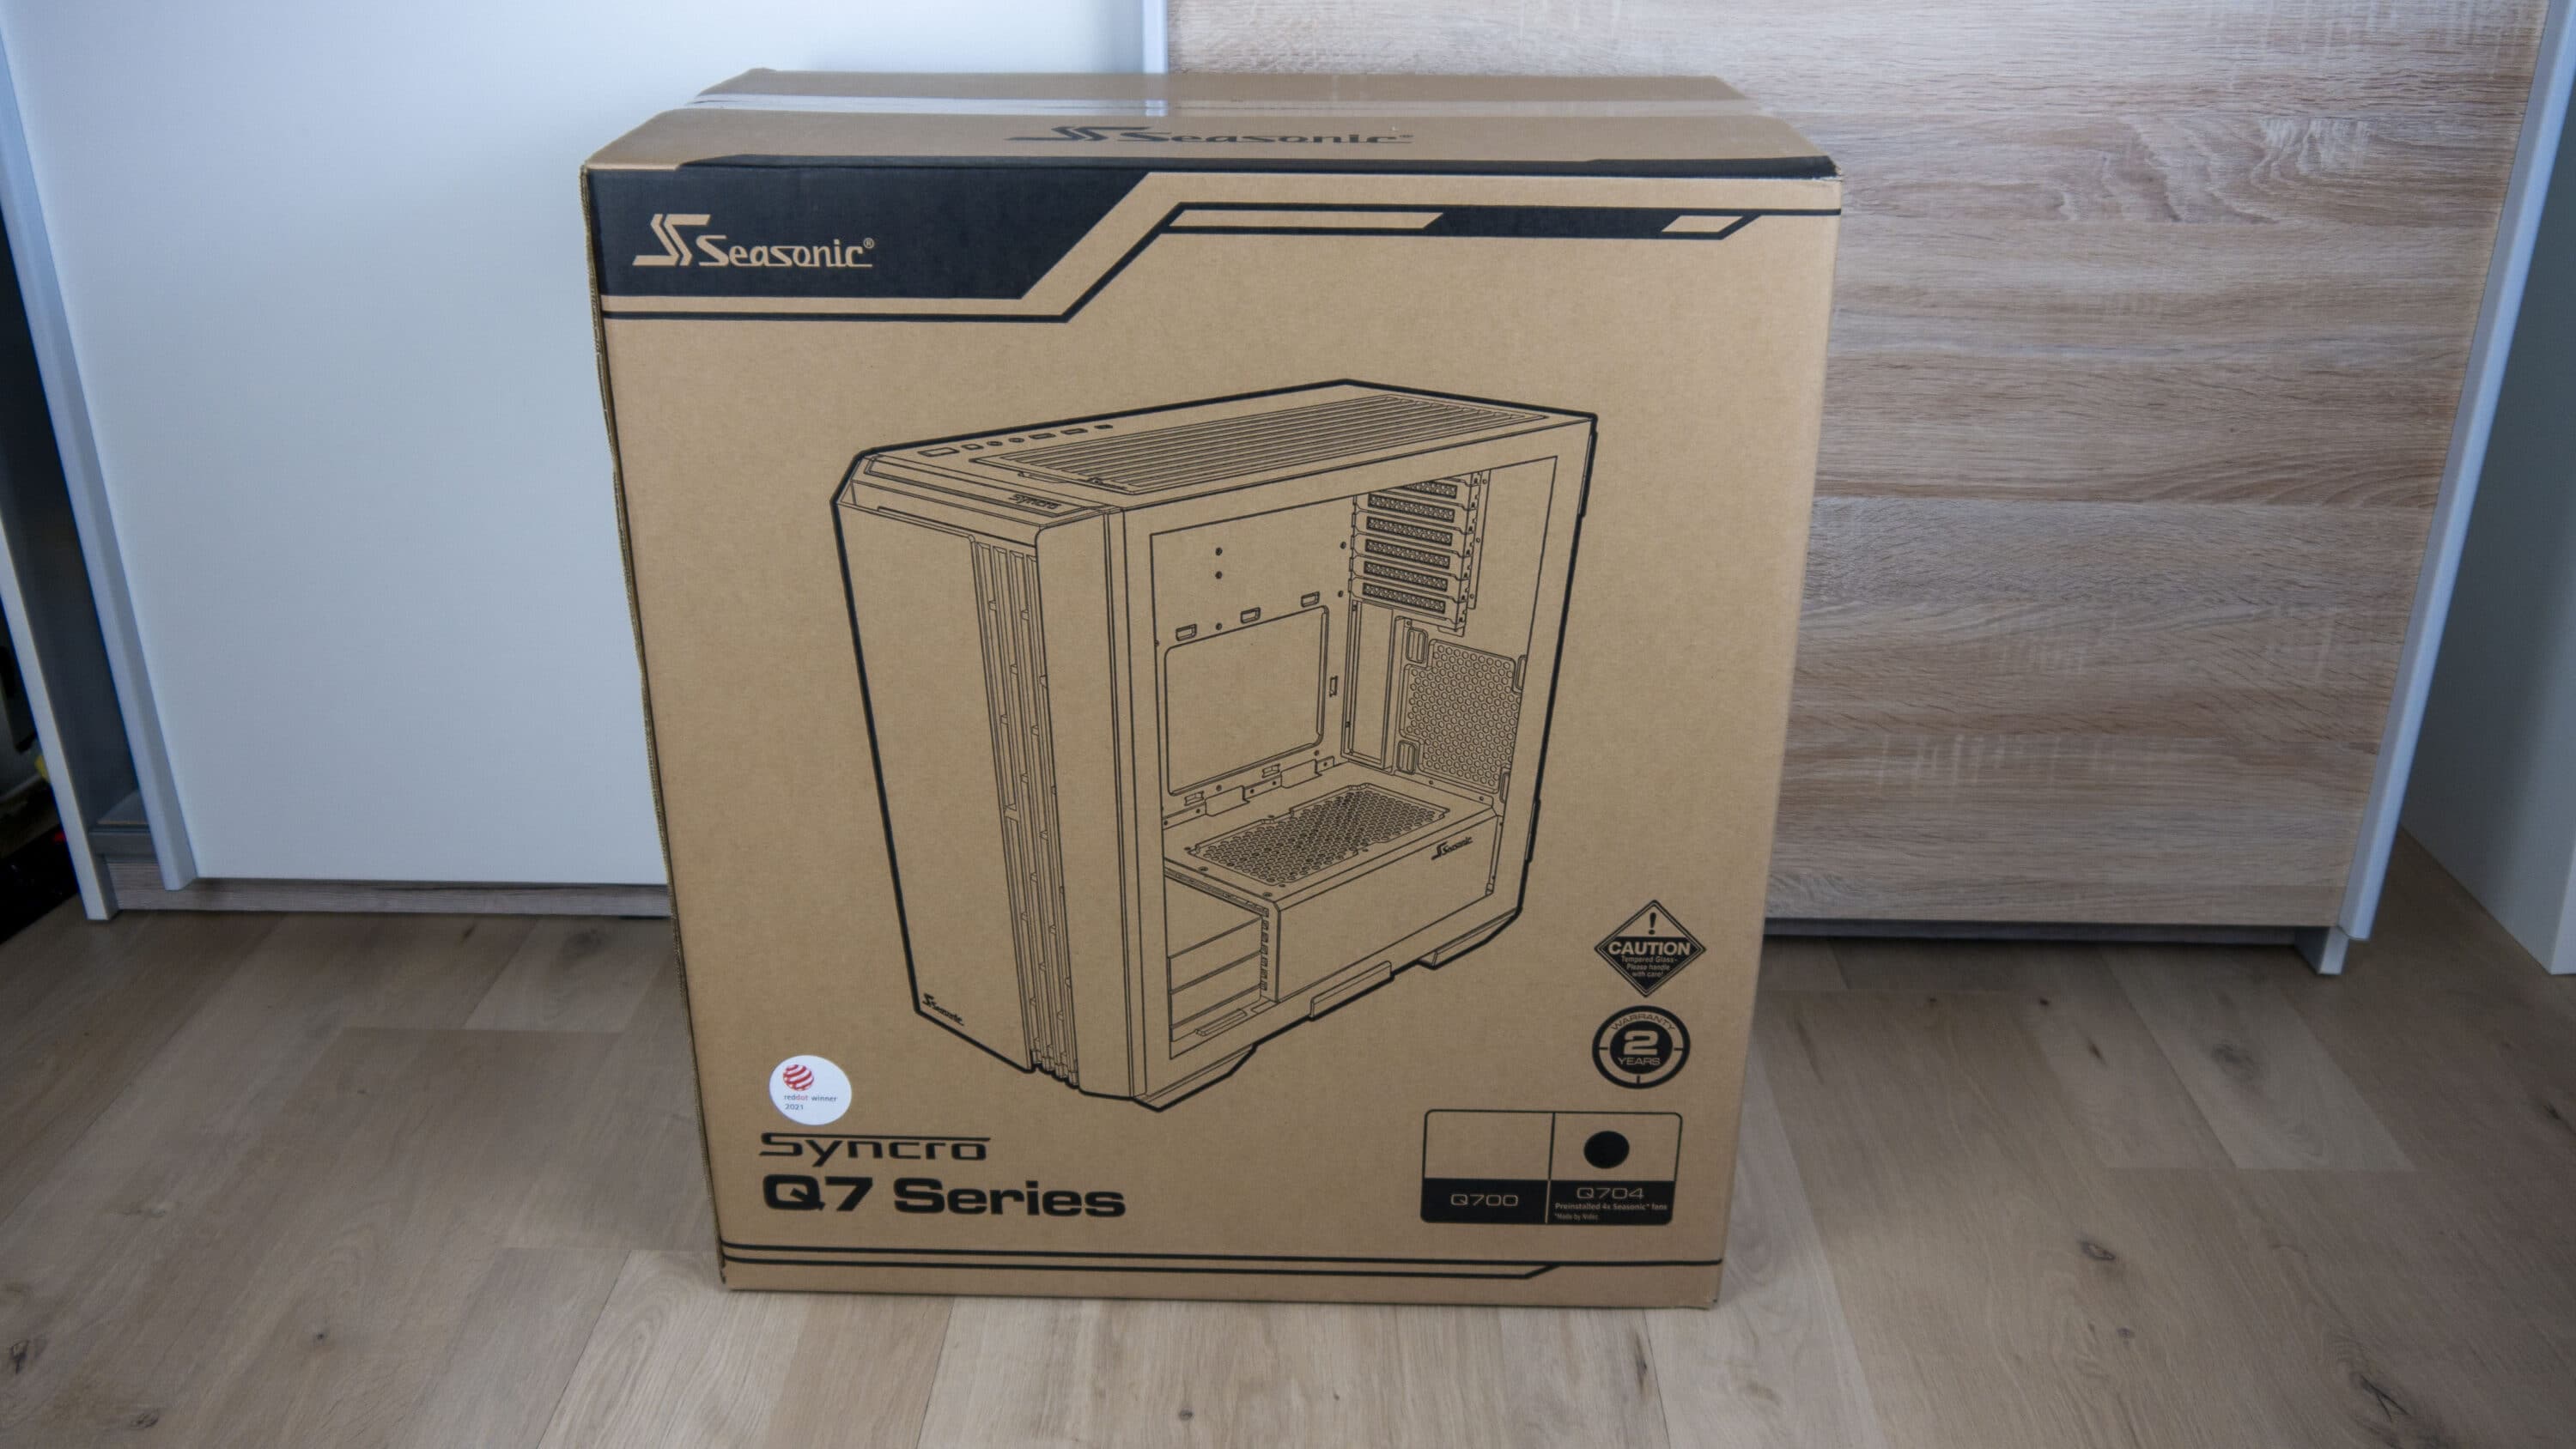
Especially with cases, one is used to a large packaging, however, the packaging is always unbelievably huge. With a weight of 22 kg, the package is also not exactly light, so you can only feel sorry for the letter carriers during delivery. However, once the package is opened, it becomes immediately clear why it is so big. The case and the Seasonic Syncro are packed separately and are delivered together in one big package. The packaging itself has been designed to ensure that nothing can break. Everything is well enclosed and separated from each other.
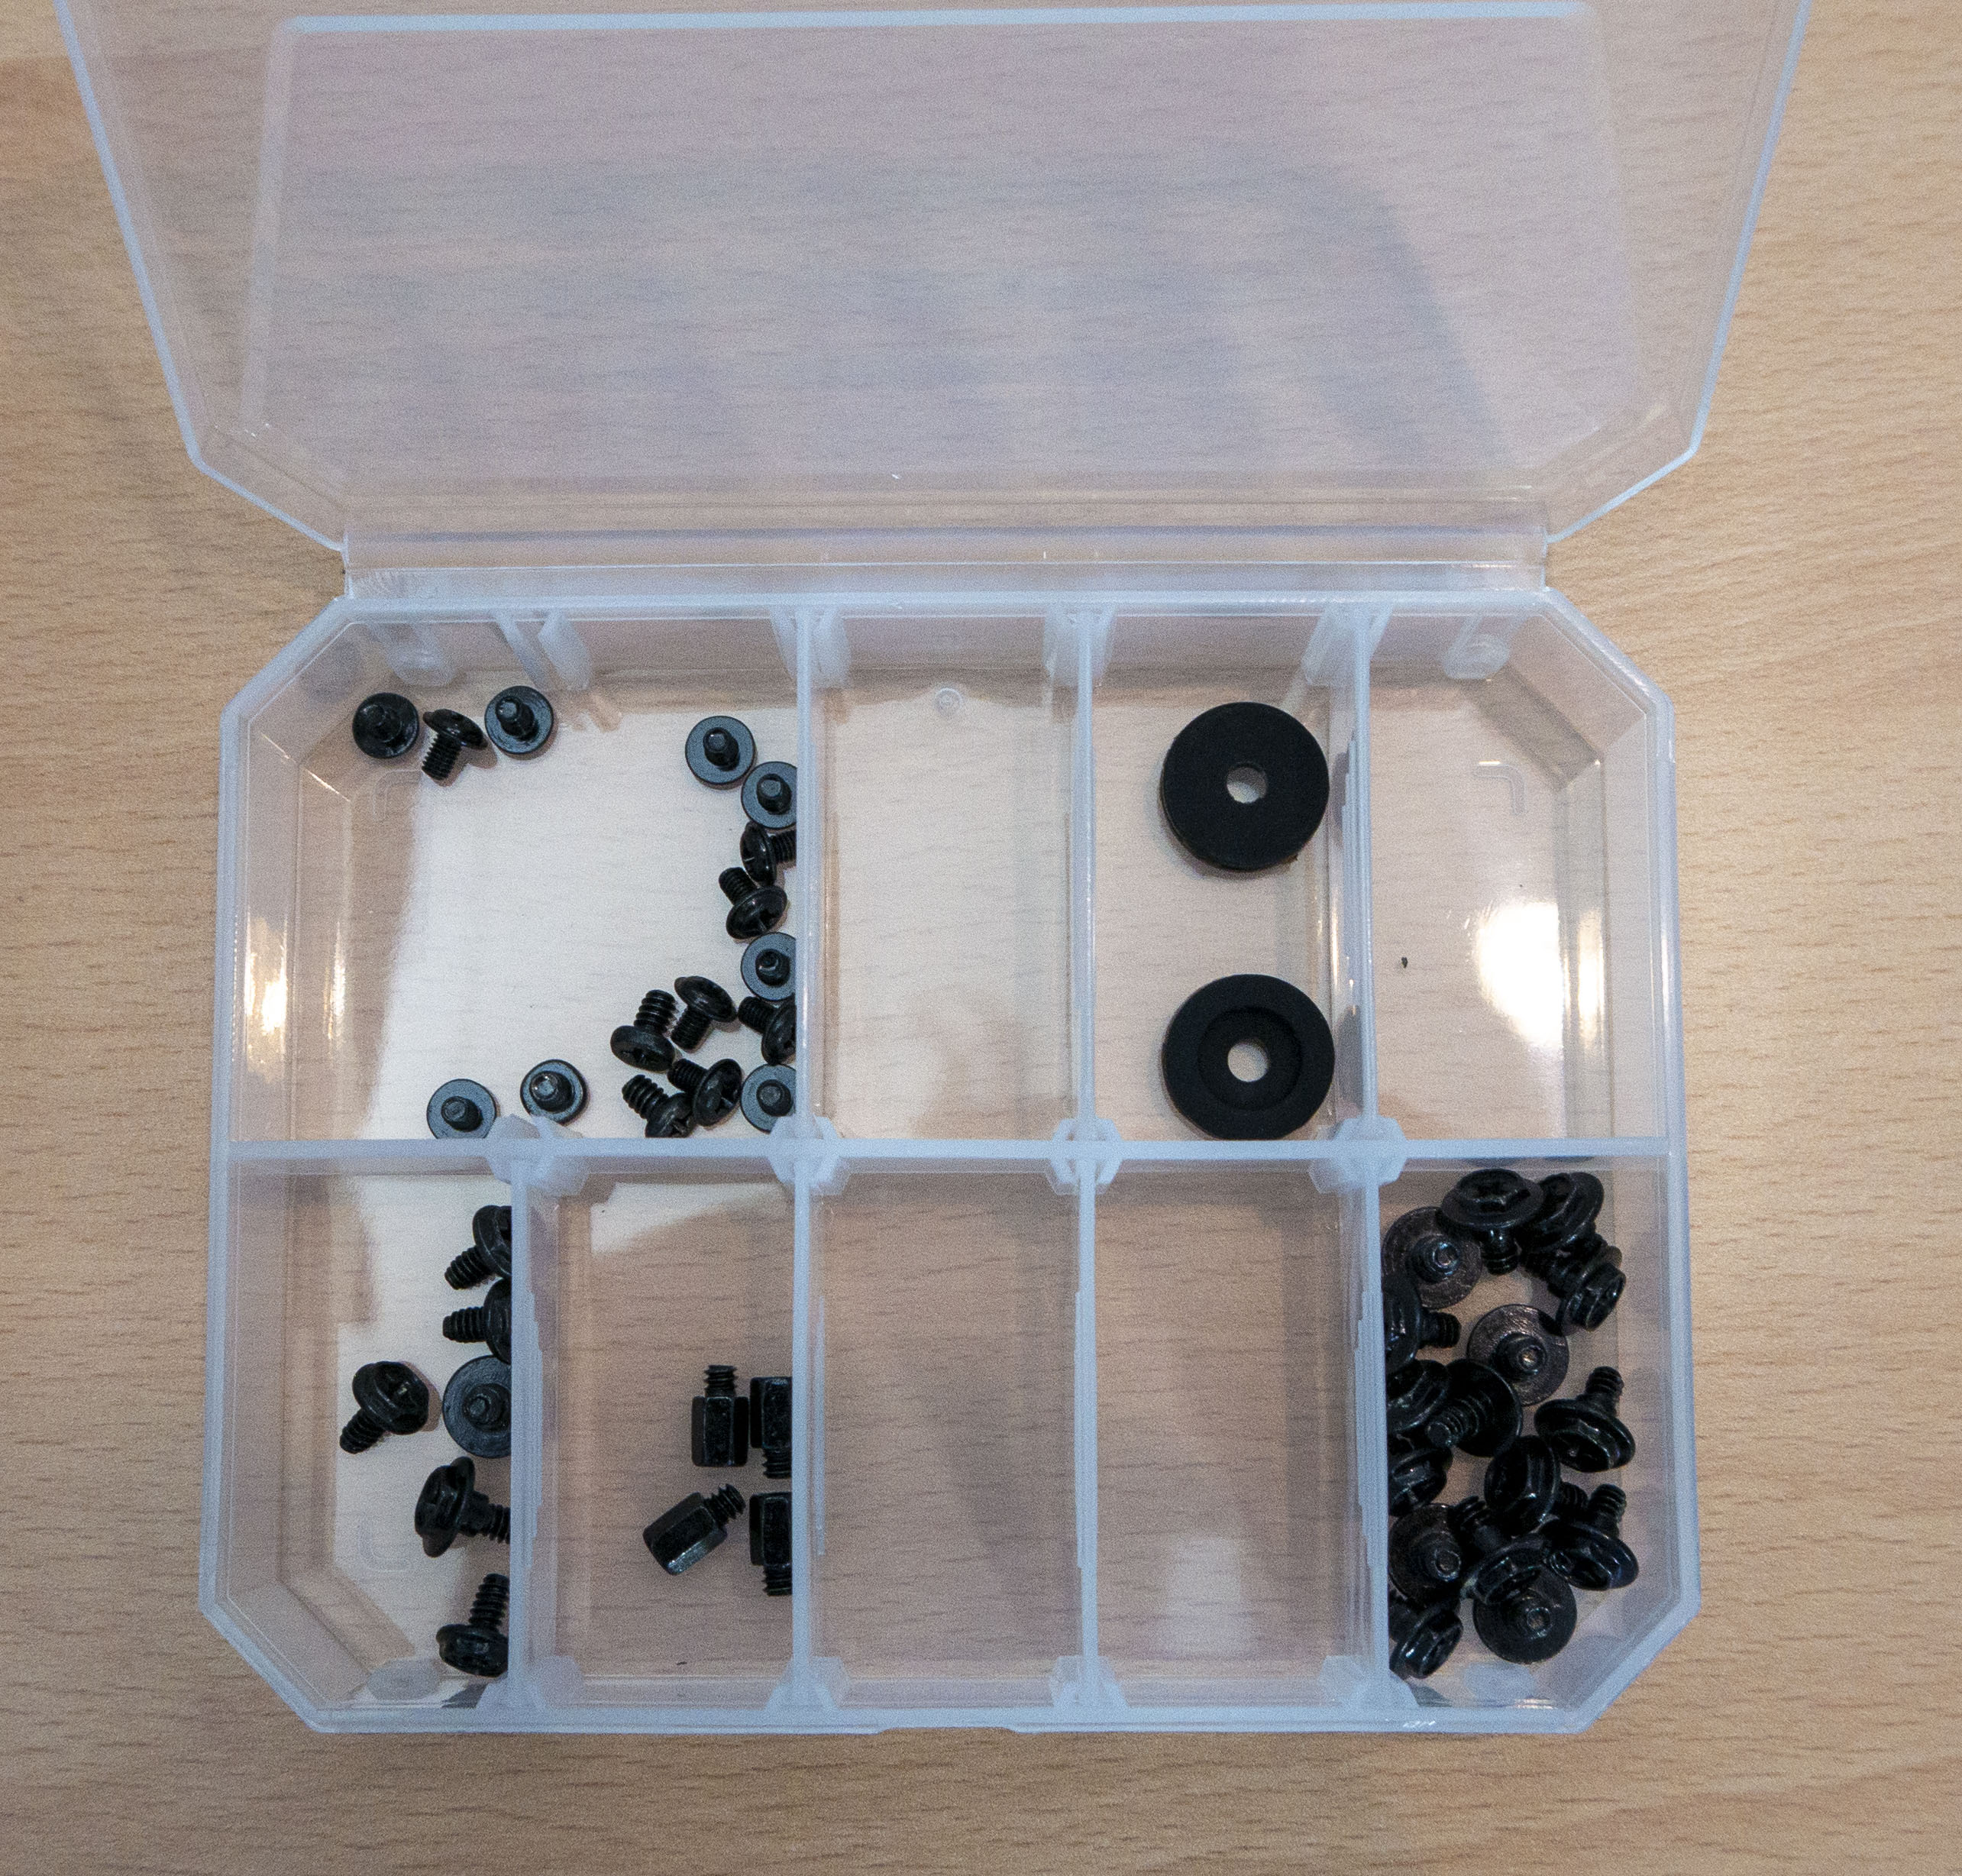
But now we want to know what is inside! Of course, the aforementioned Syncro power supply is on board as well as the Q704. In addition, the case package also contains the box that can be seen in the picture. This is more or less on top and for a good reason, because in this box are all the utensils that you might need for the assembly, except for the tools. From gloves and a cleaning cloth to not dirty the glass fronts during assembly to Velcro cable ties to additional screws and spacers, everything is included. And if you happen to love order, it will be very happy like me that the screws are delivered directly in a matching box, in which you can even sort them, so that everything really has its place. Super, great! It makes you want to build it up when you see all the extras and what Seasonic has thought of. Hopefully this will continue.


Technical Details
Before we take a closer look at the case, let’s first take a look at the technical specifications of the case:
| Build | Midi Tower |
| Dimensions | 537mm (D) x 234mm (W) x 493mm (H) |
| Material Case | Aluminum, steel, plastic |
| Material window | Toughened glass |
| Colors | Black |
| I/O Panel | 1x USB Type C, 2x USB 3.0, 1x each audio in and out, power and reset button |
| Drive bays | 2x HDD 3.5″ (also for 2.5″ SSDs)
3x SSD 2.5″ |
| Expansion slots | 7x horizontal |
| Mainboard form factor | Extended ATX, ATX, Micro ATX, ITX, max. 305mm x 277mm |
| Ventilation | Front: 3x 120mm / 3x 140mm Lid: 3x 120mm / 3x 140mm Rear: 1x 120mm / 1x 140mm About power supply: 1x 120mm |
| Radiators | Front: 240mm / 280mm, 360mm Lid: 240mm / 280mm, 360mm Rear: 120mm |
| Max. CPU cooler height | 185mm |
| Max graphics card length | 345mm |
| Max. PSU length | 280mm |
| Extras | 3 dust filters, cable management cover, 4 pre-installed fans |
| Price | € 218.69 * |

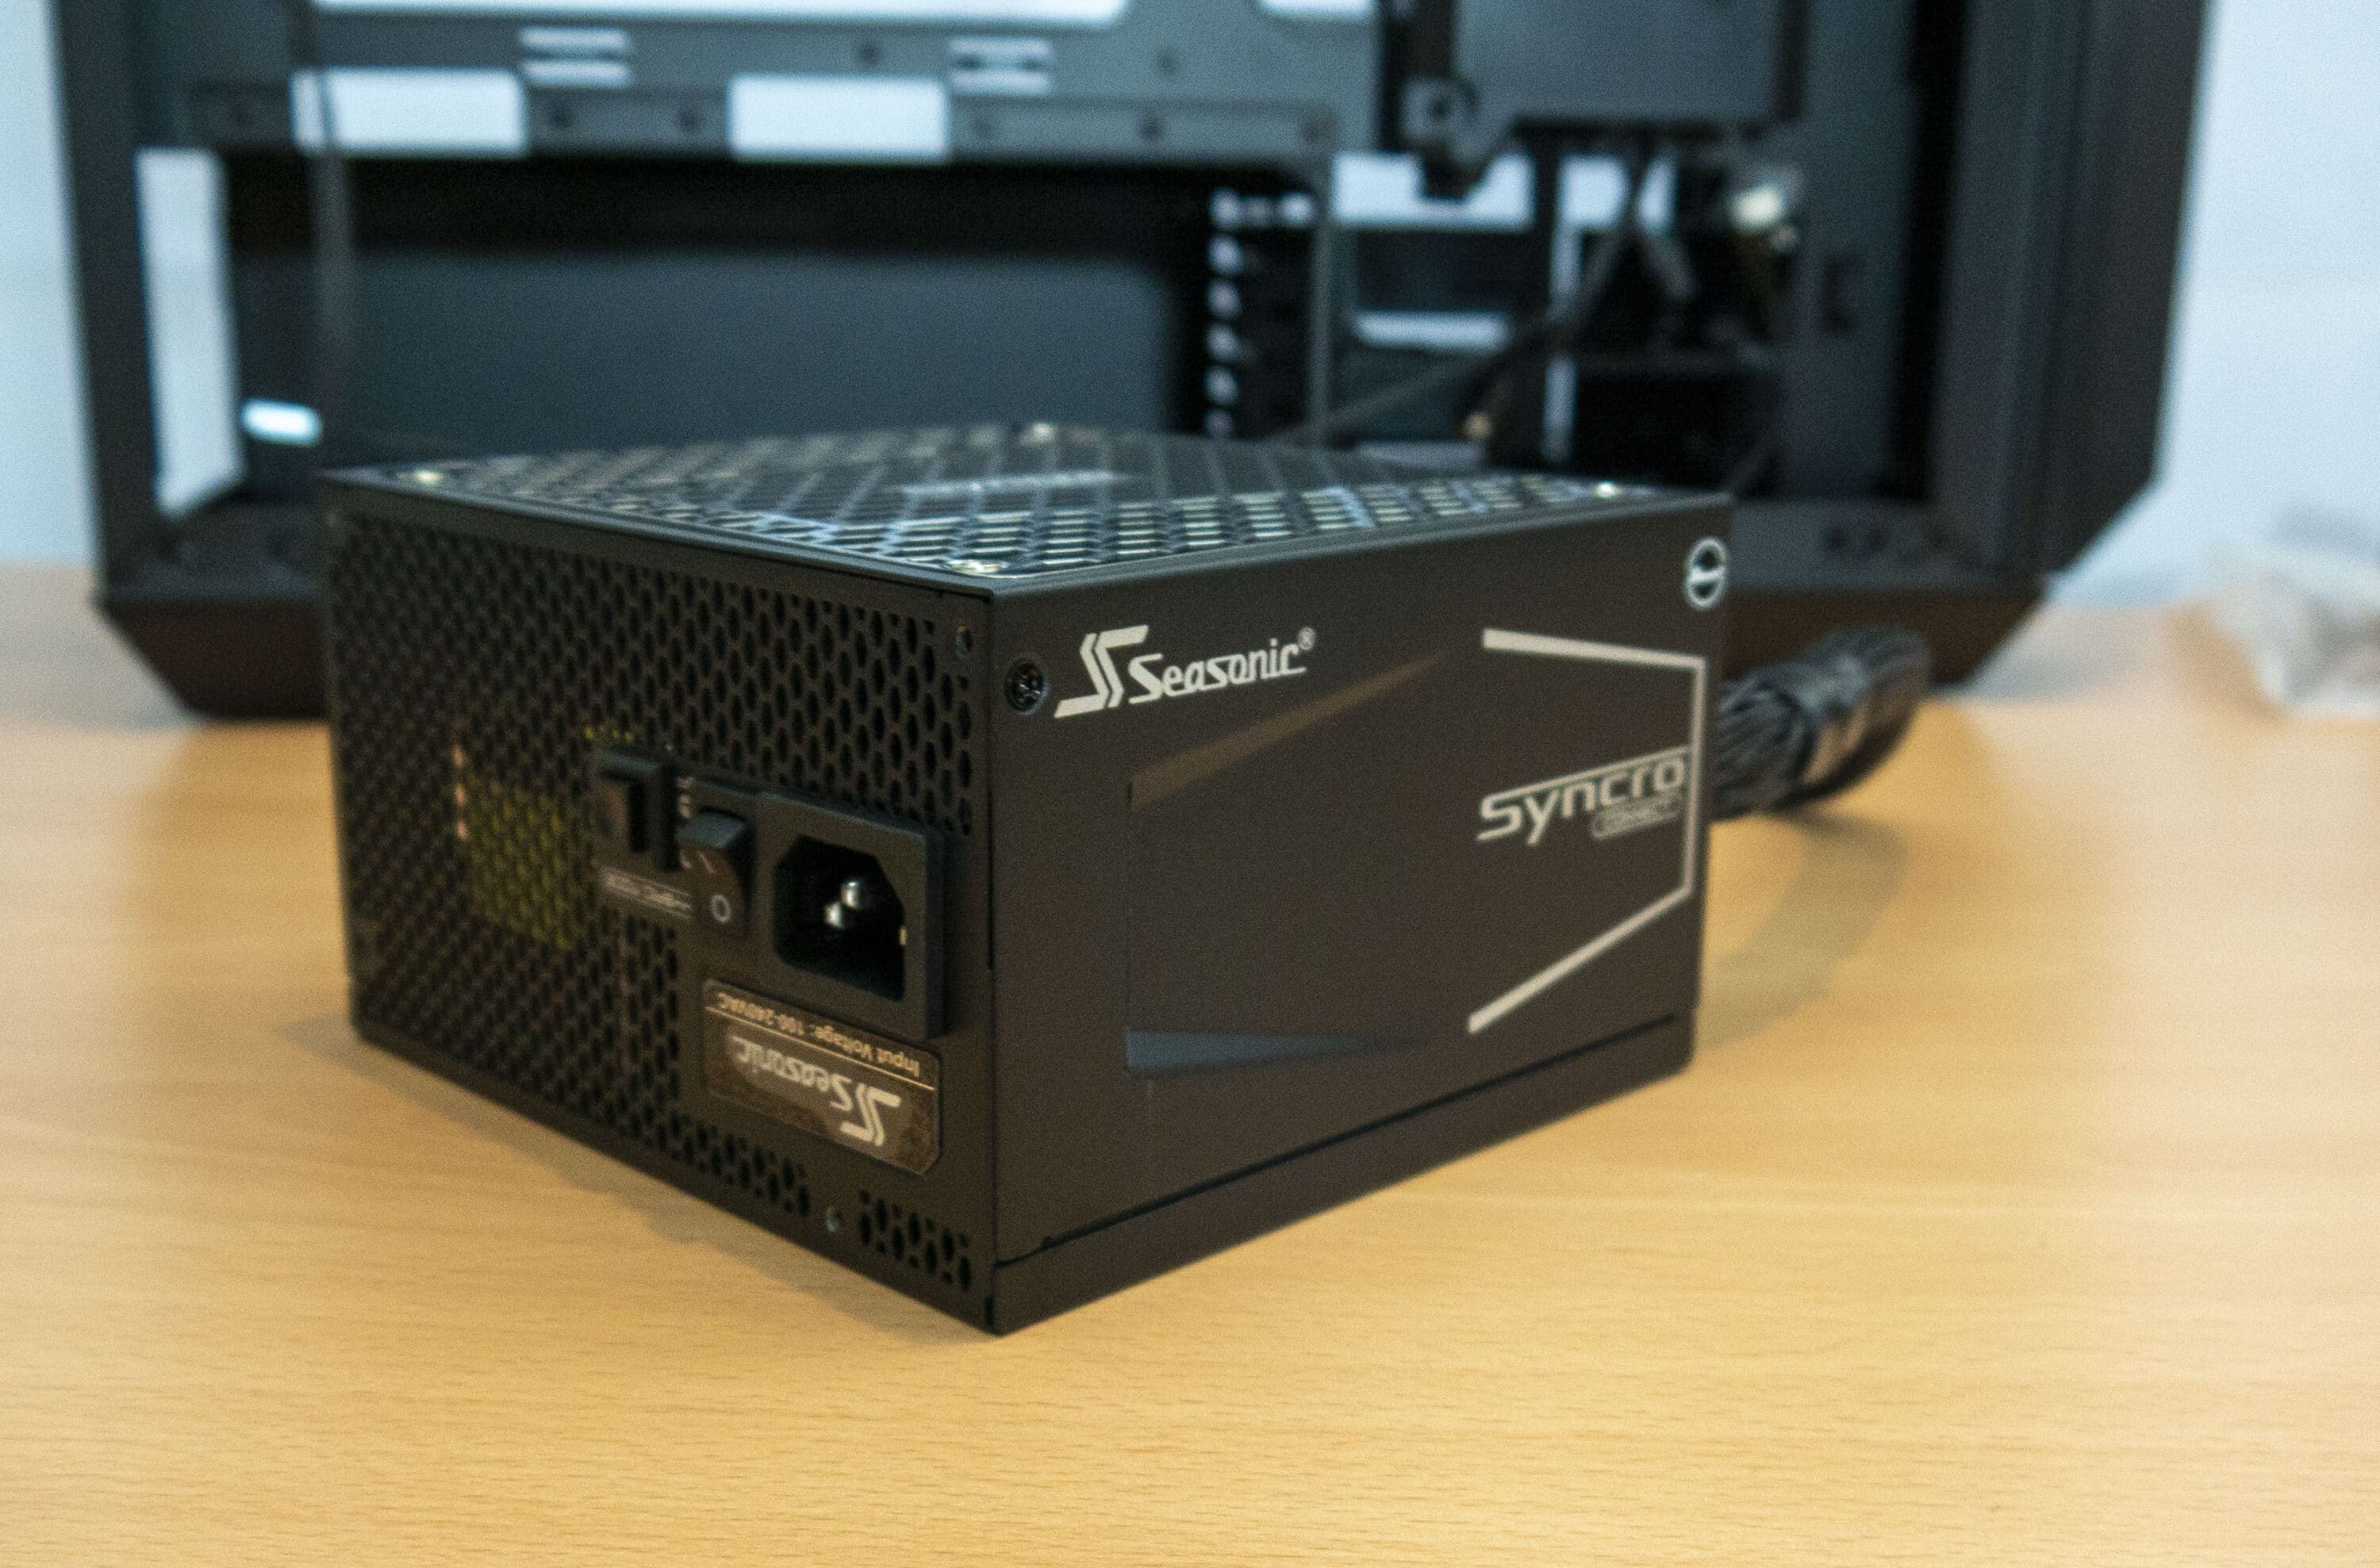
Besides the case data, also briefly the technical data on the Syncro:
| Model | Seasonic Syncro Connect DGC |
| 80Plus certification | Gold |
| Power Supply Dimensions | 140mm (L) x 150 mm (W) x 86 mm (H) |
| Connect dimensions | 3000mm (L) x 105 mm (W) x 33 mm (H) |
| Fan | 135mm |
| Modularity | Fully modular |
| Connectors | 6x 8pin (GPU), 2x 8pin (CPU), 6x Sata/Molex, 1x PWM Sync, 7x Fans (aRGB, PWM) |
| Output powers | 750 W (also available with 850 W and 650 W) |
Exterior impression
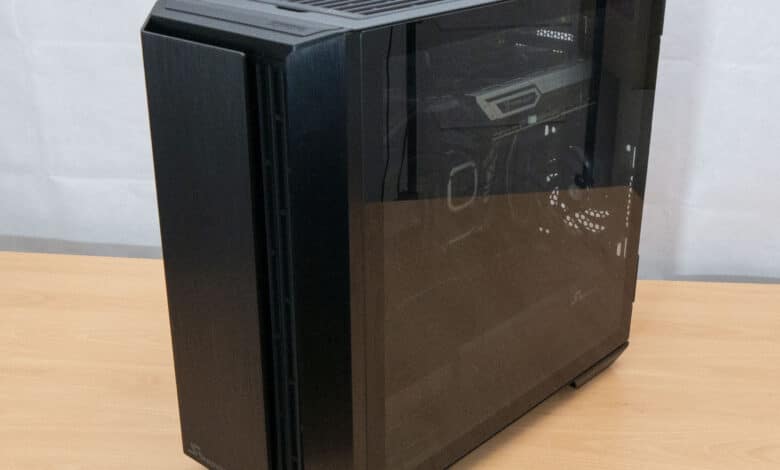
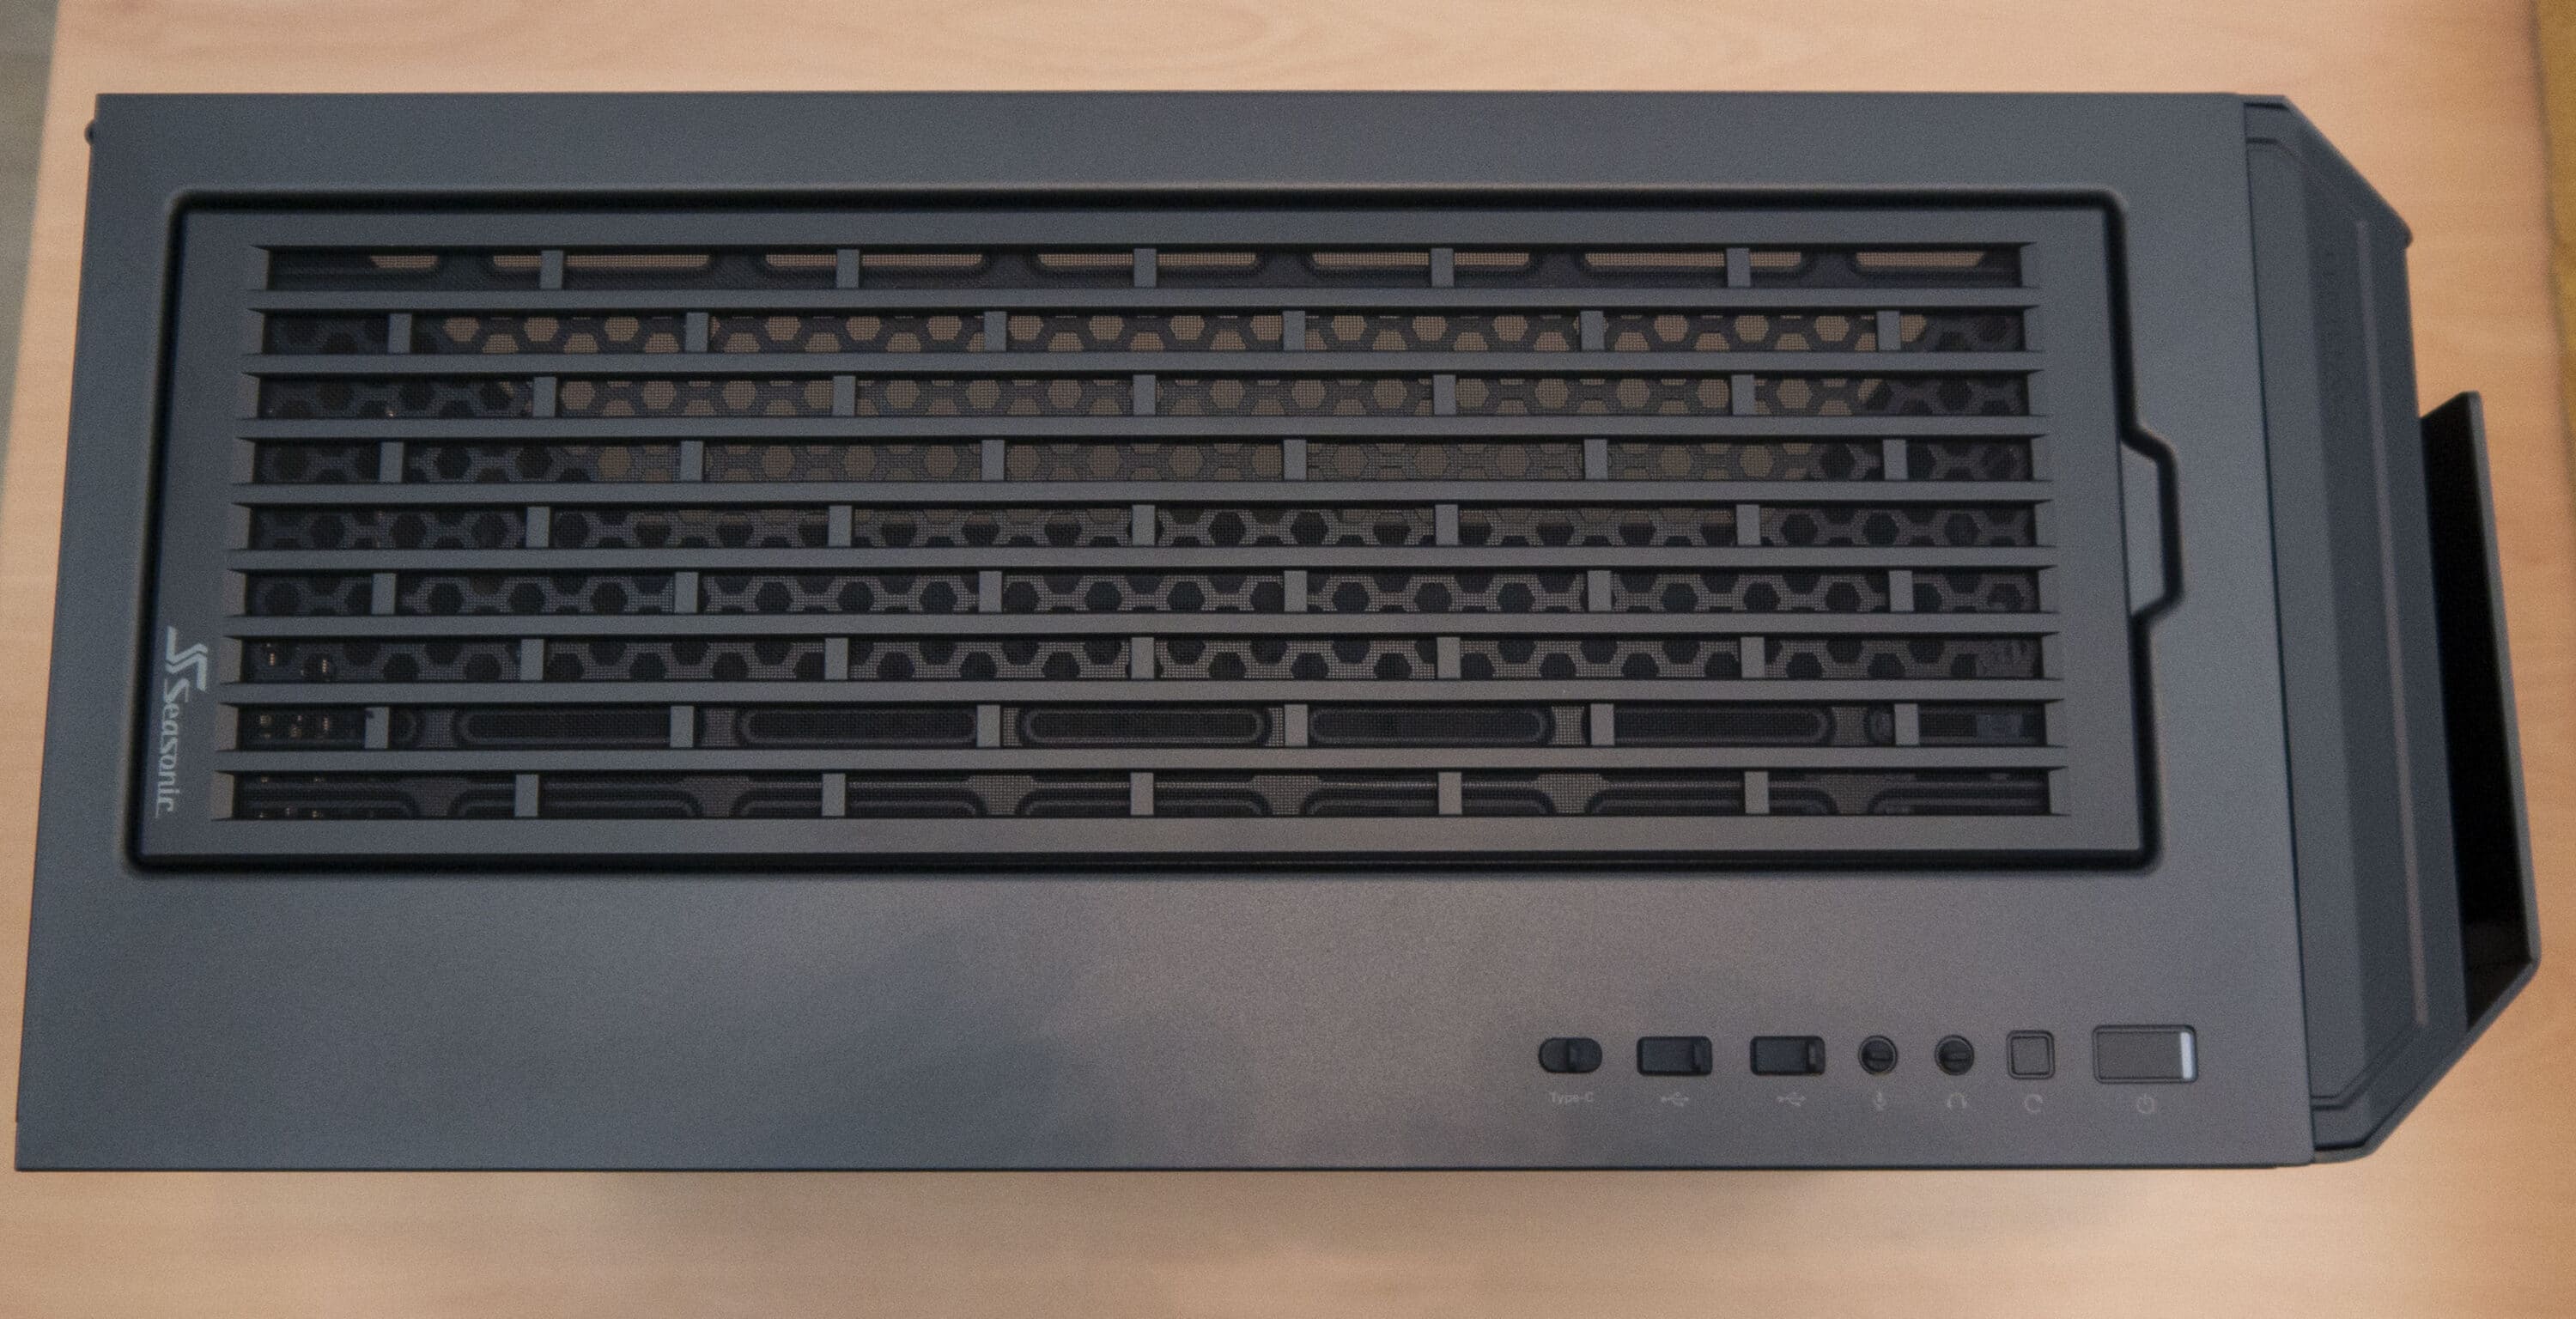
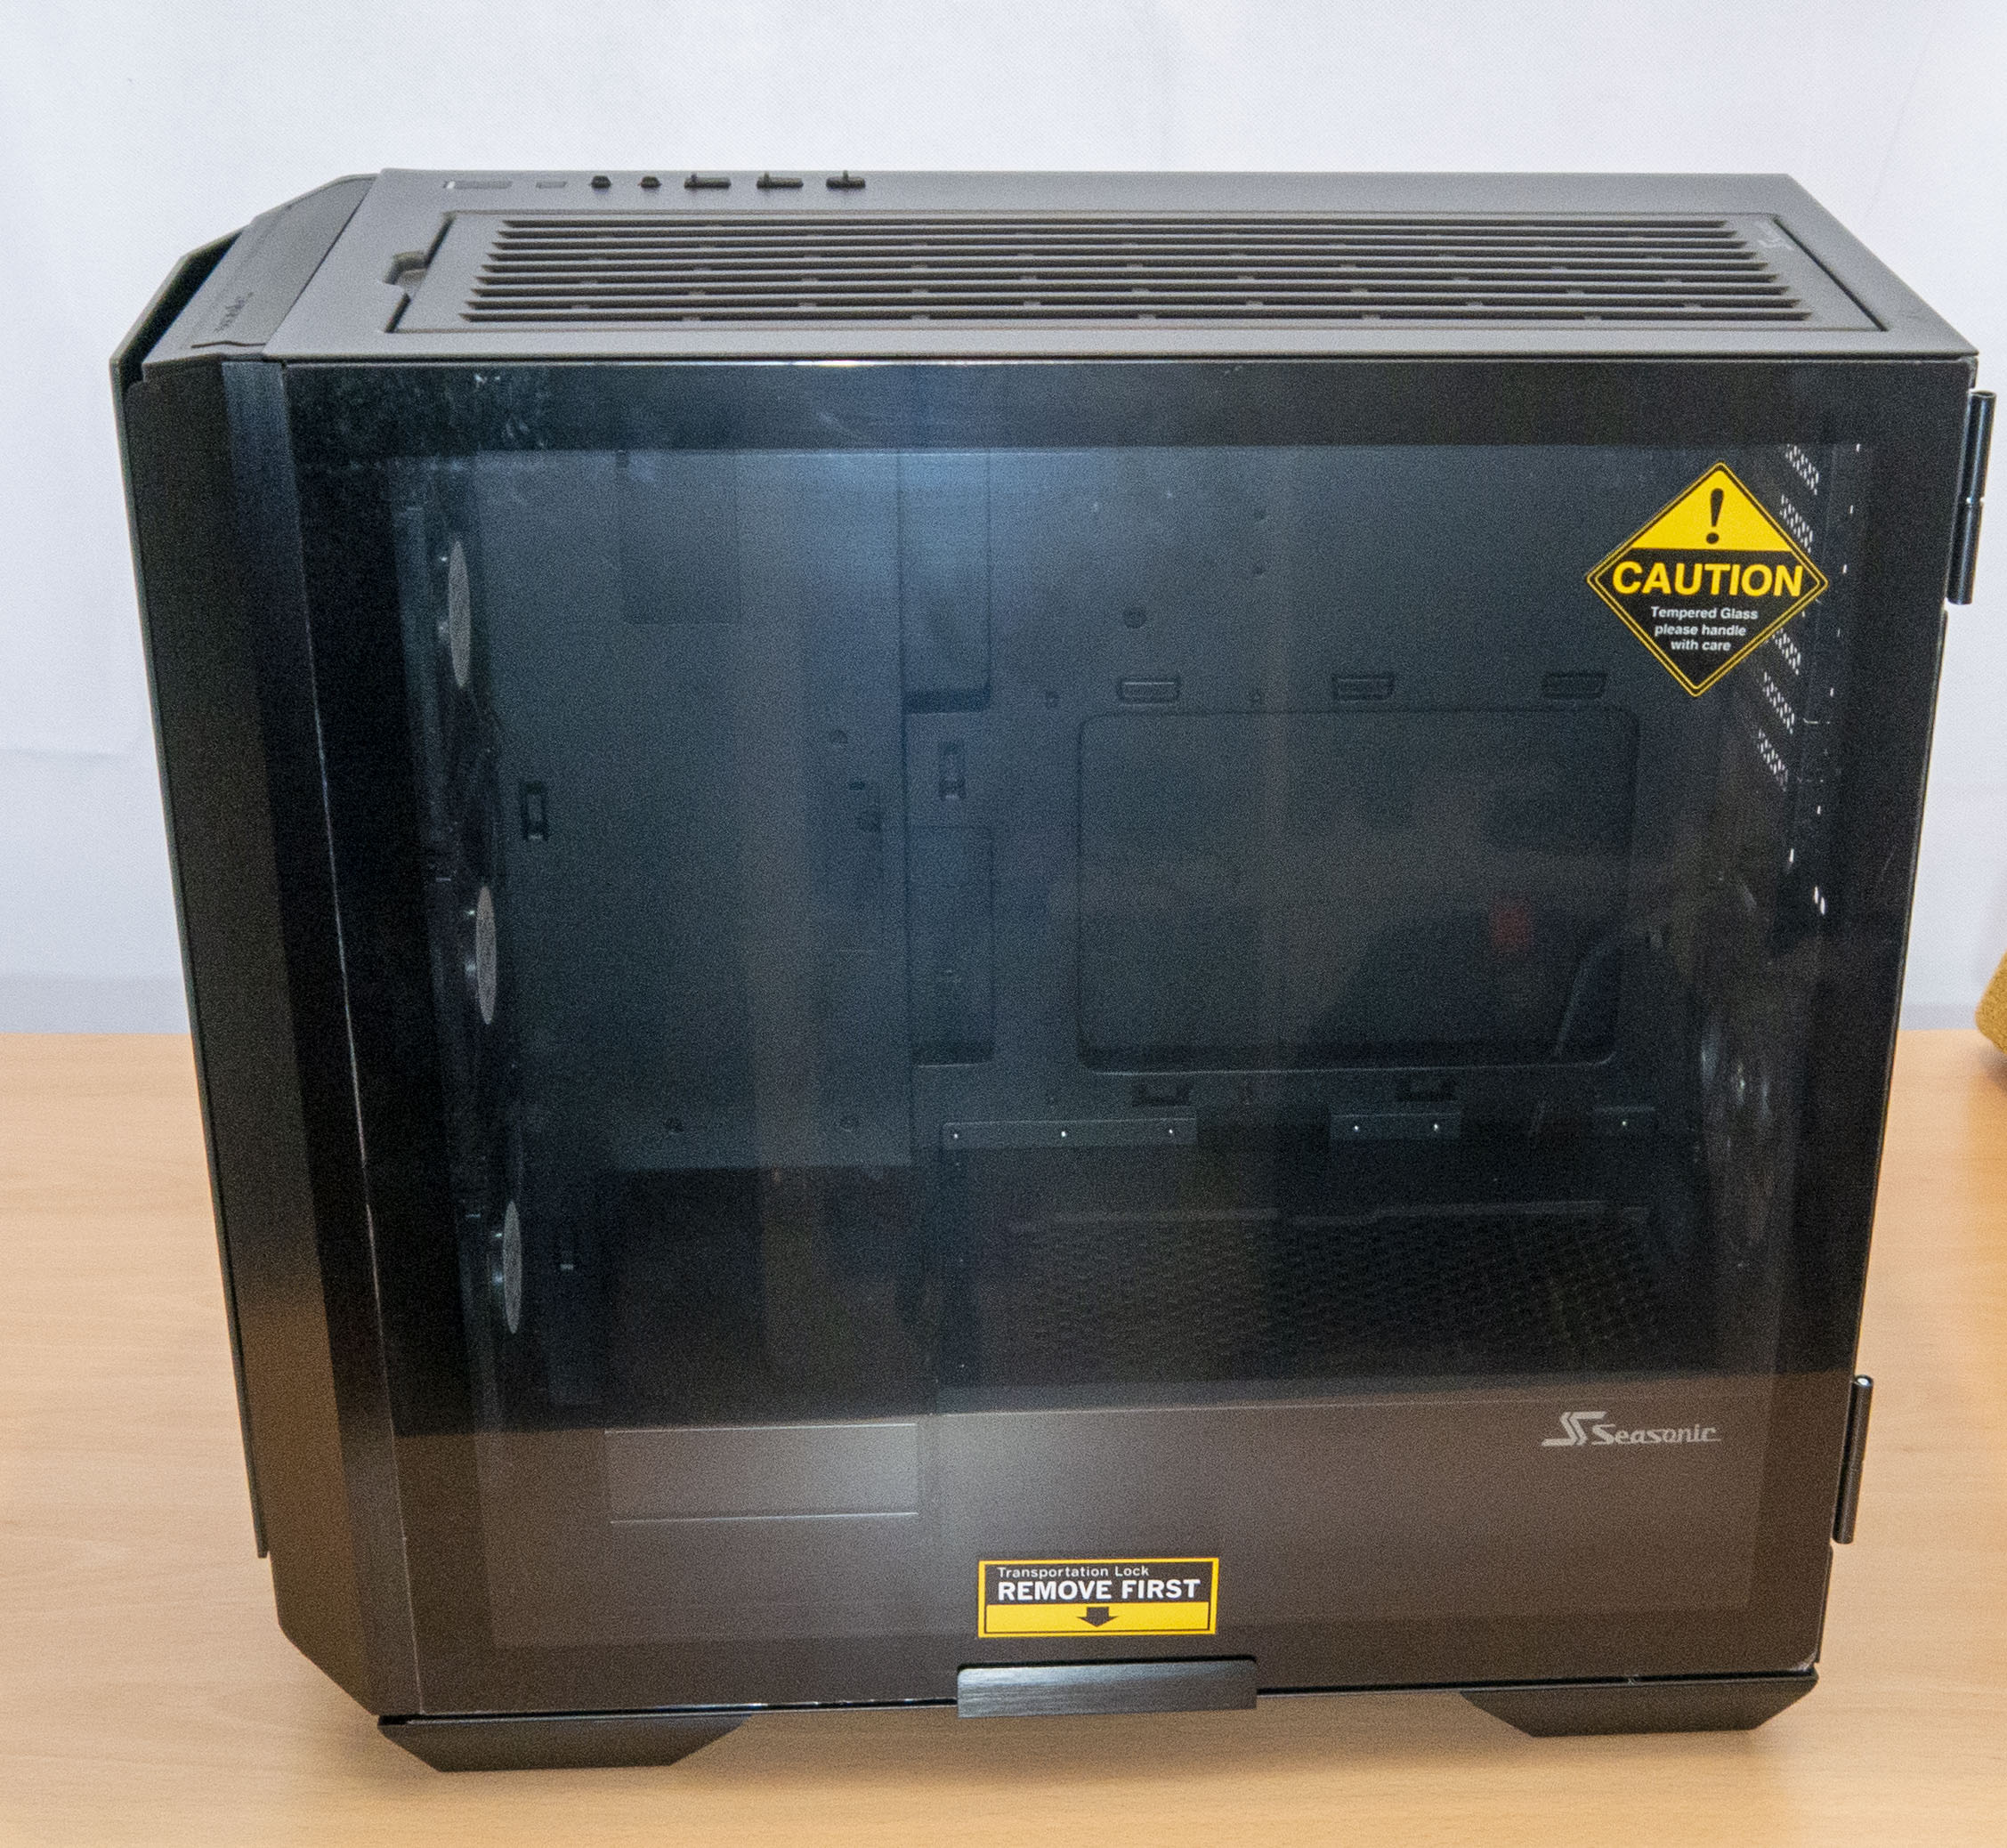
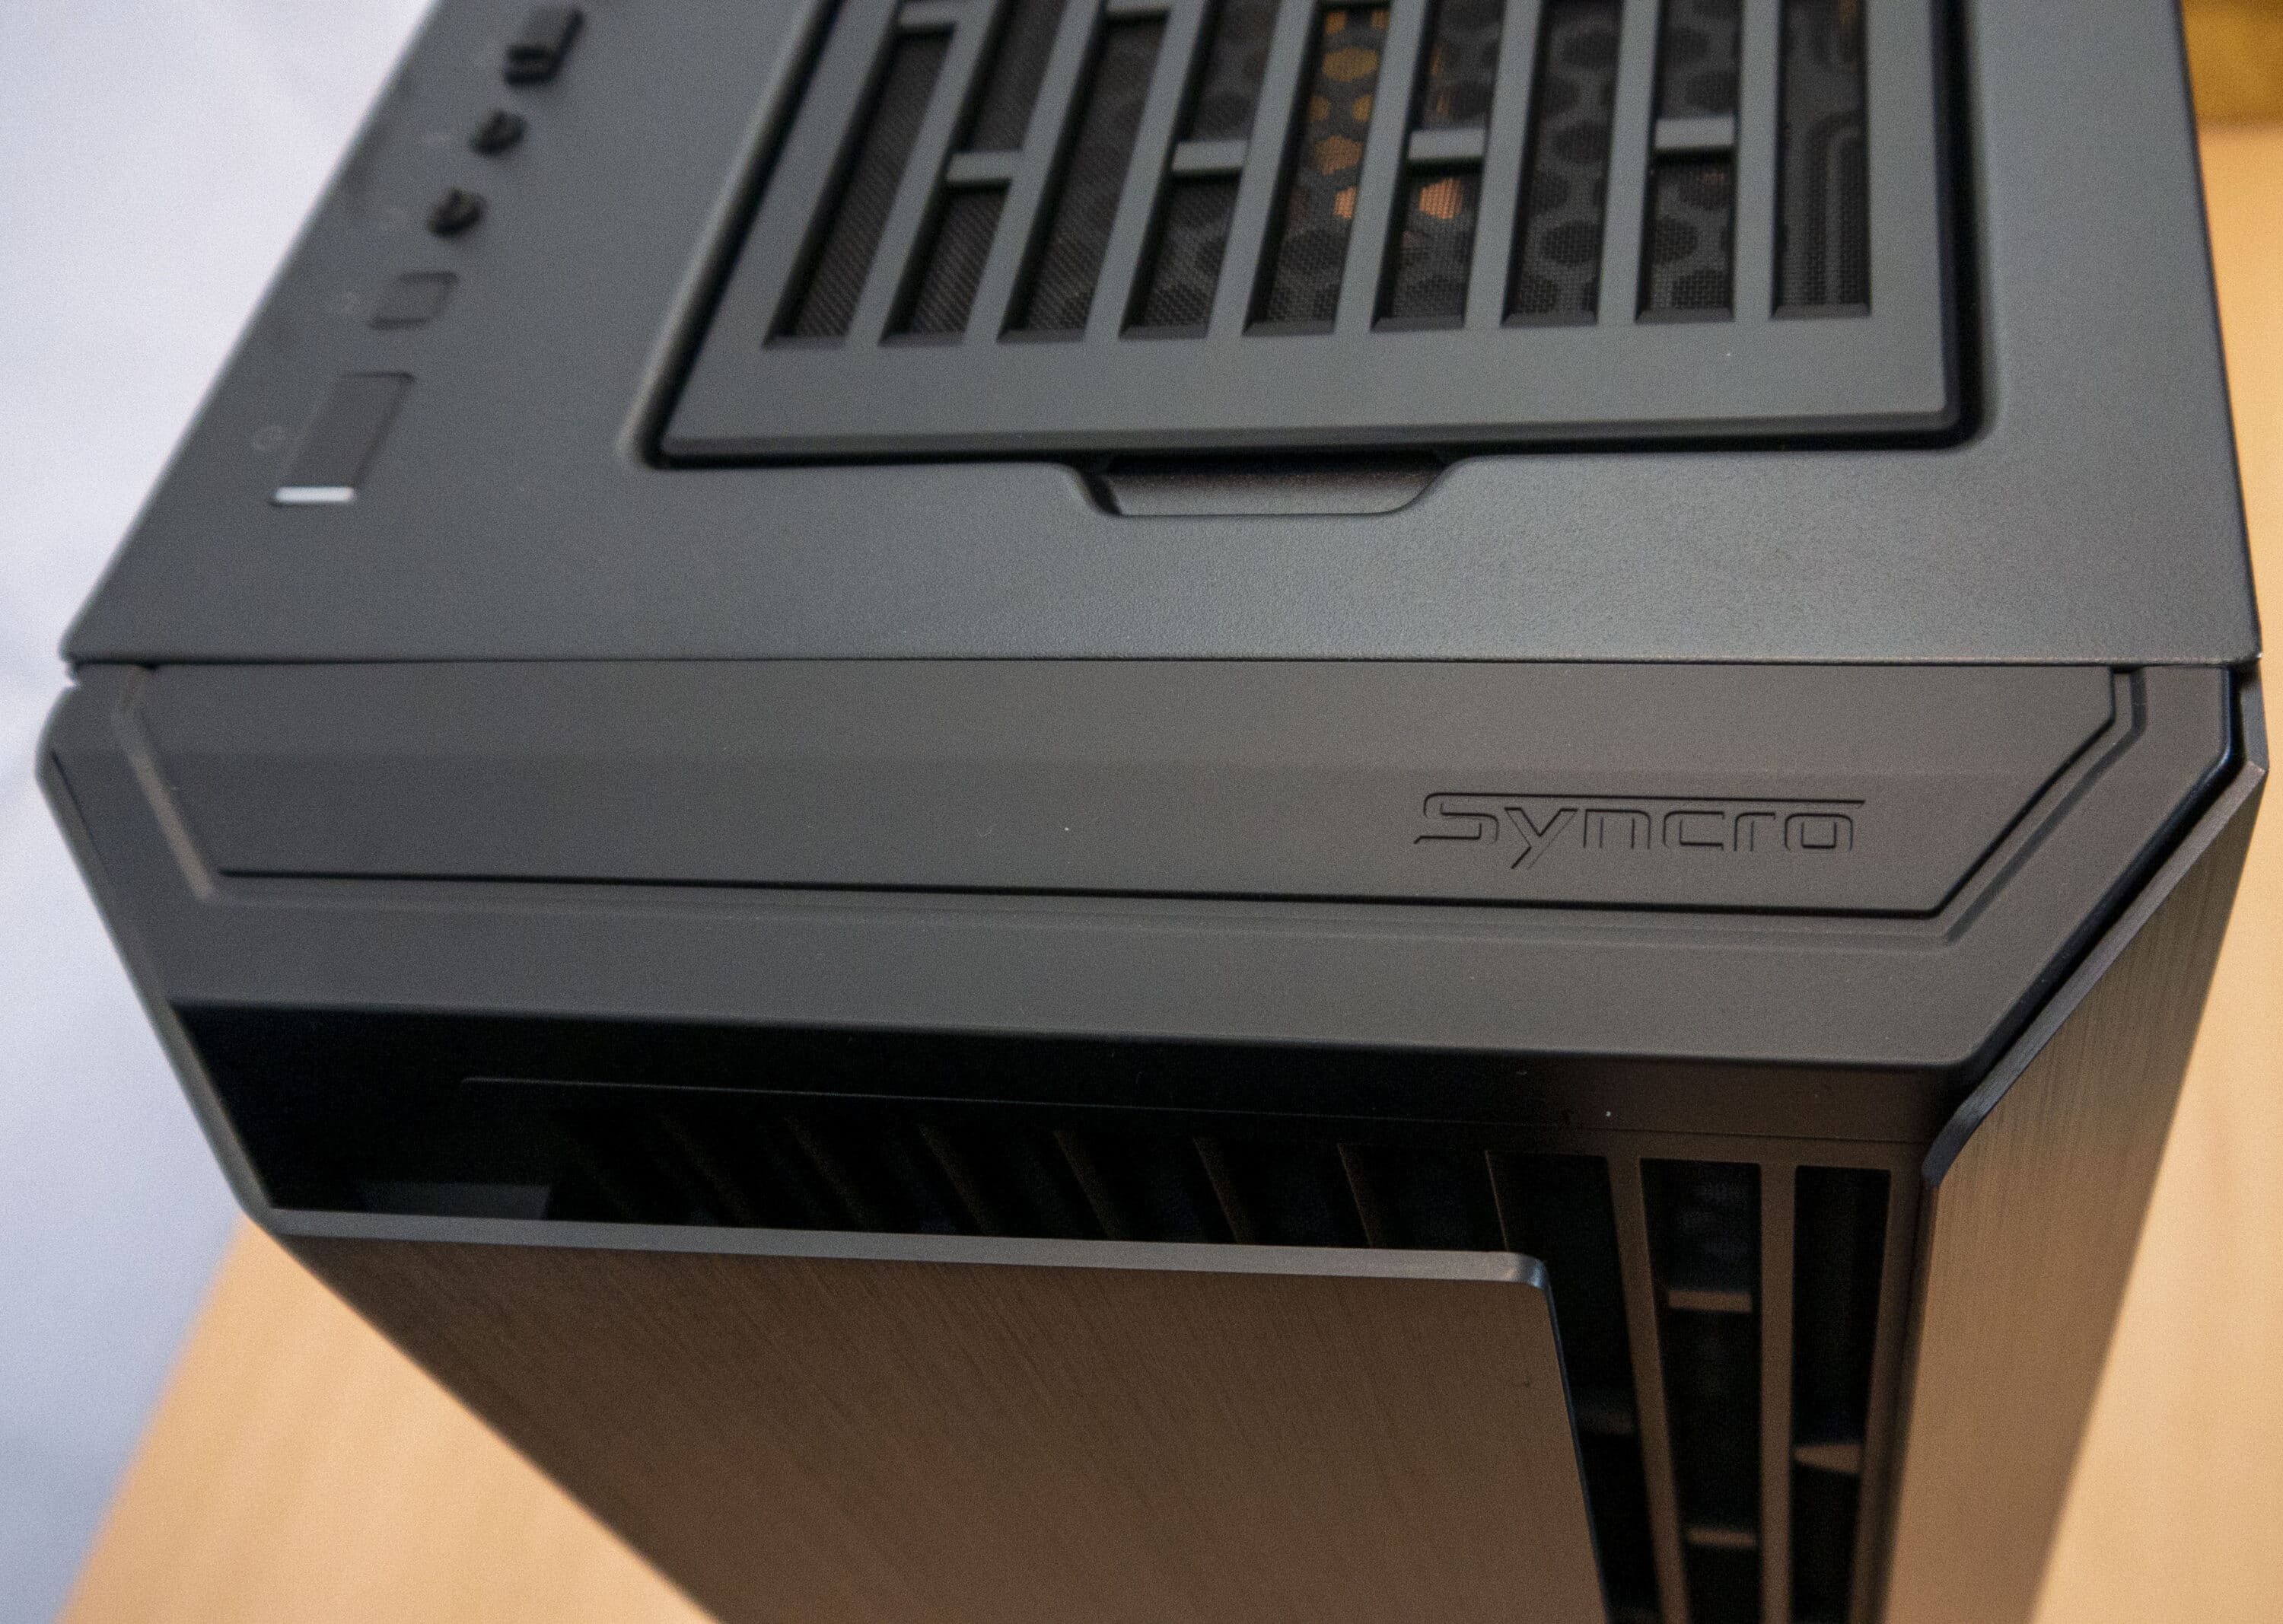
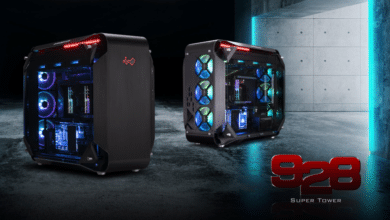
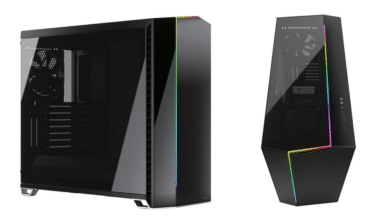
Even though the packaging took you a bit by surprise at the beginning, the case itself doesn’t seem that huge anymore. It first makes a very plain, but modern impression, which is loosened up by some design gimmicks. For example, the slightly offset front not only ensures good airflow, but also looks simply chic. Furthermore, the free-standing part is made of aluminum, so it won’t break off if you pack the case the wrong way. The ventilation grilles are built with quite thick struts made of plastic, which reflects the overall look well, as everything looks very sturdy. In addition, the grilles are held in place via magnets, so you can easily remove them.
Another highlight is also the huge glass panel that stretches across the entire side. This is also enclosed in the side panel, so you don’t have to remove the pane first; instead, you can open the side panel and simply lift it out of the hinge at the back. The really special thing, however, can be seen on the rear panel. There is a rather large hole that is filled by the cable management cover. This is where the Syncro will be seen and will get some air from outside for cooling. But enough about the outside, on we go into the case.
Interior impression
At the latest now it is noticeable that something is different here. Namely, in the case the motherboard is built inverted. Usually, the CPU is at the top and the expansion slots at the bottom, but here it’s the other way around. The whole thing doesn’t require any further investment, everything can simply be used as we show in the system setup, but more on that in a moment. Once the side panels are removed, you can see how much room and space is available. Not only in the area of the mainboard, but also behind it. If you have only bought the case, you have a lot of space to pull and hide your cables.
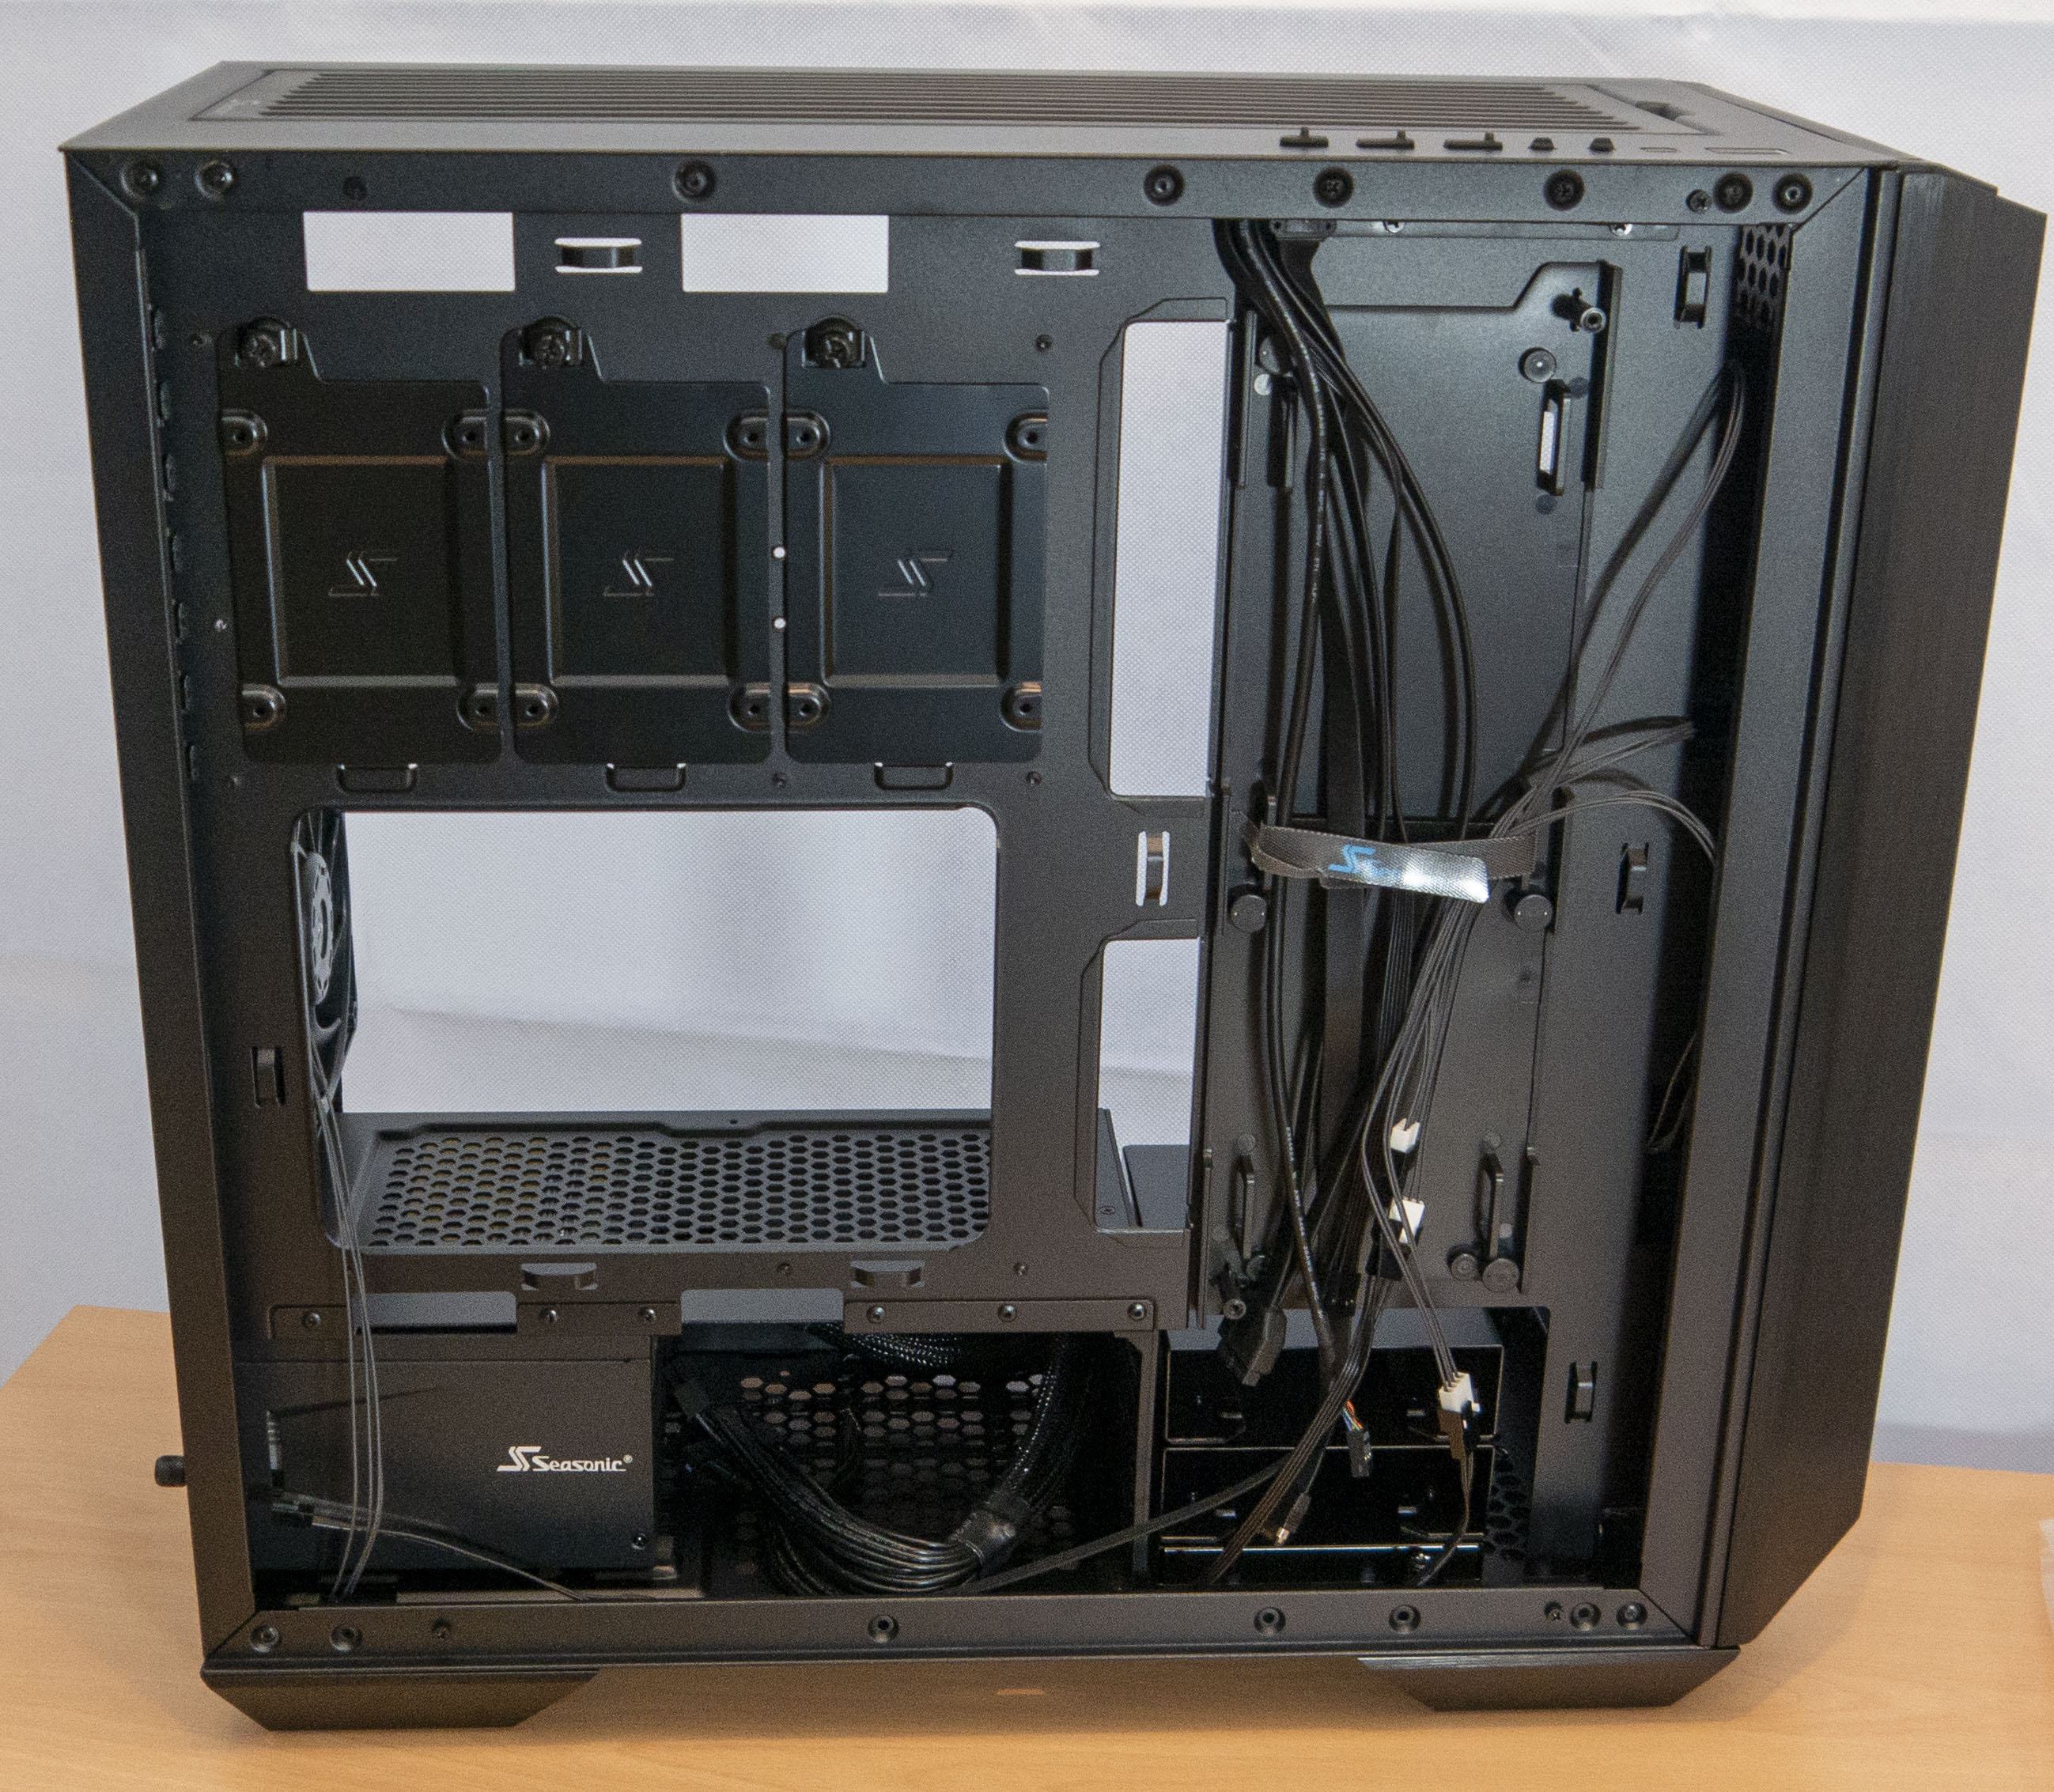
Furthermore, four 120 mm fans are already installed in the case, which should provide the necessary cooling. Especially when it comes to the airflow in the case, you have to look a bit closer to make sure that everything works. If you don’t want to worry about it, you can simply leave the fans as they are, because enough cold air is transported inwards and the warm air that could possibly accumulate at the CPU is blown outwards again by the 120 mm fan on the back, while the remaining warm air can simply escape upwards out of the case. So even at a second, closer look, the inside of the Seasonic Q704 makes a pretty good impression, but now of course the system has to be installed first.

System setup in the Seasonic Q704
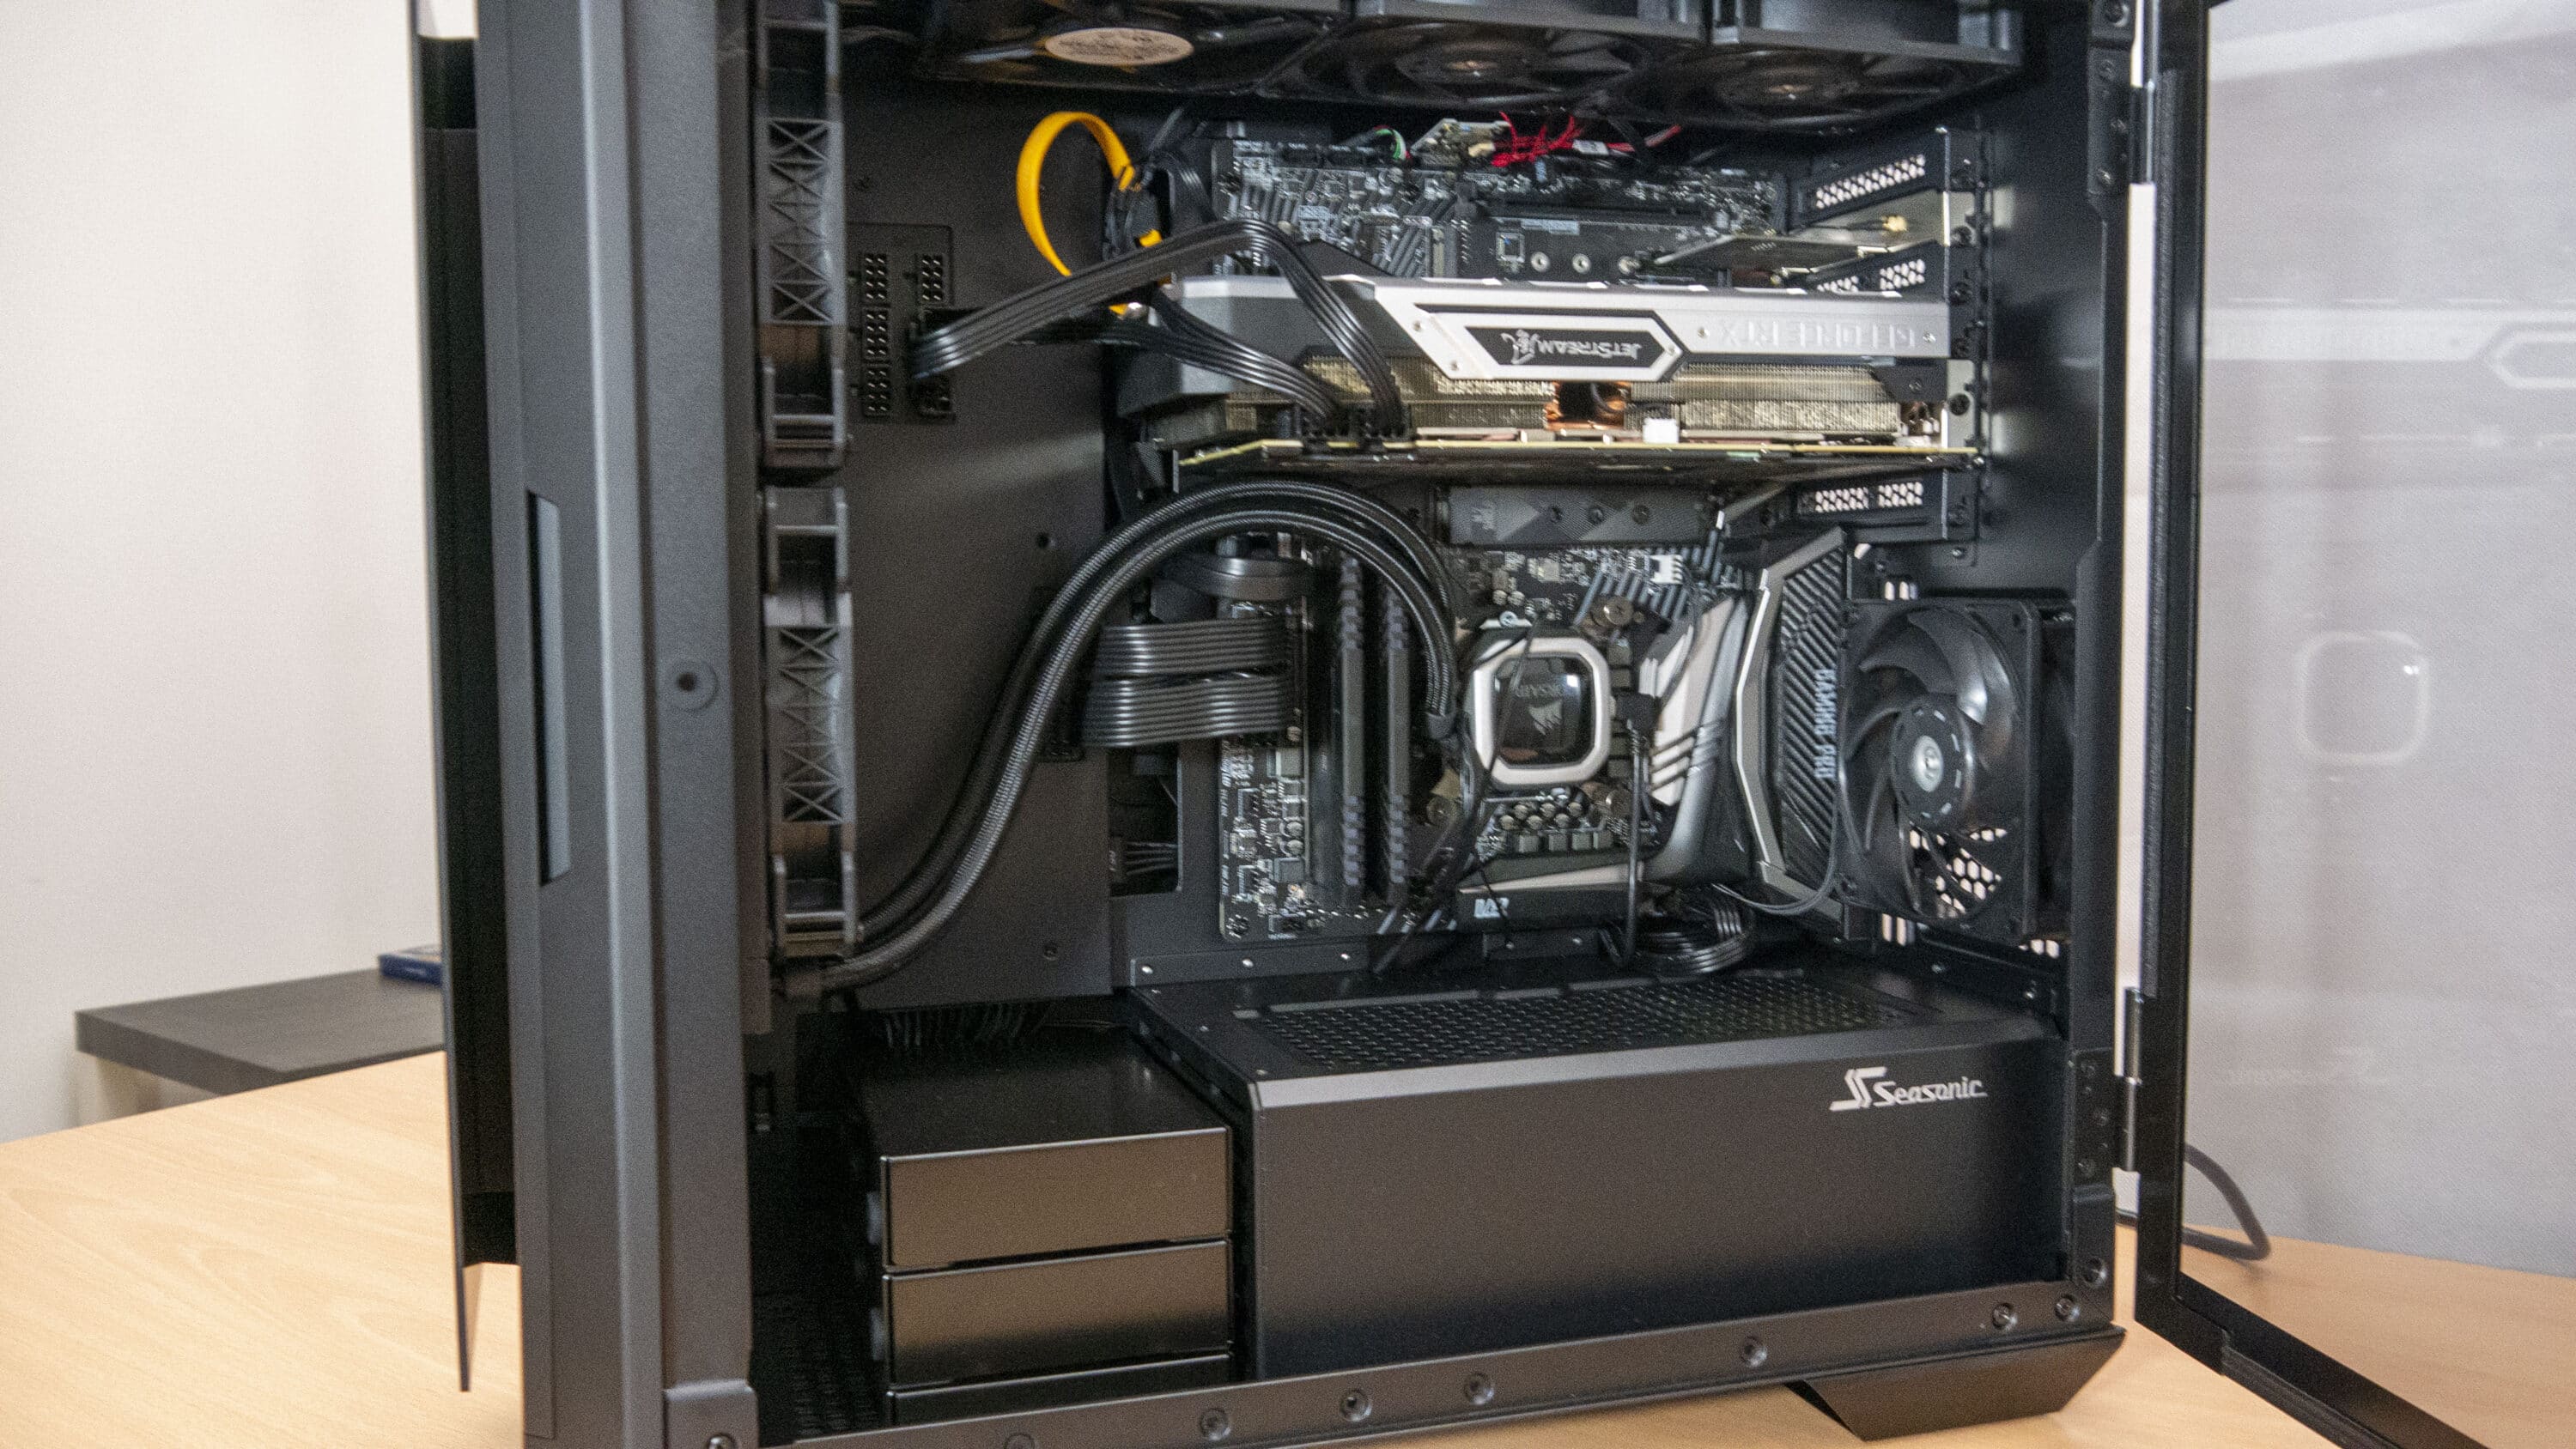
Especially in the system setup, it is usually noticeable what the manufacturer has not considered or where costs have been saved. That’s why it’s getting particularly interesting now. We will be installing an Intel Core i7-8700k in the case with the Corsair H115i AiO.Water Cooling with a 280mm radiator. The CPU and the 16 GB Corsair Vengeance RGB RAM are installed on the MSI Z370 Gaming Pro Carbon AC motherboard. An RTX 2070 Super from Palit is on board as the graphics card while a 2.5″ SSD is also connected as storage media in addition to an M.2 SSD.
First of all, the Seasonic Syncro can be installed directly. The bracket for the power supply can be easily removed to screw the power supply already outside the case. To attach the Connect, the magnetically attached cable management cover is simply removed and the Connect is then attached with four screws. The Connect itself connects to the PSU via two connectors, the smaller one is responsible for the control, while the other one is used to pass the 12V and 5V voltage.

Since the system was already installed before, we could directly insert the mainboard, with RAM, CPU and cooler into the Q704 and screw it tight. The motherboard sits well on the spacers and fits very well. We don’t use air cooling here, but even so, it’s apparent that there is enough room to possibly connect the CPU power supply later if the CPU cooler has already been mounted. Before we install the graphics card, we connect the cables of the I/O panel and connect the hard drive. The 2.5″ SSD can be screwed onto a bracket outside the case beforehand, which is then plugged in with a tab and fastened back to the motherboard tray with a screw.
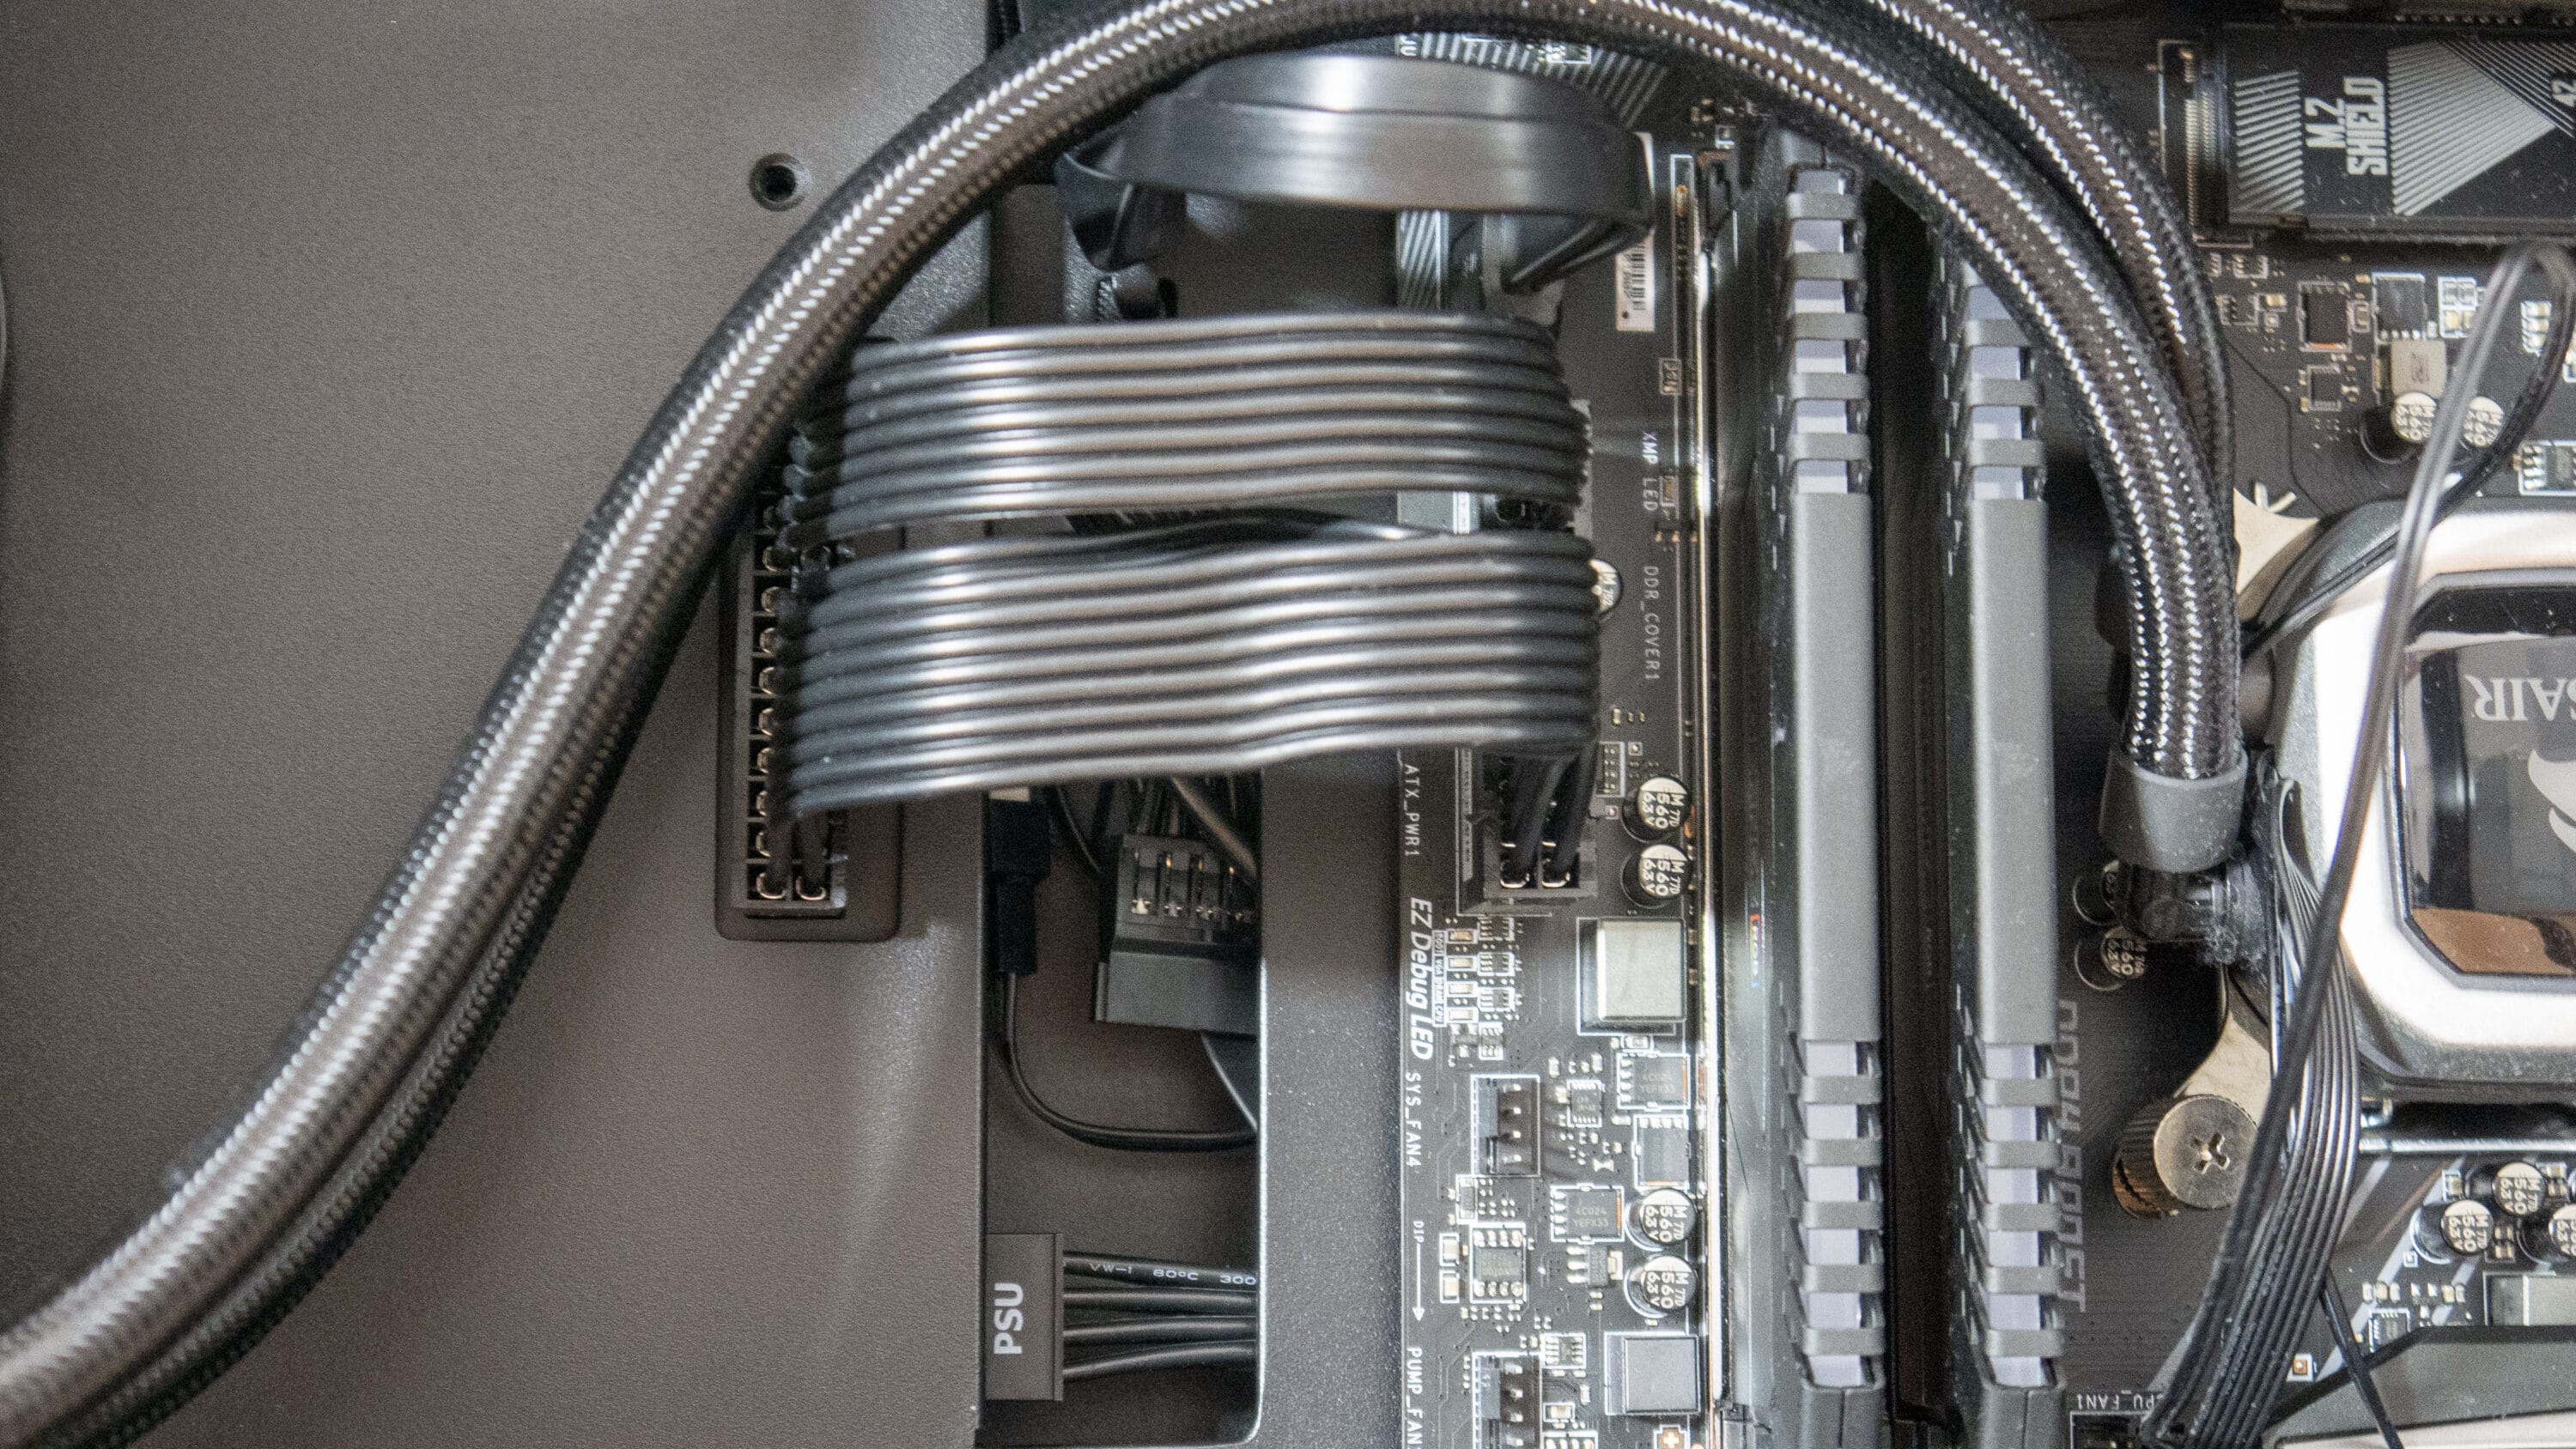
Last but not least, the only thing missing now is the cabling from the power supply, although in this case that should mean “from the connect”. Instead of pulling all cables through the case, short distances can be realized with short cables from the Seasonic Syncro. The corresponding cables are in the scope of delivery and especially for an ATX mainboard they are perfect. I have never been able to power the CPU or place the motherboard connector so easily without turning the entire cable management upside down. The Syncro Connect offers the possibility to connect the motherboard directly inside the case. In addition, six 8-pin connectors are available to supply the graphics card (or several) with power.
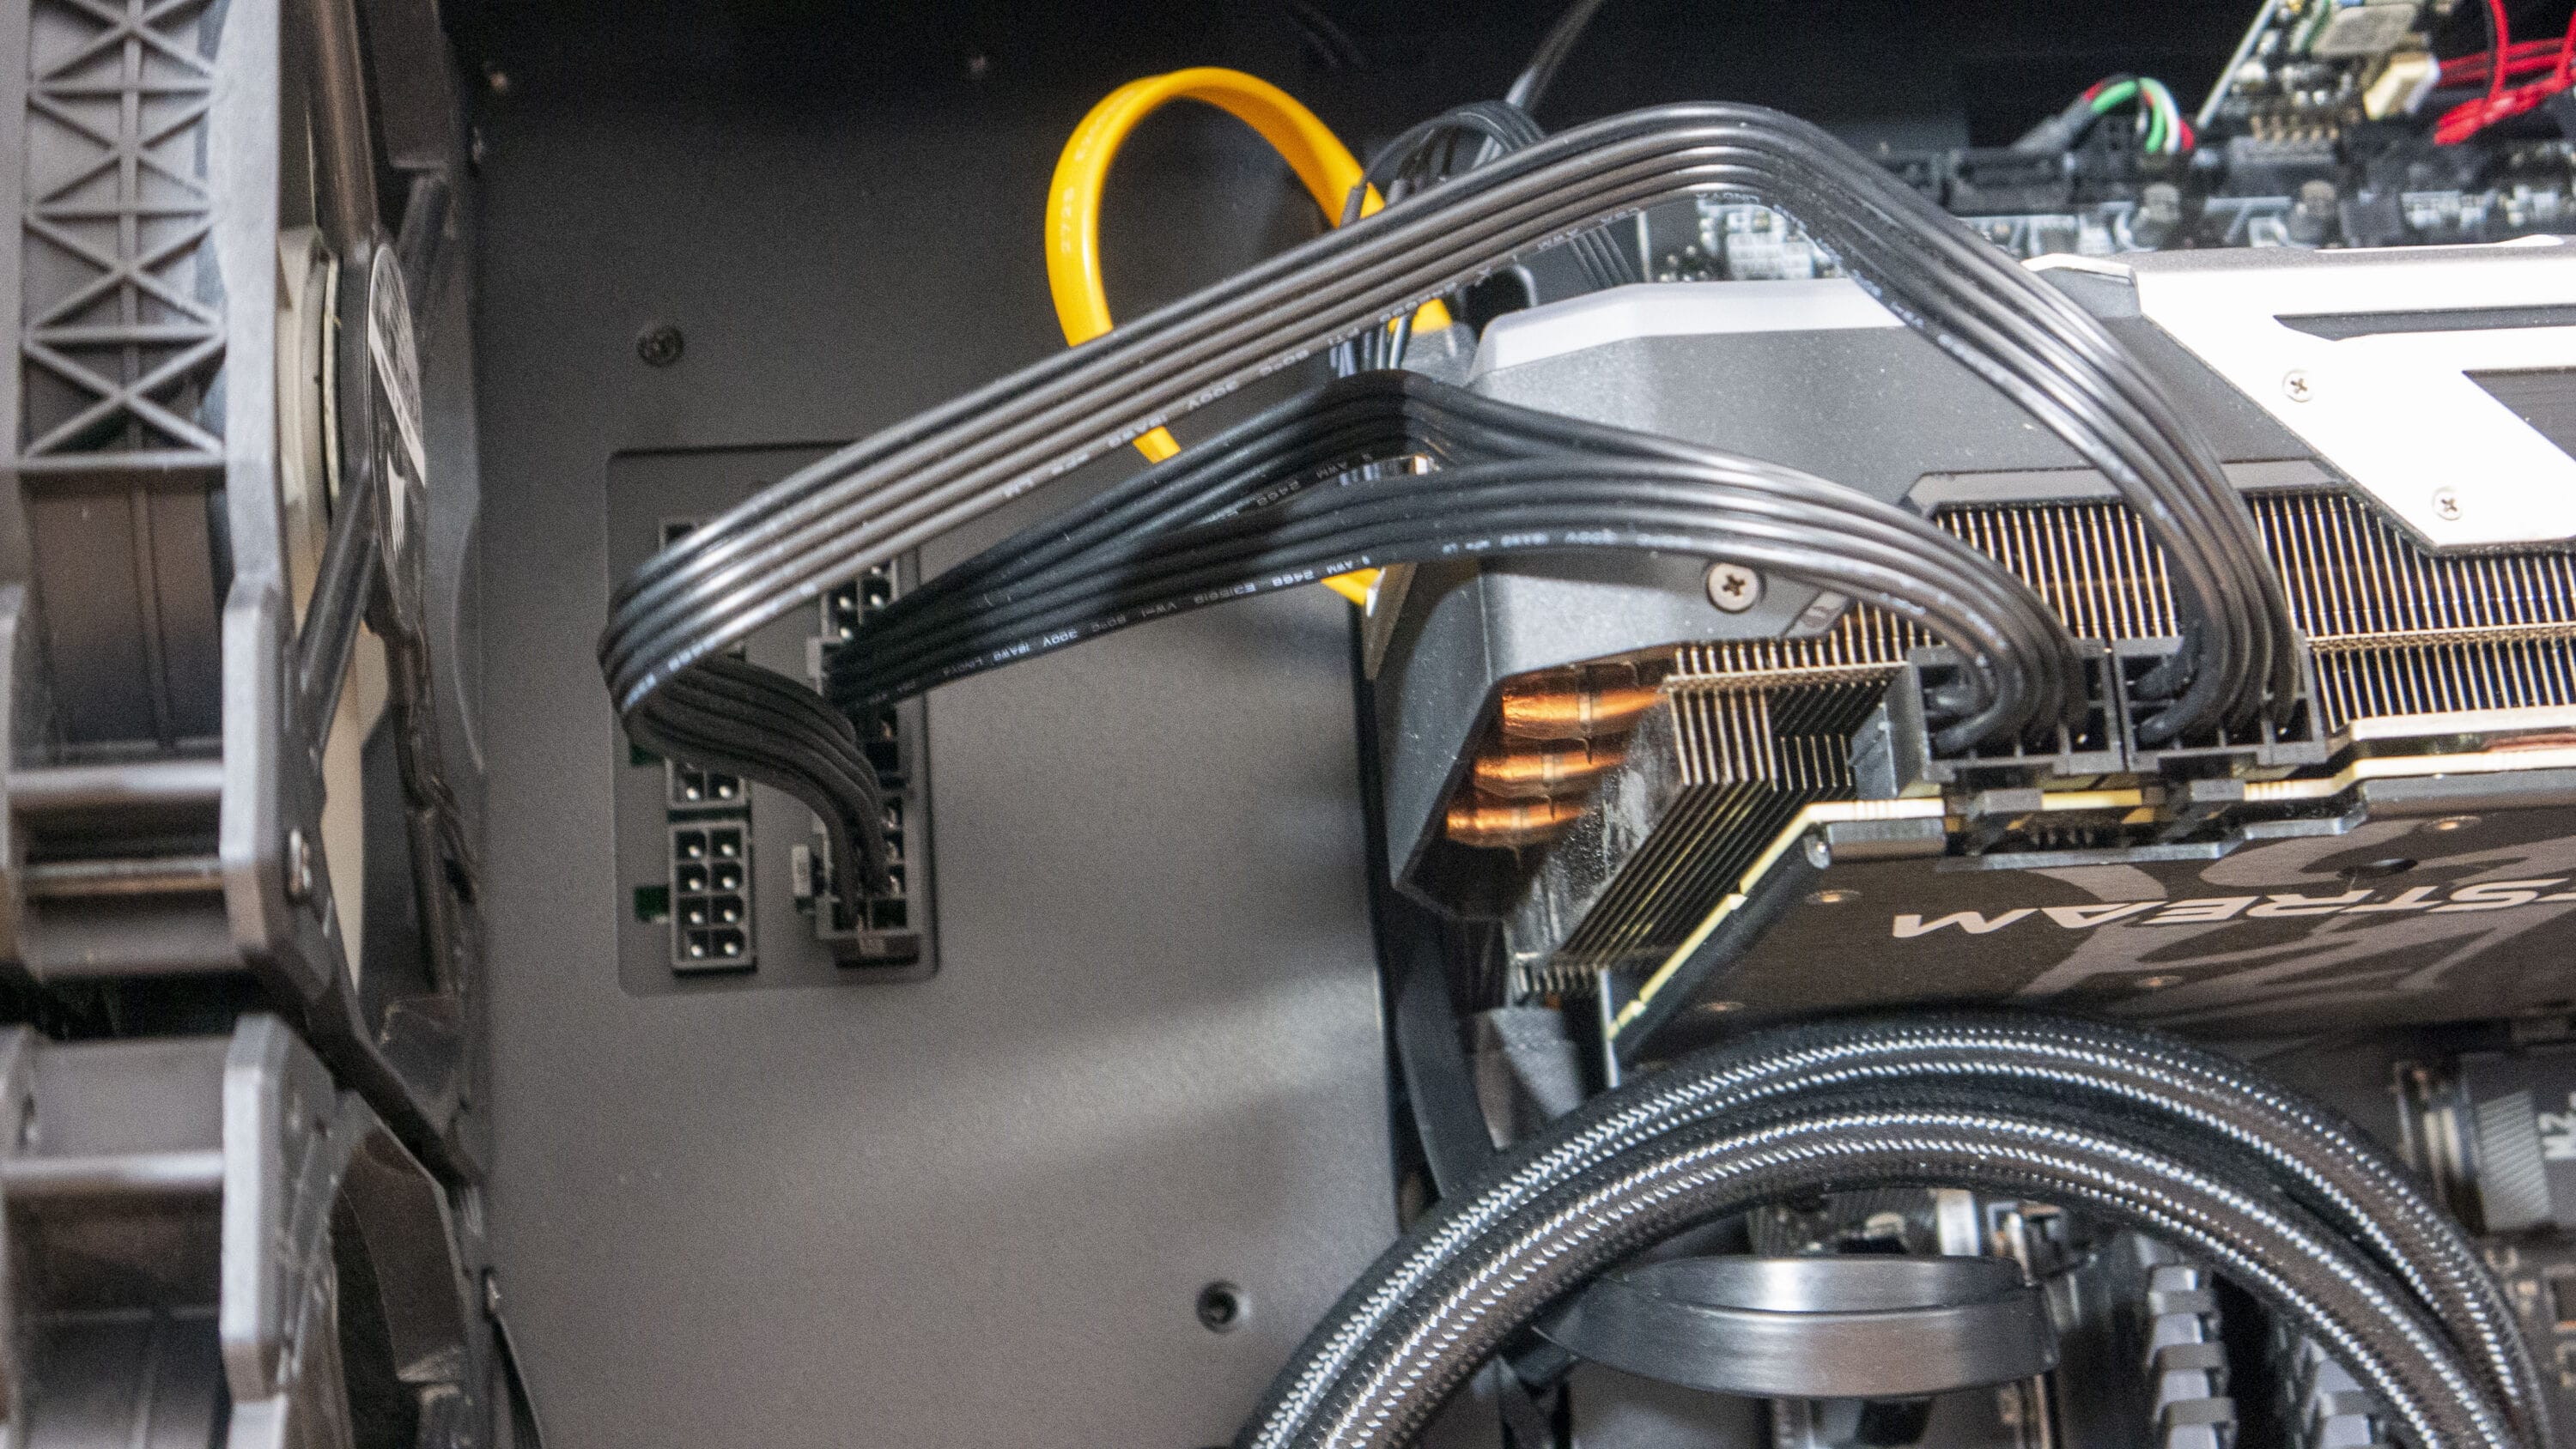
Up to seven fans can then be connected to the sides and the remaining devices can be powered with the six SATA/Molex connectors. Also, because Seasonic ships different cable lengths with it, you have the option of keeping the cable management very clean, with, for example, only four 8-pin connectors for the GPU included. Here and there some savings were made, but we are still completely thrilled. A system build has rarely been this nice and light, however the practical test is now upon us.

Cooling performance and volume
The nicest case, with the best features doesn’t do you any good if the cooling just doesn’t work. That’s why we now come to the stress test. At this point, it should be noted again that we not only use the pre-installed fans, but also the two 140 mm fans of the H115i from Corsair. We moved the three 120mm fans installed in the front to the lid and used the frontmost one as an additional in-take fan, while the other two blow the warm air to the outside. Now, to really make our system sweat, we put the CPU under load with Prime95 and the GPU under load with FurMark for 15 minutes.
| Office | After 15 minutes of full load | |
| Room temperature | 22.7° | 24.1° |
| Graphics card | 40° | 73° |
| CPU | 36° | 79° |
| Water temperature | 31° | 33.6° |
It is good to observe, the temperature in the case just at the beginning of the test always increases and in parallel, of course, the volume. Nevertheless, we must unfortunately say that just the volume is the biggest problem. The fans get very loud very quickly, so that you can clearly hear the fan noise even with a headset. Nevertheless, the temperature inside the case stays at a maximum of 50°. The other temperatures also remain in a harmless range.
Everyday experience
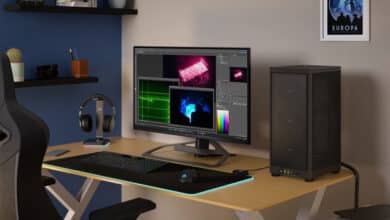
In everyday use, the picture from the endurance test is exactly the same. As soon as the fans turn up a bit, they become almost immediately annoying. A bit of a shame, considering the otherwise well thought-out concept. However, especially the fans can be replaced due to the wide ventilation shafts. Furthermore, the case, even if it should stand under the table, always attracts his gaze, because it looks great.

Summary of the Seasonic Q704 case review
After the quite extensive test, we could state the following with certainty: even if the initially huge package scares you a bit and even if in practice the fans are quite loud, the case has extreme advantages. The absolutely simple design paired with very simple cable management provides everything it needs for a tidy case. The extras in the scope of delivery are absolutely top. Not only is there nothing lacking, but there is the cherry on top of the cream pie.
The temperatures aren’t the lowest either, but we are more than impressed with the case. There is, however, one problem. The case, along with the Seasonic Syncro, costs around 300 Euros. That’s quite a bit, though the price is split pretty evenly between the two components. So if you don’t plan on putting together a high-end system, or at least a system on the higher end, you’d be better off looking around for cheaper alternatives. However, if you have the money anyway and like to see a tidy case, you may and should consider the Seasonic Q704 with Syncro Connect.

Seasonic Syncro Q704
Workmanship
Structure
Features
Cooling
Value for money
92/100
The case is elegant, tidy, offers a lot of space and has a large scope of delivery. The drawback is the very loud fans, which should possibly be replaced.
No replies yet
Neue Antworten laden...
Gehört zum Inventar
Beteilige dich an der Diskussion in der Basic Tutorials Community →