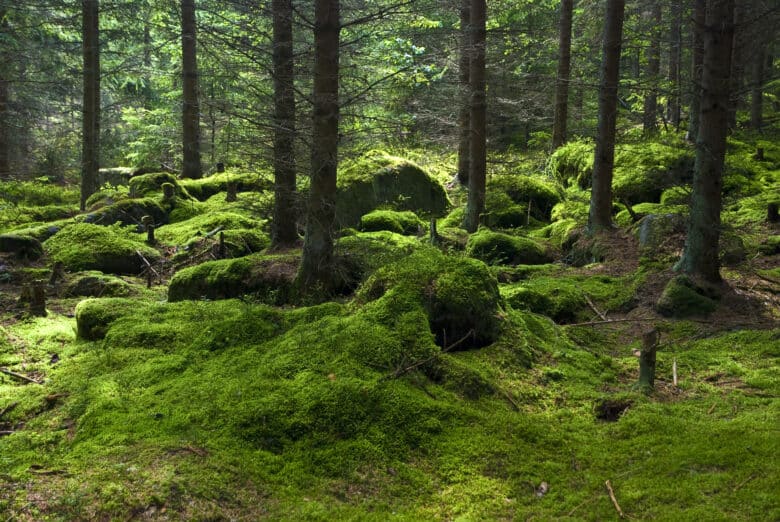
Moss pictures as wall decorations seem to fit well into a time when more and more people turn to nature. With them, green, lively-looking surfaces move into your own apartment and give it a woodsy atmosphere. The fact that moss pictures are no longer a niche phenomenon is easy to notice on a stroll through the city: they hang in the entrance areas of medical facilities, on the walls of busy restaurants and behind the glass windows of numerous offices. However, moss pictures are not only popular, but also comparatively expensive. Anyone who wants to neat up their wall with such a decoration usually has to shell out a three-figure sum. Many interested people therefore want to make their own moss picture. We show you how to do it!
What do you need for a moss picture?
To make a moss picture yourself, you first need a material equipment. The following things you need:
- Moss
- Wooden frame with back wall
- Moss glue, hot glue or wallpaper paste
- Glycerin
- Ethanol
- Bowl
- Plastic scraper
Step 1: Preserve moss
The first step is to preserve the moss. You can skip this step if you have already purchased preserved moss. If, on the other hand, you have collected your moss yourself, which is only allowed in small quantities and only outside of nature reserves, or bought it alive, you must carry out the process of preservation. It ensures that microorganisms die on the plant, which makes it durable. Otherwise, unpleasant odors quickly develop, the moss begins to rot and mold.

To preserve the moss, you need glycerin and ethanol. Mix these two substances in a bowl in a ratio of 2:1. Then add the moss, making sure that the plant is completely covered. Leave it in the glycerine-ethanol mixture for 15 to 30 minutes. Then take the moss out of the bowl and let it drain well. Handle it carefully so as not to damage it. Place it on kitchen towel and let it dry at room temperature for several days.
Caution: Both glycerin and ethanol are highly flammable! So make sure that the two substances, as well as the mixture made from them, do not get near heat sources, even near the heater.
Step 2: Test out design ideas
Now you come to probably the most exciting part of moss picture design. If you want to make your moss painting yourself, you have the creative freedom to make all the decisions yourself. We recommend that you first place the moss loosely in the frame to test out how different design options ultimately work.
Step 3: Prepare the wooden frame
Next, you need to prepare the wooden frame to make your own moss picture. To do this, first remove the glass pane of the frame and then replace the back wall. Then you have to coat it with the moss glue or the alternative you have chosen. Here it is advisable to proceed carefully: How do you want to place your moss? Plan the design first, before you use the glue – after all, it dries quickly, which means that you need to put the moss in the frame very soon after applying the glue.

Apply the glue generously and evenly to the frame. Simply squeeze it out of the tube in lines. Then grab the plastic scraper you’ll use to spread the glue. Ultimately, you should end up with an even layer of glue.
Step 4: Glue the moss
Place the moss on the glue and press it down lightly. It is important to make sure that there are no gaps between the pieces of moss. Also note that the moss will shrink a little during the drying process. Overlapping and protruding are therefore not a problem or in need of correction.
Once you have glued the moss in place, it is a good idea to weigh it down for a while to help it hold to the frame. If you have used Iceland moss, which has a particularly spherical shape, you should not do this. Otherwise, the special shape will be lost.
Moss wall make yourself – these are the advantages
With your moss picture or moss wall some advantages move into your home. Among the most important are probably the following.
- Improved indoor climate: the moss absorbs excess moisture from the air and releases it only when the humidity in the room is low. Thus, the moss image contributes to a comfortable indoor climate and counteracts the formation of mold in the apartment. However, the moss in its preserved form no longer has a filtering effect with regard to carbon dioxide. With air purifiers such as the Boneco H320 only living moss can keep up.
- More quiet: Due to its special structure, moss has a sound-absorbing effect. It acts, so to speak, like a particularly thick tapestry and thus brings peace to your home. Noises from the outside penetrate only muffled in your own home.
Moss picture make yourself – care instructions
Finally, we have some good news for you: Since the moss has been preserved, it does not require any care. Your moss painting, since the plants are dead, does not need to be watered. Only dusting work comes to you.


