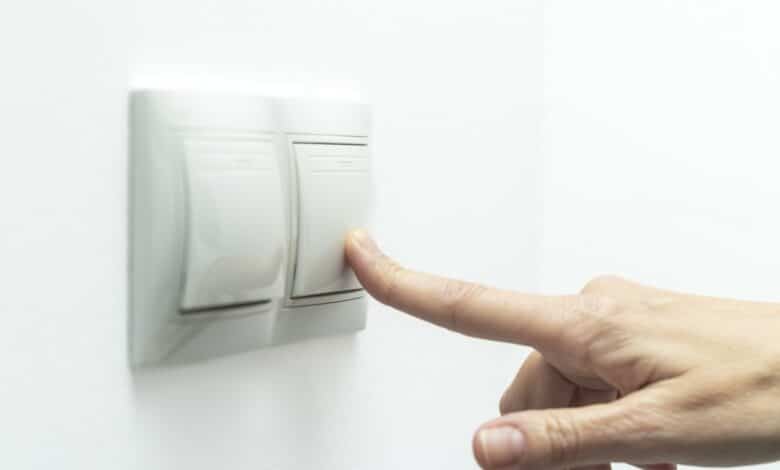
The ability to connect a light switch is not only important for electricians, but can also be a useful area of knowledge for the do-it-yourselfer. Whether you want to dismantle an old light switch and replace it with a modern one or simply understand how the wiring behind your walls works, we’ll show you what to look for when hooking up a light switch.
A light switch is not just a light switch
In order for you to be able to turn the lights off and on in any scenario without too much trouble, different switches are necessary, because a simple off-on switch is often not enough. You should take a closer look at the following types before looking for a suitable light switch.
Toggle switch: This type of switch allows you to control a light source from two or more different locations. So, for example, if you want to connect a toggle switch, you should know that you need a second toggle switch to complete the system.
Toggle switch: This is the most common type. A toggle switch has a rocker that you can push up or down to turn the light on or off.
Serial switch: A serial switch allows you to control two different light sources with a single switch. If you want to connect a series switch, it’s important to plan the wiring properly.
Double Switch: A double switch is basically like having two single switches in one enclosure. You can use it to control two different light sources without having to install two separate switches. Connecting double switches, however, requires a bit more attention to wiring. The space conditions in a flush-mounted box are namely usually correspondingly narrow and the installation is not infrequently a Frickelarbeit.
Dimmer: A dimmer allows you to control the brightness of the light source. Instead of just turning the light on or off, you can use a knob or slider to adjust the light intensity. Dimmers are especially useful in rooms where you want to change the atmosphere, such as the living room or bedroom.
Timer: A timer is a light switch with a built-in clock or timer. You can use it to set when the light should be turned on or off. This is especially handy if you’re not home but still want to give the impression that someone is there. Or if you’re just forgetful and want to make sure the lights turn off automatically after a certain amount of time.
Get tools and materials ready
Before you jump into the task and start plugging in the light switch, it’s a good idea to have all the necessary tools ready. This will not only save you a trip to the garage or utility closet, but possibly another trip to the hardware store. You’ll need both a Phillips and a flathead screwdriver for your project. In addition, a voltage tester is an absolute must. You can use it to determine whether the wires you are about to work on are actually voltage-free.
In addition, you need a side cutter for stripping or, if you like it comfortable, a wire stripper. And then, of course, you need the right light switch that fits into your installation. In our tutorial, we assume that the wires are already laid and necessary flush-mounted boxes already exist, so you really only need to focus on installing the switch.
Identify wires – connect light switch
Before replacing the light switch, it is important to identify the individual wires. Before that, of course, the following applies: Switch off power and dismantle the light switch. In modern installations, you can largely rely on the colors of the wiring, but you should still measure in any case, whether it is actually the correct coding. The same applies to old buildings, where there may even be completely different colors that are no longer used today. A phase tester or even better a multimeter is essential here to identify the phase.
However, this is where the realm of possibility ends for the private user. Without appropriate measuring devices (insulation resistance or mains impedance measurement), you cannot identify the protective conductor 100% reliably. Therefore, it is a great advantage if you are sure that you can trust the color coding.
In addition, only the phase is usually switched in the case of light switches, so that neutral or protective conductors are not taken into account. Ideally, there is already a (used) light switch in place, so you can use the wiring 1:1. You only have to make sure to use the correct switch when changing the light switch.
Connect changeover switch
You can recognize the changeover switch by the two terminals on its back. It allows you to switch a light source on and off from two places. Connecting the changeover switch is usually quite simple:
- Turn off the power: Make sure that the power supply is disconnected. It is best to flip the appropriate fuse switch and secure it against being switched back on – should other people have access to the fuse cabinet.
- Identify cable: With a voltage tester or multimeter you can identify the cables if necessary. As a rule, it is a phase (L) and a neutral (N). The ground (PE) is usually optional or not provided at all for light switches.
- Prepare connection: Now insulate the cable ends, if there are still no bare wires to be seen.
- Connection: Now connect the phase (L) to one of the two terminals of the changeover switch. The wire on the other terminal leads to the second changeover switch.
- Check: Check that all wires are tight and make sure the stripped end is not sticking out of the terminal.
- Attach cover: Screw the switch into the wall box and attach the cover and the rocker switch.
- Test: Turn the power back on and check the function of the newly installed switch.
Cross switch
You can recognize a cross switch by four terminals on the back. You can use this type of switch to operate a light source from more than two different locations. Installation is similar to the toggle switch, with the following differences:
- Connection: connect wires L1 and L2 to the terminals of the cross switch and follow the wiring diagram. You can find this either directly on the back of the switch or in an enclosed manual or on the packaging.
- Commissioning: Test all switches in sequence and also in different combinations to see that everything was wired correctly and works properly.
Connect series switch
A series switch allows two or more light sources to be switched independently. As a rule, this type of switch has several terminals, but at least four. Again, pay attention to the following special features compared to a conventional changeover switch:
- Identify cable: Using a voltage tester or multimeter, you should play it safe here and identify the cables first. These are several phase conductors (L1, L2, …), a neutral conductor (N) and possibly a ground (PE).
- Connection: connect each phase (L1, L2, …) to the respective terminal of the series switch.
- Test: Again, try all switches and combinations to ensure proper operation.
Connect light switch: Tips for installation
While with a little practice and know-how, installing a light switch is not a big hassle, you should pay attention to a few things before you connect the light switch.
- Be sure not to forget to turn off the power at the fuse box before you start the work.
- It is helpful to mark the cables before disconnecting them, especially if several cables are involved. This will make it easier to reconnect.
- After you connect the light switch, turn the power back on and test the switch before screwing everything back on. This will save you time in case corrections are needed.
- Always choose quality over price. A high-quality light switch will not only last longer, it will also be safer.
- Even if you already have experience installing light switches, it’s always good to read the instructions that come with them. Different models may have different requirements or peculiarities.
- If you are unsure or have complex installations, it is always a good idea to consult a qualified electrician.
- Light switches are generally low-maintenance, but it doesn’t hurt to check them for wear or defects from time to time – especially if you’re using them to switch larger loads.


No replies yet
Neue Antworten laden...
Gehört zum Inventar
Beteilige dich an der Diskussion in der Basic Tutorials Community →