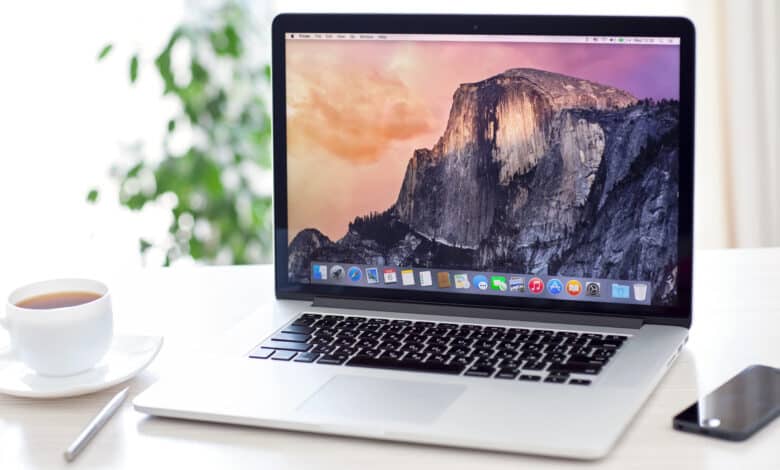
Screenshots are of enormous importance in many contexts. They are not only used for private sharing of data, but also as evidence for levies or for logging within companies. How a screenshot is made in Windows is well known. But how do people who prefer to use a MacBook go about it? We’ll show you how to take a screenshot on a MacBook and what options are available to you!
Simple screenshot on the MacBook
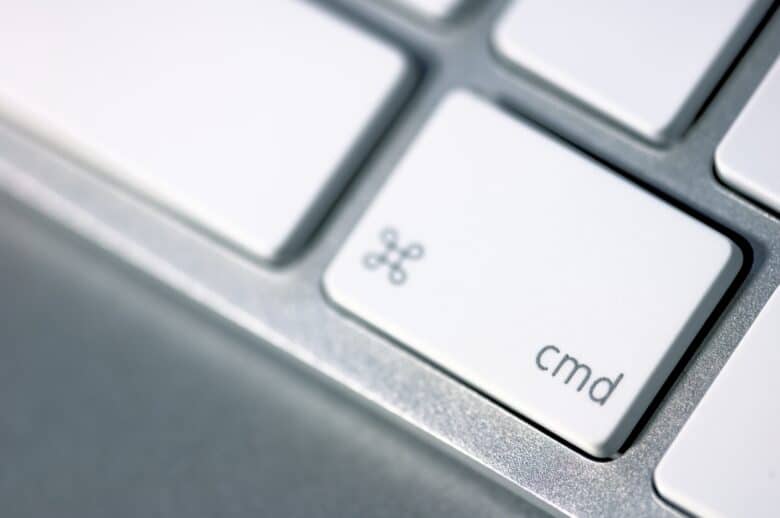
A simple screenshot can be made on the MacBook very similar to Windows via a simple key combination: [Shift]+[cmd]+[3]. This way, you take a picture of the entire screen. The command key [cmd] looks different depending on the device used. Sometimes it is not labeled [cmd], but [Command] or with an Apple logo. In any case, however, there is a propeller symbol on the key.

Screenshot of a section of the screen
If you don’t want to screenshot the whole screen, but just a section, you have to use another key combination: [Shift]+[cmd]+[4]. If you press these keys, the mouse pointer turns into a crosshair. Hold down the left mouse button and use the crosshairs to mark the area you want to see on your screenshot. To take the corresponding screenshot, you just need to release the mouse cursor.
Screenshot of individual components
However, you can not only take a screenshot of the screen sections you have selected yourself, but also of predefined individual components – such as a specific window or the menu bar. Use the key combination [Shift]+[cmd]+[4] and press the space bar. The mouse pointer then turns into a camera. Click with it on the component you want to see on your screenshot.
More tips about MacBook screenshots
Besides these basic ones, there are some special options for screenshots on MacBook. We’ll show them to you!
Save screenshot on MacBook to clipboard
By default, MacBook screenshots are immediately saved as a file that is saved in the format “Screenshot X.X.XXXX at X:X clock.png”. If you prefer to save the screenshot to the clipboard like in Windows, you have the option to do so. For this you have to press the [ctrl] key while creating the screenshot. The screenshot will then be saved to the clipboard and can be pasted directly into another document.
Show mouse pointer
Your MacBook takes screenshots without a visible mouse pointer by default. If you want to show the mouse pointer as well, you have to adjust the corresponding settings first. To do this, press [Shift]+[cmd]+[5] and click Options in the additional bar that opens. Activate here the option Display mouse pointer.
macOS High Sierra: Screenshot of active window
If you use the operating system macOS High Sierra, you have the possibility to make a screenshot of the active window also via the key combination [Shift]+[cmd]+[5].
macOS Mojave: Use screenshot tool
Under macOS Mojave, a screenshot tool is available to you via the key combination [Shift]+[cmd]+[5], with which you can select various tools or define screen areas for the screenshot.


No replies yet
Neue Antworten laden...
Gehört zum Inventar
Beteilige dich an der Diskussion in der Basic Tutorials Community →