Since Cooler Master was founded in Taiwan in 1992, the manufacturer has been developing PC cases, power supply units, CPU coolers and many other PC components from the peripherals sector. Cooler Master has made a name for itself with cases from the MasterBox series and the world-famous Hyper 212 CPU cooler. We tested the Cooler Master MasterBox Q500L back in May 2019. As a kind of successor, the Cooler Master Qube 500 Flatpack was introduced in September 2023, which we are testing today.
The Cooler Master Qube 500 Flatpack is designed to make PC building an even greater experience. This is to be achieved by the fact that the buyer receives the components of the case in a flat package (therefore flatpack), but the midi tower must be assembled from these individual elements. Cooler Master also mentions a flexible internal layout with space for large components and at the same time quite small external dimensions for a midi tower. There is also a huge database with templates or ideas for external add-on parts from the 3D printer. The Cooler Master Qube 500 Flatpack can be purchased for € 91.80 *.
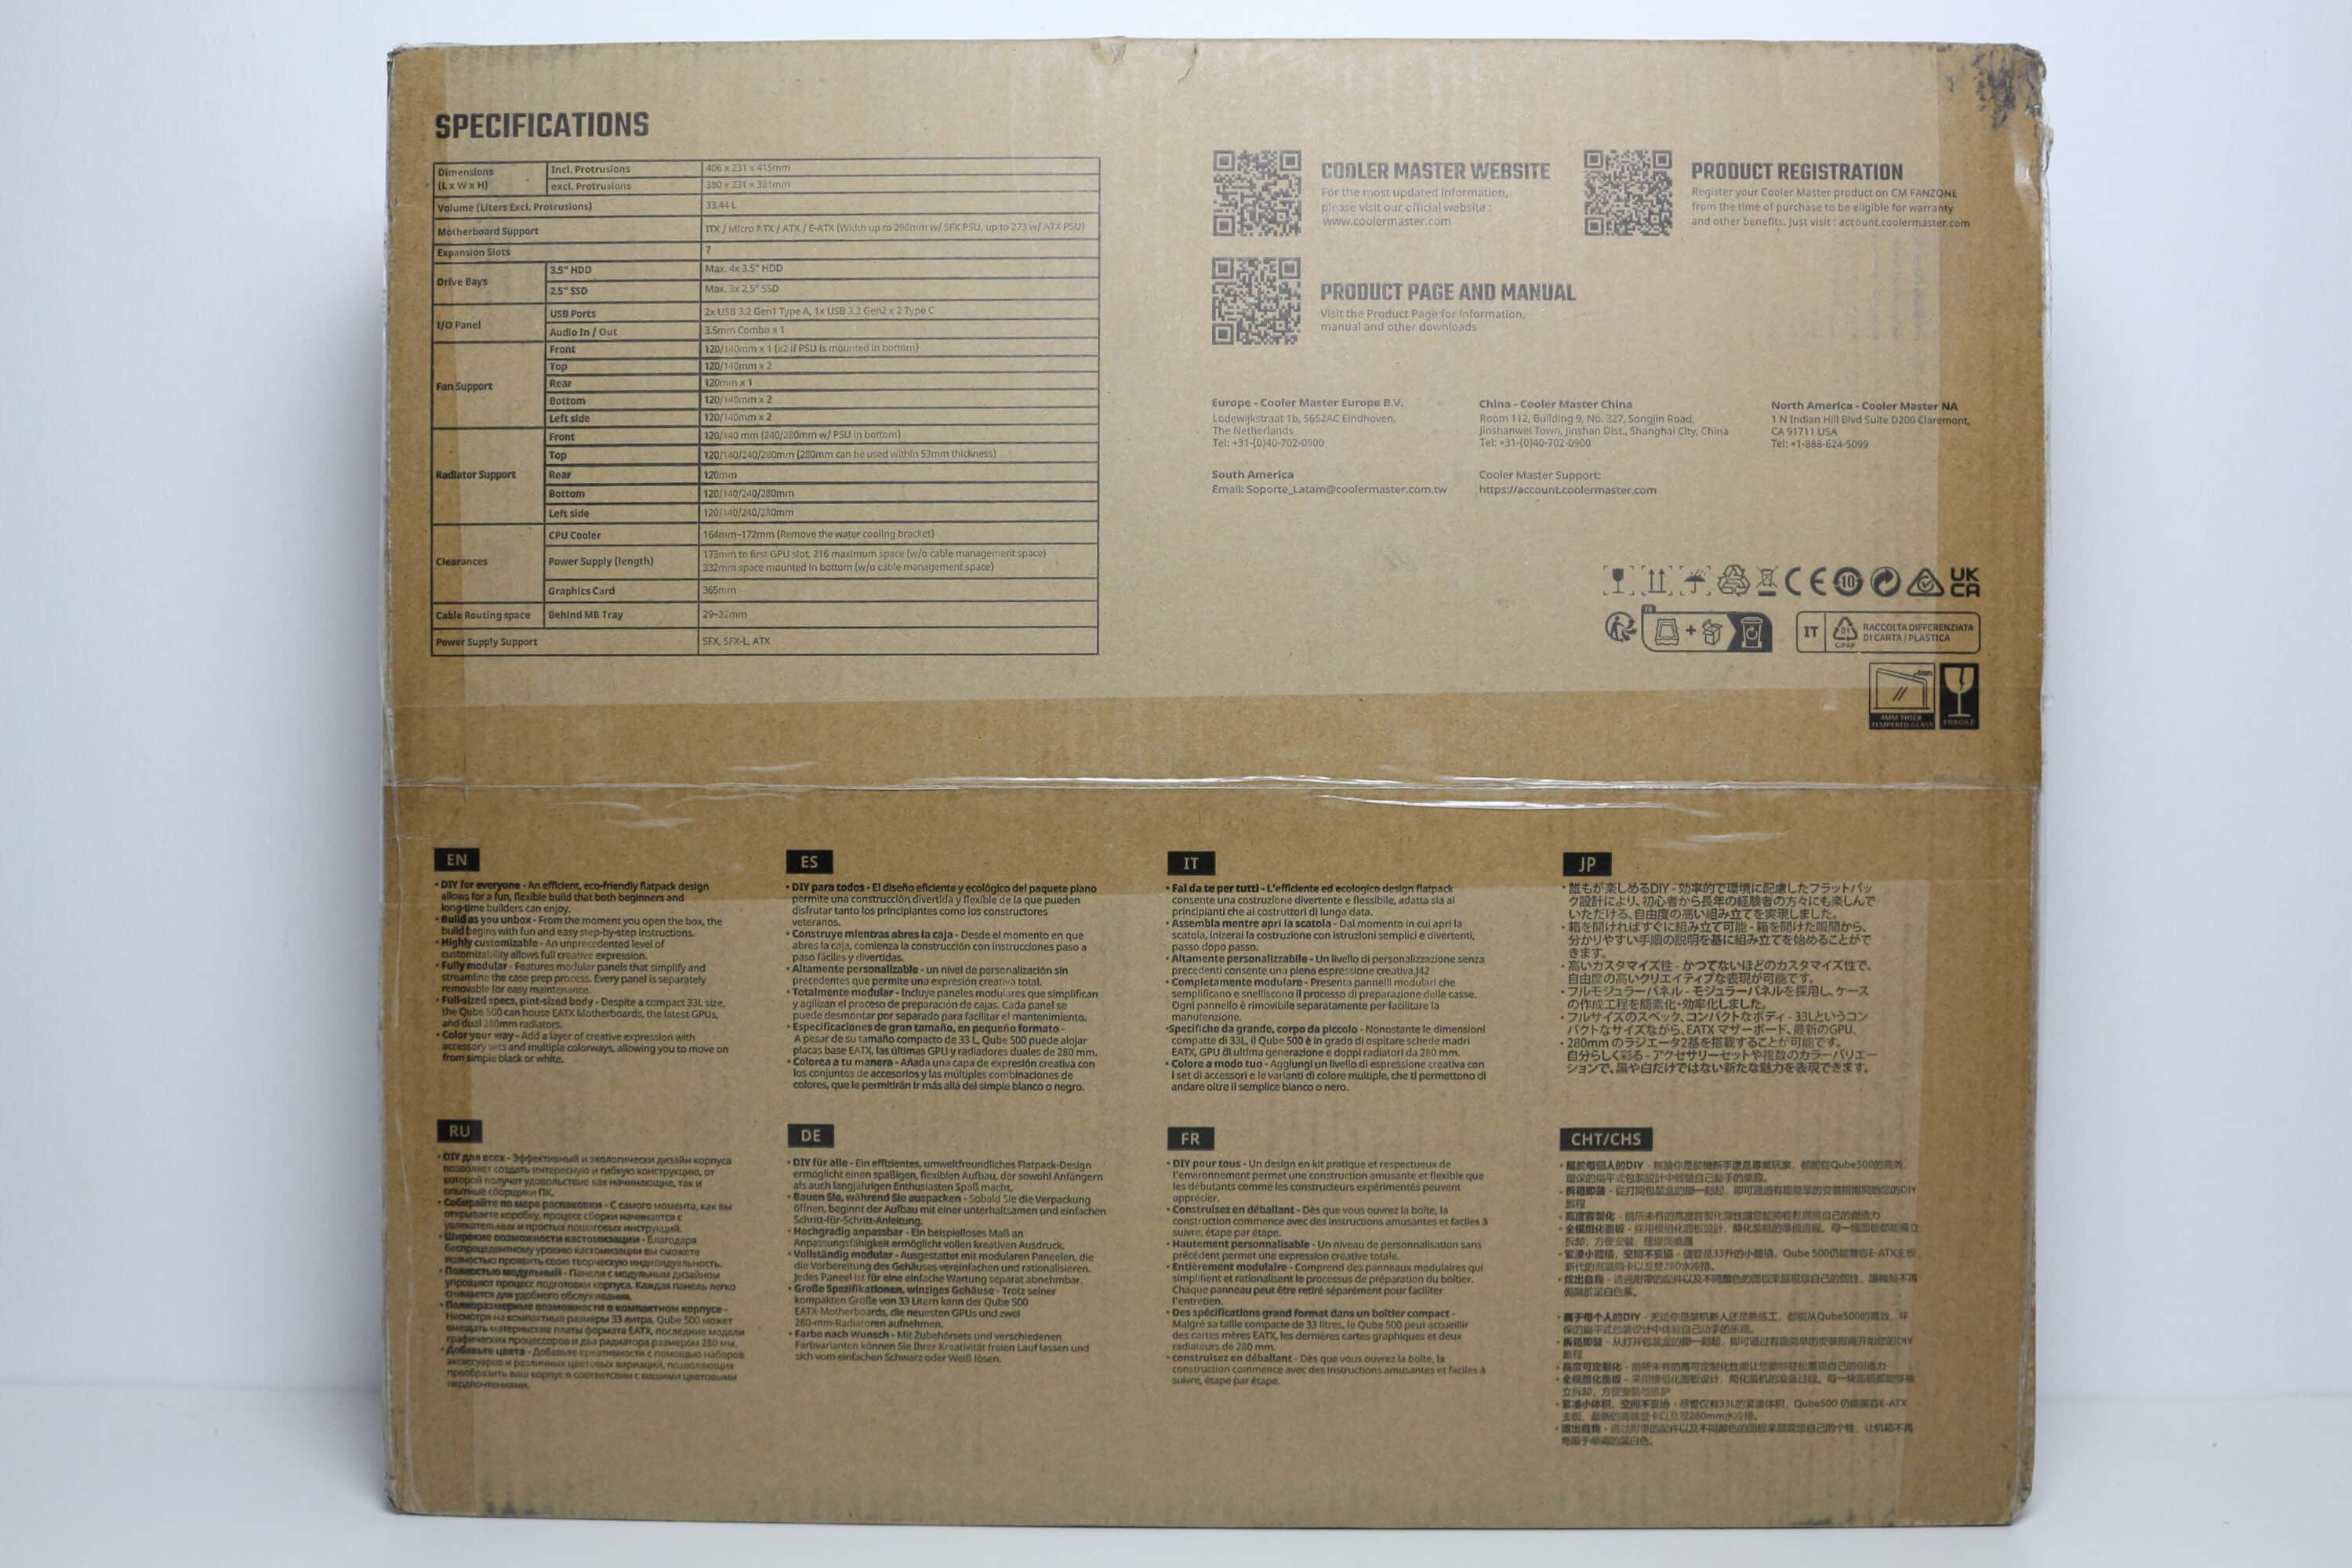
Technical details
| Model: | Cooler Master Qube 500 Flatpack |
| Case type: | ATX |
| Dimensions: | 231 mm (W) x 415 mm (H) x 406 mm (D) |
| Weight: | 7.8 kg |
| Material: | Steel, plastic, tempered glass |
| Color: | Black |
| Front connections: | 1x USB 3.1 Type-C, 2x USB 3.0 Type-A, 1x headphones, 1x microphone |
| Drive bays: | 3x 3,5″ 1x 3.5″ or 2x 2.5″ 1x 2,5″ |
| Expansion slots: | 7x horizontal |
| Form factors: | ATX, mATX, ITX |
| Ventilation: | Front: 2x 120/ 1x 140 mm Rear: 1x 120 mm (pre-installed) Top: 2x 120/140 mm Side: 2x 120 /140 mm Bottom: 2x 120 /140 mm |
| Radiators: | Front: 1x 120/140/240/280 mm (PSU at the bottom) Rear: 1x 120 mm Top: 1x 120/140/240/280 mm Side: 1x 120/140/240/280 mm Bottom: 1x 120/140/240/280 mm |
| Max. CPU cooler height: | 172 mm (without fan bracket), 164 mm (with fan bracket) |
| Max. Graphics card length: | 365 mm |
| Max. Power supply length: | 216 mm ((PSU top), 332 mm (PSU bottom)) |
| Space for cable management: | 29 to 32 mm |
| Price: | € 91.80 * |
| Special features: | Dust filter, cable management, tempered glass, two mounting positions for the power supply unit, fully modular/screwed case elements |

Cooler Master Qube 500 Flatpack: The scope of delivery
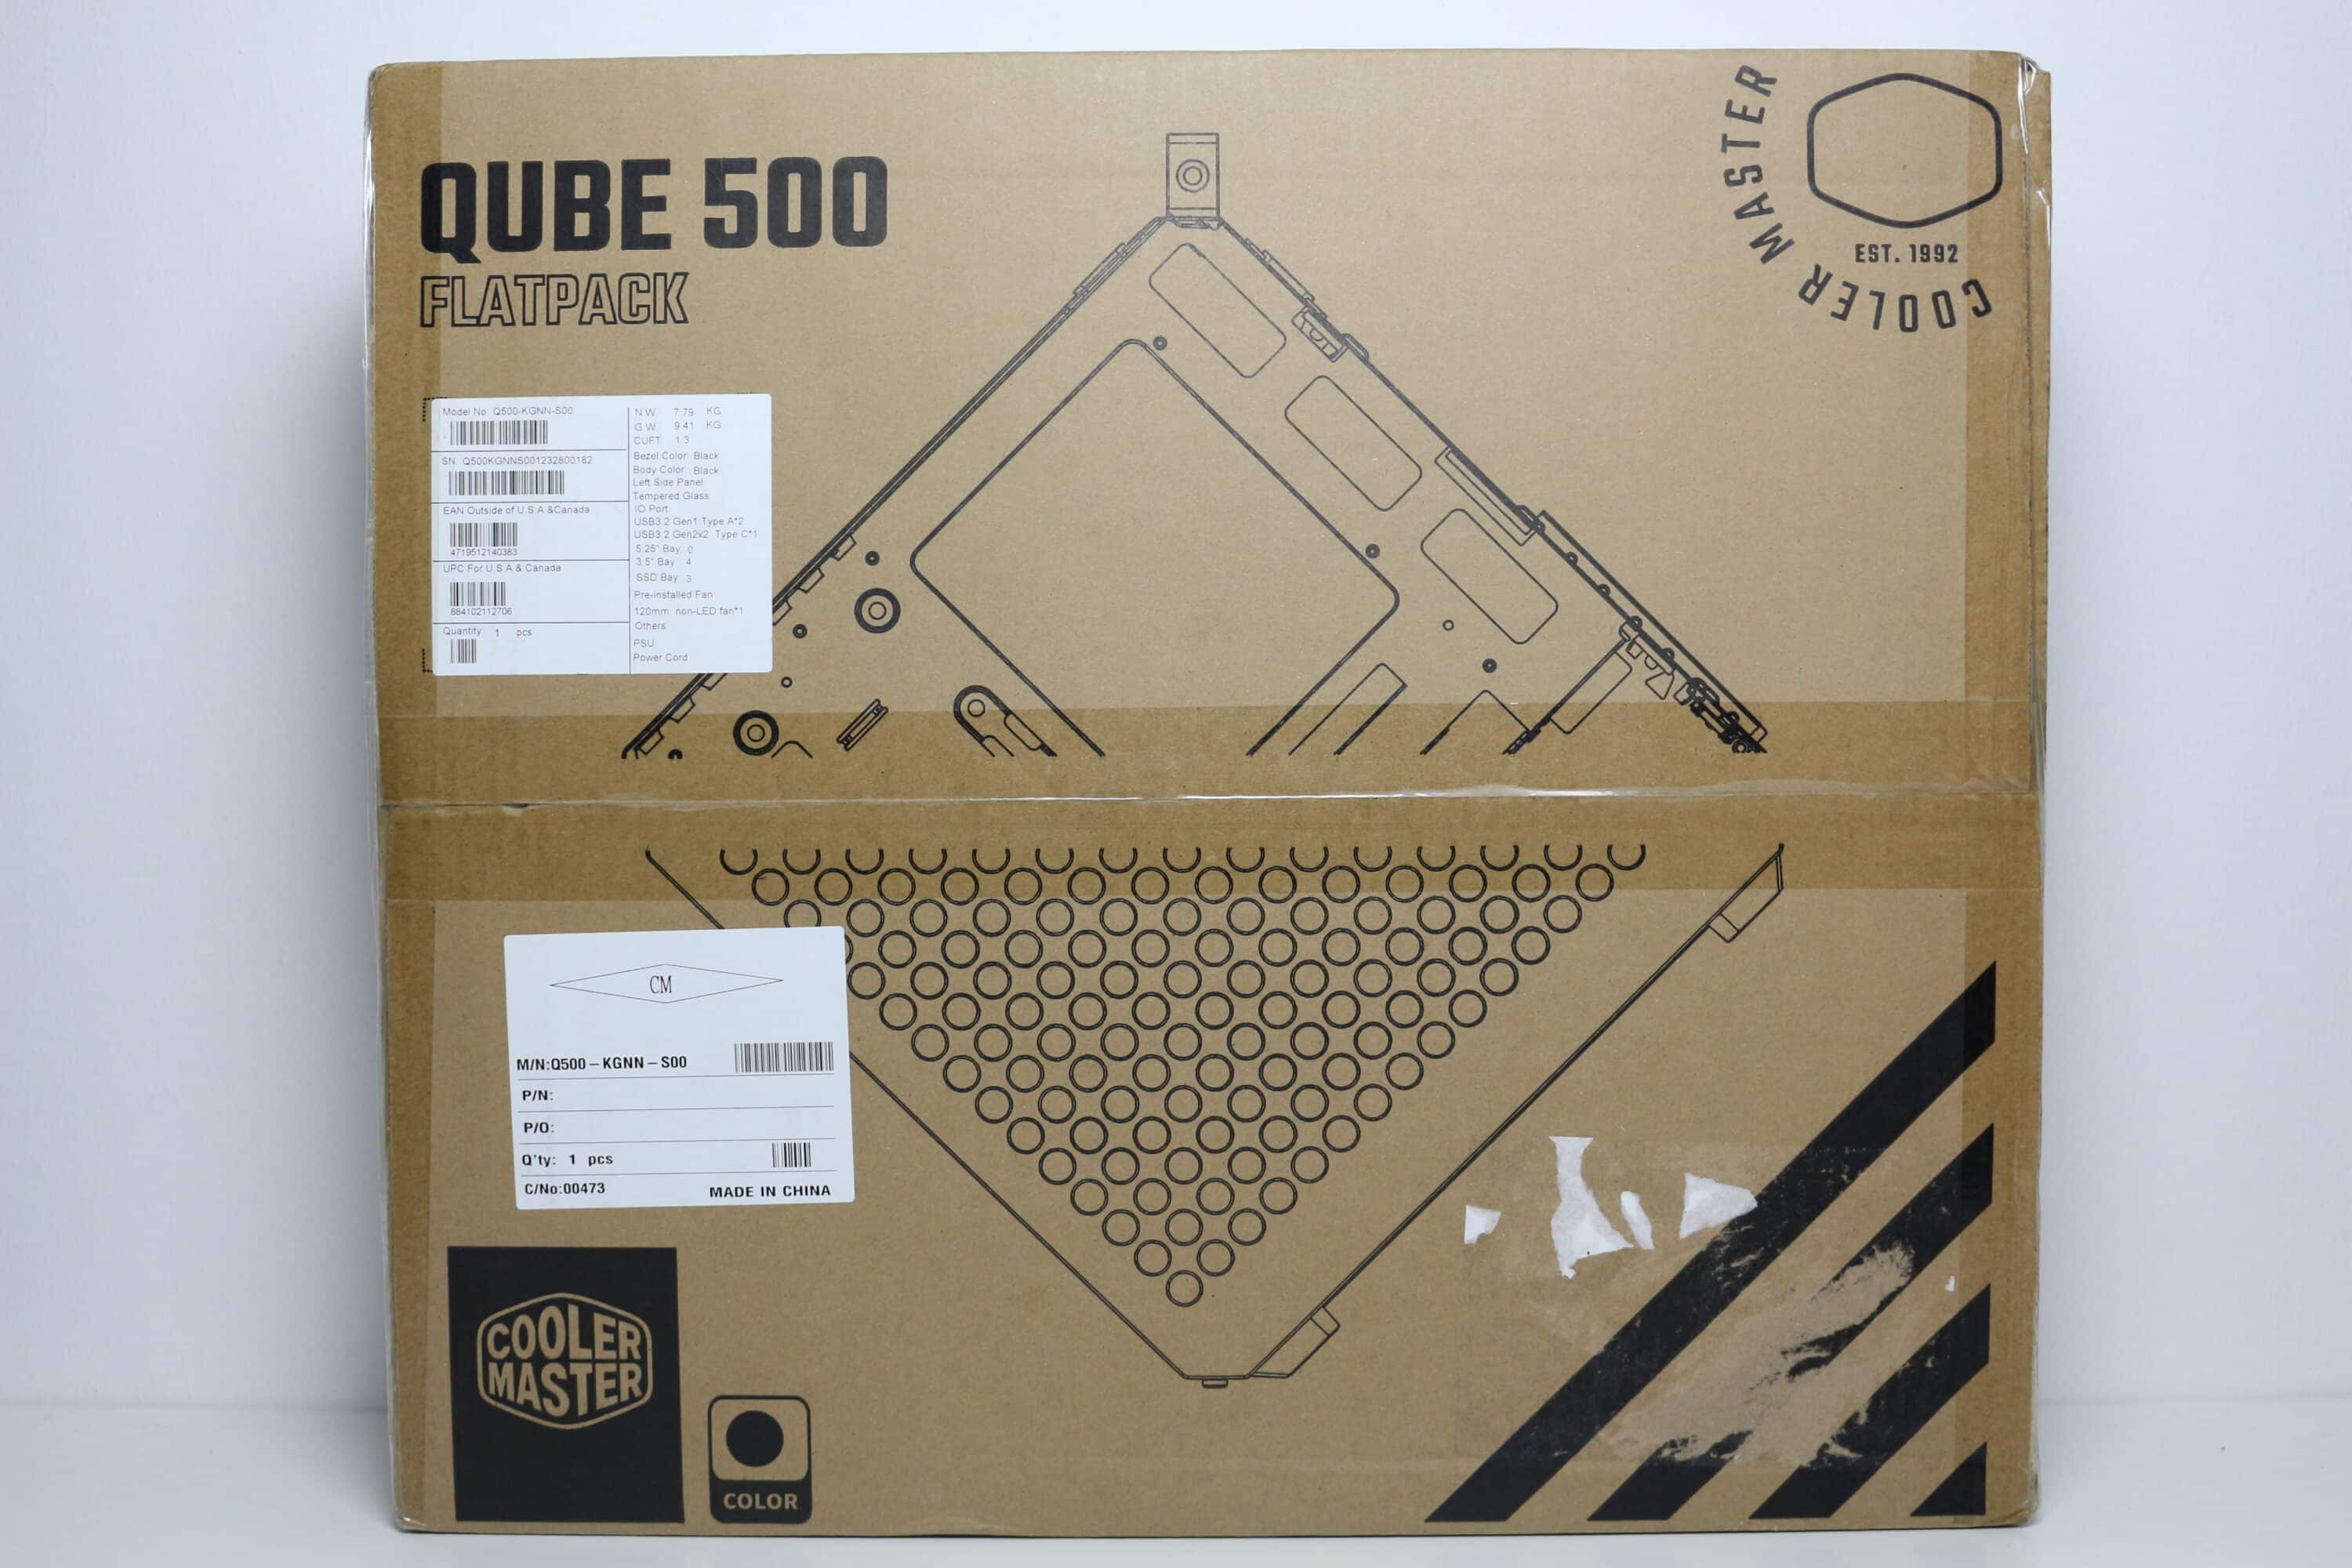
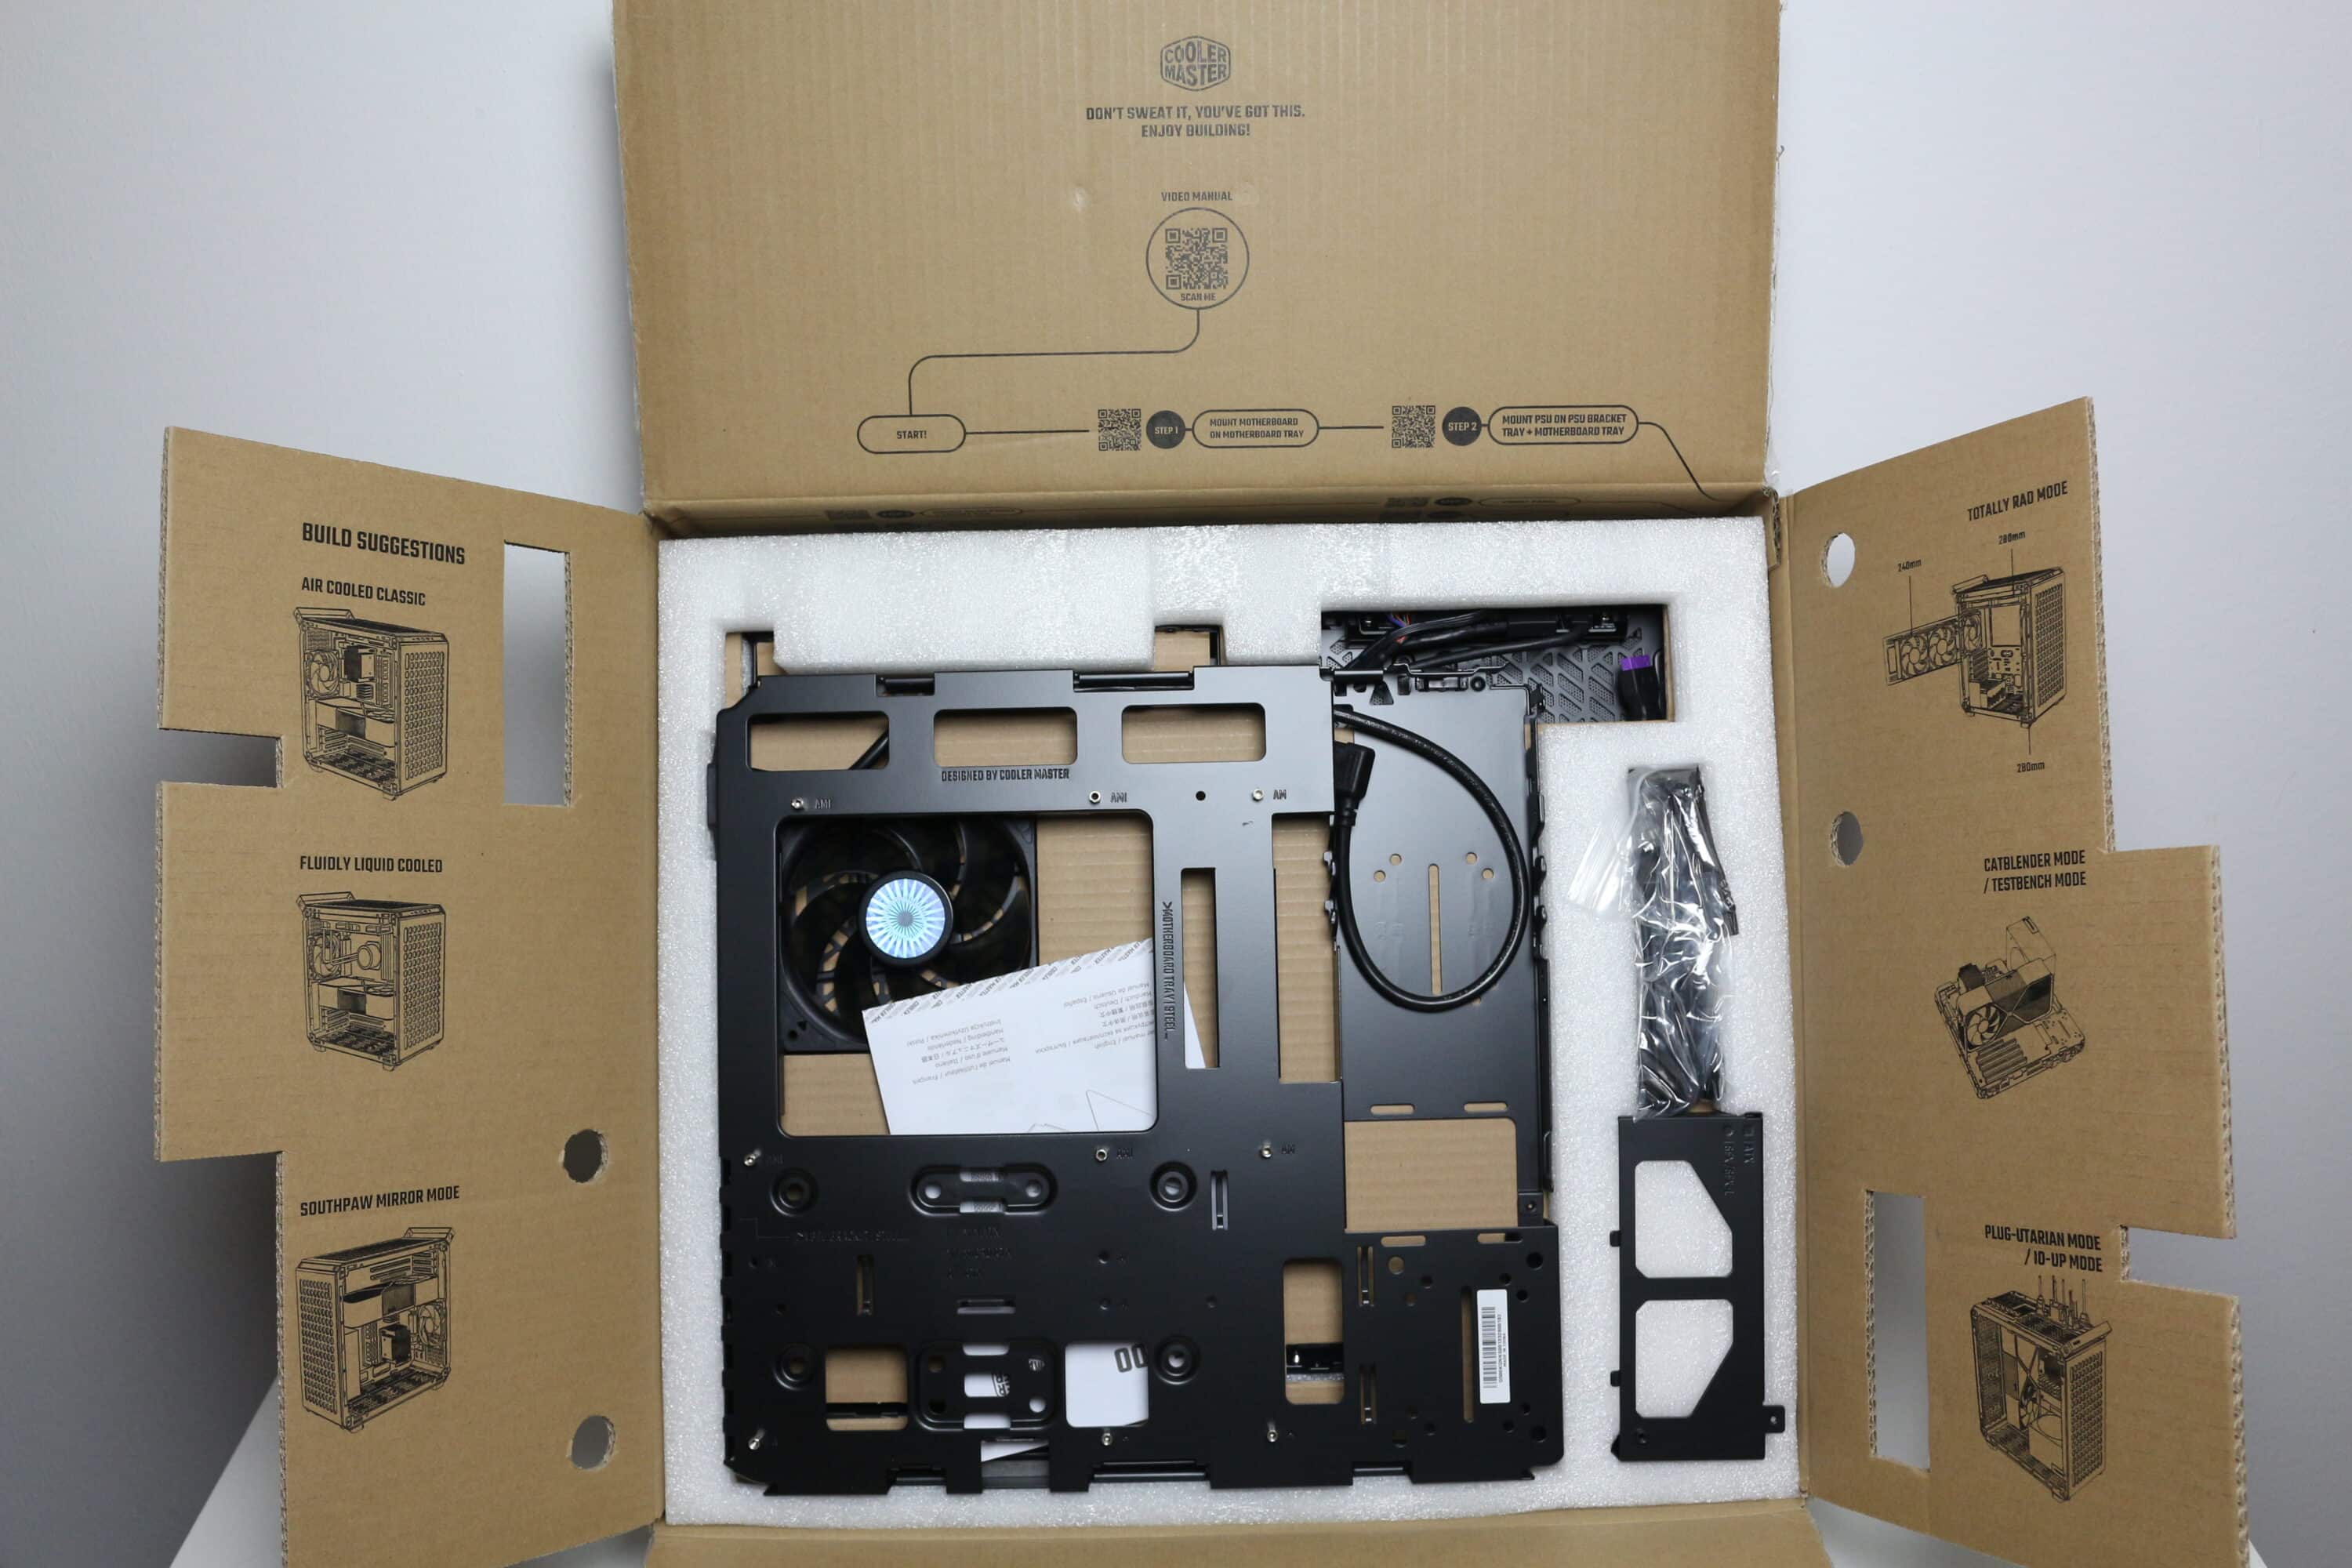
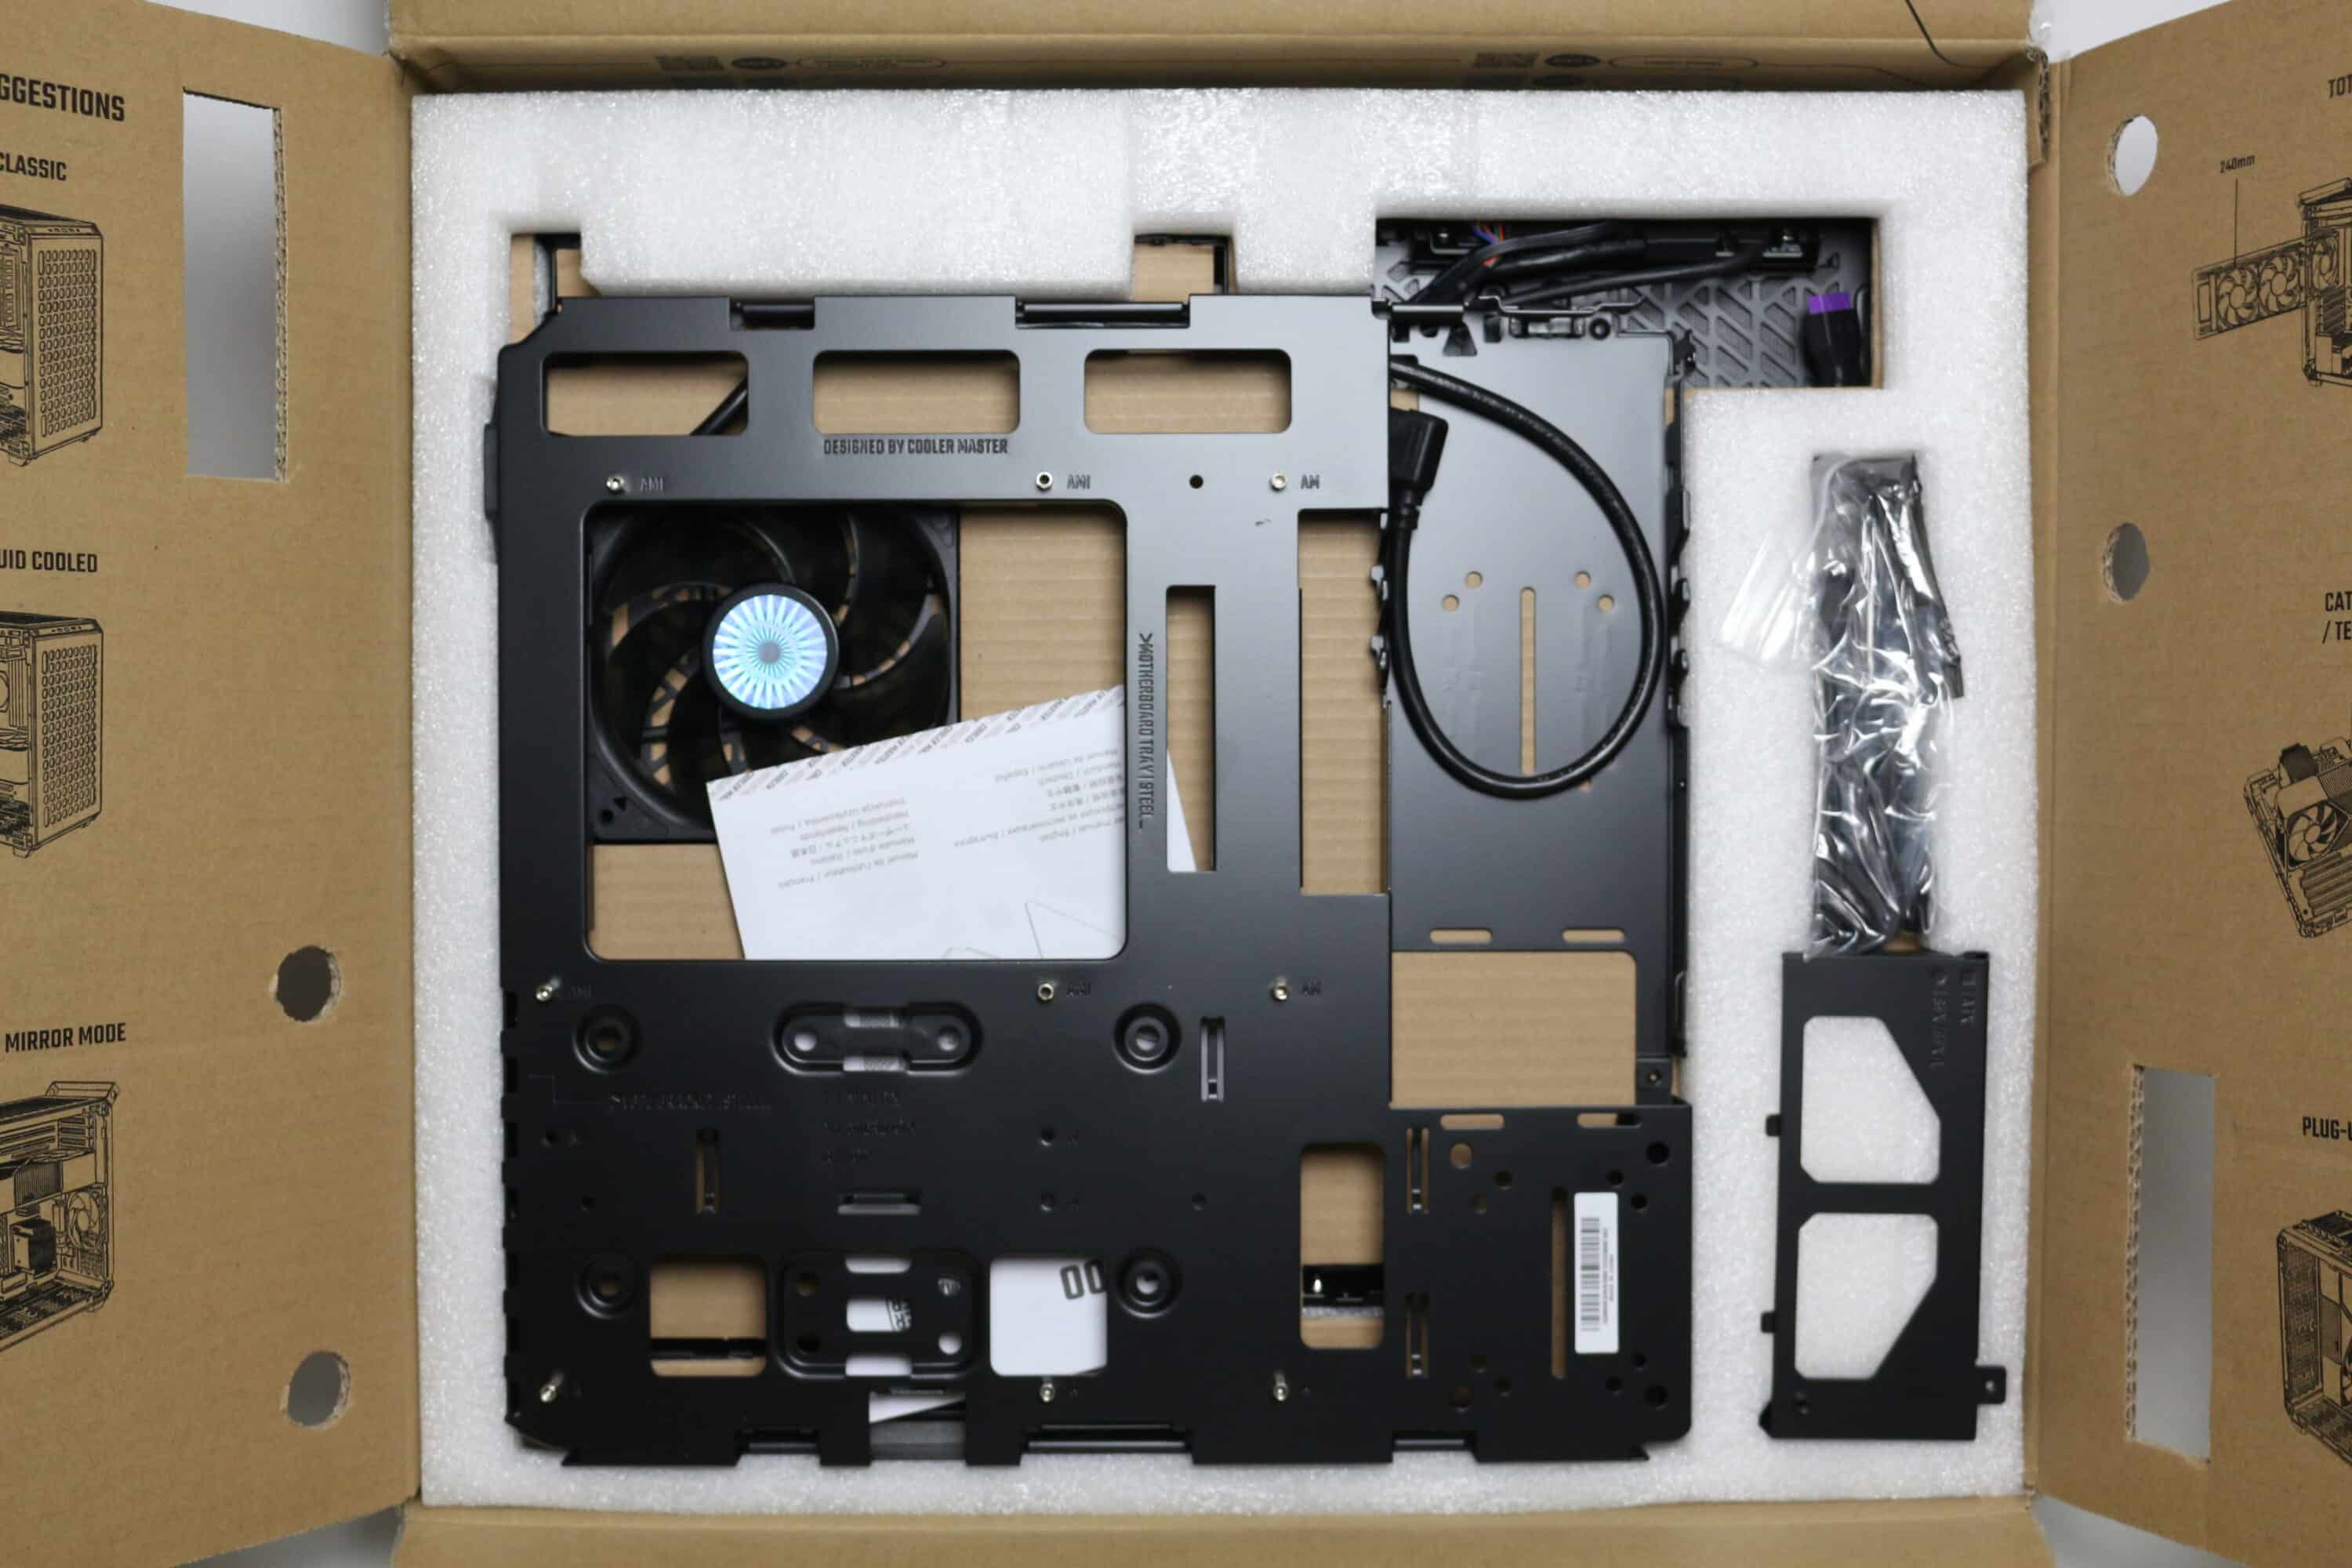
Cooler Master packs the Qube 500 Flatpack in a relatively small, flat box made of brown cardboard. Some drawings and component illustrations of the midi tower and a list of the technical data and most important features are printed in black on the cardboard. If you open the top flaps, you are greeted directly by the mainboard tray. Cooler Master also prints the possible layouts of the Qube 500 on the inside of the flaps.
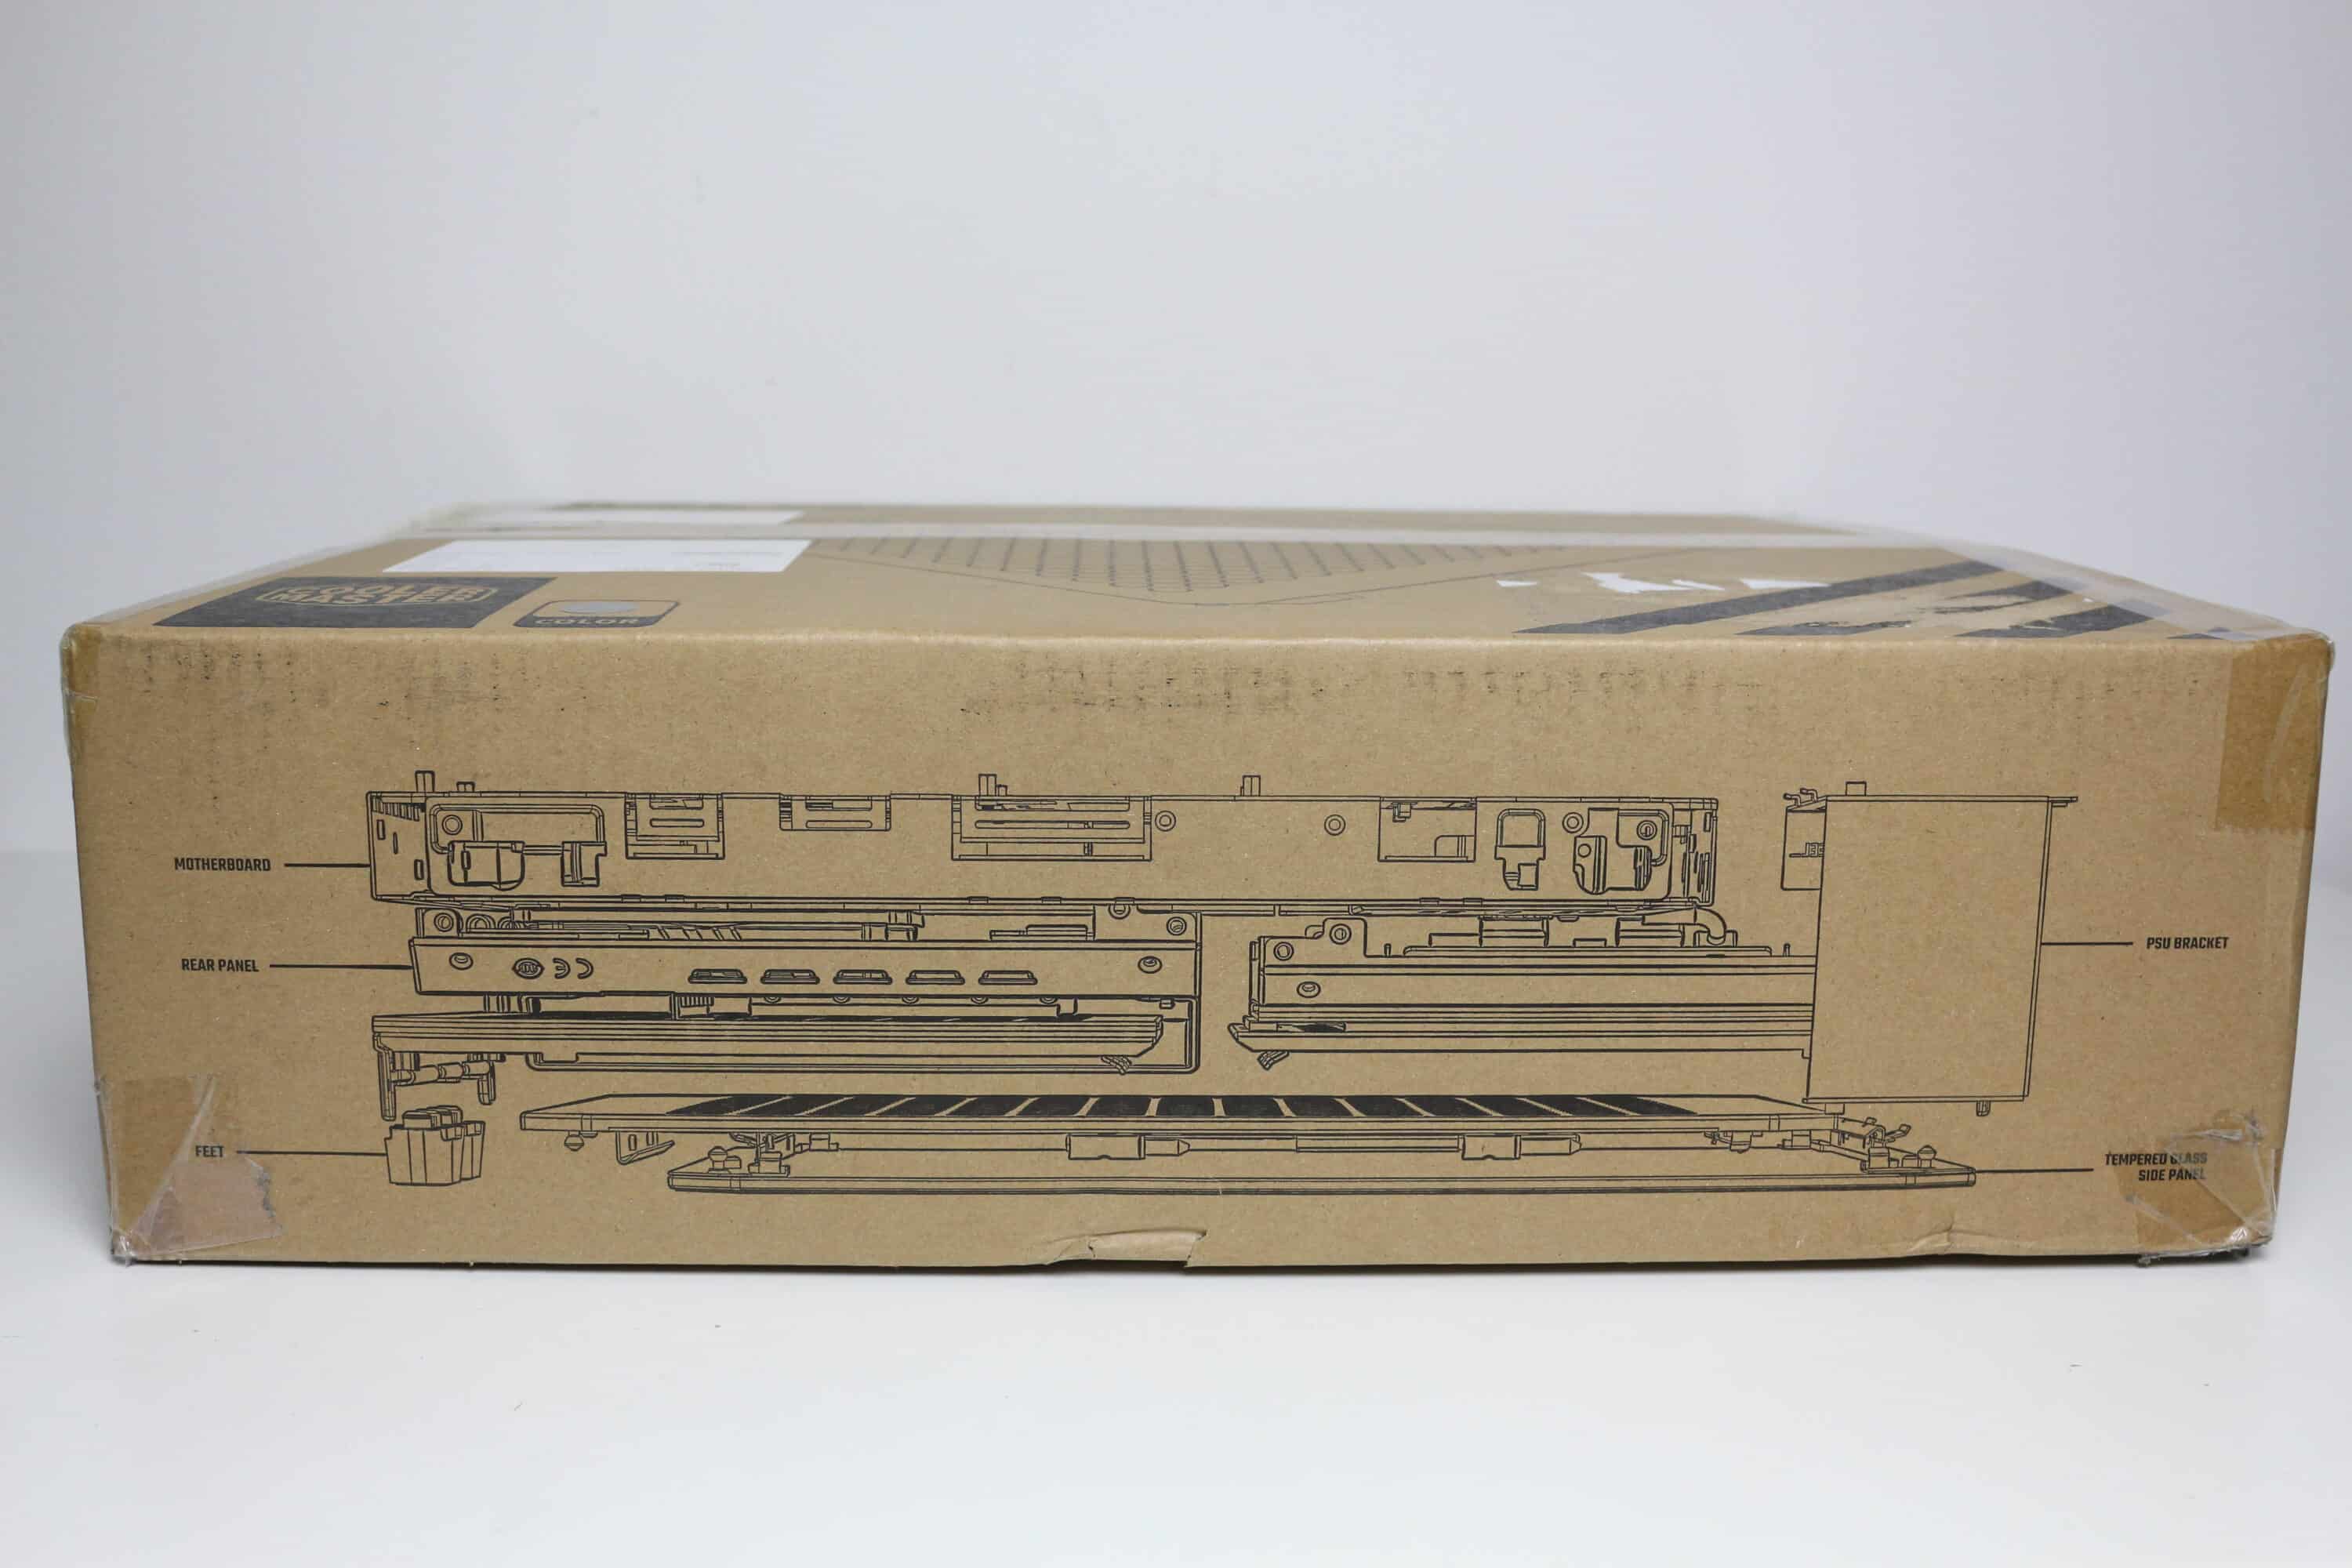
Inside the box, all housing elements are wrapped in cardboard or soft polystyrene in the correct assembly sequence. Each component has its place, cannot slip and therefore cannot scratch other components. There is a QR code on the side of the box on each level, which leads to instructions for the next assembly step of the Midi-Tower. The entire contents of the packaging are listed below.
– Housing front component
– Housing back component
– Housing cover component incl. I/O panel
– Housing base component
– side fan or radiator frame
– right side panel (steel)
– left side panel (tempered glass)
– Mounting frame Power supply unit
– Mounting material (screws, spacers, cable ties, rubber rings etc.)
– 4x case feet
– 4x dust filters
– 1x cable guide
– 1x carrying handle
– Assembly instructions

Cooler Master advertises that 45% of the packaging could be saved due to the unassembled case elements. As a result, more cases fit on one pallet, which should reduce the overall CO2 footprint of the product.
External impression
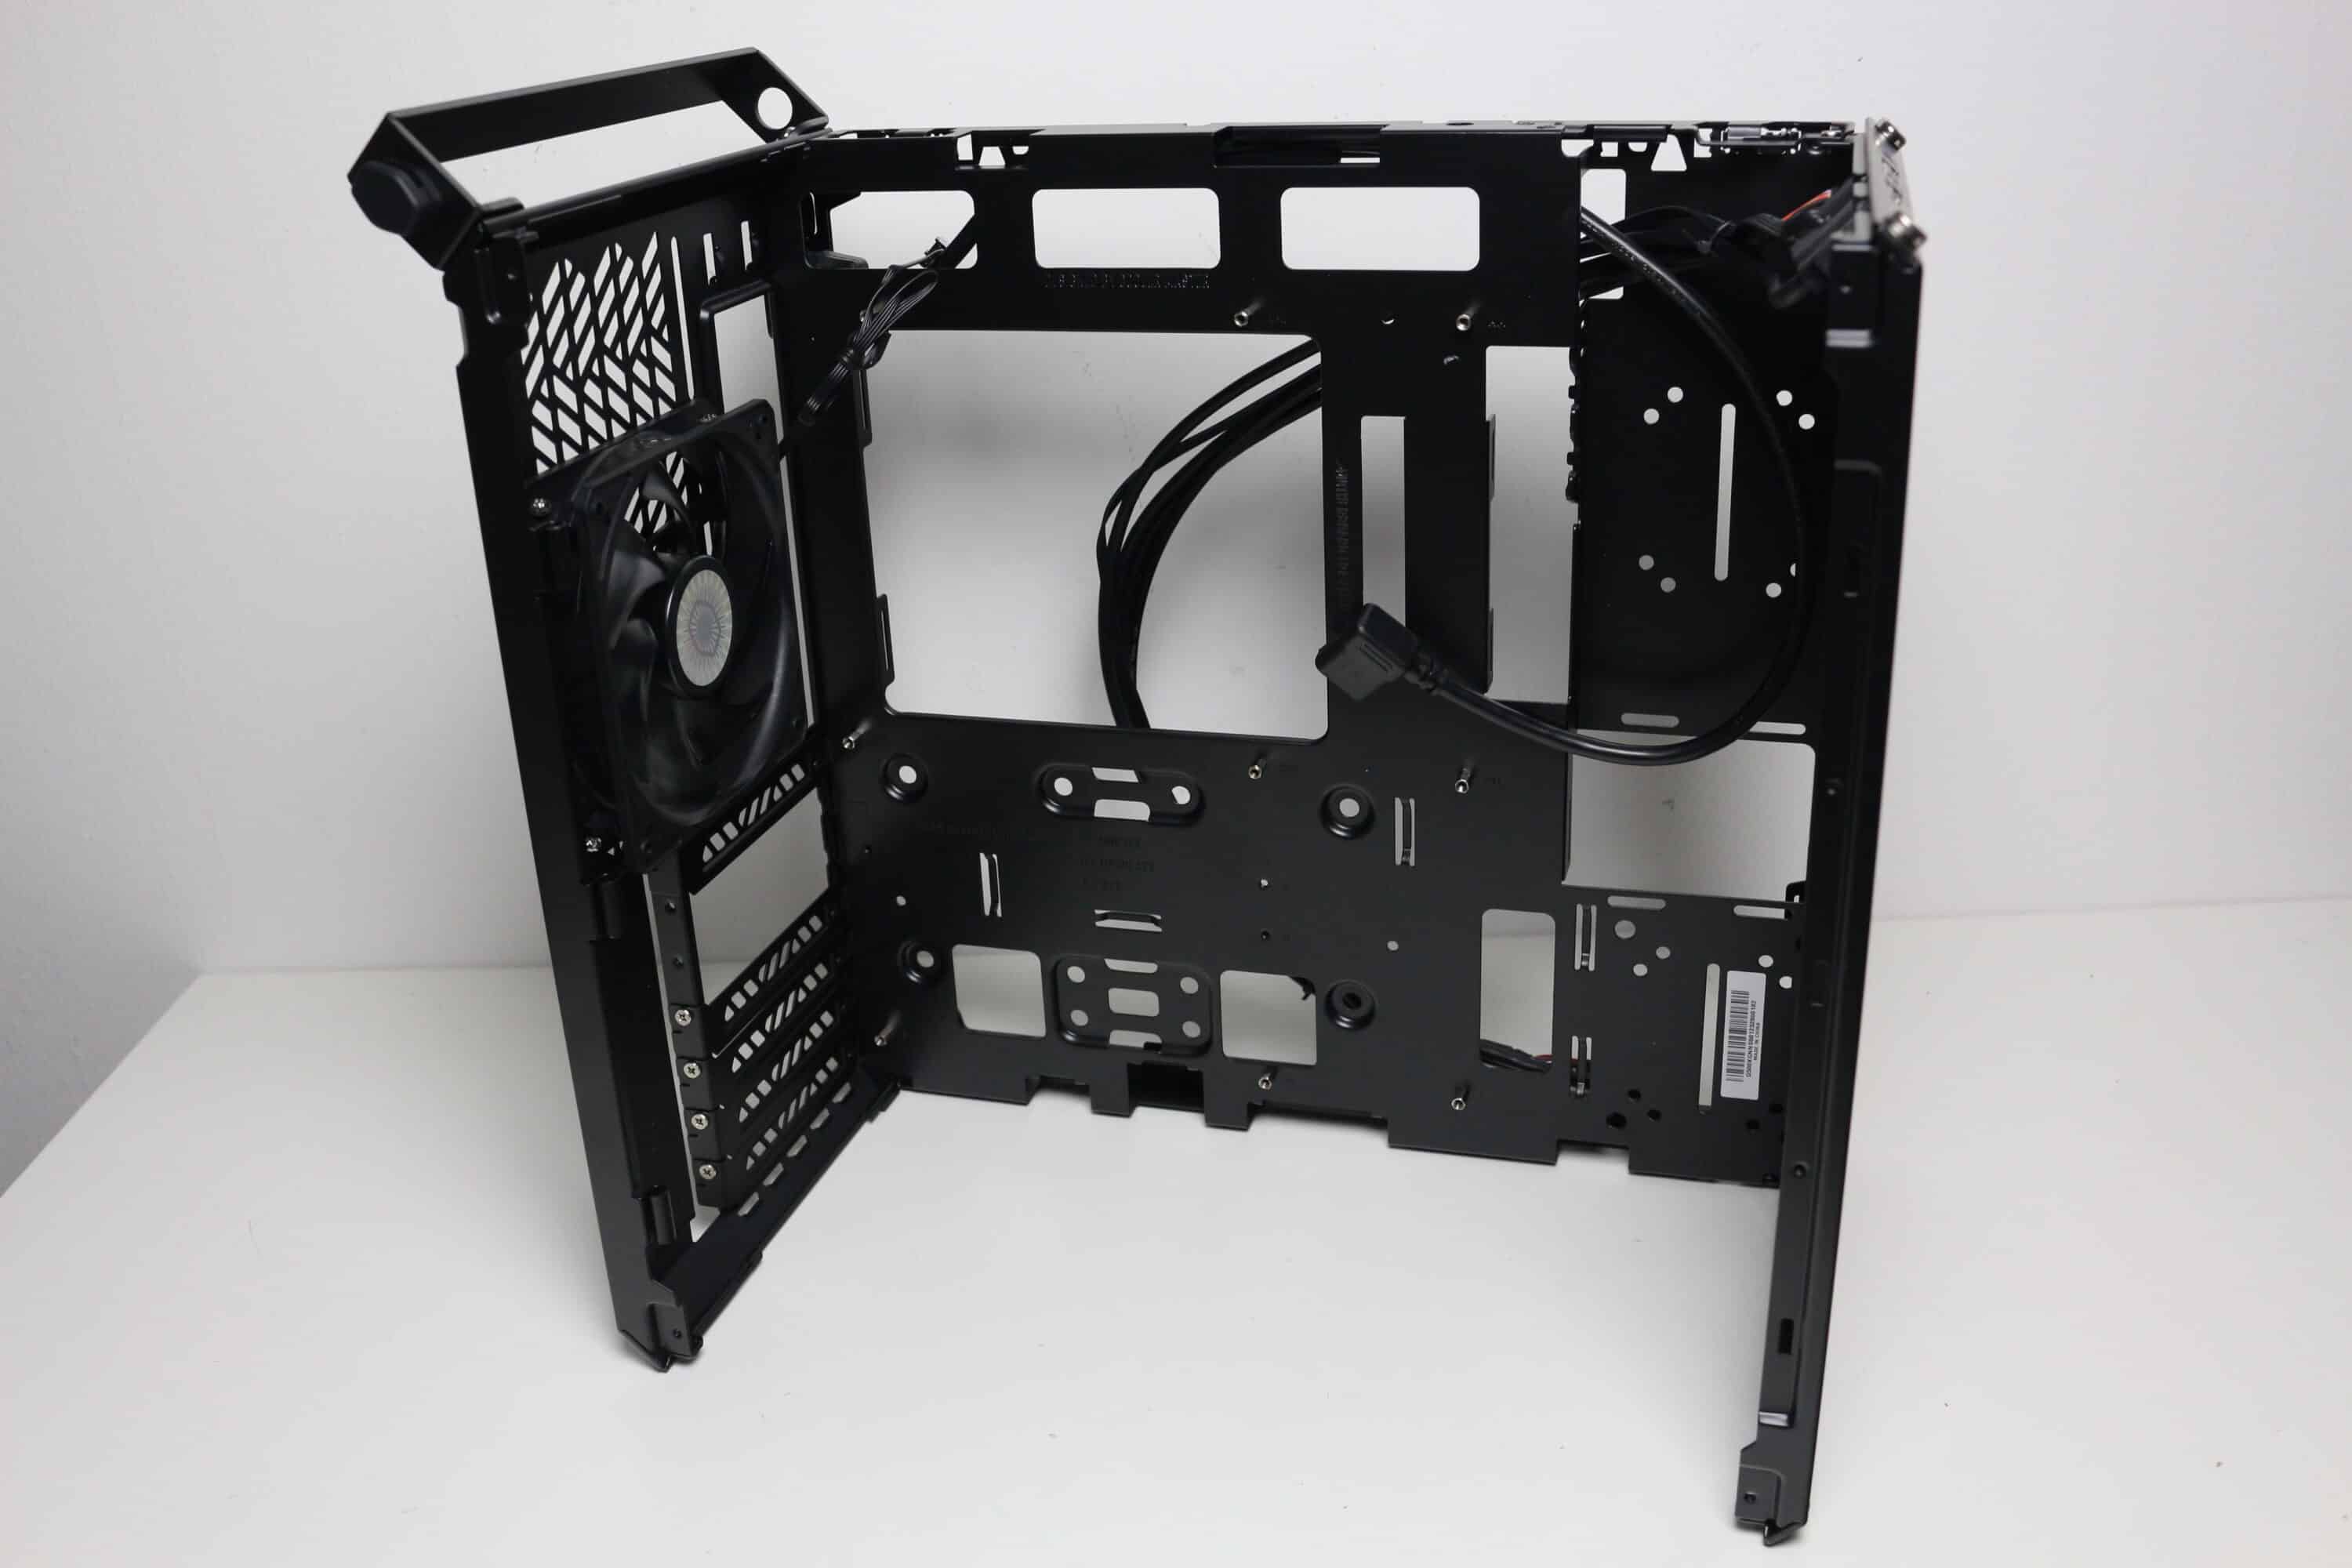
In the assembly instructions provided, Cooler Master stipulates that the components are assembled one by one together with the case elements. However, as we will only be looking at the case in the next two chapters, we fully assembled the Qube 500 Flatpack first and then installed the components.
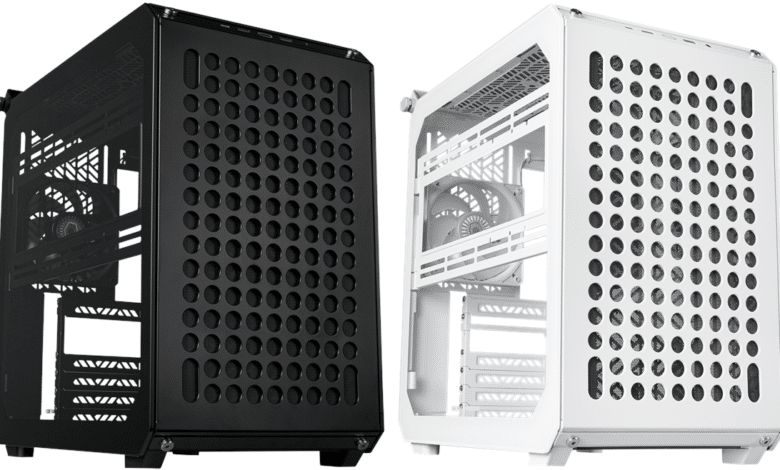
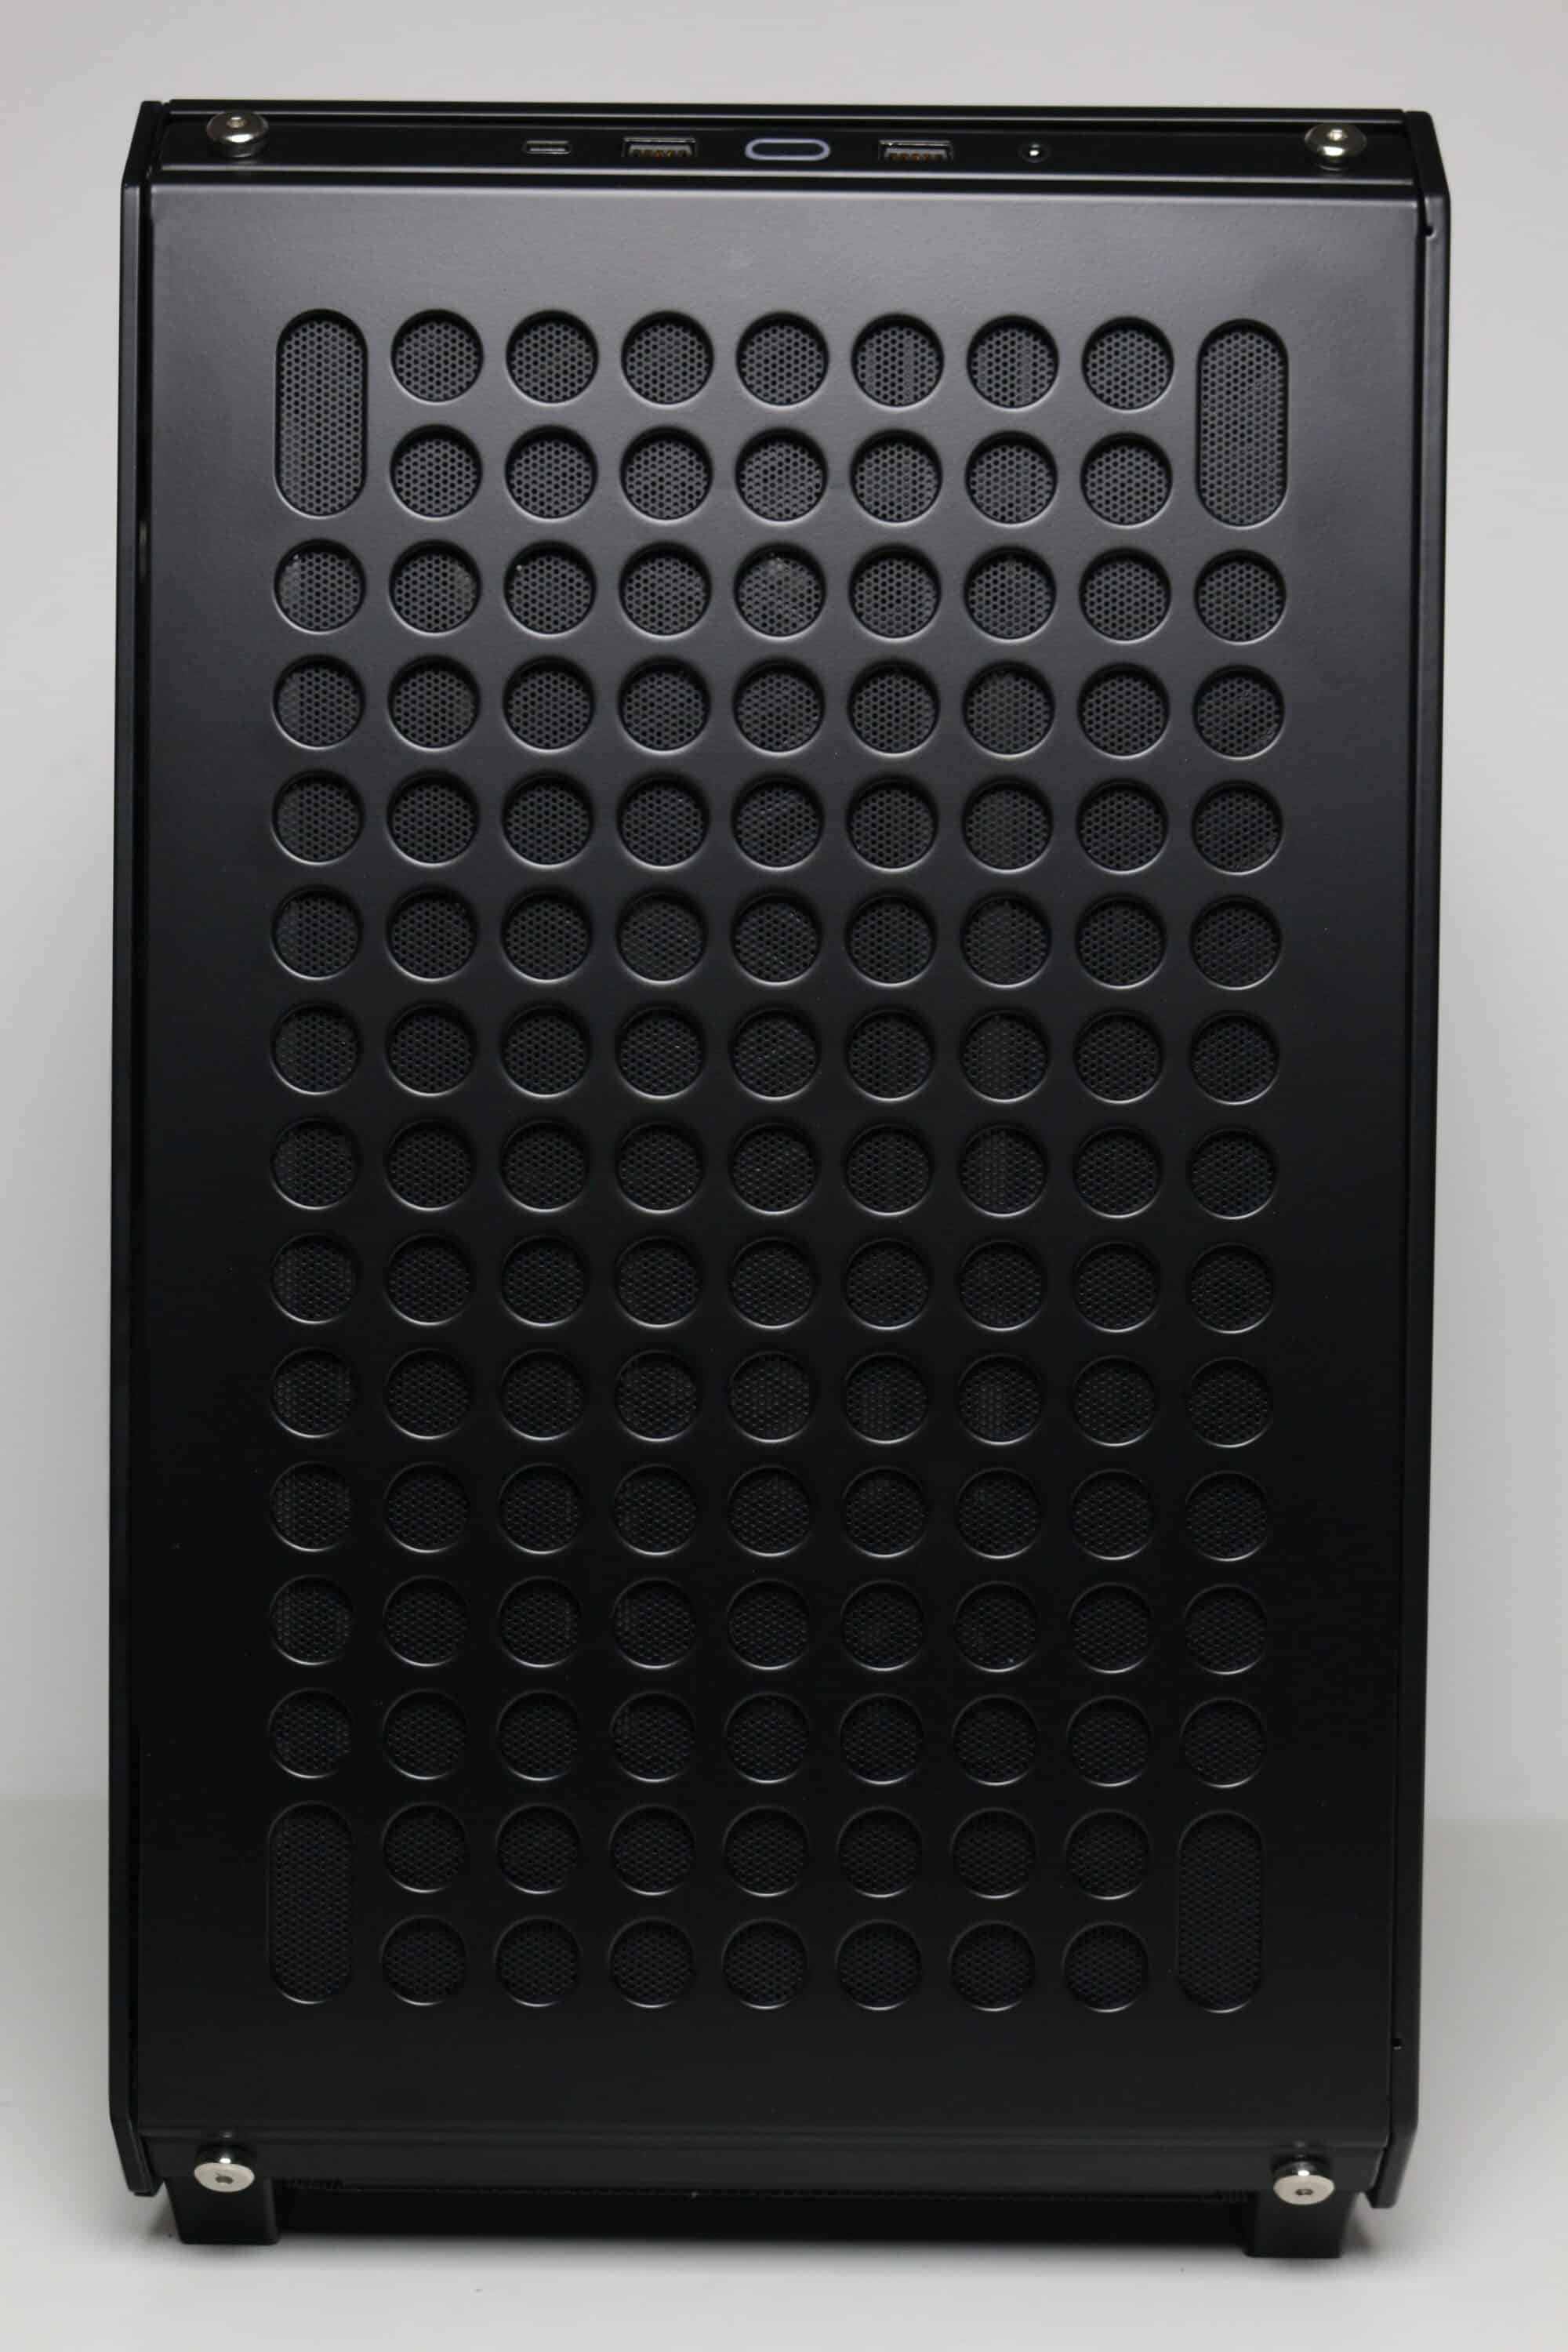
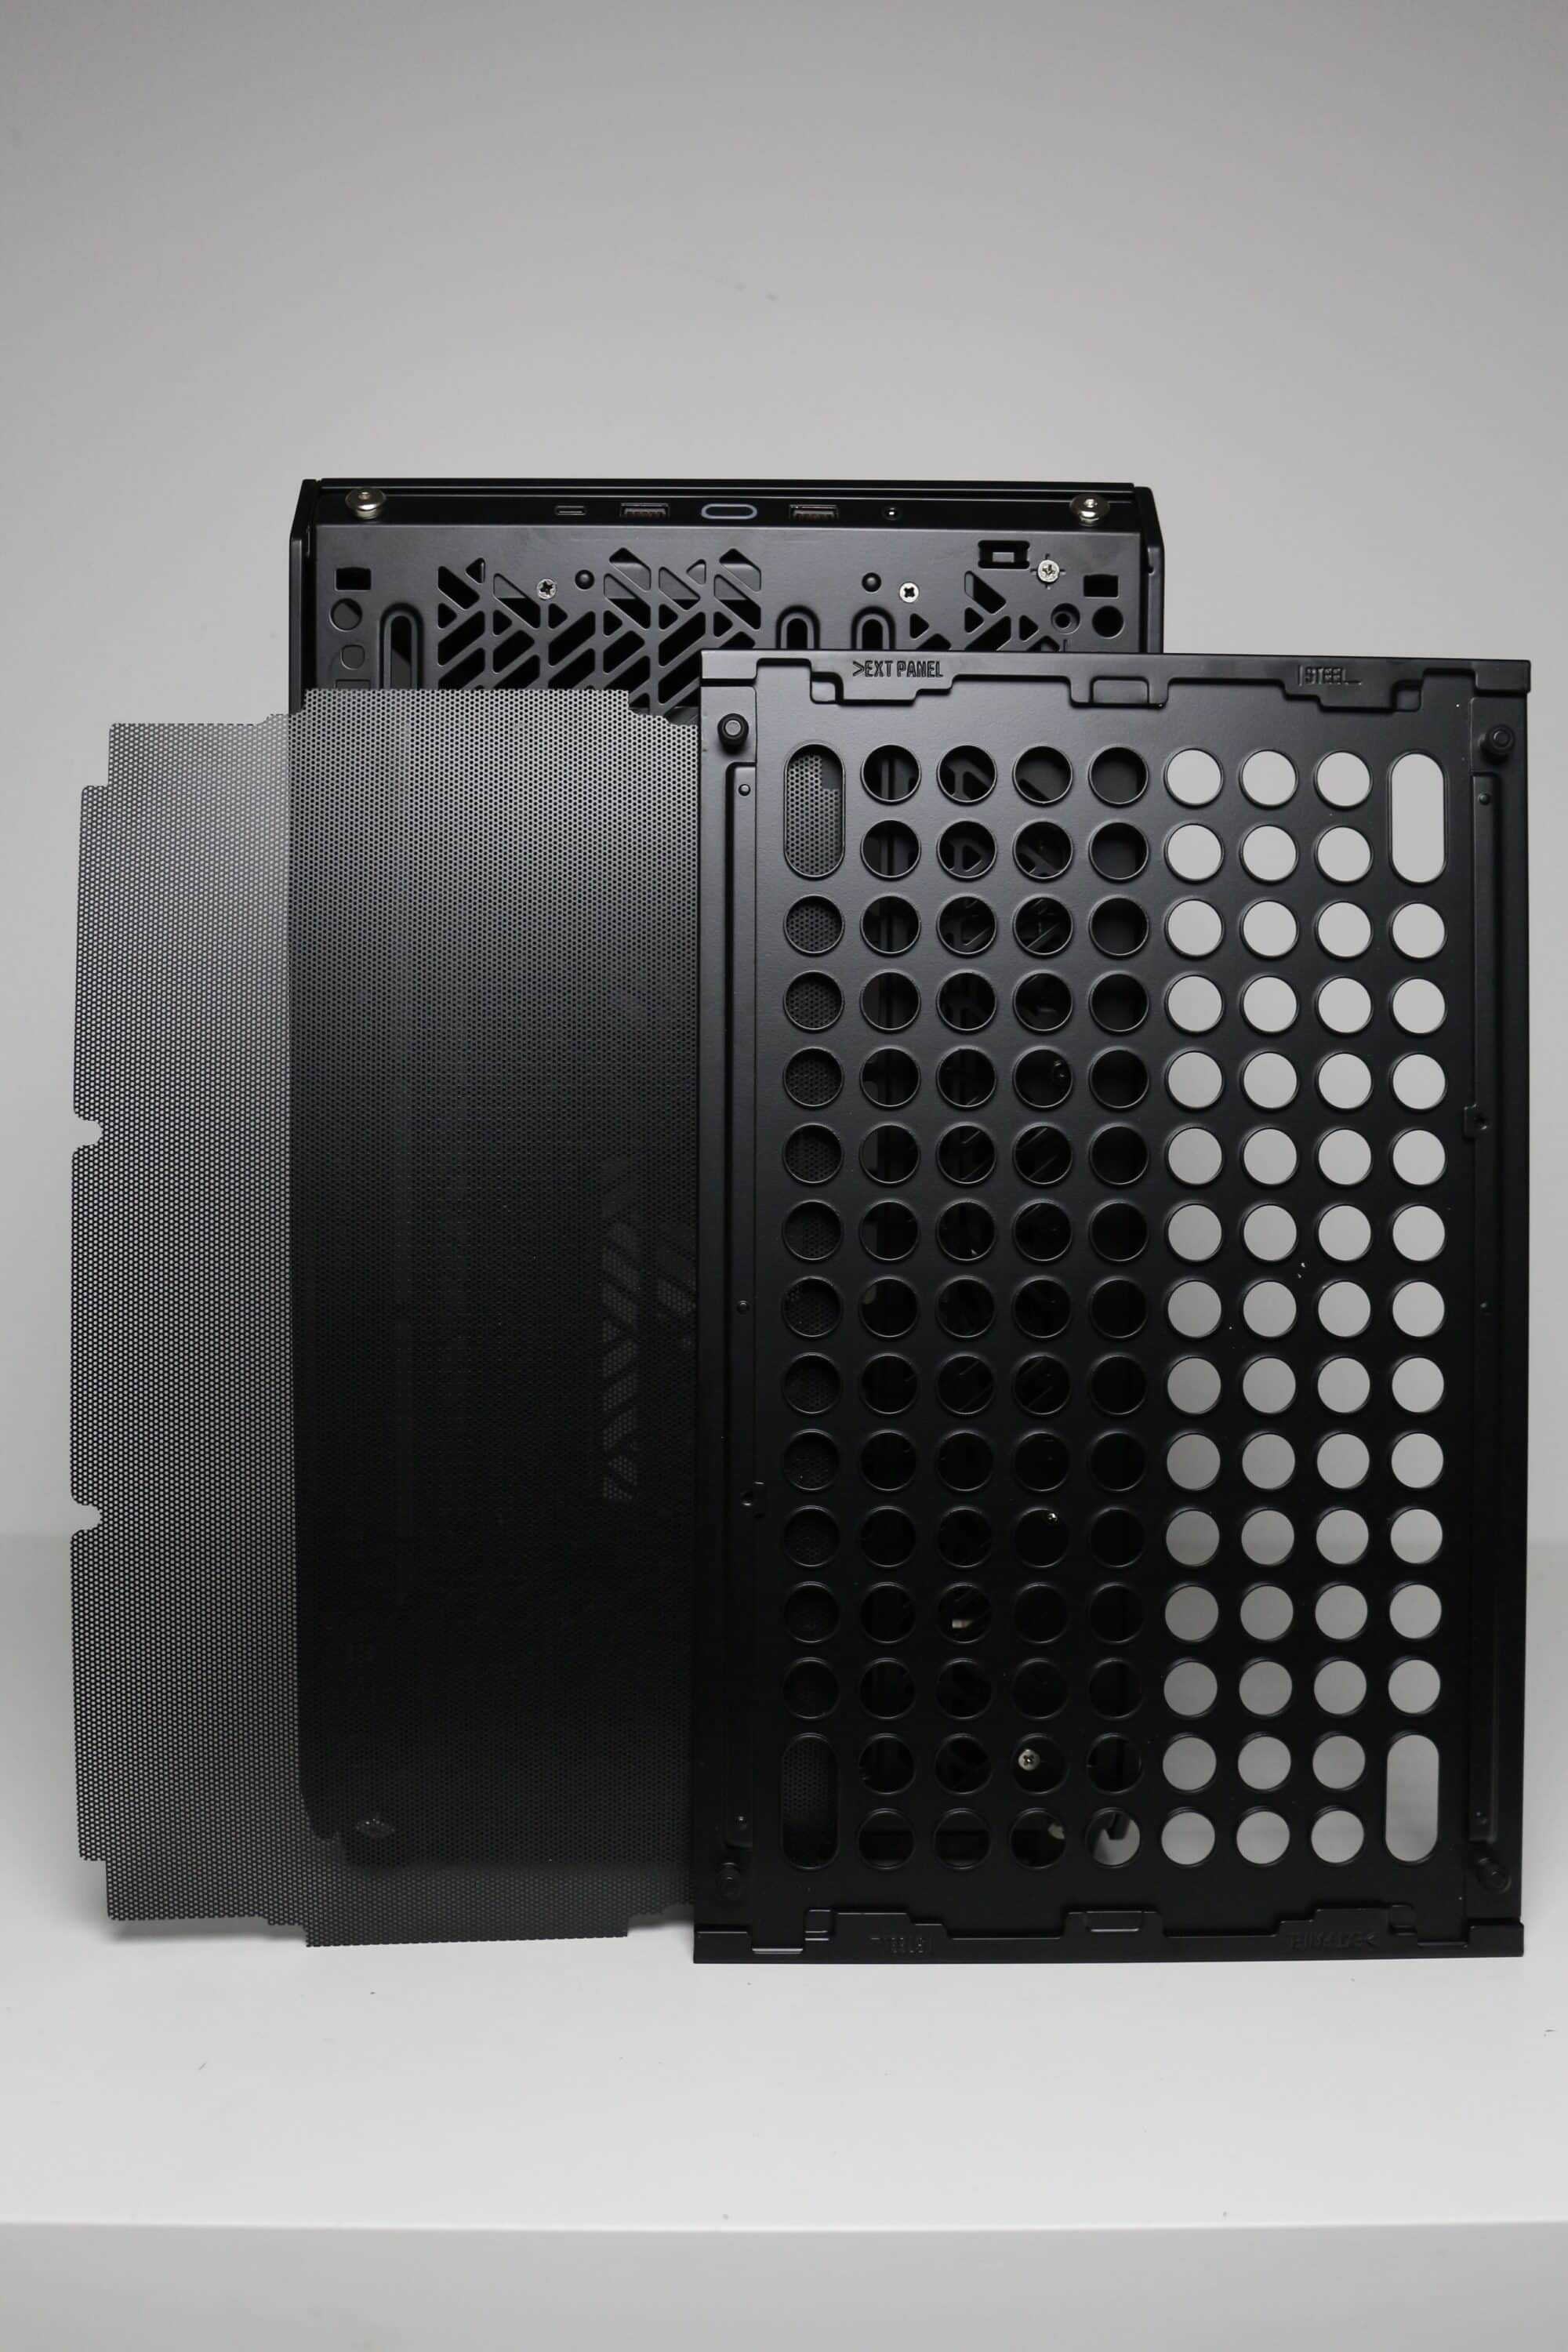
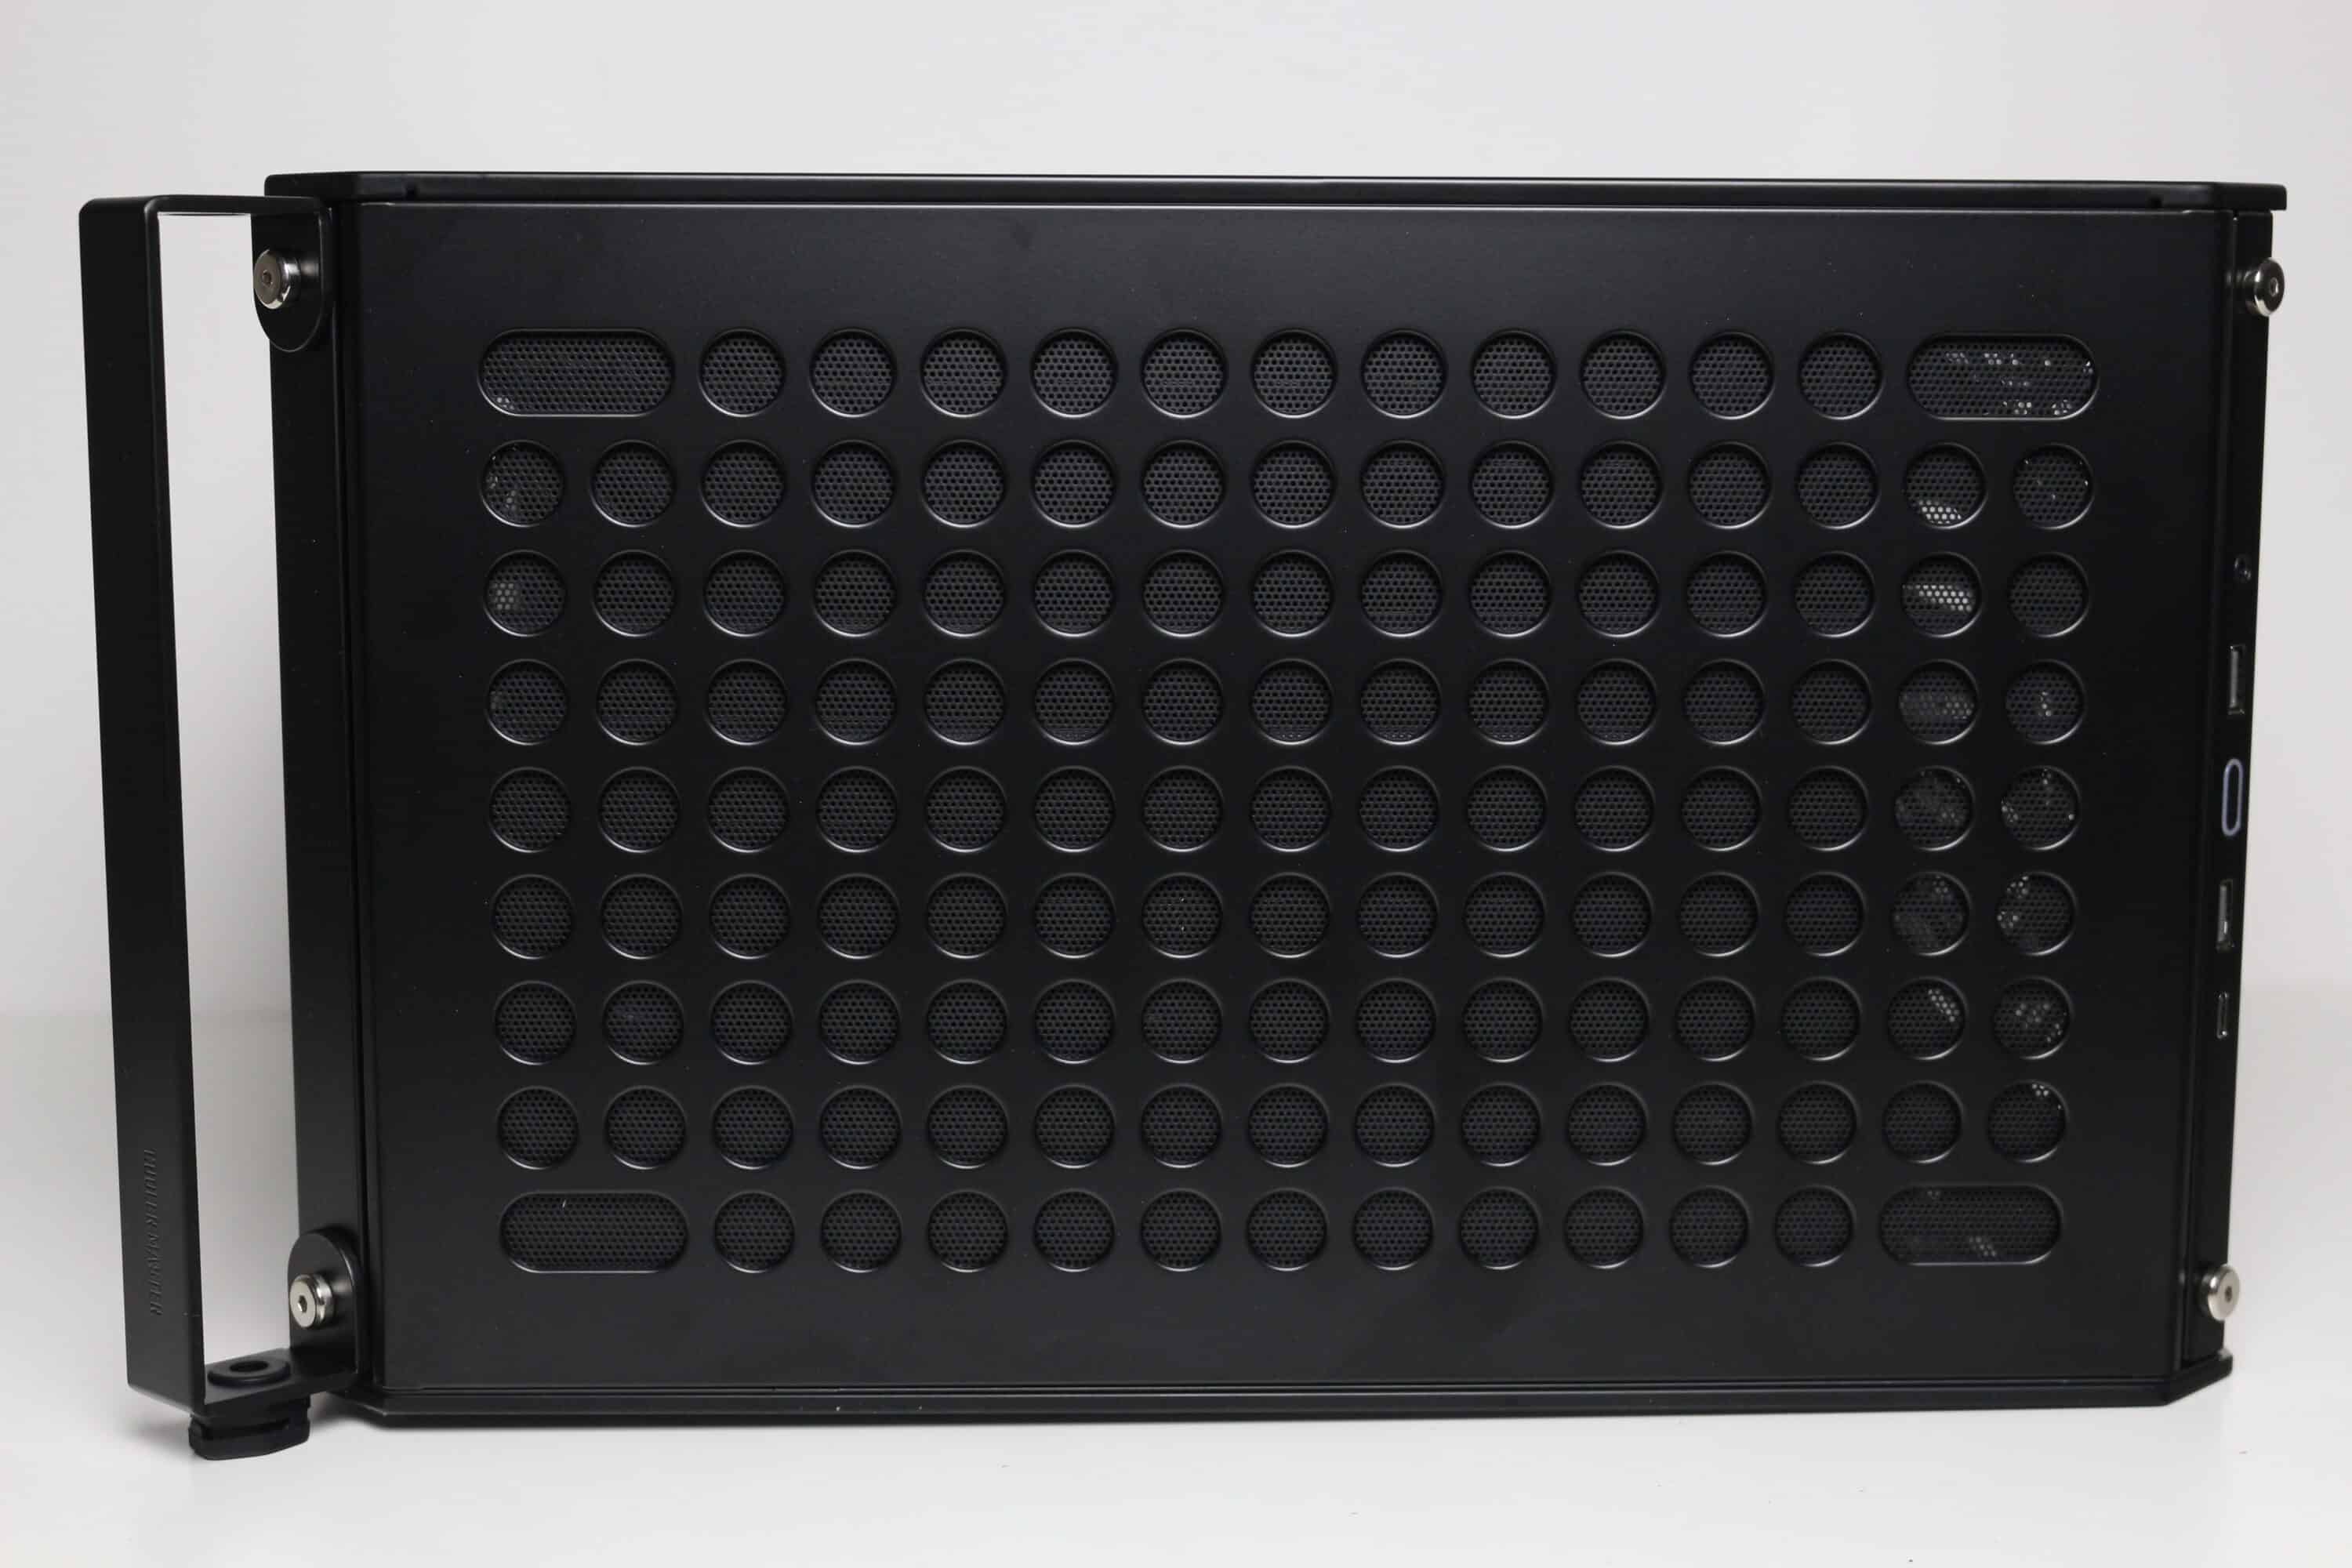
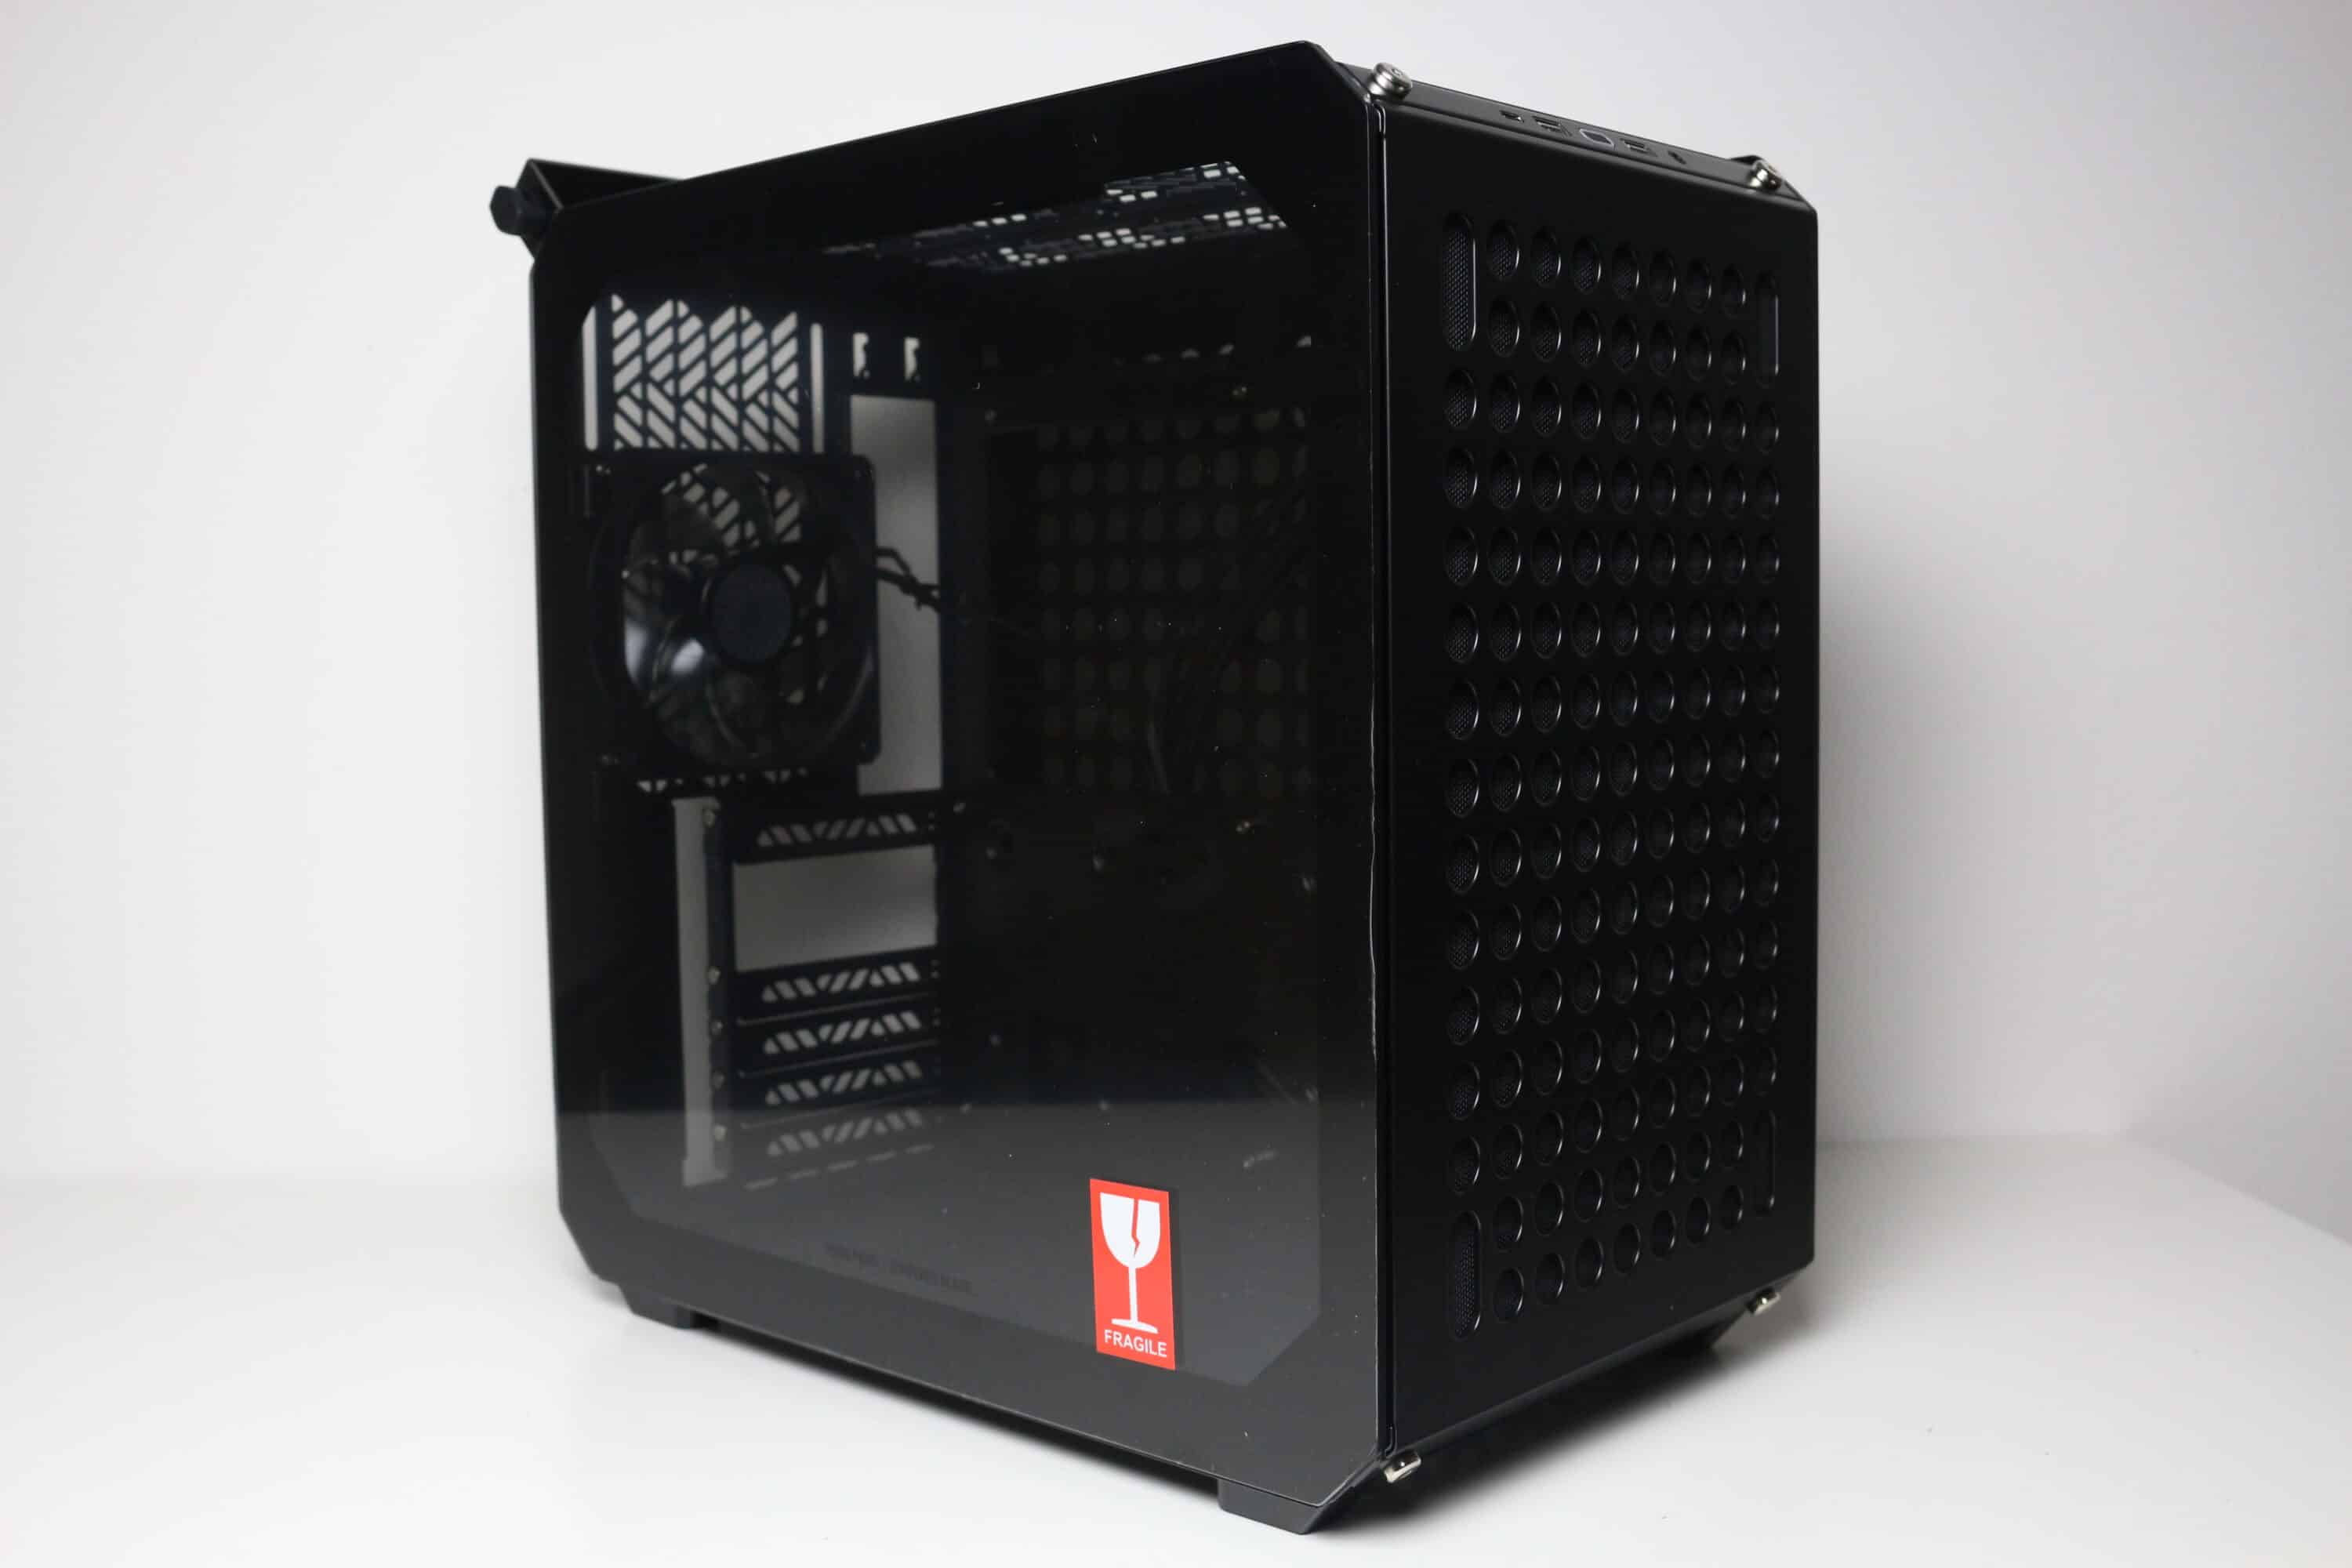
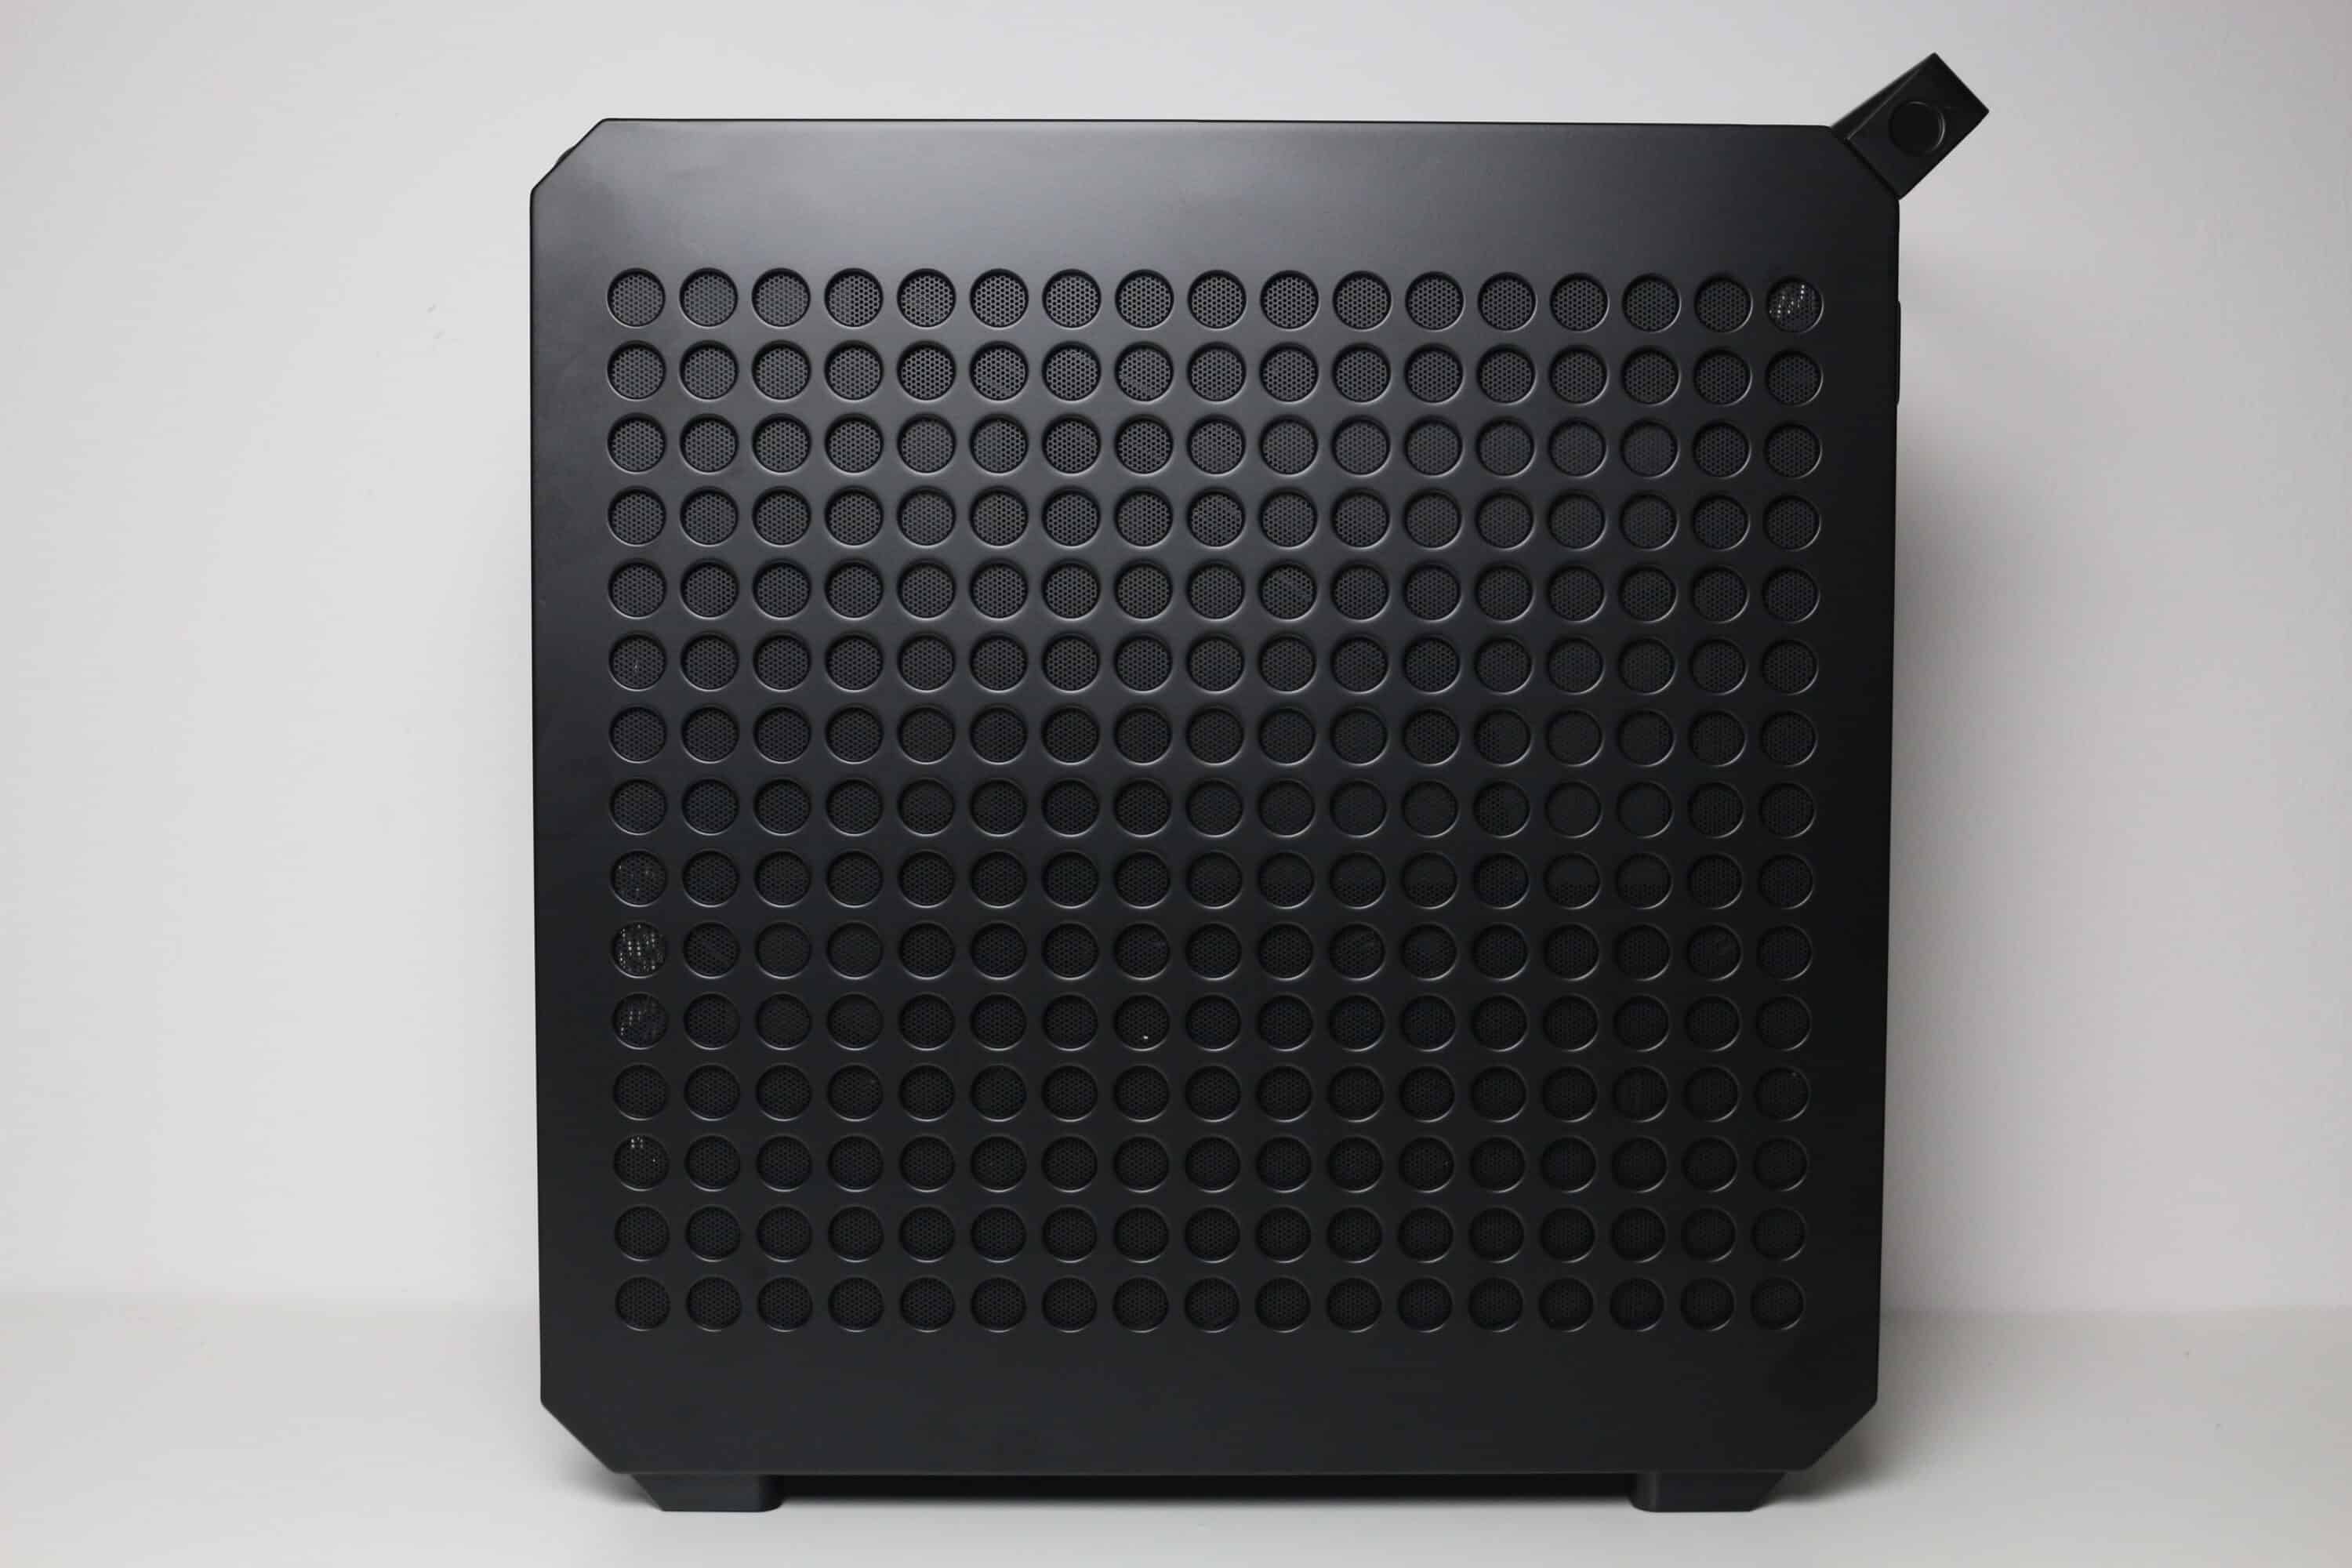
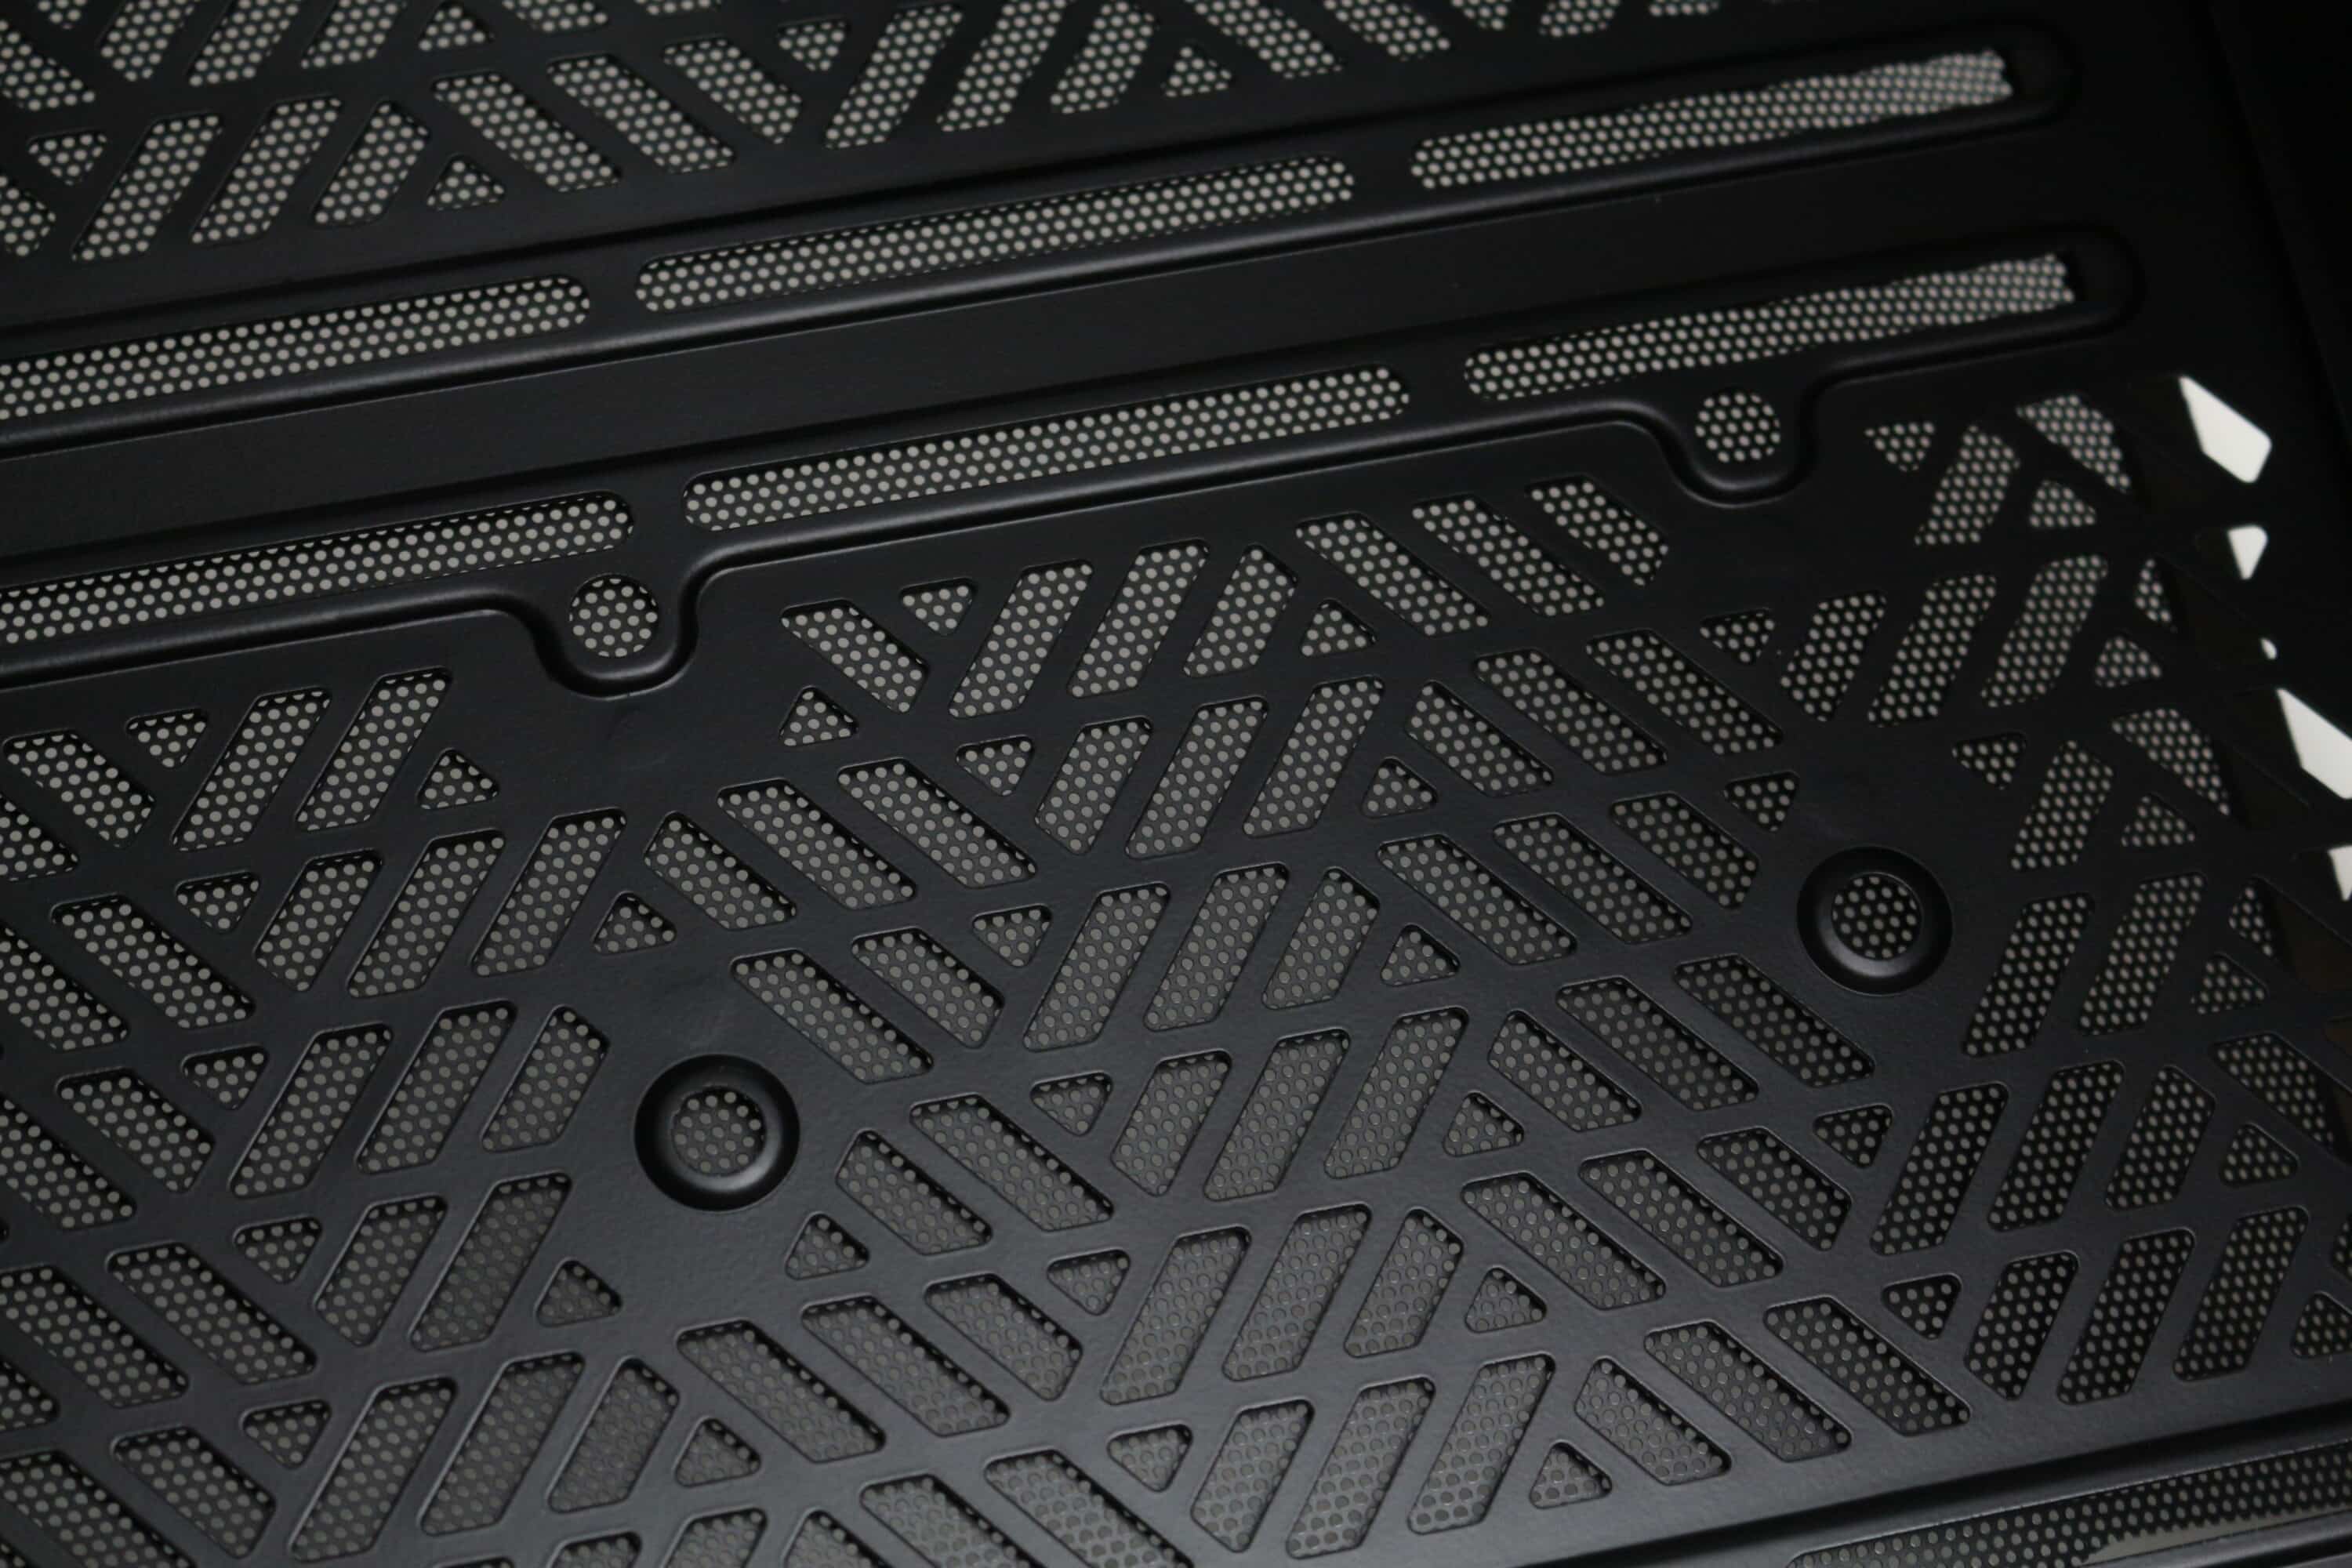
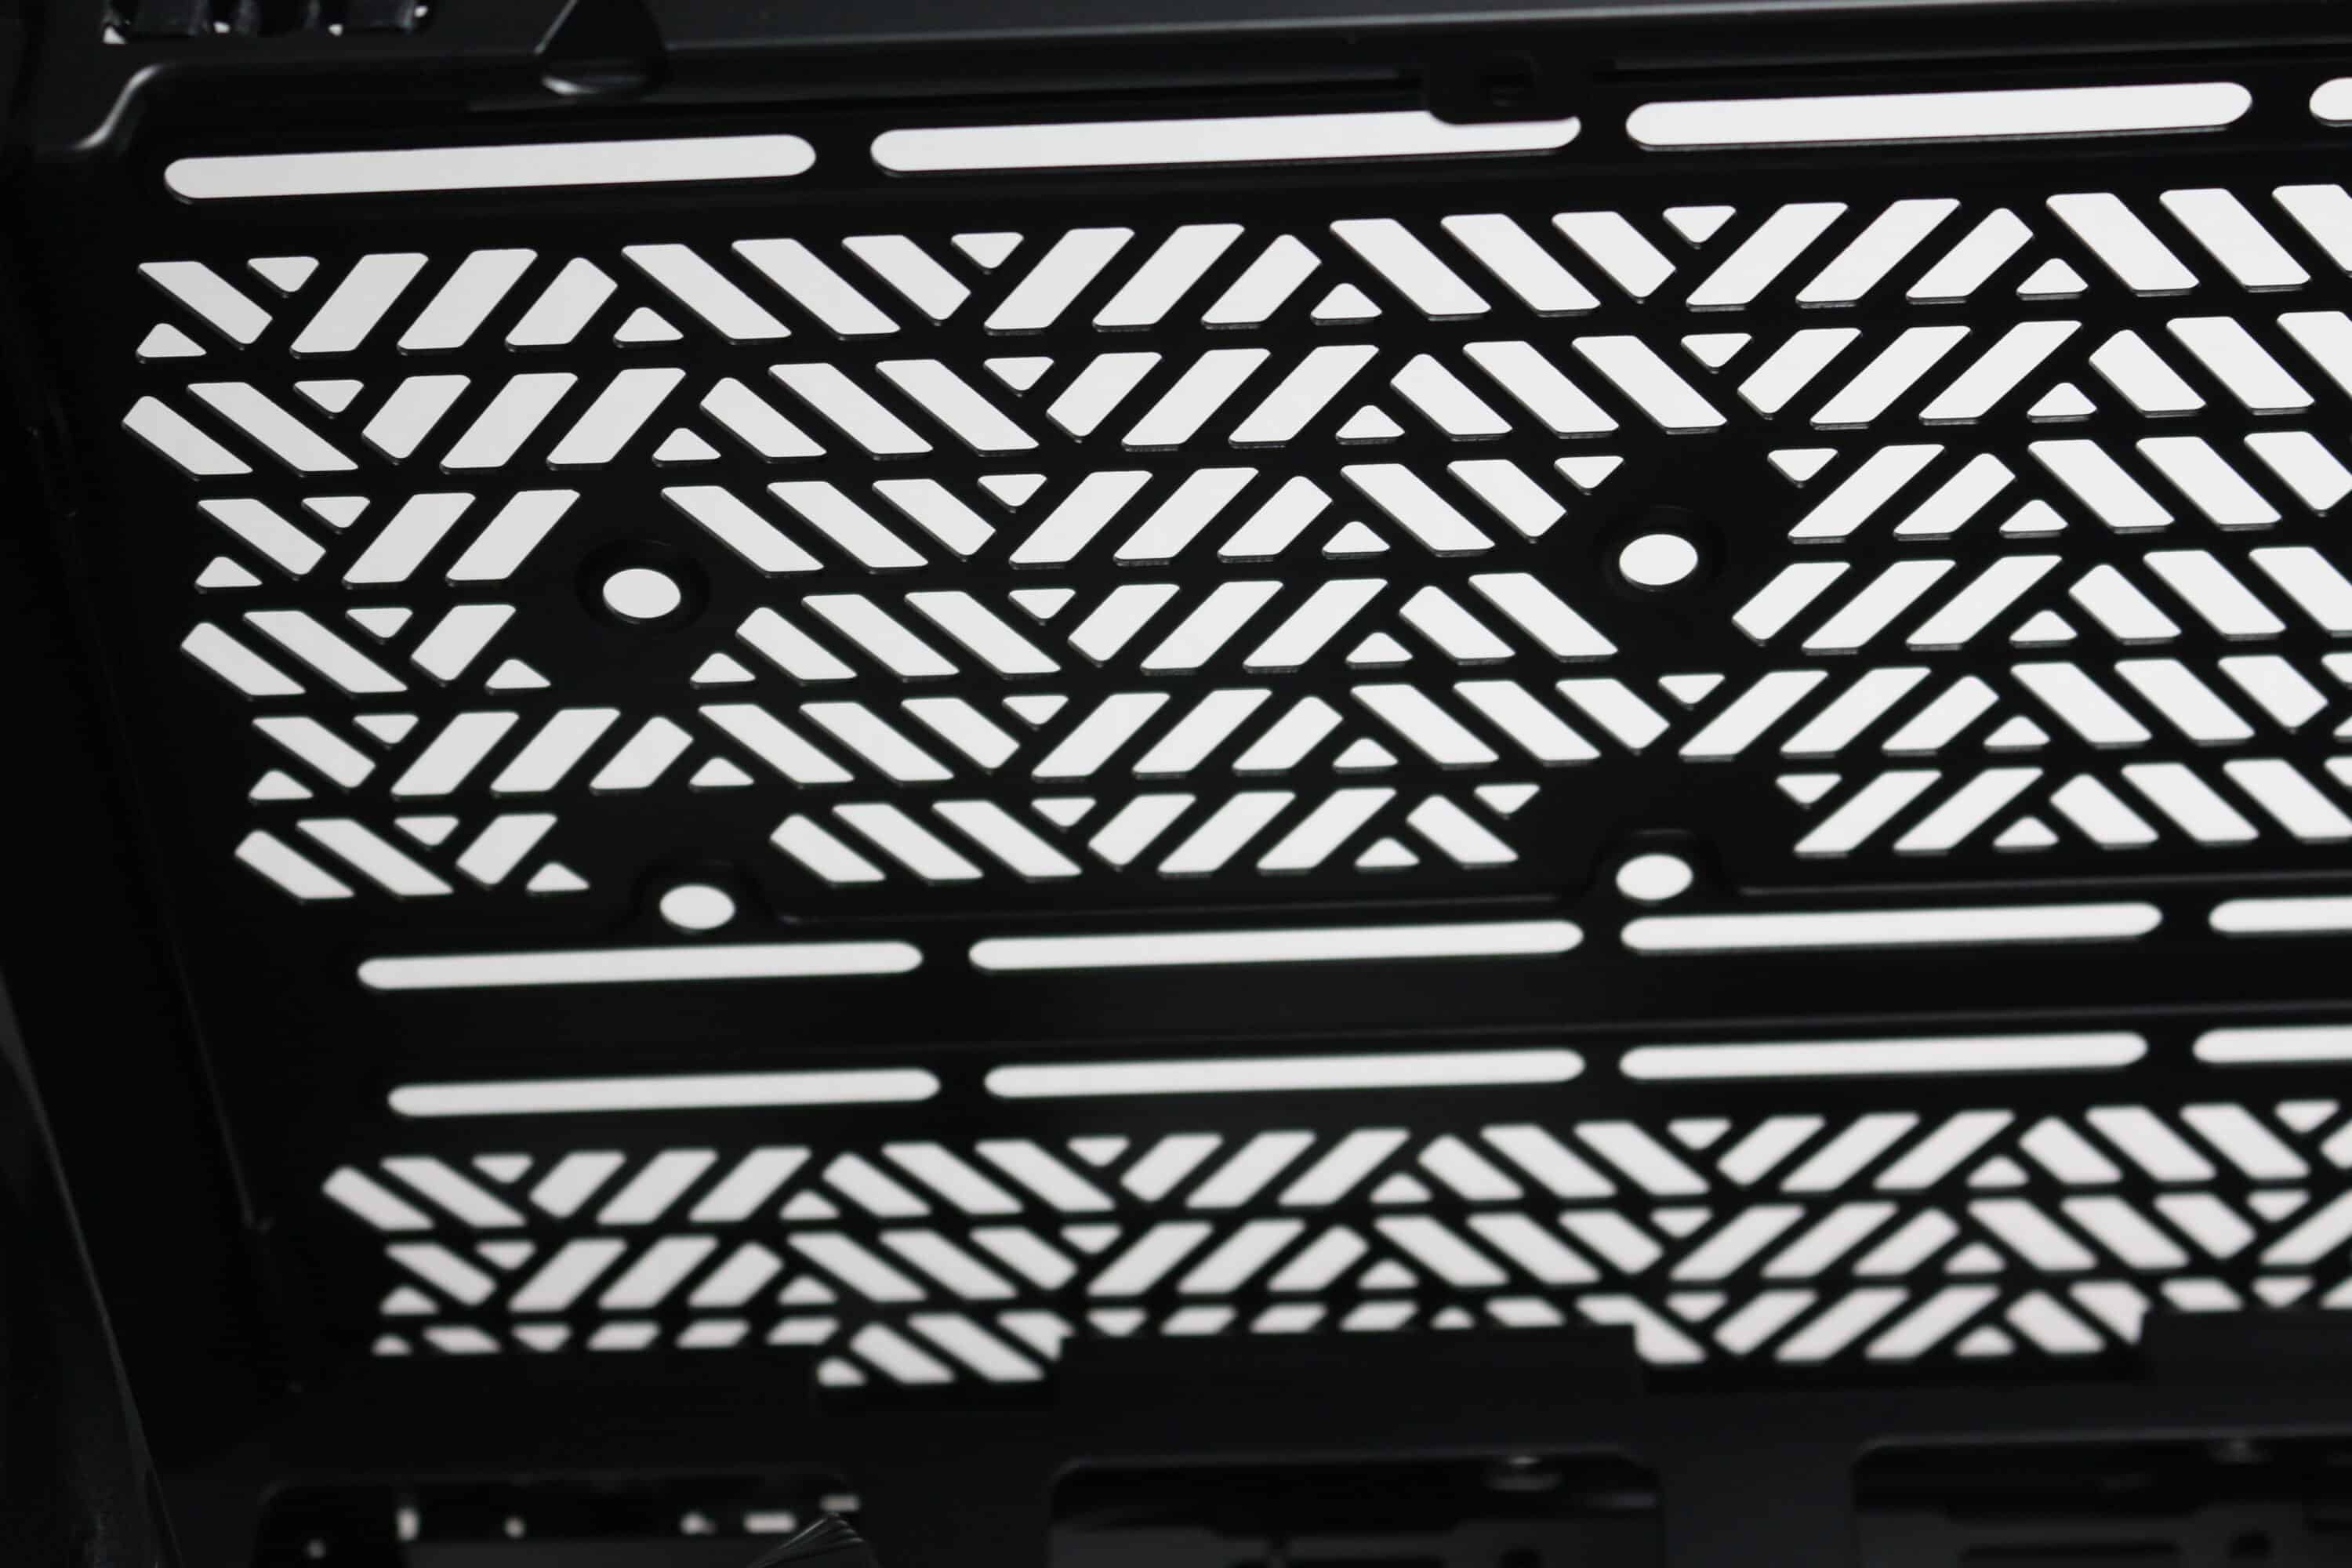
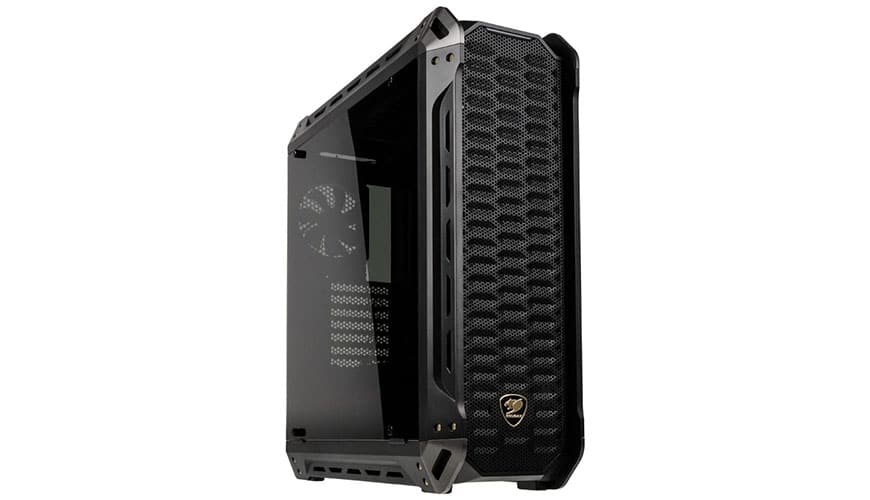
Cooler Master has given the Qube 500 a more eye-catching design than the Q500L. The main reason for this is a solid steel panel in the front, which has been provided with large, rounded openings to improve the airflow. Cooler Master has also placed a fine mesh dust filter mat at the rear of the steel panel, which can be removed for cleaning. The steel panel is attached to the body using four pins with rubber rings, which can be used to simply press the panel onto the body. Removing the front panel reveals generously dimensioned ventilation openings and mounting rails for up to two 120 or 140 mm fans or corresponding radiators.
The lid area is more or less an exact copy of the front panel. Here too, Cooler Master places a steel plate with round ventilation openings in front of the body and a modular dust filter mat behind it. The connection between the panel and the body is also made using rubberized pins. The design of the ventilation openings and the mounting rails for up to two 120 mm or 140 mm fans have been retained unchanged in the lid. At the rear end, however, we find a pre-mounted steel carrying handle, which can alternatively be attached to one of the other three corners with the help of two screws.

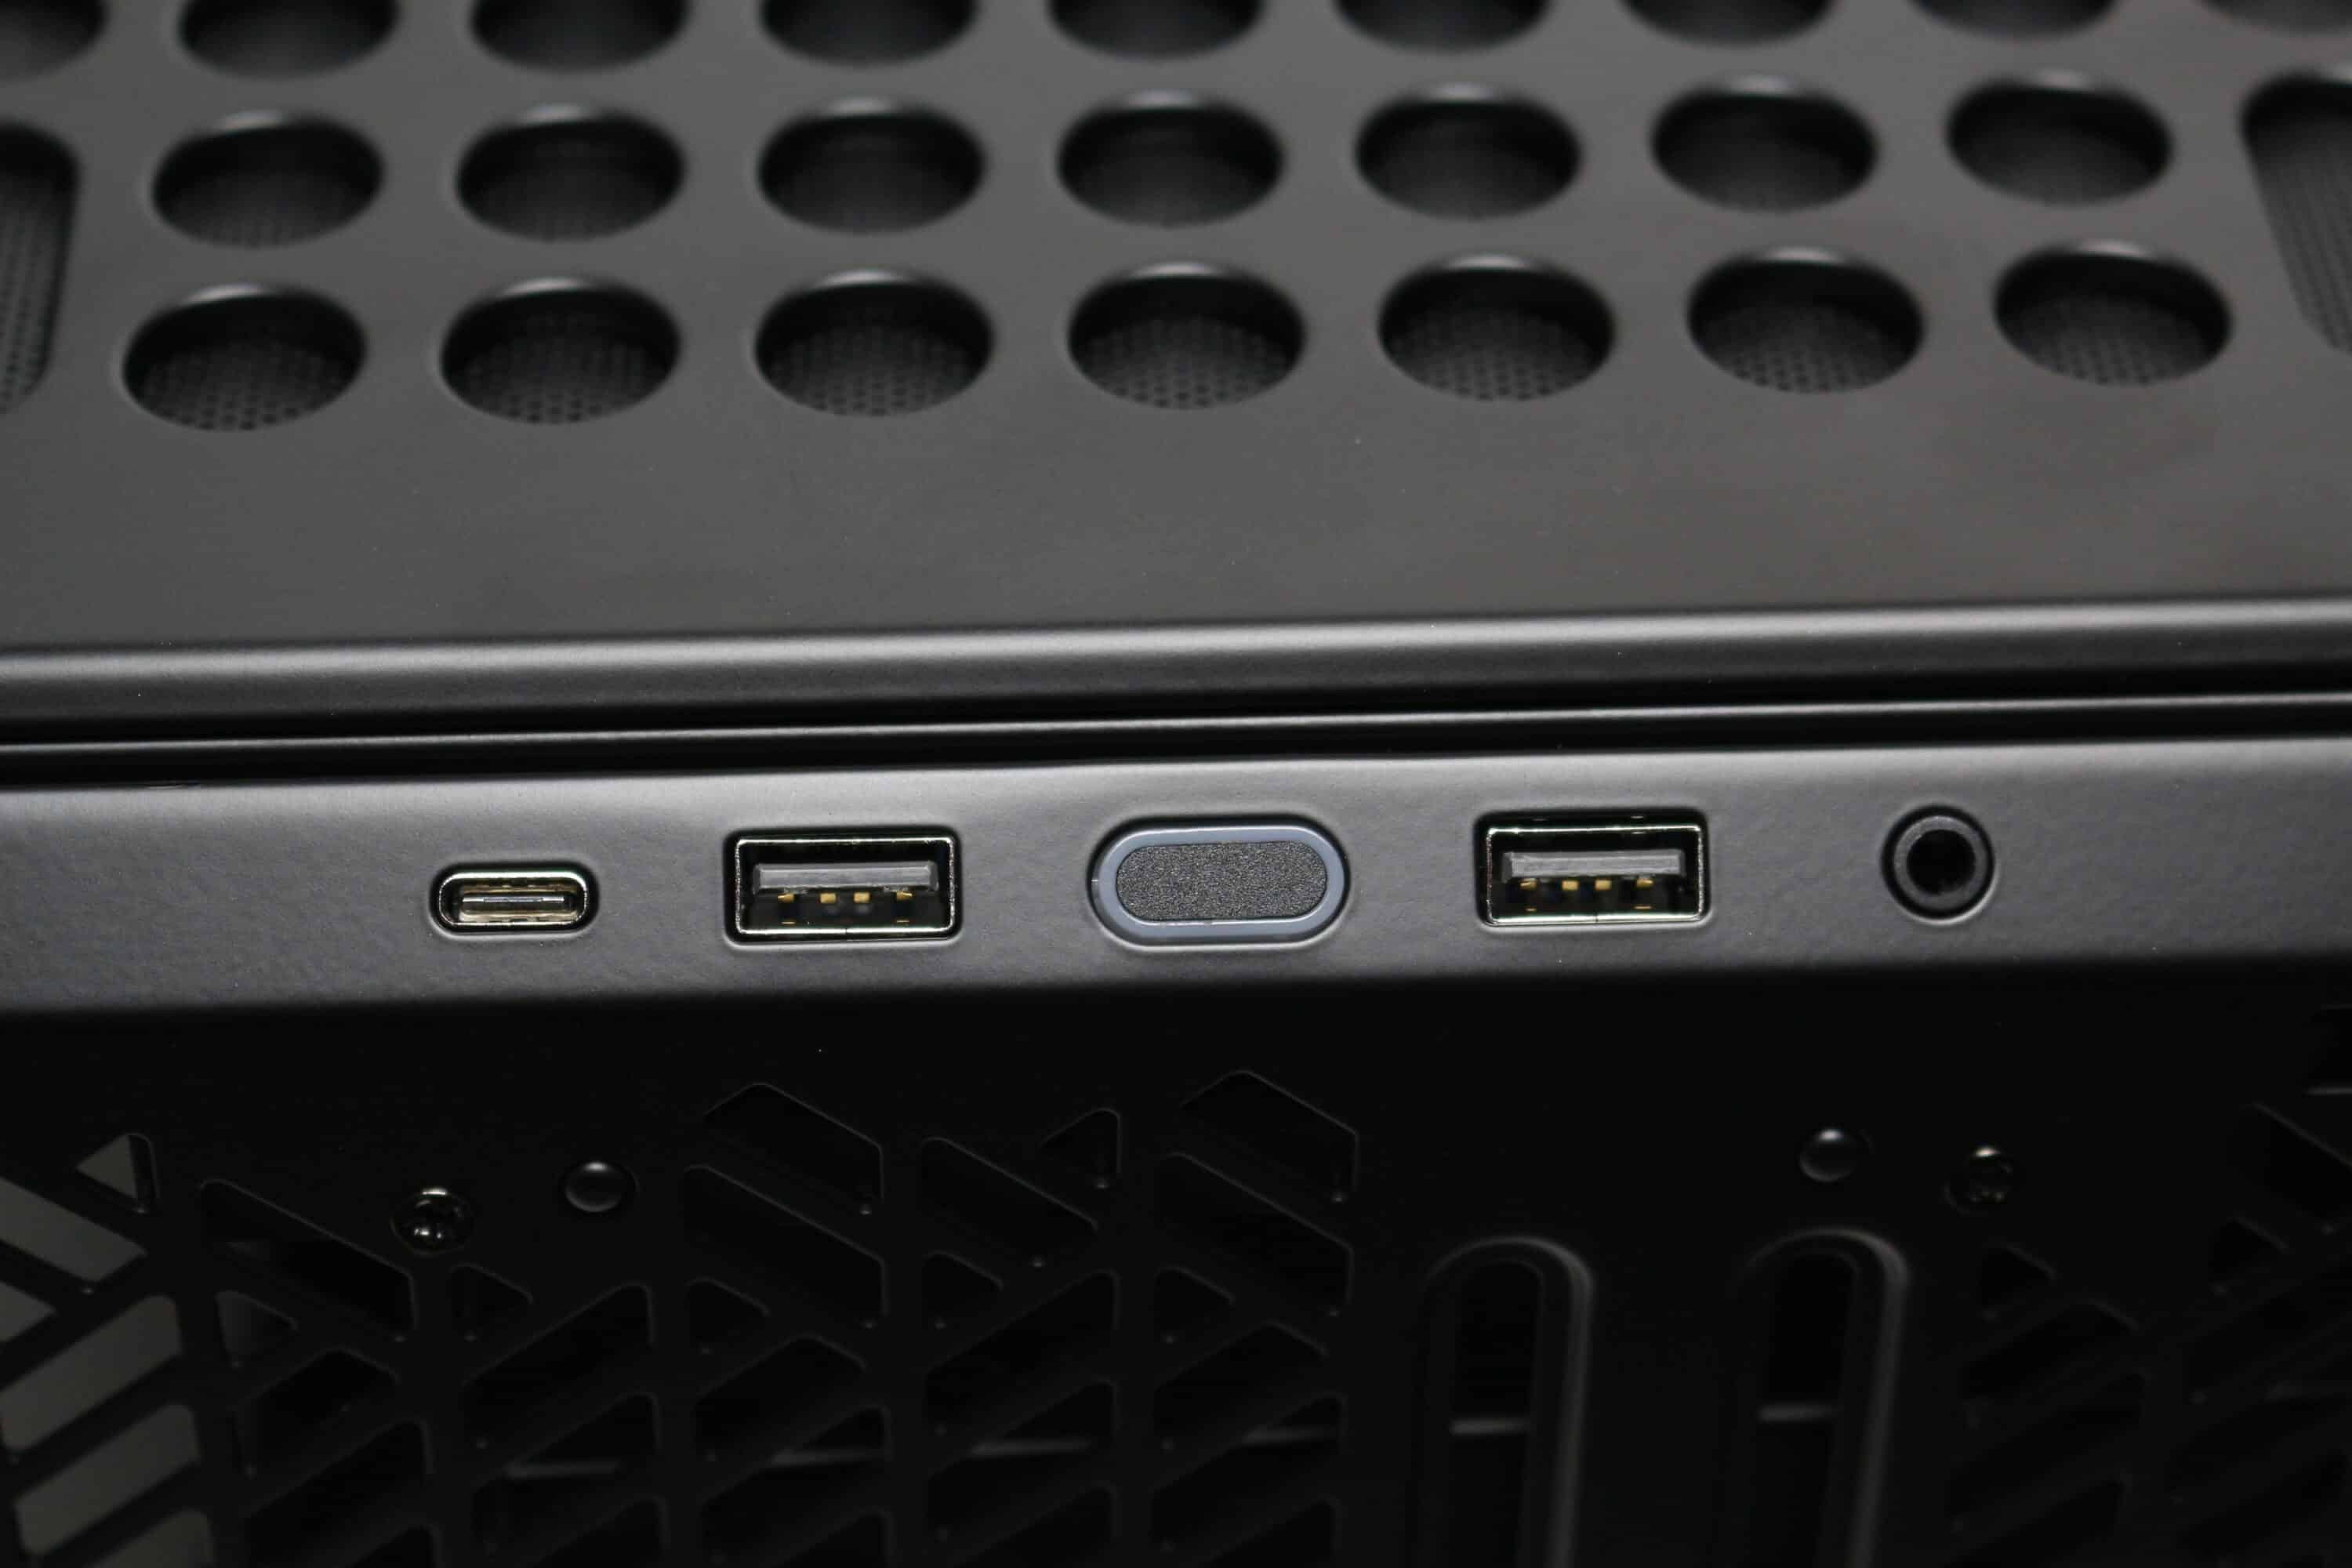
Cooler Master has placed a modern I/O panel between the front section and the housing cover. This has three USB ports (2x USB-A 3.0 5Gb/s, 1x USB-C 3.2 20Gb/s), an HD audio combo port and a white illuminated power button. The I/O panel is attached with screws and can be removed if necessary.
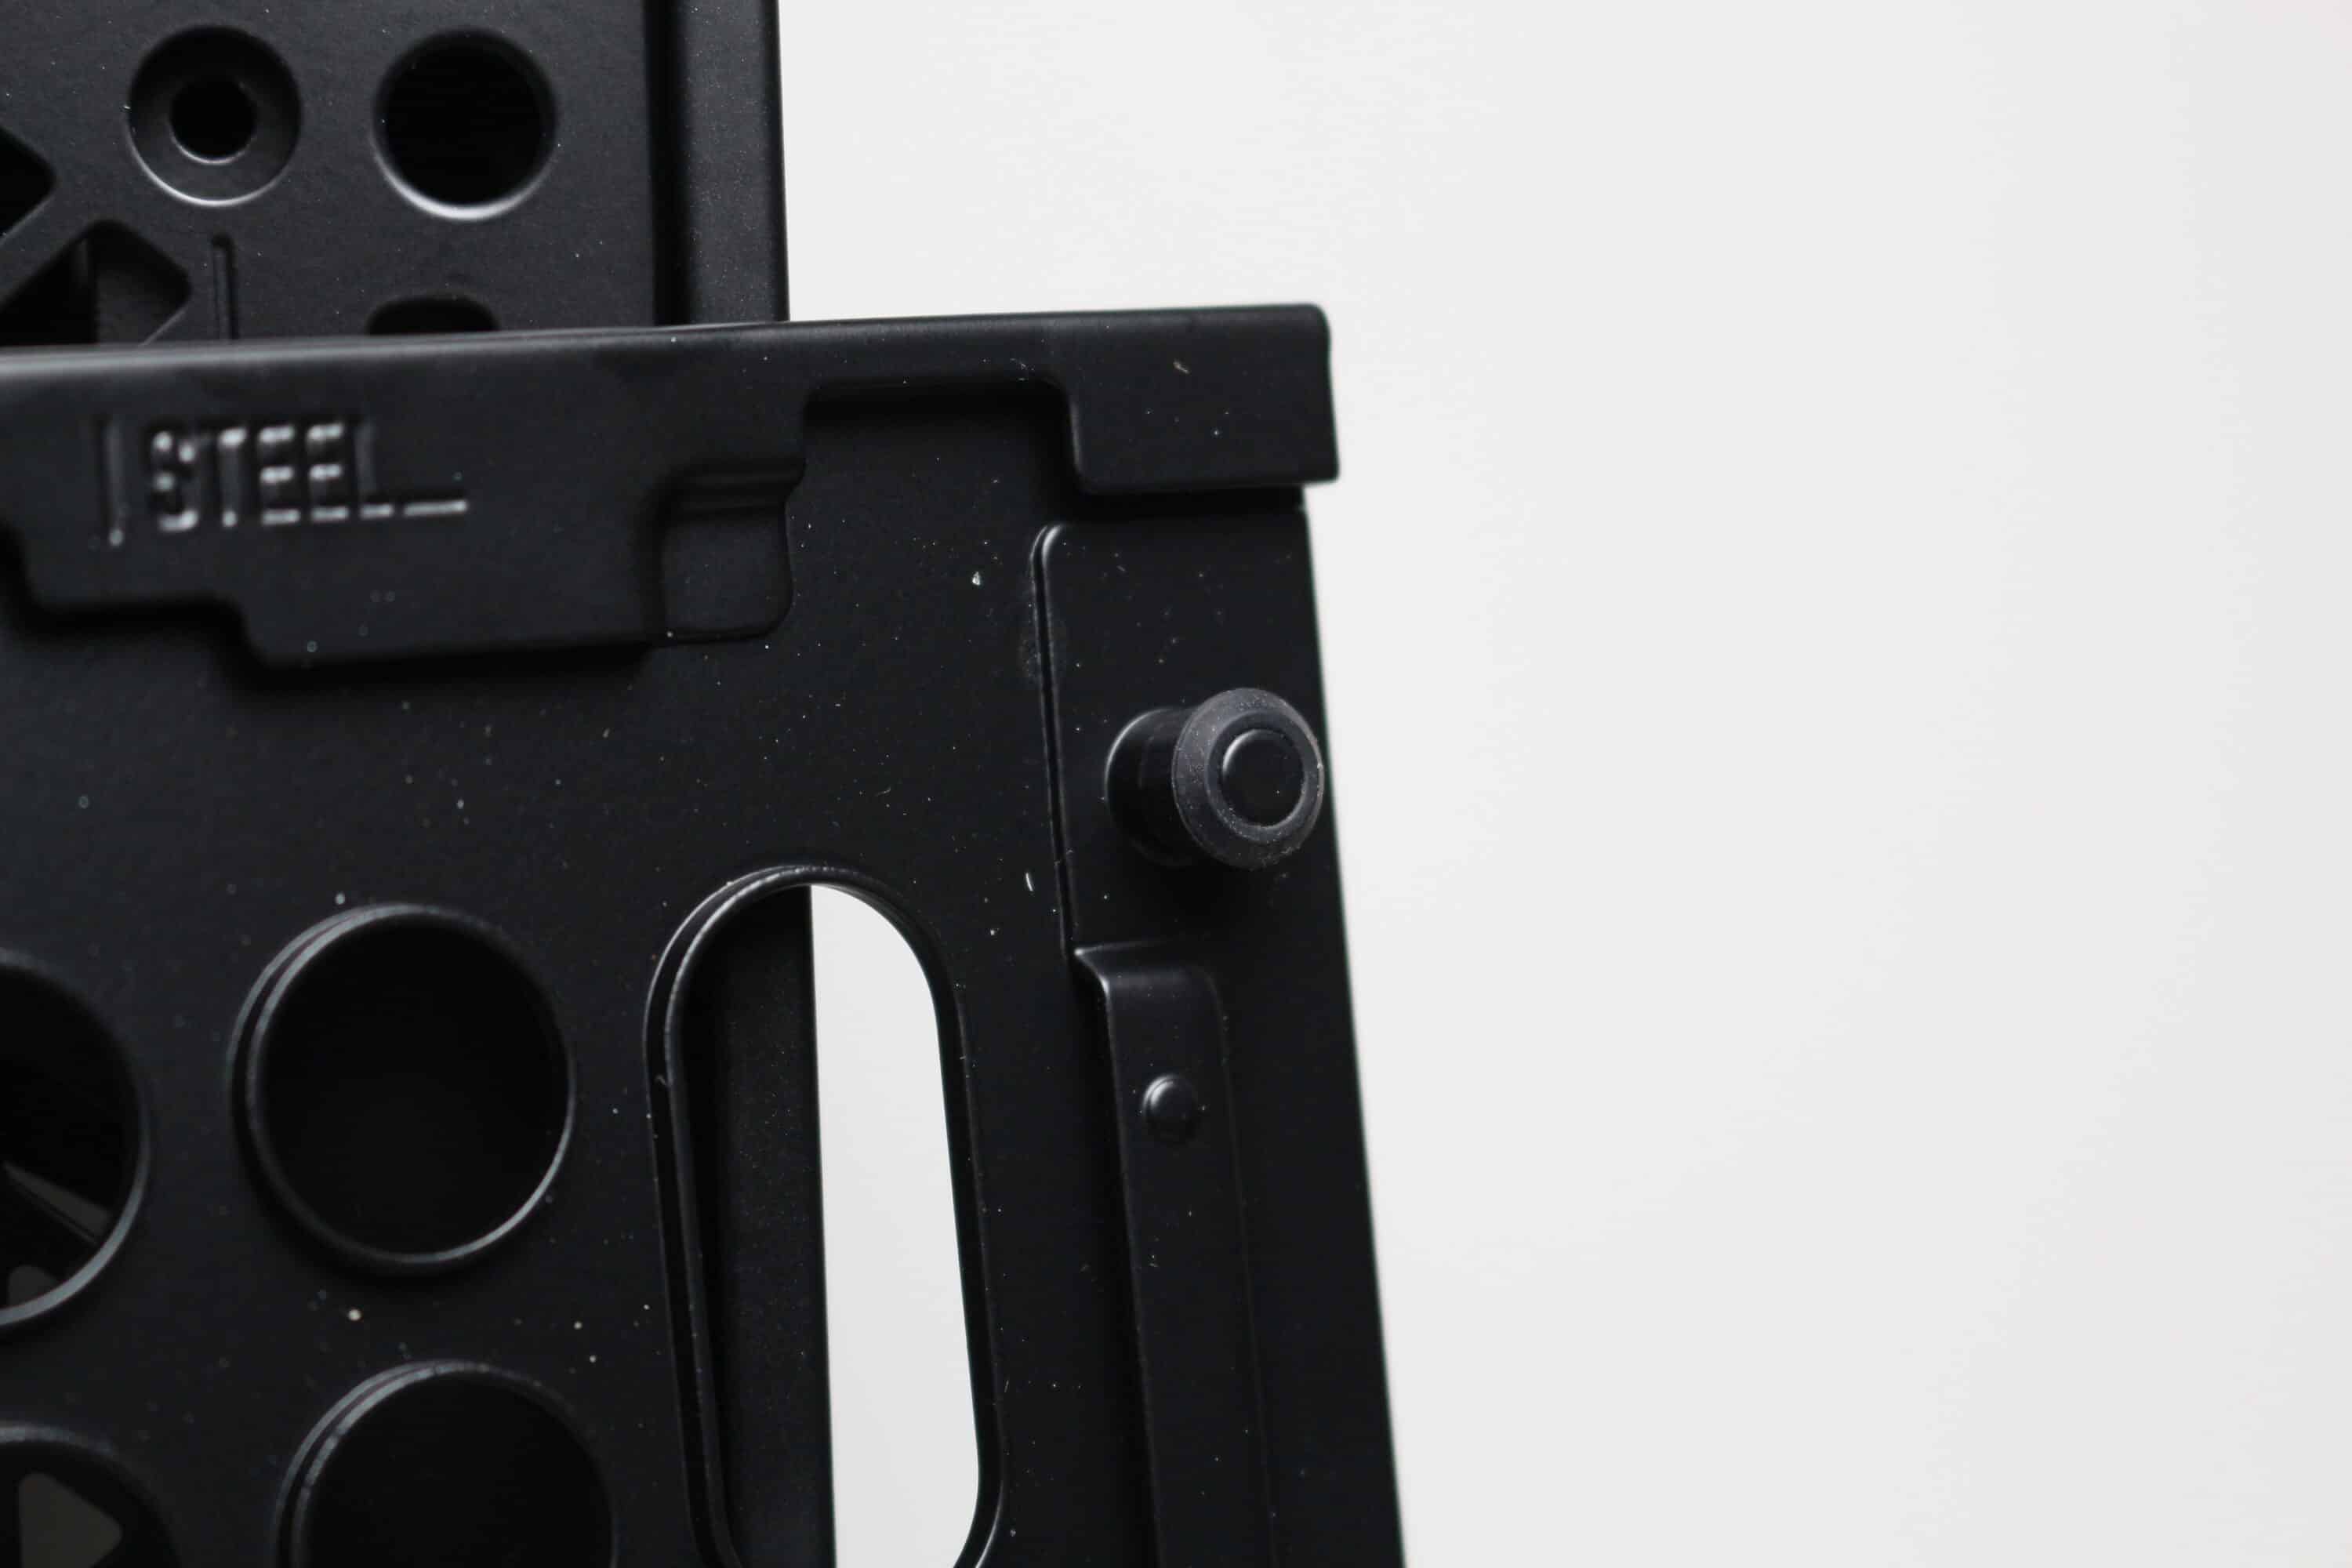
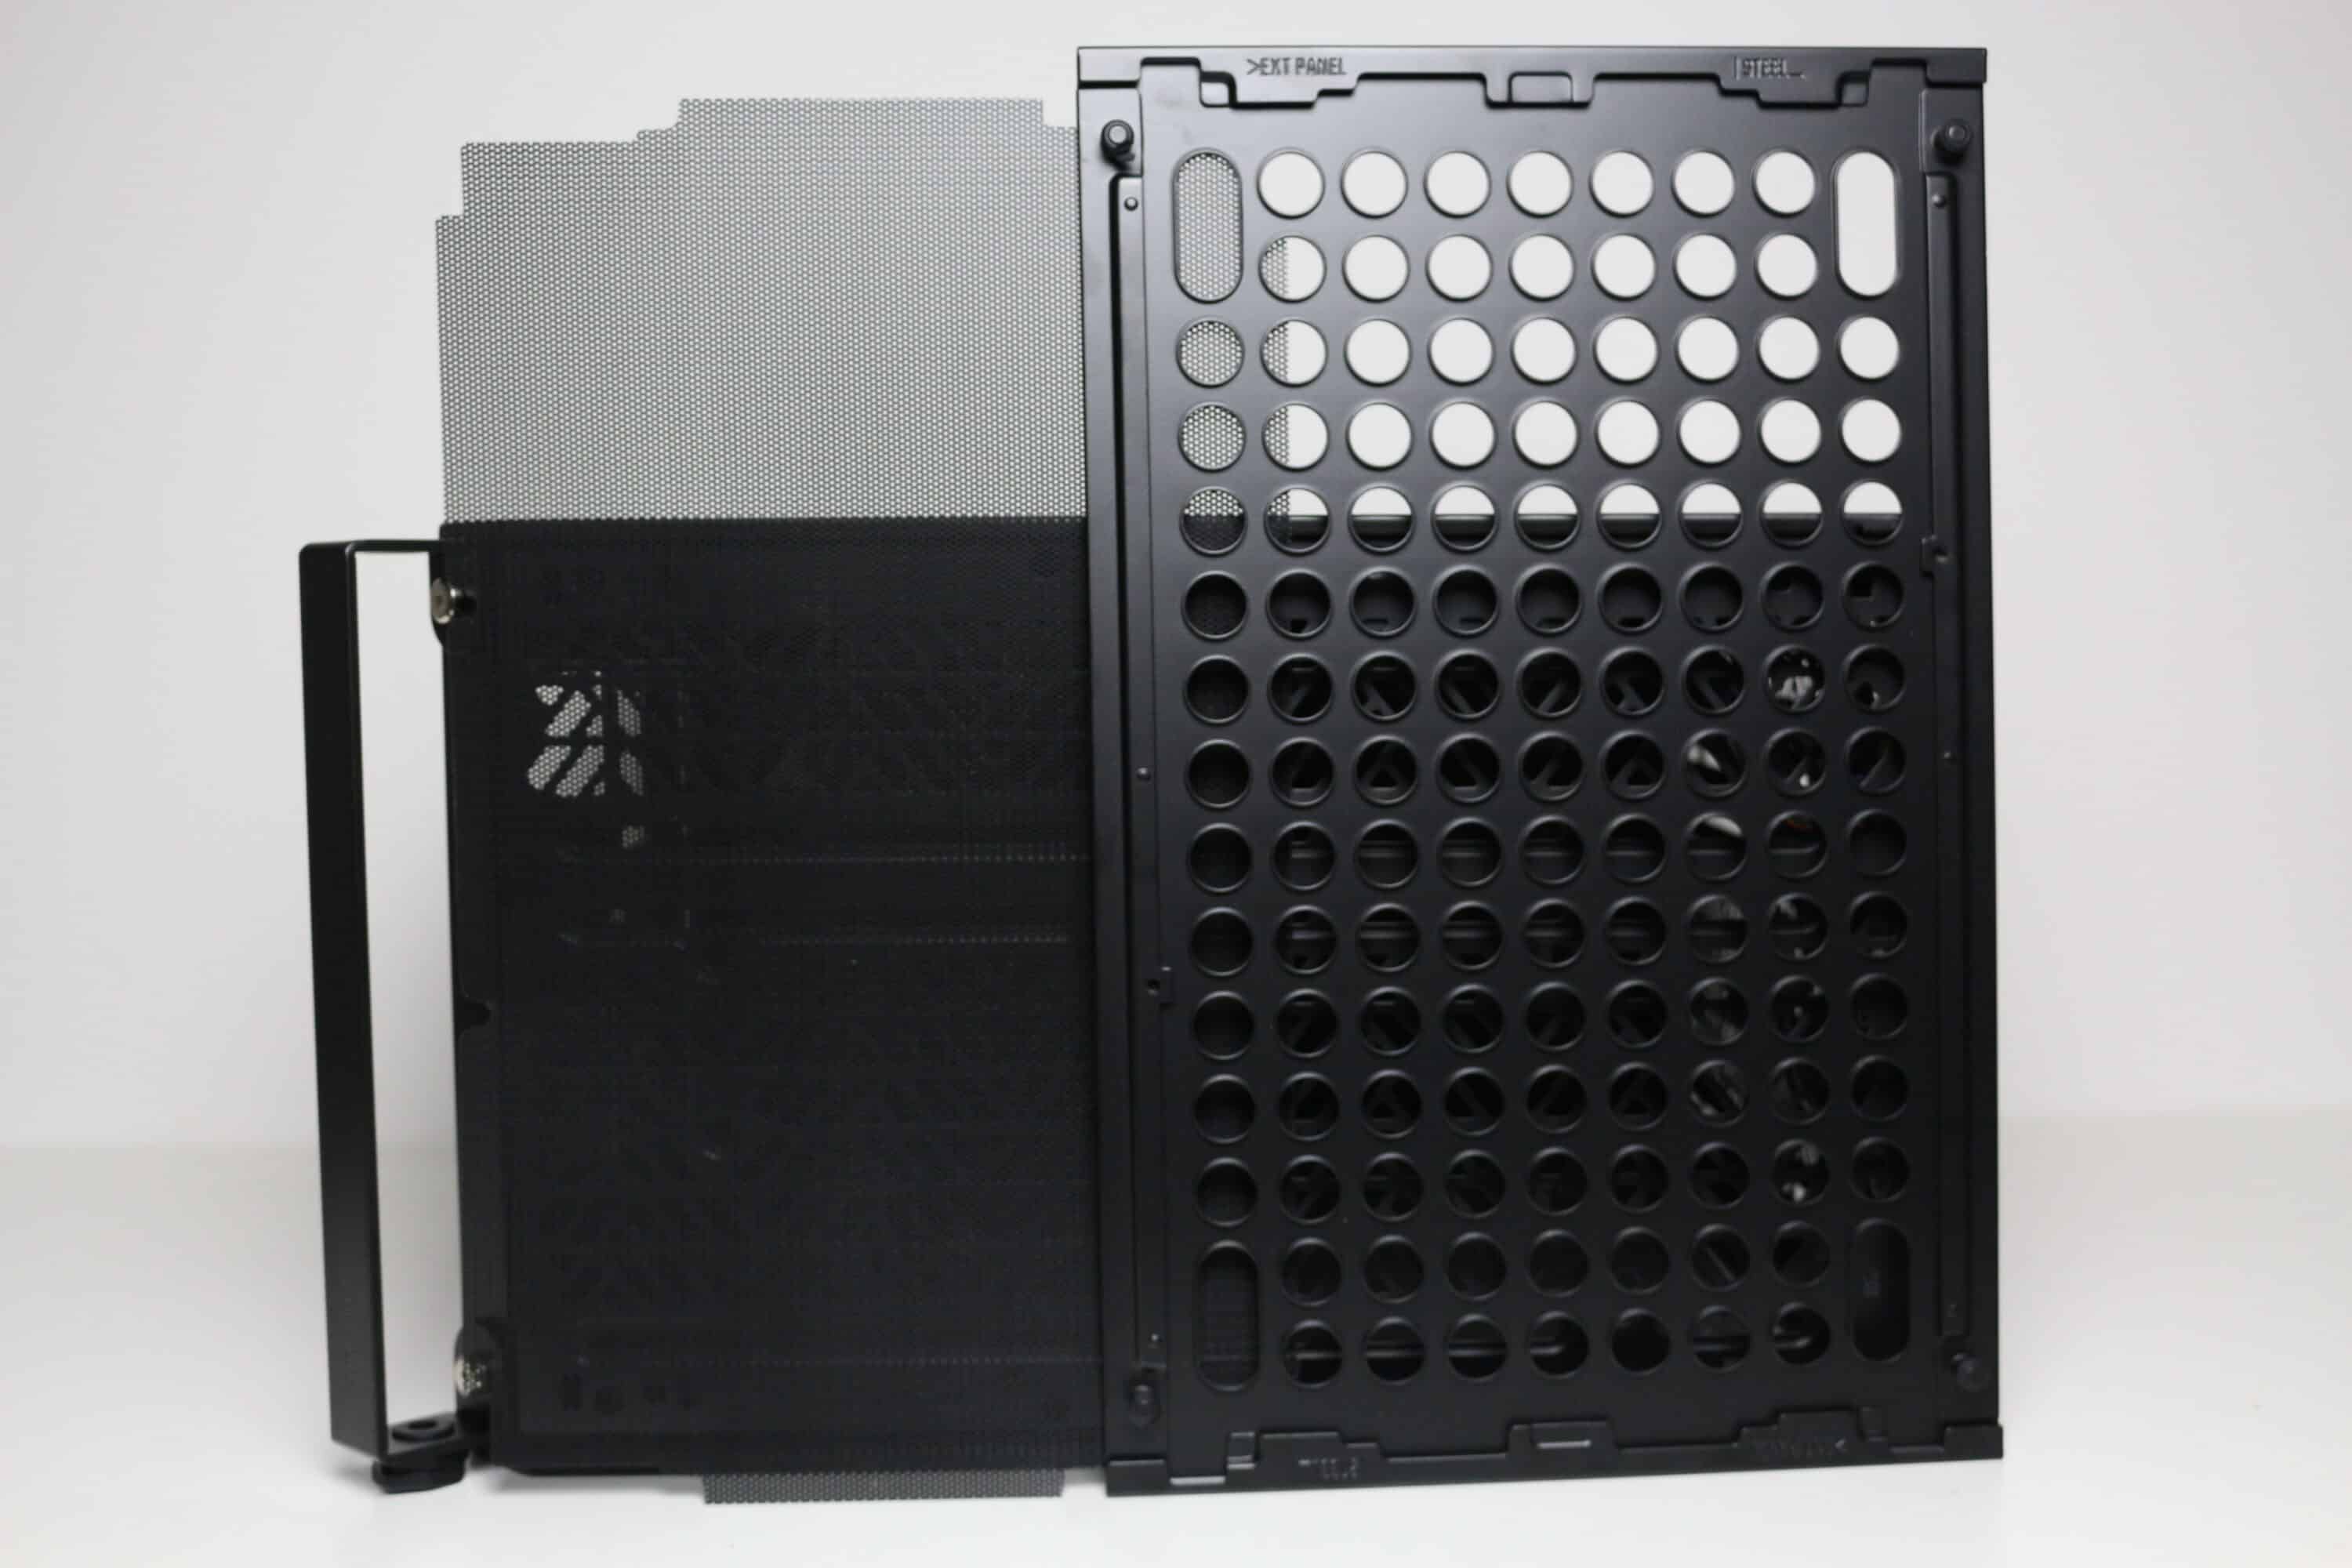
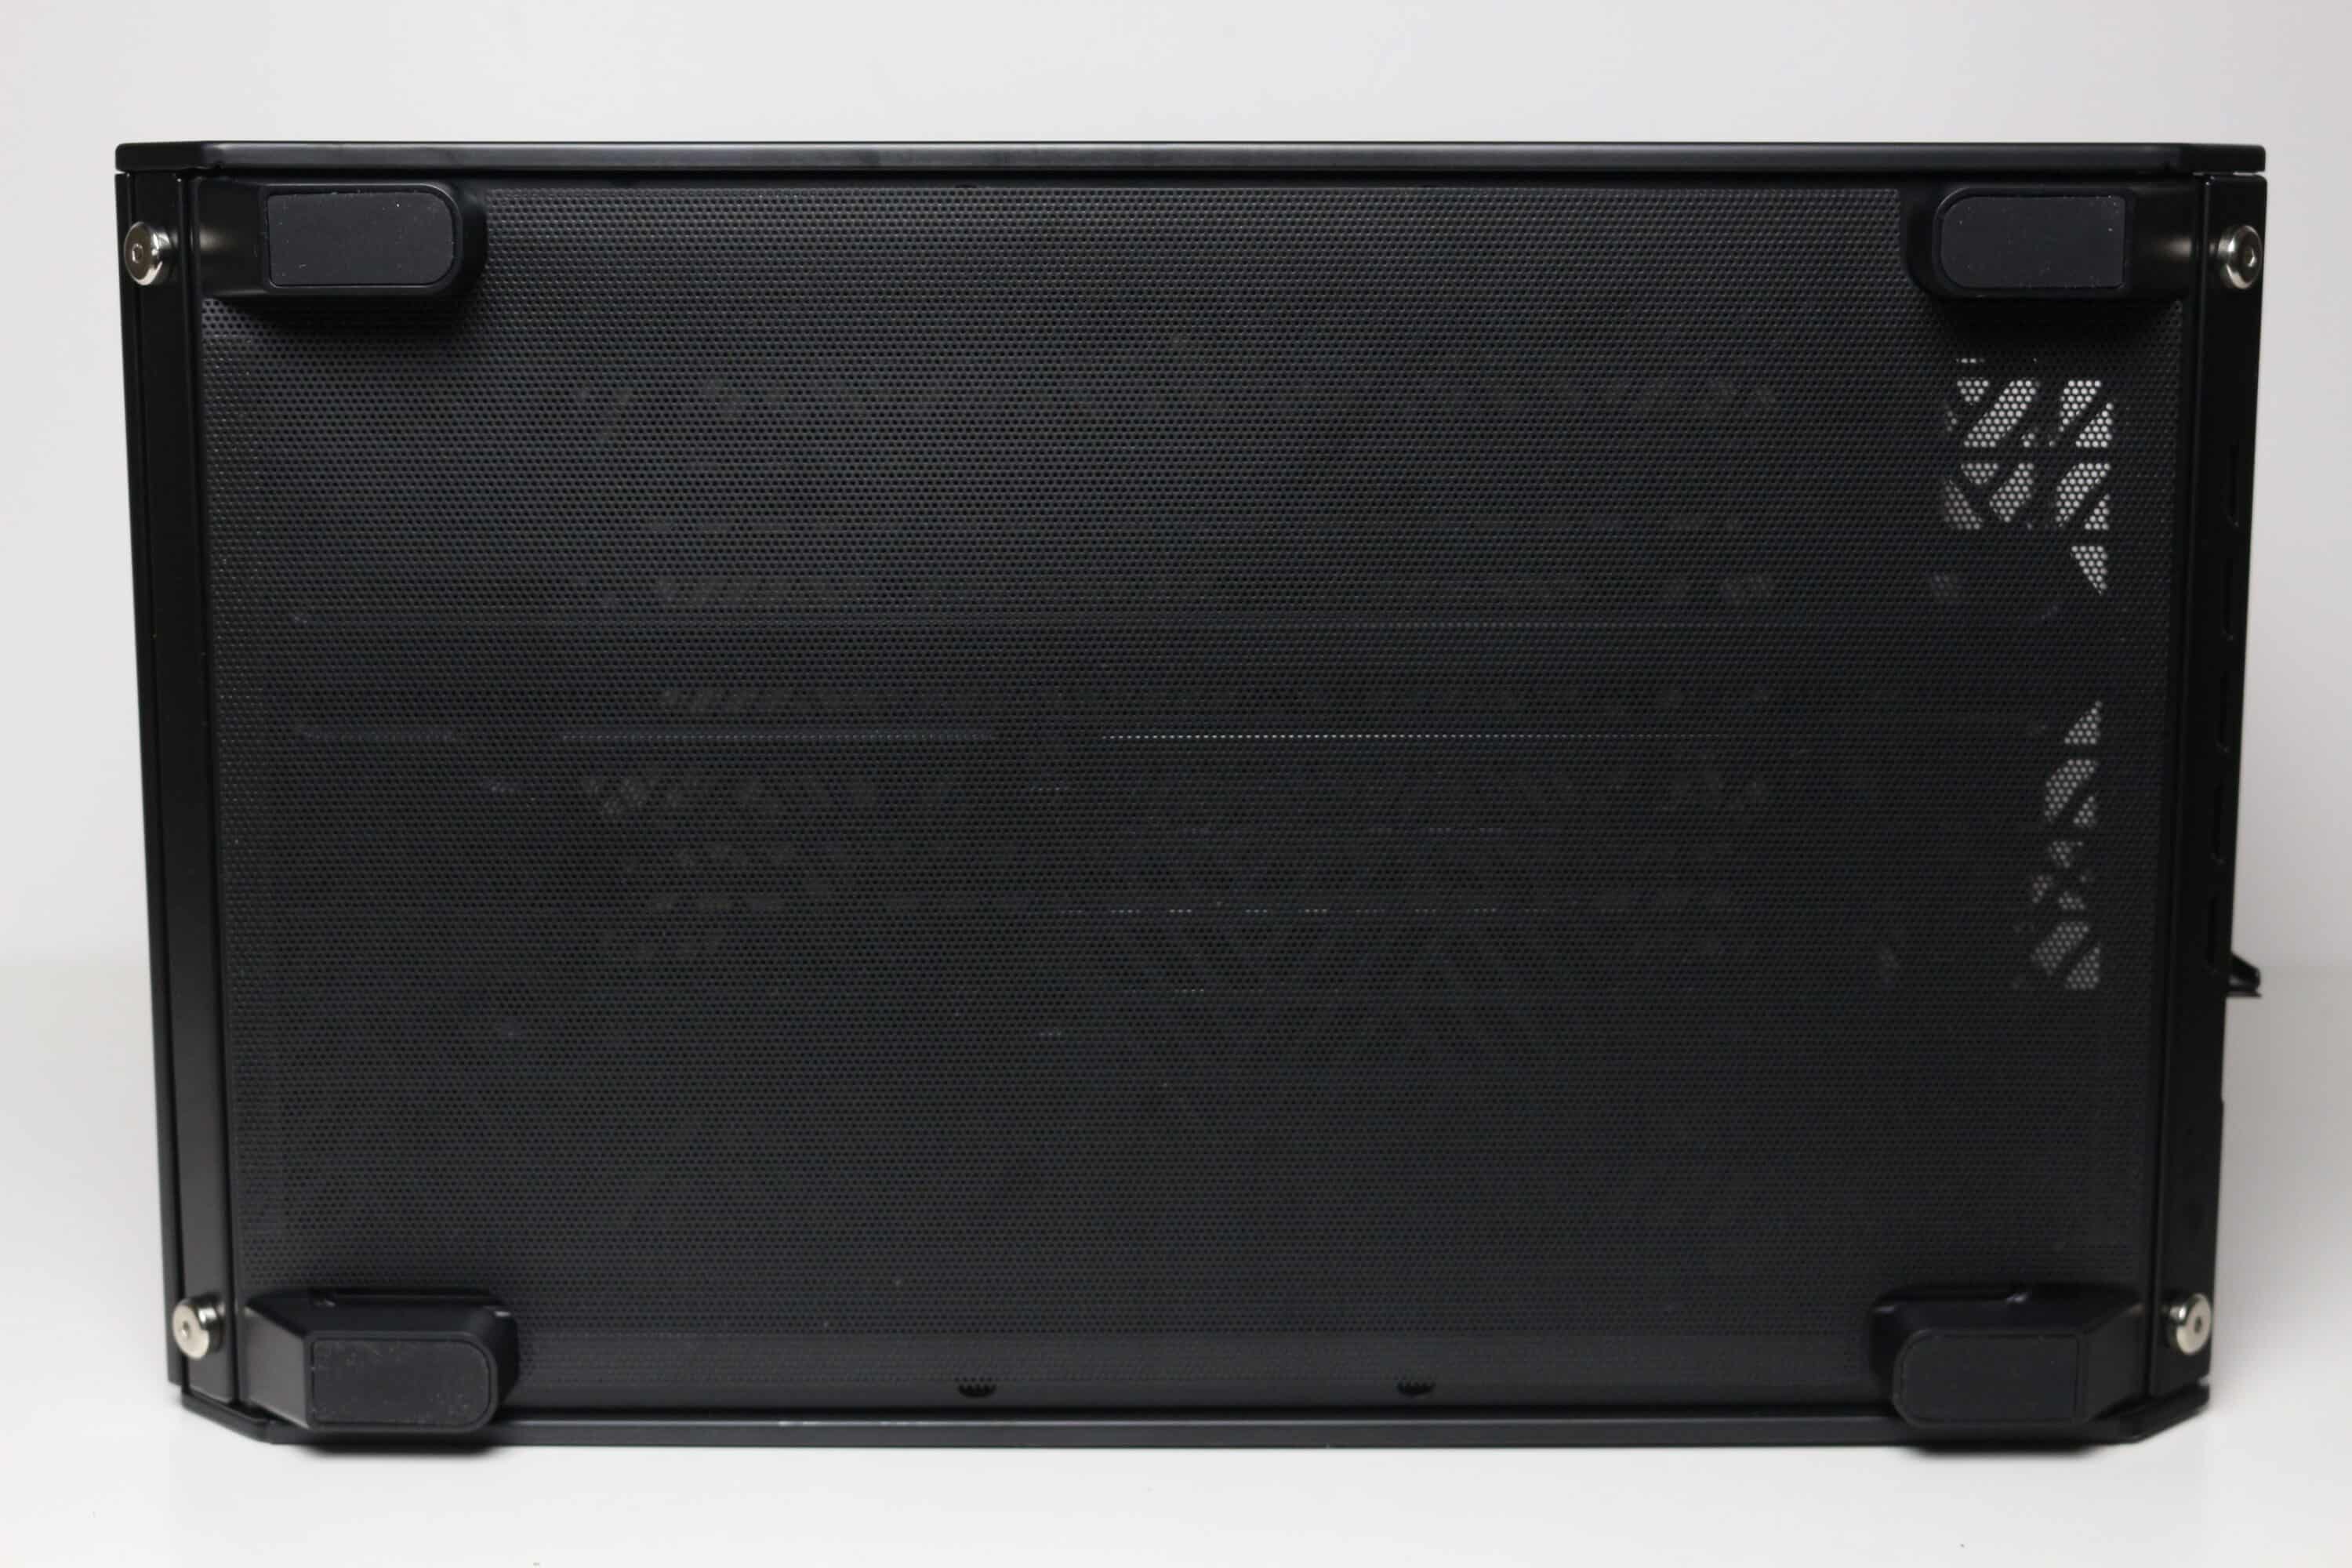
The left side panel of the Qube 500 Flatpack is made of approximately four millimeter thick tempered glass, which is slightly tinted. Cooler Master glues two steel elements with steel pins to the inside of the glass so that screws are not required for mounting. In conjunction with the plastic clips on the body, these enable tool-free installation. An identical technique is used for the right-hand steel side panel. Visually, however, the design of the front and top panel has been adopted for this. Here too, Cooler Master has installed a modular mesh filter behind the round ventilation openings. Both side panels also have a small recessed grip at the rear end to make removal easier.
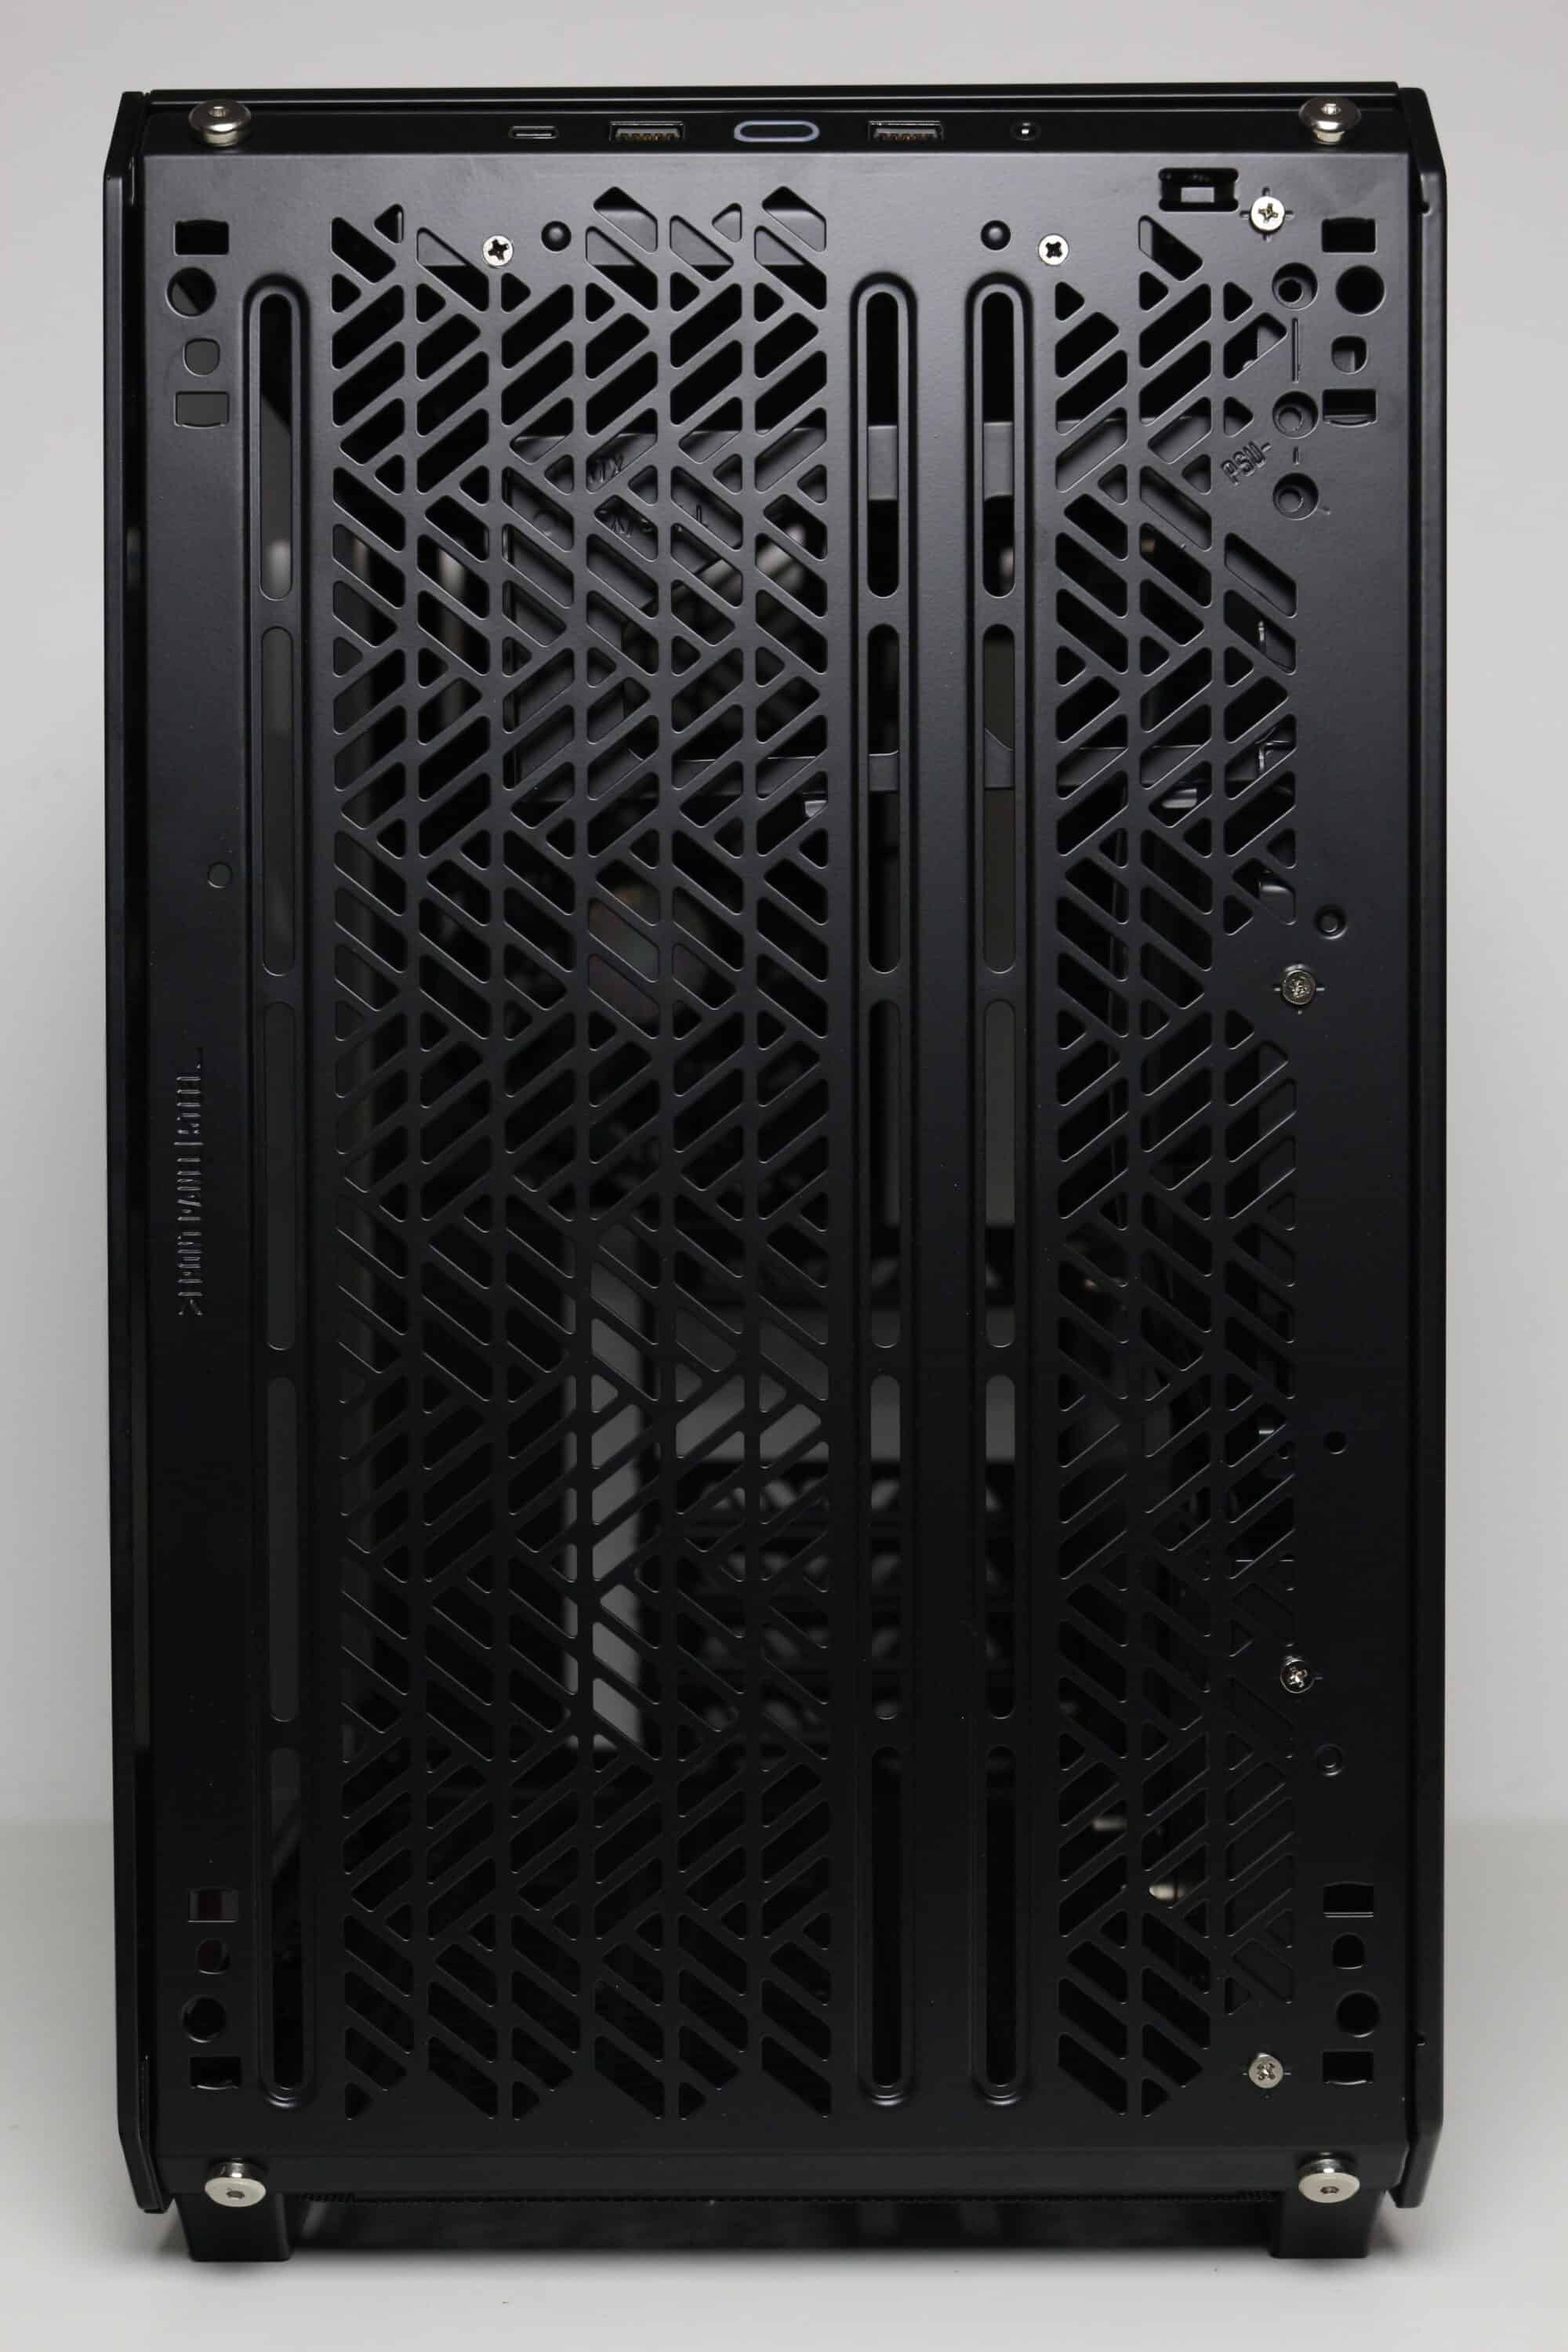
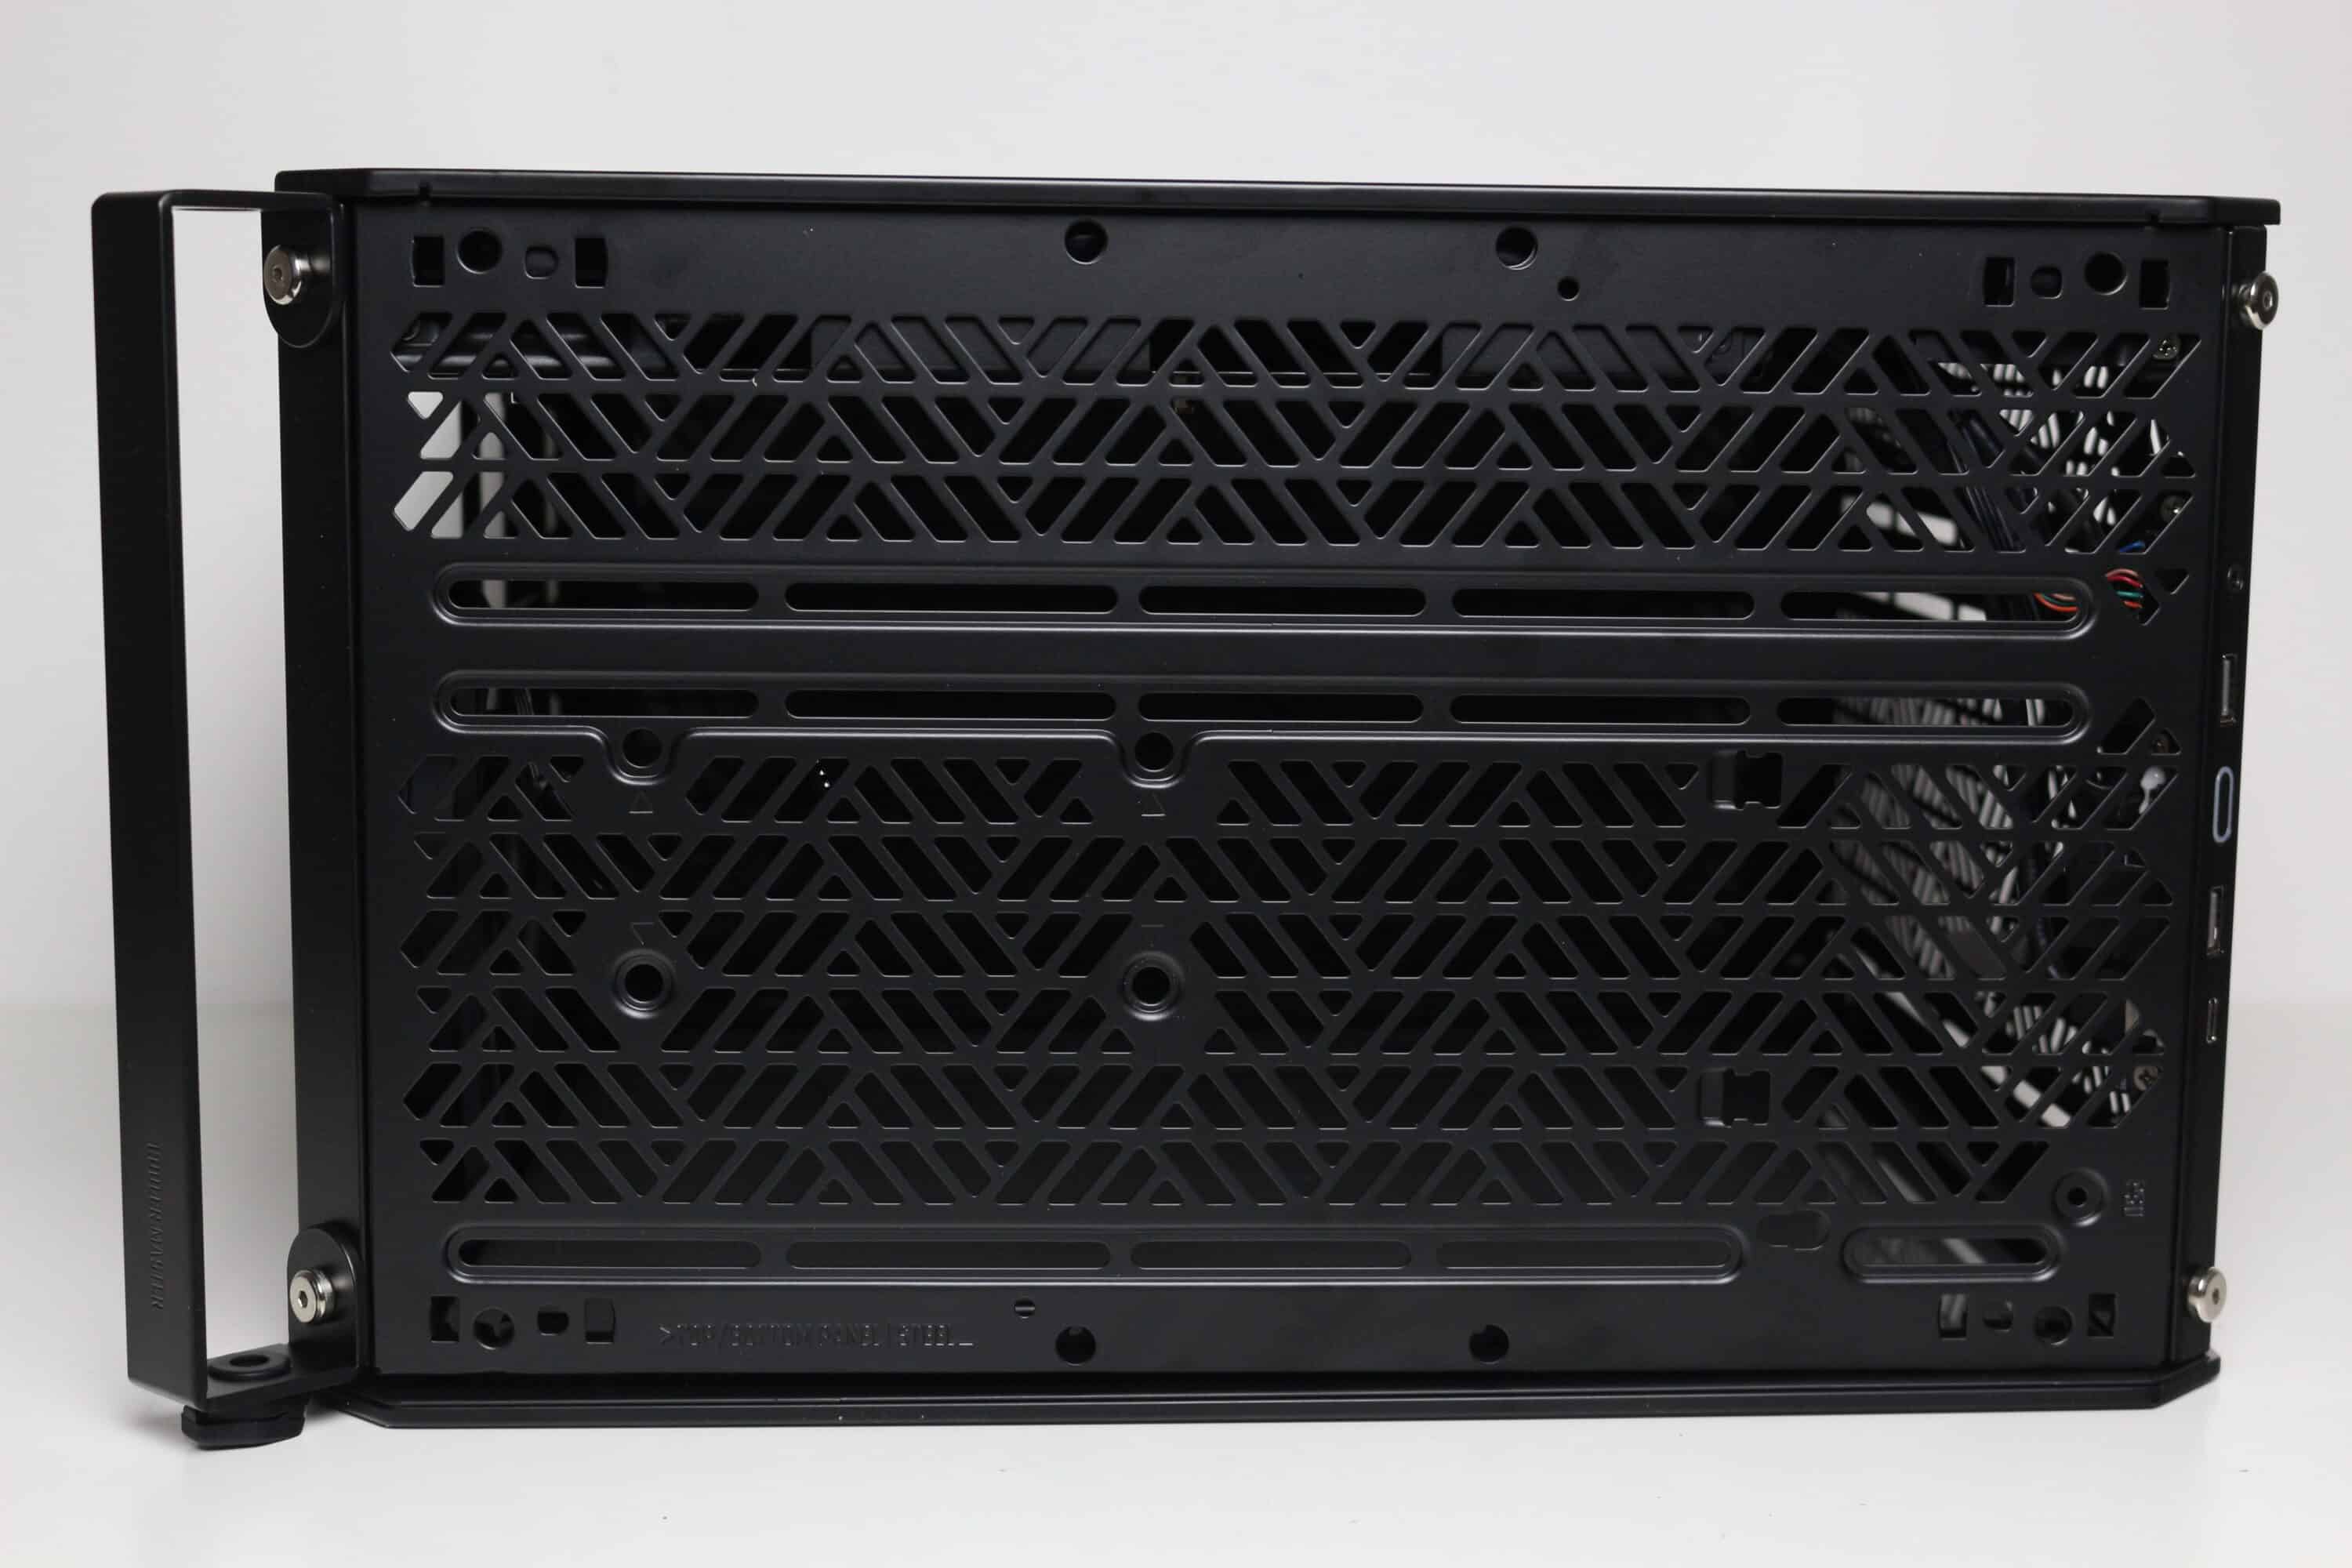
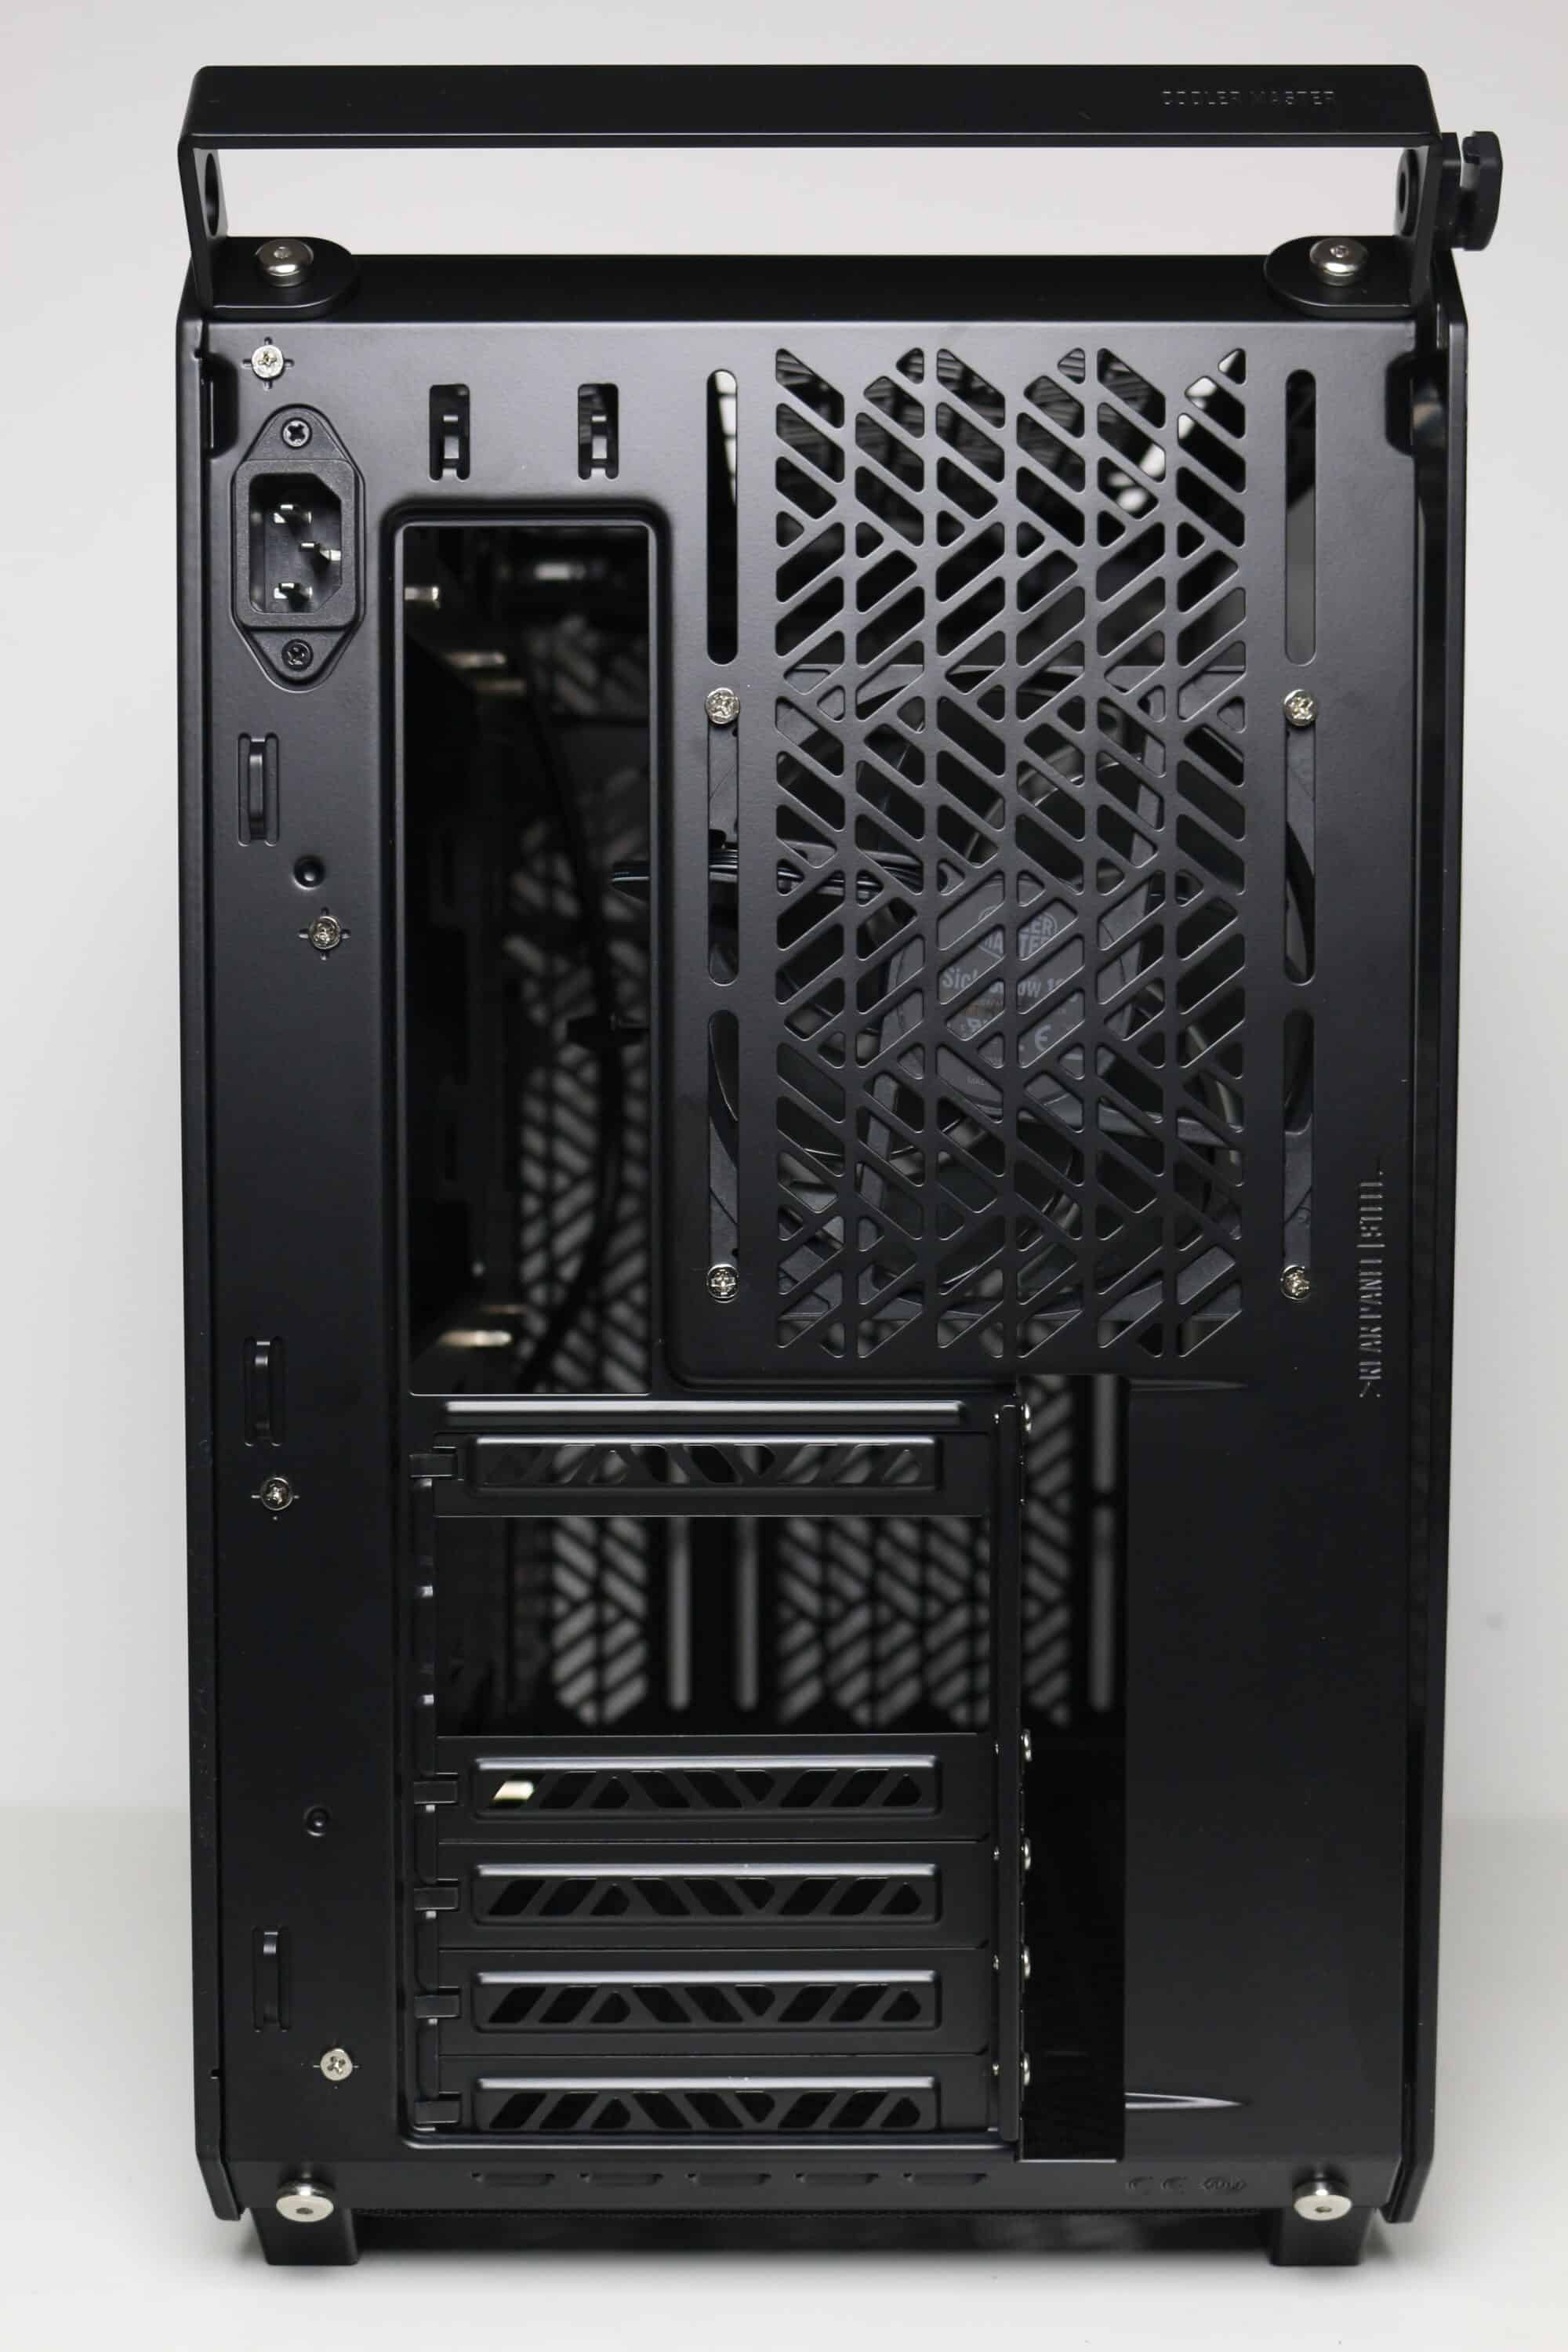
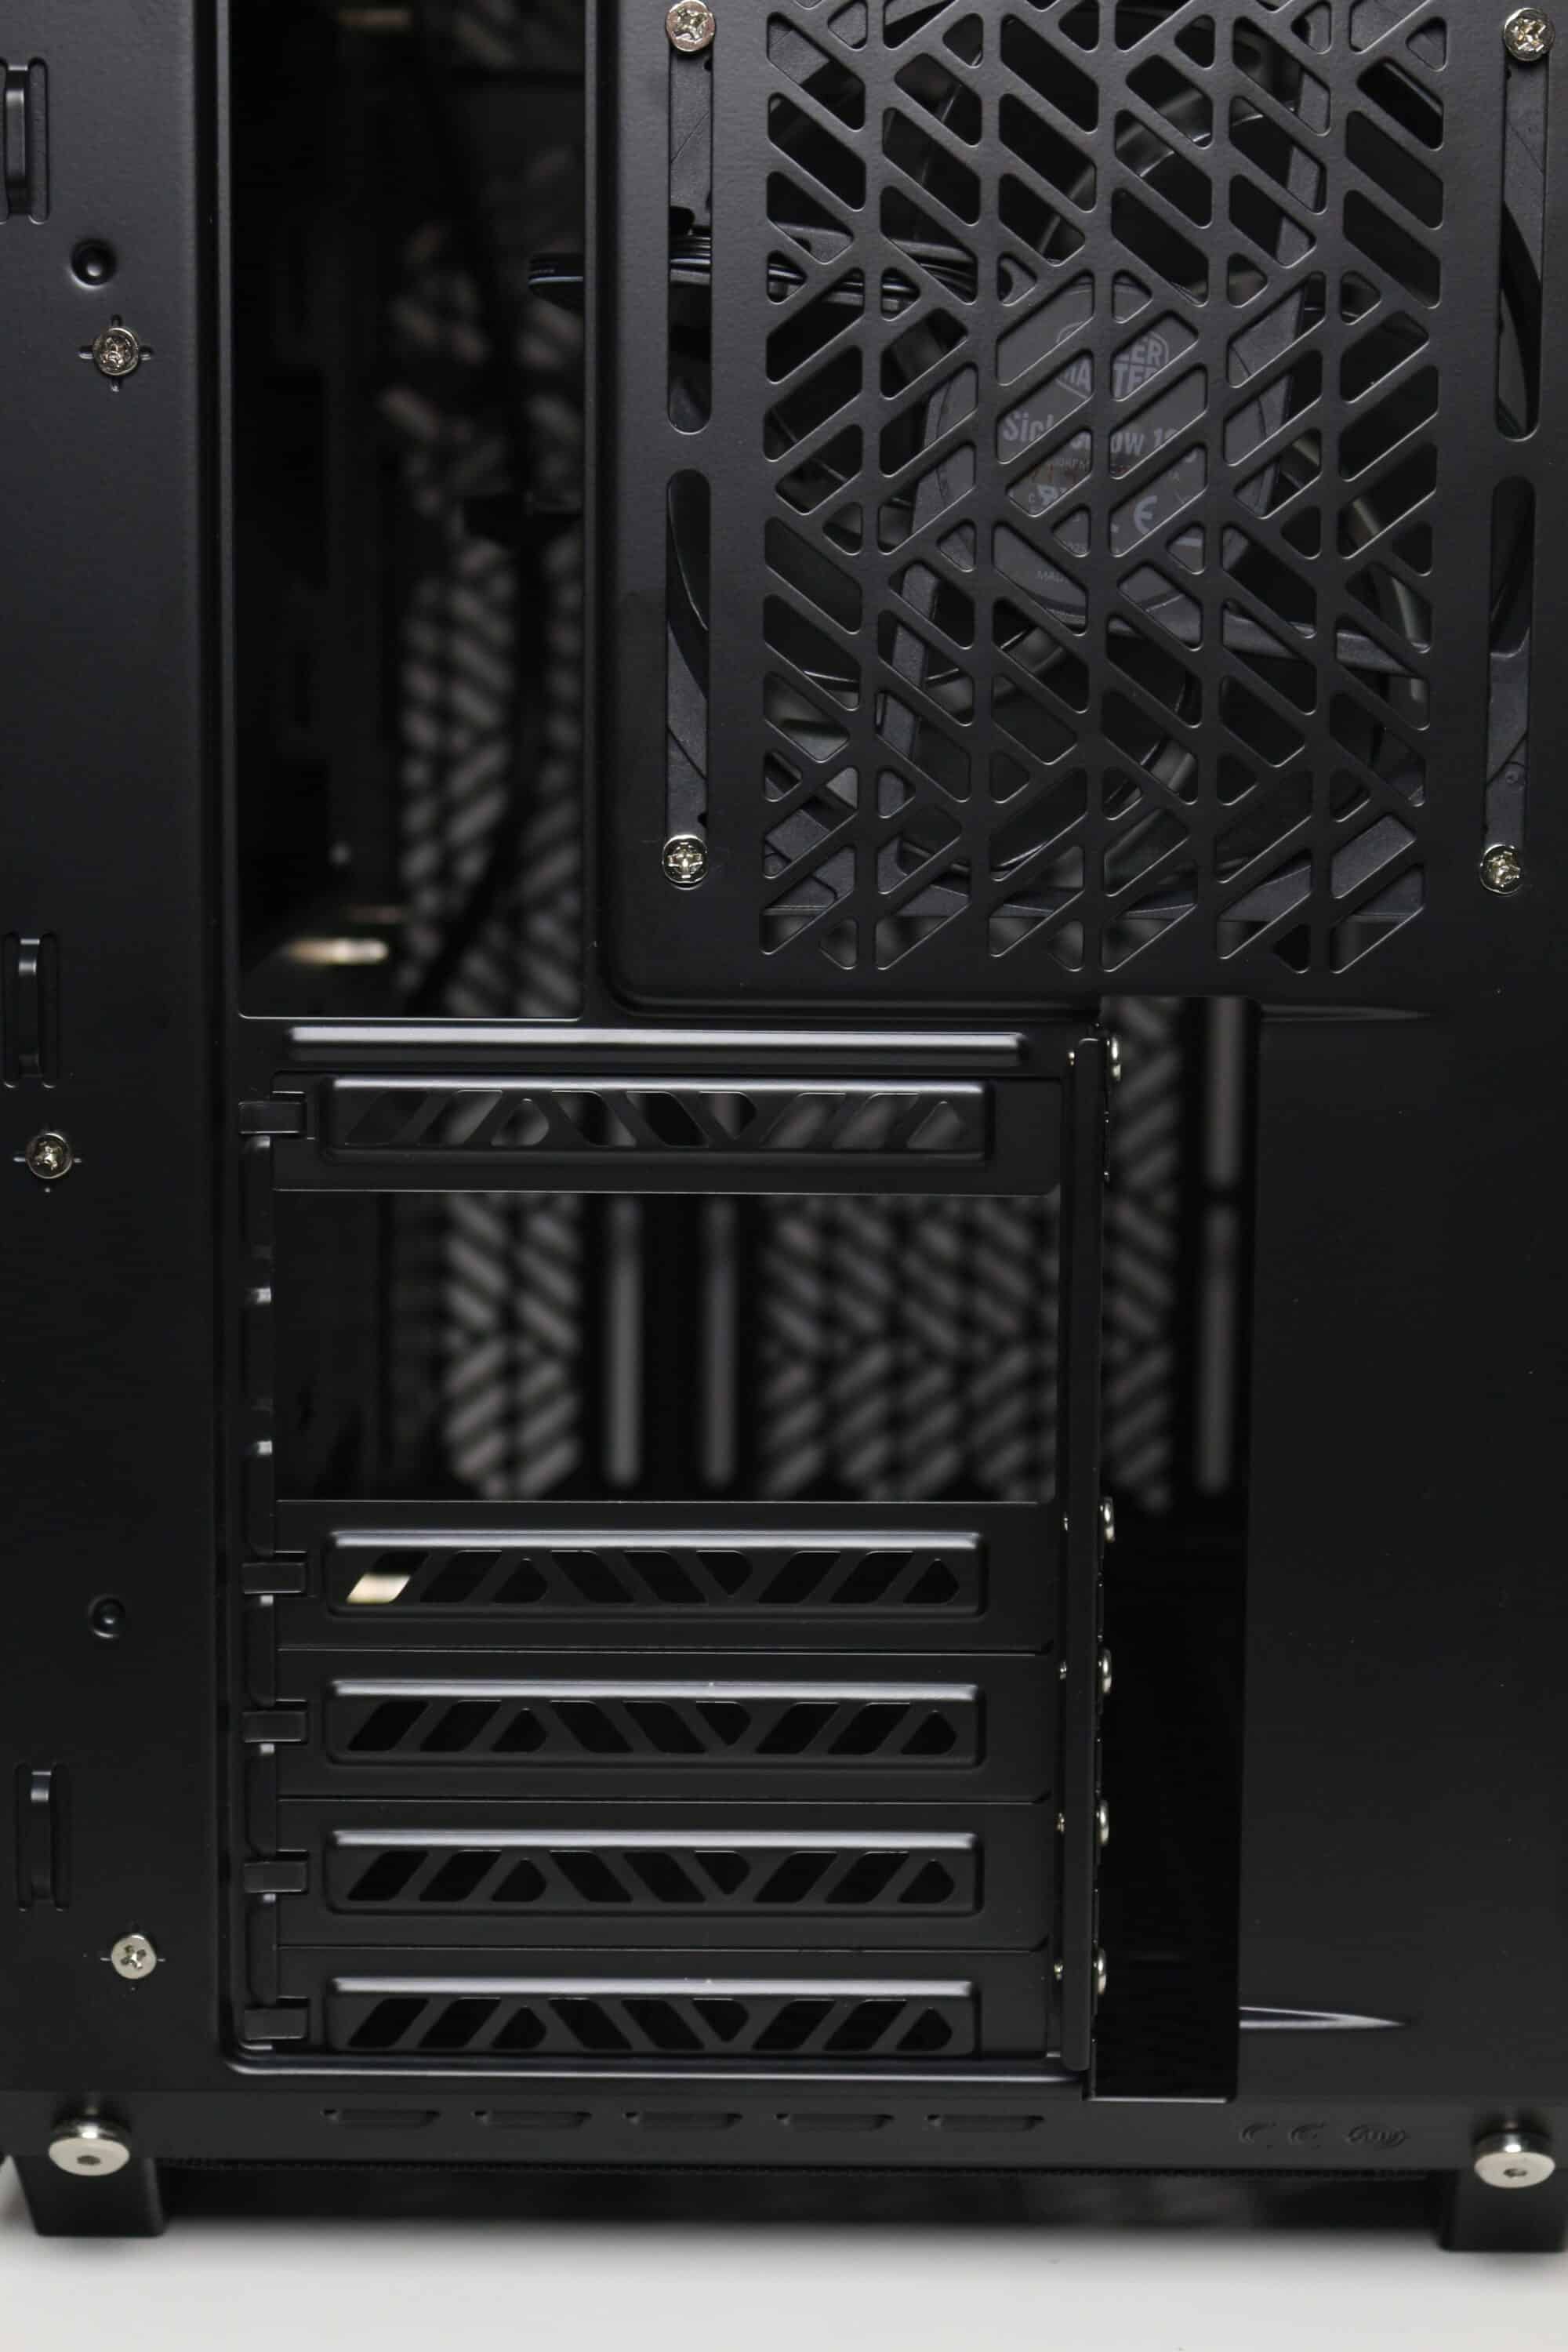
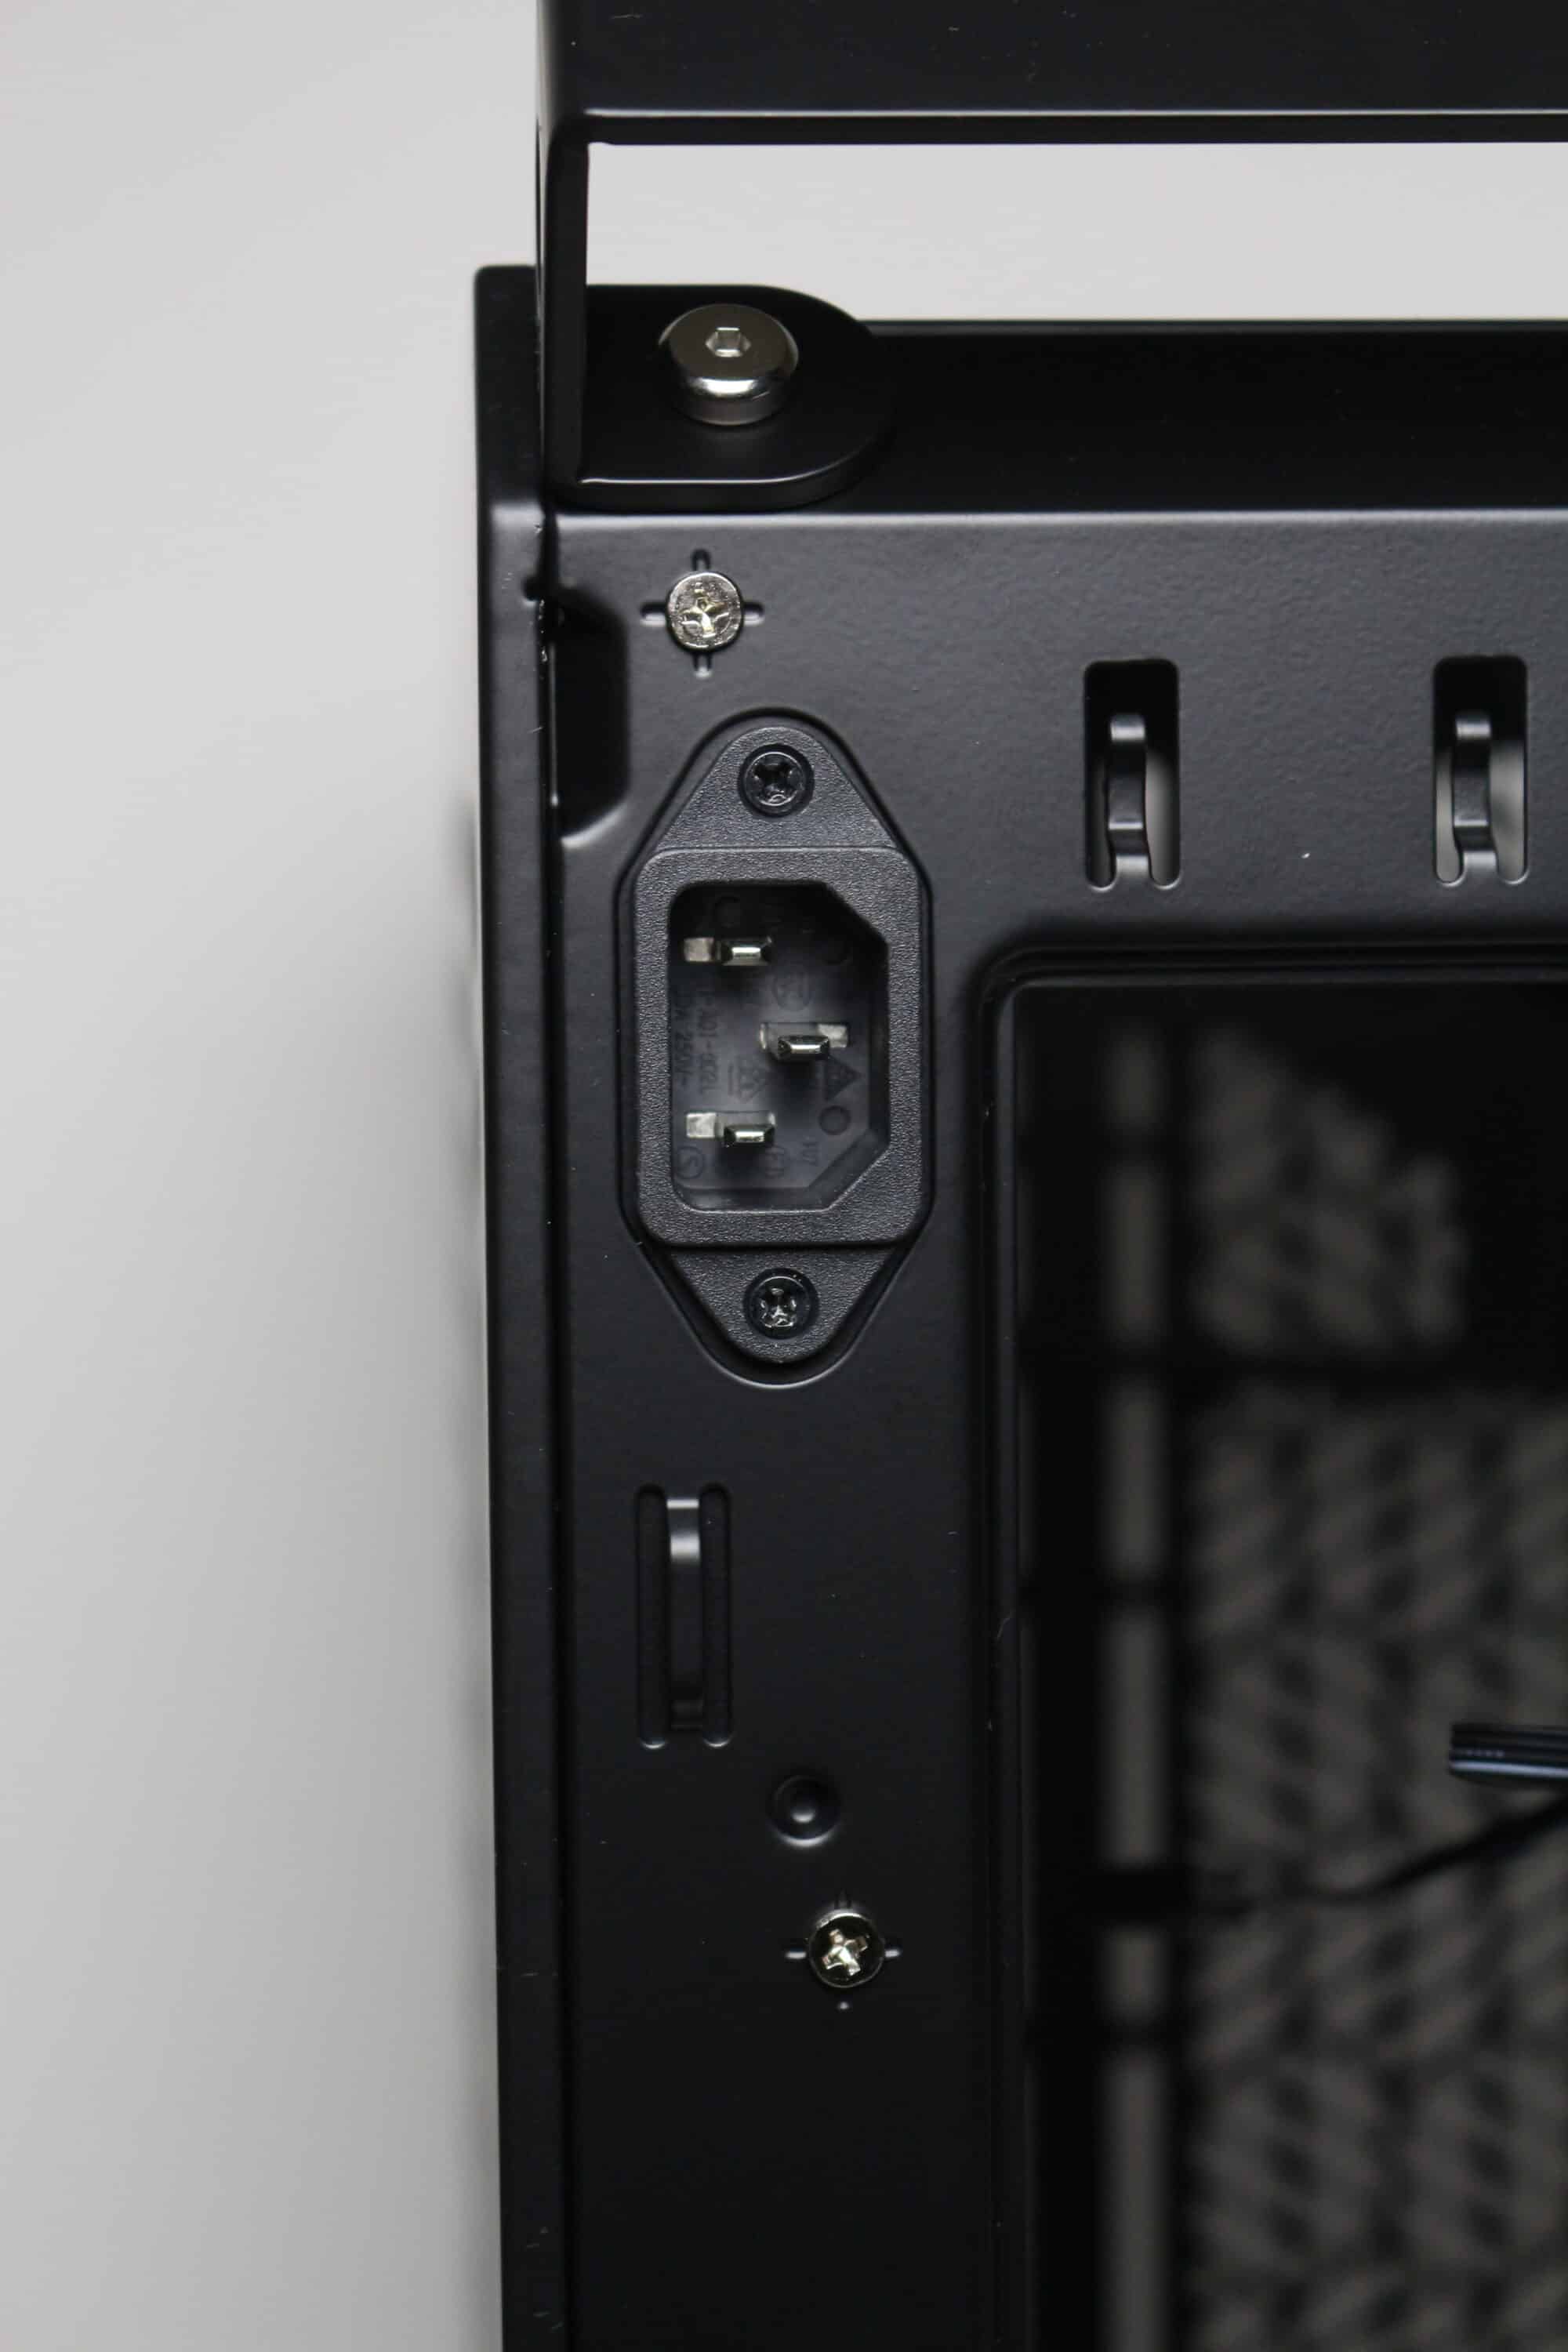
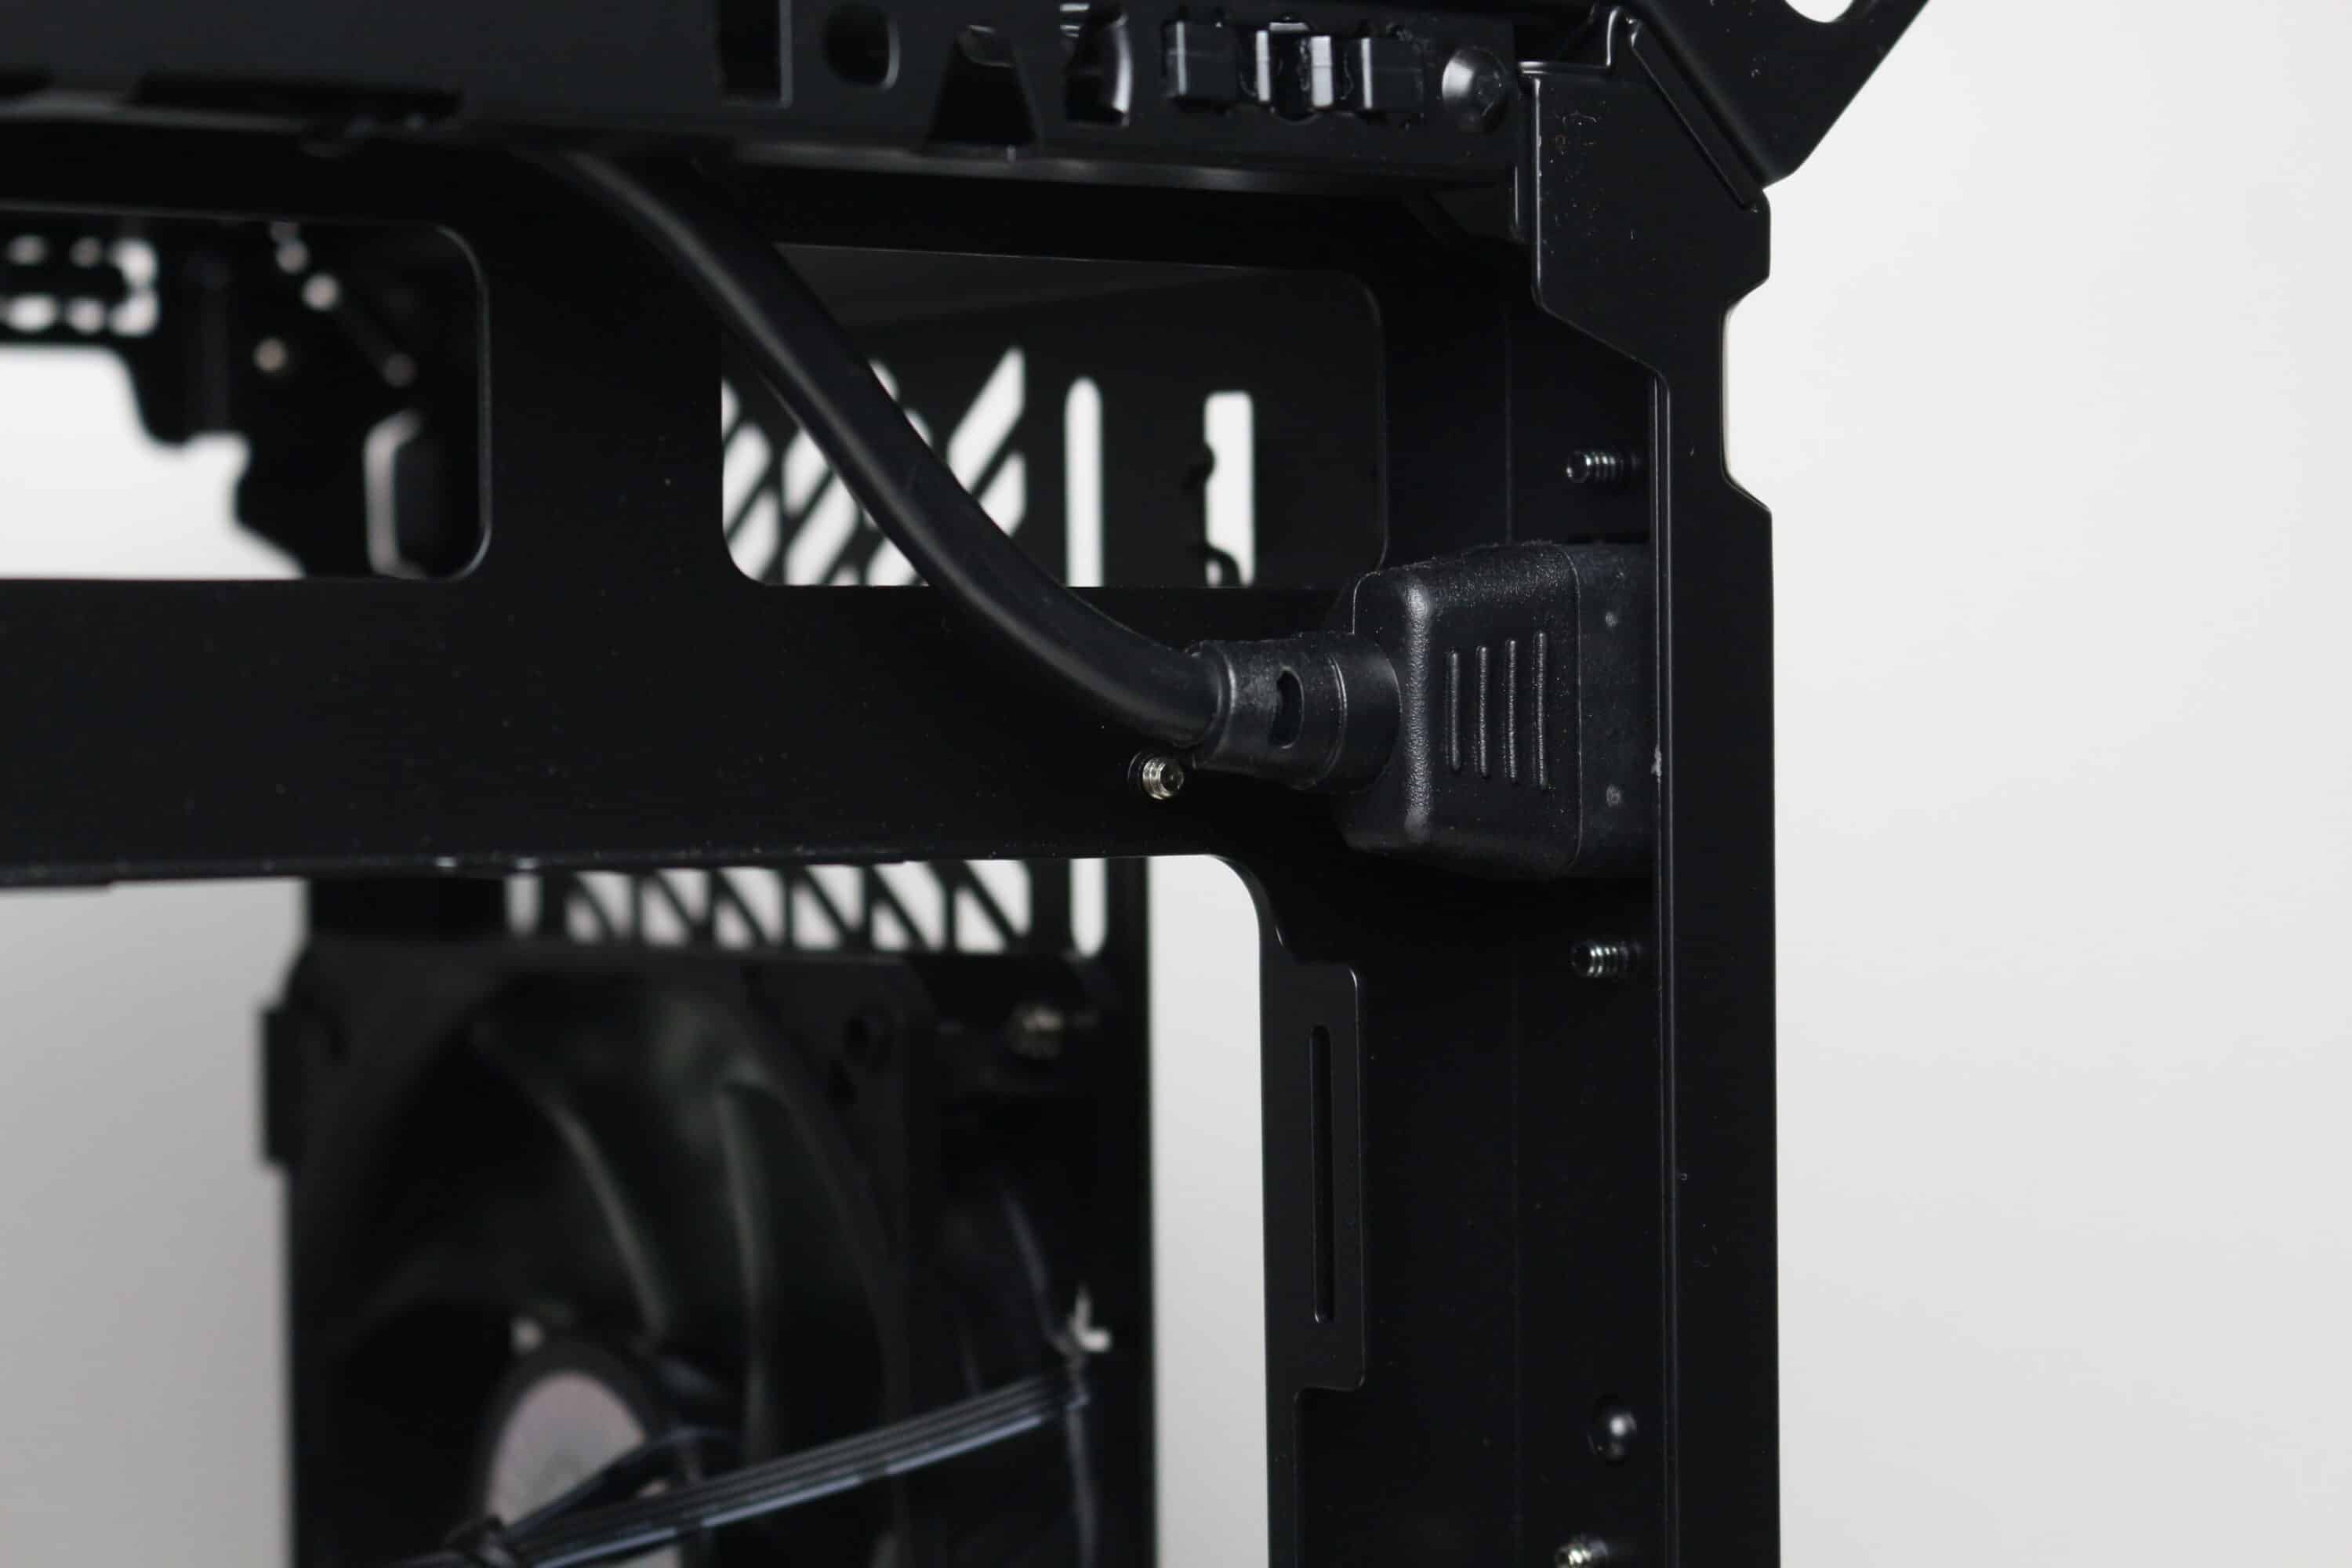
Looking at the back of the Qube 500, one thing is immediately apparent: there is no mounting space for an ATX power supply. Instead, seven slots for expansion cards can be seen in the lower area, of which only five are equipped with a reusable slot end. Cooler Master has positioned a pre-installed 120 mm case fan above this, which can be moved flexibly using mounting rails. Finally, the manufacturer has installed the socket for the power cable, which is routed to the power supply unit in the interior, in the top left-hand corner.
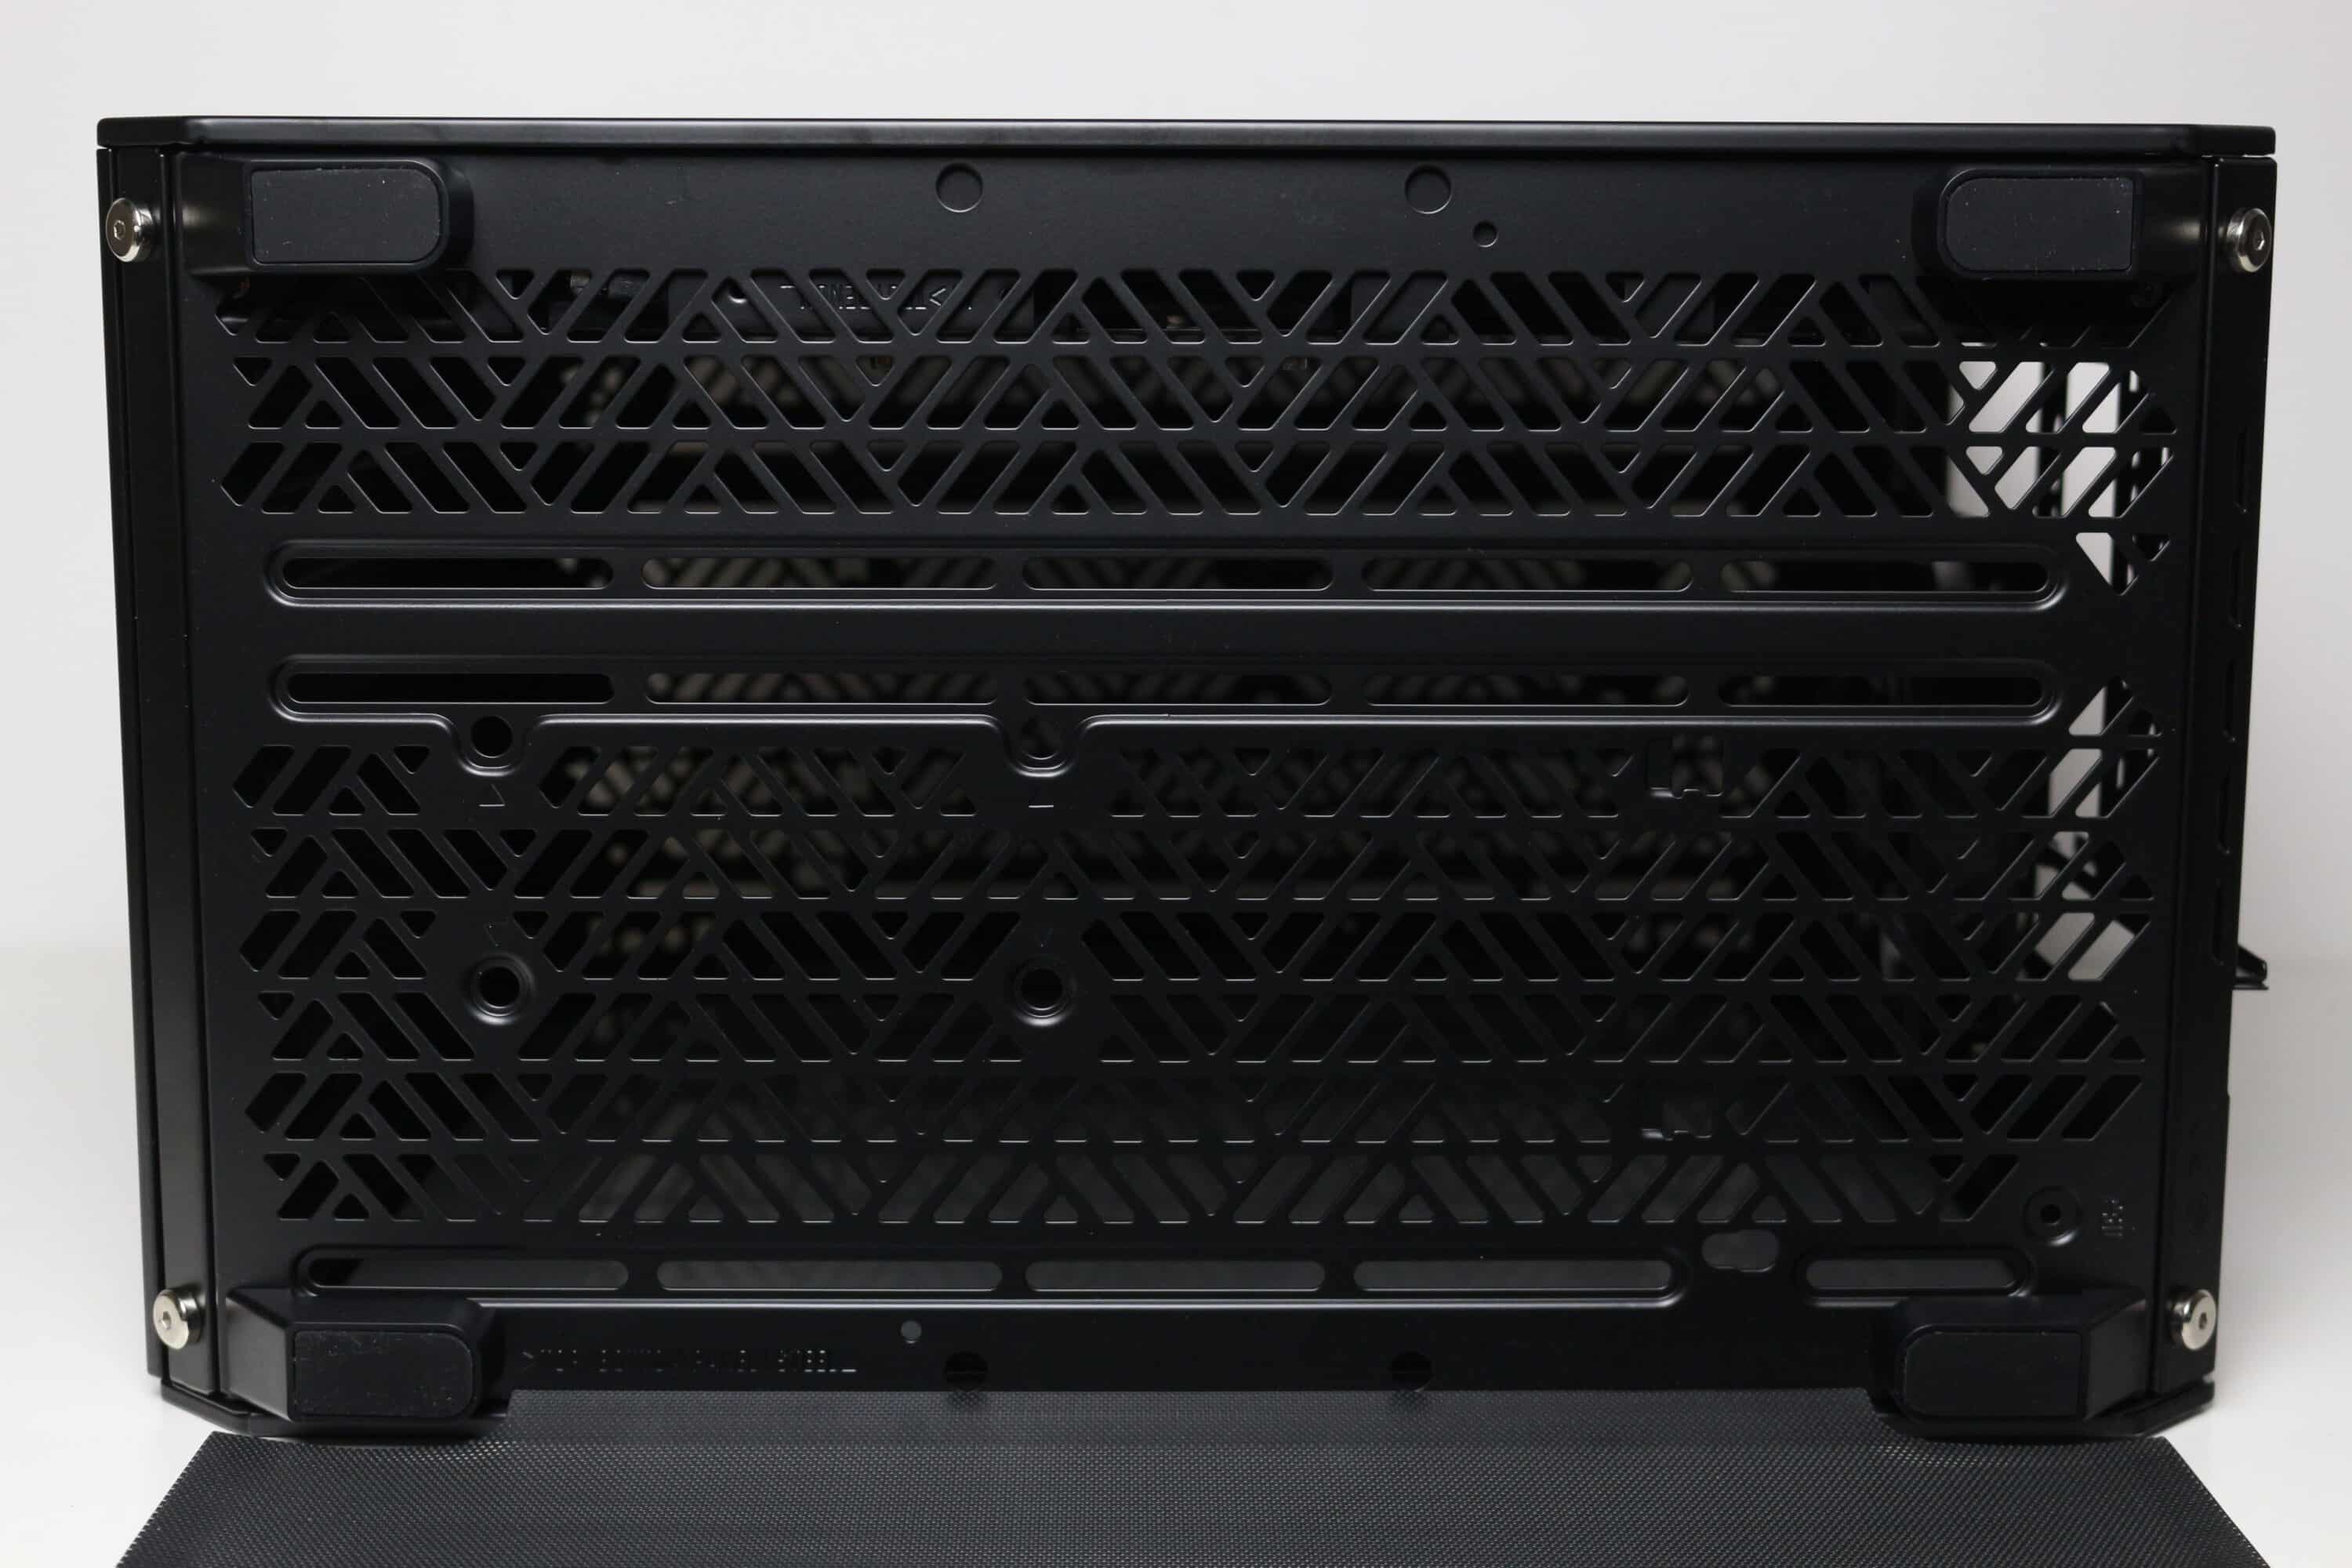
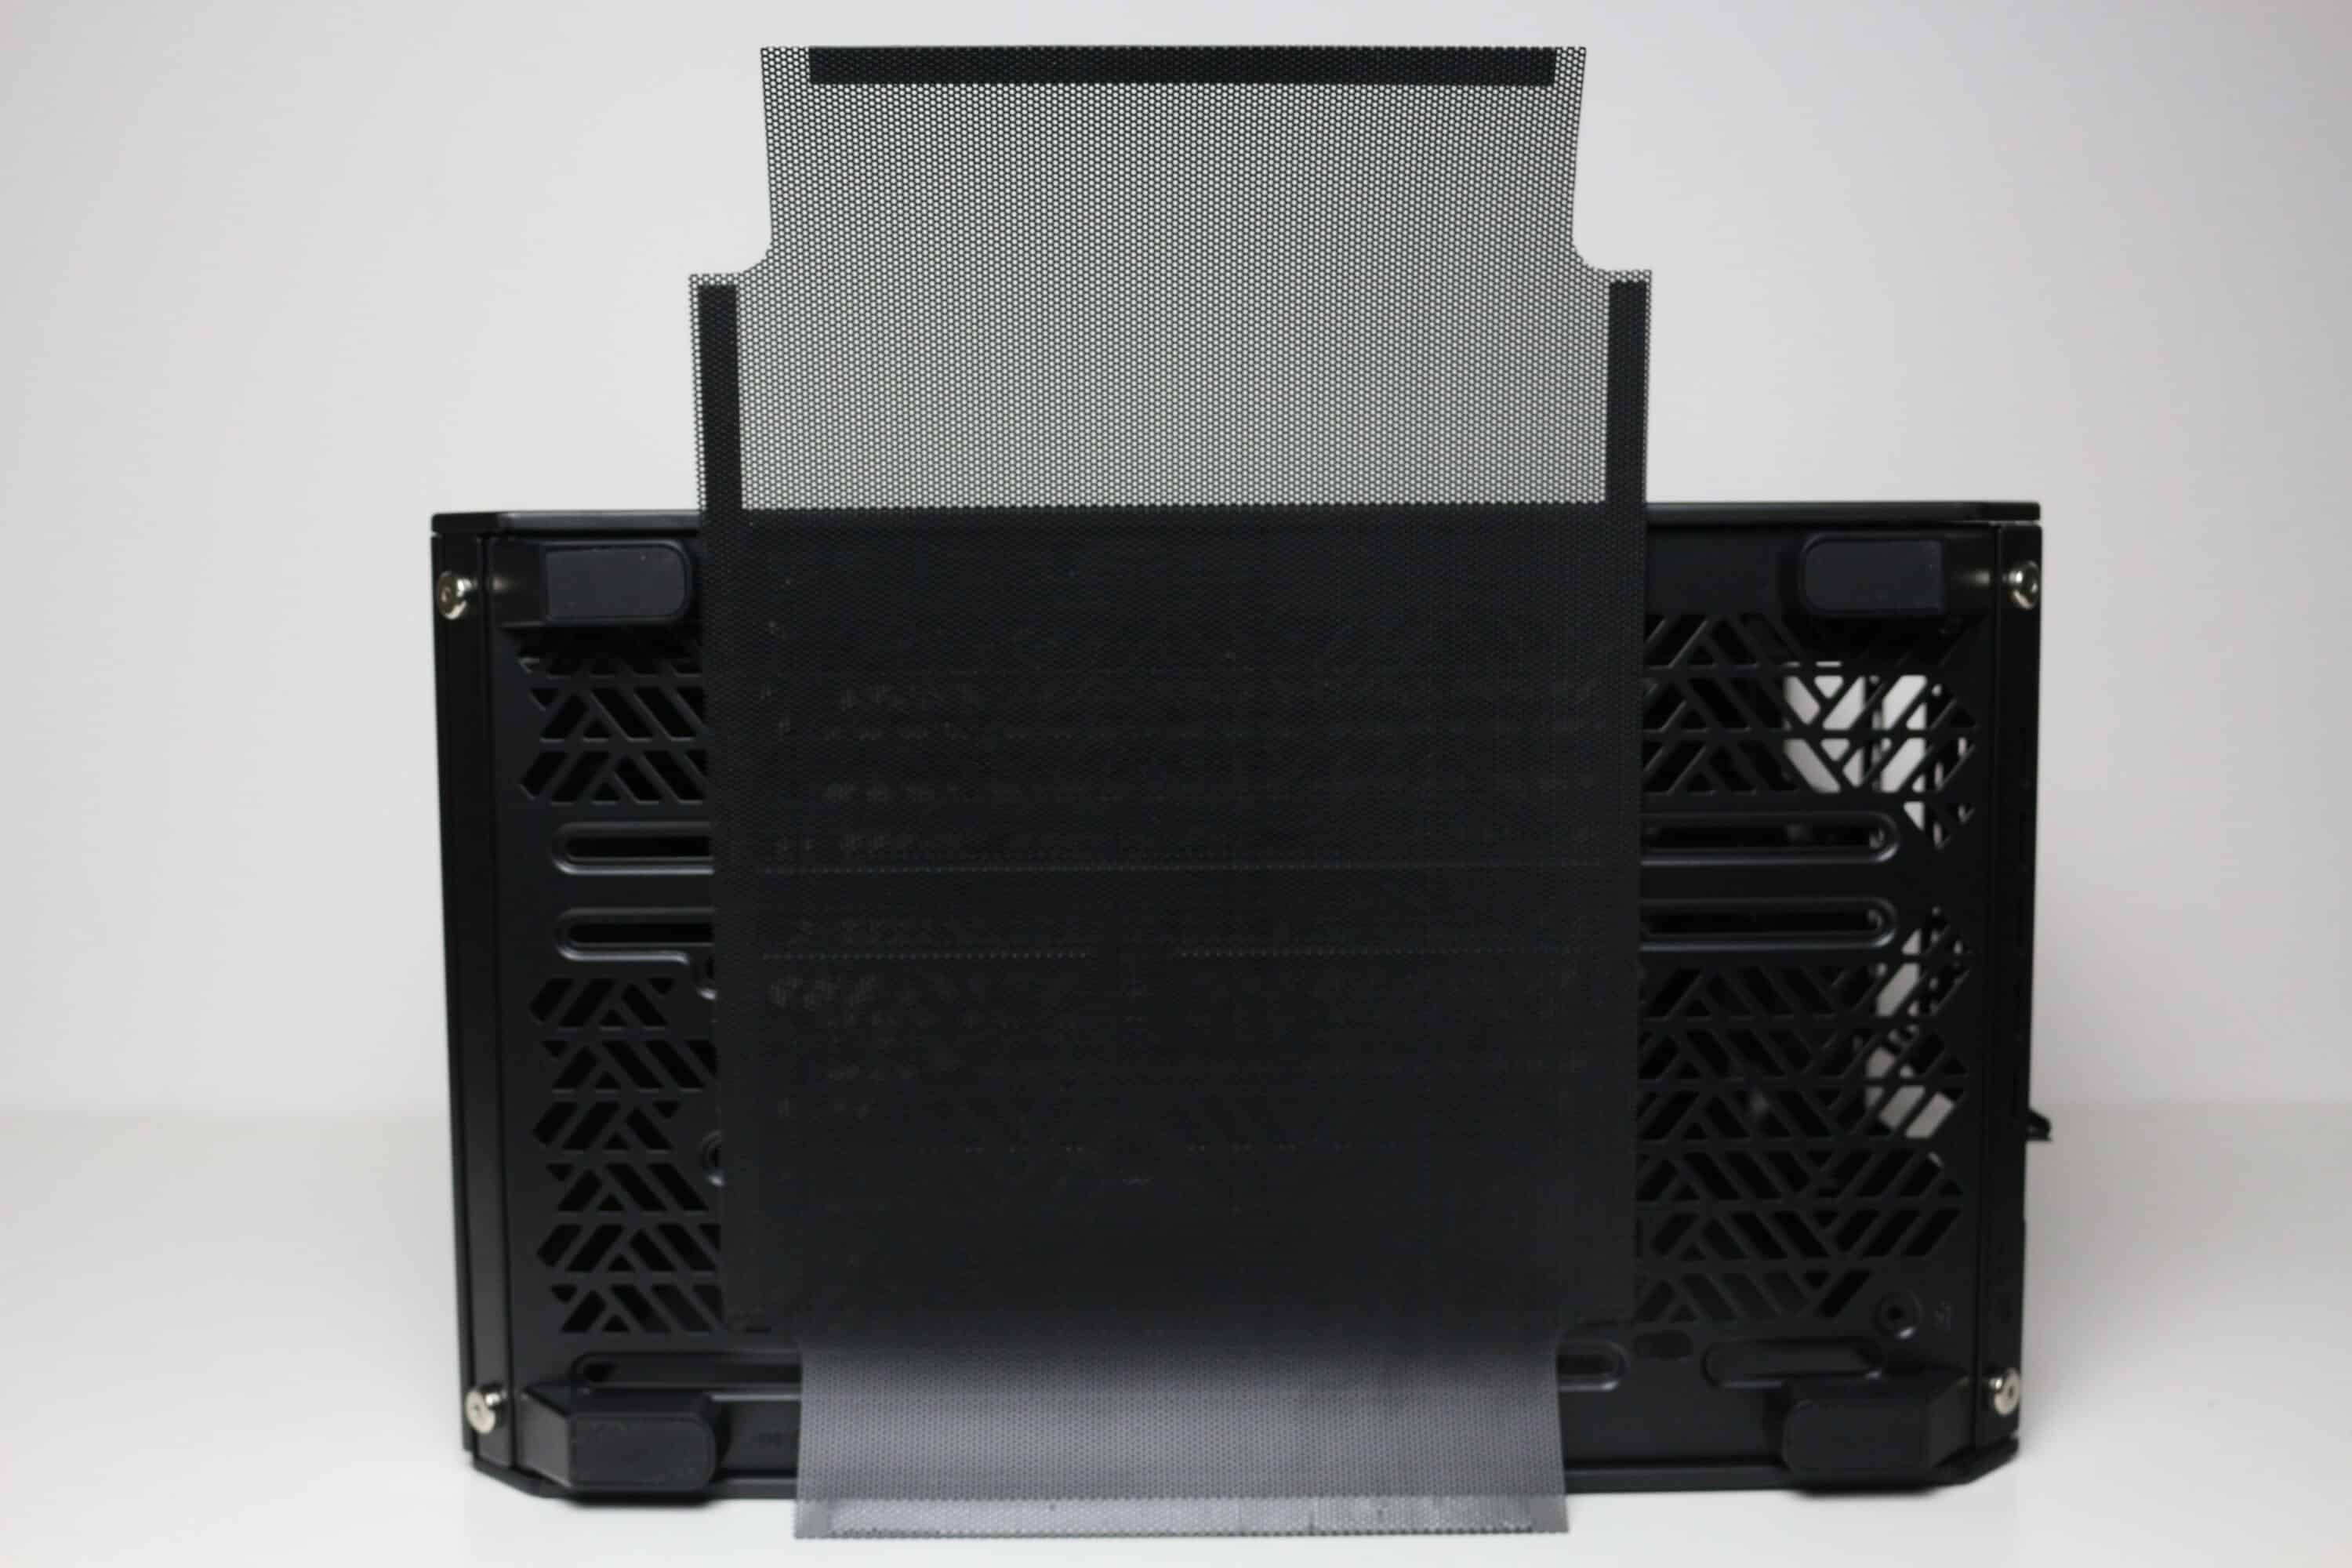
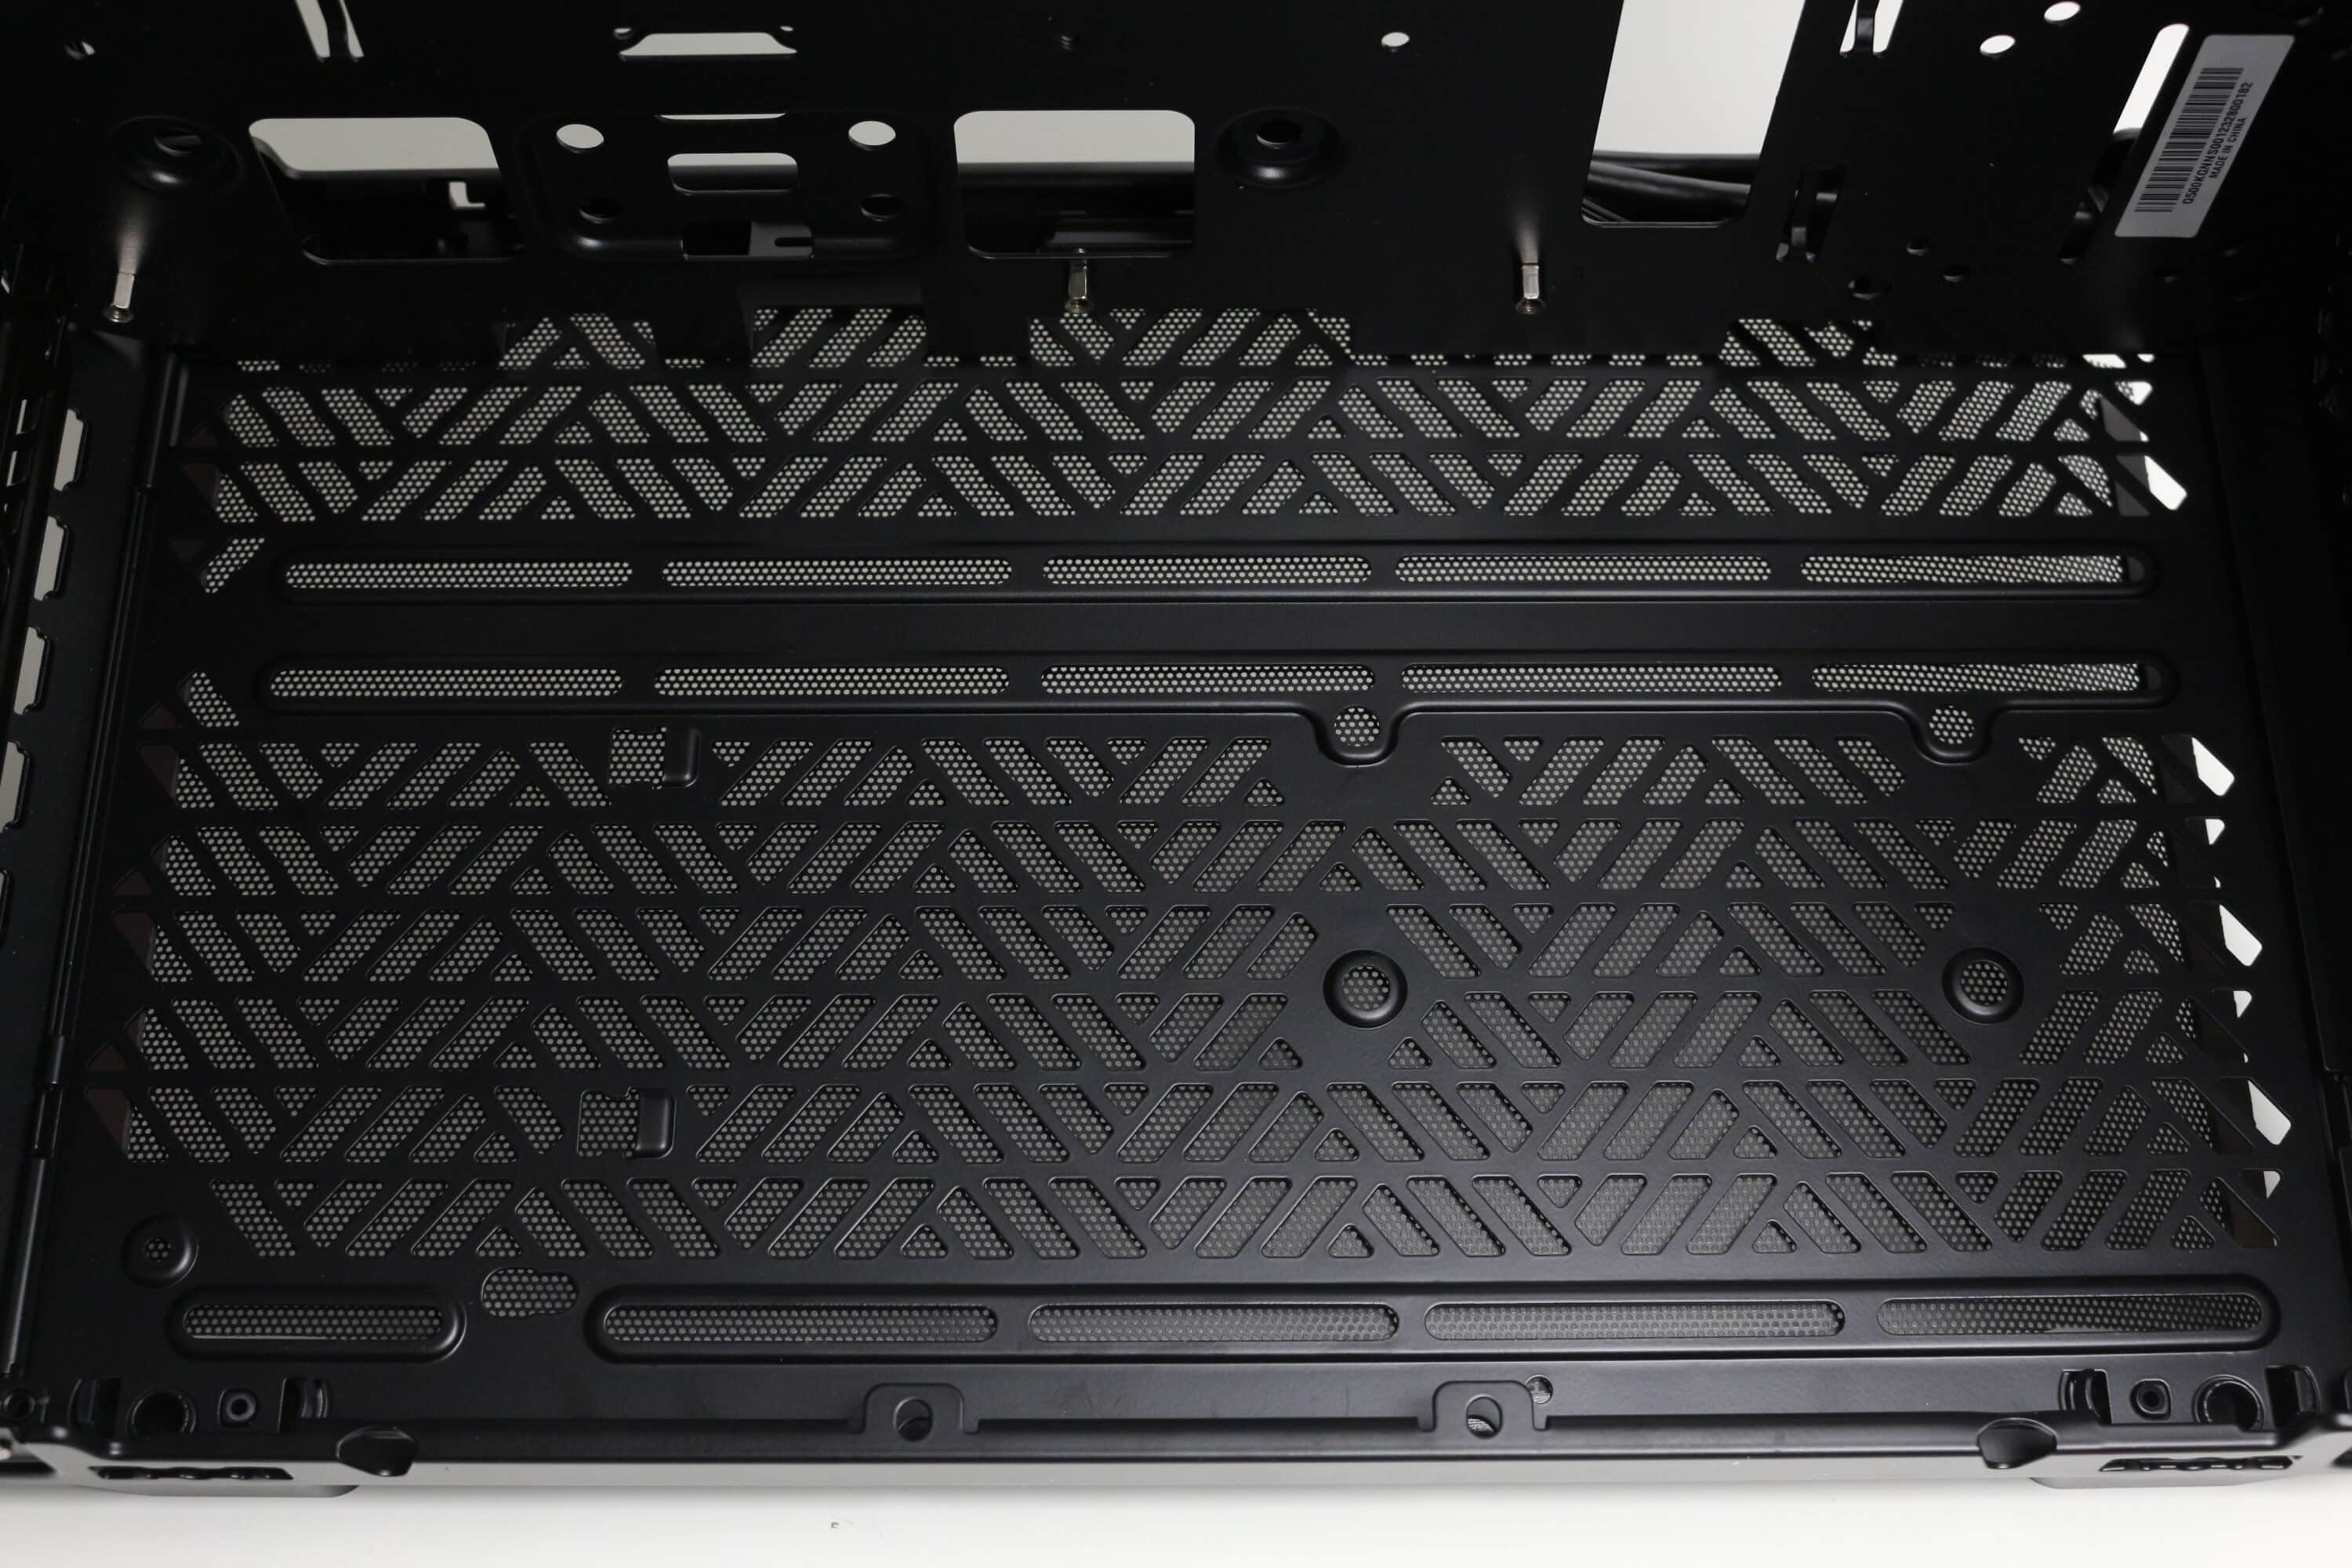
There are no big surprises on the underside of the Qube 500. This again has generously dimensioned ventilation openings and mounting rails for up to two 120 or 140 mm fans. Cooler Master has positioned a large mesh dust filter in front of the fans, which is attached to the body via magnetic strips and can therefore be easily removed. Four simple plastic blocks are used as feet, which have a layer of rubber to protect the surface. If you plan to use a different layout of the Qube 500, the feet can also be repositioned as required.
Interior impression
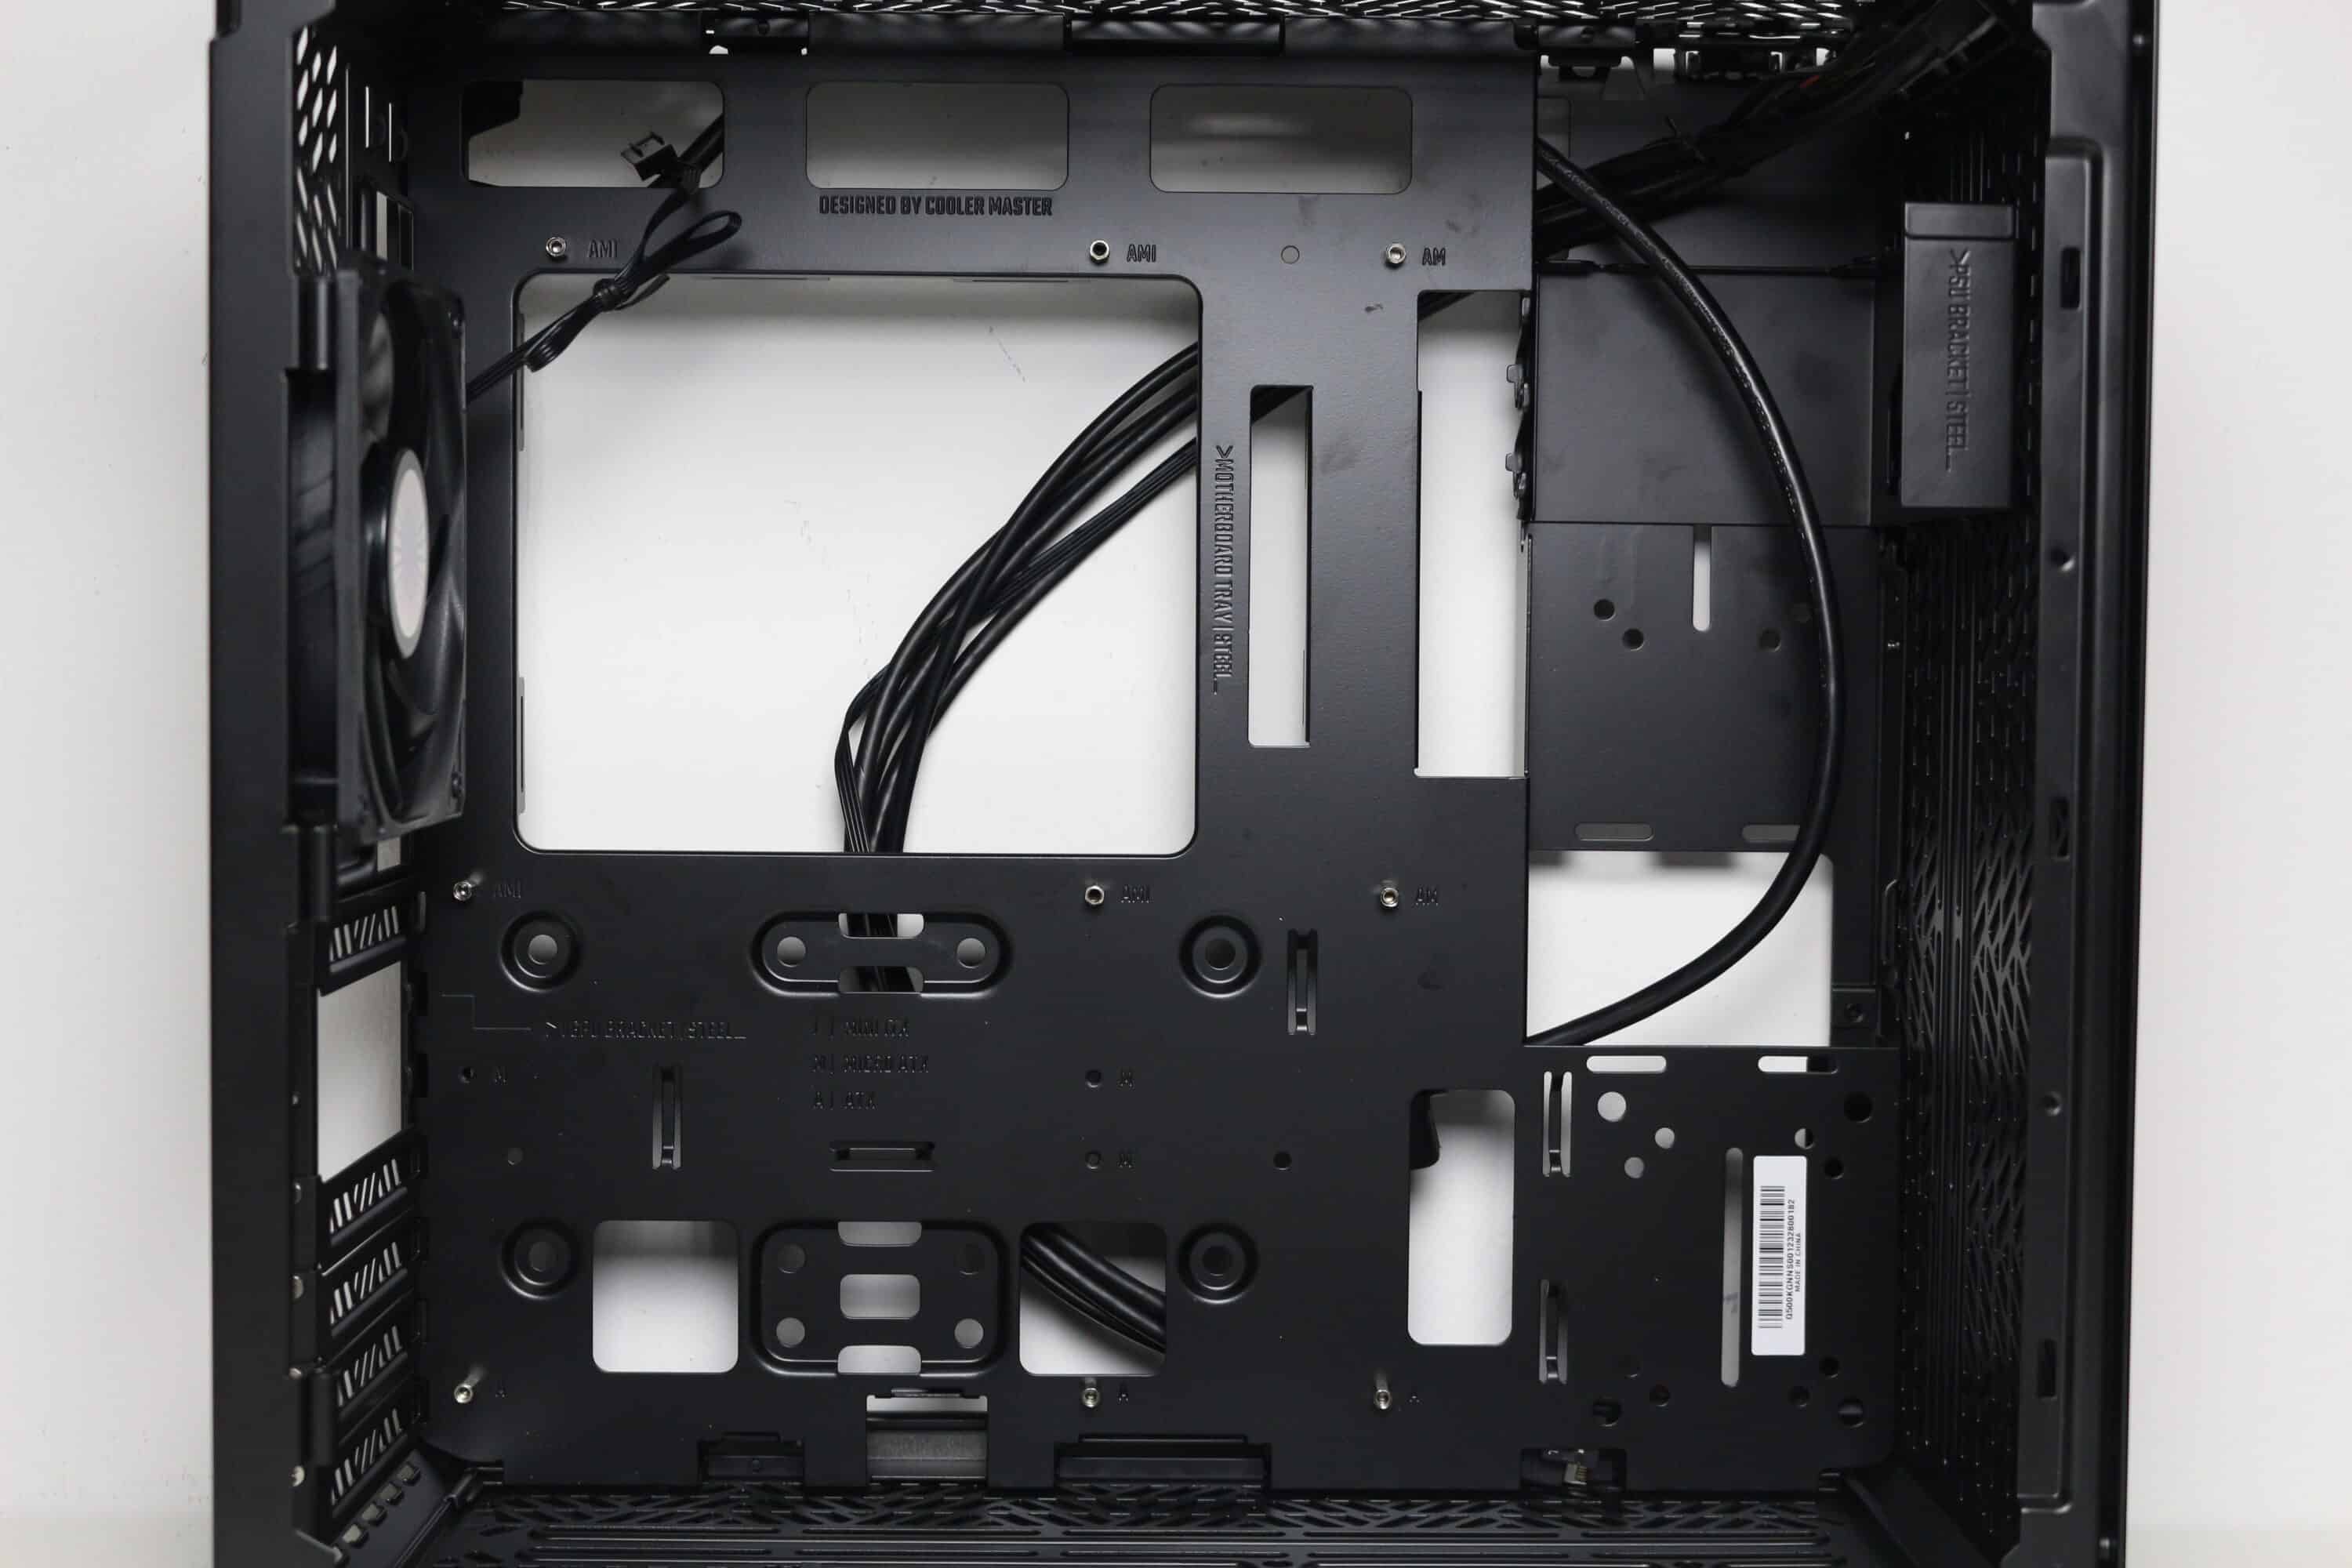
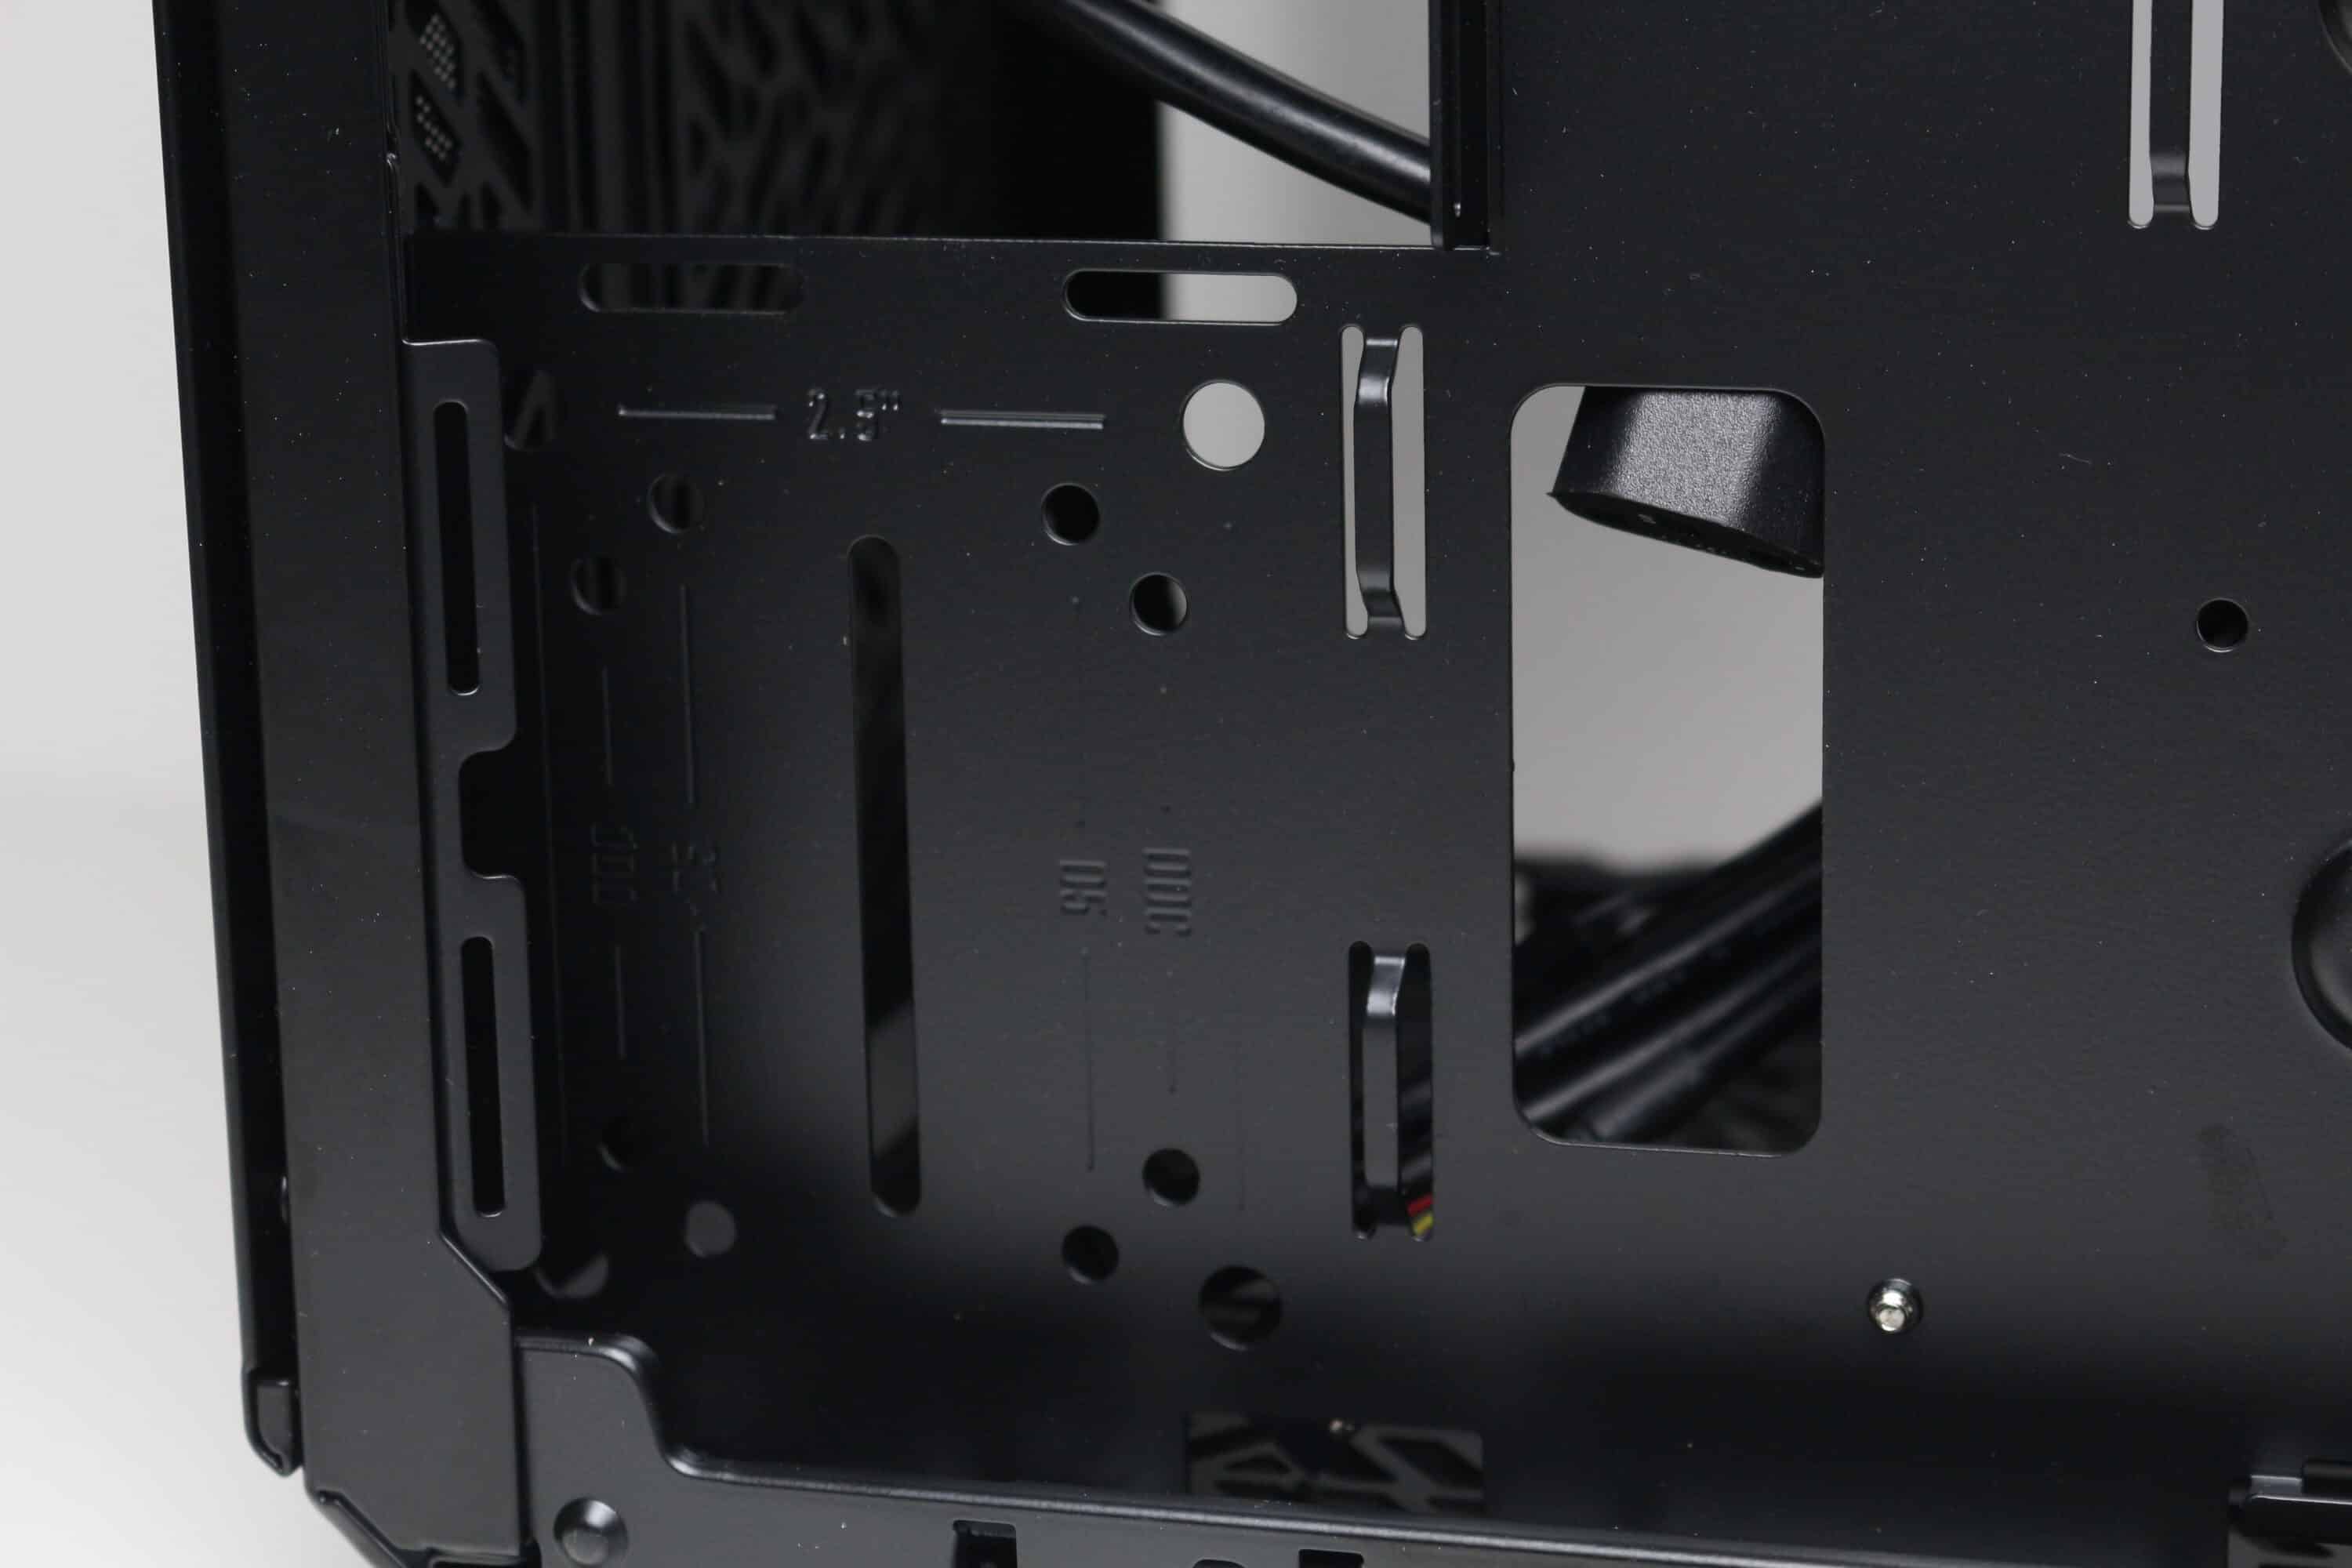
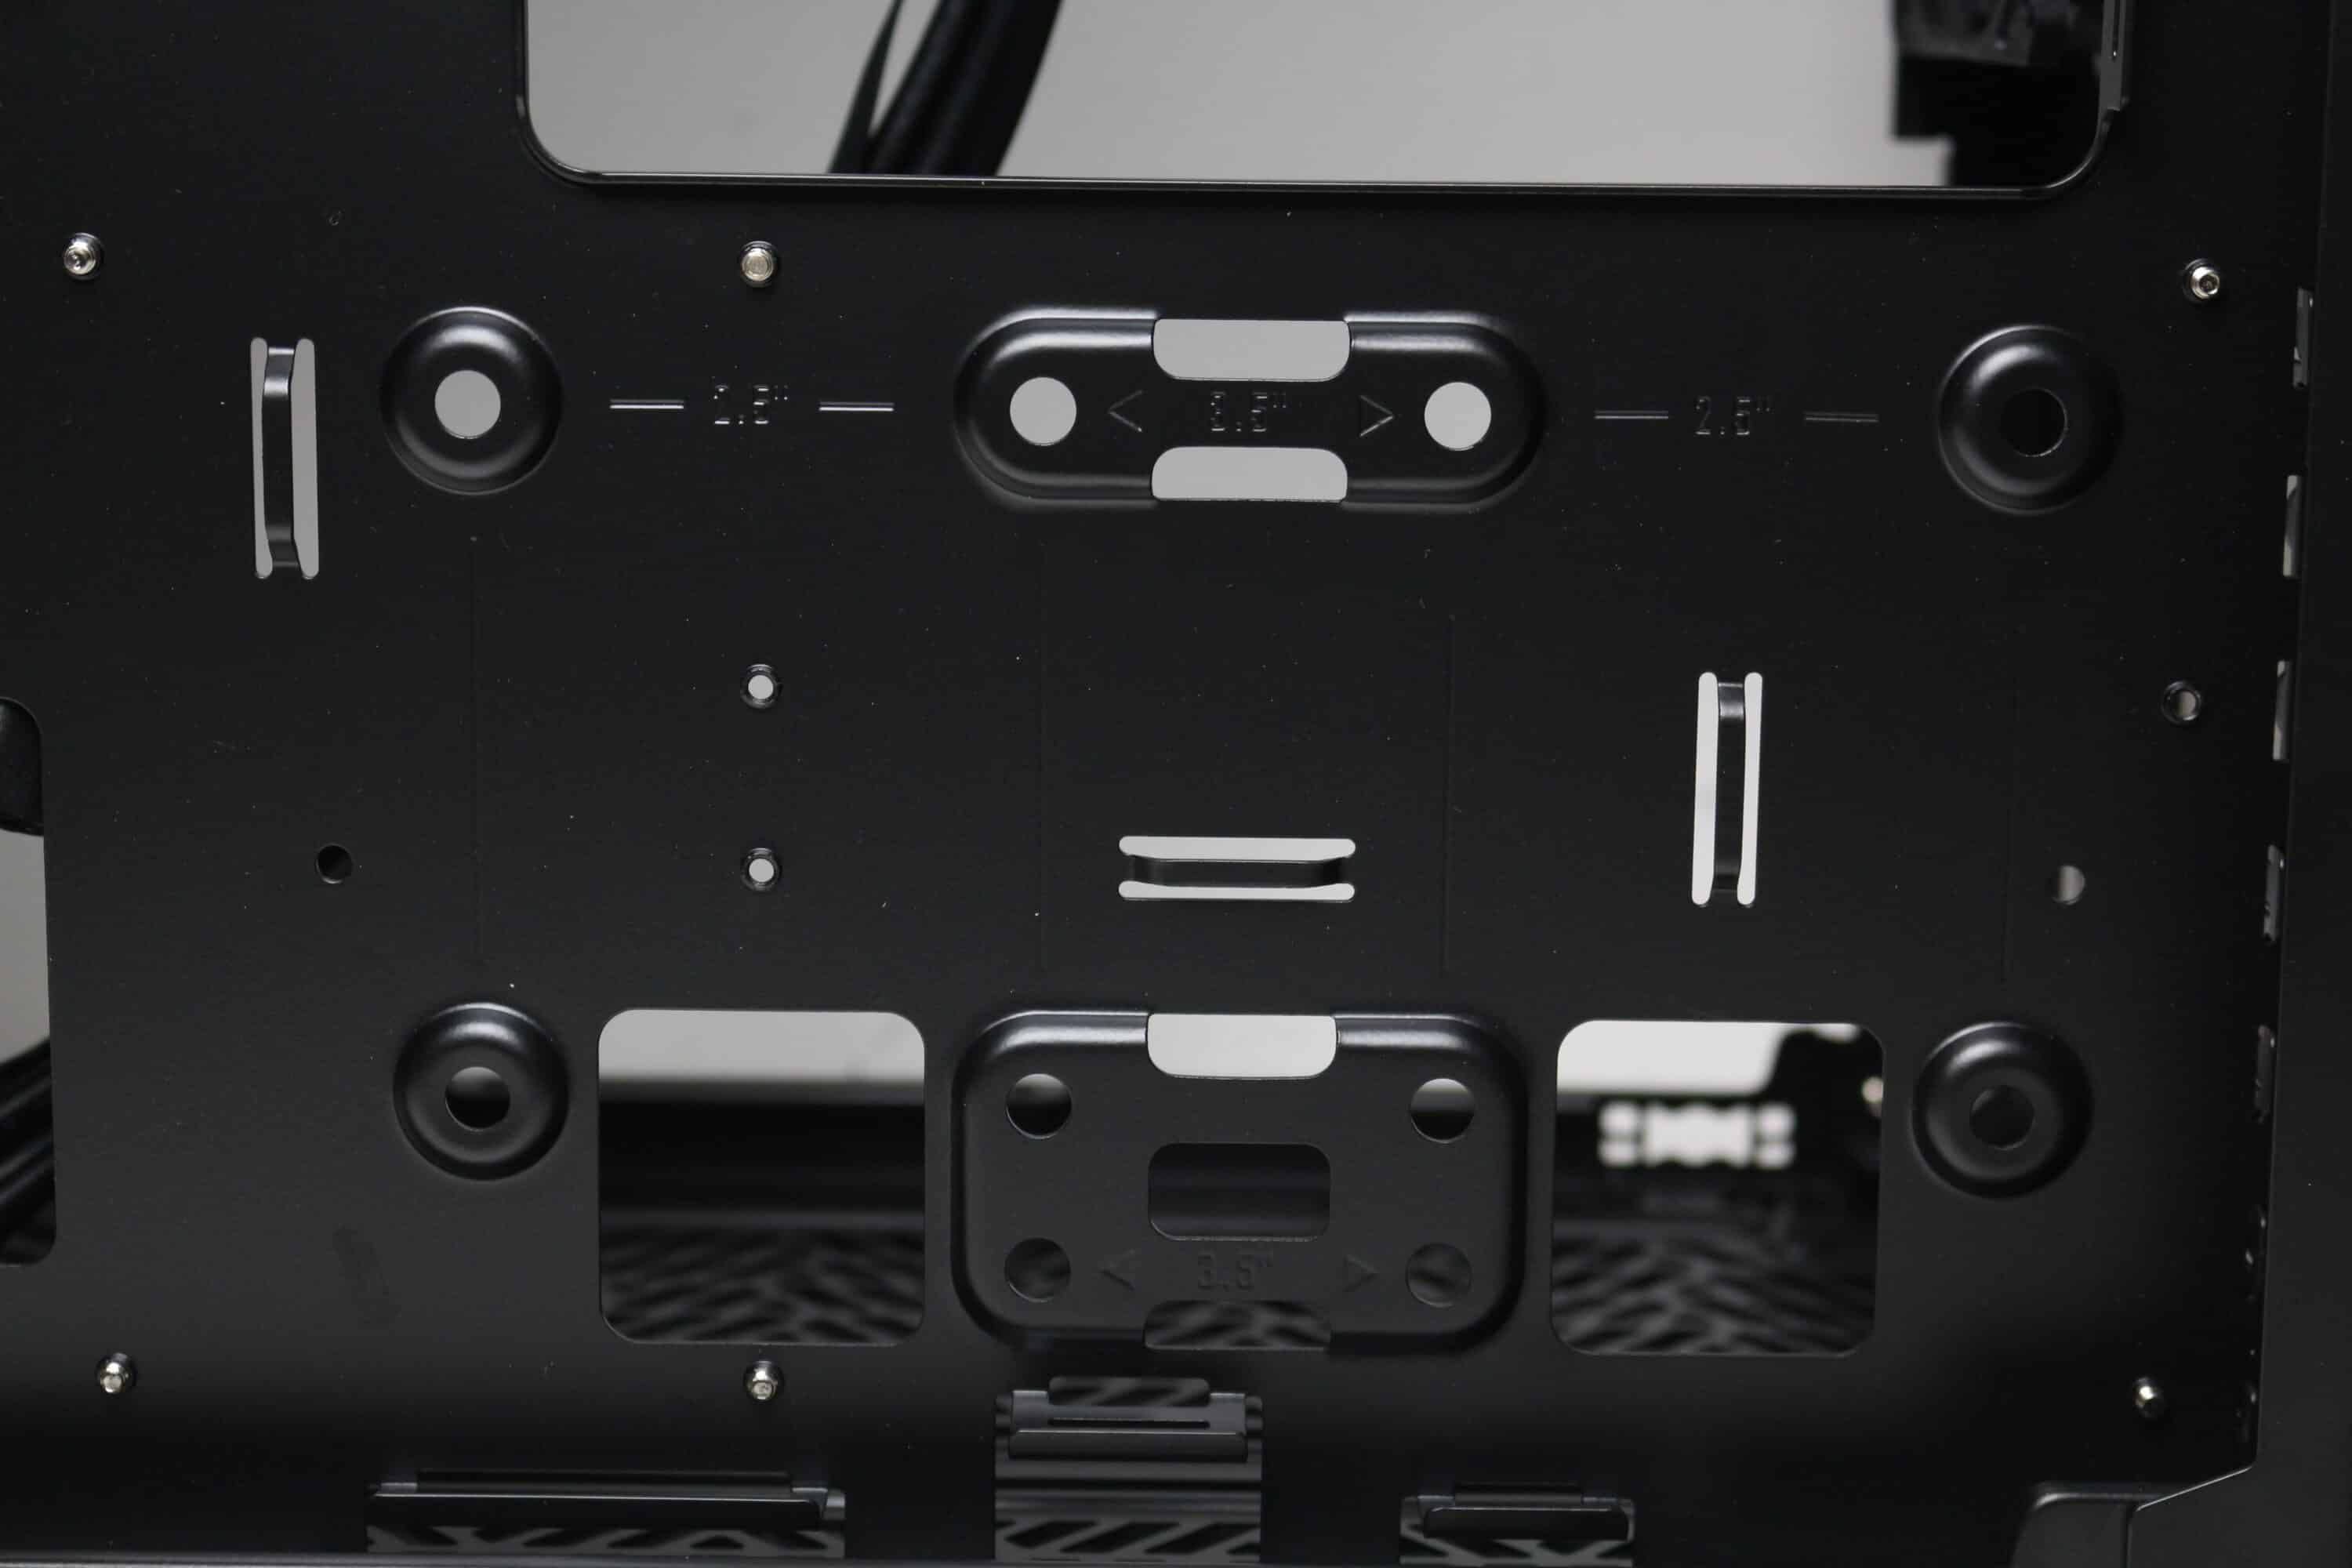
The interior of the Cooler Master Qube 500 Flatpack consists of a large main chamber for all important components, such as mainboard, graphics card and power supply unit, as well as a small chamber behind the mainboard tray for data carriers and cables. The tray is predominantly flat, but has various openings for cables and a large indentation on the right-hand side for the power supply unit. In addition, all spacers for a normal ATX mainboard have been pre-installed.

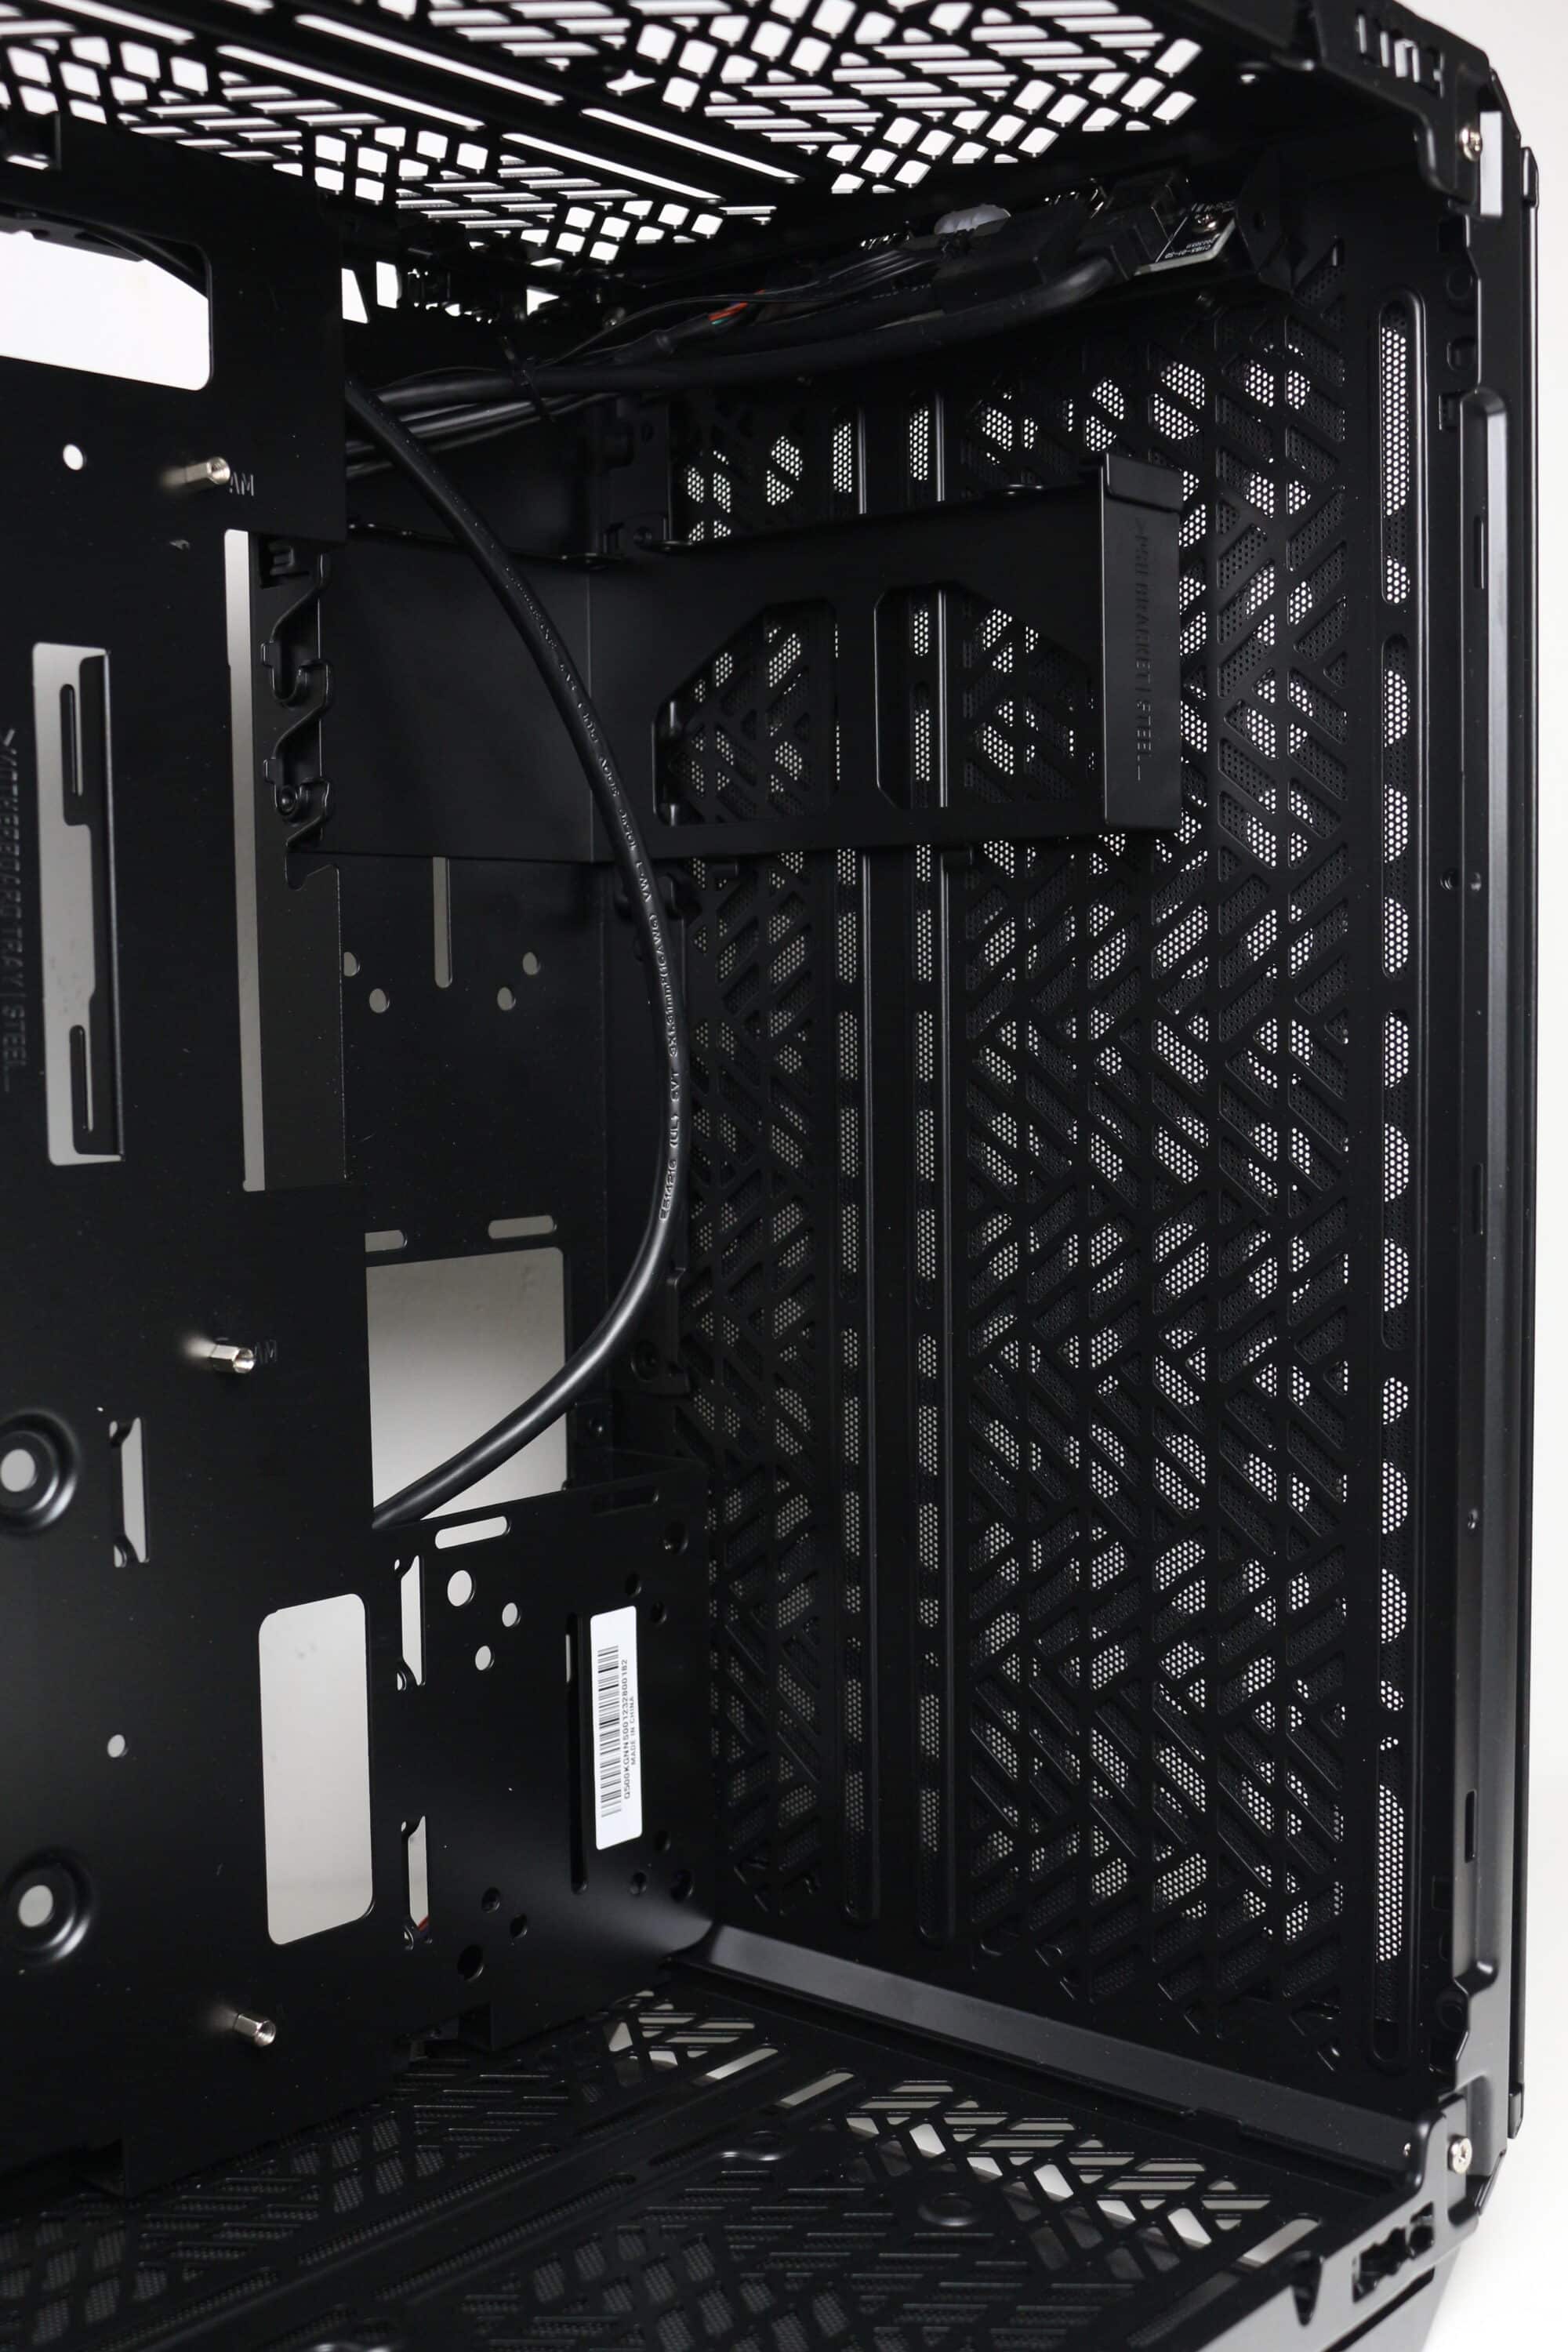
As already mentioned, the top and bottom elements are exact copies of each other. Above and below the mainboard tray there are a few centimeters of space, which will be particularly helpful when mounting a radiator or additional fans. For this reason, there is also a flexible rail system for up to two 120 mm or 140 mm fans, which has been offset to the outside.

In the front area, we find the steel mounting frame for attaching the power supply unit. To do this, the frame must first be removed, fitted with the power supply unit and reinstalled. The power supply unit can be mounted with the fan facing the interior or the front. At the rear we find the pre-installed fan and the slots for expansion cards. As Cooler Master assumes that the buyer will install a graphics card anyway, the Qube 500 comes with only five perforated slot bezels.
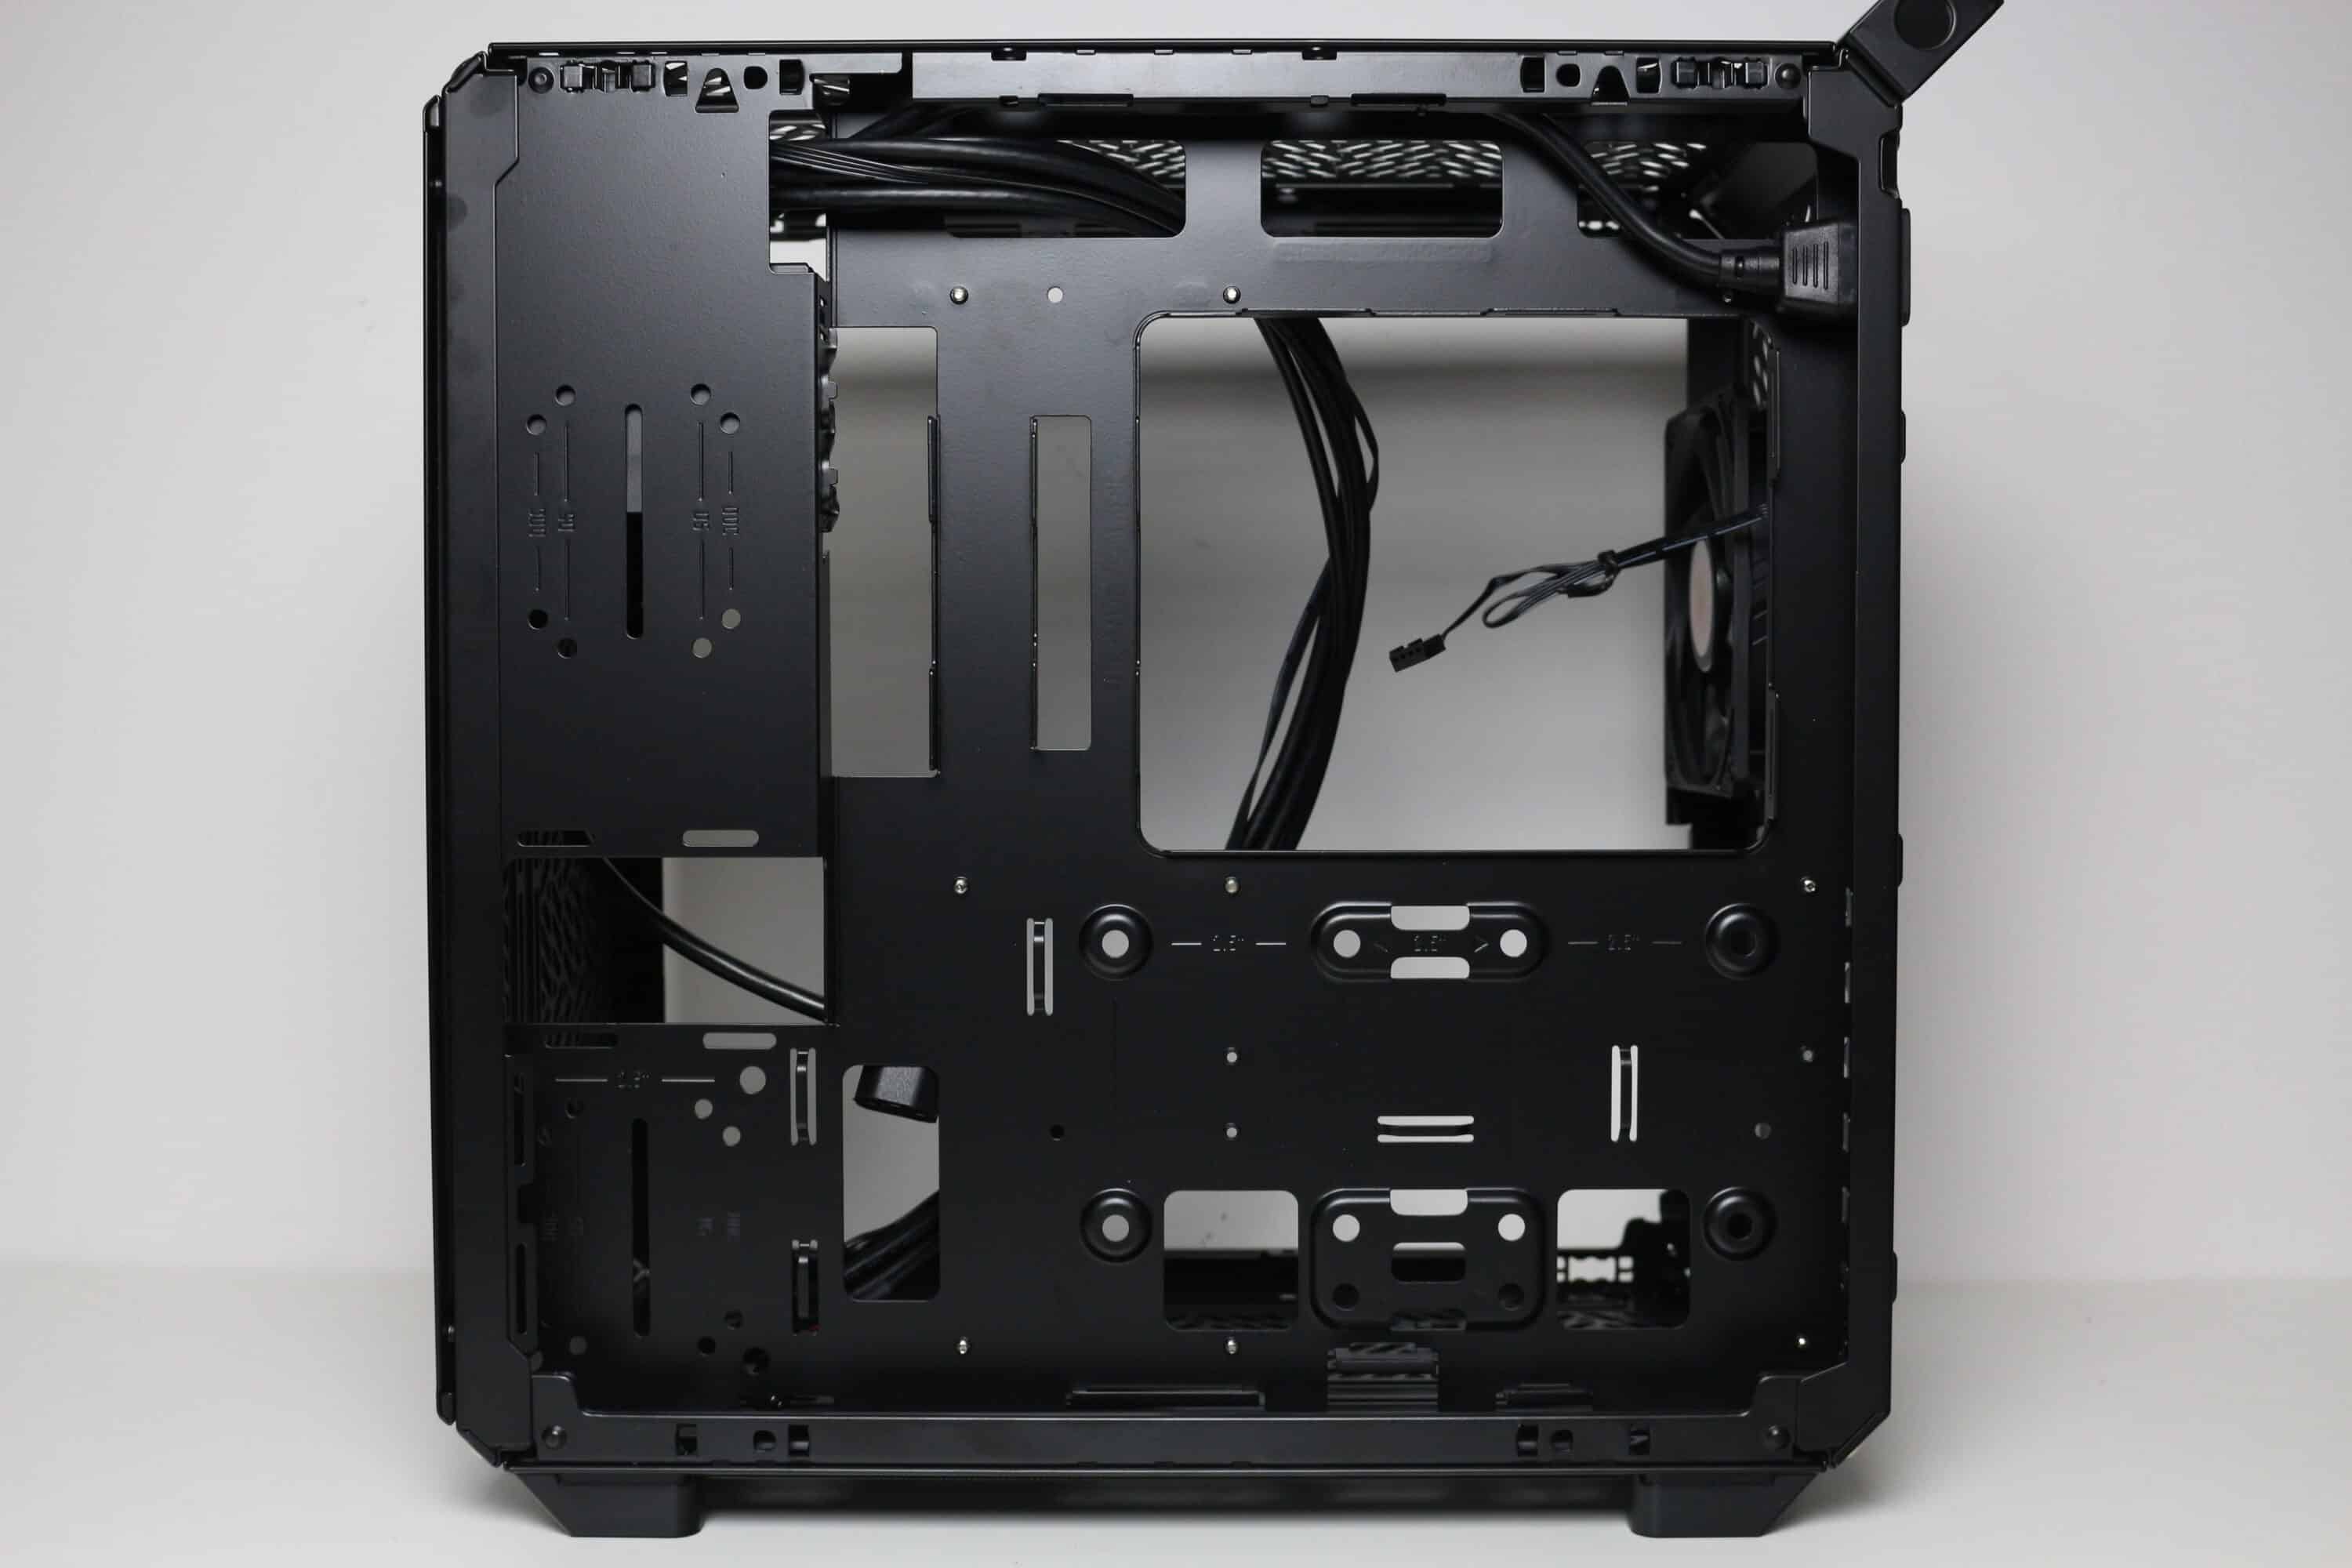
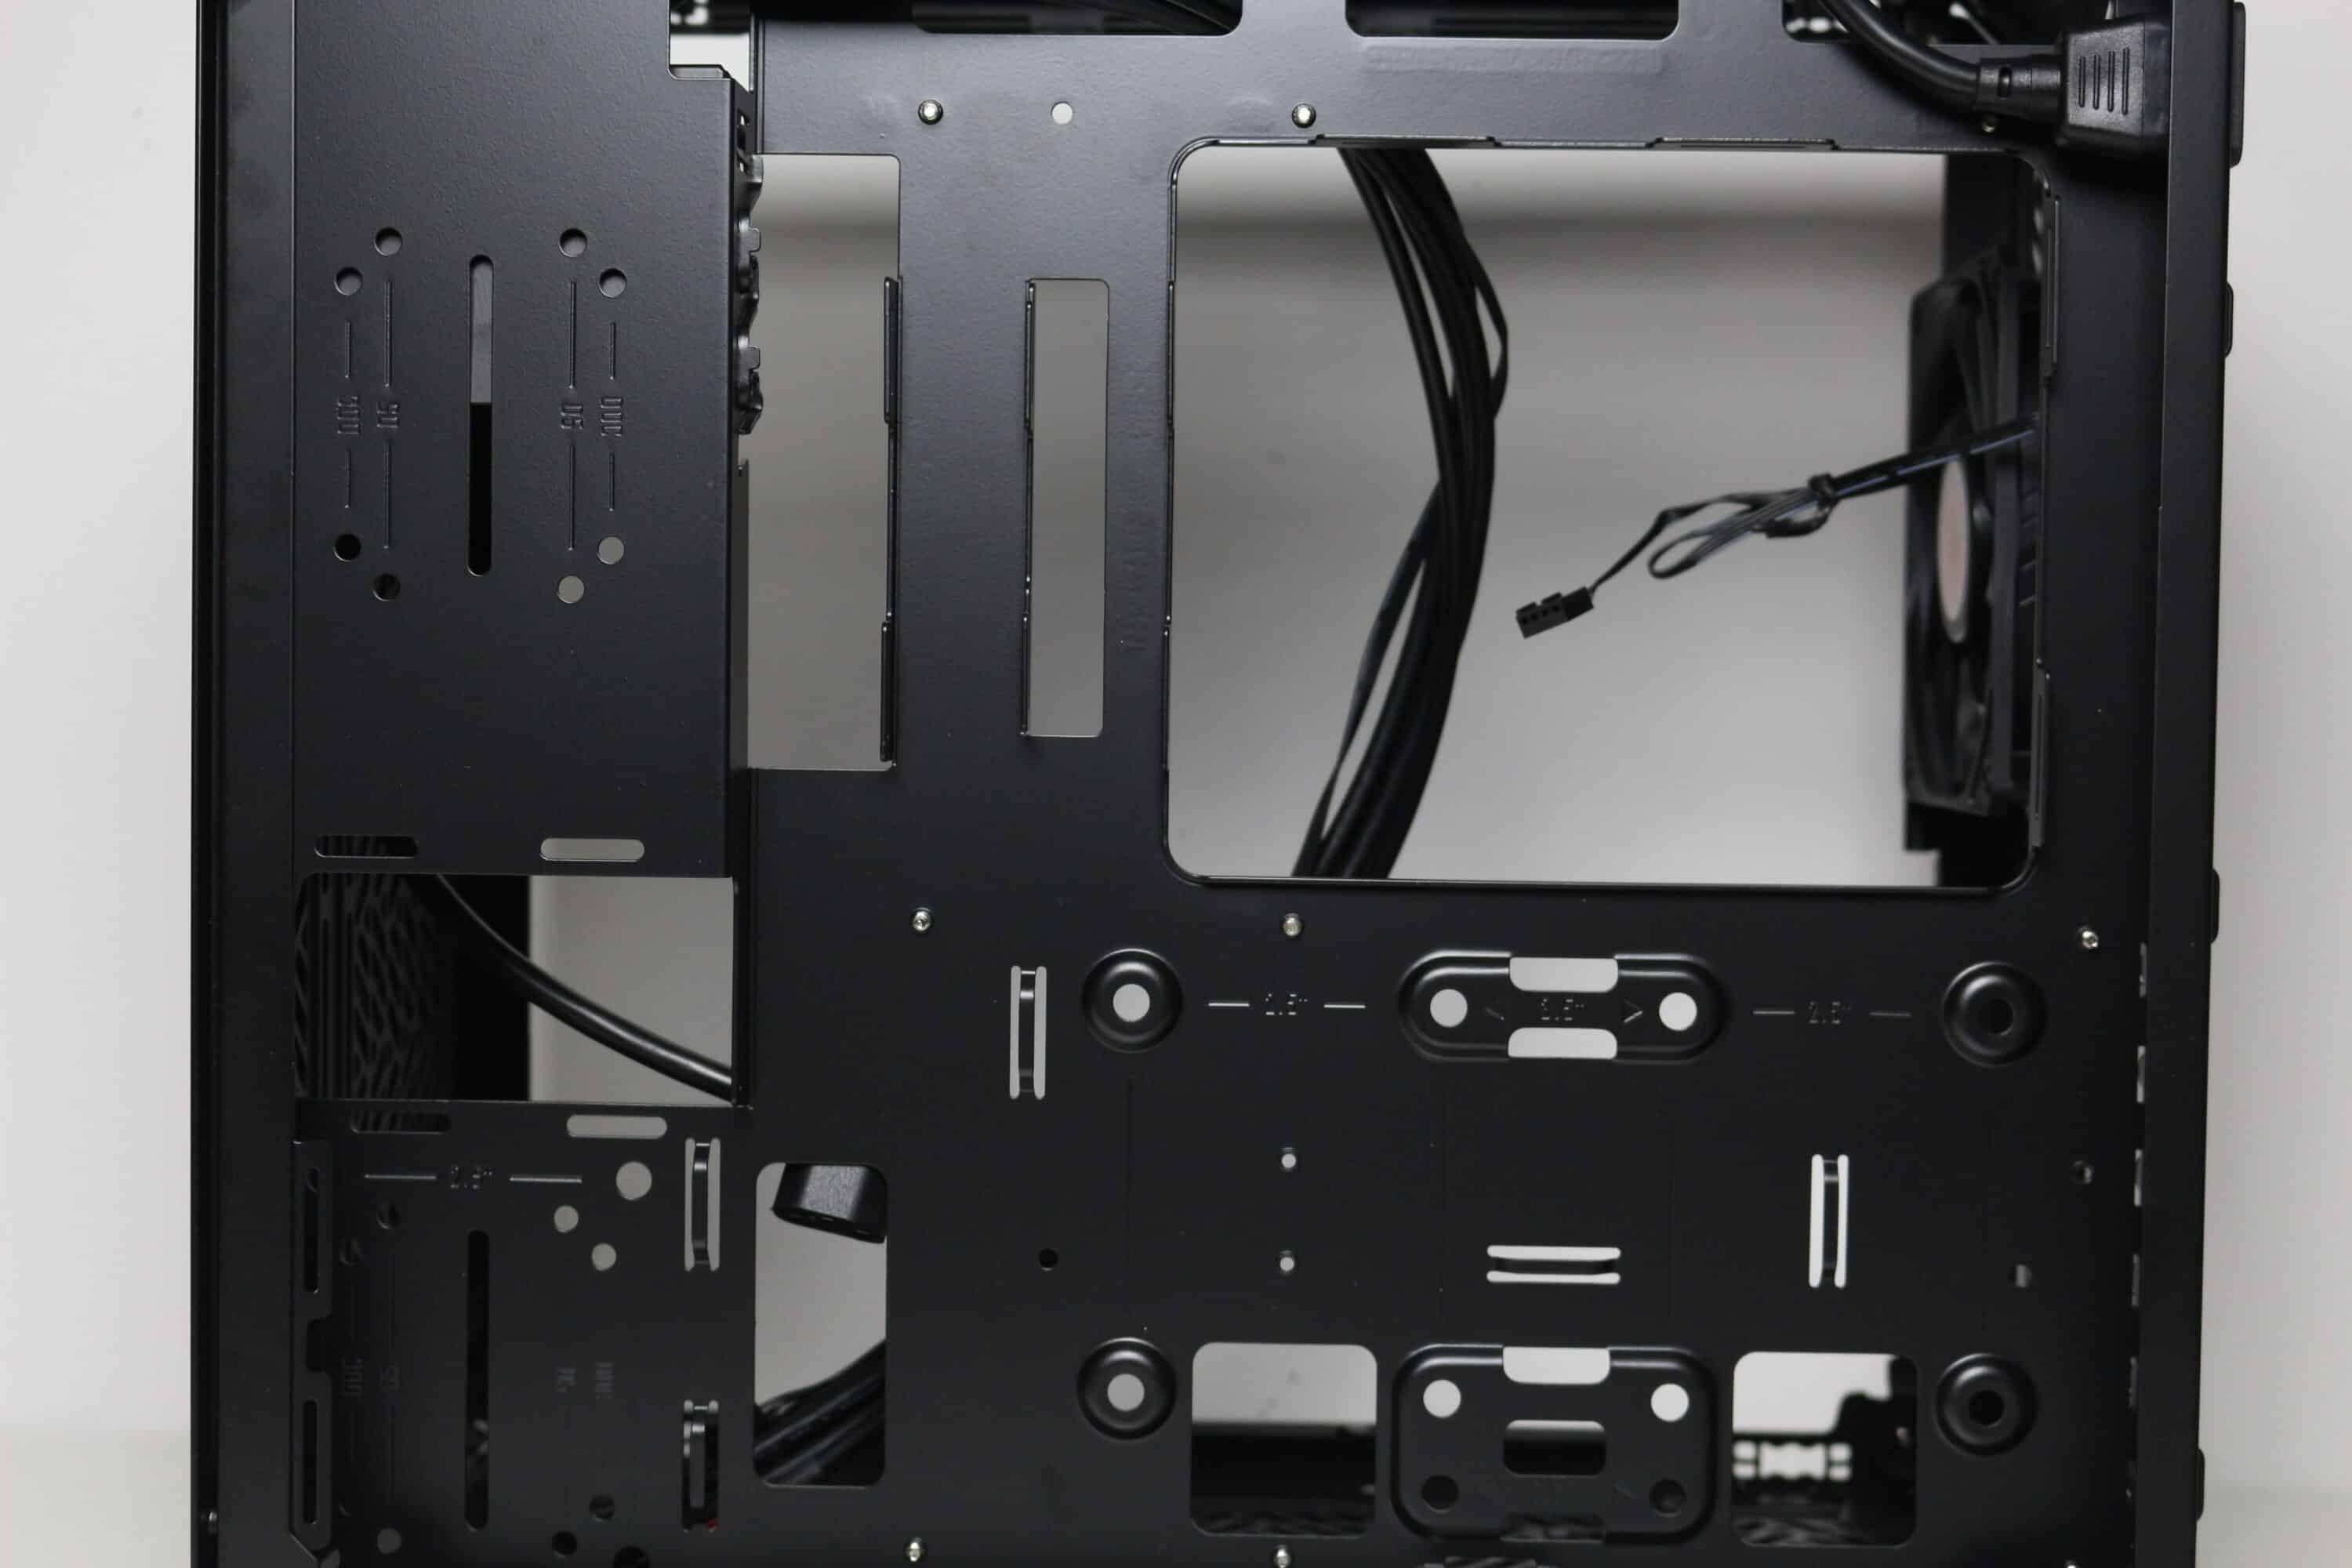
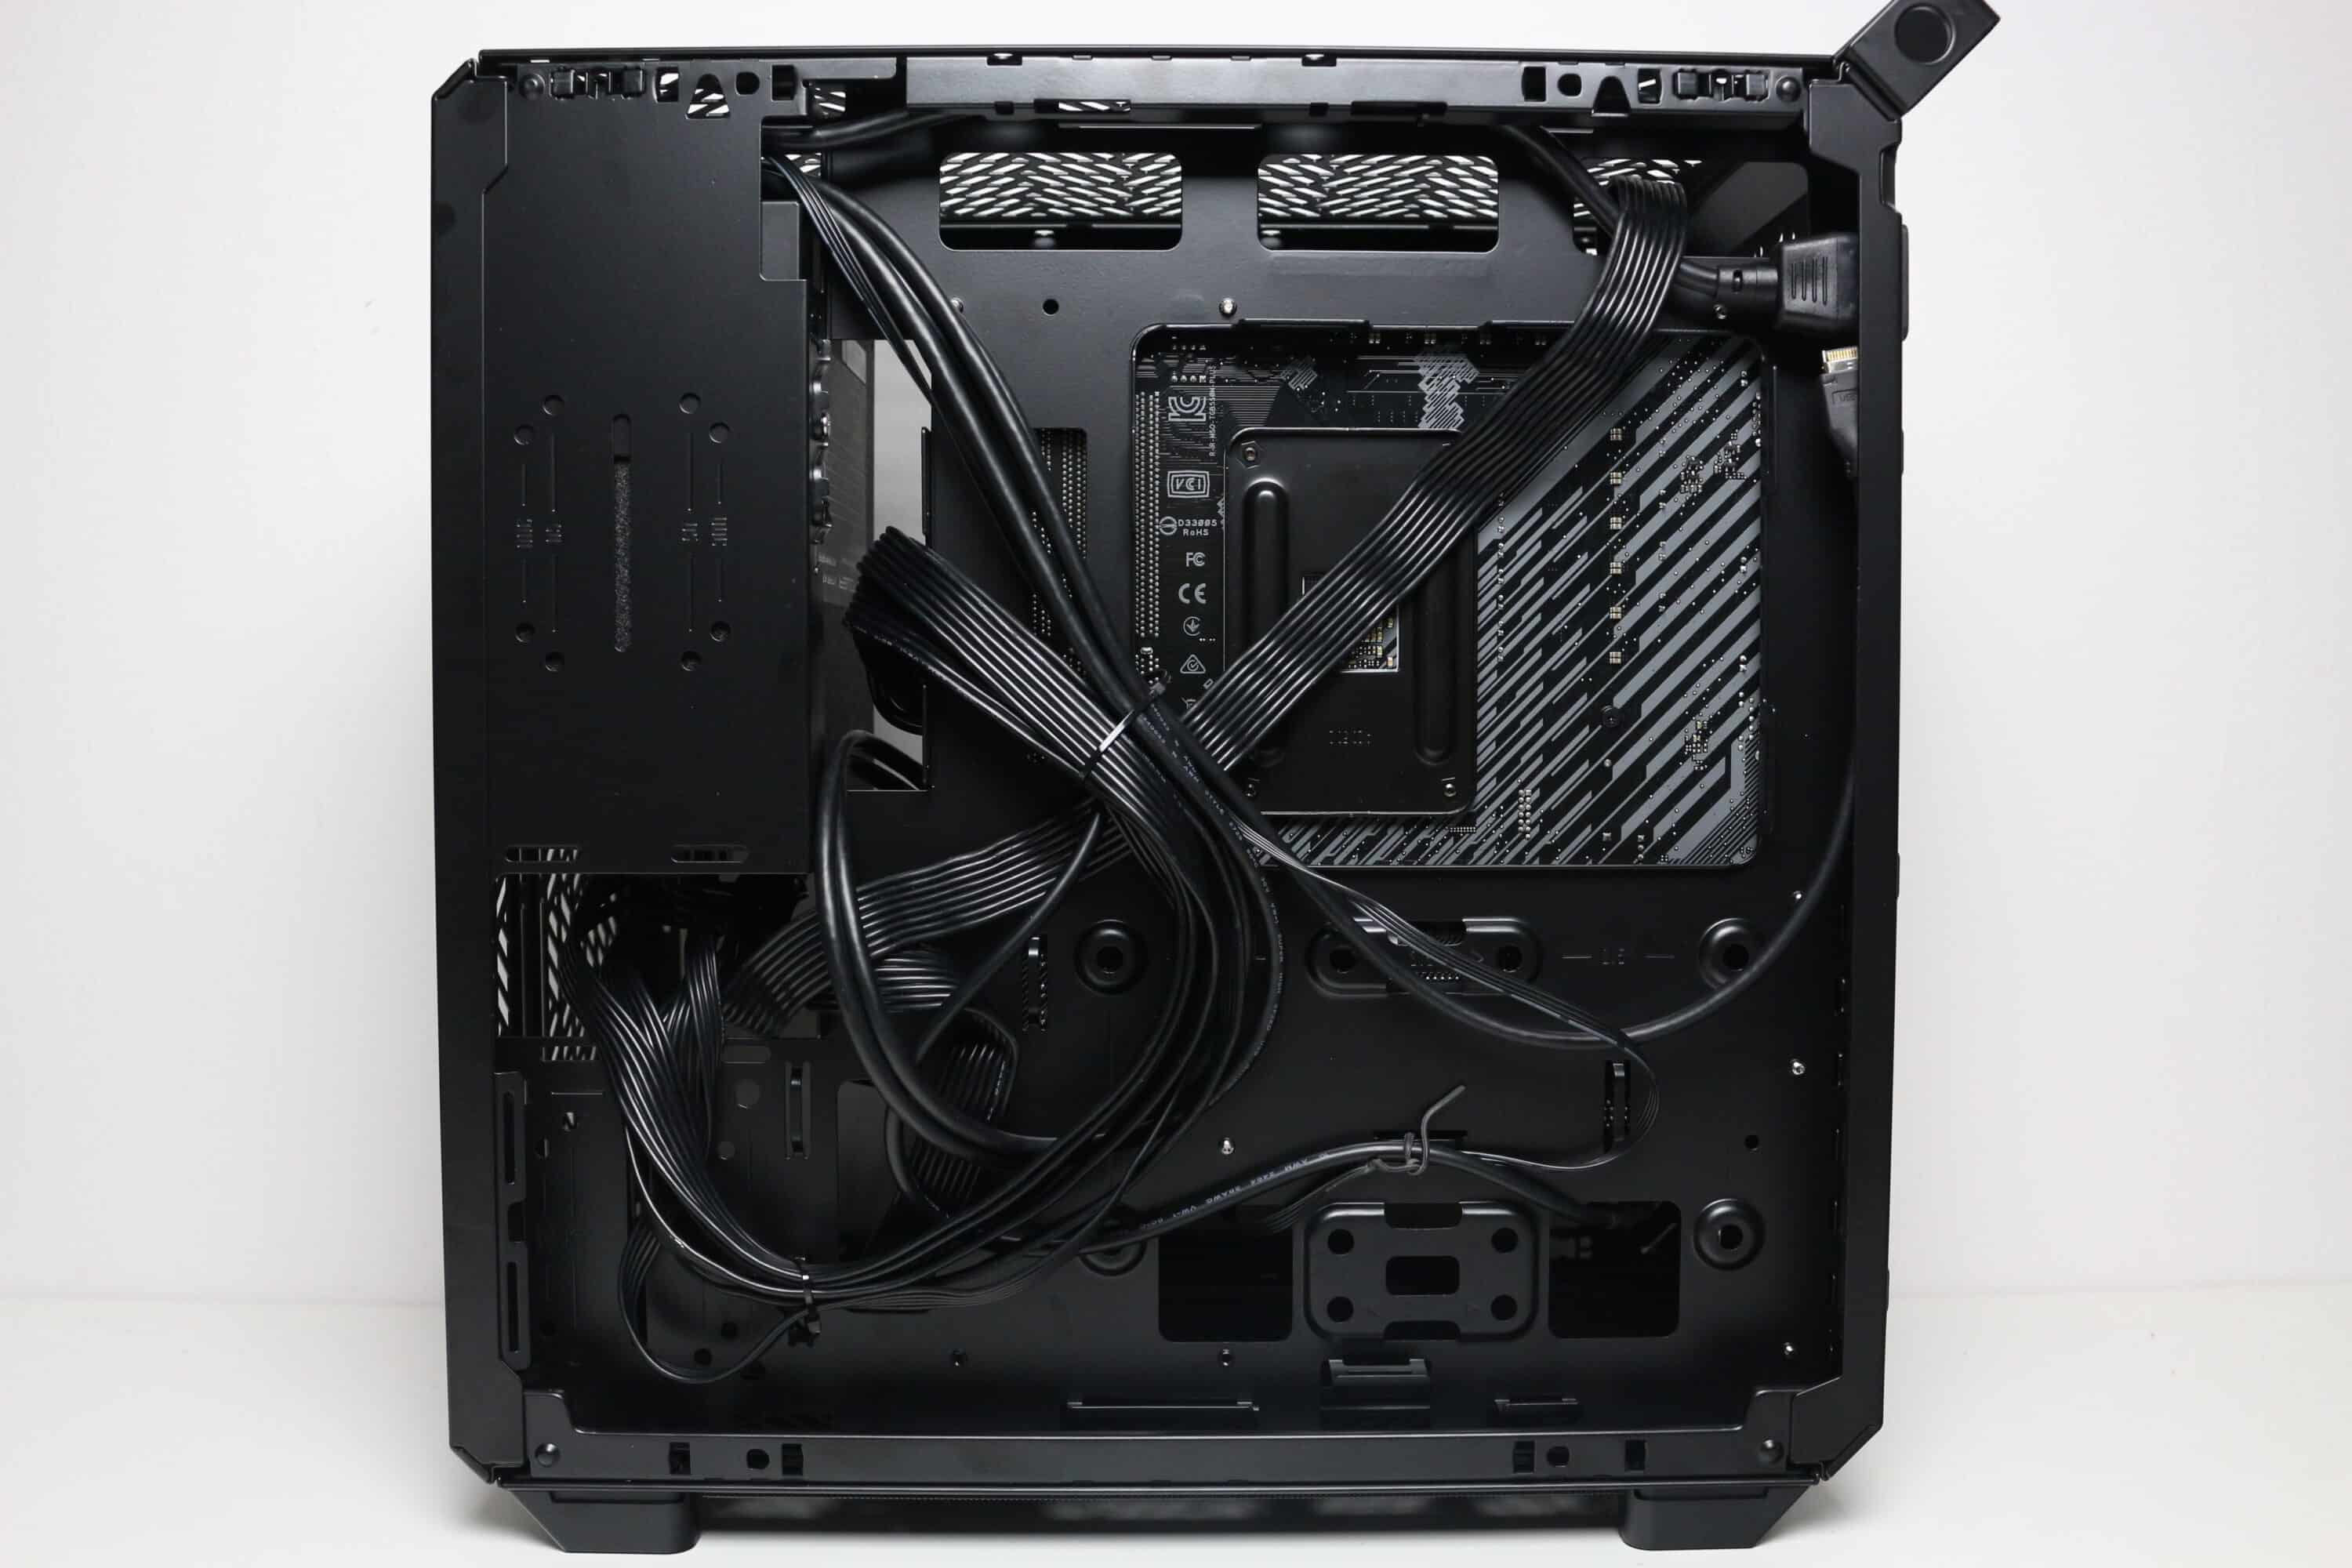
The rear of the mainboard tray offers up to 32 millimeters of space for cables and numerous eyelets for cable ties. In addition, brackets angled at 90 degrees are used in places, which can be used as a kind of cable duct in conjunction with optional Velcro cable ties. All power supply unit cables can be routed behind the tray via the slightly larger opening on the left-hand edge and laid from there. Of course, the cut-out for retrofitting a CPU cooler with backplate is also included.
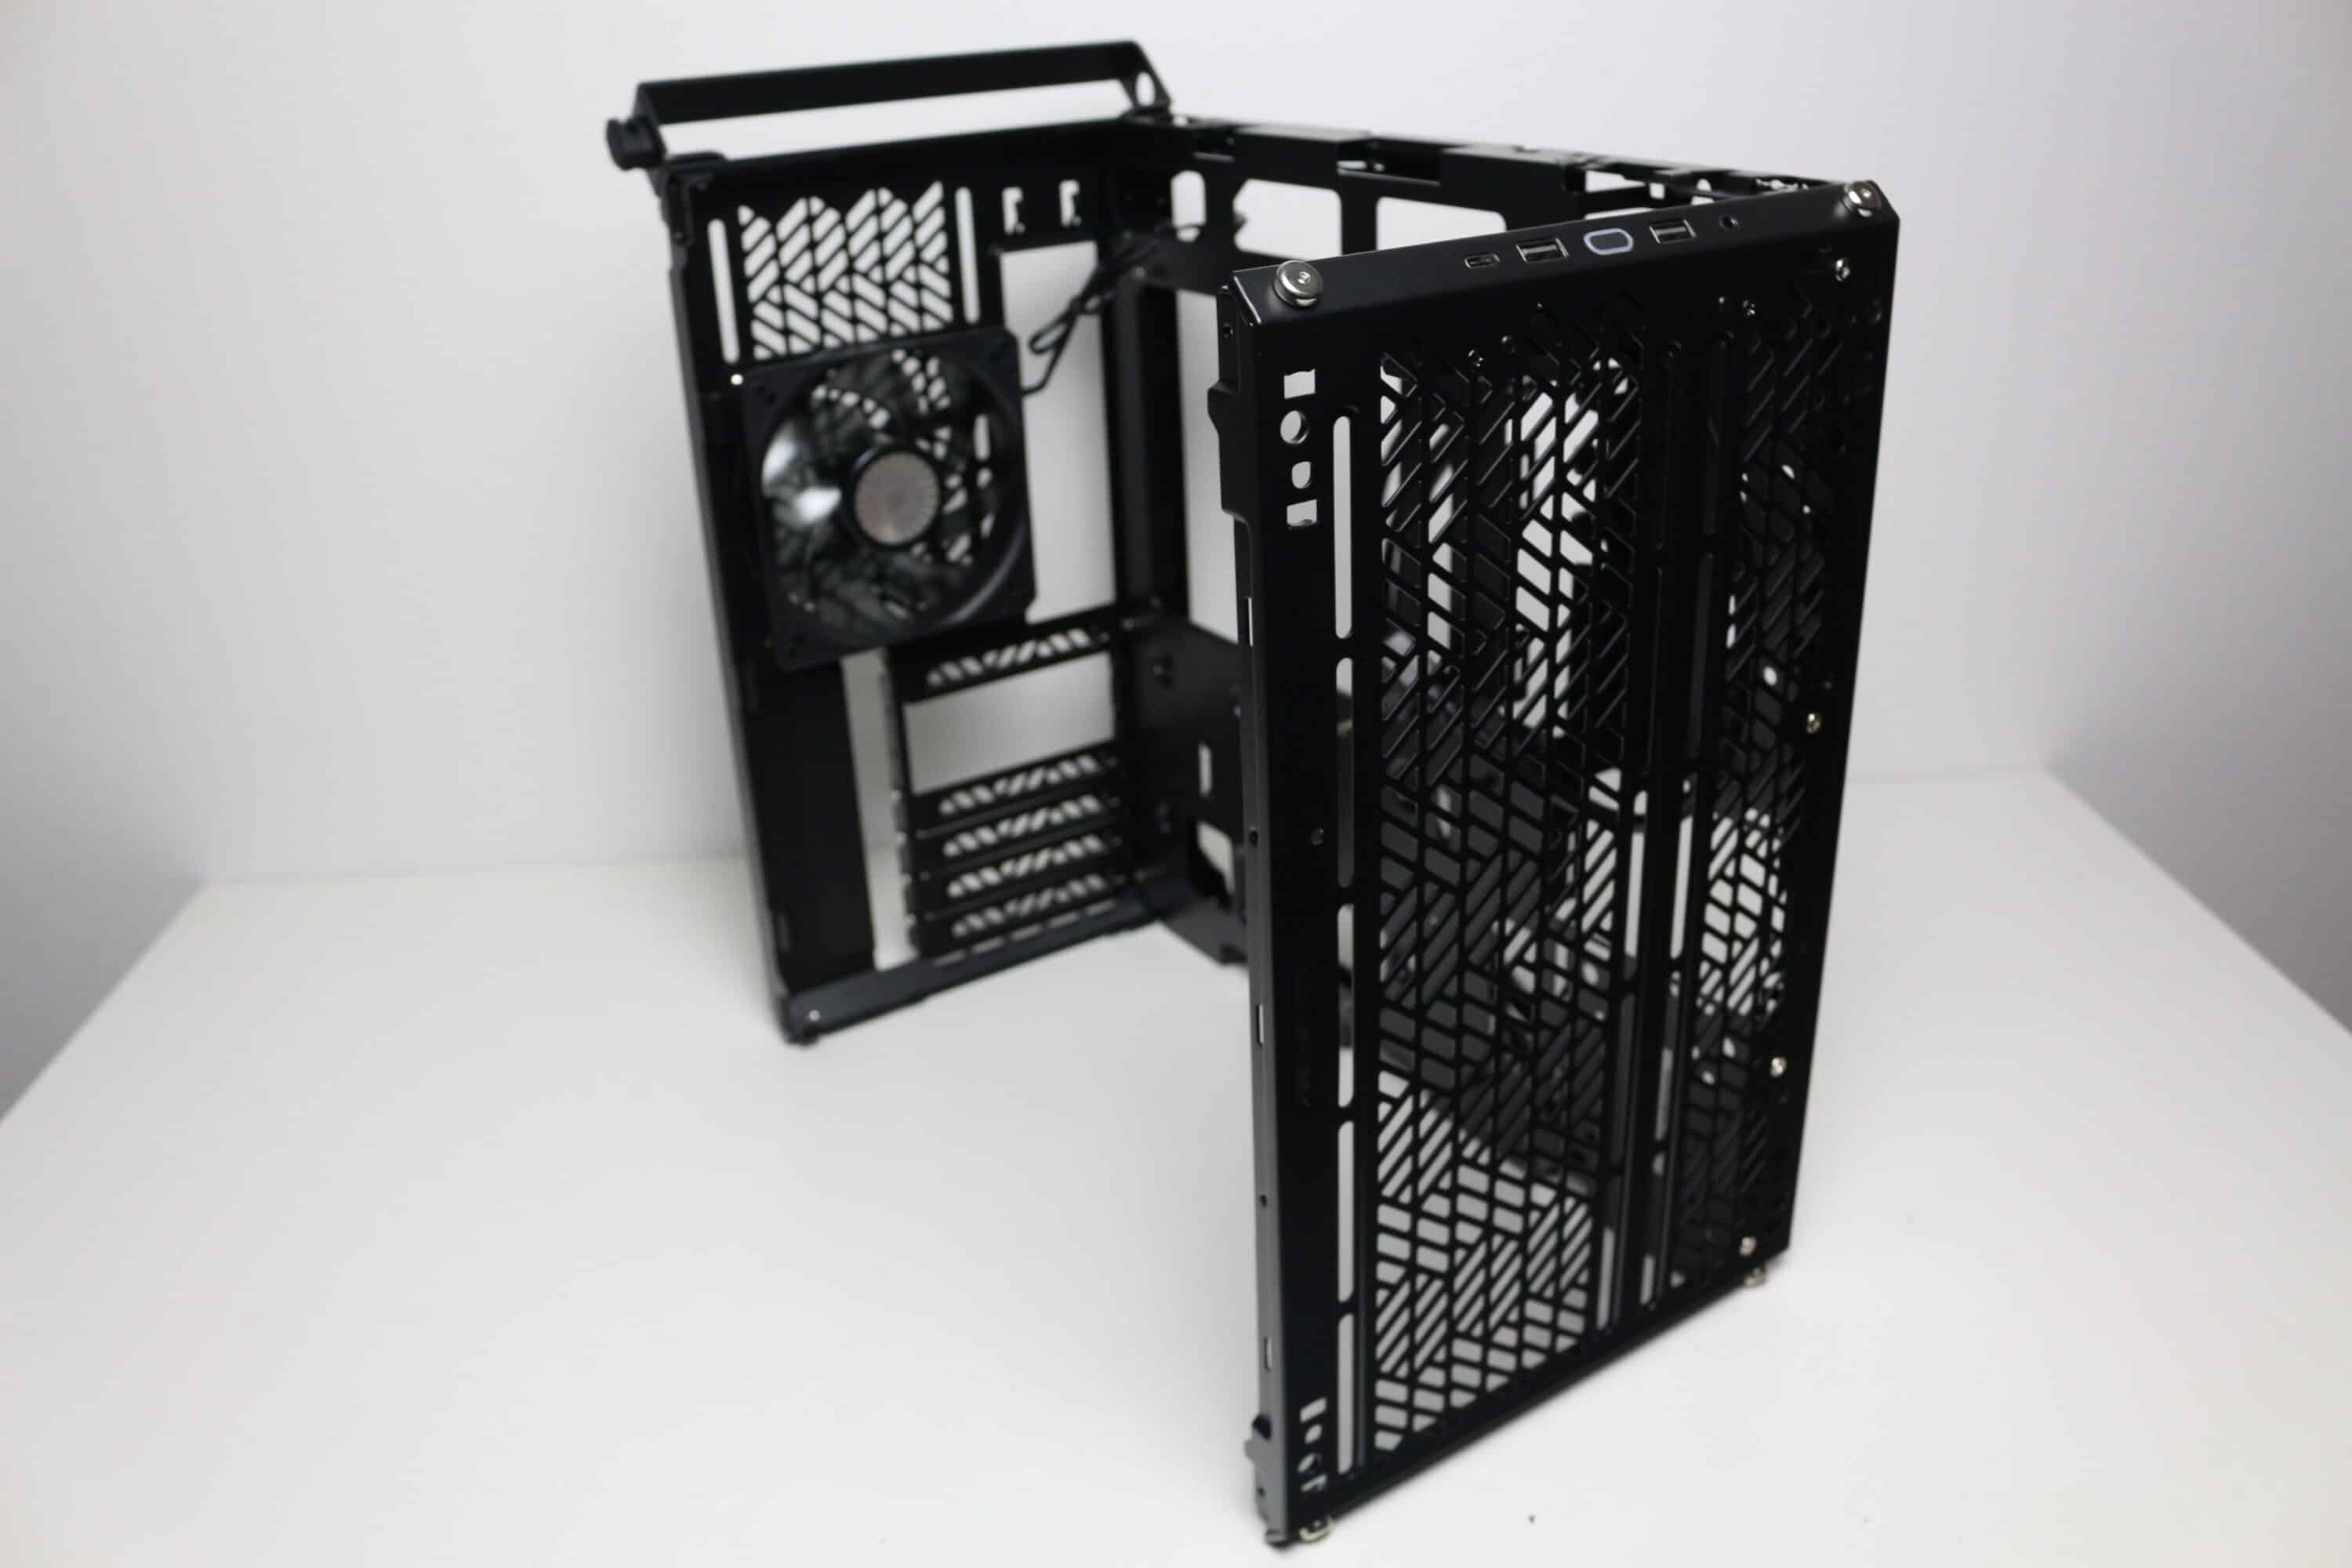
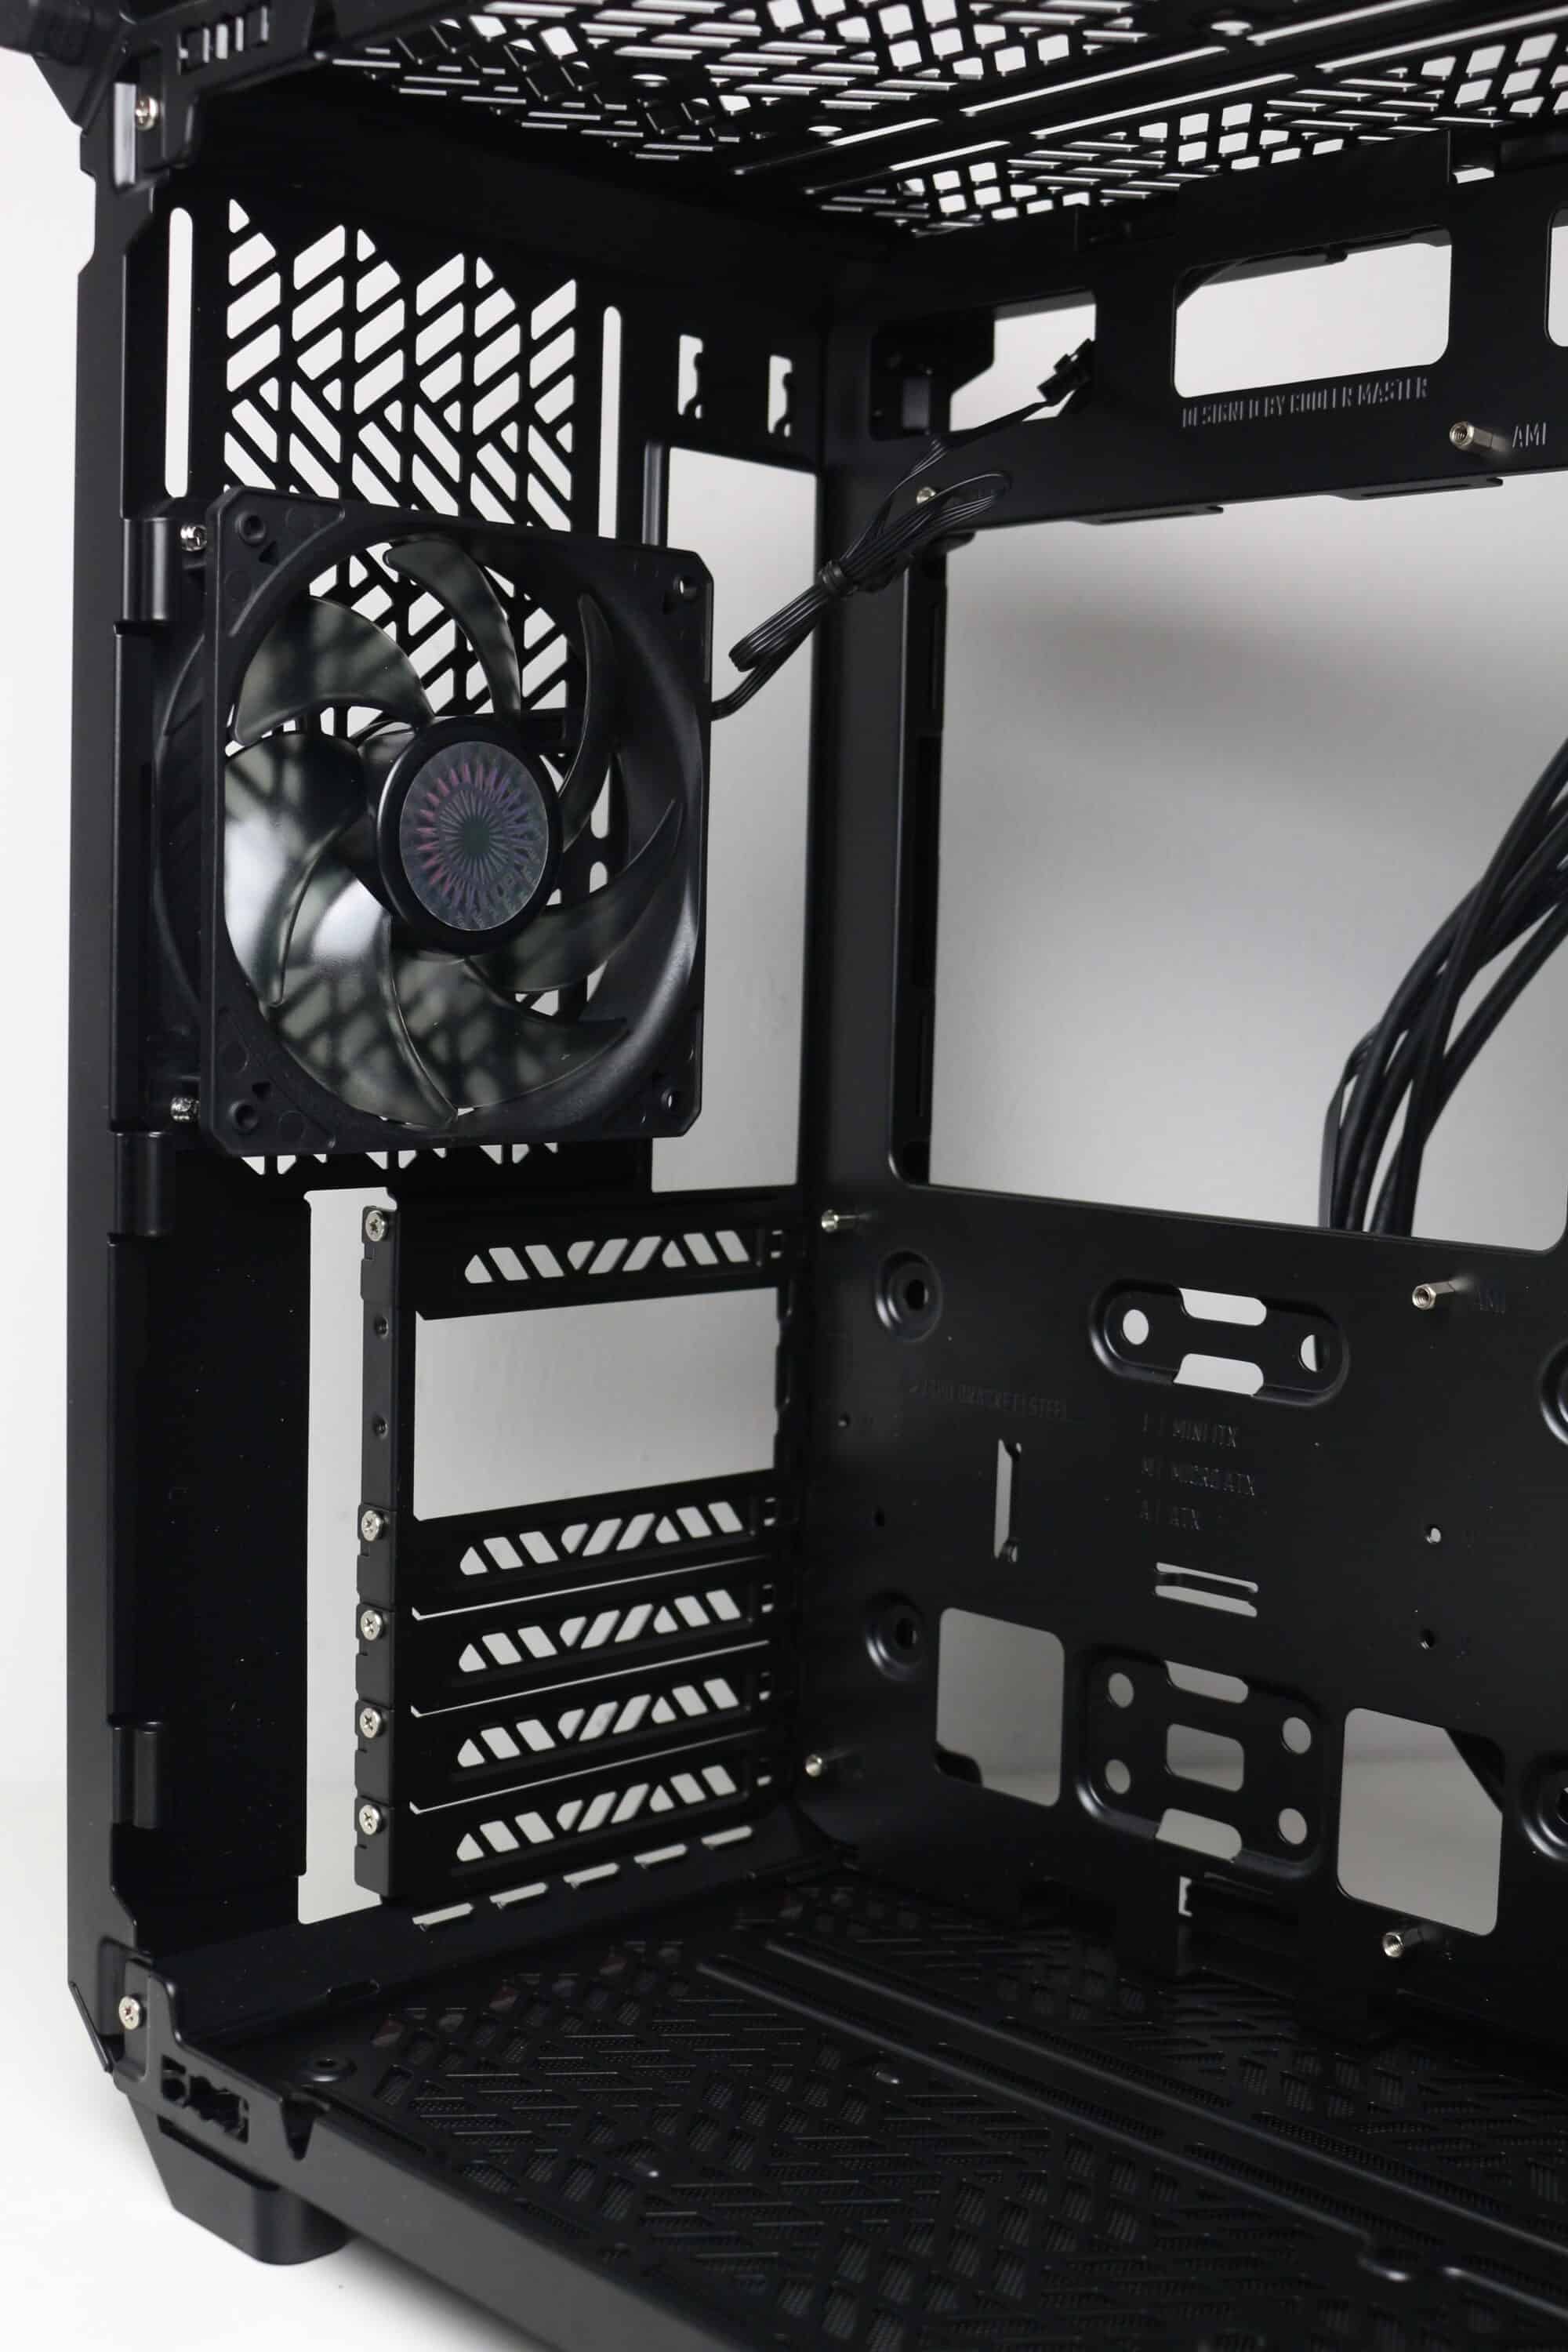
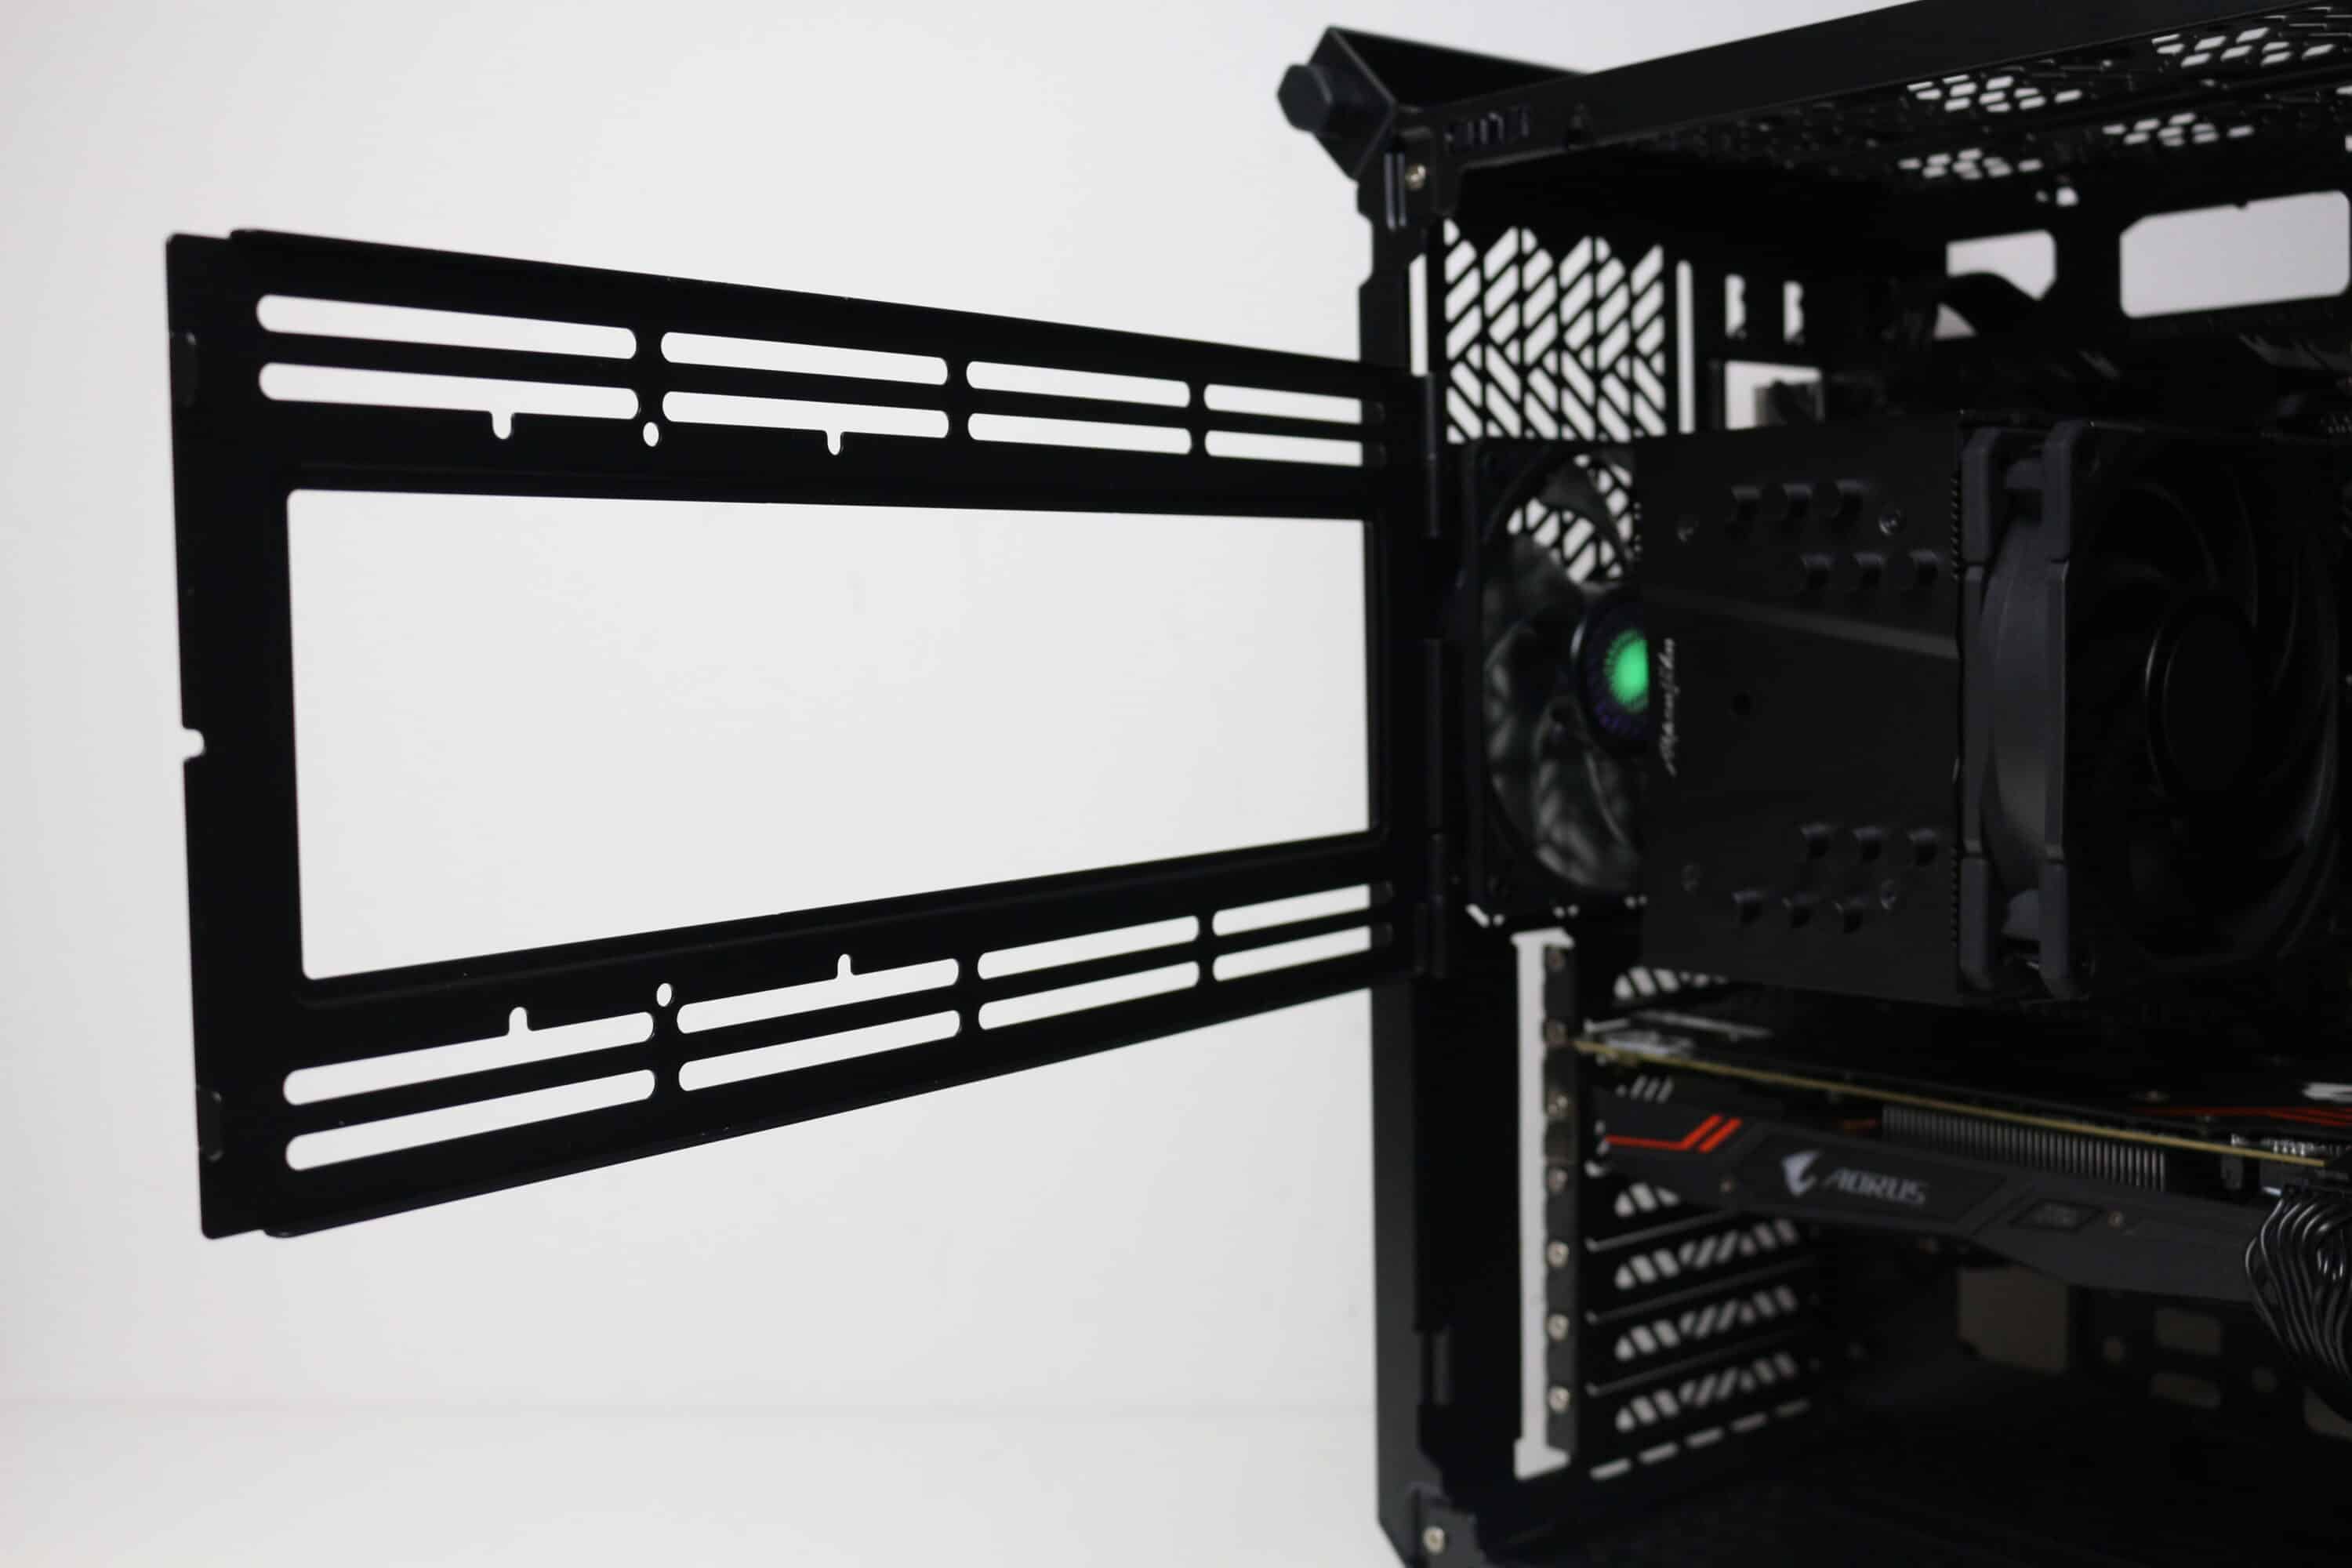
Cooler Master has also provided the Qube 500 with a hinged mounting frame on the left-hand side, which can simply be opened and secured with a screw. The frame offers space for up to two 120 mm or 140 mm fans or corresponding radiators. Optionally, a hard disk can also be mounted there. Overall, however, the effectiveness of the frame is rather questionable, as the Qube 500 has a closed side window on the left-hand side, which would then have to swap places with the ventilated right-hand side panel. From our point of view, the frame could have been omitted or a second steel side panel should have been included.

Up to four 3.5″ or three 2.5″ data carriers can be installed in the Cooler Master Qube 500. There is a mounting space for one 3.5″ HDD in both the lid and the base, which then blocks one fan slot. In addition, two further 3.5″ data carriers can be attached to the side frame and behind the mainboard tray. If you prefer to install 2.5″ SSDs instead, this is also possible. These can only be fitted at the rear of the mainboard tray. Whether 3.5″ or 2.5″, mounting is always decoupled and tool-free using rubber rings and mounting pins.
Workmanship
As all parts of the Cooler Master kit are individually packaged, processing errors would already be apparent when unpacking. Fortunately, this was not the case with our test sample. All components were cleanly finished, painted and almost free of scratches. Furthermore, the assembly of the kit went smoothly, as all elements were manufactured to fit precisely and could be assembled without any problems. The stability of the housing elements is good and we were also unable to find any sharp edges.
However, we do have some criticism to make. We were able to see fine scratches in the matt finish on the perforated steel panels in the front and in the lid at certain viewing angles. The next point is less about the finish and more about the feel, but the dust filters built into the Qube 500 are of the very simple variety. They only consist of a simple mesh and were simply clamped behind the outer panels in three out of four cases. This makes installation and removal somewhat awkward and the filters wobble back and forth.
Cooler Master Qube 500 Flatpack: Installing the components
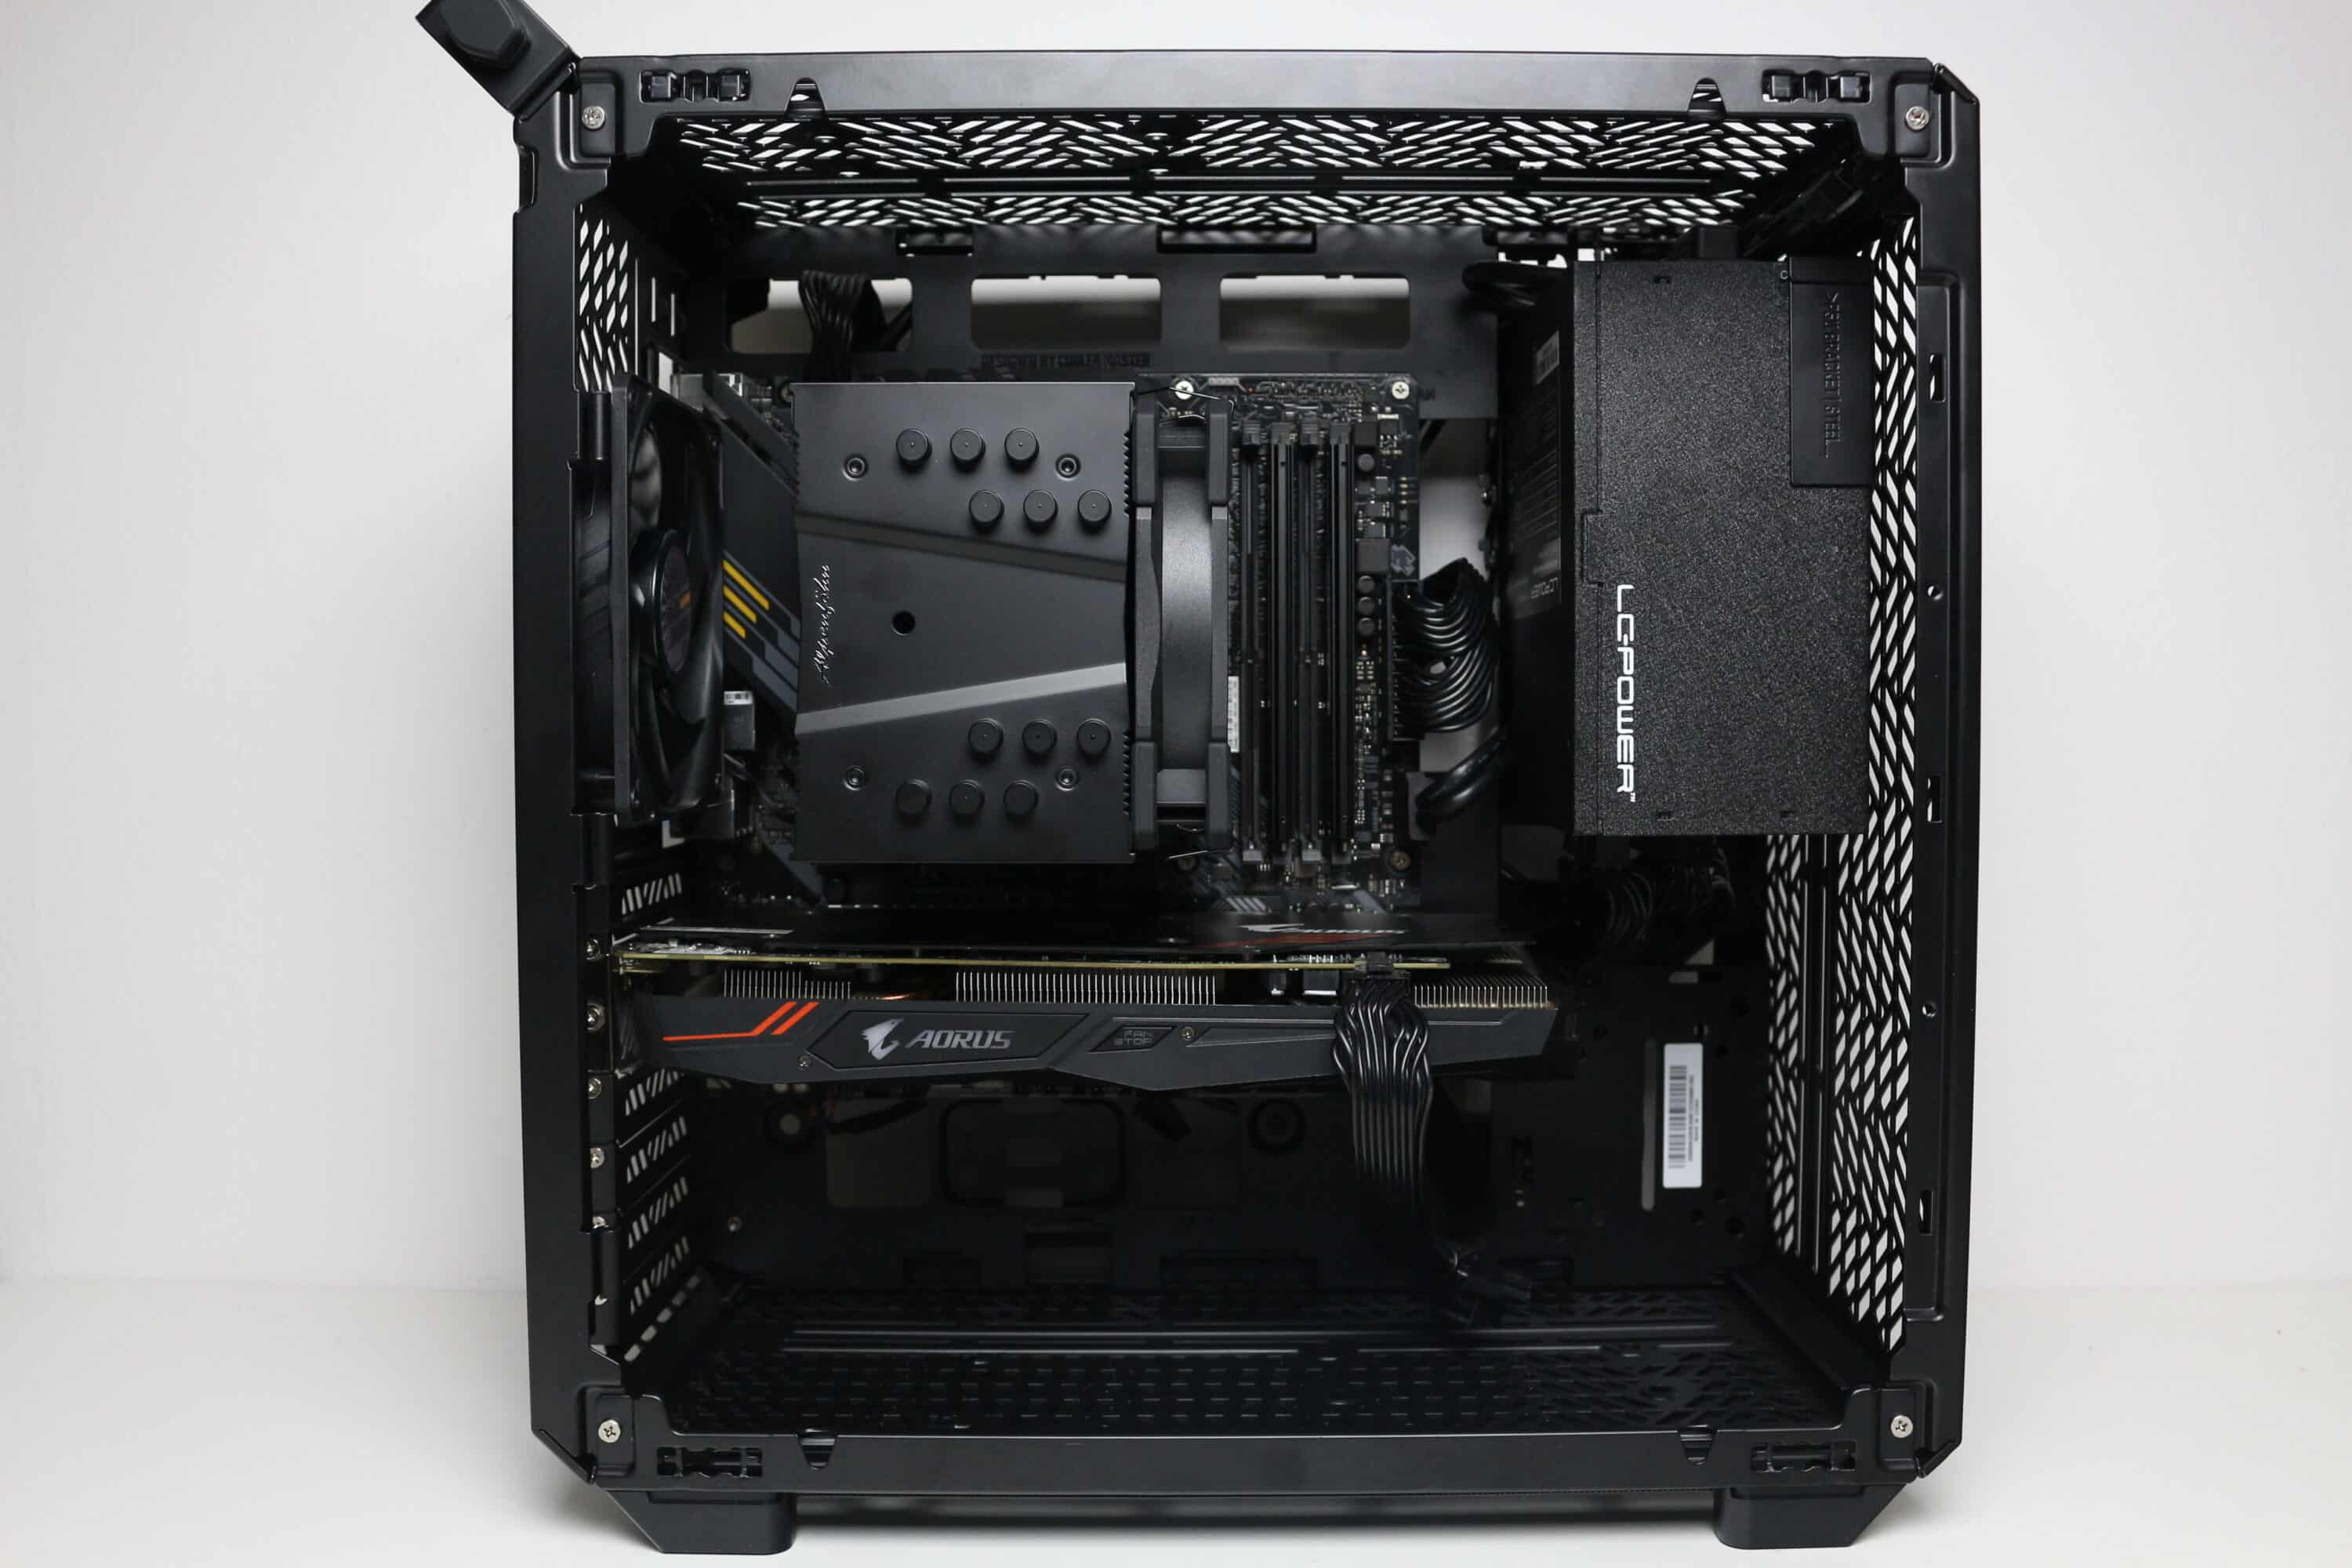
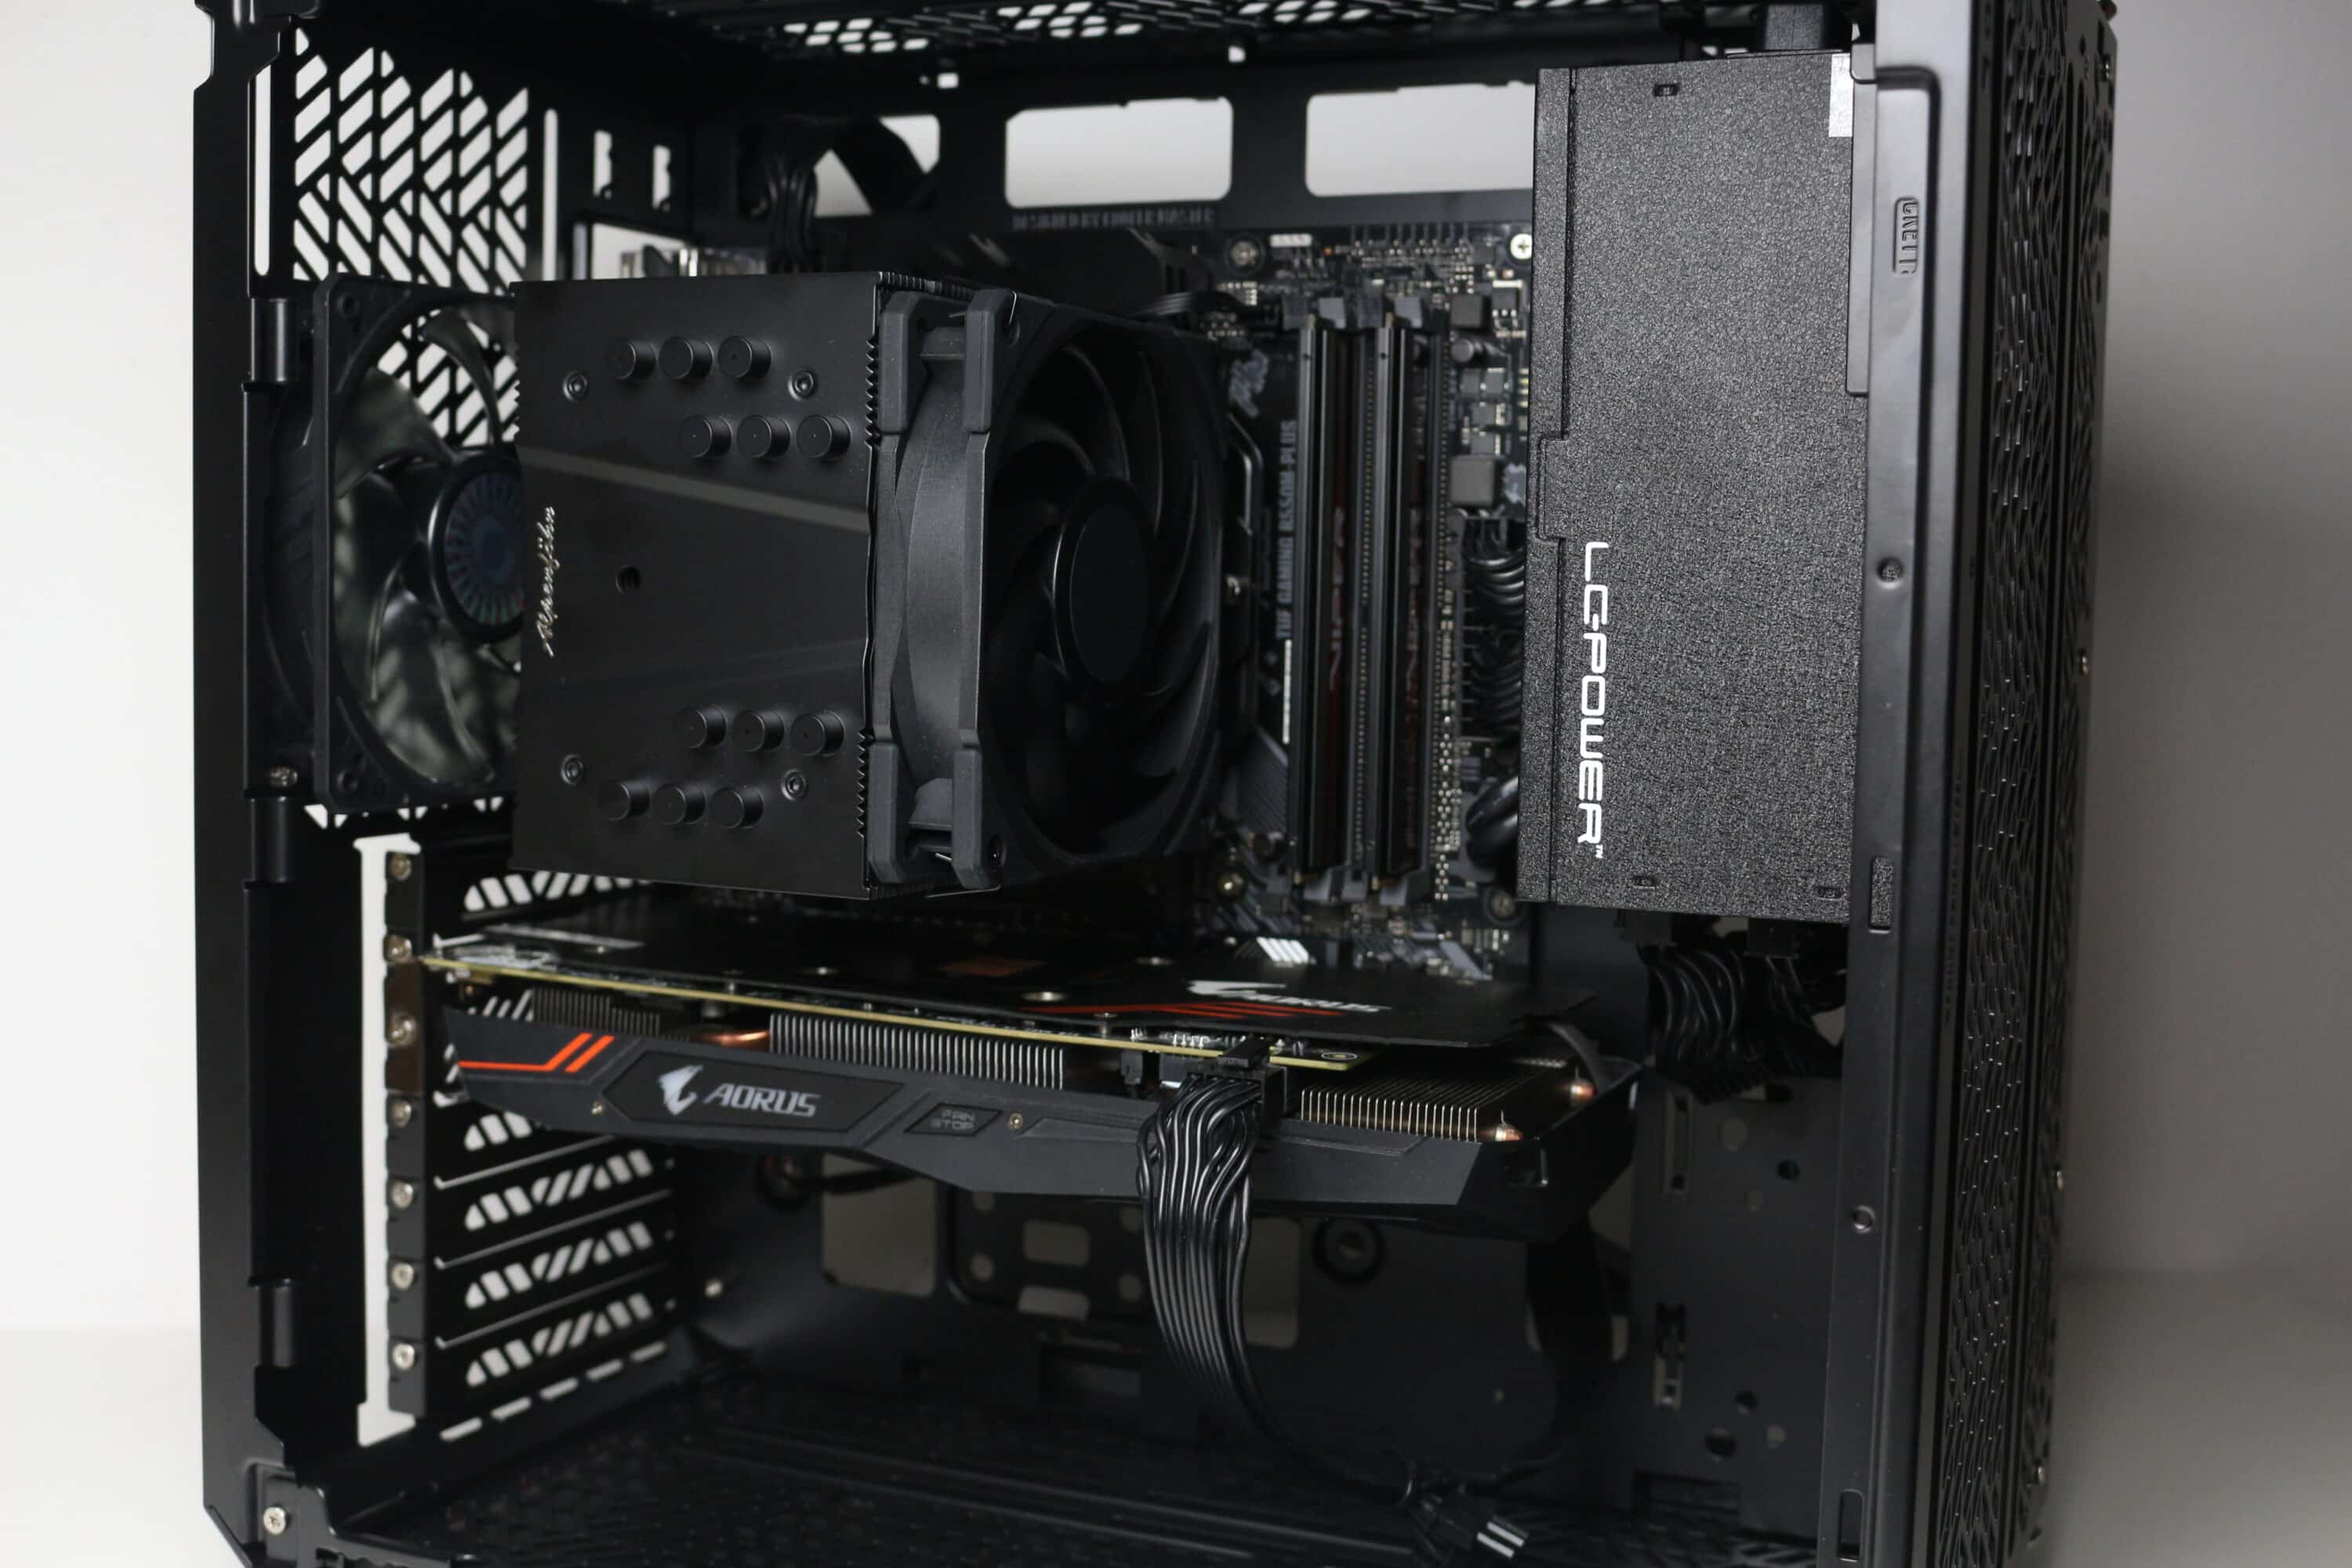
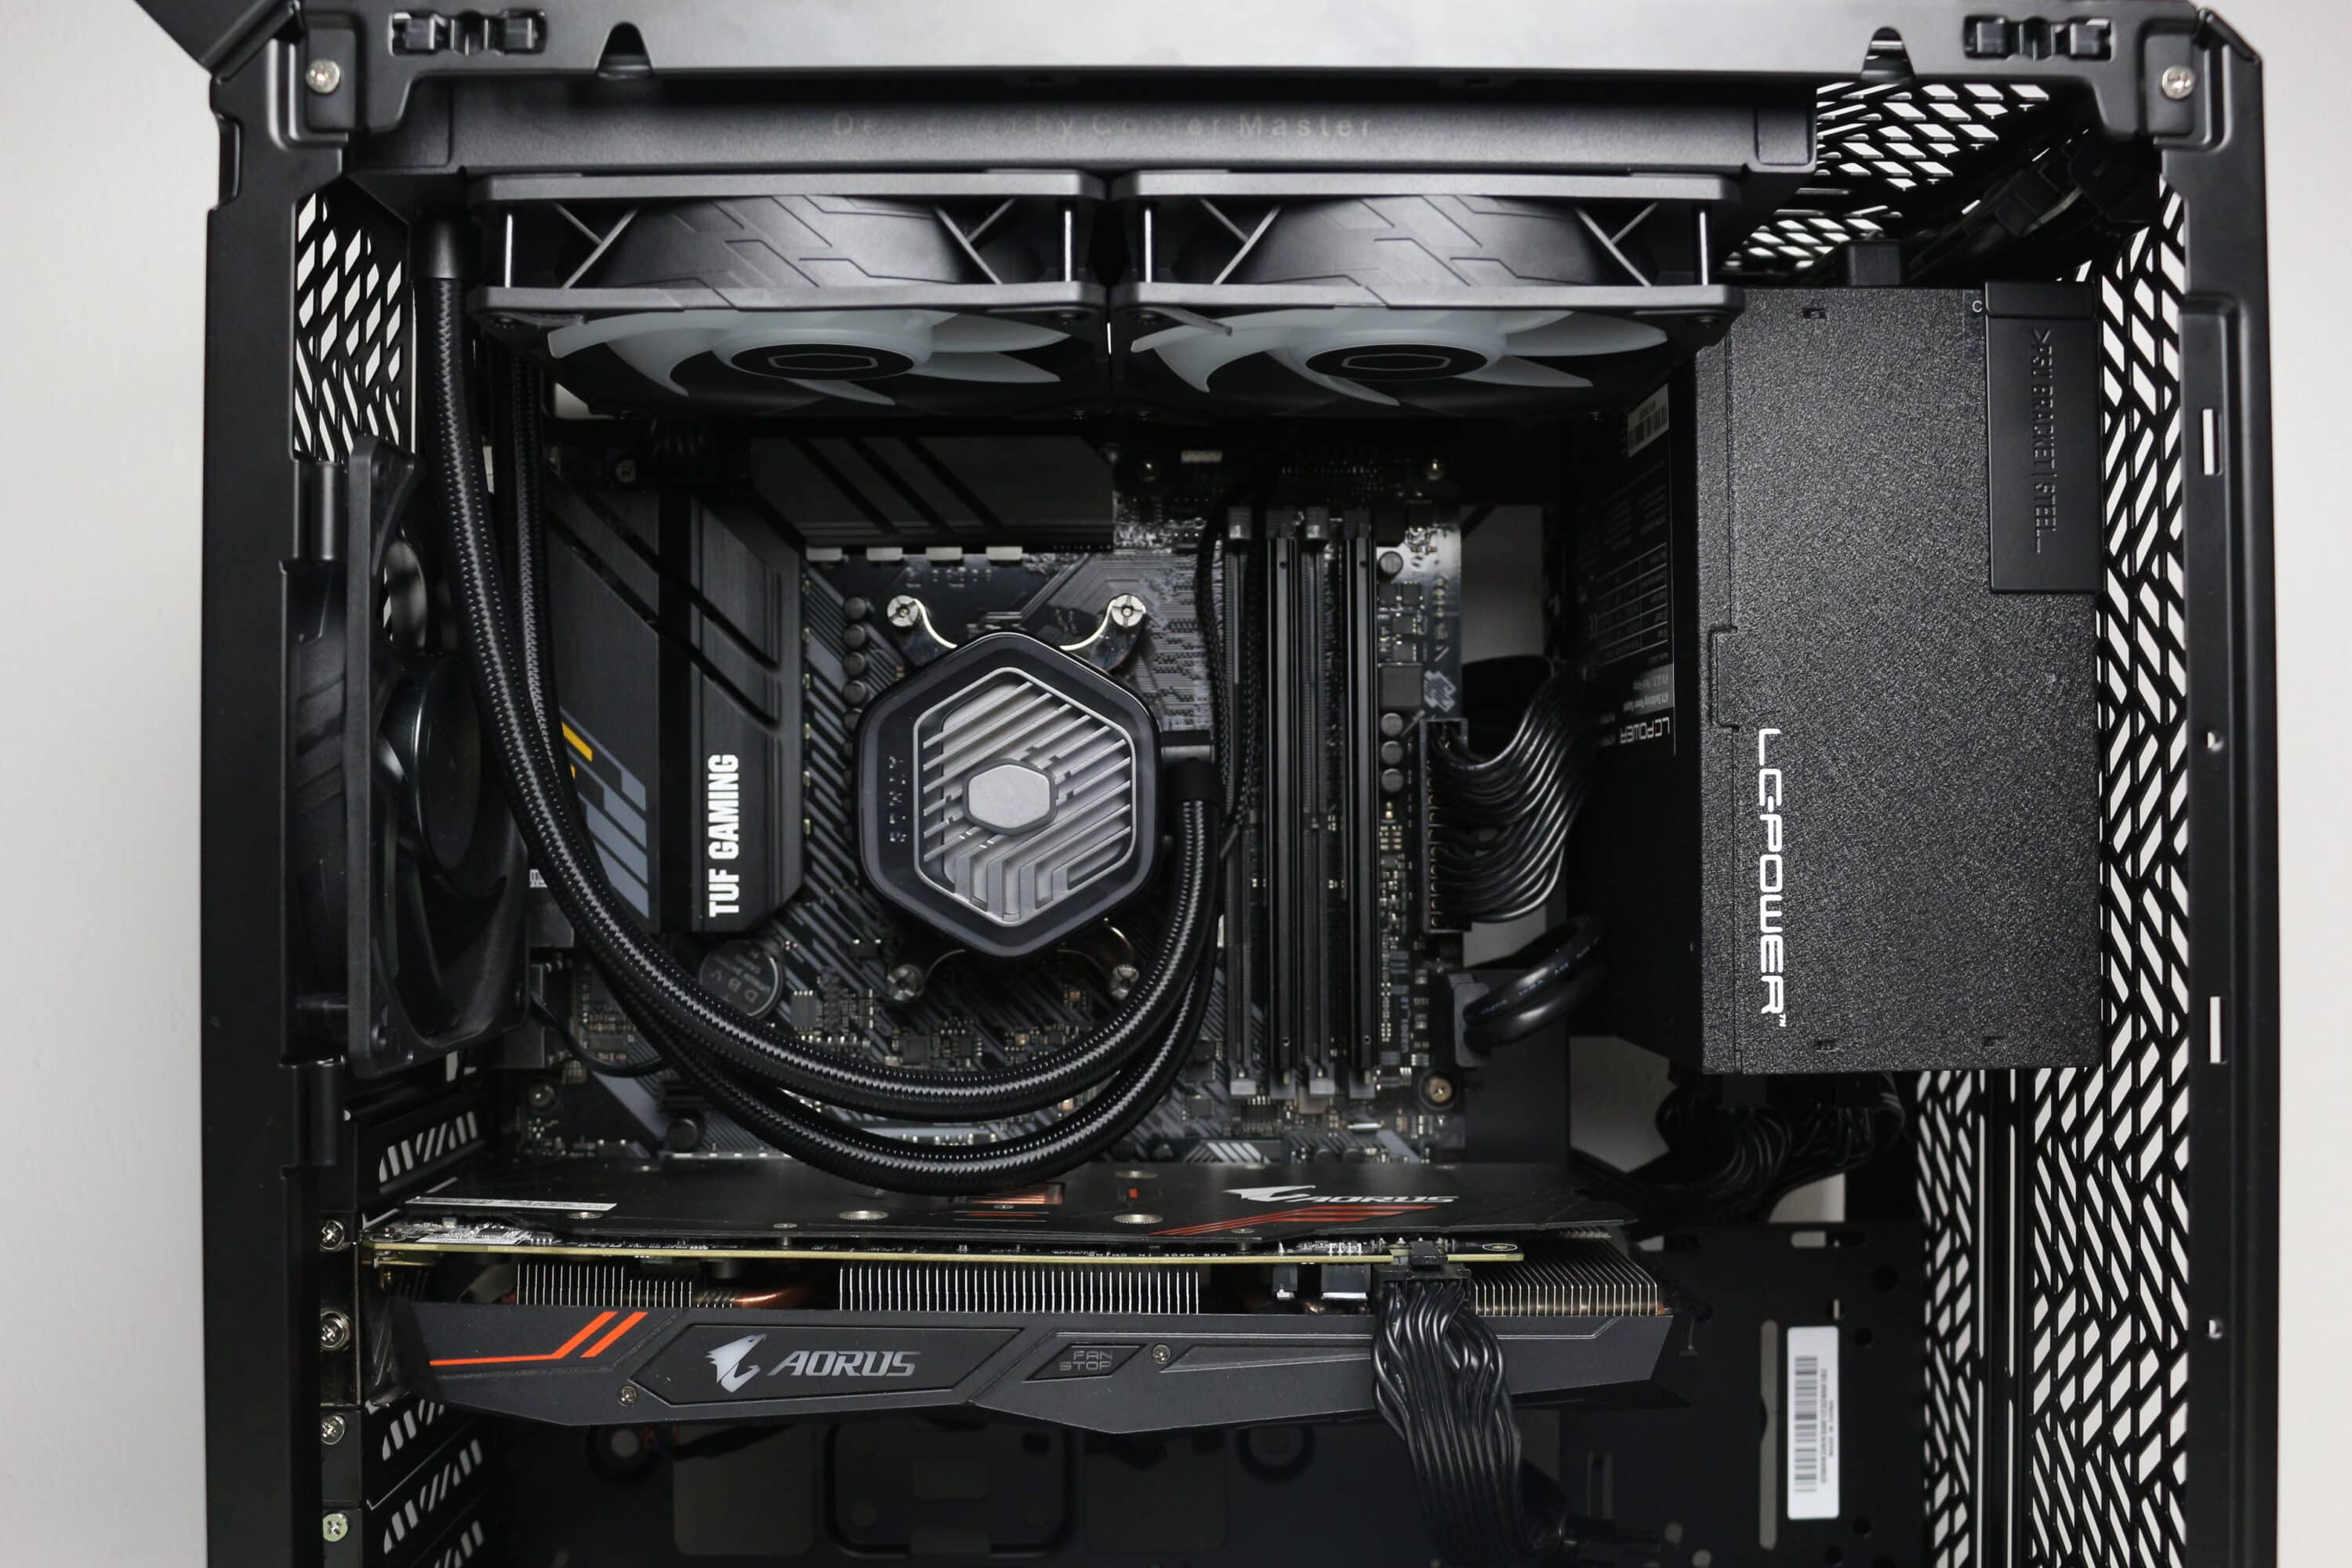
Now we come to the system installation in the Cooler Master Qube 500 Flatpack test. As hardware, we use an AMD Ryzen 5 1400* on an ASUS TUF Gaming B550M-Plus* with 16GB Crucial Ballistix Sport LT gray DDR4-2666*. The Ryzen is cooled by an Alpenföhn Brocken 4* and is overclocked to 3.8 GHz (1.175 V). A Gigabyte AORUS GTX 1060 6GB is responsible for the image output. The power supply is provided by the fully modular LC-Power LC550 V2.31 Platinum*.
The installation of all components was basically no problem even in the pre-assembled Qube 500, although it was a little more difficult than if you follow the manufacturer’s instructions and install the components together with the case elements. Once the Qube 500 has been assembled, the compact dimensions of the interior make it a little more cramped. The cabling was also no problem with standard components due to the sufficiently dimensioned openings in and the space available behind the mainboard tray. However, if you install a very long power supply unit or an extra-wide mainboard, it could happen that important cable management openings are covered.
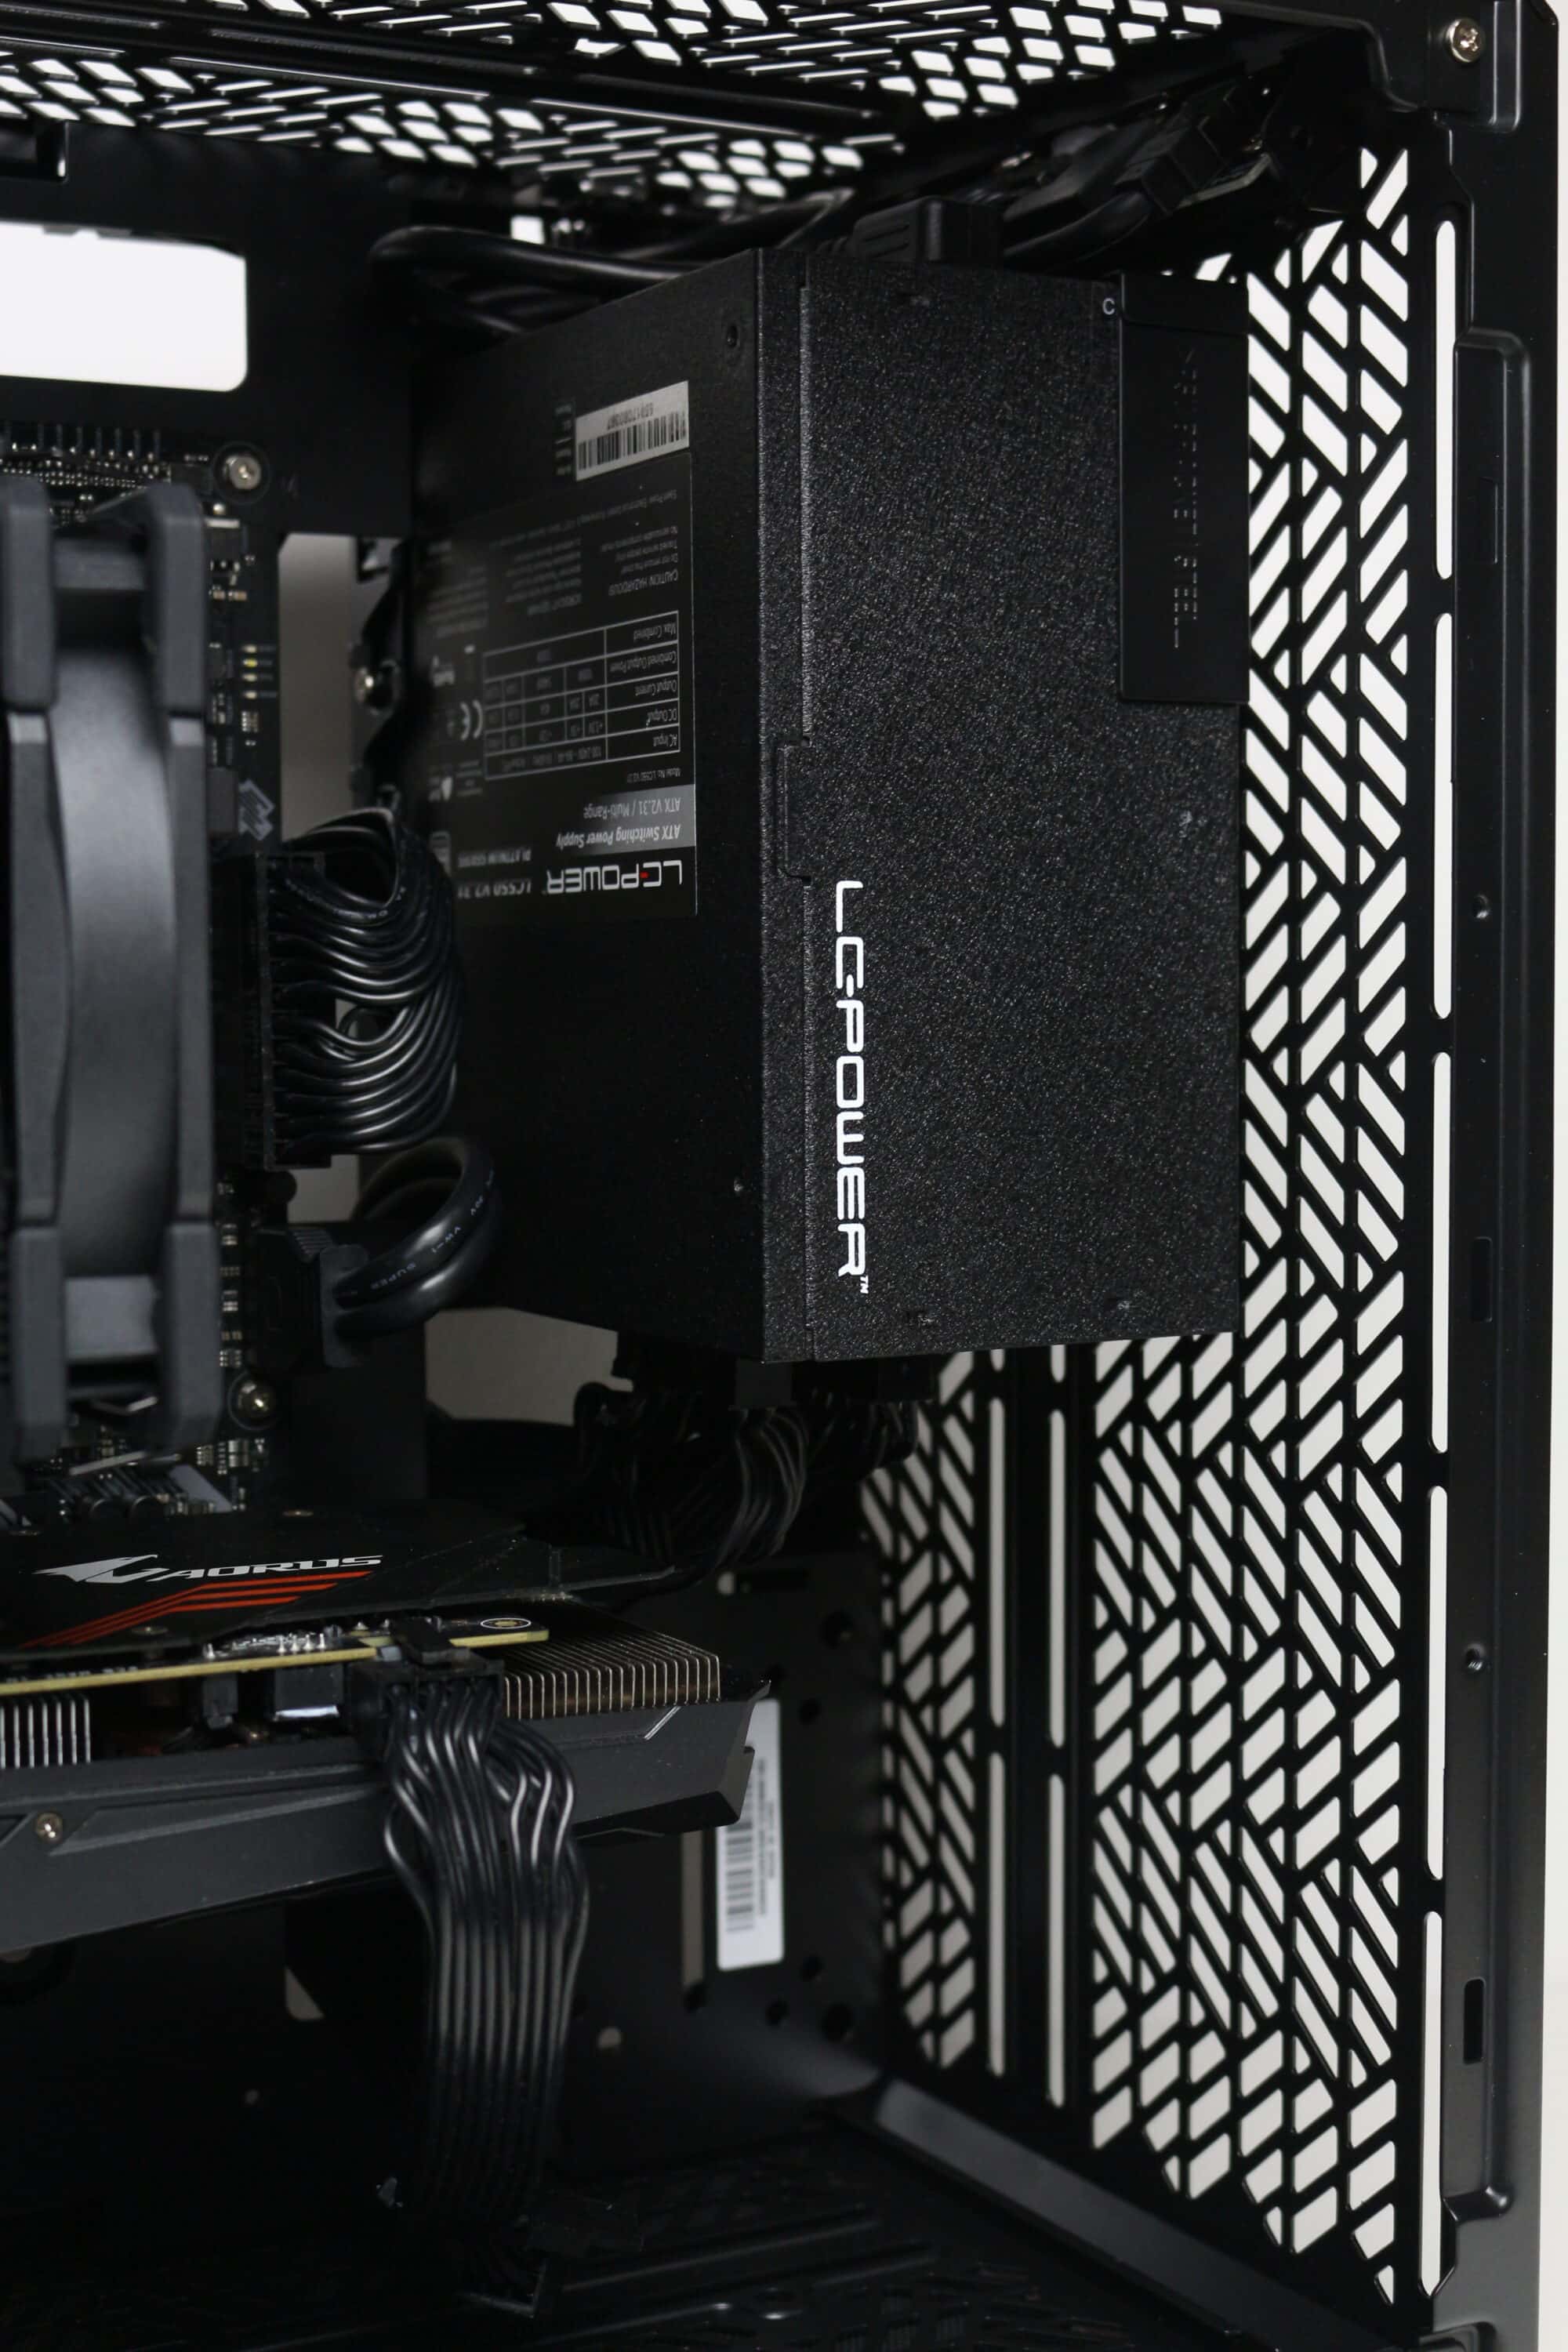
Regardless of the layout used, the CPU cooler used may be a maximum of 172 millimeters high. However, this value only applies if the side fan frame is not installed. If the unequipped frame remains in the housing, the maximum height is reduced to 164 millimeters. The Qube 500 offers up to 365 millimeters of space for graphics cards as long as no fans or radiators are installed in the front. If you want to install a long graphics card, the power supply unit should also be no longer than 173 millimeters if it is placed behind the front. An ATX power supply unit in the base may be a maximum of 332 millimeters long, but reduces the size of possible mainboards to ITX and limits the maximum height of the GPU to 2 to 2.5 slots.
In terms of radiators, the Qube 500 offers mounting slots for a 240 or 280 mm heat exchanger in the lid, on the base, on the side mounting frames and on the front if the power supply unit is not placed here. Depending on the radiators, correspondingly large fans (120 mm or 140 mm) can of course also be installed here. As an example, we have installed the Cooler Master MasterLiquid 240 Atmos ARGB in the lid.

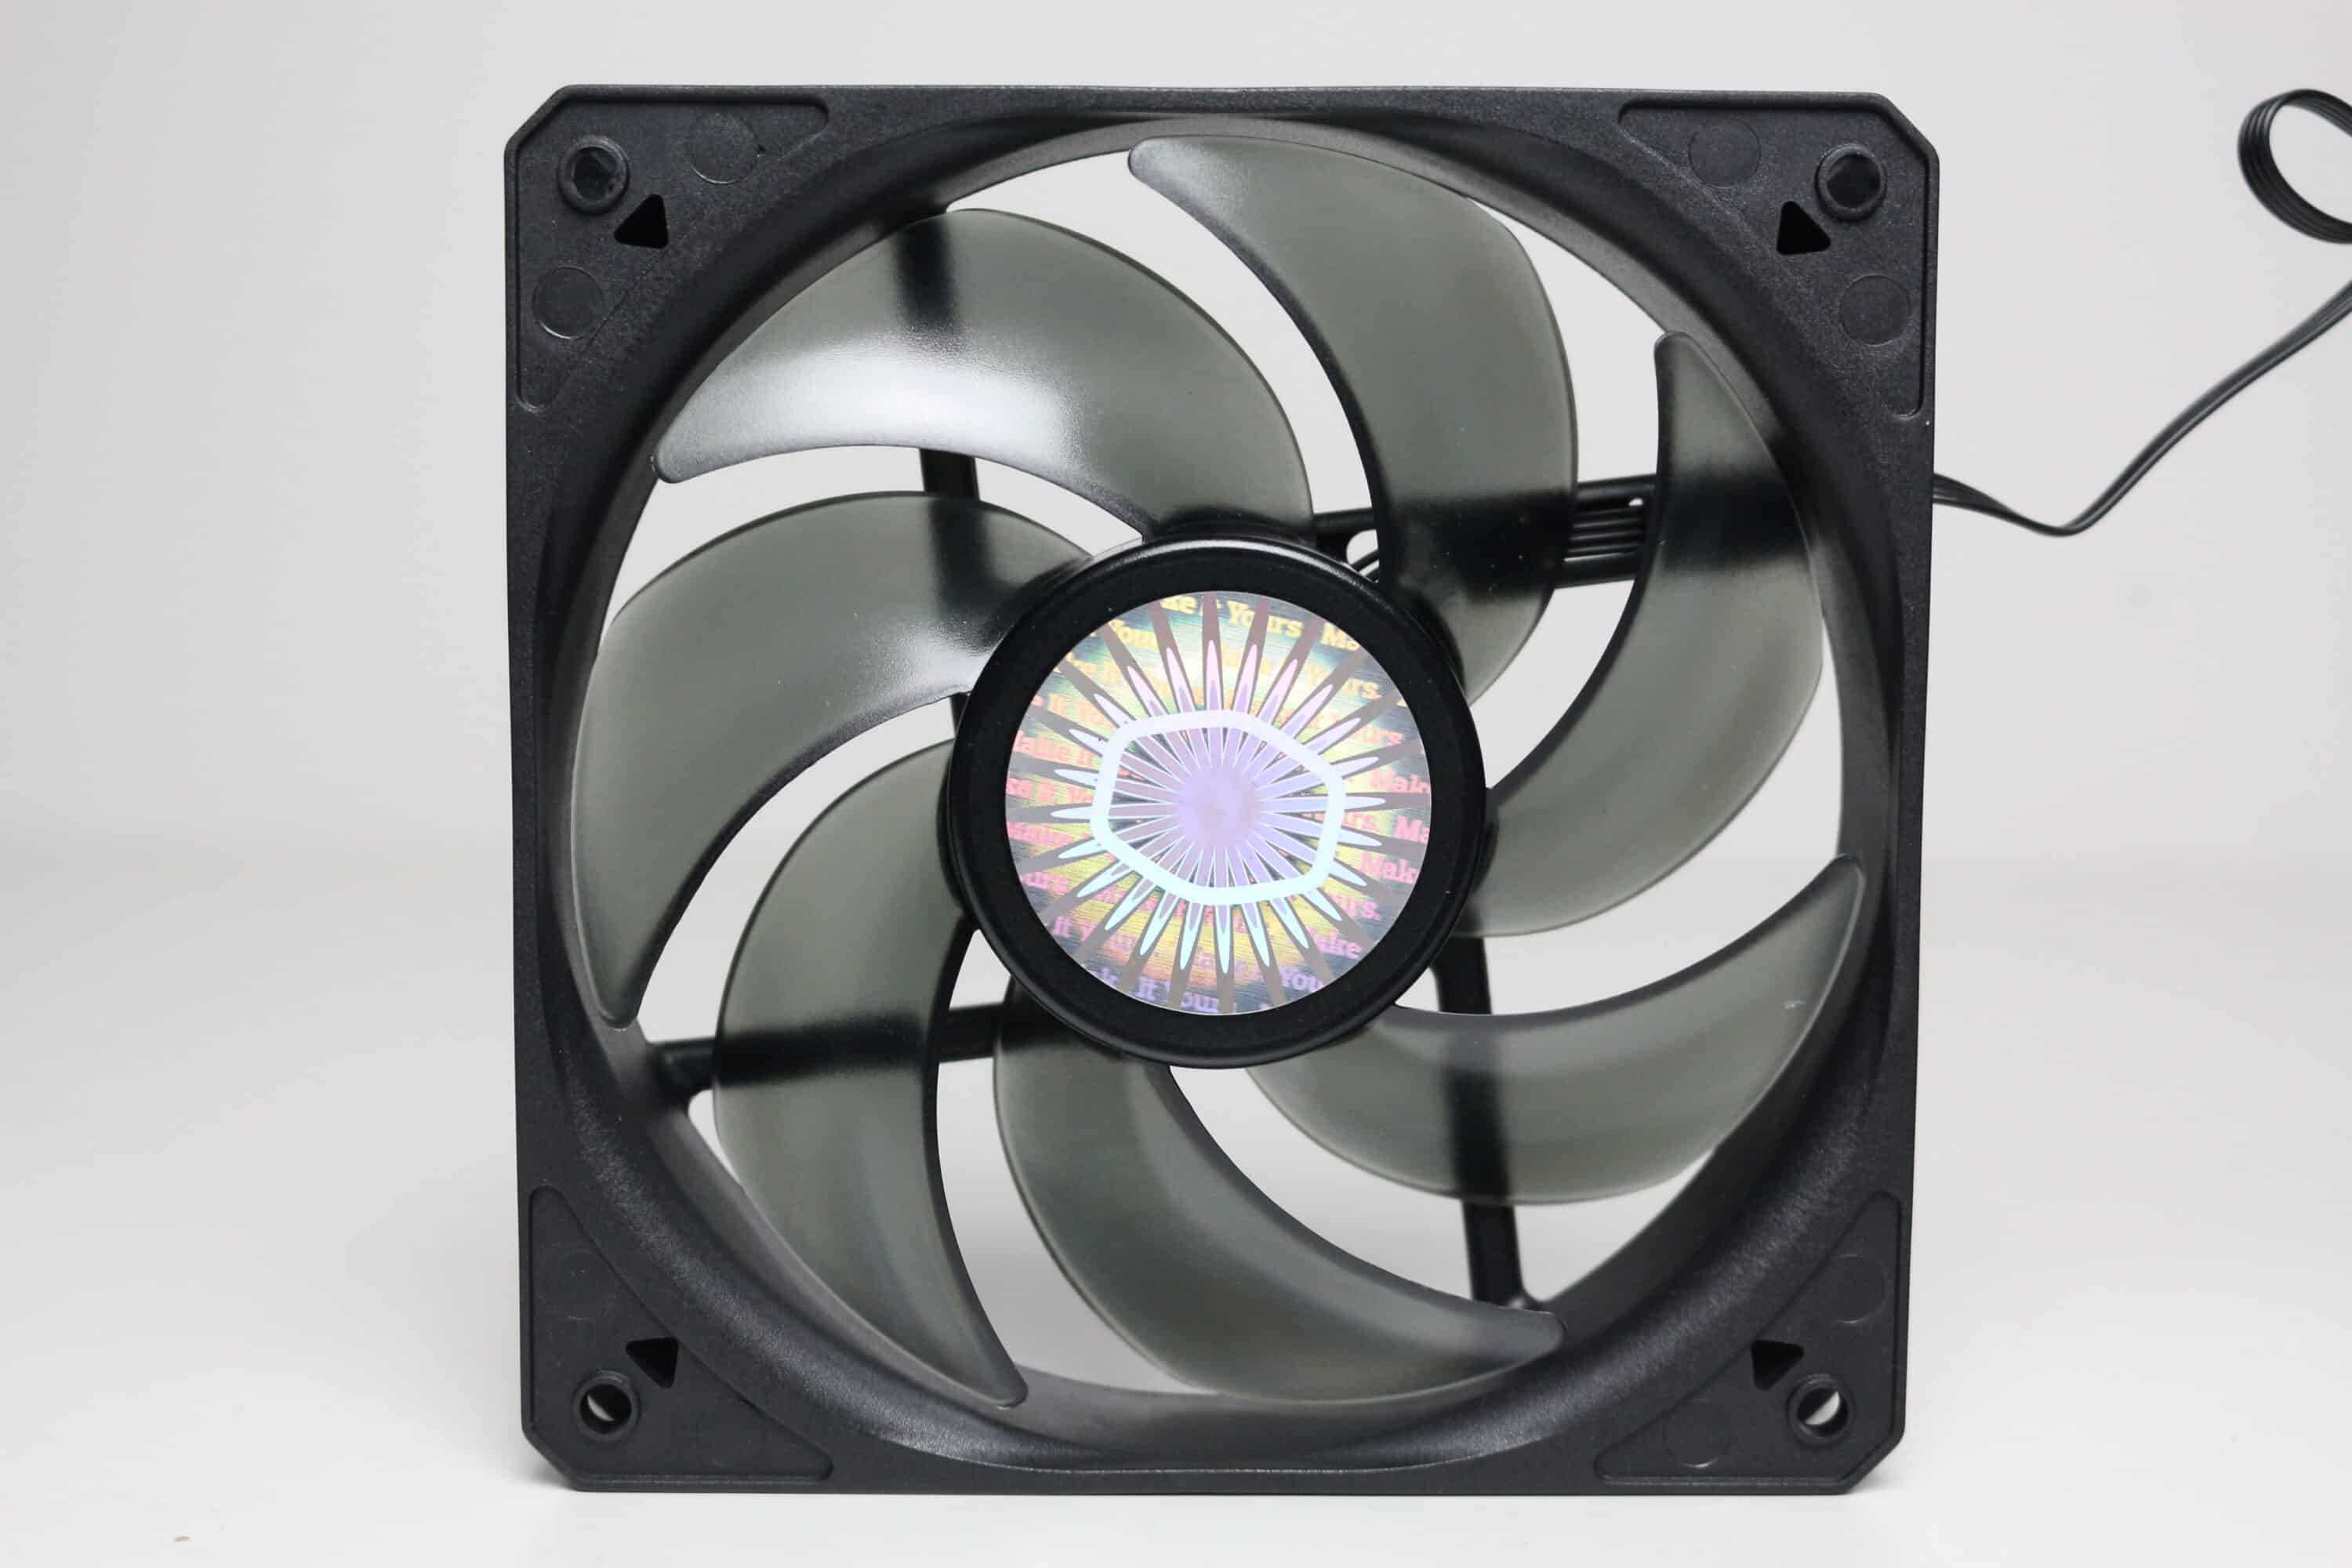
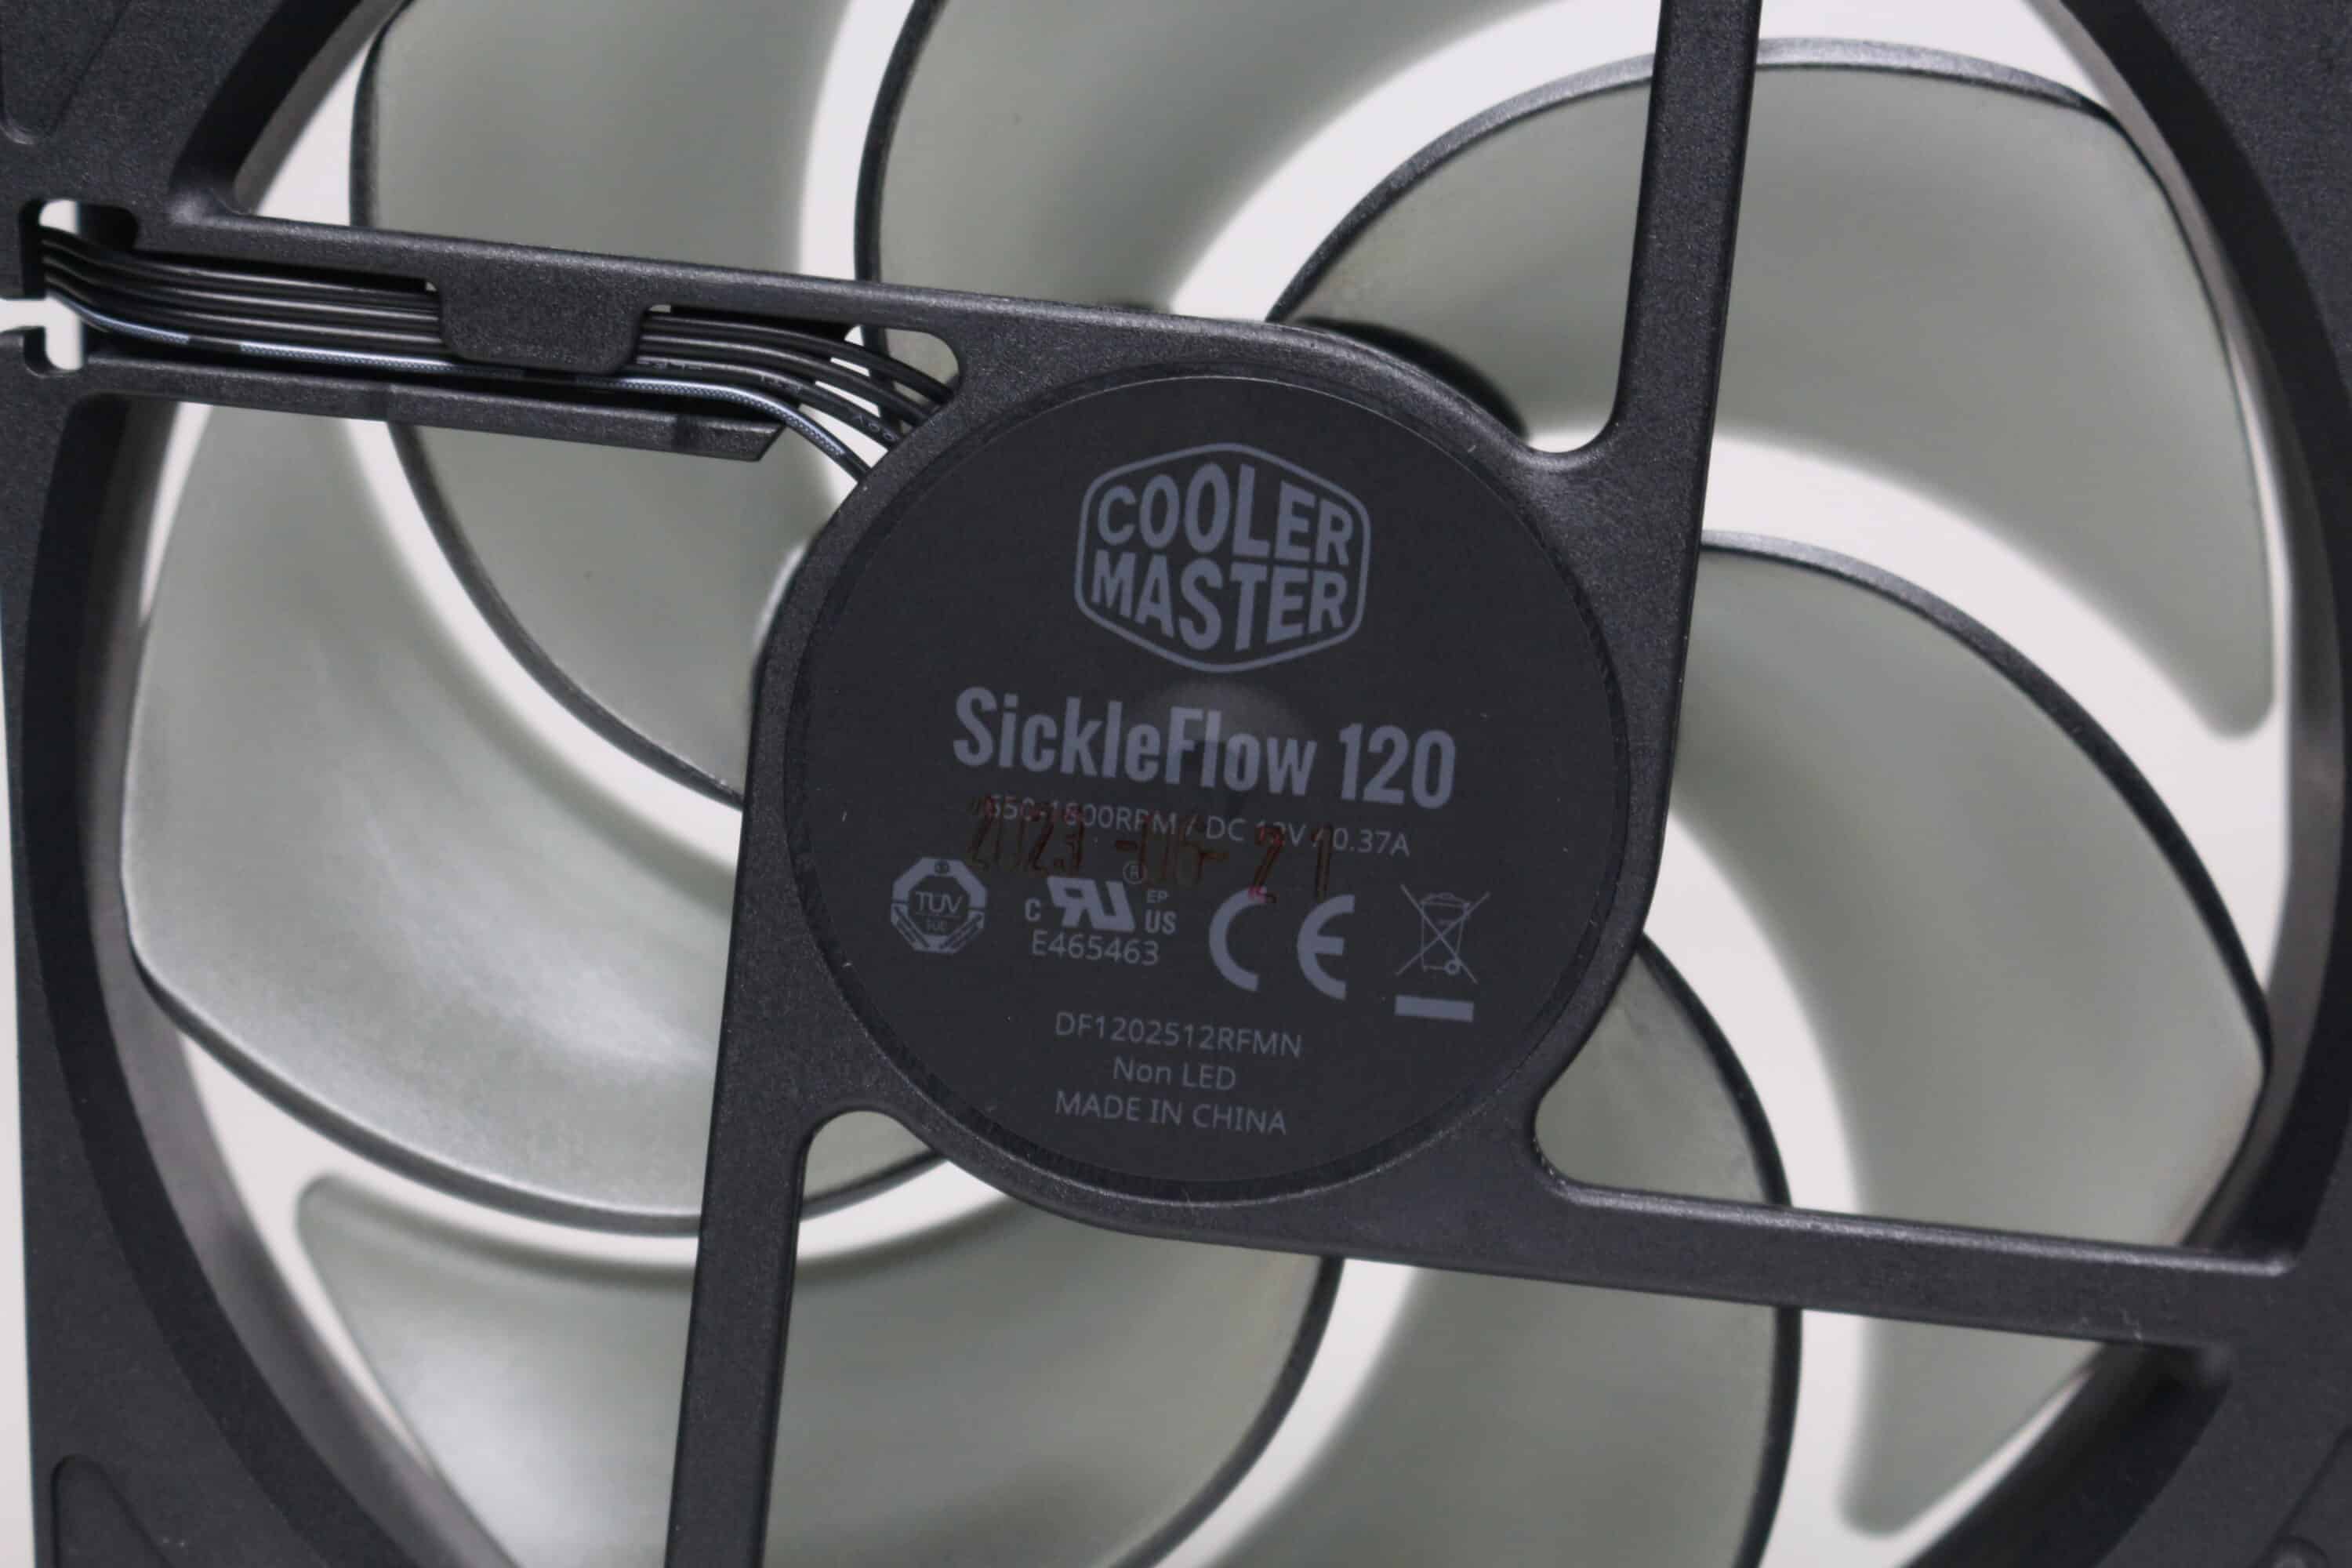
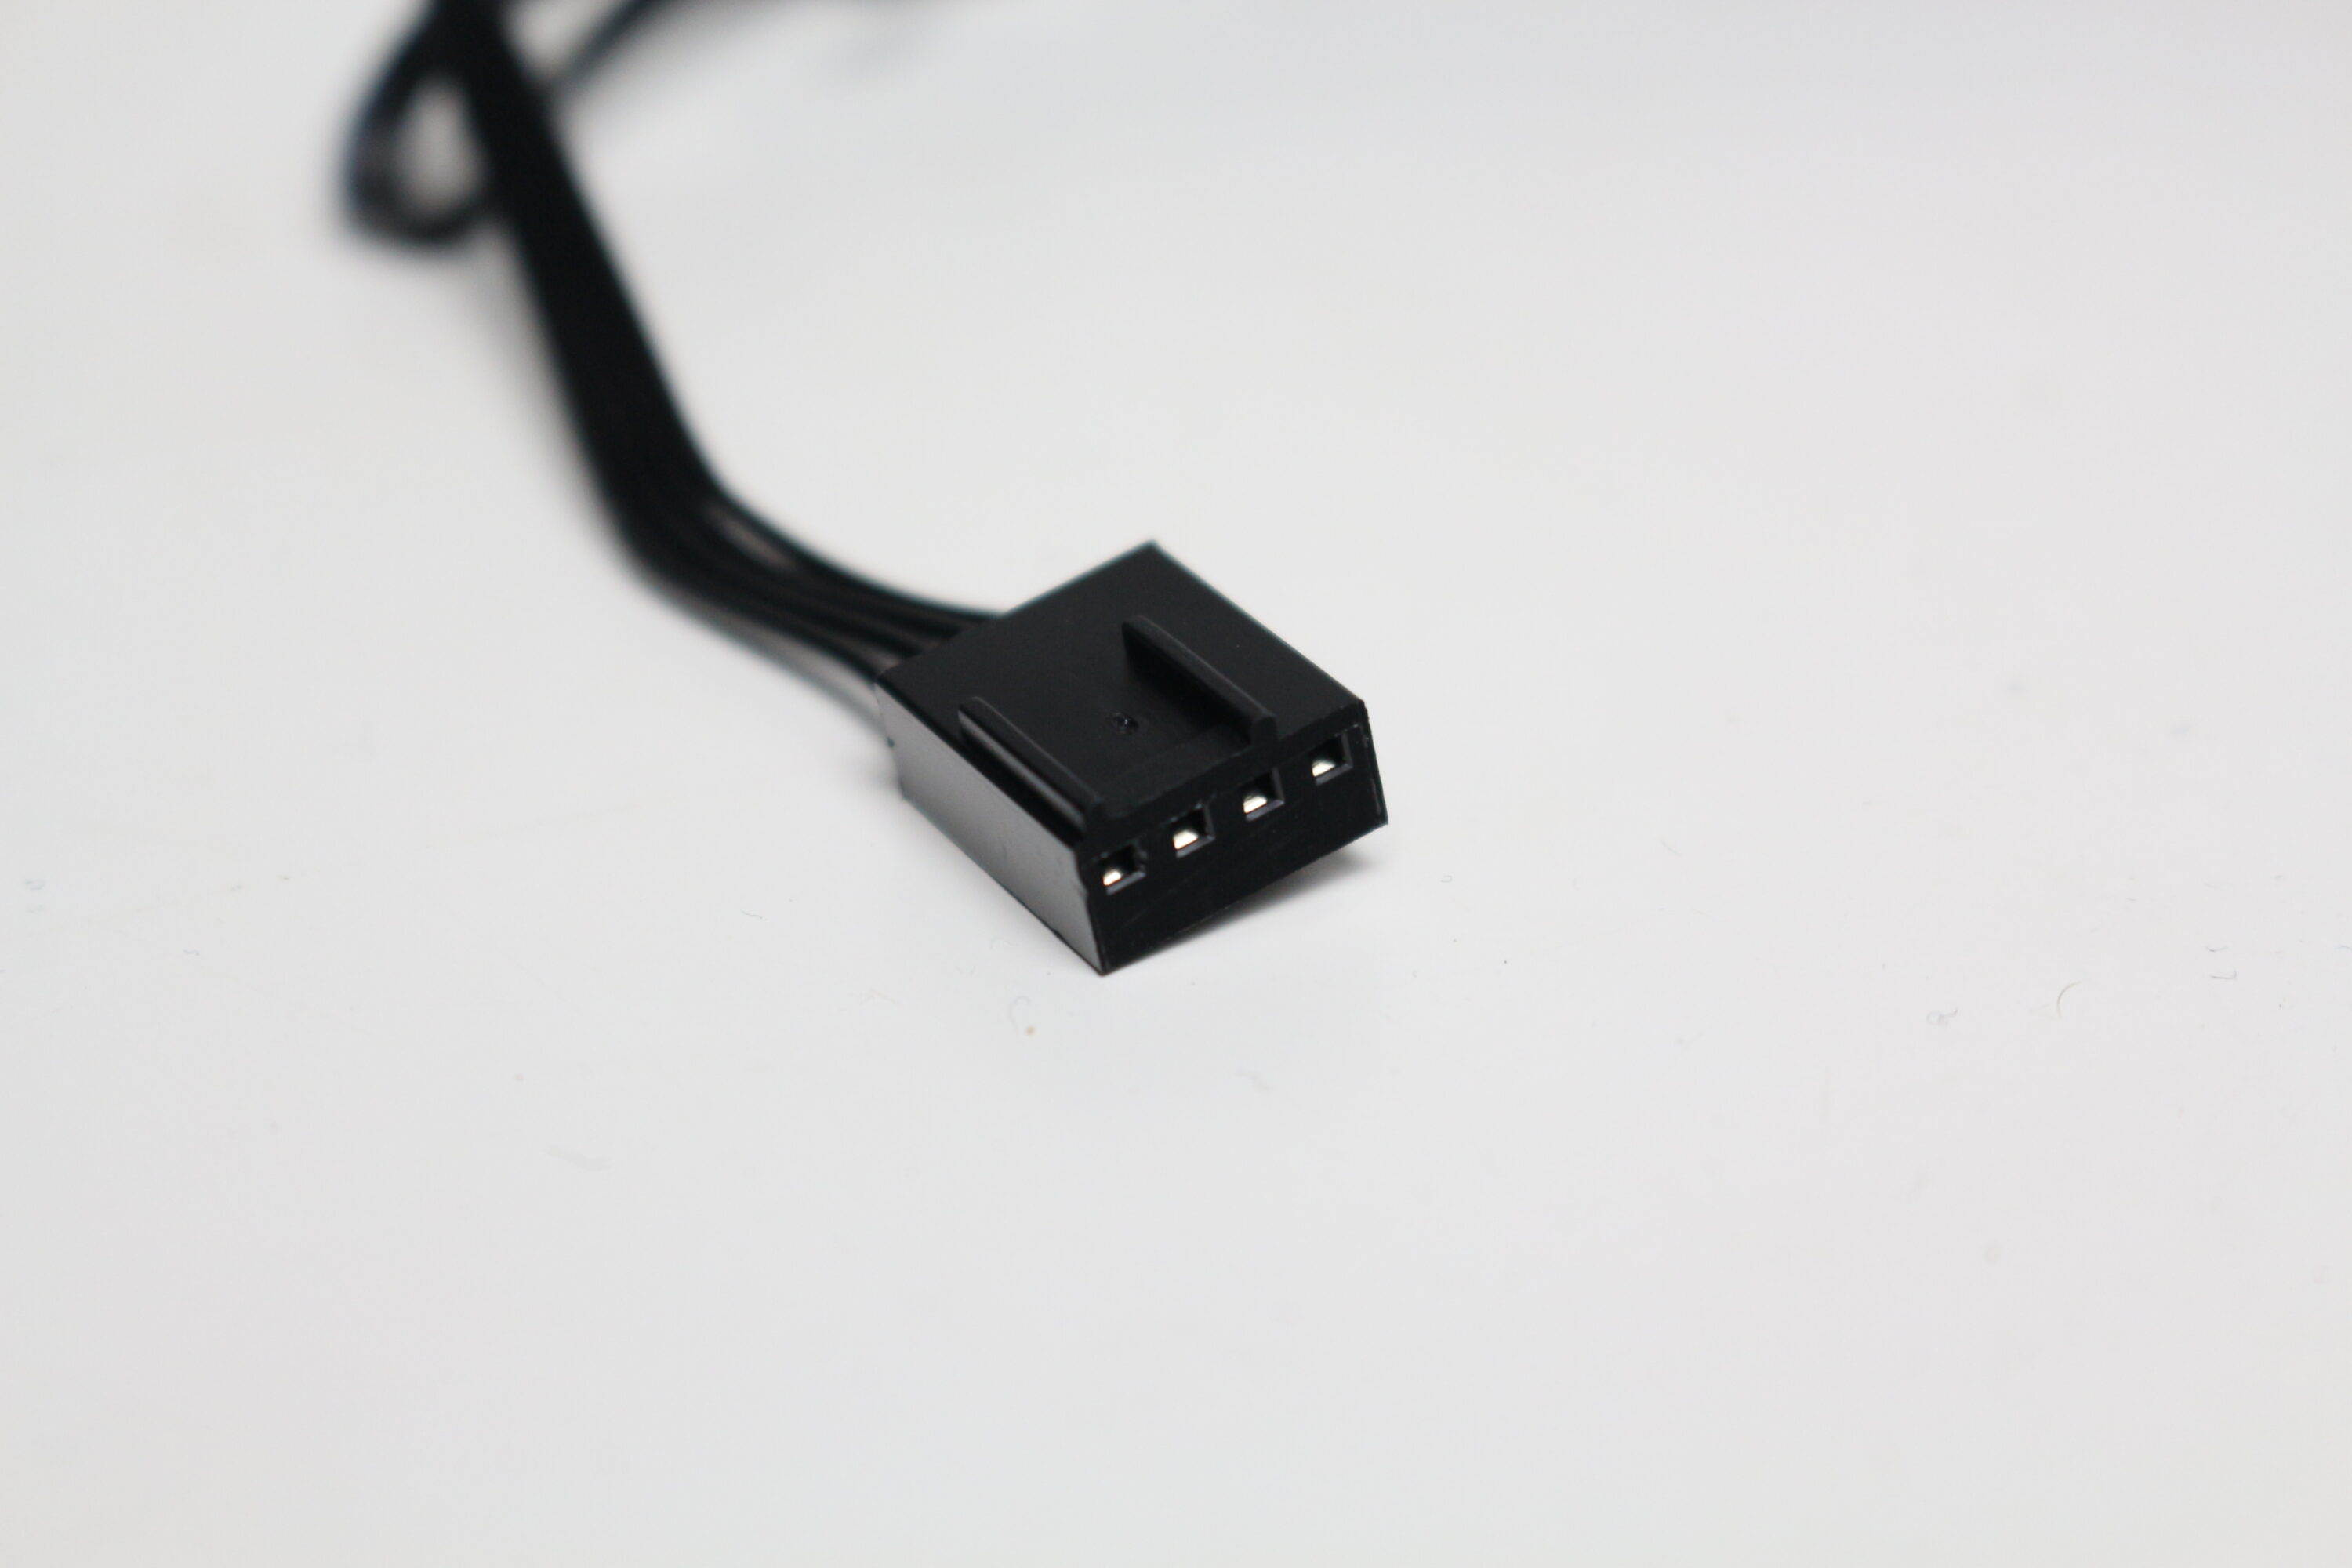
The Cooler Master Qube 500 Flatpack comes from the factory with a pre-installed 120 mm SickleFlow 120 fan, which consists of a black plastic frame and a gray-transparent rotor with seven fan blades. It is connected to the mainboard via a 4-pin PWM connector and the speed range of the fan is between 650 and 1600 revolutions per minute.

Load test
Finally, we come to the temperatures that were reached in the Cooler Master Qube 500 Flatpack. During the stress test, Prime95 and FurMark were run at a room temperature of 20 °C for 30 minutes. In addition, the stress test was carried out in the standard fan configuration (50% PWM and 100% PWM) and with five identical Arctic P12 PWM PST fans (50% PWM and 100% PWM). The results are listed in the table below.
Scenario |
Temperature |
| CPU: 50% PWM (950 rpm) GPU: 50% PWM (1650 rpm) Rear: 1x 120 mm 50% PWM (1100 rpm) |
CPU: 68.6 °C GPU: 66.1 °C |
| CPU: 50% PWM (950 rpm) GPU: 50% PWM (1650 rpm) Rear: 1x 120 mm 100% PWM (1770 rpm) |
CPU: 63.6 °C GPU: 64.1 °C |
| CPU: 50% PWM (950 rpm) GPU: 50% PWM (1650 rpm) Front: 1x Arctic P12 PWM 50% PWM (1050 rpm) Rear: 1x Arctic P12 PWM 50% PWM (1050 rpm) Top: 1x Arctic P12 PWM 50% PWM (1050 rpm) Bottom: 2x Arctic P12 PWM 50% PWM (1050 rpm) with dust filter |
CPU: 66.5 °C GPU: 64.9 °C |
| CPU: 50% PWM (950 rpm) GPU: 50% PWM (1650 rpm) Front: 1x Arctic P12 PWM 50% PWM (1700 rpm) Rear: 1x Arctic P12 PWM 50% PWM (1700 rpm) Top: 1x Arctic P12 PWM 50% PWM (1700 rpm) Bottom: 2x Arctic P12 PWM 50% PWM (1700 rpm) with dust filter |
CPU: 62.7 °C GPU: 64.9 °C |
| CPU: 50% PWM (950 rpm) GPU: 50% PWM (1650 rpm) Front: 1x Arctic P12 PWM 50% PWM (1050 rpm) Rear: 1x Arctic P12 PWM 50% PWM (1050 rpm) Top: 1x Arctic P12 PWM 50% PWM (1050 rpm) Bottom: 2x Arctic P12 PWM 50% PWM (1050 rpm) without dust filter |
CPU: 63.5 °C GPU: 63.7 °C |
| CPU: 50% PWM (950 rpm) GPU: 50% PWM (1650 rpm) Front: 1x Arctic P12 PWM 50% PWM (1700 rpm) Rear: 1x Arctic P12 PWM 50% PWM (1700 rpm) Top: 1x Arctic P12 PWM 50% PWM (1700 rpm) Bottom: 2x Arctic P12 PWM 50% PWM (1700 rpm) without dust filter |
CPU: 61.6 °C GPU: 61.7 °C |
The factory-installed 120 mm fan is generally sufficient to cool a gaming system with low power loss. However, if you plan to install more powerful components, you should equip the Qube 500 with additional fans. Otherwise, the Cooler Master Sickel Flow 120 makes a very good impression. Thanks to the PWM connection, it is easy to regulate and runs relatively quietly between 650 and 900 revolutions. Background noise during operation was barely audible.
You should also think about whether you want to leave the dust filter installed or not. Depending on the fan speed, the maximum temperatures without dust filters were up to 4 degrees lower. This shows that the dust filters have been designed quite restrictively. If you want to get the maximum out of your Qube 500, then you should not use the dust filters.
Cooler Master Qube 500 Flatpack: The layouts
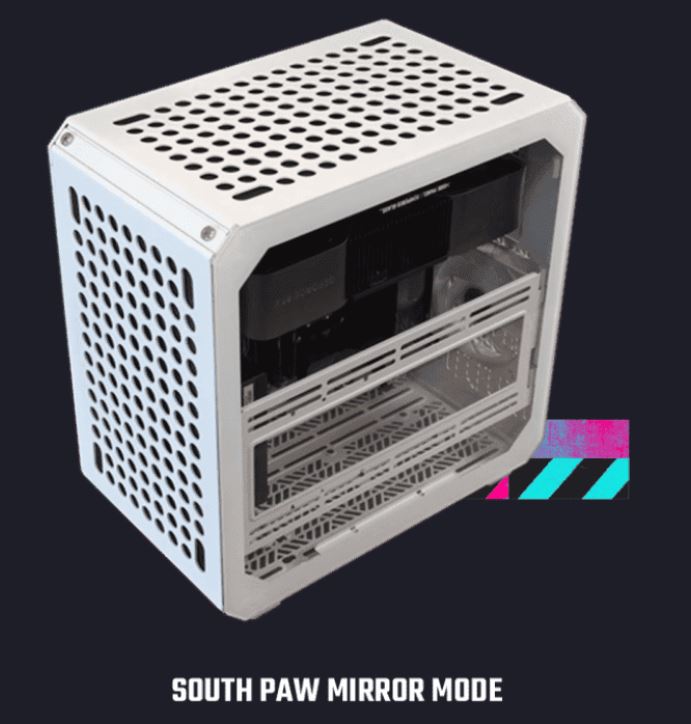
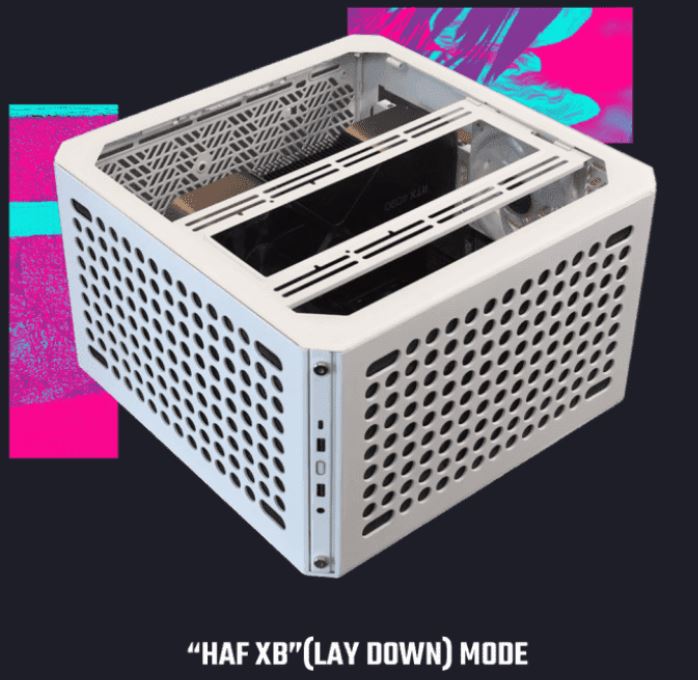
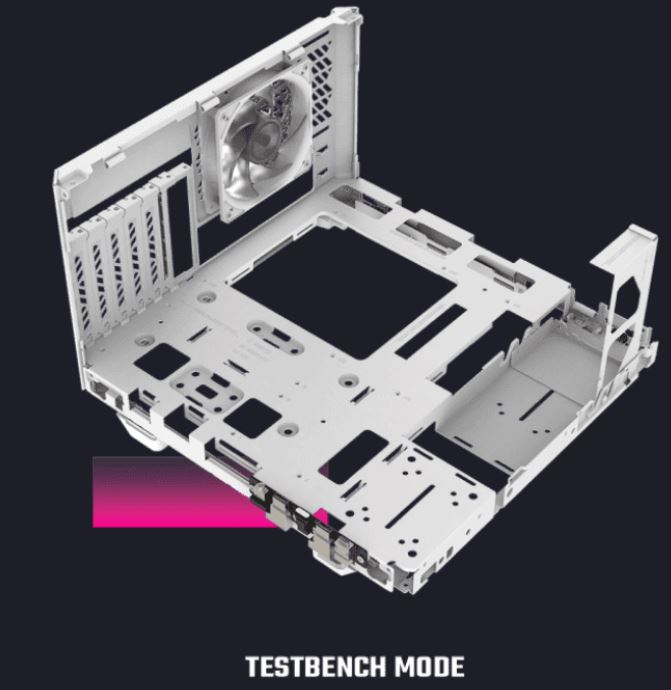
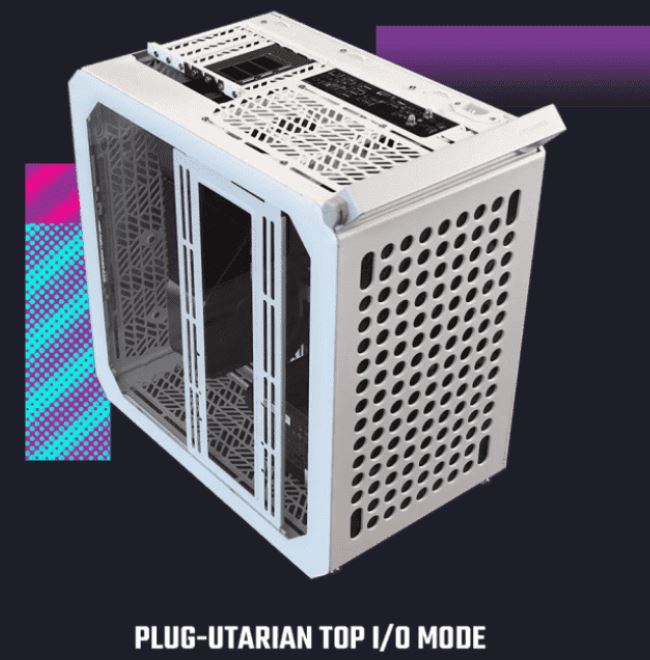
As already mentioned, the design of the Qube 500 Flatpack allows it to be used with different layouts. Cooler Master lists a total of five different variants:
– Standard Mode (classic midi tower, tempered glass on the left)
– “HAF XB” mode (horizontal orientation, tempered glass on top)
– South Paw Mirror Mode (inverted midi tower, tempered glass on the right)
– Testbench Mode (only mainboard tray rear panel power supply frame)
– Plug-Utarian Top I/O Mode (tempered glass, mainboard connections on top)
As the layout can be changed at any time thanks to the modular add-on parts, the Qube 500 is also very flexible in this respect. In addition, depending on the size of the mainboard, the power supply unit can be positioned not only at the front but also at the bottom. However, if you want to install an ATX power supply unit in the base, then a maximum of one ITX mainboard can be installed and the graphics card must not be higher than 2 to 2.5 slots. However, there is space for an additional 280 mm radiator at the front after the conversion.
Cooler Master Qube 500 Flatpack: Conclusion
So what can we say in conclusion about the Cooler Master Qube 500 Flatpack? First of all, the idea of having to assemble the case yourself in addition to the components is an interesting idea that has not been seen so often before. In addition, despite its compact dimensions, the Qube 500 offers a flexible layout that provides plenty of space for hardware and can be assembled in five different ways. Depending on the layout, it is compatible with ATX mainboards, ATX power supplies, long graphics cards and several radiators. In addition, the components were manufactured cleanly and accurately, making assembly of the kit a breeze.
However, the advertised flexibility is only half the truth. In some cases, this can only be achieved with certain restrictions. For example, if you want to install the ATX power supply unit in the base, an ATX mainboard will no longer fit. We also found that the pre-installed dust filters are quite restrictive and prevent better cooling performance. Finally, there is the price of € 91.80 *, which in our view is a little too high for what is on offer when you consider the competition and their features.
The Cooler Master Qube 500 Flatpack is an interesting case with a new concept, but comes with a few disadvantages and restrictions that you should keep in mind when buying it.
Cooler Master Qube 500 Flatpack
Workmanship
Structure
Features
Cooling
Value for money
83/100
The Cooler Master Qube 500 Flatpack offers good hardware compatibility, is quite compact, has a solid finish and comes with a generally interesting concept. However, the cooling performance offered is only mid-range and the compact dimensions impose a few restrictions.
No replies yet
Neue Antworten laden...
Gehört zum Inventar
Beteilige dich an der Diskussion in der Basic Tutorials Community →